This kit targets a specific group of nine Tigers that had an unusual turret bin. They were all slightly different, both in terms of what modifications the crews made, and often in the underlying features of the Tiger, which was evolving quickly at the time.
I don’t think that Rye Field’s kit captures any one of those Tigers exactly.
Rye Field don’t tell you to use the air filters, which is correct because these crews soon removed the filters. But, in the kit, that exposes a raised horizontal strip on both sides of the rear wall. The real tank didn’t have that.
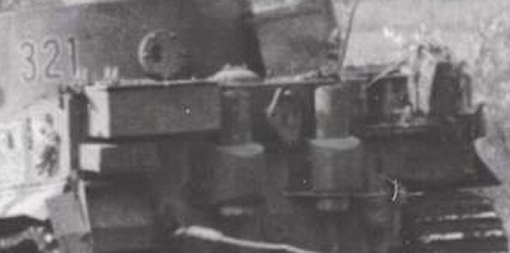
The box and jerrycan provided in the kit seem to be based on Tiger “321” which is in this photo.
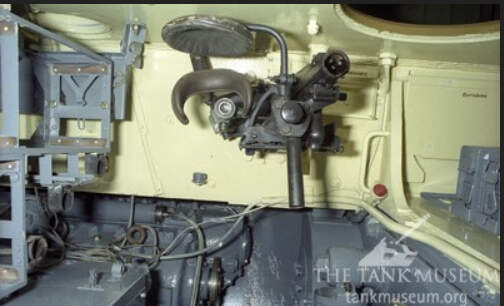
I’m having trouble with the location/orientation of the radio op gun. The attached image is what I’m after. But from the top down. If I follow the instructions nothing lines up. ie the sight lens is too far back. Or the gun is to far forward. I’ve turned the instructions inside out and upside down. But nothing lines up. Thanks
Bruce,
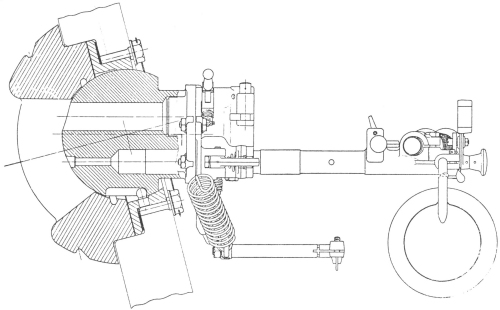
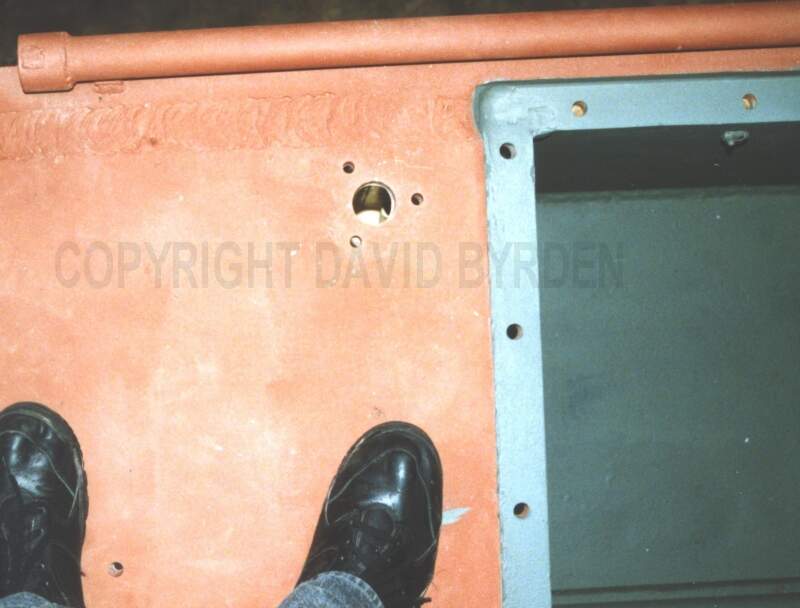
David is the go-to man for anything to do with Tigers. His knowledge is encyclopaedic. David, I’m intrigued by the first of your photos. I note the serrations milled into the hole at left, presumably for the end of the torsion bar. I also note the shell bearings in the holes the arm swings in. No expense spared! Presumably, had the tanks lifespan been extended, they anticipated the need to replace them when they became worn.
OK another dumb question. I’m building RFM’s Tiger 1.Early 503. Kit #5003. The kit represents Tiger #321. I’m not rivet counting but I want is as close as possible.
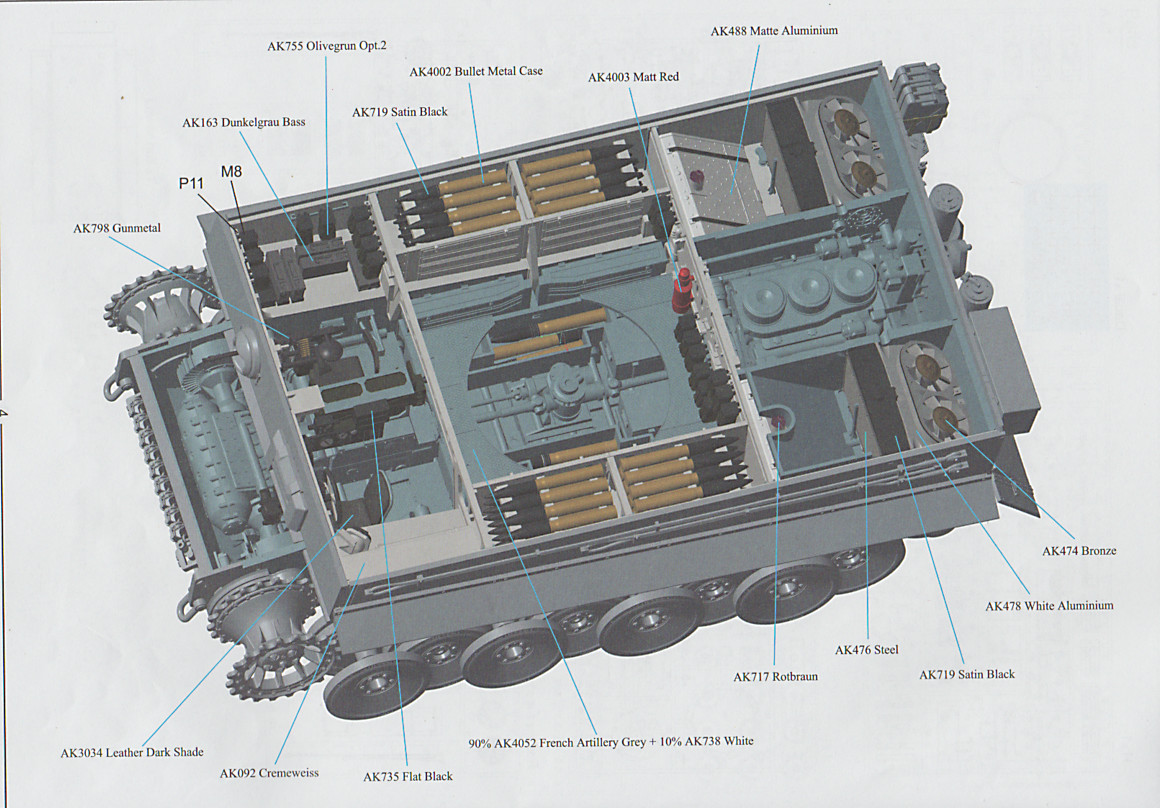
I’m working on the engine. The kit shows French grey. But research on the internet about engine colours gives me a zillion different opinions. So the question is - what colour was the engine when it came out of the factory. Block, heads etc.
Do you mean French Blue? RFM tend to use ‘Grey Base’ as the colour for engine and transmission parts. I’m not sure that is accurate. For the modeller, at 1/35 scale, the best colour to use is either Schwarzgrau or Satin Black and dry brush it before adding any weathering you need to do.
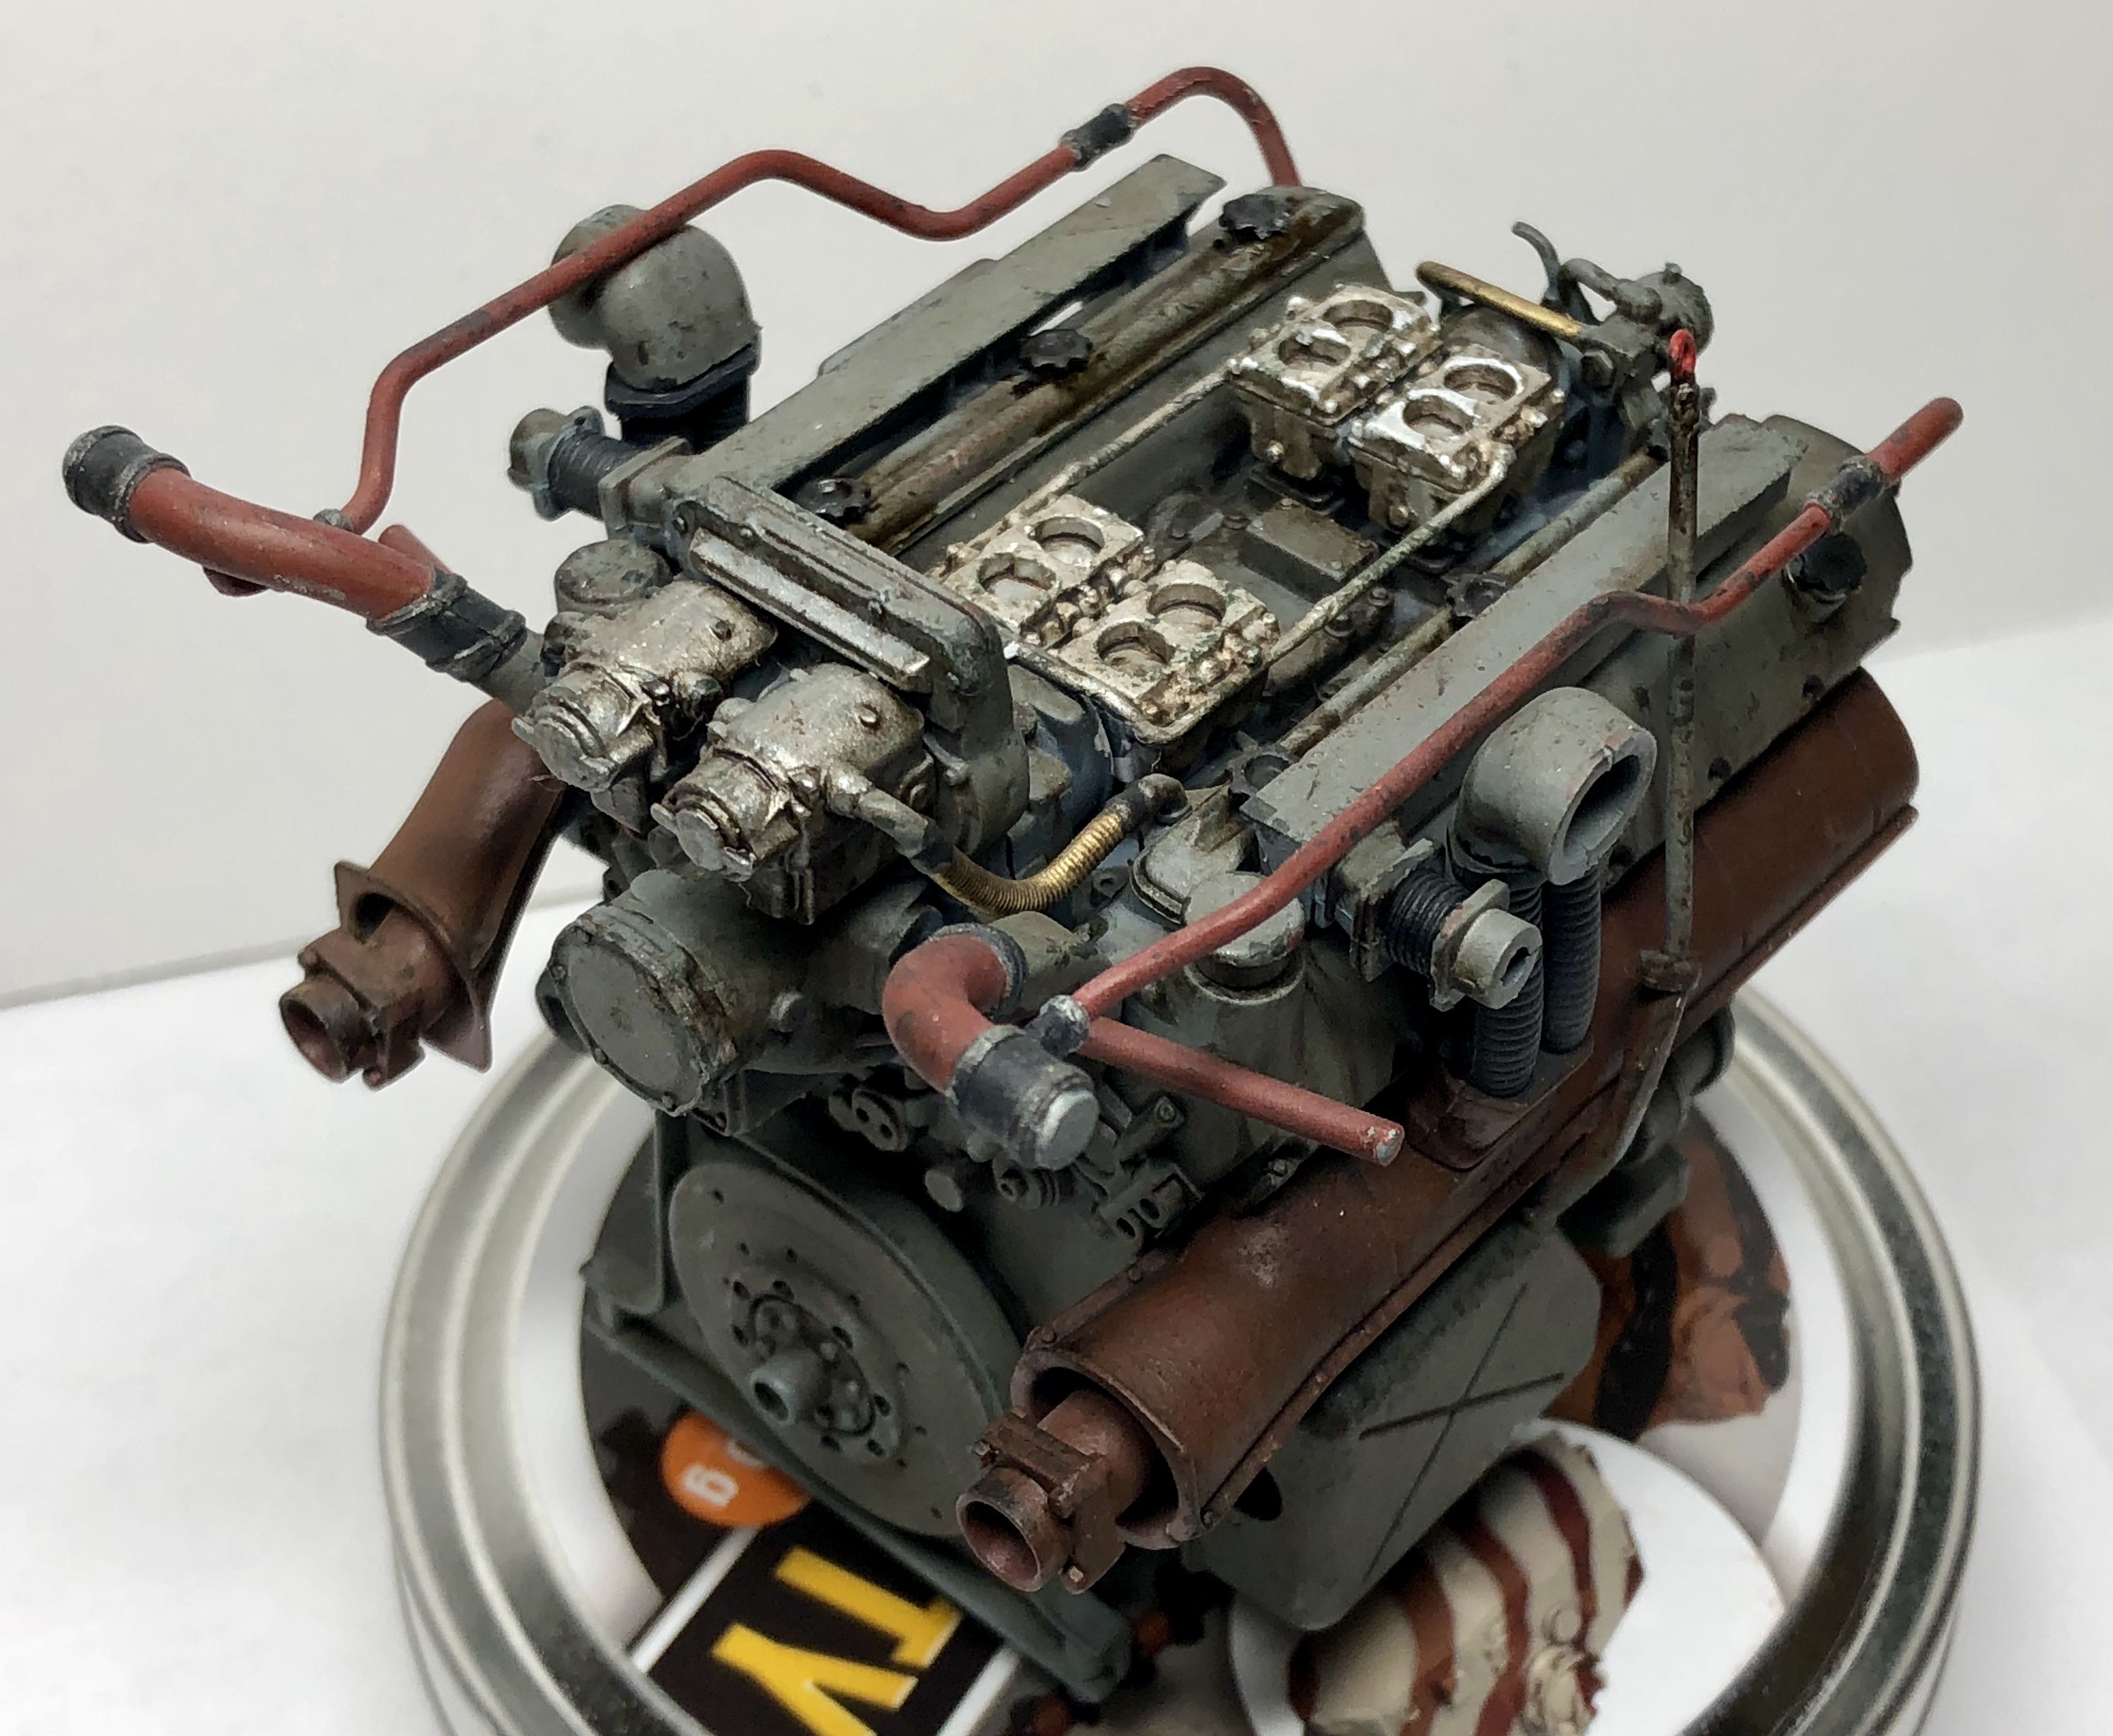
Anyway, its a Maybach, so it needs to look something like this, which I’ll admit looks nothing like any of the three colours mentioned!
Thanks Khouli. RFM lists the colour as AK4052. Which is French Artillery Grey. They have that colour for transmission through to and including the engine. I have images of the Maybach so that helps. The Tiger at Bovington just seems to new and clean. And doesn’t match what I’ve seen of other Tiger 1 interiors.
I struggle between making it look OK or looking ‘right’. Only I know it’s wrong but the little man in my head keeps telling me to do it ‘right’.
From reading the Haynes manual on the Tiger, which draws heavily on the Bovingdon one, I think they went to a lot of trouble to get everything as right as they could on this vehicle. Older restorations could be a bit slap-dash colour wise and on details. I’ve seen the Bovingdon Tiger up close and it looks “right” to me. But it is an early one. Colours and details may be different…
Edit: waits now to be shot down in flames…
There was a colour used to paint the lower interior of Panzers at that time, it was RAL 7009 blue-grey. Apparently it was used for the entire engine compartment of Tigers, plus the radiator compartments.
But it was not used at all for the engine.
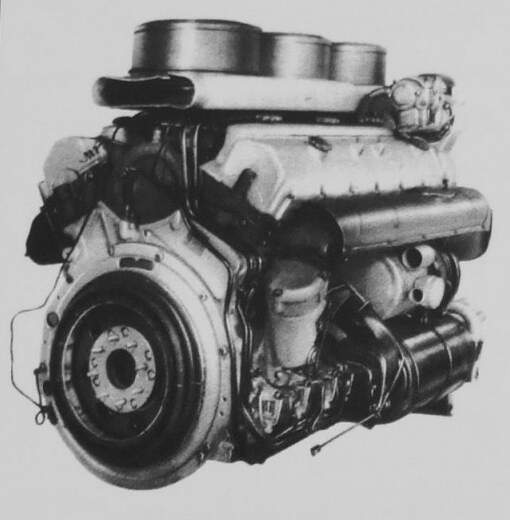
Engines are hard to pin down because we don’t see many survivors. There’s a good British account of the HL210, however. They supply this photo;
The body of the engine was not painted, simply because heat would ruin the paint. In most cases that would give you a dark iron finish, but these HL210s for the first Tigers were made of aluminium. That’s why the one in this photo appears so light.
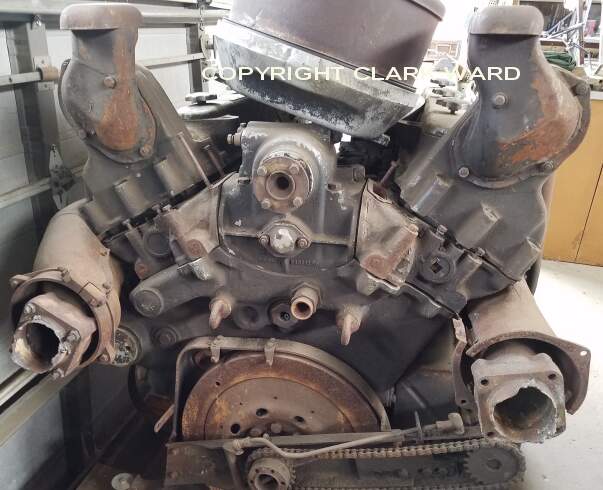
The shrouds around the exhaust pipes would get hottest of all and would rust early on.
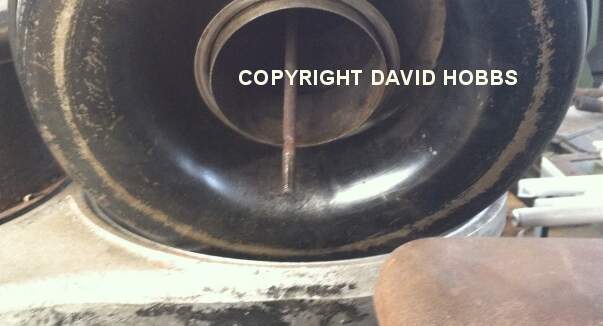
There are obviously some features in the photo that have been painted. I can help a little there. The air intake on top, for example: we do have one good survivor.
Obviously it was painted black, but most of that has worn off here, exposing the cast metal body. The three “drum” air filters on it also seem to have had black paint when new:
You guys are going to get tired of my silly questions!!
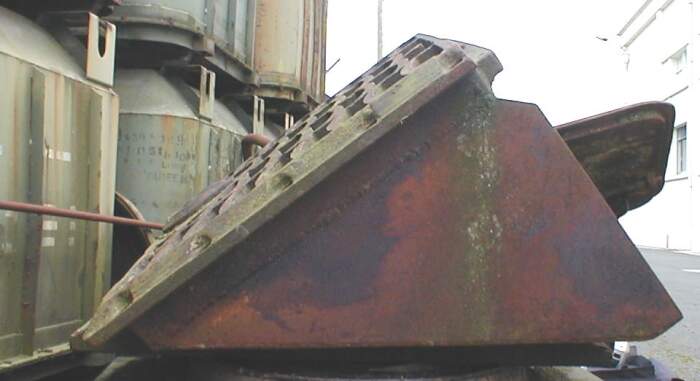
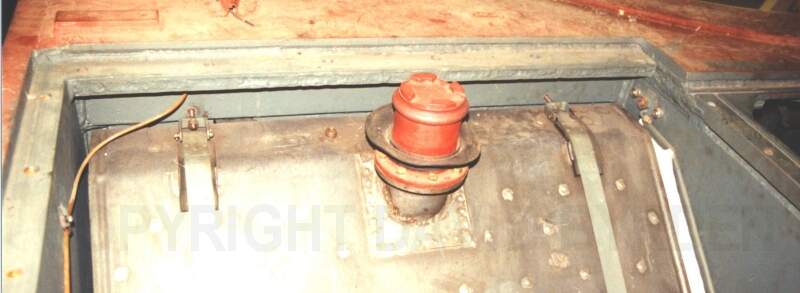
Here’s another question. - On the below image I have a blue circle marked. There are 2 fuel tanks. Or schnapps tanks! But I think it’s fuel. (An aside. - years ago I was in Germany on business. They fed me that poison. Then out of the tavern onto an ice and snow covered footpath. I think it was 3 or 4 days before I was sober enough to see the joke). I have just gone to great lengths painting the fuel tanks a nice metal colour. Nice straps etc etc. I’m proud of my fuel tanks! But then they disappear below a cover. I notice on some internet images of model some folks have left the cover off. As in the image on the other side without the cover in place. I’m guessing it’s some sort of heat shield. Could these covers be left off or would it be a big no no?
Thanks DByrden. So in reality they should be attached to the grill or in this case, because the grill doesn’t open, at least to the hull deck.
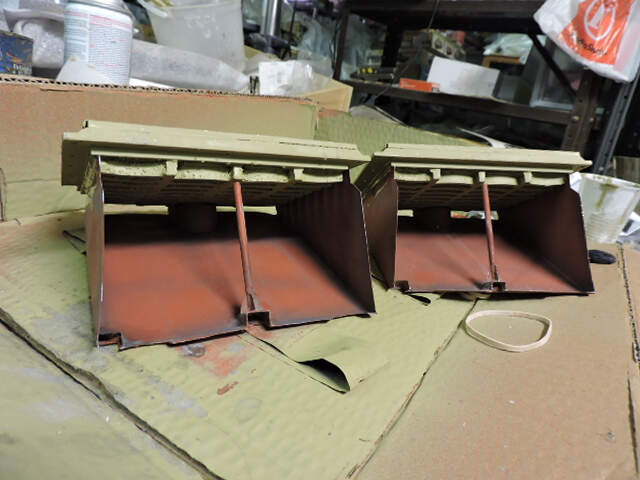
I found this online. Yes a scale model but it shows clearly what it’s like.
I’m looking at it on the model and wonder why RFM, and others, don’t have this grill as a separate part. I think I could cut it out but I can’t find an overhead photo that would show the frame/support under it.
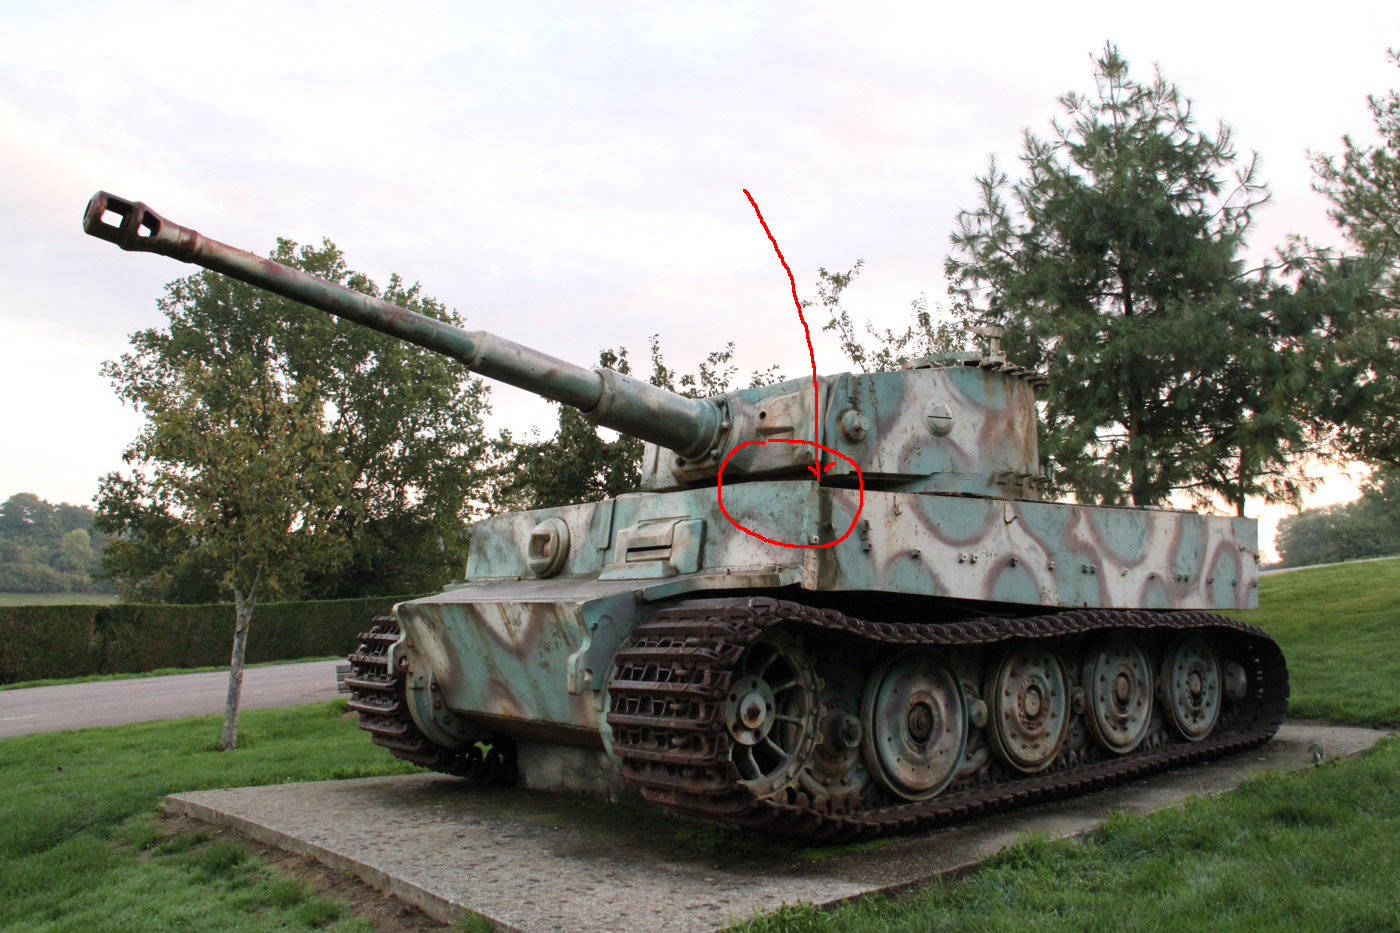
Another question - Just out of curiosity is there a reason the front of a Tiger 1, see red arrow, is not flush with the main deck? They have gone to the effort of tapering it off each side. So why would they not made the front flush all the way across?
I ask because at first I thought I had made a mistake putting something together. Not impossible!!
The grille sits on a lip on all four sides, and there are threaded holes in the lips. I have photos of portions. The rear lip is part of the radiator cover panel, of course.
I guess I don’t need to tell you where the bolt holes are - you have the grille with the bolts already.