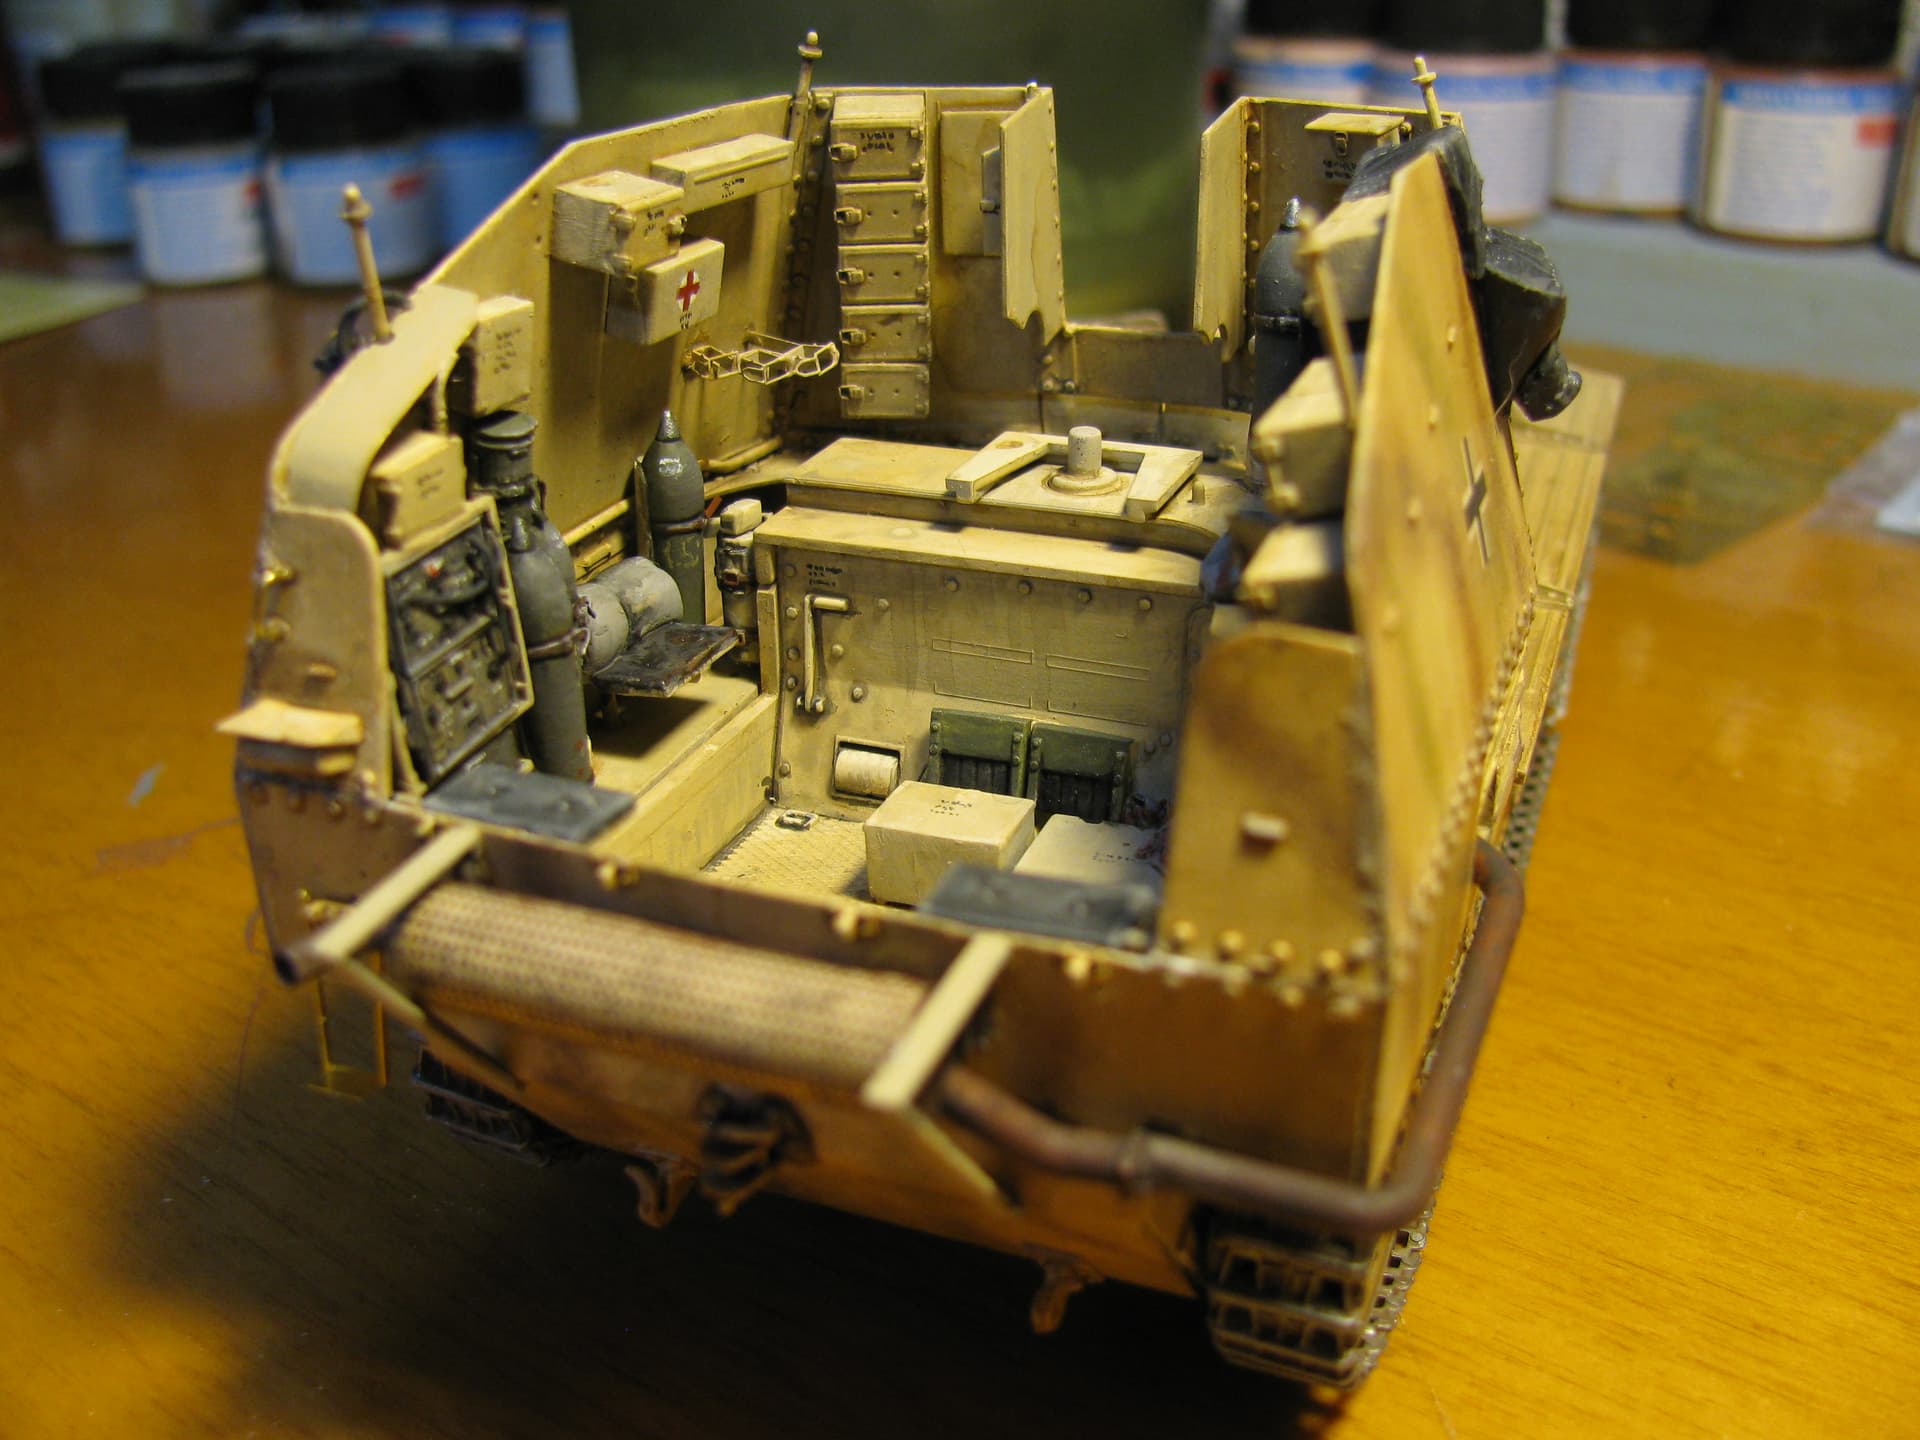
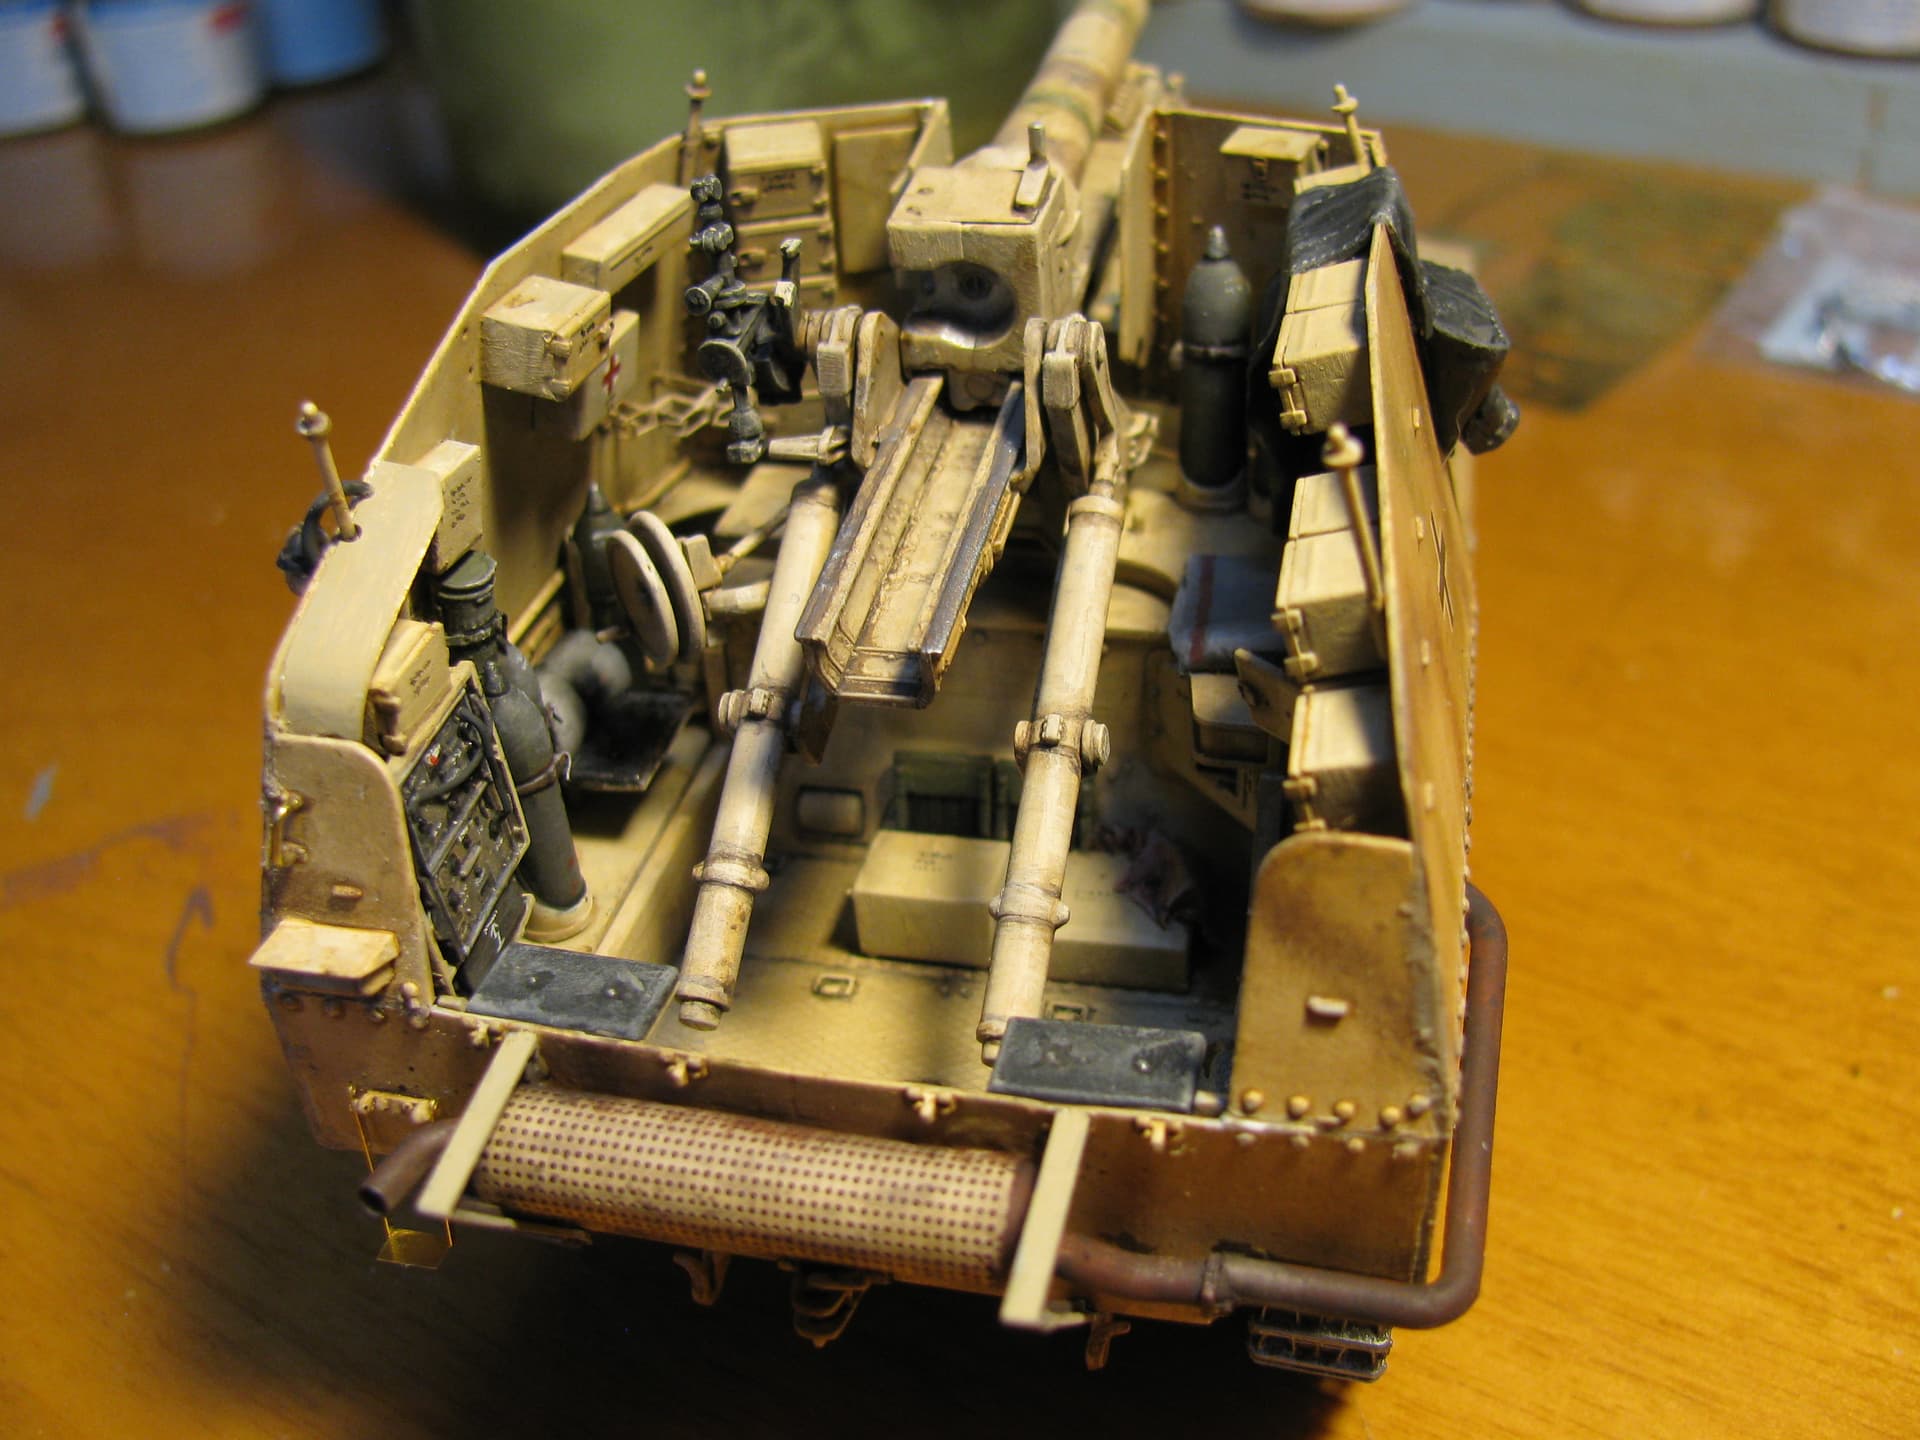
Where this stands. Need to fix the seam in the breechblock. Added details and weathering. Had to putty a few joins when I attached all 4 sides of the fighting compt. together.
J
17 Likes
Very nice ![]()
1 Like
Looking really good.
I applaud your ability to build a vehicle and figures, and to make these fantastic builds
1 Like
Very , very cool JR .
PBR award material fer sure !!!
1 Like
JR your talent is immense being able to do vehicles AND figures so very well.
1 Like
Thanks guys!
What does the award of multiple PBR rusty cans look like ? A can with crossed cigarette butts?
J
1 Like

Looking great!
No , you get a vintage case of PBR’s …
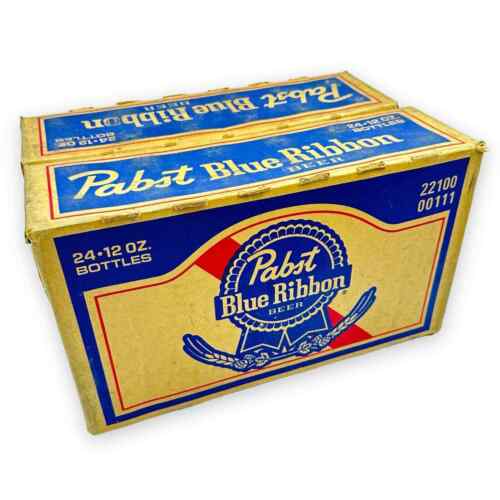
Don’t get me wrong , I would never drink the stuff .
When I was fifteen/sixteen years old me and my little buddies used to steal PBR’s , Rheingold’s and Schlitz beers from my Dad’s fridge in the garage , old school can opener days .
3 Likes
Hahahahaha perfect,
J
Thanks buddy!
J
1 Like
Yeah my Dad got cases of local beer delivered but they were in bottles.
Horlocher Brewery.
J
1 Like
It looks really nice. I love these open wagons where you see all the details. /Erik
1 Like
Thank you sir! I have to admit, it is my favorite part. Just like cockpits on airplanes.
J
1 Like
Welcome back Erik ![]()
2 Likes
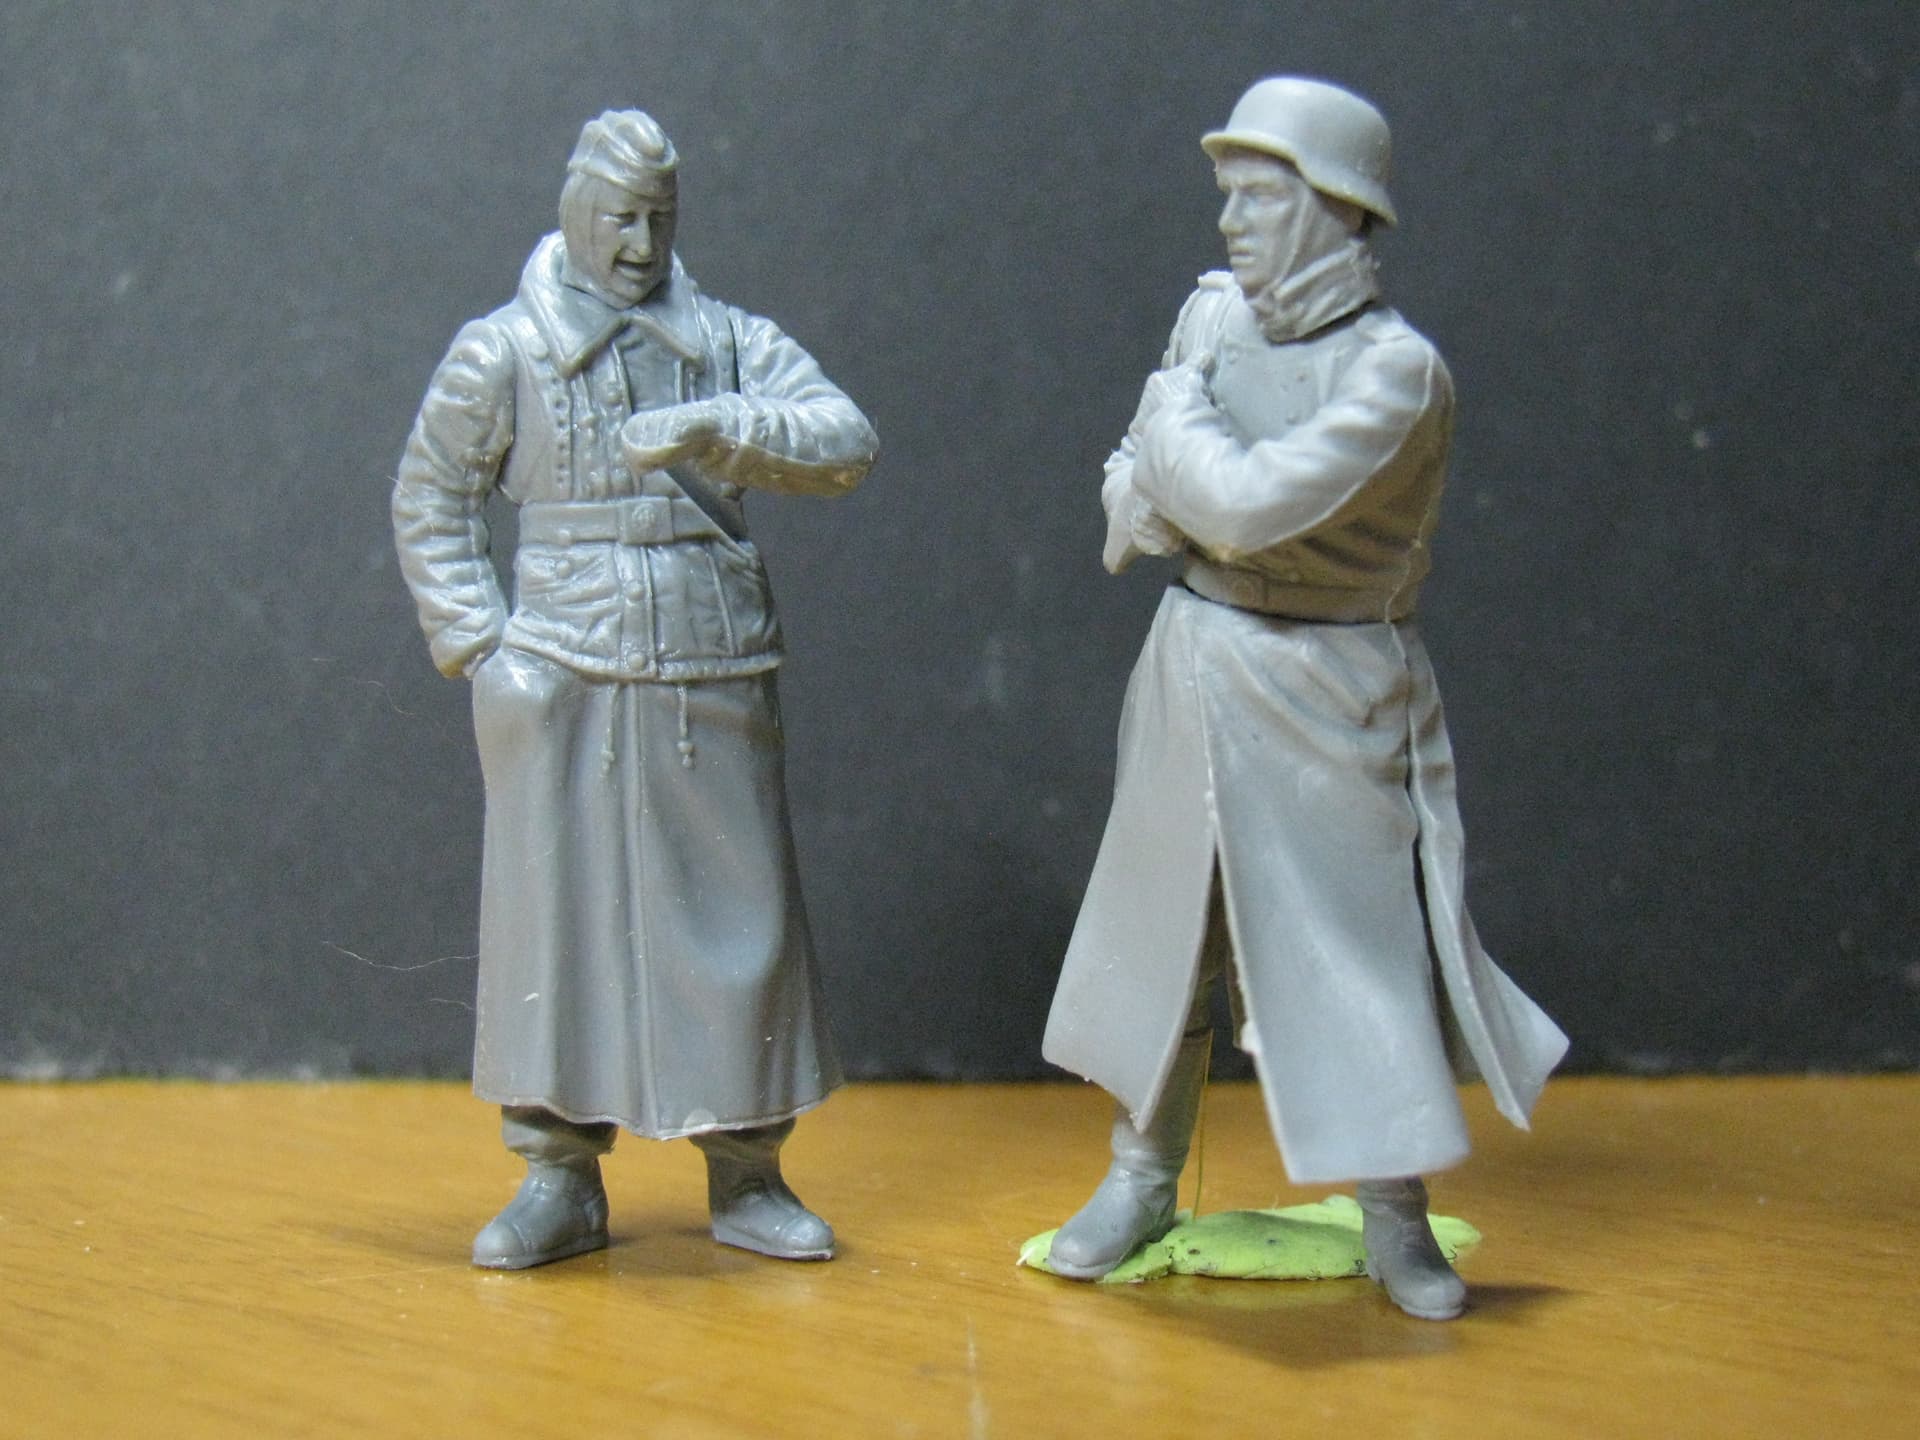
Dont know mate, but the guy on the left looking at his watch wants you to hurry up and work it out lol
6 Likes
Hahaha good point. I already began that last night though.
J
Don’t know if this is something that you can do, but I would recommend either buying a resin helmet or making the rivets on the guy on the right’s helmet. These rivets are so often overlooked in model kits. The only plastic kits I’ve seen do this is Dragon on the Gen 2 stuff and MiniArt. Then again, if you don’t want complete accuracy, don’t worry about it.
1 Like
