The supports look fine Mal, I wouldn’t worry if they are slightly out … No one will know.
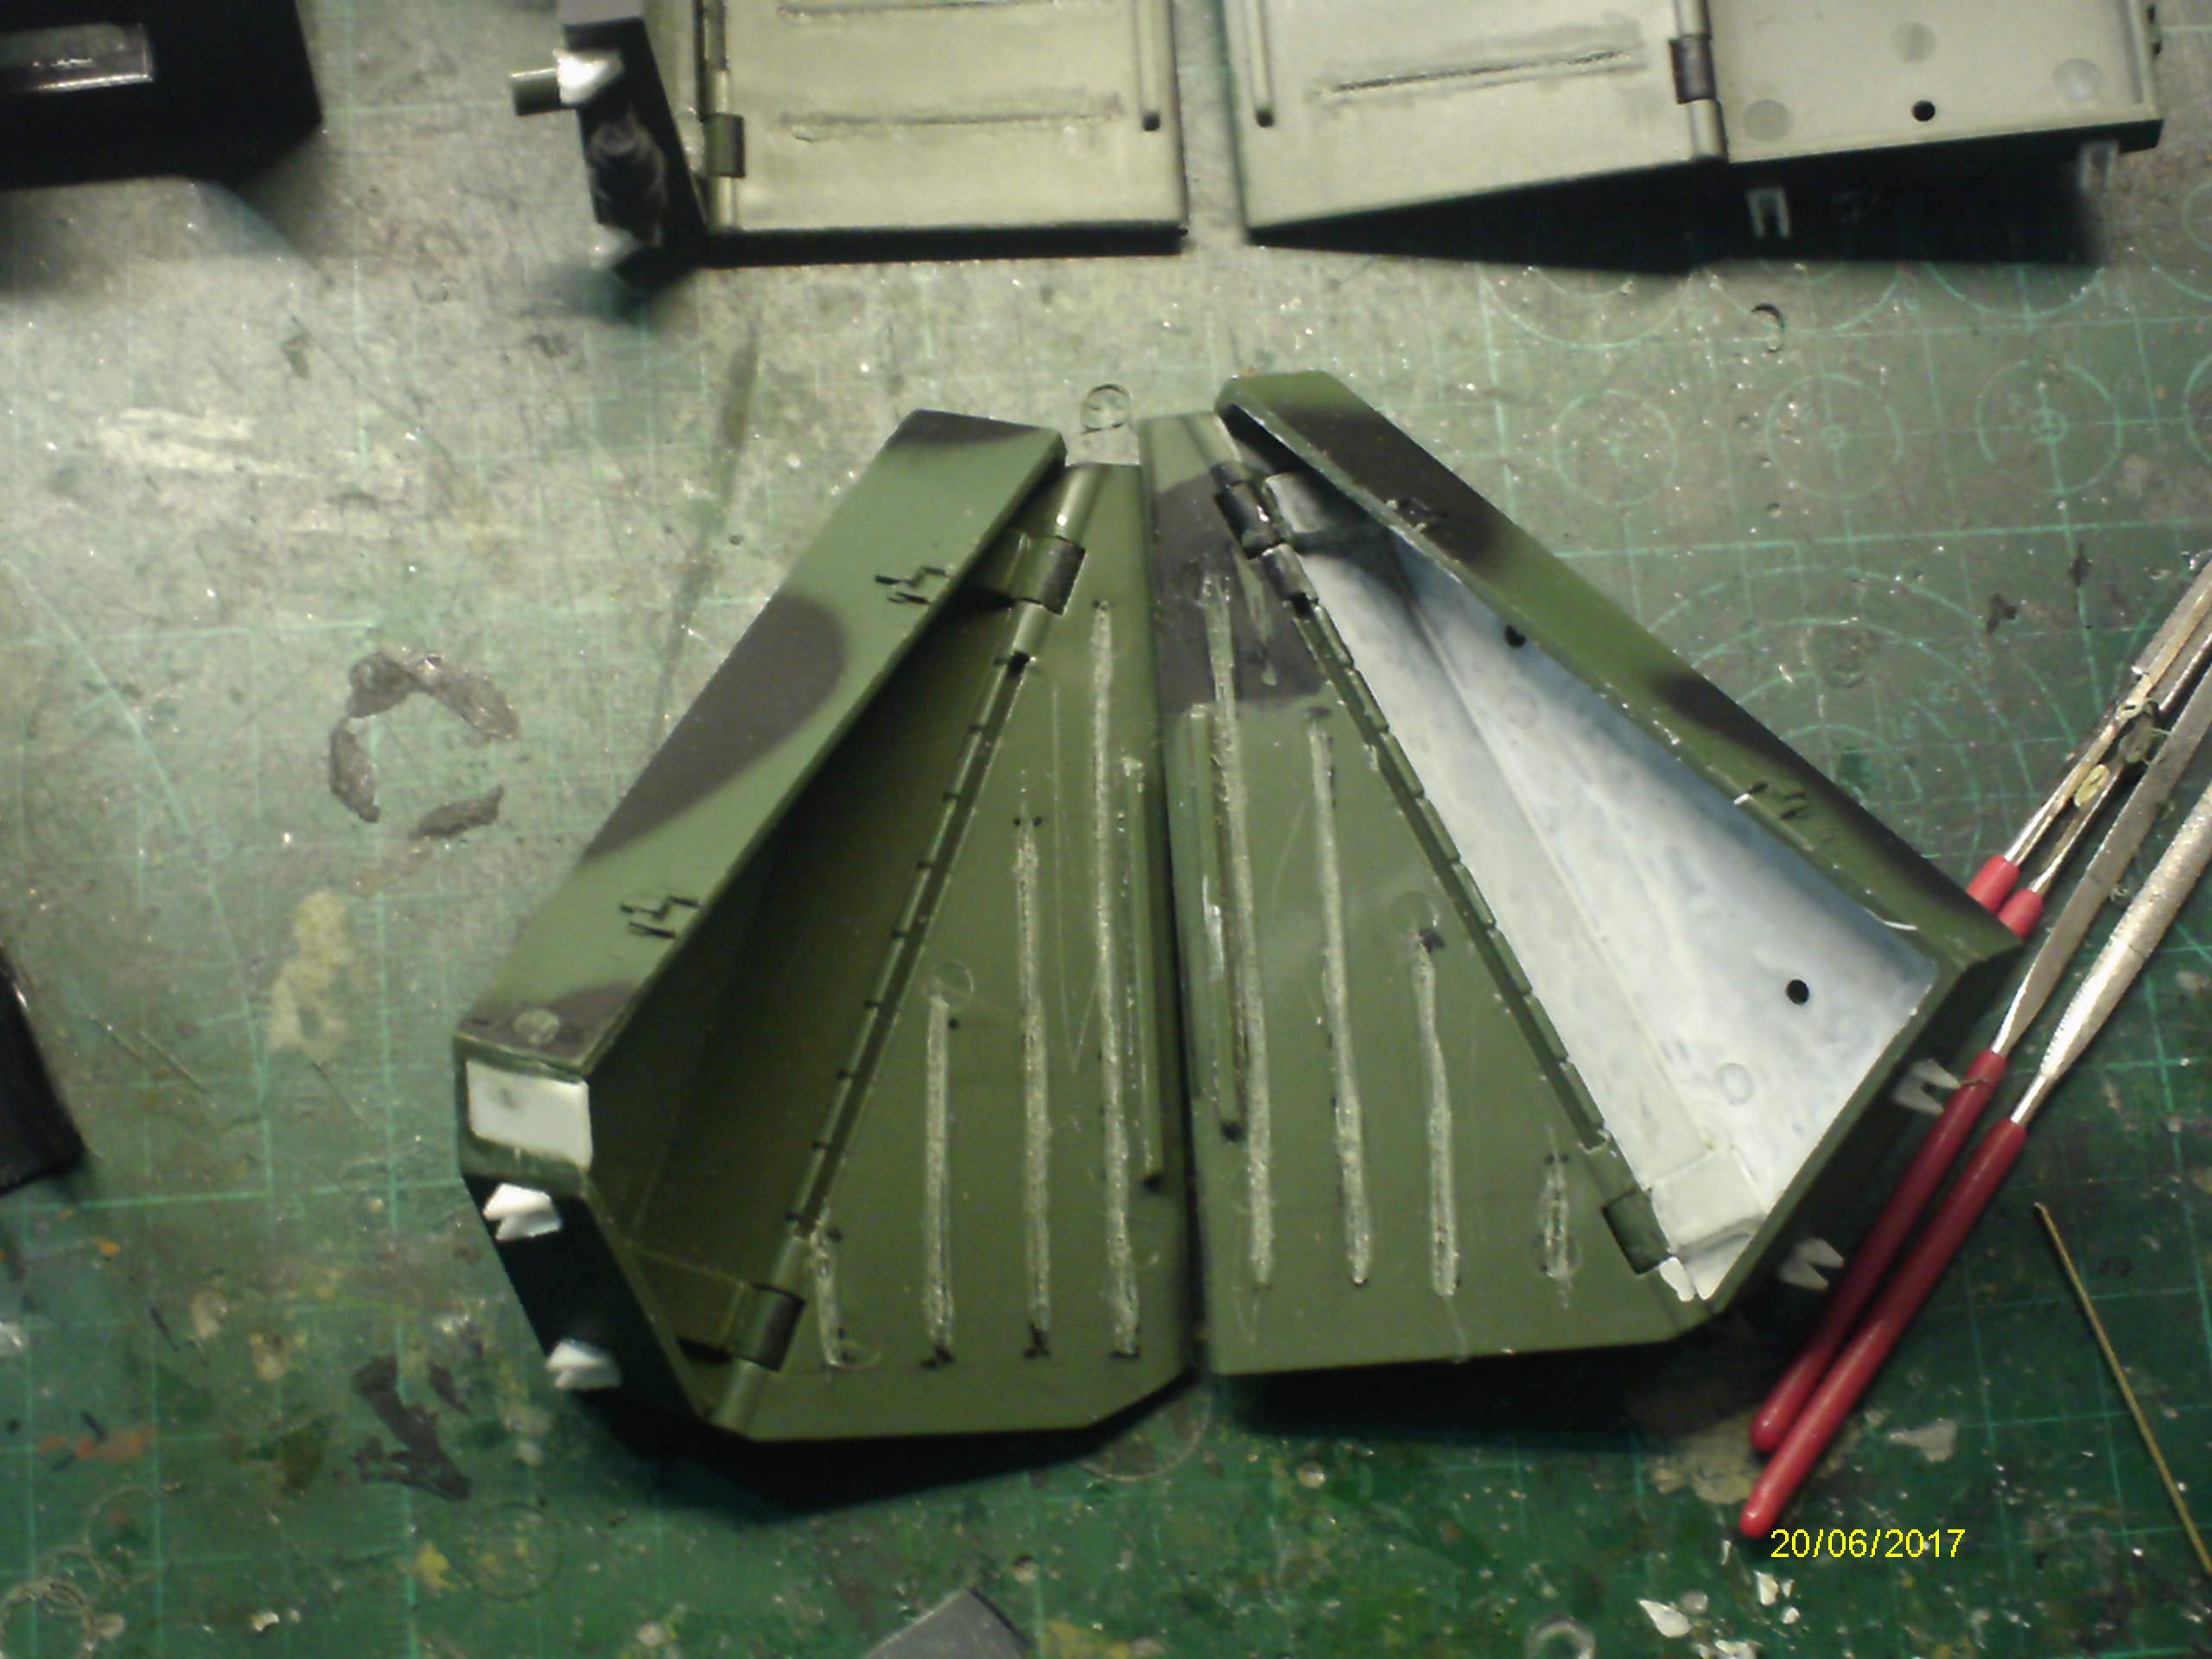
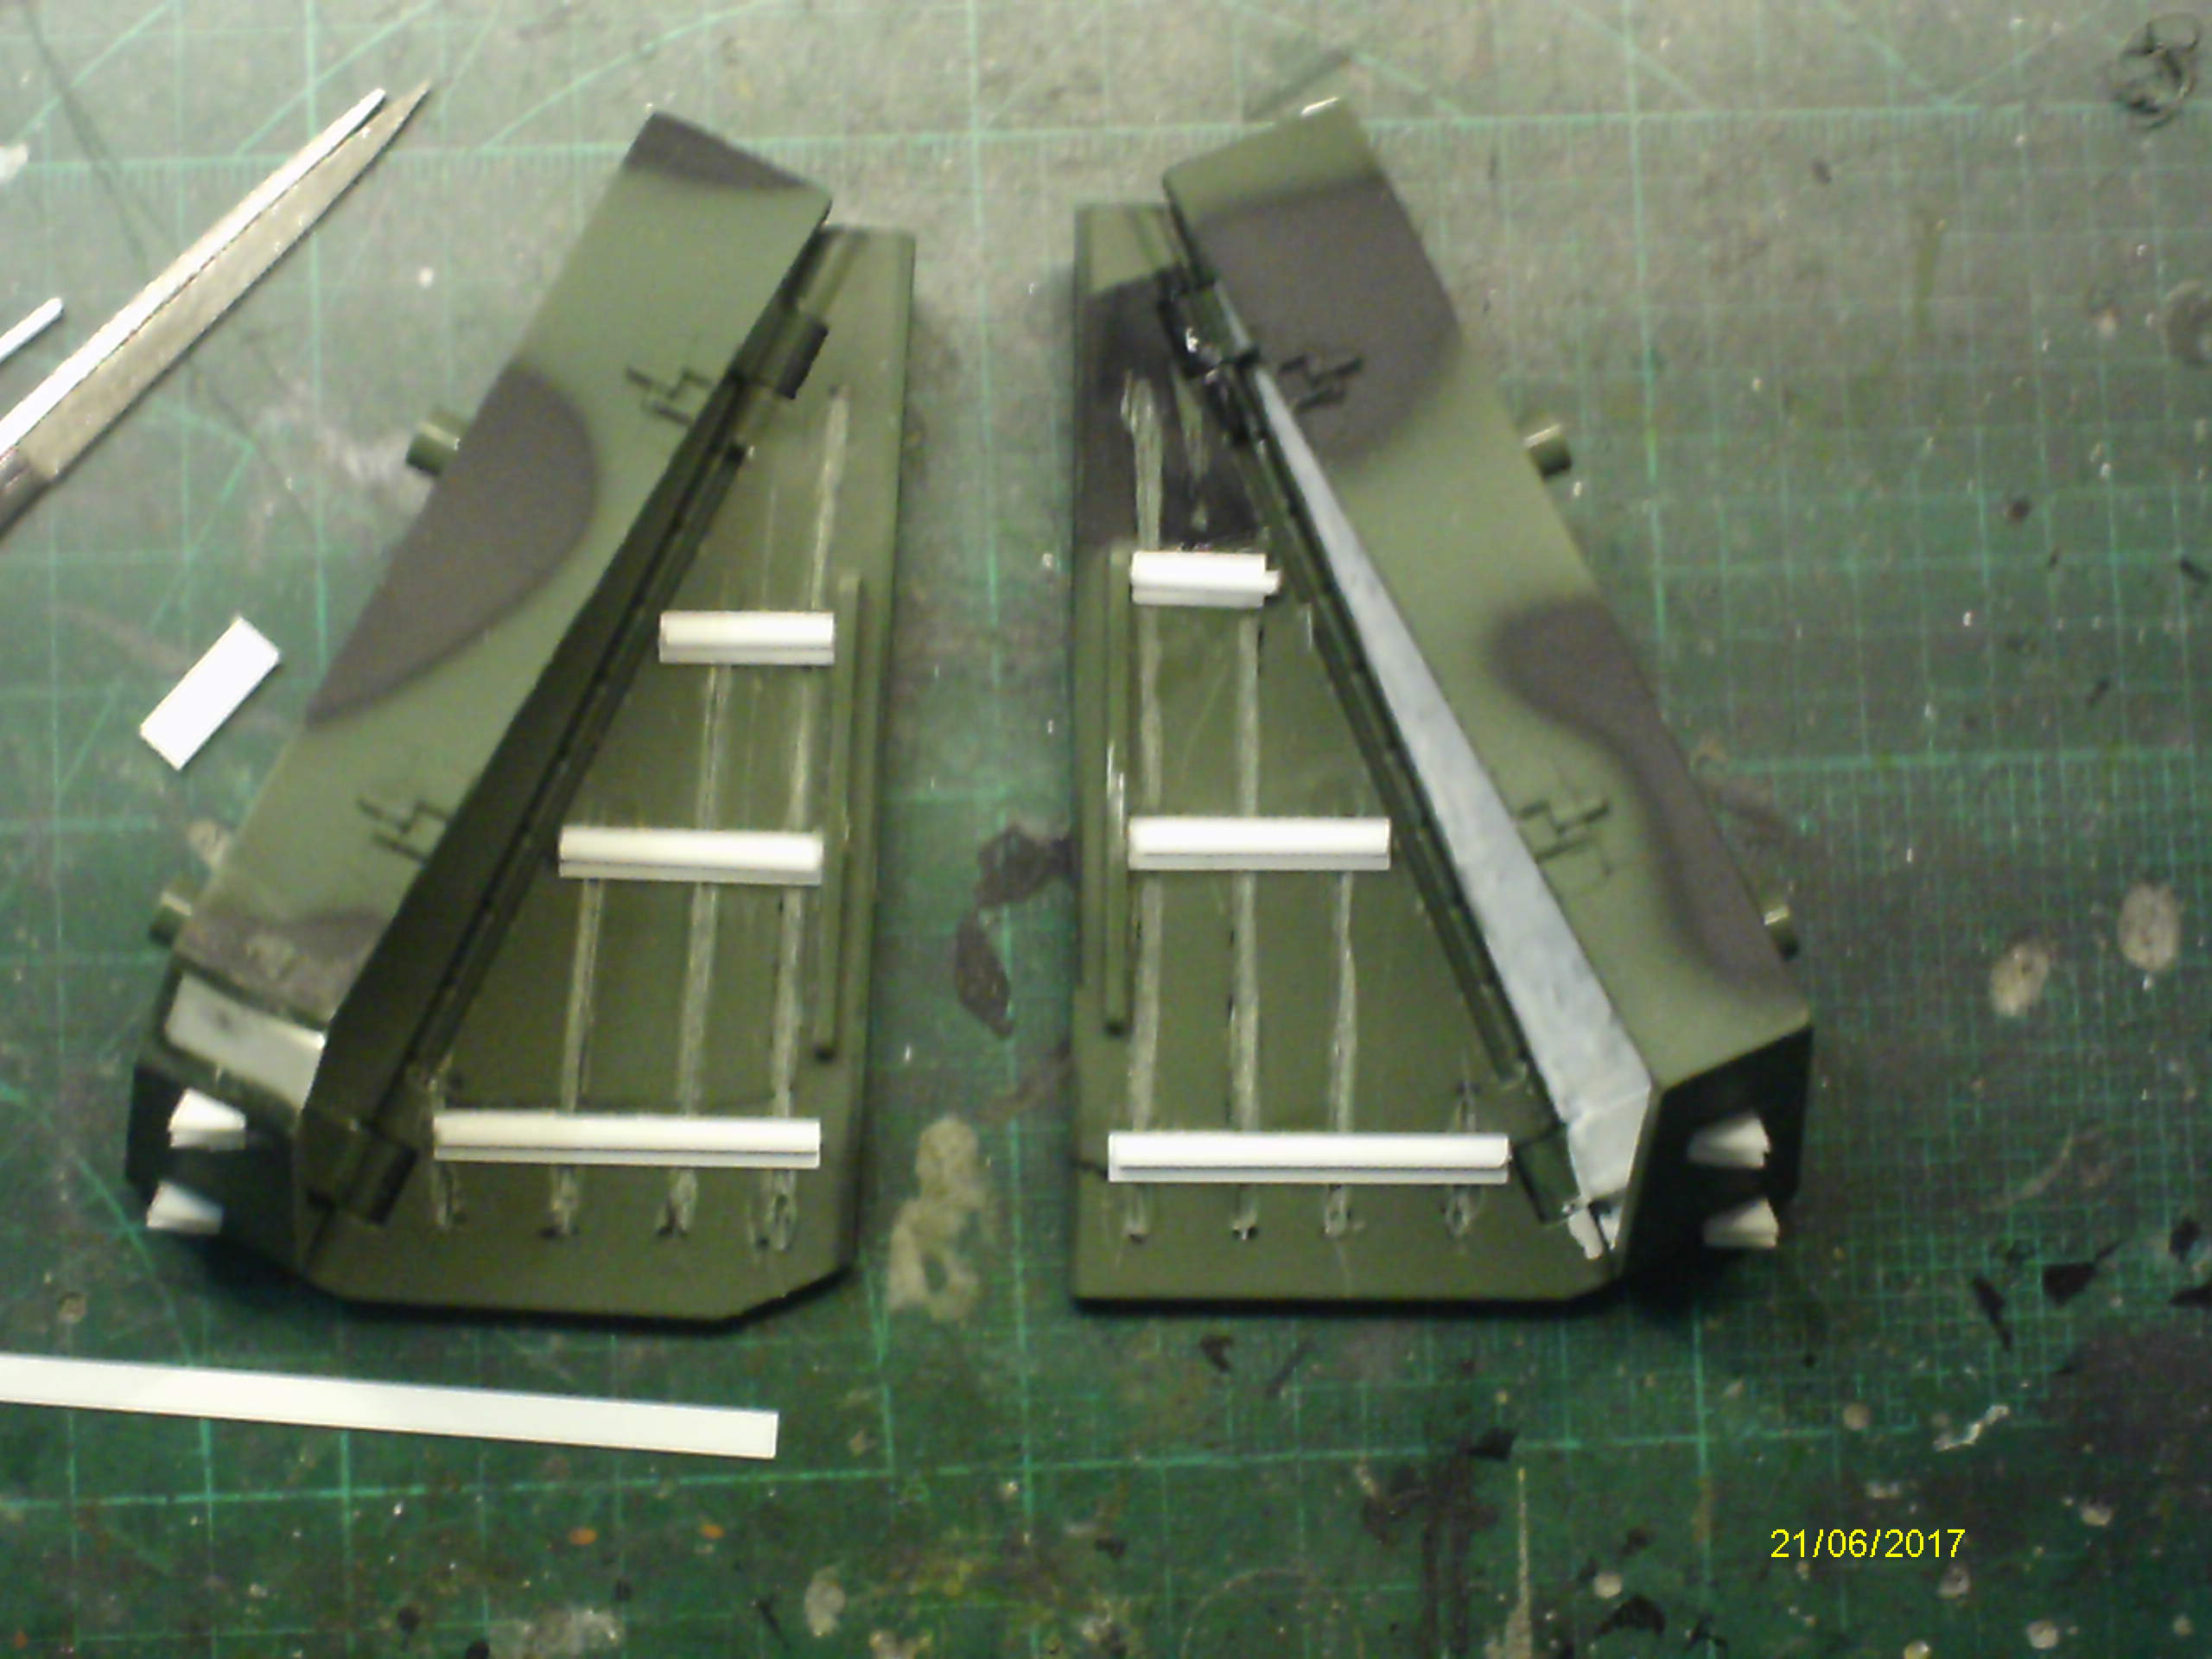
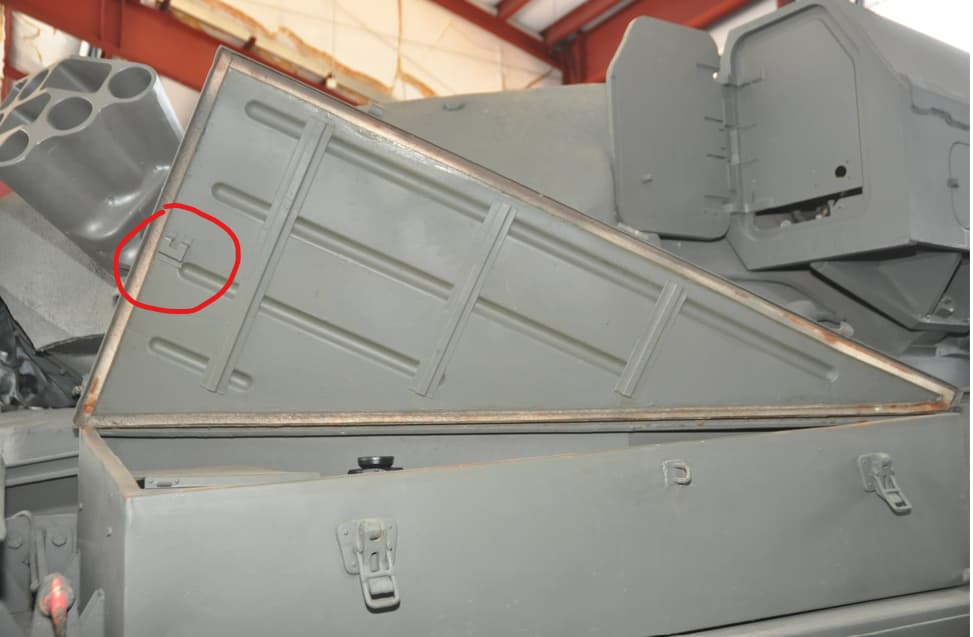
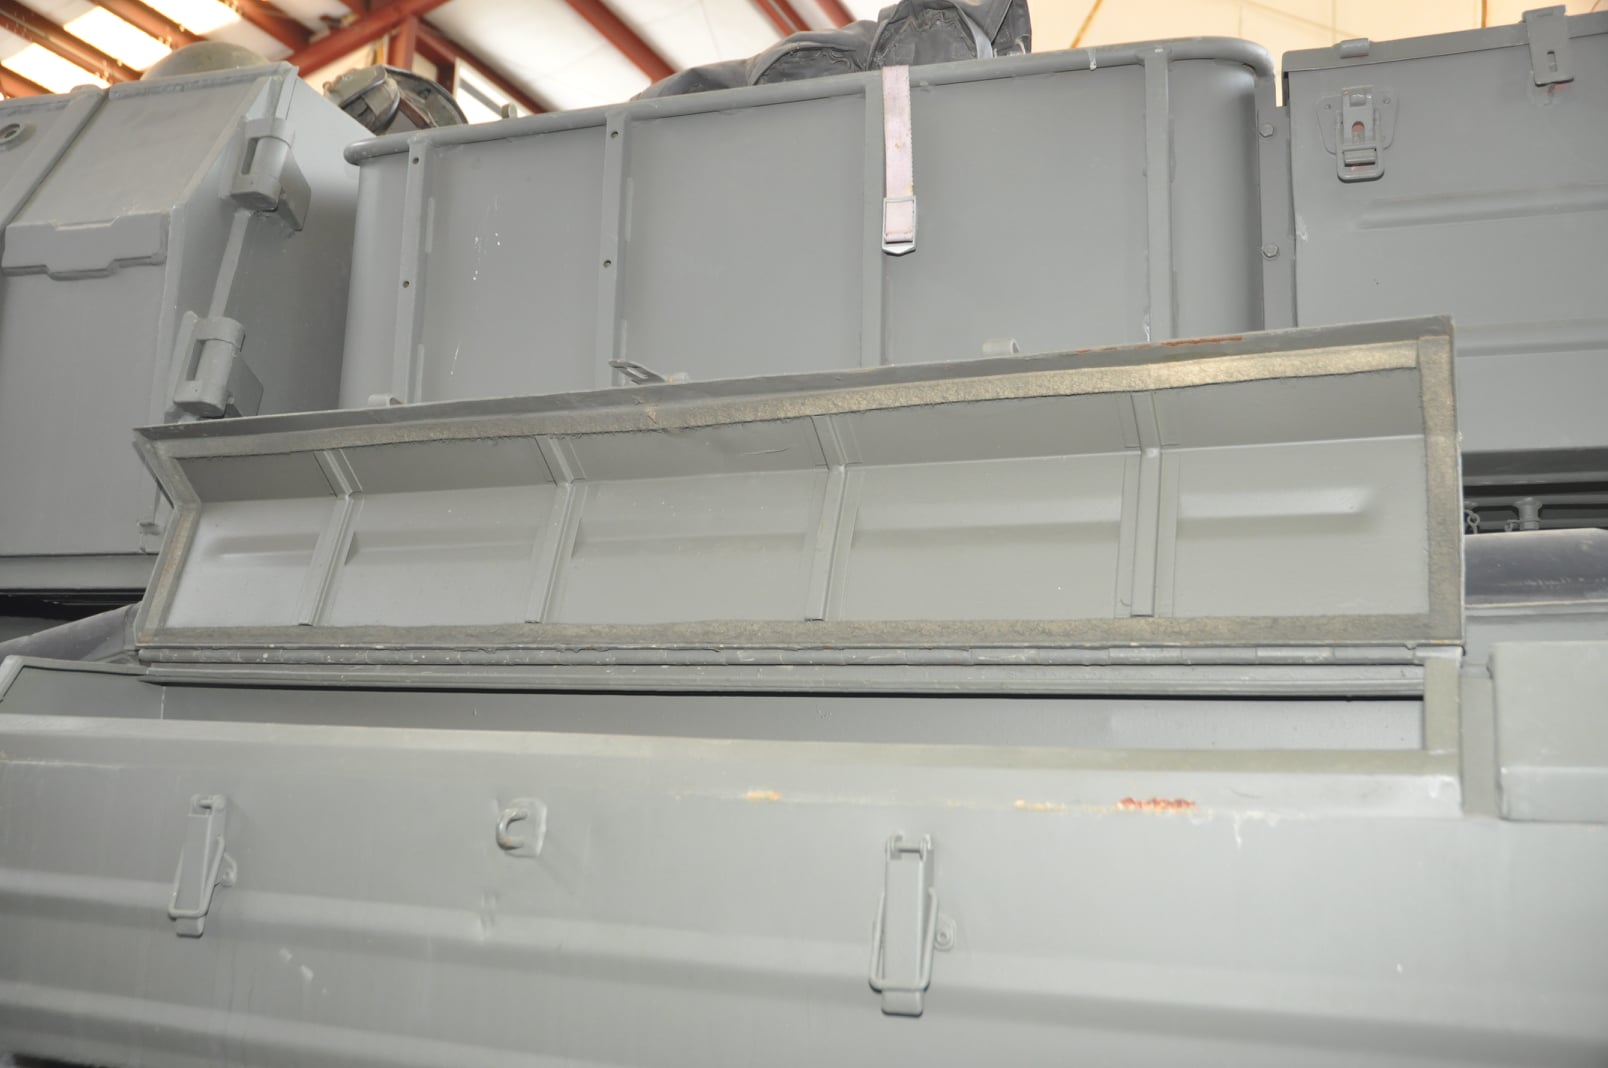
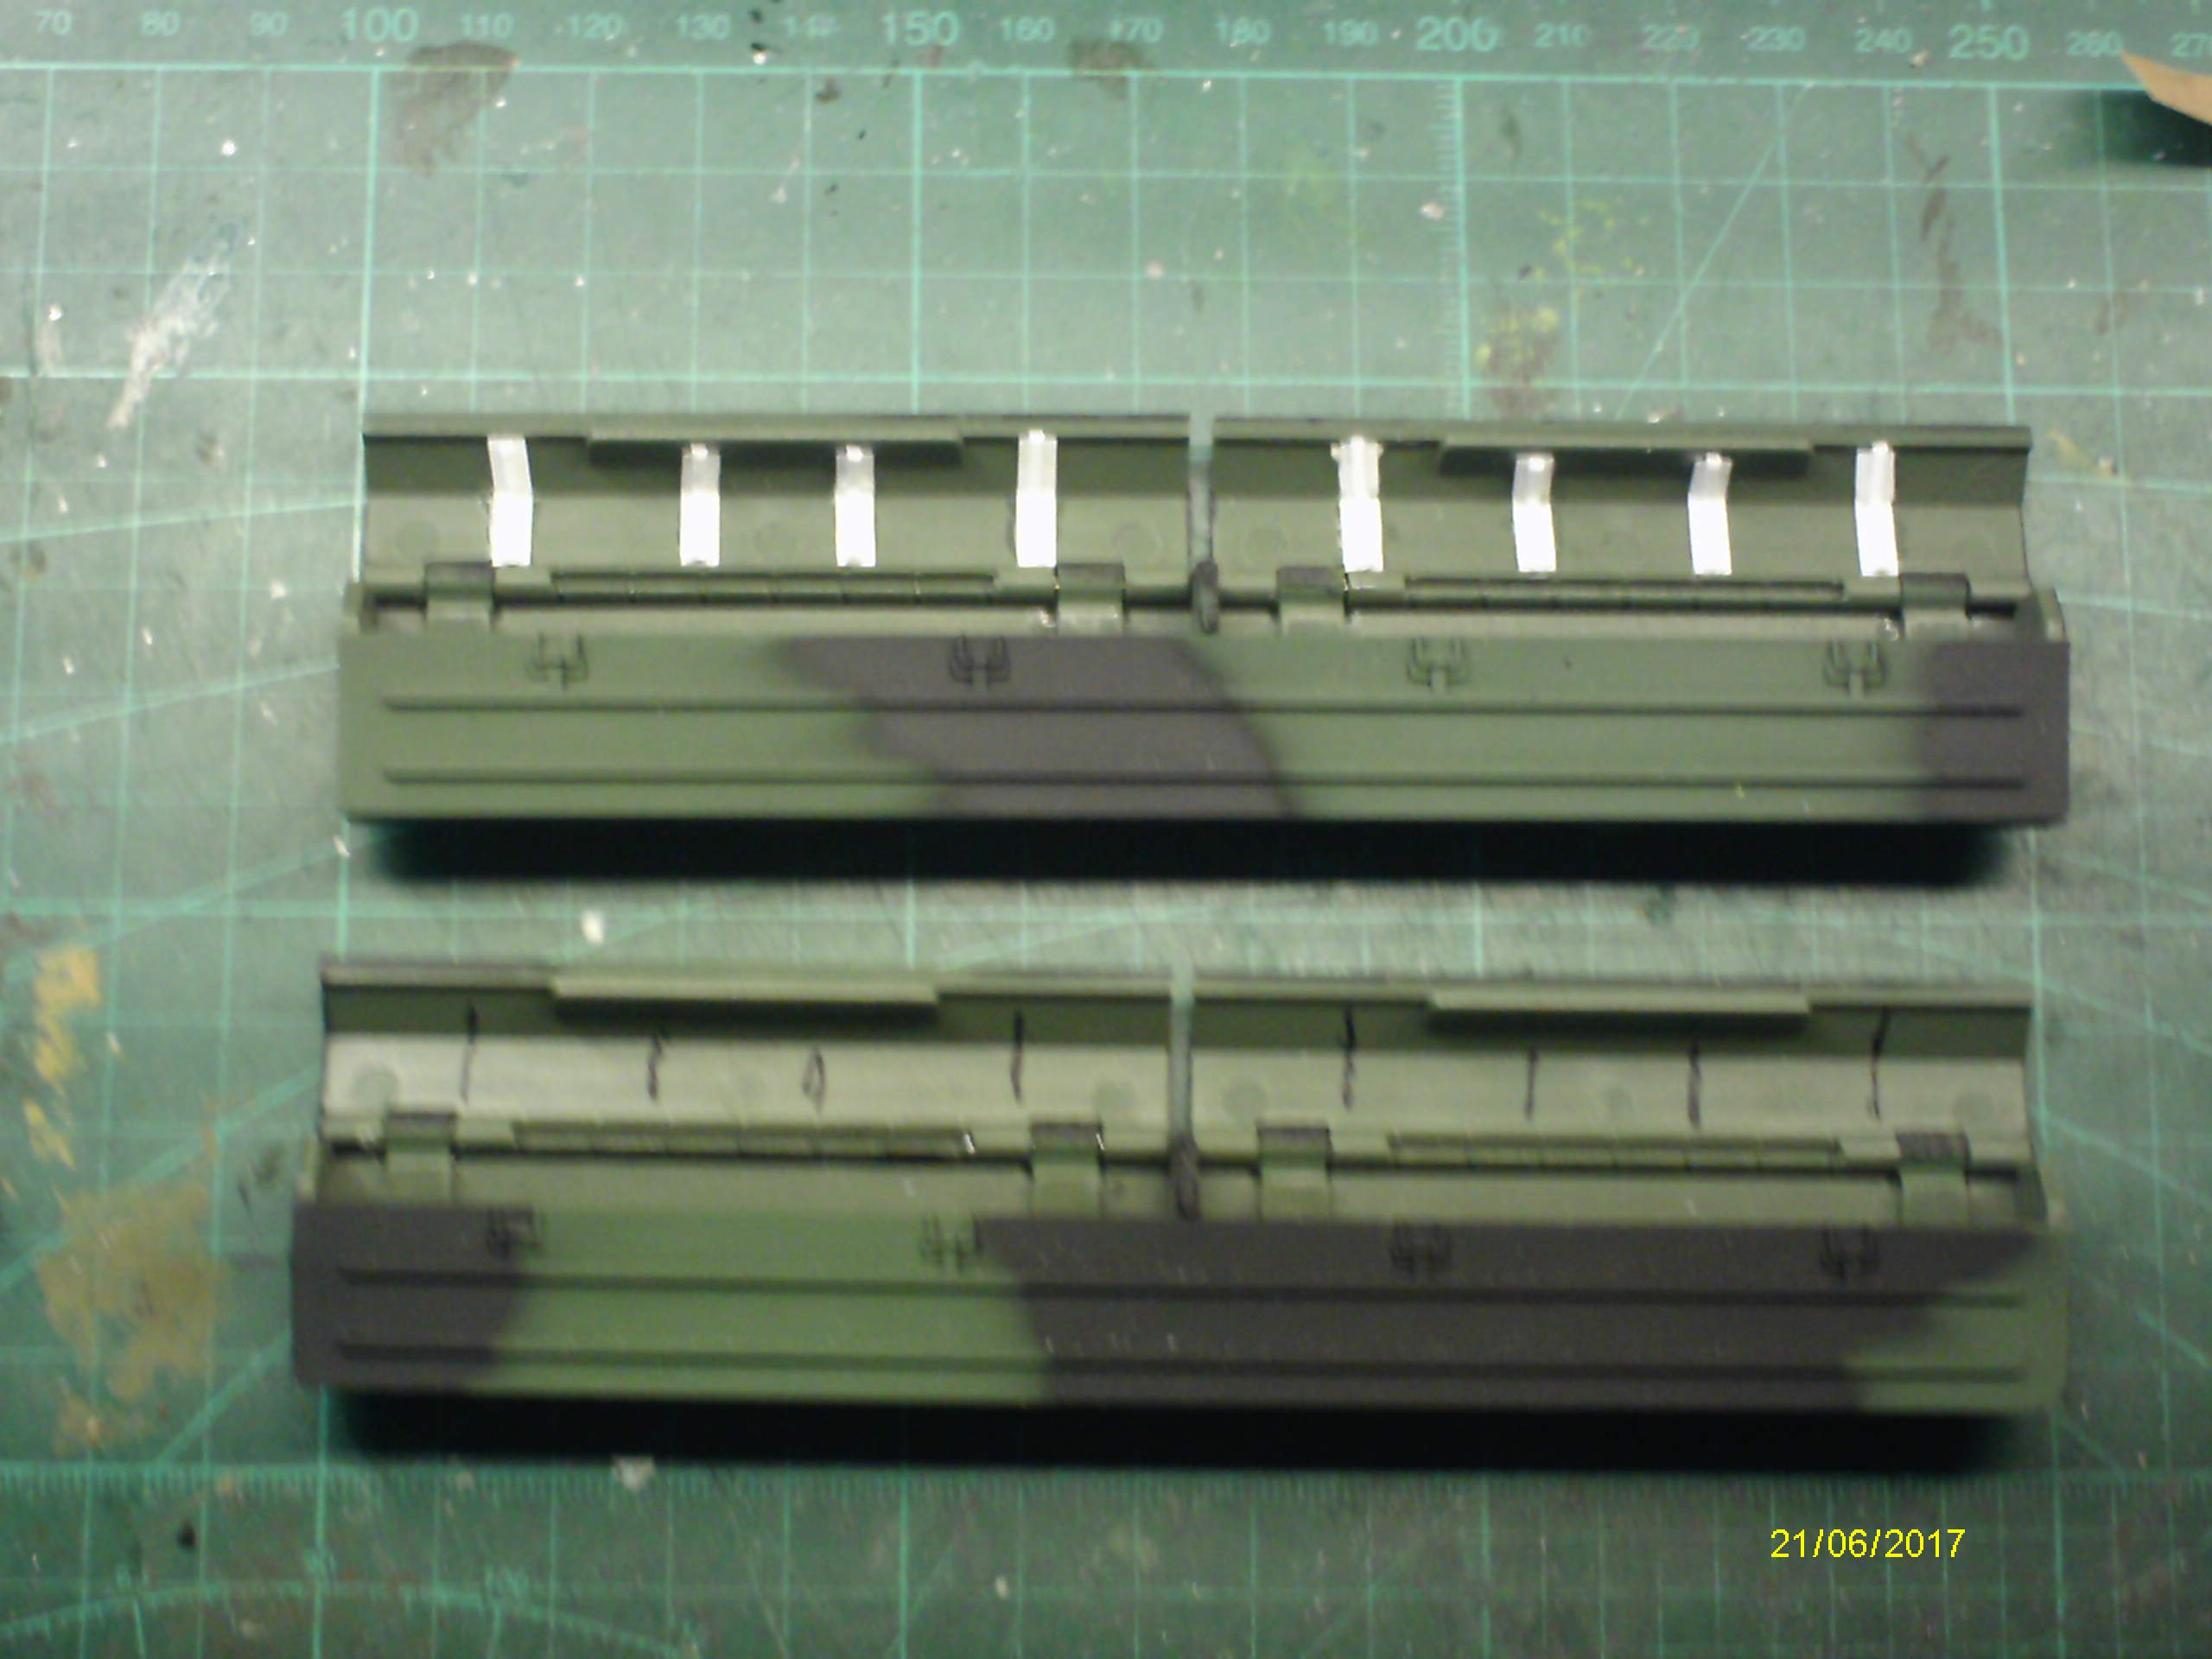
The stuff inside the bins was just like a strip of felt liner, probably to stop some noise and possibly a bit of protection from ingress of rain, but the bins soon got wet most of the time hence the drain holes and plugs.
Seriously, dont paint the inside white…
No one cares about anything that clean on a Chieftain tank crew … everything was always cans or in packets. We only usually took fresh bread till we got a replen and fresh eggs, maybe bacon or sausages and milk till it ran out but that was usually kept in the turret…
Sorry, and that was for a bin lid support as you thought
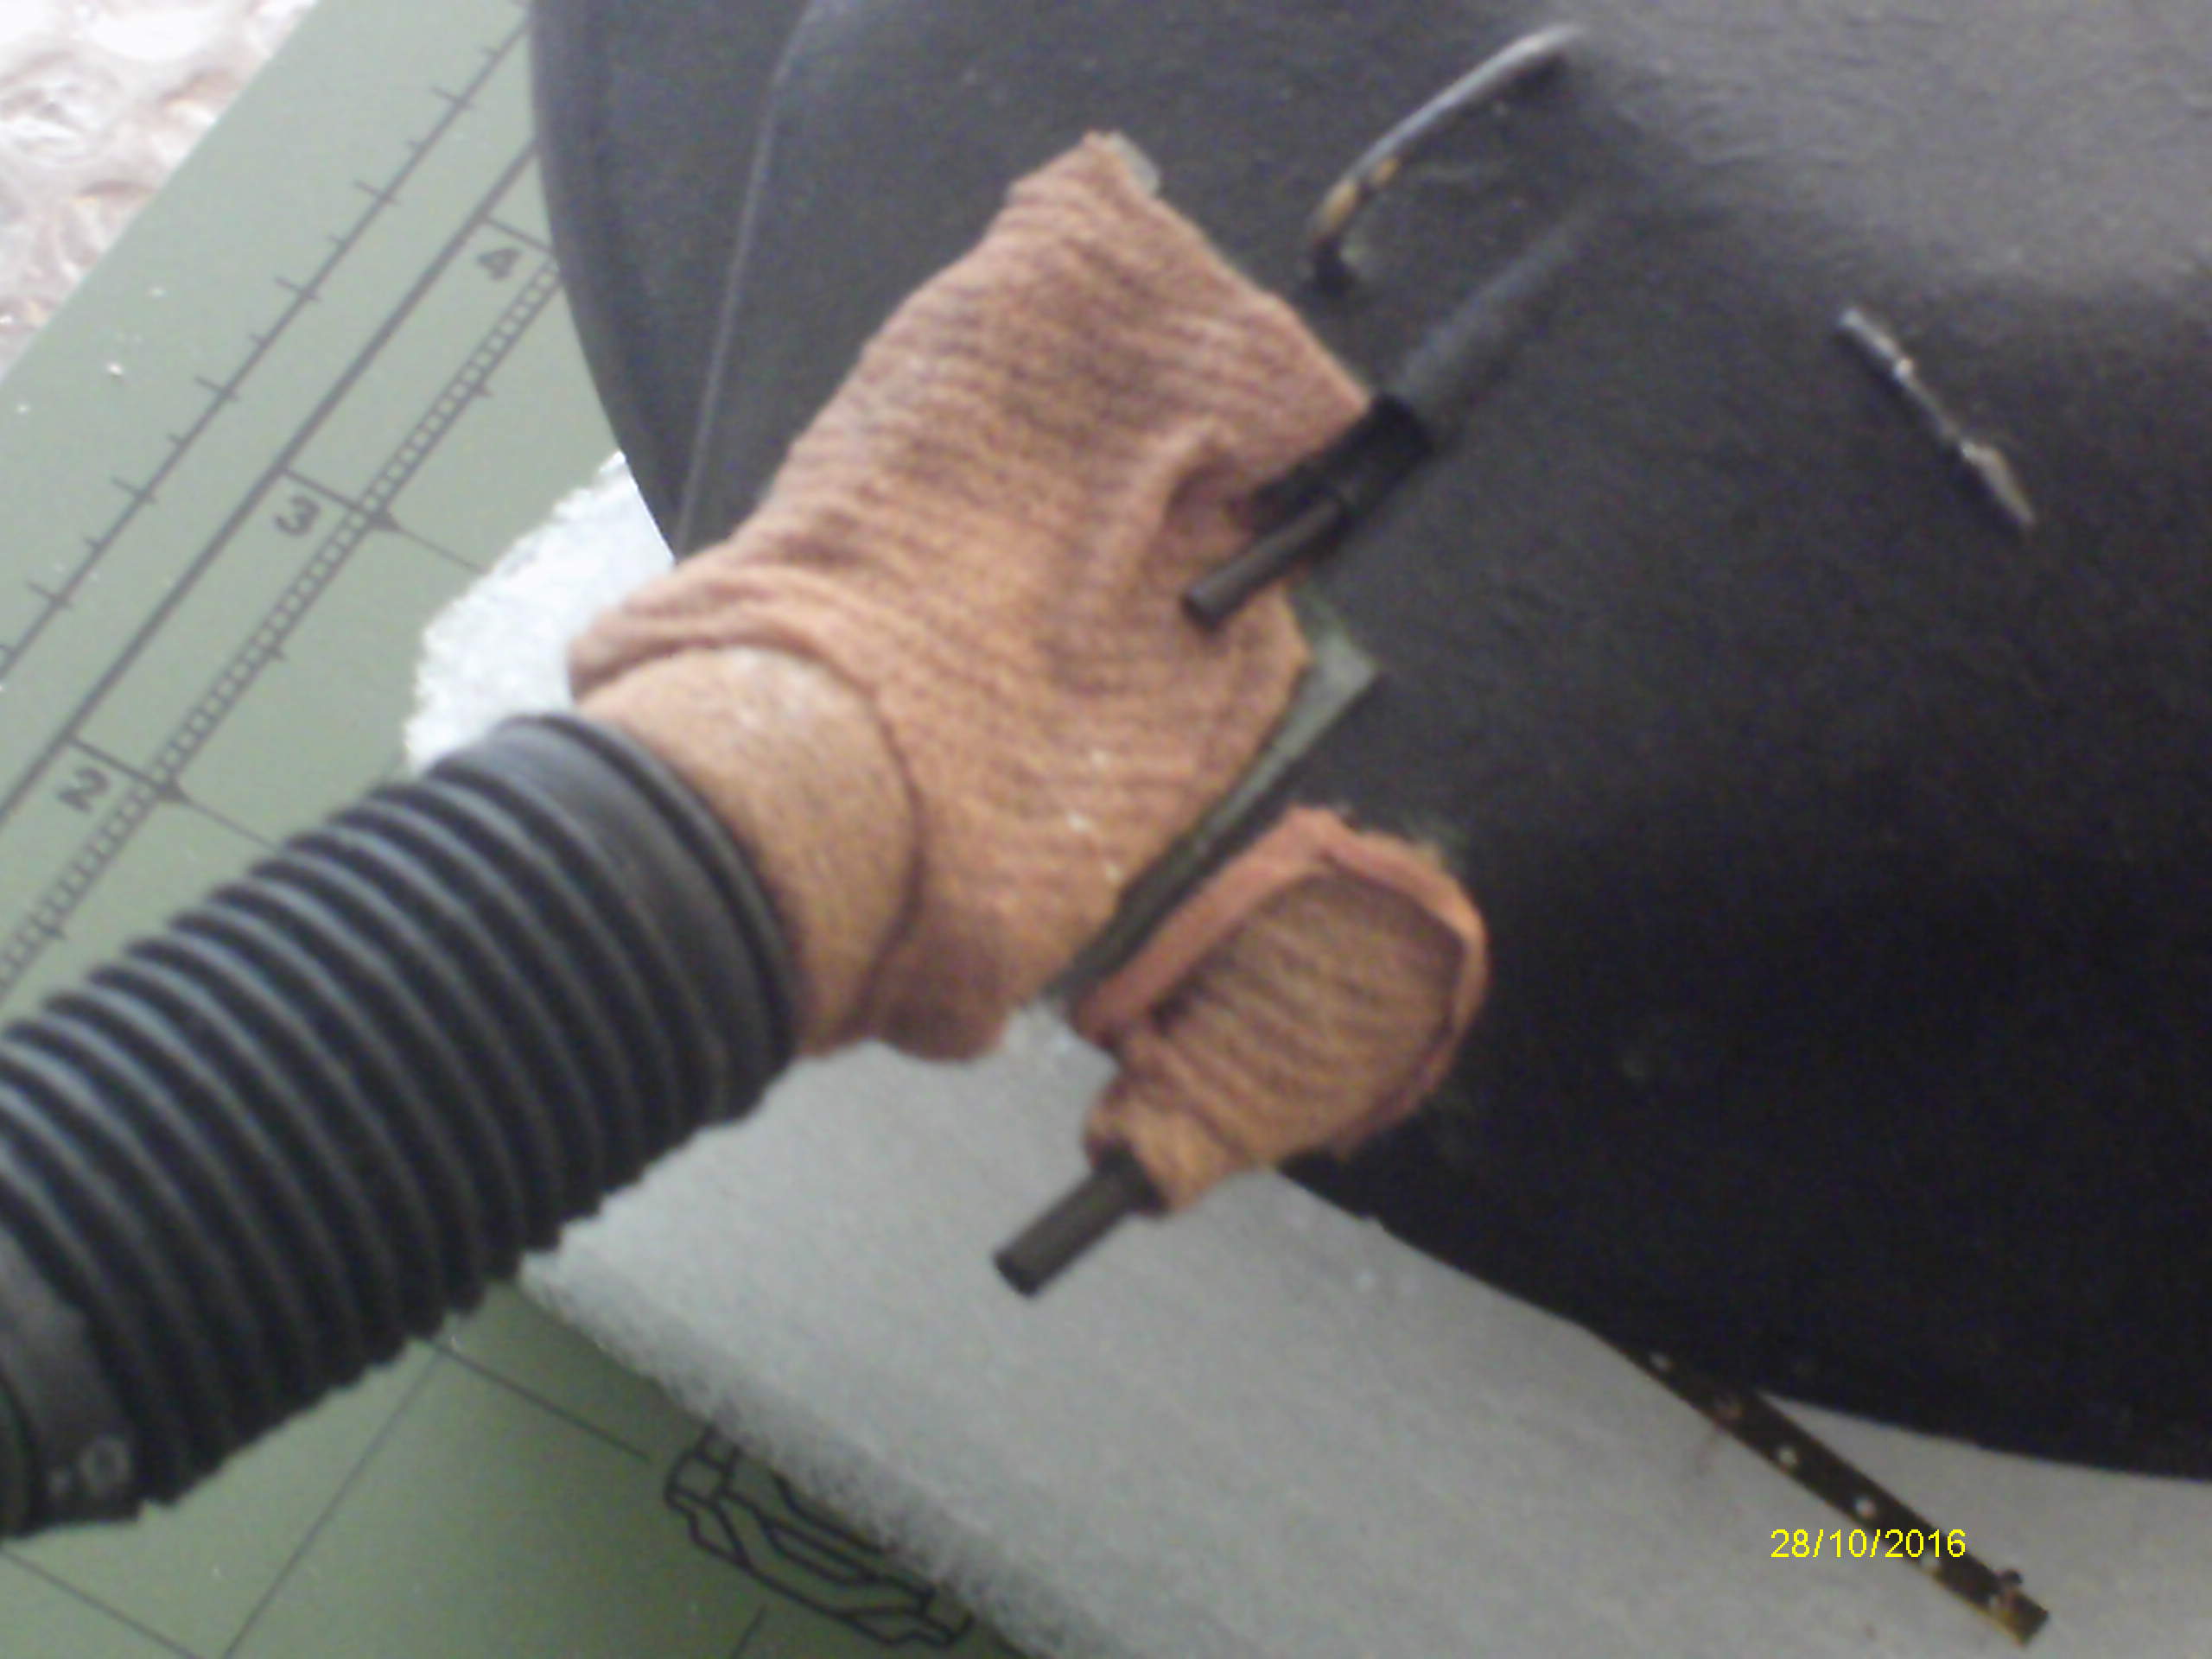
as a mantlet cover material the stretch ability allows the gun to elevate & depress.
Have done similar for Centurion & M60A1 mantlet covers for 1/35 back in the 70’s or 80’s.
It’s a bit like finding uses for non stick foil, which I also used to make the mantlet nose bag for my Chieftain.
I wonder if anyone here has done an AA vehicle in the new grey resin ? Would be interesting to see if they had issues or what those resin casts are like
Not sure how “new” the kit was, but the Ferret I did back in May was grey (which is different from the weird mint green from the last AA kit I did back in like 2010).
Honestly it may have been a lemon cast but I wasn’t thrilled. The floor in the hull tub was so underpoured it was transparent and there were a fair few very large air bubbles on the front fenders. Wasn’t insurmountable by any means, but for what it cost me between exchange and shipping I don’t know that I’ll be chancing it again. Shame really because they offer some really cool kits and conversions.
Your beast however is turning into quite the beauty. I like the idea of using stockings for the nets.
I think that’s always going to be the biggest issue… For the money some of the full kits are, let alone shipping and the exchange rates etc, you would want any kit to be pretty near perfect once you get it… But things like their veh accessories and add on’s and decals have always been pretty good though, well the ones I have ordered anyway …
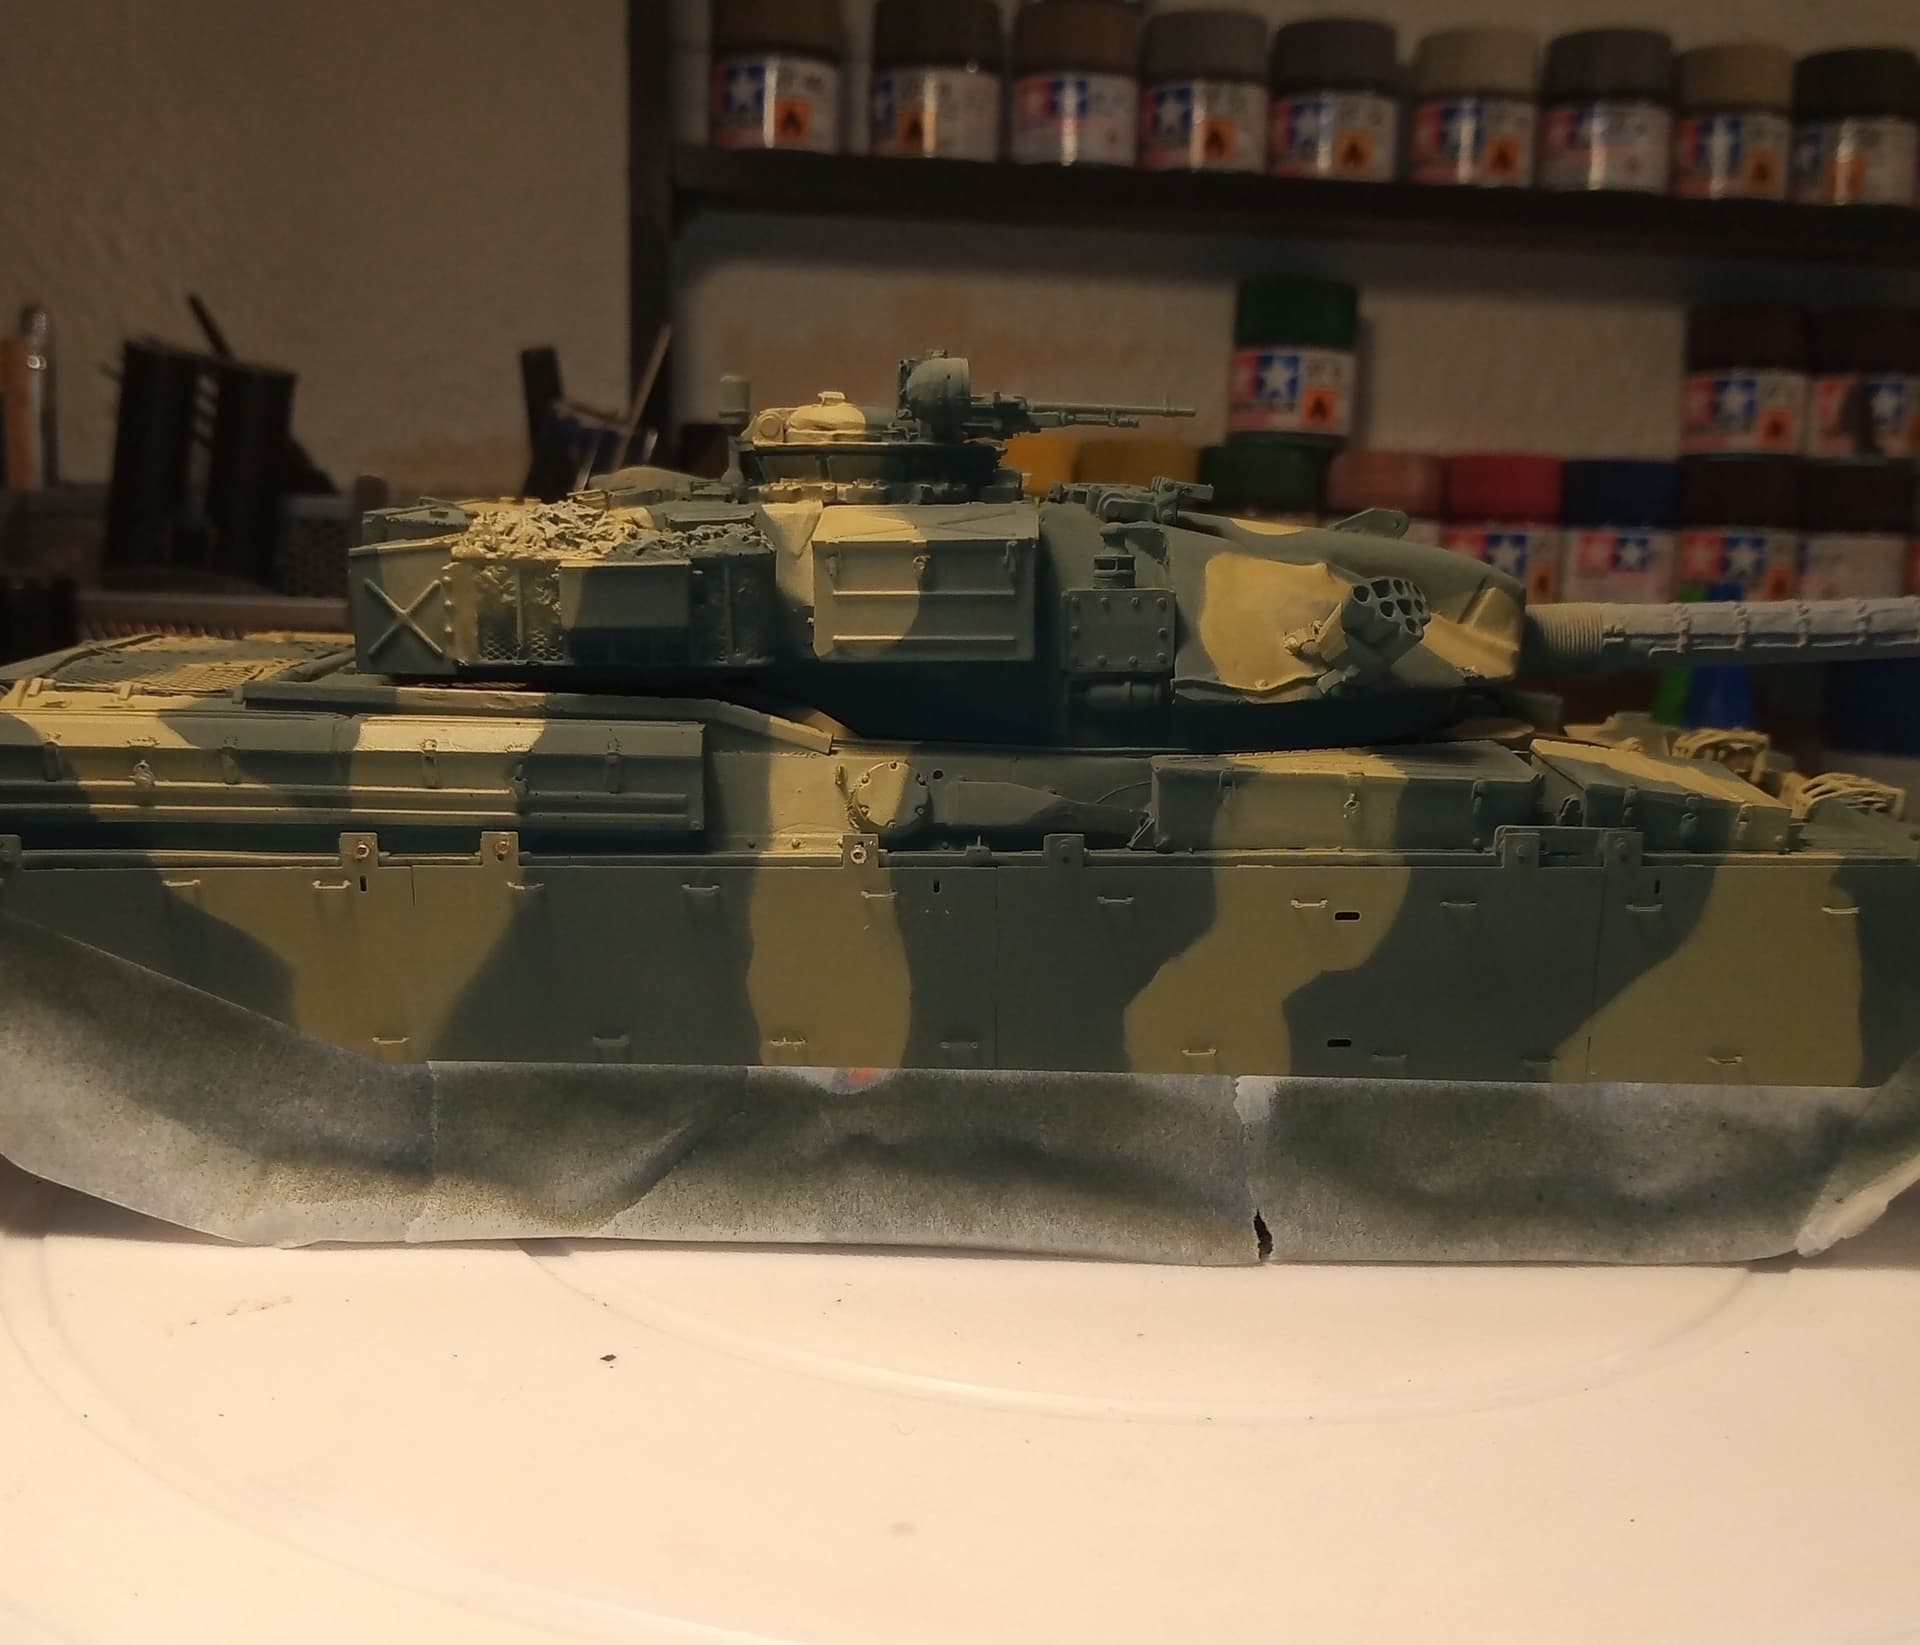
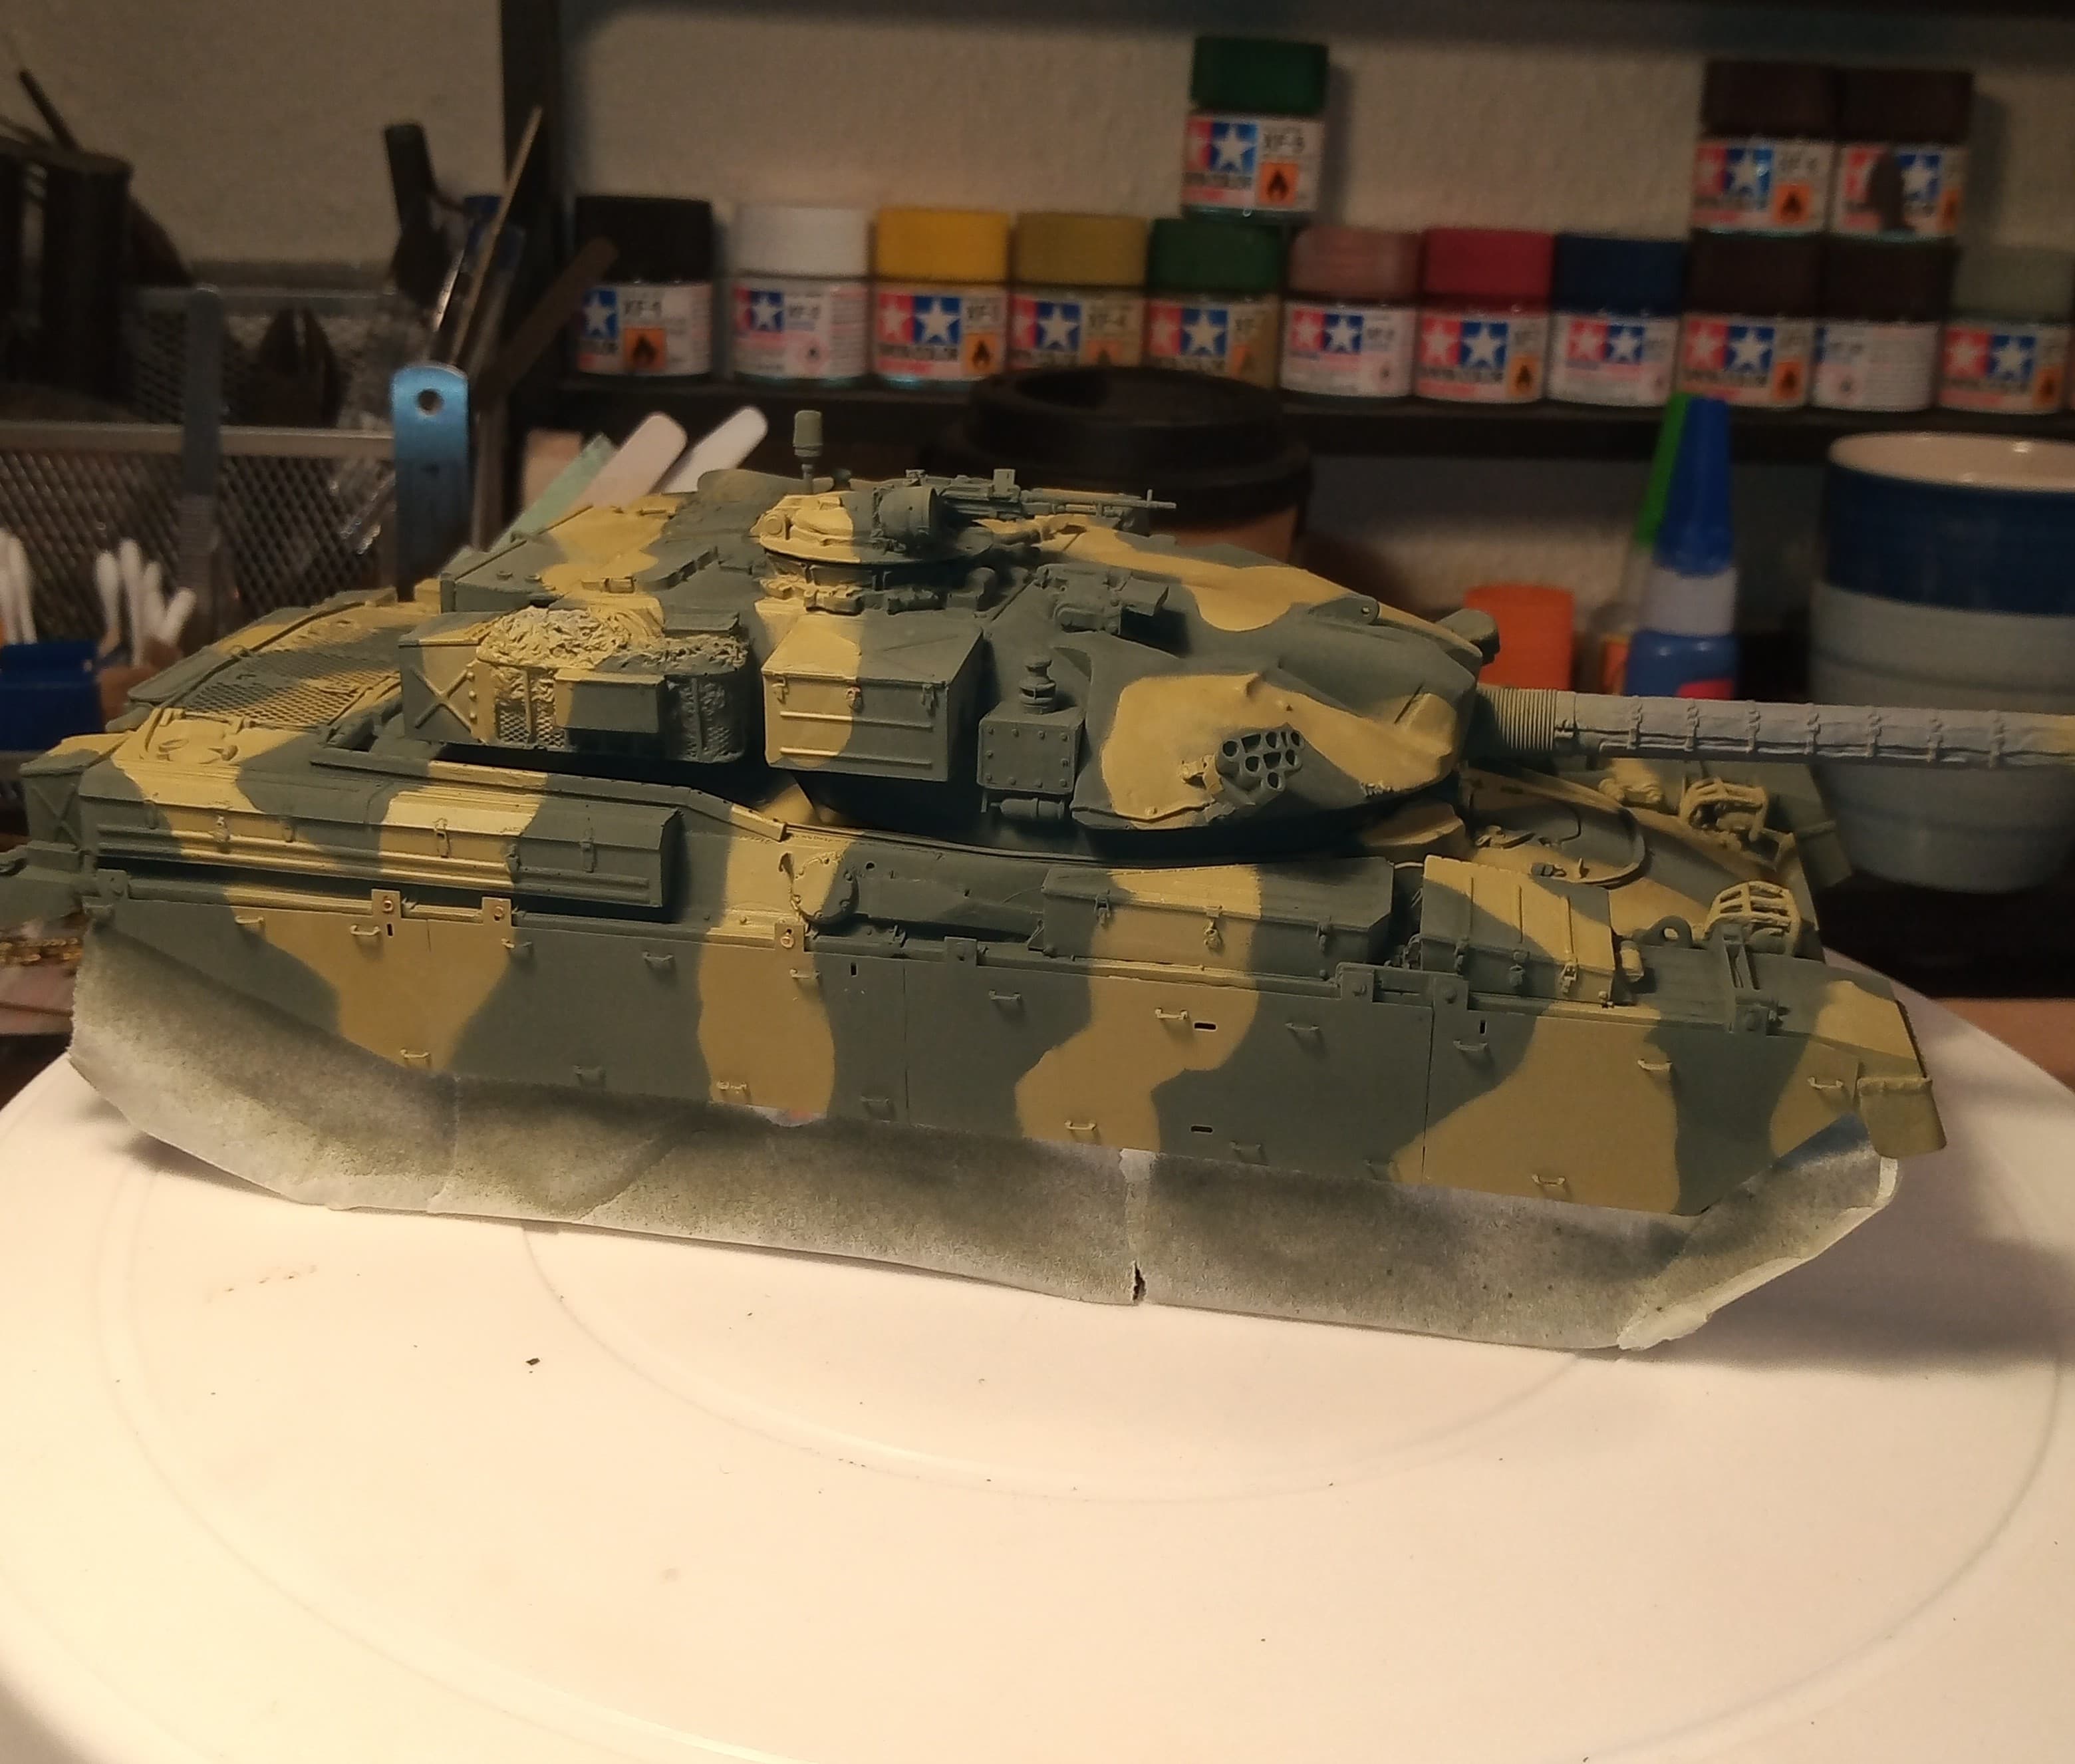
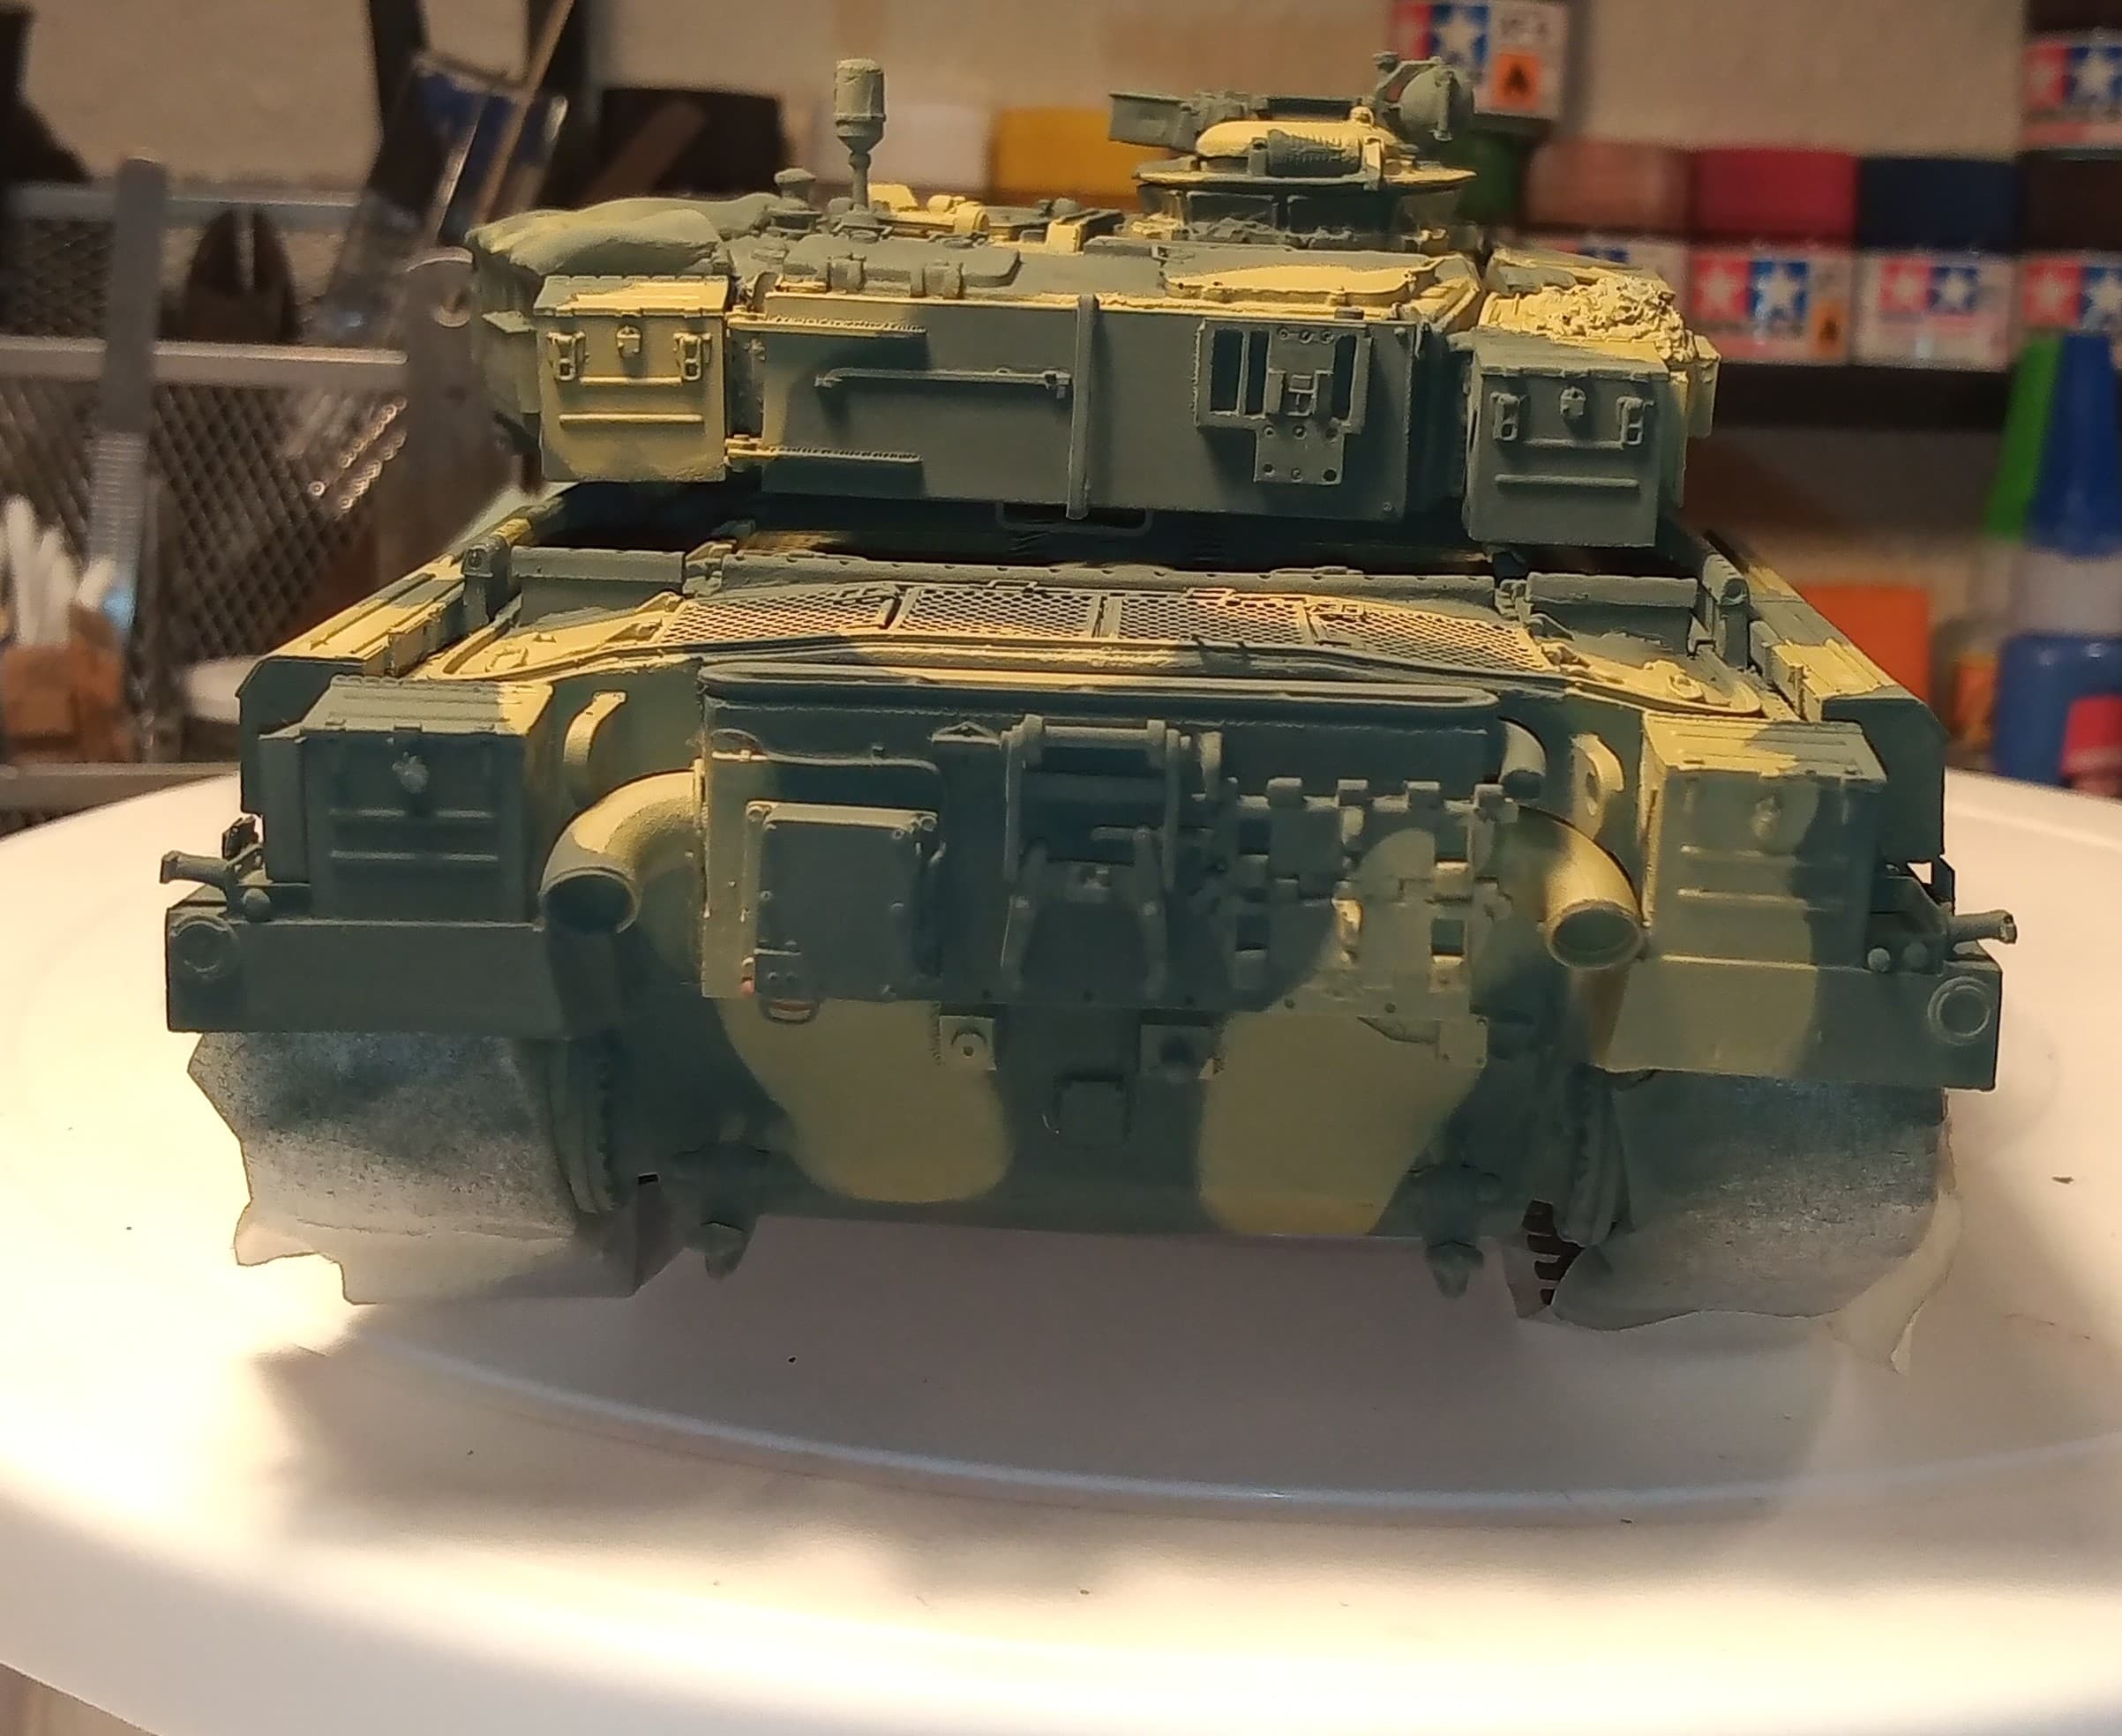
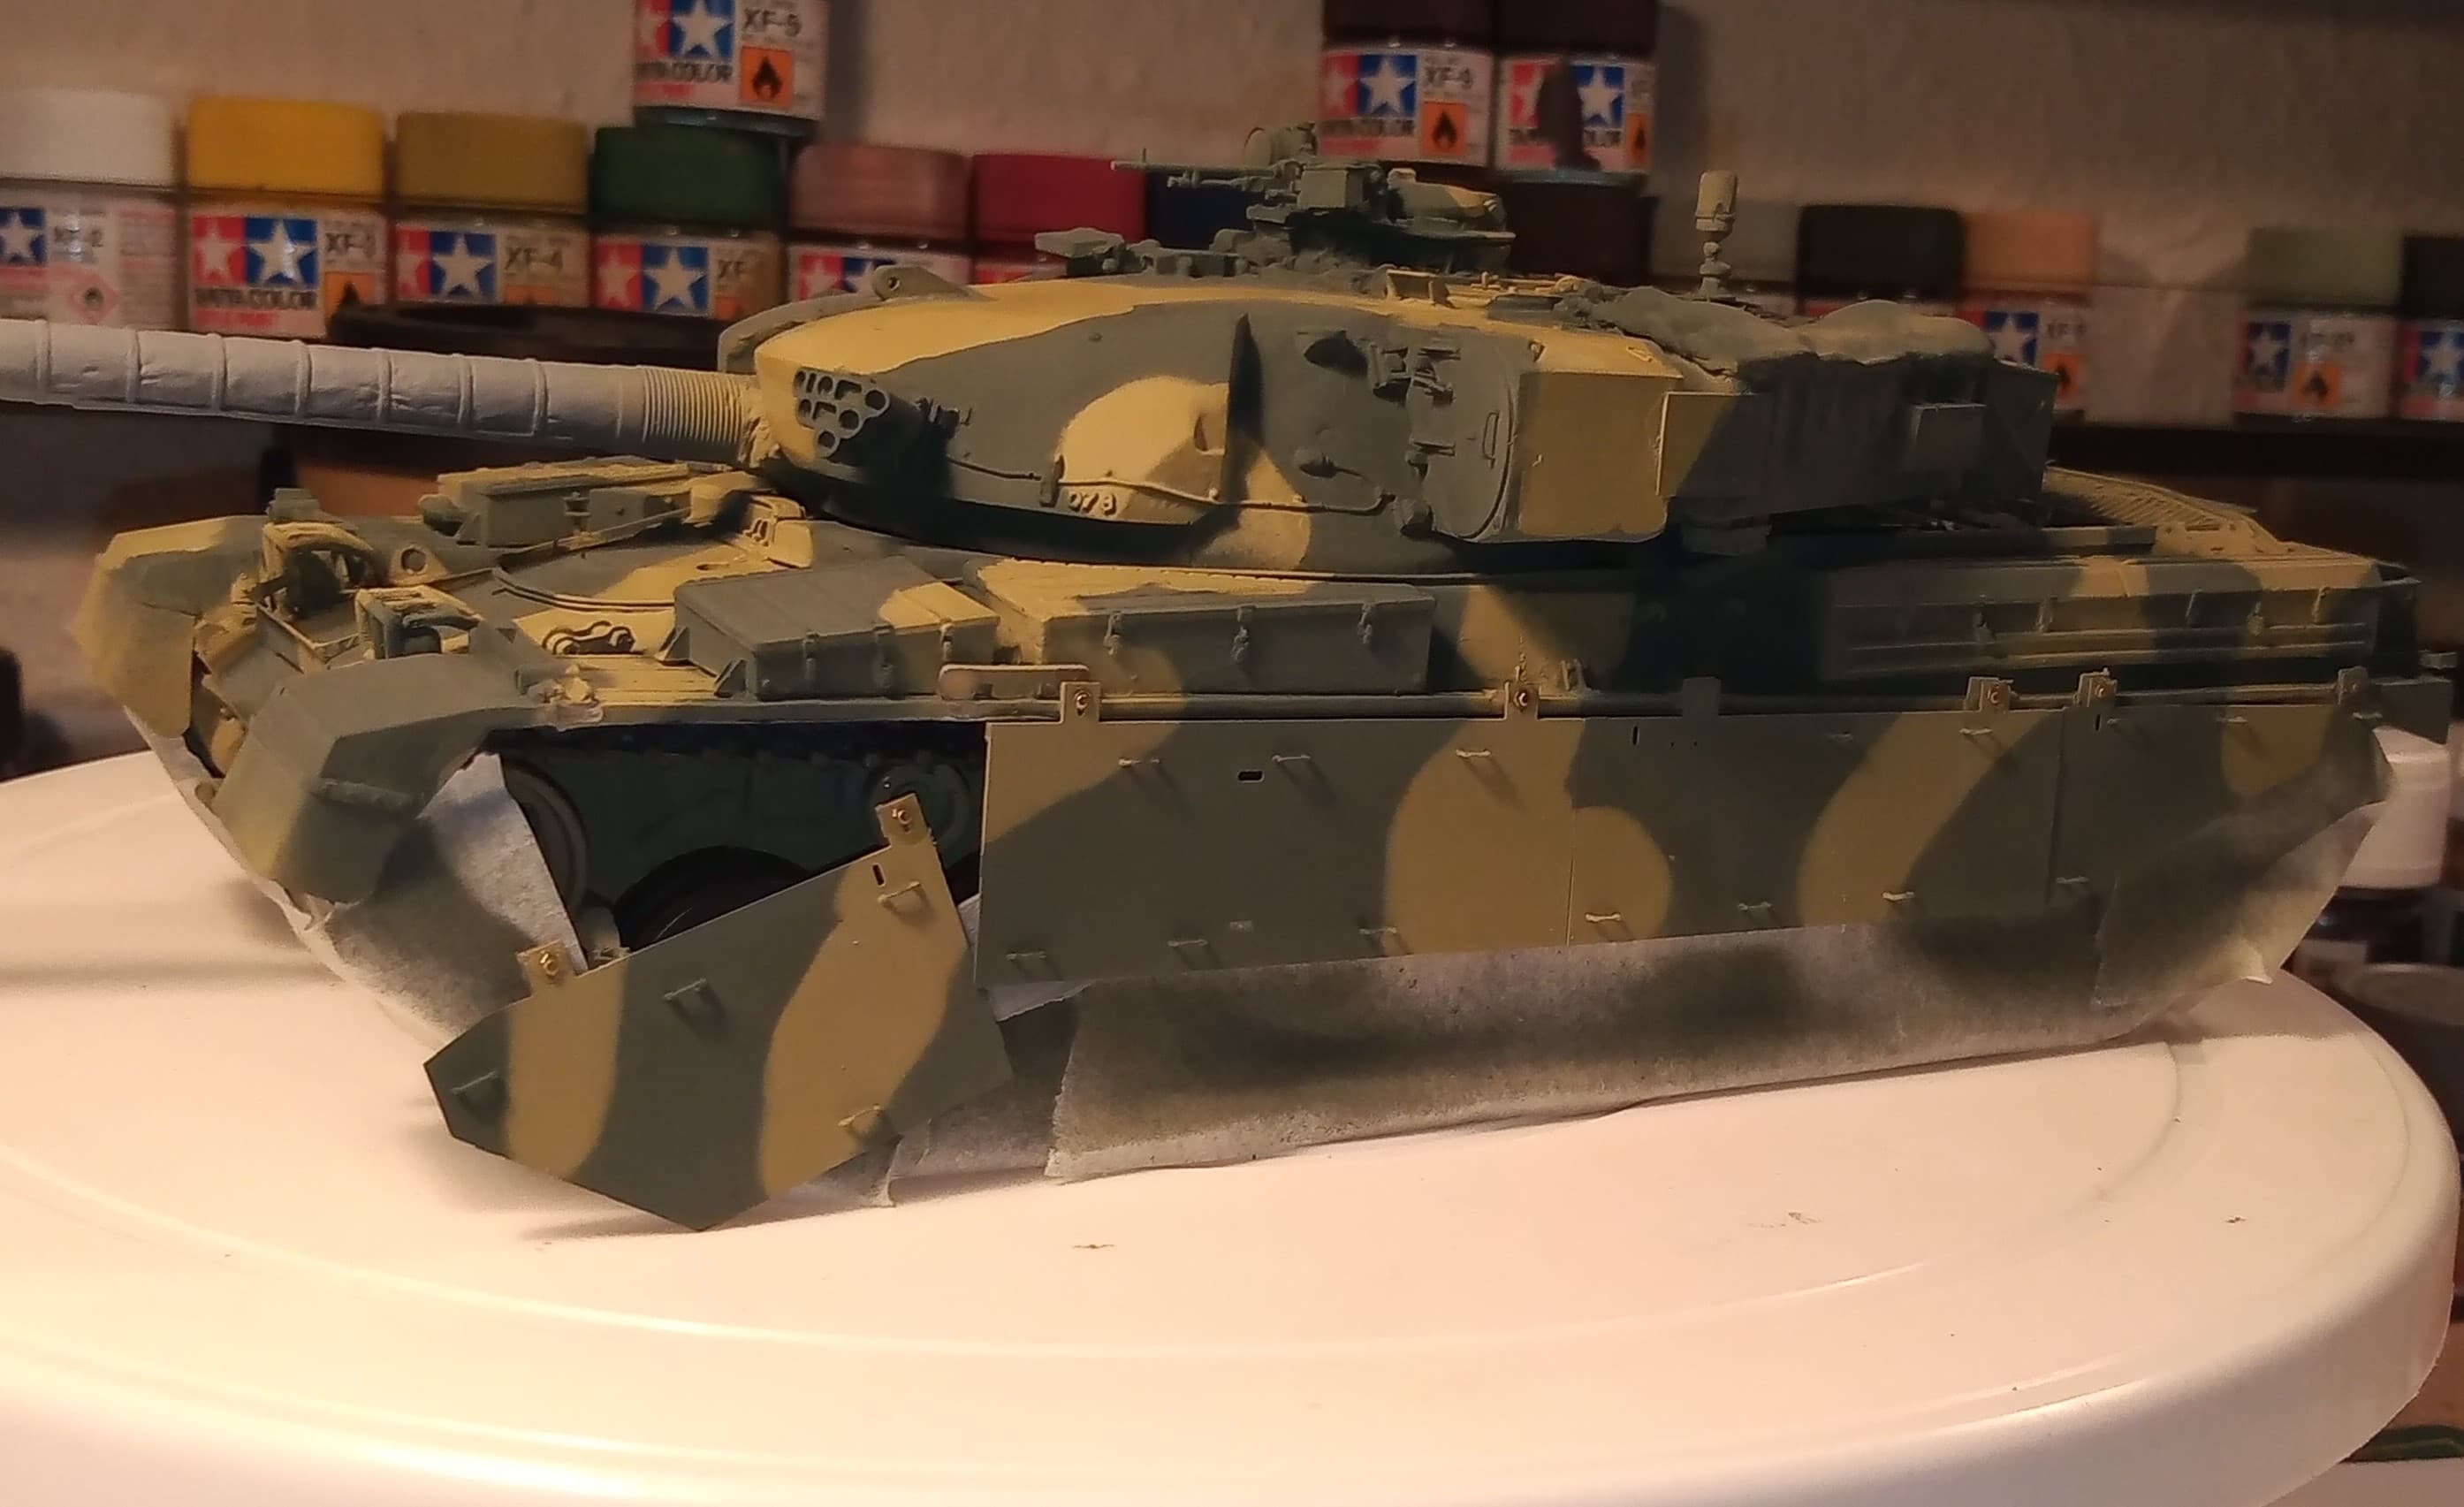
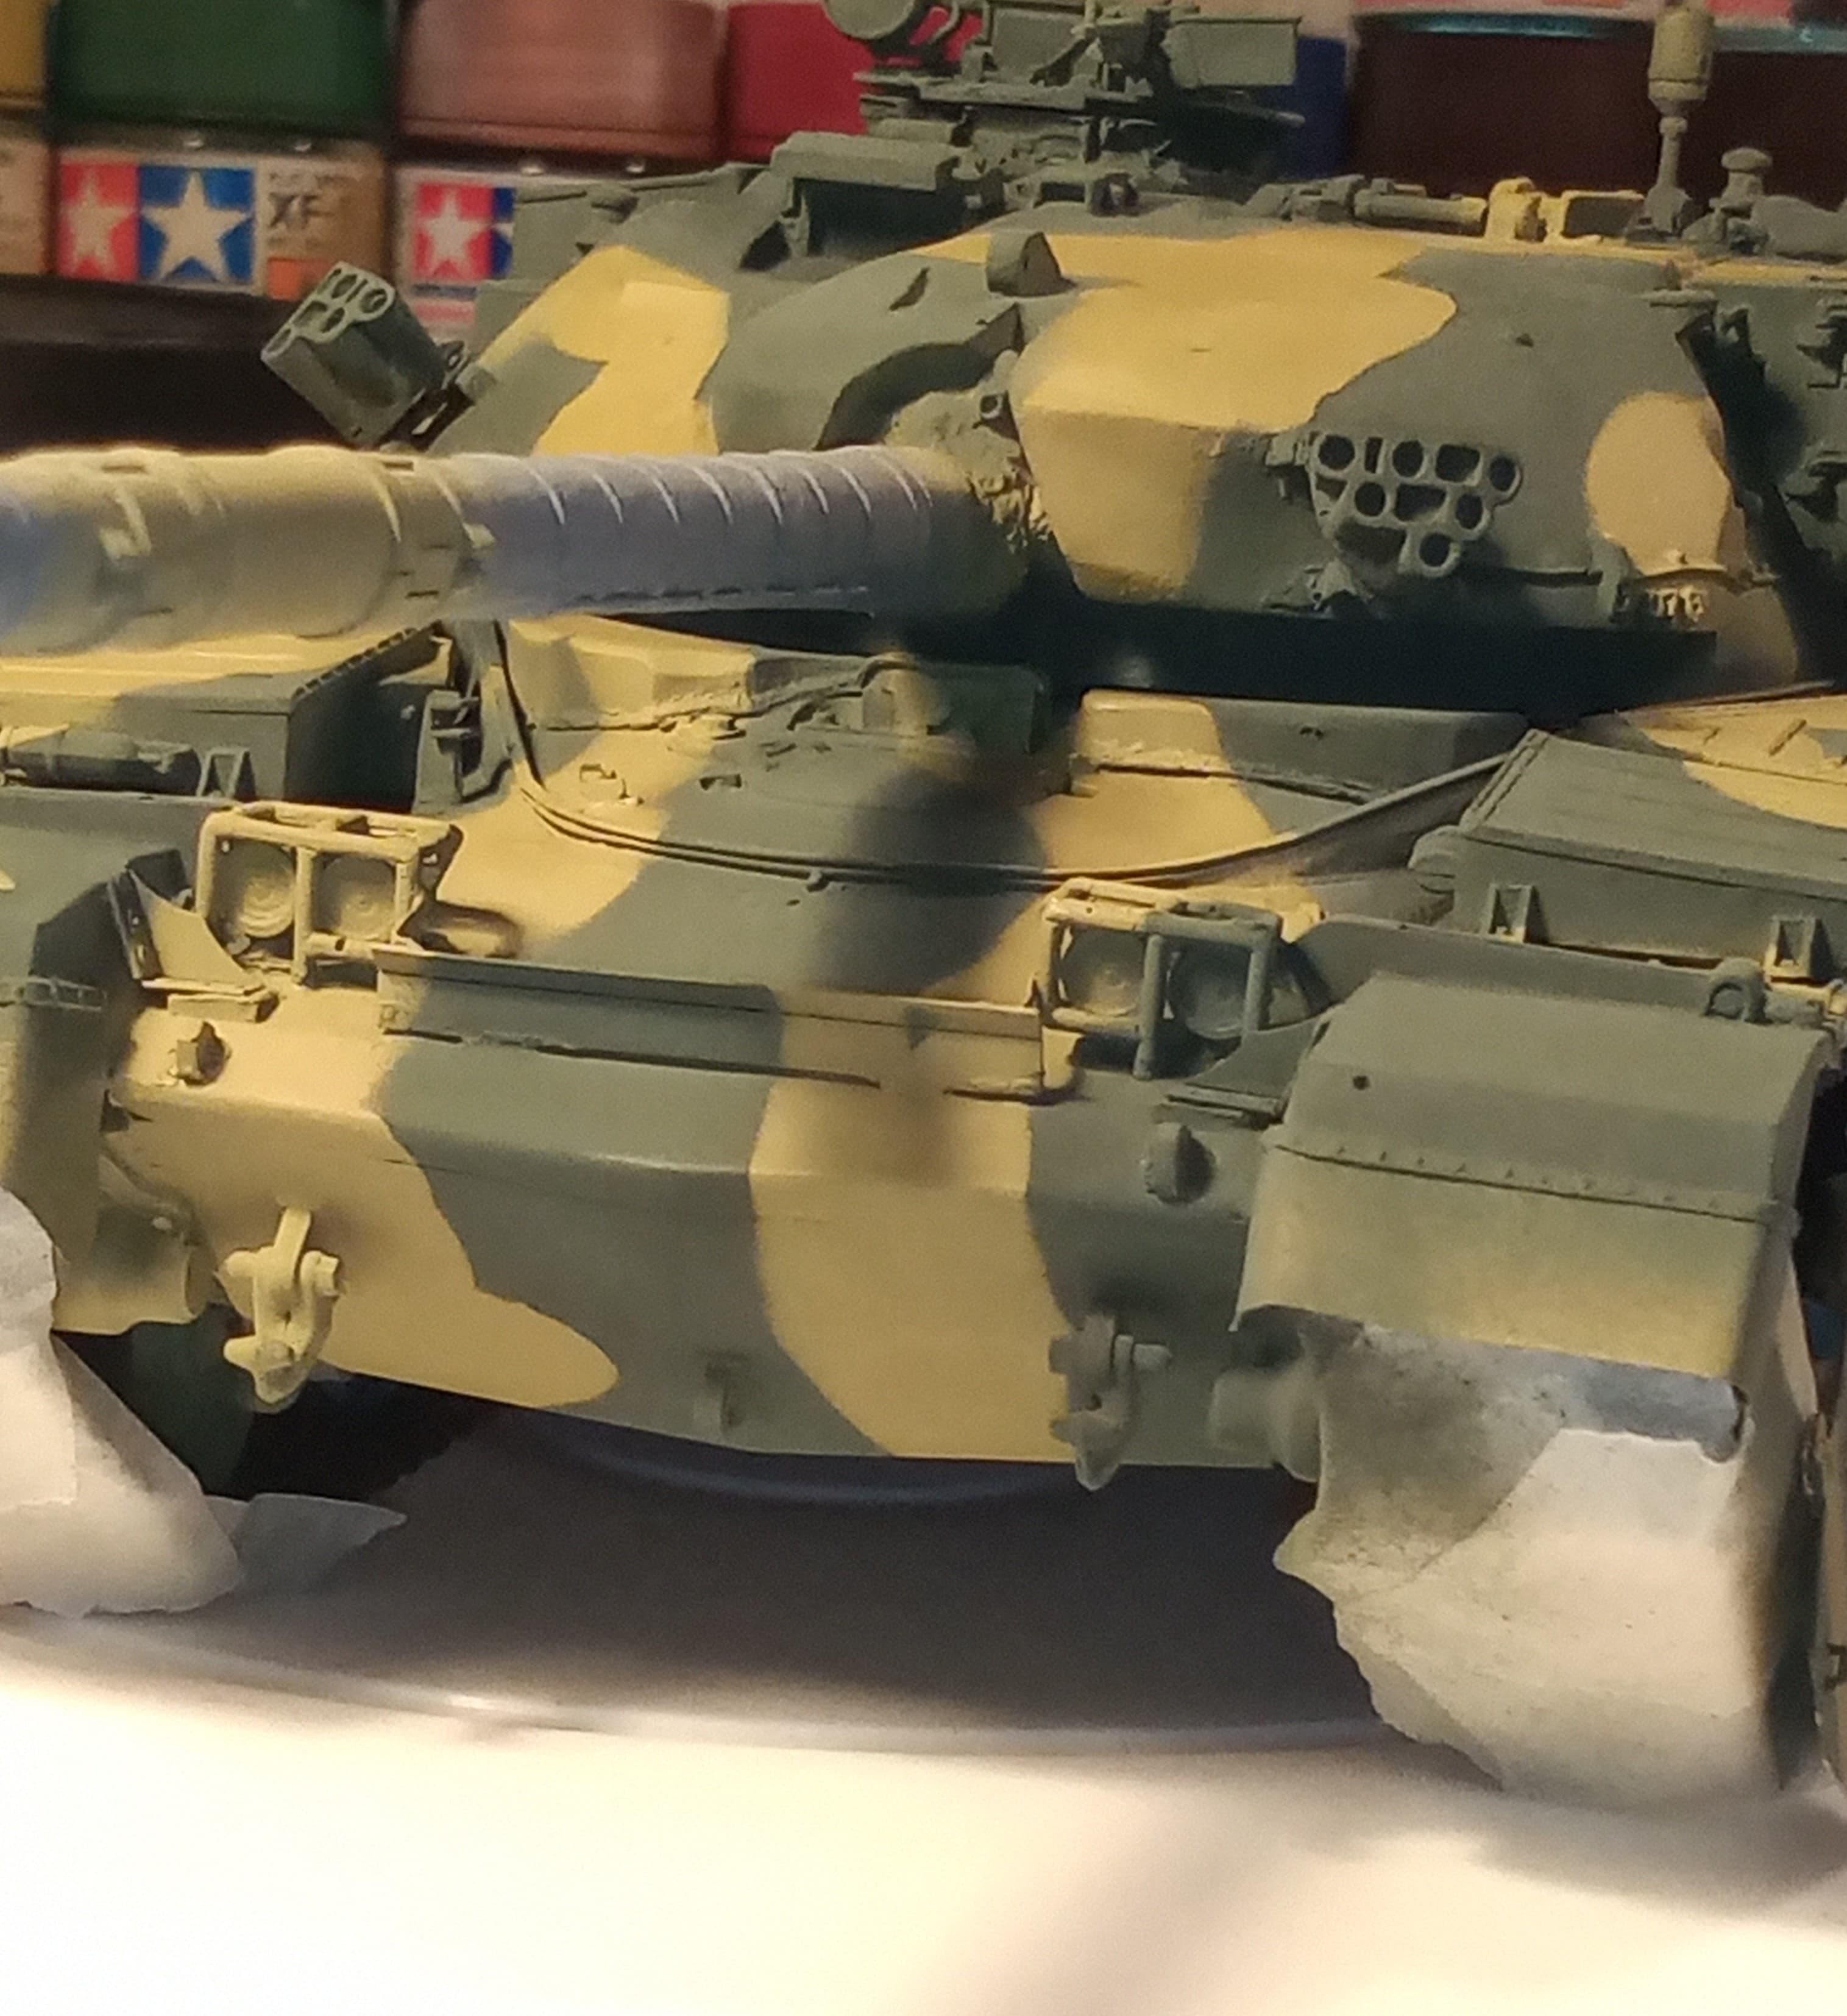
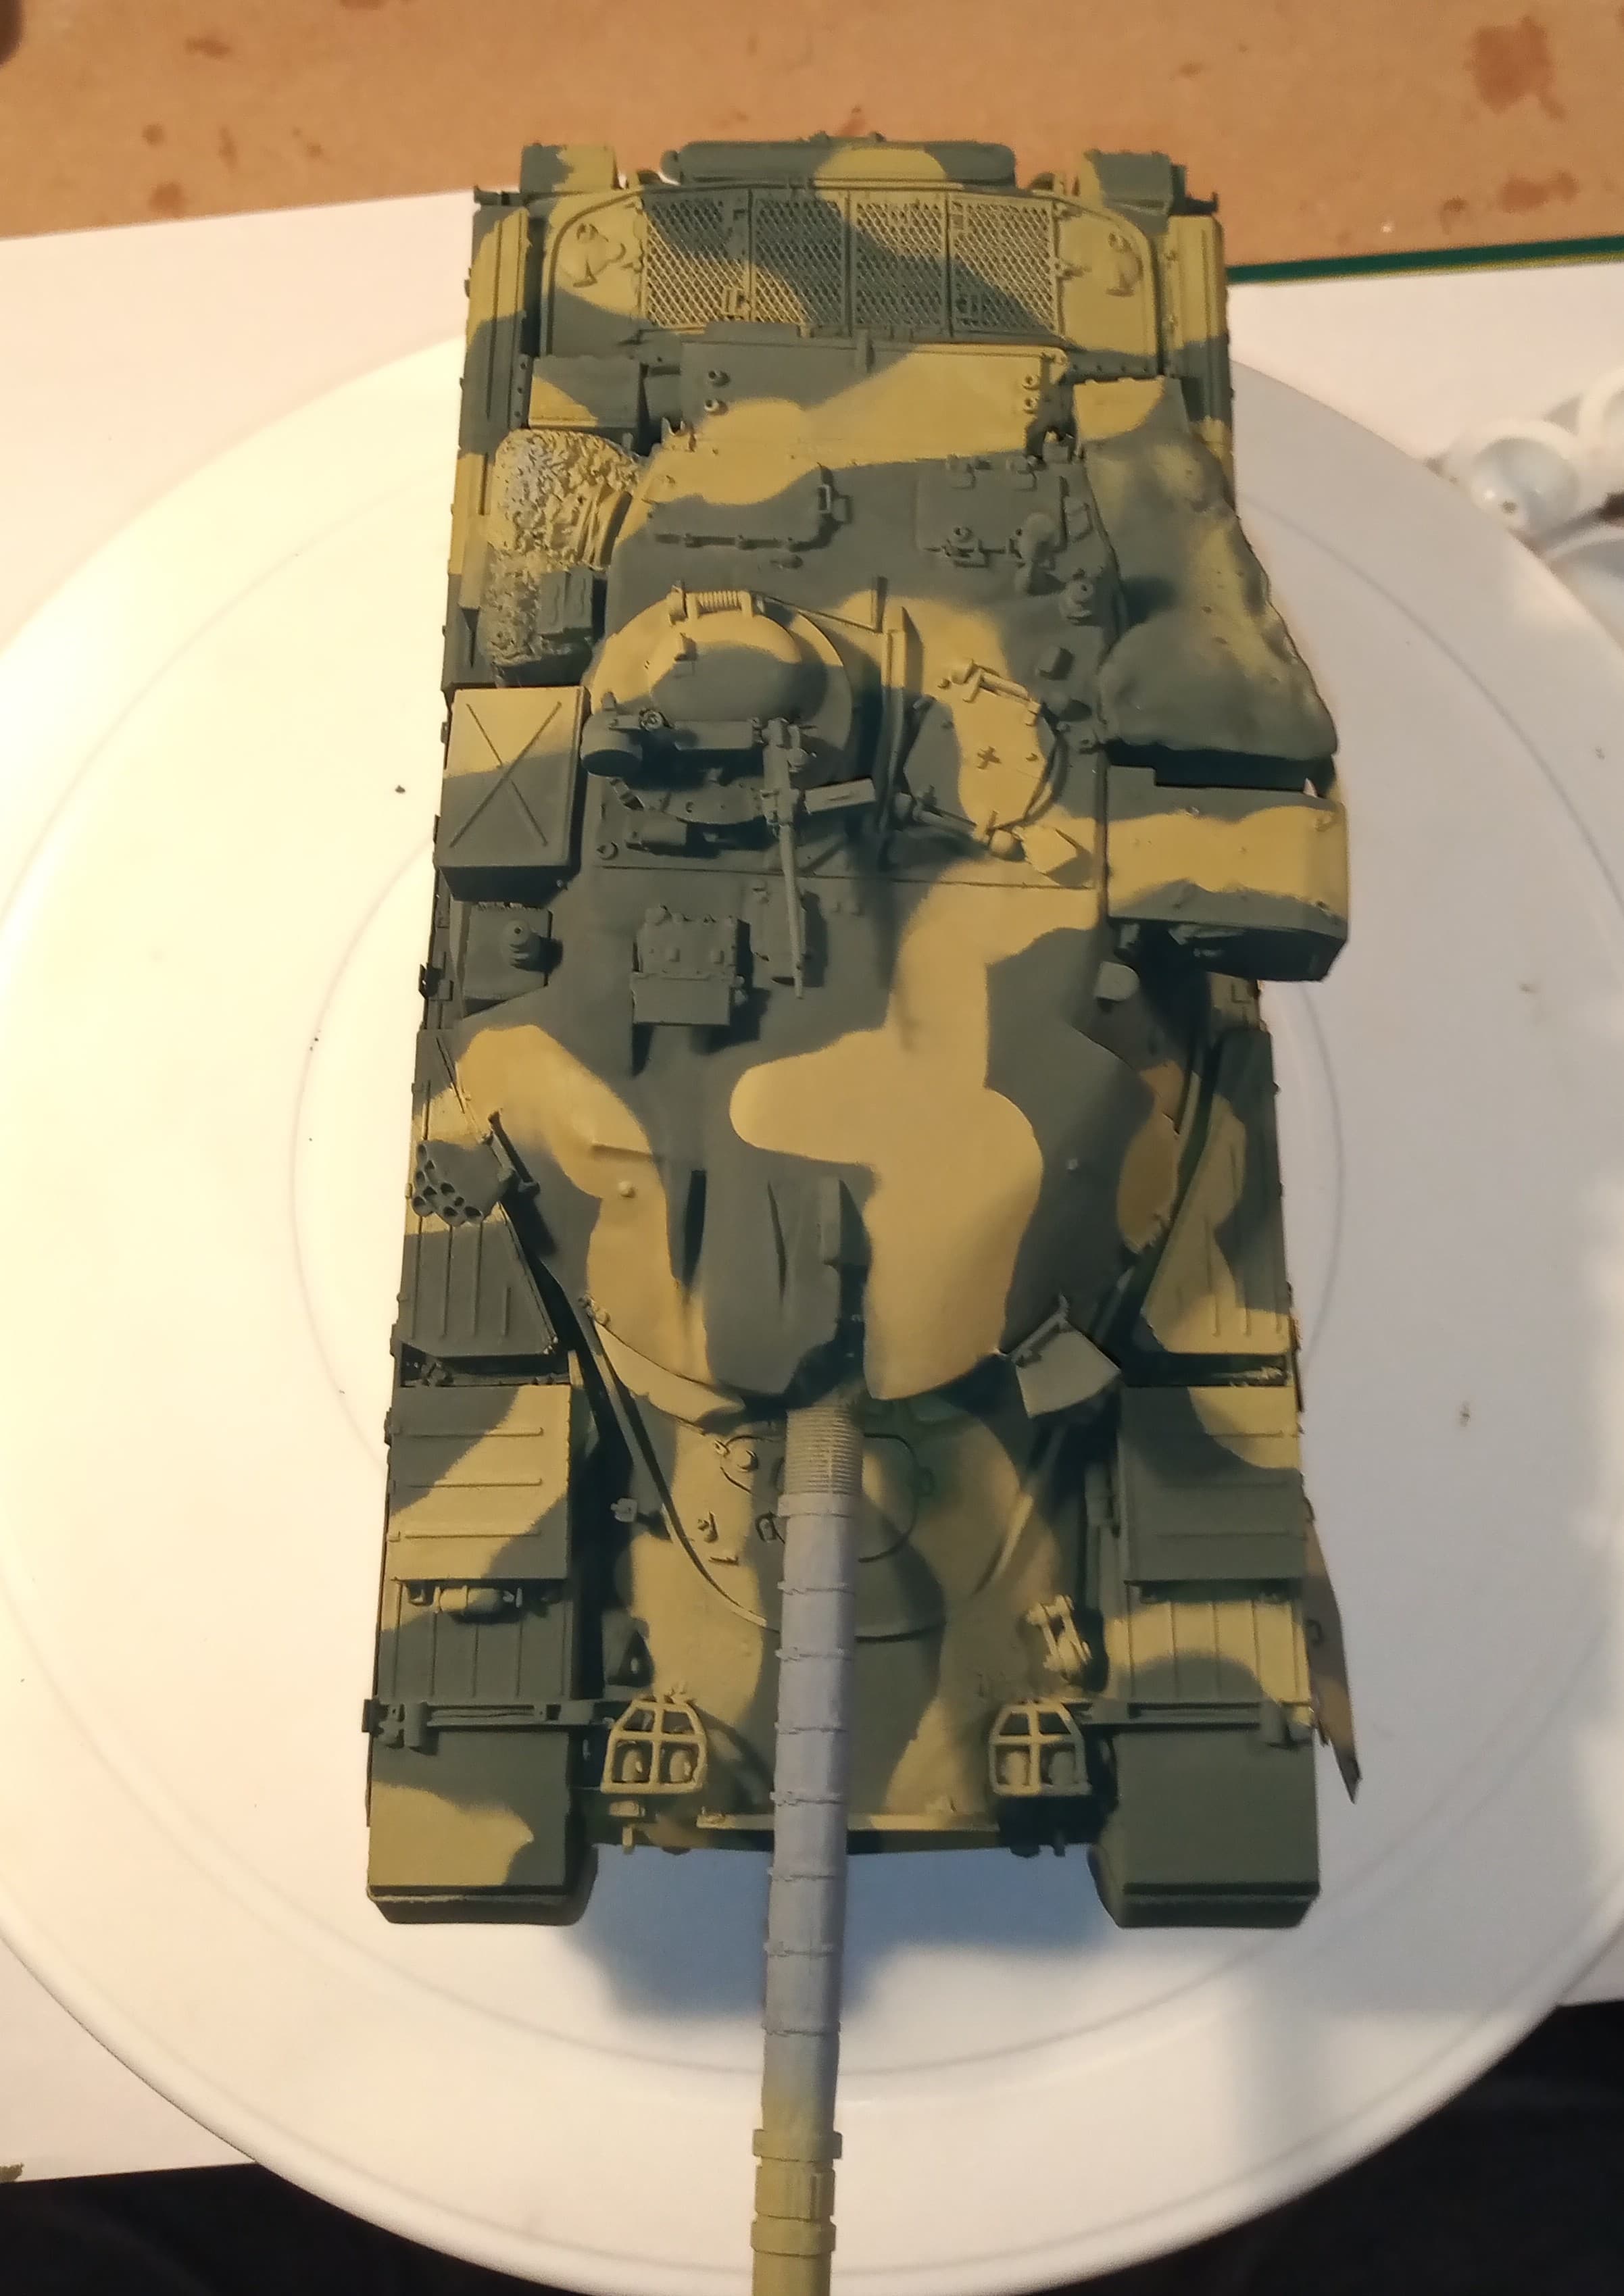
Pretty happy with the colour. I wanted a more faded green so used Tamiya field grey with some white.
There is a bit of corrective work that needs doing and some of the masking agent needs removing … (blue tac and play doh lol). Next will be the thermal sleeve to paint.
Once all that’s done I can start detail painting all the little bits and pieces, which will probably take a few days I imagine. Then I need to make the hessian rolls and secure those on place.
Edit. I just realised some of the colours in a few of the pics look a bit muted (the sand mainly) … It’s just the lighting conditions as it’s night and I was using my phone. I can assure you they look fine with normal eyeball vision