I will help with this one. It’s already at 3 lol… 2 on the turret roof and the search light one, which all luckily ended up on the cutting mat… So easily found …
2 Likes
Very good job so far.
I’ll try to take pictures of my mk11 and open a new thread later today. My build looks much easier. 
Olivier
2 Likes
Thanks Olivier, will be good seeing the Mk11 get built. I wonder if the TOGs has any internal details like the TISH etc ?
Also, does anyone know a good paint for the BATUS sand colour… Tamiya or AK are the preferred ones … ??
1 Like
Great progress so far John, you are a braver man than I, taking on that resin!
Don’t know about a good match using Tamiya or AK but here’s the Takom suggestion, a.mig 061 warm yellow sand. The only equivalent I can see is Vallejo model air 71074. Anyway here’s a shot of the scheme from the takom instructions, although as they are well known for their inaccuracies I’m not sure how much help it will be!

2 Likes
John judging from that illustration I’d say you would be good to go with Real Colors RC079 CARC Tan as a very good match. Check it out.
1 Like
Thanks Jim, that’s a nice reference 
1 Like
Good call Matt, and as luck would have it I have that CARC Tan. I used it for my M1A1 build
1 Like
Hi Johnny
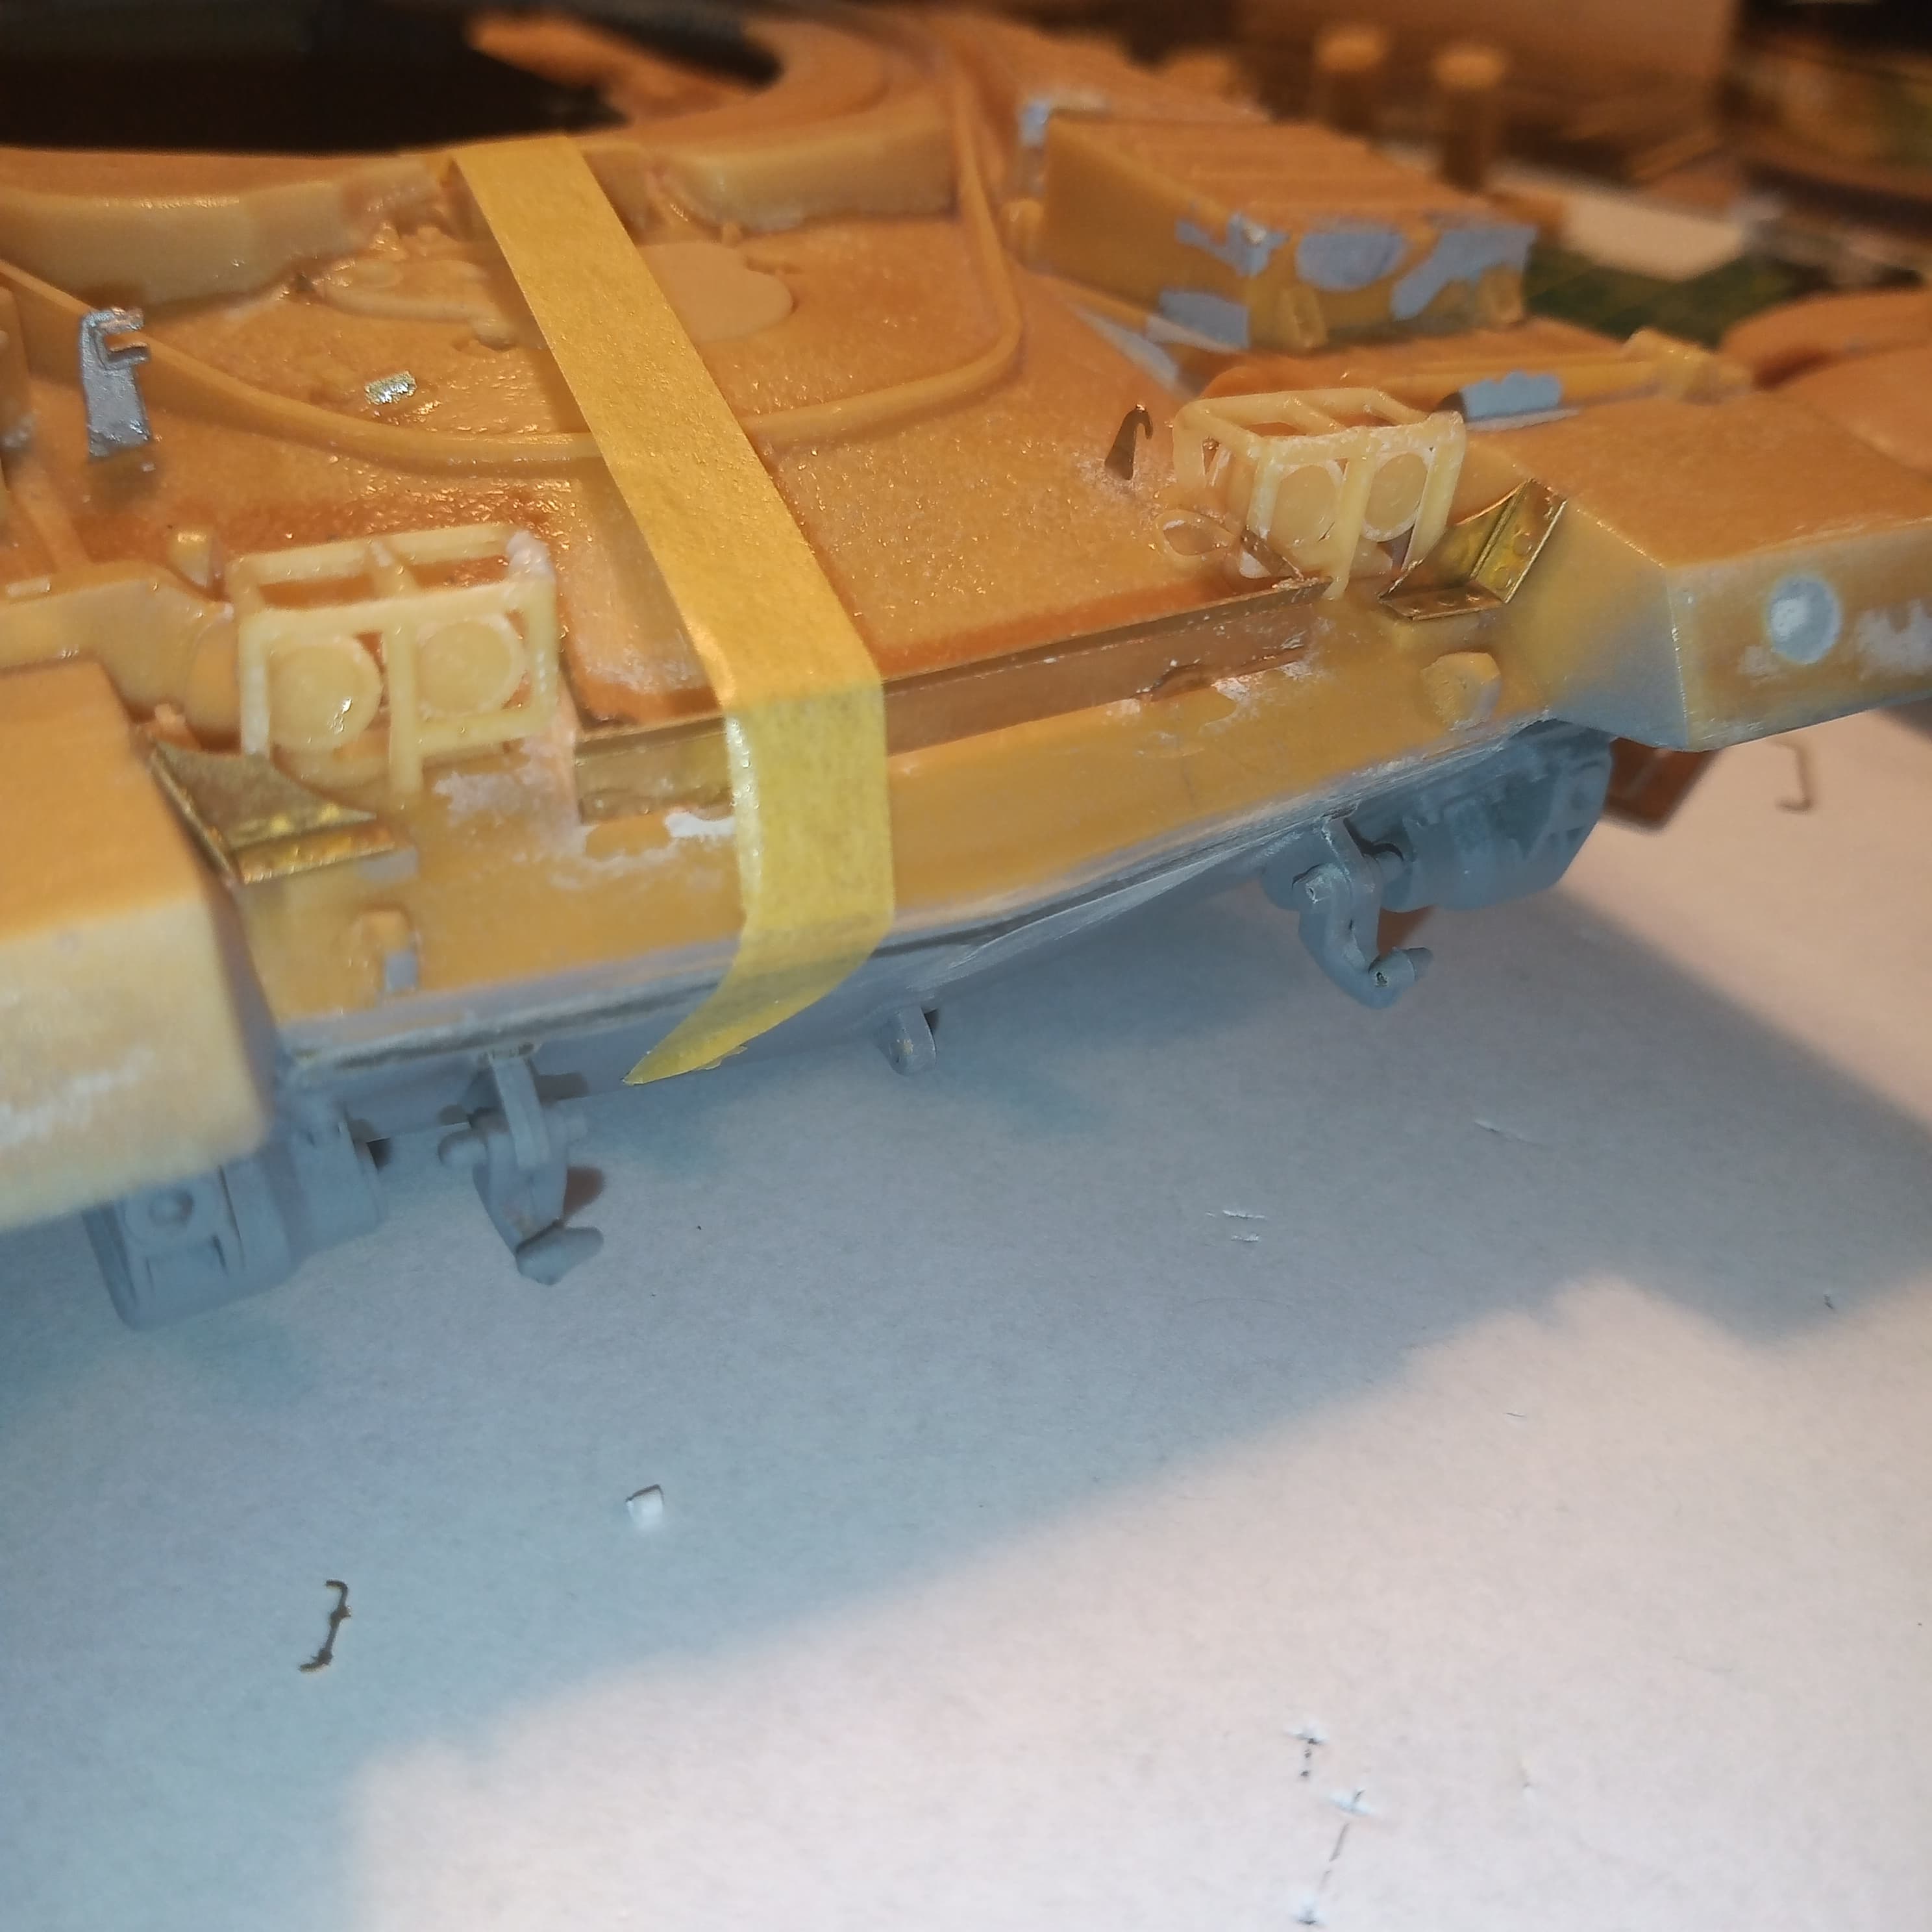
Did some work on mine too - still in progress - Forward fuel caps - (all 4 to be replaced)

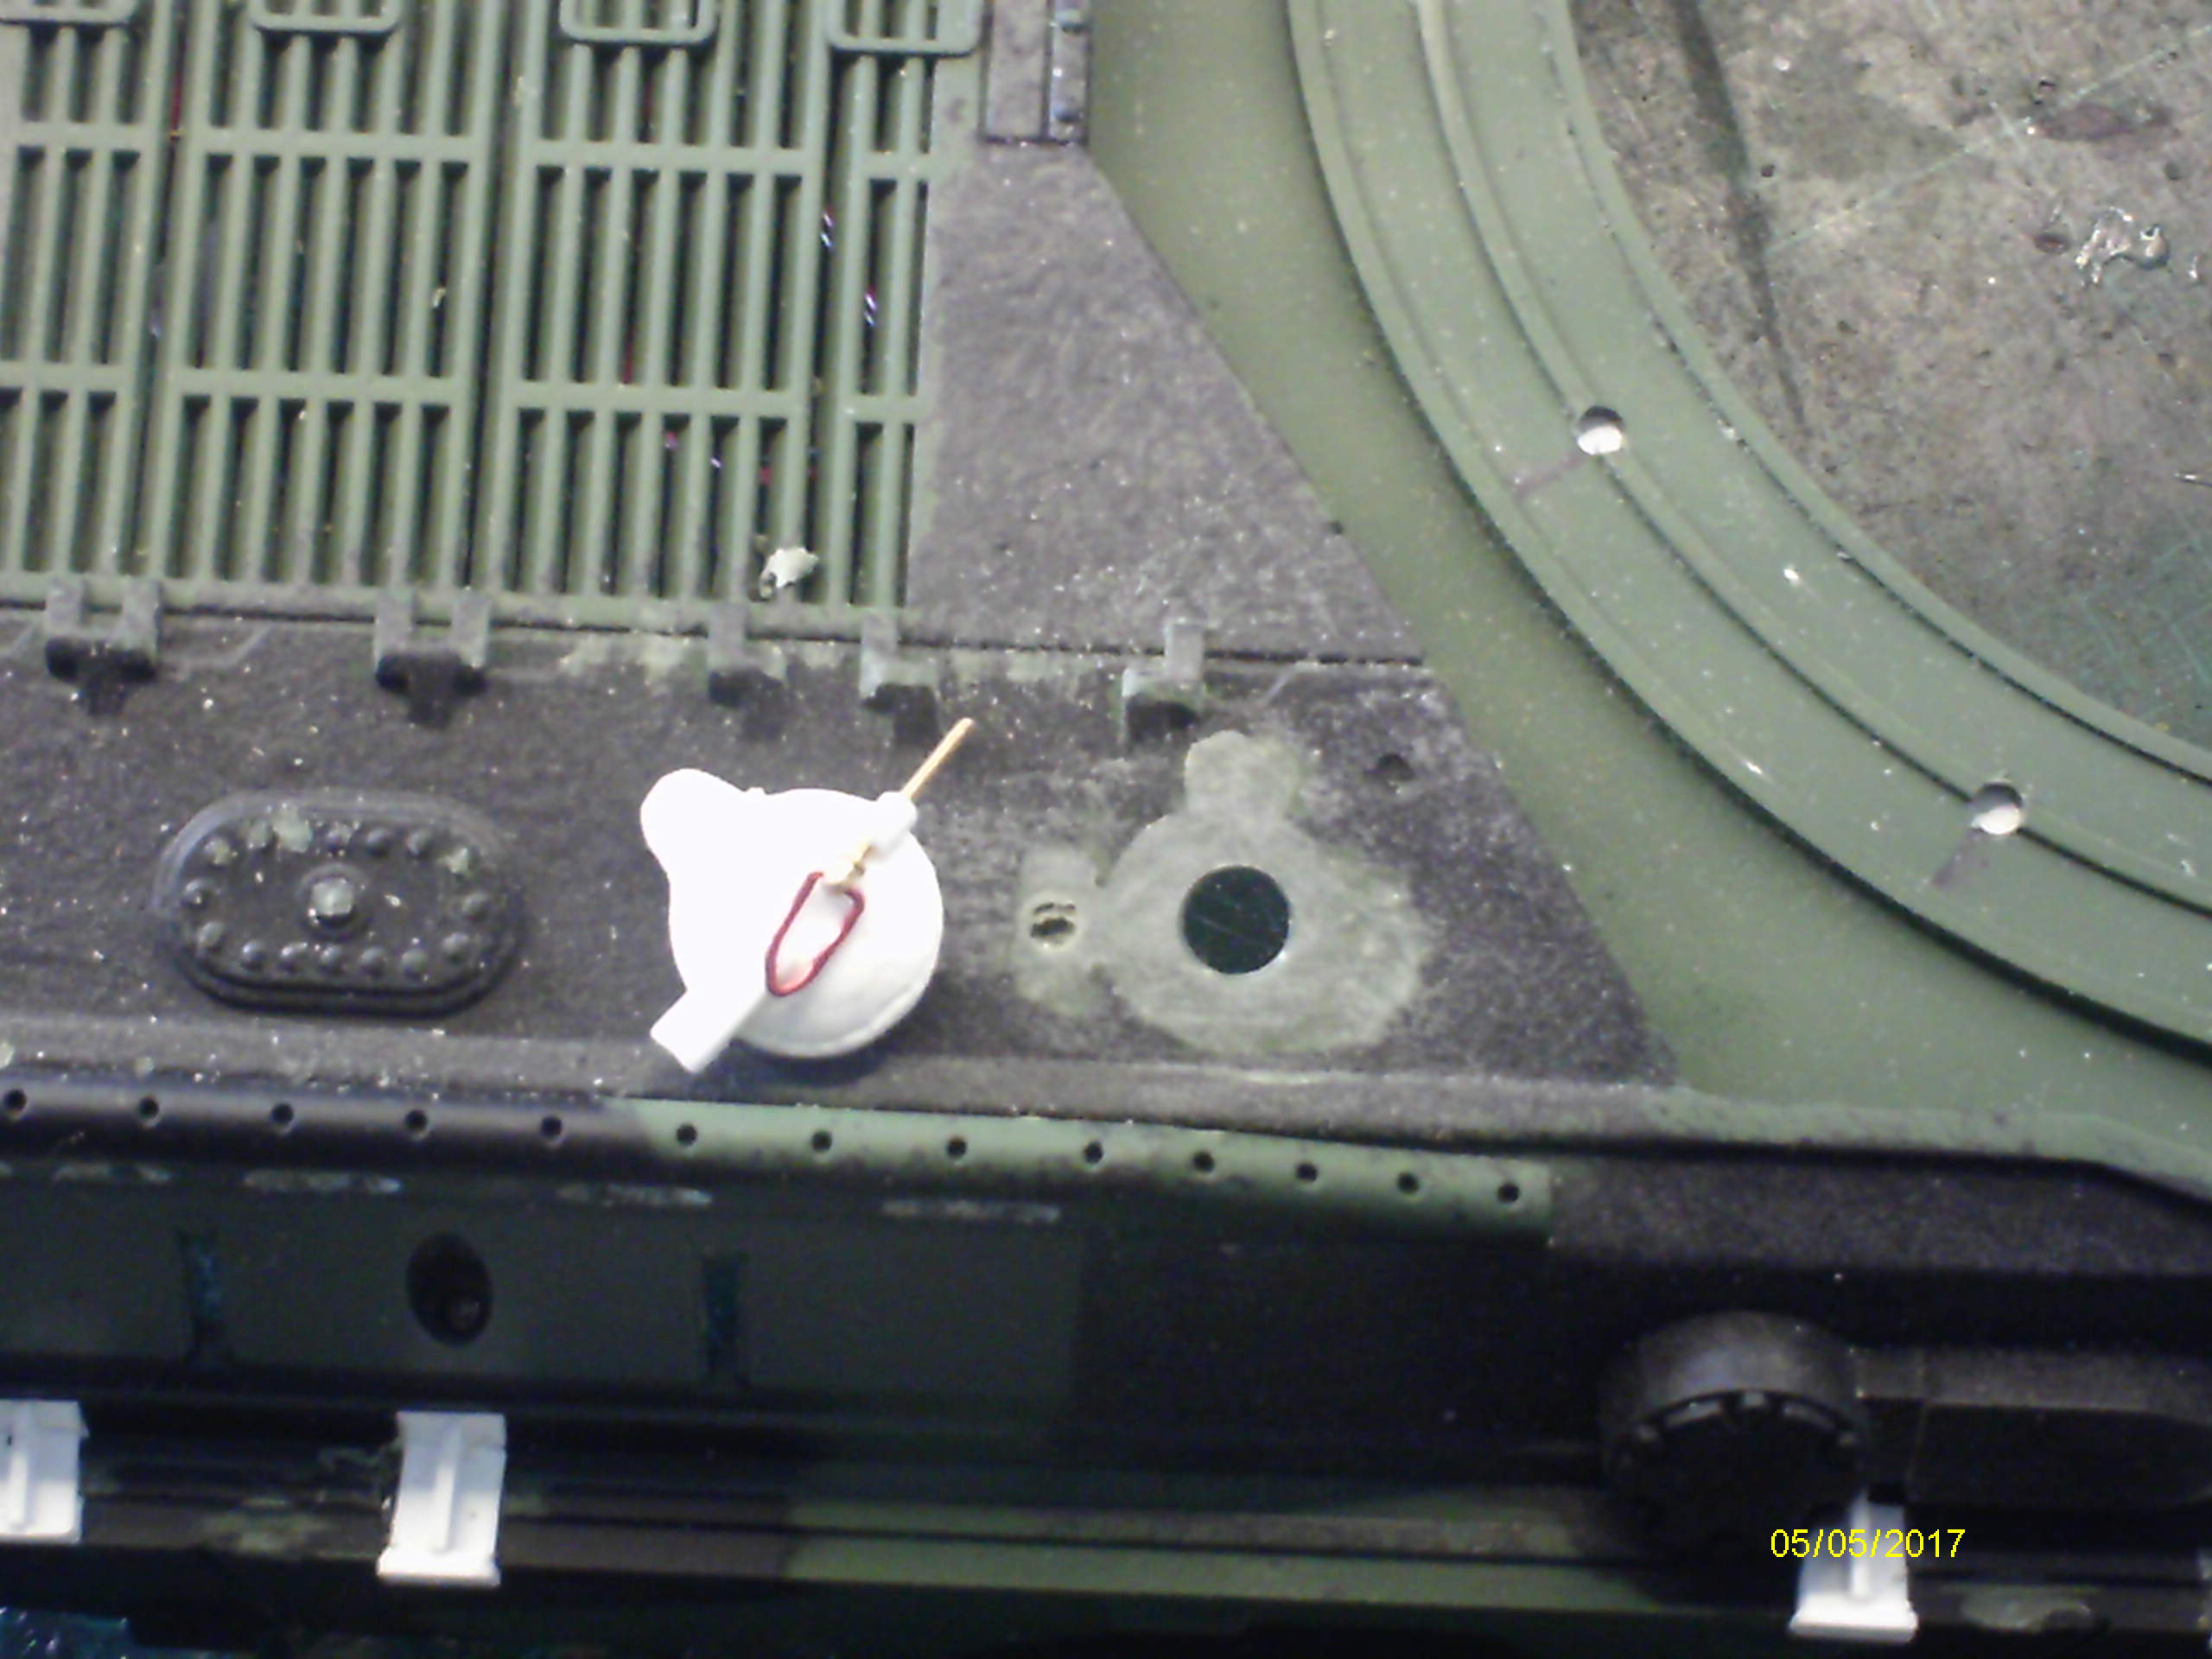
Engine deck handles, remove existing moulding & clean grille
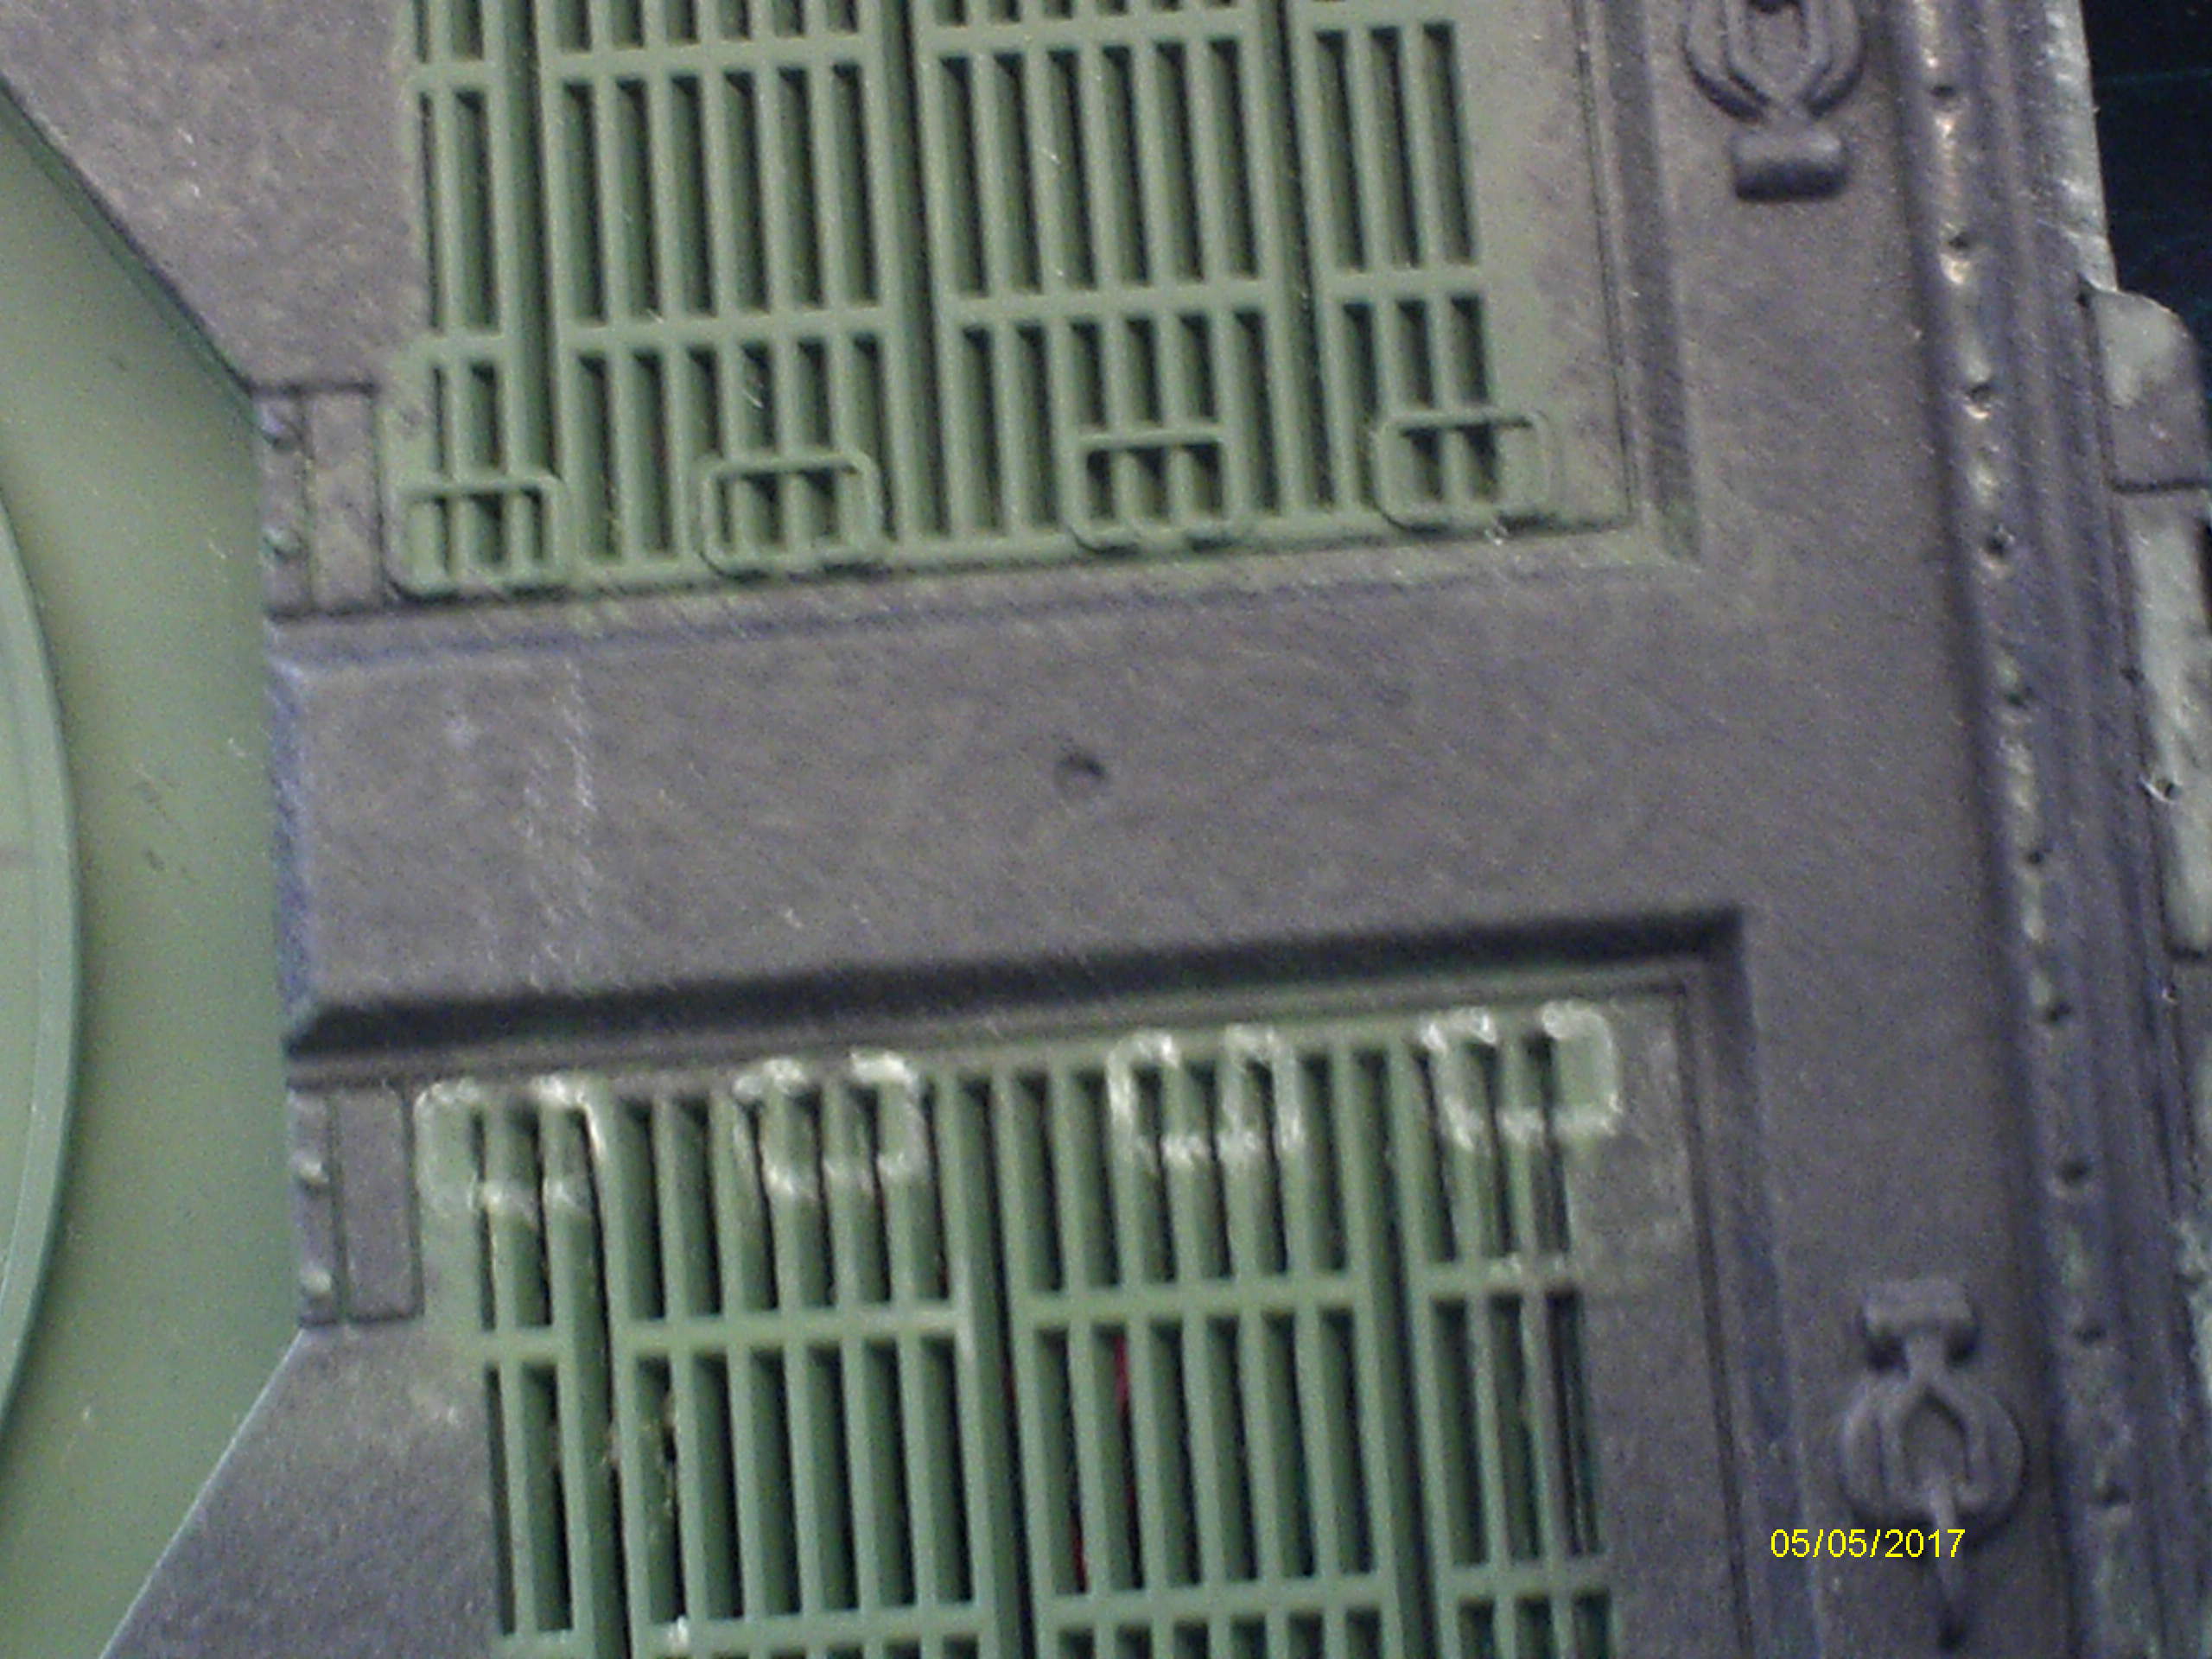
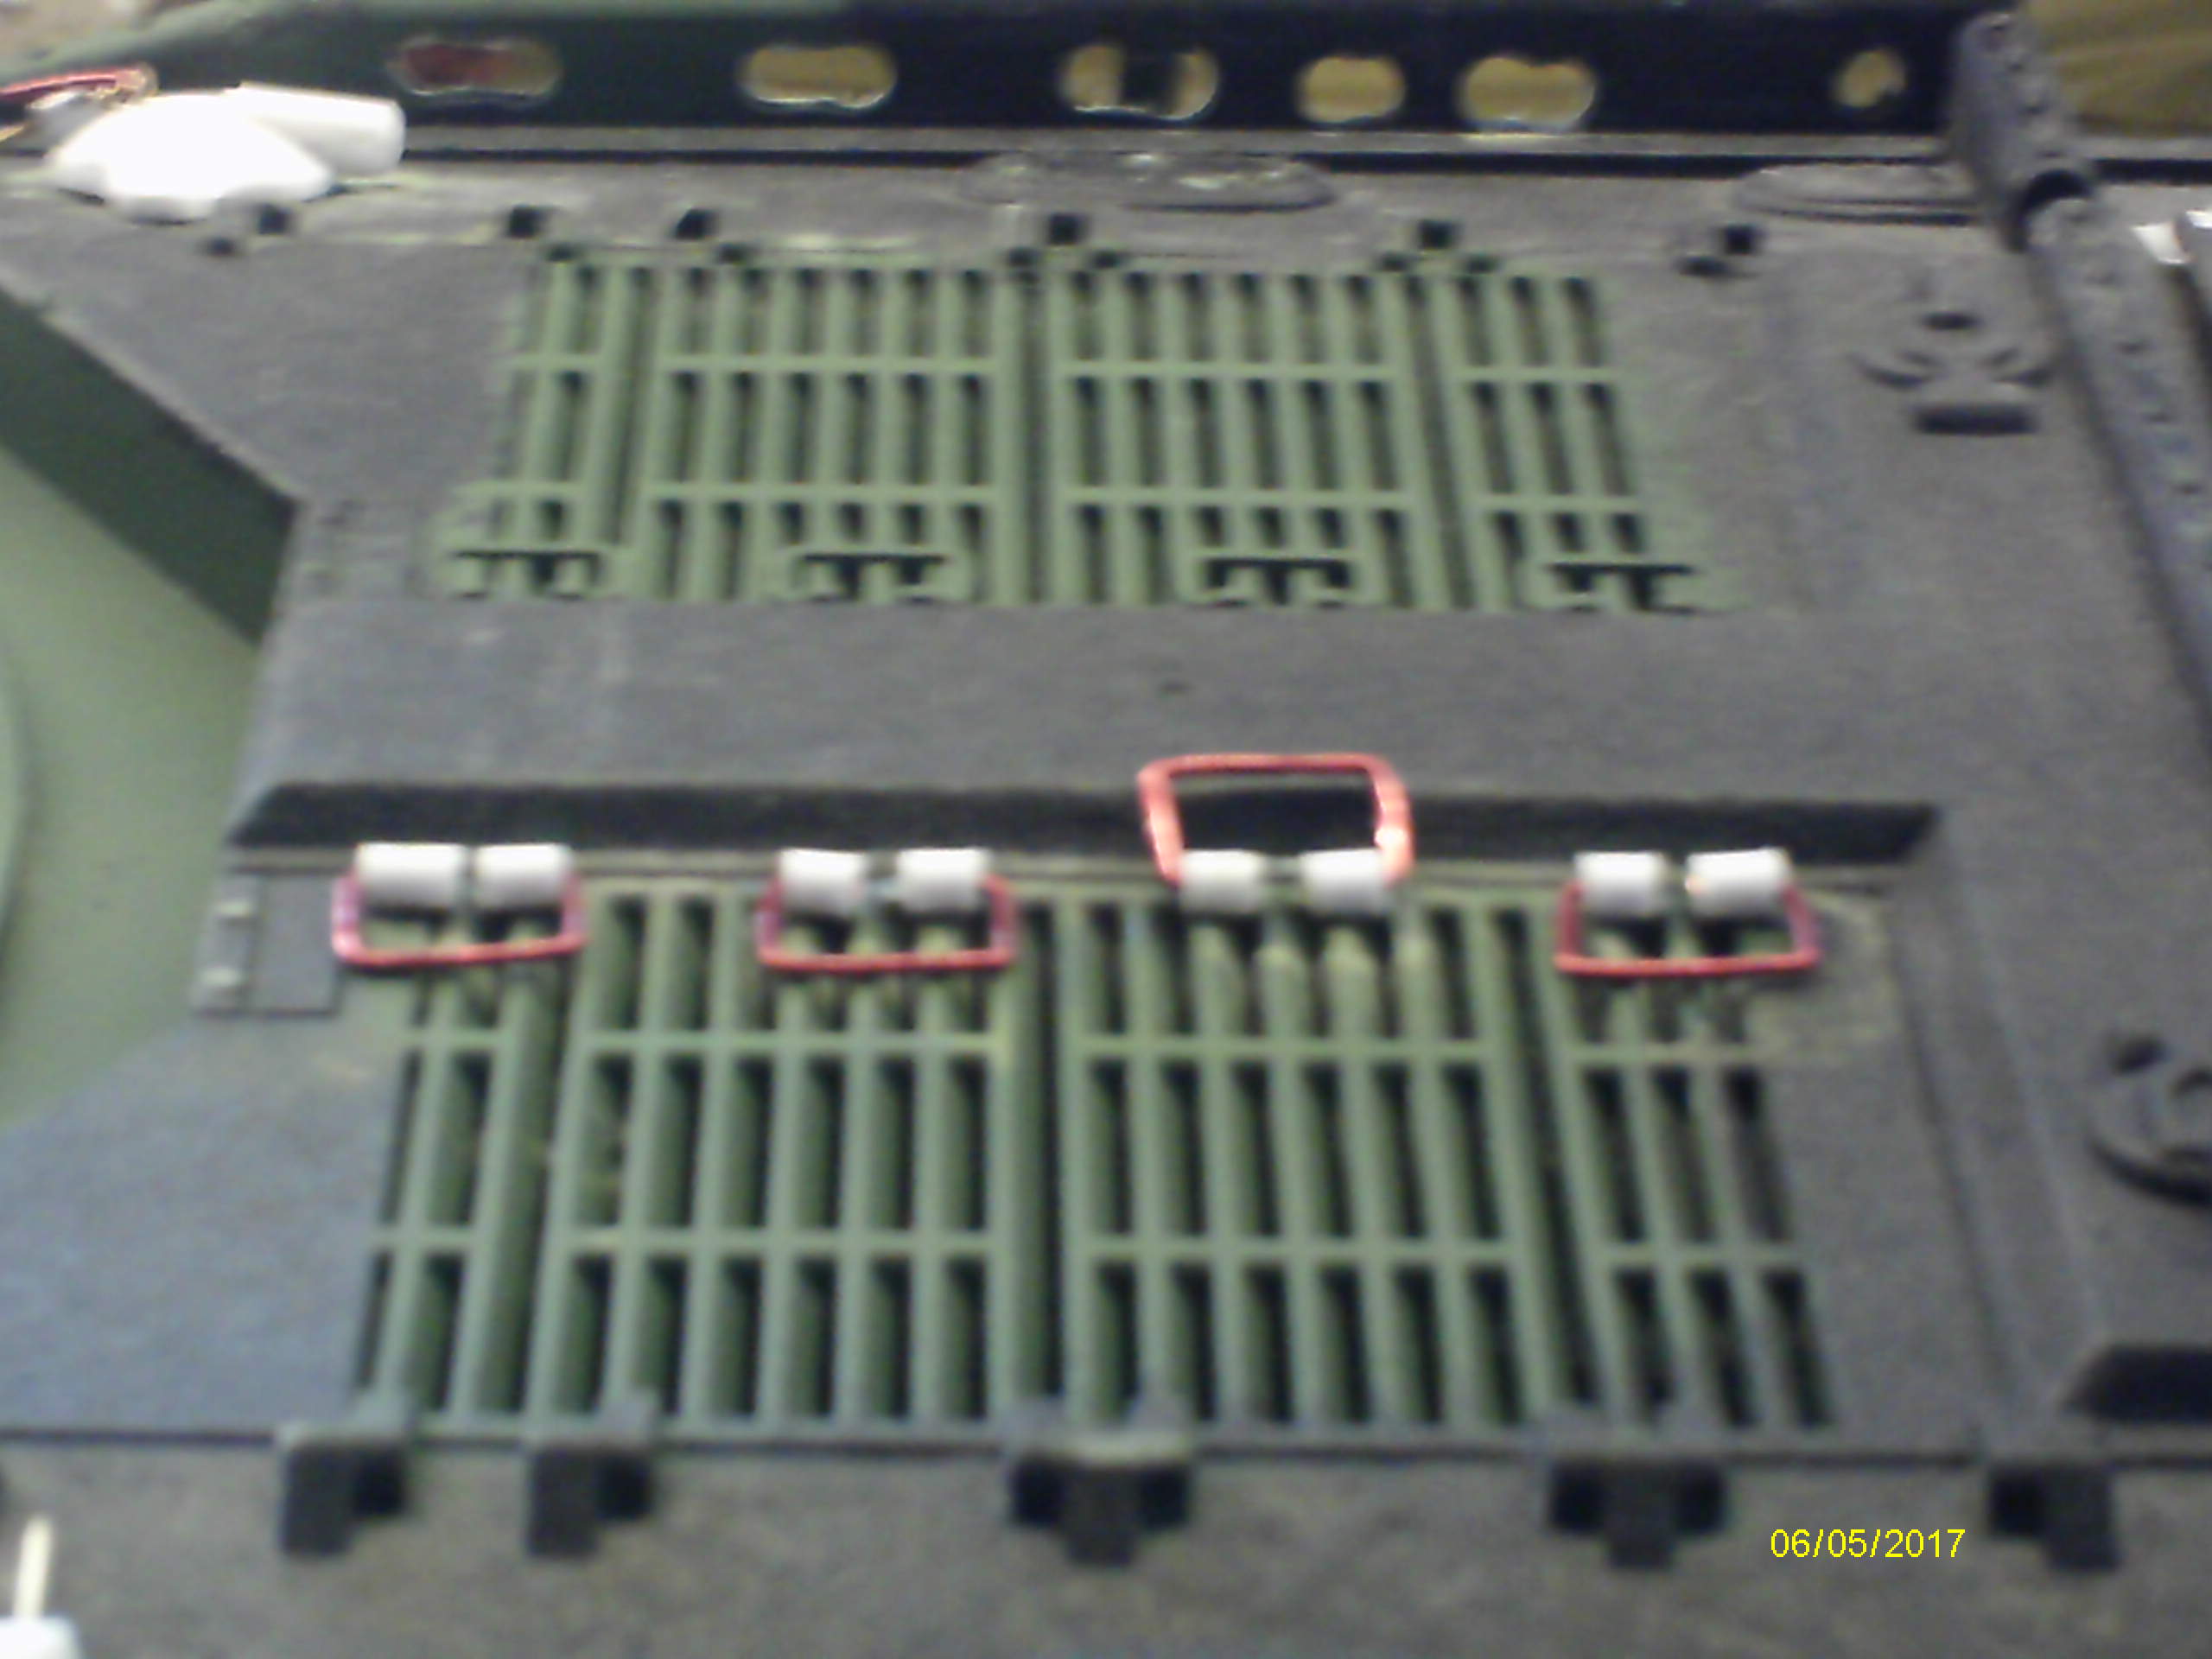
Might need to revisit the tubes the handles go into, they look huge in these photos.
And a couple of questions
On the skirts, you’ll often see 2 vertical slots per plate - Blue - and a single horizontal slot on the 2nd skirt - yellow - What were these for?
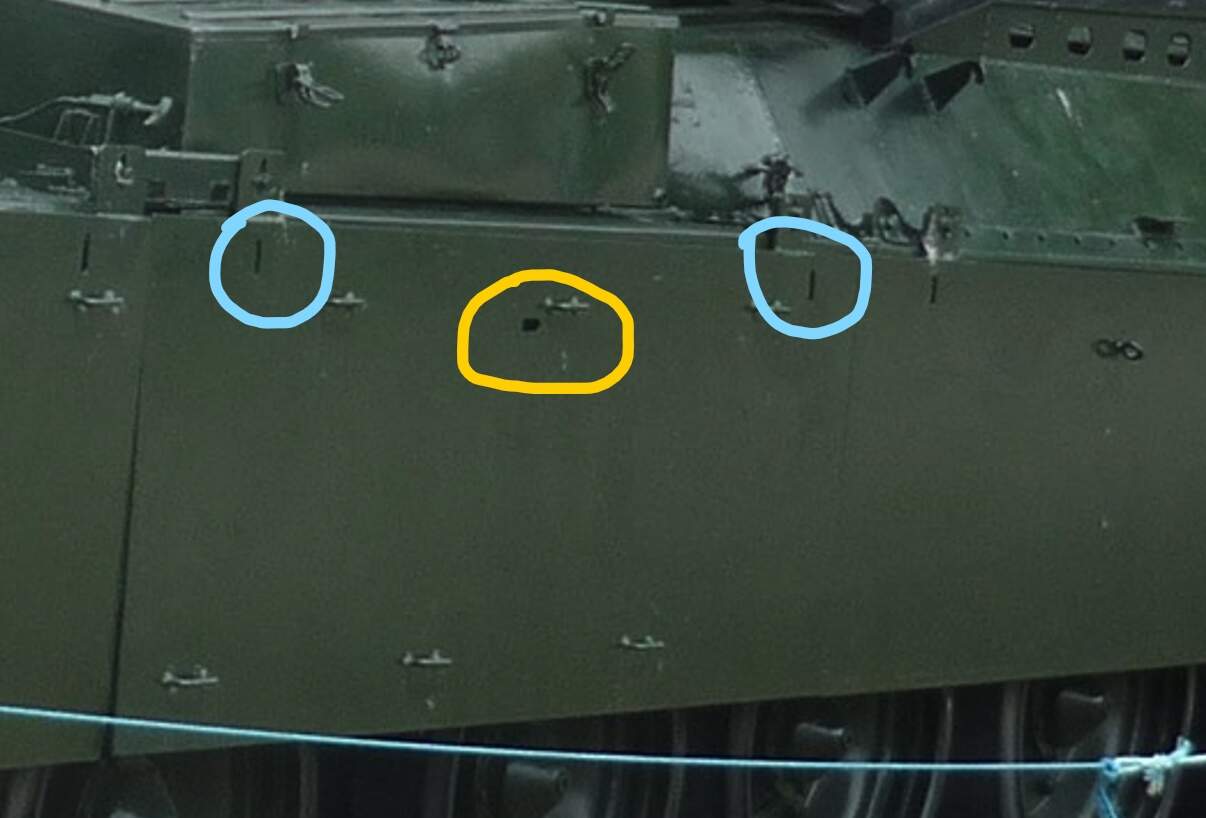
Sometimes you see weld markings on the skirts, typically just the front skirt, though not always. Doesn’t seem to relate to the vehicle number. I know the T piece was sometimes weld marked, as it could/would warp in unique ways that made fitting to any other than the donor vehicle very difficult. Any thoughts?
Mal
4 Likes
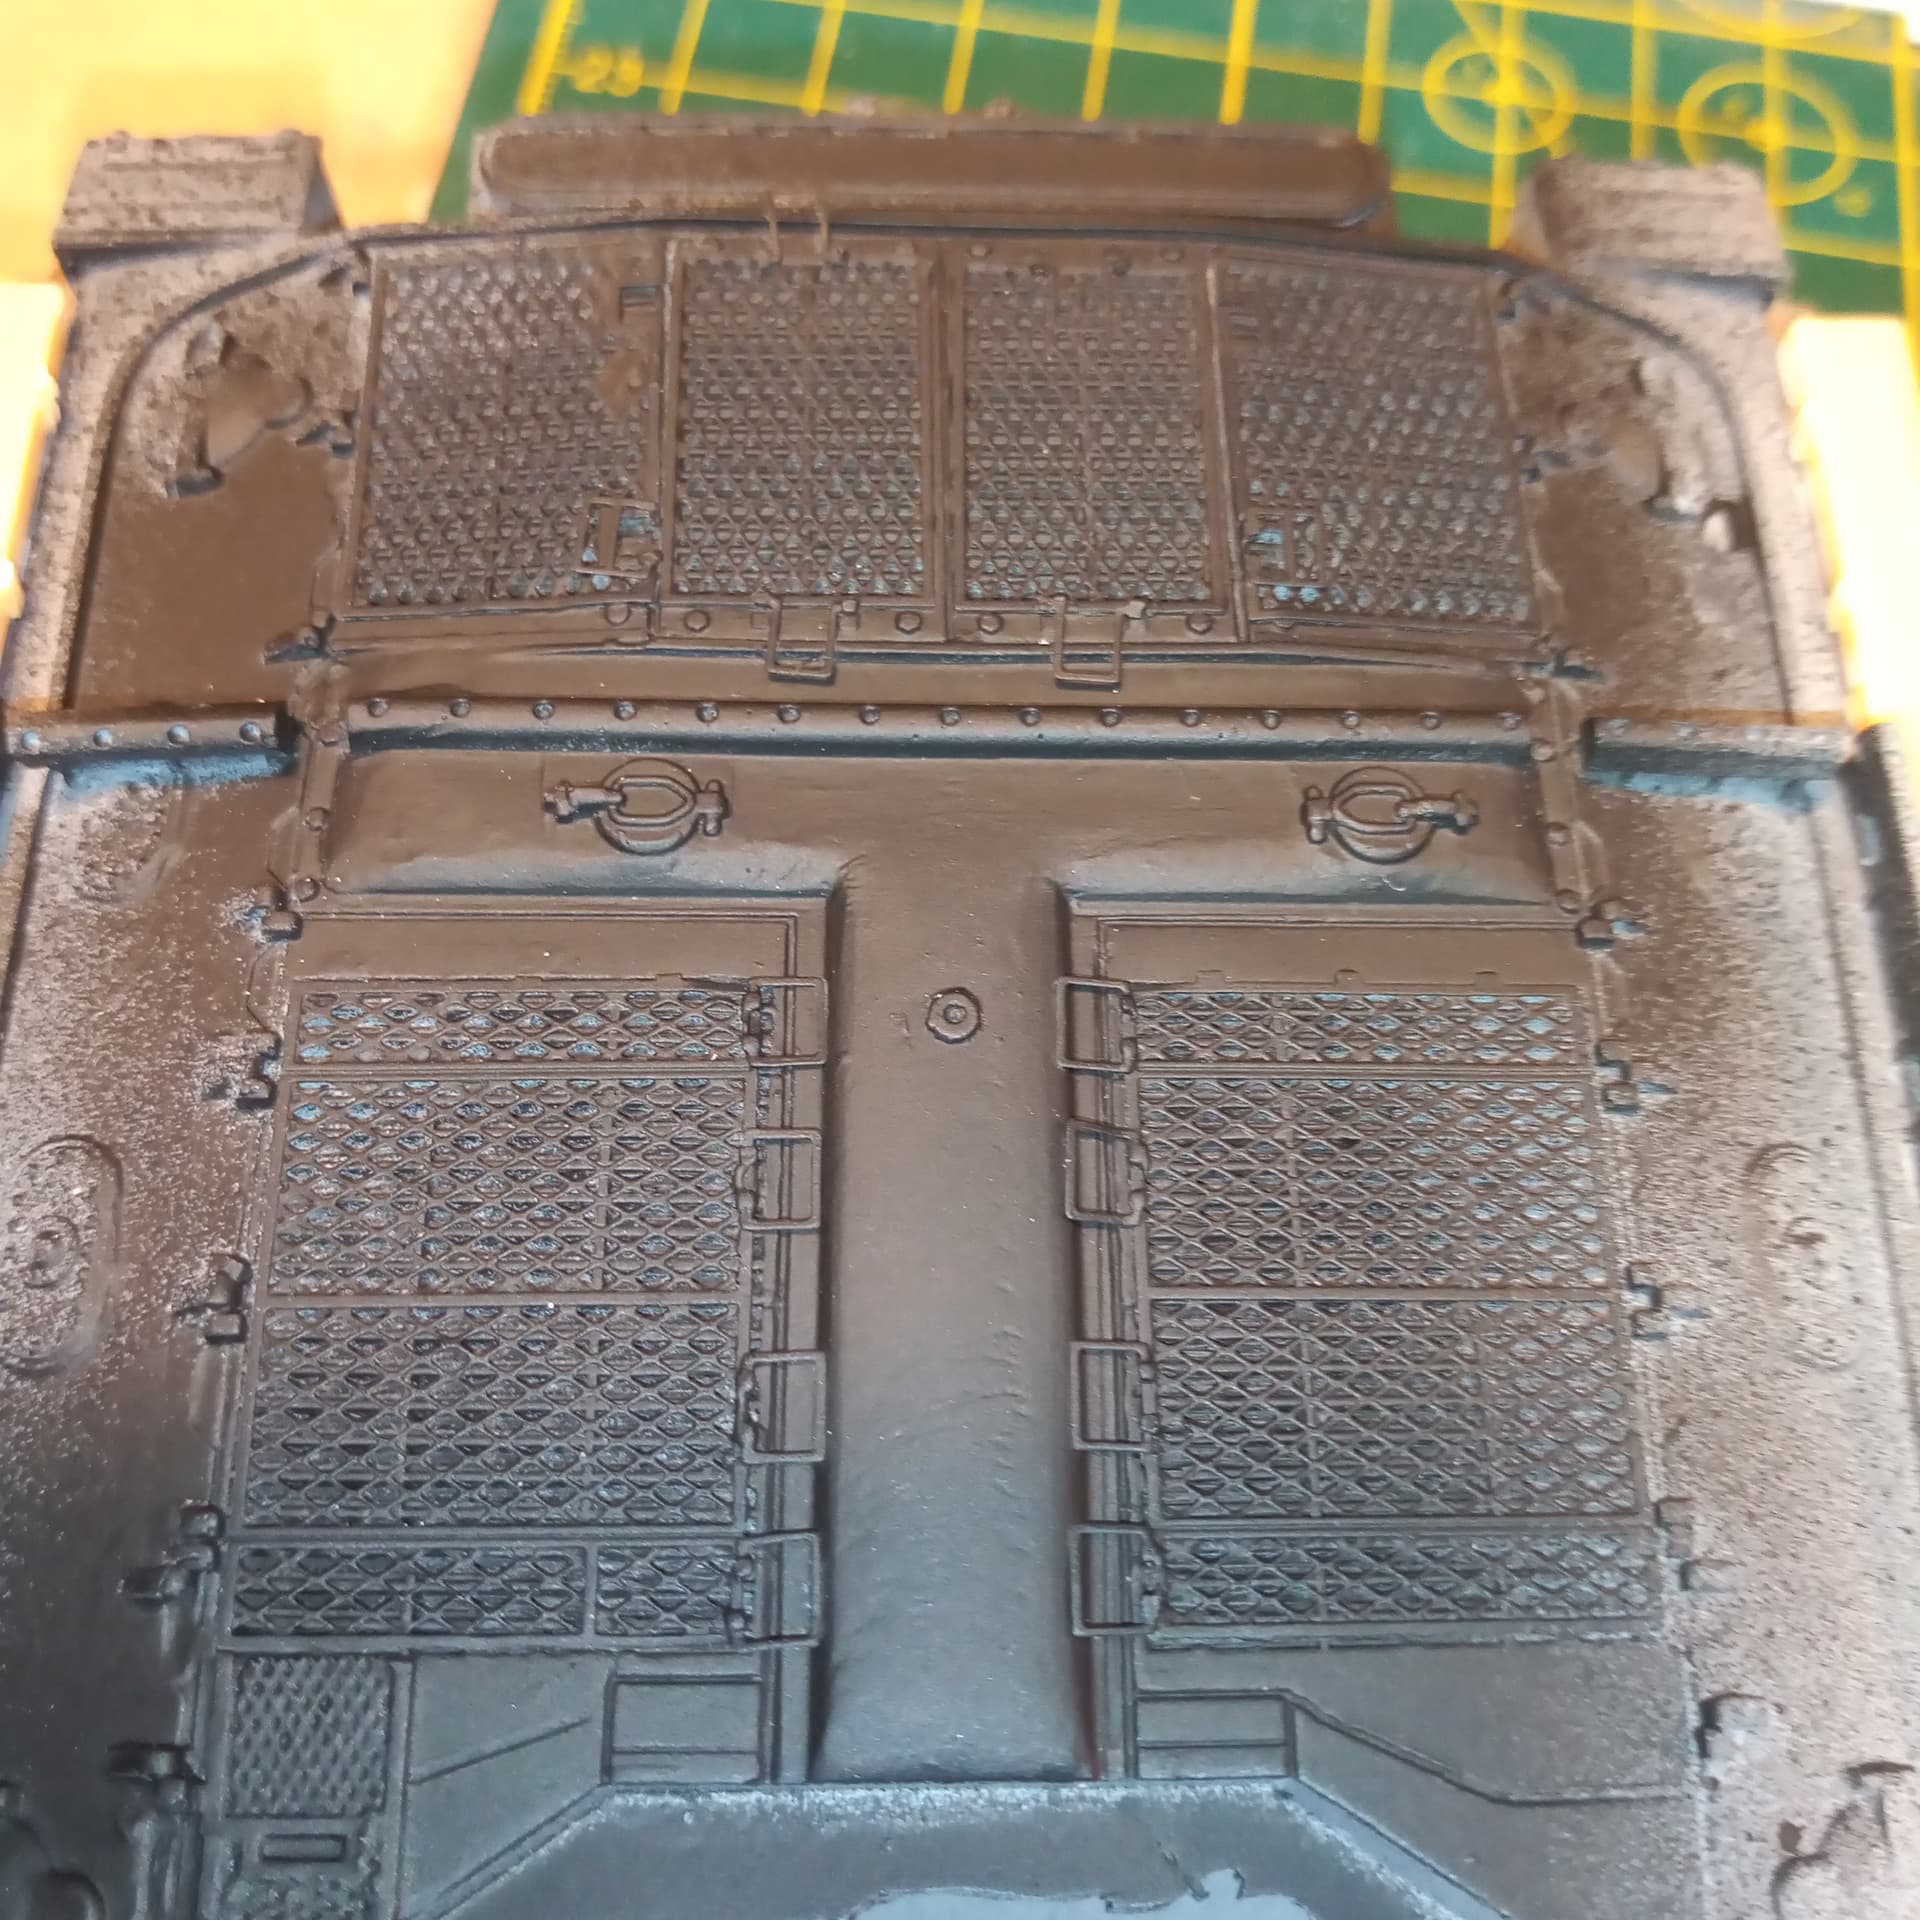
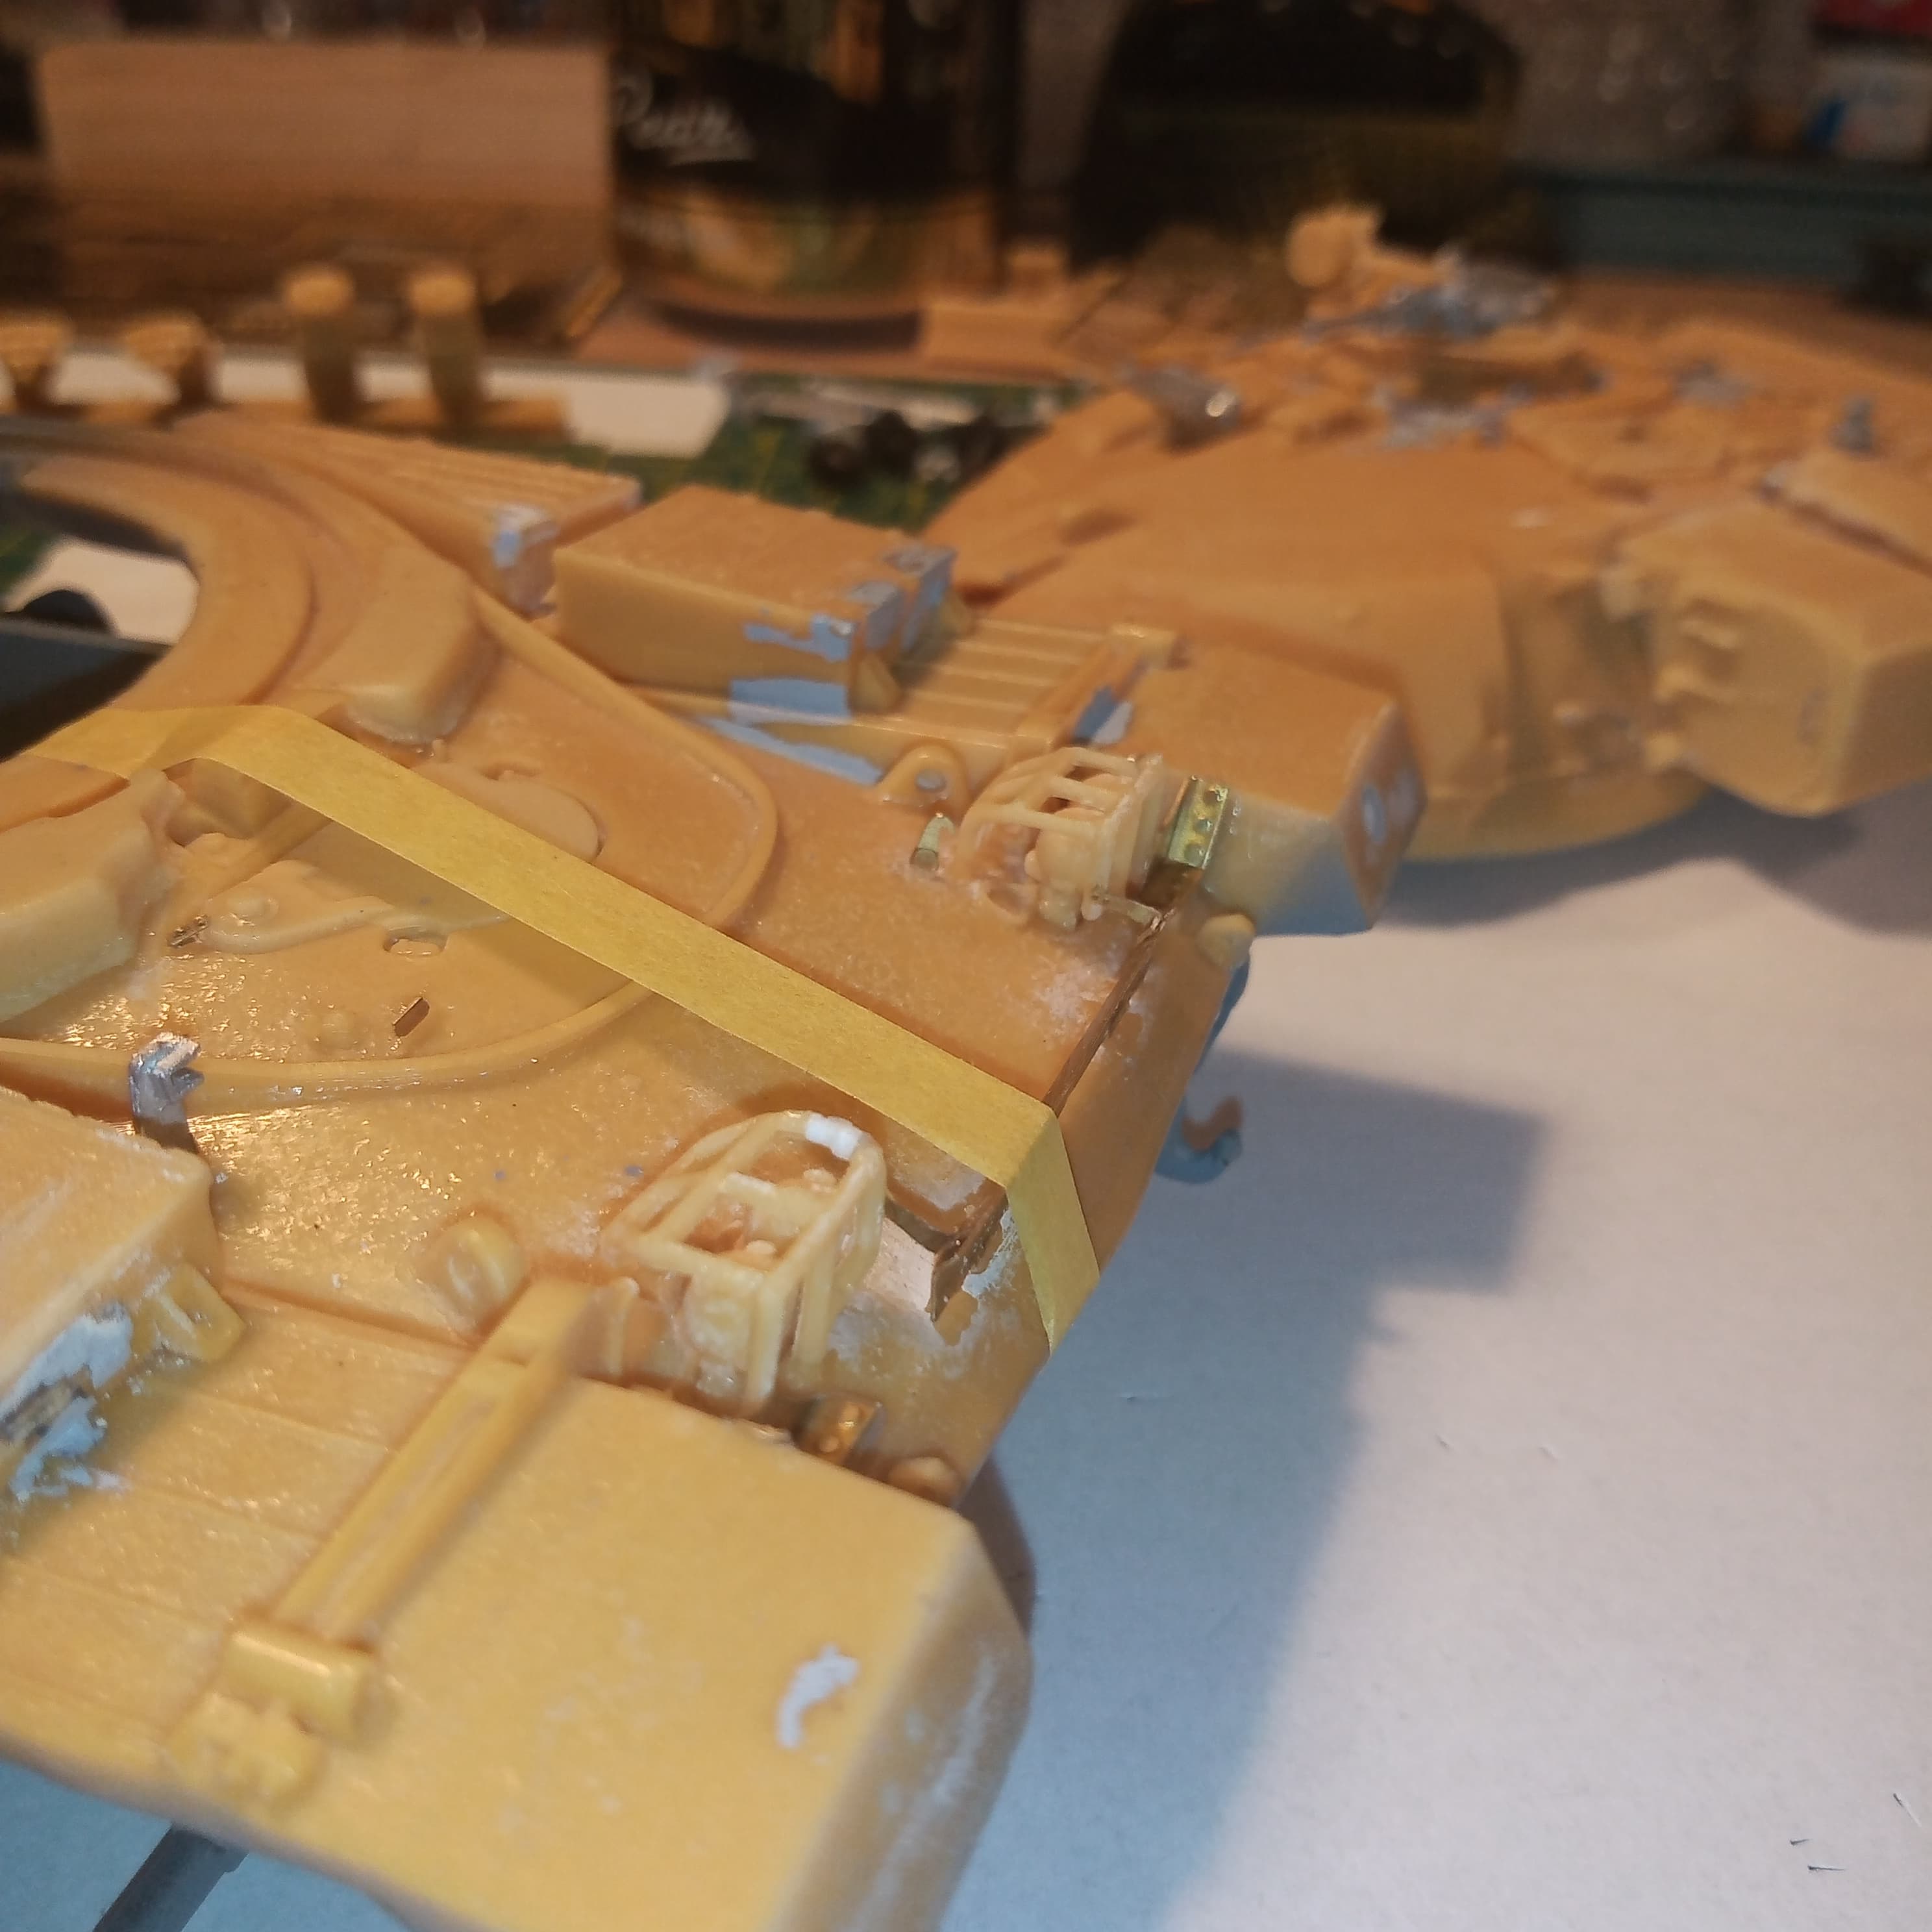
Got a bit more done in between puppy duty but also had a couple of set backs.
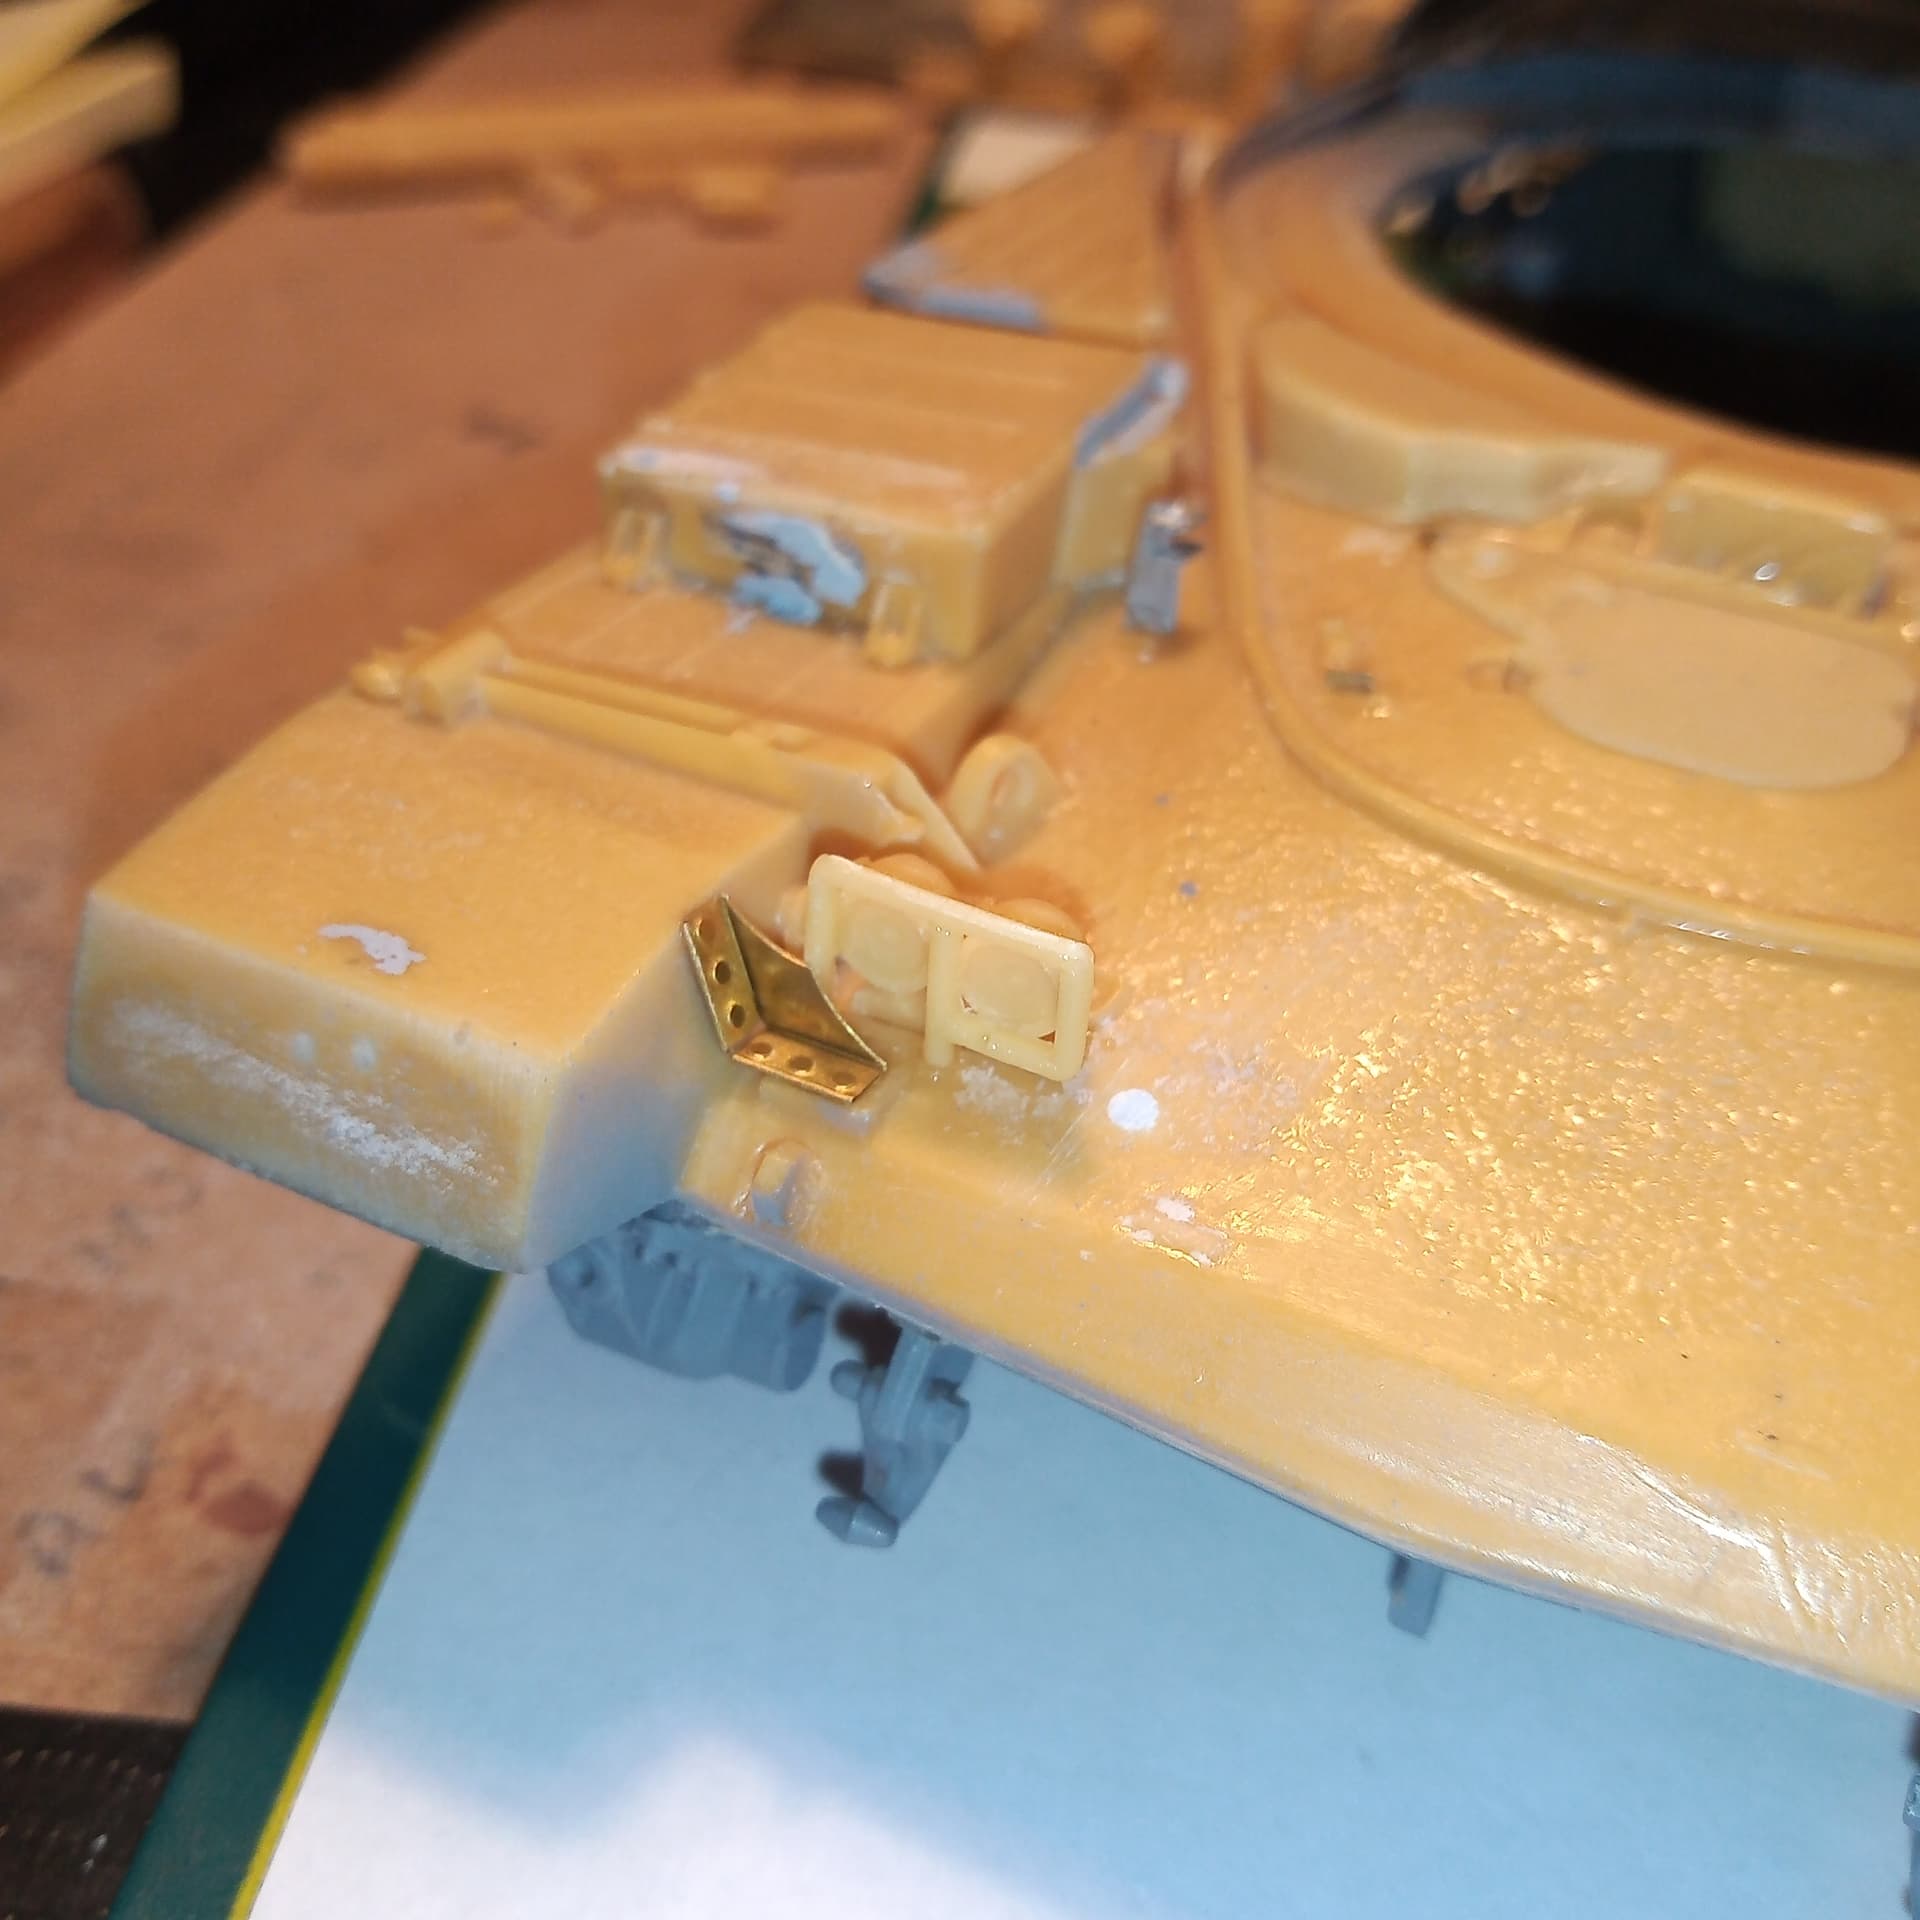
Started to build up the head light assembly and mudguard supports. No real problems apart from me and my sausage fingers snapping off a segment from one of the headlight guards.
I then did the hull long bins which went on fine on the RH side.
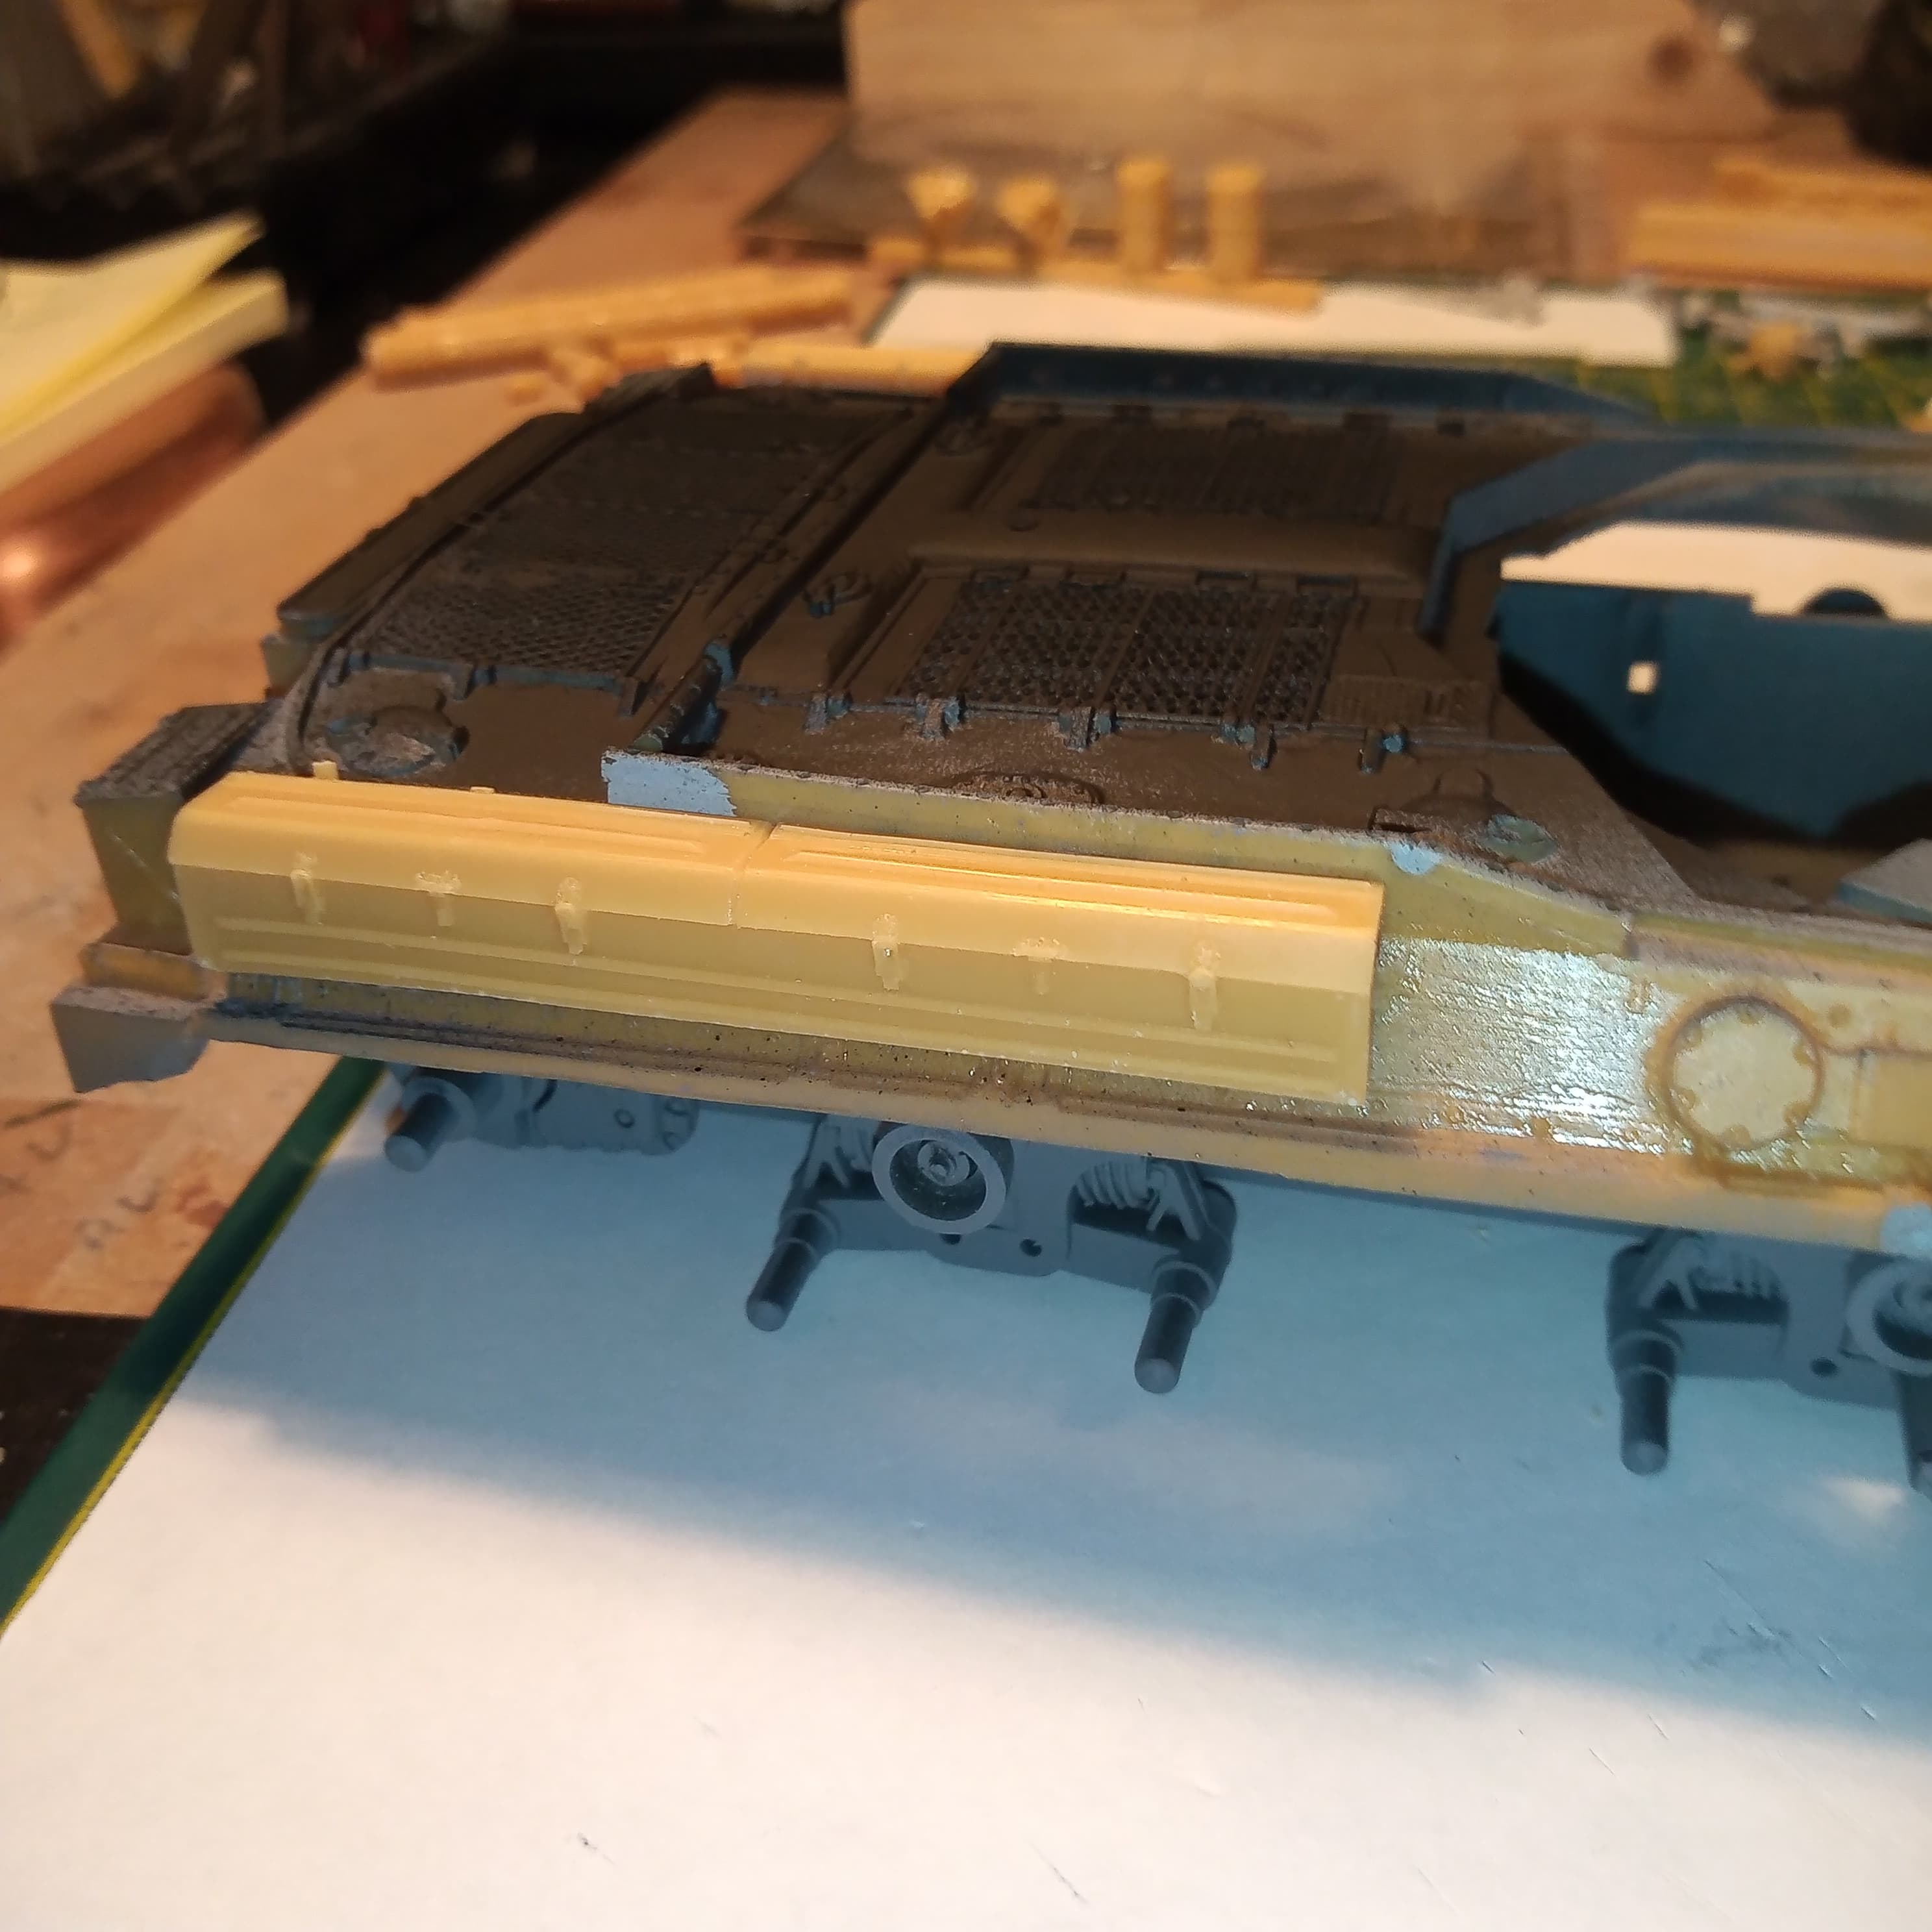
And then the LH one went on ok, but once on, you can easily see how the upper hull has a very noticeable bow/warp in near the front of the bin.
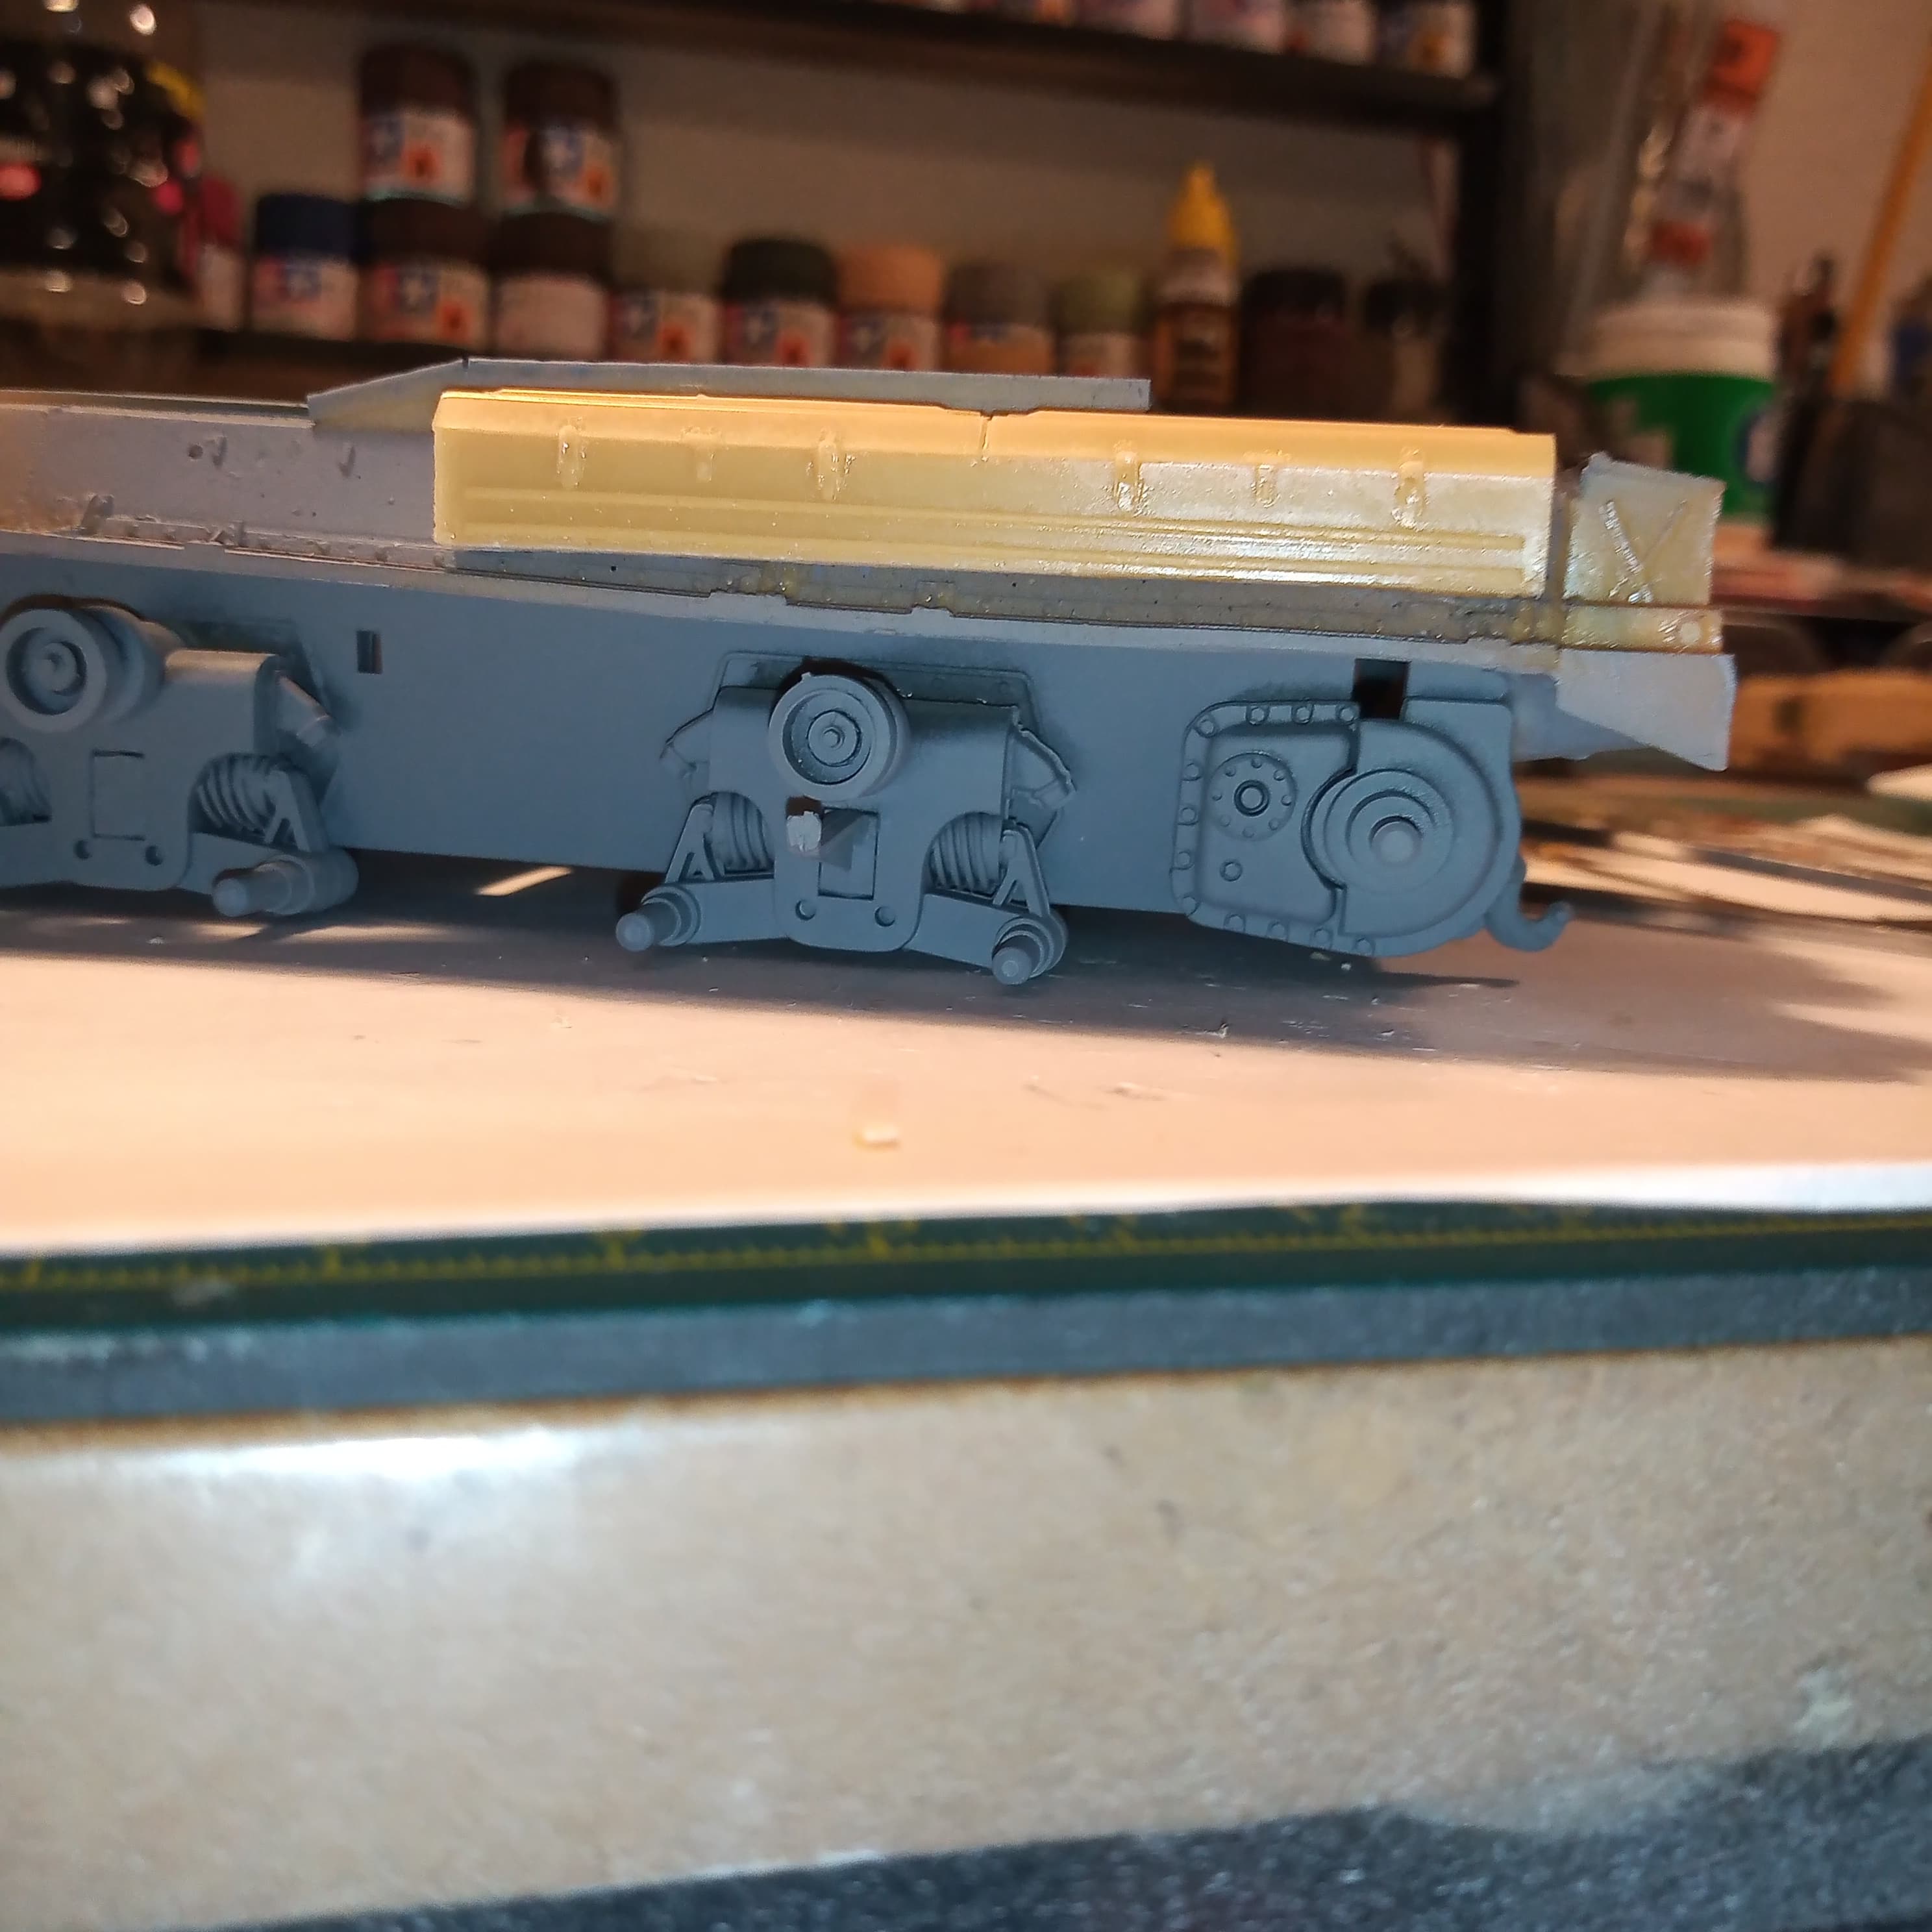

I’m hoping the boz plates hide it a bit when they get fitted as there is no way I can straighten that out

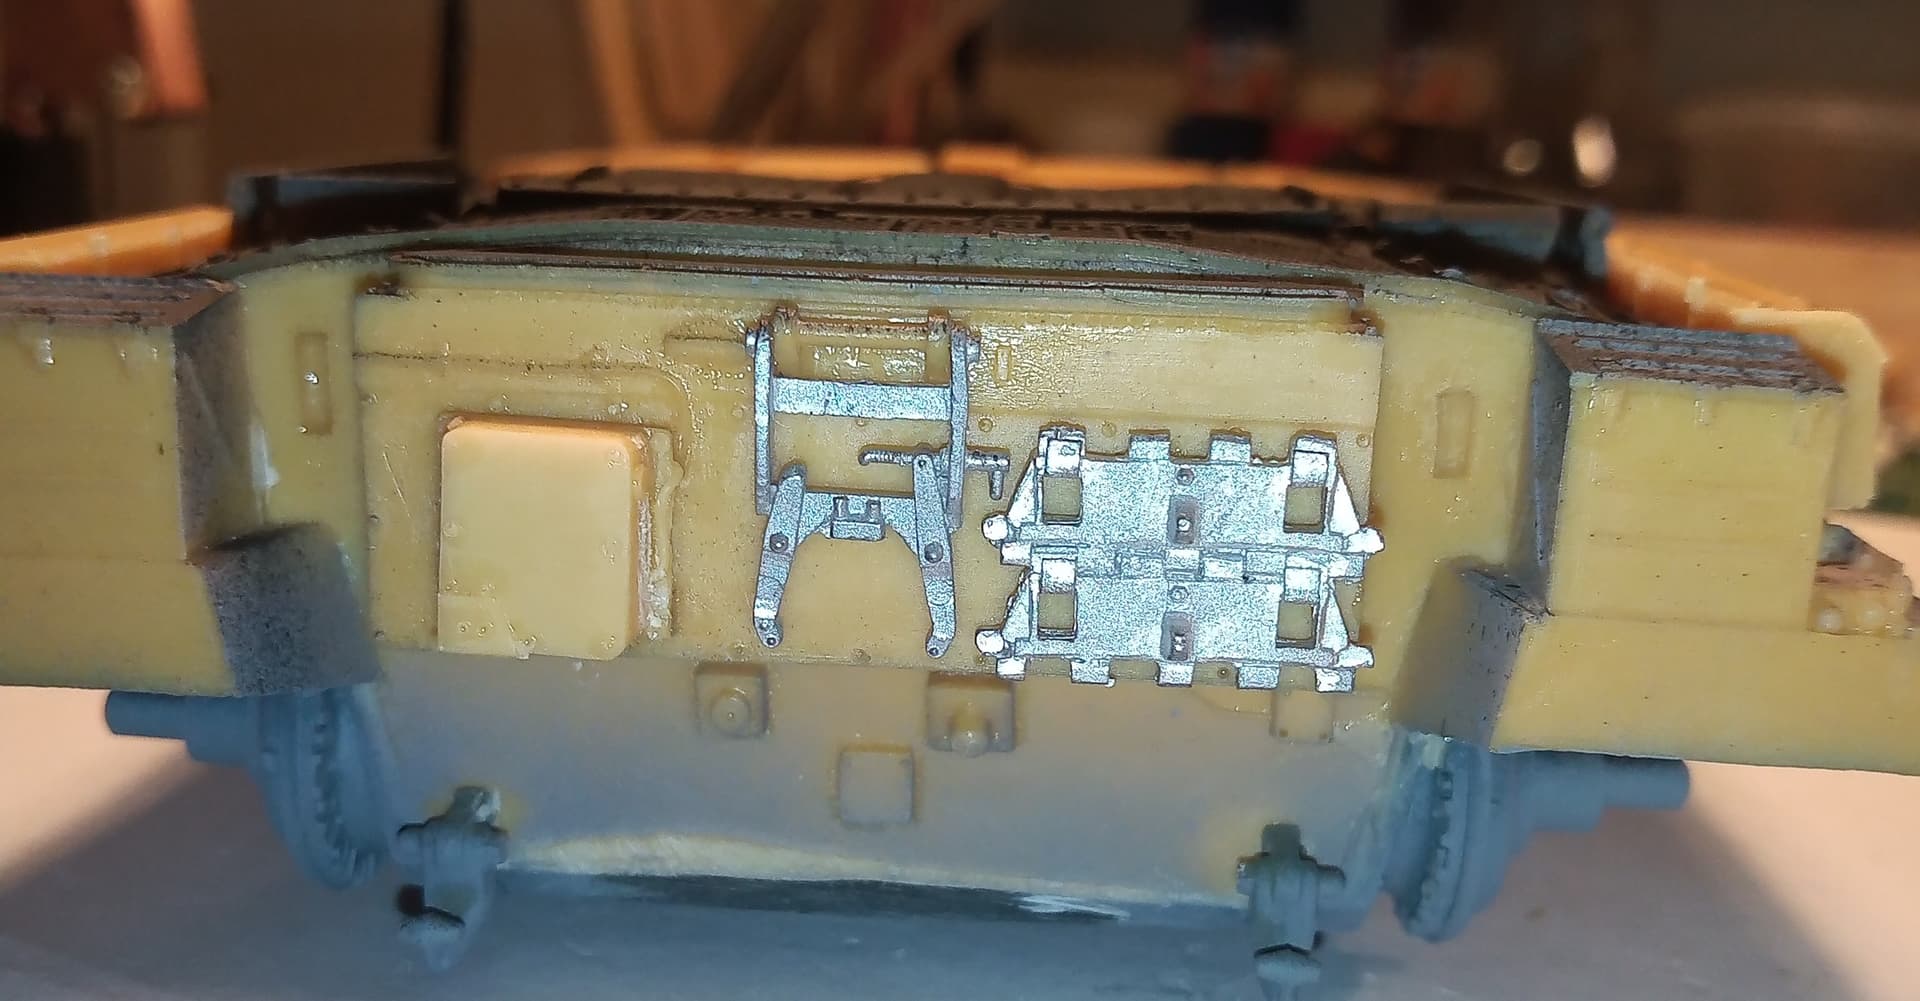
Also added some bits to the rear, spare links, tank telephone box and gun clamp.
This is where I discovered the other set back…
The main engine exhaust elbows are very underscale. I dry fitted them and they just look really bad, no where near the size they should be. I am going to have to get the 3D ones that @petbat sent the links for.
This is one area that the kit has issues. A few things are under scale, and there are a few areas that are just out of alignment with how they are on real wagons, which have a knock on effect with other kit parts when you fit them.
They are all fixable with some care, but it is time consuming… Now … Where’s that link to the exhaust elbows…
Oh and I put some Matt black over the engine deck & grills to give a bit of depth for when the colour goes on.
5 Likes
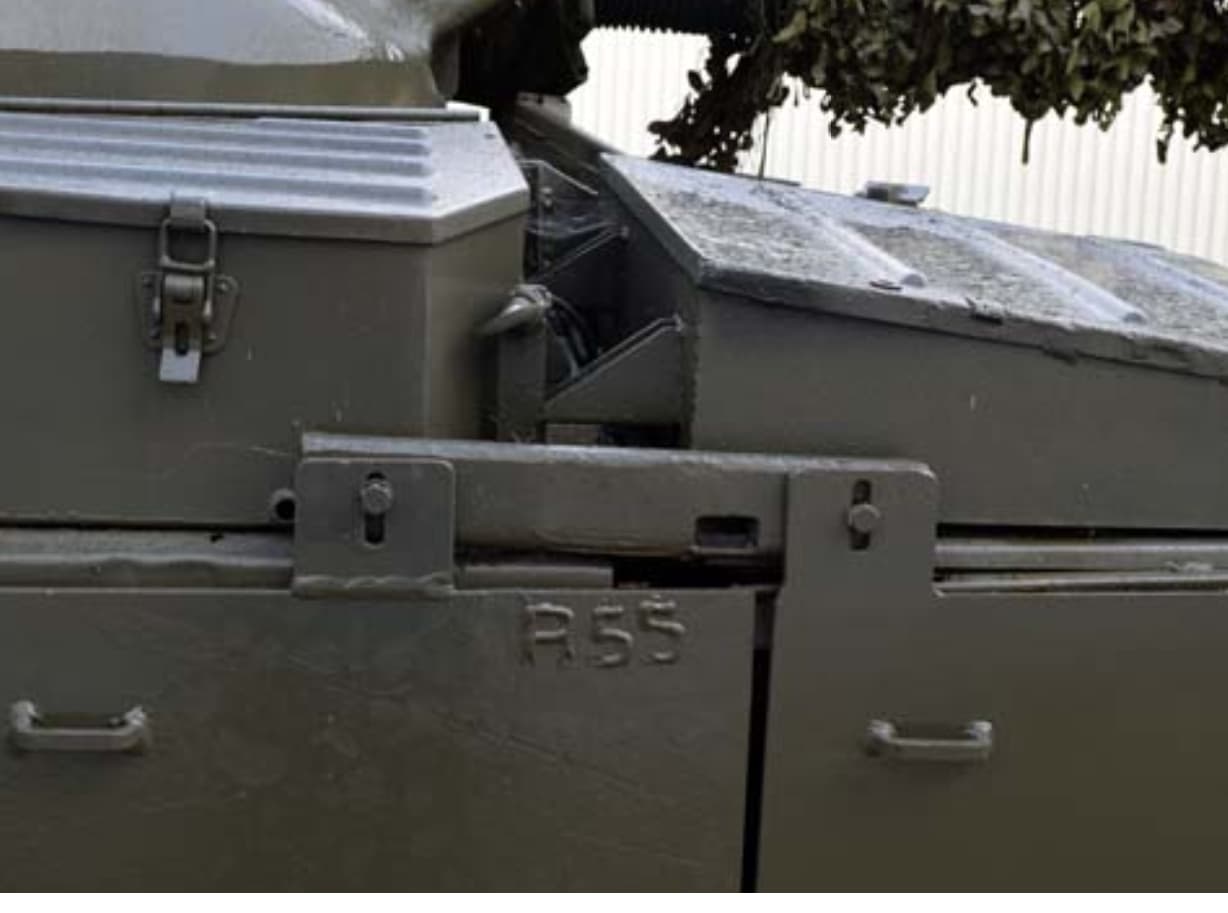
Mal, ref the slots on the side skirts I have no idea… If I ever knew in the first place. I don’t think they are evident in a lot of the later marks so maybe on an early Mk a way they perhaps visually checked a track using the horizontal one ?? No clue about the vertical one. A newer Boz plate is the last pic of R55… the lashing brackets are more square as opposed to the early ones being more round.
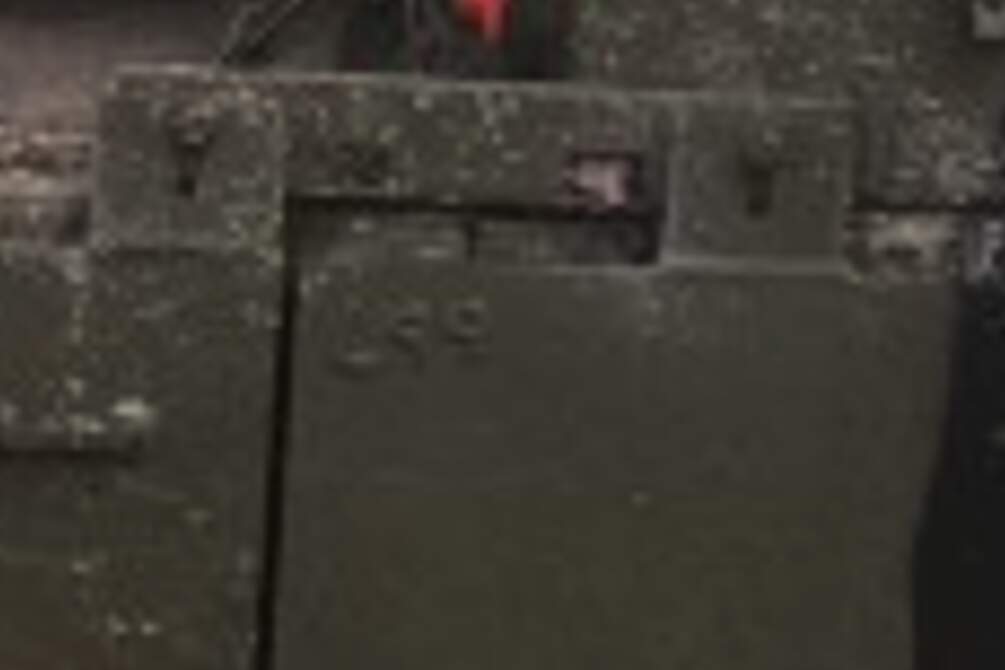
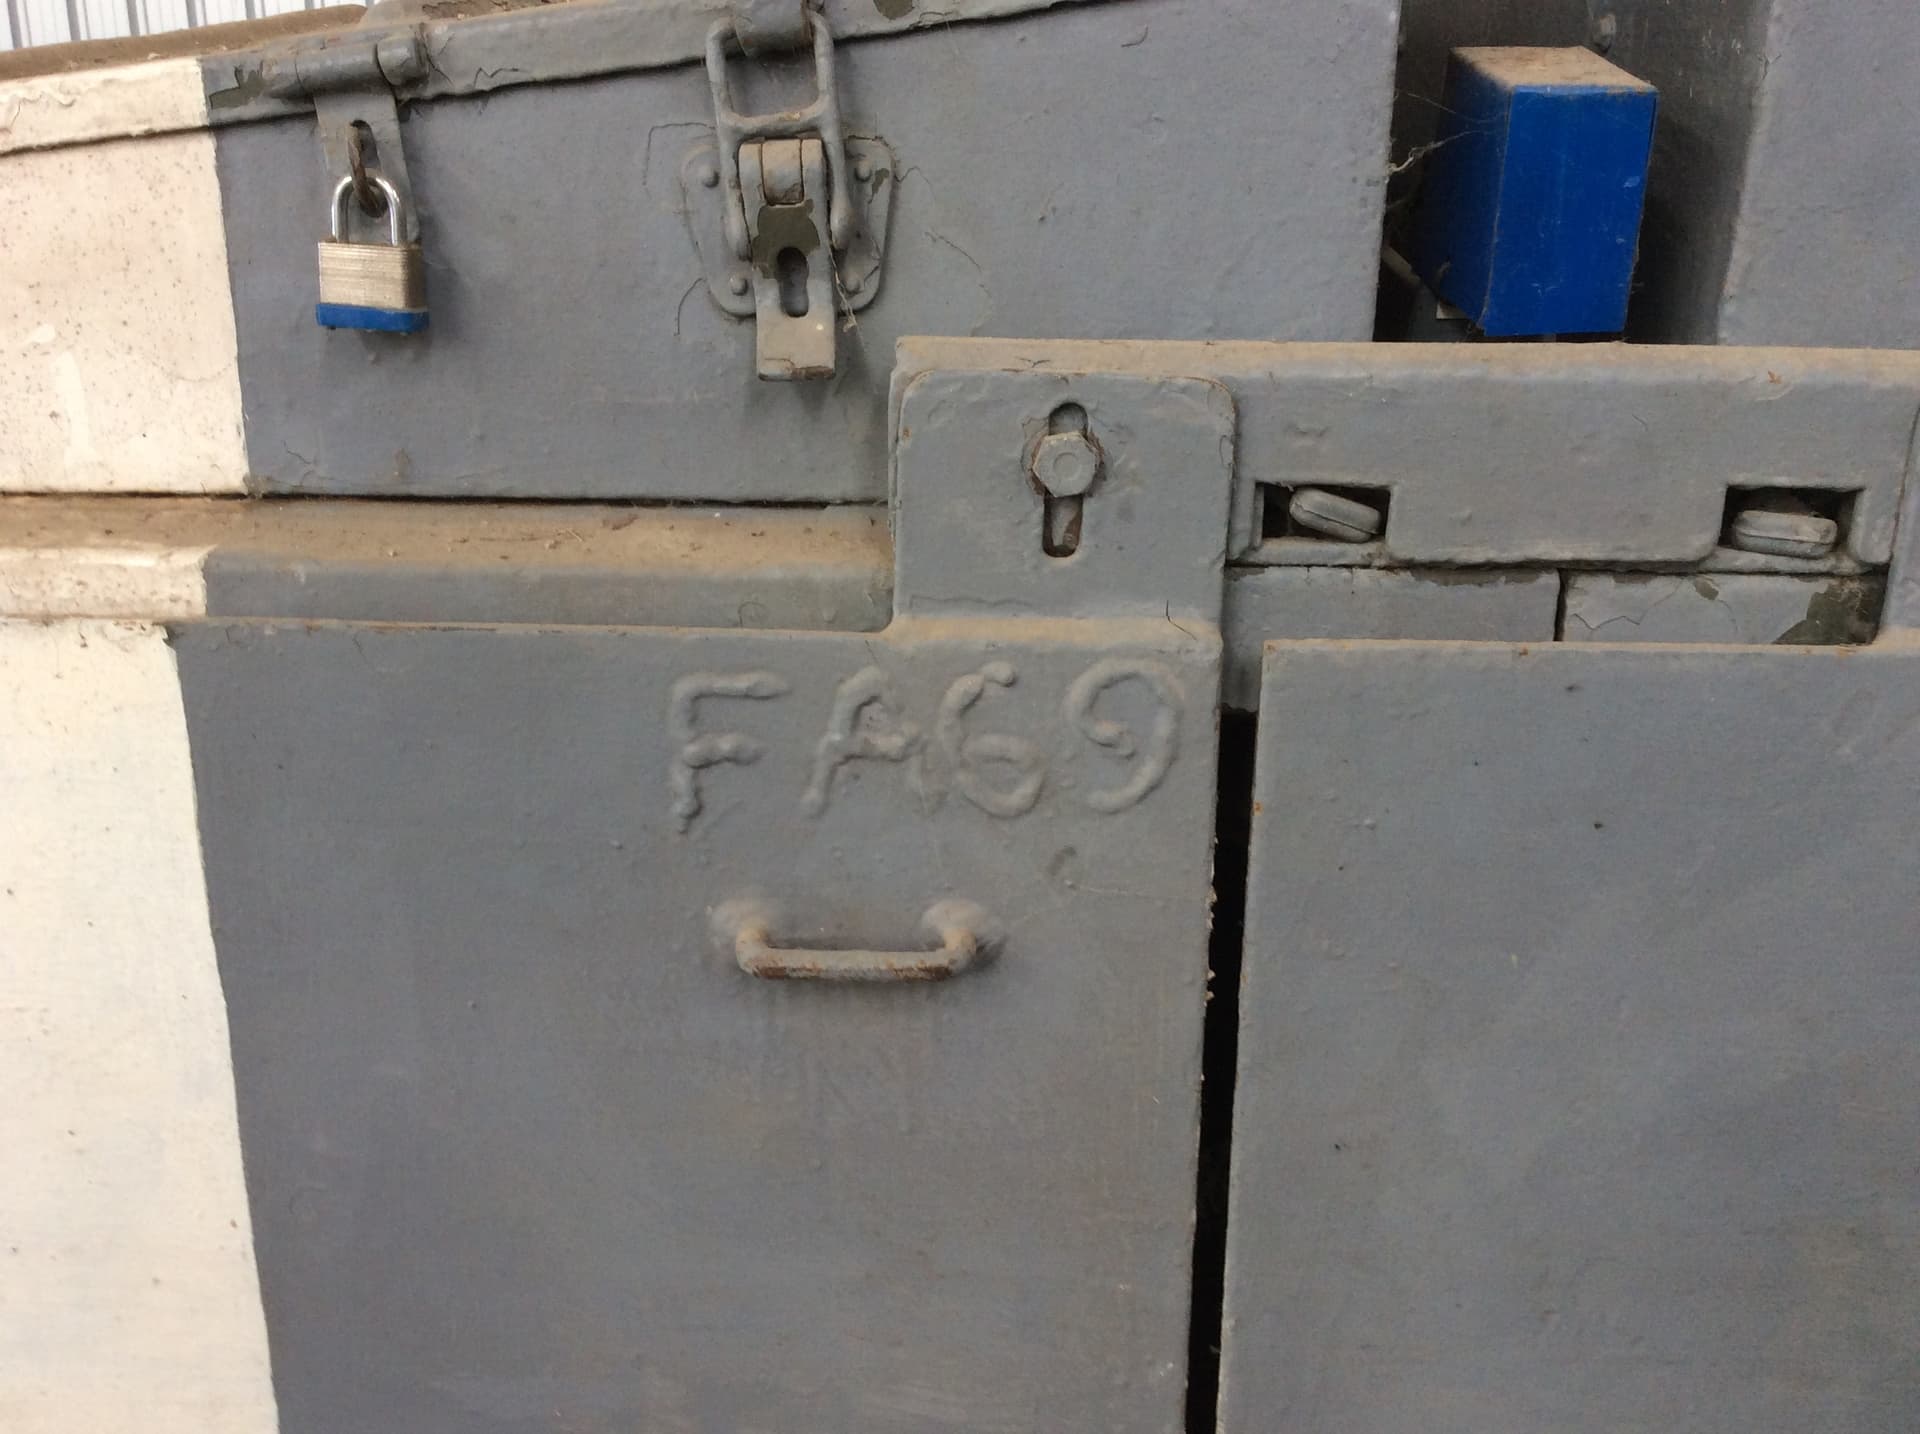
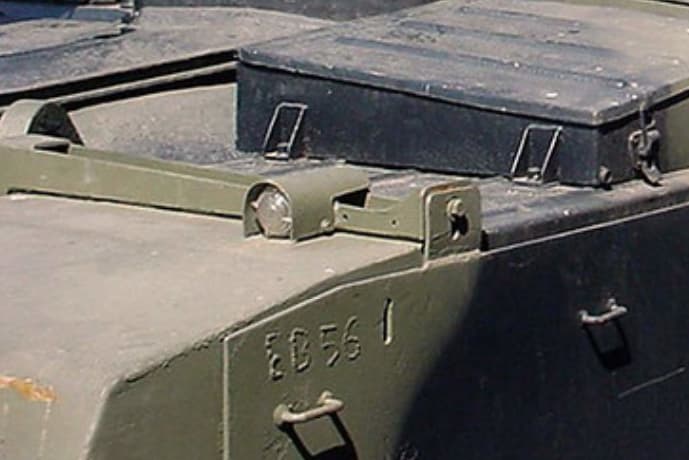
The welds will somehow mark which Boz plates belong to which tank. Some will be part of the reg ie FA69 or EB56… I would say the other 2 are the same principle except they are only using L or R for left or right and again the numbers will be part of the veh reg. In reality there is very little point in putting on L or R as they only fit one way round anyway.
We never bothered doing that… If you lost one you just demand a new one, and they were rarely nicked by other crews as each wagon had a slightly different cam so it wouldn’t match anyway…
2 Likes
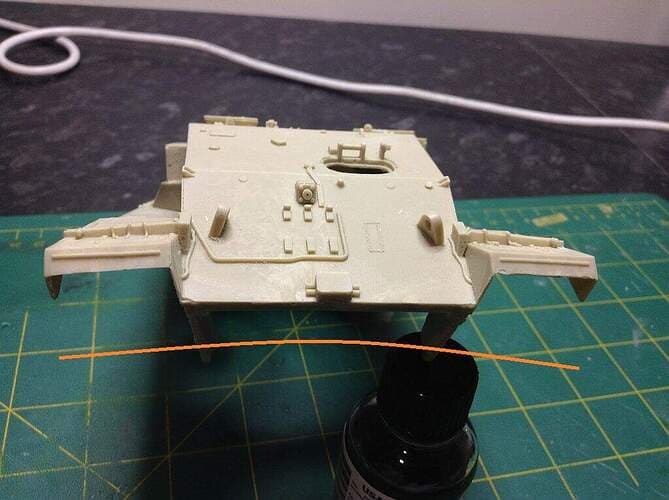
I’ll post pictures of the parts in my thread about the kit when I start the turret.
Olivier
Don’t worry it John, you’ll never see that wave in the fender once the side skirts are on. Nice work on the details. You’re really making that block 'o resin look good. 
1 Like
Welcome to my world… remember this pic?
Shoulda got the Takom kit ![]()
![]()
![]()
You are reaching the same point I got to John, enough is enough, I’ll just accept what it is…
2 Likes
I’ve got some AA Cheiftain bins as a separate bin set and the long bins have a bit of a warp. Worse warp is the front of my AA Spartan.
1 Like
Yeap, I’m at that stage now Peter. There is only so much you can do sadly … Will be ordering those FC model trend exhaust elbows over the weekend. I really could do the kit ones no matter how much I said I wasn’t going to buy any extras for it…
2 Likes
And my long bins are the same Paul… I just didn’t mention it… Both have a slight downward curve on each end. The hull has various slight bows and twists to it so I will be doing very selective camera angles once it’s finished…it’s odd though as the AA Striker I did was an older kit than this one, with no twists or warps or air bubbles at all … 
2 Likes
I’m hoping so too Matt, if there is anything visible after I can hopefully shave the bow or raised part away and make it disappear that way
1 Like
I grabbed a quick hour earlier after numerous puppy walks trying to tire the little ( not so little lol ) sod out lol
Fitted the head light guards and the driver’s splash plate after some gentle pressure to get it aligned.
The headlight guards are a pig to fit and very brittle and they are as good as their going to get.
Also fitted the Comds spotlight and GPMG…
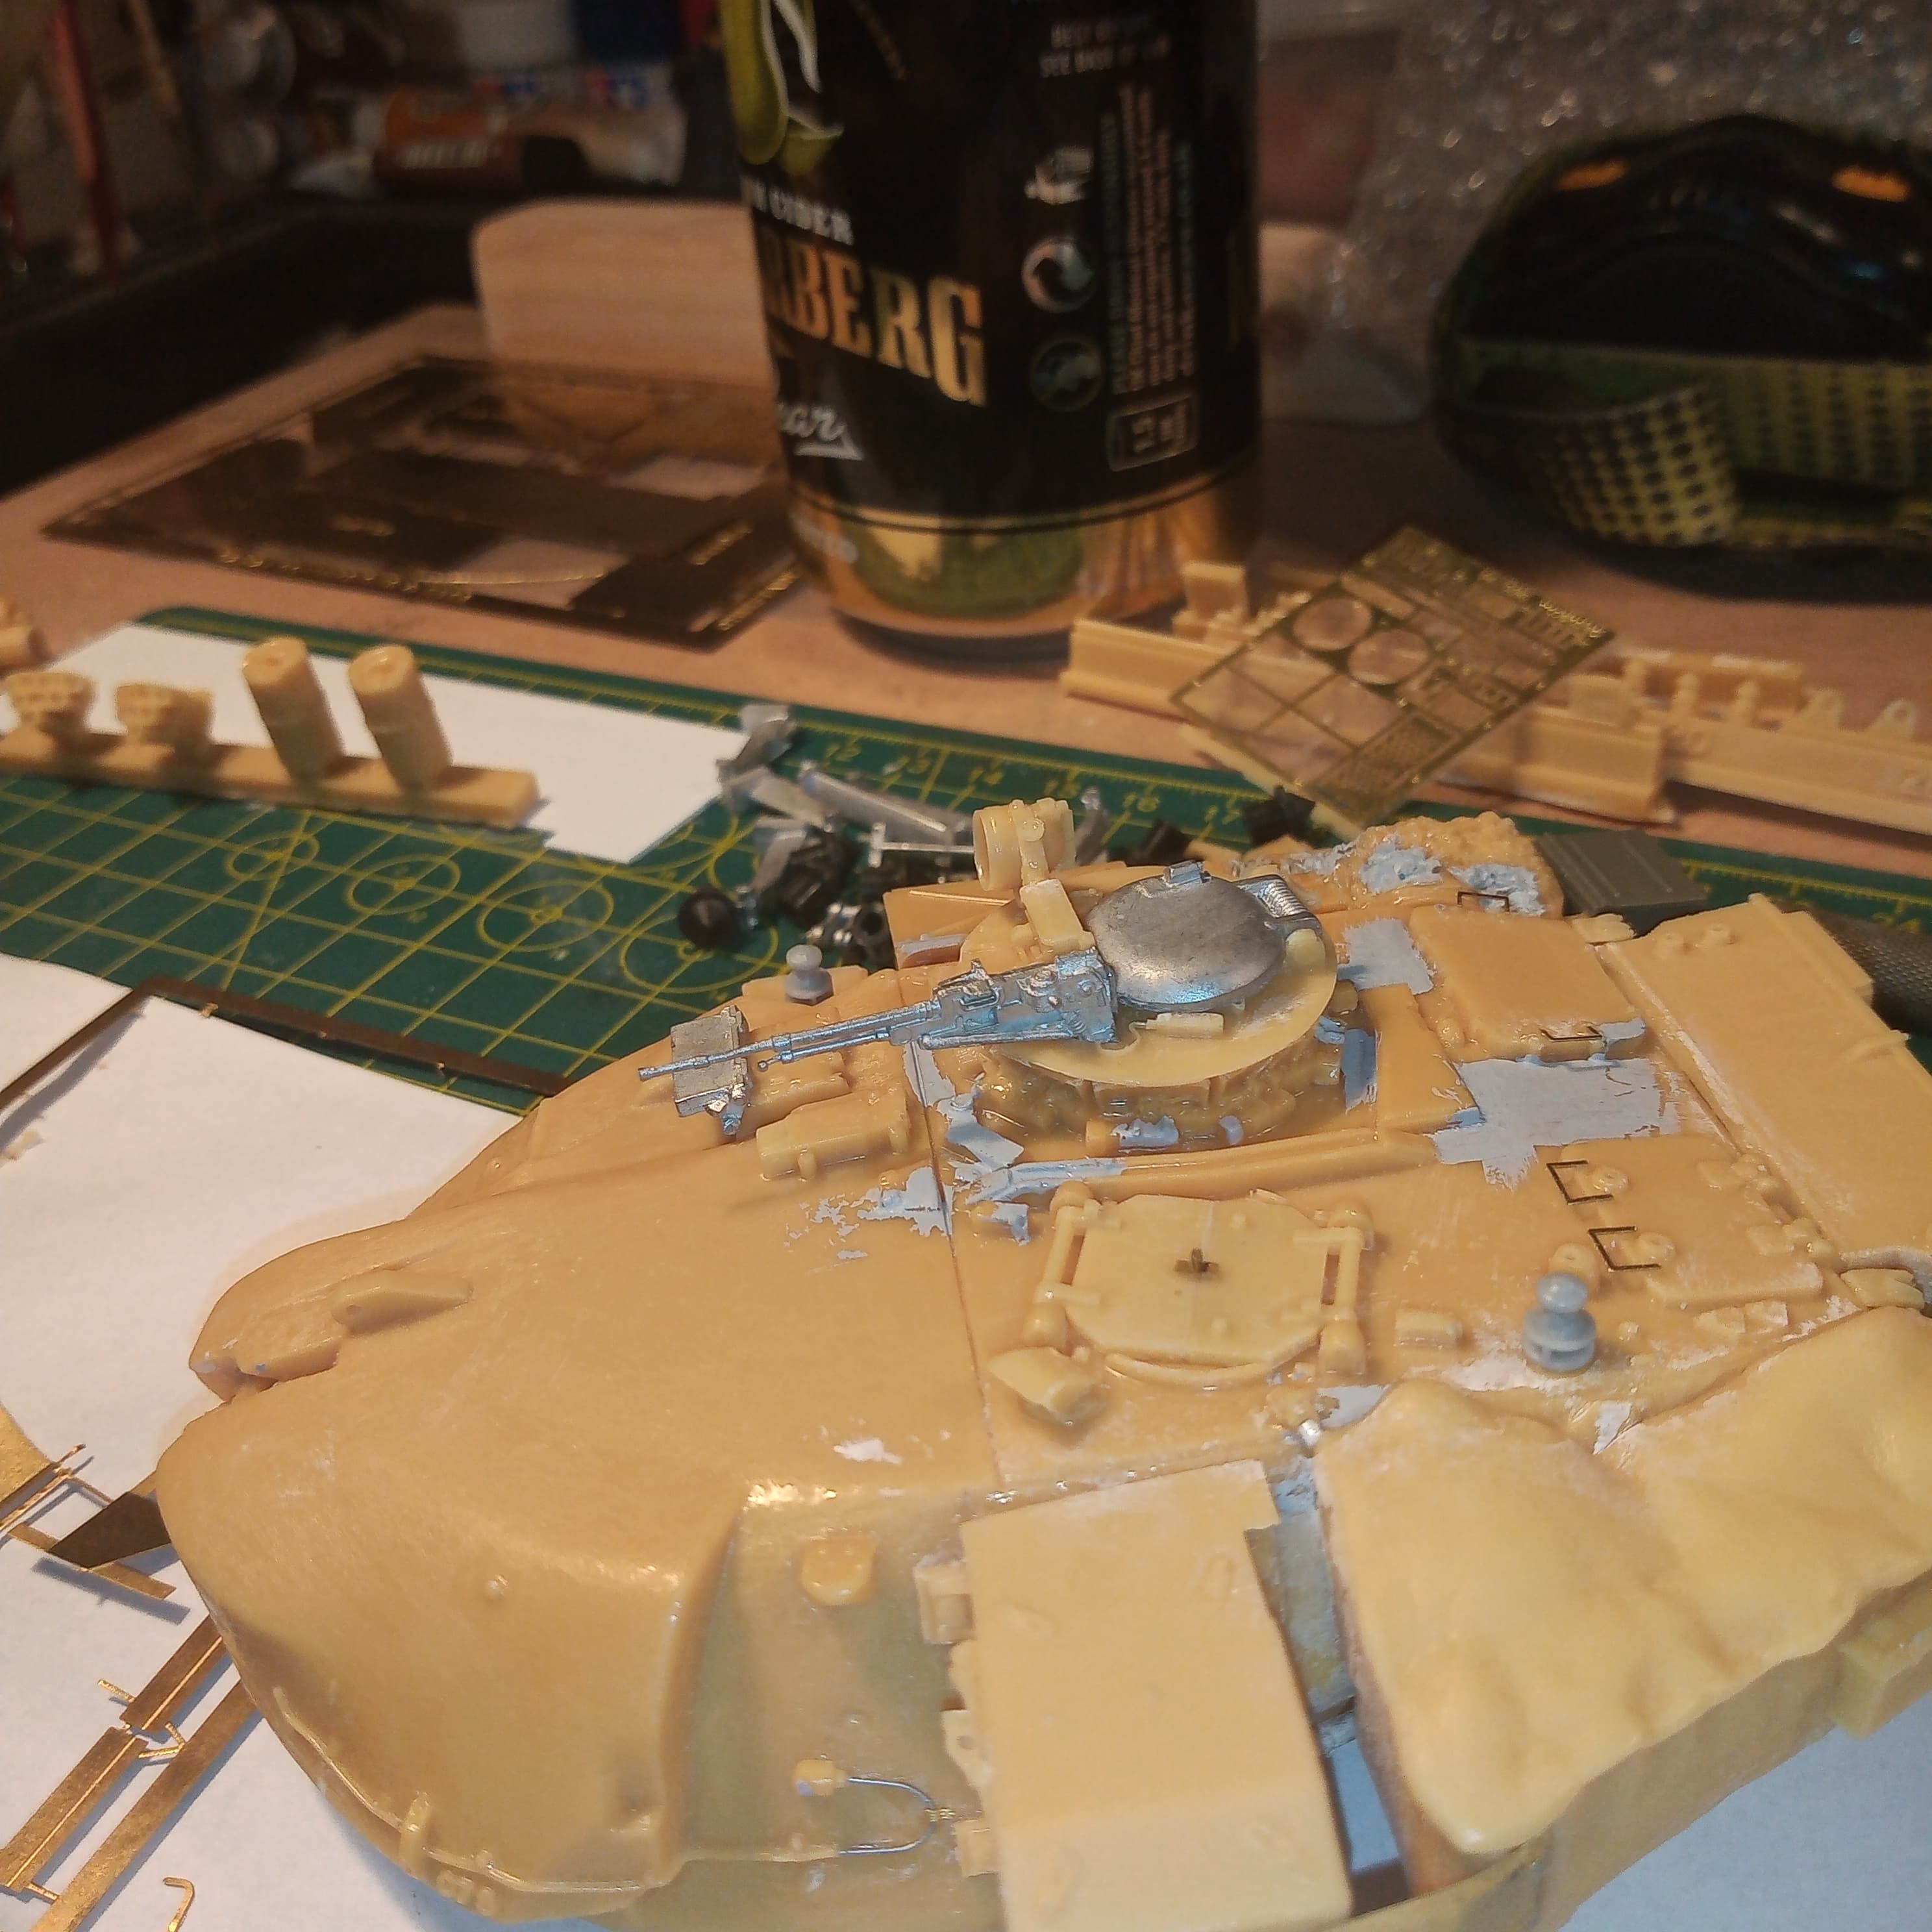
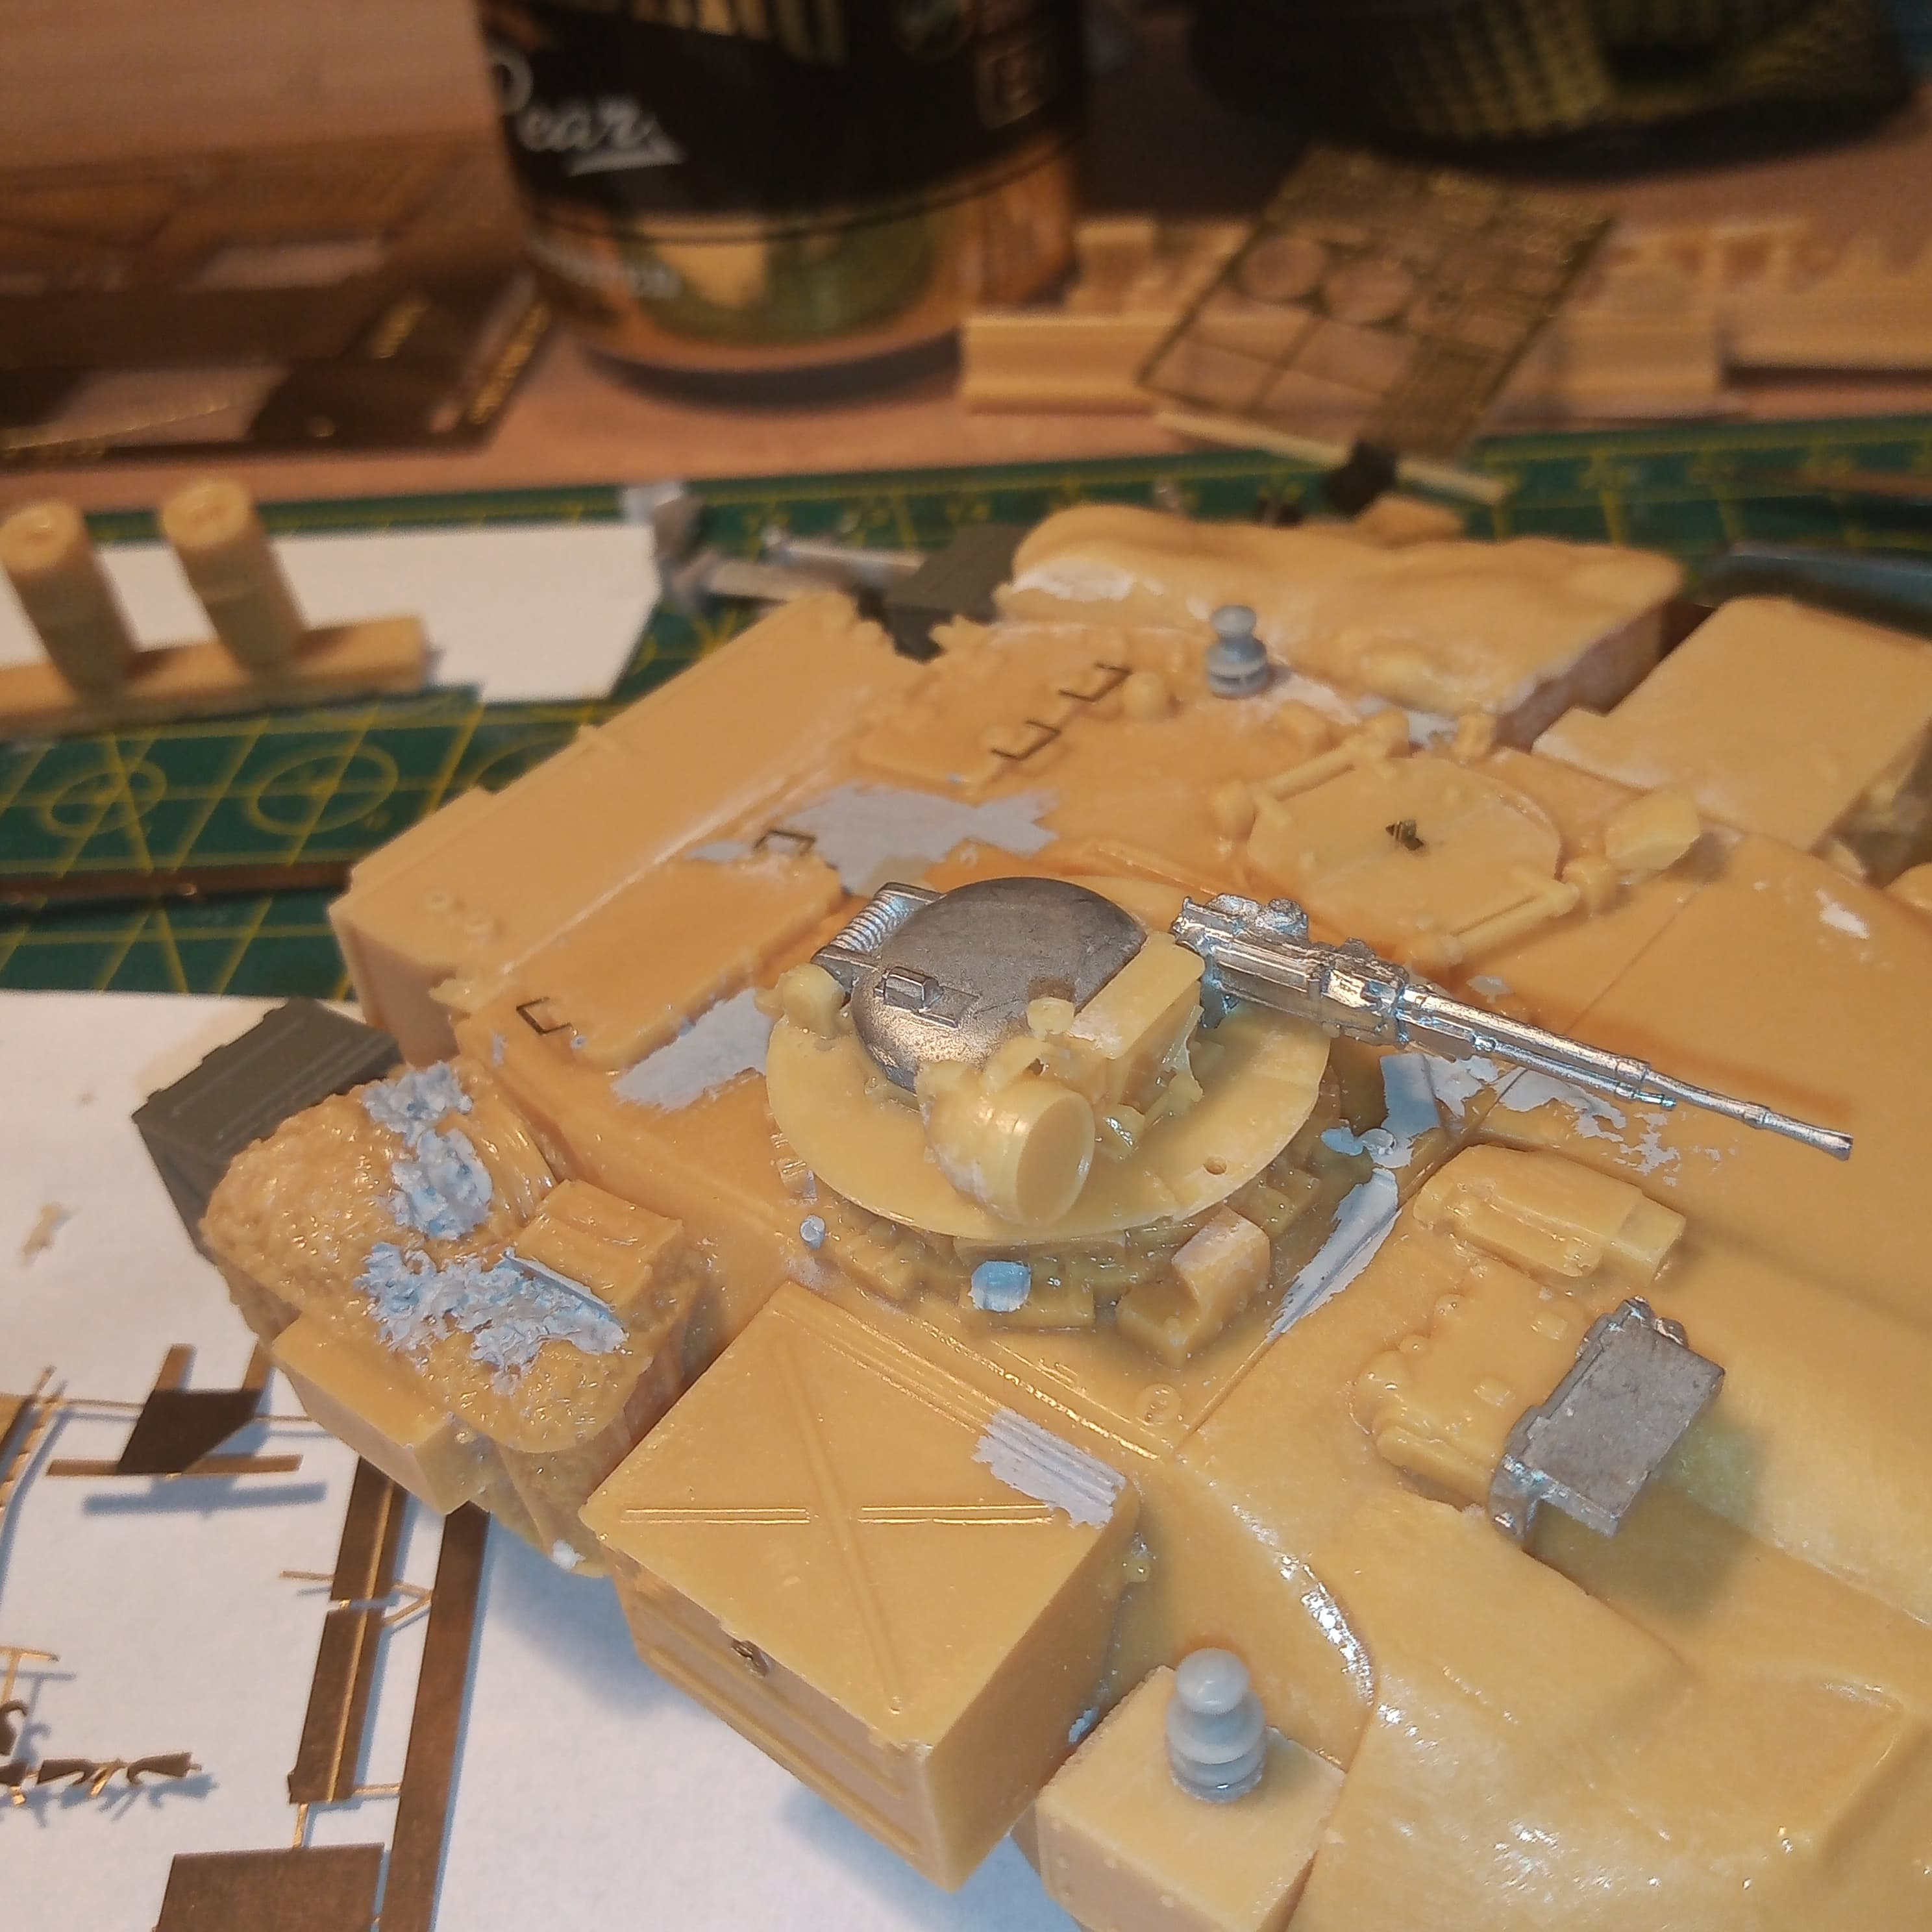
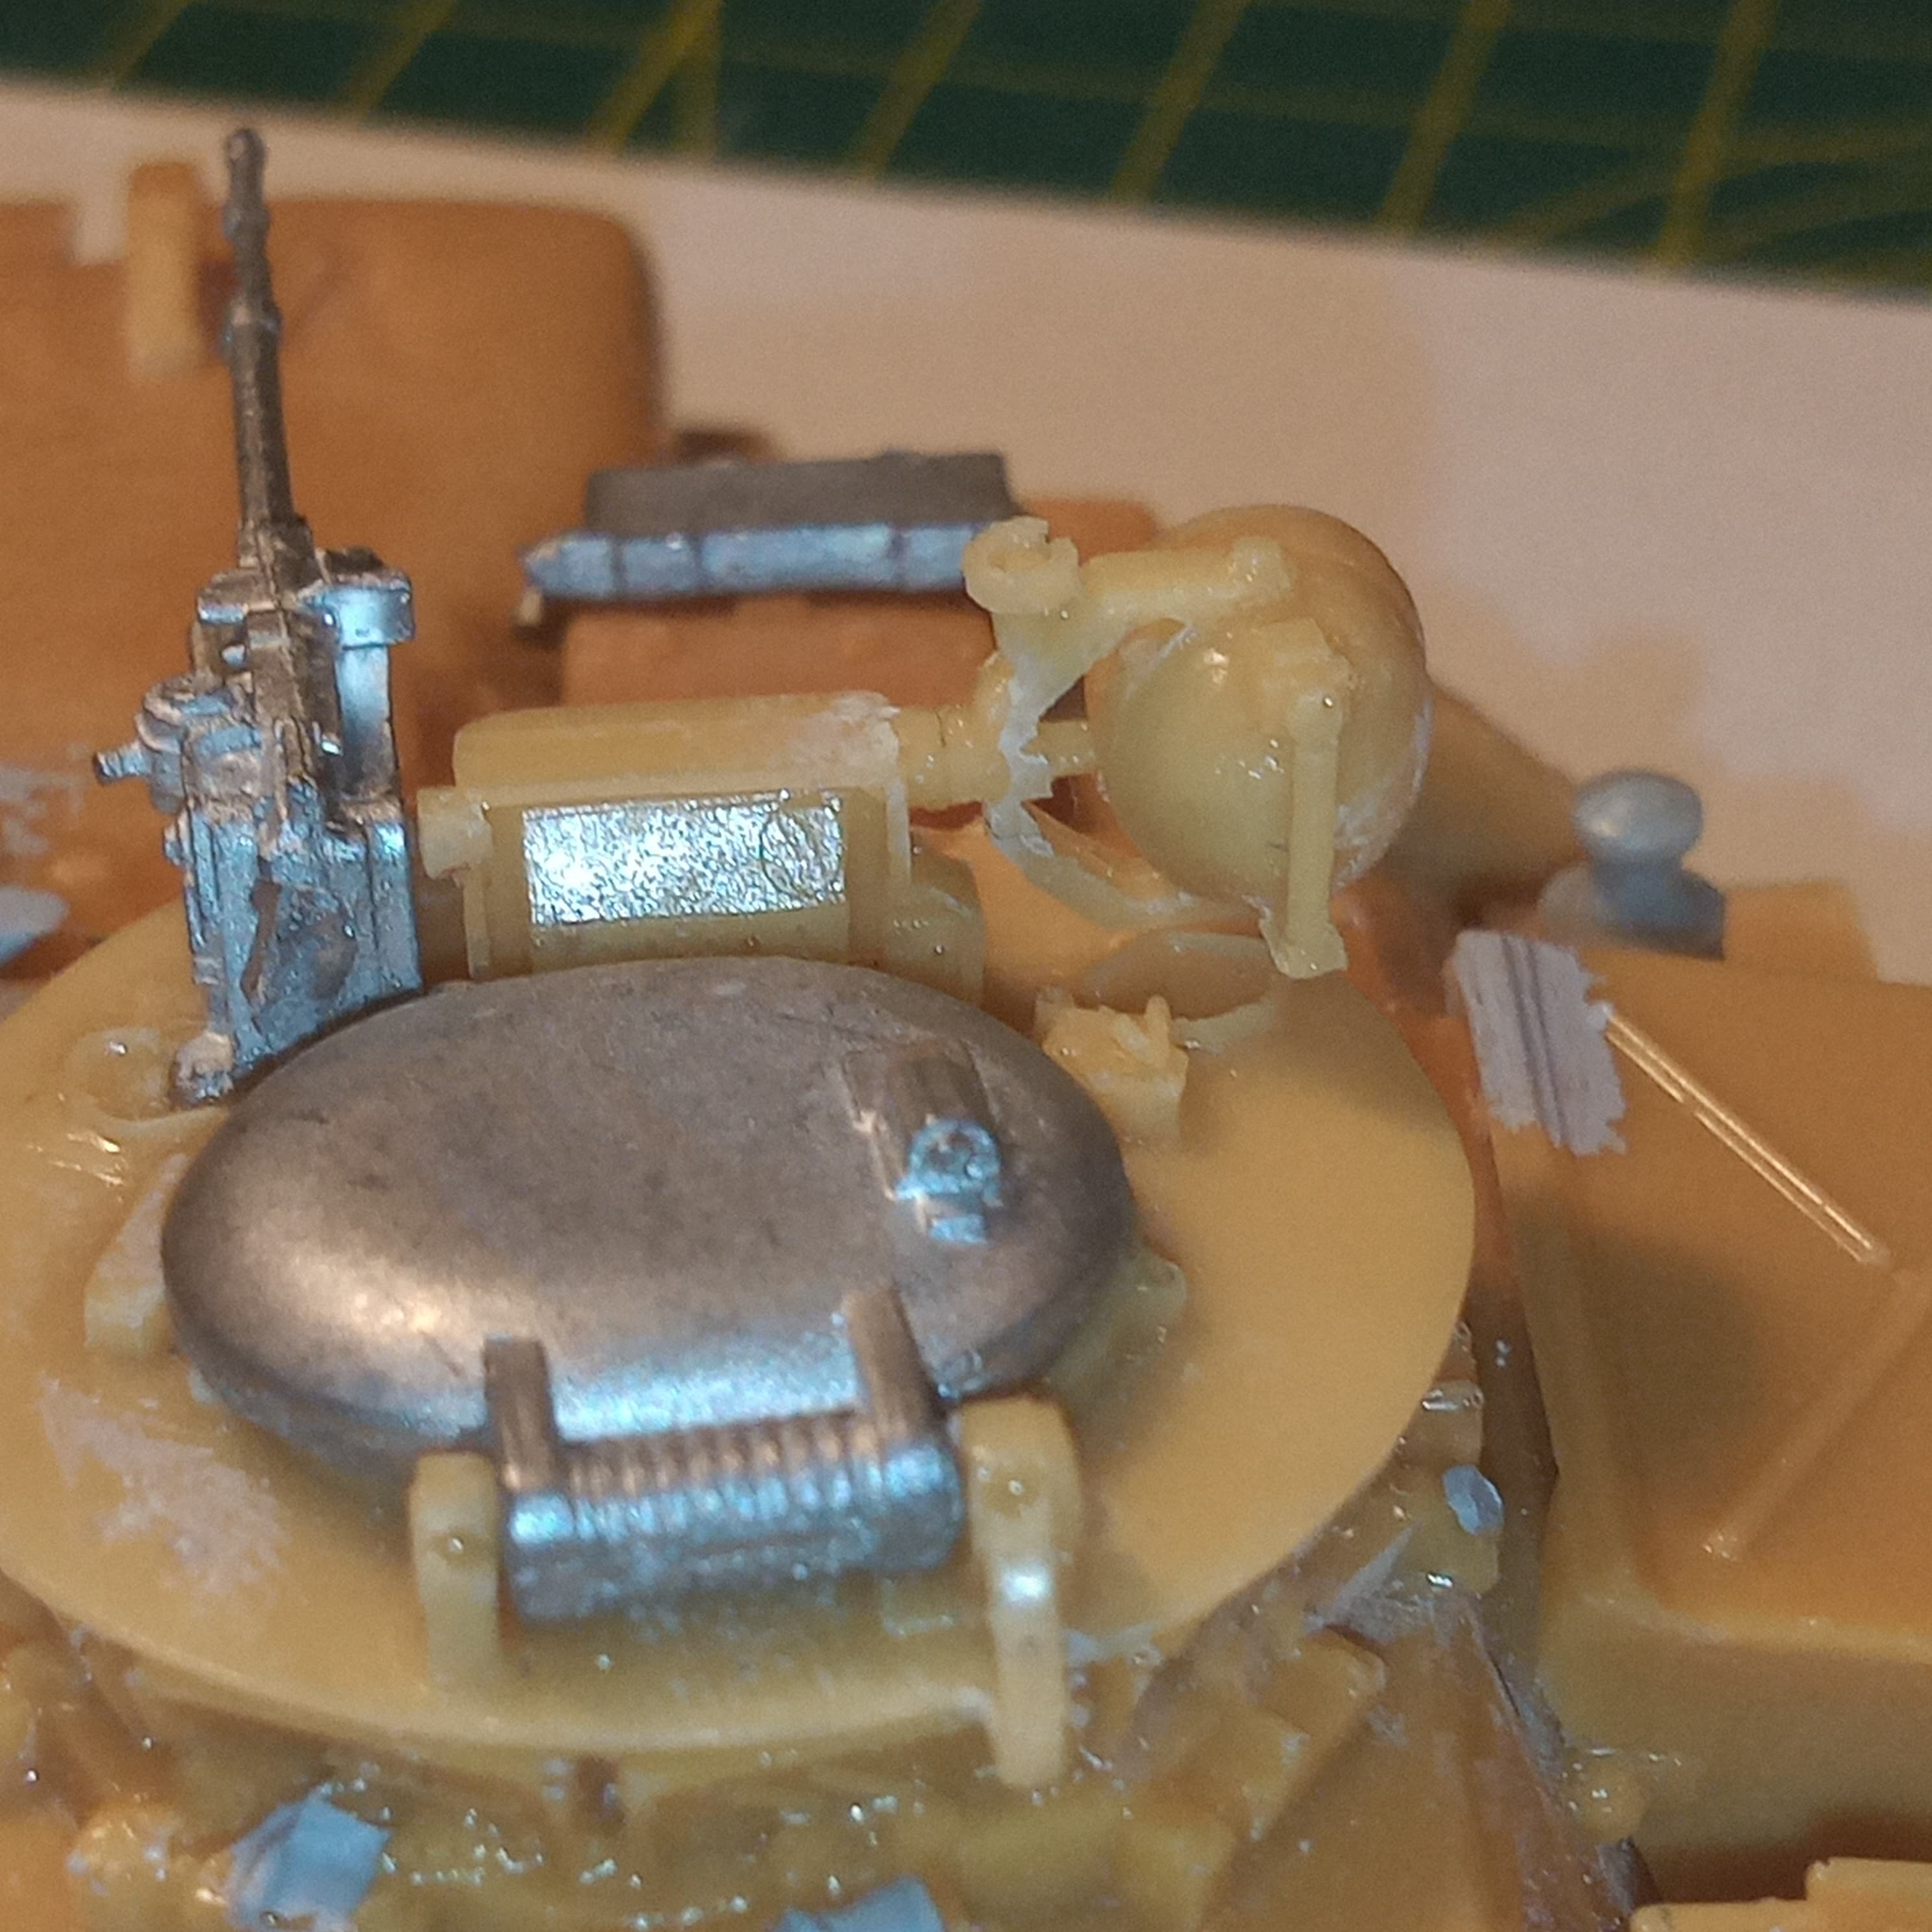
More soon
7 Likes
John you are doing an excellent job with a difficult kit. I didn’t have any problems with mine really but mine wasn’t as old I don’t think.
2 Likes
John you’re genuinely doing an excellent job on this hunk of resin. You’re a more steadfast man than I. If it were me, this kit would be in the bin and I’d be pre-ordering the Meng Chieftain Mk. 10 Stillbrew as you read this…
1 Like