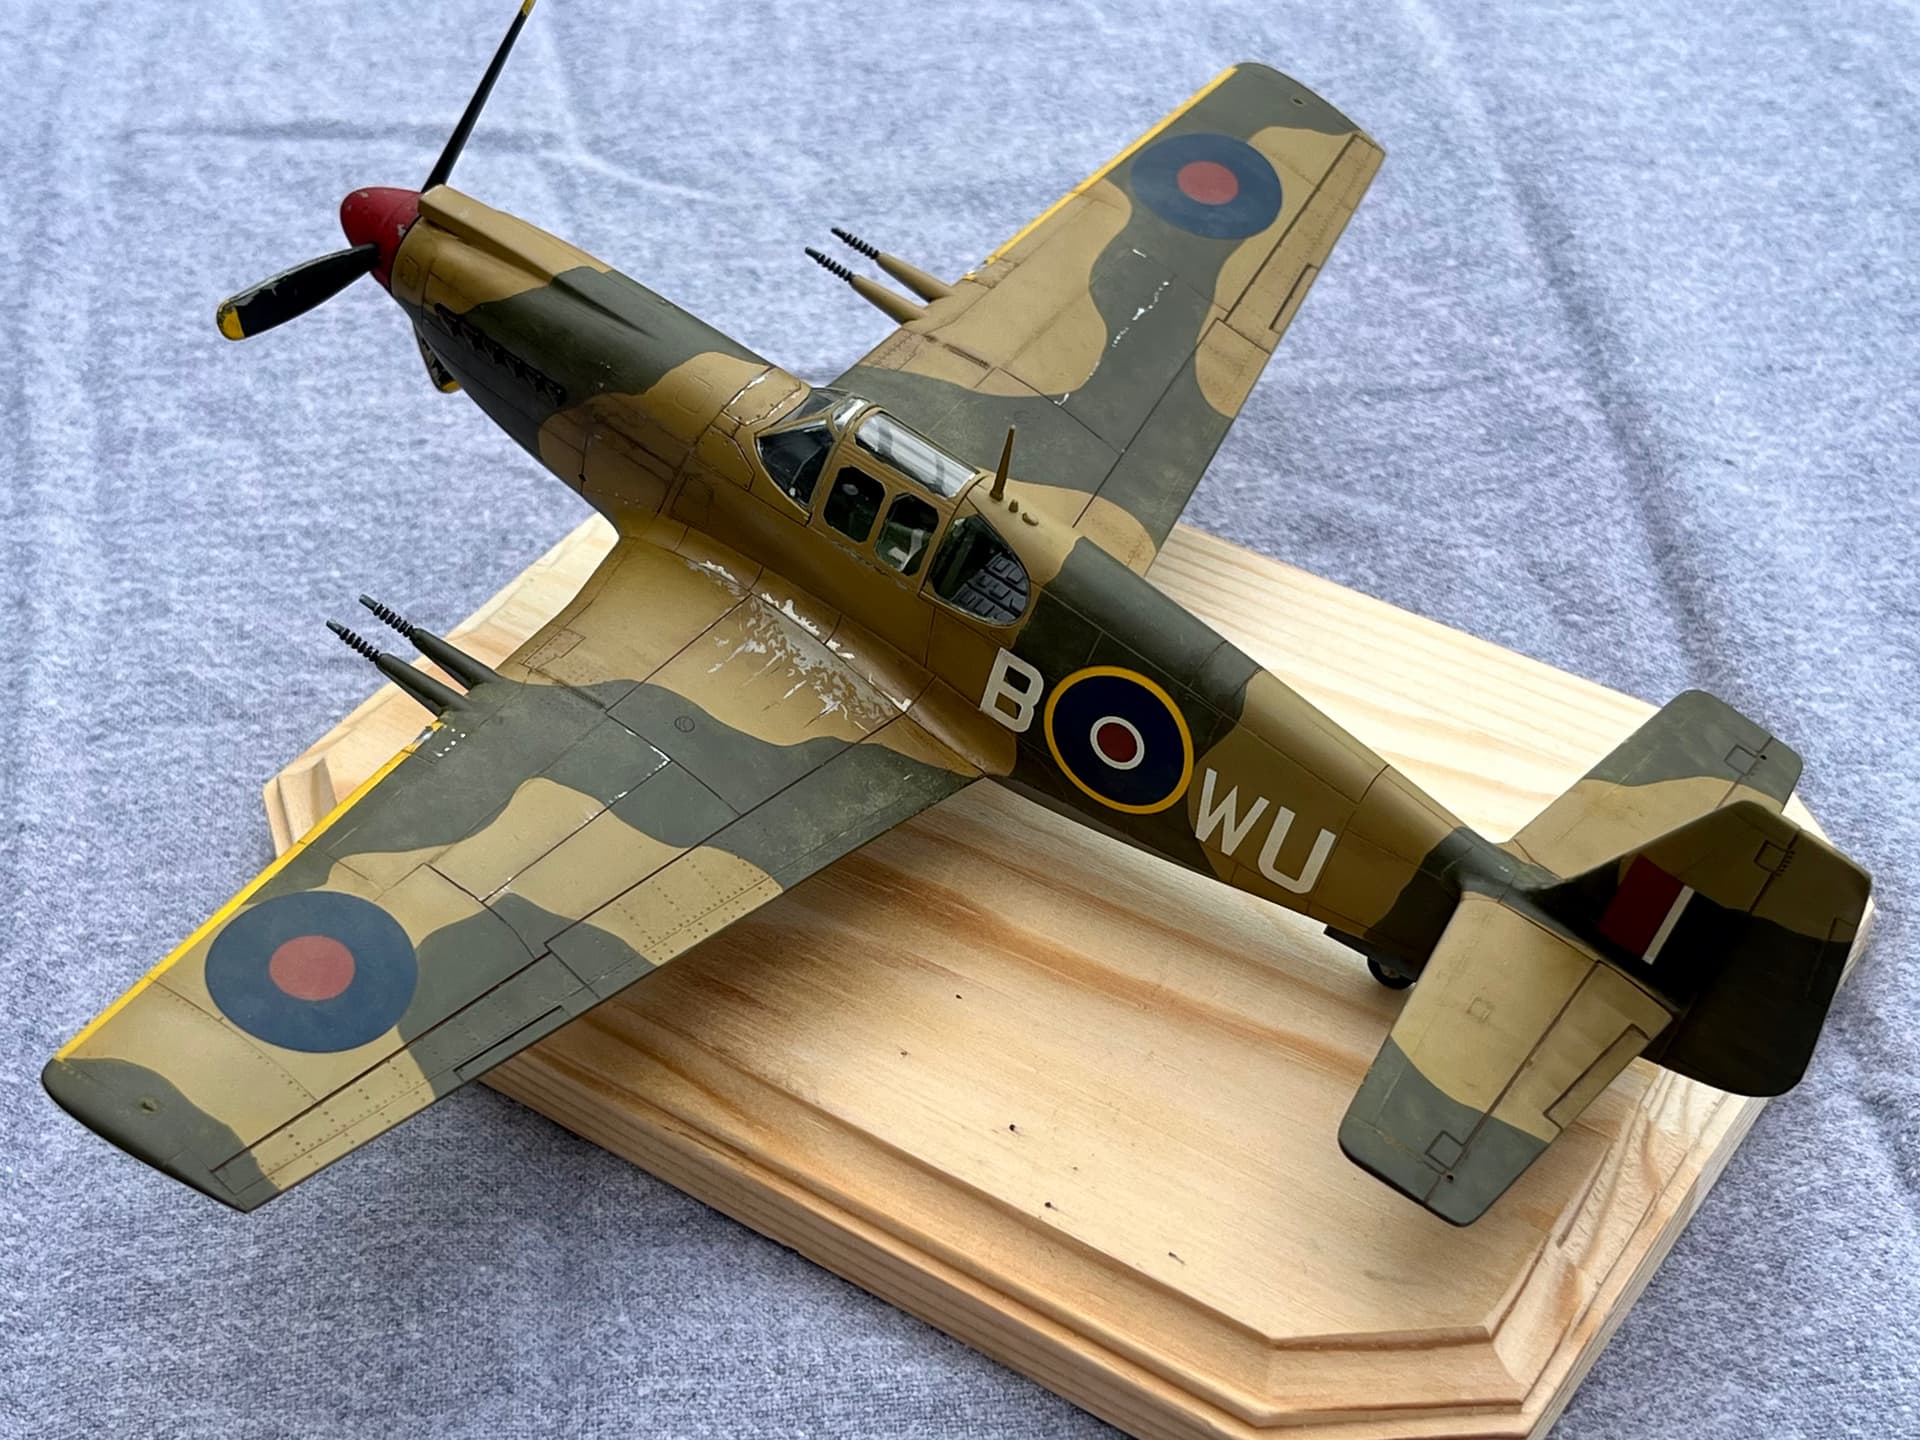
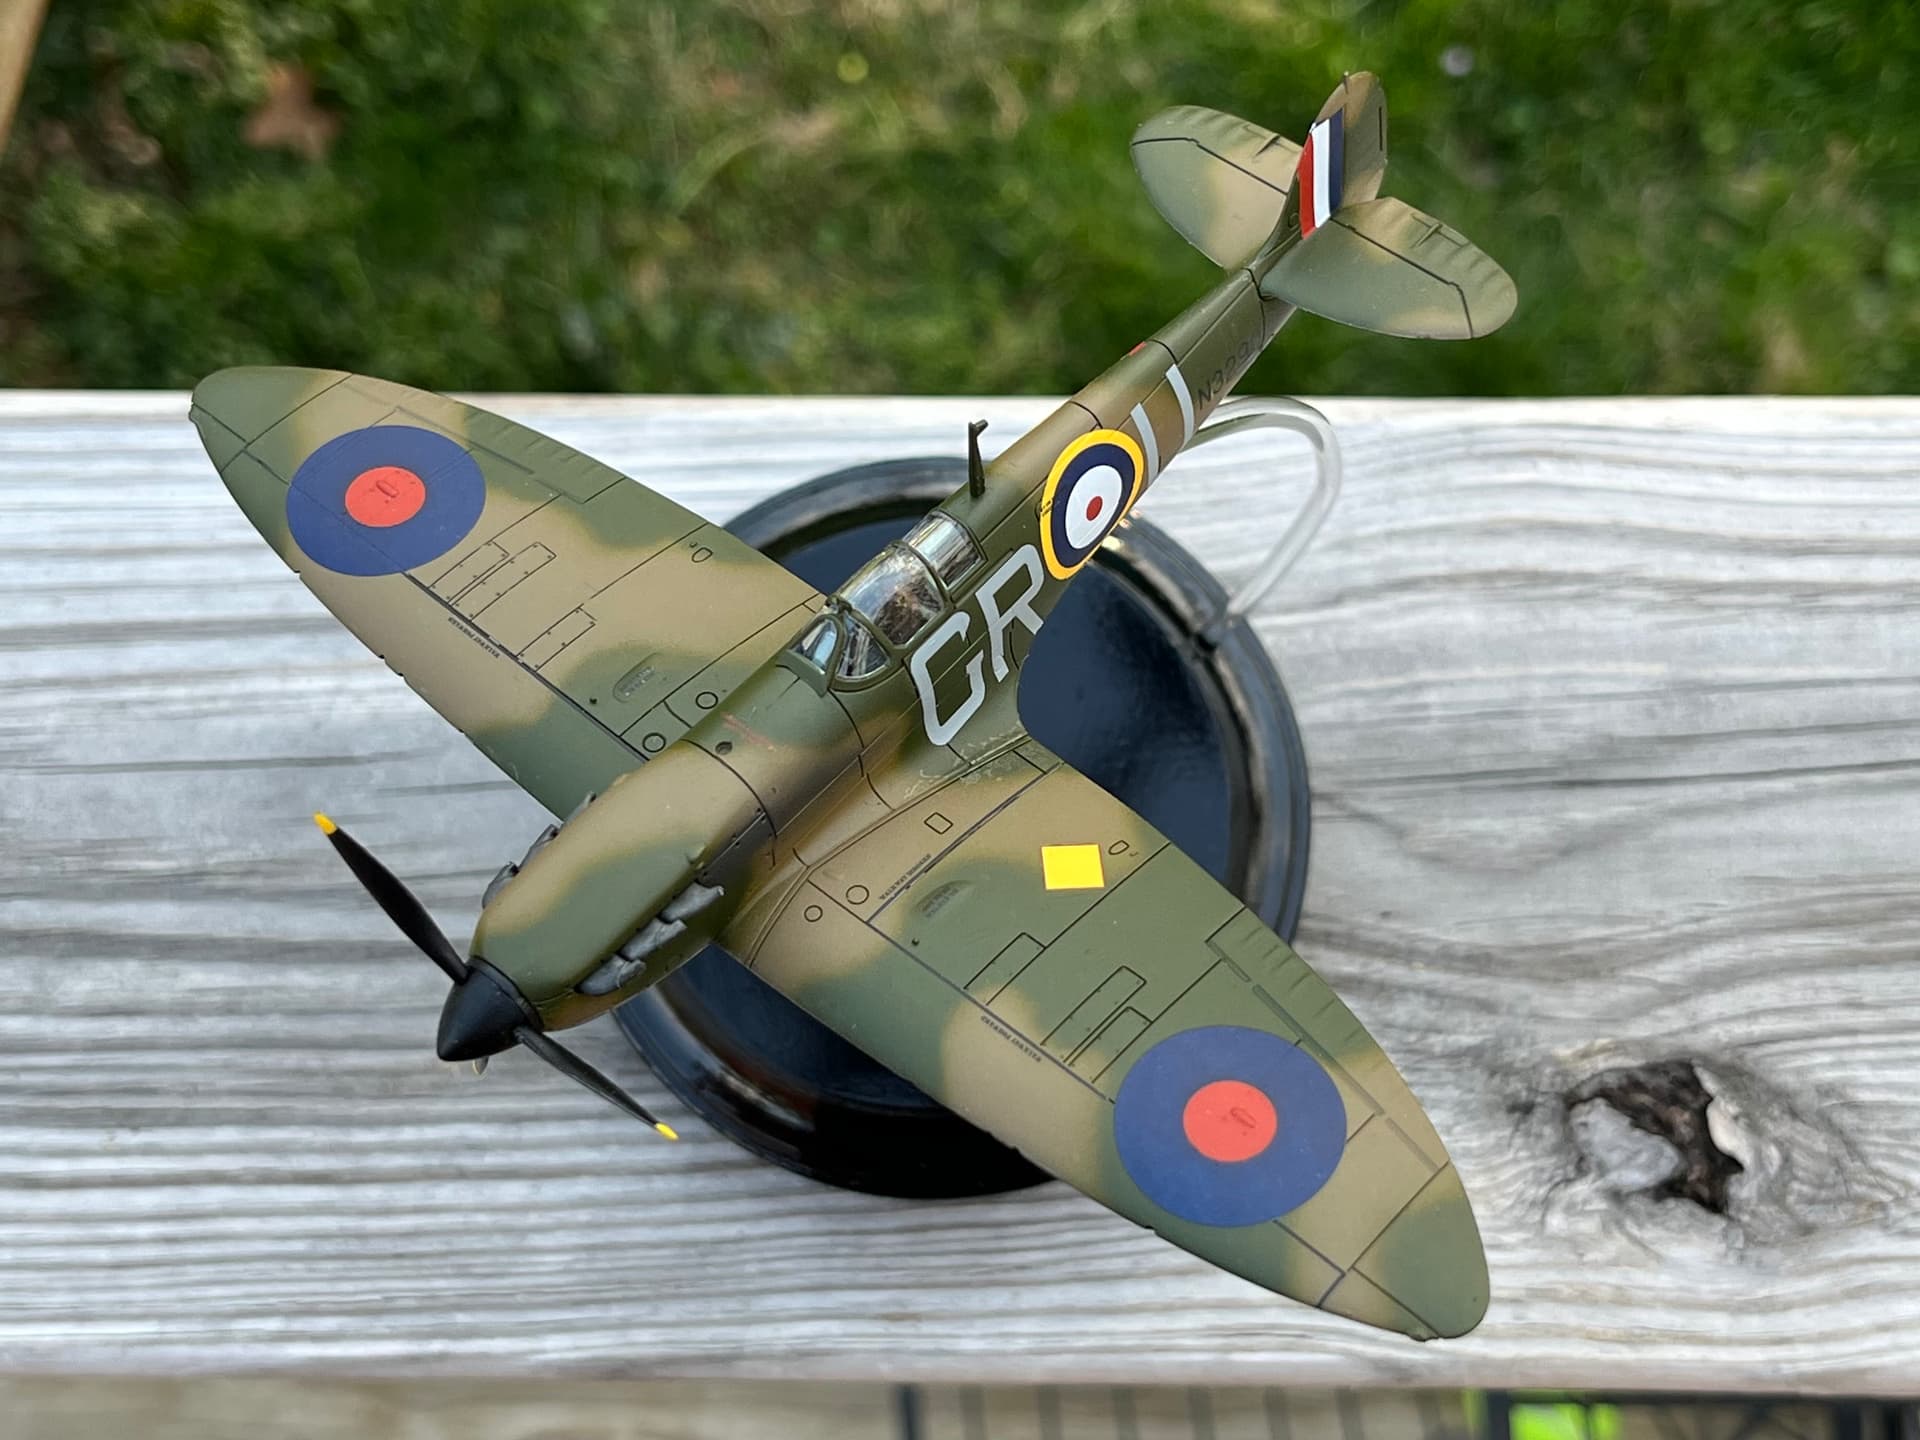
As the title says, i am looking for the most efficient and neat ways to mask when airbrushing. I have used tape several times and I absolutely despise it because there is overspray and you cant get those fading lines or curves (might be user error lol). I do have a bottle of Vallejo liquid mask if anyone has worked with it and could explain how to use it that would be greatly appreciated. Also have some white tacky putty from hobby lobby and I find putty to be more enjoyable to work with than tape.
Tape is your friend if you know how to use it. Liquid mask and putty do not allow you the level of precision that tape does. Tamiya makes good masking tape. You will want a skinny stretchable version when taping curves. Burnish the tape. Most tape issues involve paint bleeding under the edge. Use only a few light coats at first so paint does not bleed under the edge, then paint a heavier coat. Overspray can happen with any masking medium. I always encase the areas I don’t want painted with tape and paper or thin aluminum foil.
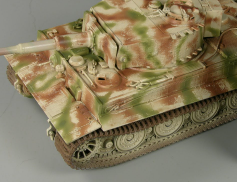
I mask camo with poster putty. I shoot straight down at it for a feathered edge and right up to it for a hard edge. I usually use “subtractive masking”. Shoot the whole thing brown. Cover the areas you want to remain brown with poster putty. Shoot the whole thing green. Cover the areas you want to remain green. Then shoot the whole thing black. Remove all the putty and you have 3 tone NATO. It’s a very easy and efficient process.
I use the Blue Tack putty, I am guessing it is the same poster putty SSG Toms mentioned. I do mine similar to SSG Toms. I paint the kit in overall black first then cover the the areas I want to keep black then paint the green then the brown.
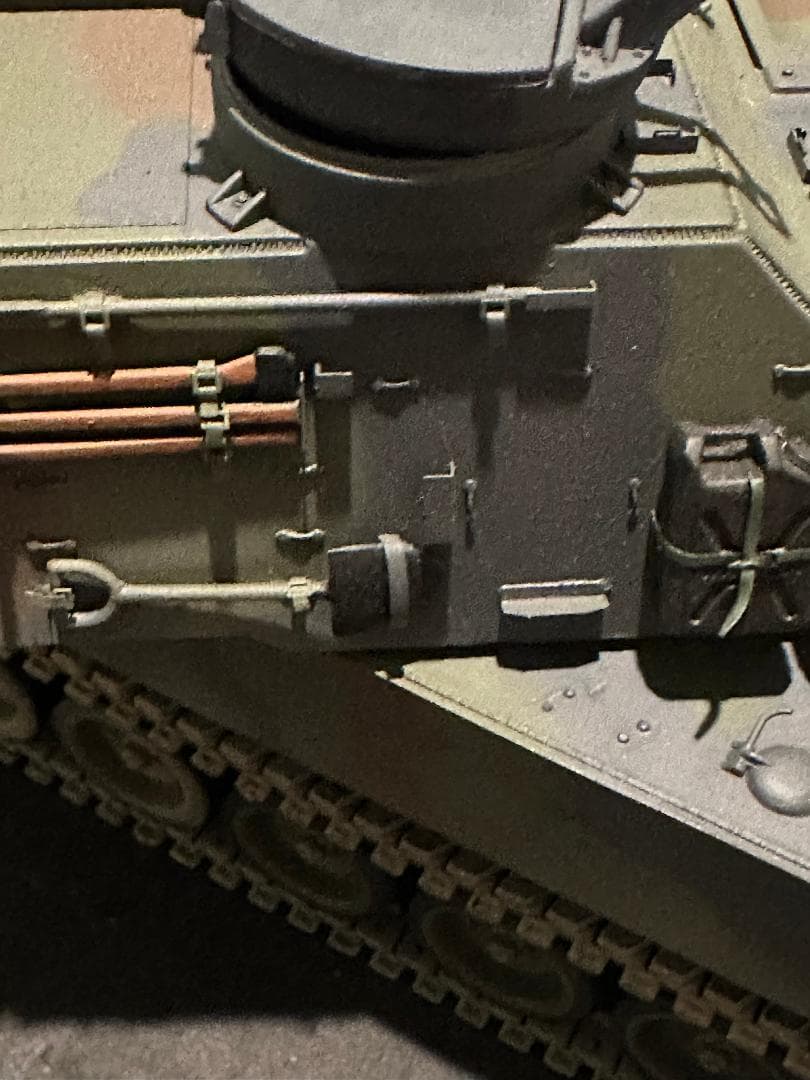
Example of the Blu Tack shown on a Hobby Boss Leopard 2A5/A6.
When masking with tape, spray a light coat of clear (or original color) first. That way, if anything does bleed underneath, it won’t be visible, and it seals your mask.
You can use very thin tape to start with, as mentioned, or you can overlap several pieces of masking tape on your cutting matt, draw on the desired design, and cut out with an X-Acto. You’ll get nice curves that way and it’s not as tedious.
The third thing I like to do - enlarge the painting guide on the instructions to same scale as the model. Cut out each individual design. Use each piece as a mask. When I do this, I raise the mask slightly with little balls of putty or masking tape so that I can get a very fine soft edge. You have to spray perpendicular to the surface of you’ll get some underspray. Also use stiff paper or reduce the air pressure so it doesn’t bend your mask.
The Blu Tack will also remove PE, not just the small pieces. You need to be extremely careful removing the Blu Tack but even being extremely careful doesn’t help. Another thing, the Blue Tack gets very sticky after several uses from all the paint being sprayed on it so you will need to use new pieces after every 5-6 uses. The Blu Tack is inexpensive so stock up on it. Amazon sells a pack for just over $5USD. You get 4 strips each approximately 3/4 inch wide x 8 inches long.
One thing about the Silly Putty though, it creeps if left on too long. Once you place the Silly Putty on, you pretty much have to paint almost immediately before it starts to creep. The Blu Tack won’t creep but if left on too long sticks pretty tightly and takes some effort to remove especially after several uses.
thank you, i guess I got a few bad impressions of tape after my models turned out looking like a Picasso piece. I’ll give tape another go on my next camo project and see if it is any better than before. Is it possible to get a feathered edge with tape? or is that putty only
i’ve used silly putty once and it was quite nice but that model didn’t have any pe at all and as @twong mentioned, the putty definitely creeped and ran all over and messed up my camo a bit.
thanks, that is a very good tip! I never even thought about that. when I was making a German marder 3 and I took the tape off and the entire model was covered in overspray and that could’ve definitely been prevented if I did a light spraying of the original color. However, If I want to achieve a feathered edge, would that interfere with the fading?
Treat it just as you would a hard edge I guess - if you’re talking about fading panels. I’m not a fan - because it often looks a little contrived. Pretty, but unrealistic, IMHO.
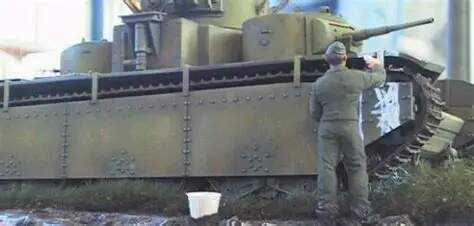
This is a poor example below, and not the one I’m talking about. I remember a contest where I judged once - the model - WWII Russian of some sort, had big rectangular panels. The model was green, but in the center of each panel you could actually see where the guy had used his airbrush in a spiral pattern to paint the middle of each panel a lighter green.
ah, I was referring to how usually freehanded or puttied camo achieves a sort of fading. It is slightly visible on some tiger 1’s, or maybe I’m just crazy and seeing stuff lol, actually yeah I’m pretty sure its placebo. This is the only relatively close photo I could find to what i’m describing
Feathered edges or not depends on how the original (1:1 scale) was painted.
A spray gun will leave feathered edges, when scaled down to 1/35 or 1/72 we
might, depending on eyesight see them as sharp or soft. An individual vehicle may show both hard and soft edges at the same time, depending on the skills of the soldier who painted it.
Those with good airbrushing skills can probably achieve feathered, i.e. soft, edges
without any masking.
I would try cutting masks from paper and holding them at a small distance from the surface,
make a slightly smaller version of the mask pattern on thicker paper and glue behind the mask to get the stand off distance. This could work for flat surfaces but not for corners and curved surfaces.
I think learning to control the airbrush, paint/thinner mix, air pressure, spraying distance et.c is a more reliable solution.
thanks, I never even considered that at 1/35 or other scales the feathering wouldn’t even be visible to us. I’ll have to try holding the paper at a distance and practice on some cardboard or something.
Practice is indeed the operative word
Ask in these forums for tips and hints on the combination of airbrush and
paint/thinner you are using. Someone or other will be using nearly the same setup,
there isn’t all that many brands of model paint.
Silly putty also gets my vote for hard edged camo. For soft-edged nothing beats an airbrush.
Regarding creep, yes silly putty seems to be always moving in response to gravity, so I remove it as soon as the paint will tolerate it. That’s usually pretty fast since I’m using Vallejo acrylics.
“The model was green, but in the center of each panel you could actually see where the guy had used his airbrush in a spiral pattern to paint the middle of each panel a lighter green.”
It looks like the modeler was post-shading by lightening the panel centers, but didn’t graduate the shades sufficiently.