Try a sharpened Balsa stick.
@Mead93 I don’t really know, the Revell paint I will be using is enamel paint. You know, the metal things. Not the water based/acrylic based paints. Since I’m still having some Revell enamel paints. And probably I will keep Revell paints in my stash, since I also discovered that other kit manufacturers. Like ICM for instance, are using them as well. They aren’t that bad and they are not very expensive.
@bwilt I’m not going to change putty brand by buying a new container of putty. Since I have already spend 10 euro’s I believe on this container of putty, so no thanks. I bought mine at modelbouwkrikke.nl. I wanted to buy a well known brand like Mr. Putty or Ammo by mig Jiminez putty, but they were all sold out at the time. I did buy that product for the first time for painting the camouflage schemes of the French World War II tanks I got. And this was an attempt to reuse a product in order to save out some money. And to give it a second live, to use it more.
I was I believe today morning thinking of wanting it to turn it into some kind of weathering. But, I’m not knowing how it works. I’m far away from weathering. As I’m still not mastering other essential skills I need.
Thanks for the suggestion and I will see what I can do.
@Khouli I didn’t even know of this method. First prime everything before starting to build. I did think of, with this project. To indeed paint part for part according to the instructions. But that was only later I thought of that. I’m probably going to try these methods out on a next project of another half track I want to build. Since I had planned to build some German WW II half tracks. And after that build some Germans guns, that will be towed by the half tracks.
But, studying and other things are taking up a lot of time.
@brekinapez As I commented above, I wasn’t aware that this as you two are describing is the more usual way of doing it.
Furthermore, I didn’t yet had the circle templates to paint the wheels with my airbrush.
And regarding the last answer you gave, how do you know this. Of the driving wheel at the front, of the rollers? I did do some study on the Sd. Kfz. 9 and didn’t read those things. Did you do a longer time period study of the subject then I did?
I have read Nuts and Bolts 43 and a book of an Italian publisher which I don’t know the name of anymore.
@SSGToms To be honest, I found your reply a bit harsh to read. But I thank you for replying anyway. And I want to point out, that I was wanting to buy primer that I could use with my airbrush. But the most the shop had was spray can primer. Combined with advice I got from the employees there. I bought that. I’m finding it very hard to use spray cans to paint and prime, since they are not having a nice amount of control as where to aim your paint and to control all of it.
Thanks everyone for replying so far. I’m going to remember and use this tips and knowledge for a next project. And keep in mind, I’m still learning and have to learn a lot. Please don’t be to harsh with your comments or so, because there is a good chance that I’m just not aware of something. Or that I don’t know of something.
Final note on the priming, I was wanting to find some video’s online on how to use the Revell Basic Color. But I didn’t have much luck with finding it.
I didn’t search on the internet in a search engine for things like webpages with text or something.
Nothing wrong with enamel paint, but oil based, enamel based, and lacquer based paint tend to have more aggressive carrier mediums than acrylic so a little more care is required. For example lacquer thinner can fog clear parts but acrylic won’t. My suggestion was that if a harsher medium like lacquer thinner goes on too wet, the attractive property of it biting into the plastic (this makes it durable) can work against you by melting things like putty.
Not trying to start a big argument but I don’t think @SSGToms was overly harsh. He provides some good points.
-
primer is meant to provide good coverage and bite into plastic as a good base for paint, but that coverage is a double edged sword in that if applied too thick it will eat detail. Looking at your road wheels, the bolt heads have lost their crispness and softened a bit. I can’t tell if this is primer or putty, but his point about primer going on thin is well placed.
-
I think he is trying to help you avoid this issue in the future. Had you waited to paint and attach the road wheels, and paint seat cushions, there would have been no reason to use the masking putty and the whole issue could have been avoided in the first place.
Don’t get discouraged though, each build gets easier and easier as you pick up new skills and advice
3 Likes
It’s all a learning process and as modelers we learn more with each project. I learned the hard way glue tube isn’t for me after strings ended up all over a model long ago 
Spray Cans - I NEVER use spray cans anymore for anything model hobby related because they are hard to control compared to an airbrush.
A) It’s possible to empty the spray can into a bottle or other container from what I’ve read and use the collect paint as is in an airbrush. You of course do that at your own risk.
B) Use spray can and apply lightly misted coat from the distance indicated on the spray can. Start paint spray before the model and end after the model. Move the can at a fairly quick pace. If you loiter when spraying the paint will build up very quickly and cause issues.
Will probably take 2 or 3 LIGHT coats to cover.
C) the spray can can spray a slightly finer mist if it’s warmed in warm water first. You should be able to keep your hand in the warm water. You of course do that at your own risk.
D) Mail order some very fine Mr Surfacer and appropriate thinner and use that as primer. It can be airbrushed.
BTW - @SSGToms wasn’t being harsh. He was simply explaining what happened with the spray can primer coat. That is very valuable information in this case as it helps one learn and improve.
Best wishes with the project and with the next project.
5 Likes
I think there were quite a few mistakes and misunderstanding with this process
- There are no “same primer as the paint” rule. The shop where told you to use the same brand as the paint either knew it wrong or misled you.
- The function of the primer is to “bite into” the material below, not just dry on it. That’s why primers are expected to stick not only to plastic, but on resin or metal as well, and they also expected to be solid enough to be sandable. But that requires stronger solvents and different pigments which cures the primer into the surface, not just dries on them. This curing process was probably not ideal for the putty’s solvent.
- I have used the AK Putty a few times on paint to mask from a different colour and there were no problem with it. (Except that sometimes very thin strings snap back to the model during the removal, but it was only annoying, not flaw.) Used above-below water based and alcohol based paints, same result.
- indeed the primer is too thick on some parts. I used spraycans very long ago, but there are useful tips above: spray thin mists, maybe warm up the can in warm water and start spraying before the model, finish after it, etc.
- If you use primer in the future, prime the whole model. Never mask it (except of course the transparent parts), because the goal with it is to provide a homogen base surface for the paint. Painting the details (mainly if the parts are fixed onto the model) is often simplier with a brush. Me eg. alwys paint the rubber rims of the roadwheels with brush, if I need to put them on the vehicle early. Or, you can paint the wheels rubber colour first and then put them under a circle template (can buy one in a graphics shop with differnt diameter circle cutouts) and spray the hubs through the hole.
2 Likes
@Mead93 Thank you for the information. I guess I just took it to heavily what @SSGToms said. And I apologize now. Thank you to @SSGToms for providing the information.
@Armor_Buff Thank you for providing this information. I did read the instructions on the can. And it said that I had to spray in one covering layer. Do I need to just ignore that part and use more light coats? As I’m just now learning new things here about spray can primers. Since I didn’t had much luck with finding the information I wanted on the internet for this. I’m asking a lot of questions, that seem to be stupid at first. At least in my eyes. But if I don’t ask, I won’t know anyway. 
@Halaci Thank you for providing these very clear answers. I didn’t even know that this wasn’t a rule. That you are pointing out in point 1. I’m not knowing how to learn more about things like paint. I haven’t had science at school or something. So all those terms are difficult for me and I often don’t understand them.
What you are telling me in point two I didn’t know either, you’re learning me a lot of new stuff. 
In point 3 you are saying you have used AK Interactive putty without issue. Could you tell me how you did apply the putty? Because I did always press the putty on it place. Would that be a mistake on my part? Do you use any special tools or something to apply this product for painting?
Thank you for all the other information.
Big thanks again to all of you for providing me with all this new and usefull information. I will be incorporating this new knowledge in a next project of another German half track I will build in the future.
@Uncle-Heavy Thank you for your suggestion of those products to try to remove the ressidue of the camouflage putty. With terpentine and a very hard brush I did succeed to remove the large residue and ugly looking things from the model side.
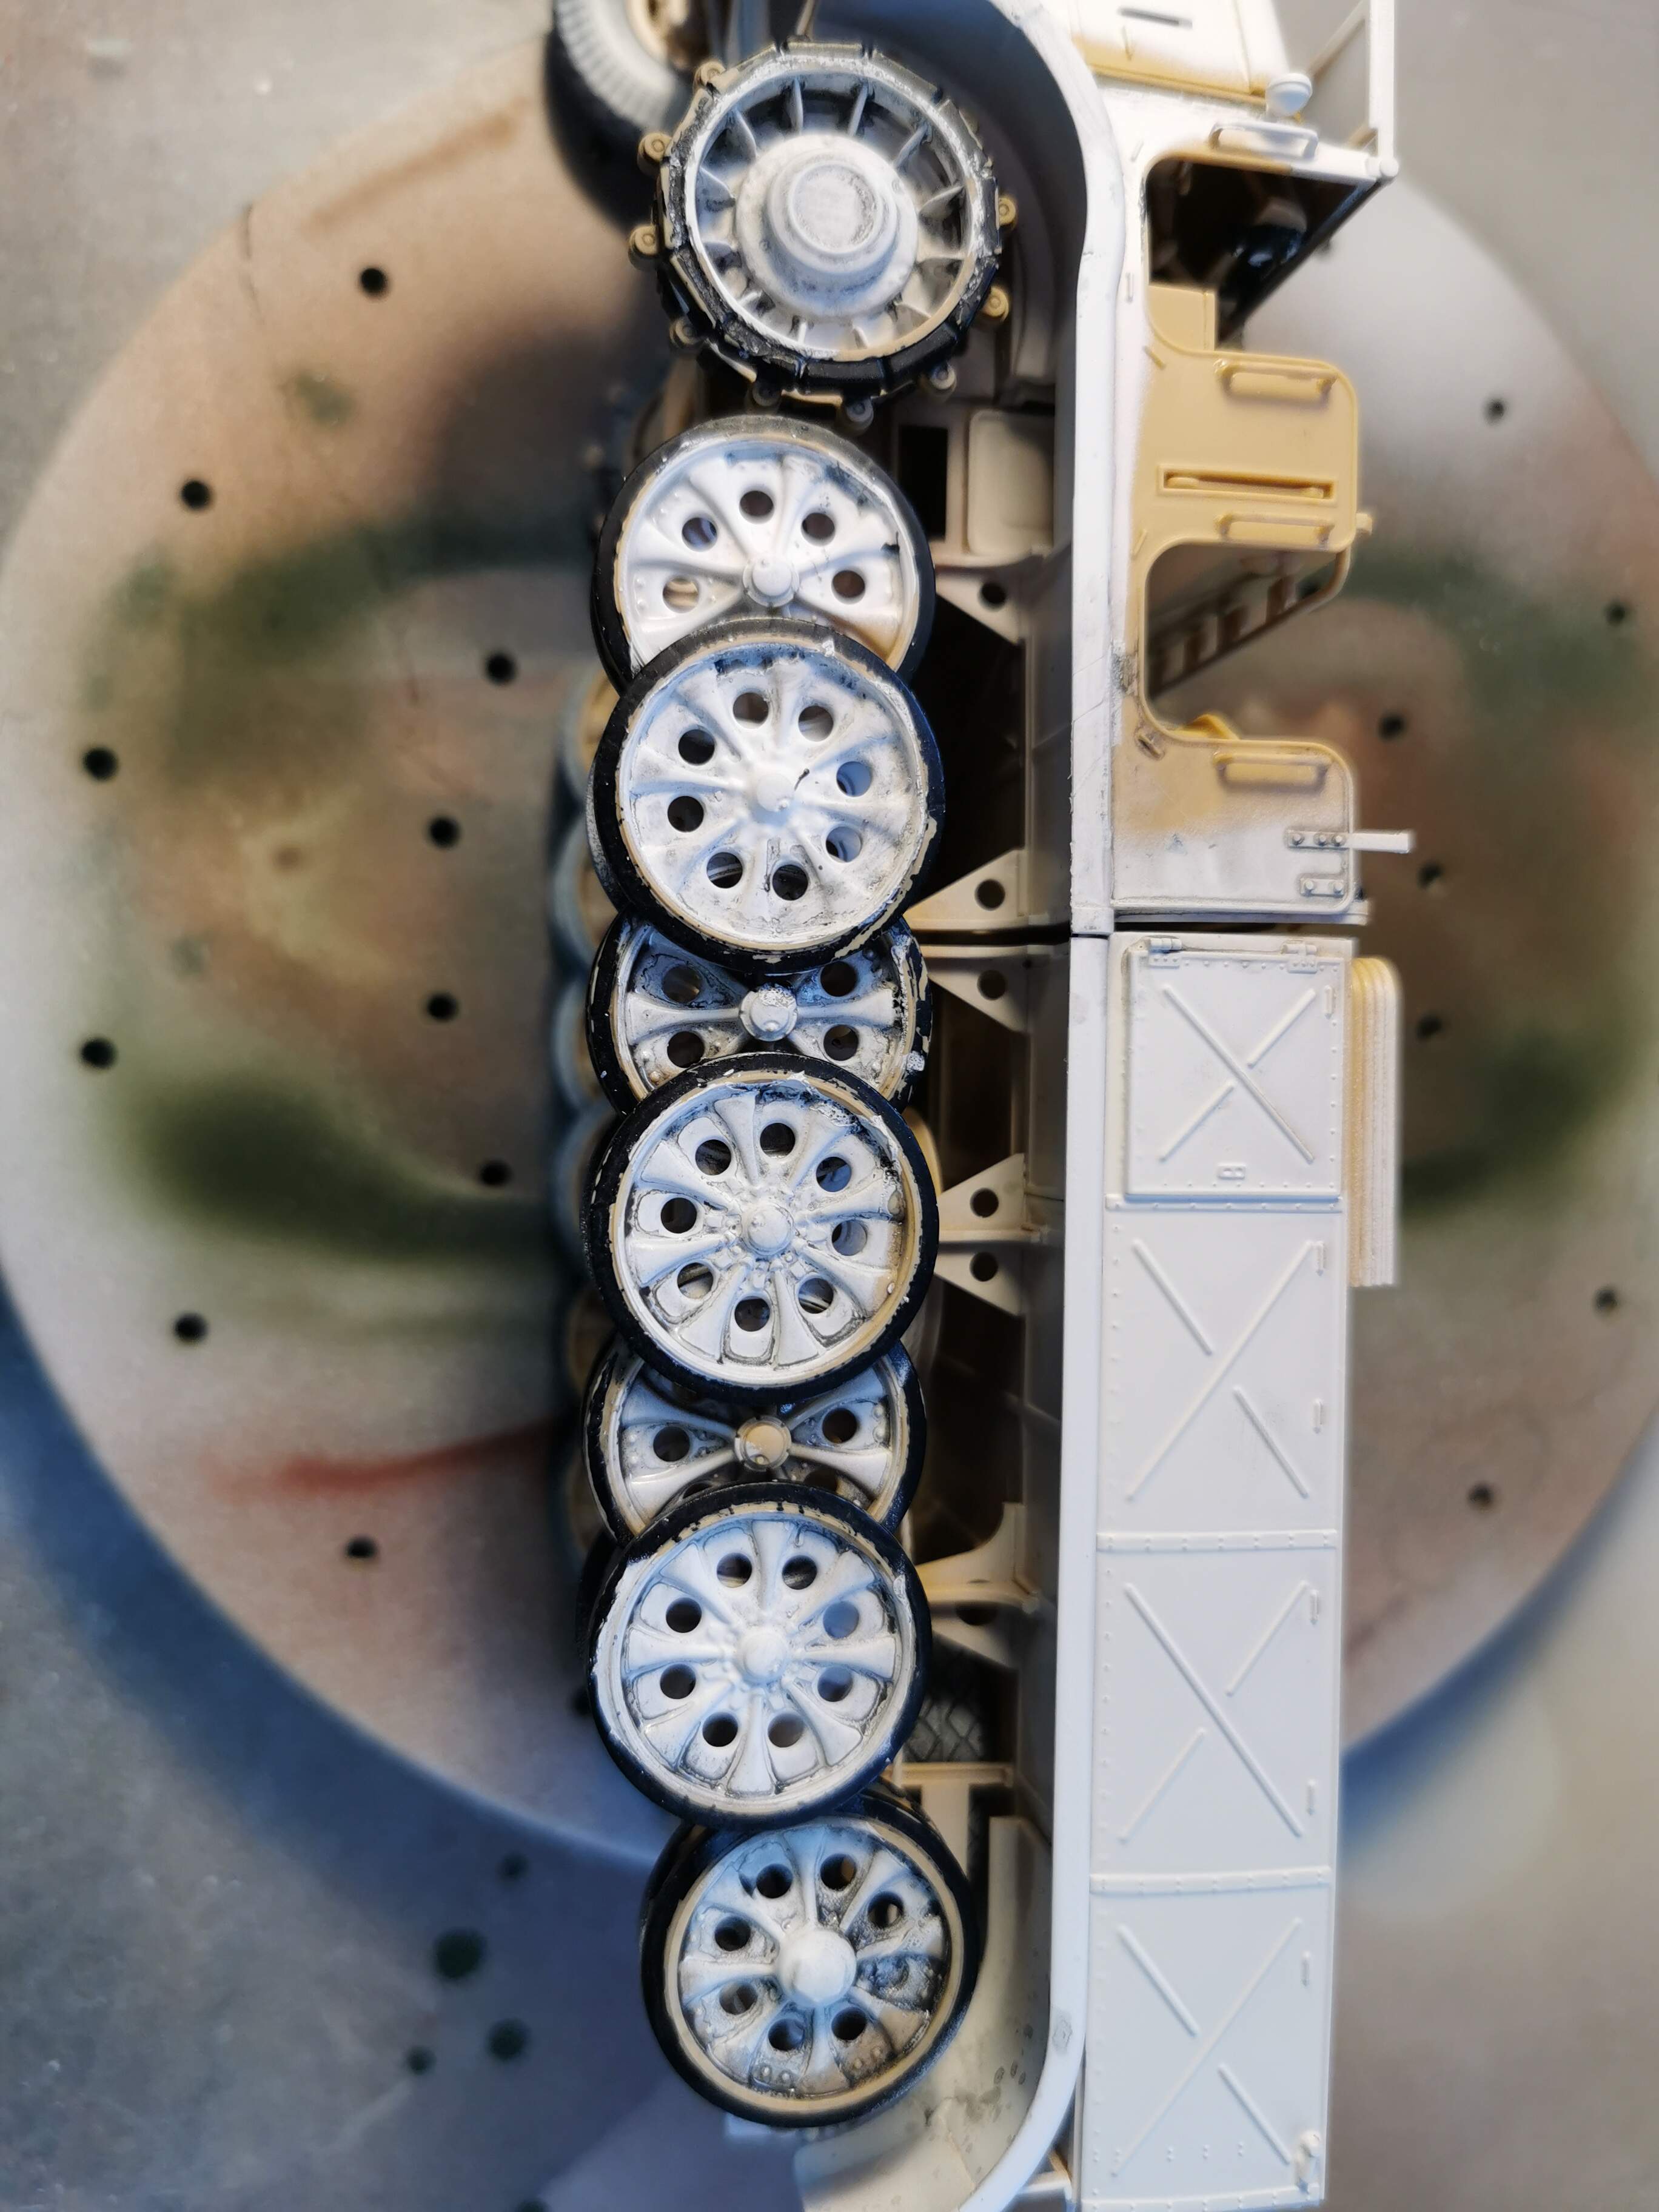
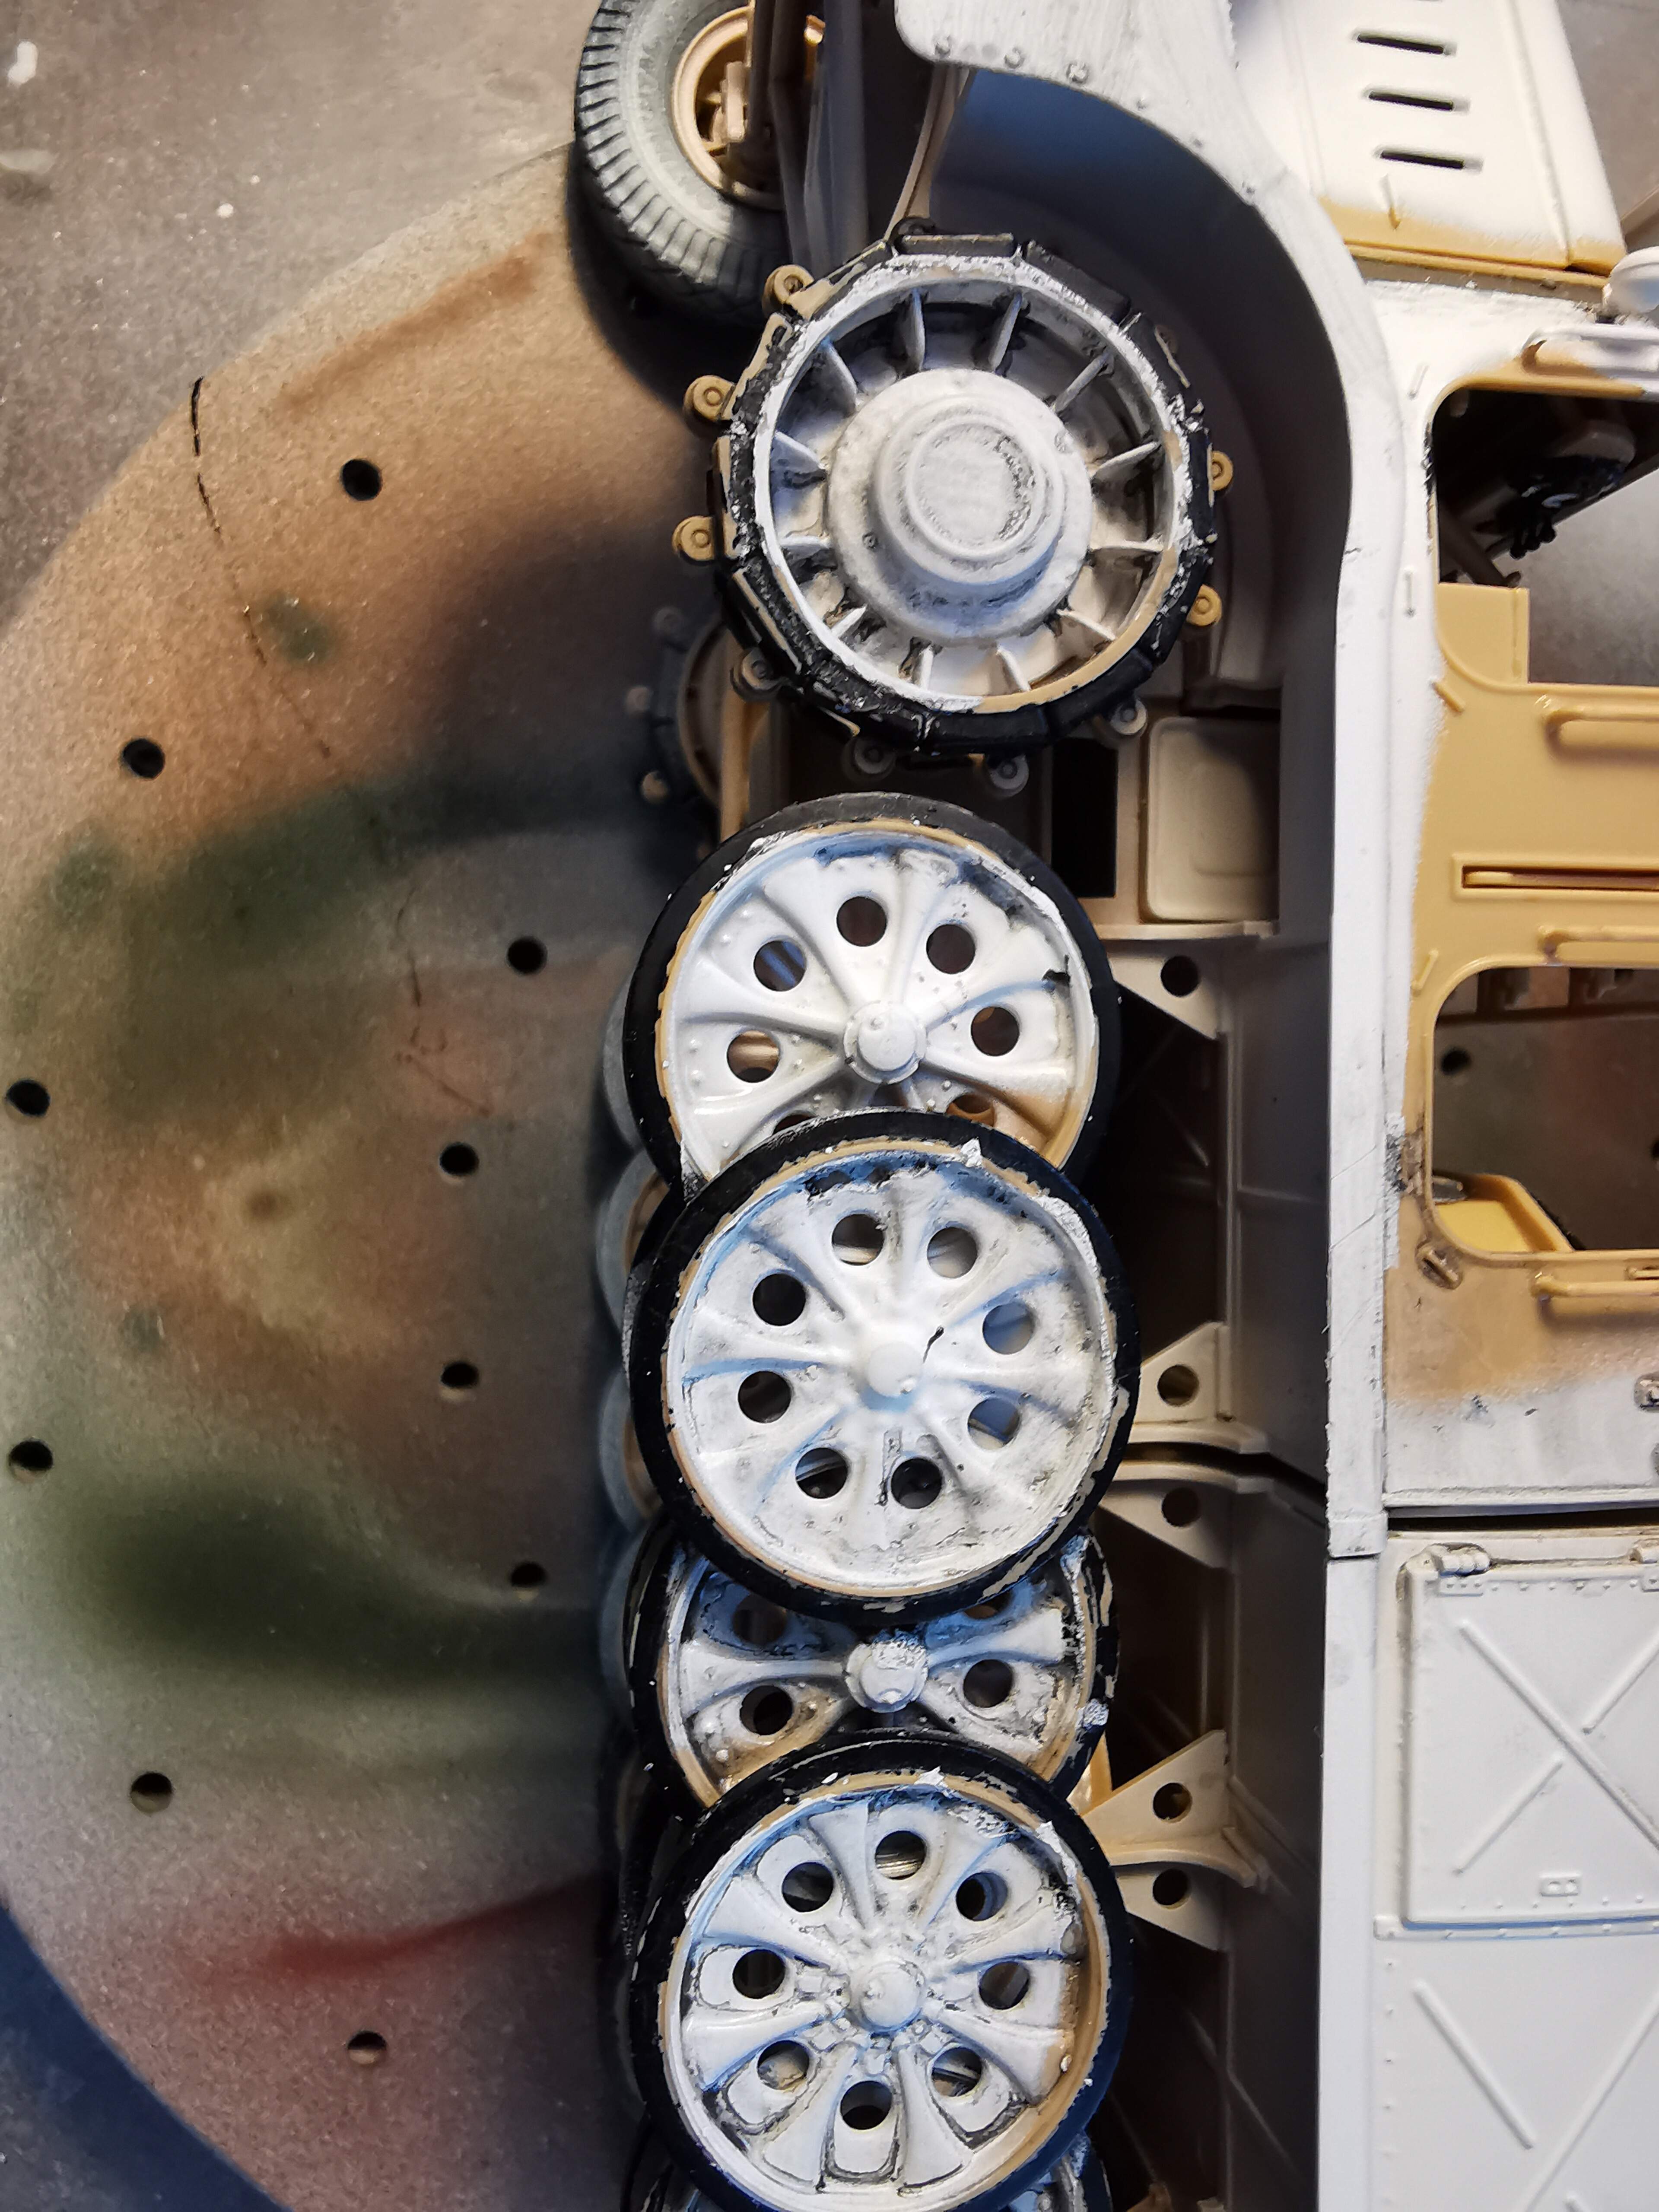
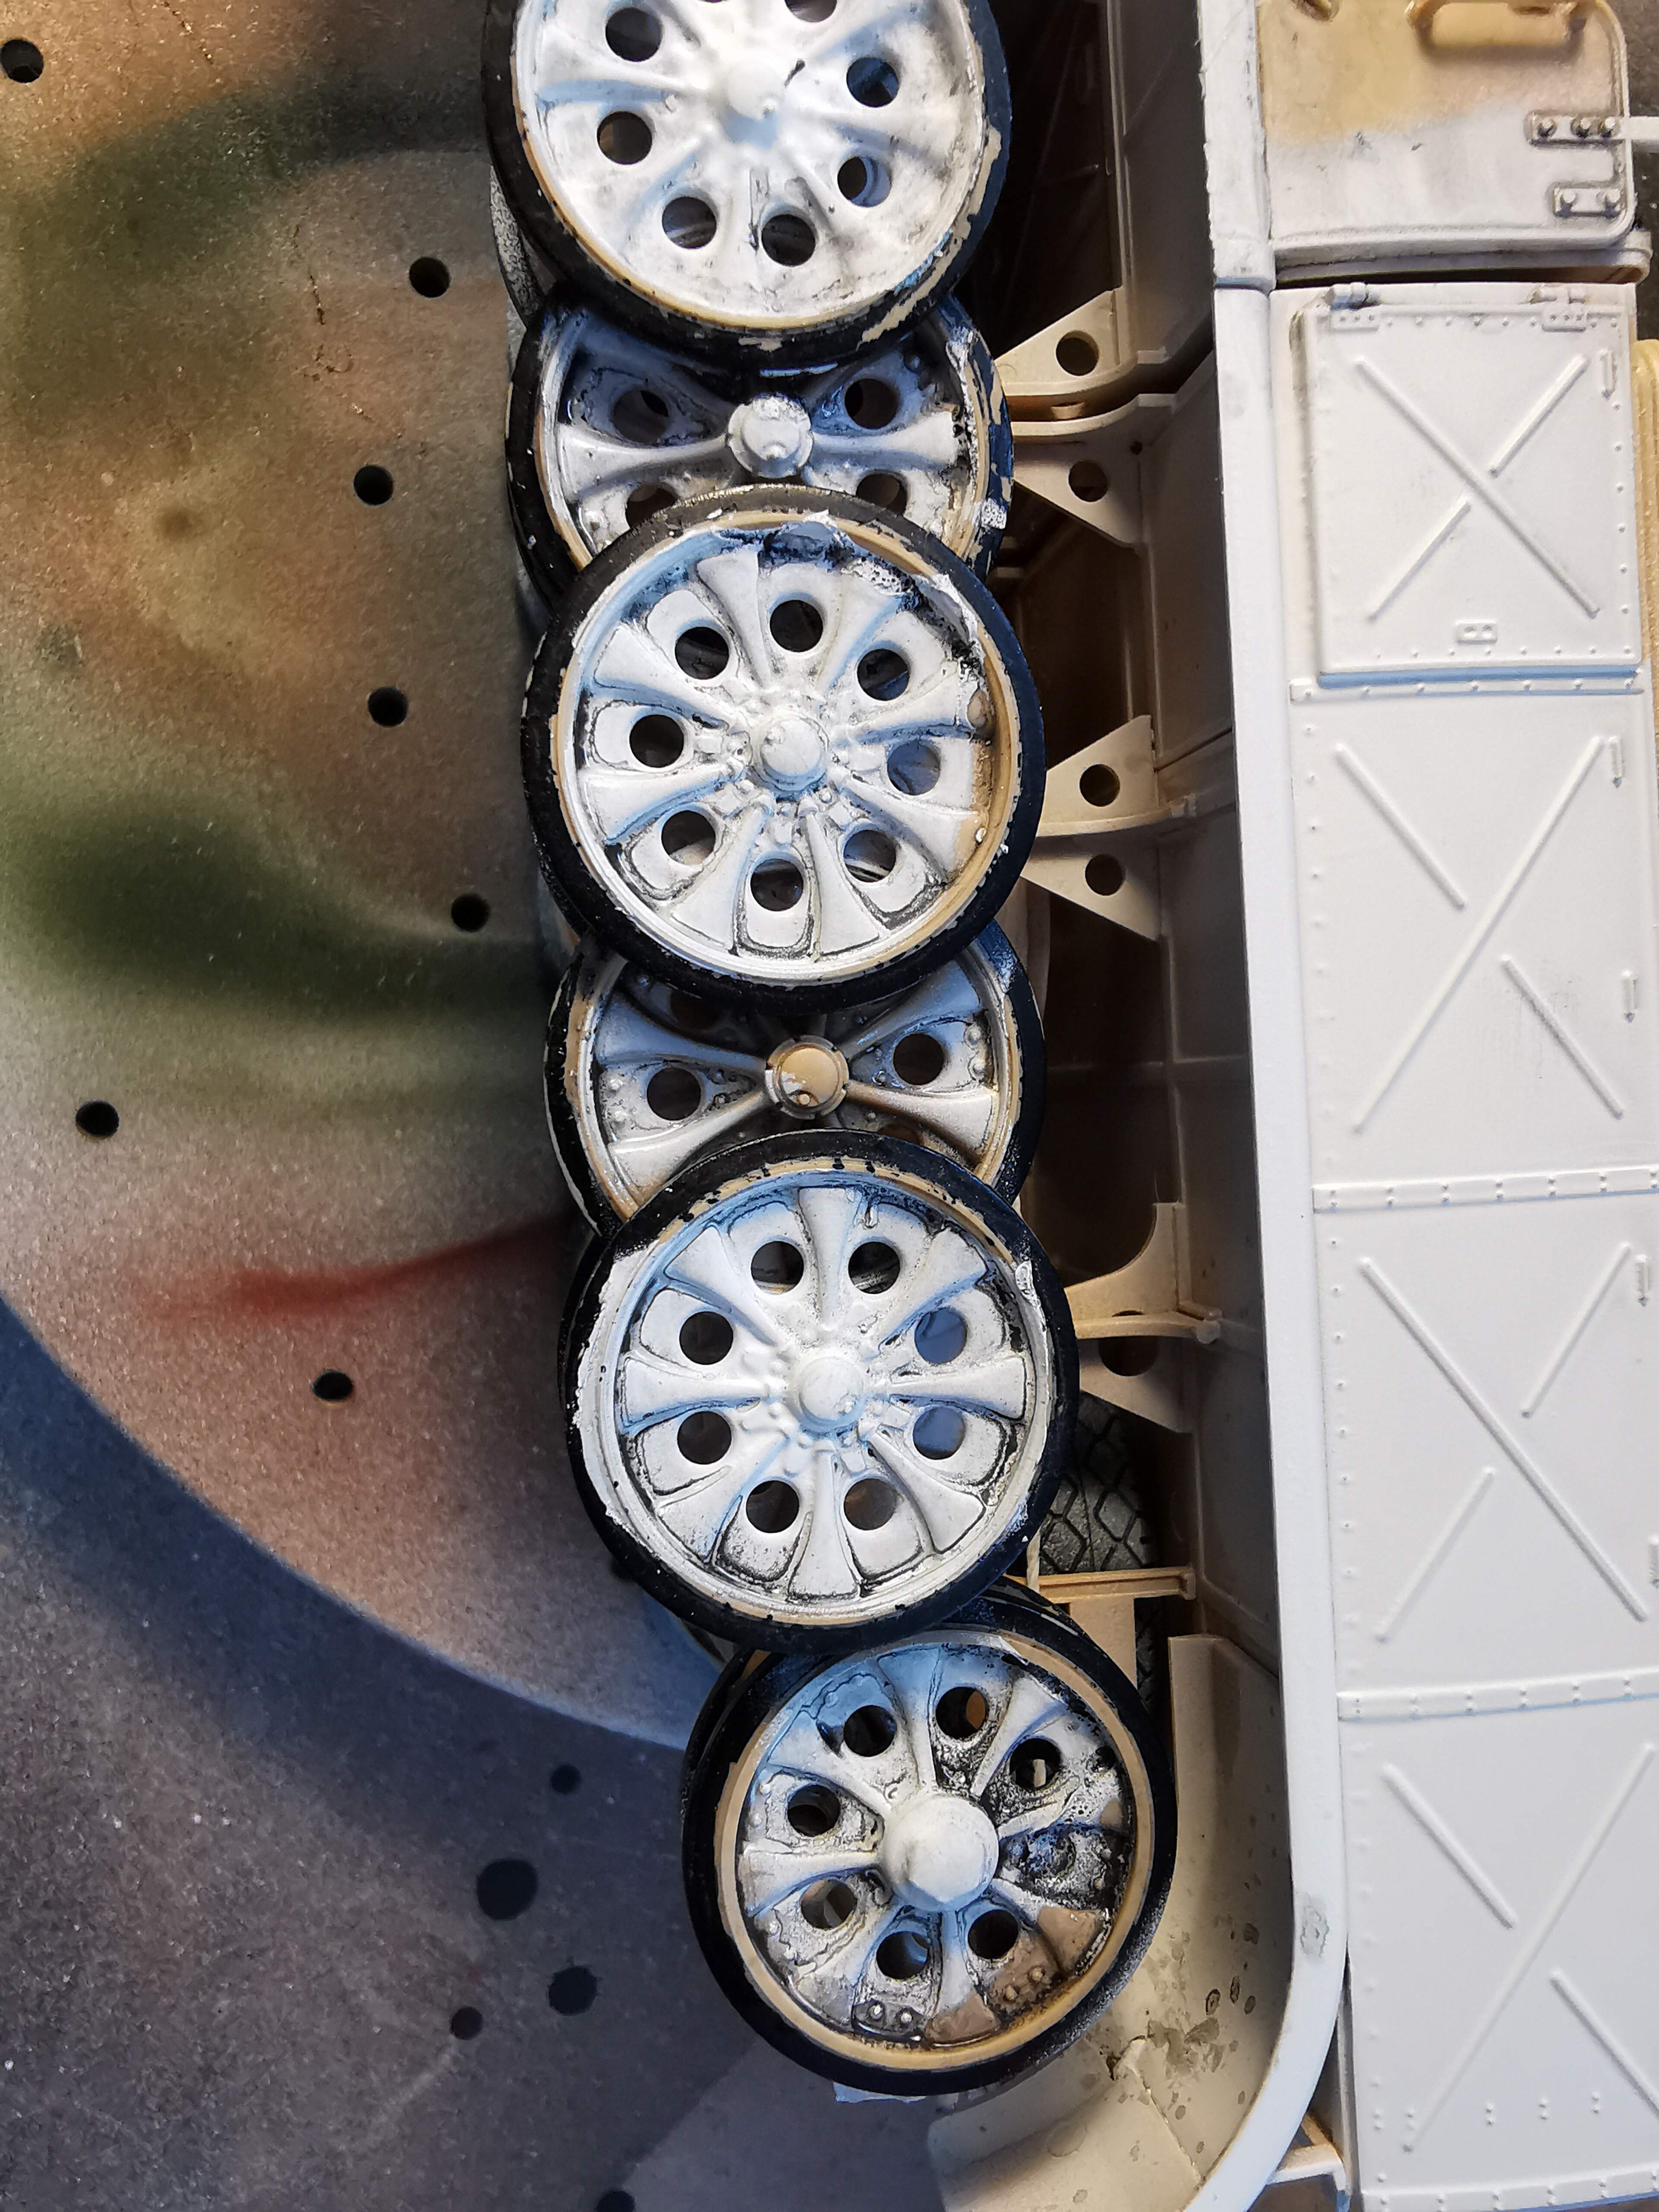
I did leave some of the ‘black’ on the wheels, since I thought. It could be a nice weathering effect? Since photo’s I saw were also showing that not all the Famo half tracks were that tidy and clean. And the running gear often got dirty on the eastern front. From mud. Or other natural conditions. So I thought I leave it on.
And I thought, this might also be the opportunity to learn a few things about weathering.
Have to start somewhere with it anyway.

I wouldn’t use anything out of a rattle can of spray paint that said it had to go on in one coat. As difficult as spray cans are to control, it sounds like Revell makes a very lousy primer if it really has to go on in one coat.
I would consider the following going forward:
A) You can always experiment with that Revell primer painting scrap sprue or similar to see if it works well misting on in multiple layers in same painting session.
B) Buy better rattle can primer that’s a more flexible primer that’s easier to apply
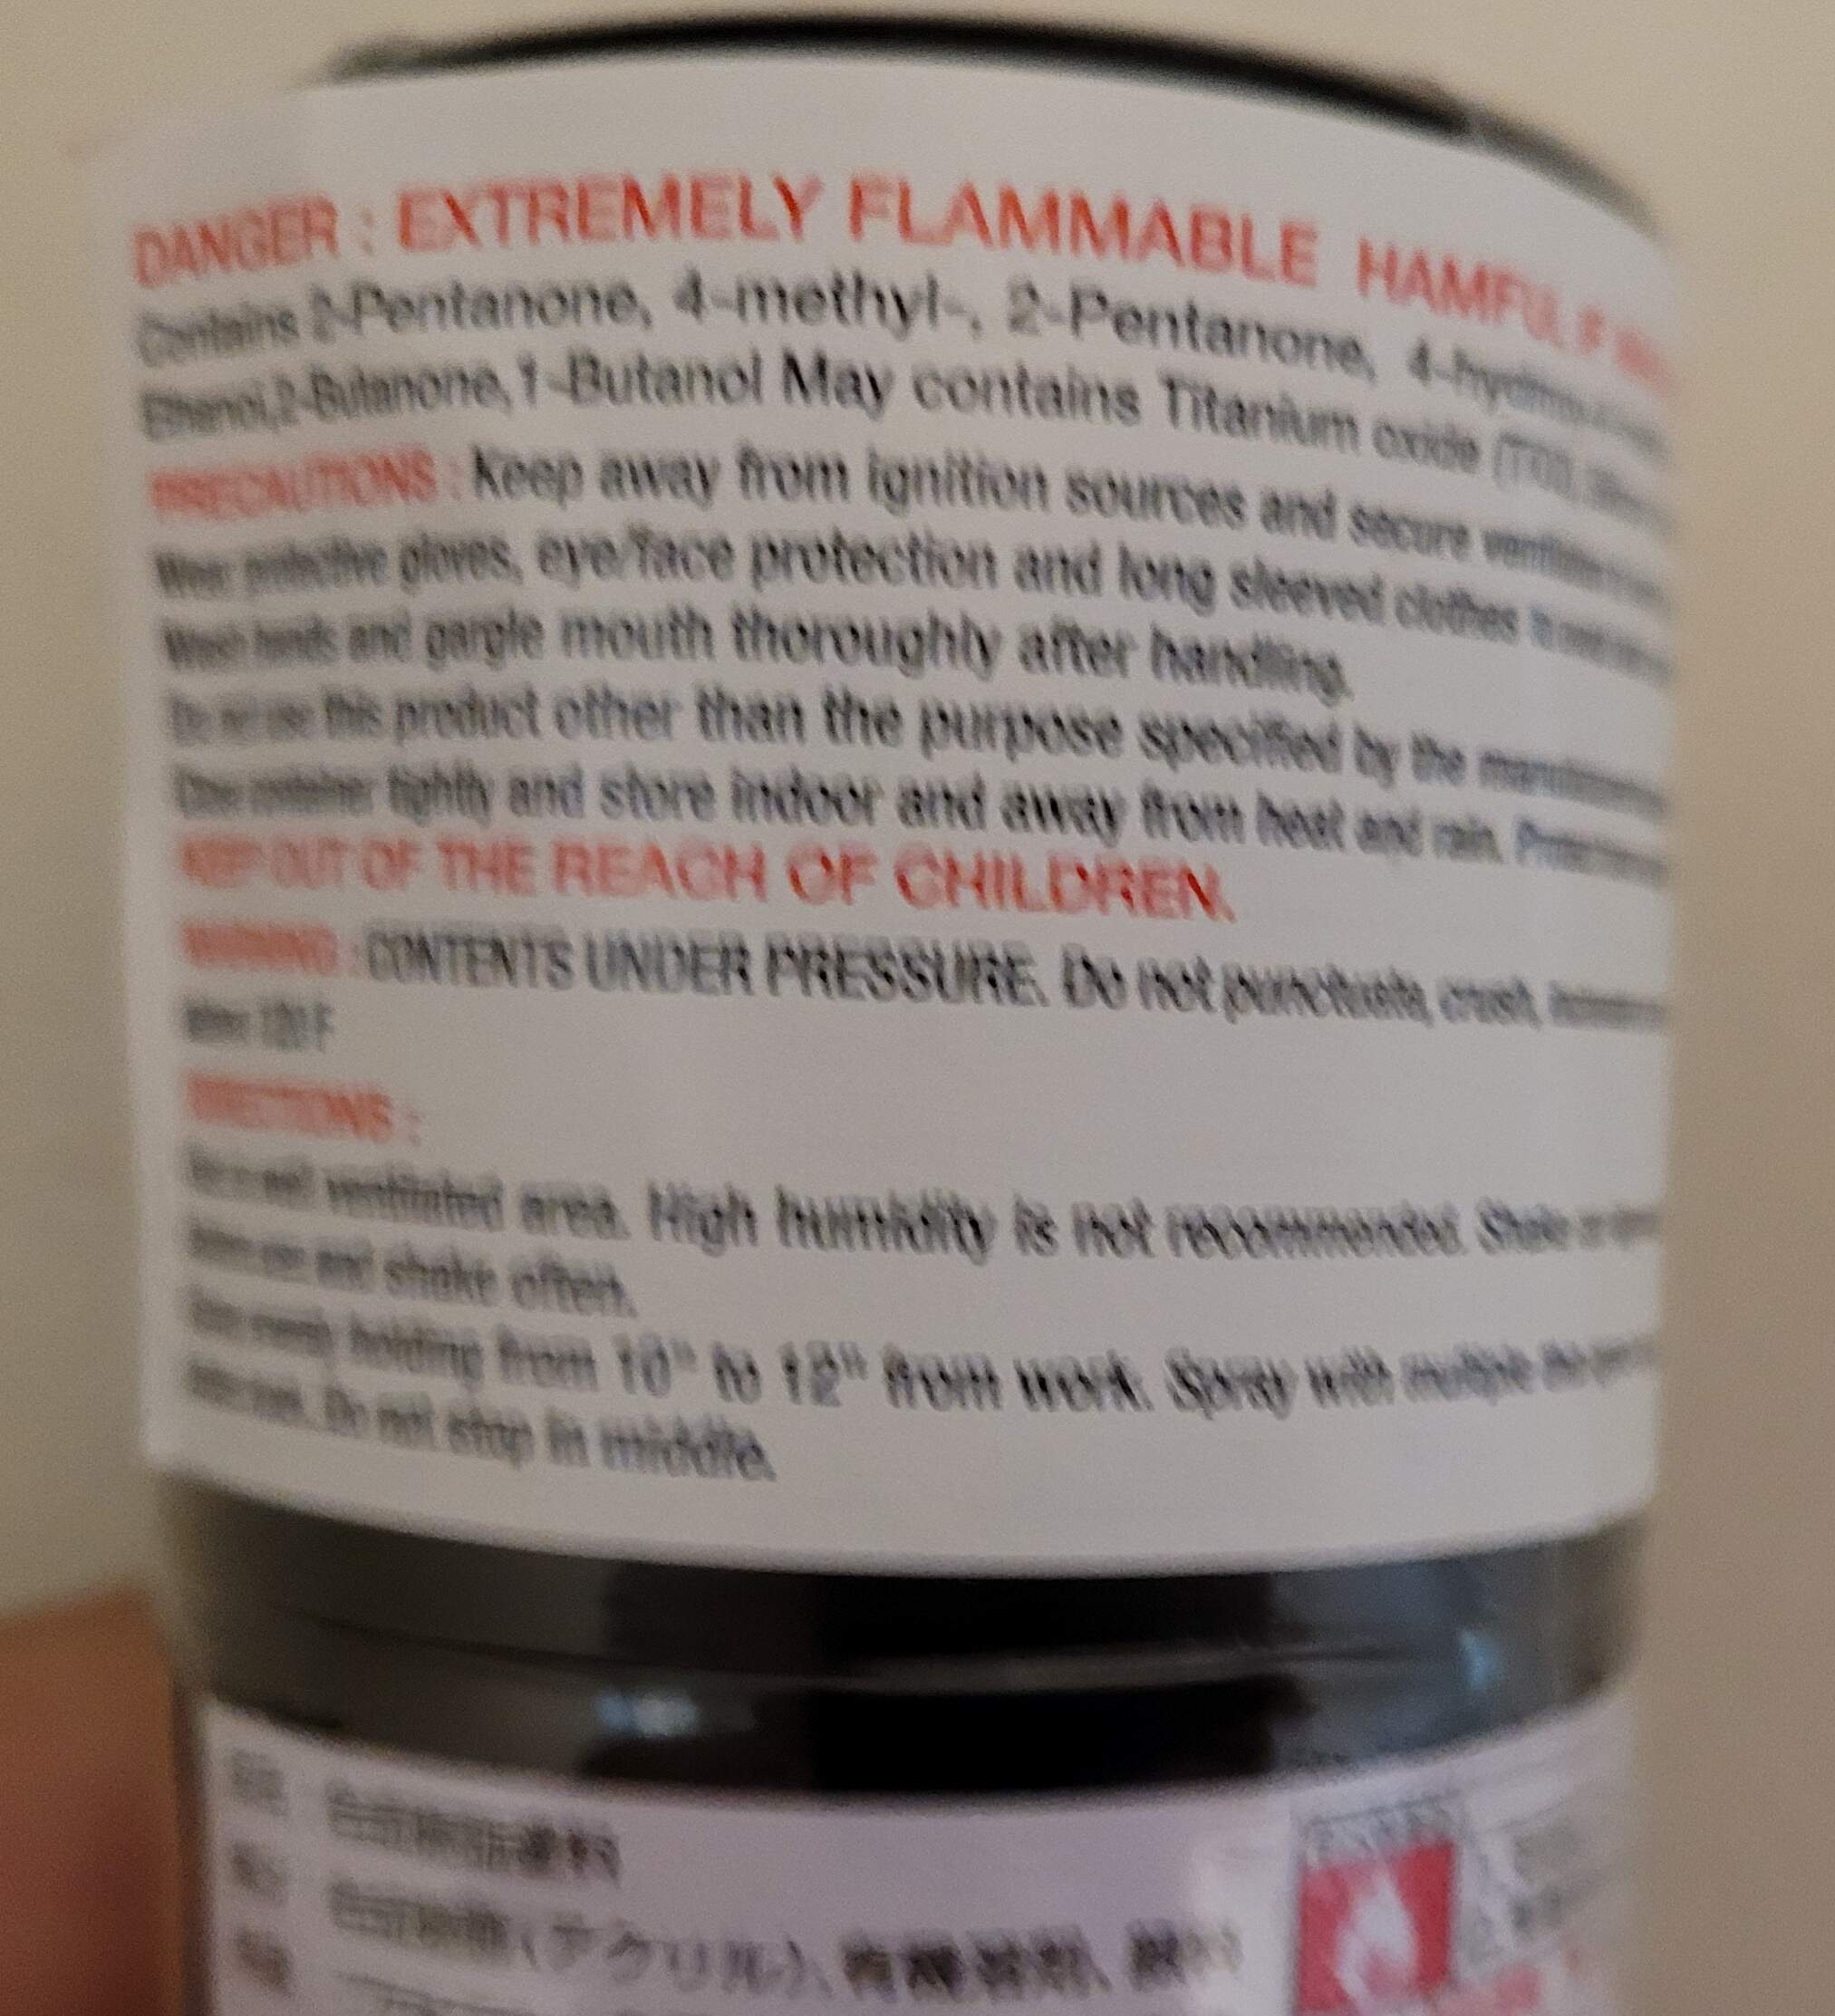
While I normally use high quality Floquil paint and avoid the need for primers completely on plastic models, I do keep a can of Mr Surfacer around for metal figures. Mr Surfacer can go on an several thin coats sprayed closely together. Mr Surfacer is available in rattle can and available in a bottle. Use Mr Hobby’s Leveling Thinner if airbrushing. There are several different colors and grits available.
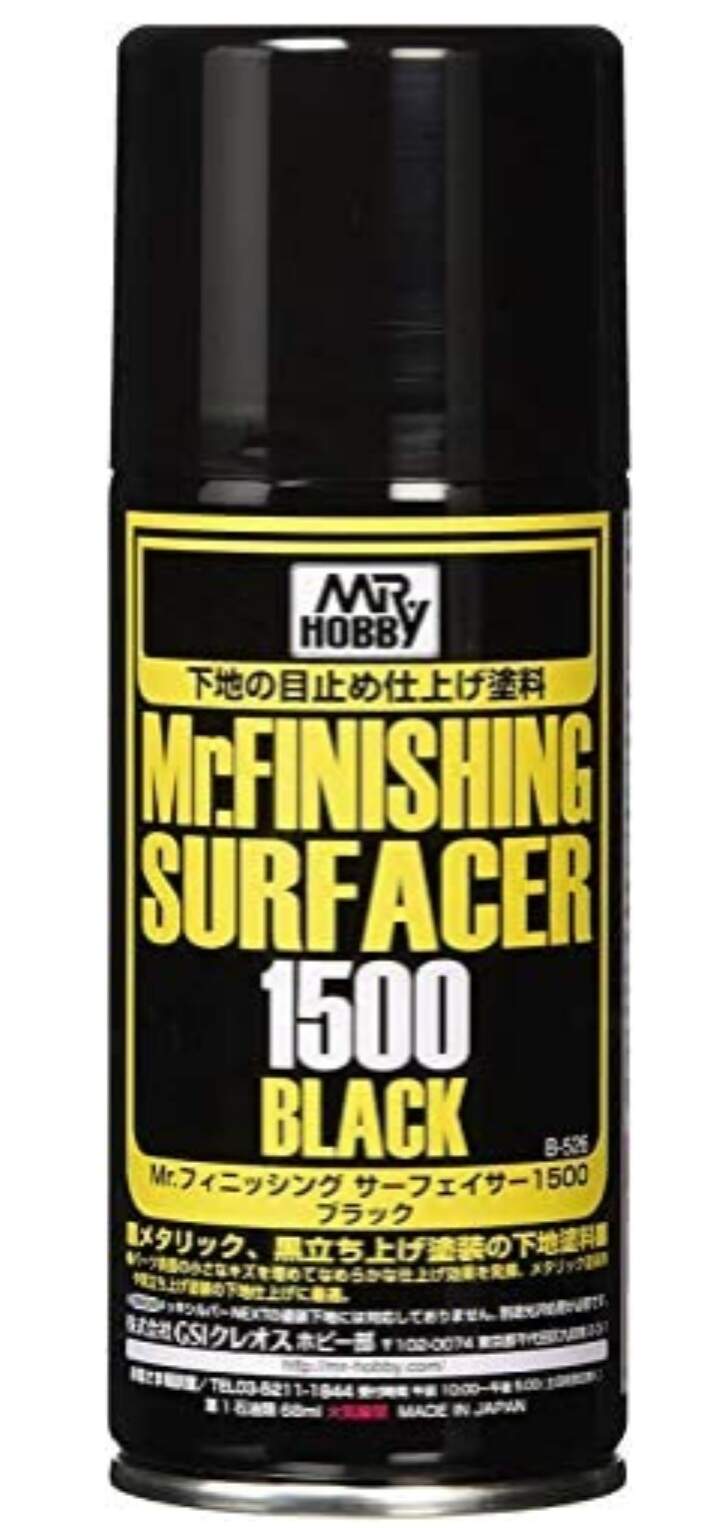
Mr Surfacer rattle can directions. Hard to read label in my picture but can be applied in light coats. Spray 10 to 12 inches from model or 20cm to 30 cm from model.

1 Like
Mr surfacer is great stuff! But word of caution, if you spray through an airbrush, clean it immediately after finishing. This stuff dries very hard
Hi,
glad that I could help.
Re 1) Paints: yeah, terminology isn’t always clear. There is a very good and detailed video on youtube from Will Pattison about the different paint types and their solvents:

As I said before, primers are a special kind of paints. They need time not just to dry, but to cure into the underlaying surface. It’s usually good to let them dry at least 24 hours after applying, regardless what brand or type you use. They aren’t always necessary if your kit has only plastic parts, but can help the paints to lay and stick better on them.
Re 3) Putty: first of all, the “right tool for the right task” rule applies. Masking putties are for masking irregular shapes on uneven surfaces, or making only the edge of these shapes. You CAN use them masking eg. the wheels, but circular templates are much, much, much easier and faster then applying the putty precisely.
I don’t use any special tools for the putty, just my fingers, maybe the tip of a thin brush handle. After I painted the parts it’s good to remove the putty as soon as the paint is touch-dry, because the putty itself has a solvent. Do it carefully, the only annoying feature of them that sometime a small part sticks into a crevice or panel line and you pull out a long thin filament, like with a sticked bubblegum. Toothpicks are your best friend to remove from small nooks and crannies. If I need to mask larger surfaces (like a camo on a WWII Hurricane), I usually make only the edge of the shape from the putty, rolling it into a thin “sausage”. Then I cover the inside area with tesa Perfect Sensitive masking tape, or simply stick a roughly pre-cut paper on the putty contour. If it’s possible, do not cover large areas with flattened putty.
Tamiya Laquer thinner is great for stripping paint off & I believe would also remove the “remaining / stuck” putty still on the model. I would just suggest you test how a bit of the thinner reacts with the putty first on a scrap piece of plastic.
I also use rattle can primer & all I do is using a old straw & spare airbrush jar slowly spray into the jar, I cover the top of the jar with tape & just make a tiny hole for the straw.
Then you can spray it through an airbrush later, 

Regards
Mike
Just a thought. Would an ultra-sonic cleaner not remove any residue/paint?
i use mine for cleaning my airbrush, but i’ve heard they are very good for removing paint etc. too.
1 Like
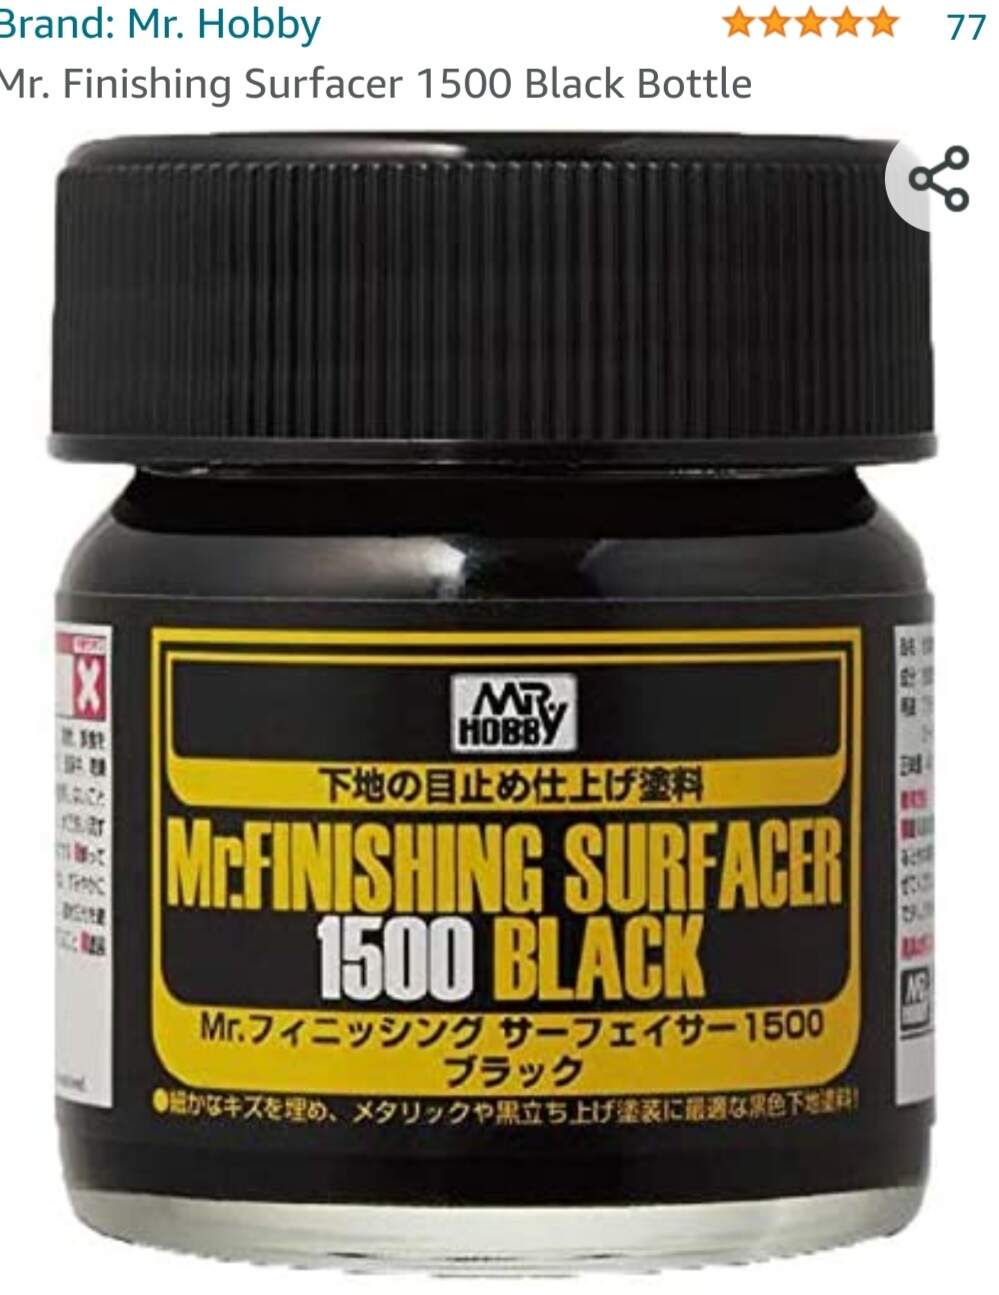
@Armor_Buff I’m seeing a lot of products of the GSI Creos company pass my screen. And I’m getting the idea that the GSI Creos company. That are behind all these products, really makes a lot of excelent scale modeling products. I have two bottles of Mr. Hobby Aqueous paints sitting in my drawer. I haven’t used them yet. But I’m planning to try out more Mr Hobby paints with future projects. Because I’m curious to find out how they spray. My greatest concern was, because I have also heard stories of Mr. Hobby products that are toxic. And are able to damage your health if you don’t wear proper protection. Like a mask and such things. Otherwise, I had already bought the Mr. Hobby primer in a bottle use it in my airbrush. I did try to find some information on this, if I needed additional protection with it. But I didn’t find the answer. Maybe because I didn’t know on what to search?
@Mead93 Thank you for the warning. When I use it I will pay attention to it.
@Halaci Thank you for sharing this video. I did find the information interesting. And I think I got a little more understanding of these kinds of paints that are most commonly used in the hobby. But it also brought up new questions, such as: Do I need to purchase additional protection regardles of what paint I’m using? I’m already having and using a spray booth. But would I also need to purchase a mask?
Furthermore, I just like to use primer because I believe it makes it easier to paint the model in as few sessions as I possibly can. And it can help to better see the paint that goes on. There are probably other advantages to priming as well. But I’m not really knowing. Maybe by searching on the internet and or YouTube?
I’m hearing more ‘the right tool for the right task’. I think that means most of the time use a tool for a kind of job that it was designed for? Like to use a file to only file and smoothen parts? Can’t think of much else examples.
I will remember the advice on the putty and the circular templates.
Thanks again for helping me.
@Tanksami The problem is already helped resolving by @Uncle-Heavy
But thanks for the tip anyway.
@Khouli Never heard of that, never seen that. What is it exactly? Where do you buy it? How do you use it?
All airbrushed hobby products are dangerous to breathe in my opinion & experience. Proper ventilation, correct respirator & gloves are wise precautions where airbrushing or using a rattle can for any paint or primer.
Any form of aerosol particles even consentrated house dust can be potentially hazardous. Occasionally grain dust can ignite and explode in a grain silo. We know grain is safe cause we eat it various forms. However, that does drive home the point that even nontoxic substances can be hazardous on occasion.
2 Likes
@Khouli Thank you for the link. It looks very interesting.
@Armor_Buff Okay, I guess it is more convenient to buy and use those additional protectins anyway. Better safe then sorry. Again, when I bought products at modelbouwkrikke.nl I constantly asked. Do I need additional protection like a mask. Most of the time they said that a spray booth was enough. Maybe that also was bad advice from their part? It is more comfortable to use with as few protection and such as possible. But that also means a greater health risk. On my work, they also aren’t as keen on personal safeties as I’am. Working with wood on my work, I’m wearing hearing protection, gloves and goggles. Because there was one occasion that I got trouble with my eye after work and after going to the hairdresser. When visited the doctor and he couldn’t find anything of damage or something. He did put something on my eye to let it rest. And after a day at home sick. And taking that thing of, it was yellow. Did suspect that was saw dust or something that was in my eyes. Bottom line is, since then I took health and safety very seriously. And now I’m not having issues anymore. In contrast to some colleagues that are sawing with a table saw or miter saw. That sometimes get their fingers or hand injured. Bottom line here is, I take health and safety very seriously. And based on what you are writing. I conclude it is better to purchase those protection matters.
Thanks for replying.
1 Like
Hi, glad to help.
Regarding protection: sprayed paint particles (being either acrilyc resin or enamel) are not good for the lungs, that’s the basic. So you should try to avoid it, in which a spray booth with extractor fan is definitely a good start. However paints uses solvents as well, and those are not equally harmful. On a thumb rule: the less smelly it is, the less harmful it is. Water based paints (Vallejo and alike) are the least, lacquer and enamel based are the most. Using the later ones either by spraycans or by airbrush I would suggest a spraybooth with a powerful vent (more powerful than the cheap Chinese compact portable ones have) and/or wearing a mask like the 3M 6300 half mask with an aerosol filter on it. Using an airbrush instead of spraycan also helps, because with airbrush you can controll the amount of paint much better, there are no big spray cloud in the air. Open windows if you can while spraying, again anything what common sense tells.
Right tool: well, basically which makes the job faster and easier. Those are not always tools for modellers. Eg. sanding sticks for modellers are usually more expensive than the nail polishing sanding sticks which can be bought in a drogerie shop. Or isopropyl alcohol (IPA) is just as good to thin the Tamiya, Mr Hobby paints and mainly to fast clean the airbrush, than their proprietary thinners, but costs about the tenth. Special circular masks can be bought for each aircraft types’ wheels about the same price of a professional designer template, good for all sizes.
There are quality products of course and not everything is replaceable. Or doesn’t worth to replace with a cheaper alternative, because the result would be worse as well. Again with thinners as an example: IPA is good for those paints in general, but the MrHobby Levelling Thinner has a special effect which makes the final results smoother, so it may worth using it, even though it1s way more expensive. Here there are no rules carved to stone, you try and decide. Logic plays of course: If I need to paint a straight edge, it’s better to use a straight edge material than something soft and flexible (like a putty ). There are a million videos on the youtube, either reviews of tools, or full build videos where they discuss what tools they use for the task, it’s worth surfing and searching. Will Pattison eg., who posted the vid about the paints has a lot of technical advice videos too on his channel.
Primer: I always use them. Some people don’t, again no rule. The only restriction is, that paints usually stick less to resin or metal parts, so it is highly advised to prime you model if it has them.
I’m glad I saw this post! I have a bottle of Mr Surfacer enroute from Sprue Bros and although I normally run thinner through the gun as soon as I’m through painting this is good to know. I don’t normally use primers since MM enamels are my long time choice but I’m building an resin cast kit now and figured a primer might be best for AK laguers. Question for @Armor_Buff . . . . does it have to be Mr Leveling thinner? won’t any laquer thinner work?
Cajun 
IPA softens the mr surfacer pretty good, as a disclaimer I’ve never airbrushed it. It works really well though, but it does dry quite hard and I imagine cleaning an airbrush it and dried in would be a headache
1 Like
My experience has only been with using the Leveling Thinner. I think it’s a synthetic lacquer thinner so I imagine lacquer thinner would work.
1 Like