Thanks Paul. This was my first rigged biplane. I had done two WW1 monoplanes, while having a lot more rigging, were much easier to manage. The rigging was not that difficult, just a lot of it. Where it was most awkward was under the top wing just in front of the cockpit where there are four sets of cross bracing around the cabane struts. The rigging in general was done over several days to avoid losing my patience.
One thing about the Lukgraph kits, is that being resin, and the wings being solid, that they’re quite hefty to manage once assembled. Other than that, they are very well cast, and the smaller 3D printed parts are good.
We have not adopted an award design for this campaign yet. Any ideas? If no one has anything in mind, I have been dinking around with an idea that I will work up to see if it might tell the story and be attractive.
I have had a number of projects going since the F4B-4 was finished. One of them is the Hasegawa 1/32 FB2C-1. This was, I believe, the last of their Golden Wings Series and I think it could have been their best.
Some parts of it are really nice, other parts feel like they decided to scupper the series and finish this kit off PDQ without really finishing it. Some of the detail is very good, probably better than the F4B. Other parts are astonishingly bad. For examplem there is rudimentary detail on the right side of the cockpit and NONE AT ALL on the left side! At first I thought it might be because the had no photos of the left side.
I mimicked the right side on the left side adding “typical” era details such as an instrument case, knobs & switches. Once this was all well along,. I found a few photos online and discovered that Hasegawa had made up what little detail they provided. It was a complete fantasy!
I had chosen a light green that was bright enough to show off the interior but once I saw what the cockpit actually looked like, I darkened it up to hide the mess.
I admire your perseverance with these older kits Paul, I know I wouldn’t have the patience with them. I am sure that this will will turn out as well as the earlier F4B.
Thanks guys, I love the interwar era and am willing to put some time into these models. I have a lot more to say about this one in a bit.
I would love to see a campaign for the interwar era, planes, vehicles & ships were all developing very rapidly and are now very little known. Lots of fodder for our building passions.
Finally got the DH.98 Dragon Rapide rolling. With a month left I will be able to finish. The hard part is done, which was the planning and cutting open the bomb sight, upper and lower holes for the gun positions as well as blocking off the rear windows. Added some basic interior detail as well.
A bit of a chaotic pic, just showing my reference montage for adding details. Interior is painted and mostly assembled. Just have to do aluminum windows frames and join the fuselage halves.
I love what you are doing here! The enhanced interior will add to the overall effect with all of that glass area. This is such a lovely aircraft it just begs to be built.
If you are anyone else needs more time I can appeal to the powers that be for an extension. My own second build has only just this weekend recommenced.
One more challenge for the DH.98 is all the little details for the bomber conversion such as bombs, bomb rack and machine guns. There’s nothing aftermarket available for this since it’s 1/72 scale.
The solution I am going to try is 3D printing the parts I need.
For the machine guns based on this photo it looks like the guns are WW1 era Vickers Type F.
I couldn’t find and 3D models available so I found a free to download Vickers watercooled MG and modified it in a modelling software called Blender. Here is my close approximation I was able to cobble together. A reasonable replica especially since it’s so small in 1/72 scale.
That is looking really good! It’s hard to imagine that your model is in 1/72 scale, it looks bigger. Great work, I look forward to seeing more progress.
Now, how do I make the design into an award? I used to know how to get this job done but now don’t see the visual cues I used to use.
Moving on, how do I give the award to all of those who contributed to this valuable campaign & finished a rigged model? There use to be a dashboard of some sort for the leader to use but I do not see that now.
I need to learn the new system as I have the 90th Anniversary of the DC-3 build coming up as well as some others I would like to see get going.
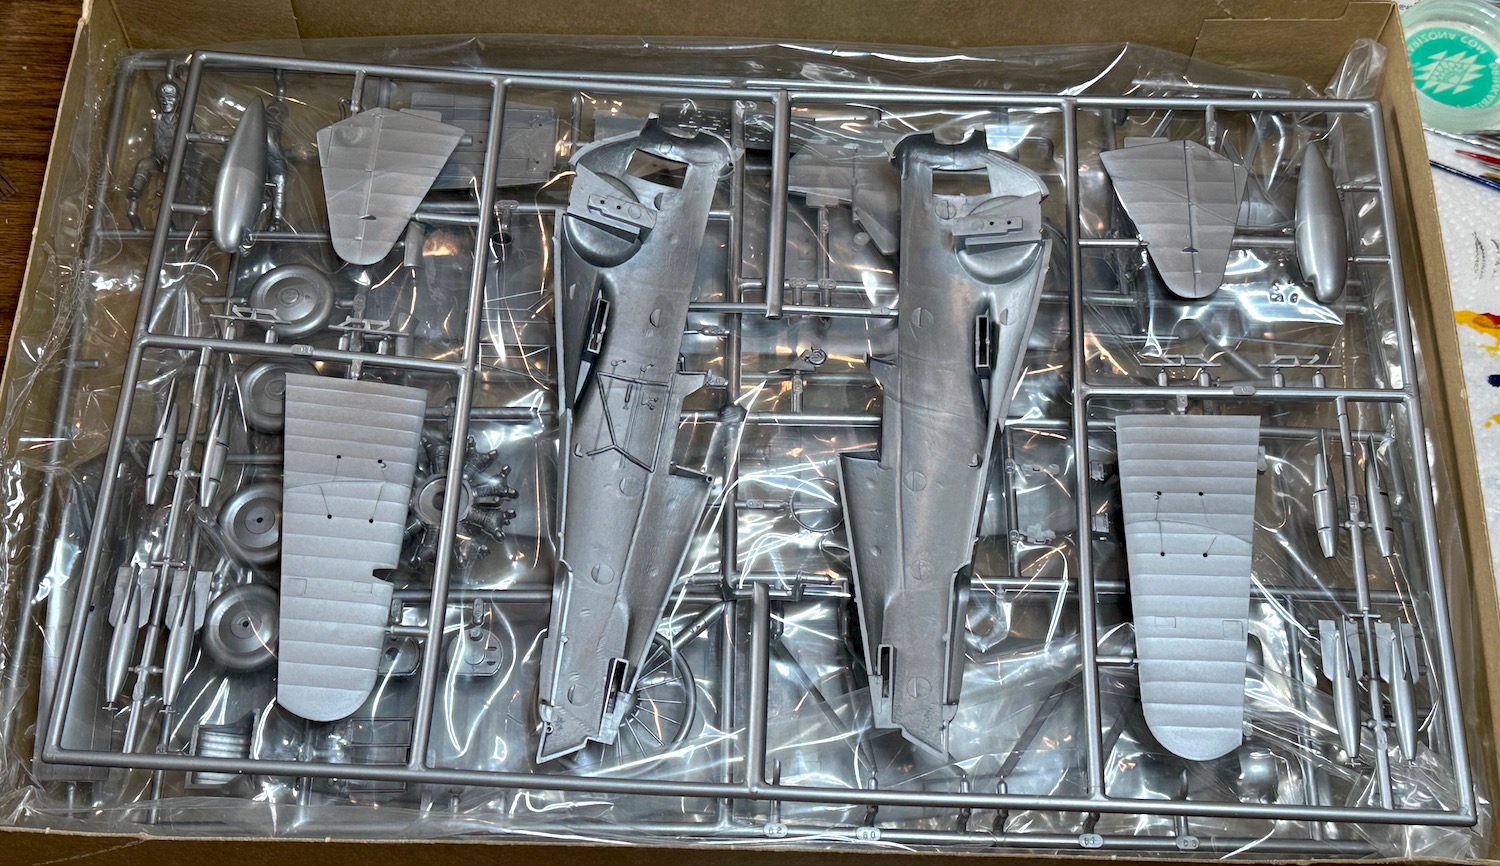
I have had a number of issues with the ancient Hasegawa Curtiss BF2C in 1/32 scale. For the most part, the kit is very good. As detailed earlier, the cockpit is a complete fantasy. I made it look “period” and will live with that.
Finding Willow Green for the tail turned out to be a huge issue. Most illustrations show it as a bright somewhat yellowish medium green. I found a color I thought came close and shot the parts. It was a hardware store paint and the results were not good. The paint has problems laying down on plastic, then when laboriously removed over Mr Surfacer primer, then once again laboriously removed, over Tamiya primer.
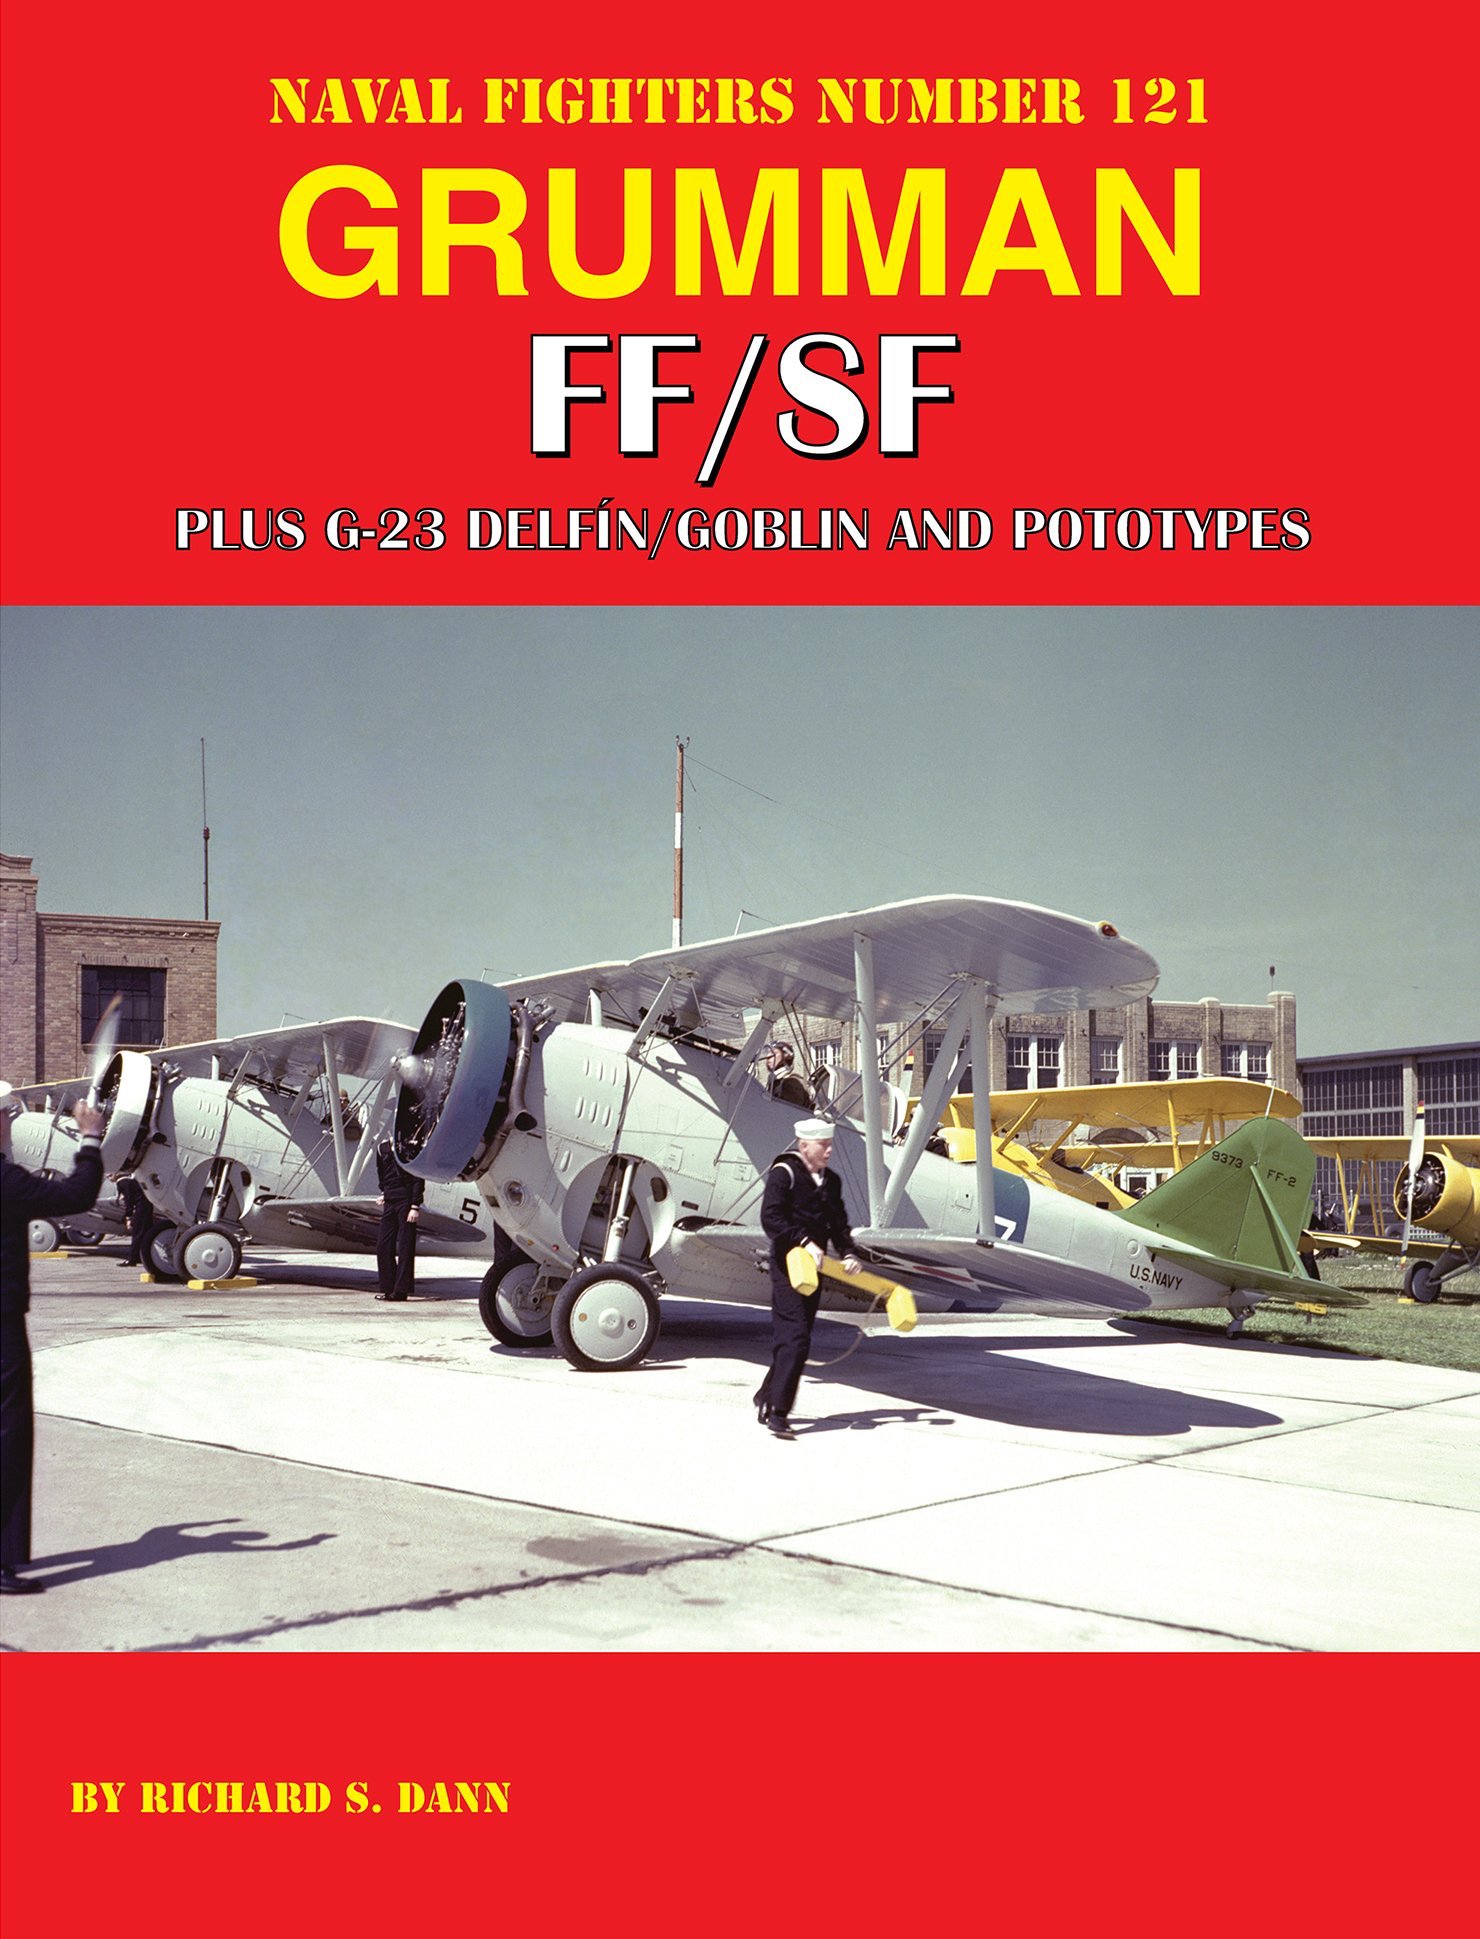
Then I bought this excellent book about the Grumman FF/SF which has a wonderful Kodachrome shot of these aircraft with Willow Green tails. This is a very different green from what is generally supposed! About this time I was rumbling through my archives and stumbled on a long forgotten copy of the Monogram paint chips with a section on pre-war Naval aircraft. It had a chip of Willow Green and a section on how to render scale effects. With this in hand and the Kodachrome, another green was found, a matt Chalk Magnolia Green that was just what the doctor ordered. Even better, it laid down over the Tamiya primer. Even better yet, survived Tamiya clear gloss and after the decals, a coat of Tamiya semi gloss. I’m happy with the look at long last.
This project was also long delayed by having to wait for the hardware store grey to cure. Yes, it dried to the touch very quickly but I could smell it outgassing for more than a month. I just had to put it aside and wait. Now it was ready and it got its decals and a coat of Tamiya semi-gloss.
The project is now ready for more assembly and rigging. With a bit under two weeks to go and all weekend time already spoken for, I will not be able to slide it in under the wire. Seeing it is my second build for this campaign, I’m not inclined to give myself more time. I will post updates as long as I’m able to post them.
This whole campaign has been a learning experience that has enabled me to tackle projects I was scared to try before.