Thanks for the feedback guys, very much appreciated as always!
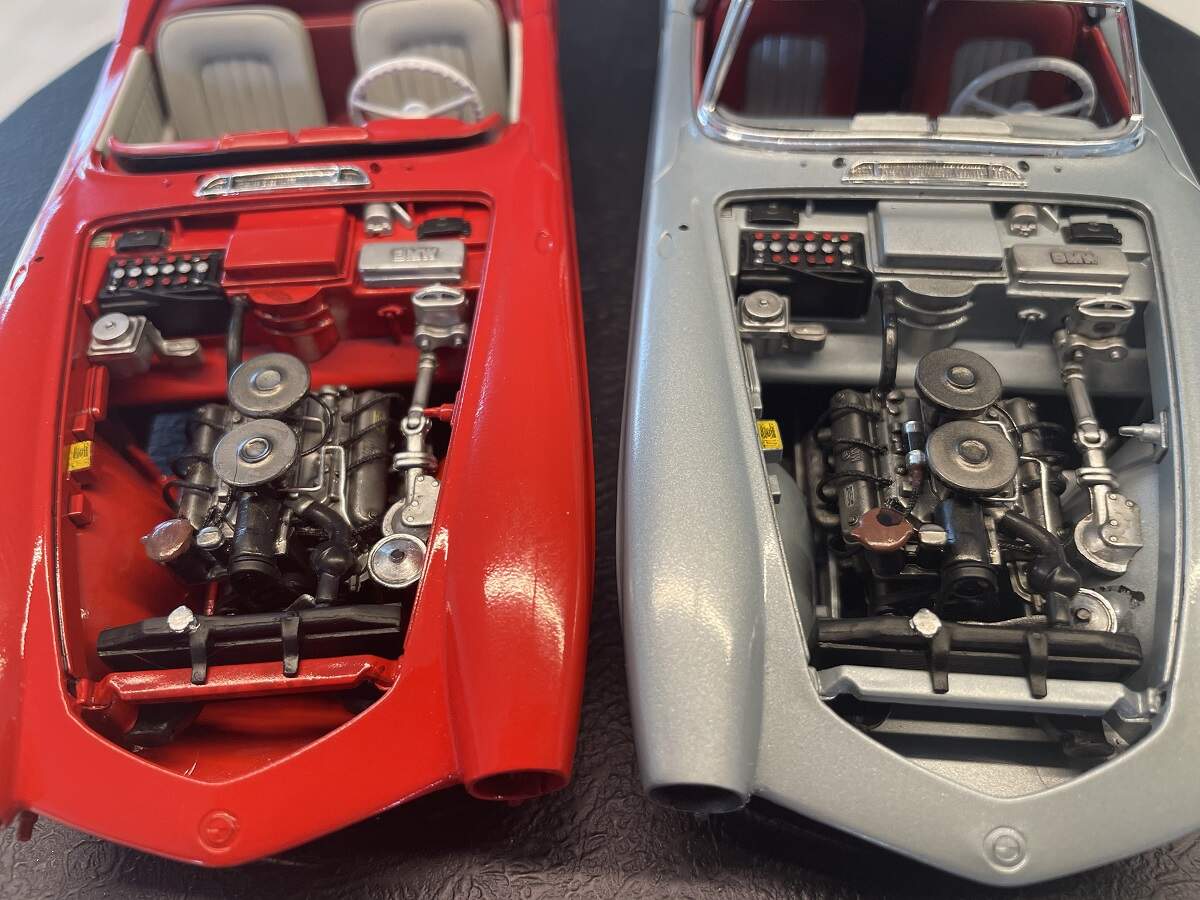
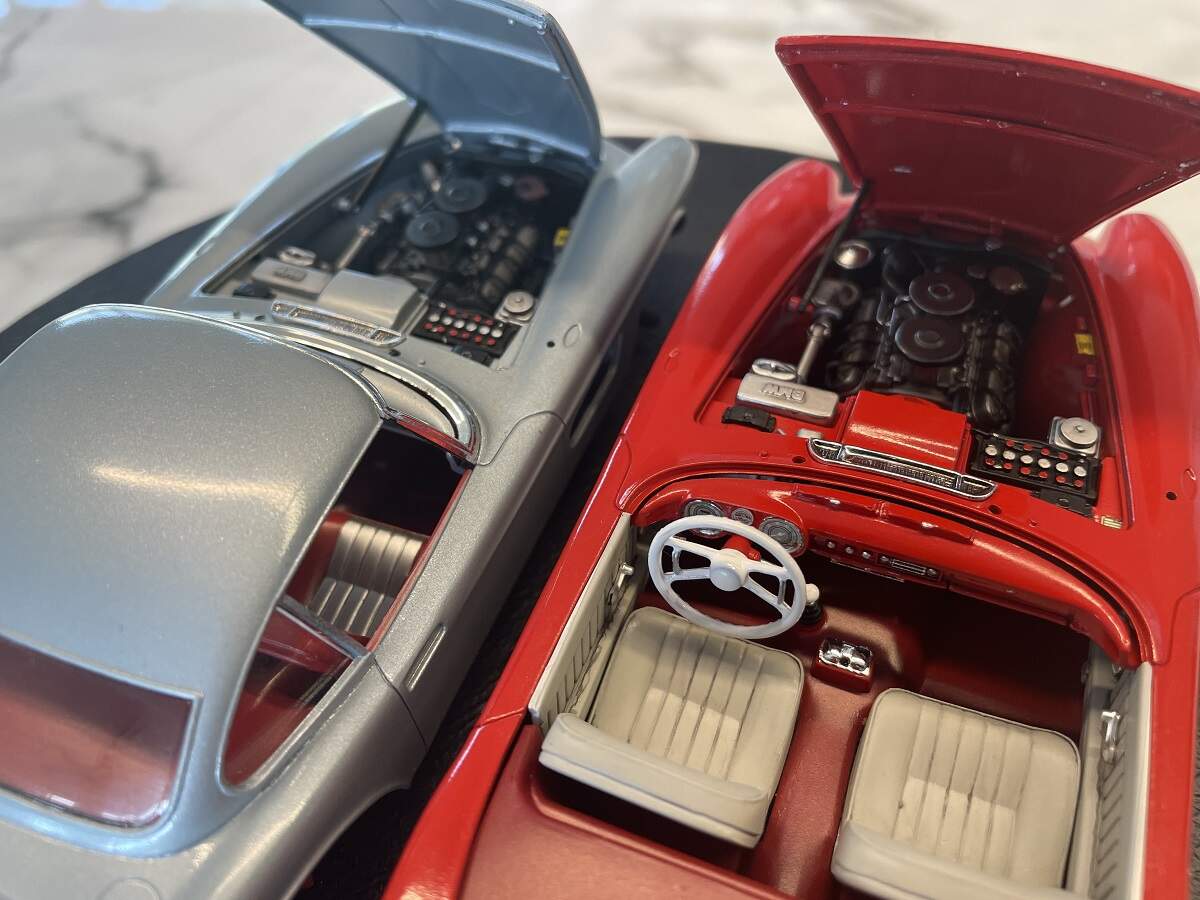
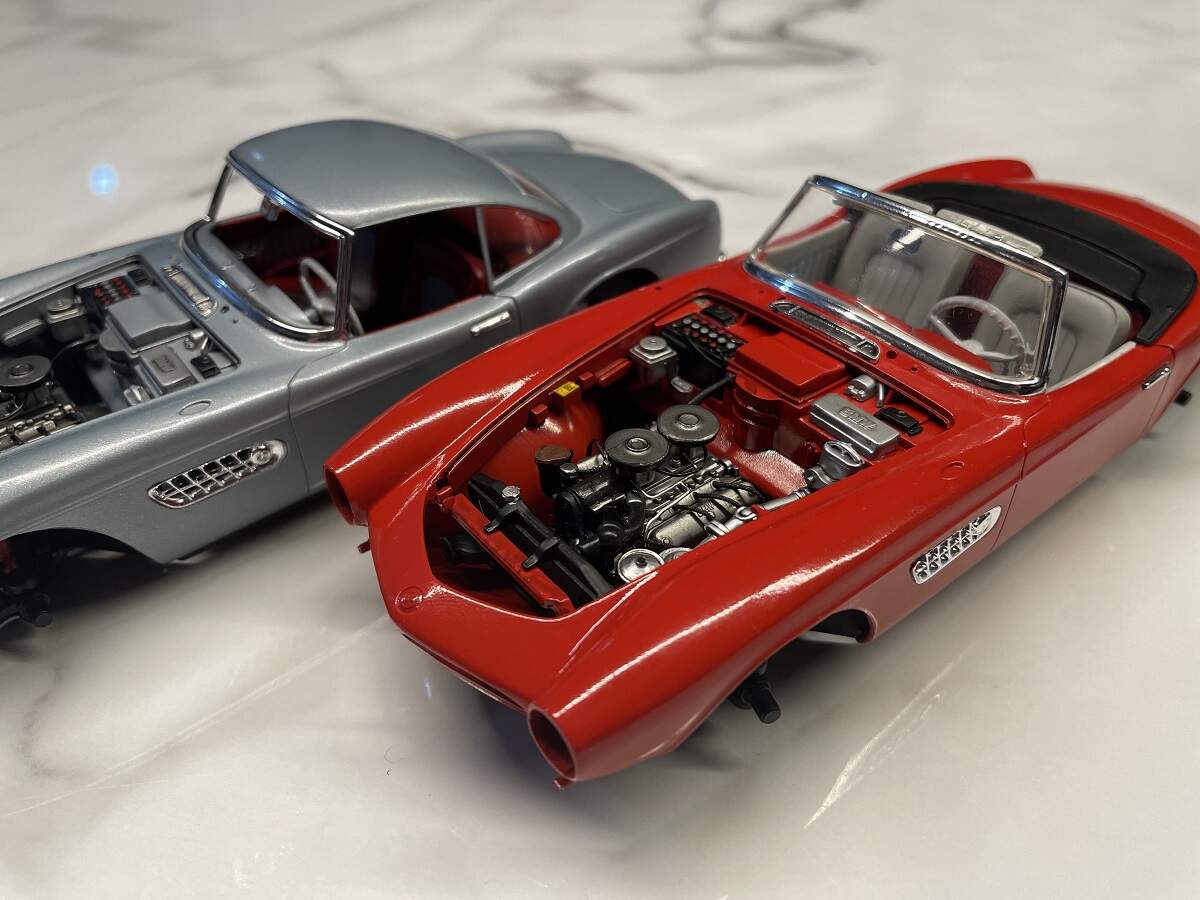
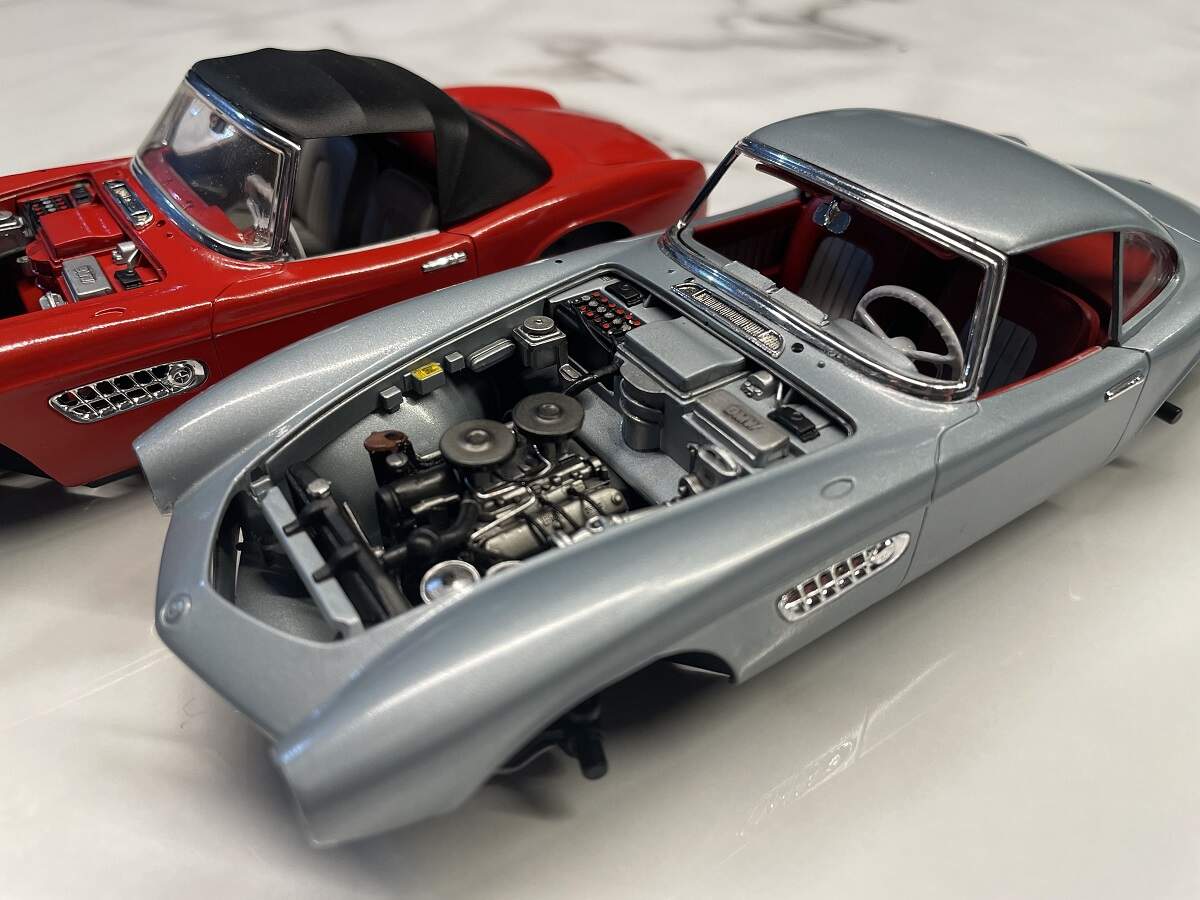
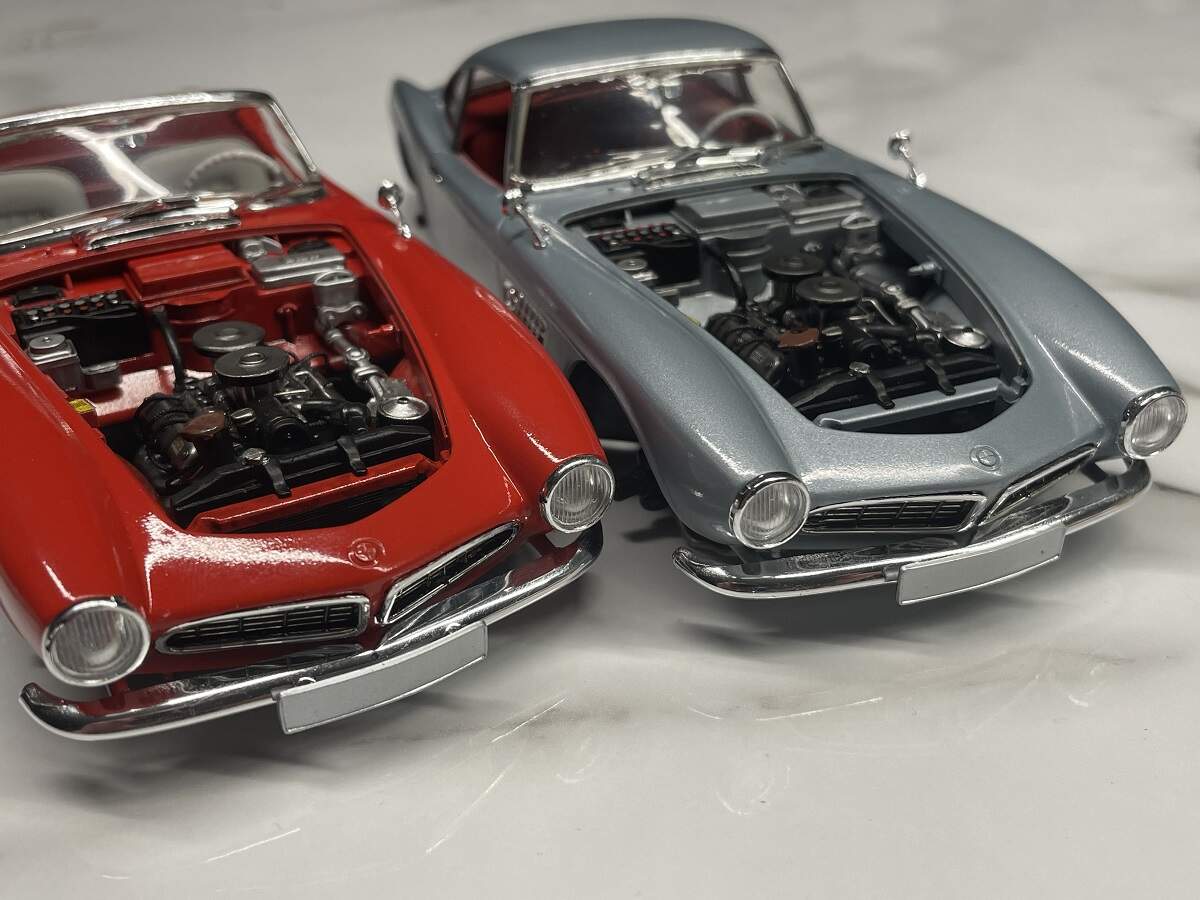
Well the bodies are now firmly fixed to the bases, a little bit of clamping was required to hold them in place while the CA cured, but nothing major. I have added the last couple of items to the engine bay and given a further PLW to highlight the details on both the accessories and body panels. I also fitted the chrome grille over the firewall.
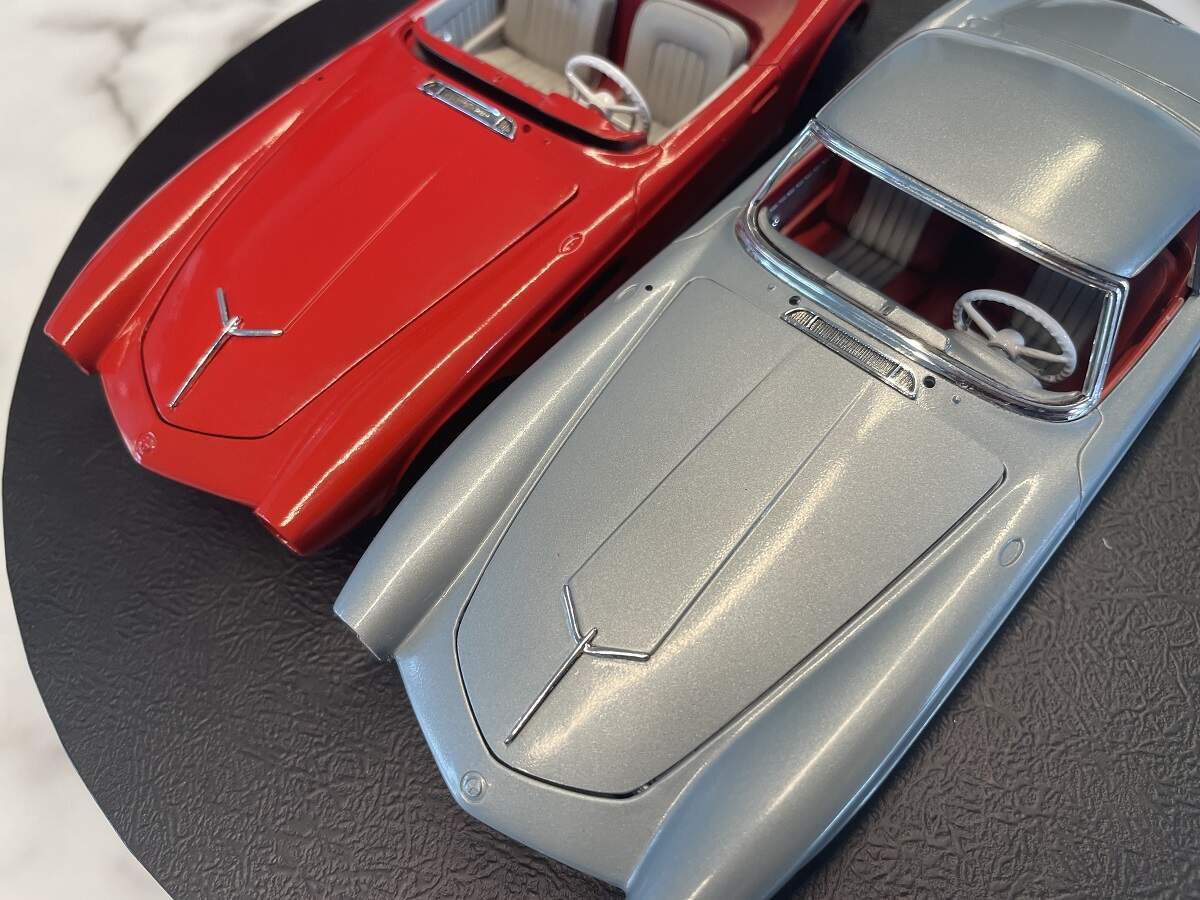
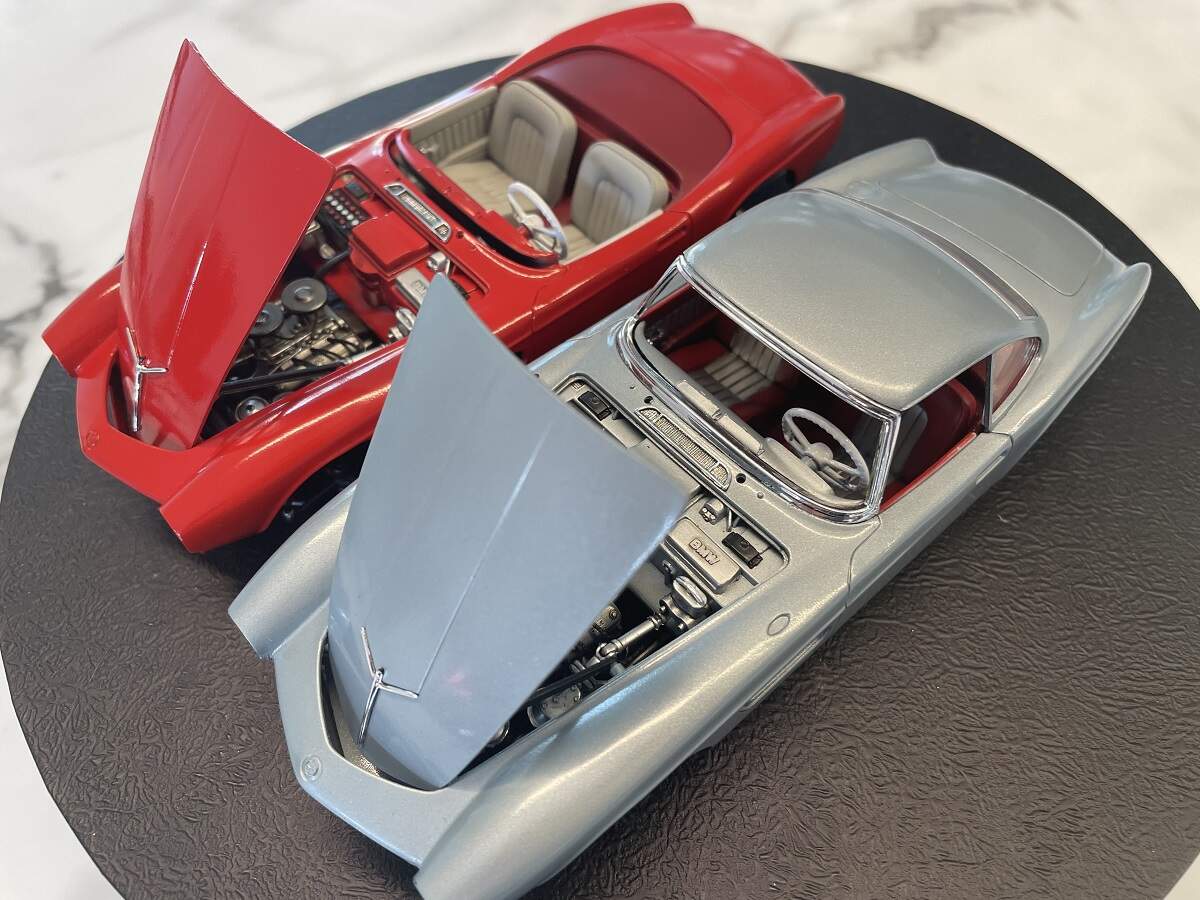
Next up I fitted the chrome trim on the bonnets and set them up to test the operation of the hinge pins and stays. All good so far. These are a loose fit so I will remove them again while I continue to add the rest of the external accessories.
Cheers, D
2 Likes
Very nice indeed D - looks like you are in the home stretch.
Thanks Richard. Not much more to do now, unless of course I drop one of them or manage to leave a dirty great CA thumbprint right in the middle of view 
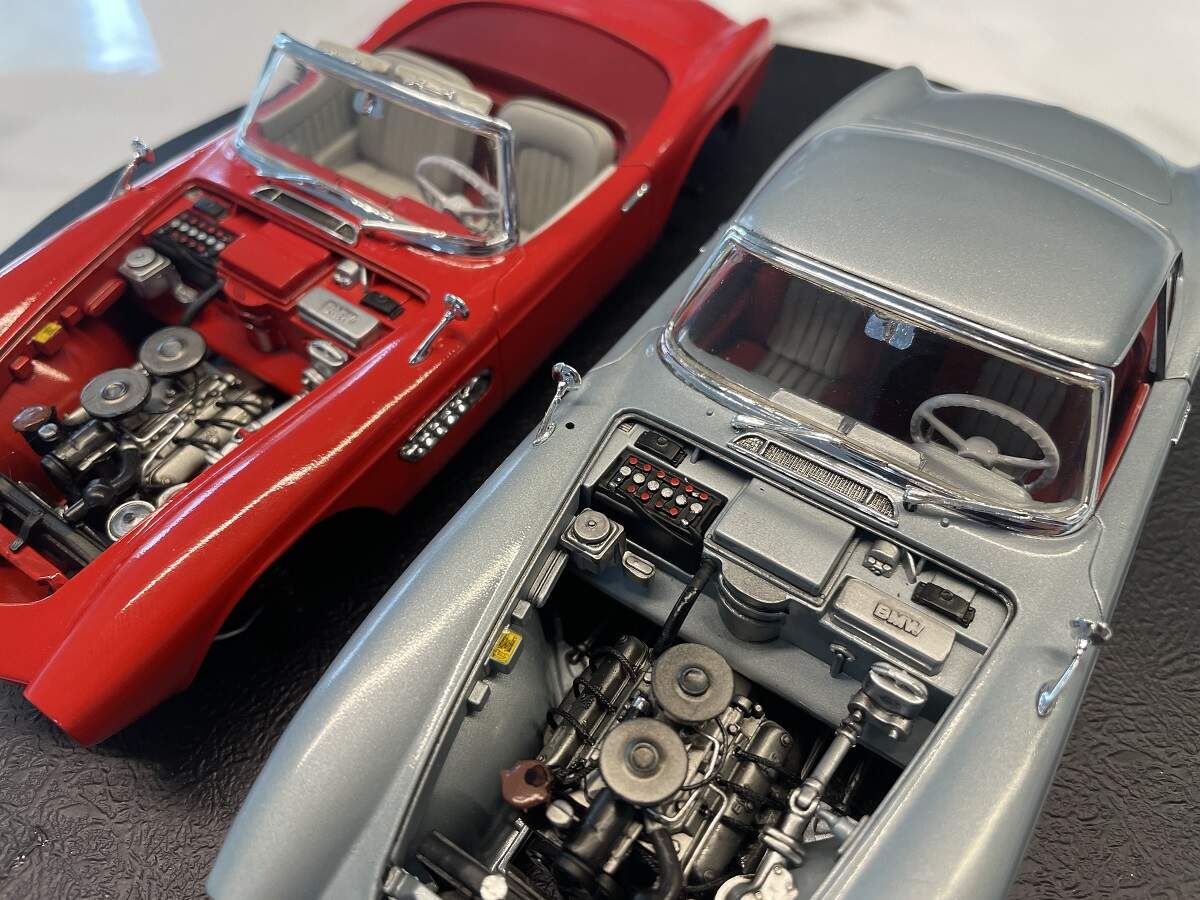
Looks incredible. Love the variation, in metallic’s, in the engine bay. The PLW do make the details pop.
1 Like
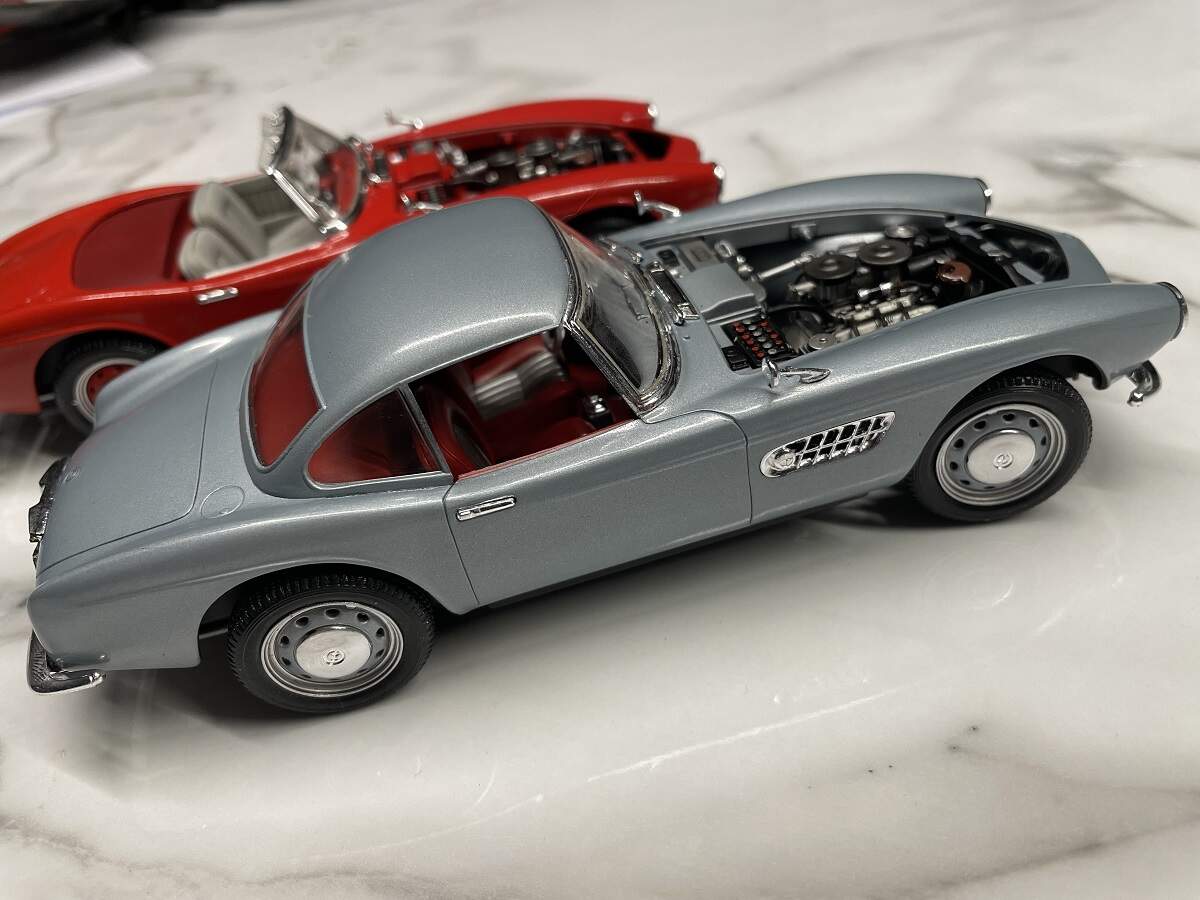
Taking my time to make sure the chrome trims fit neatly and that I don’t trash the finish. The chrome in these kits is quite nice. I’m using AK Ultra Glue for the trims on these builds, it’s a strong PVA so if I stuff up it won’t wreck the finish, I can just wipe it off with a damp brush. When cured it’s quite strong.
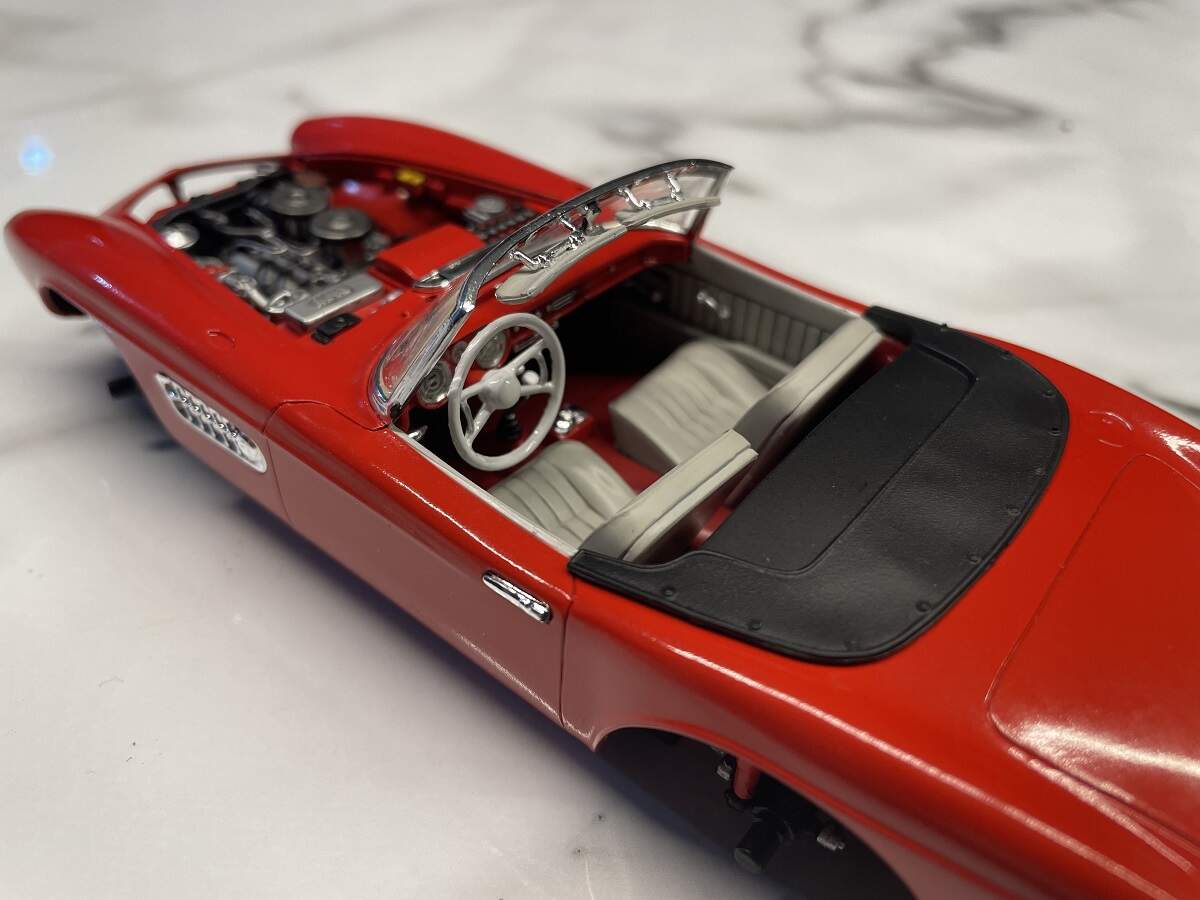
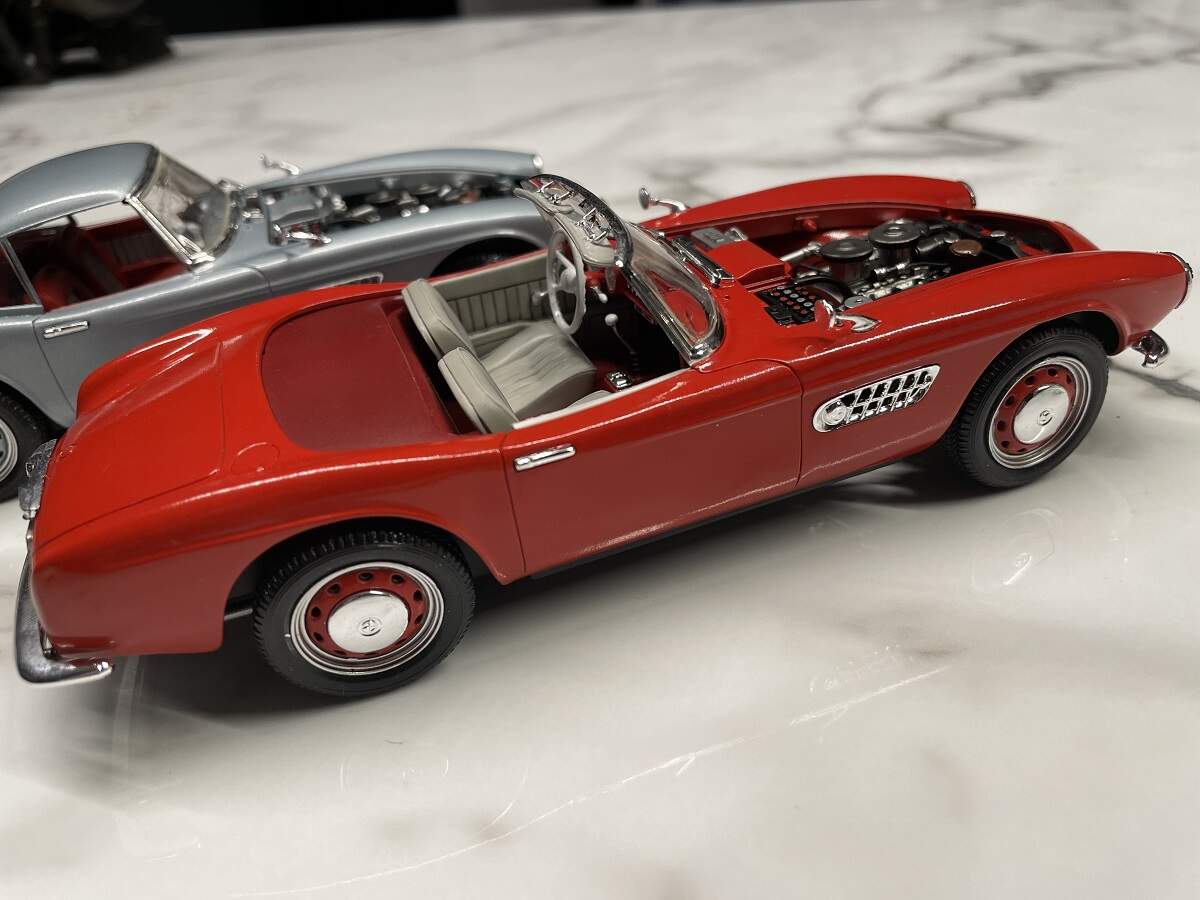
tonight I added the door handles and side grilles on both kits, and the visors and mirrors on the Cabrio.
The raised and lowered soft tops are a neat fit, and the front glass on the Cabrio is a loose test fit at this point.
Cheers, D
2 Likes
D,
Just great progress on both builds. You’re certainly the king of the double headers for sure.
With each new detail added, those builds really start to look more and more like the real deals just shrunk to 1/24 scale.
I guess in my old age, I’ve changed from a sports car convertible type guy to preferring a enclosed coupe if the lines are smooth flowing, and in this case I’ll go with that assessment.
I’ve noticed the really nicely attachment hinges for the sun visors which never seem to be a priority in a lot of kits these days.
Looking forward to your next update for sure.
joel
Thanks for checking in Joel! I am impressed with these 2 kits, the detail and fit is really good which makes a very pleasant change from some of the old Chevy builds I have tackled recently.
Just to shake things up, my next dual build will be Japanese !
Cheers, D
D,
And my next build will most likely be German 
joel
1 Like
A real good looking set of twins D😉
2 Likes
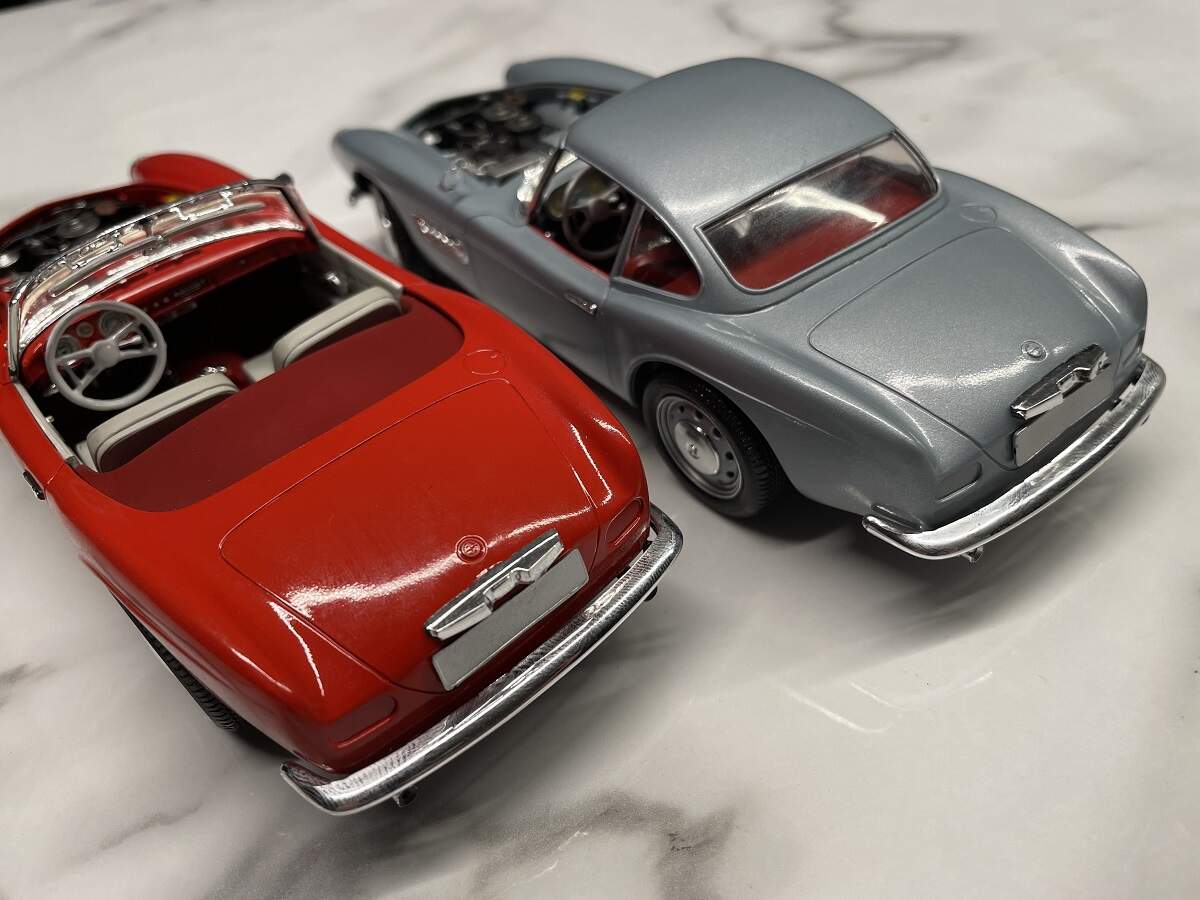
Had a few busy days over the easter break, not much bench time at all. A little progress on this project with the front glass, wipers and mirrors installed.
The front glass on both kits is perfect height-wise, but length-wise there is a gap of about 2mm between the frame and the glass at each end. Unless you get really close, it’s hard to see, so I just won’t mention it! 
Cheers, D
3 Likes
Looks amazing D. Glad you didn’t mention the gap, I’m sure I would have seen it, if you had.
1 Like
D,
The windshield, mirrors, and wipers do look excellent in the pictures. I’d have missed the glass issue for sure. Have you considered using Micro Crystal Kleer to fill the gaps? I use to use it all the time to make small windows and such. Once dry you would hardly if at all notice the slight demarcation line.
joel
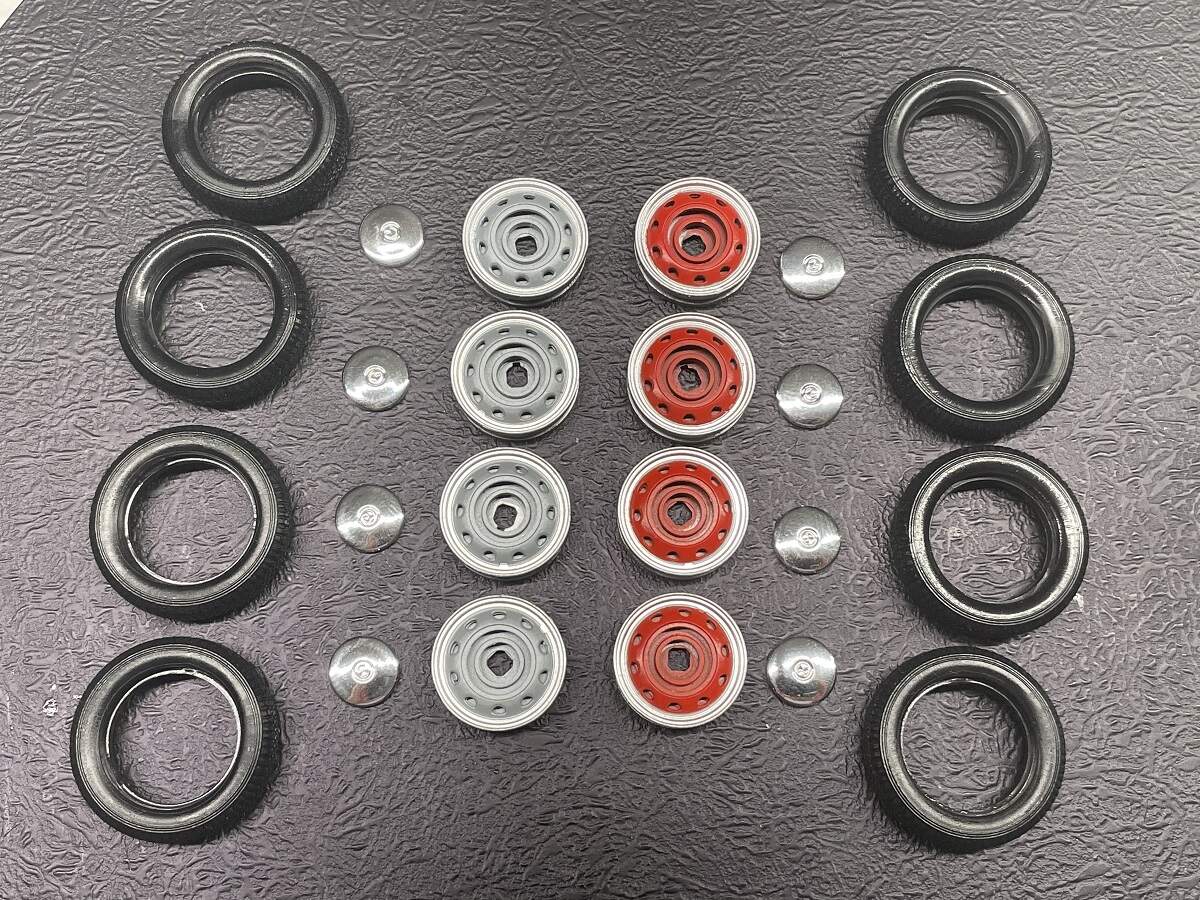
When there are no sprues left in the box, and I’m putting the boots together, I know I’m getting to the business end of proceedings!
After having one frustrating try at masking the thin outer lip of the rims, I decided it would be easier to reverse mask for the centres, so I sprayed the whole rims in the body colour, cut and applied a simple 16mm circle mask on the centres, and resprayed the silver outers.
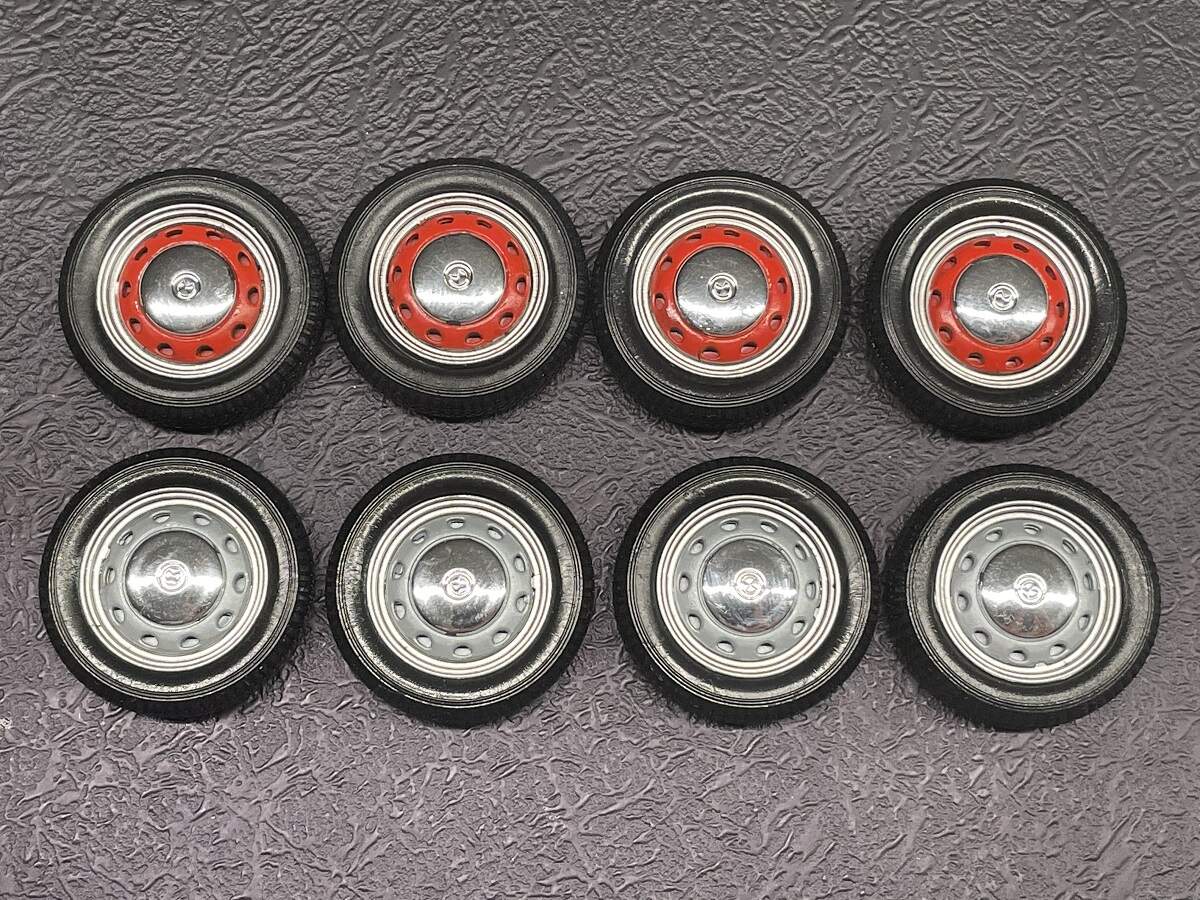
Here they are all assembled, a light black PLW applied, and the shiny chrome hubcaps glued in place and curing.
The front ends are almost complete as well, just a pair of small lights to add beneath the headlights.
Cheers, D
2 Likes
D,
I’d say that you nailed those rims to a T. I did the Porsche 911 wheels as you saw in my post, but needed to mask the lip with 2mm Tamiya tape, then the outside of the rim by the lip with 10 mm Tamiya tape, then fill in the gap with Mr. Hobby liquid mask. Your method seems a lot easier and a lot quicker.
The two cars are really coming together quite nicely.
joel
Yeah, you really nailed the rims. Nice and sharp.
Feet are on, tail end chrome almost finished, then it’s just PLW and decals.
Cheers, D
2 Likes
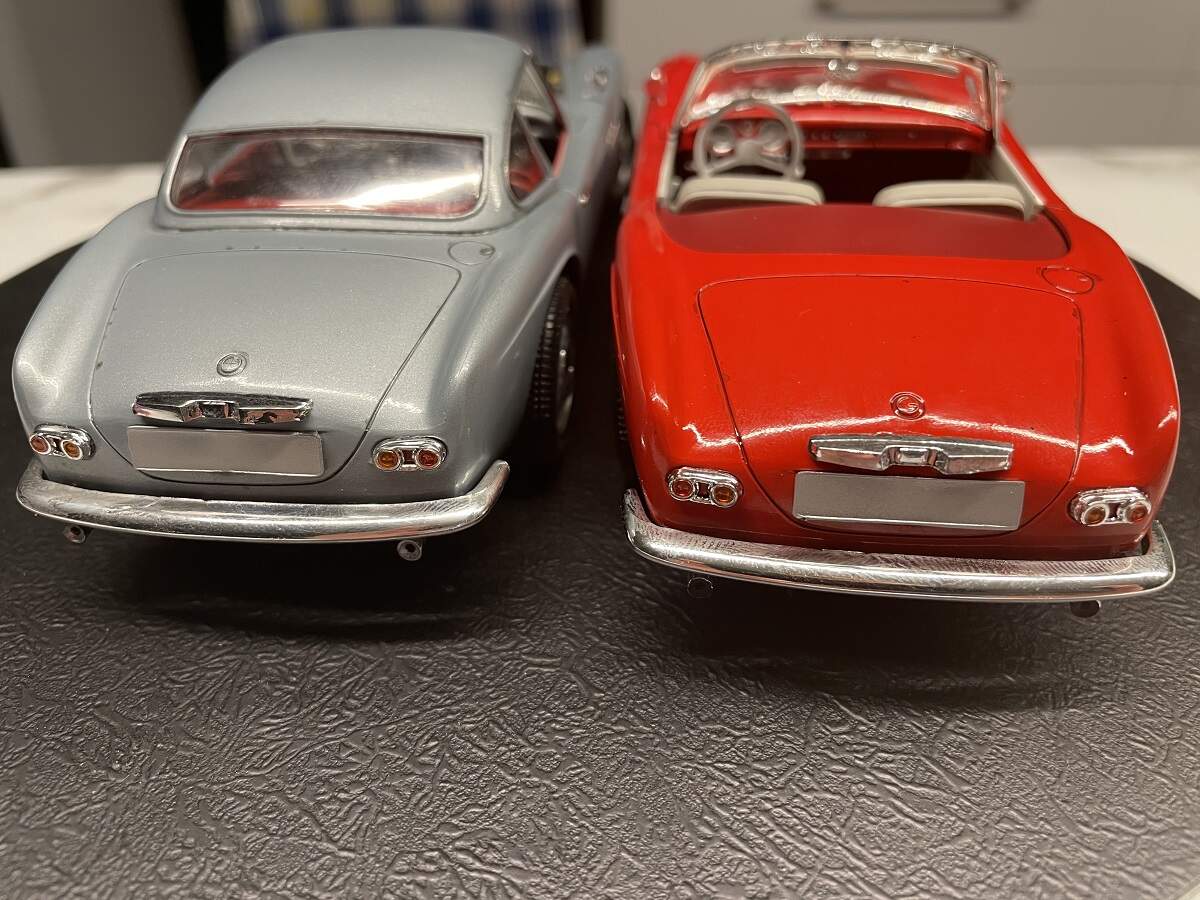
I pushed on and got the tail lights fitted tonight, and then a light first PLW applied. Once it’s cured I will clean it up and probably apply a second round.
Cheers, D
1 Like
D,
boy are they both looking real good. Just about ready to call them done and take their place of pride in your collection.
joel
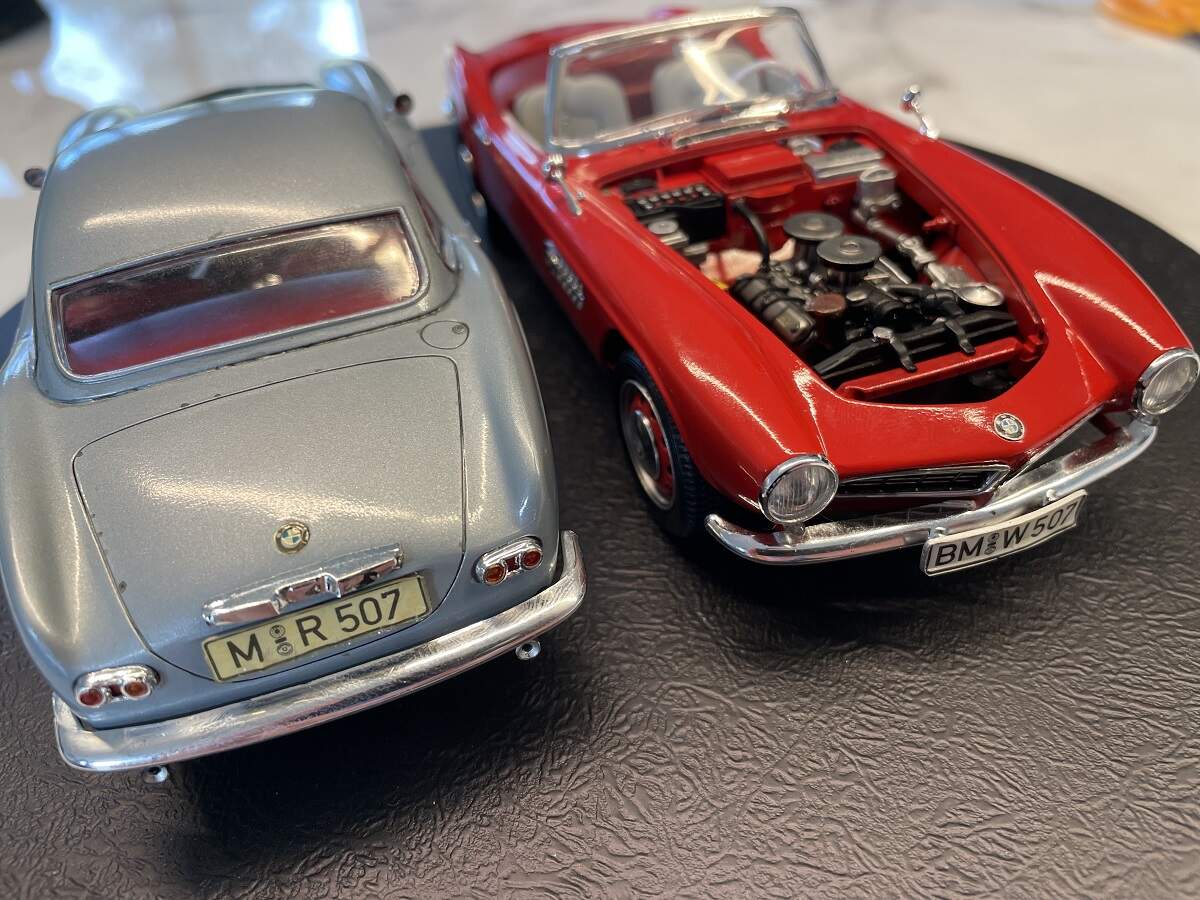
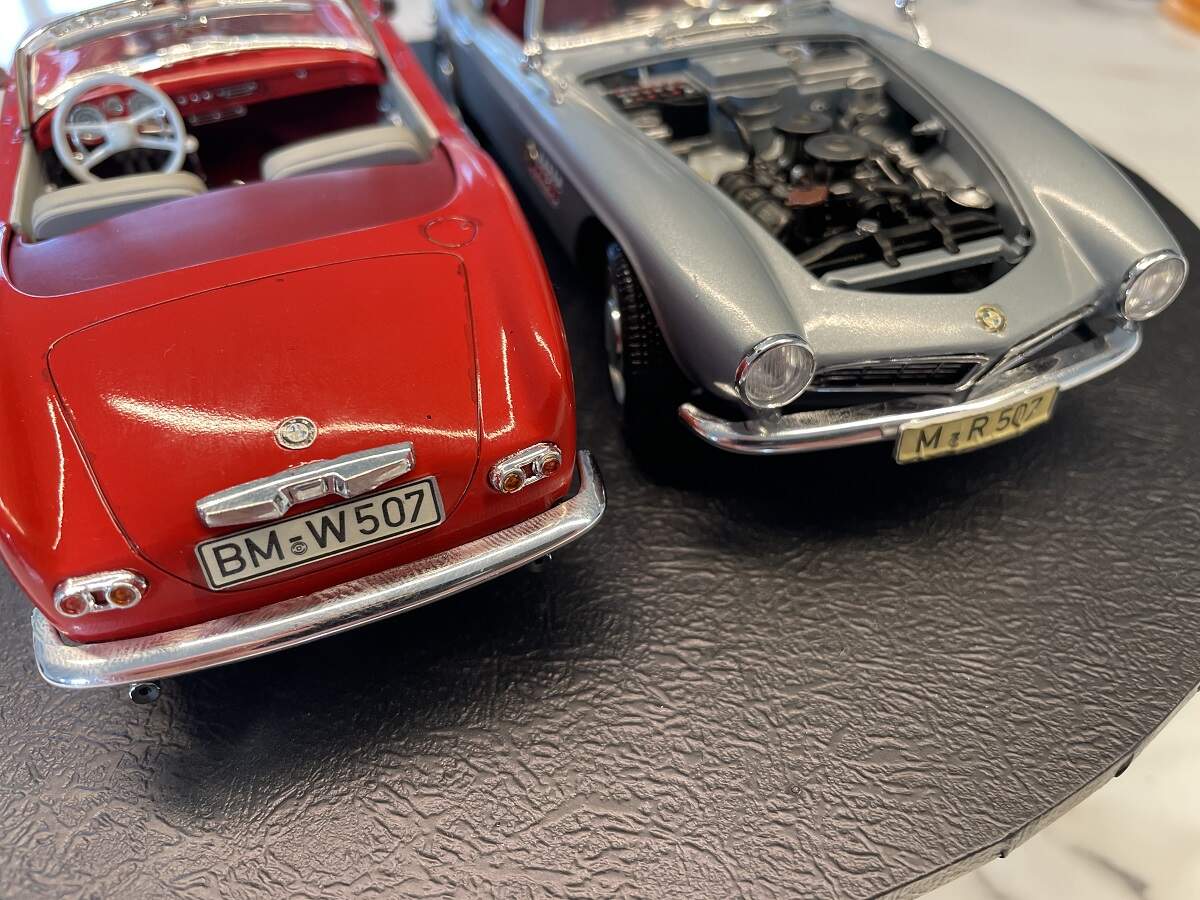
The last 10 decals, 2 x plates and 8 x badges (front, rear, side grilles and hubcaps) have been applied to each kit, and they are resting soaked in Mr Mark Softer. I will give them 12 hours to settle than see if they need another shot.
Cheers, D
3 Likes
Beautiful work D - just as we have come to expect from your talented and VERY BUSY hands !
Cheers- Richard
1 Like