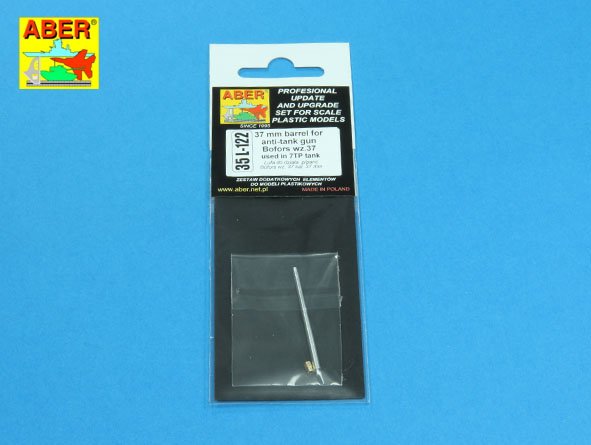
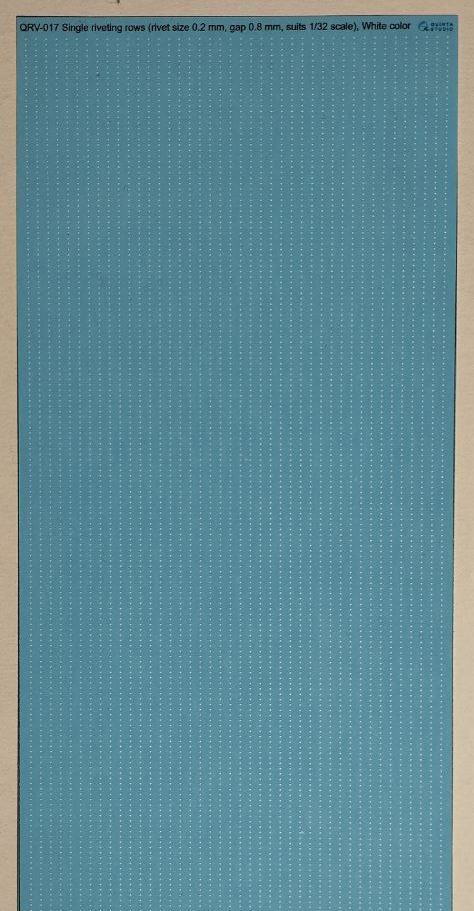
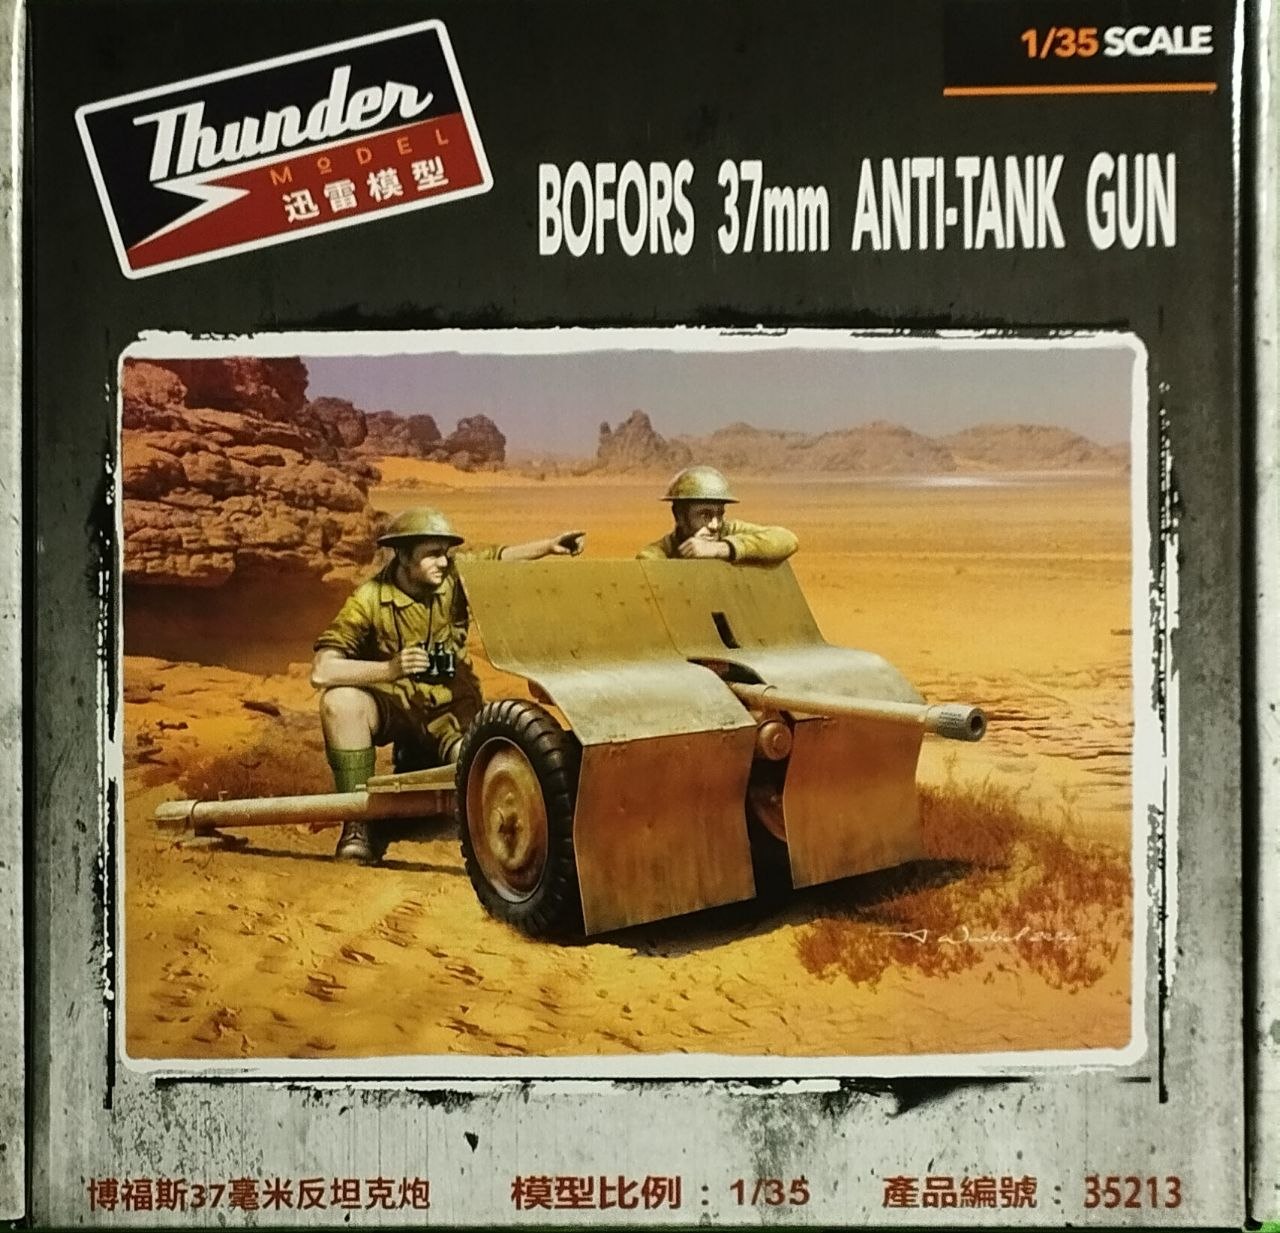
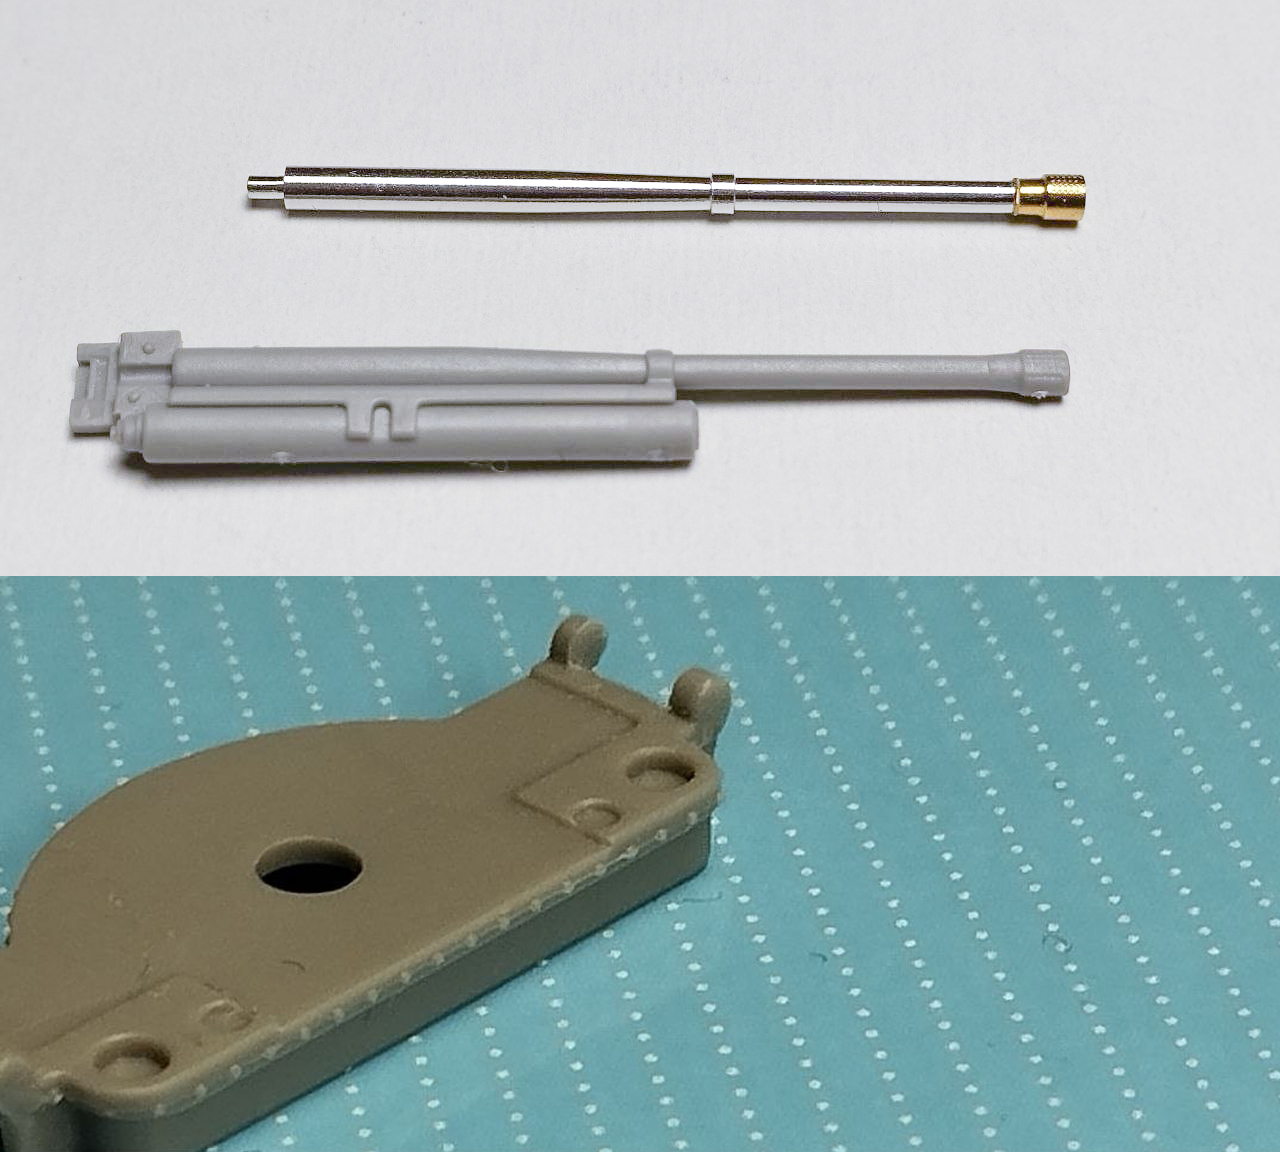
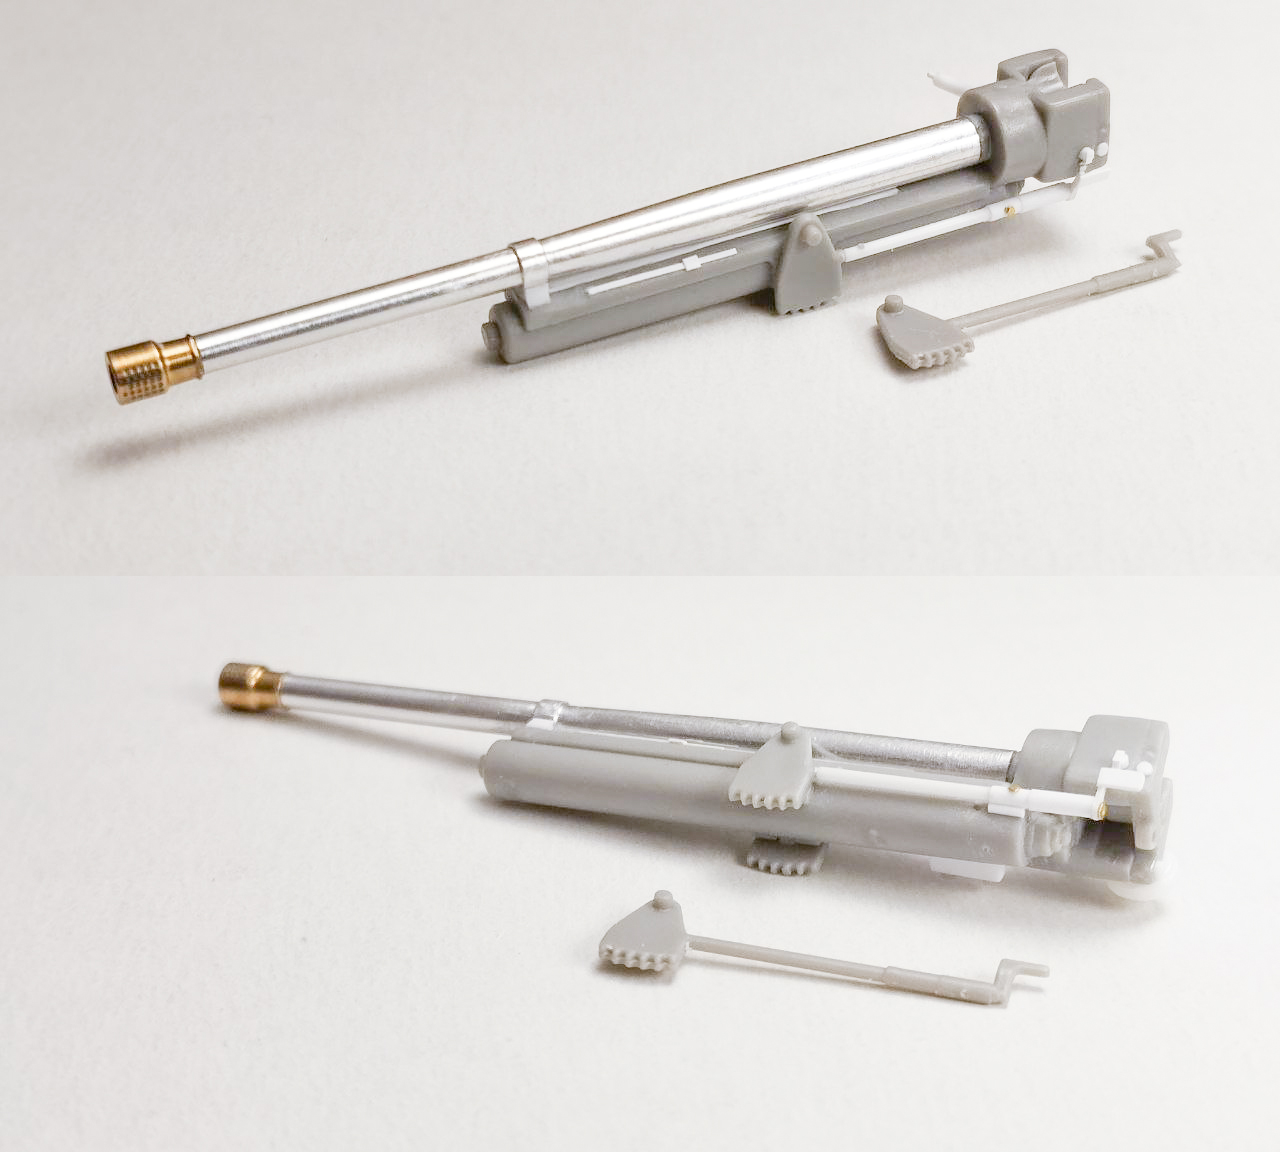
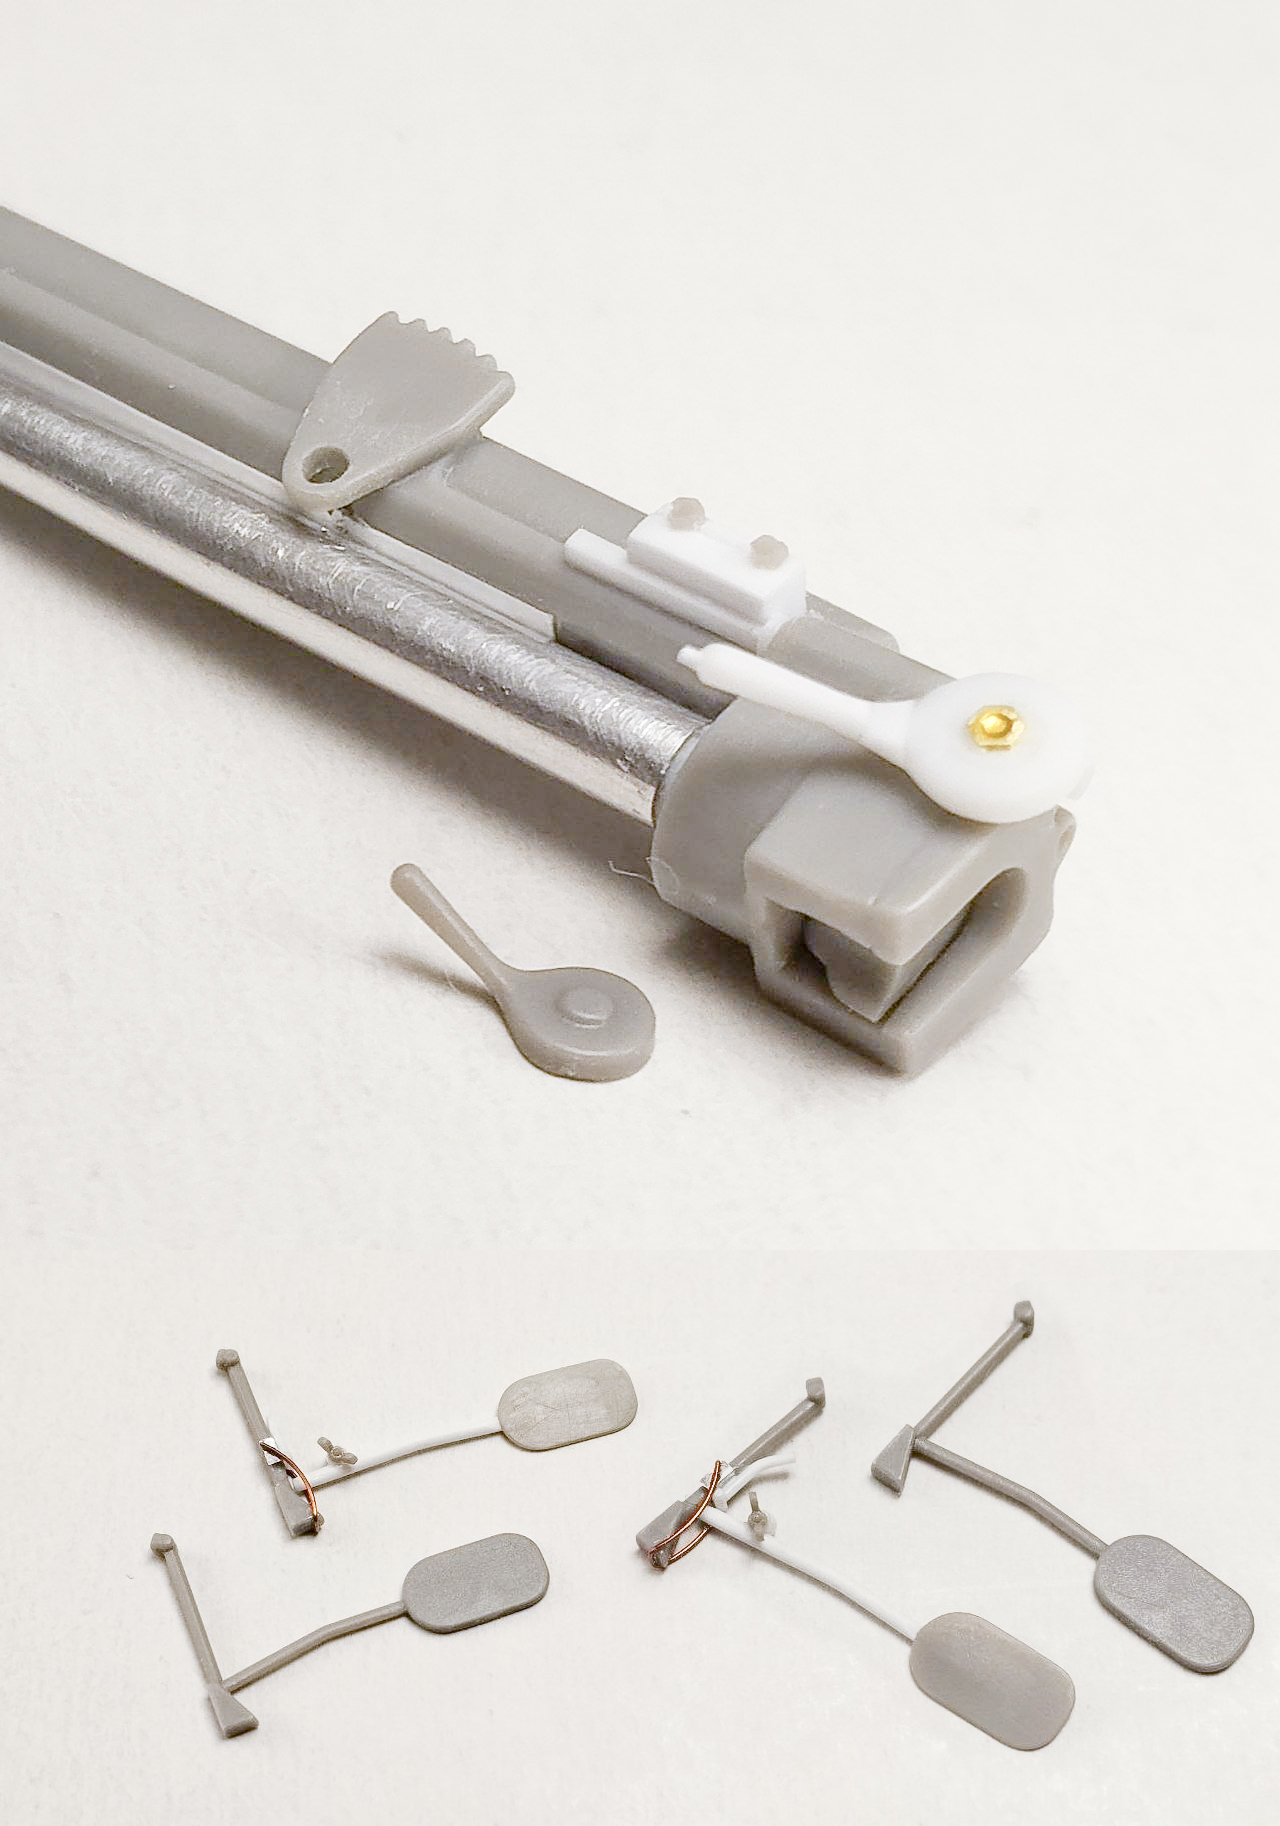
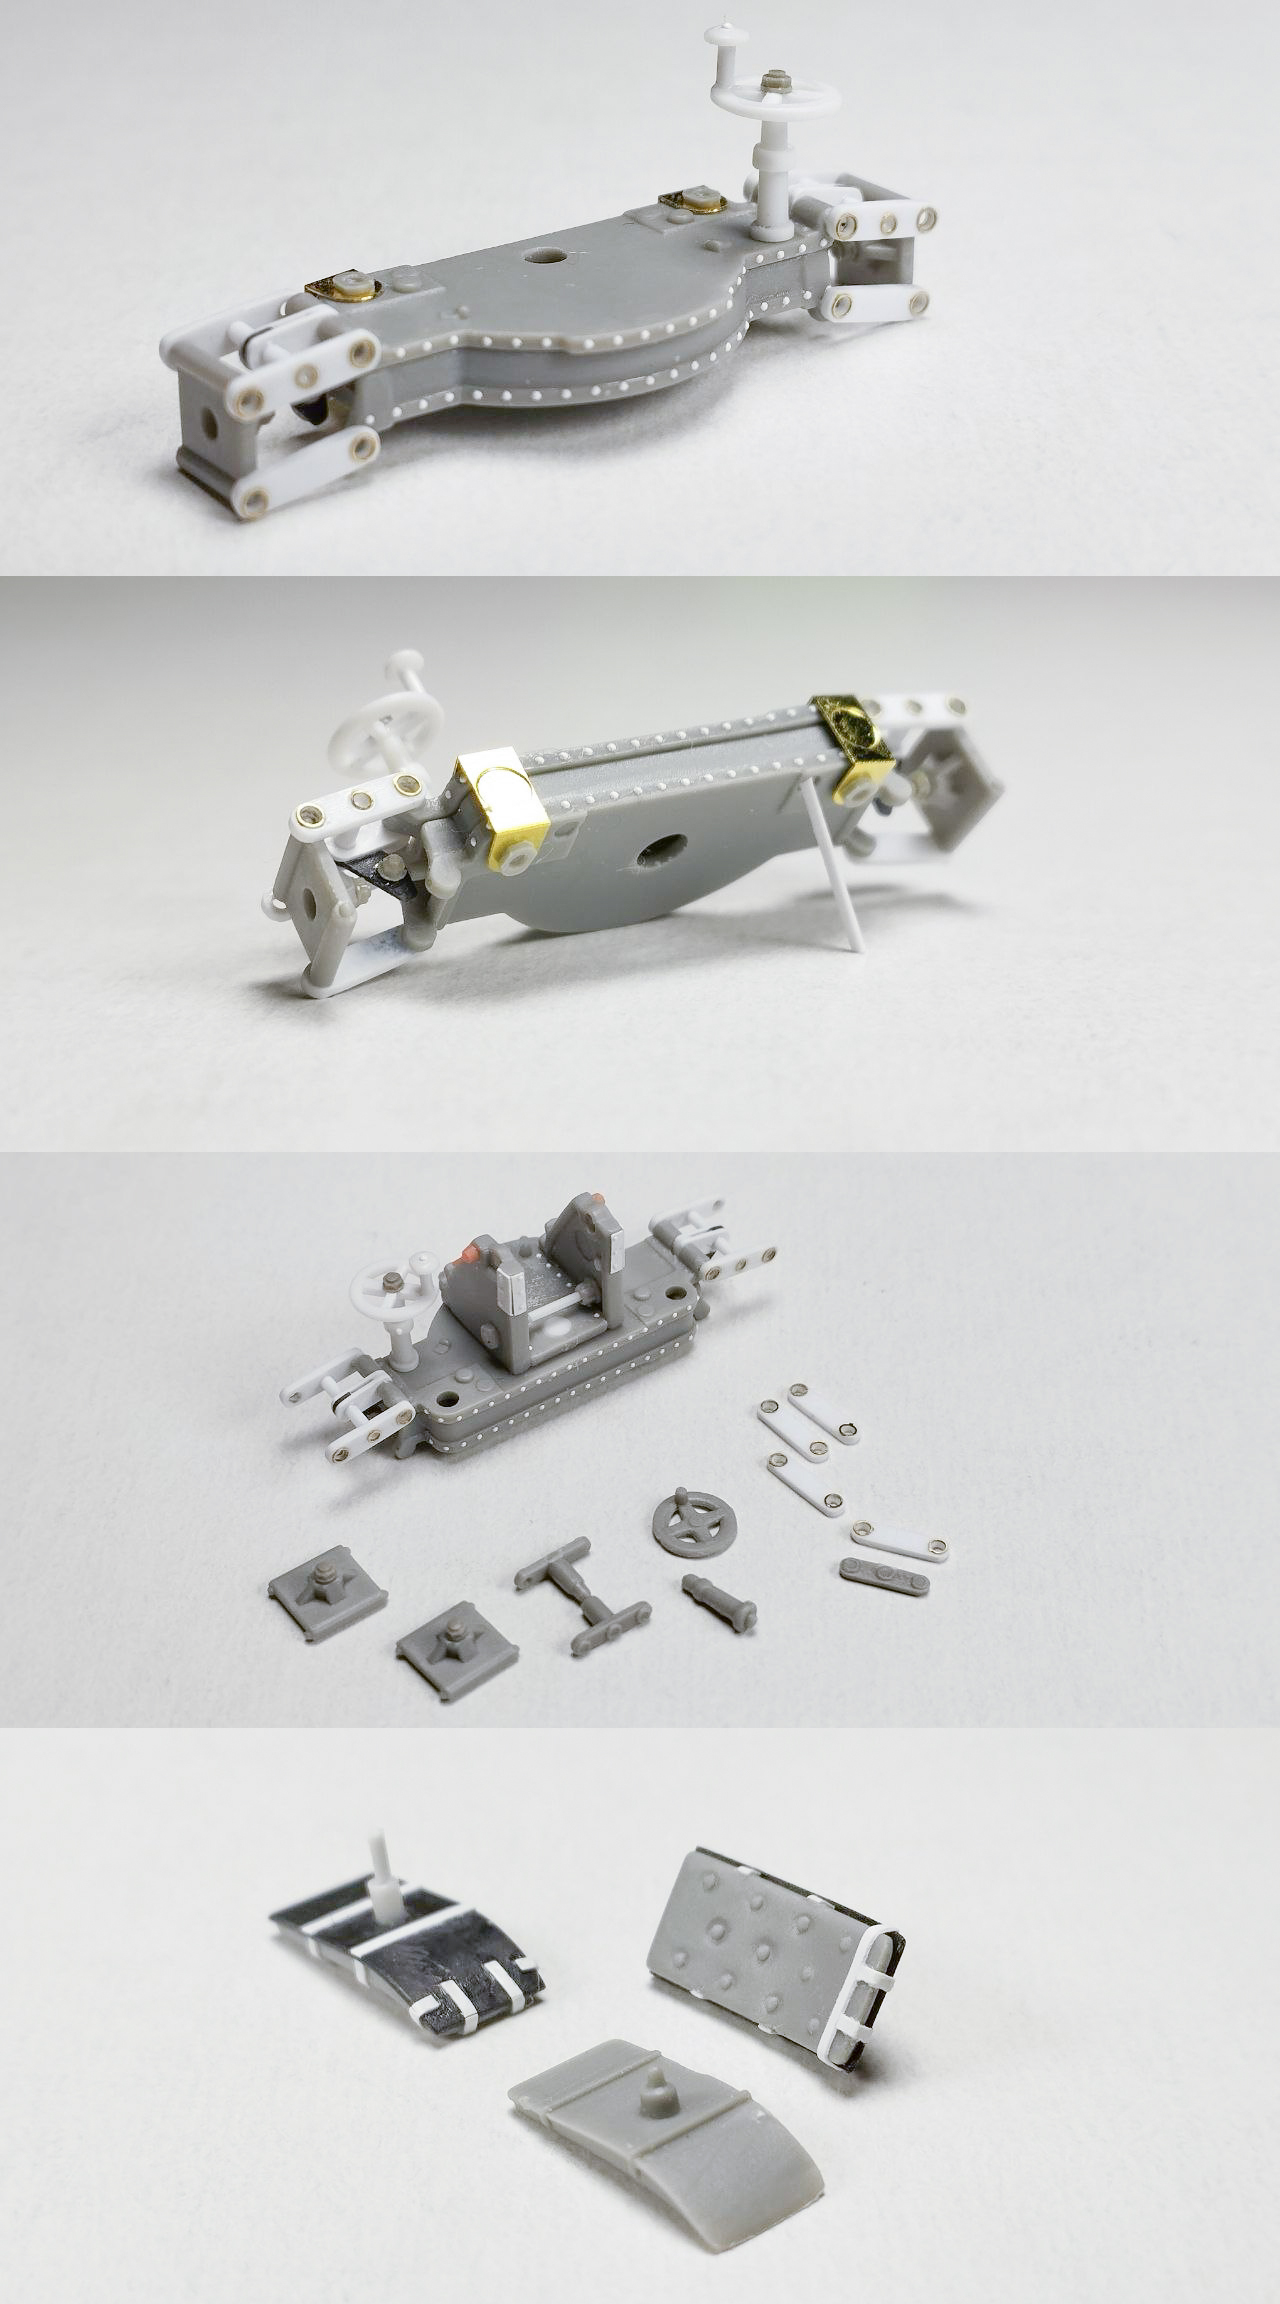
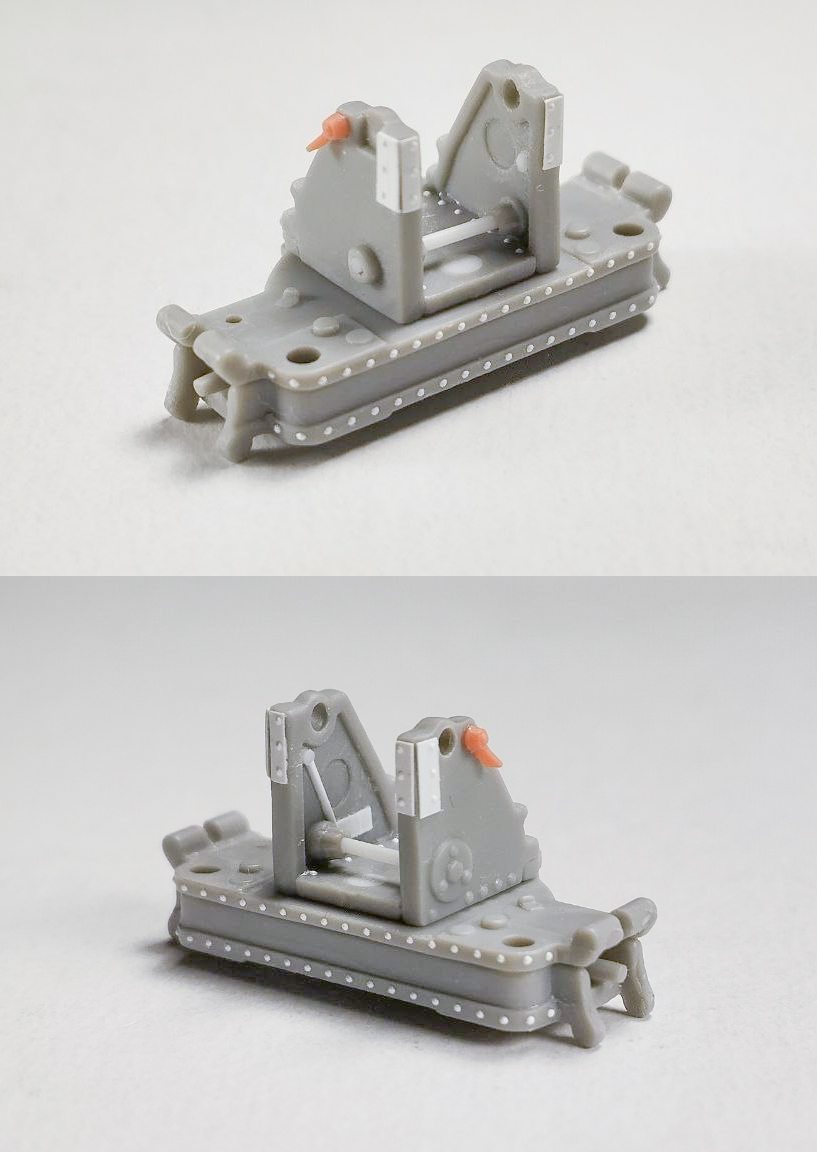
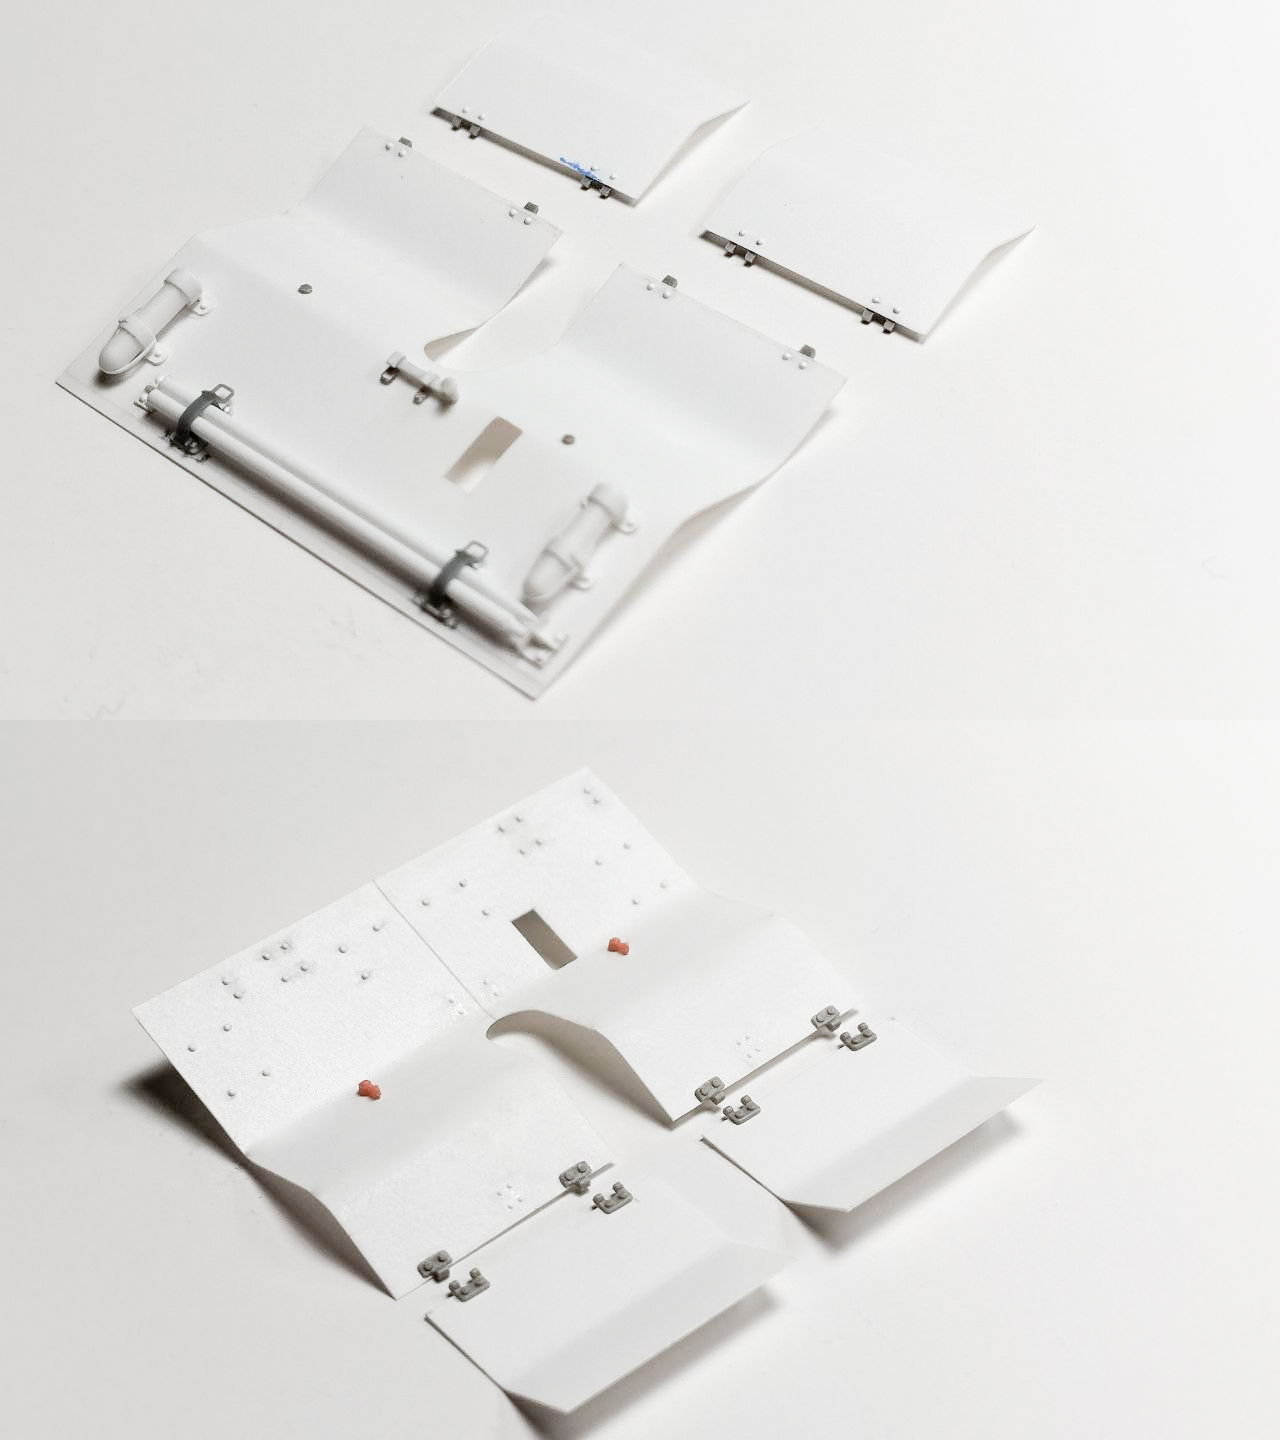
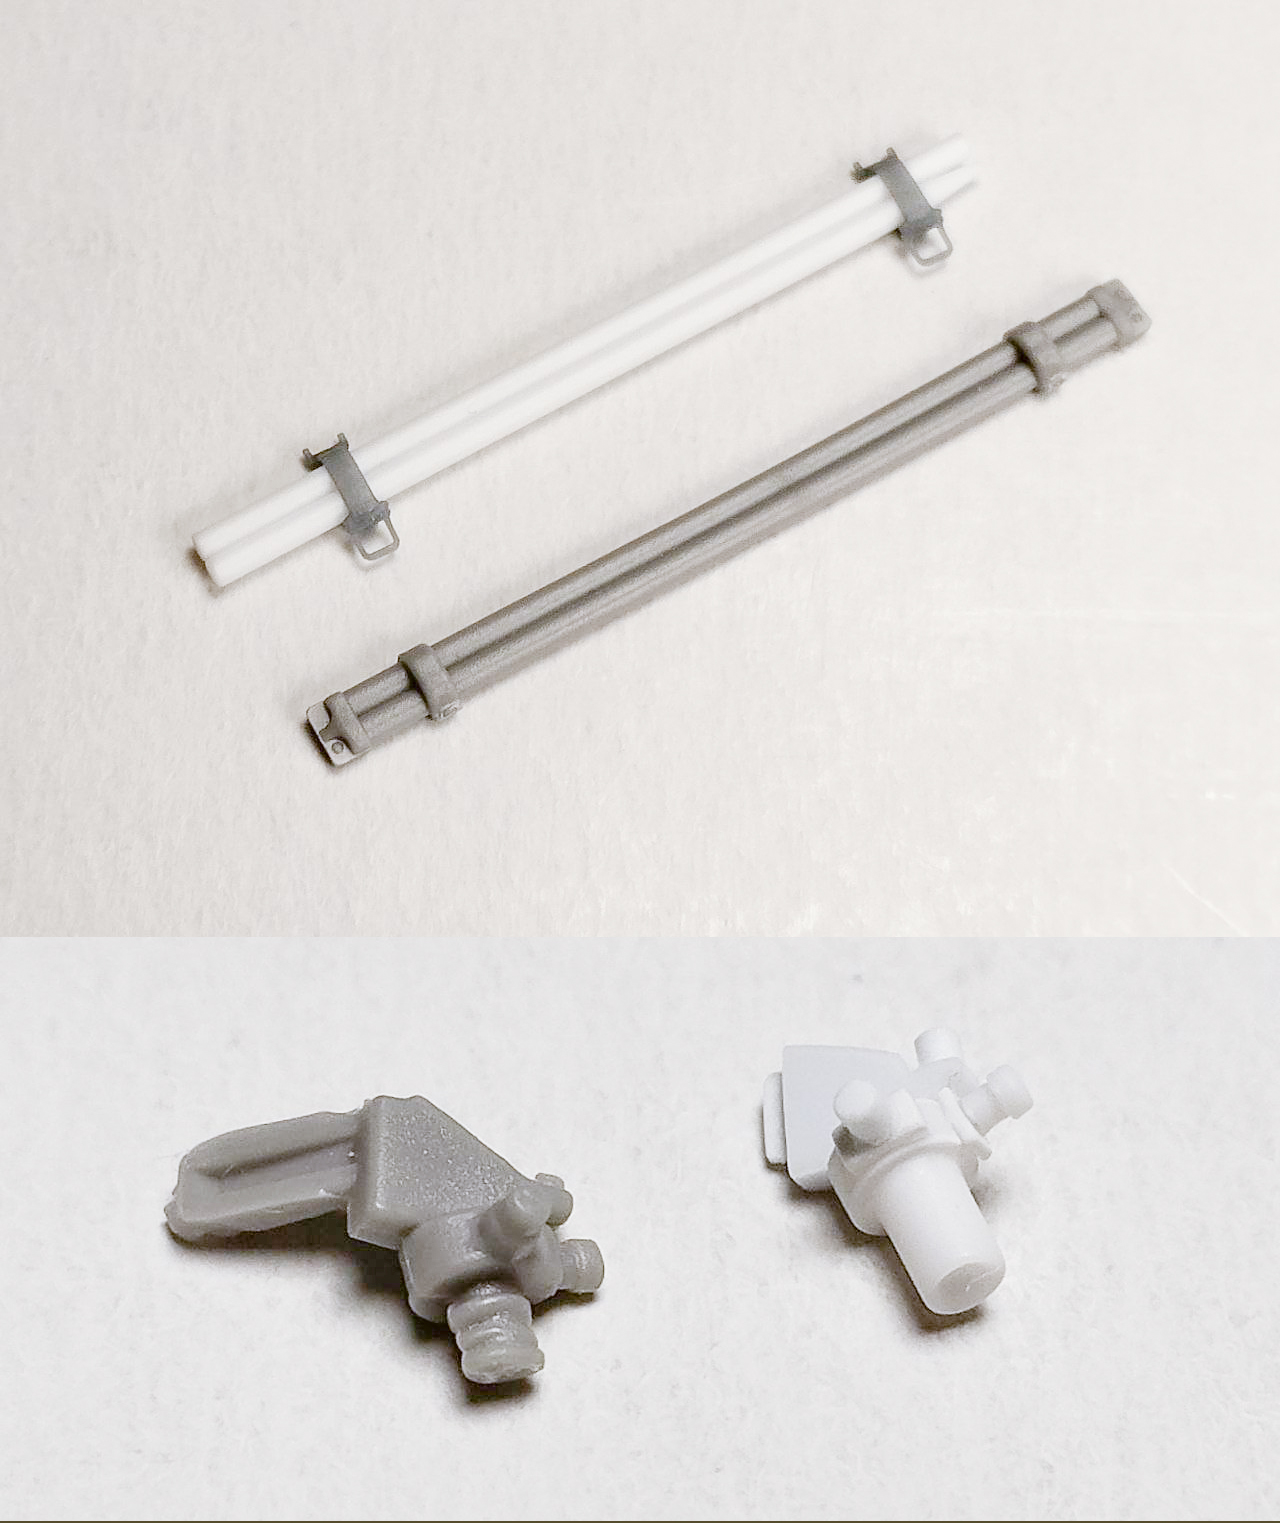
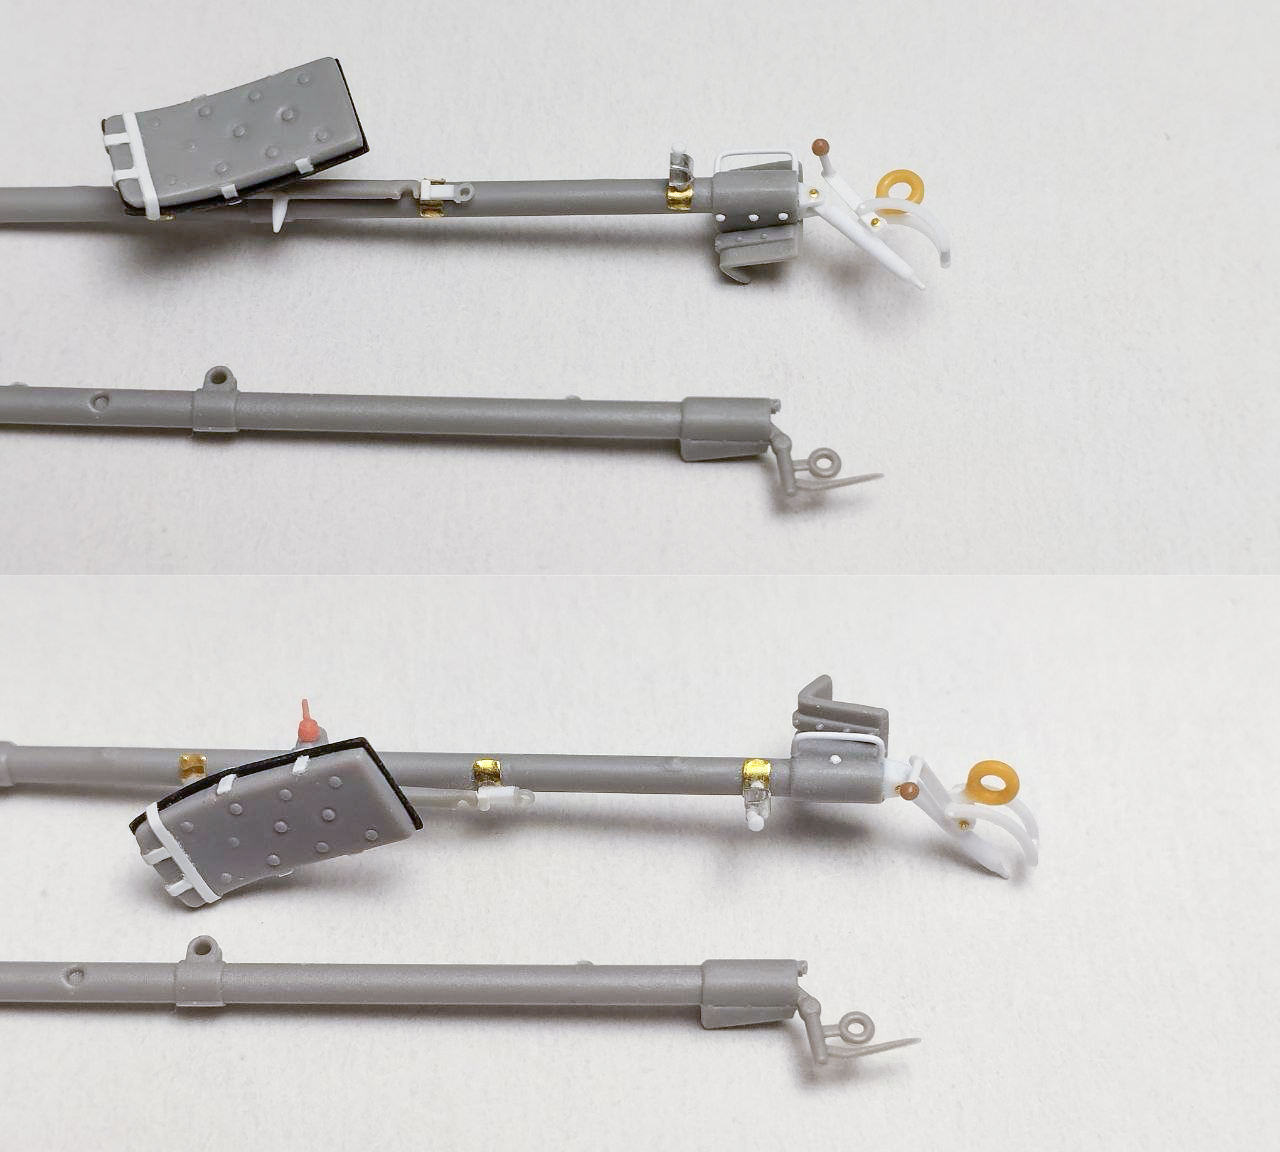
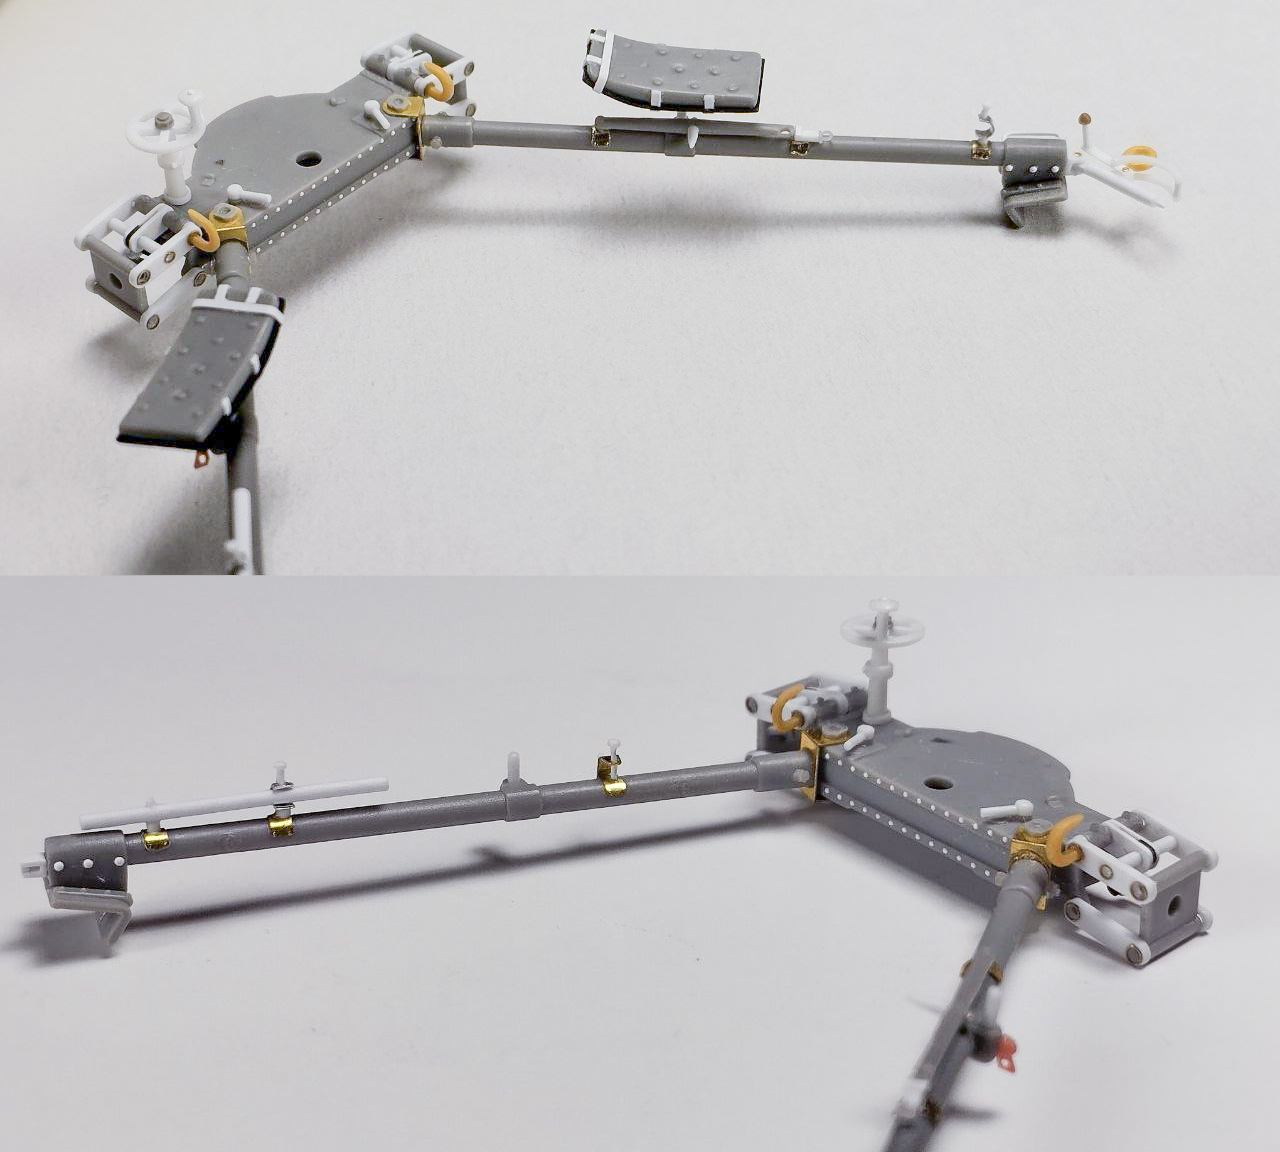
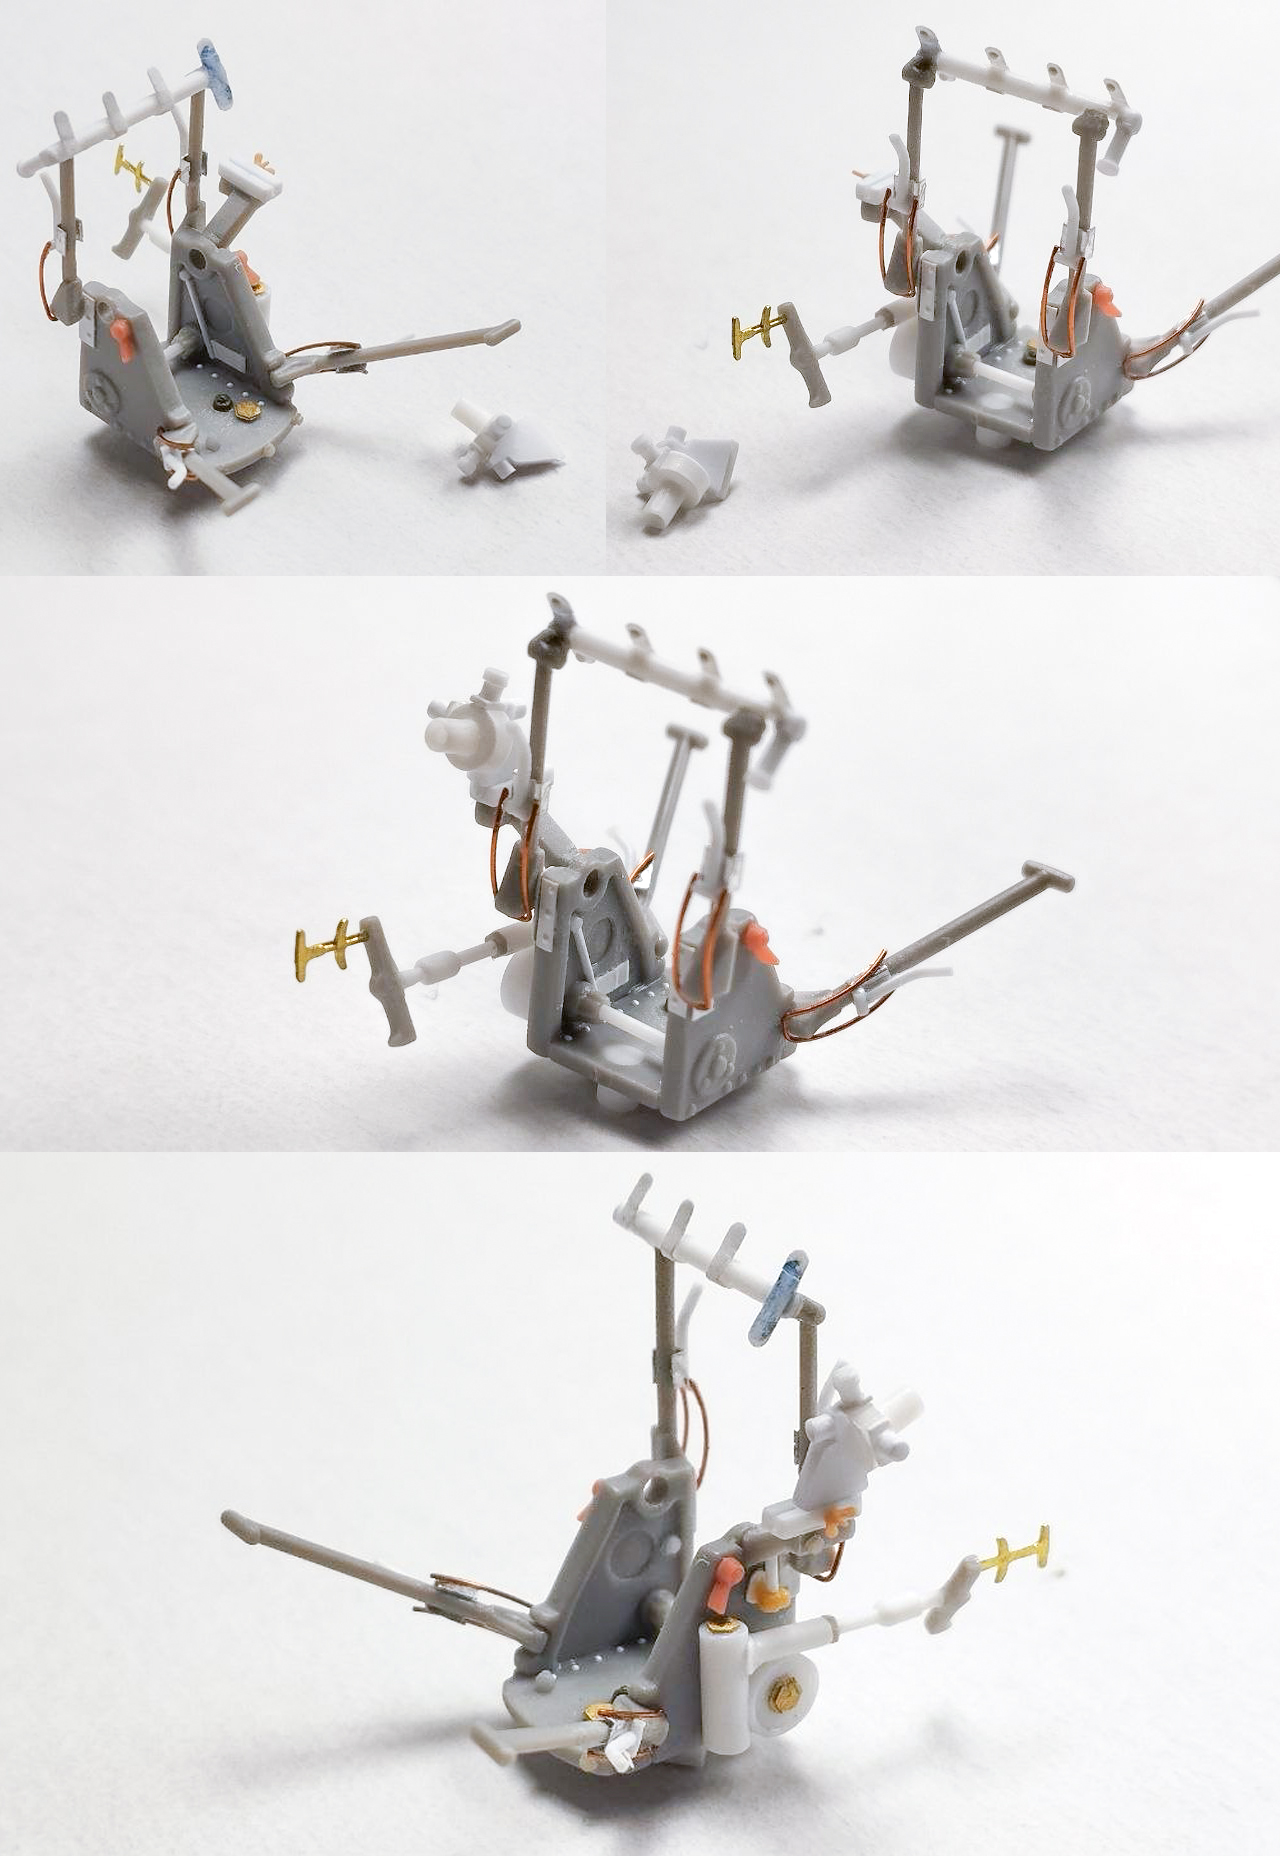
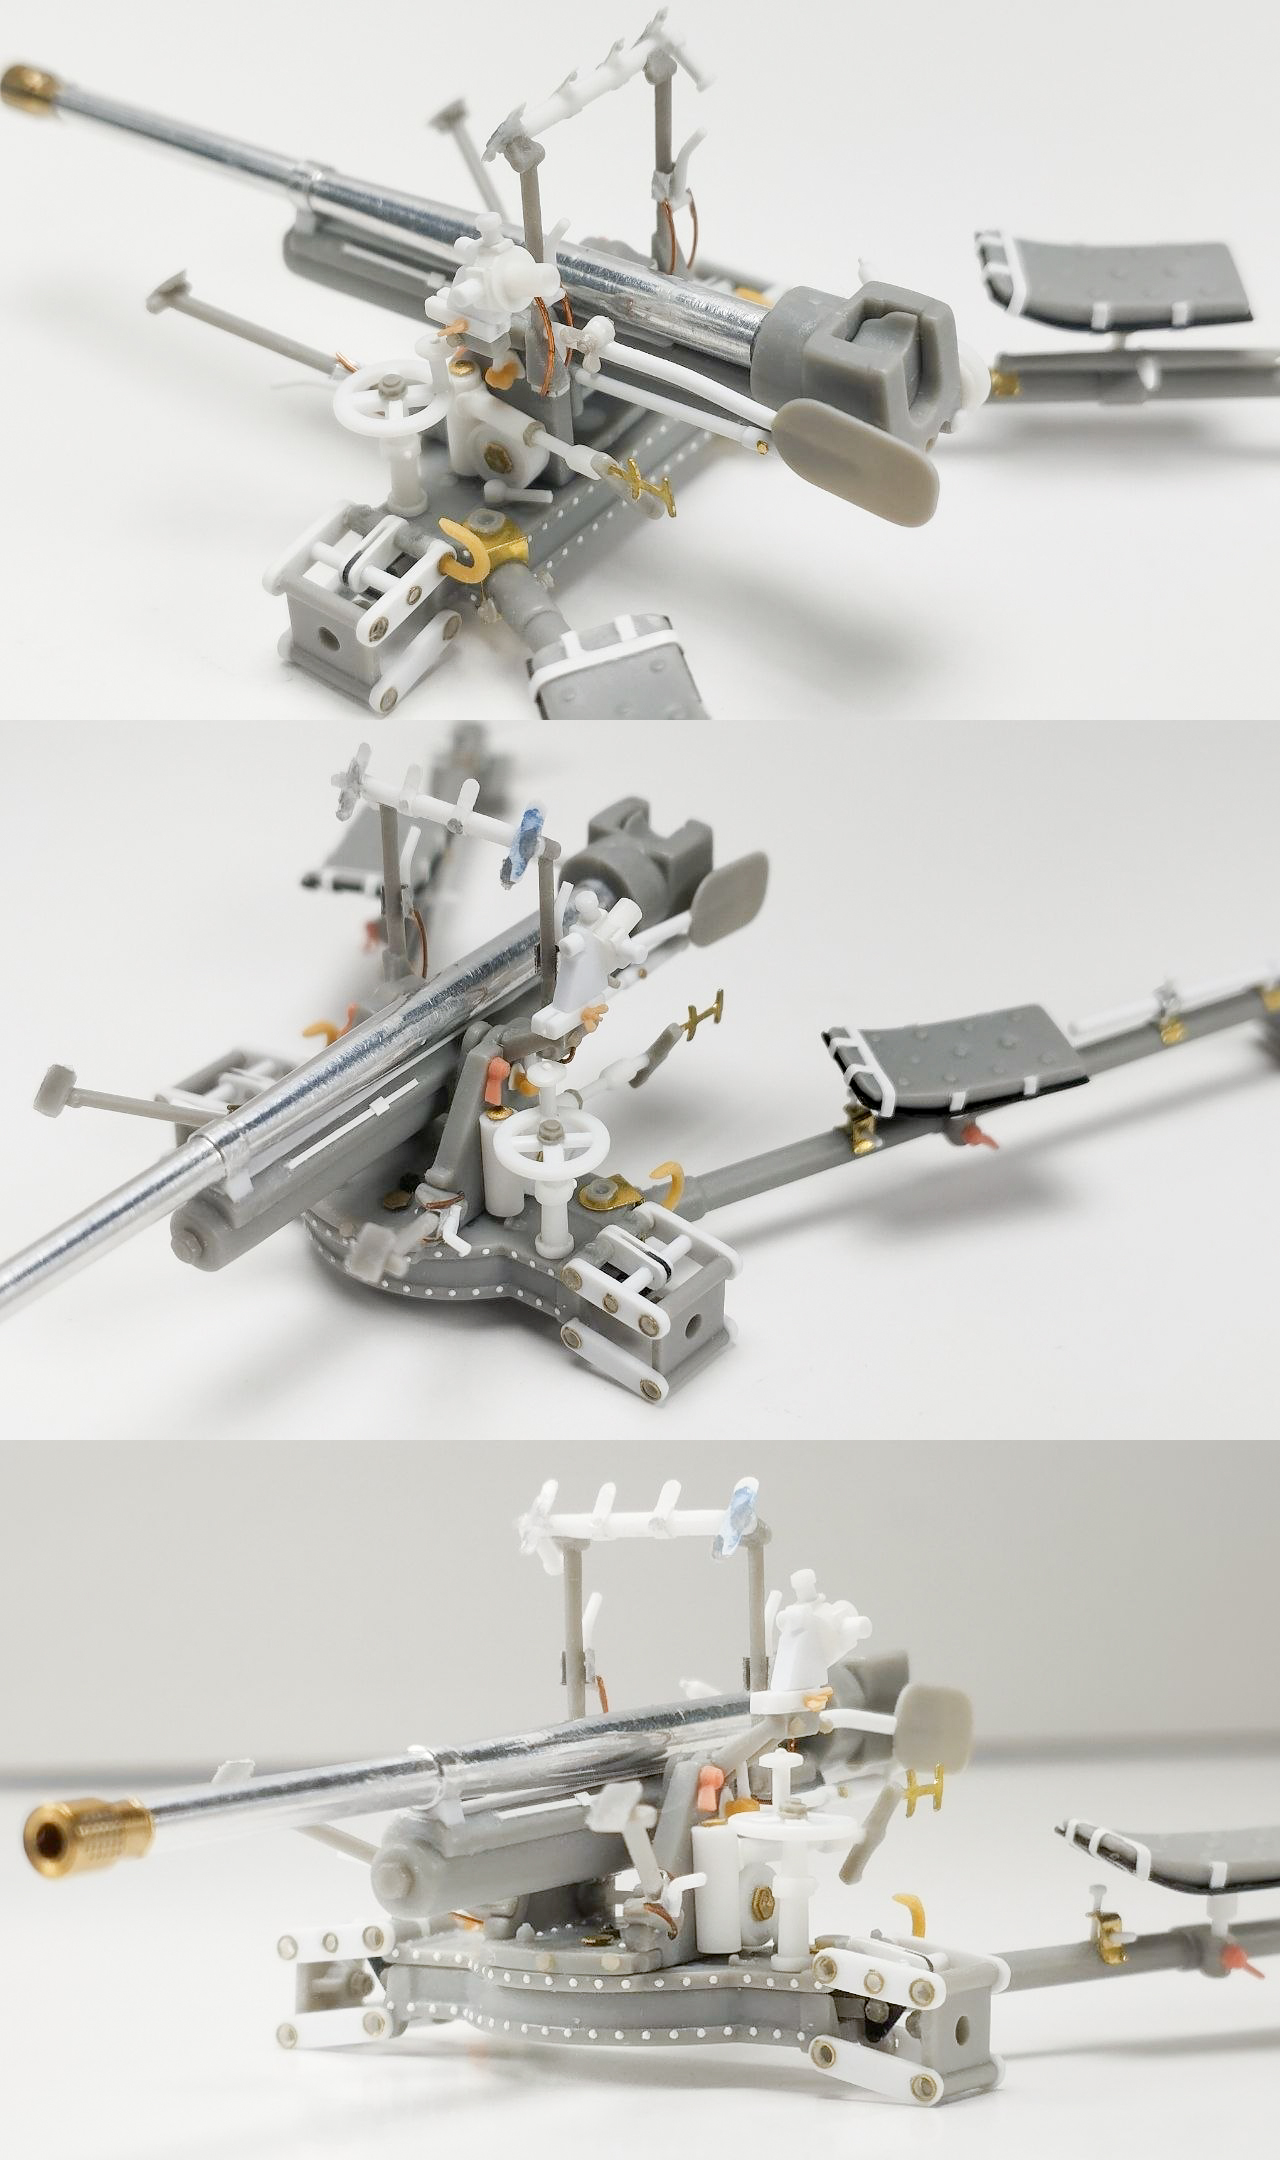
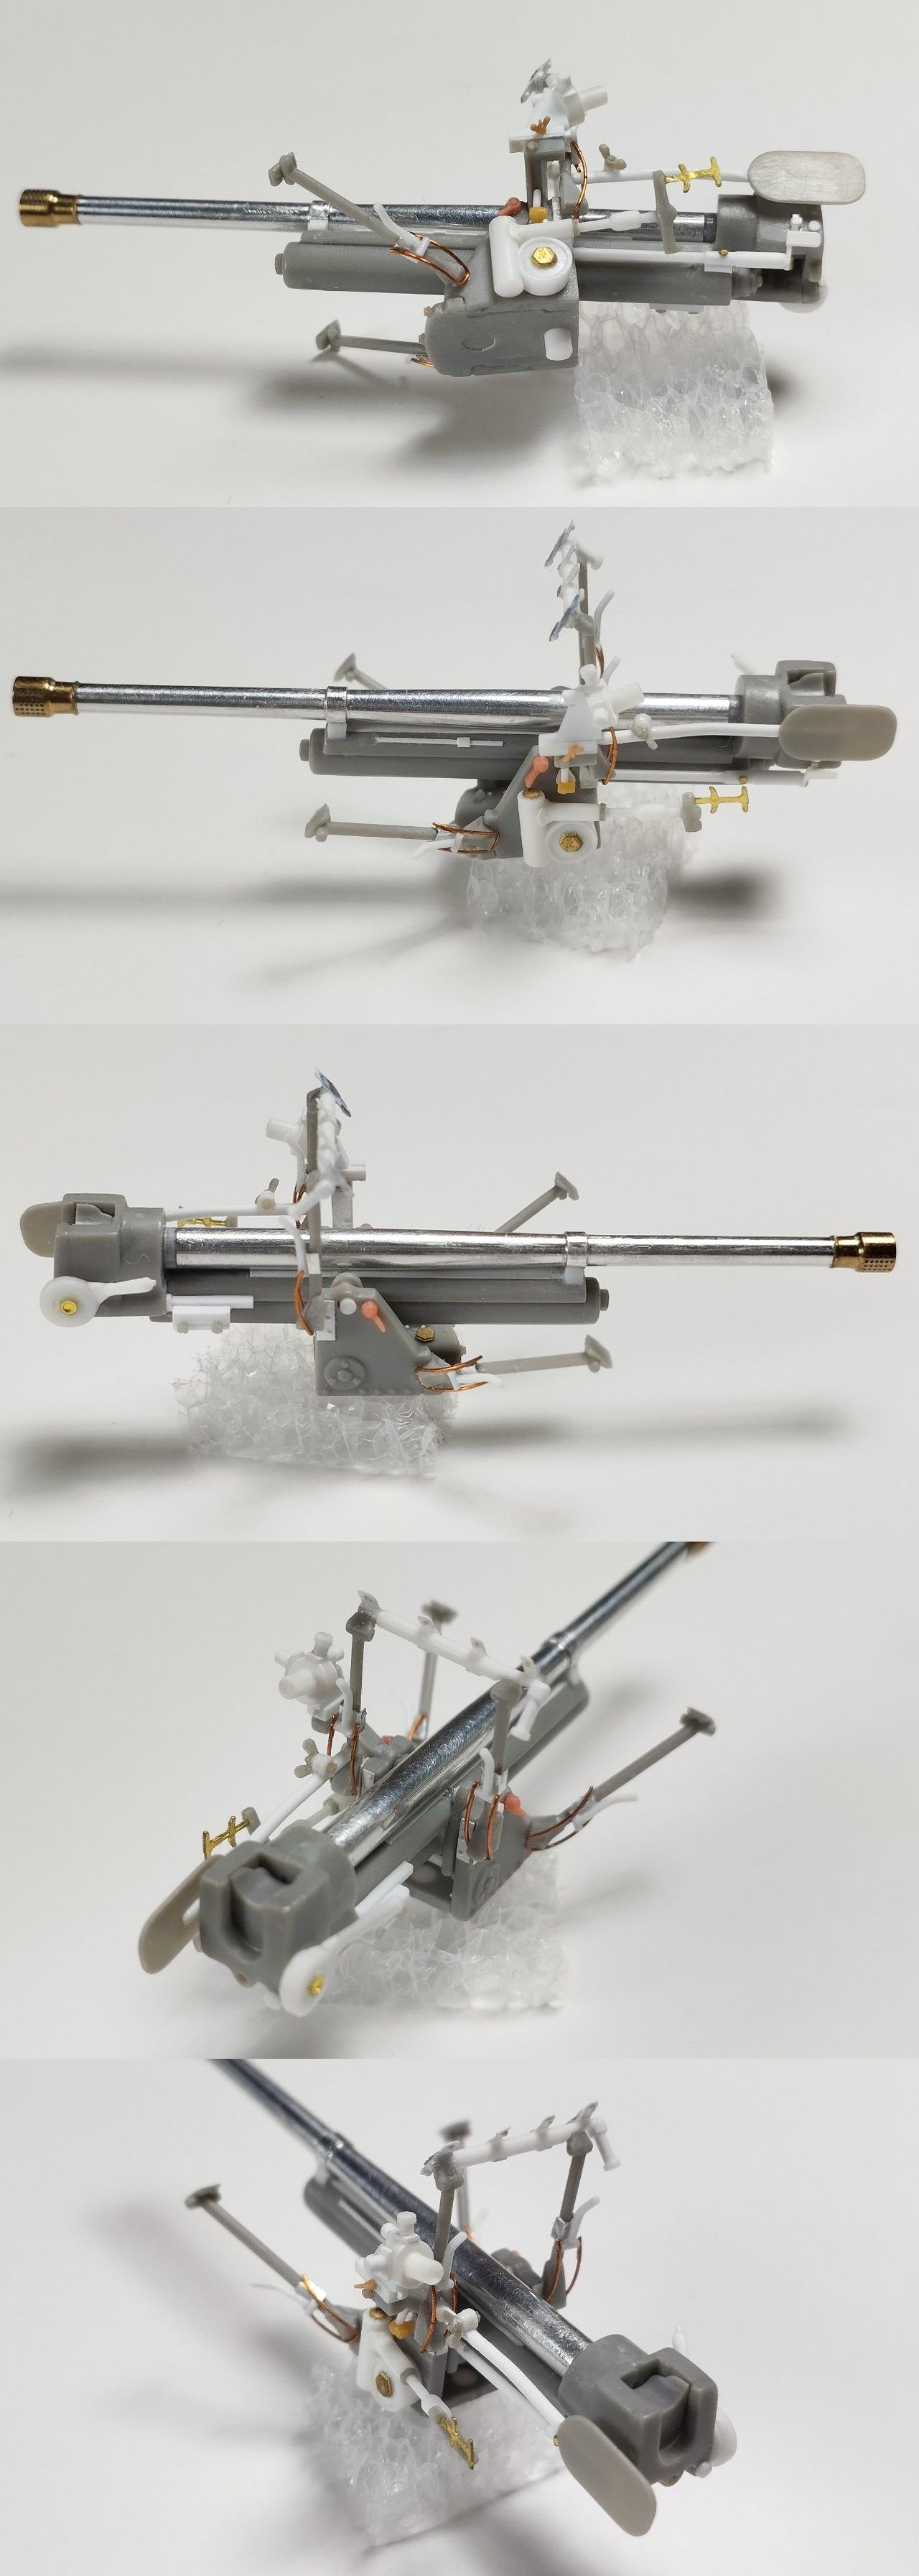
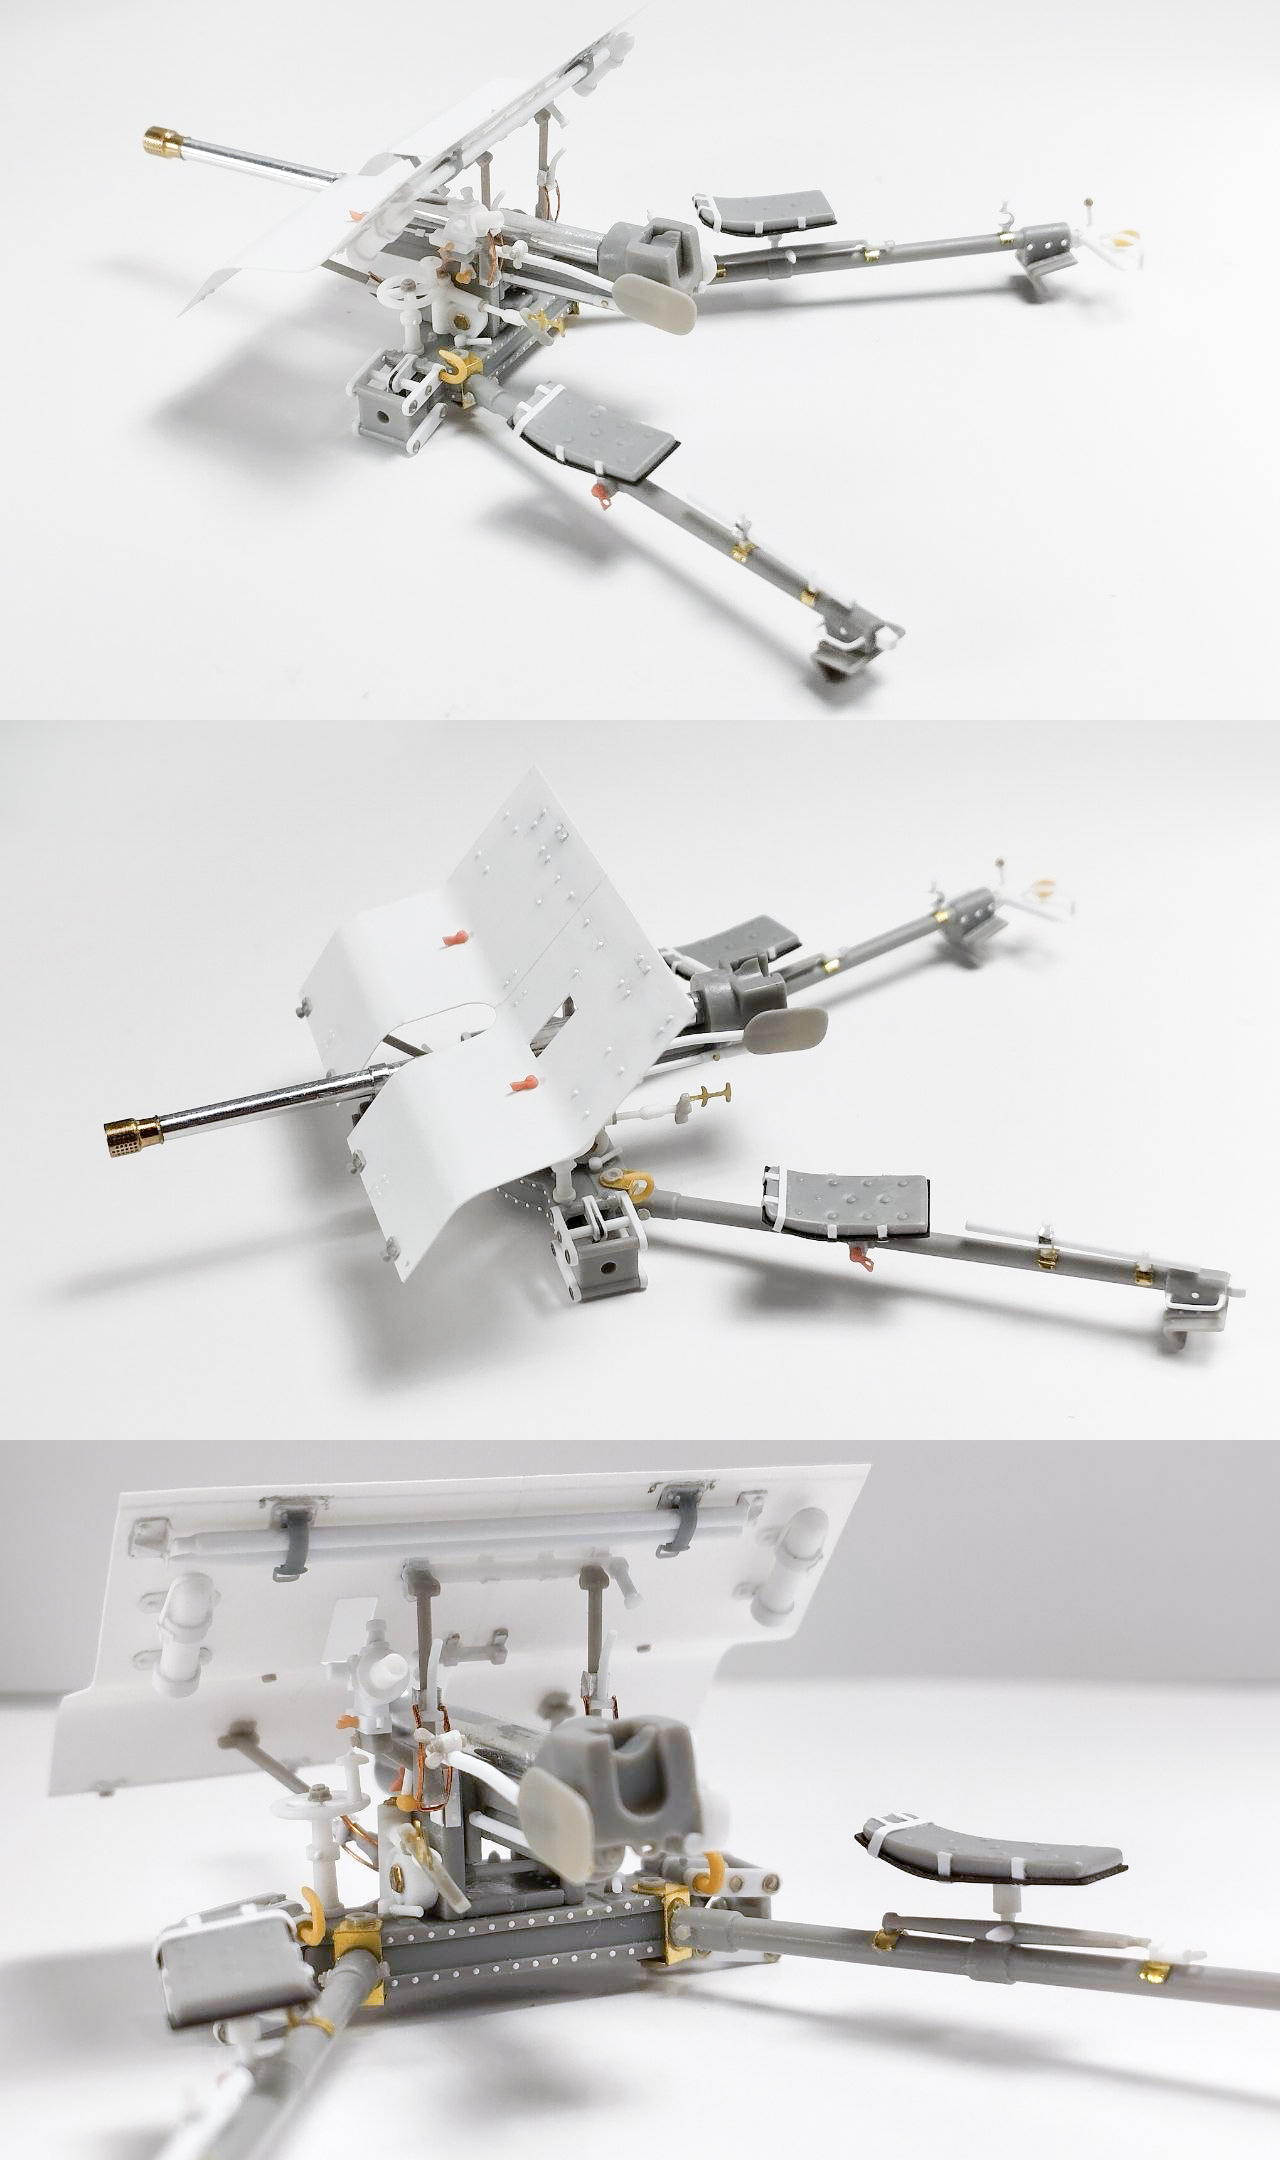
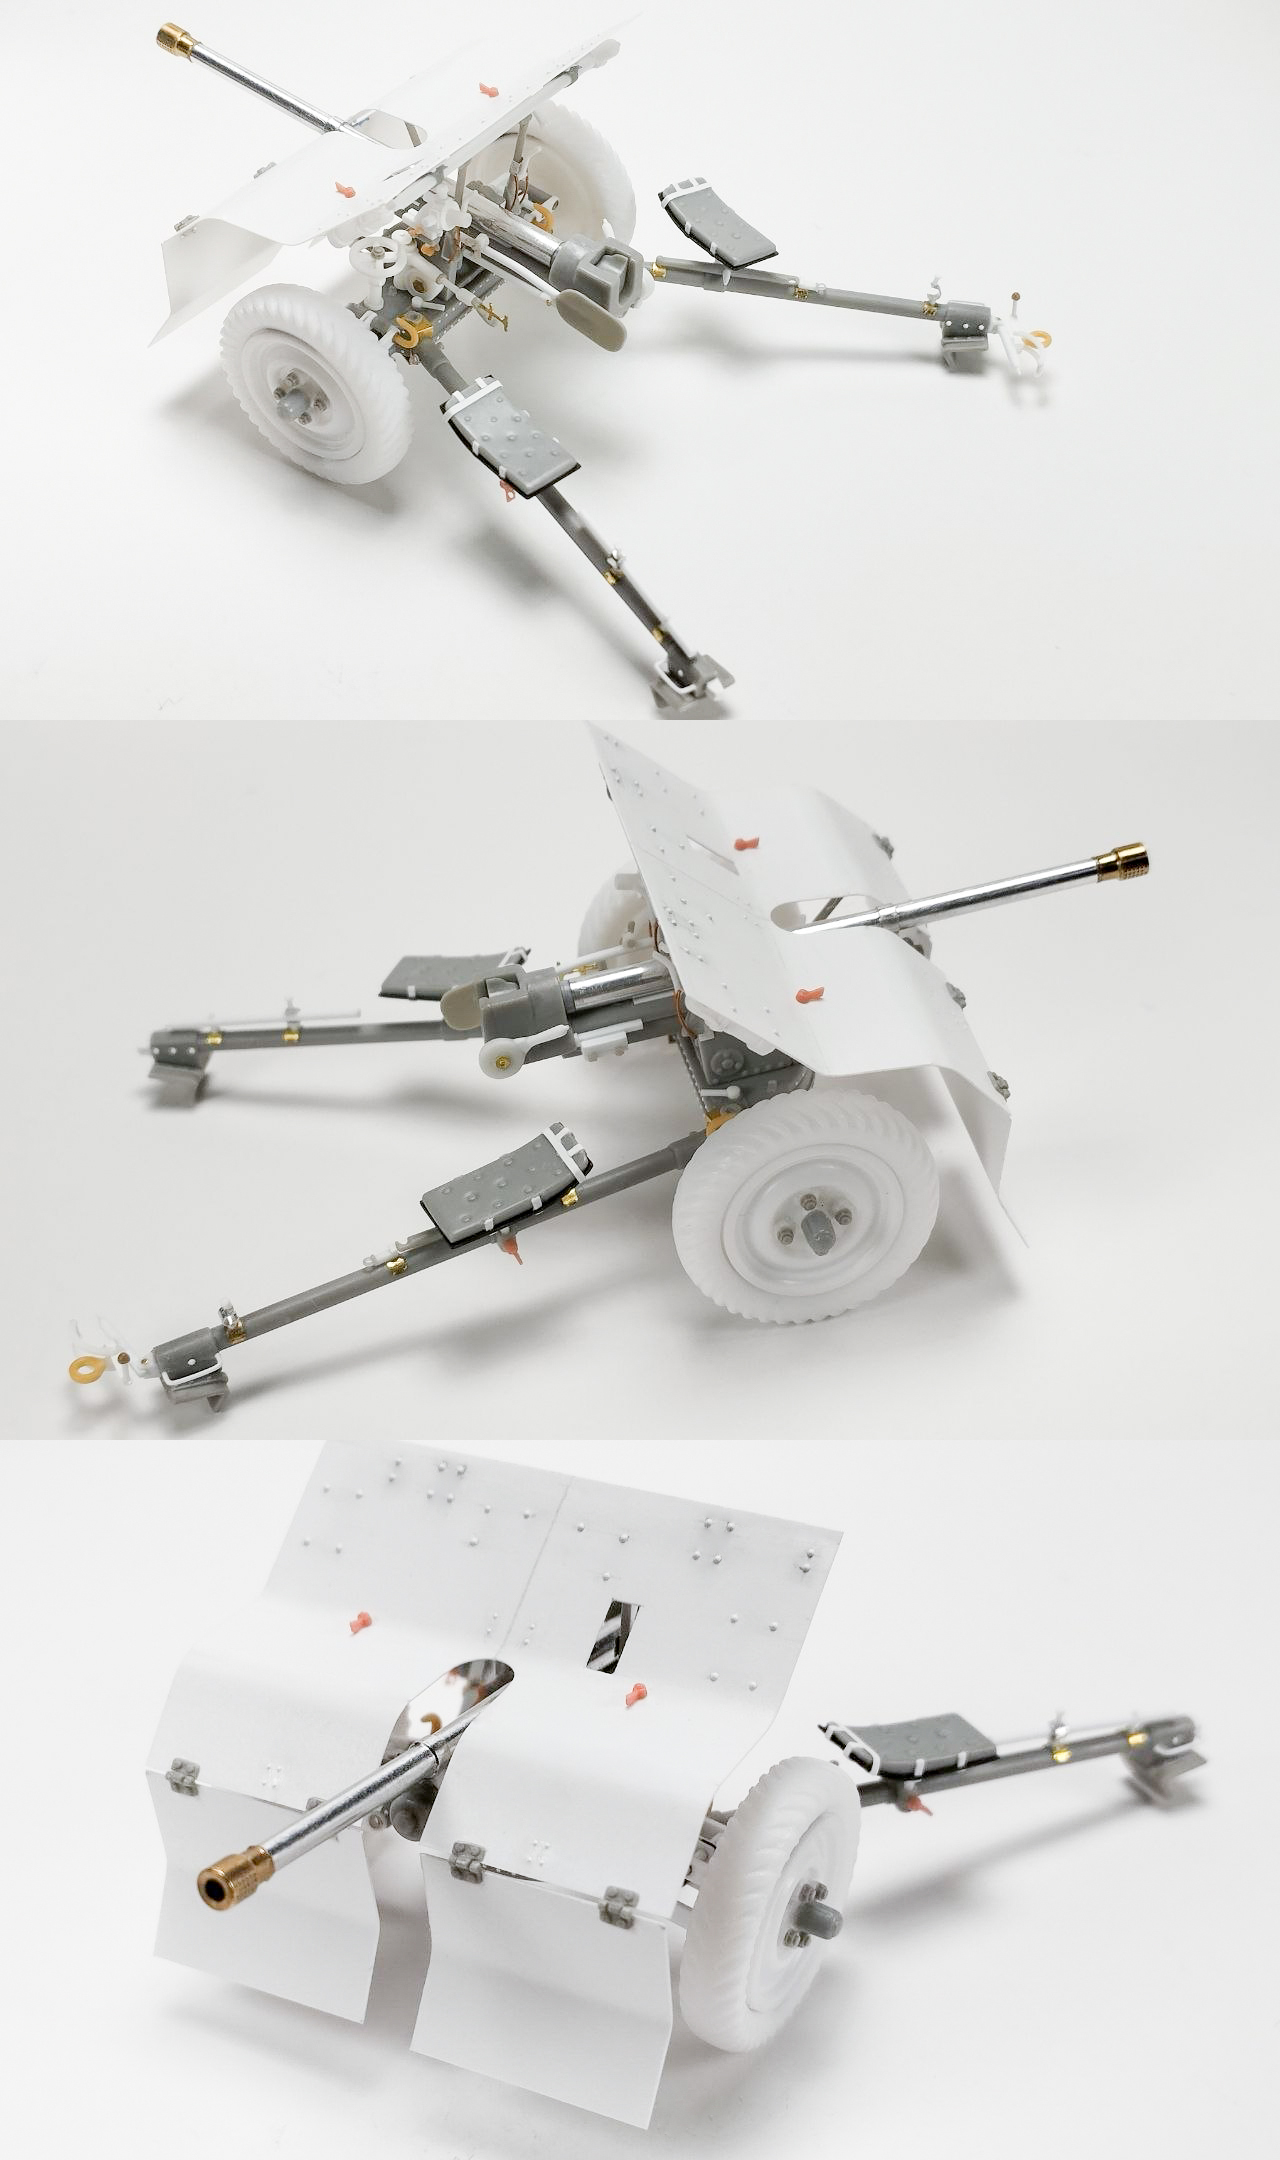
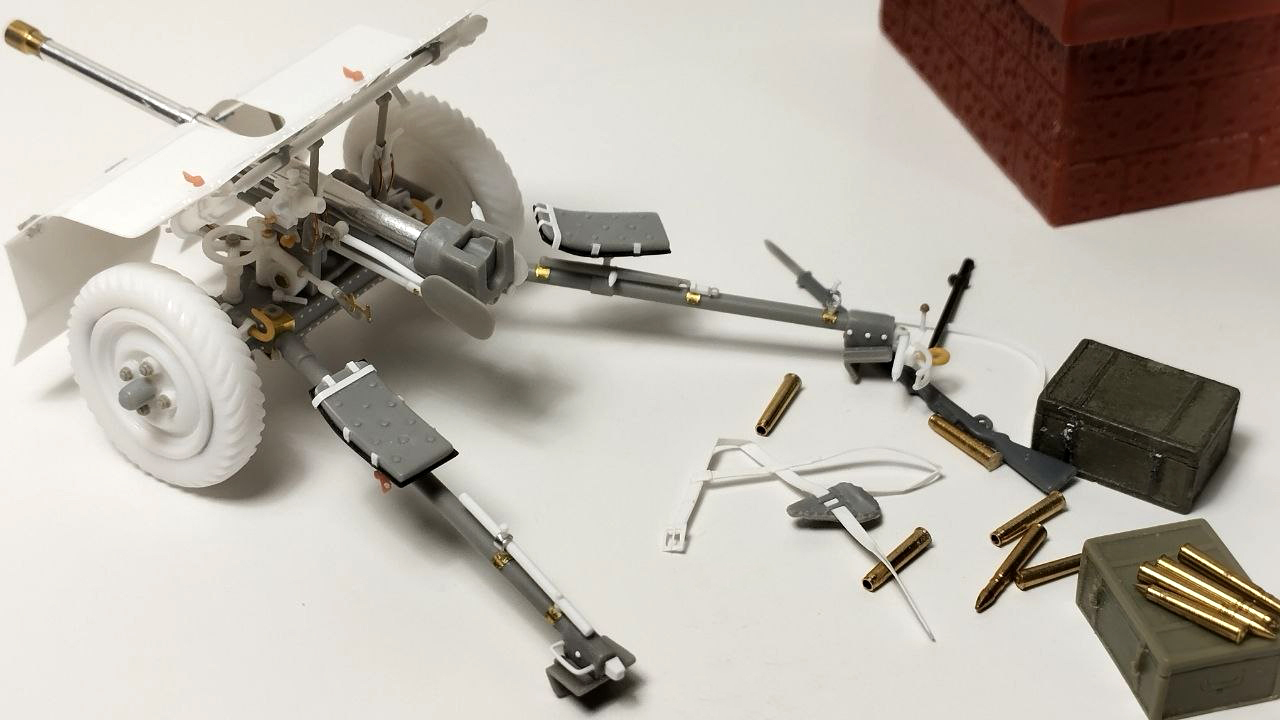
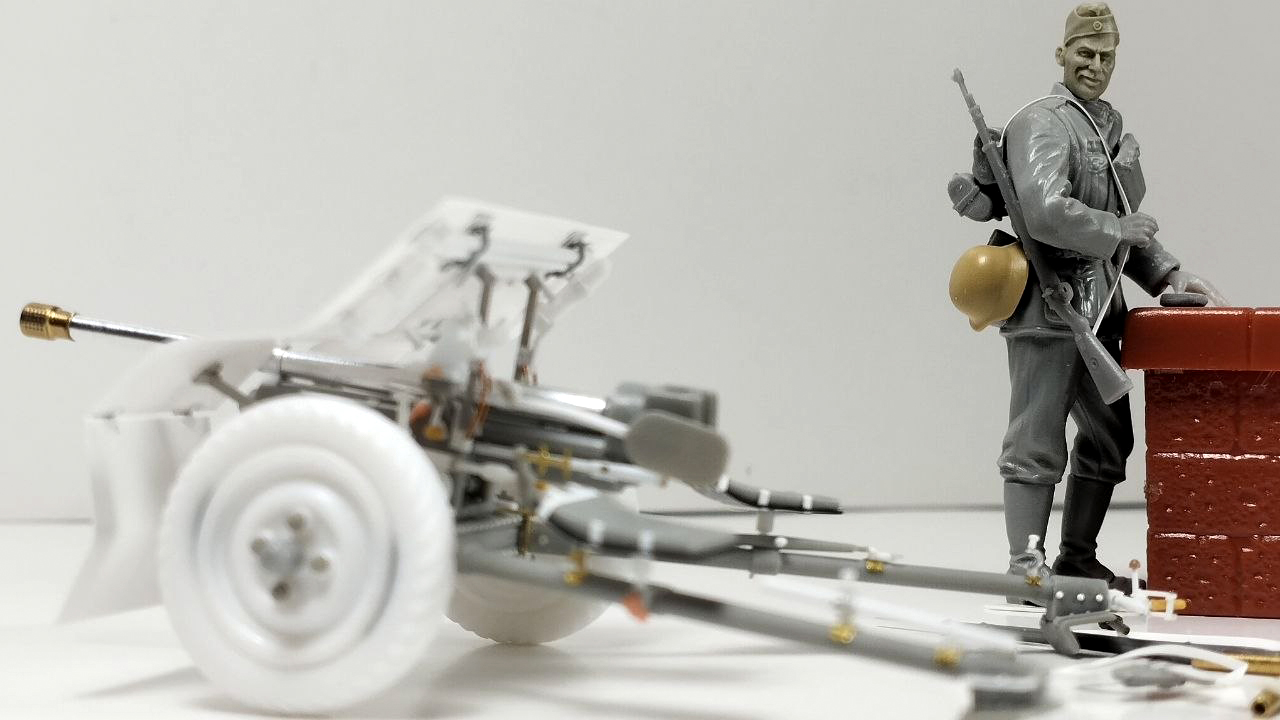
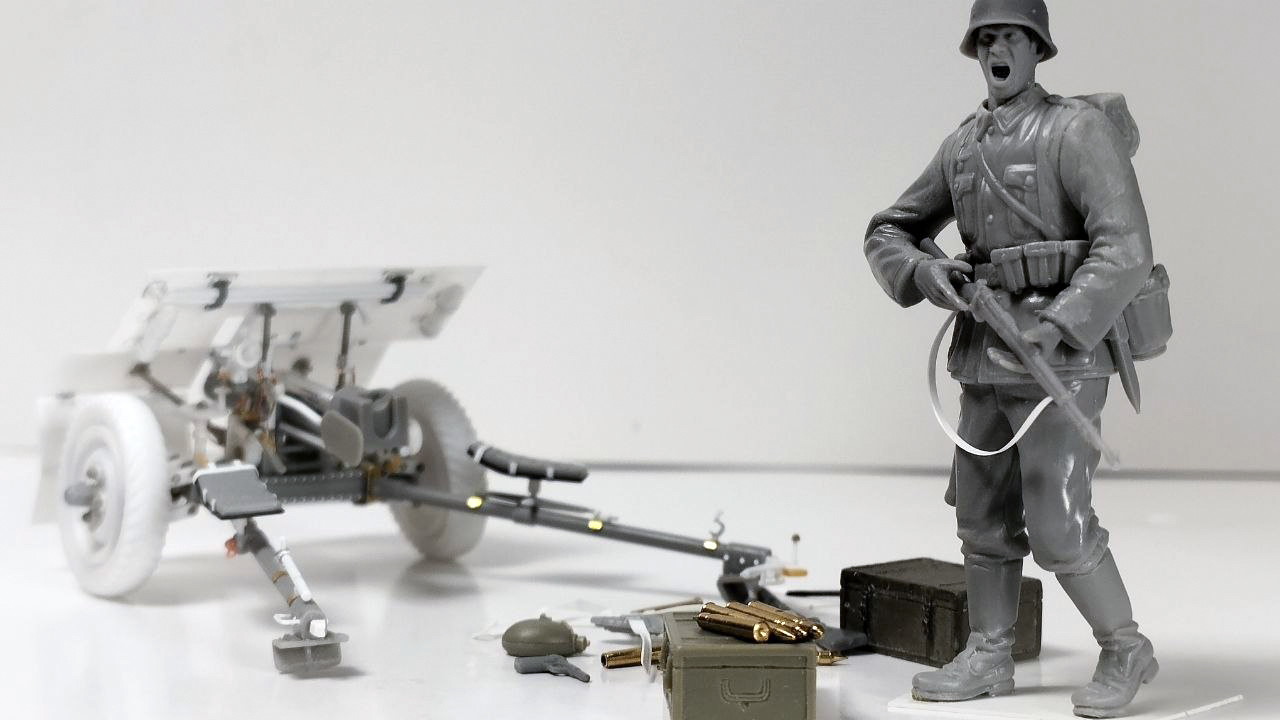
Hello and welcome back. Today, I’m going to build the Bofors 37mm AT gun WZ 36—a weapon used by the Polish army at the outbreak of the war and later adopted by the British. As far as I know, there are two 1/35 scale injection-molded plastic kits on the market: an older one from MirageHobby and a very recent one from ThunderModel. As usual, before starting a build, I like to gather all available kits to assess their accuracy against the real thing and decide which parts—if any—to use from one, the other, or both. Once again, however, what I found was a lack of precision and accuracy. The Mirage kit is useless (except for the wheels), while the Thunder kit offers a barely adequate starting point that requires added detail, though it does come with a decent photo-etched fret. However, the gun shield, wheels, and barrel all need to be completely rebuilt. Not to mention the gun mount base, where the perimeter rivets are positioned right along the mold seam! So, I’ll start with that detail: after scraping away the molded rivet line and seam, I’m replacing them with beautiful rivets from QuintaStudio. I’m also swapping the barrel for a metal one from Aber. I am rebuilding the wheel suspension system, the crew seats, the sighting mechanism, the shield and its details, as well as the mounting assembly and the towing hook—all elements that were merely hinted at in the kit—and finally adding the few photo-etched parts that are actually useful. The build is rounded off with the addition of brass ammunition.
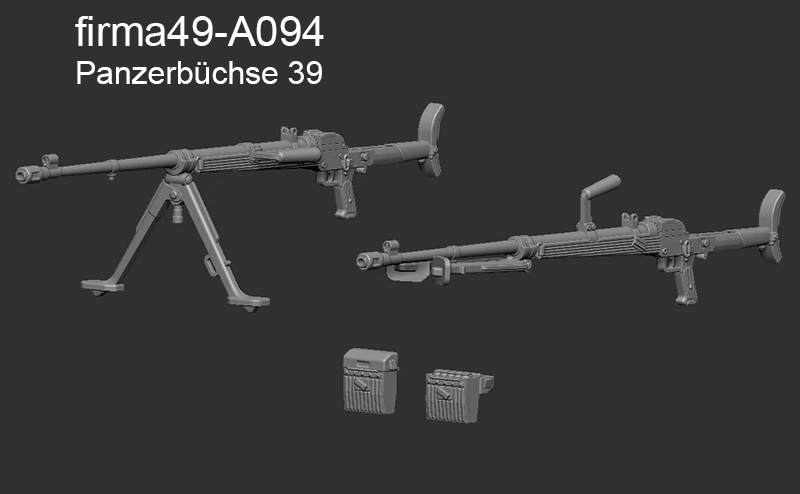
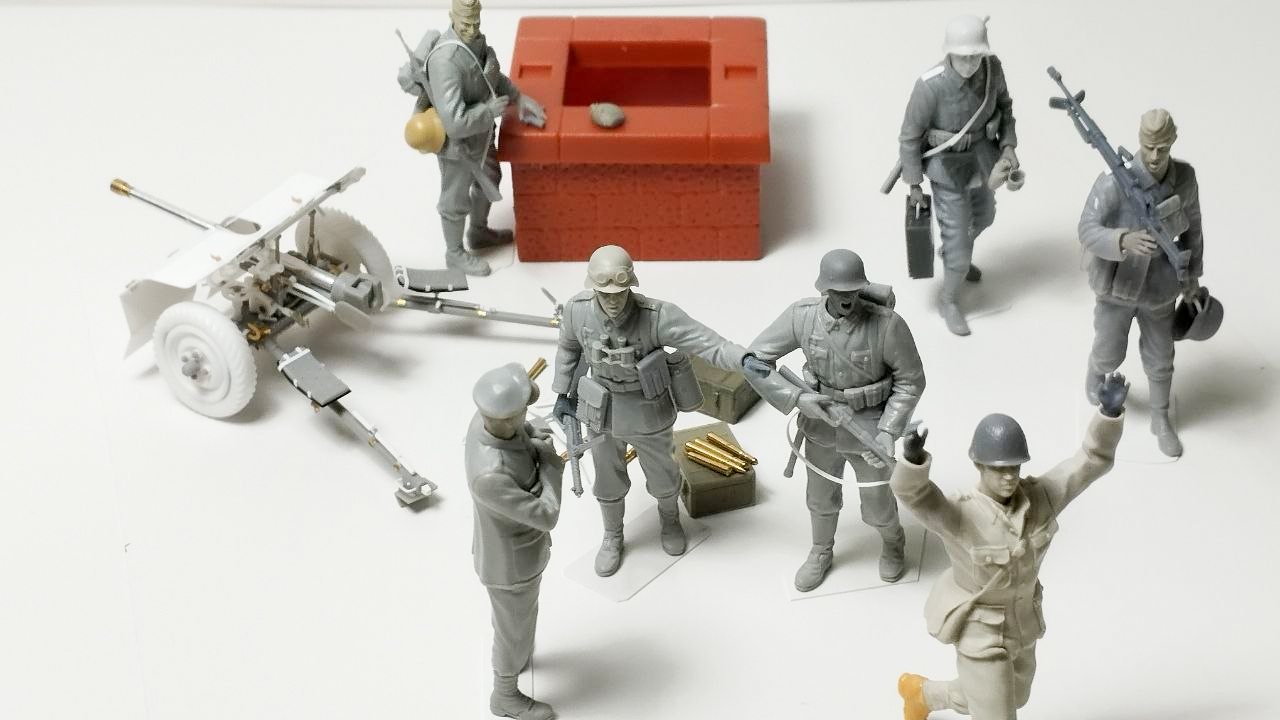
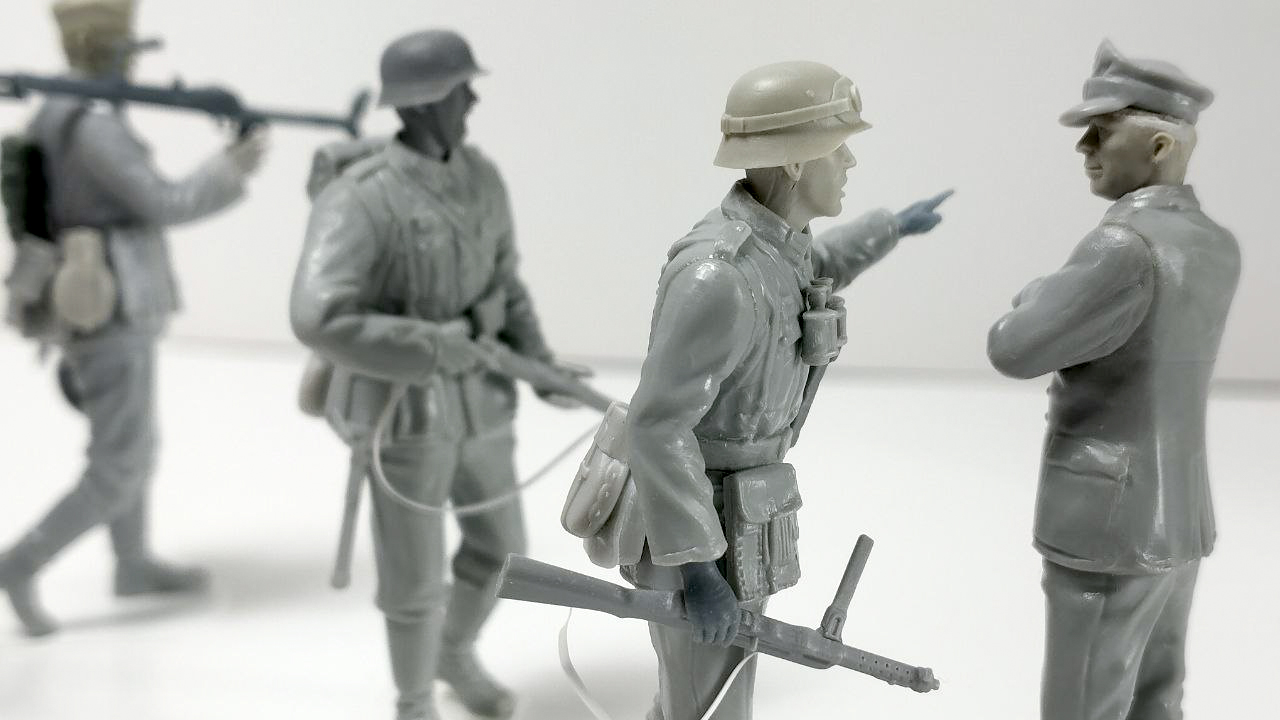
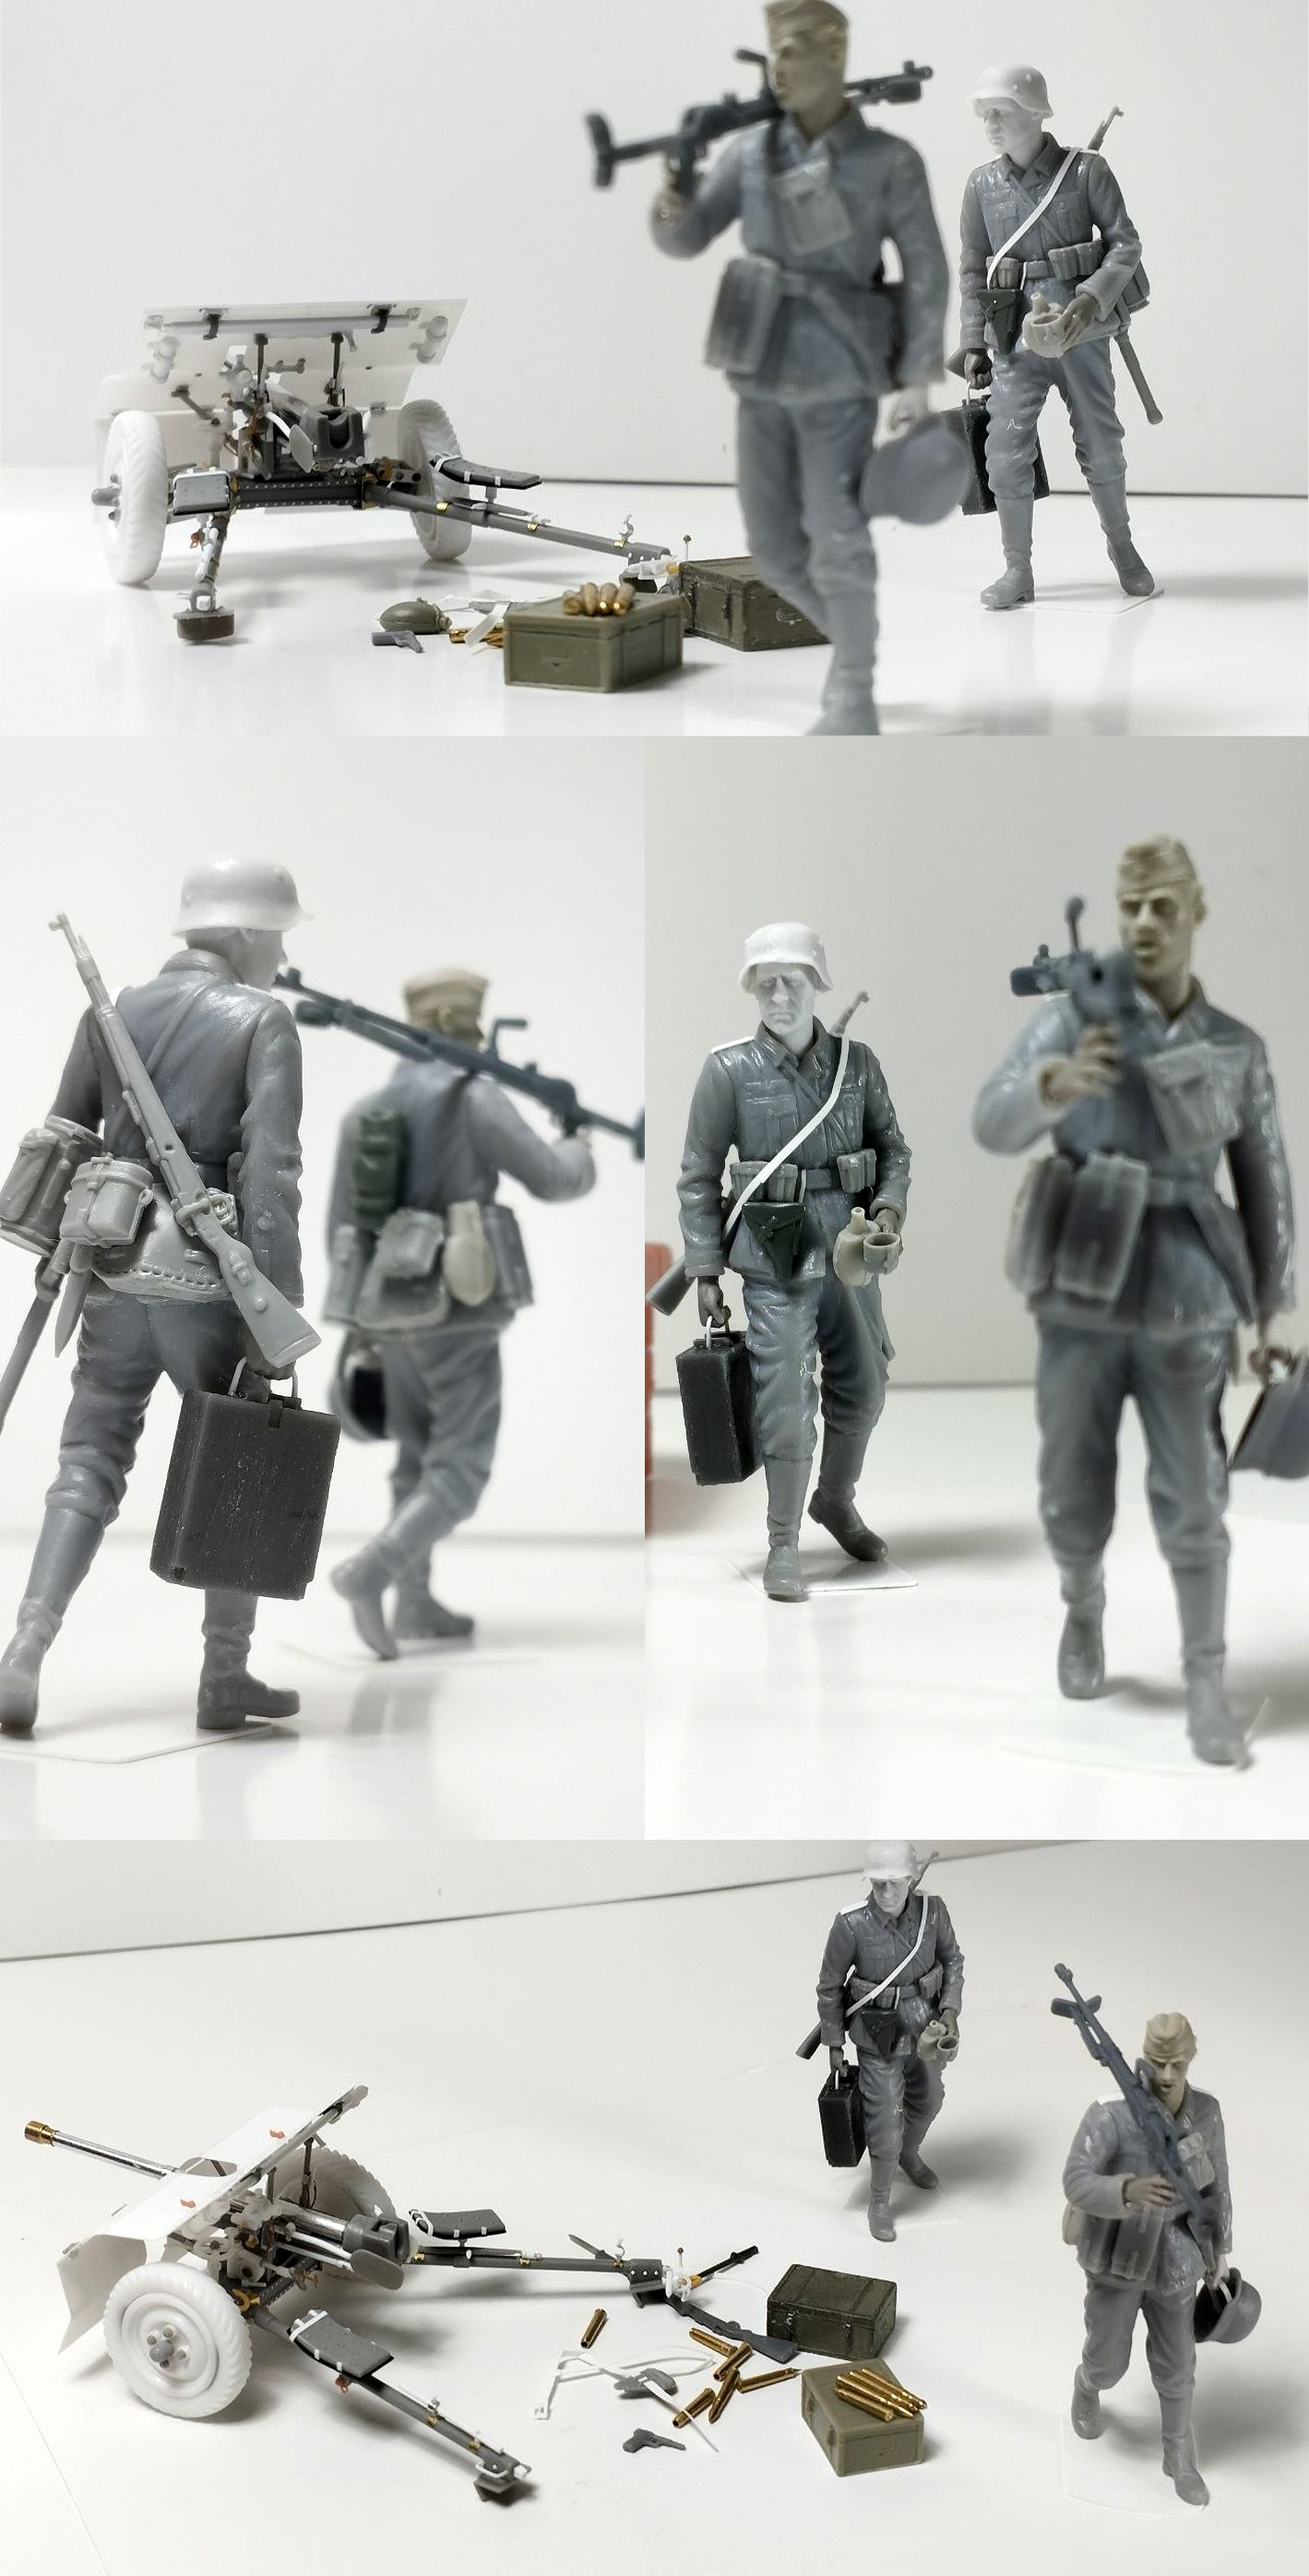
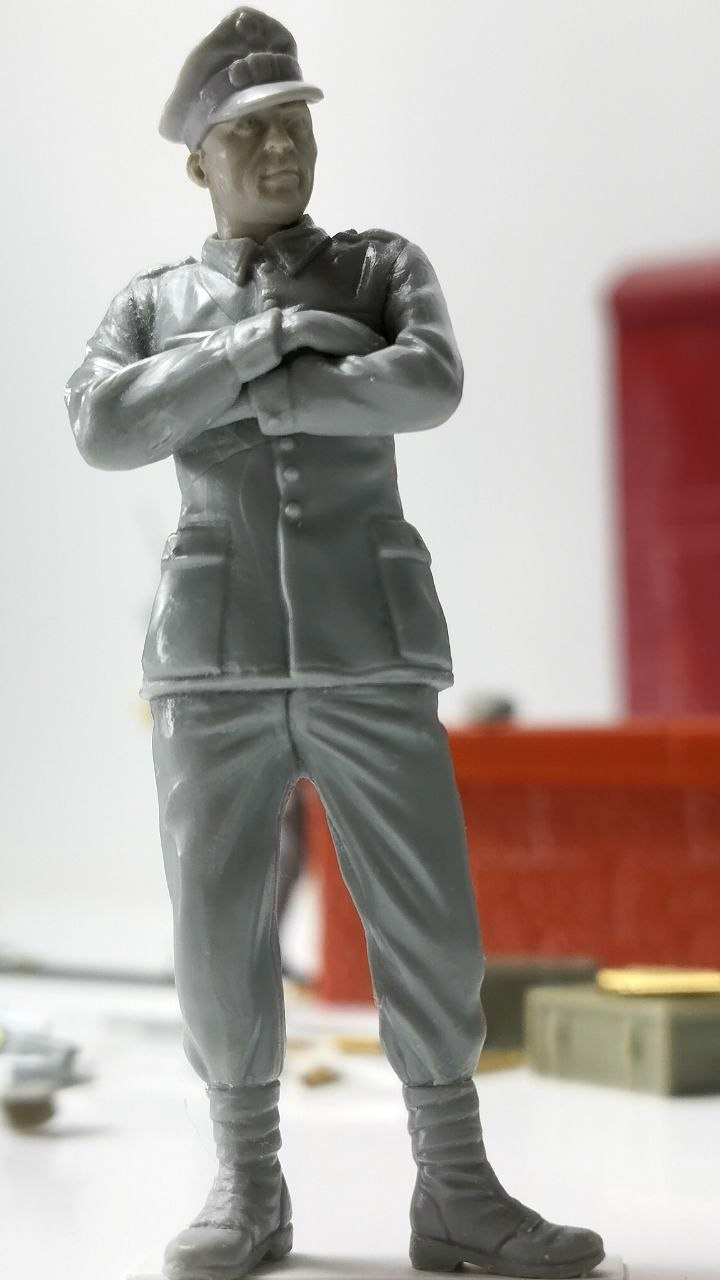
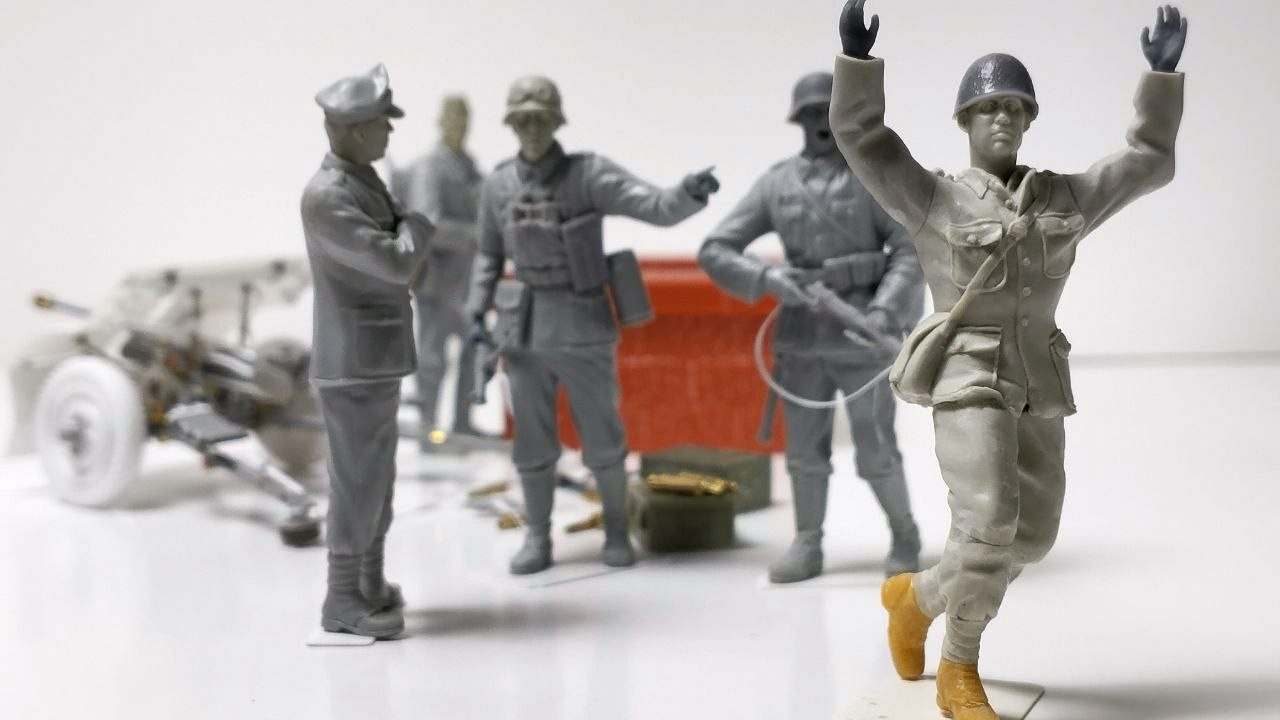
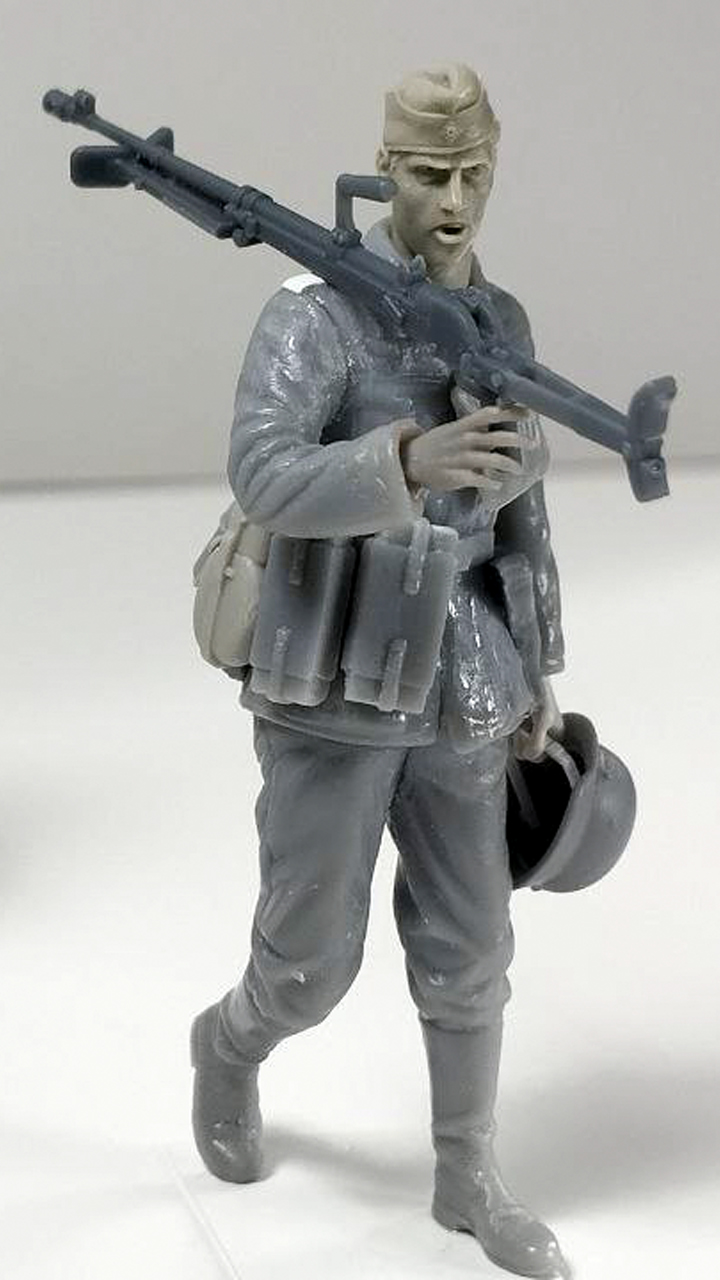
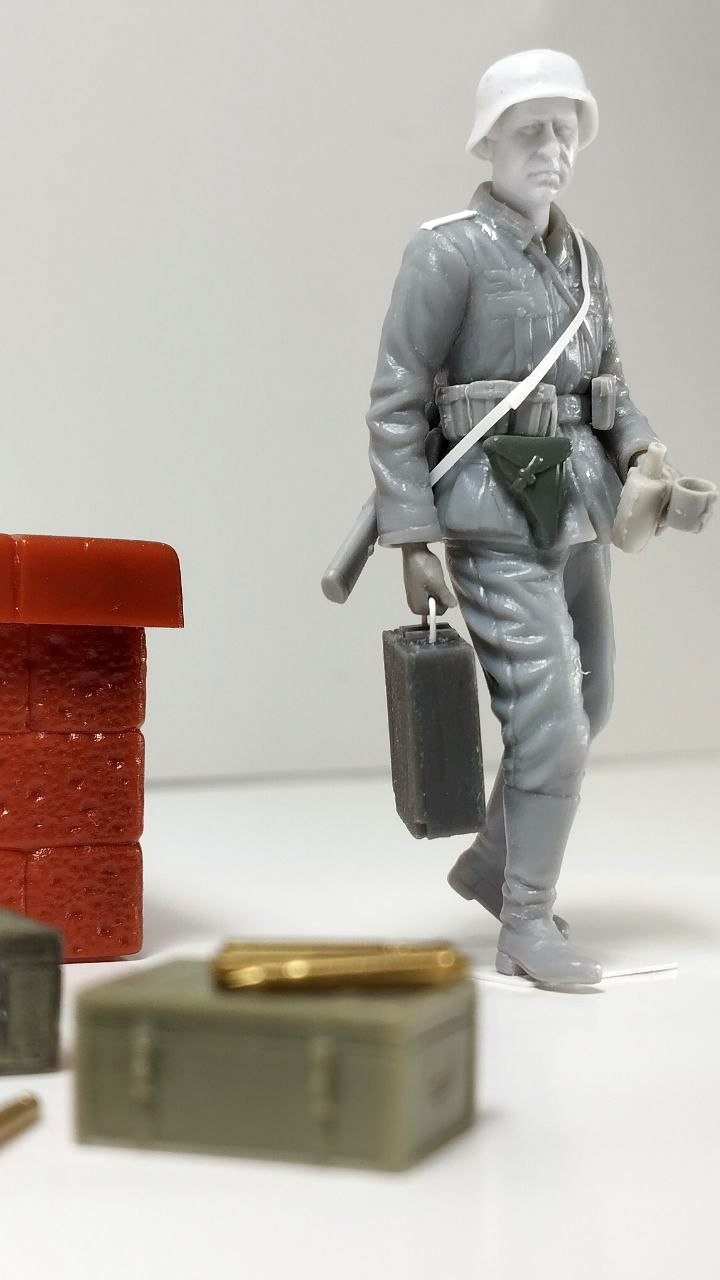
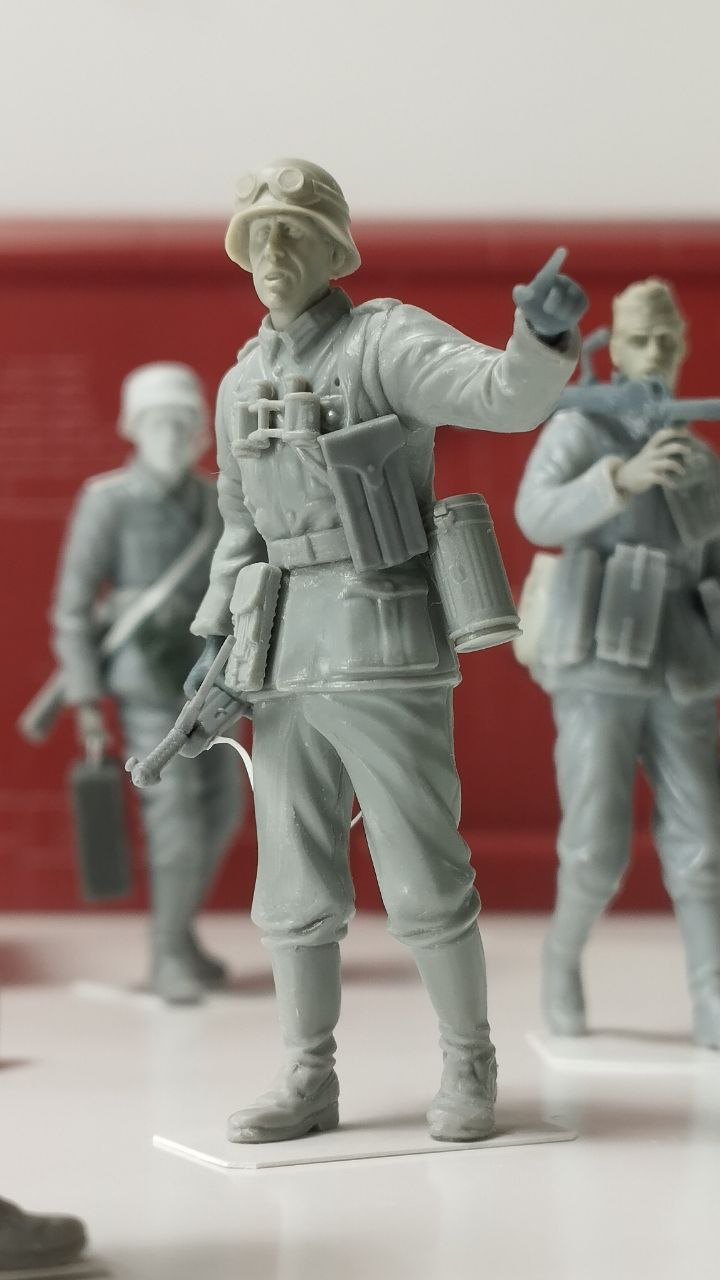
At this point, I can proceed with a historical reconstruction of a moment during the German advance into Poland, in which a Polish anti-tank gun and part of its crew are captured by German forces and marched to the rear—while the unstoppable advance, represented by a PzB 38 anti-tank rifle team, sweeps past them.
I’d like to say a few words about the Polish soldier with his arms raised; he is a former Verlinden figure re-released by M-Model. Although listed as 1/35 scale, I can assure you he is at least 1/30 or thereabouts. In short, he’s a giant—I actually had to shorten his arms and legs! For anyone reading one of my articles for the first time, I should mention that I don’t like painting my models or building dioramas; my focus is entirely on showcasing the super-detailing work I’ve done. That’s how I like it. I hope you enjoy the work. Below are links to my other articles. 1/35 British 2pdr Mark IIItalian Skoda 75/13JAPAN 75 mm MOUNTAIN GUN mod 41SOVIET 45mm AT gun MODEL 41German 7,5 cm Le IG 18 – 1/35
Amazing work. Everything is so well done. I have ooften thought about getting the Thunder models kit. I think I’ll pass. I hope to see more of your work in the future.
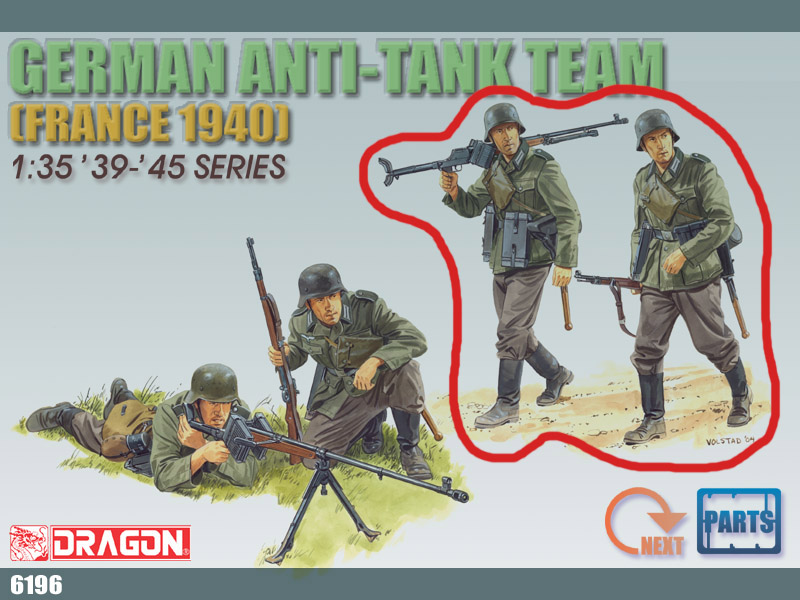
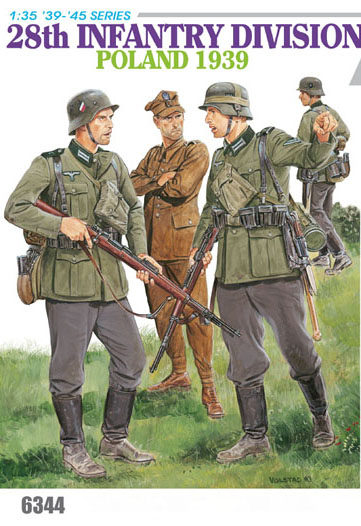
That level of detail fries my brain, amazing! I note that Dragon kit 1 depicts Germans wearing Y straps- something that was rarely, if ever, seen in Poland in 1939.
Thanks for the kind words! In fact, shoulder boards had only recently been introduced and were primarily issued to specific units, such as motorized troops. Among the figures depicted here, there are some wearing them and others who are not.
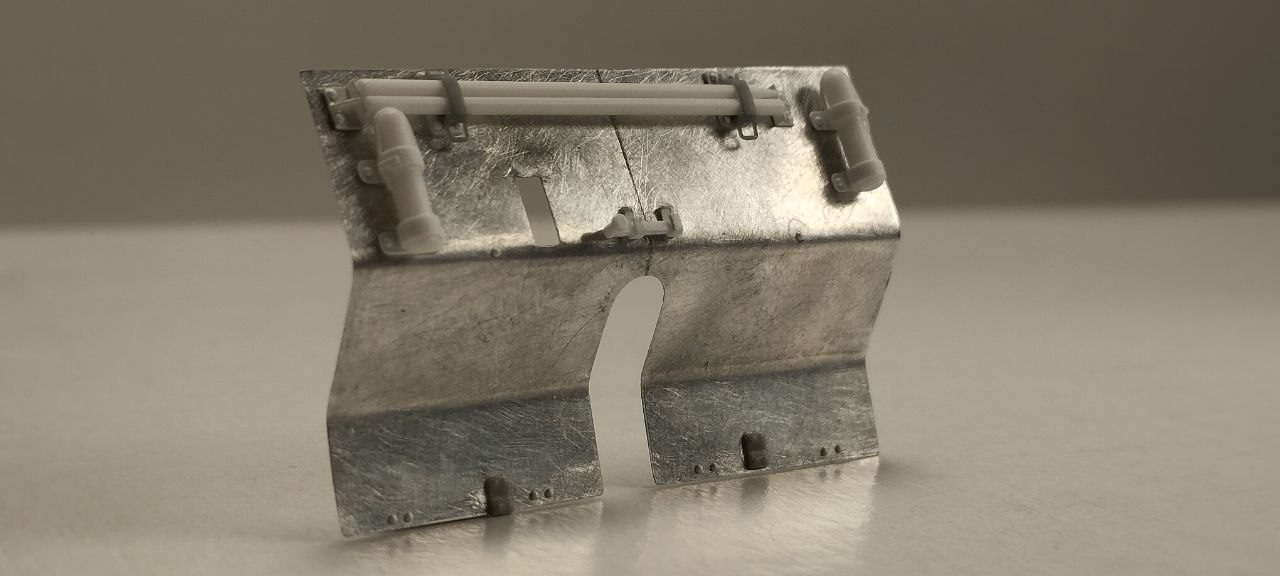
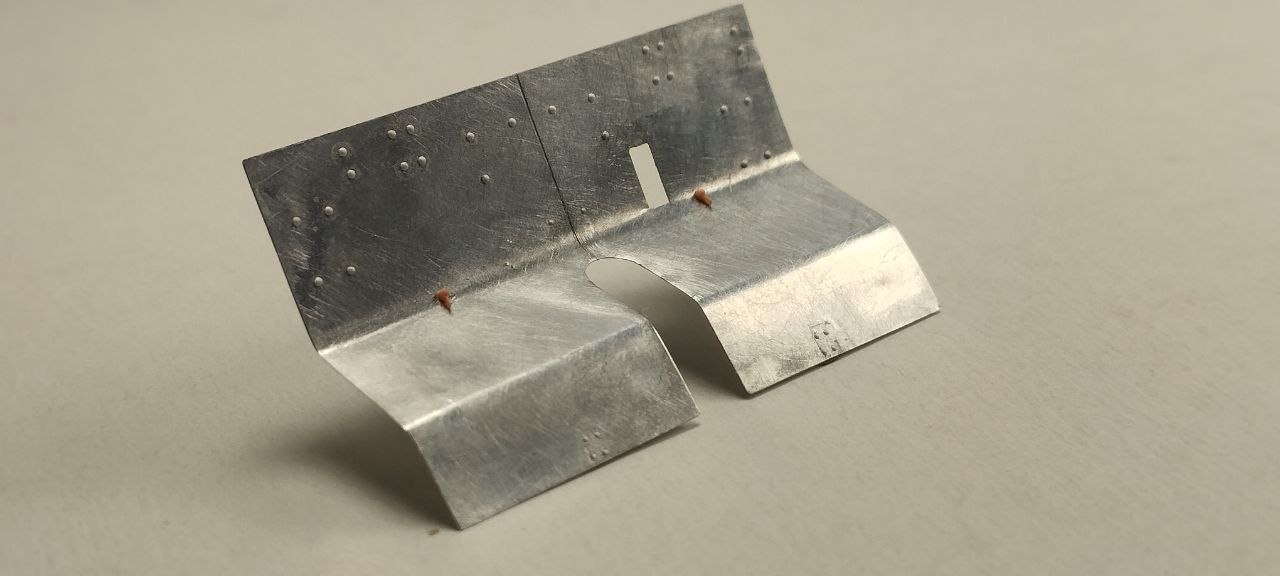
Beautiful ! Can you tell a bit about the gun shield ? It looks like its fabricated from styrene, how did you form it and is there any concern about warpage ?
Hi, thanks a million! Yes, I used a 0.13 mm styrene sheet, bending it around a 3 mm drill bit and holding the bend for a few minutes. It’s best to tape the sheet down and use a rigid guide—like a metal ruler also secured to the base—to guide the metal rod; otherwise, you risk getting a crooked bend. Using this method, I didn’t have any issues with the sheet warping. Actually, I initially made the shield using a 0.15 mm aluminum sheet (slightly out of scale but still acceptable), but the problem was that cyanoacrylate wouldn’t bond to the surface, so any “glued-on” accessories would pop off after a short while. Okay, in these images the details look firmly attached, but I can assure you that the moment after I took the photos, the larger parts fell off!
Thanks! I really appreciate that. I wanted to capture that early-war look since it’s not something you see as often. And yeah, the gun still needs some paint, but I’m looking forward to finishing those details. Thanks again for the kind words!





 Thank you