HG, you’re making the rest of us look like average modellers 
This is really gonna look good when assembled…
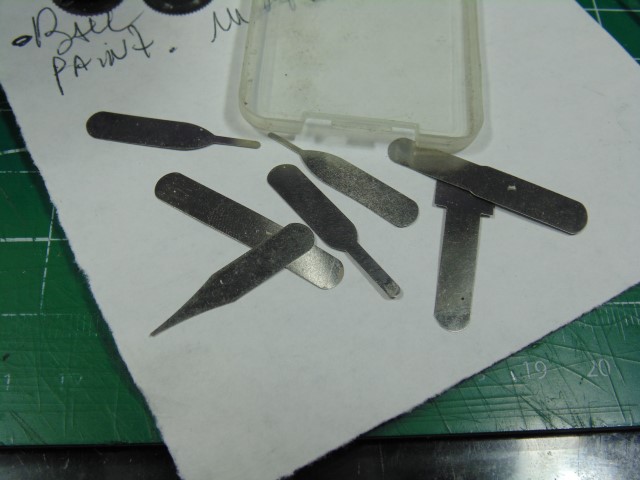
What’s a PC chip remover?
I’ve been using a micro saw blade to remove parts from trees with good success. Much better than cutting them off using sprue cutters which I’ve found to often damage the parts and when they’re thin, say strut like, often break them completely…
1 Like
Brilliant work as always HG, some really impressive techniques and detailing upgrades.
Cheers, D
1 Like
Hi,
They are very very thin stripes of ductile metal you slip under a computer chip then pull up for removal. 
2 Likes
All this work you are putting into this build is nothing short of amazing. I’ve seen this kit a couple of times and have considered snagging it up.
1 Like
Brother I’m here to tell you, and without any influence whatsoever from Airfix, I’m looking forward to building next one!!! It’s that much fun. Thank you for the kind words.
2 Likes
Hi Folks,
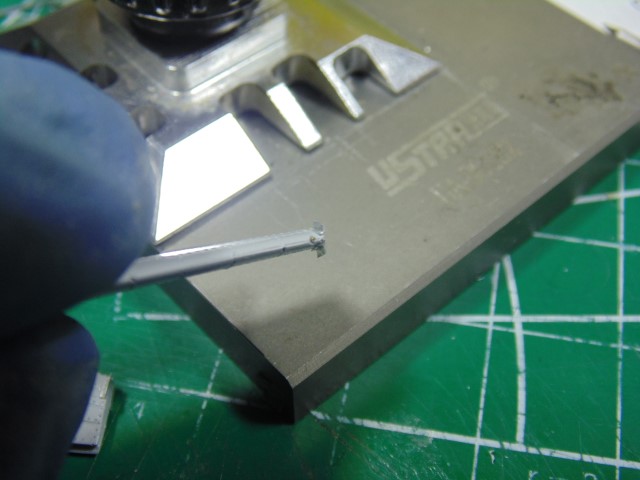
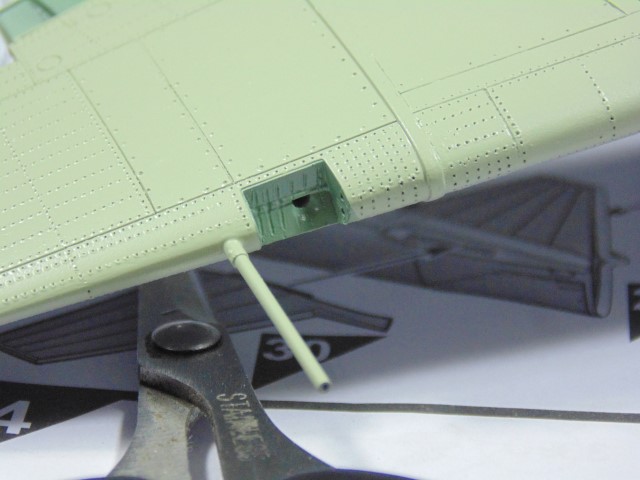
Lets build a more accurate pitot tube shall we?
Huge thanks to @Merlin AKA Rowan for the walk around pictures.
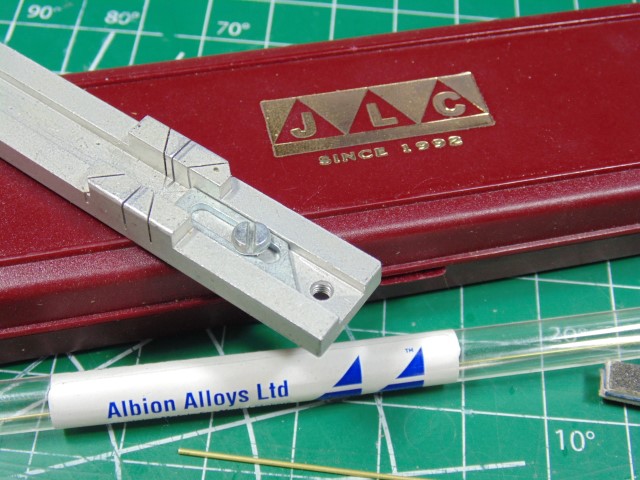
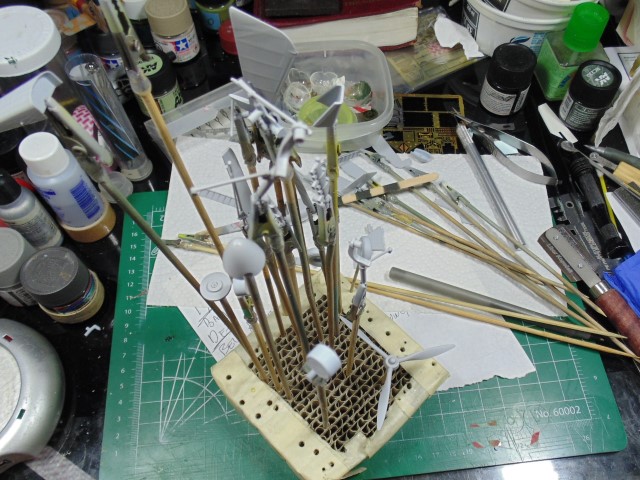
Tools and materials needed.
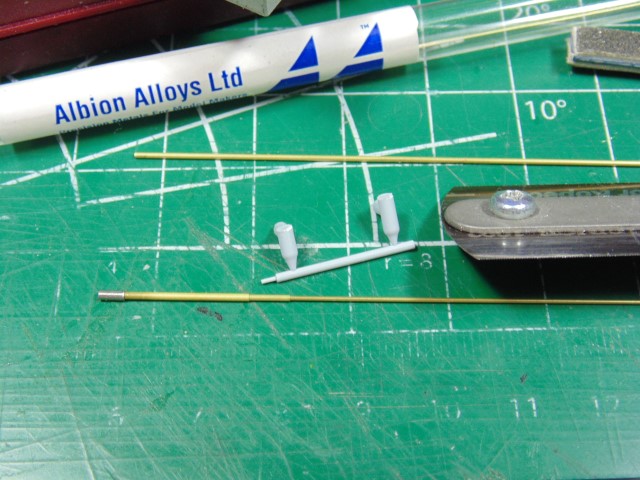
The resin belly antenna and pitot look nice but even more detail can be made. The 1.25mm aluminum fits into the wing hole nicely, but to get the inlet pipe sized and spaced right I used a 1mm over a 0.8mm then the 0.6mm.
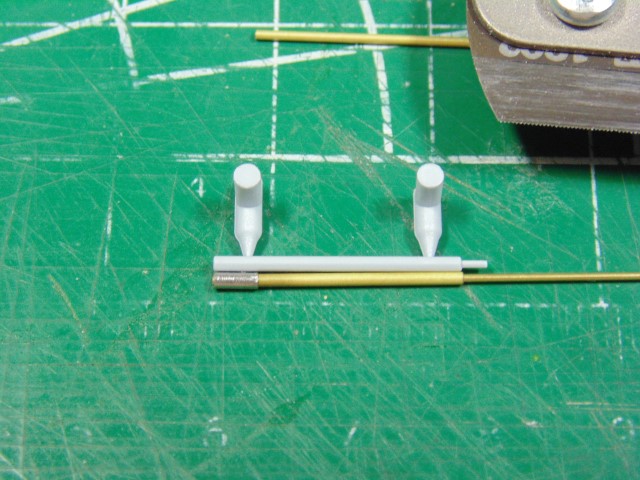
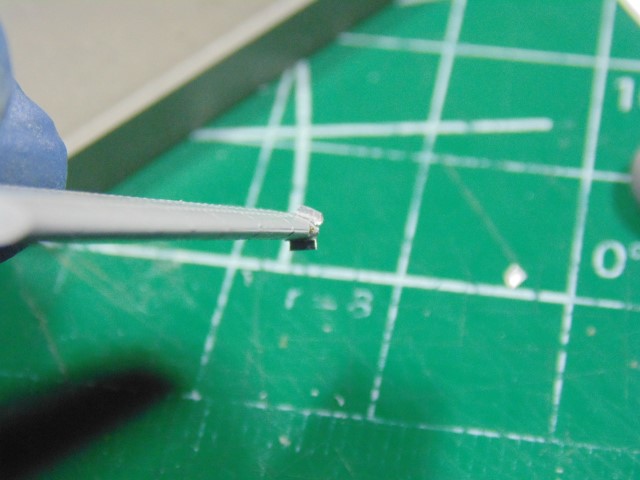
Looks much better. The inlet tube needs to be longer than the plastic, as Rowan’s picture shows.
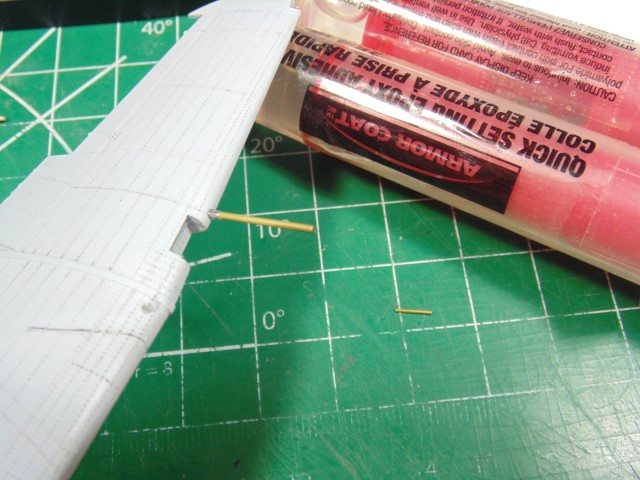
This will be one of the last parts added.
I used strong 5 minute epoxy because this will be handled quite a bit.
Plus, it gave me the working time to get the alignment right.
It’s prime time.
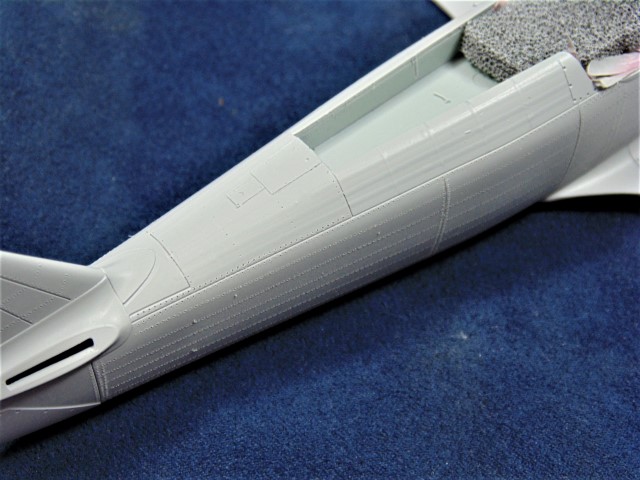
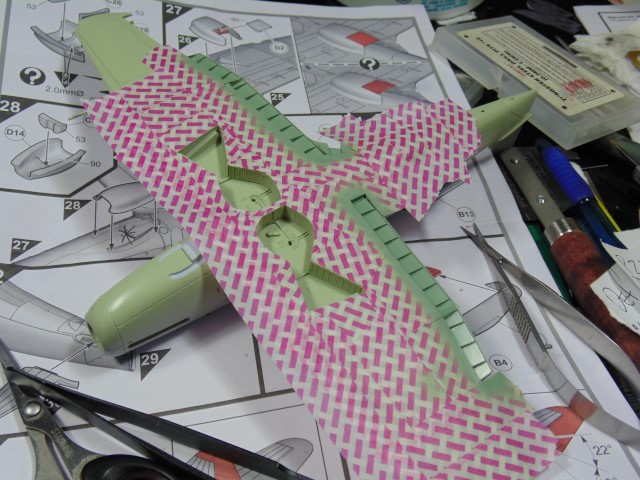
The result of the wooded frame ribs and stretched fabric. Looks passable. The rivets are there to show the fasteners in those lengths.
Mr. Primer 1000 with regular Mr. thinner 400 gave a smooth even finish yet not as semi-gloss as self leveling. The idea is to keep as much primer and paint out of the rivet and line detail.
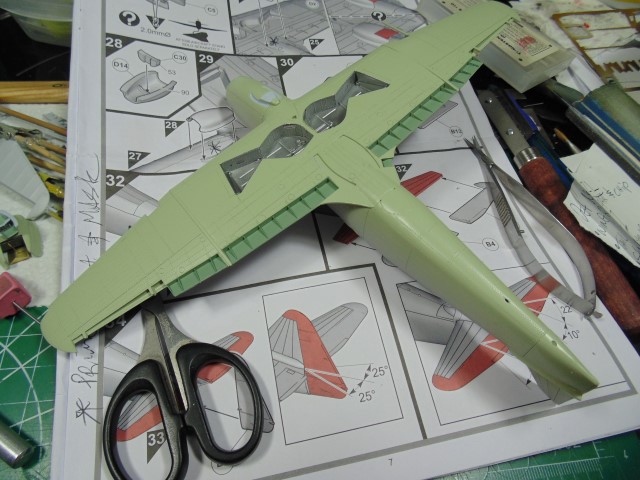
Time for some clean up of lint, BUT there are ZERO places to sand and re-prime. Awesome Airfix!!!
Plenty to go on this one, yet I’d like to thank you guys for the encouraging comments and likes. More when time permits.
4 Likes
My pitot tubes last approximately 0.72 seconds after installation before they are bent beyond redemption. I’m betting that one will stay the course. Awesome work HG, love it!
Cheers, D
1 Like
Thanks Sir. The insert Airfix made in the wing halves sure helps, but combined with the metal and epoxy allow me to carry the thing around… it’s that strong.
HG, you care about details, I don’t even think about …  Amazing work!
1 Like
Thanks Torsten, most kind.
Good call on that pitot tube. Every little fine detail all adds up in the final finished product.
1 Like
Thanks! With a product about to land soon at the door step I hope to make those details even more easily.
Beautiful work as ever, I am in awe of your skills!
1 Like
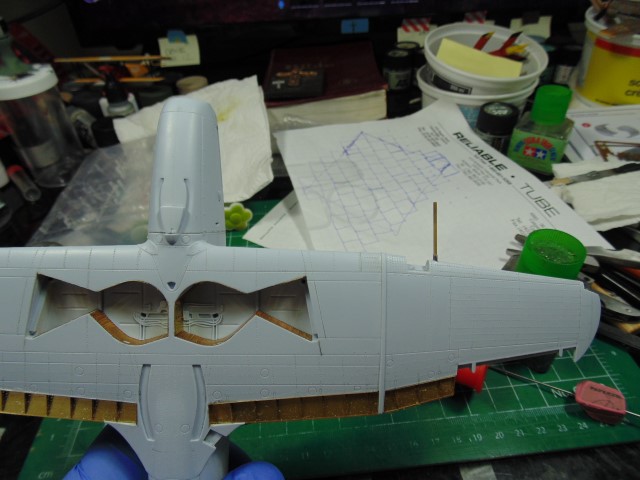
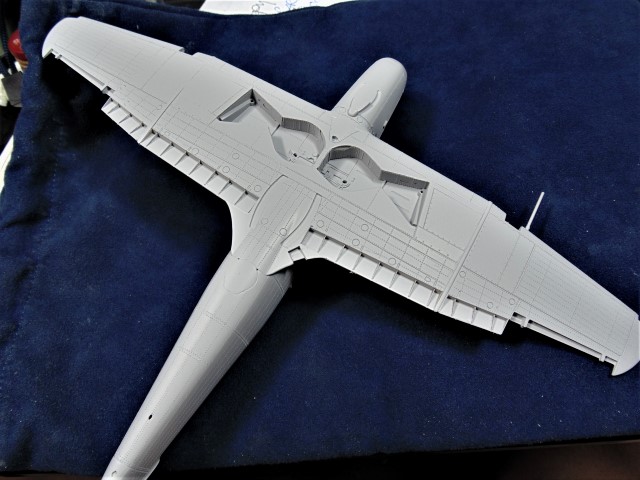
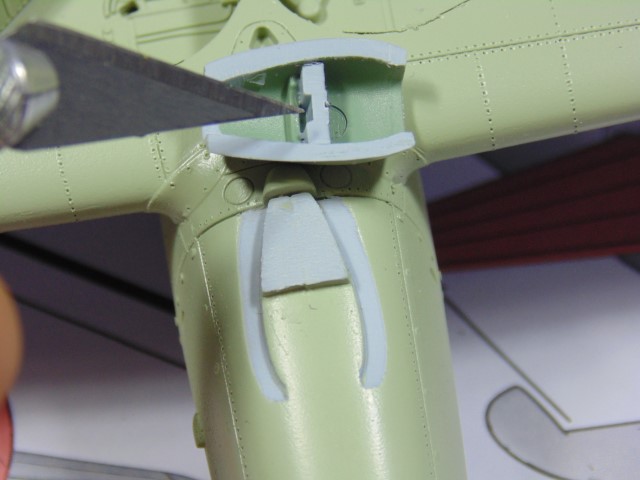
Hi Folks,
Just when you thought it was safe to put the rivet wheel away HA HA.
Plenty of parts primed to do an update.
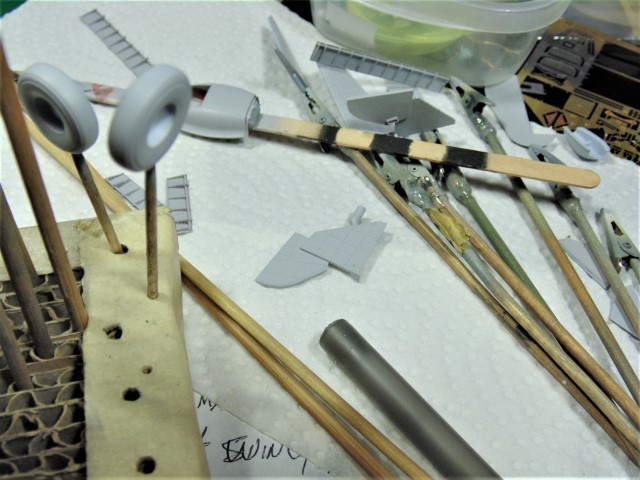
I considered slicing these apart but the cut lines will be filled with dark wash giving a decent effect.
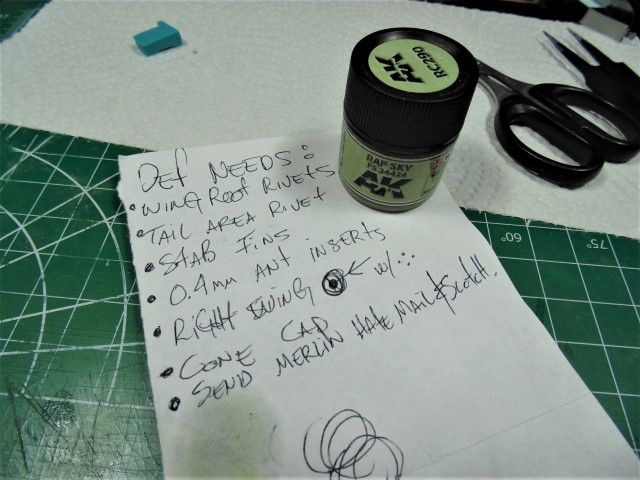
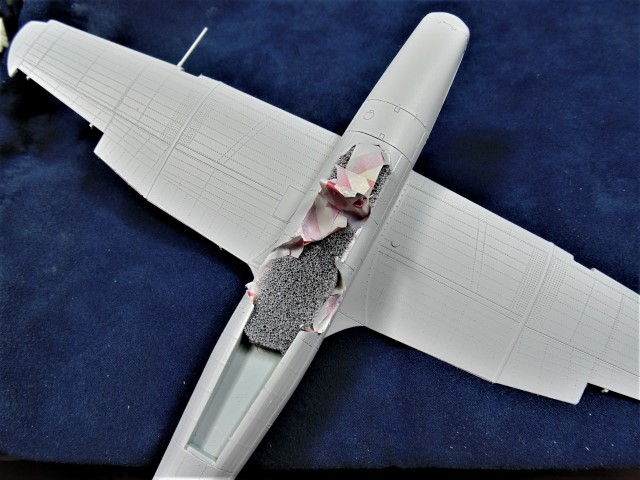
Was about to begin the undercoat, but always double check references before hand. Holy Mackerel… not so fast there citizen!!! There be work here need’s a doin’.
When you look at Merlin’s walkaround pictures you’ll see what I mean about a bunch of little details not on the kit and not on the rivet diagrams. I’ll knock those off and take a picture of each, plus things not on this list.
More on the way. Thanks Everyone.
3 Likes
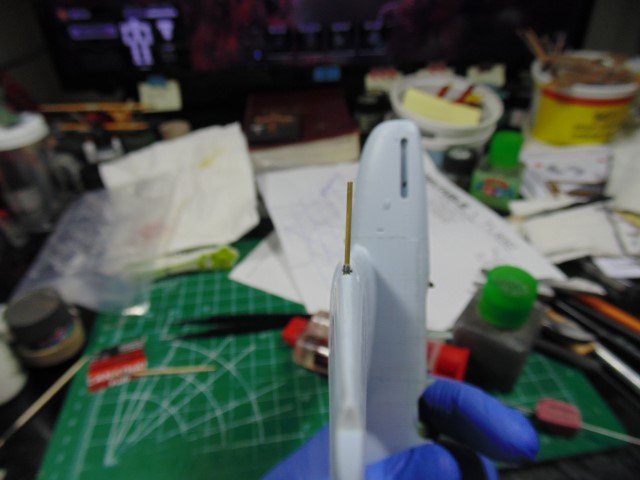
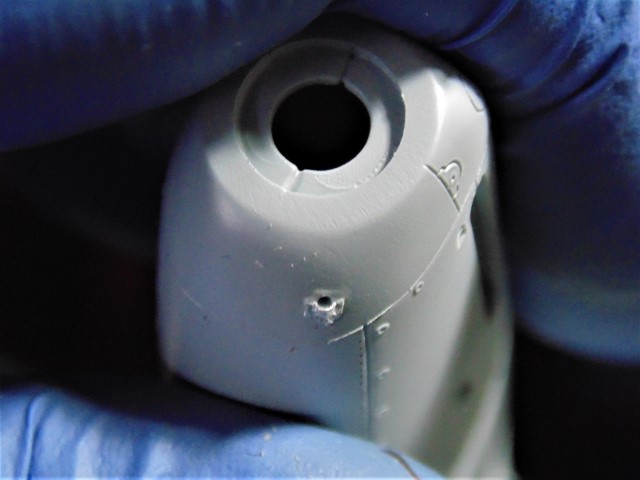
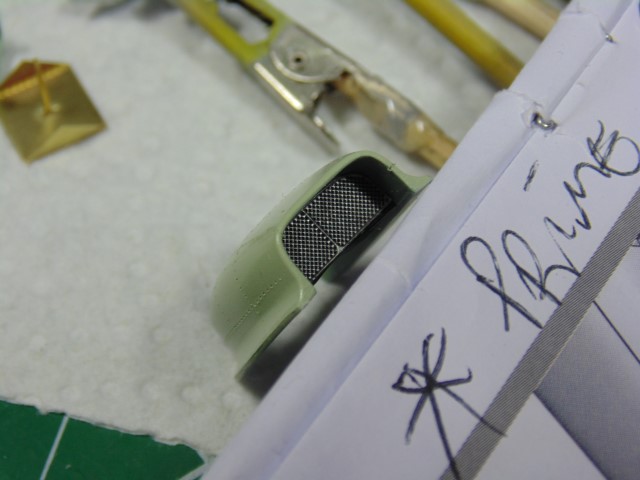
Hi,
As promised.
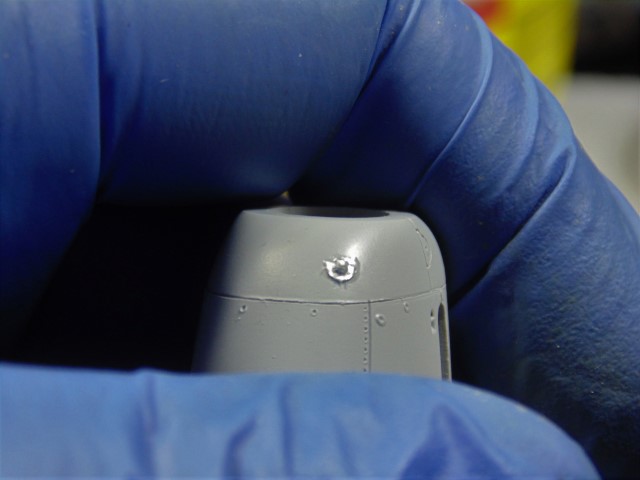
Too bad the light obscures the roundness of the scoop.
It needs the dust removed, but you’ll see that after the RAF Sky goes on.
Note the 0.4mm tube for the antenna line.
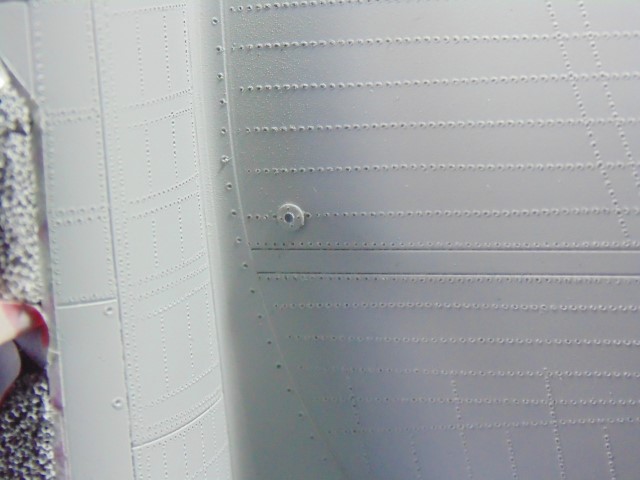
No idea what this circle is for.


Instructions upon request.
Now, I can get the belly parts painted.
Thanks guys.
5 Likes
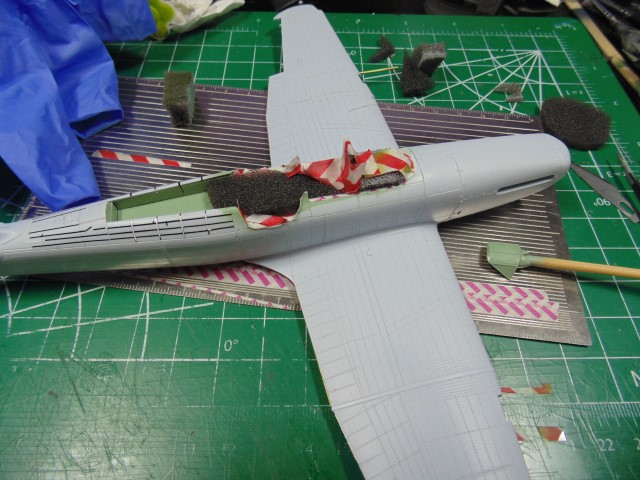
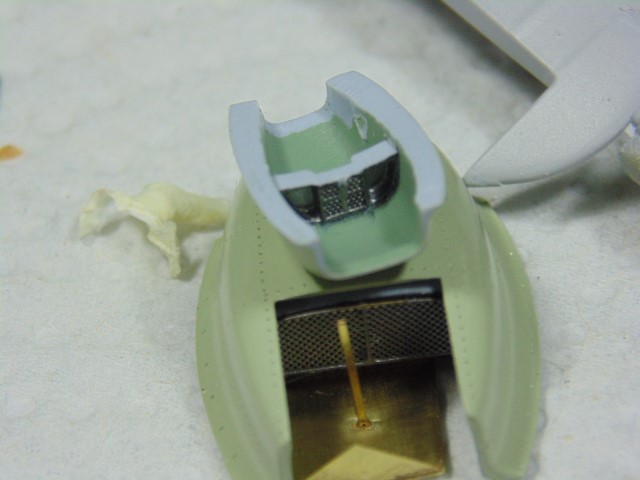
Hi Guys,
Here’s the result.
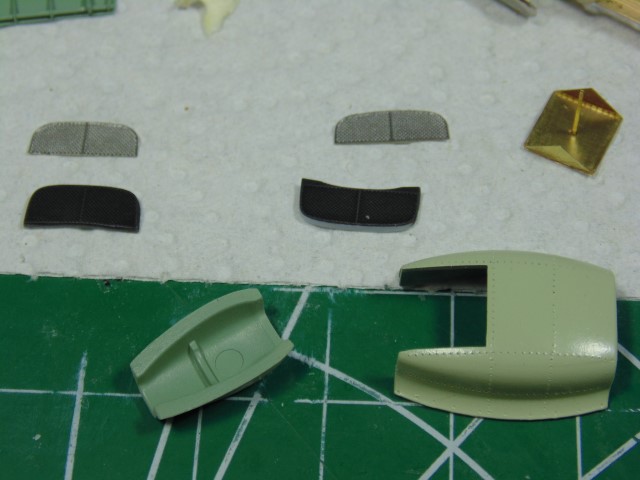
Remove material for it seat properly.
Eduard grills adds a nice touch of detail.
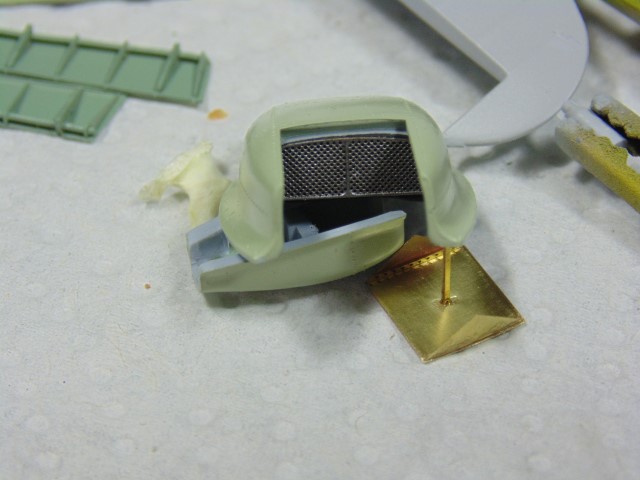
Can’t do the back flap until the rad is attached.
My most favorite part of the hobby… ugh!
Worth the time though. Mr. Color Super Metallic 2 super fine silver 2. Make sure you thin it 1 part paint and 2 parts 400 or lacquer thinner.
Please don’t beat me up too much about miss aligned rivets.
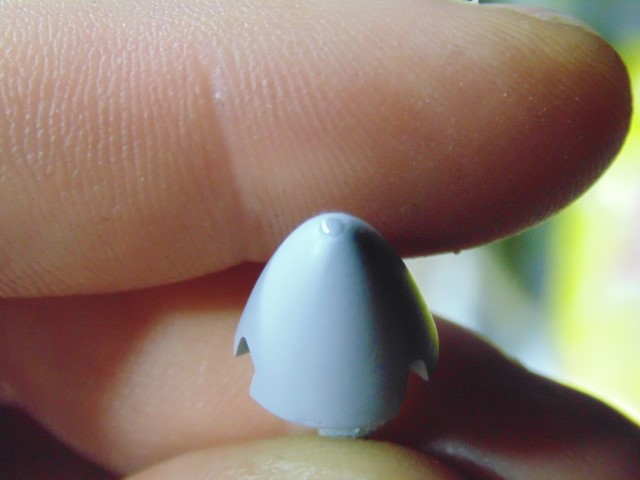
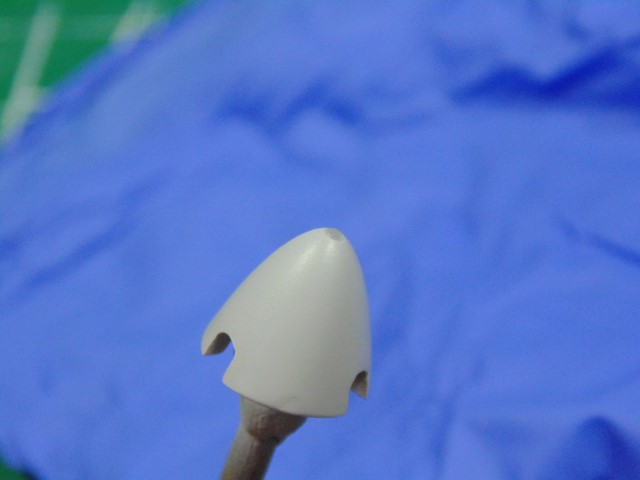
Stretch a sprue after you sand or file the flat spot. Slice a 0.15mm disc and there you go, an easy cap.
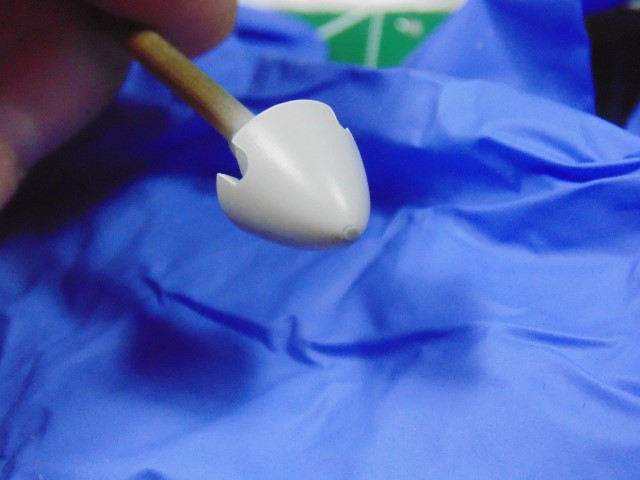
I used a 1500 sanding sponge to round it off.
Looks really good. Can’t thank Rowan enough for the pictures.
Top side work is next. Best of health Everyone.
4 Likes
Been spying on this build for a while, you’ve done some truly amazing work here!
Cant wait for more updates.
1 Like
Thanks for the great words of encouragement Ezra. I’ll have more maybe tonight and definitely tomorrow.
1 Like
This has been one of my pet lurks - just de-cloaking to cheer you on, so much to admire already 
2 Likes
