Going back to @petbat and his mighty Conqueror… The more I look at it…the more I want to get one. It’s not really interested me before… But it is actually growing on me now …is Amusing Hobby the only maker ?
And I would have to be a bit creative with the colour as I hate that time frame green on UK tanks …
Thanks for that Matt…you hear various horror stories about various manufacturers which may be down to just one offs unless they are known repeat offenders… I always like to get a bit of background about one then just buy a kit and judge them that way…may start browsing …
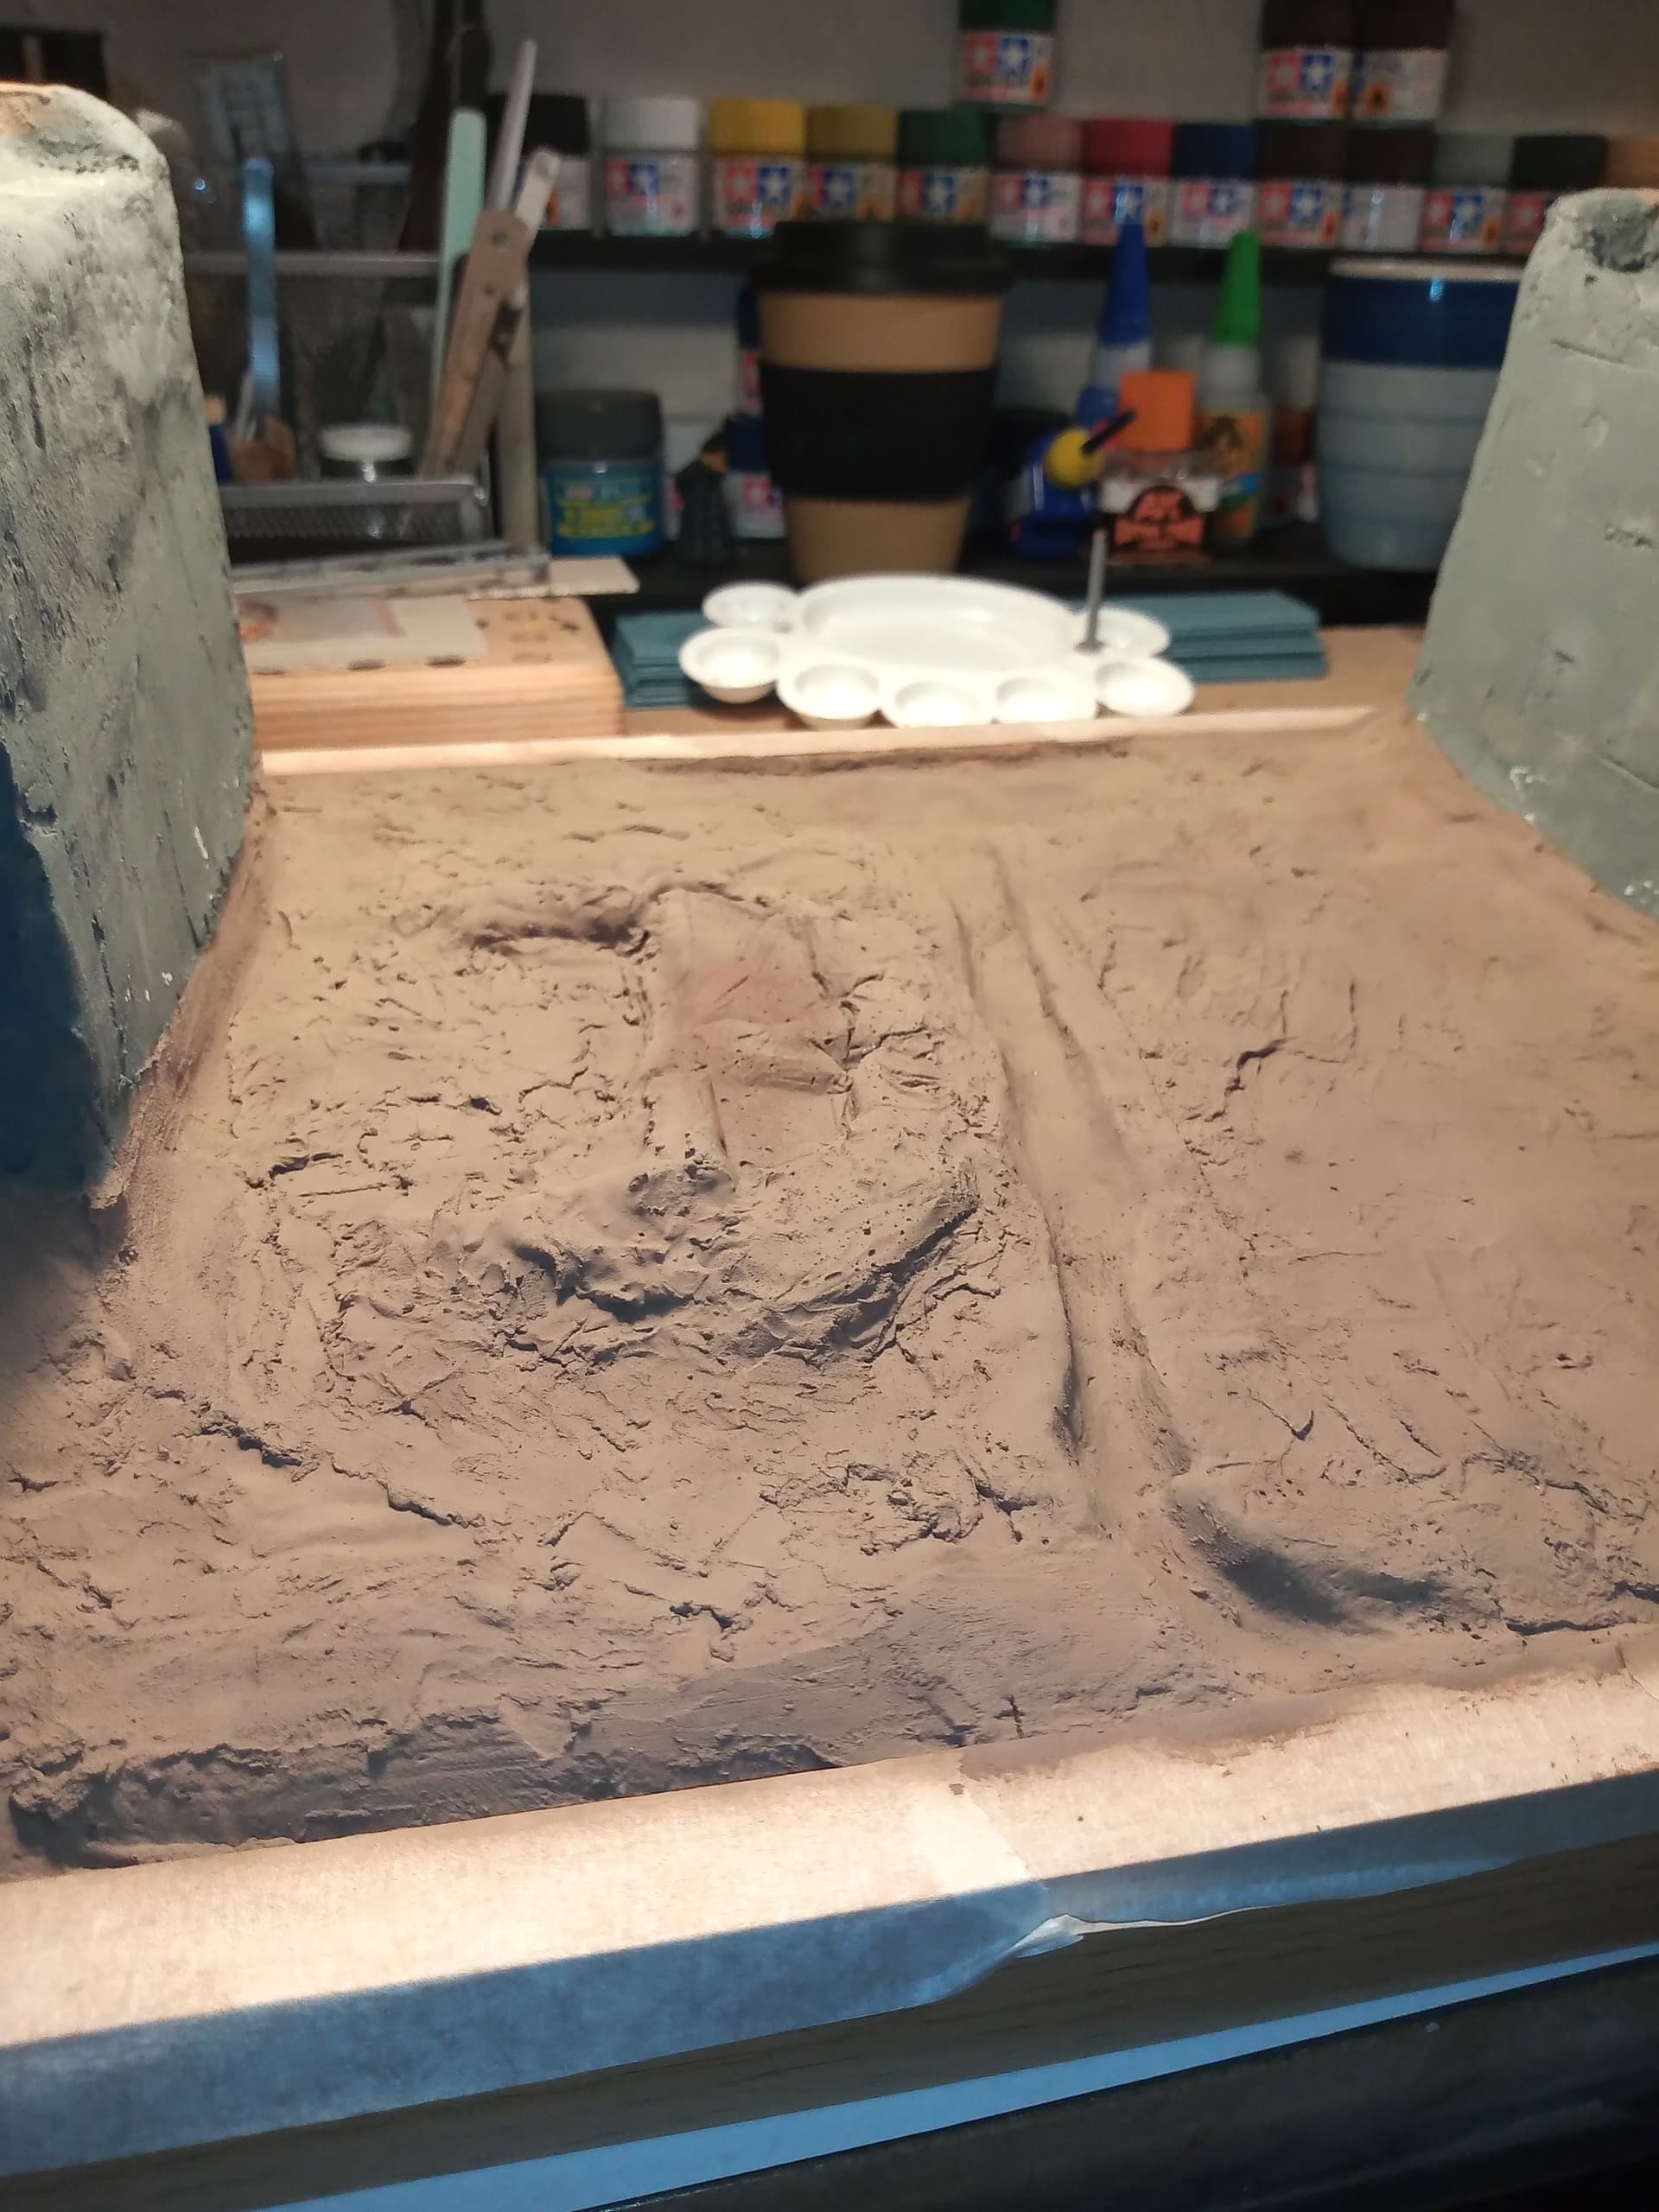
I was able to get a base coat of a dark earth colour down on the river bed area. It was the cheap acrylic craft paint, then I sprayed over a thin mist of Tamiya flat earth thinned about 50/50. I also did a small area of the earth base colour on the part where the road will meet the bridge.
Over the river bed area and the road and section where the long beams would be I will be laying a coat of white PVA glue mixed with water and then placing a few strategic river bed rocks and debris and then sprinkle a covering of real dried out earth.
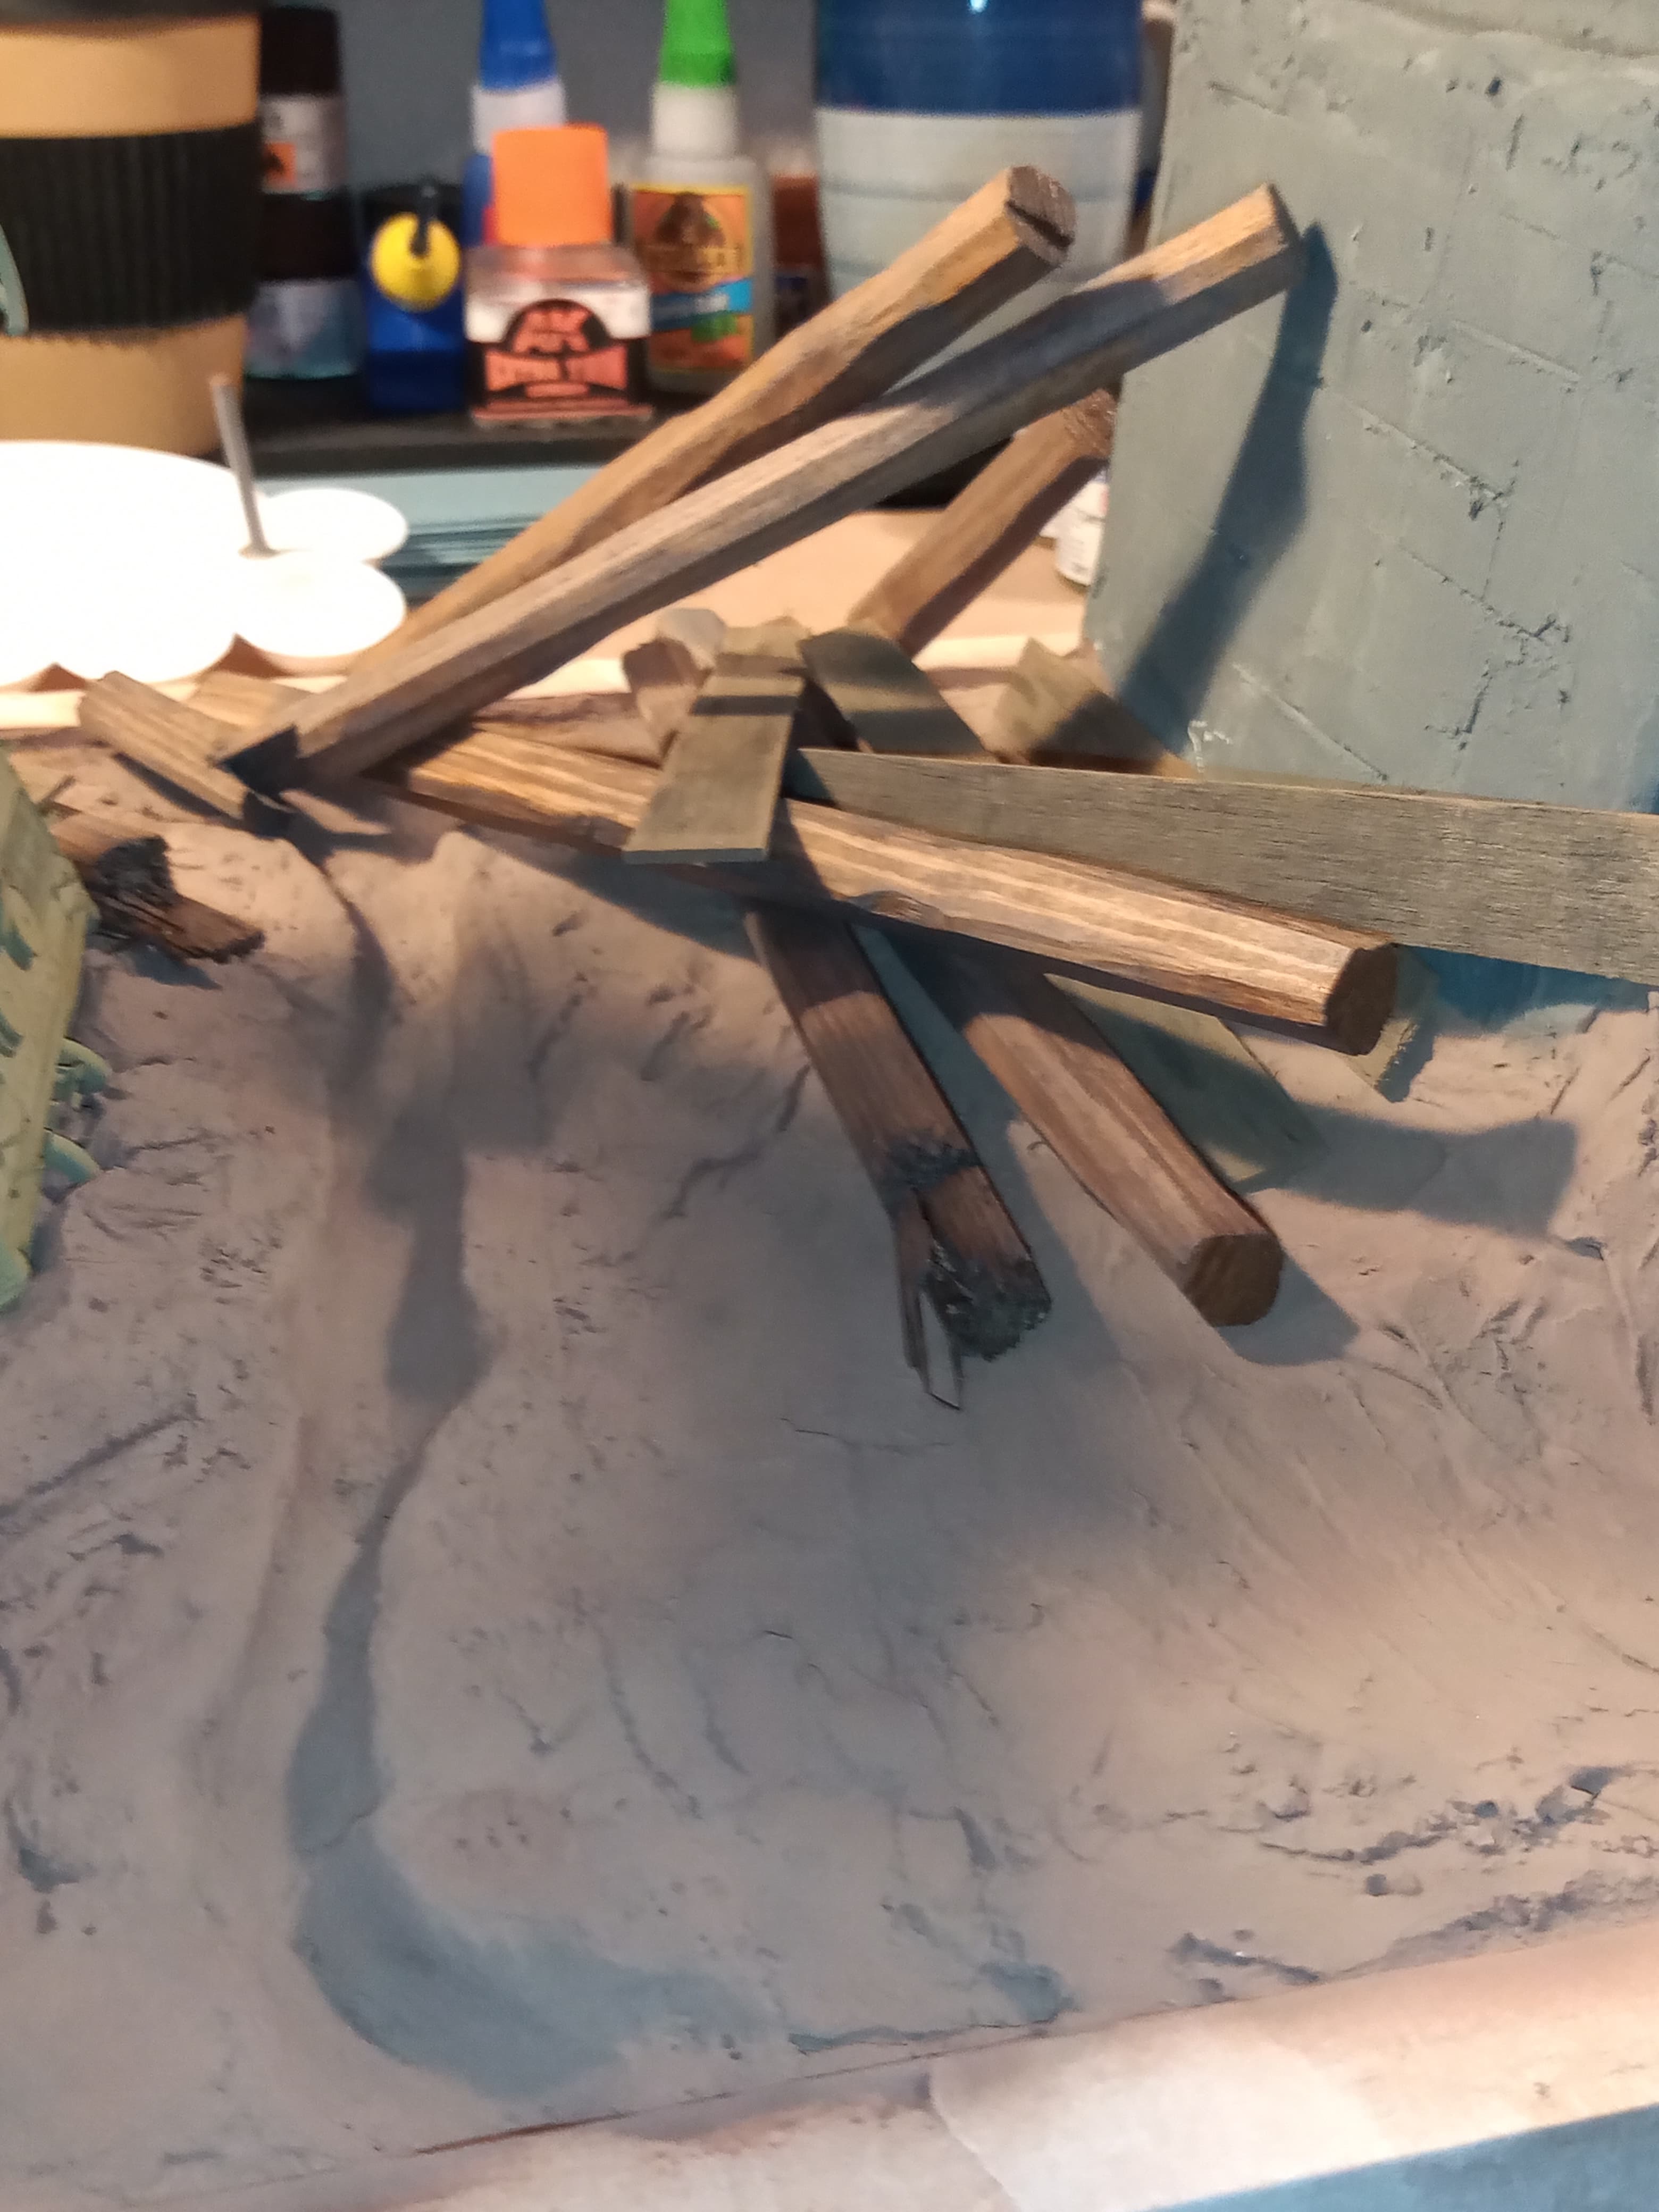
Also the bridge wood will be getting some more grey filters as will the concrete on the bridge ends to fade that away and give it some age and wear.
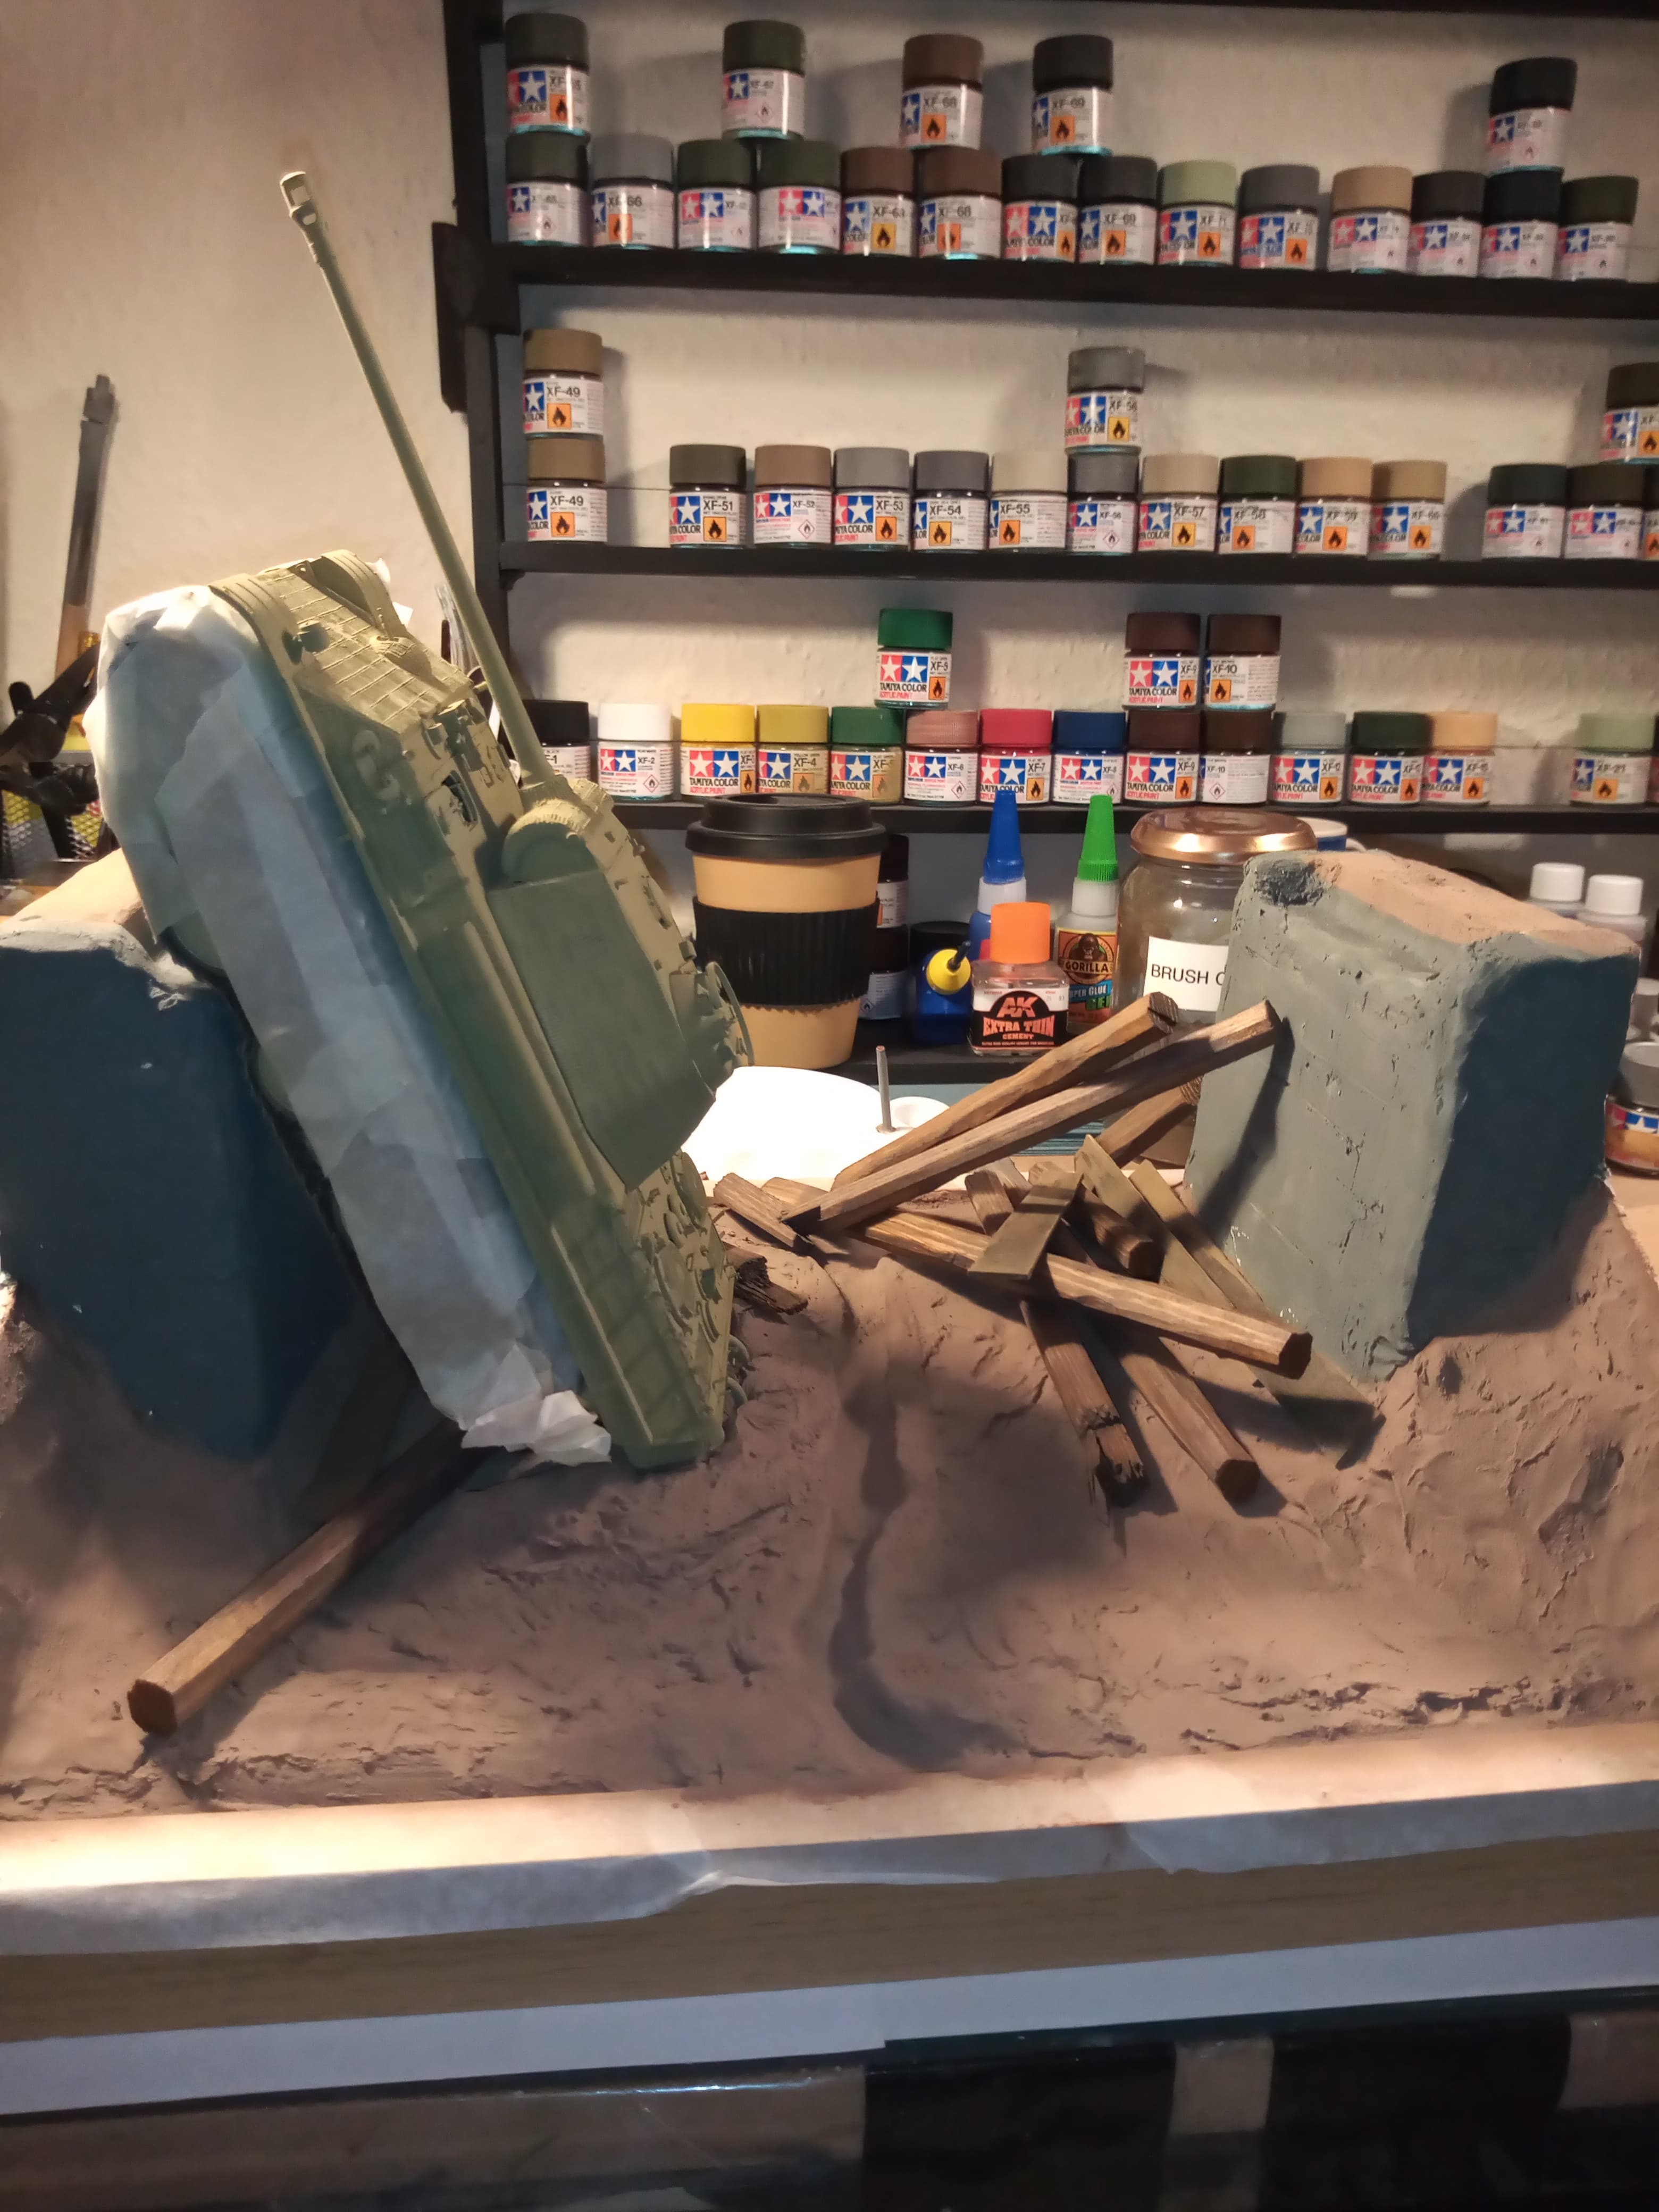
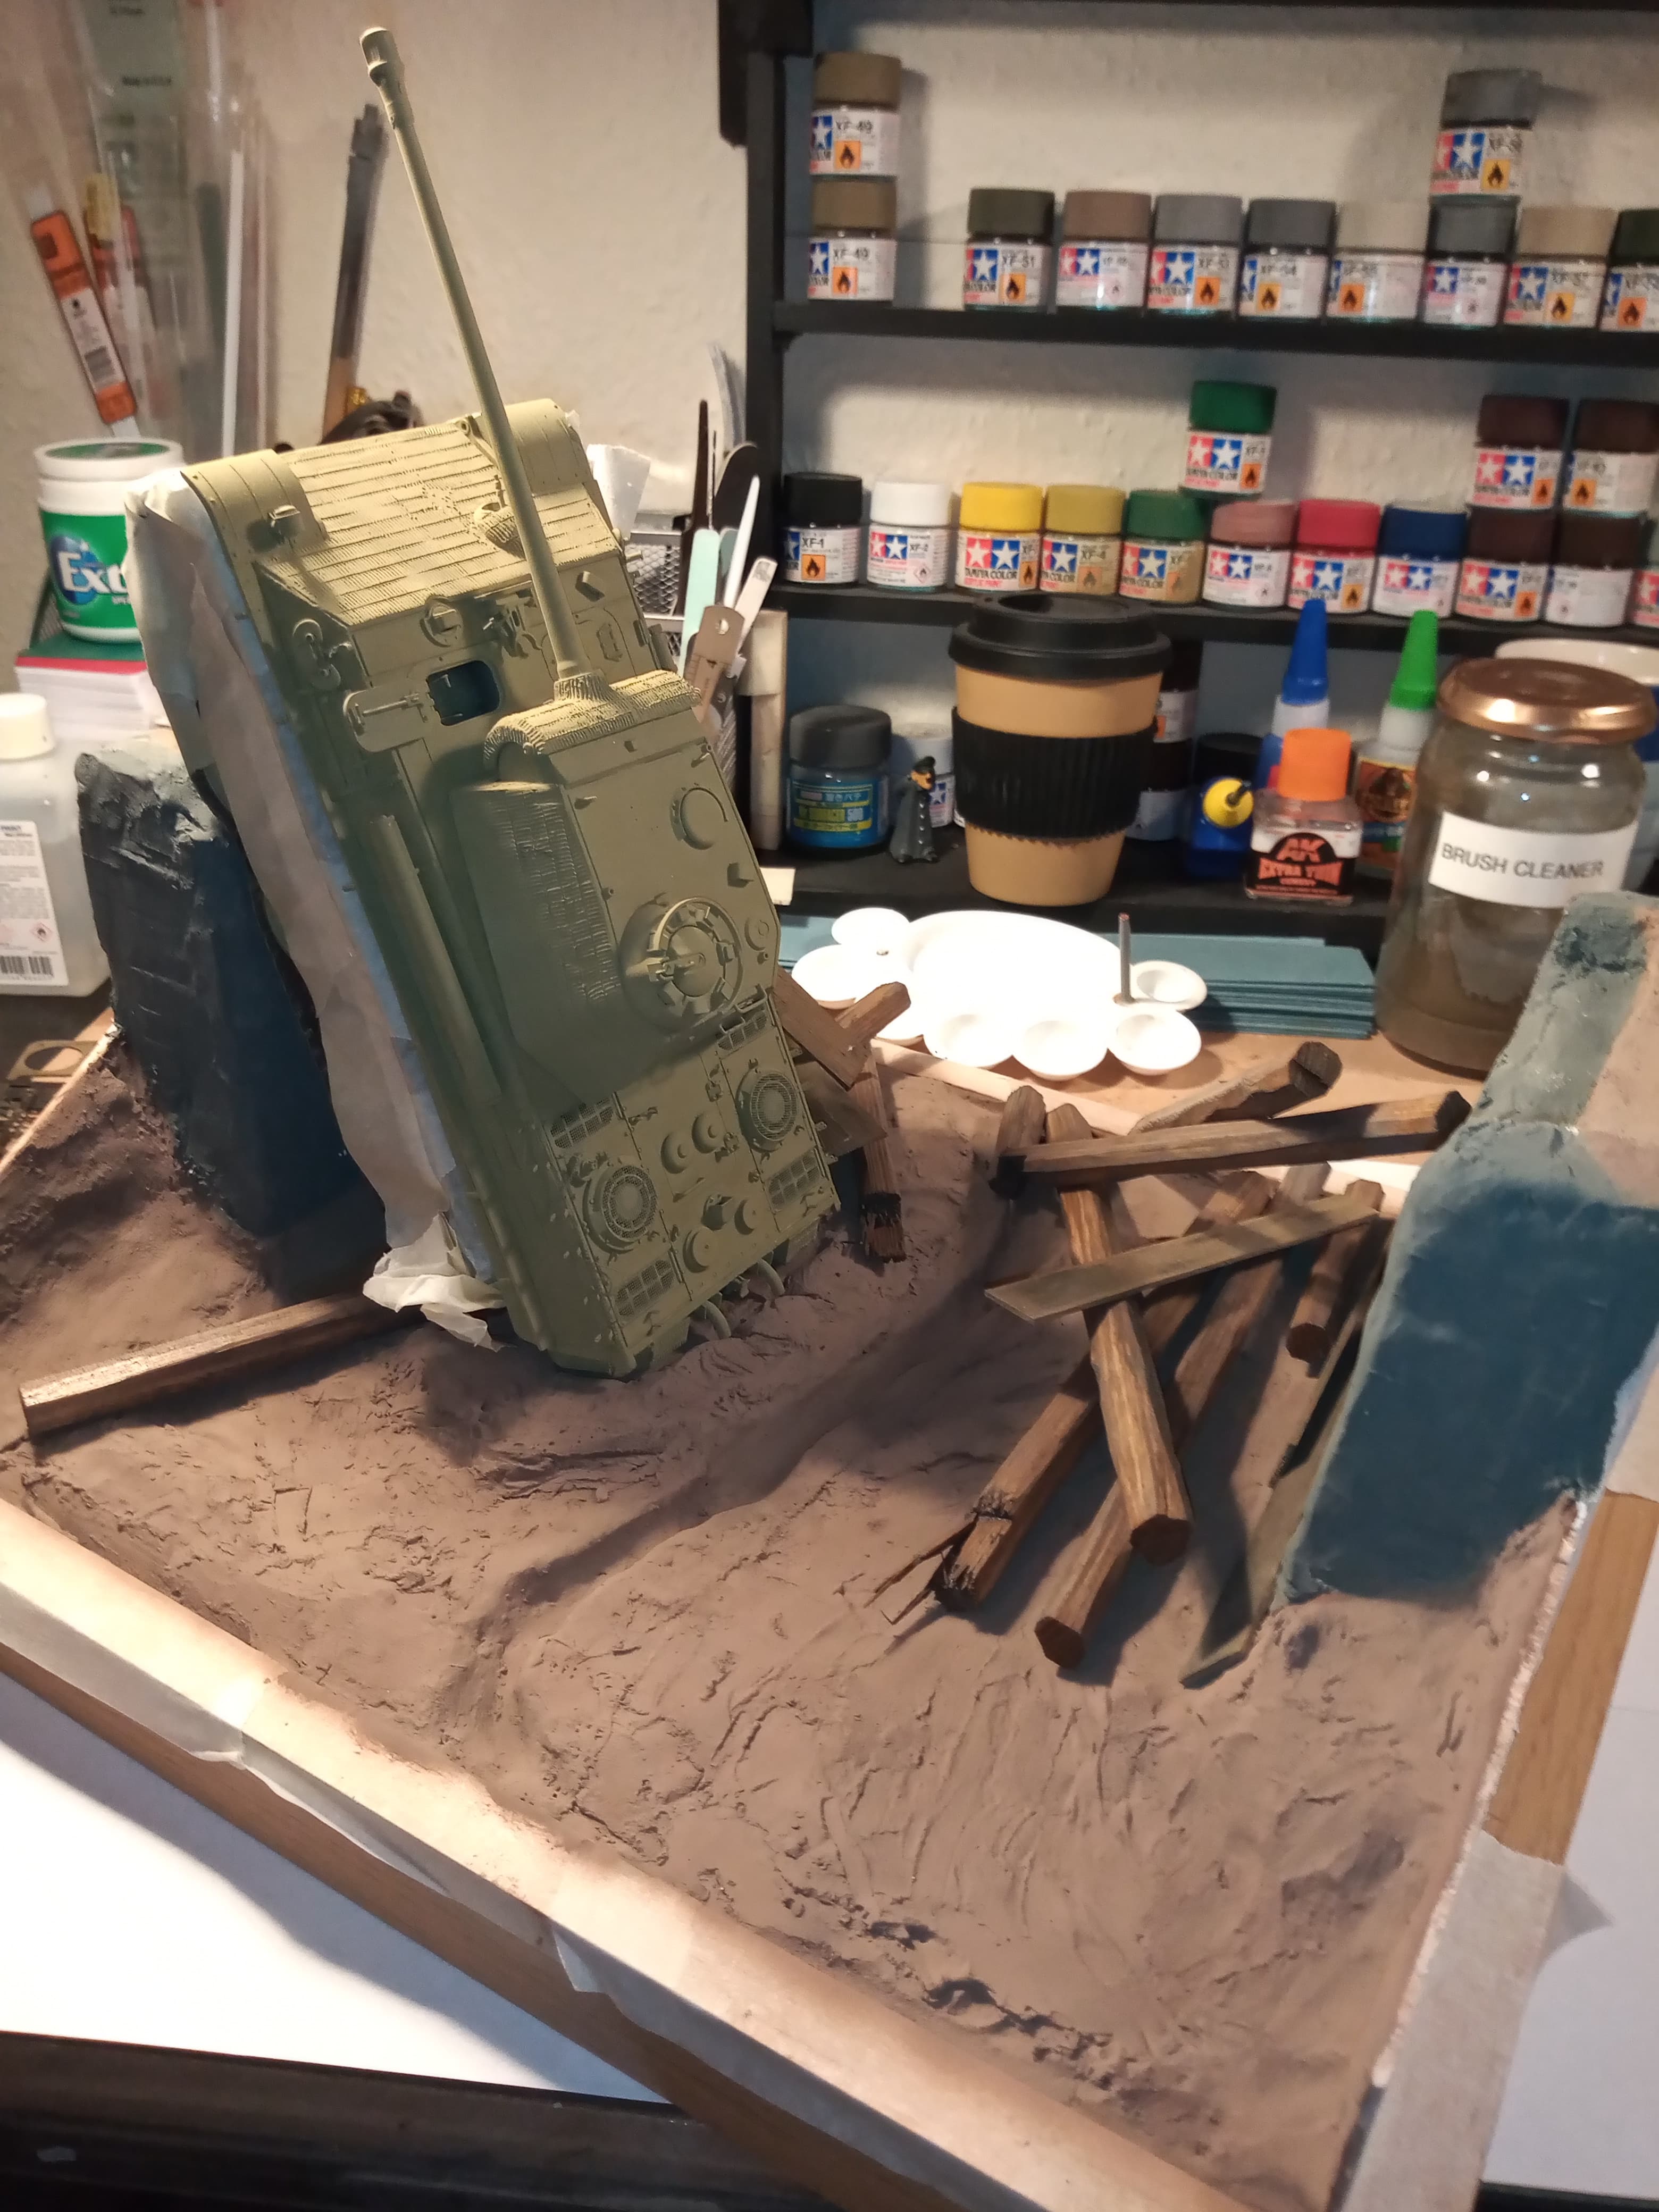
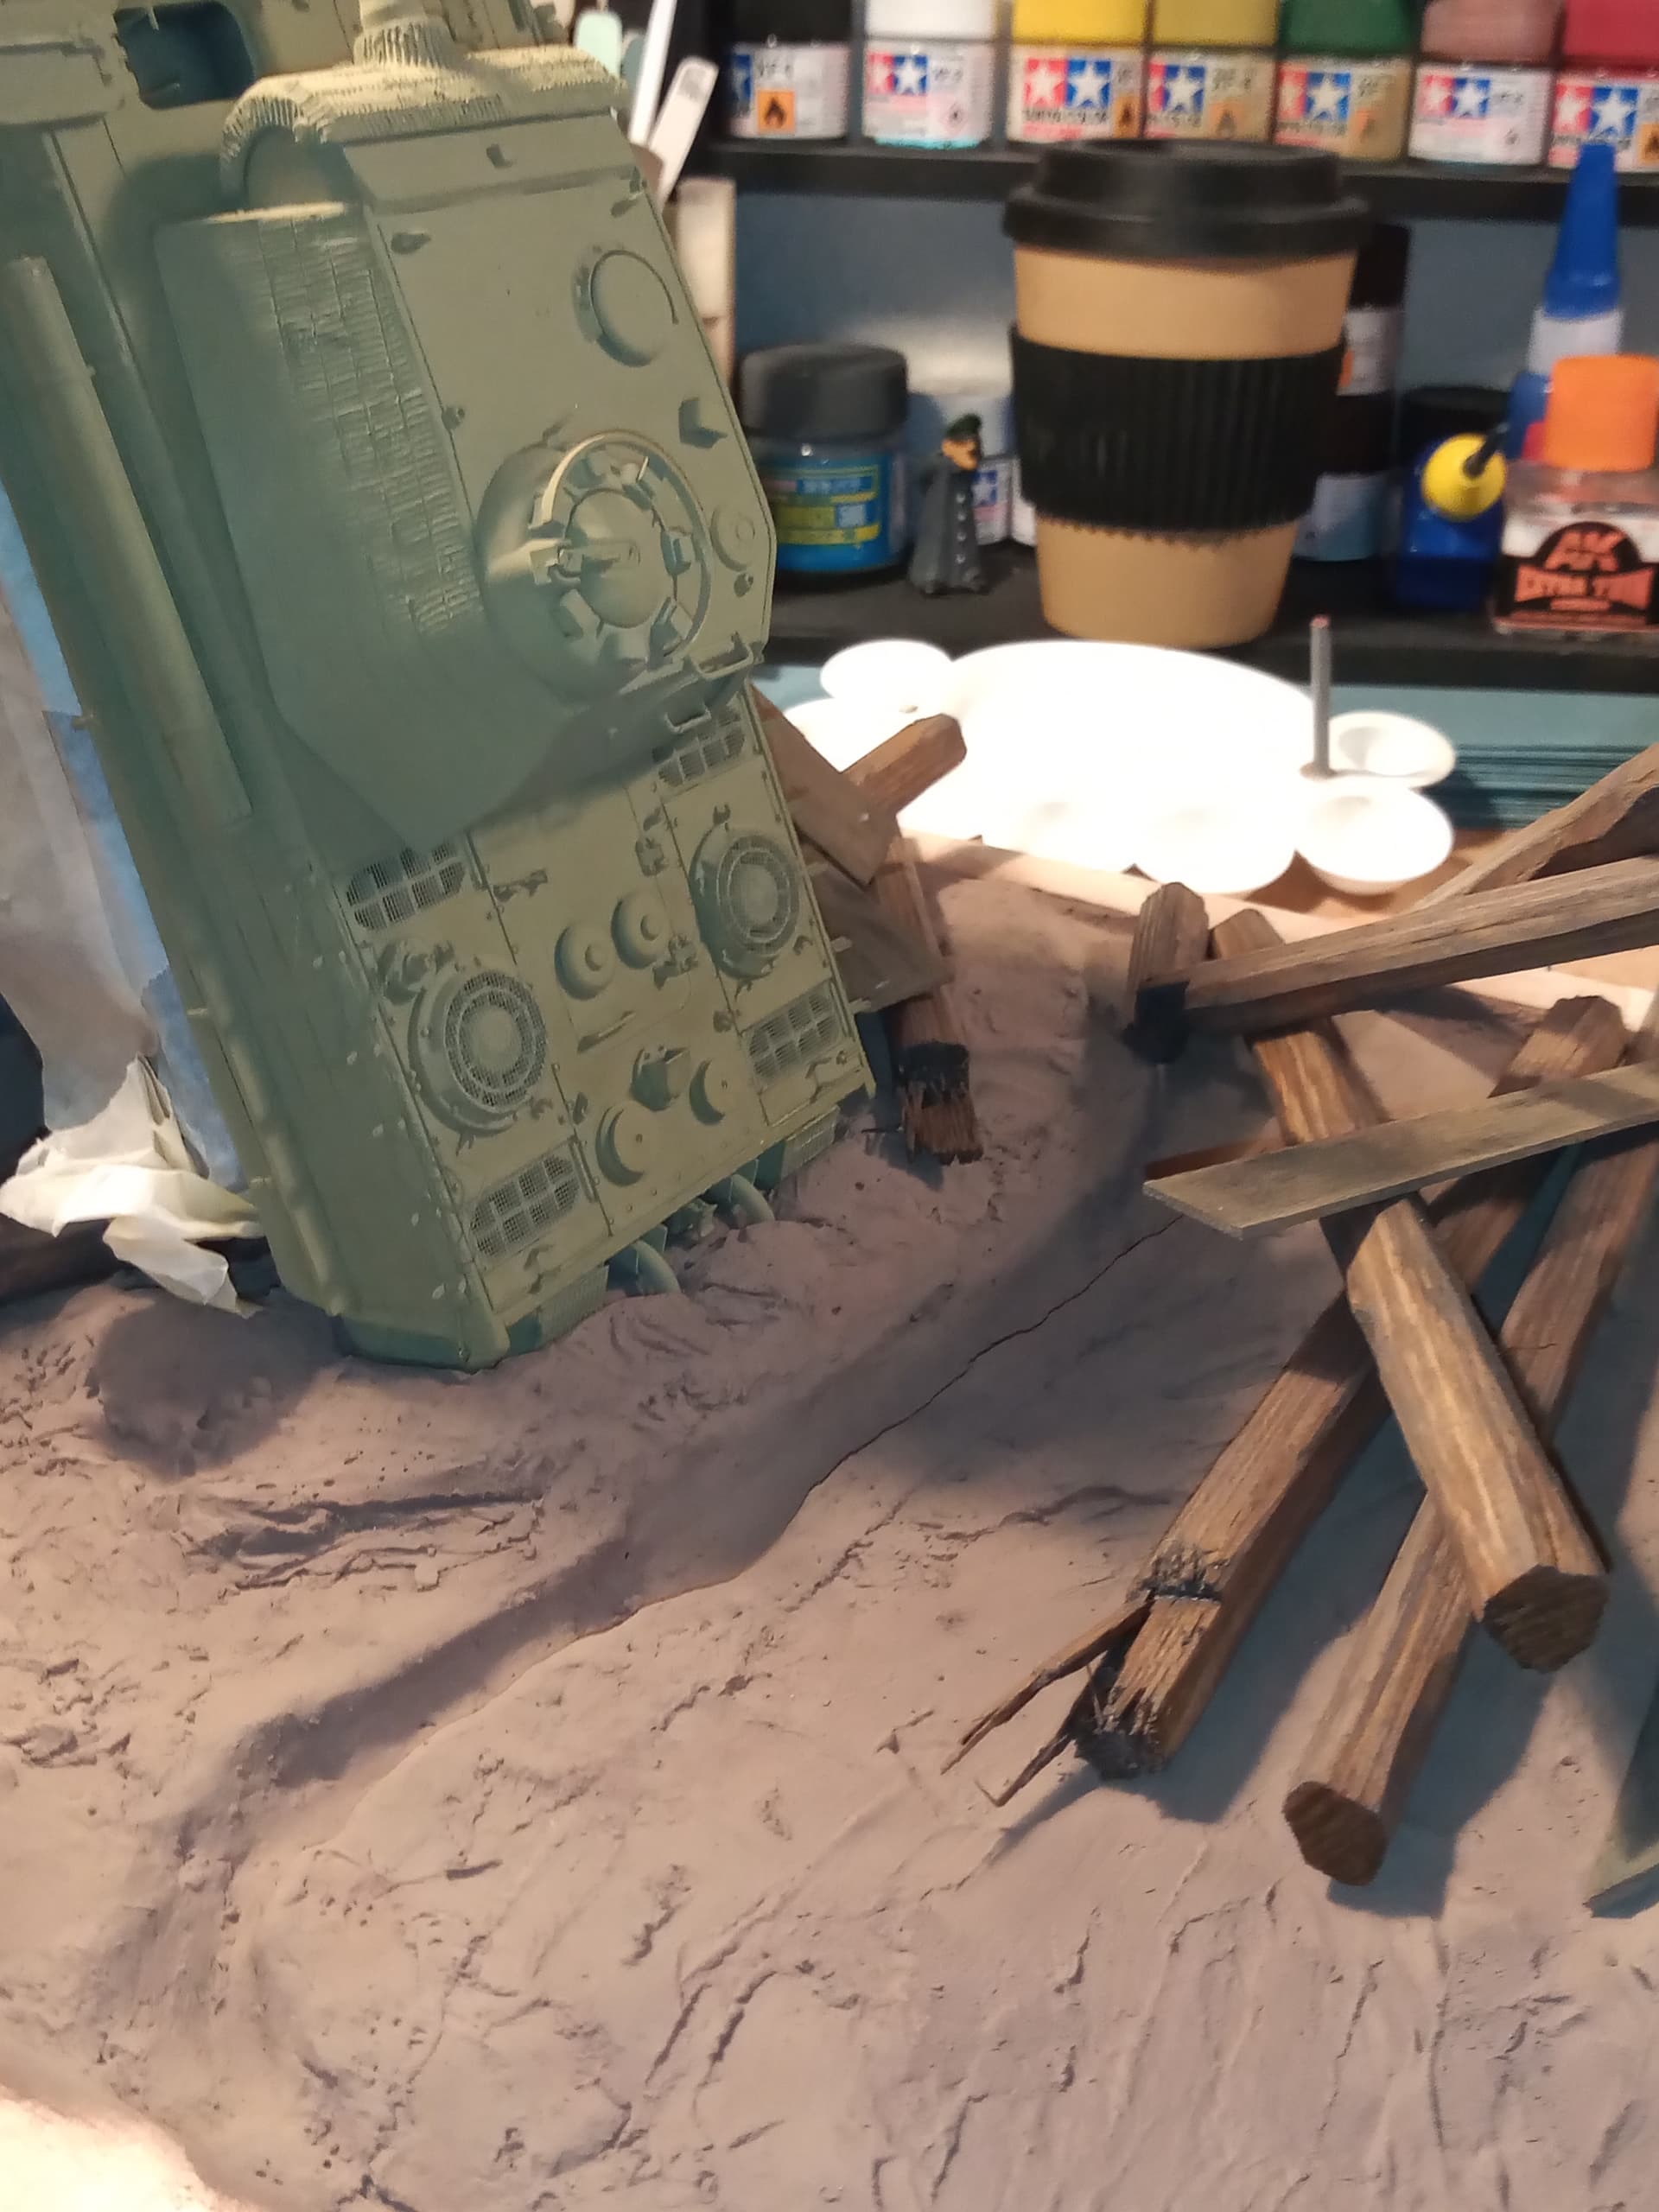
Also did a bit of a rough dry fit to see how it will look. The wood positions may change a bit to get a good fit and balance.
No. Dragon did the Mk 2 one in the Black Plague…err label series…
Terry Ashley’s review of it: https://www.perthmilitarymodelling.com/reviews/vehicles/dragon/dr3555.html
Summarised at the end:
"You will have to decide for yourself if its’s worth building as is, whether it can be used as a starting point and corrected, or whether it’s not really worth it. How you assess it will depend on your own priorities and criteria, but for me, it’s just about worth it with a LOT of work to make it right. "
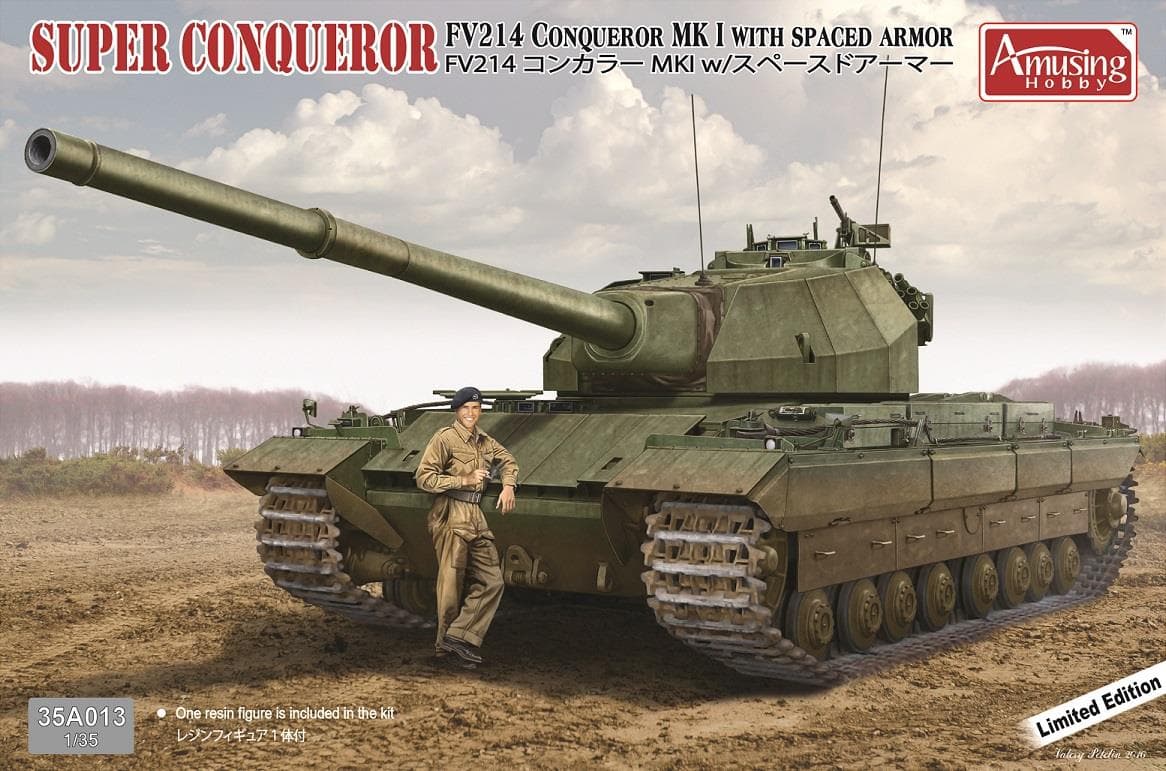
Amusing Hobby have done the Mk 1 (my version) where only about 20 were made.
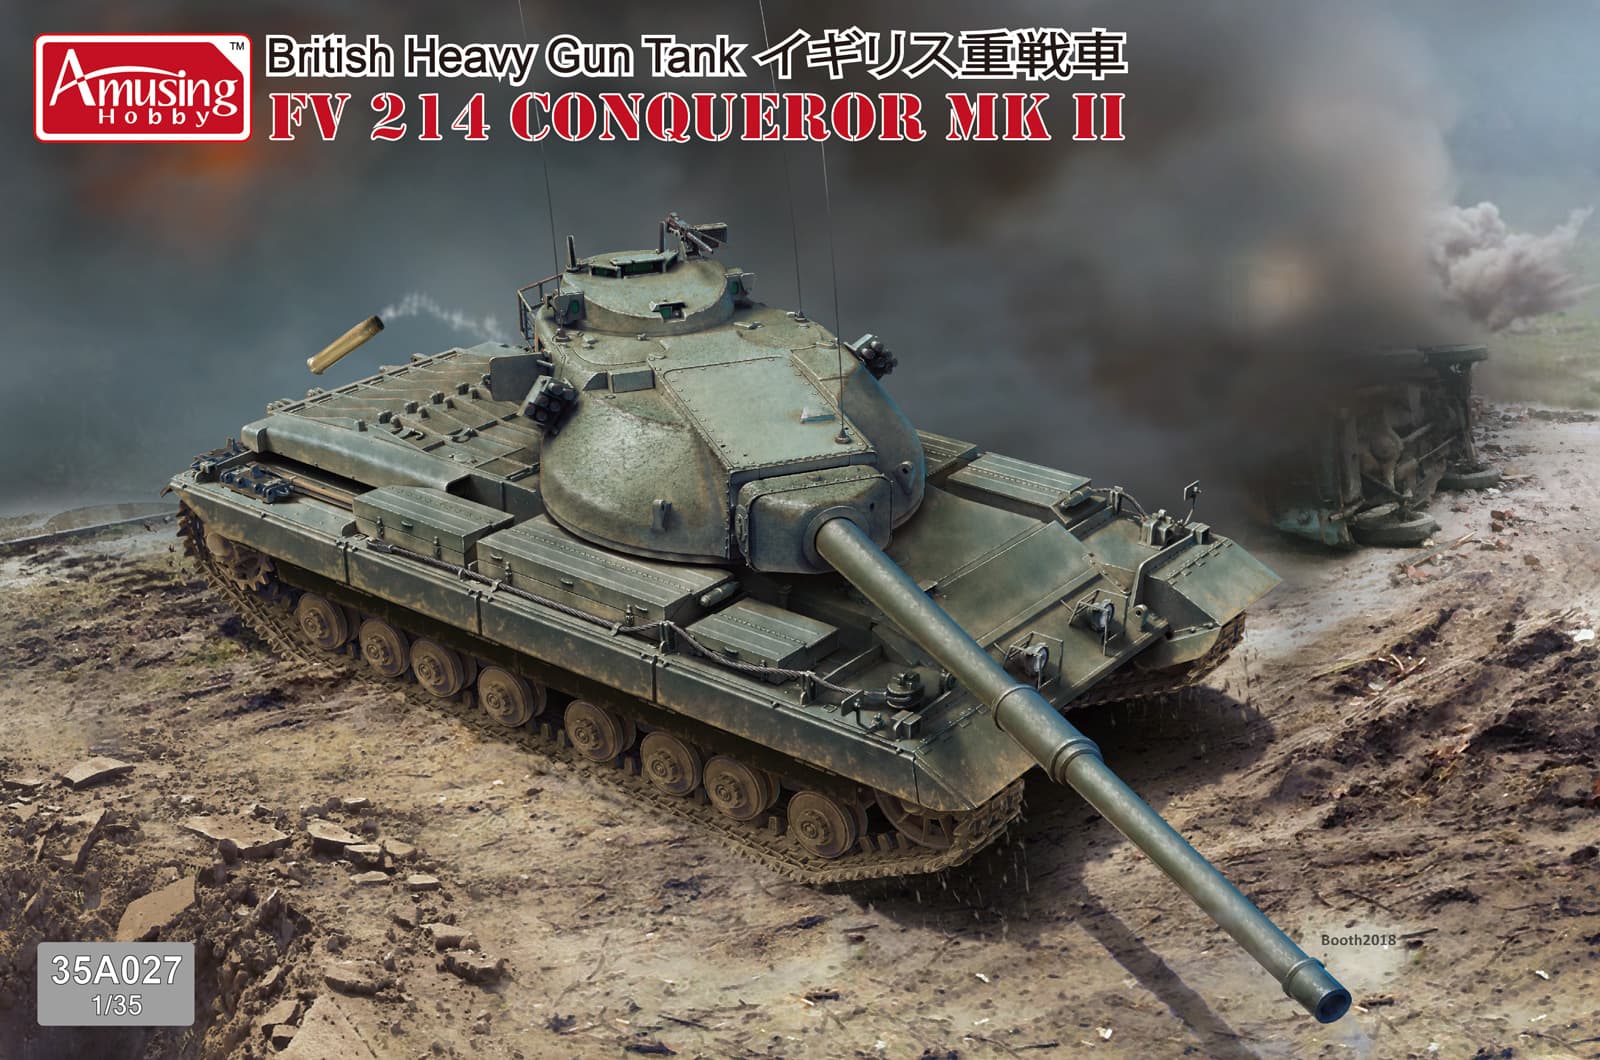
The Mk 2 where about 160 odd were built:
As well as a few ‘Paper Panzer’ ones on the conqueror hull:
The up-armoured one which was really only built as a test bed for armour trials, not a serious upgrade:
FV215: known as “Tank, Heavy No. 2, 183mm Gun” or “Heavy Anti-Tank Gun, SP” - with 183 mm gun on FV214 (Conqueror) tank chassis. Project cancelled in 1957.
There are Mk1s in stock over here from the LHS I use normally but I quite like the look of the MK2, which would mean ordering from China which I’m dubious about, but prepared to give them a go.
There is a Scottcast ARV I’ve seen on a site over here … It’s going for £75 though @petbat ??
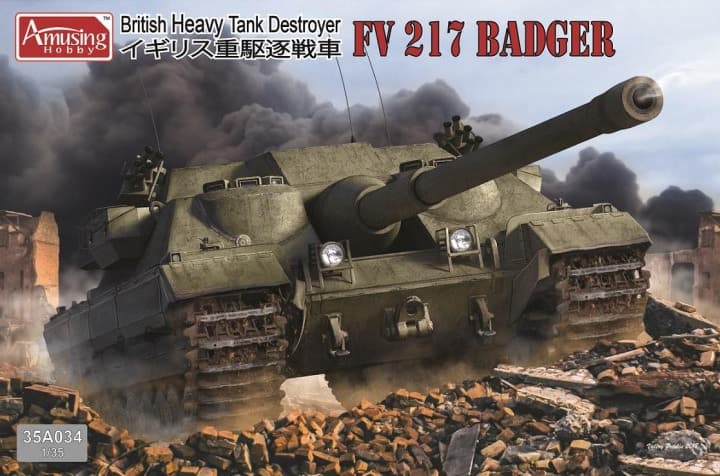
Now you’ve made it even trickier for me Peter … I quite like the look of the Badger and the Super Conqueror… Damn it
Yes, but you need an Amusing Hobby lower hull and running gear as well as upper rear deck as a donor. Quite expensive all up, when I dream that AH will do it themselves for the same price as their basic kit.
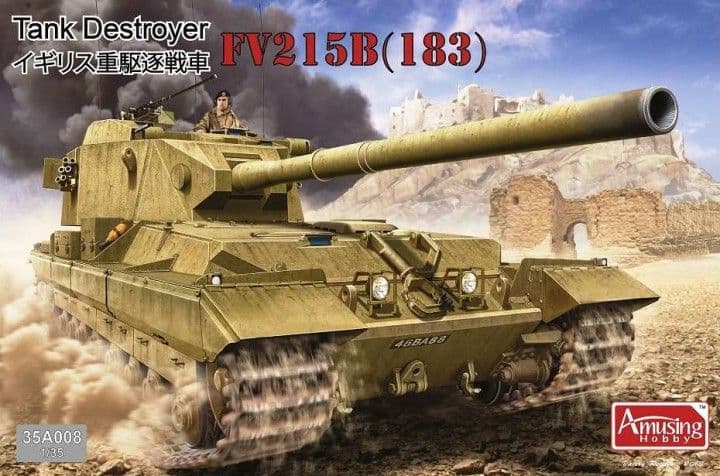
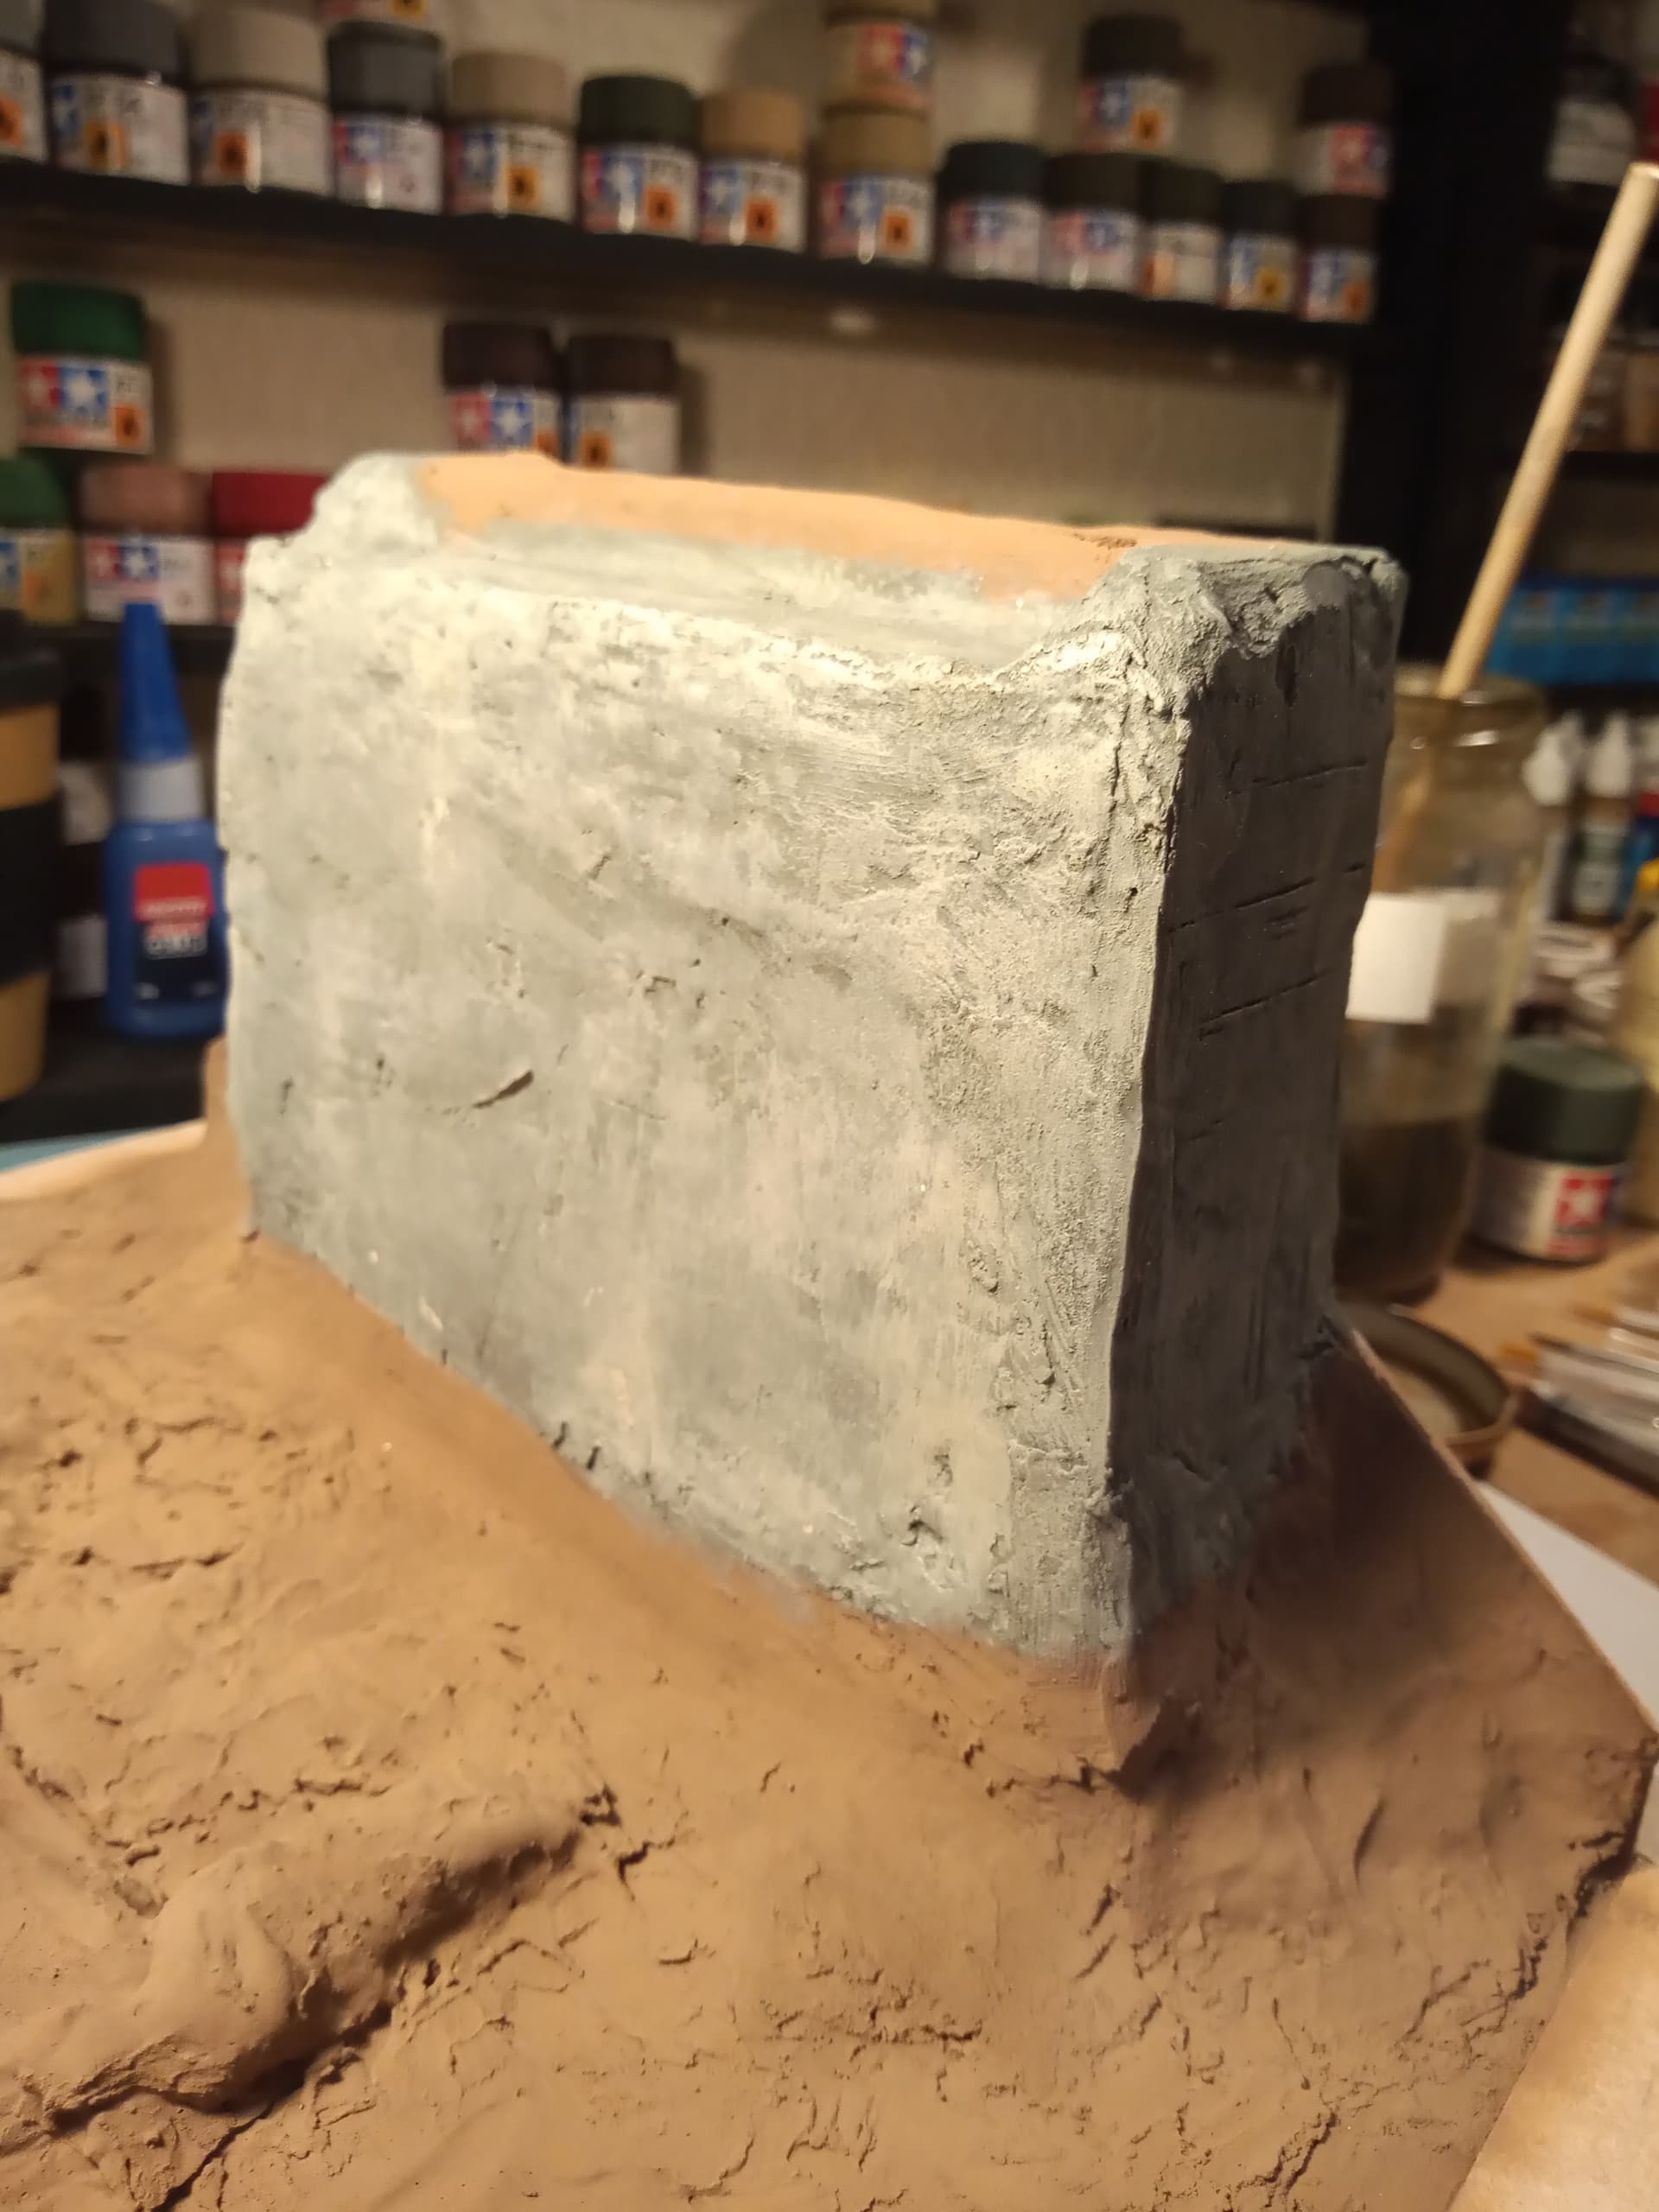
So tonight I put a light grey wash on over the med grey I used for the concrete bit wanted a bit of feedback before I do both sides. I used a lighter grey hobby acrylic paint and mixed it with antique white and then thinned that down with probably a 60/40 mix paint/ thinner.
I then pretty much dry brushed it on to try and thin it out even more.
You can still see some of the original grey under it and I sort of like the way it has turned out as to be it has made it look older and faded.
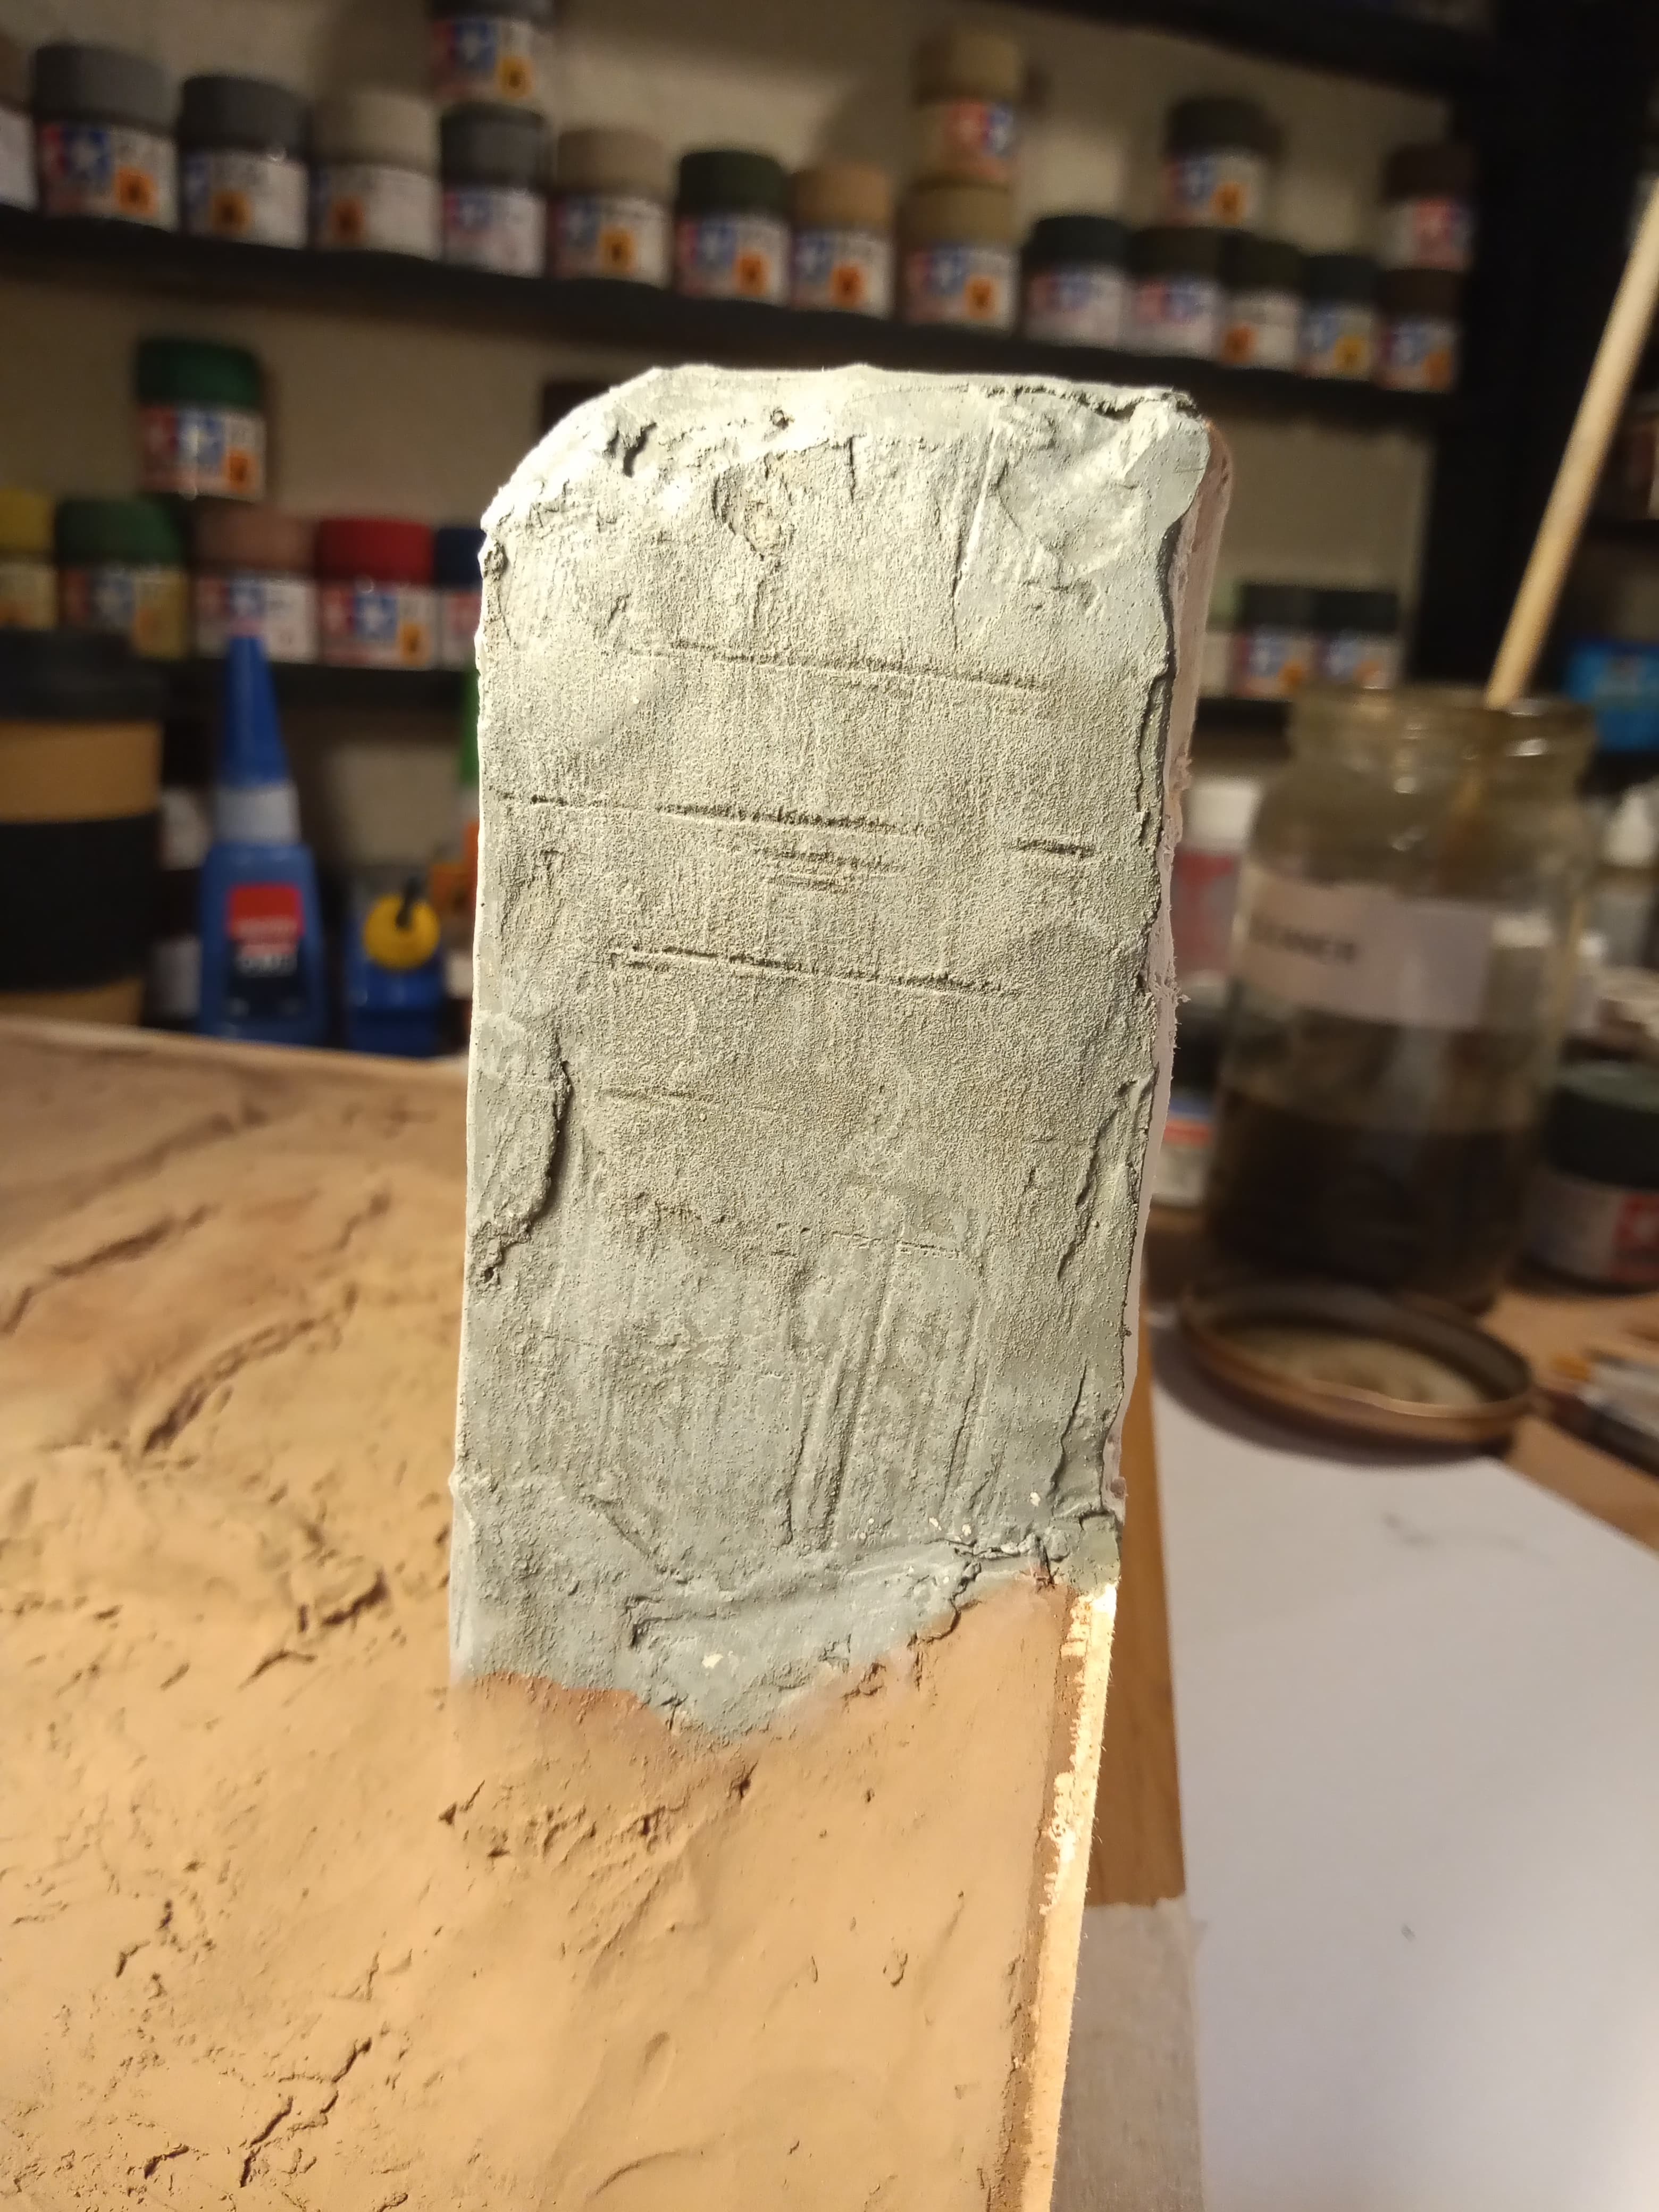
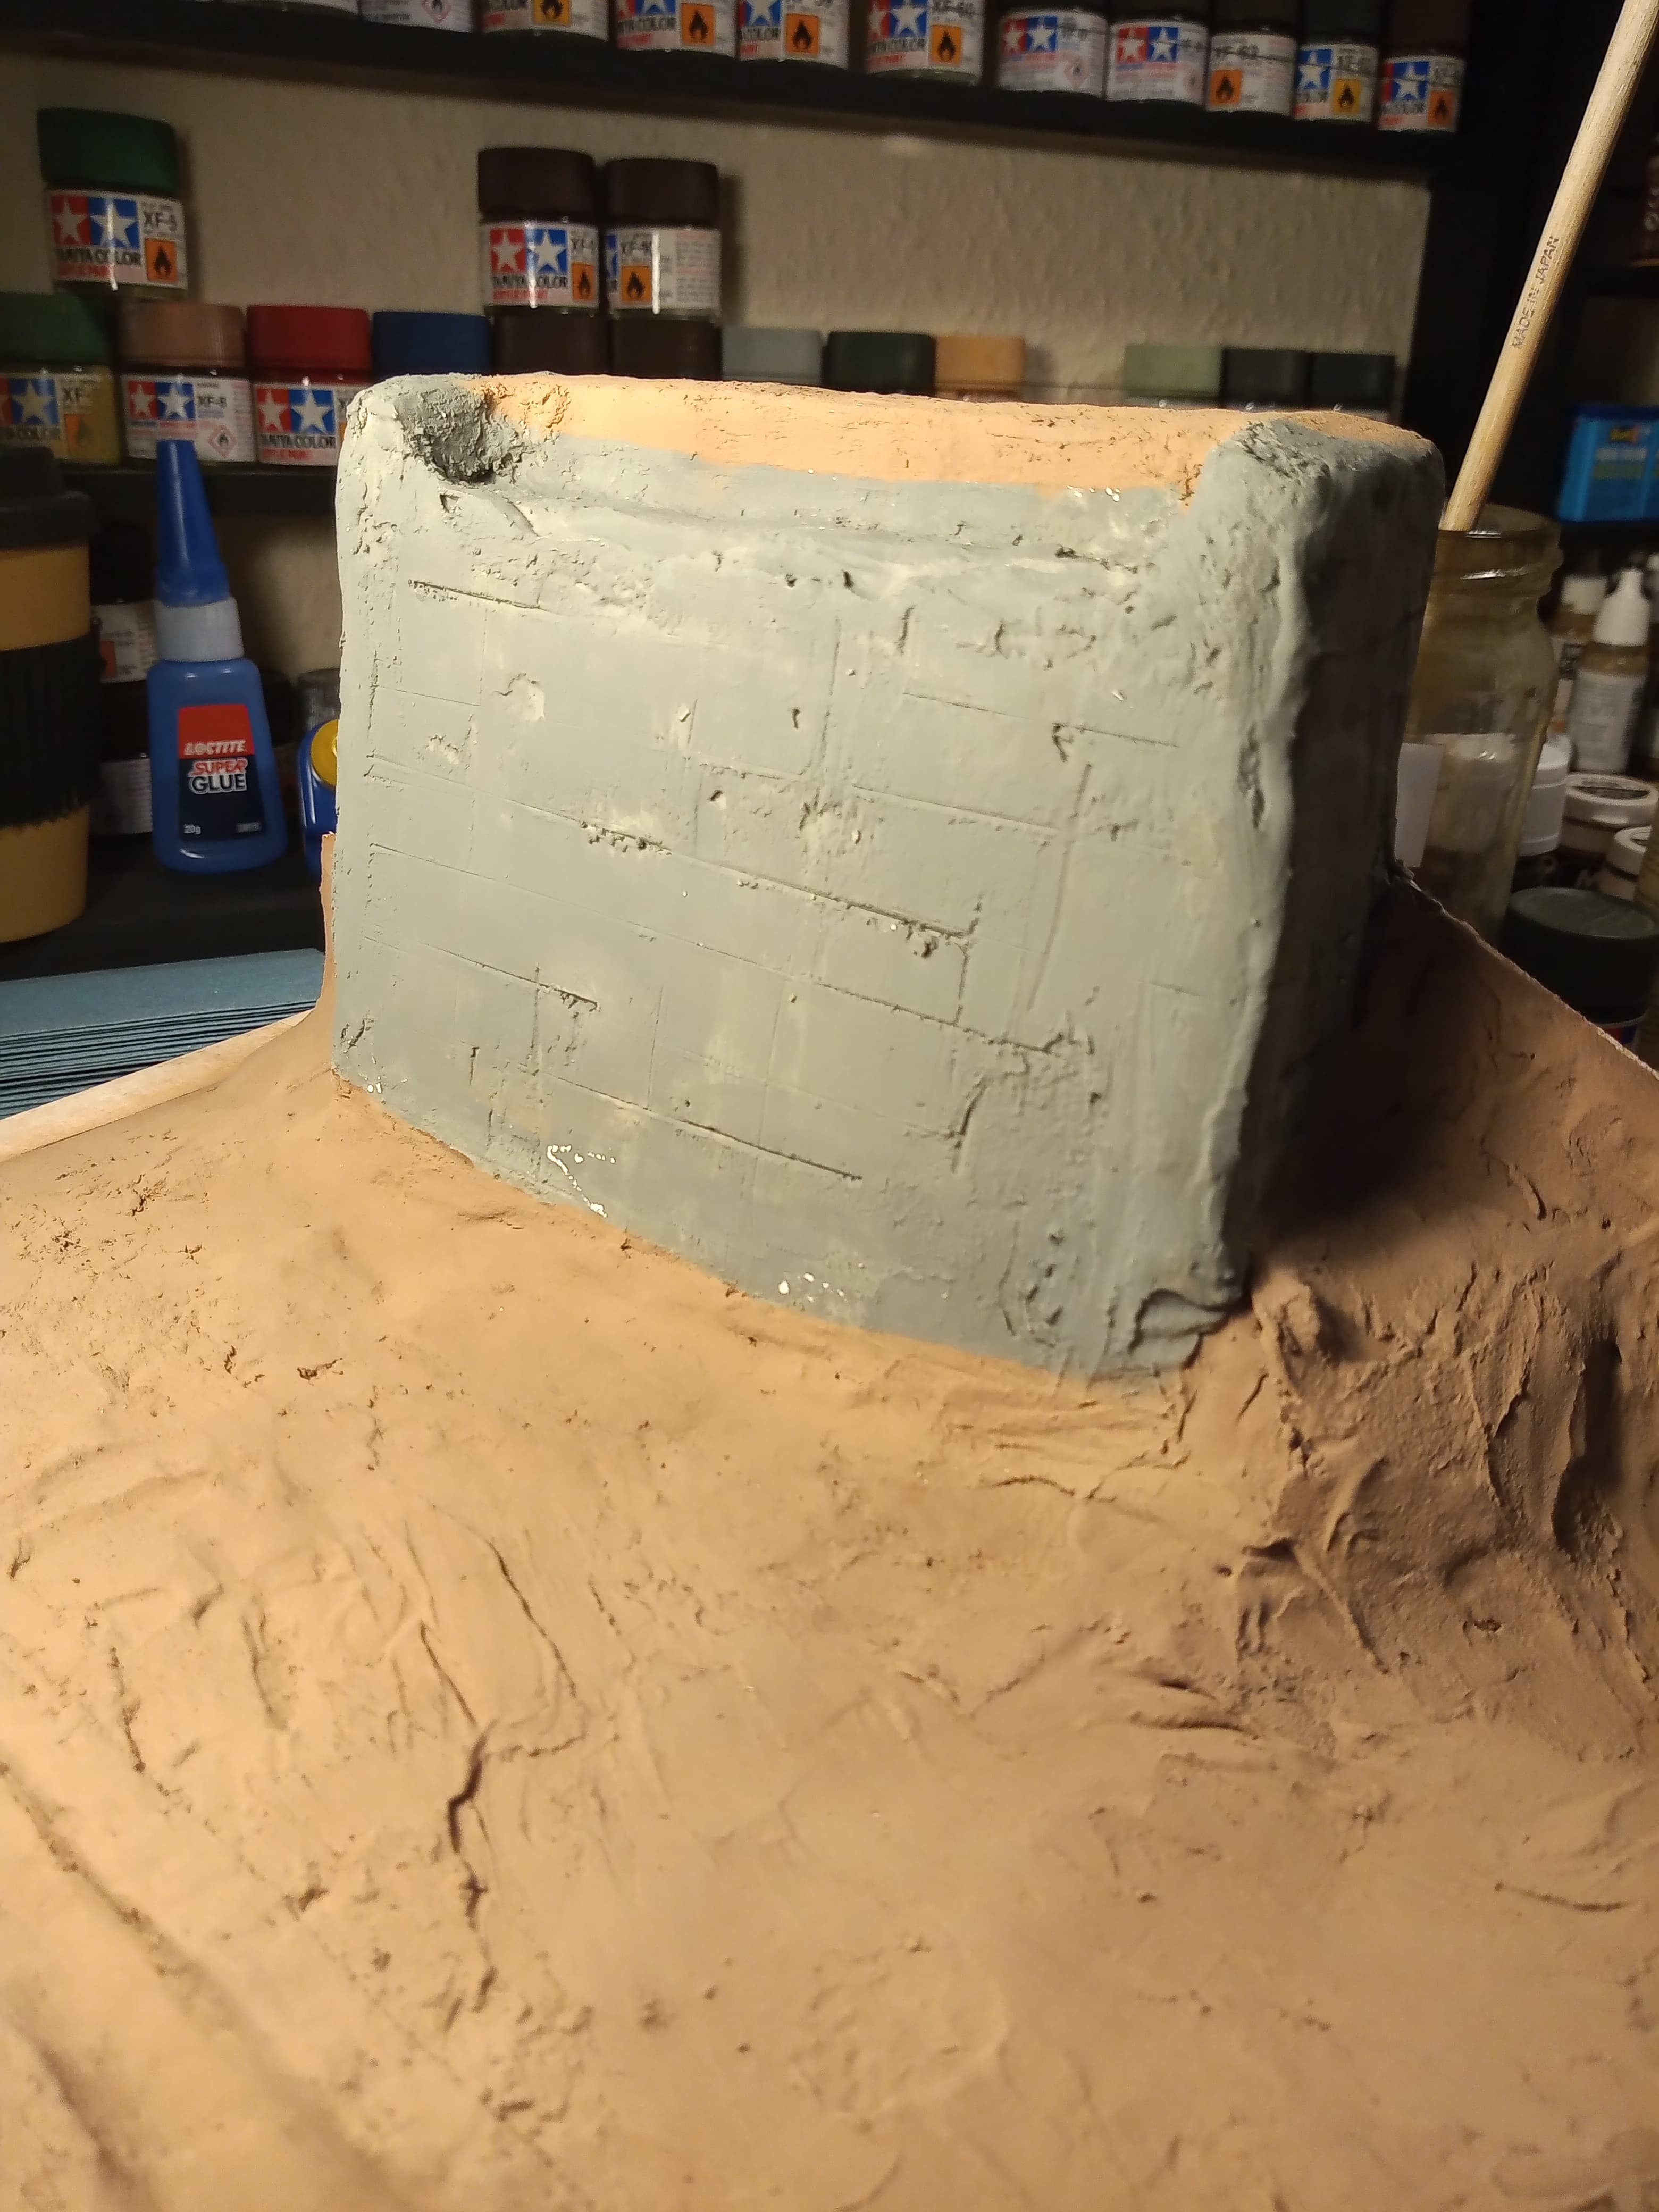
The first 2 images are with the new wash on and the last 2 with the original med grey so you see a comparison.
Obviously the demarcation line between the concrete and soil from the river bed will be getting more work when the real soil goes on and I intend to probably do a bit of a brown wash (if that’s the right colour) for where the concrete would of been under water ???
Huge difference between the two Johnny. You’ve gone from big grey lump to big grey concrete lump. I know you better than to assume you’re done, but still looks like a fresh pour. Needs some moss and water staining. Looking forward to seeing where you go with it.
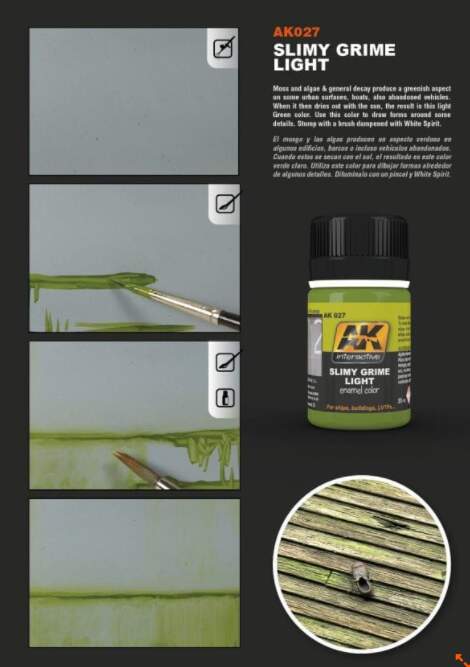
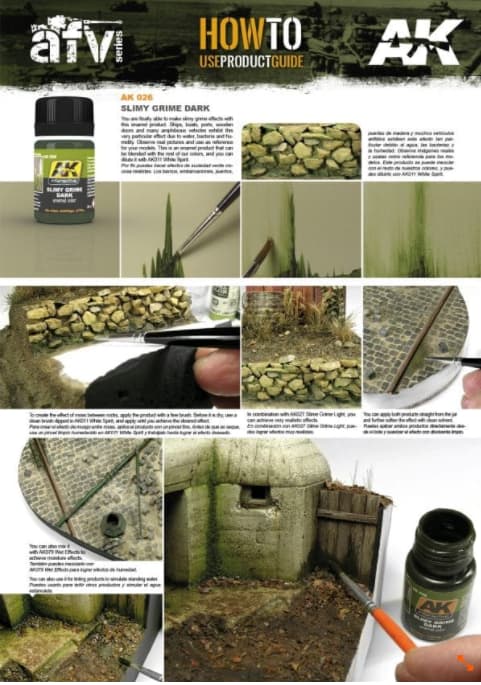
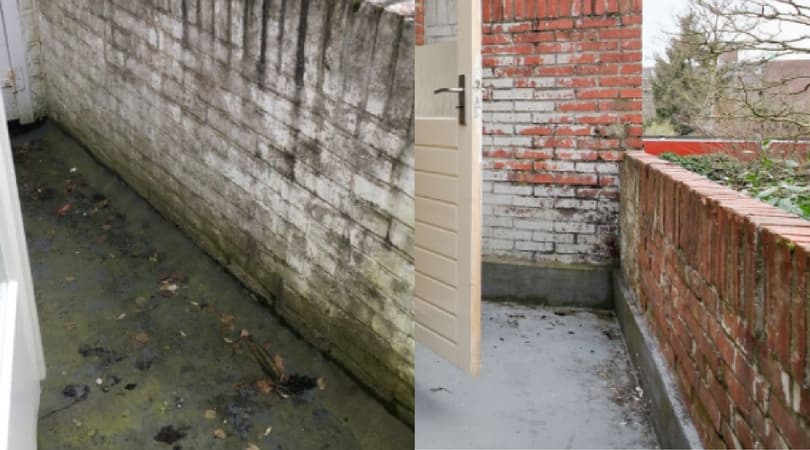
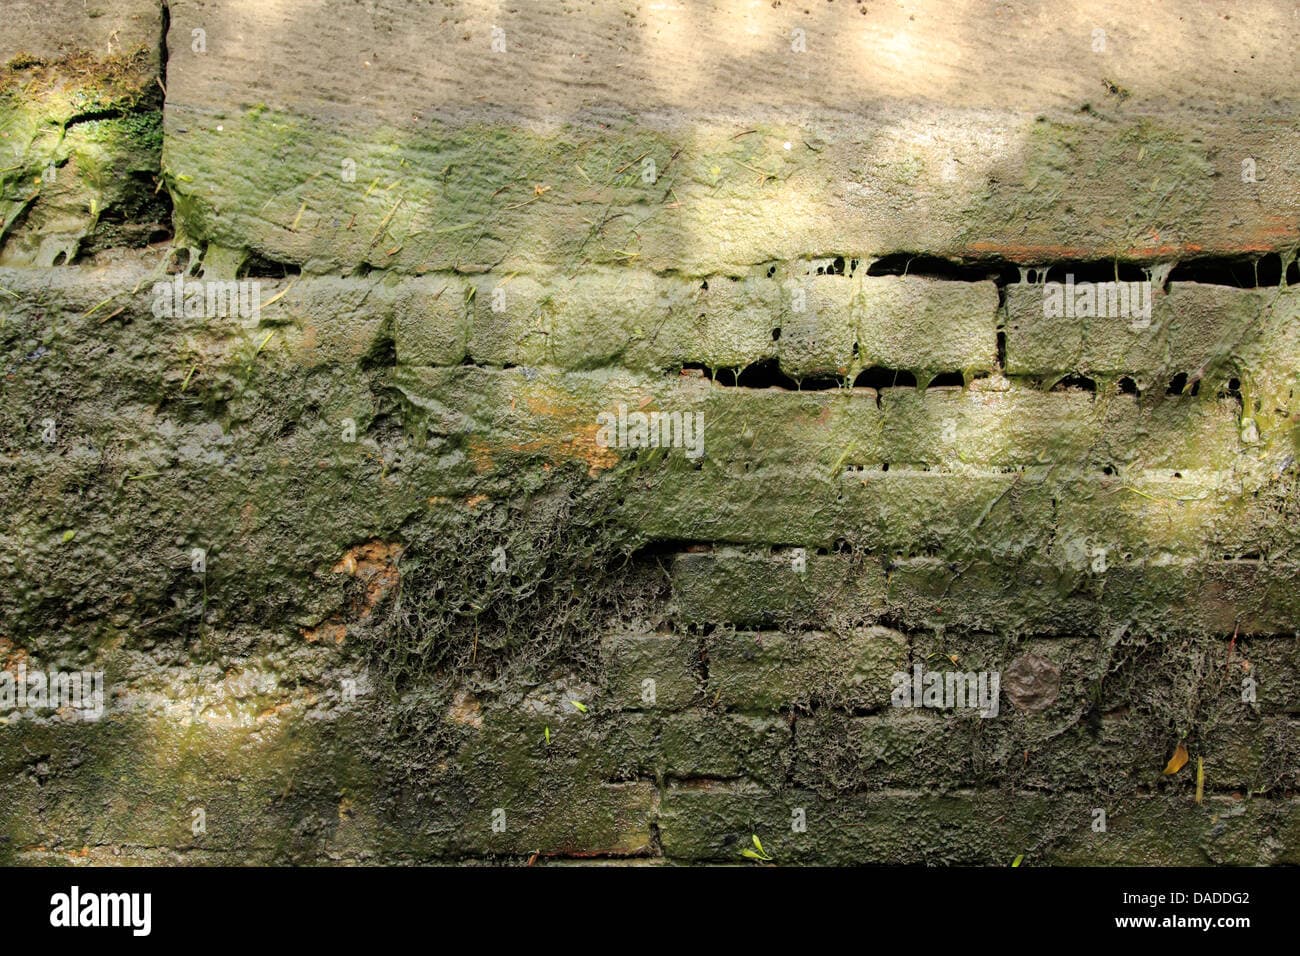
Consider greens for a slimy film where water would regularly be or where the concrete would draw moisture given it is porous . AK do a light and dark paint for it.
If the water rises up and down the concrete base regularly, also think about tide lines where silt and debris would rest against the concrete staining it.
Oh yeah the wash is great John, just right & as Don said the lump’s transformed - particularly that first image where, if you took out all extraneous visual references the viewer would be hard pressed to say how big it was. Also agree with Peter’s slimey suggestions but I’d also urge you to try darkish dry powder paint or pastel dust with a fine brush (rather than using fluids) to get the streaking, it might be a revelation if you’ve never tried it before
Oh yeah John the before photo looks like a lump of clay compared to the after, which is beginning to look like a concrete block. The other guys have already made all the suggestions I could make; you are on the right track and making the right progress!
Thanks Matt, the wash was a bit of luck really in getting the ratio right just using a MK1 eyeball… Just need to get the finer weathering looking right