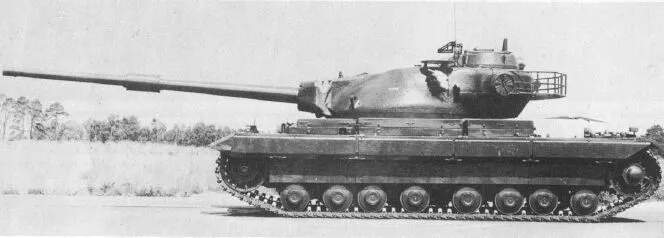
Made a start on the Conqueror. What a beast of a machine; it is huge.
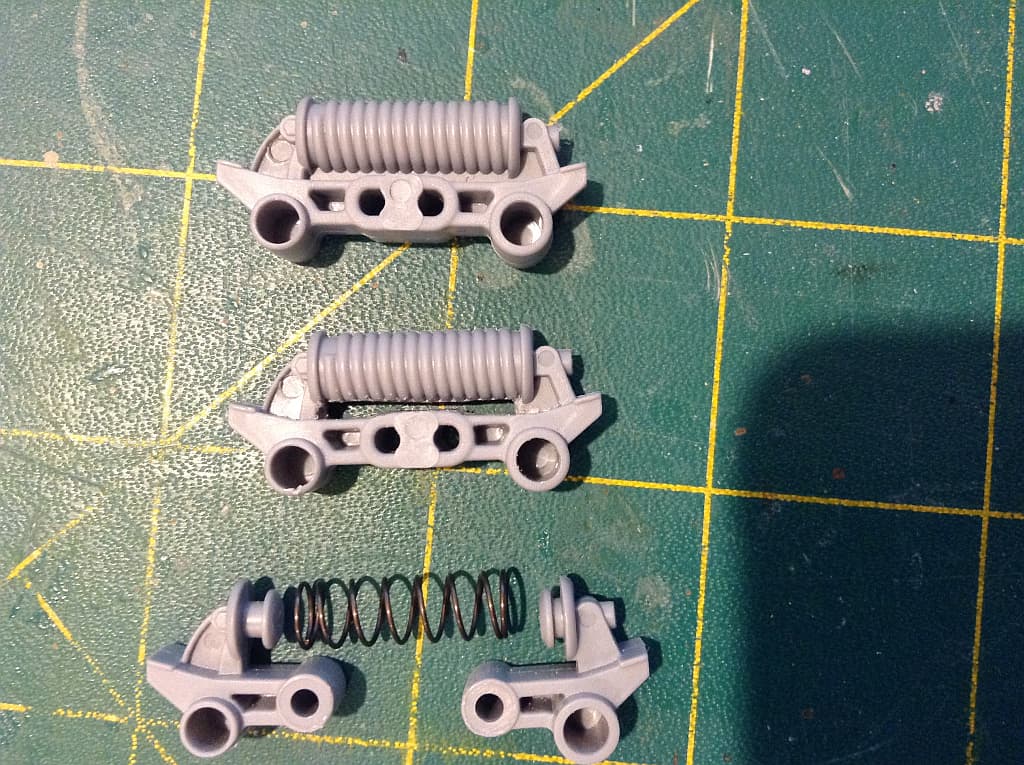
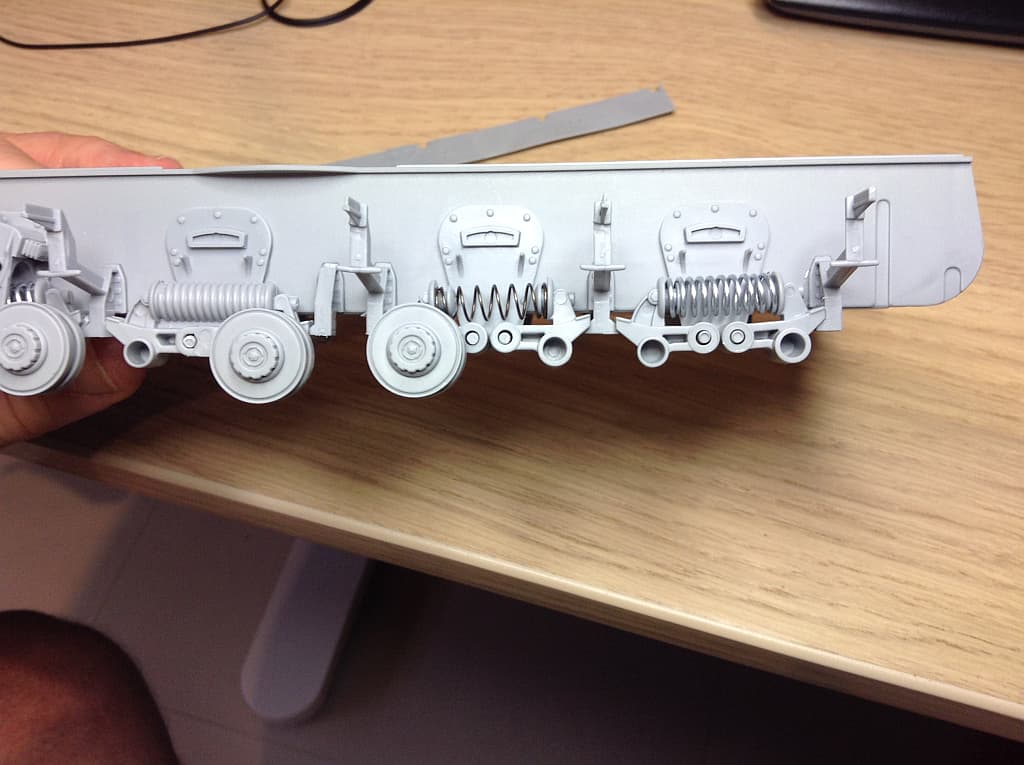
Anyway started with the Step 1 which was the suspension as usual. The kit comes with 2 suspension options, an all in one moulded piece or separate arms and a spring. I felt the spring was a bit anaemic for such a beast, so decided the all in one was a better option. I commenced removing a large section underneath the spring where there should be a void.
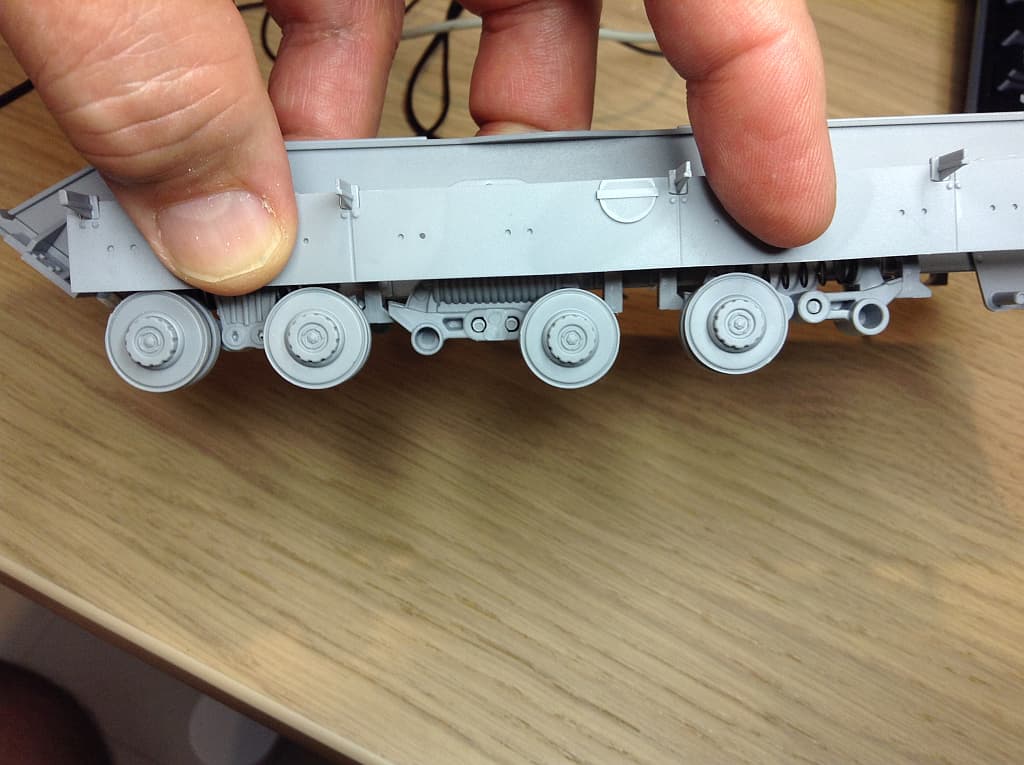
Having done that, and knowing much of all this will be covered by side armour plates, I did a test fit to see just how much was visible and if carving out the void was worth the effort. It was then I realised that the ride height of the solid one piece seemed off. The armour plate should sit just over the top of the road wheel:
However, using the one piece, the wheels are well below the side armour: The kits spring and separate arms are much better but the side plate isstill a tad high. So I made my own springs. They are positioned much better - see the front set in the pic:
They also look beefier too, but really you will not see much at all of them. I could have shimmed up the separate arms and just used the kit springs in the end. I’ll remeber that next time.
Good start and that’s the benefit of a dry fit to give it a once over. Nicely made springs as well… Had you already made all the replacement springs or will end up using shims and the kit ones ? I suppose it comes down to what is actually going to be seen on the finished kit …
Thanks guys. Yes John, I had made all eight before I added the front part of the suspension and tested that. It was a simple matter of wrapping two strands of garden wire around the metal rod from one of my etch roller sets. It was the exact diameter I needed. Wrapping two strands together gets the even distance between coils and all you have to do is unscrew them to separate them.
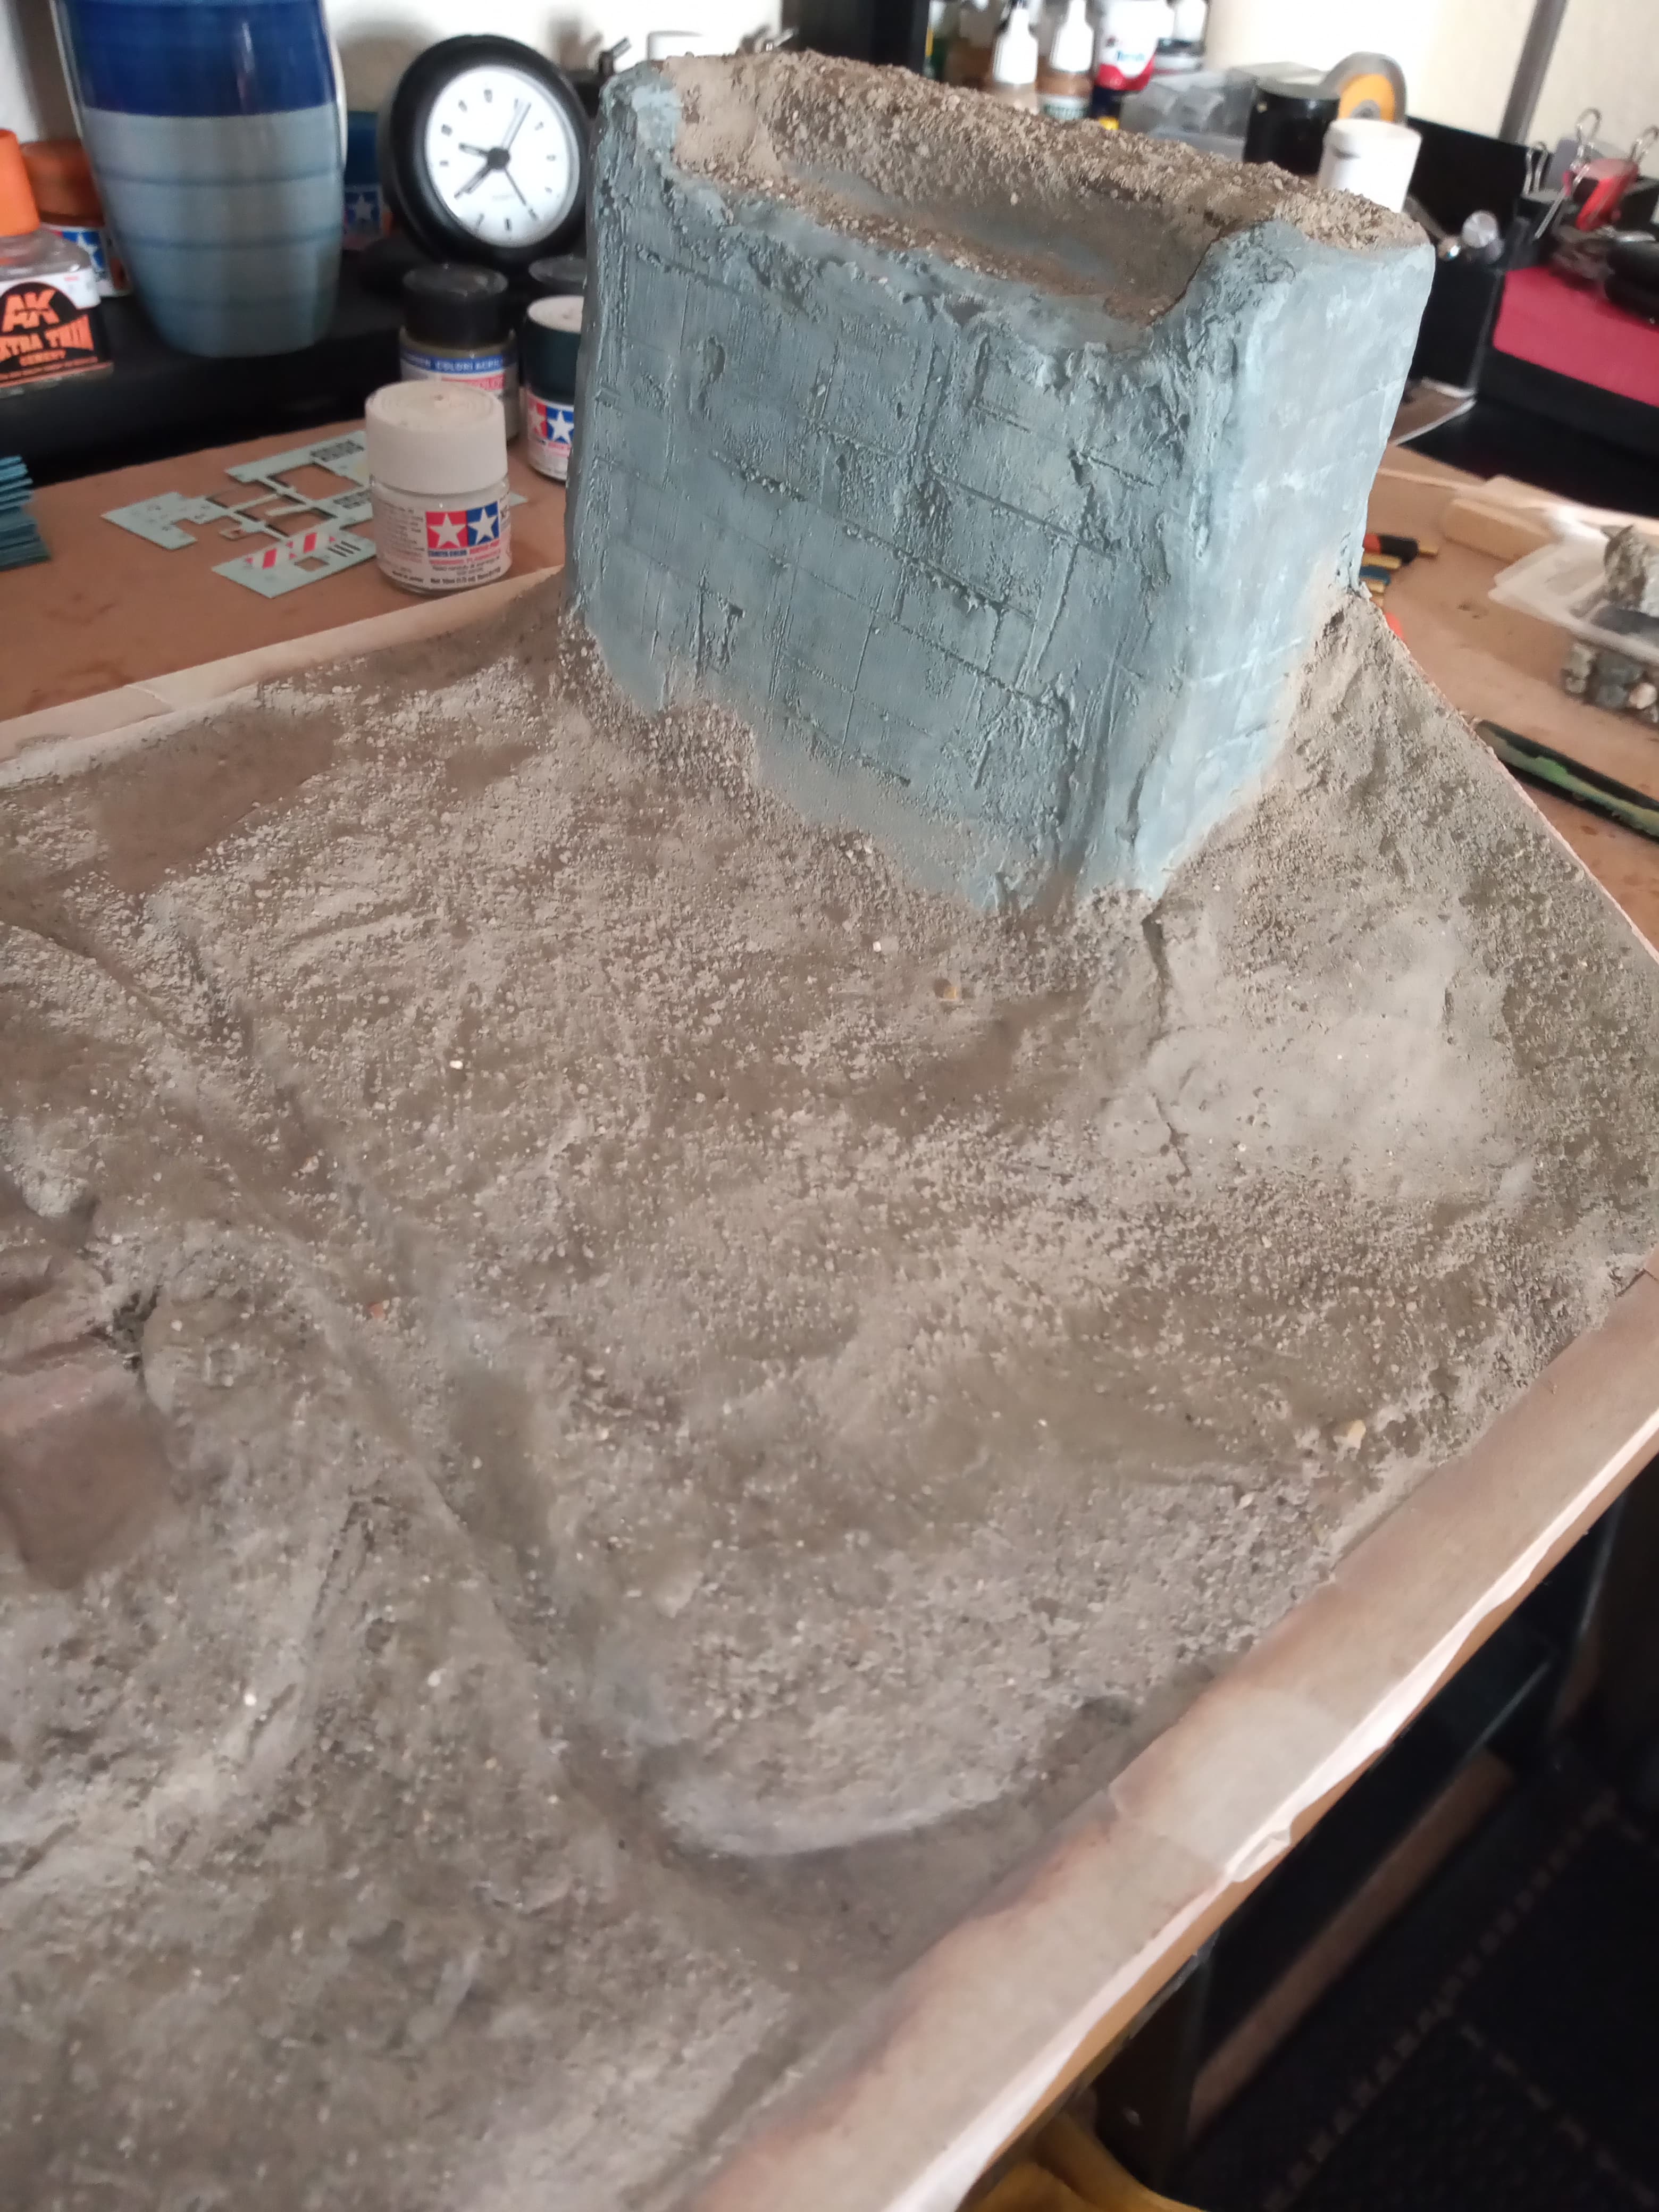
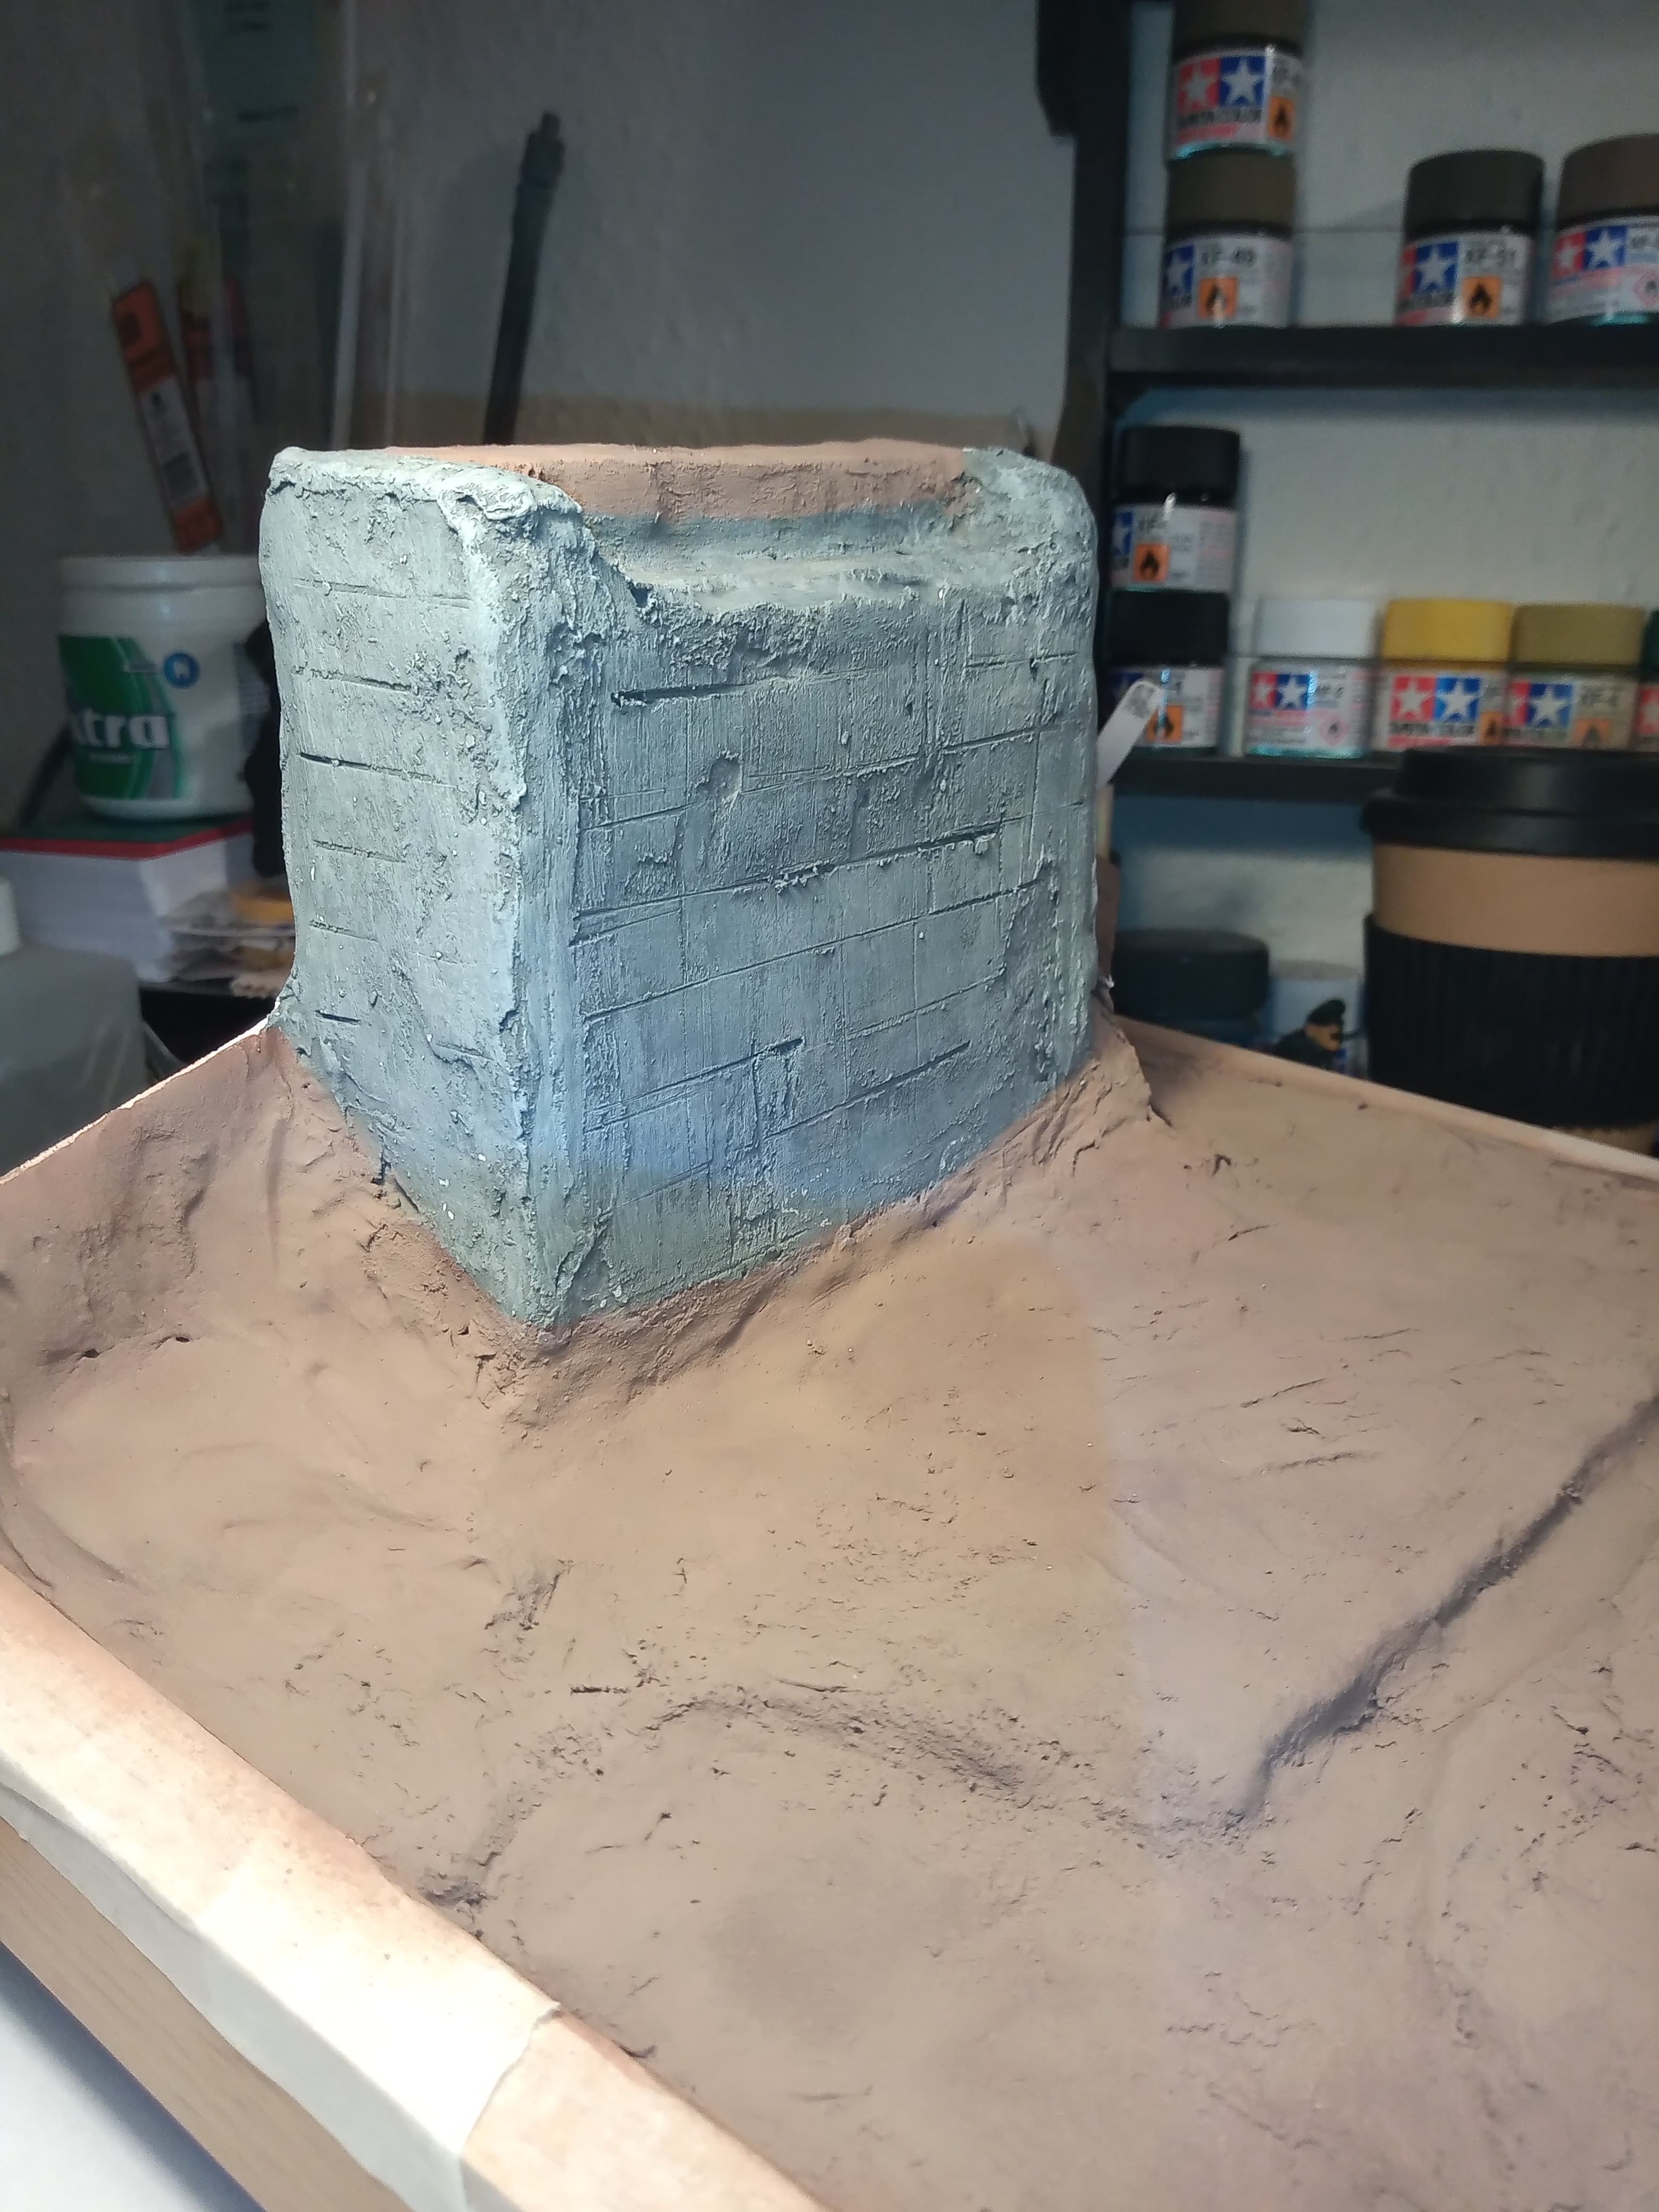
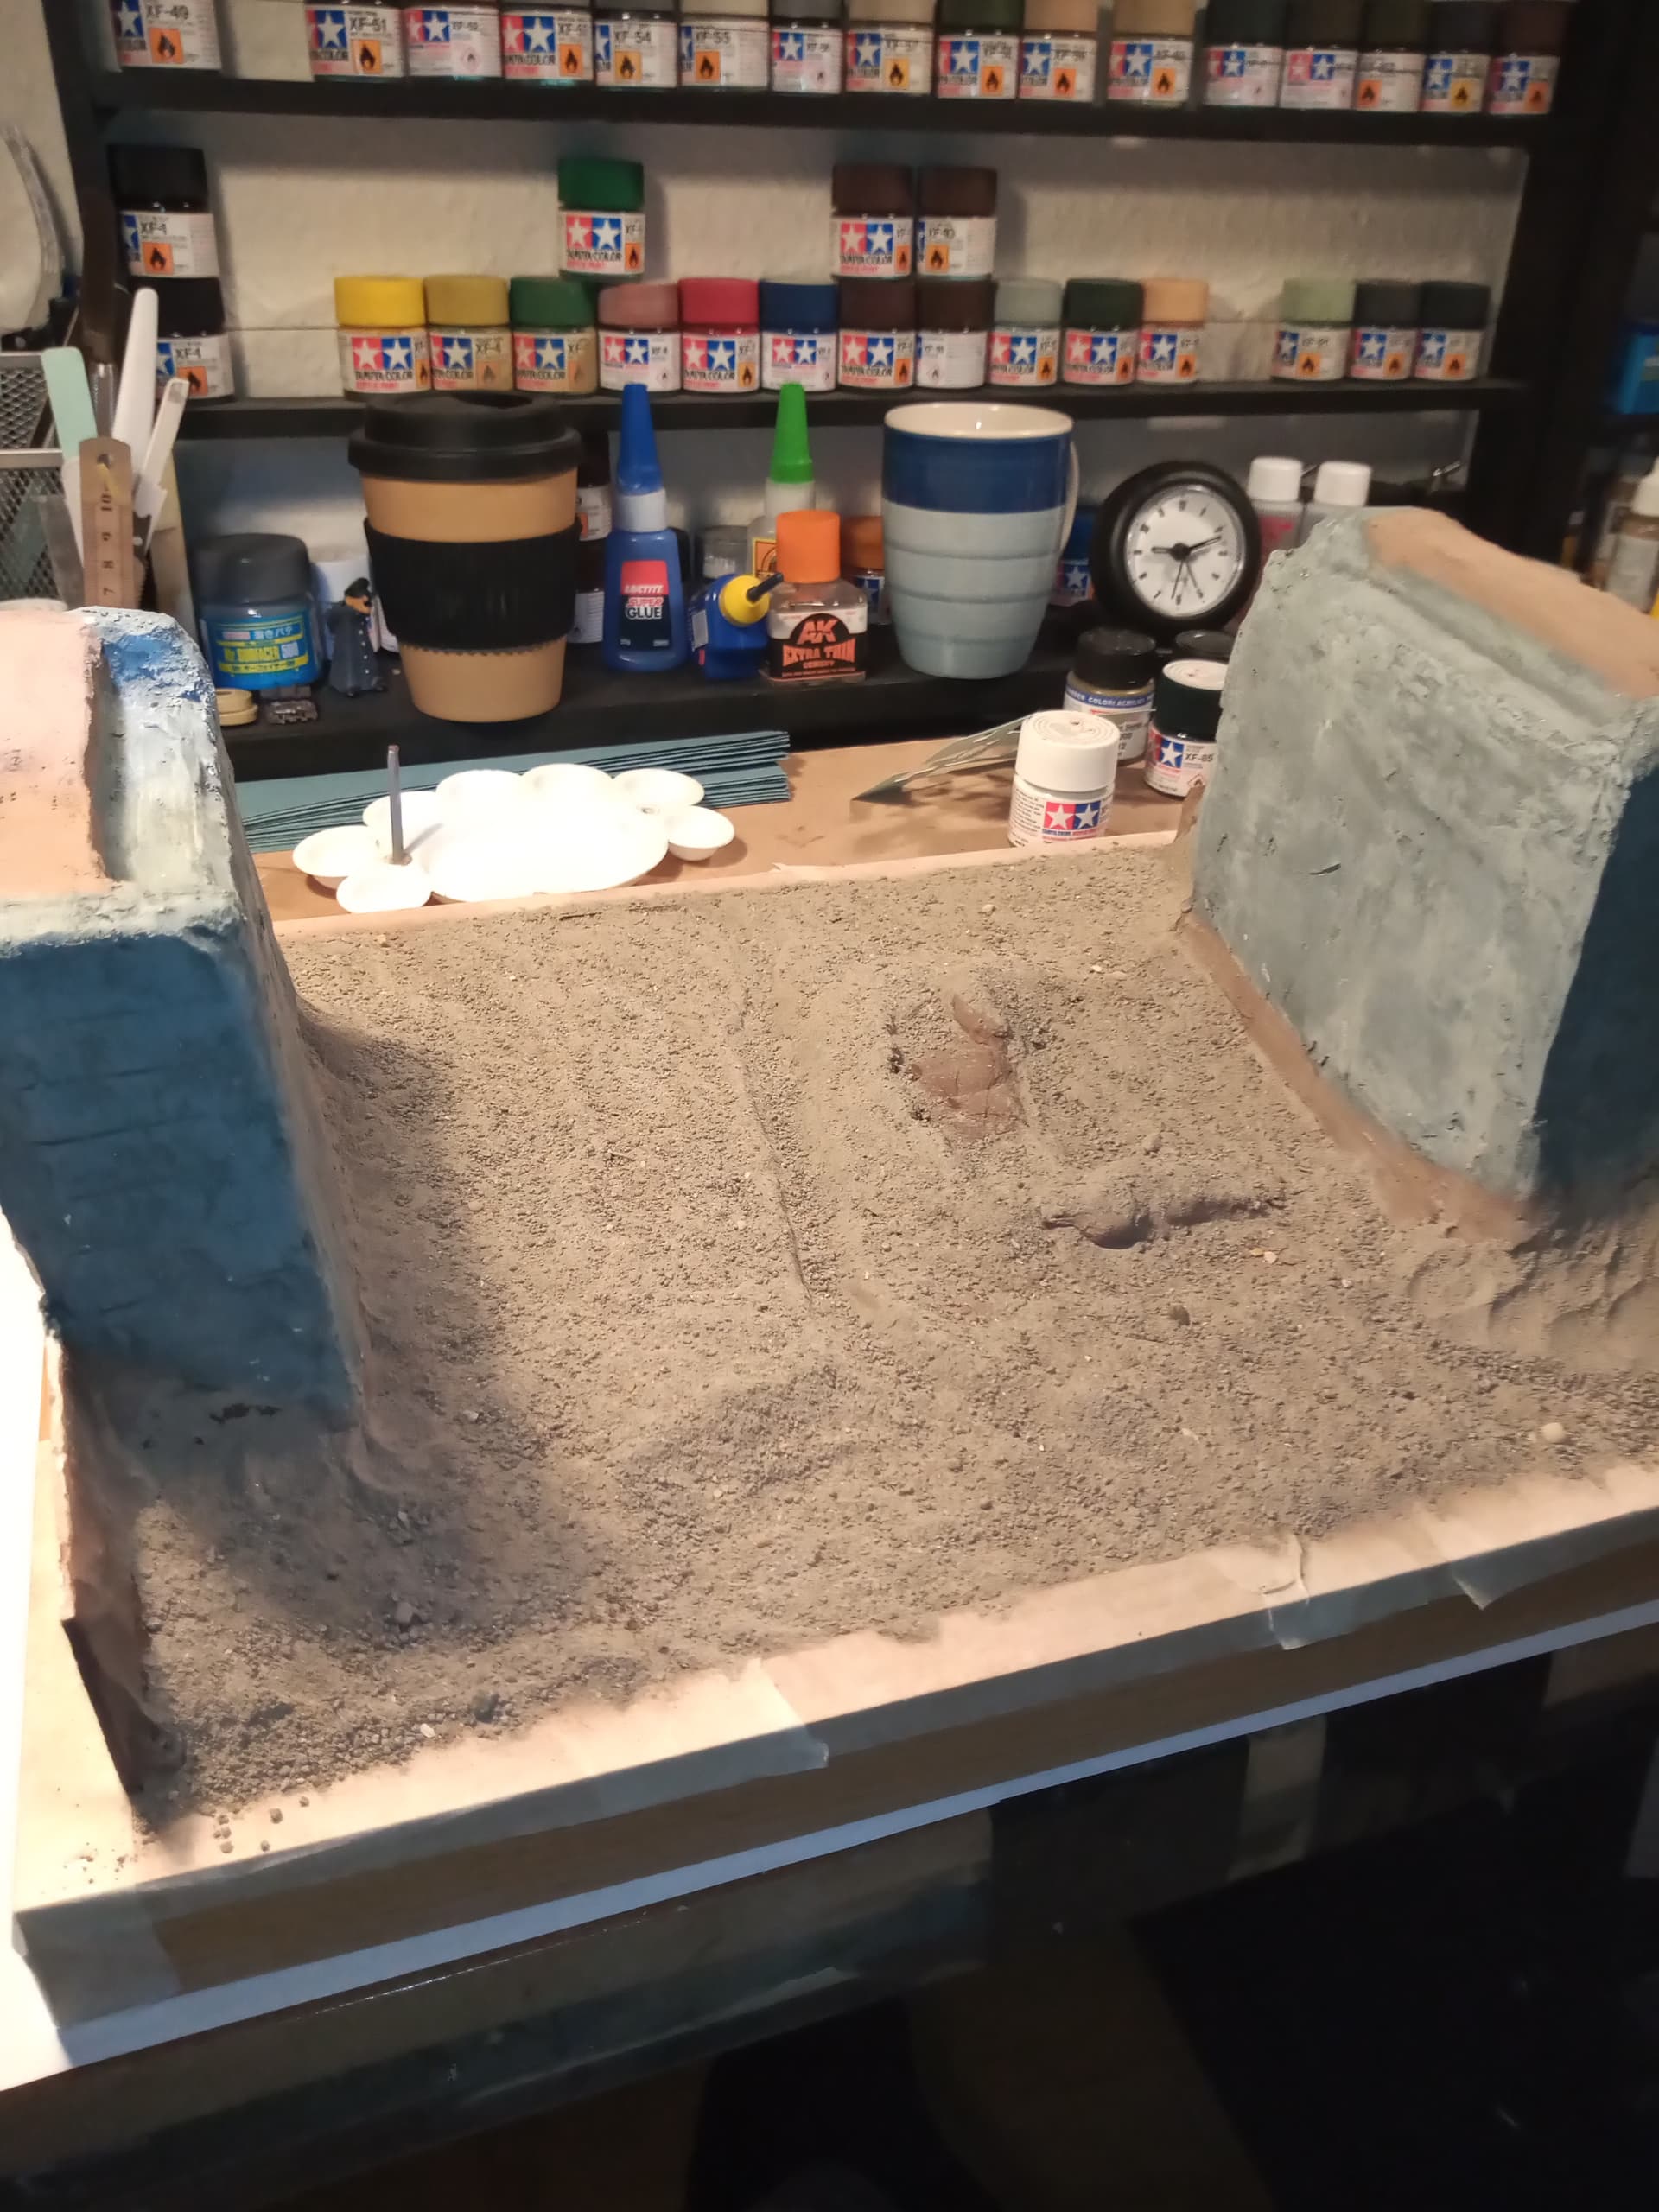
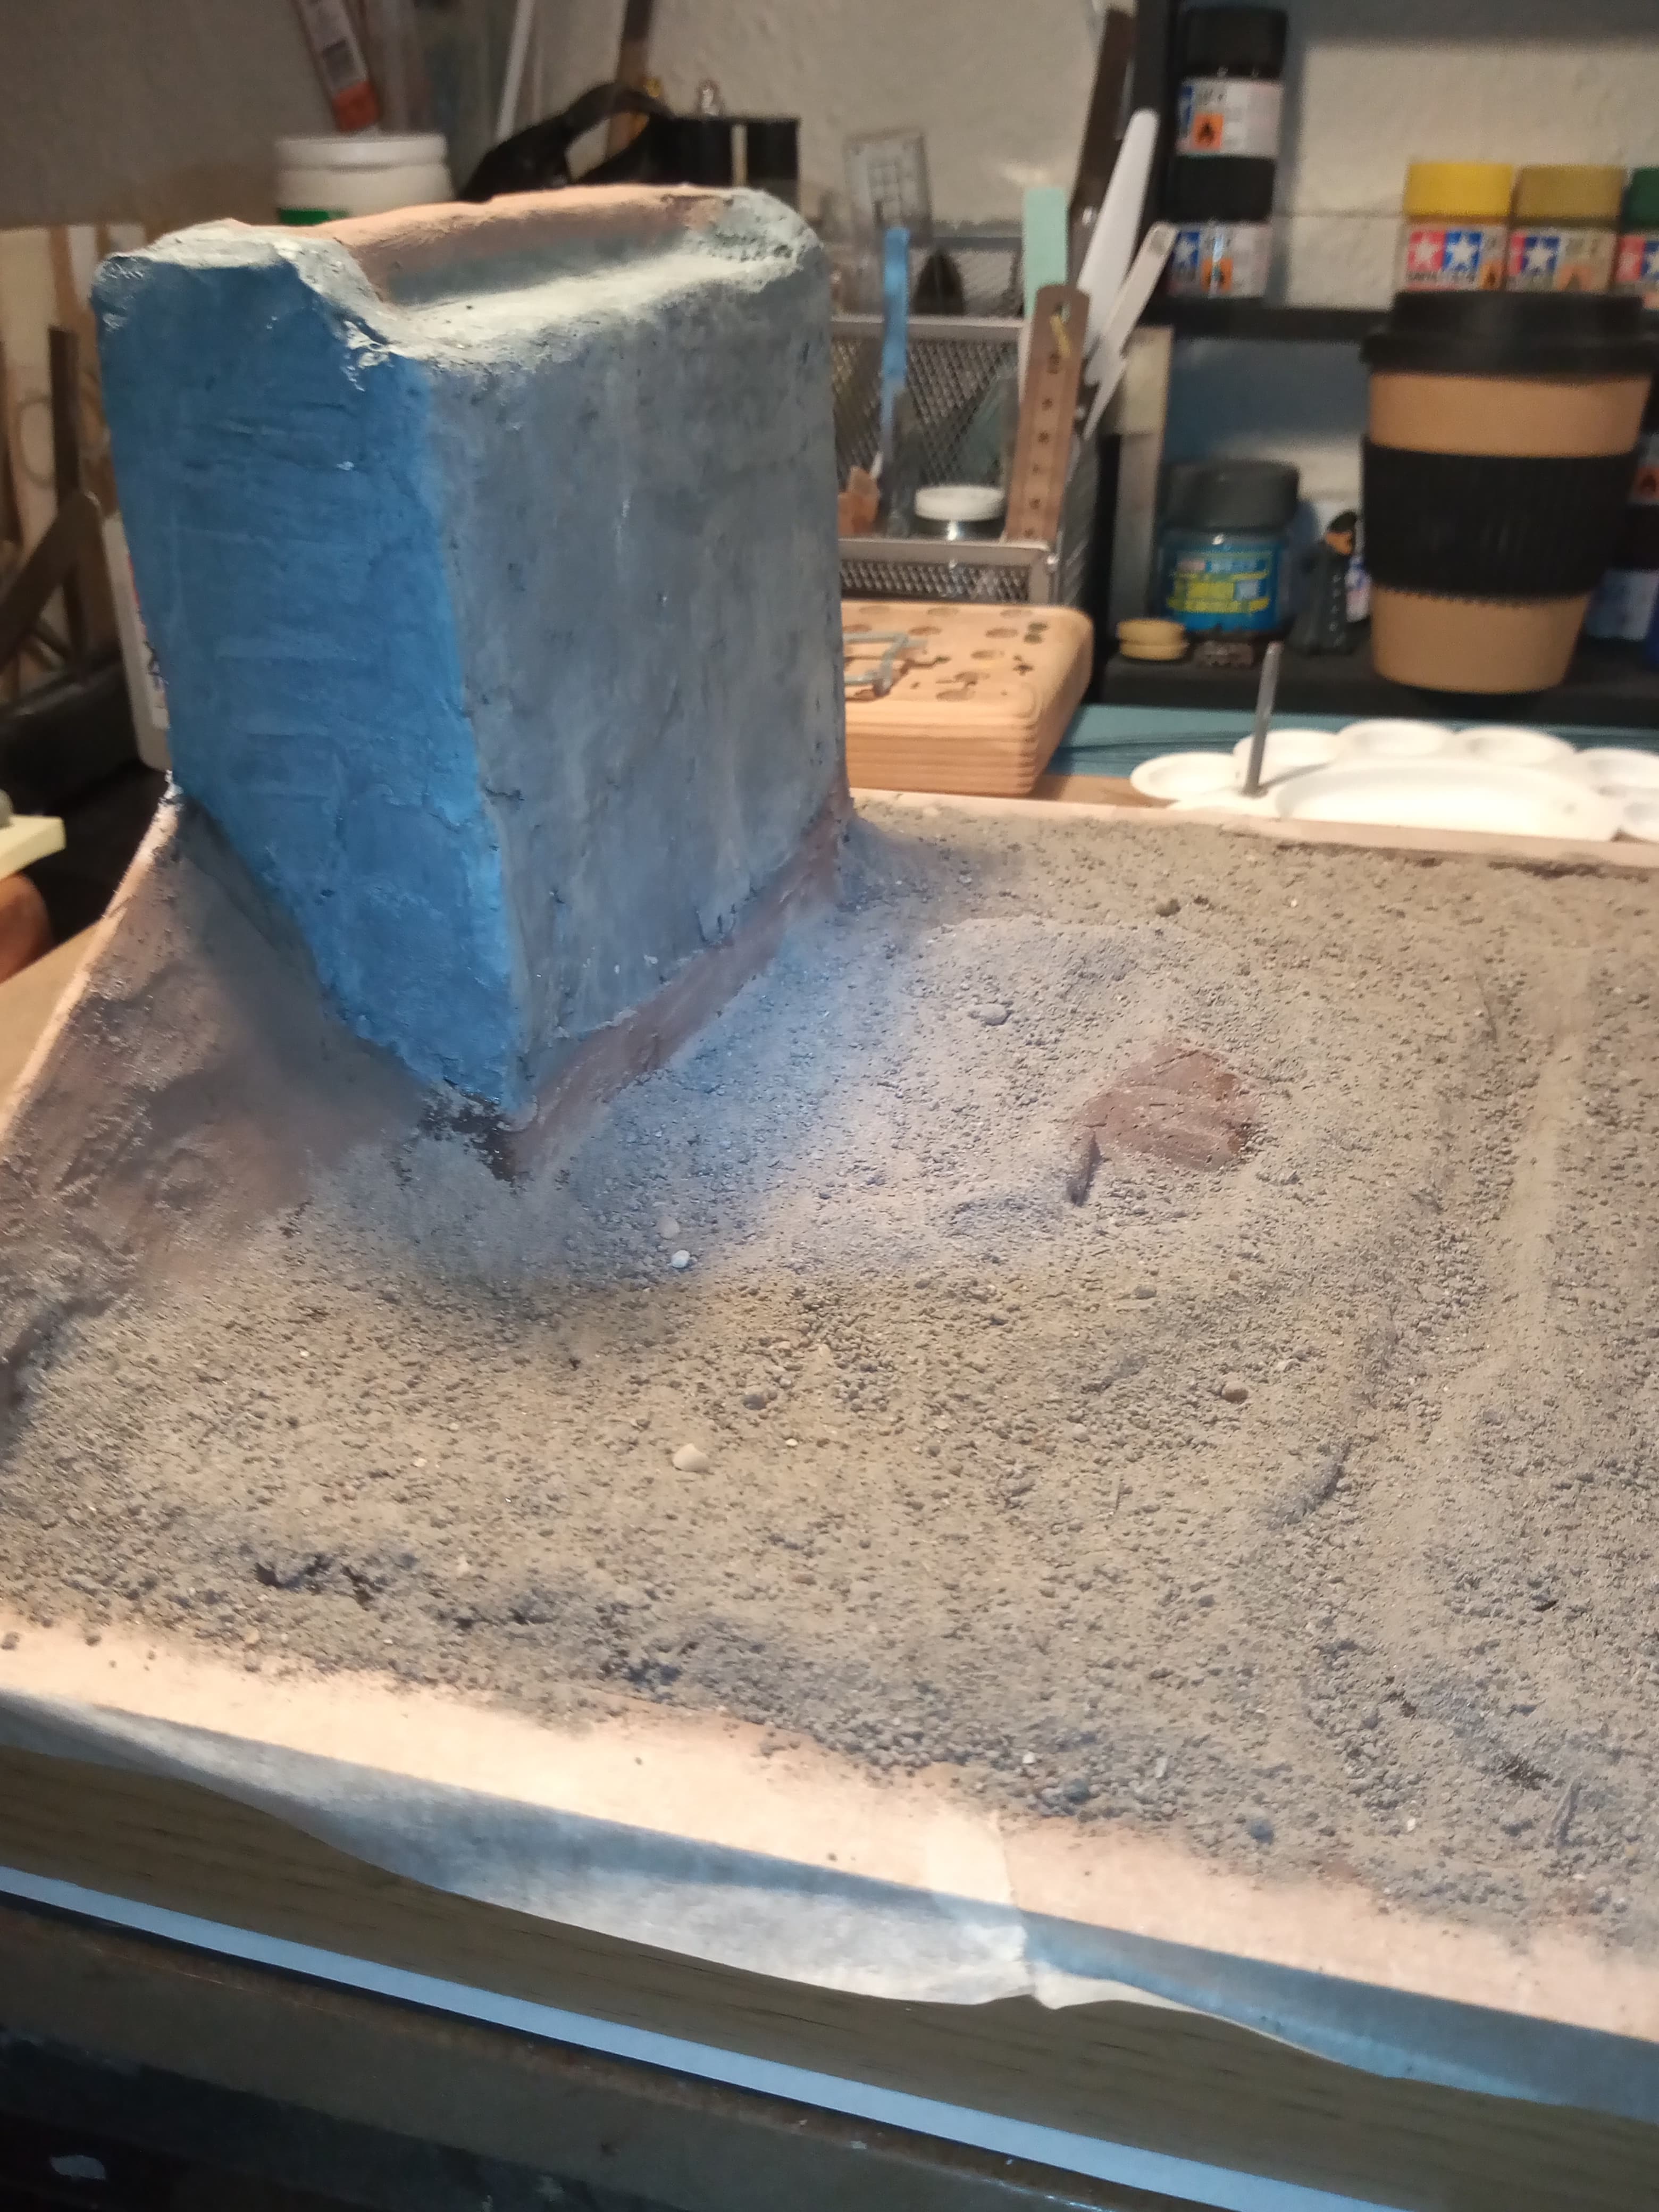
Now have both concrete bridge ends with the good light wash applied. Going to look at the options for the deep weathering like the water lines, moss etc
Will apply more washes to the wood parts of the bridge over the next few days. Back on the range tomorrow for some gun fun so hope the weather holds off…
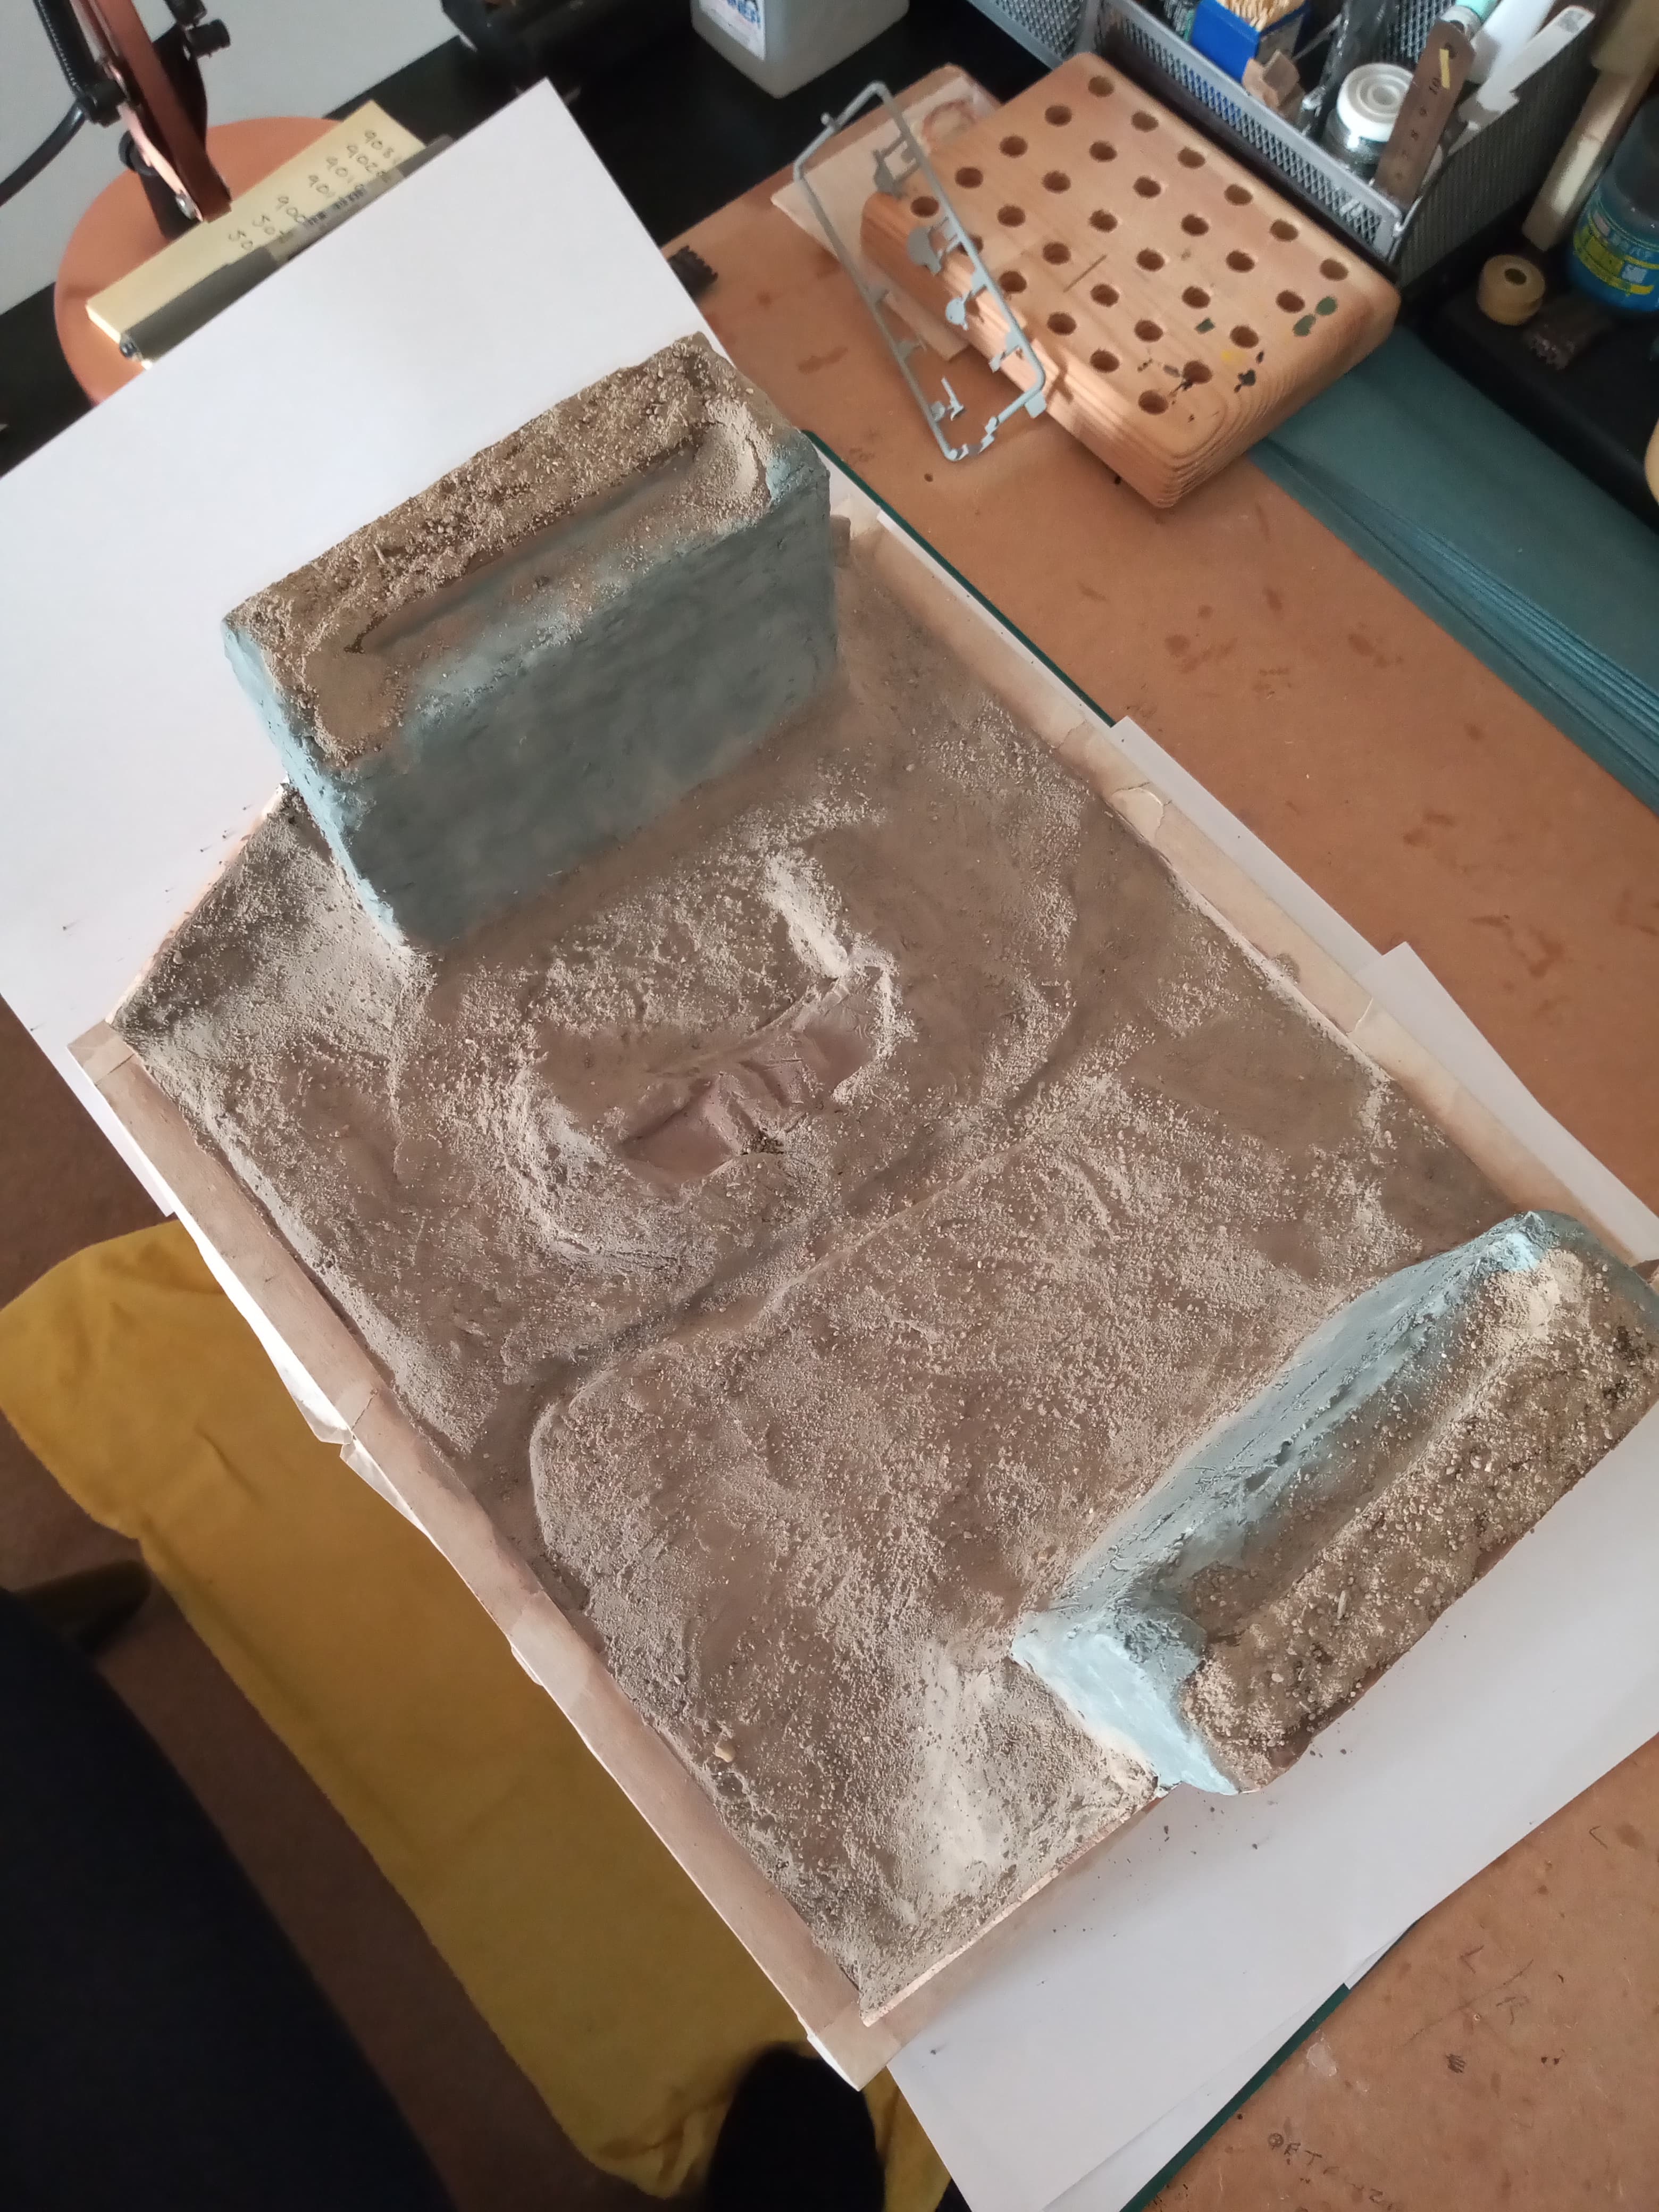
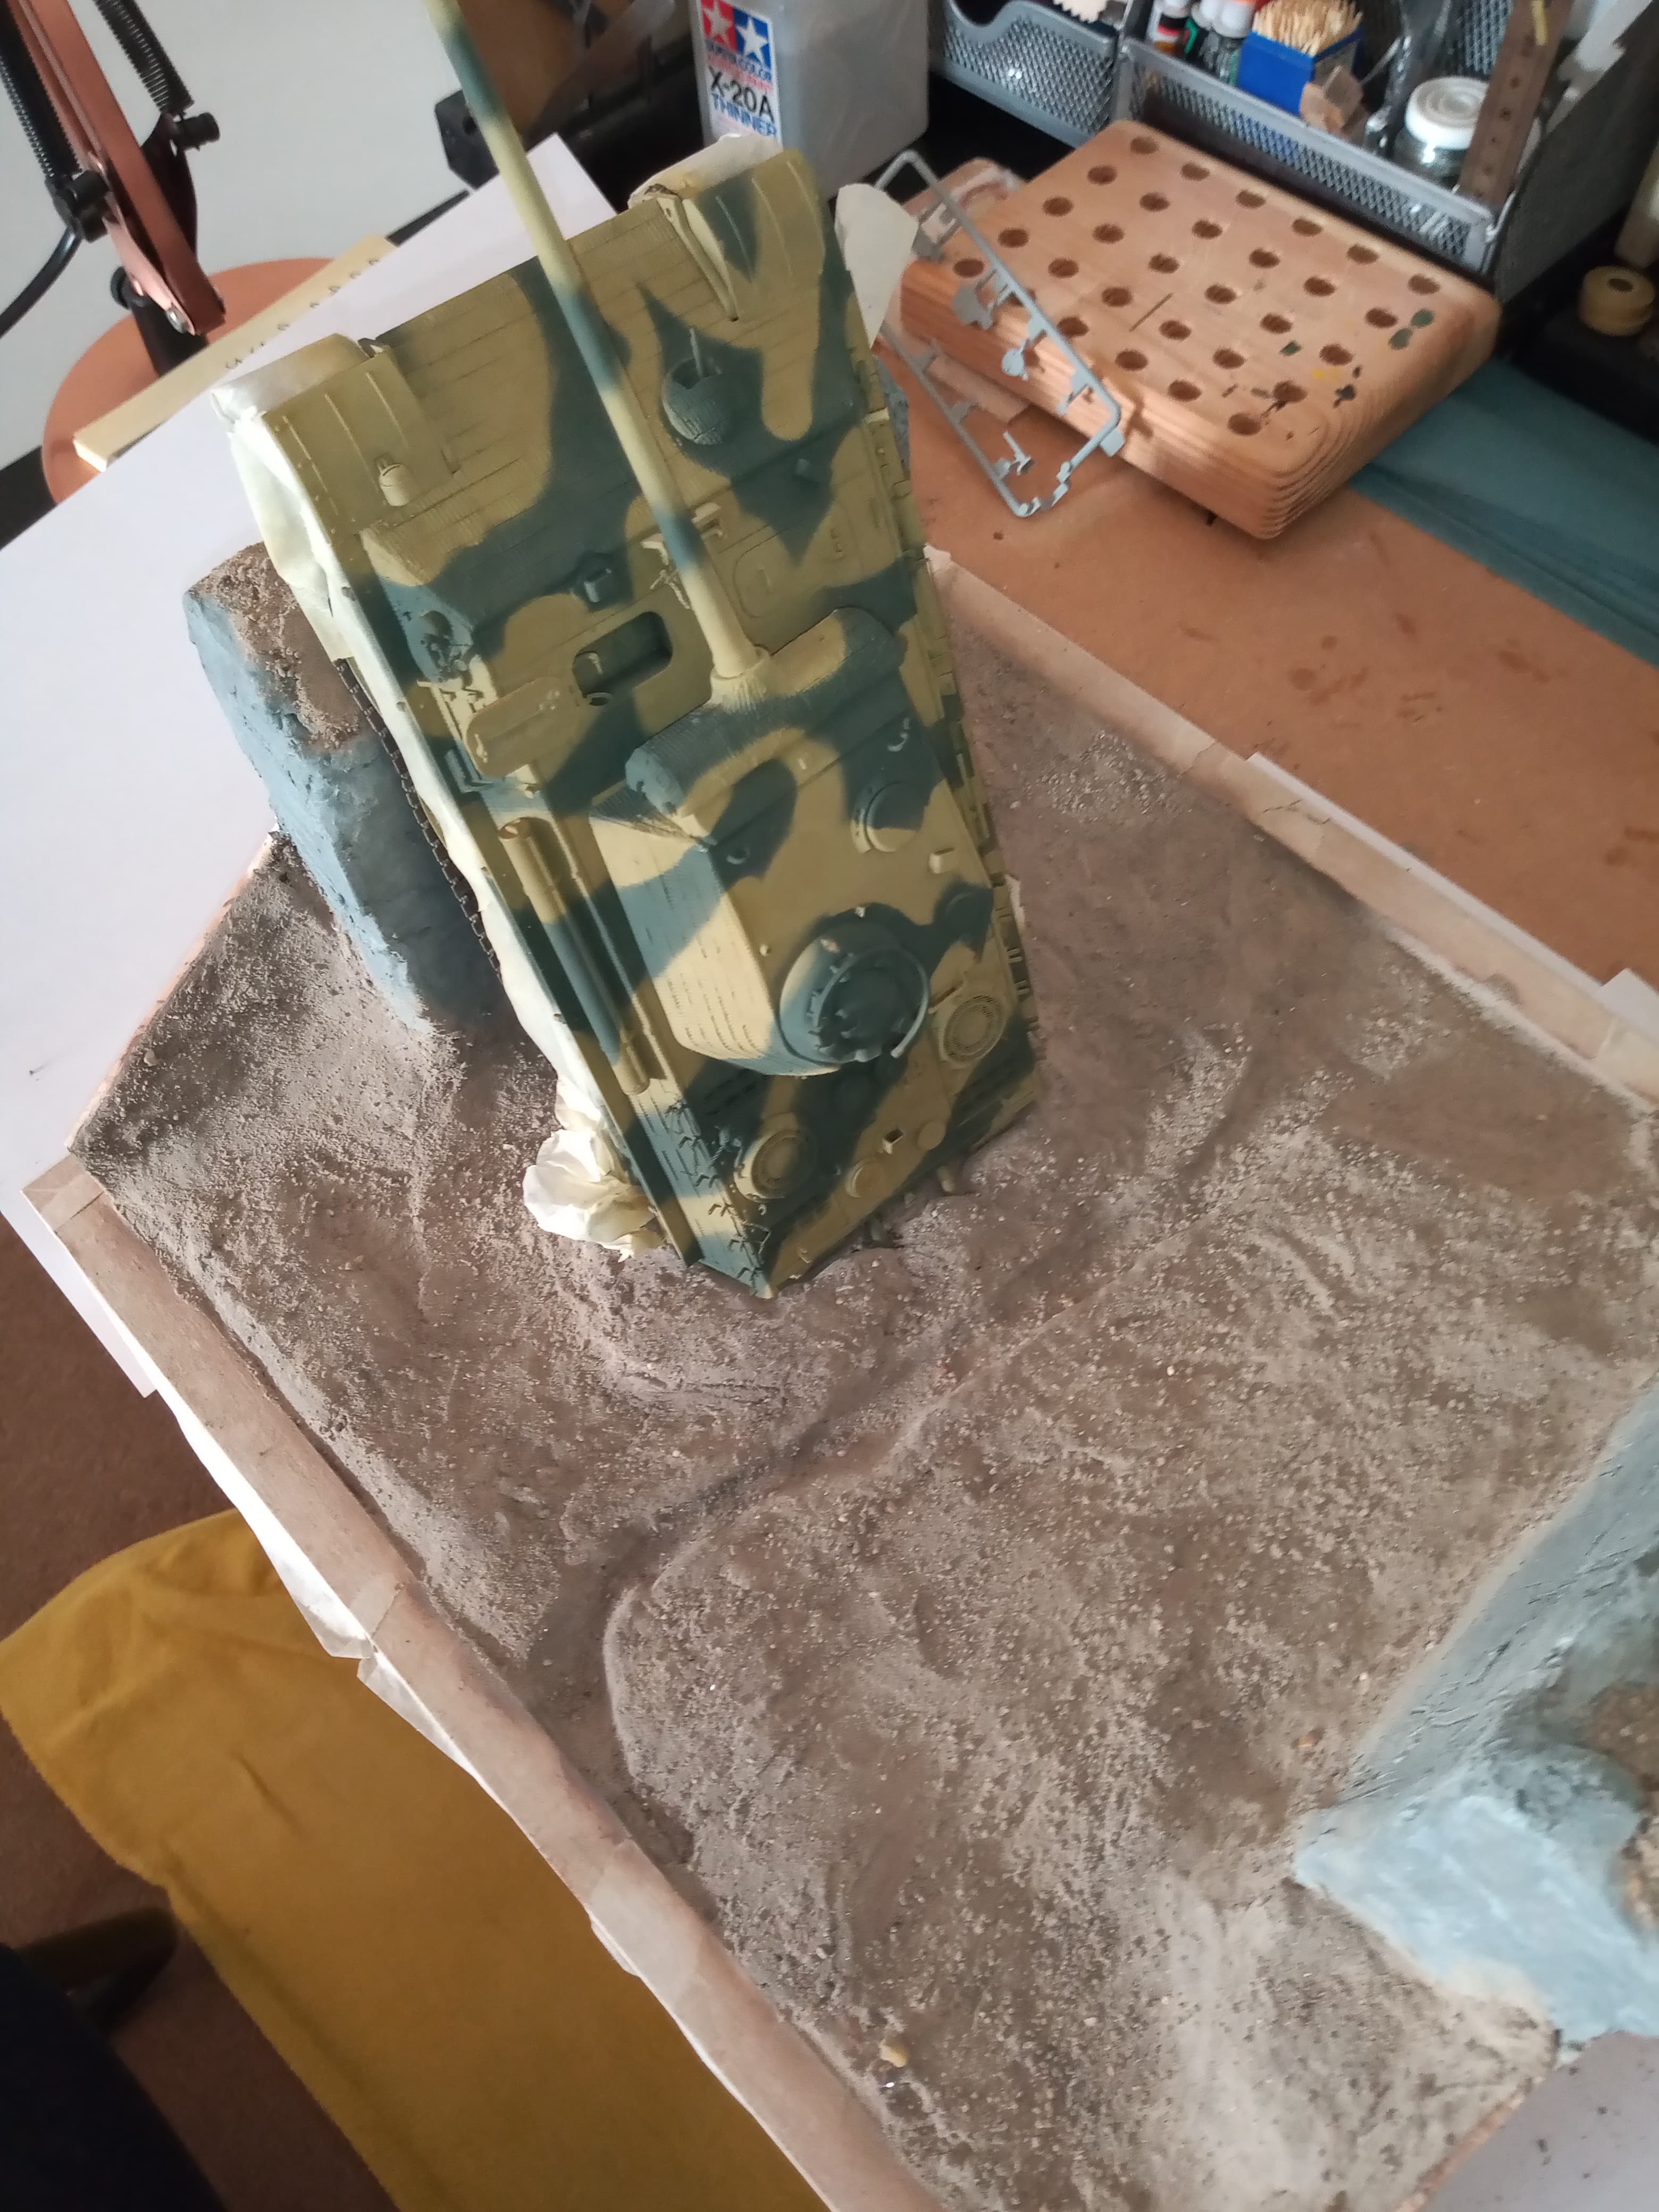
Quite pleased with the look so far, more work is needed but this seems like a good base now to start adding details. Next will be the real dried earth sprinkled on the ground areas.
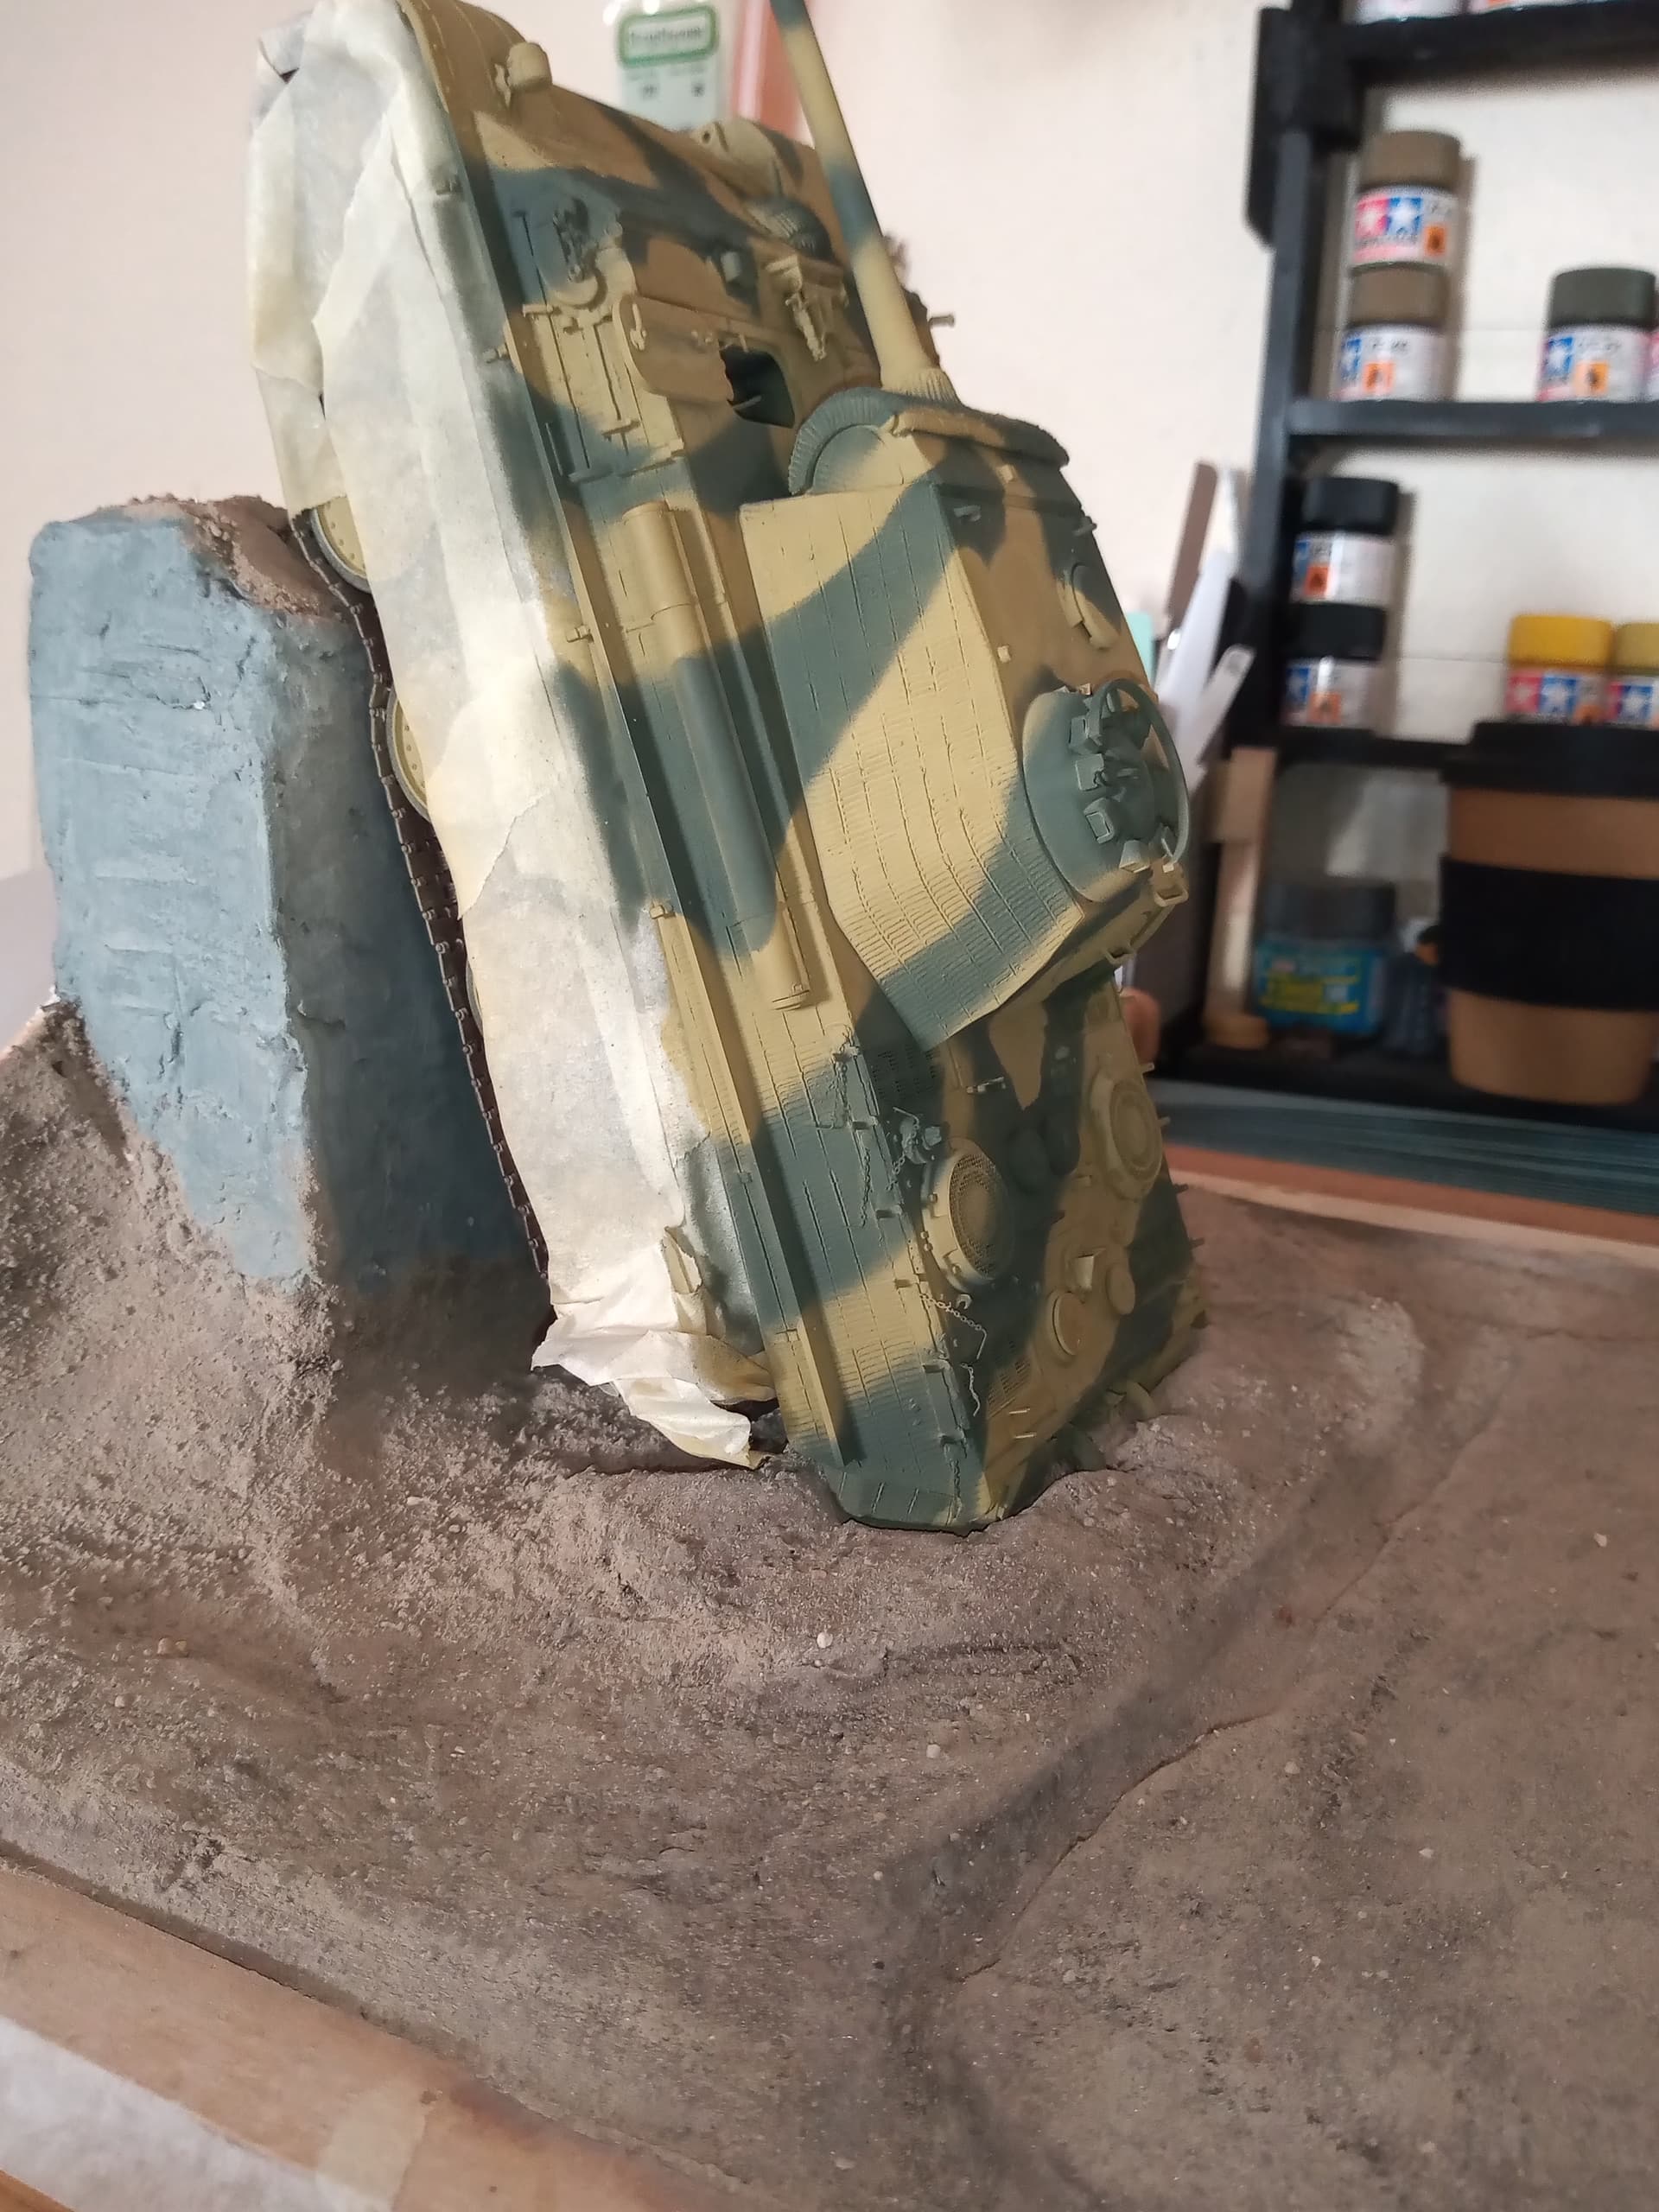
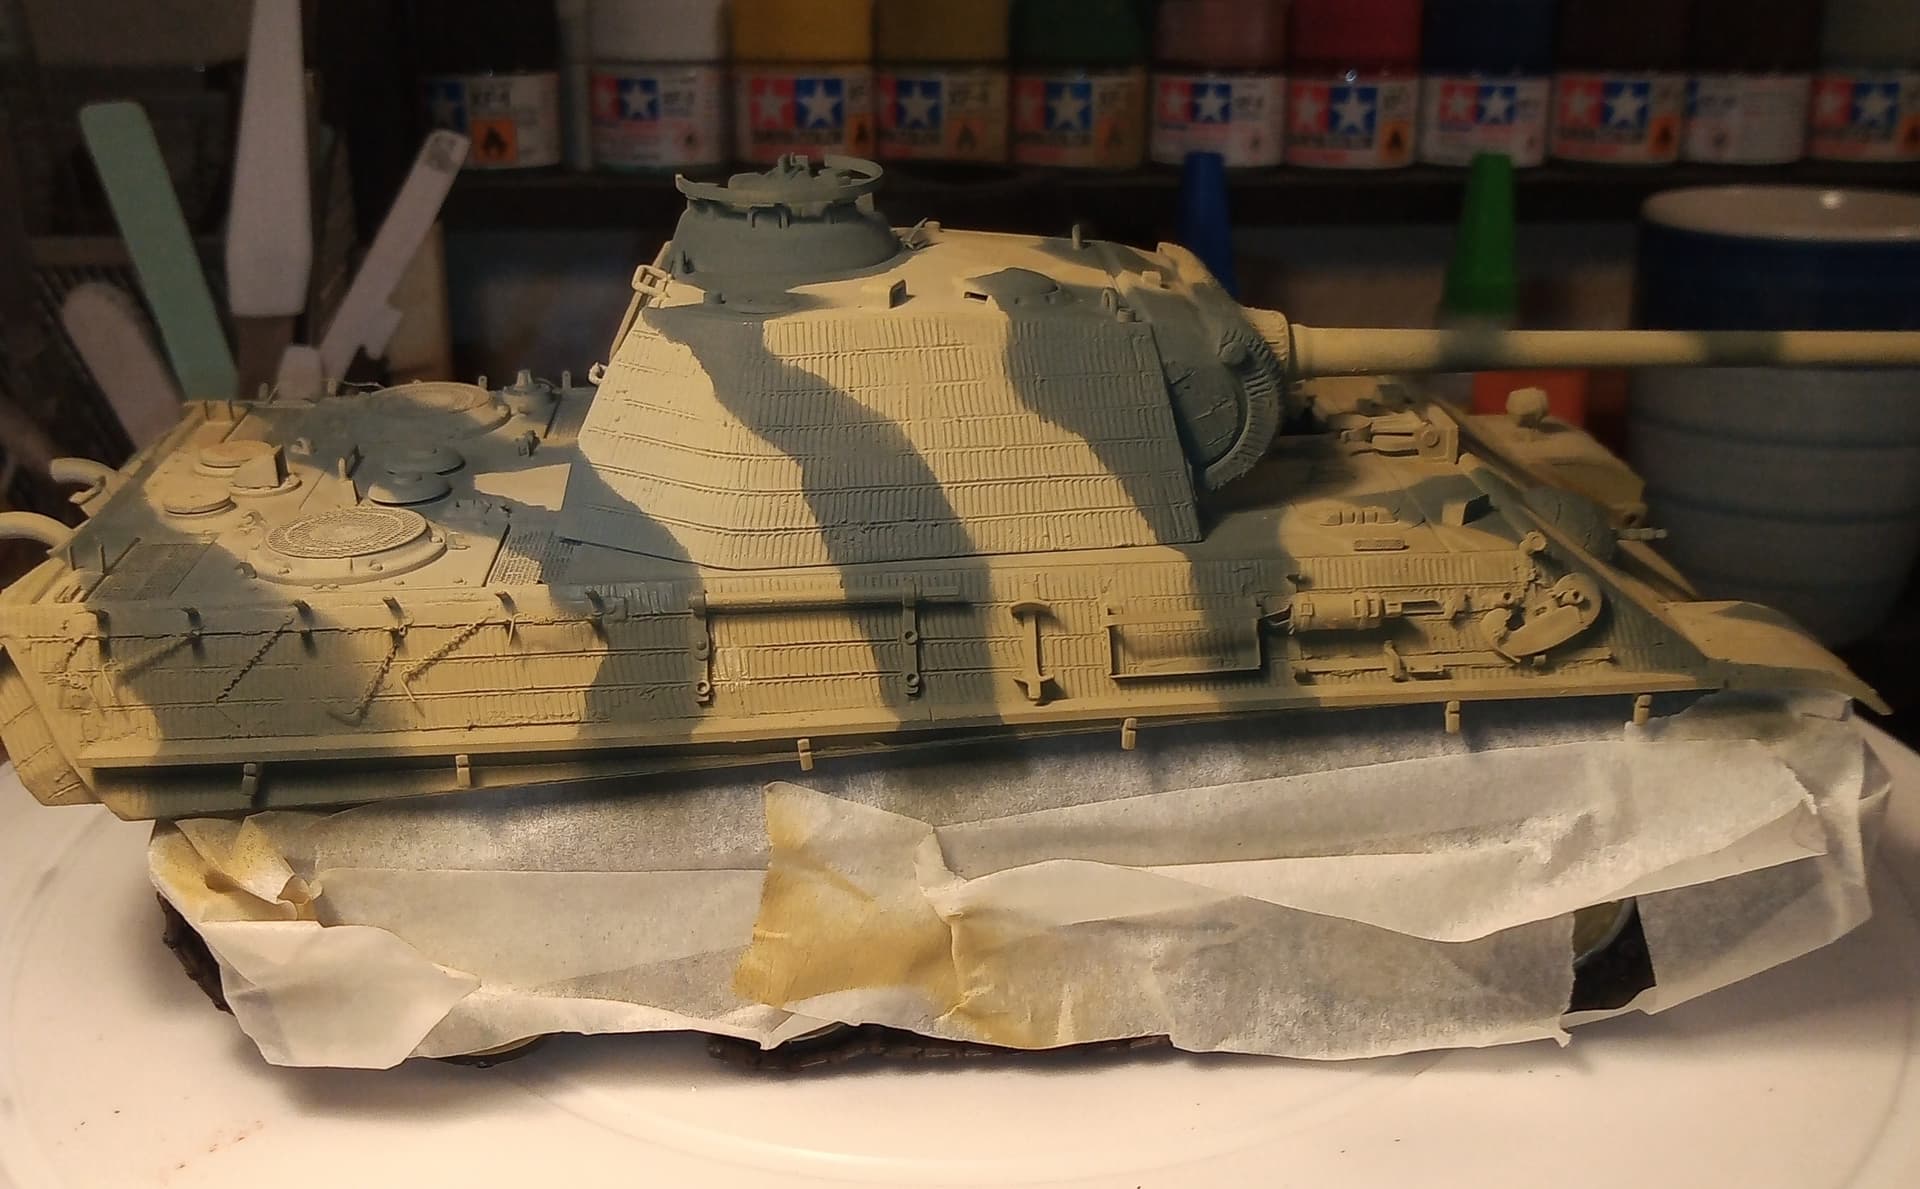
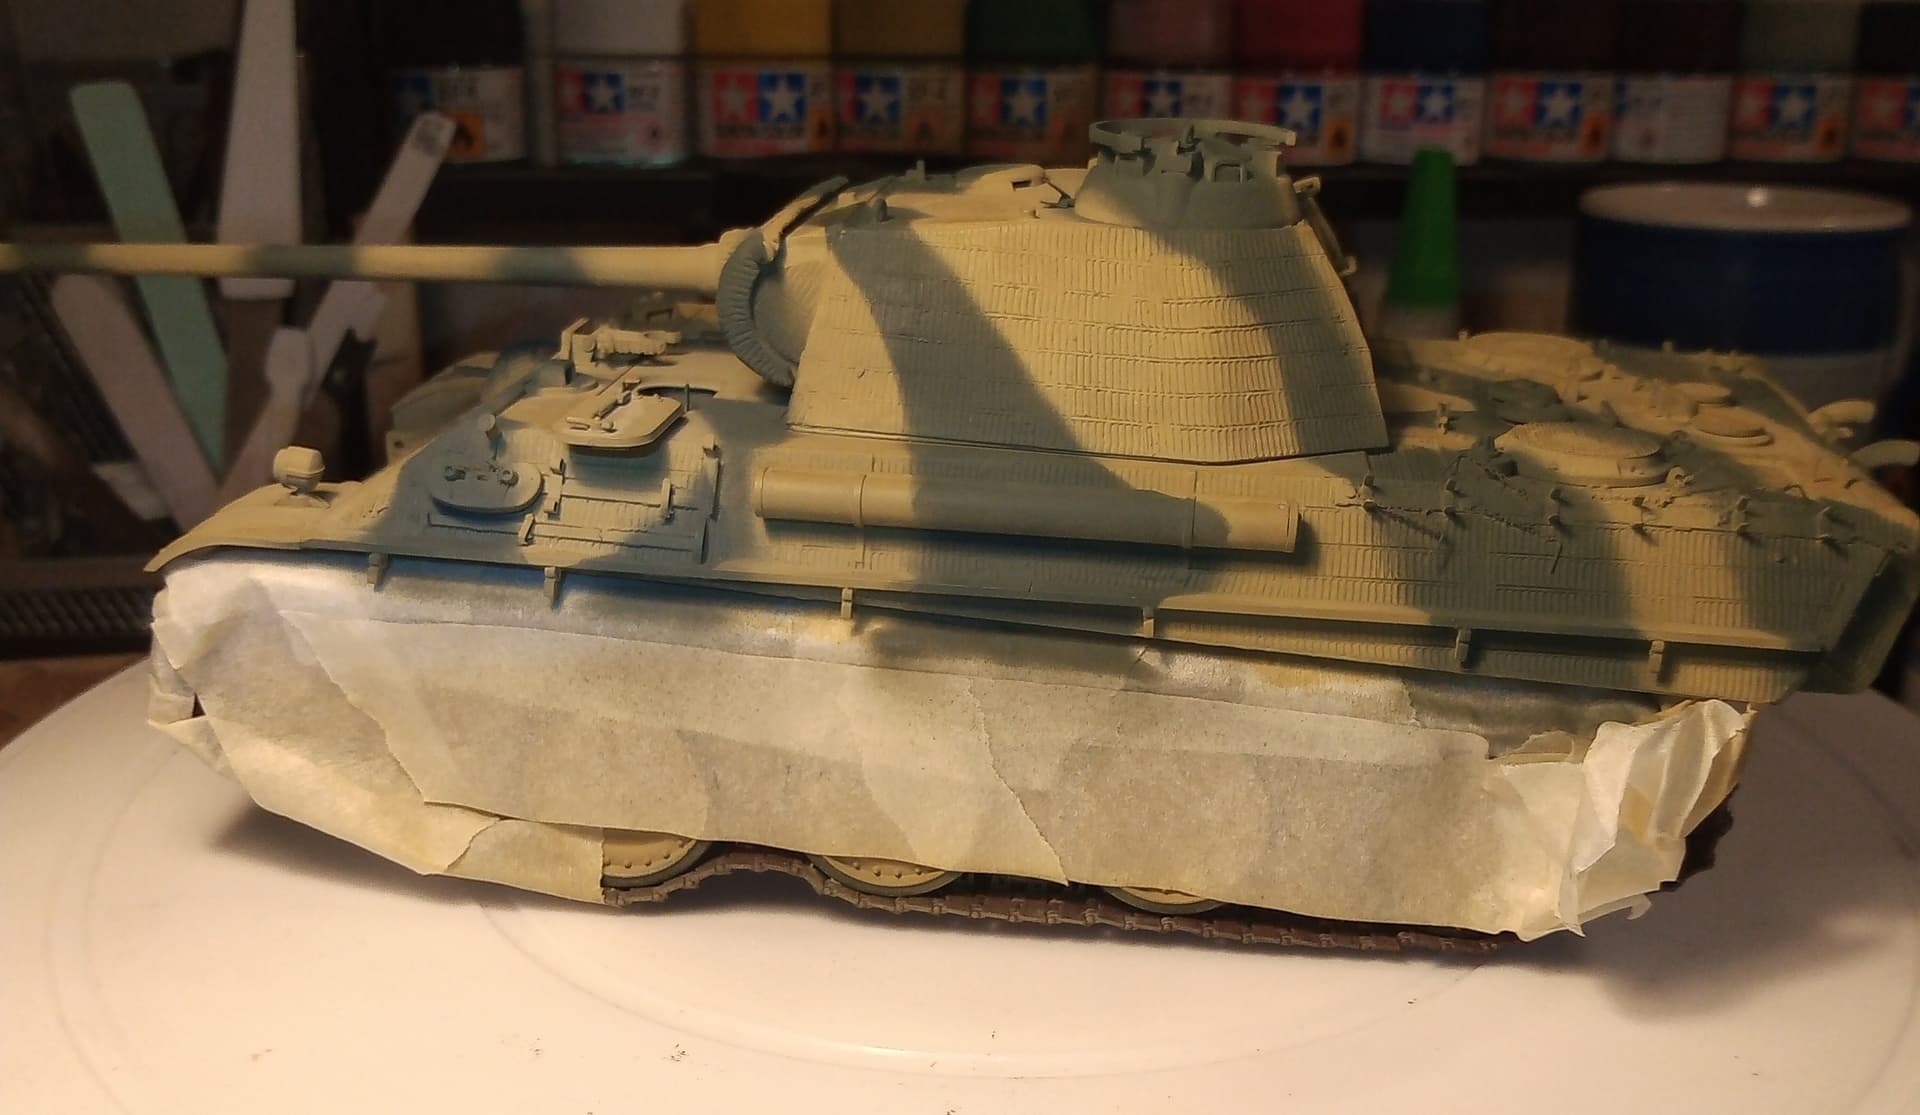
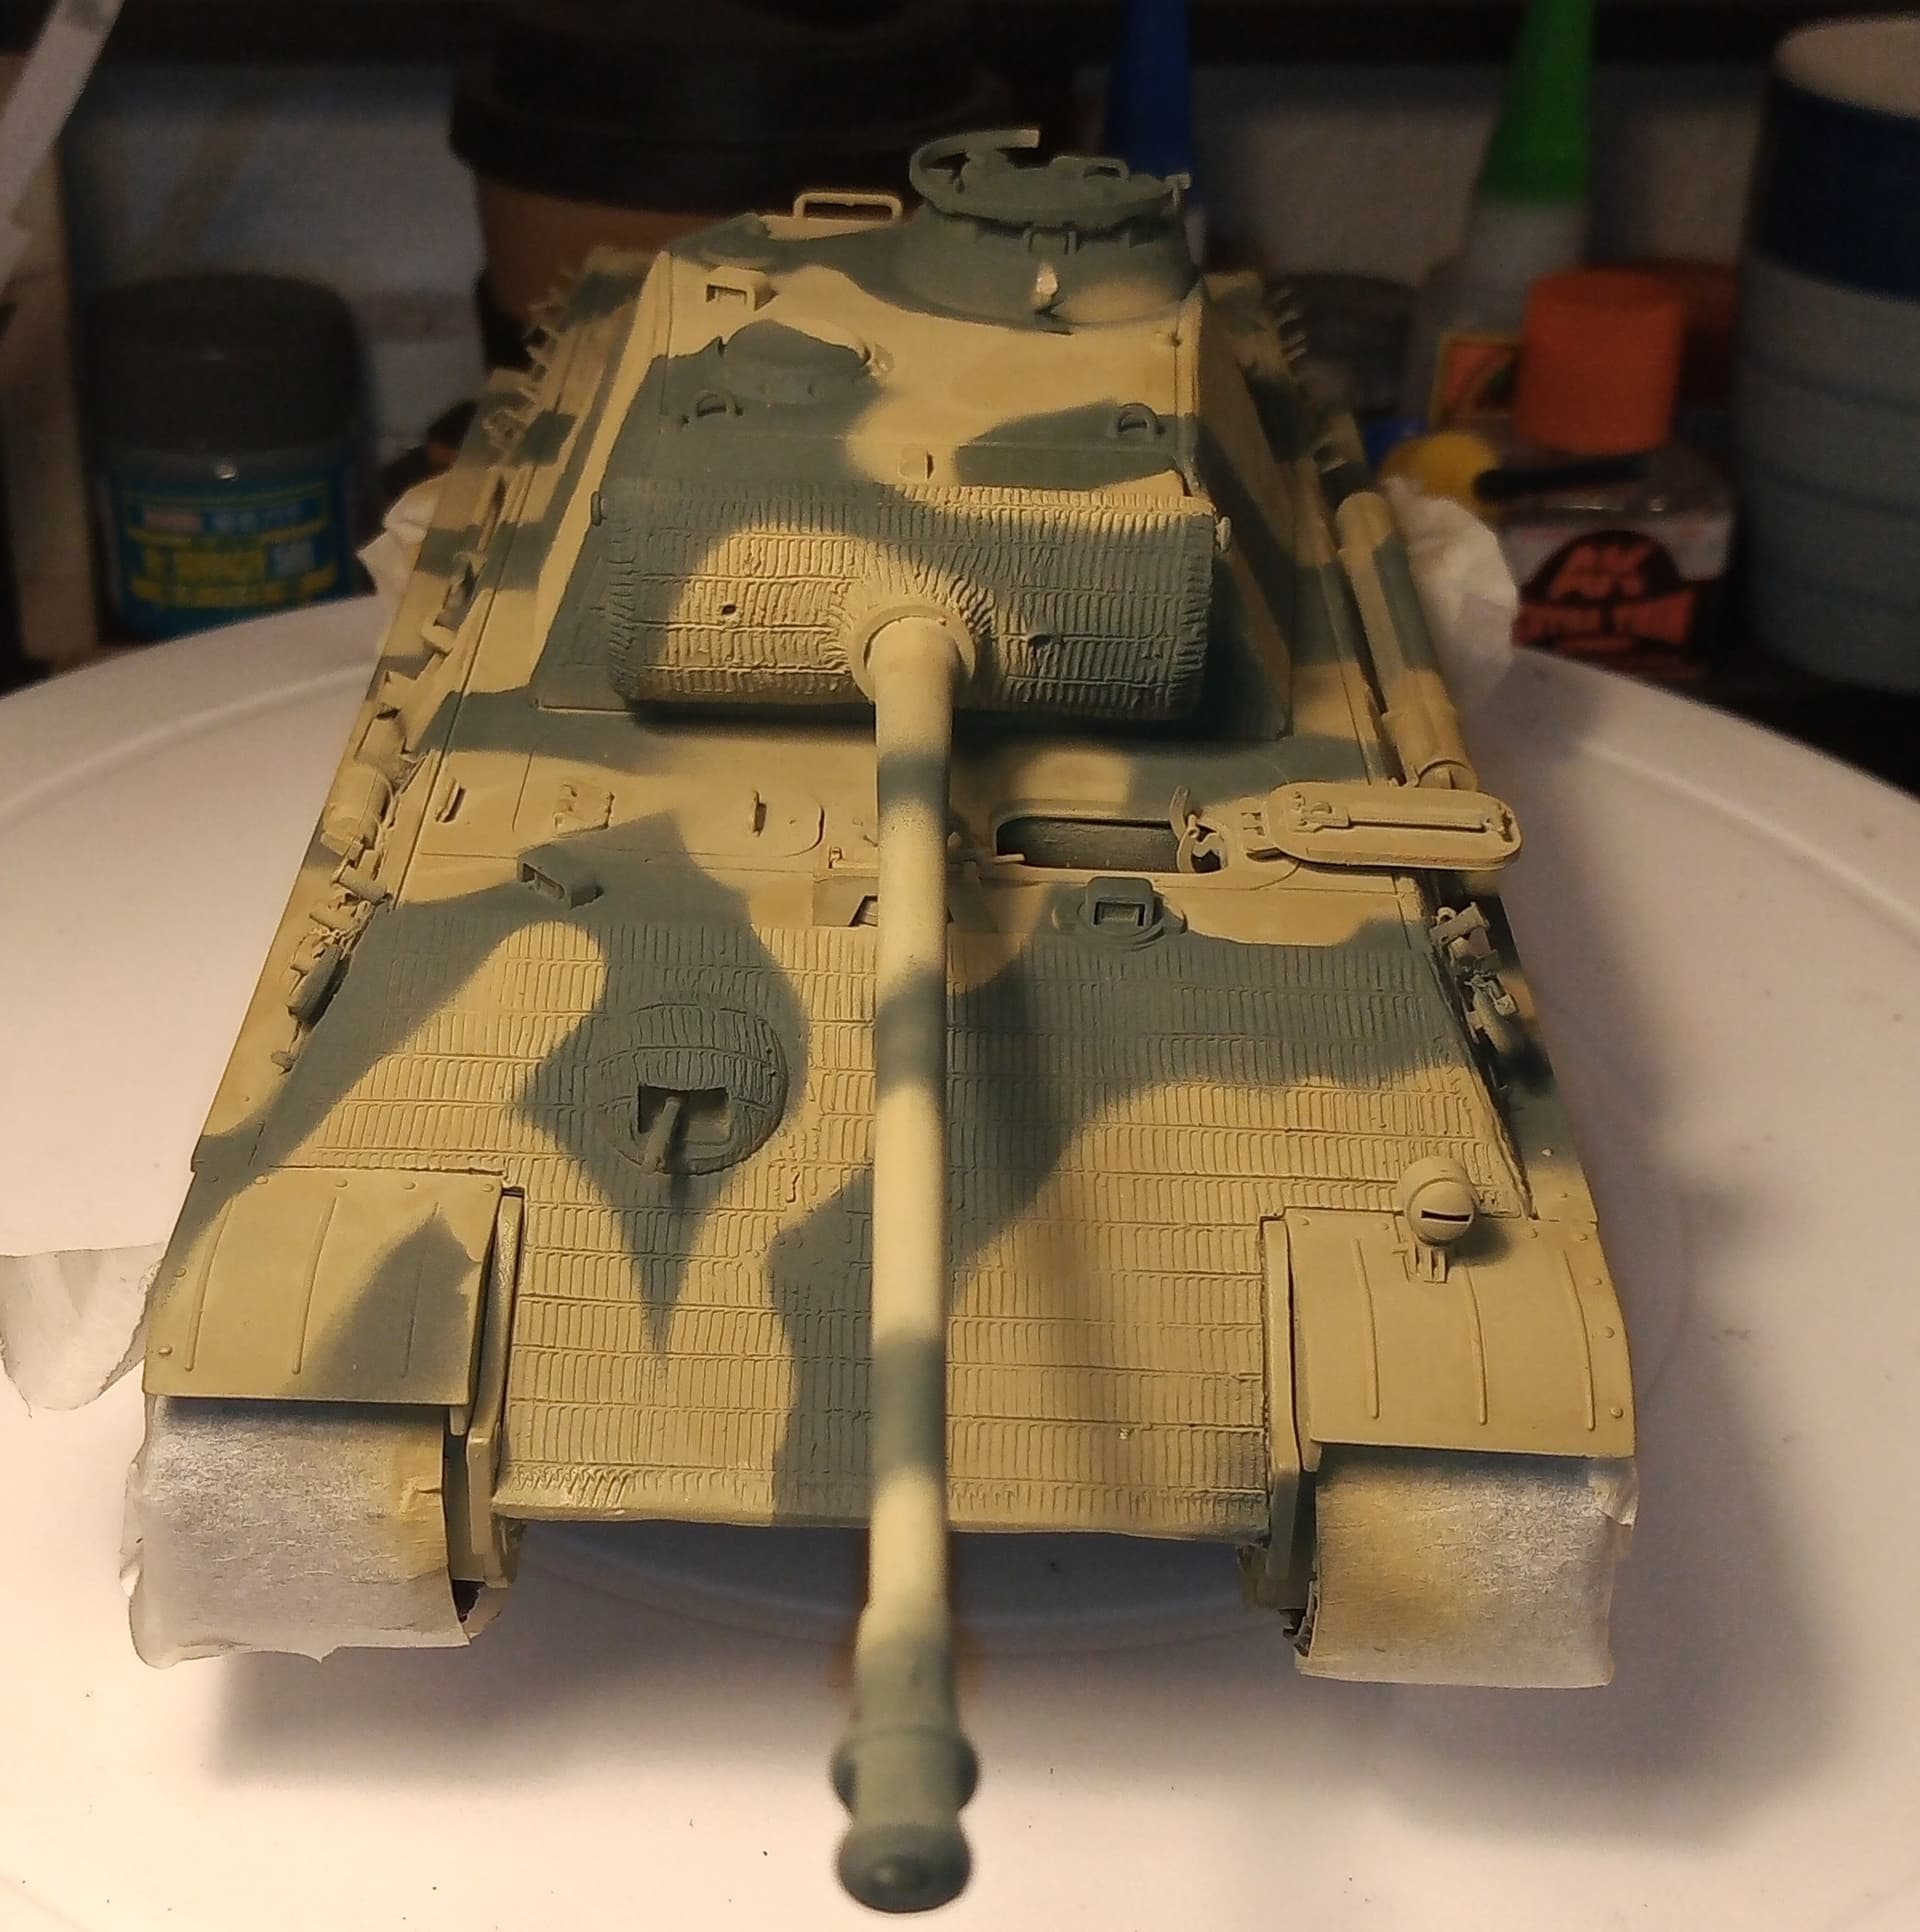
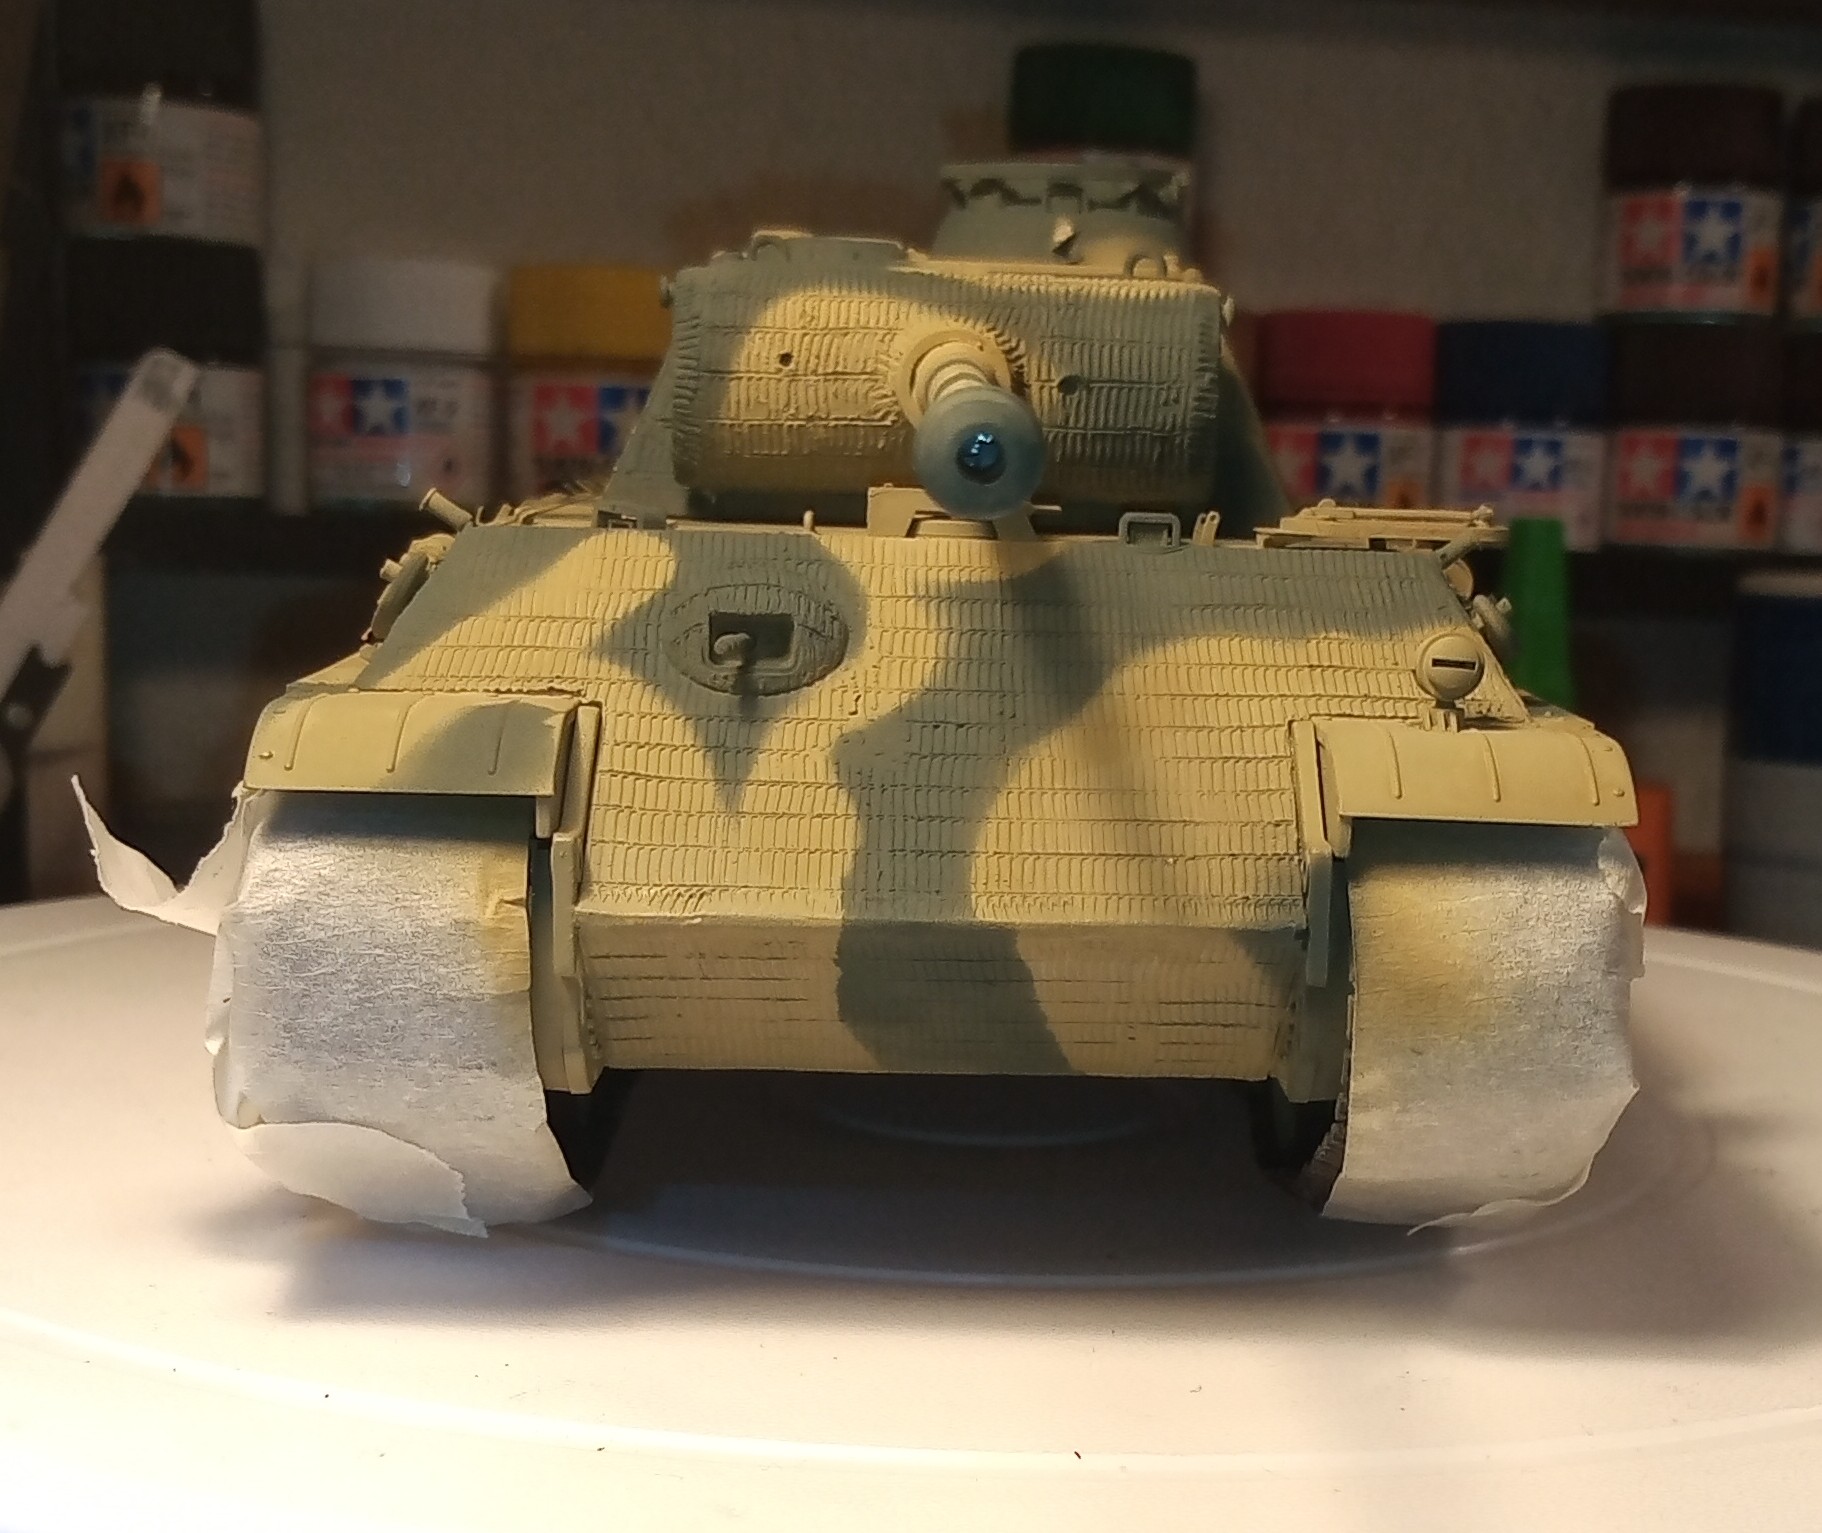
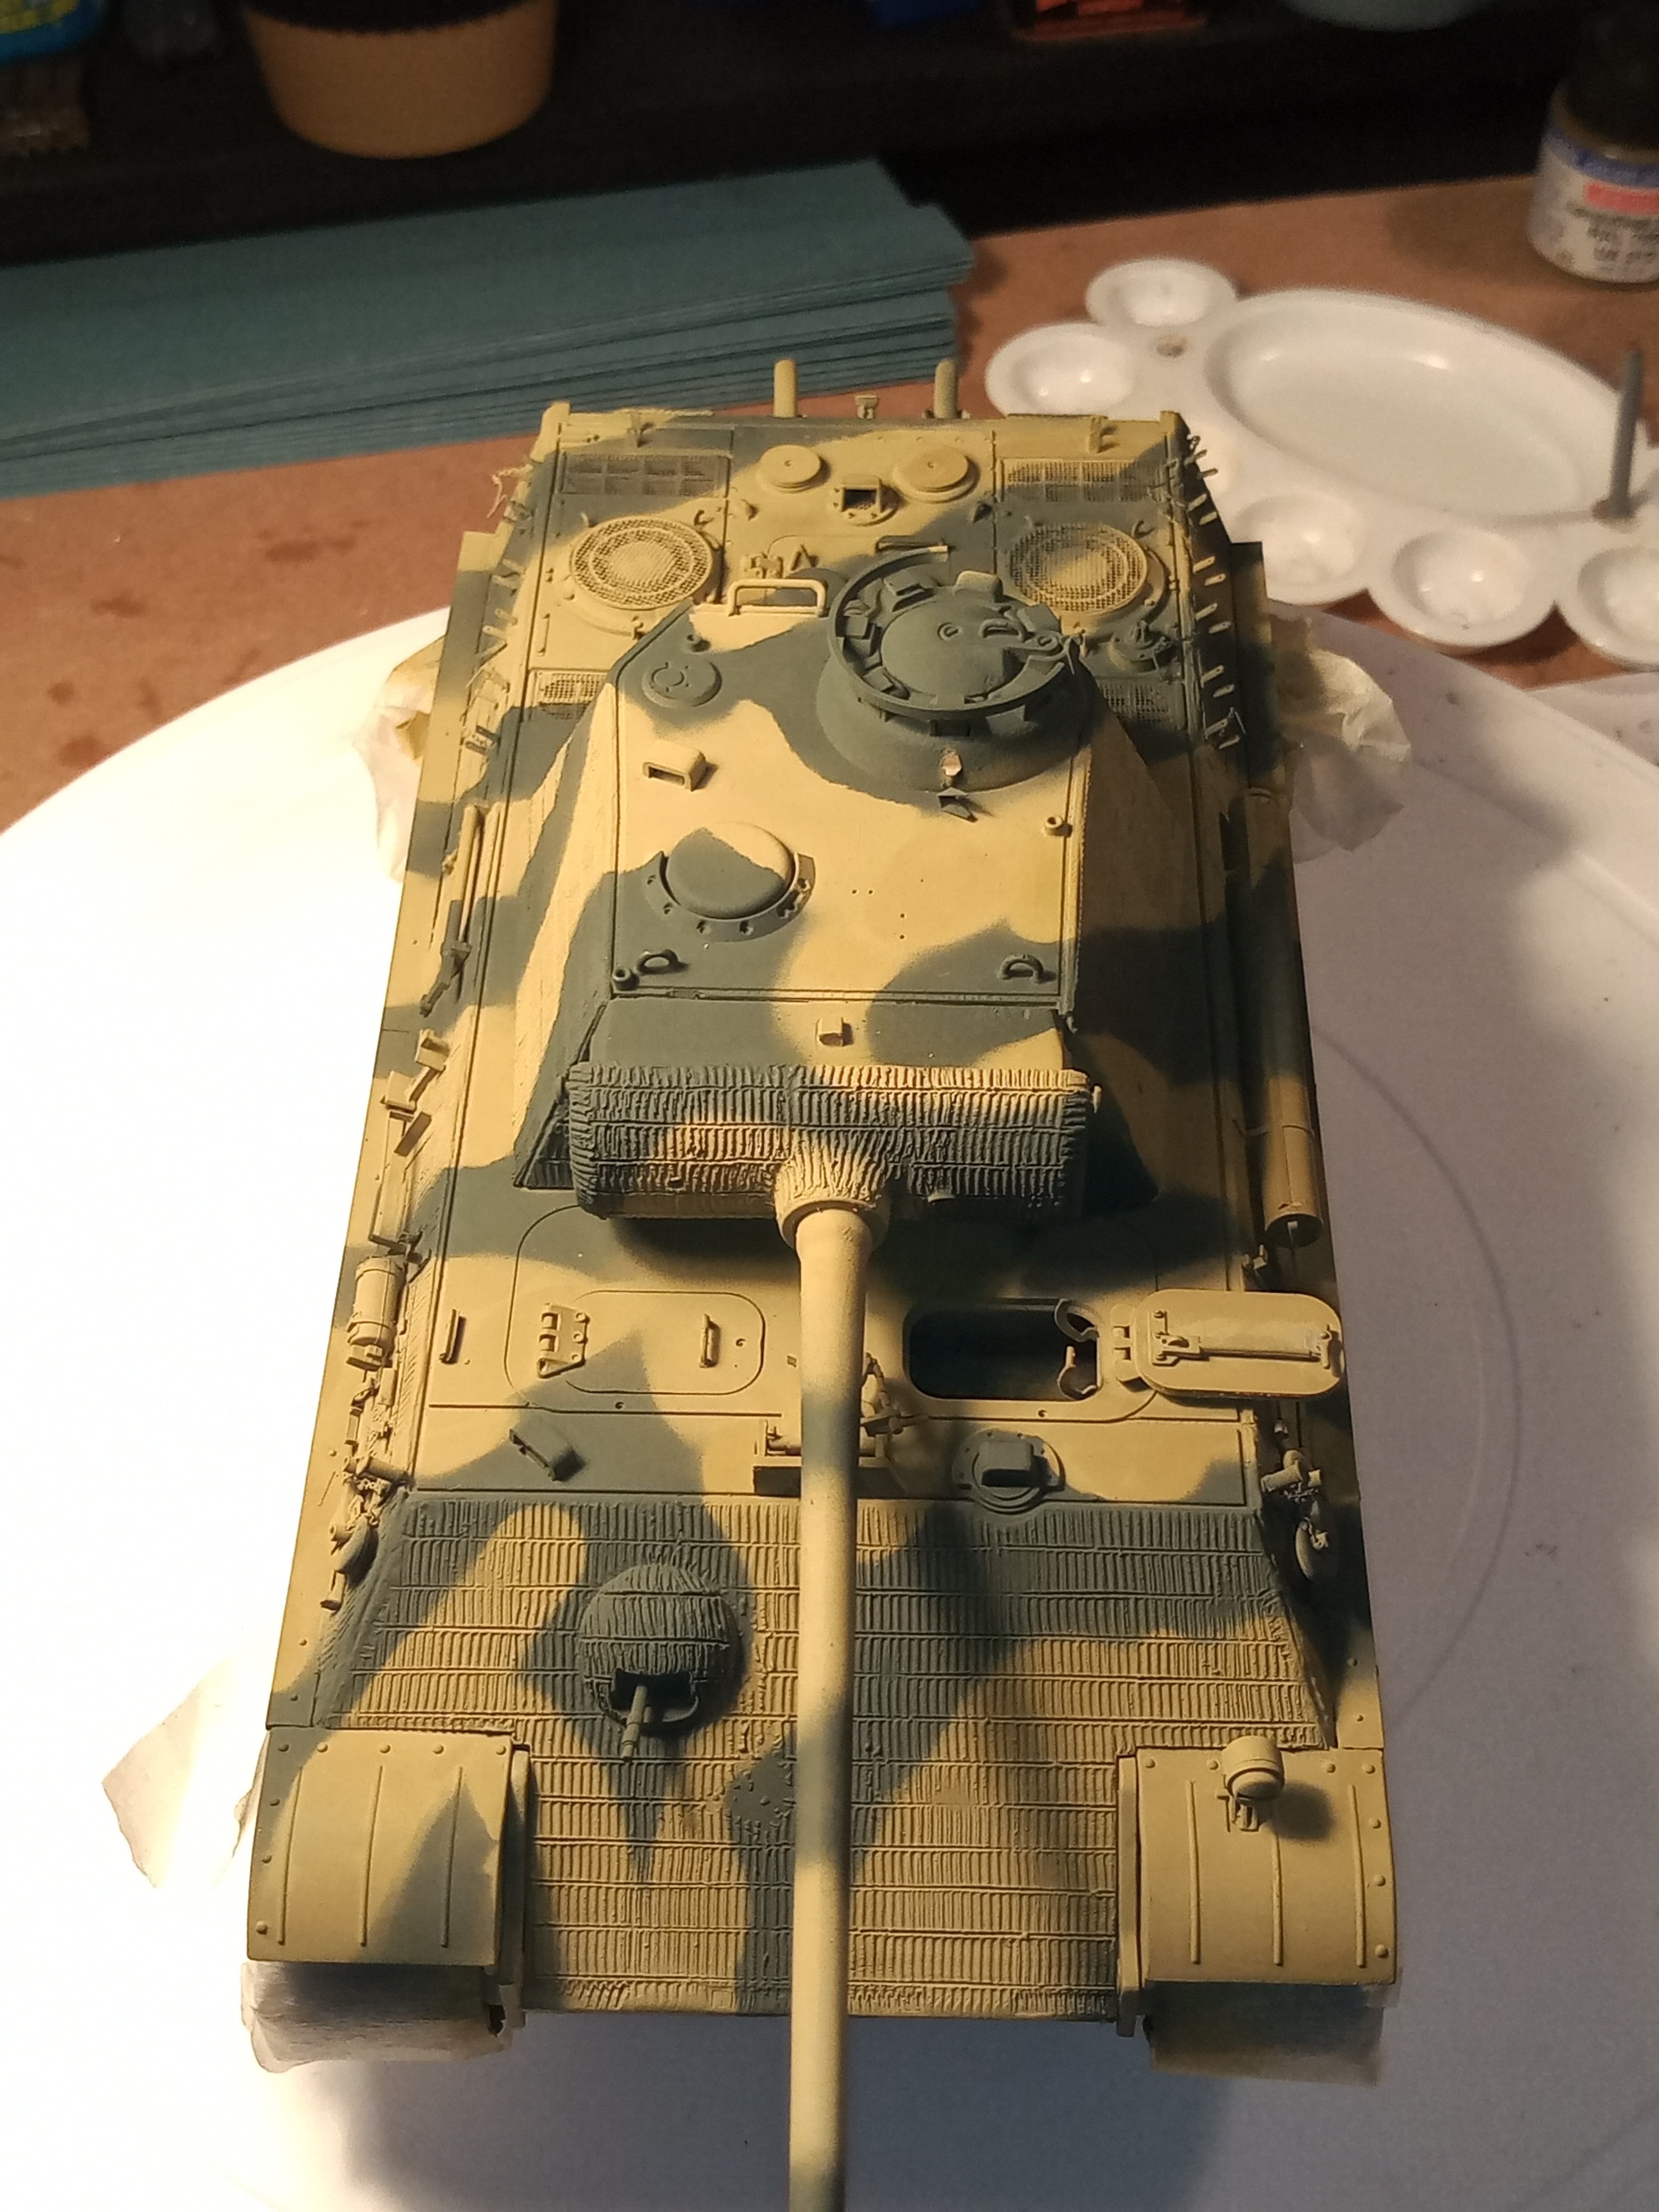
Just used Tamiya xf 65 field grey and made up a random pattern.
I didn’t do the lower hull rear panel as it’s going to be buried.
Only decals it will have are the turret numbers and a few washes.
Still need to apply the various areas that are damaged but I want the paint on first before I started that process…
Looking great John.
In my humble opinion I think that the exhaust and stotage bins on the aft should be made damaged, as after all they carry the whole 50 tons of the tank on them
Gil, its a valid point if that area was going to be on show, but in this instance, the whole rear end will be hidden from view with how I’ve done the groundwork and I will be adding some smaller bits of debris to hide any areas I missed.
Thank you for the input. Some collate damage is bound to show around the aft section, but again my opinion
The build, tank and base look awesome, and will expectantly look for to it
The groundwork has lost a bit of it’s definition with all the earth sprinkled over it, but that will be coming back once the excess is removed tomorrow. After I have done that, I will do the same process on the vertical and sloped areas that need the earth and then let that dry. I will also use the earth to make a better demarcation line as the river bed rises up the concrete sides…stay safe
Sorry everyone for my absence over the last few days, modeling time has been very slim lately.
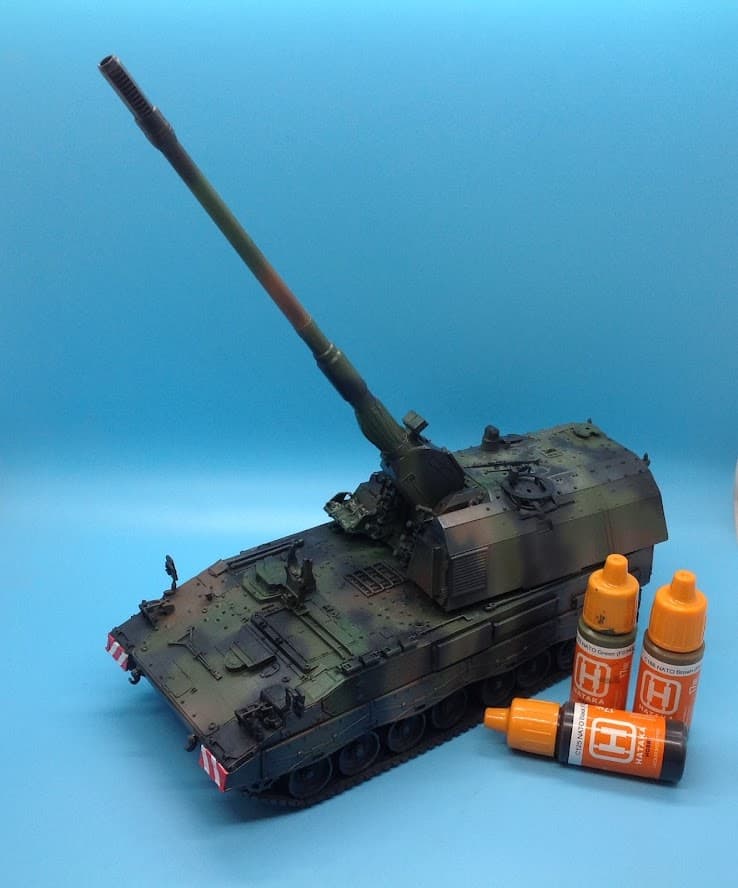
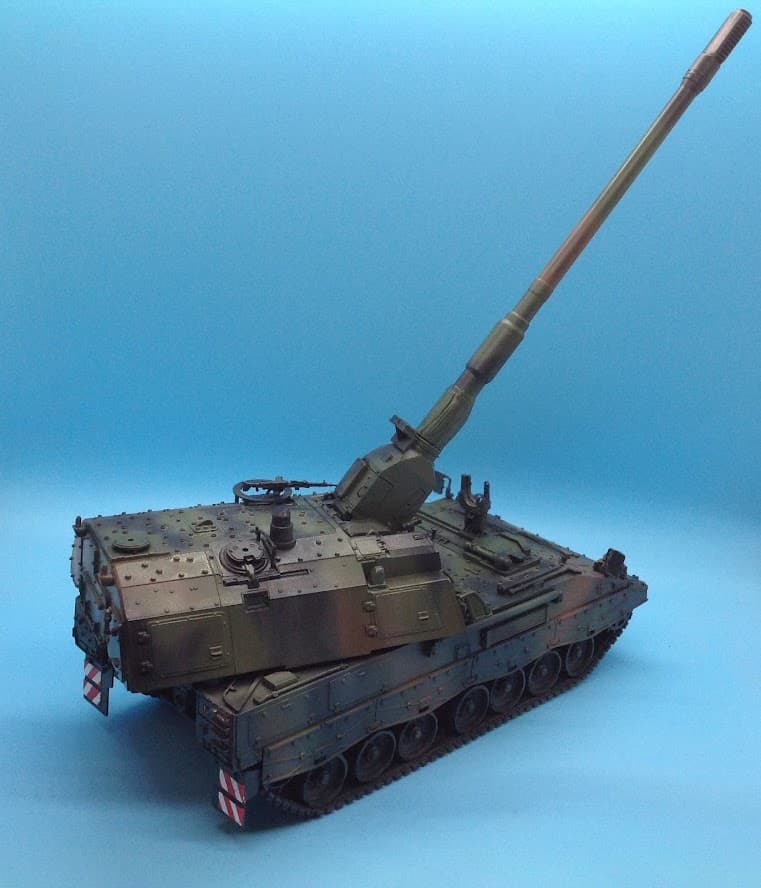
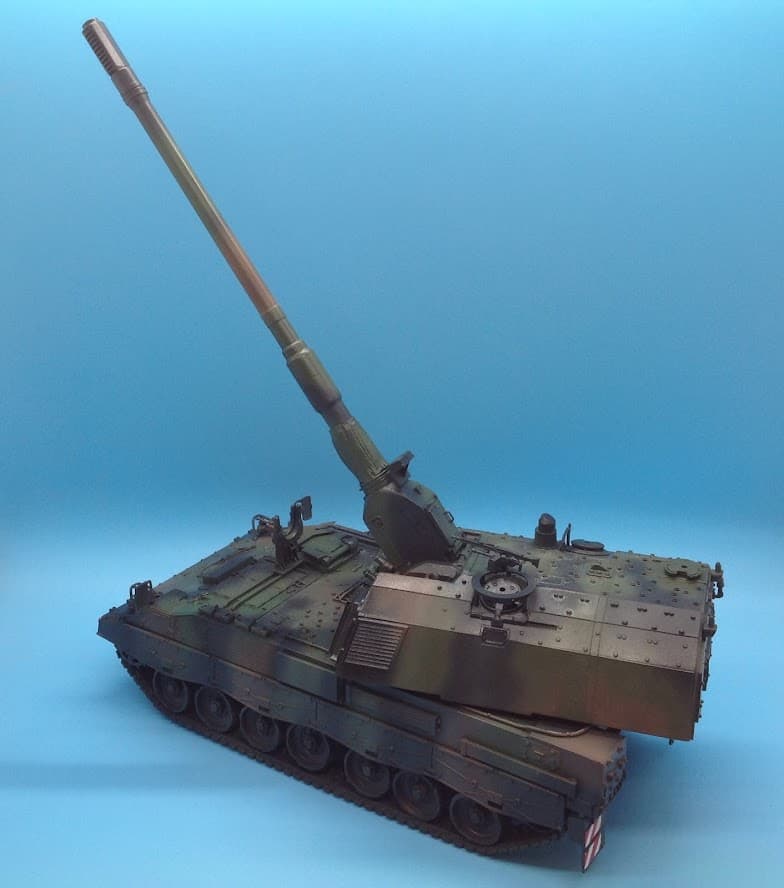
I finally finished building and painted the Pzh. 2000!
Thanks to @SSGToms for telling me about these Hataka Orange line paints! They are amazing and with a little thinner spray beautifully!
In a uncharacteristic move I think I will pretty much leave the model like this. No crazy mud or chipping. Prolly a few washes, oil dot filter, some dust colored enamels and call it done.
Thanks Ezra, and your Pzh. 2000 looks wonderful. And a very nice finish…they don’t always need a heavy weather, and most western nation wagons don’t overly suffer from chipping as the paints are so hard wearing these days. Well done
That groundwork is coming on a treat John, as is the panther, . However, the outstanding element for me at this stage of your build is the appearance you’ve achieved on the concrete buttress, excellent paint job, .
Cheers G, Thats very much appreciated coming from you and your building and ground work you produce in here
Still a bit to do with the still water and ageing the concrete, but it is getting there slowly
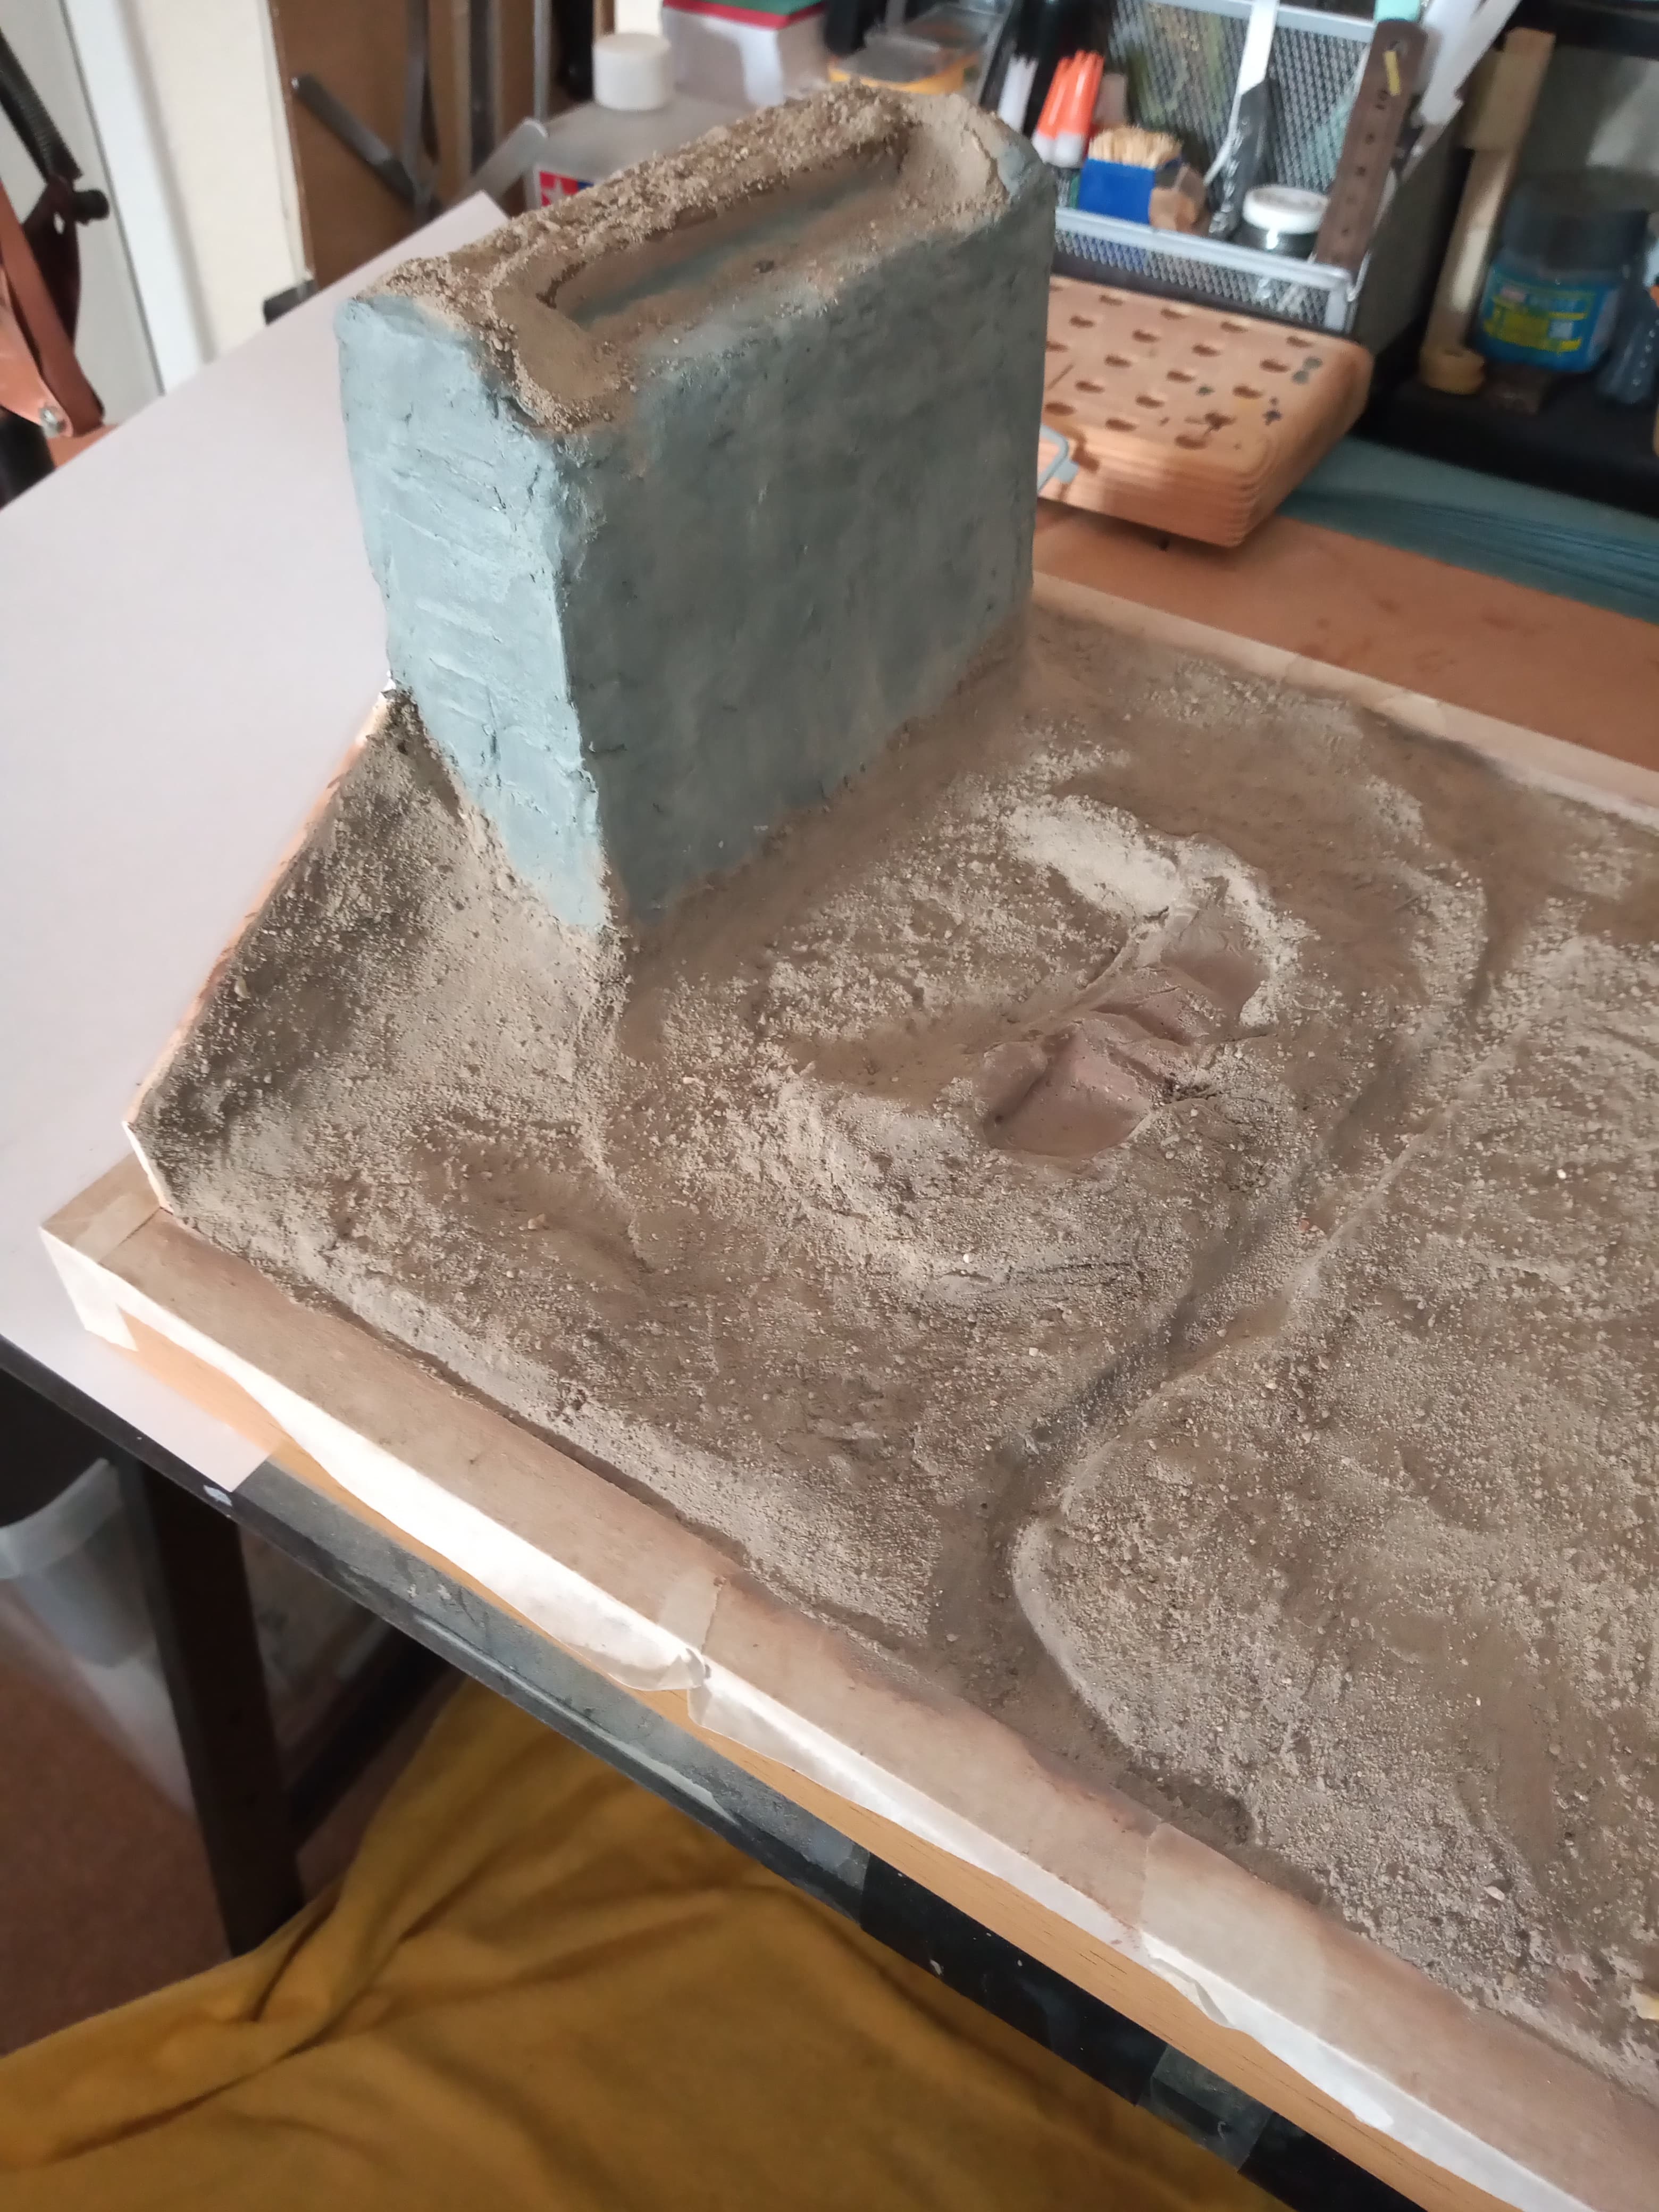
Got the dried real earth down on the groundwork and just need to fill in a few areas that need patching up and the tops of the bridge ends need another light layer.
Also need to do the walls to each end and both side of the road way.
Now the major parts are done I can now start done tuning it all so it blends in.
Panther still needs detailing in all areas.
Considering doing one figure to show some scale.


 . However, the outstanding element for me at this stage of your build is the appearance you’ve achieved on the concrete buttress, excellent paint job,
  .
.