Thanks Don. I’m actually very very impressed with it, it’s the AK puddle effect. Couldn’t be easier to use. They also do a Still Water one as well, and I will probably get one or 2 bottles of that as well. I highly recommend it.
1 Like
John that puddle stuff is very effective. Did you tint it at all?
1 Like
No it comes with that dirty brown muddy water tint…will keep you posted Matt as I build up the layers 
1 Like
Thats looking better and better John! Cant wait for more!
HI John. I am not sure if this stuff is like resin or not, but if it works the same, Heat will help remove bubbles.
Try heating up the puddle effect in hot (not boiling) water for 5 to 10 minutes. Pop it in a zip lock bag first to keep the bottle dry.
Also, hit the dio with the hair dryer to heat up the ground work just before pouring.
If you have a butane torch heat up the resin after you pour it. Or use the hair dryer on it.

1 Like
I’m not sure what it is actually made of @petbat , but I think it was concocted by witches or sorcerer’s… The (very few) air bubbles were easy to get rid of just using a pin, it pours straight from the bottle…
1 Like
That water effect is looking good John,  …how deep are you intending to make it?
G  .
.
1 Like
Yeah I really like this AK puddle effect. I will add another layer tonight, probably 1 or 2 mm, and let that self level and set. It will go to near the top of the small channel its in, and i will also be adding some individual strands of grass into it. I do recommend it though, it is very good.
2 Likes
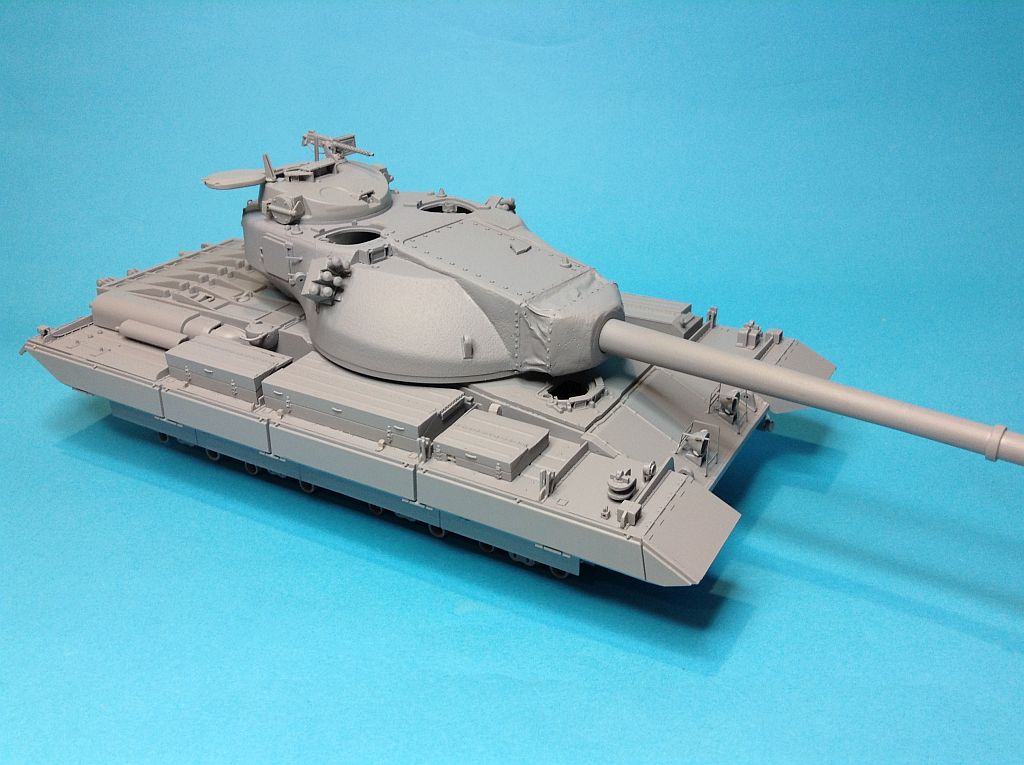
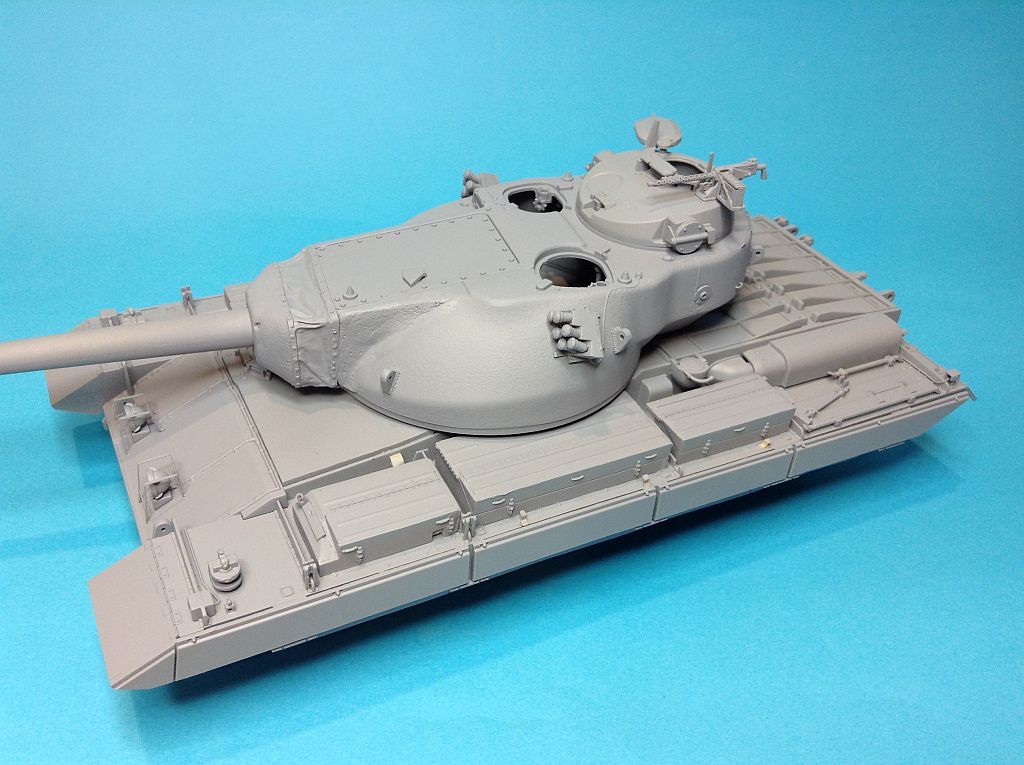
Okay, finished the build and put a light primer coat down to check for flaws. As expected, a few touch ups to blend in the edge of the two part putty to the turret, but otherwise looks okay.
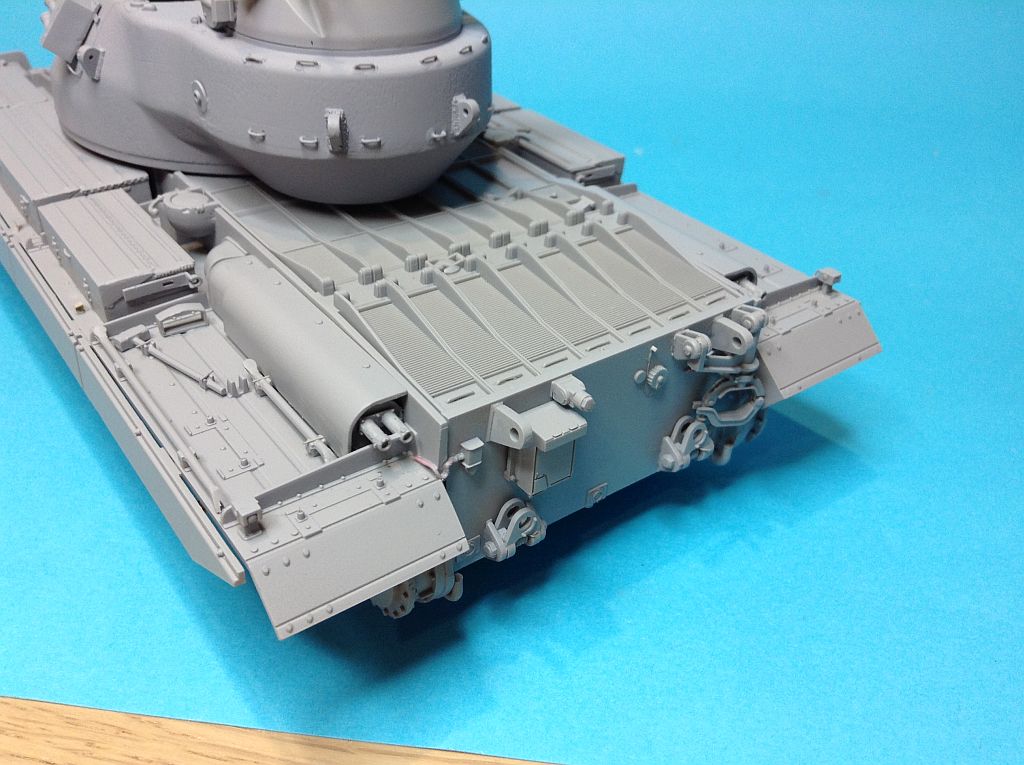
I forgot to take pics of the hull before primer. Only things I added were:
1 The retaining bolts for tools;
2 The fire extinguisher handles and the wiring and entry ports into the hull side behind the bins (and the ‘wall’ for the handles inside of the bins; and
3 The different gauge wiring for lights and the retaining chain on the rear hull fitting.
Amusing hobby have wiring to a point for the smoke candles, headlights and side lights, but you have to add the last section that joins the light to the end of their moulded in cable - the part that is not flat to the hull.
Just realised I forgot the butterfly nuts on the tool retaining bolts…
6 Likes
That’s a pretty impressive chunk of plastic Peter. Looks very nice with how you’ve got it so far. I’ve dropped a few hints to SWMBO for a possible Xmas pressie ( the hint being a direct link to a kit lol)…
2 Likes
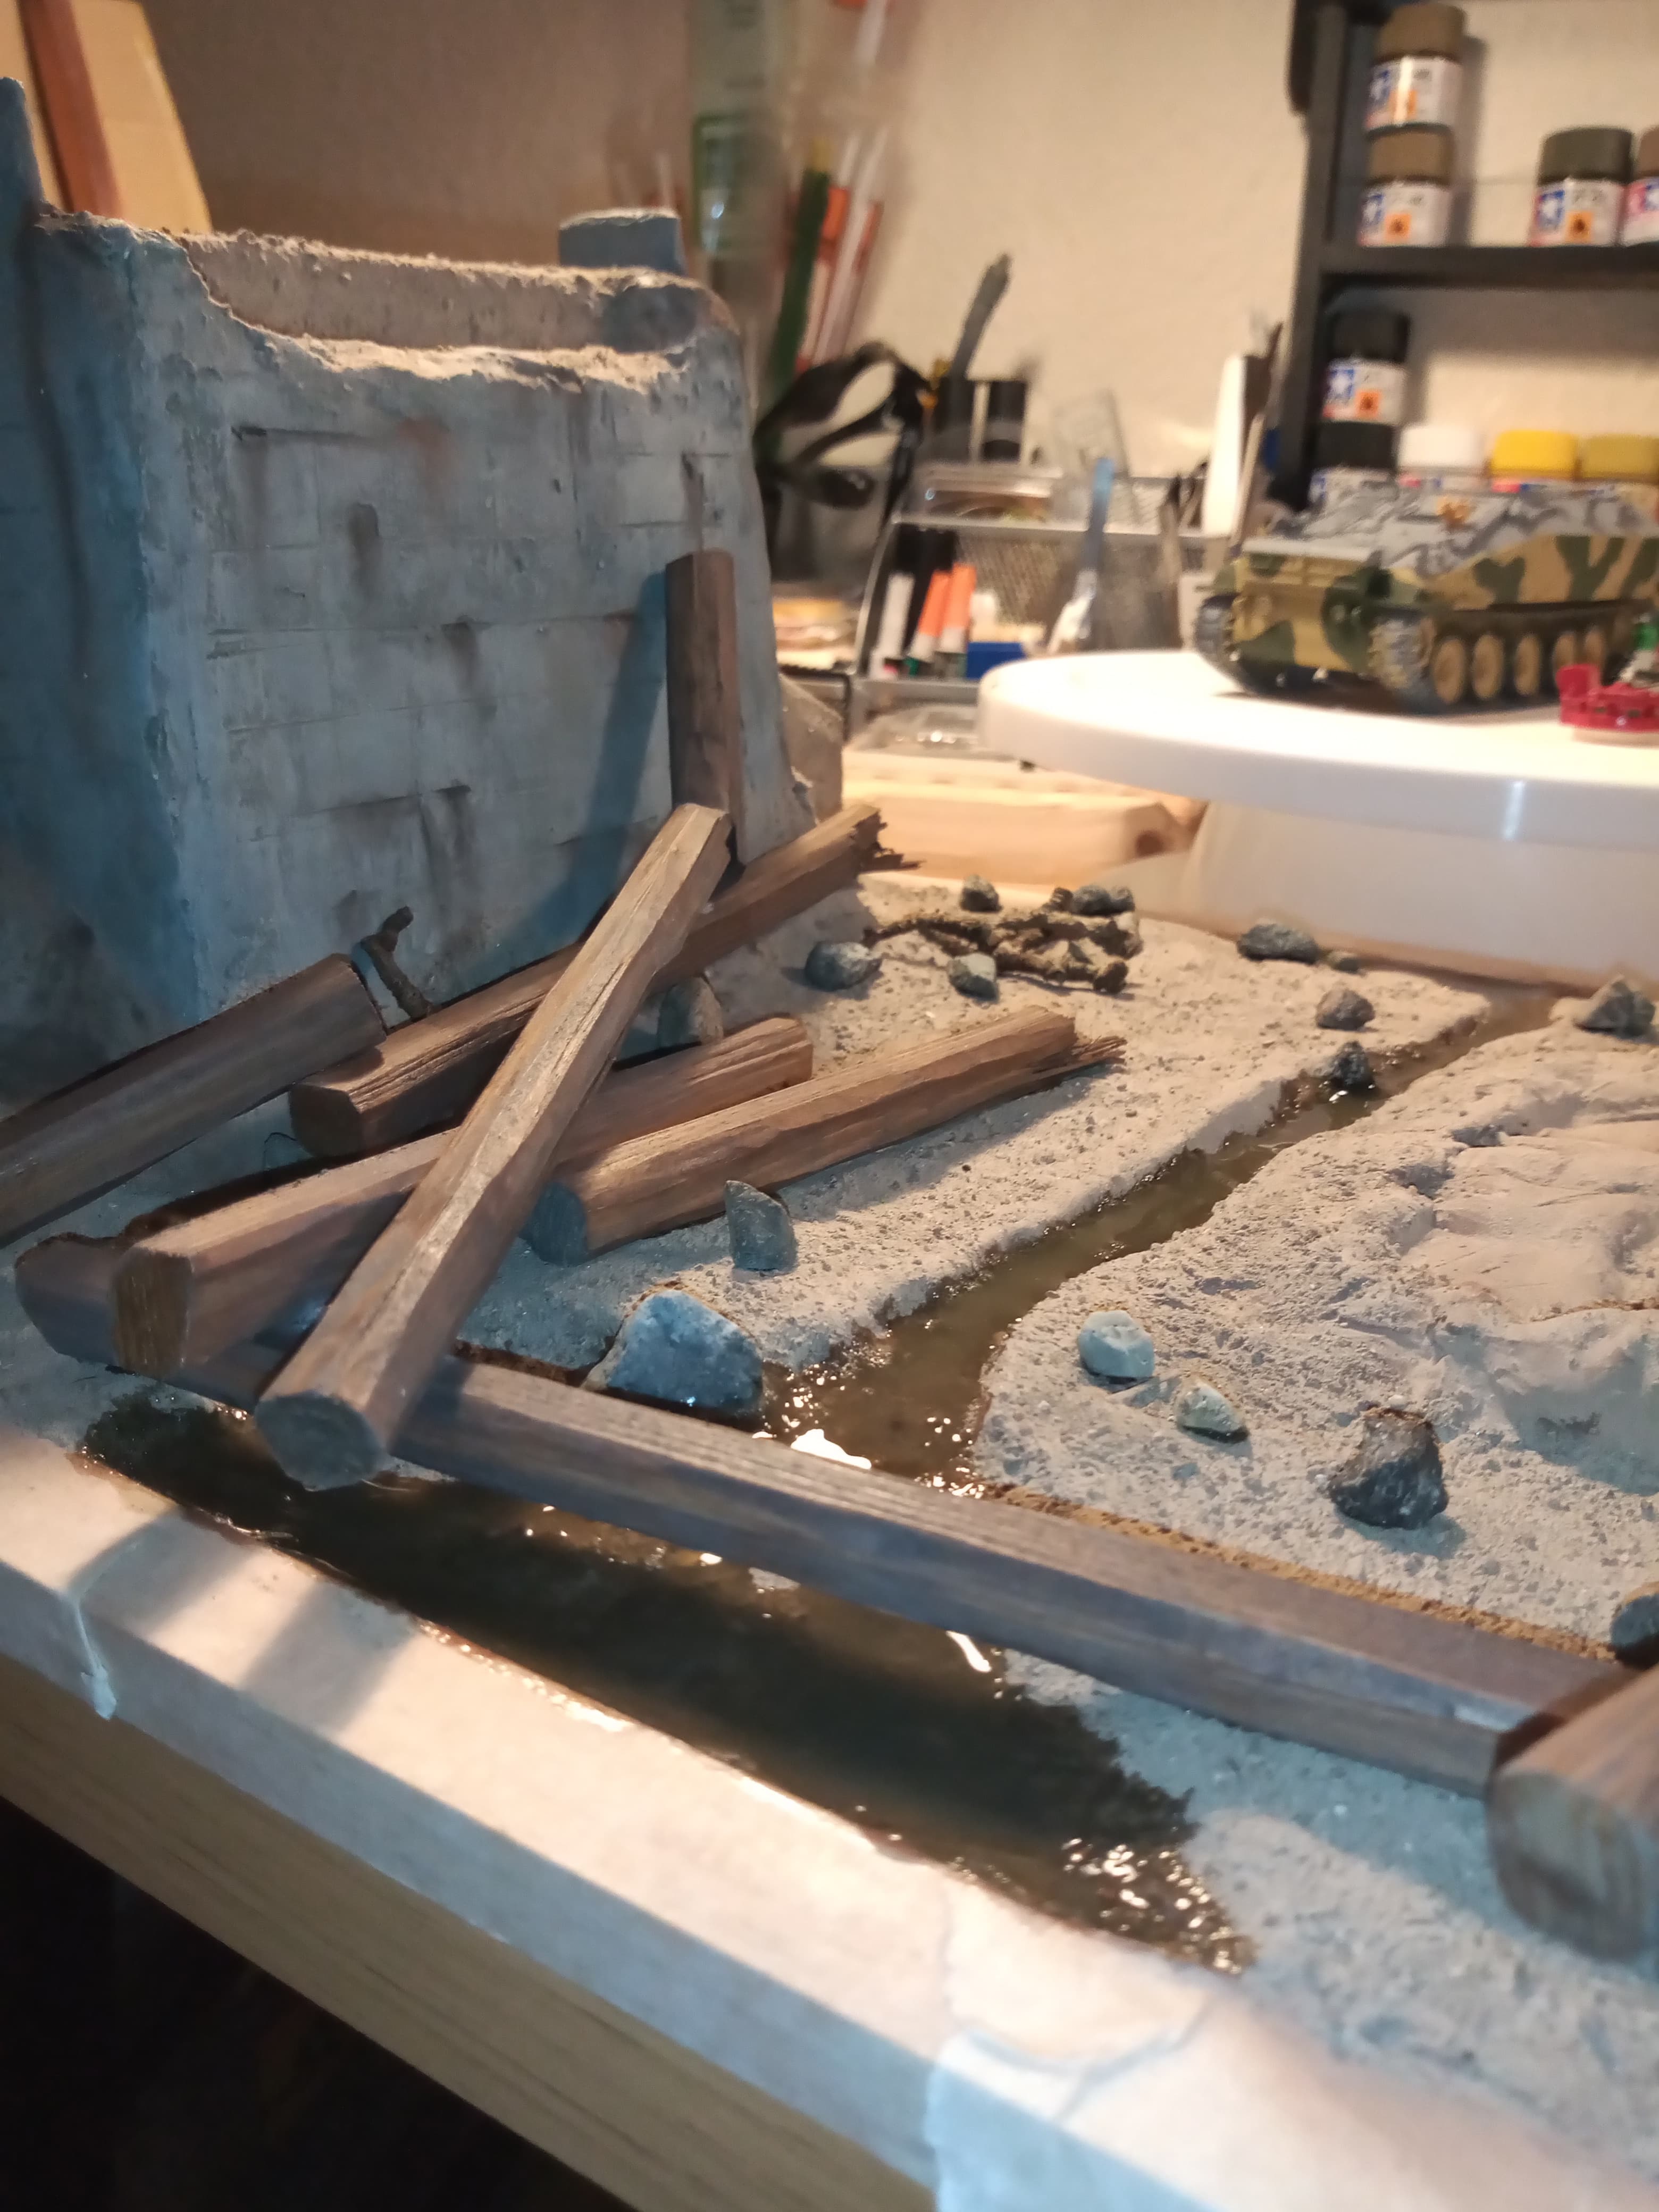
Got another layer of the puddle effect down before I hit the sack.
Also managed to raid the carpenters shop in work today and got some saw dust so I can try @G-man69 method of doing moss, but will do that in a few days.
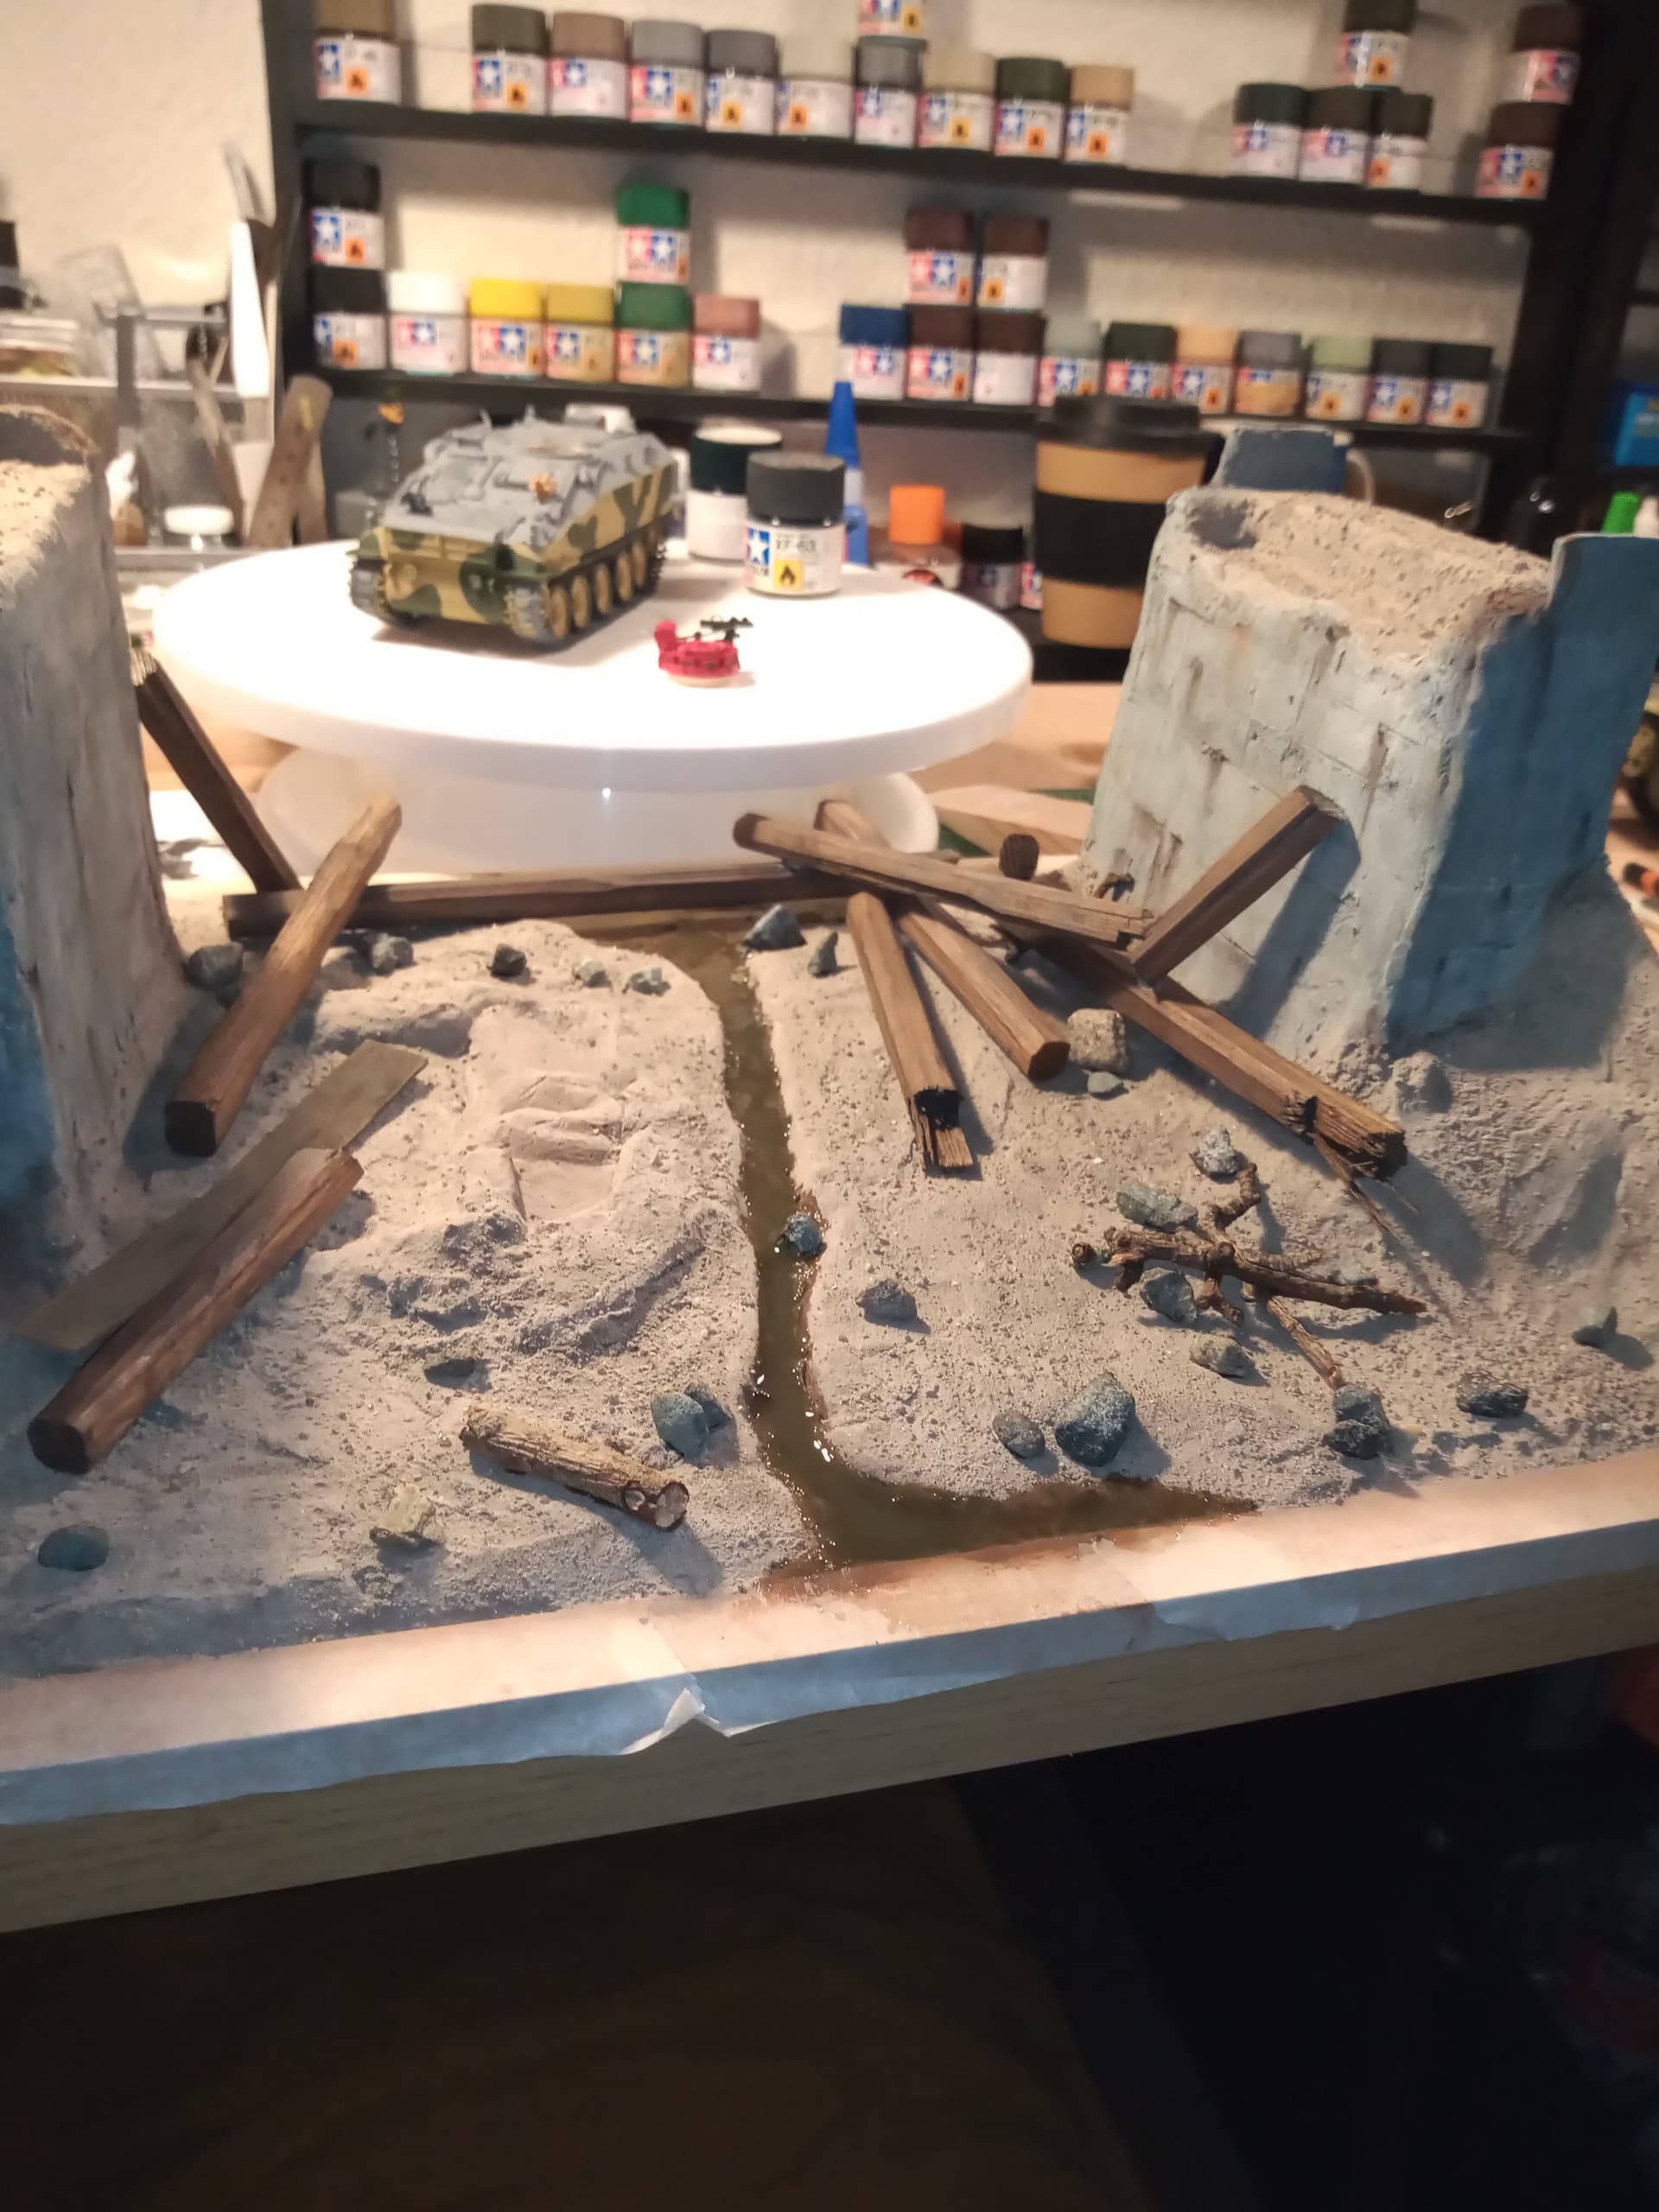
90% of the wooden beams are now secured in place. Just one or 2 to add and the roadway planking.
7 Likes
Coming along very nicely John, I was just looking back at the original photo & it’s not exactly clear to me what gave way, given none of the (visible) beams seem have splintered at all. Presumably the left-hand pier-step they were resting on disintegrated along its entire length…? 

1 Like
It is tricky and was discussed a bit further back about the cause of it all. There are (or I can only find 3 images of it all, and none from the RH side. One is from the top and with some blokes on the hull front around the barrel, one from the LH side with the same blokes around the barrel and you can see that the river bed has been cleared and its probably getting close to being recovered. The other one is very close to the event after it happened and there is a large amount of debris piled up behind the G.
Image for discussion and ref only

This shot must of been very close to the event after it happened. You can see from the angle of some of the beams to the right propped up against the RH pier that they have obviously snapped/ broken just by looking at the lengths that are visible ( I would say at least the 3 that are resting against the pier have broken), and they cant be buried into the soil as it couldn’t of been that soft and the force/angles wouldn’t work out., so they must of snapped. The event cause is nigh on impossible to come up with a definitive answer there are to many possibles. One or 2 weak beams snapping/breaking, one of the pier ends failing and the beams slipping down, a combination of both etc etc. It is a good pointof discussion though
Sorry I had a feeling I was rehashing – you’re right those big beams wouldn’t reach to the other side, they’ve broken. Mystifying how the thinner beams at right angles came to rest though, nowhere near enough to have been cross-beams although that must be some more of them visible beyond the tank. A few seem black compared to others around them – burnt? Maybe it was originally a rail bridge & German engineers were in the process of repairing it with the big logs, using the tank to haul them across into place until the driver hit reverse by accident? Trying to reopen a rail line might explain why they didn’t just drive around it, looking at the flat-ish terrain beyond
1 Like
This is where the time machine would came in handy …  wouldnt that make modelling a lot easier lol …
The one piece of wood I can make no sense of is the semi upright one in the centre with the 2 bits coming off at angles. I can only think its some sort of central support that went underneath ? but I cant visualise how the angled pieces would work or what they would be supporting. A bridge like that would surely of needed some form of support under it, as I cant see any areas in the RH pier that supports have ever been ?
I have written off any form or repair being done, and I dont think they would use a tank. In the heat of battle or even close enemy proximity, the tank would be in its primary role, and if it was out of combat, then the engineering unit would be called upon to repair using its own kit. I think this was a genuine bridge collapse with the wagon probably 1/2 the way already off the bridge when the failure occurred and it rolled back and down. I also wonder just how many of these type of accidents were never documented ?? I think we are lucky to have even these 2 or 3 images of it, shame there are not more from different angles though.
1 Like
That groundwork is really looking good John, especially with the collapsed timbers in place, .
If you want some really fine ‘moss’ I’ve been experimenting on my 1/72nd ‘quayside’ diorama with a thick paste made up from talcum powder mixed with various cheap green acrylic paints, when it dries it gives, imho, a nice mossy effect (see original image and cropped close-up of timber bumper rail below).

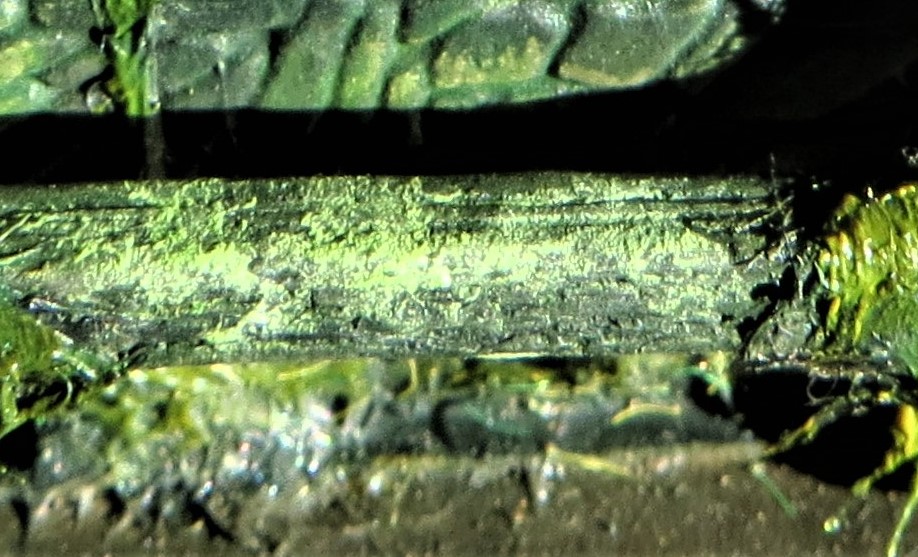
Might be too fine for 1/35th, but just sharing a possible solution, .
G
3 Likes
Cheers G, I will happily try all avenues to see what I can get to work. I have the sawdust I got from camp so will have a play about with that as well like you mentioned
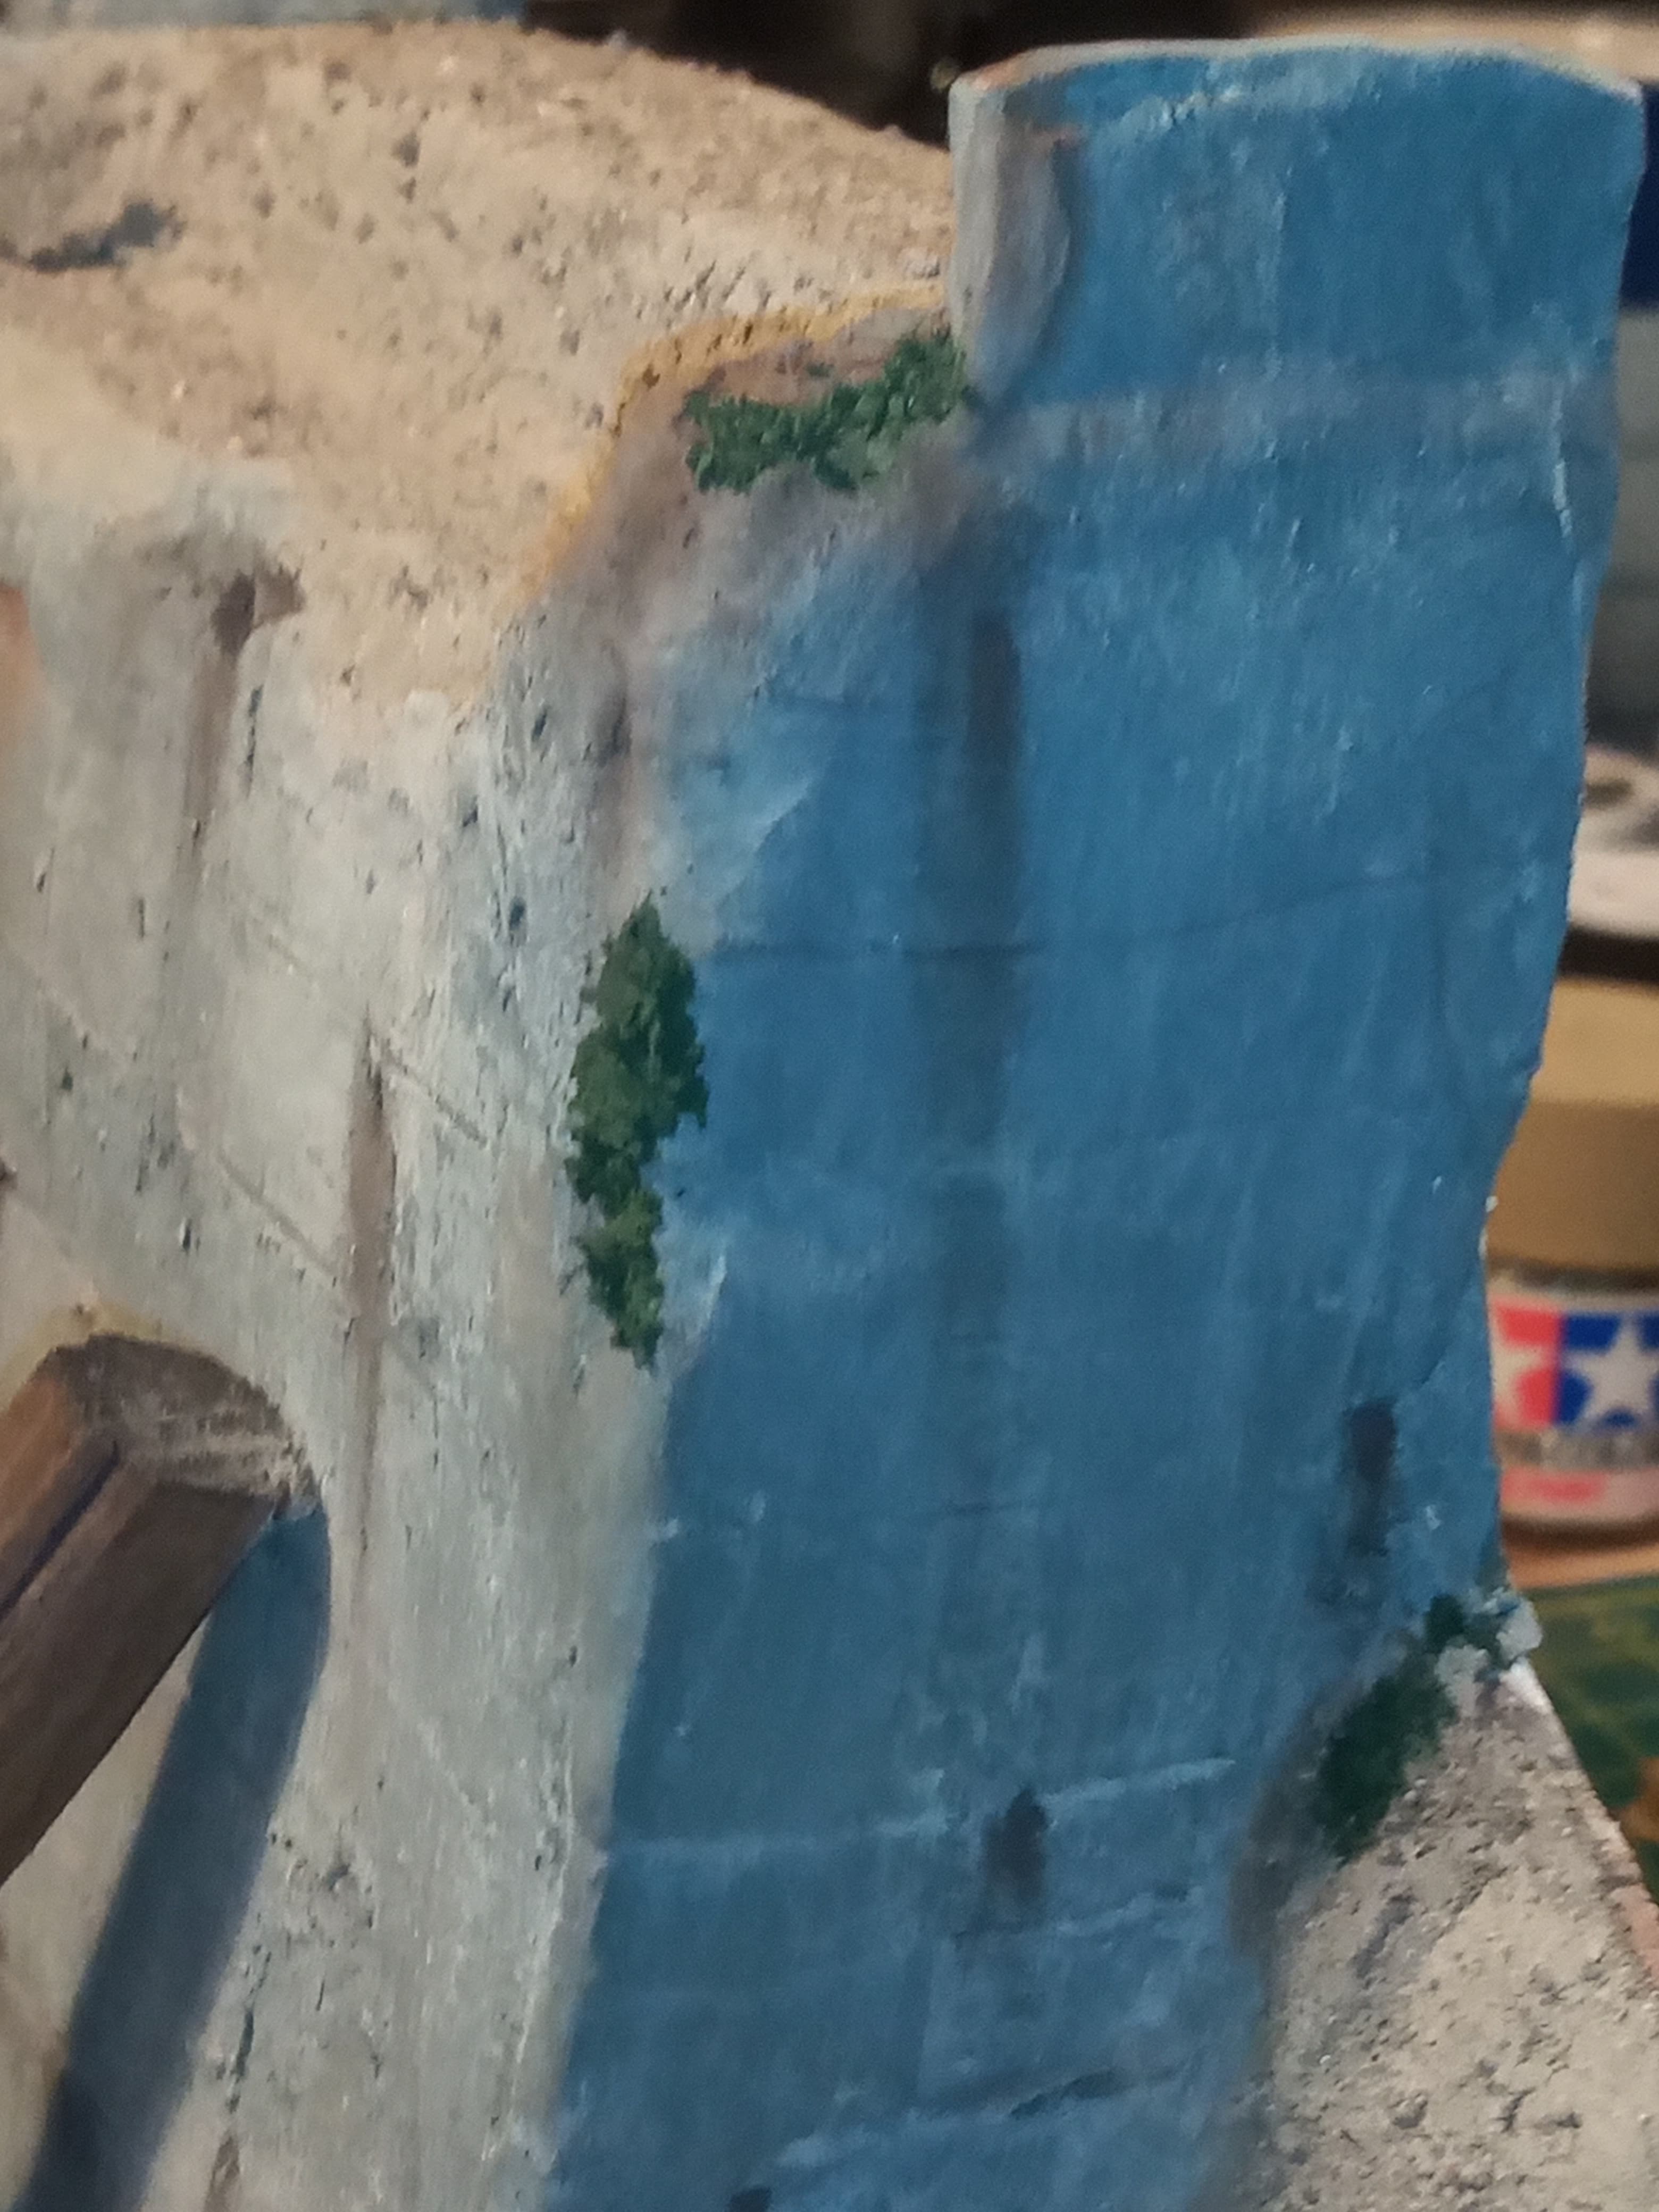
Well I had a little play about with the moss type effect using sawdust and some green paints.
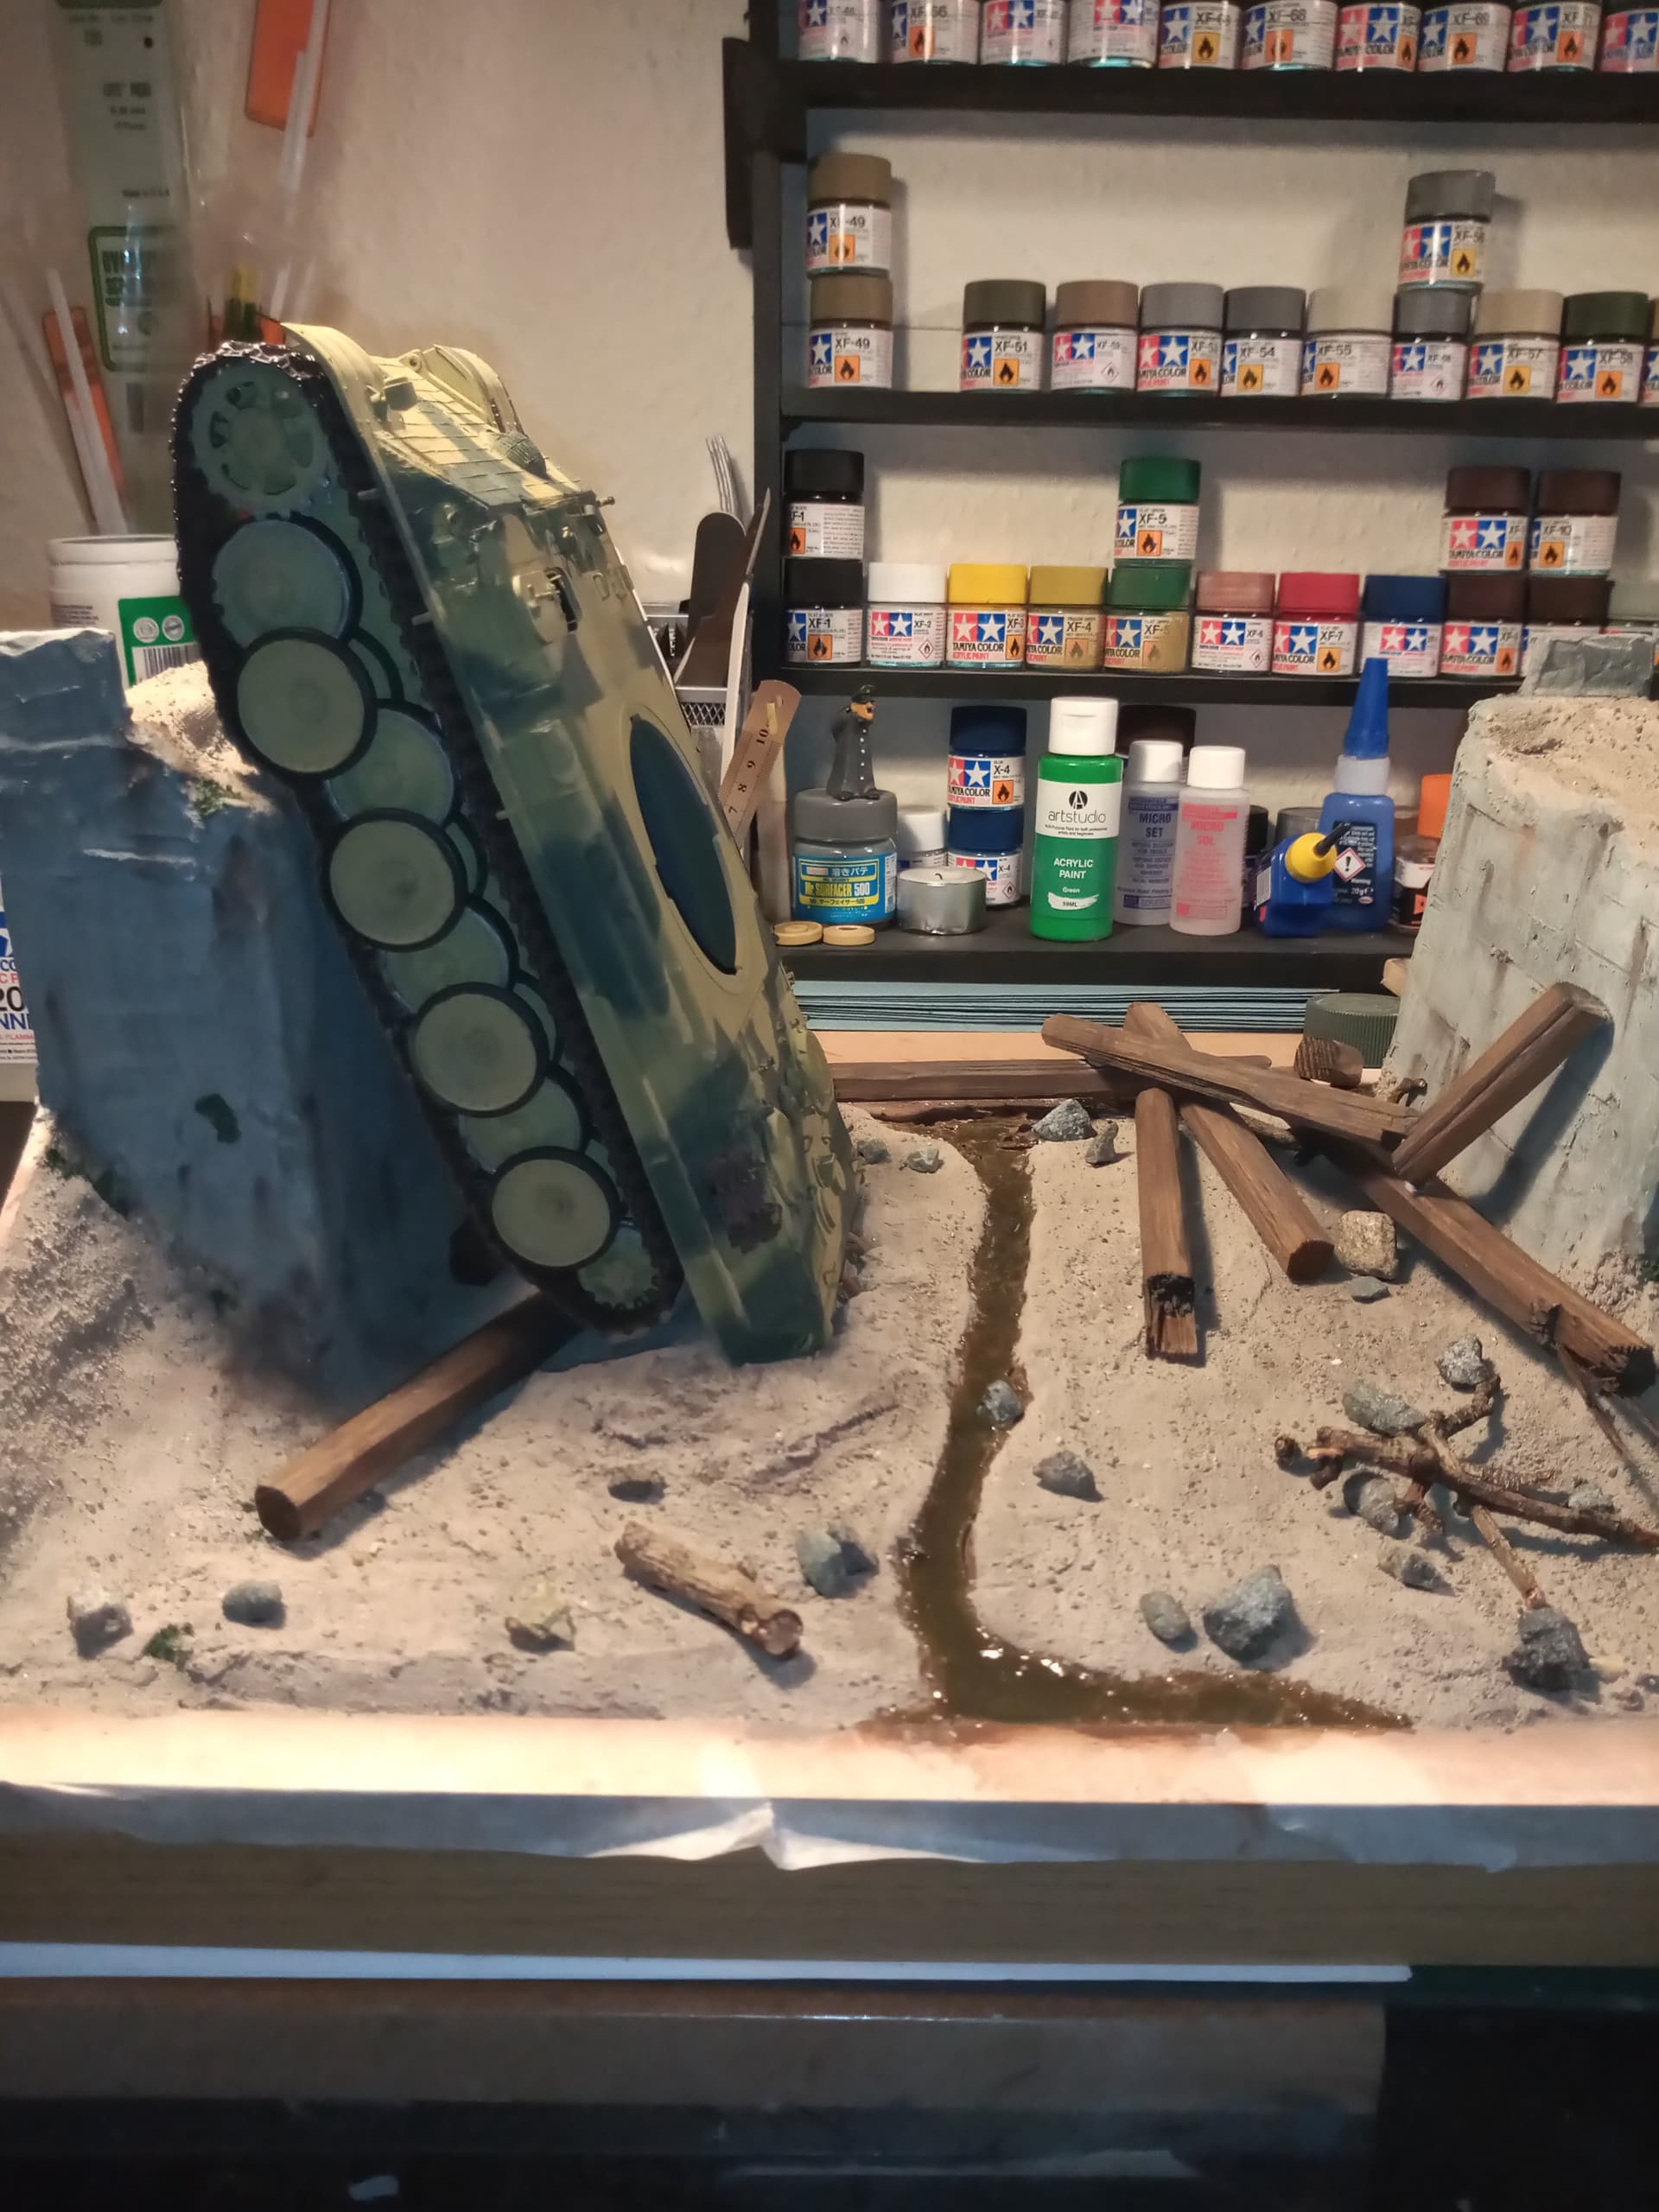
It’s not as bright as what G has gone with on his quay side scene as I figured this was a pretty dried river bed so any moss or similar would possibly be a bit darker

The whole groundwork will be getting a darker wash towards the end to hopefully blend it all in and some earth pigments strategically placed.
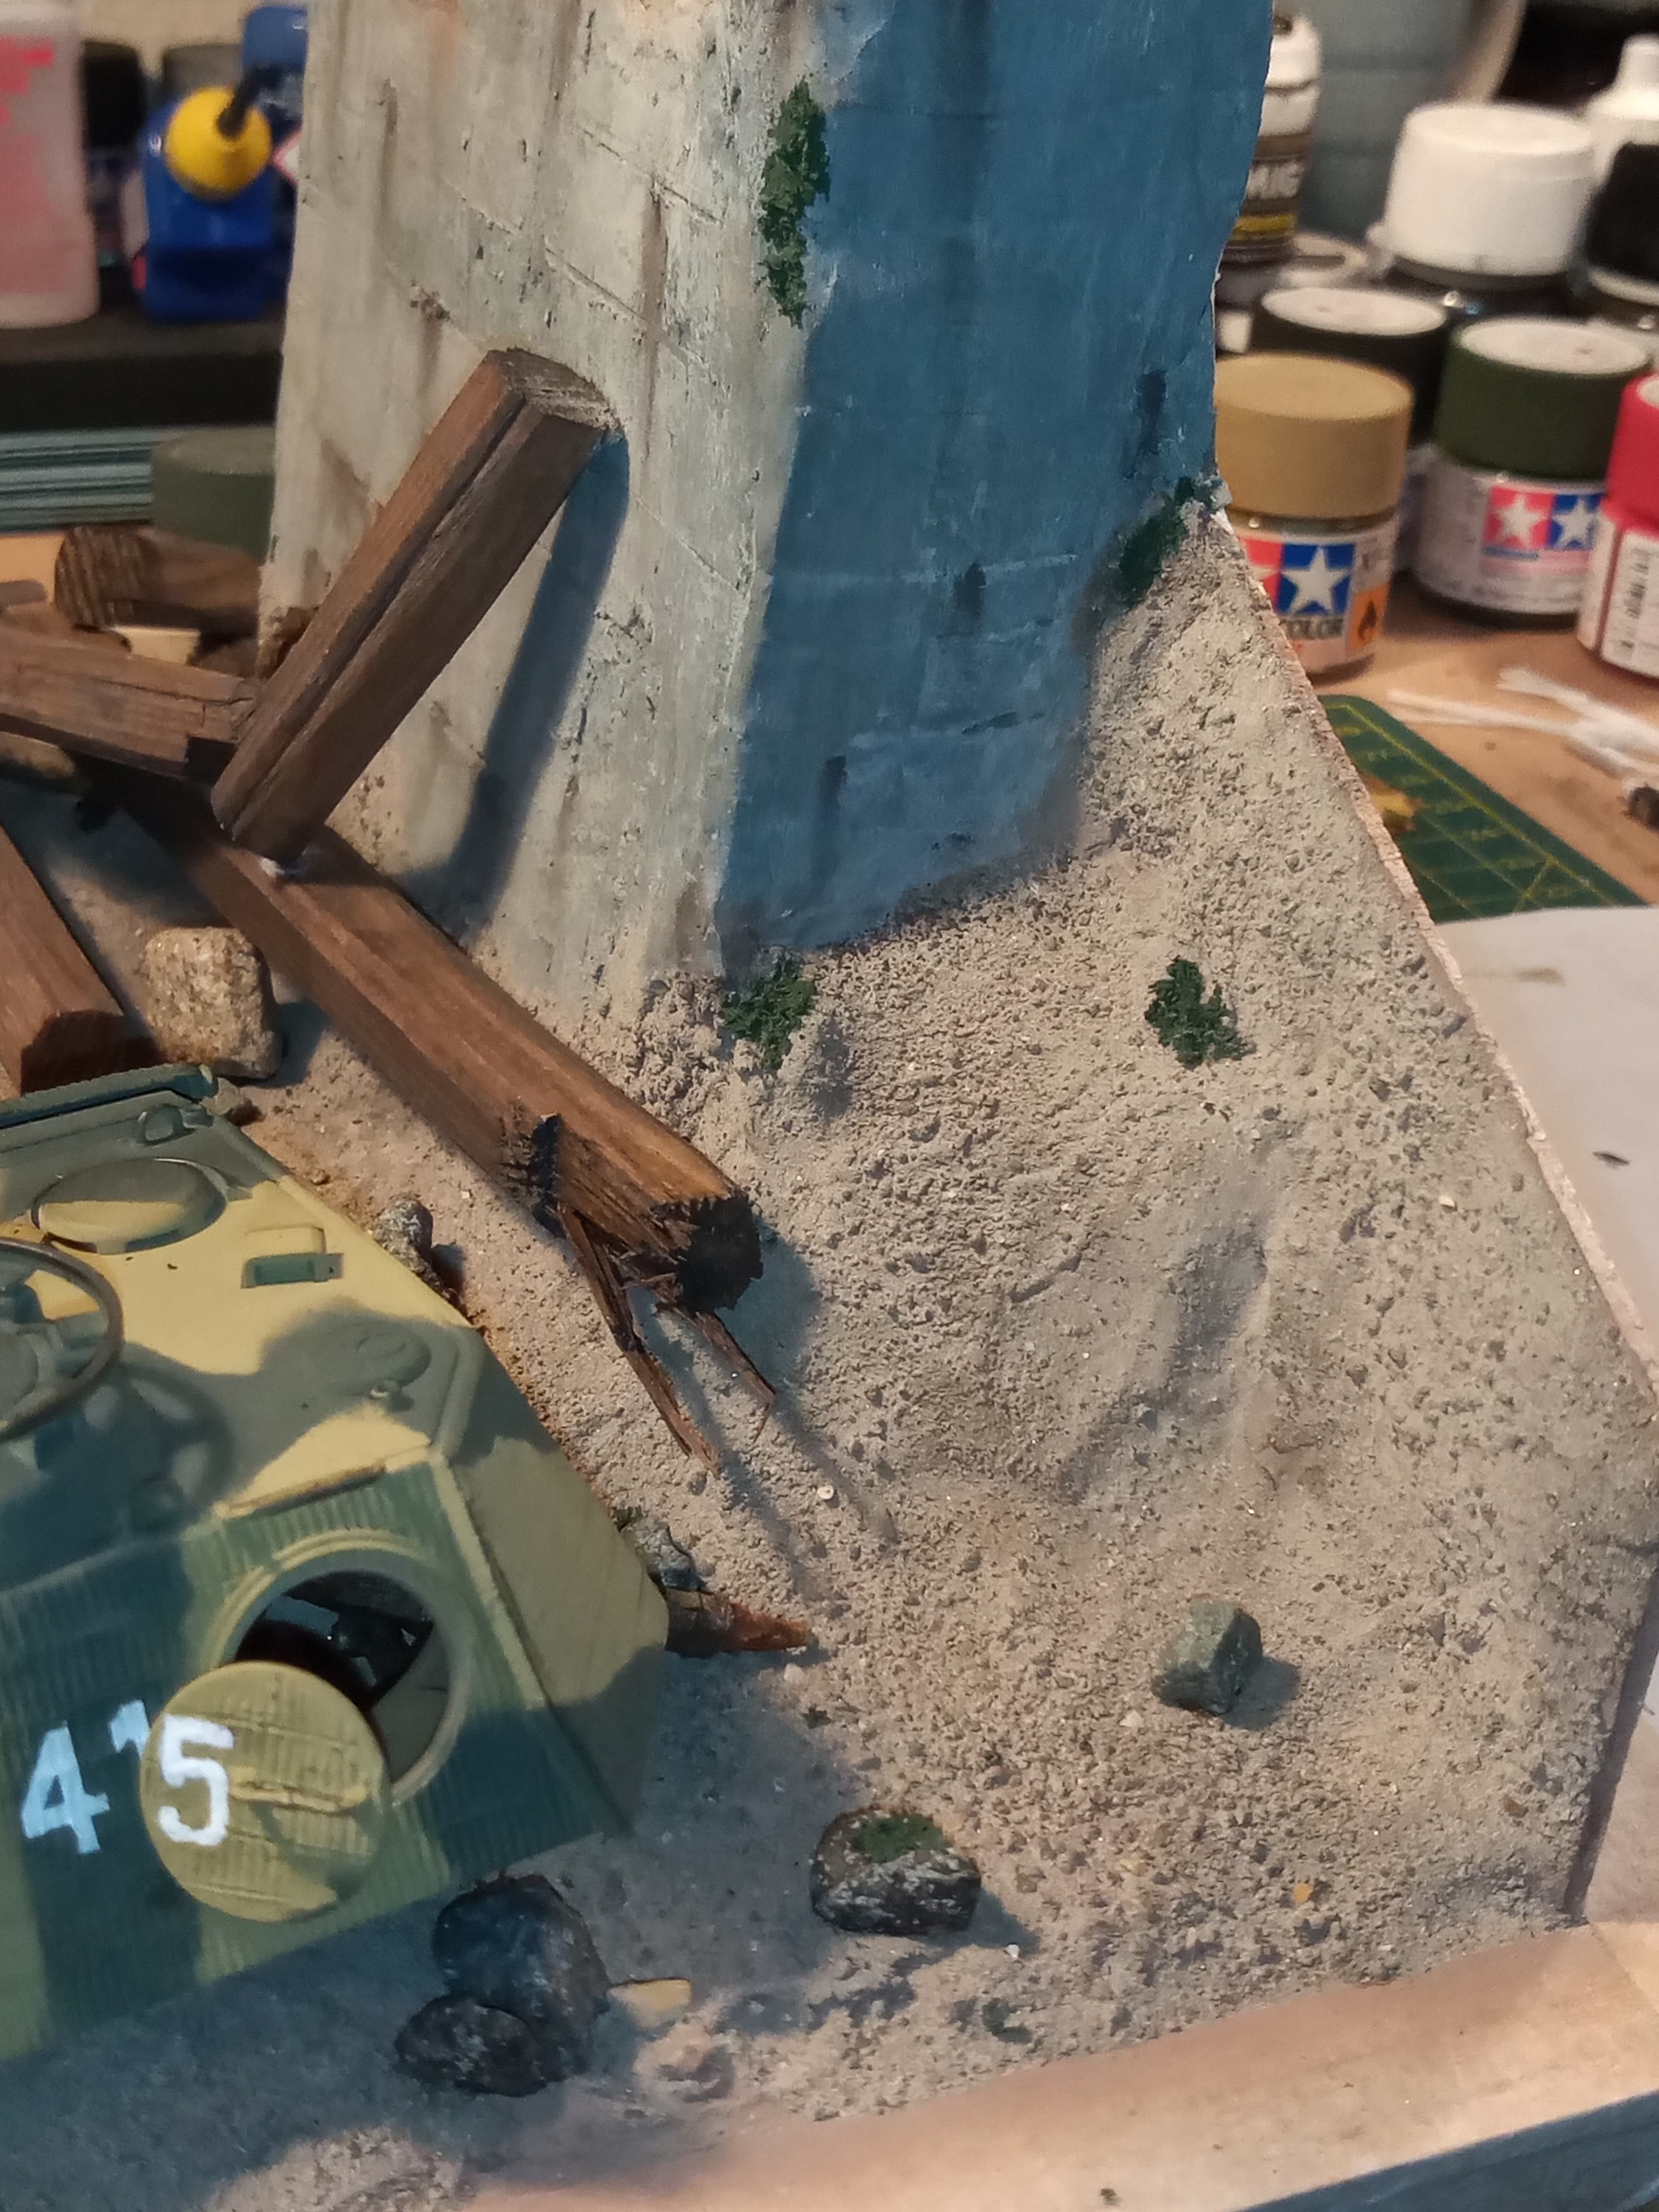
I am fairly happy with happy with how the moss effect looks now, but will experiment a bit more with some different green tones in other areas.
6 Likes
I think you actually need to go a bit lighter tbh. Moss tends to go white around the tips? edges? When it dries. Maybe a dry brush with a very pale green or grey?
The effect is quite good though. I’ll remember that one.
2 Likes
Will give that a go tomorrow Don. Happy to try all angles for a good look