Famous last words. ![]()
![]()
Best of luck.
Famous last words. ![]()
![]()
Best of luck.
I would have cut the decal out and used the backing as a template to spray through - but I am not sane apparently… 
No way my nerves or sausage fingers would manage that…lol
The damage to the cleaning rod tube looks great John, and no one would have known about the screwdriver gaffe if you hadn’t mentioned, 
 .
.
G 
Cheers G. It needs tidying up a bit, but I wont do any more to it, it looks close enough now. Its always good to share the gaffs … makes it more real then lol
Amen to your gaffe comment John, least yours wasn’t as terminal as mine,  .
.
G .
Okay, I am officially not doing the picture that I chose. I have struck some issues:
I could cut it all away and start again, but I can use what I have and make what is depicted in another photo… so I’ll progress with that.
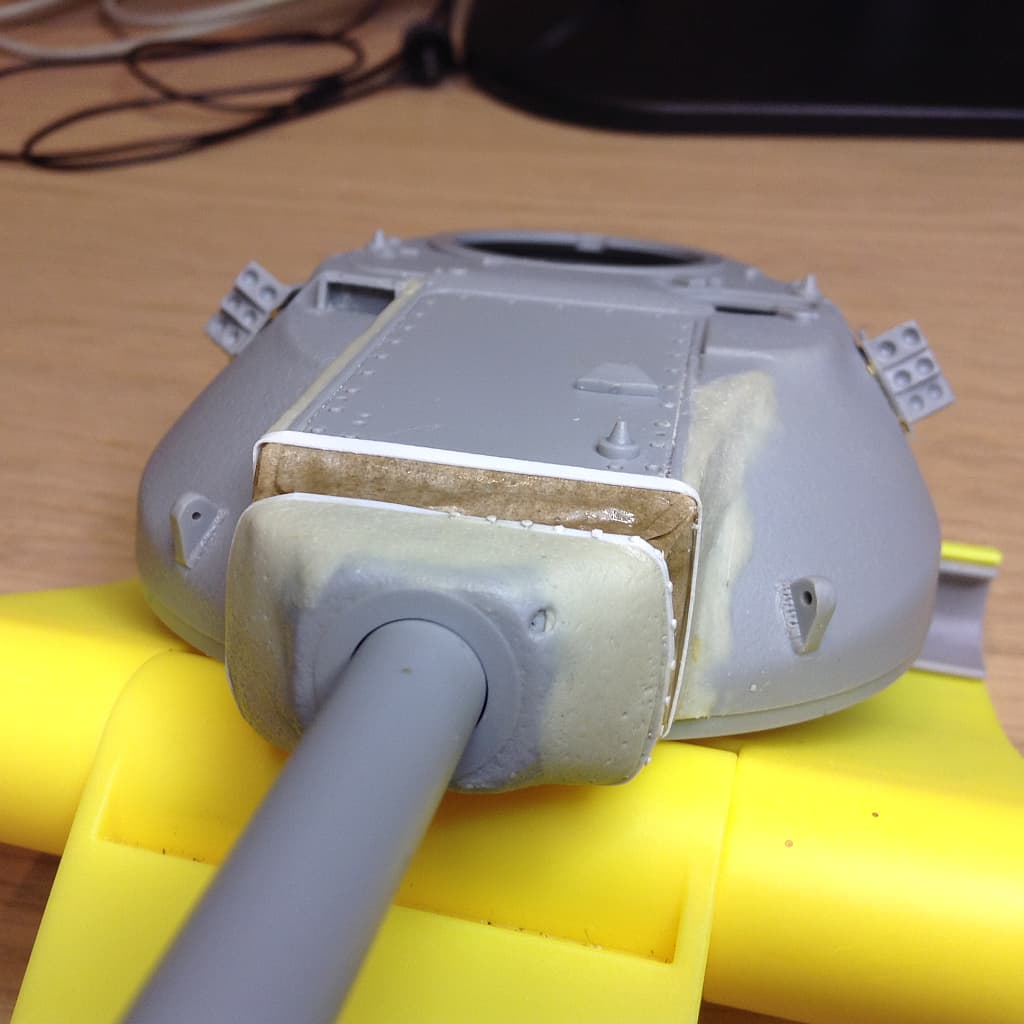
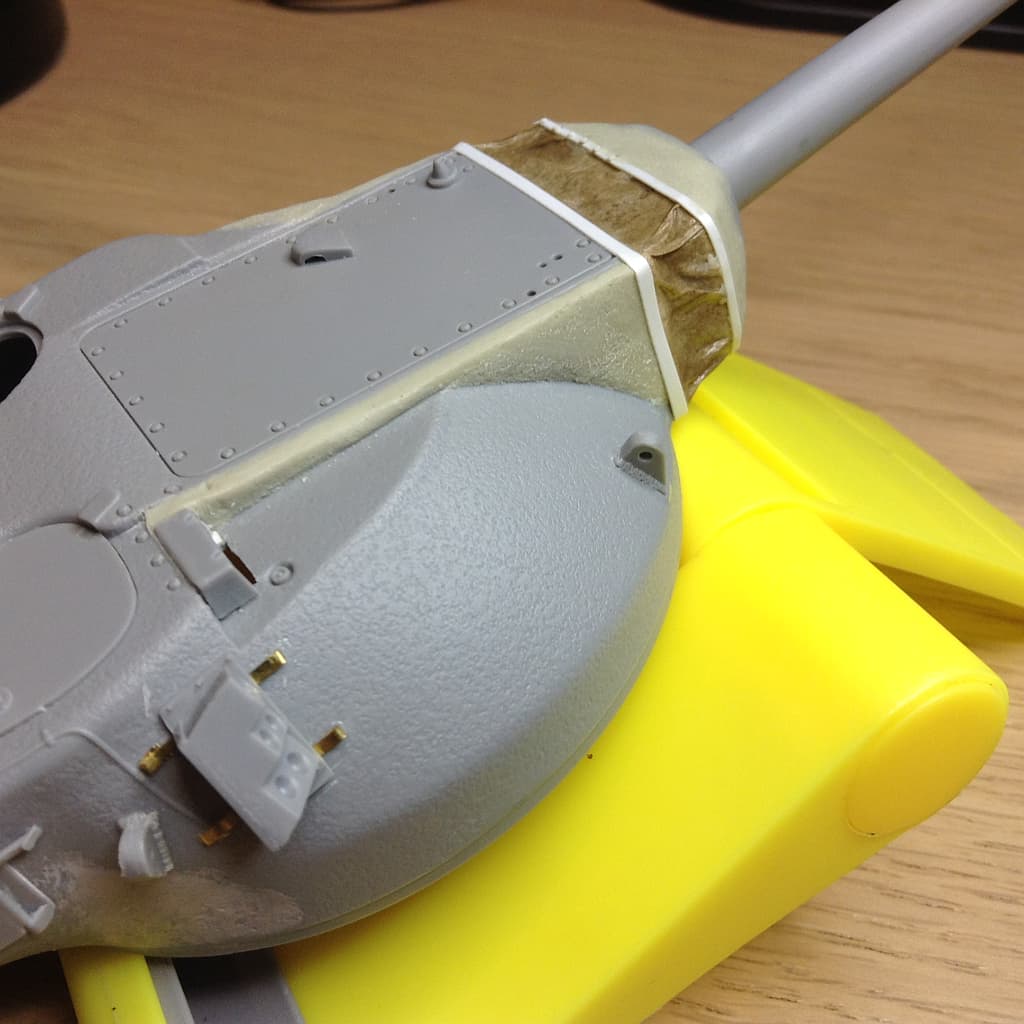
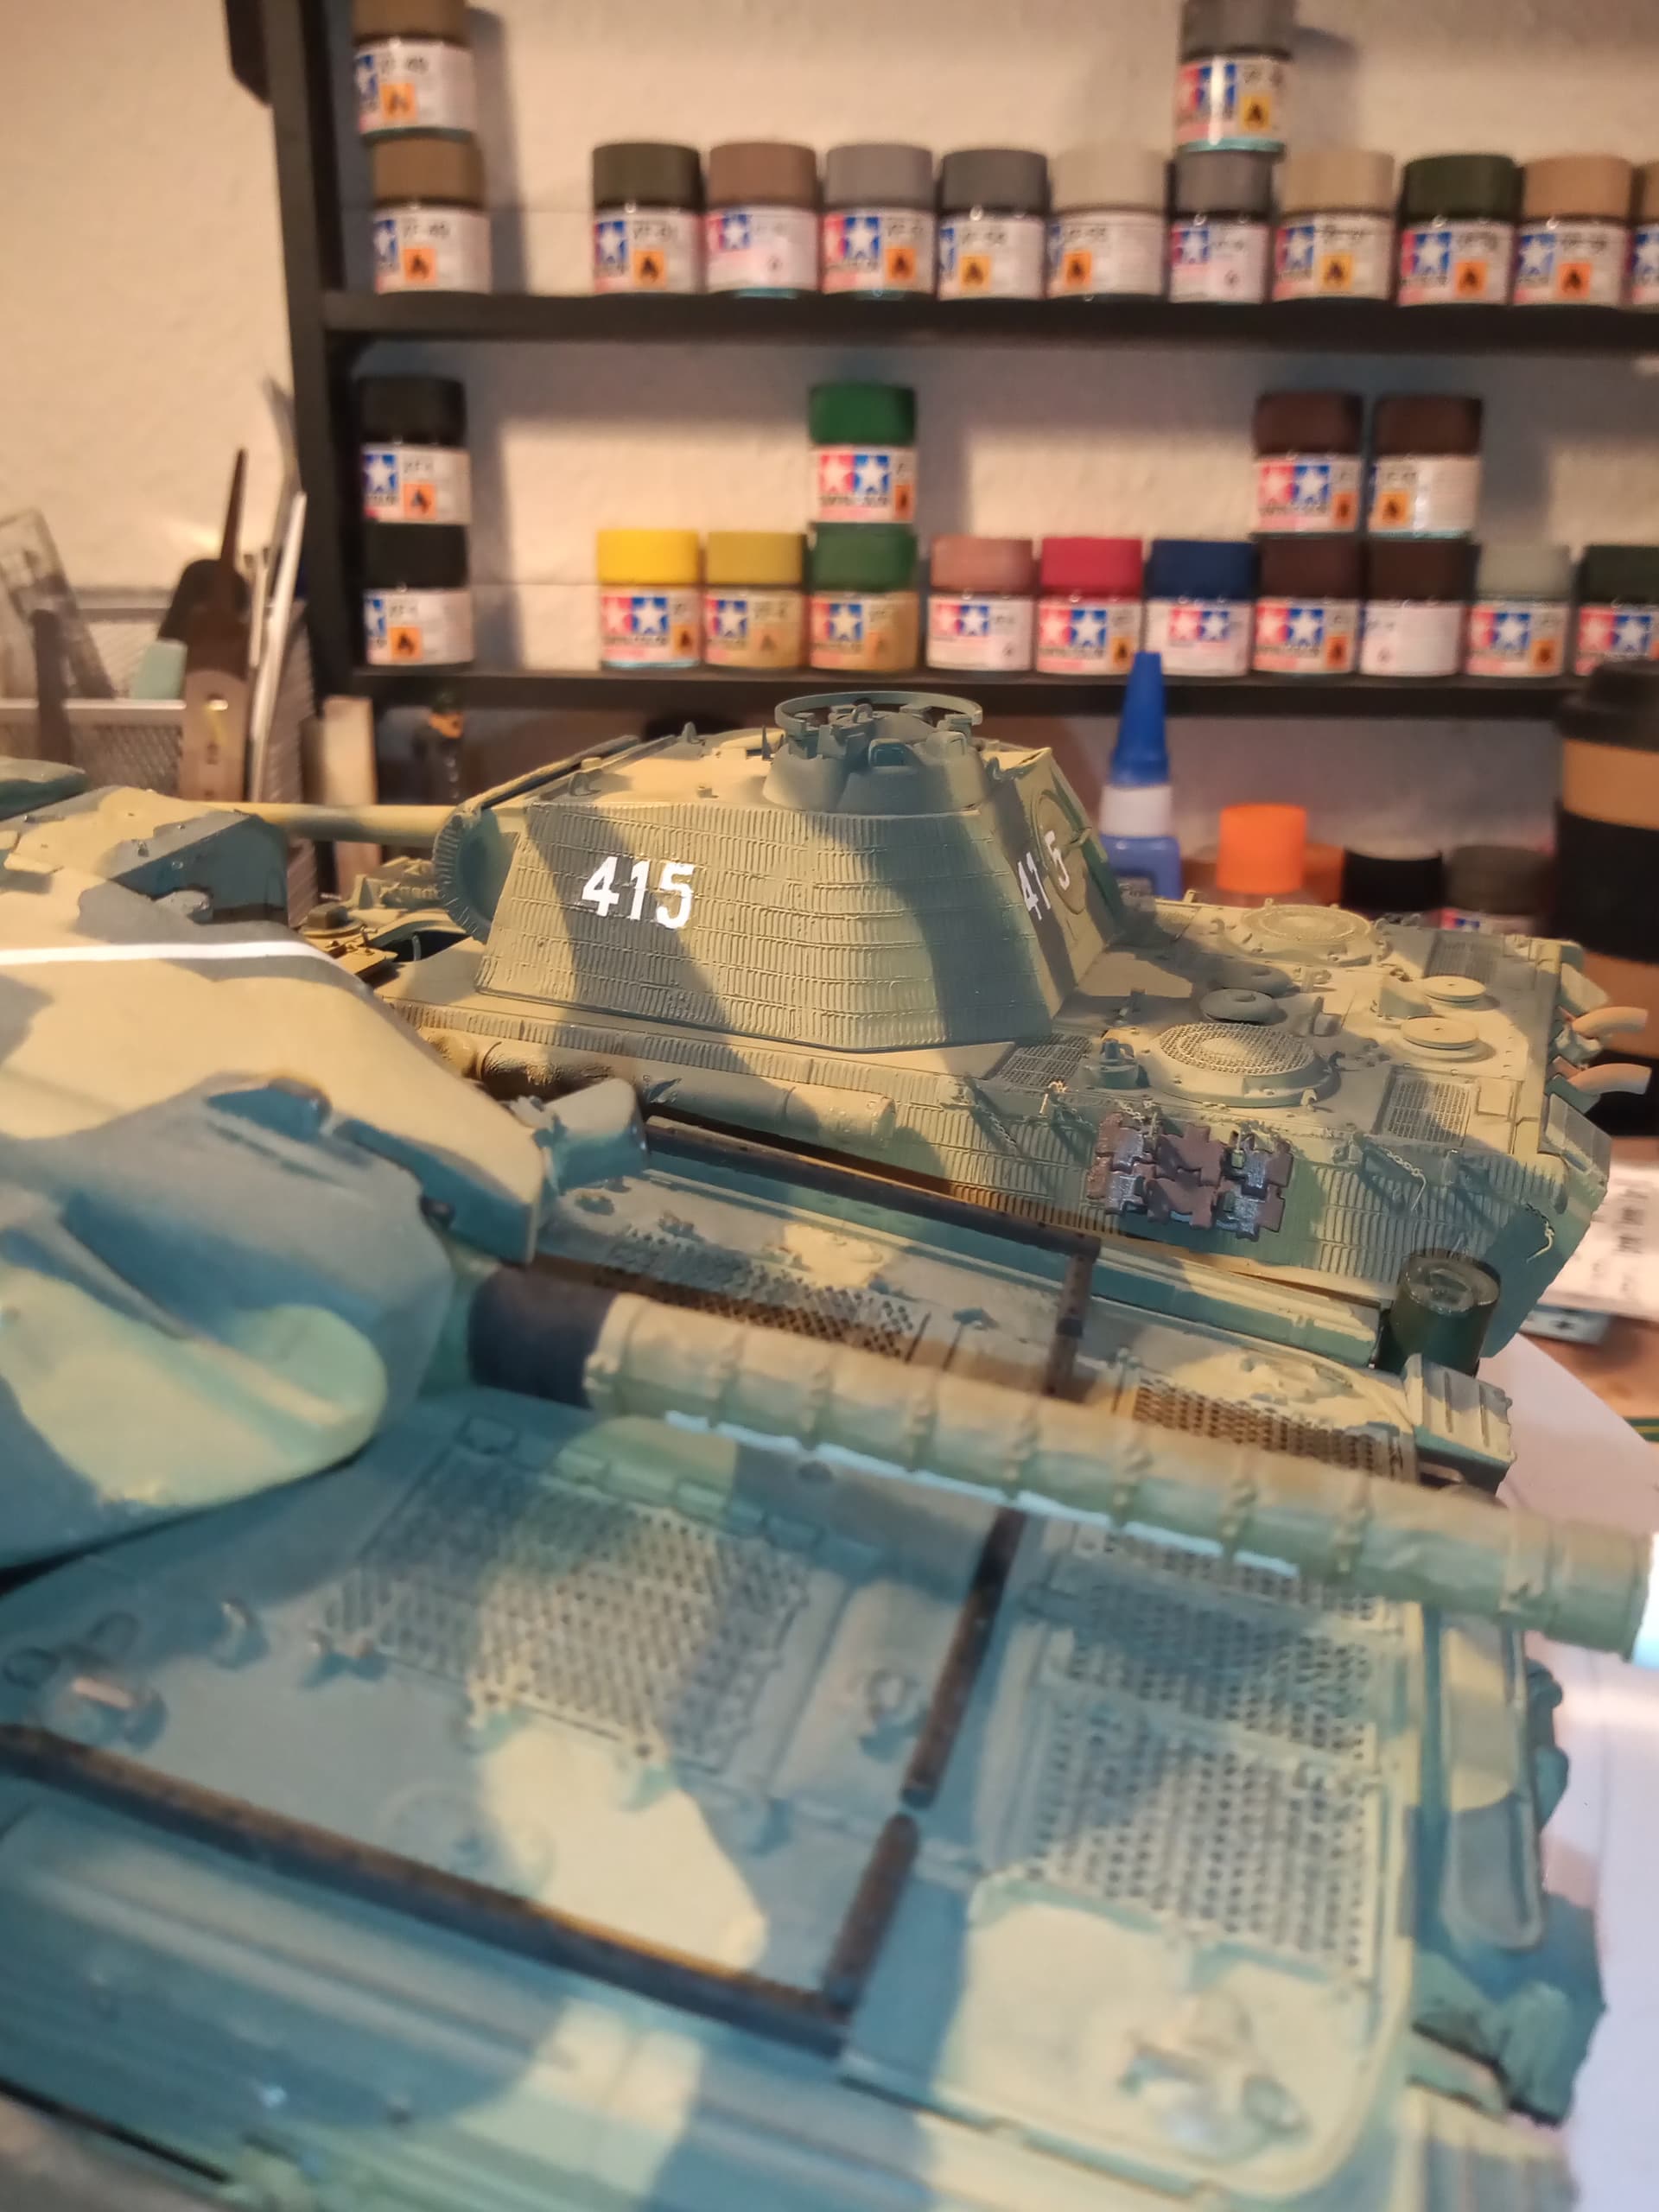
The addition of Magic Sculpt putty to correct the turret shape went well. Hopefully the cast texture I added with a bristle brush will match the kit finish. Once it is all under primer I will be able to judge that.
Here is what I have now. Whilst the kit has etch for the canvas securing straps it is now too short for the resized mantlet and also the bolt heads as depicted are not correctly spaced anyway. Adding bolts to my own strip now. A little filler between the strip and canvas is still to be added.
Shame about the issues Peter, but understandable mate. Looking forward to plan B now.
What you’ve done so far with the turret looks great though. Is the canvas mantlet cover in the kit ? Also, the lifting eye weld seams look great and original now.
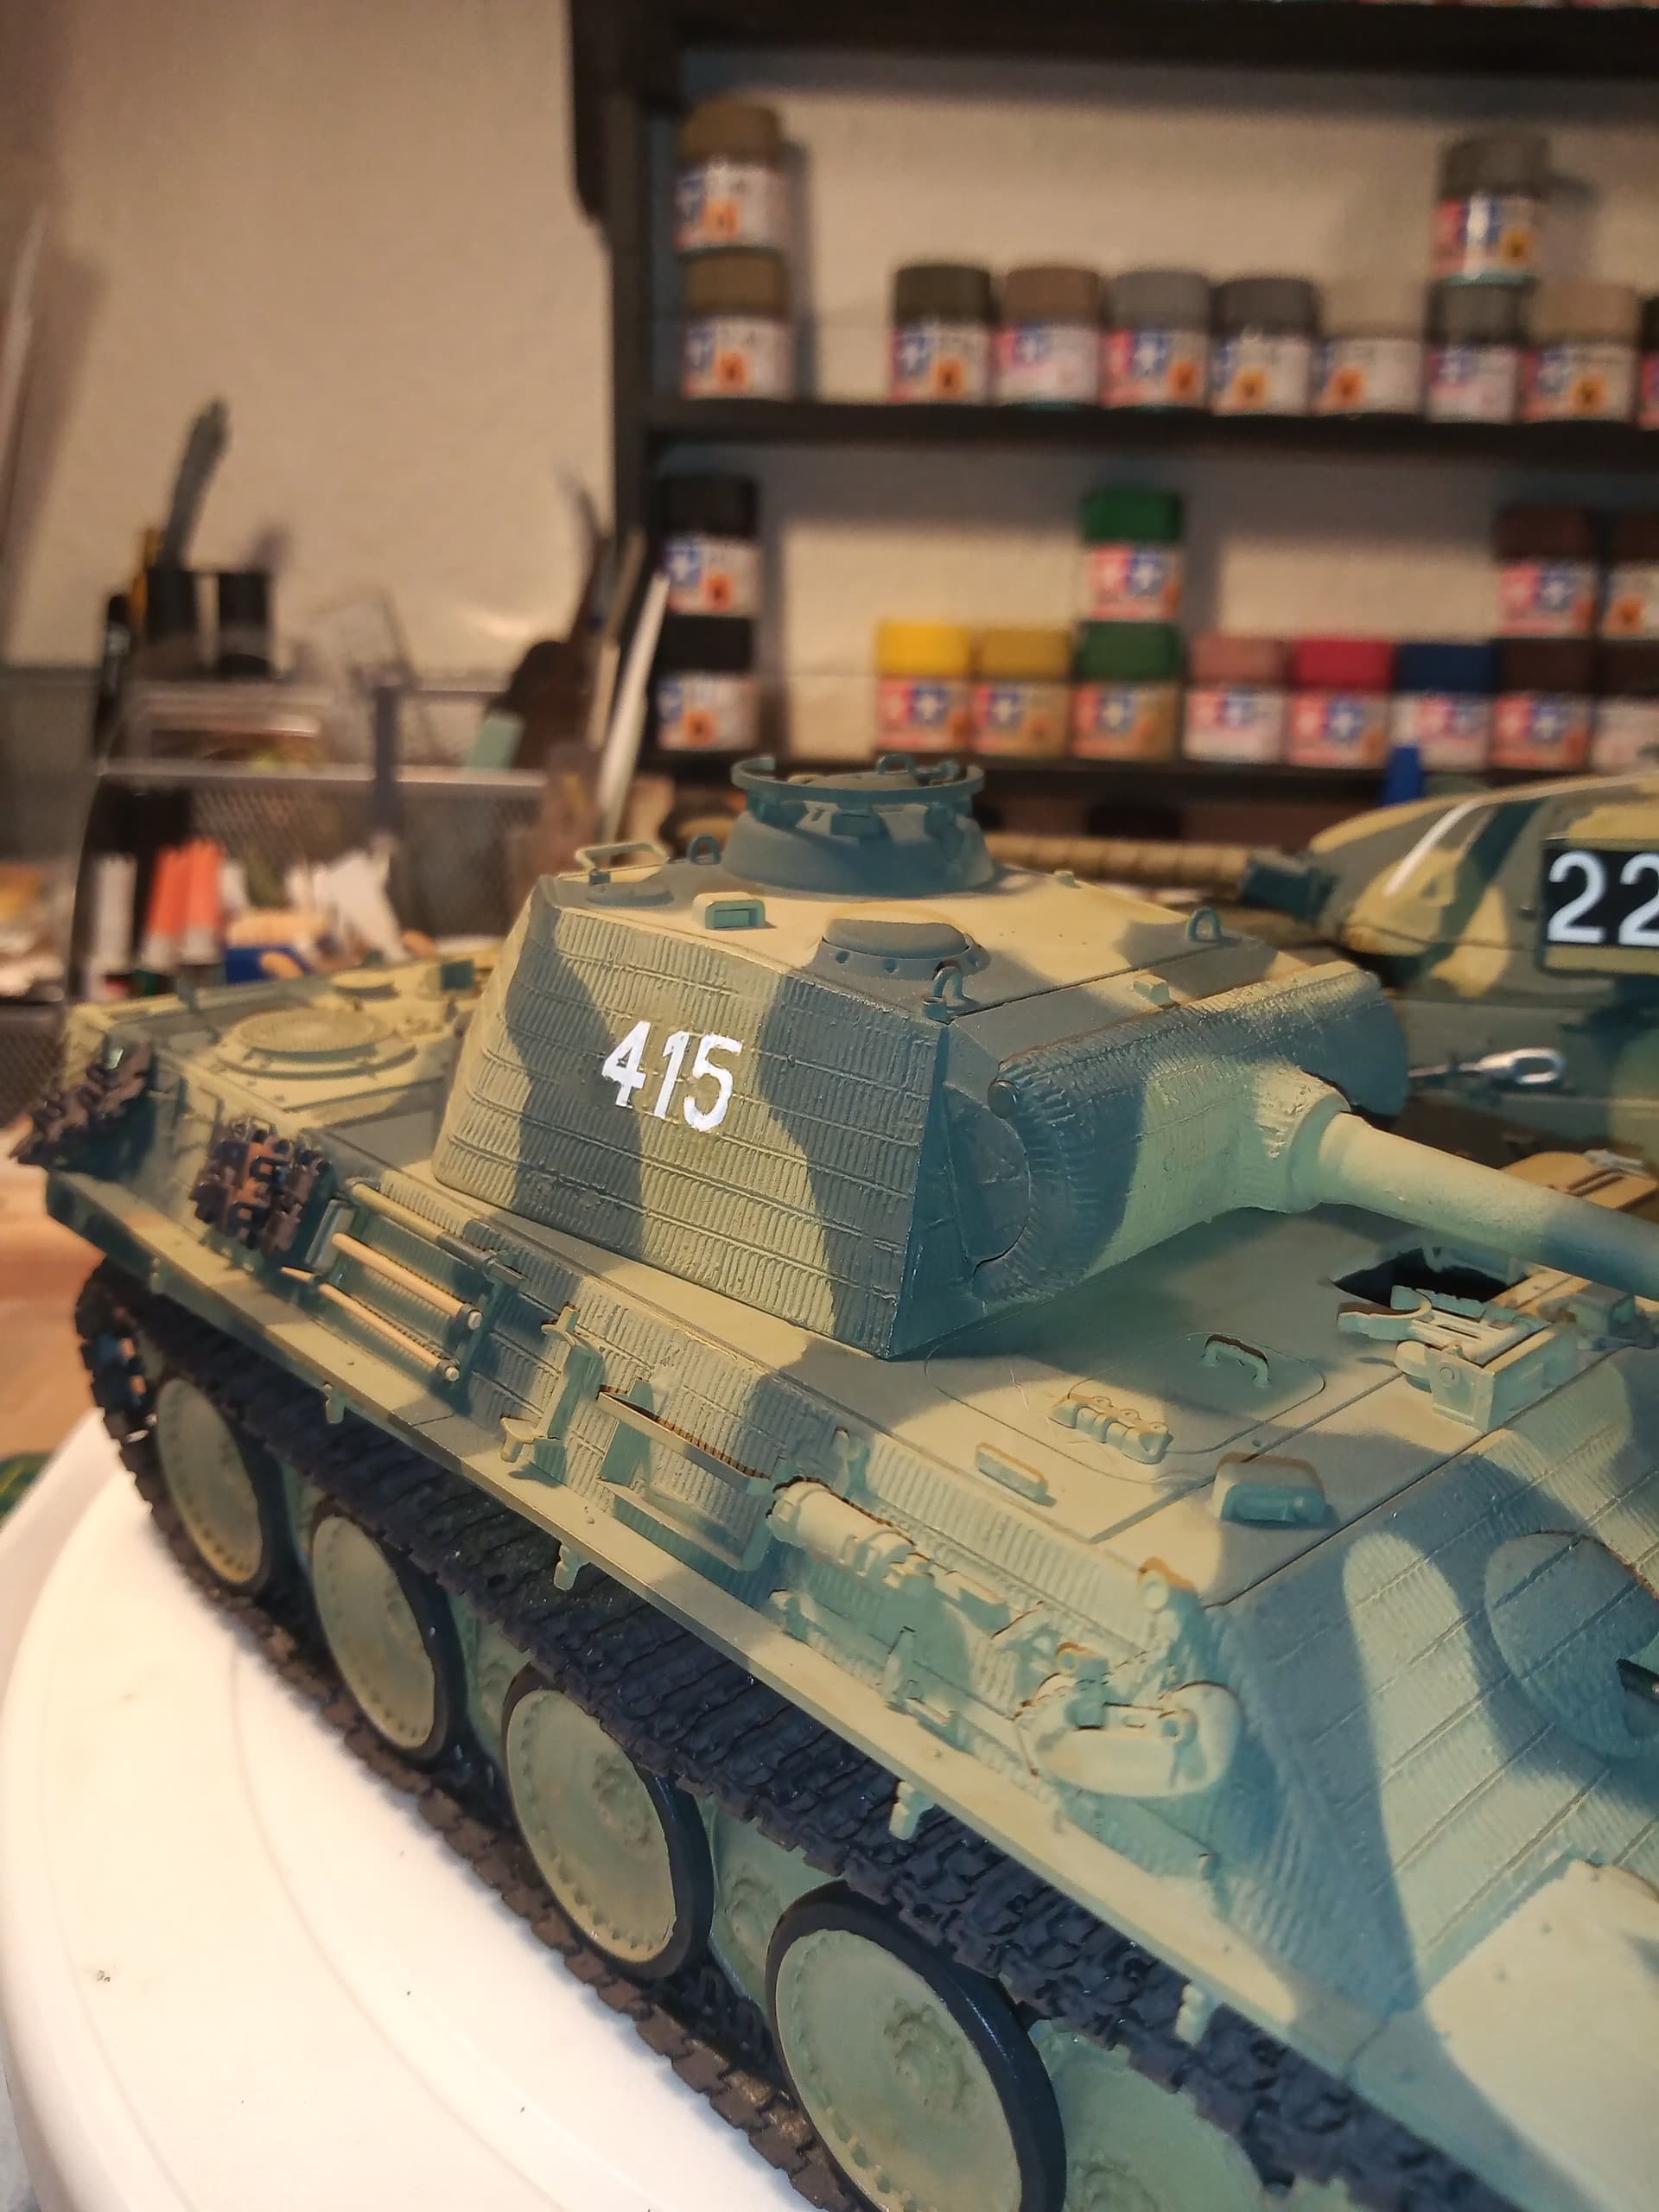
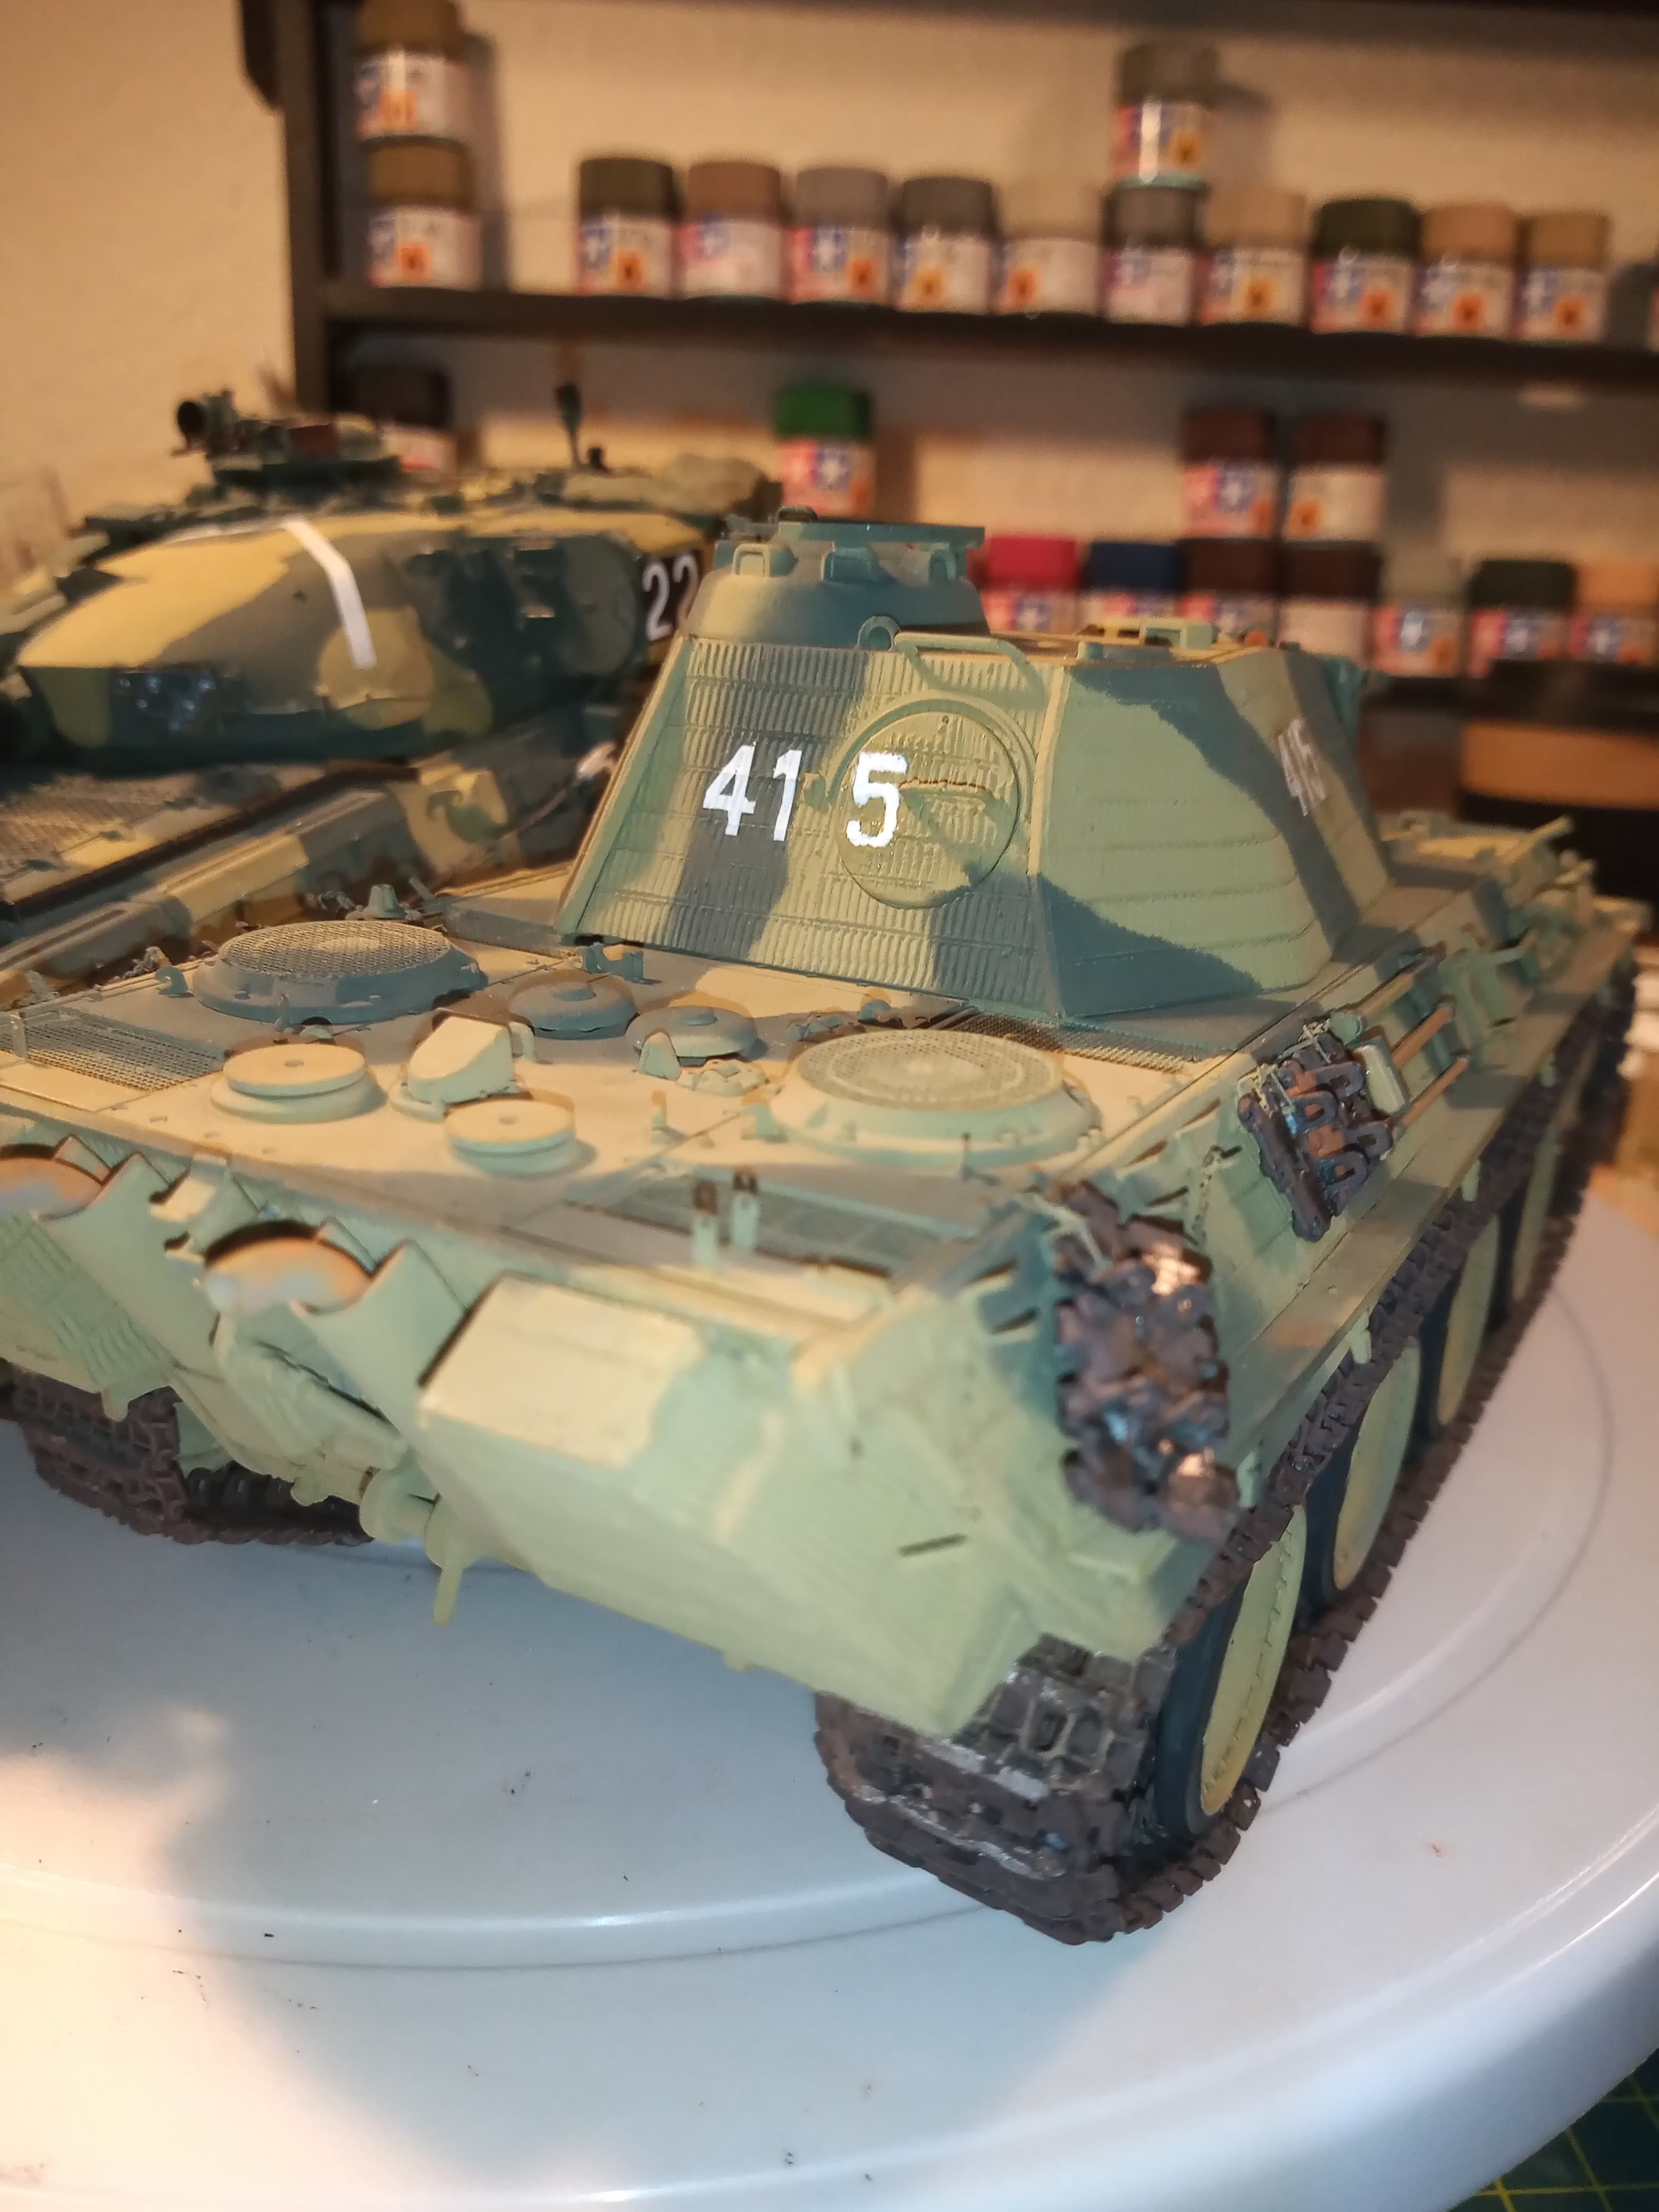
Well here’s my attempt with sausage fingers at painting the black five white…
And @Tank_1812 , I needed a lot more than luck lol…
I don’t think they turned out to bad. They are far from perfect, and the edges could be tidier ( I may clean up one and rework it) but on the whole I am happy with them. Plus a bit of weathering and dust may help later 
Great job Peter that turret looks excellent. Sounds like the splashing water plan’s er ditched now, that problem’s been on my future list to attempt for a while. I have the idea of pouring a huge gloop of PVA onto a piece of glass, waiting for it to form a thin skin and then directing powerful jets of air (and/or water) through a (say) 3mm bore tube into it. At least some of the dried result might look OK & could be peeled off the glass and glued together with more PVA into bunches of sprays & splashes. Maybe the PVA gloop should be pre-coloured with random muddy shades…I dunno, it works in my imagination but as we know Reality’s another matter. 

I think they look pretty good.
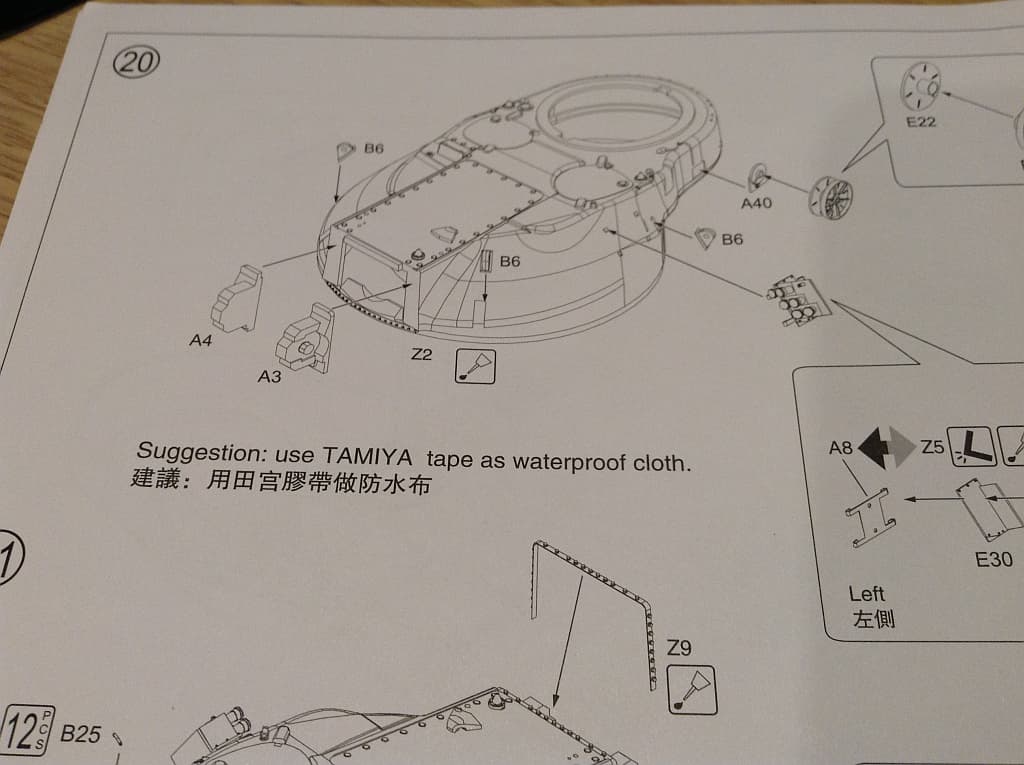
No the kit instructions actually suggest you use Tamiya Tape for it!
This is one I made using gift wrap tissue. I use this a lot for various things as it is quite strong, but is easily shaped. I lay a section on some food wrap and then brush on a water/pva mix with a few drops of Tamiya Khaki acrylic paint. Let it dry and then peel it off the food wrap. The PVA ads strength so you can cut it and trim without tearing.
I cut the basic shape, add it to the model using cyano and then when it is set, go over with PVA/White glue again. This additional coat softens the PVA that is already there, allowing you to add folds and stuff - this is when the offending PVA got in the pivots.
Yes, the weld bead needs some more work yet, but first round came out quite well.
Absolutely. That was exactly what I was thinking first.
I’ve tried using water products with a little muddy colour paint, PVA, gels, clear resins, etc. I’ve tried cotton wool with PVA/Water/paint mist sprayed to avoid too much saturation and hung upside down to dry. The problem is volume and getting it so the upper ‘wave’ is supported enough to stay put. We even stretched clear sprue to use as a ‘support’ where everything else had to be too thick.
What we achieved was okay, but none of us felt that we would accept it on a model…
Hopefully you have better luck in your attempt.
Yep it’s like the Holy Grail for dioramacists, I admire your practical research enormously as you’ve saved me a lot of time! My Plan B was inserting one of my patent charges into the centre of said gloop of PVA. Don’t laugh, seems to me the trick is to freeze the PVA as its splattering so….combination of explosion and heat…OK so I build a primitive single-use kiln & fire it up, then place giant PVA gloop on metal plate into it with charge inserted. Await bang & instantly spray ton of water into the kiln. What could possibly go wrong? 
Please please please do a video clip ![]()
![]()
![]()
 If I ever do actually try that idea hopefully I’ll remember from experiments a few years ago what quantity of charge to use…
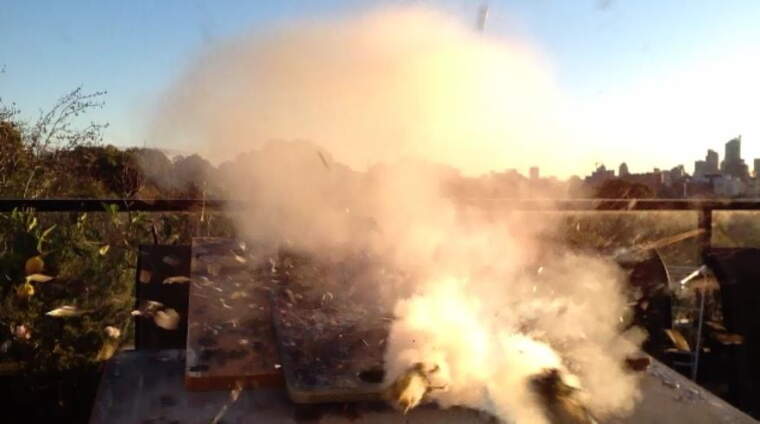
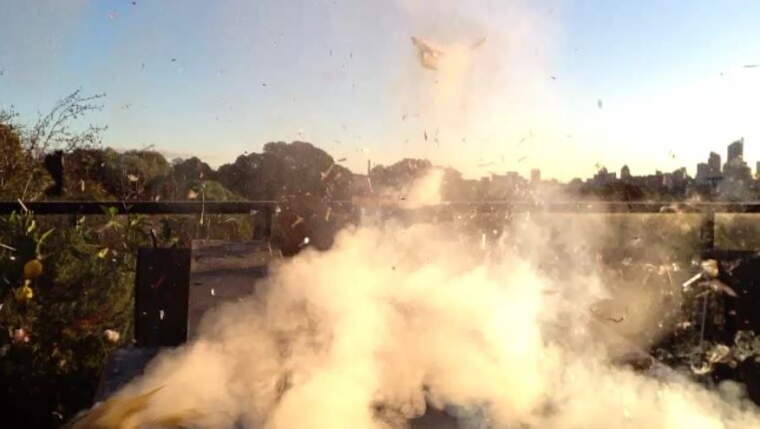
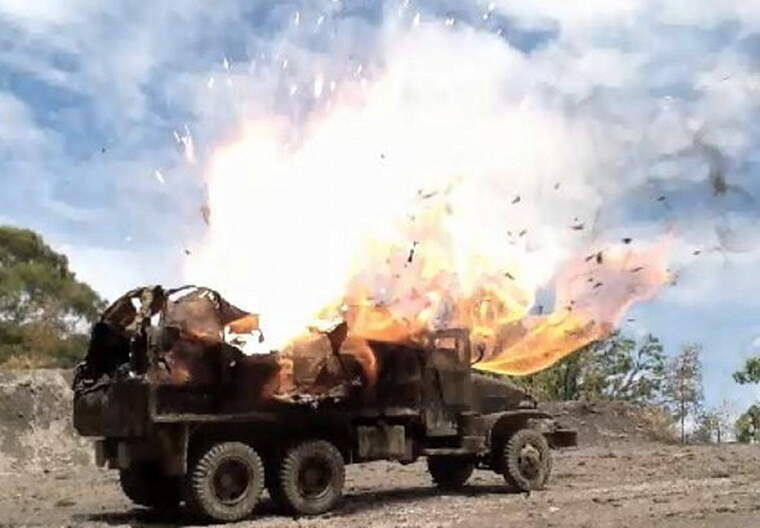
The diorama base was destroyed along with the tank on it, but at least I evaded the resulting law enforcement dragnet  A later more successful test…
The truck looks very very realistic … Very nicely done

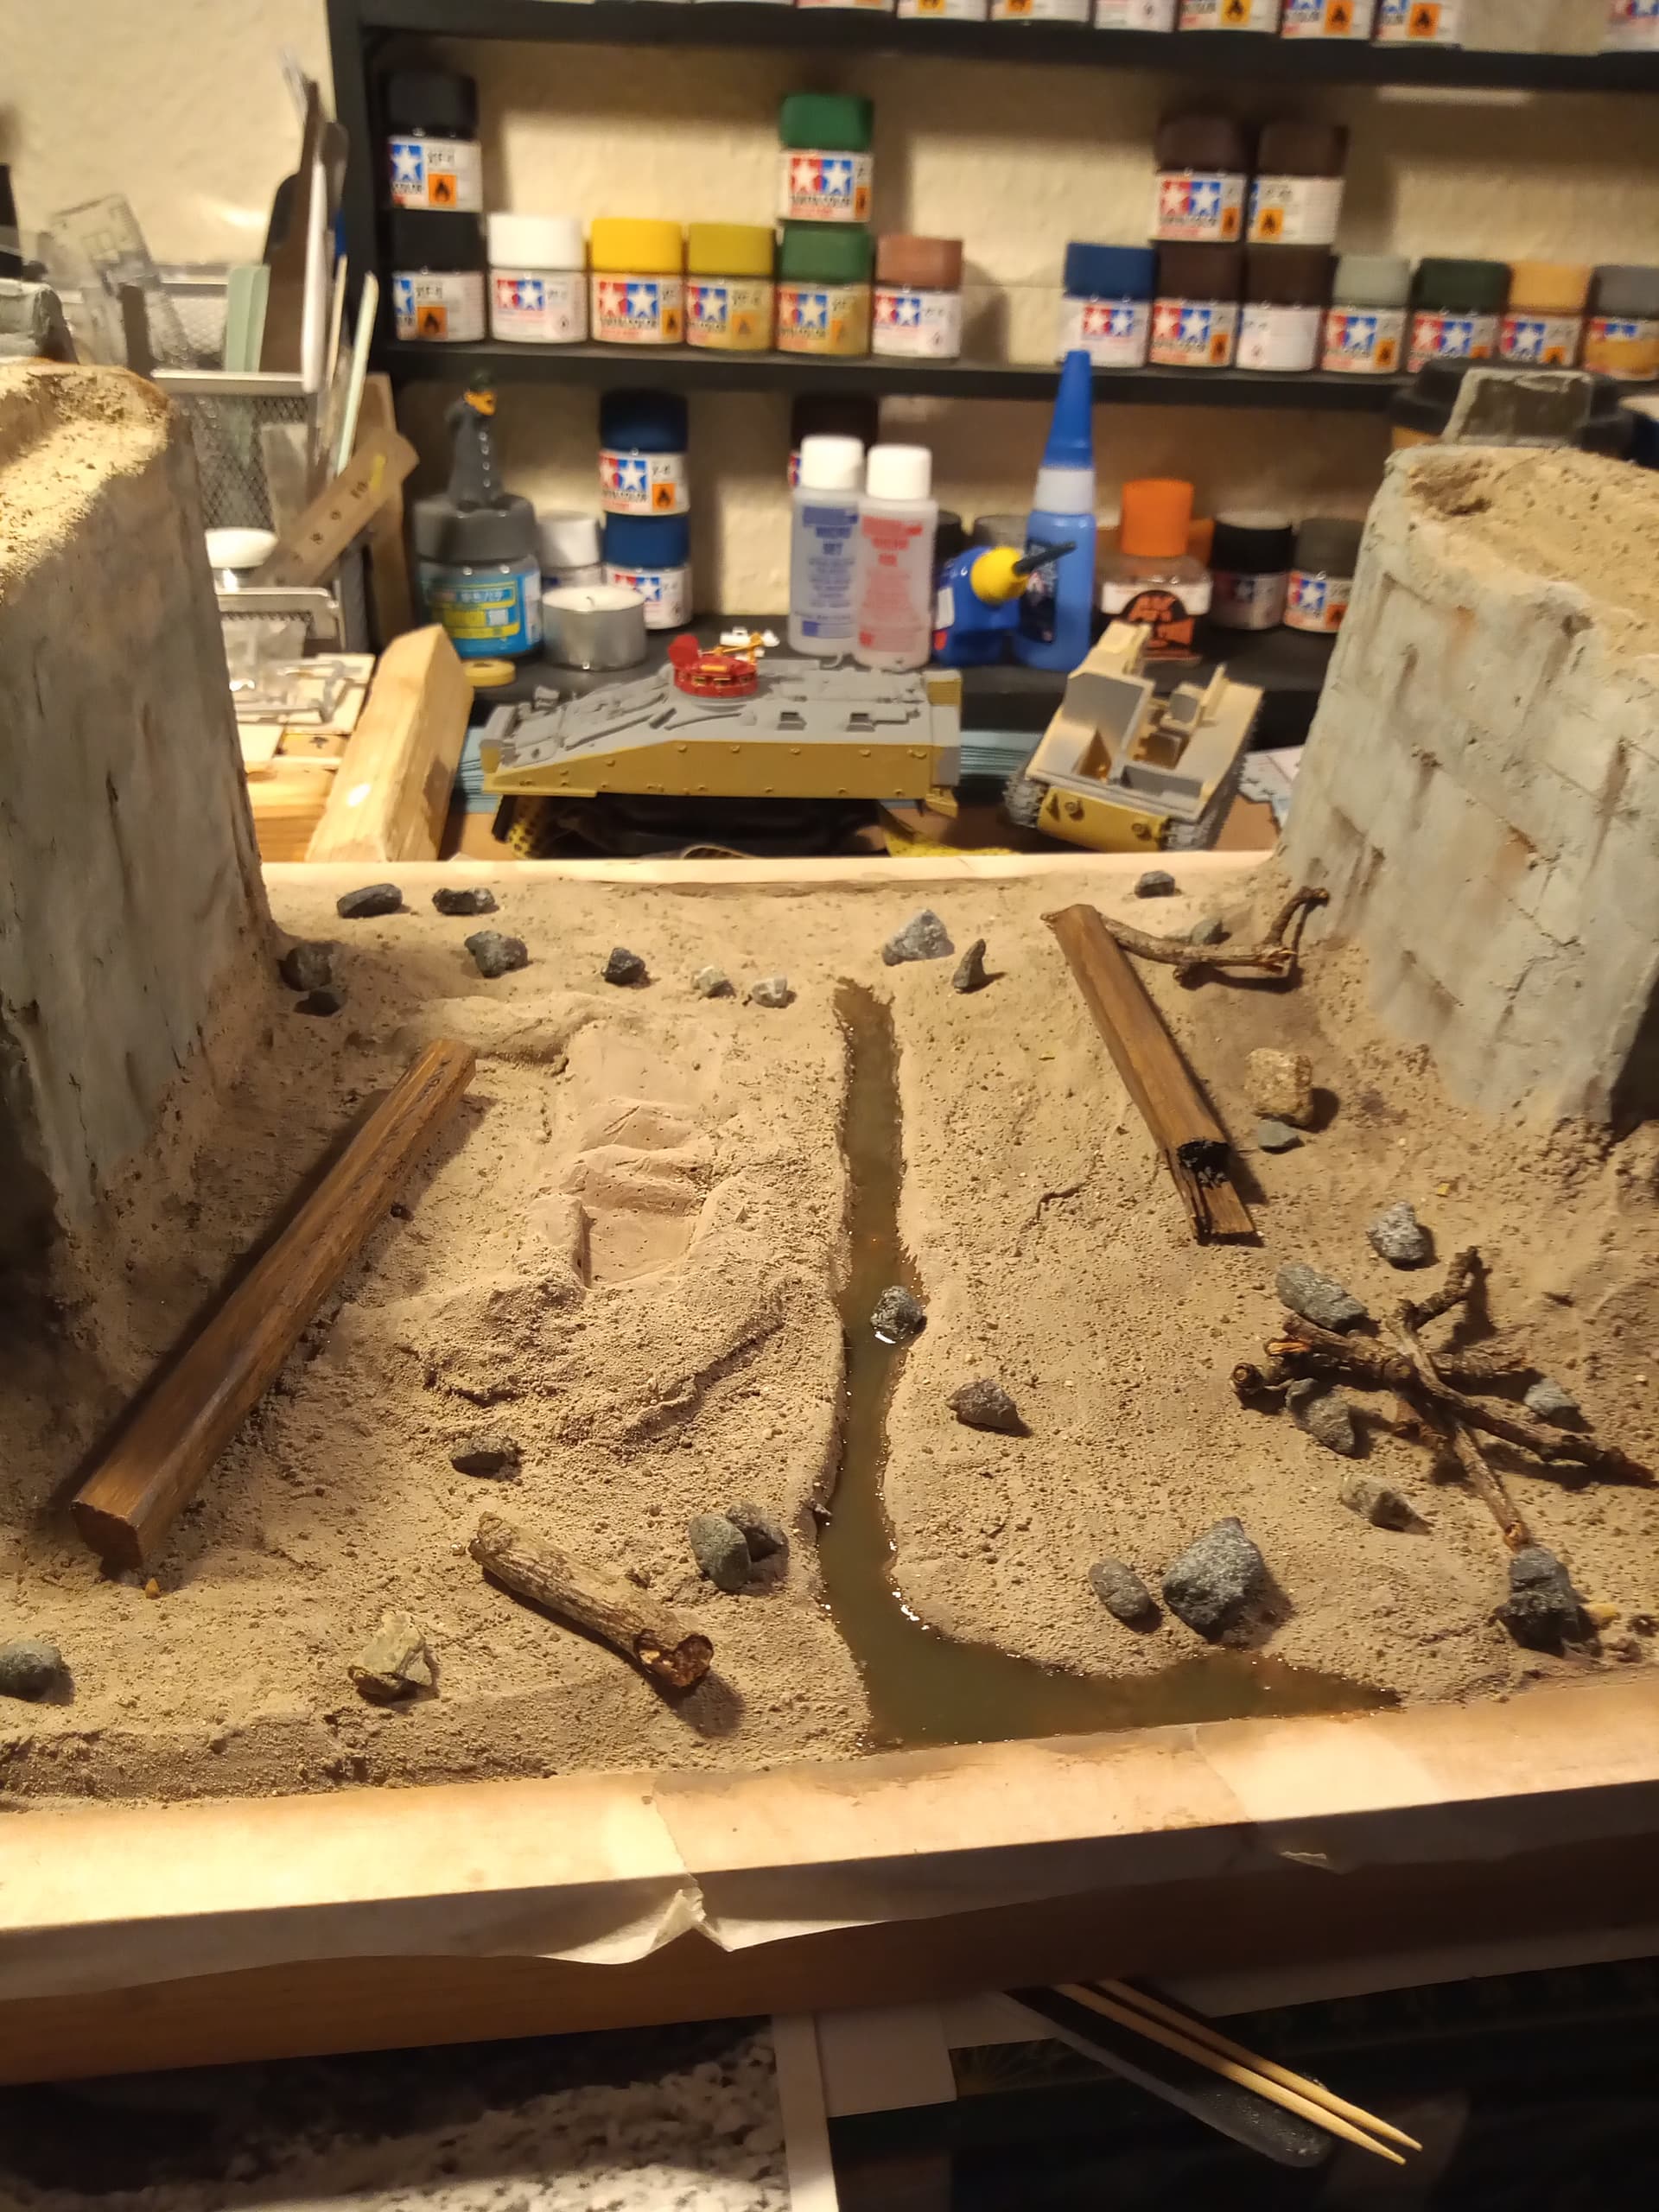
Started to slowly add the puddle/still water effect.
Have also placed some larger rocks and
a few pieces of dead wood.
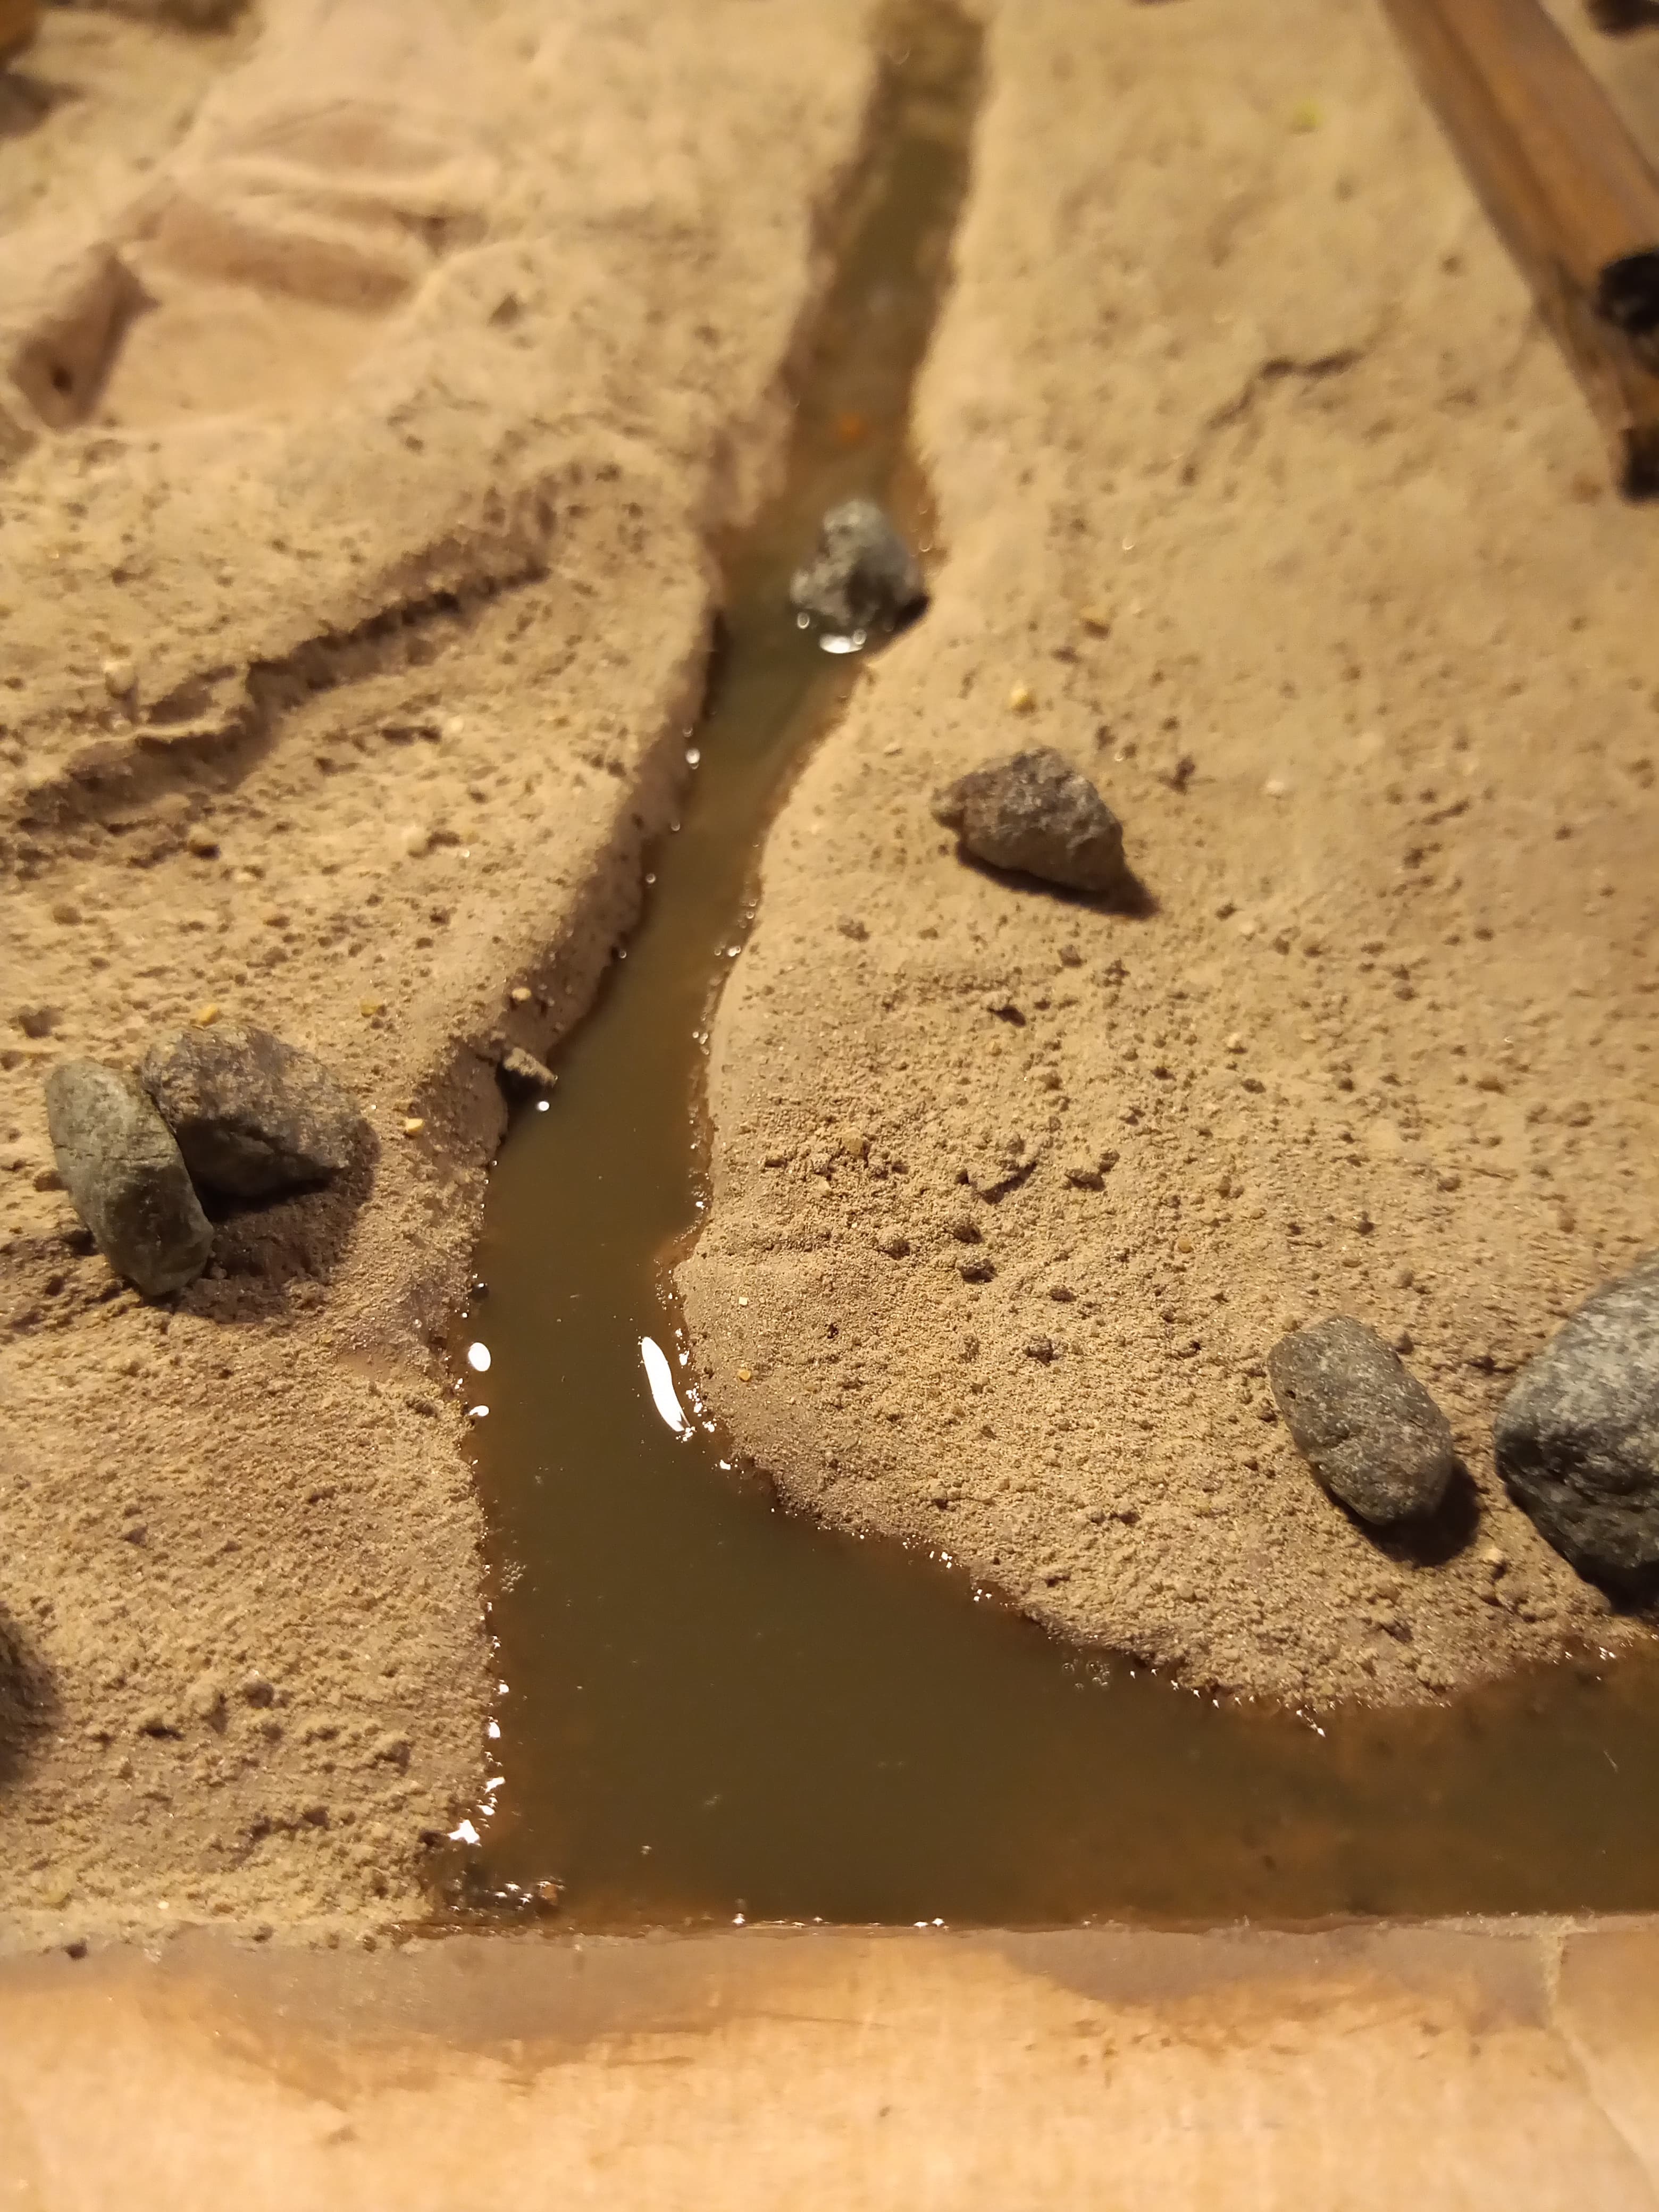
I like how it looks and it’s pretty easy to manipulate once you pour it. I will be building the small narrow water course up gradually and letting it set in between pours.
Once poured you can tease it onto the edges with a cocktail stick, and any small air bubbles can be dealt with by a pin or needle. It clings to rocks like it would for real and also allows for a bit of vision through it in shallow areas.
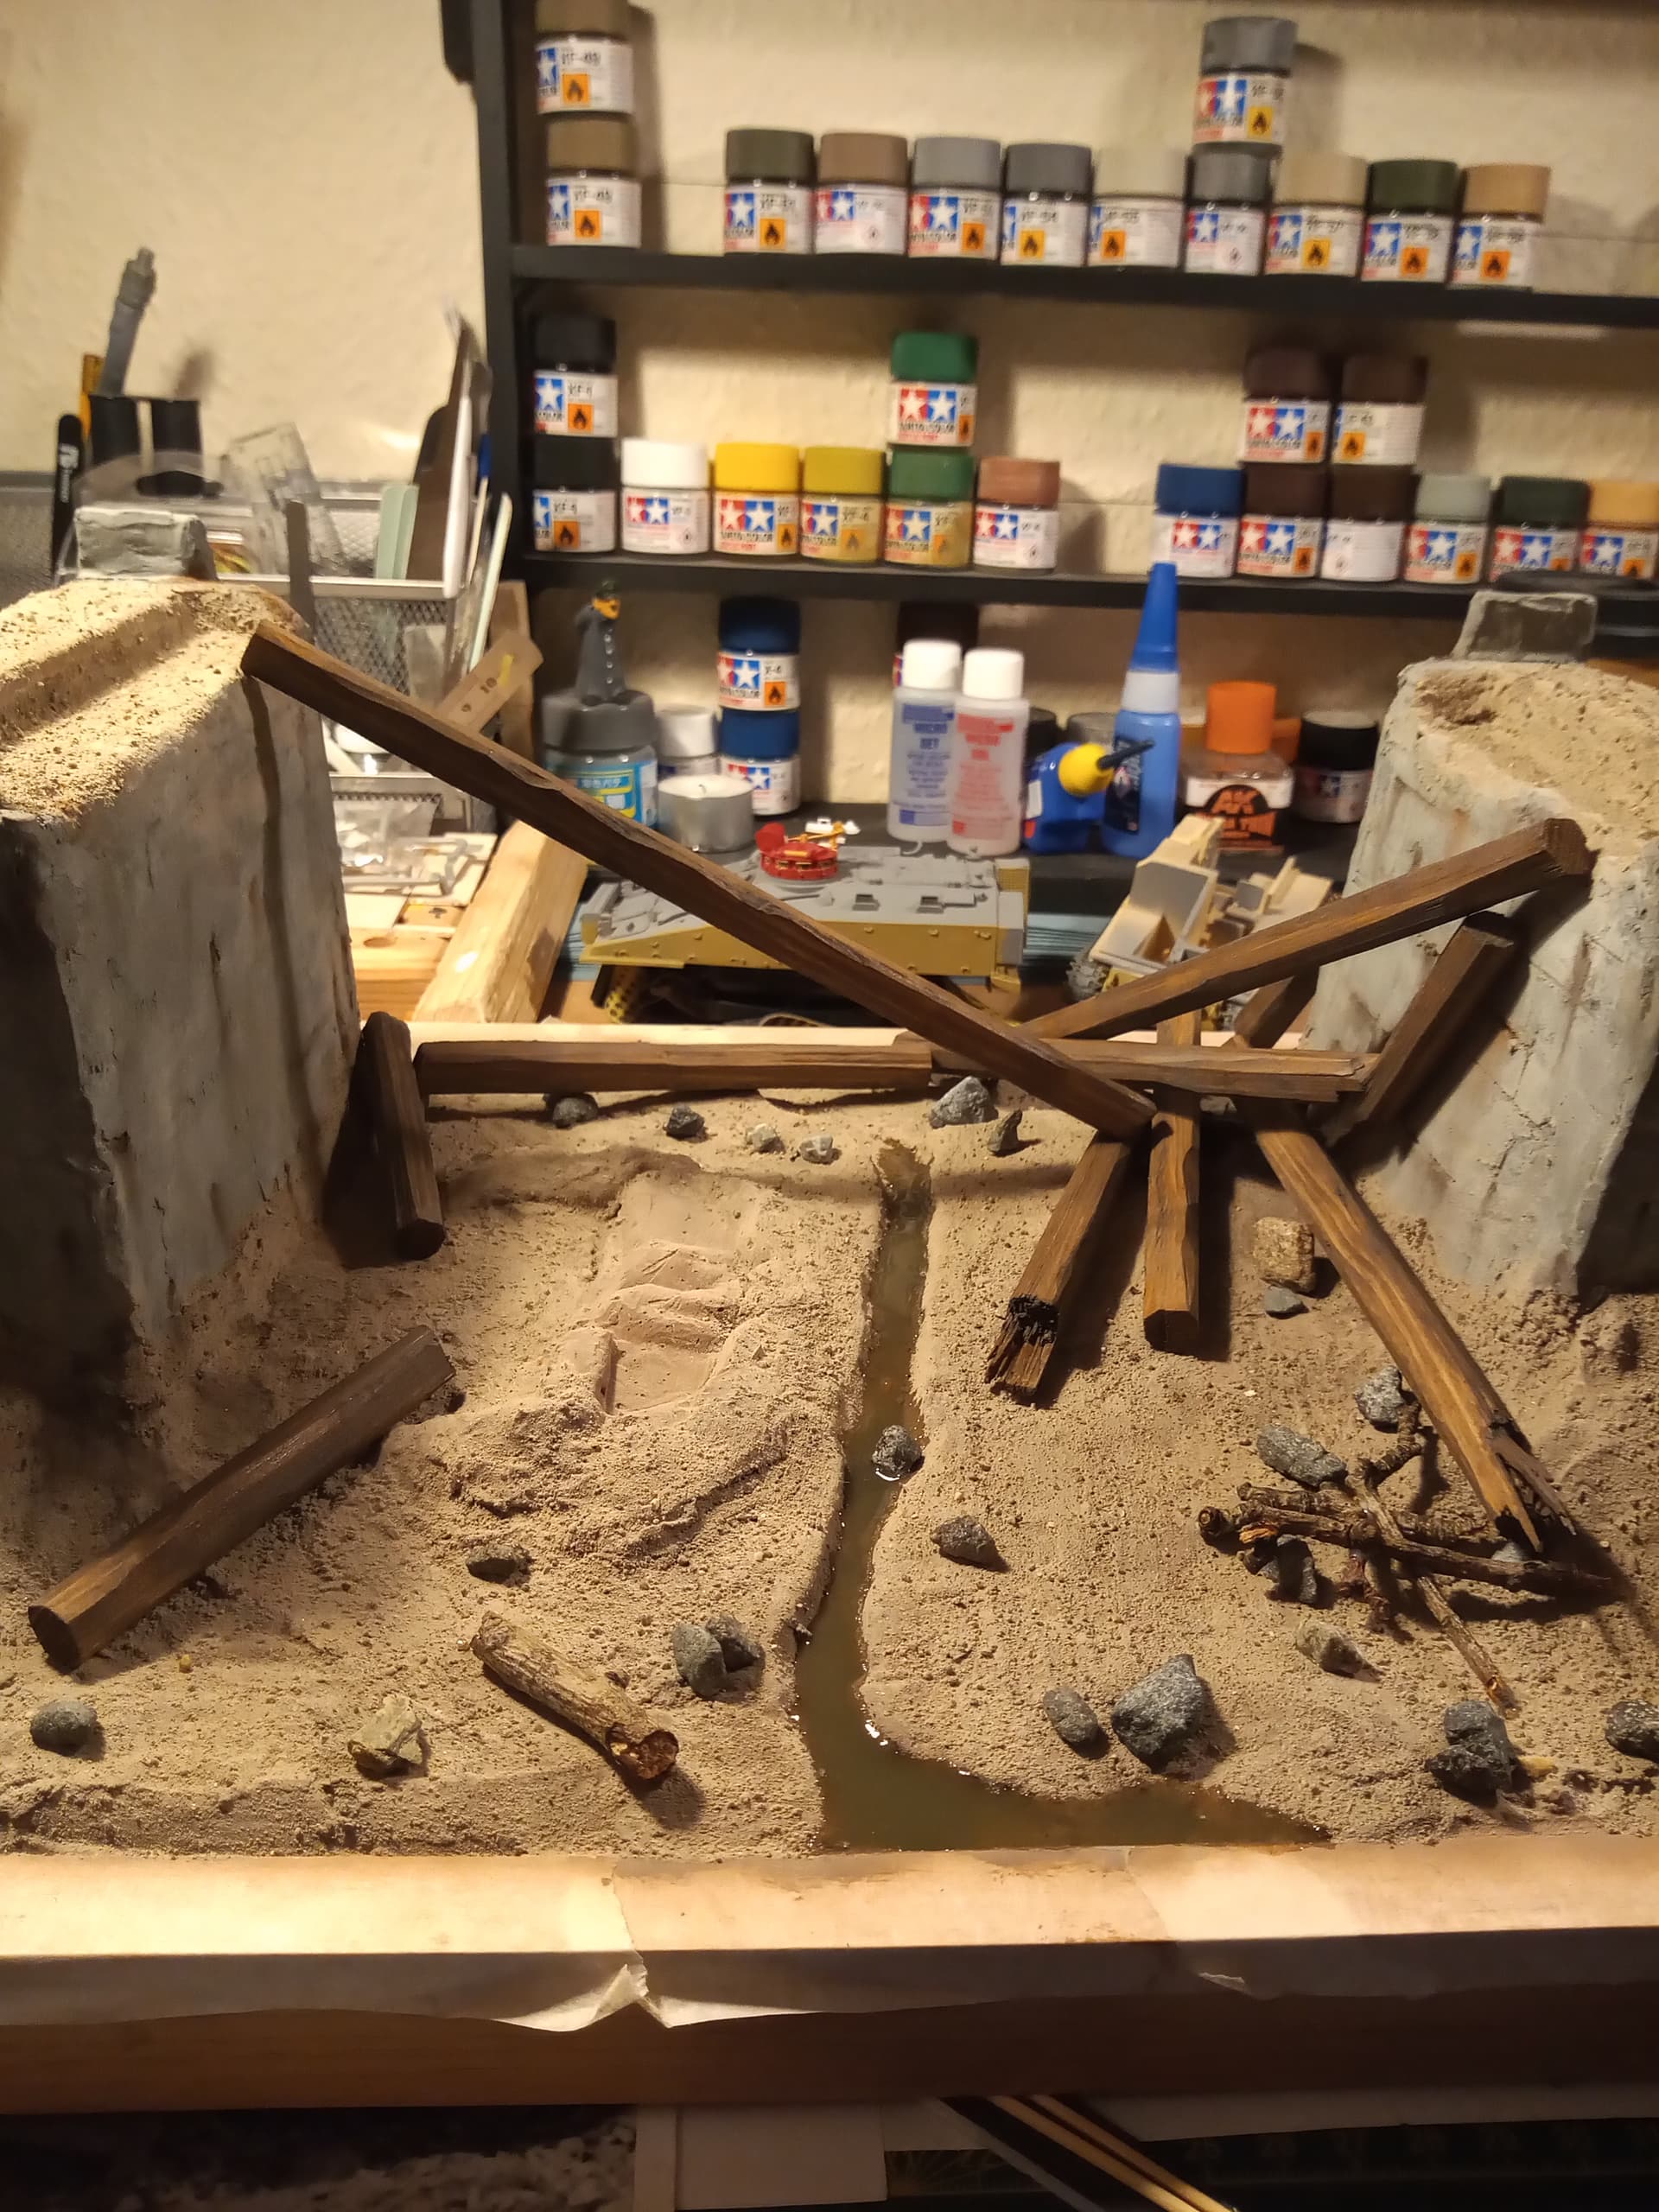
Have also done another mock up of how the beams may look when I get to that stage. At least one beam will be resting in the standing water pool at the far end.
Only the beams have been dry fitted here, the road way planks will be added later.
Vegetation will be kept to a minimum on this as I want it as realistic as possible.
That’s looking mighty fine. That water goo especially.