Amazing work John. I was enjoying seeing coming to life. Such a brilliant work
1 Like
That sure looks really good! Nice bit of color added this way!
1 Like
WOW! That is really starting to zing. You know I’m a tad biased towards landscaping John, and how it can elevate a well rendered model to a great model, and you are definitely creating a scenic masterpiece. This one deserves pride of place somewhere, with or without SWMBIs permission,  .
.
G, 
1 Like
Thanks for those kind words @Canmedic , but that is a very good question … I will squeeze it in somewhere lol…
Thanks @petbat , a few more details to get done and it’ll be there I think.
Thanks again @Armournovice Gil nice your still keeping tabs on this one.
@bwilt , yes Bert the green does just give it that touch of colour it needed from the stark concrete and river bed…it looks the way I was aiming for, so that’s a bonus lol…
G, @G-man69 , it’s always good to get the nod from a master landscaper mate, thank you indeed … I got a few more bits done tonight in between puppy duty and it’s all forming up nicely now. Cheers all 
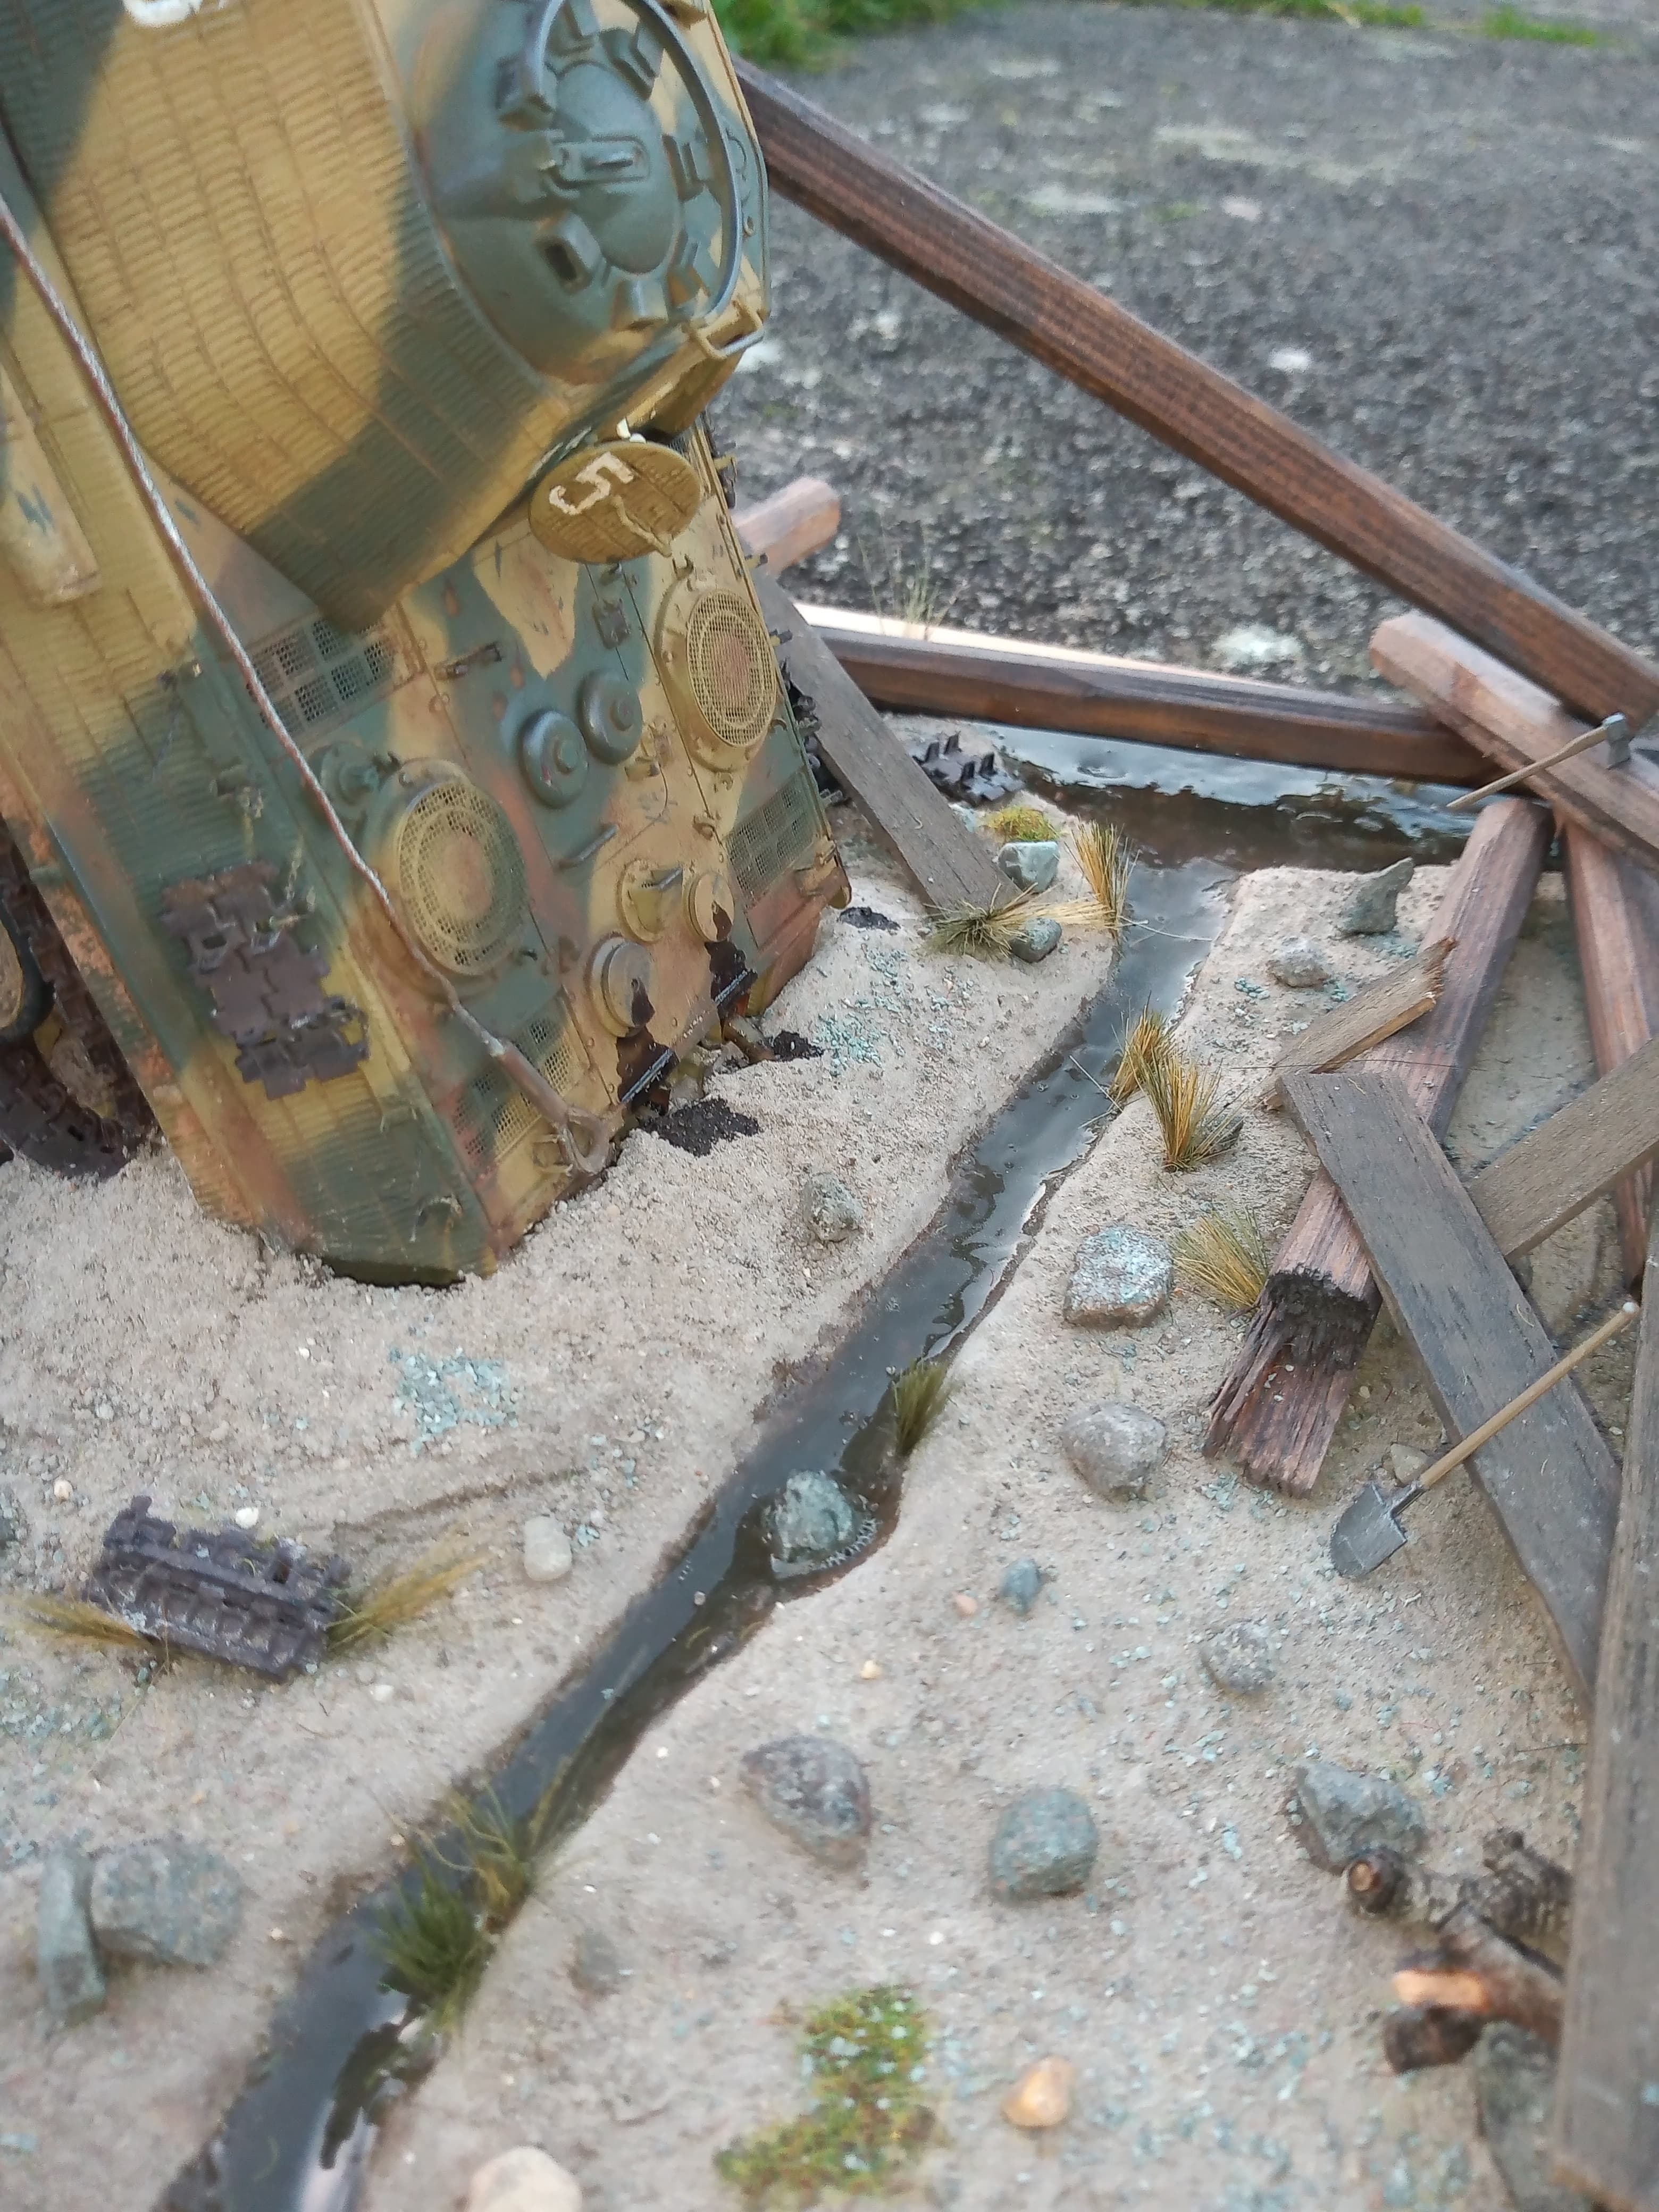
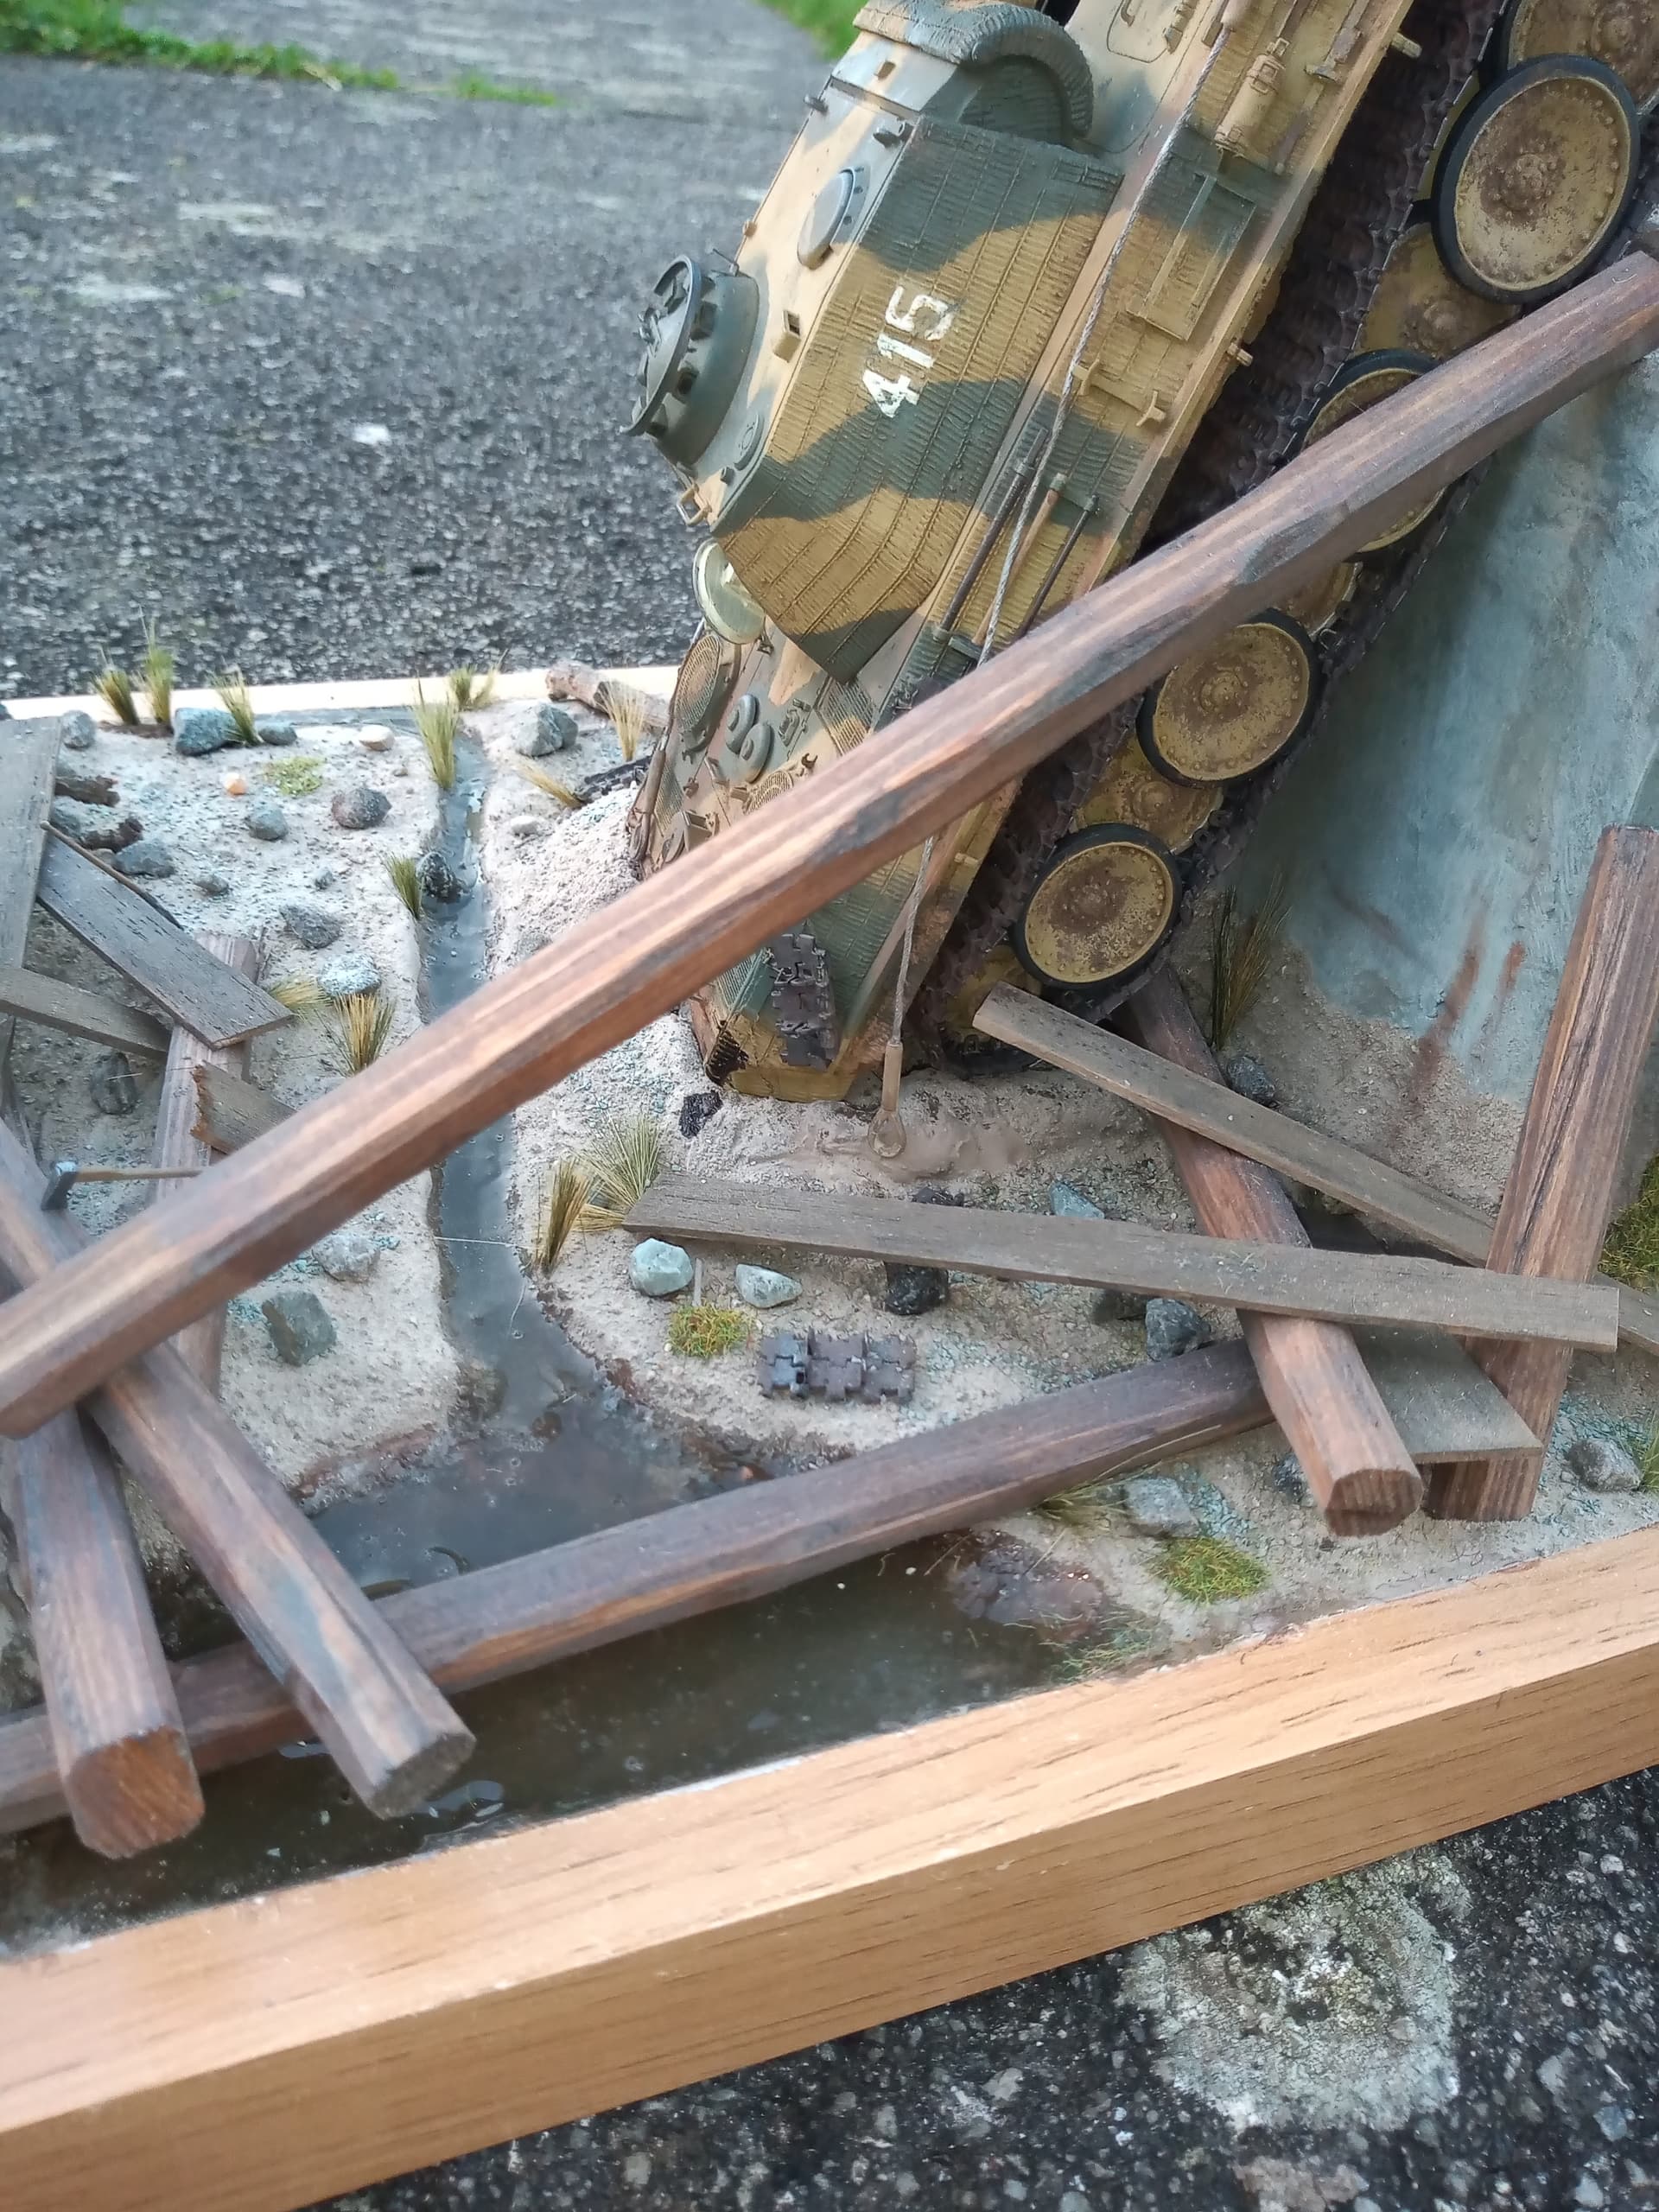
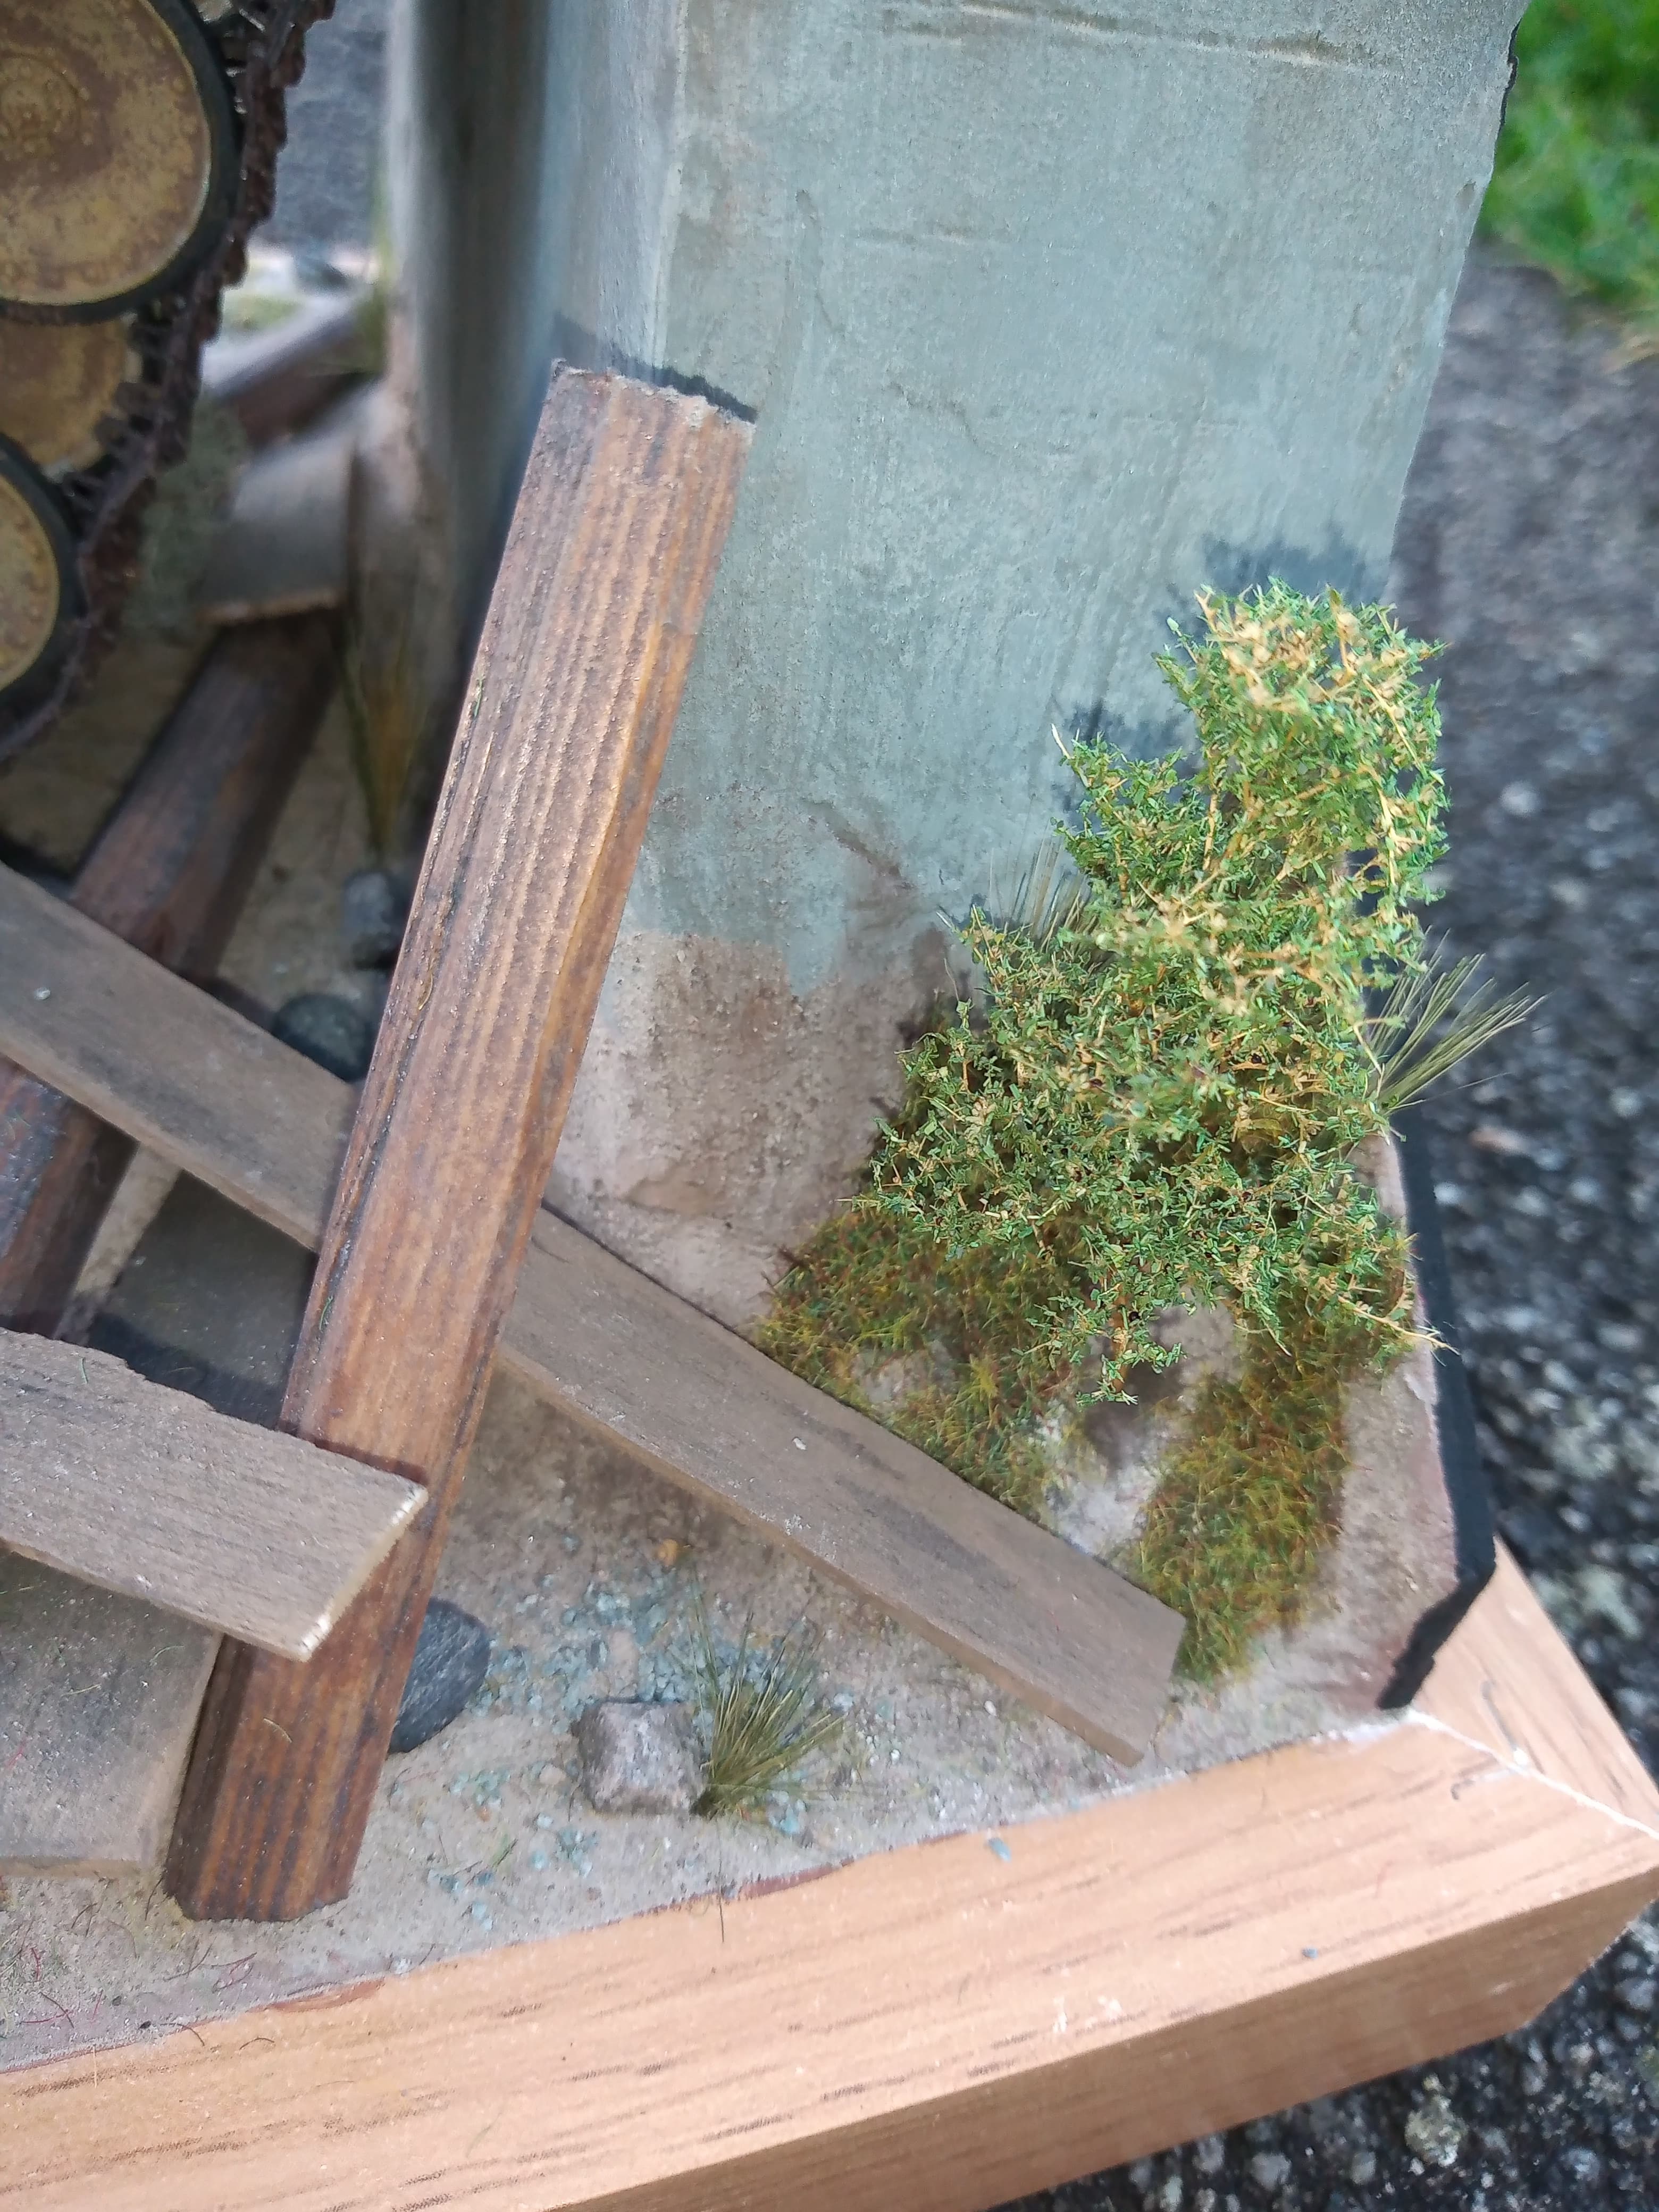
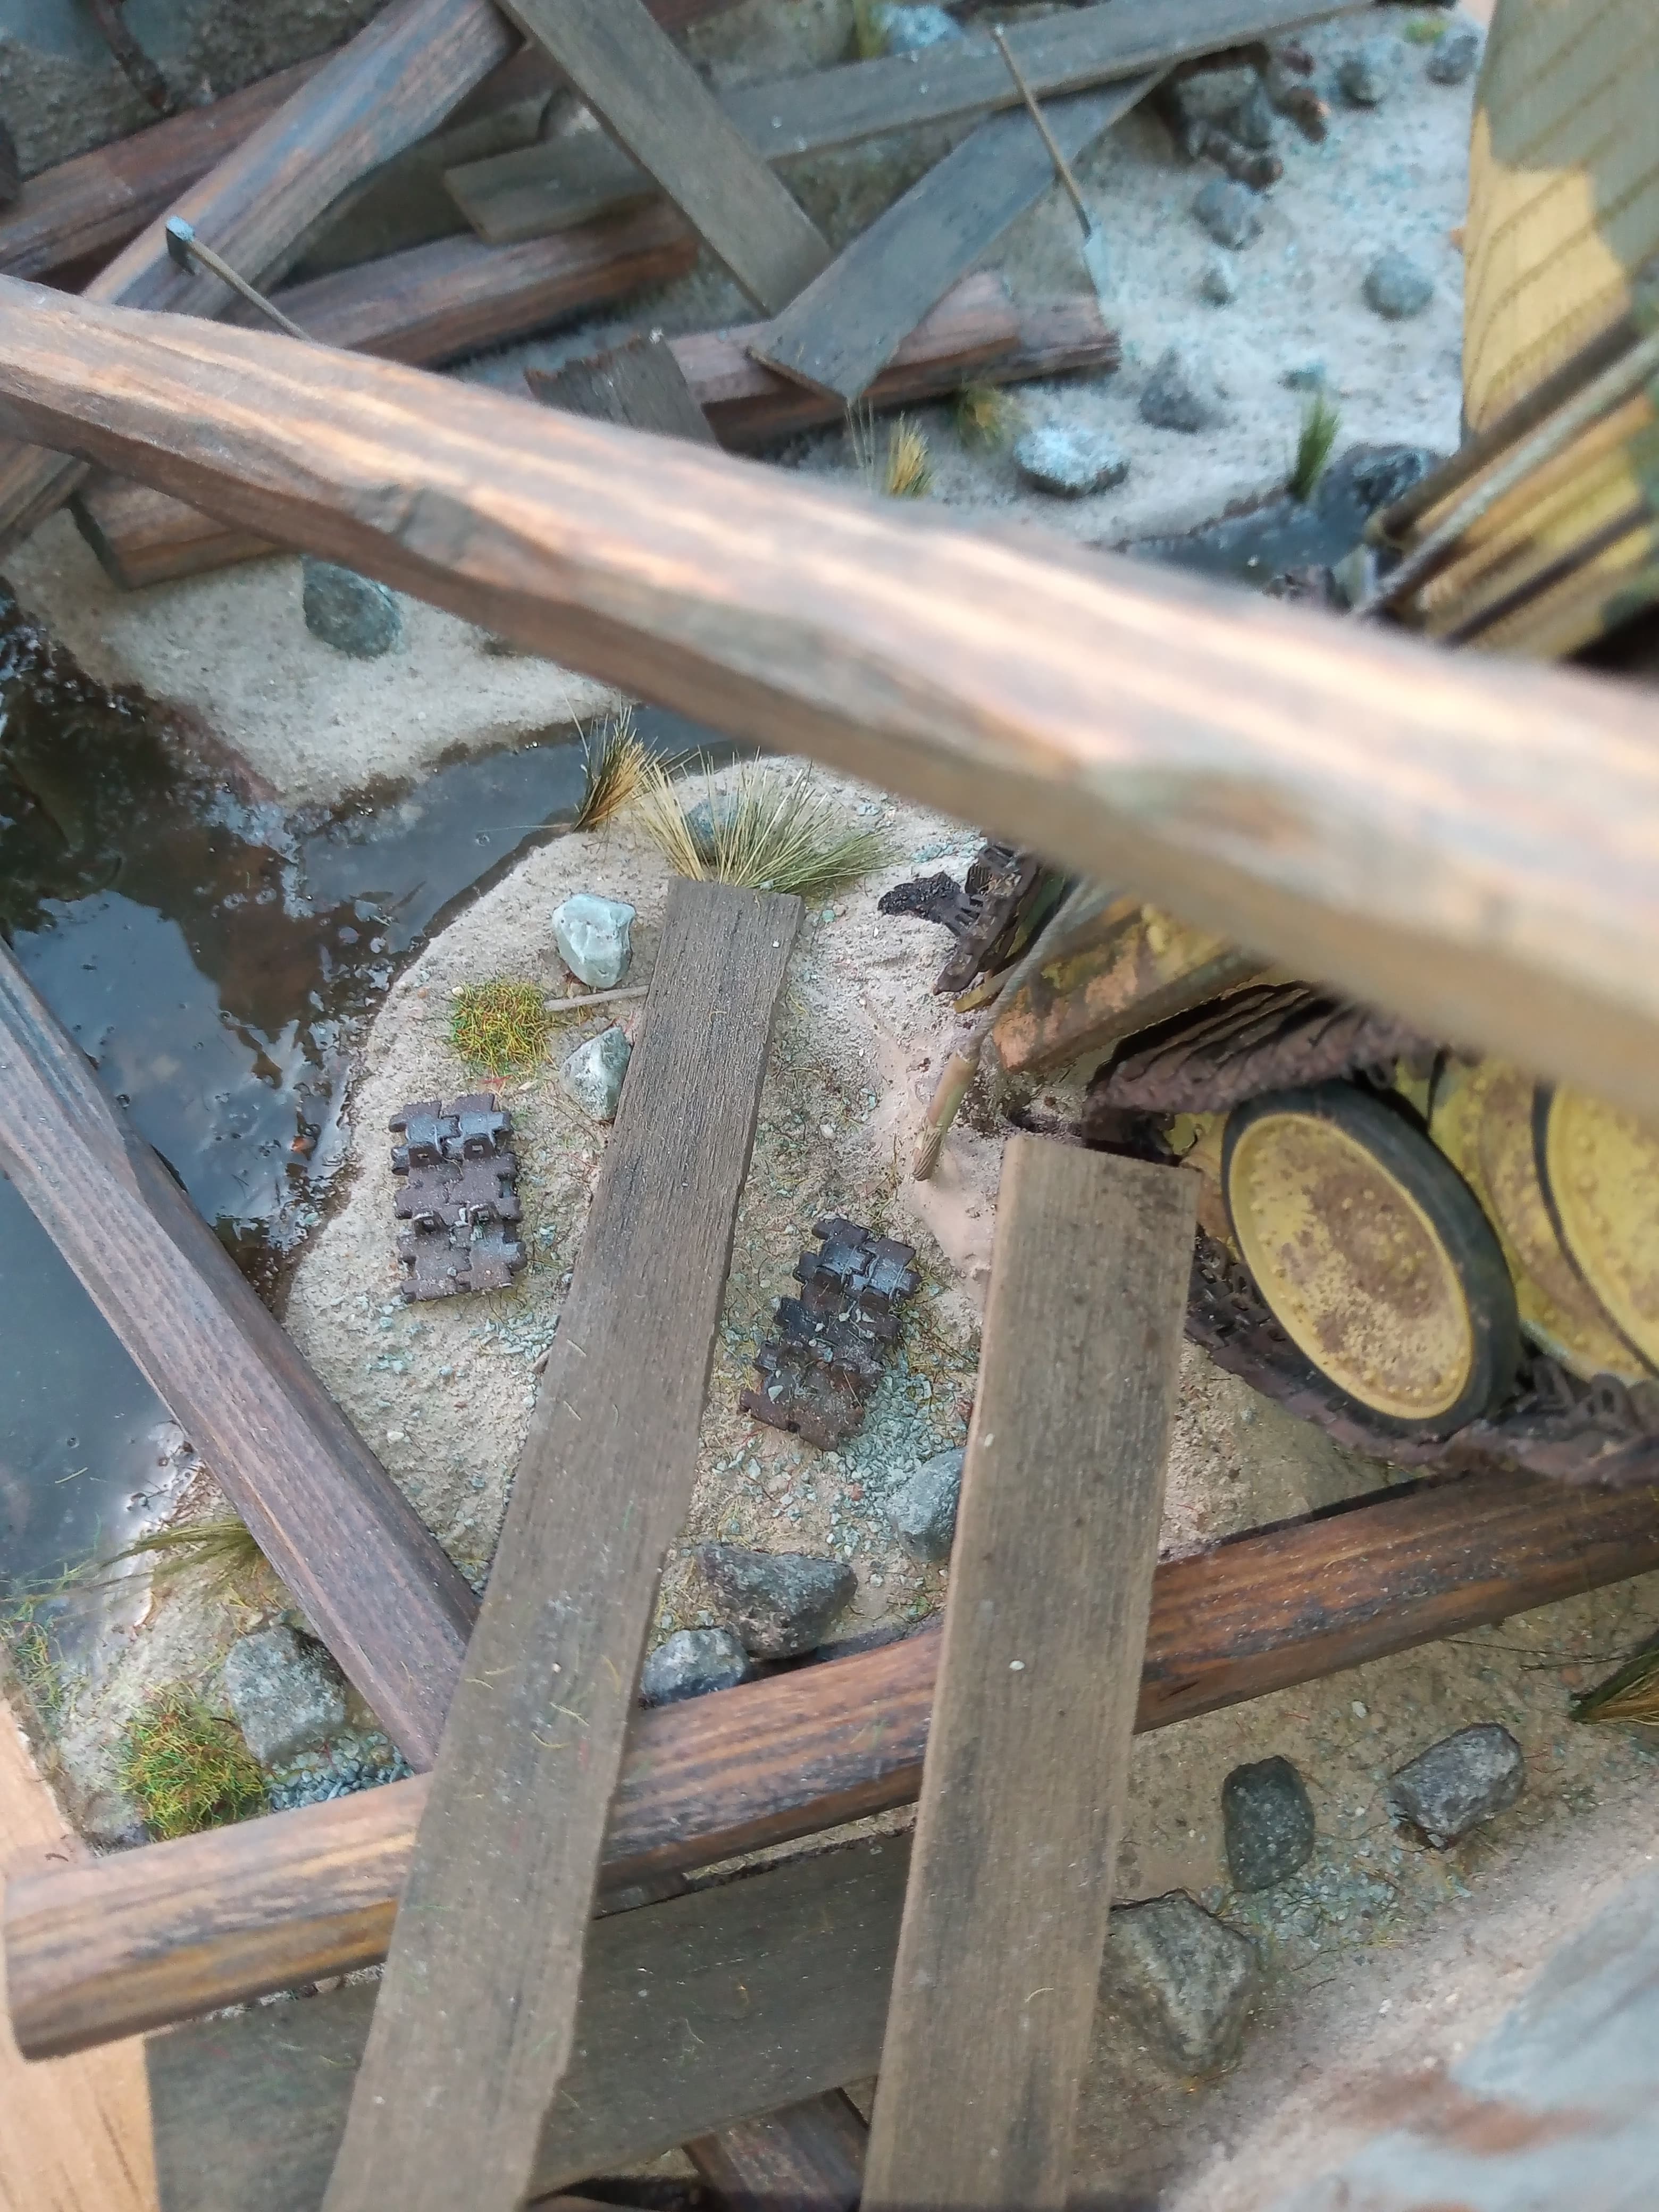
So, I mentioned about building up the impact area around the rear…
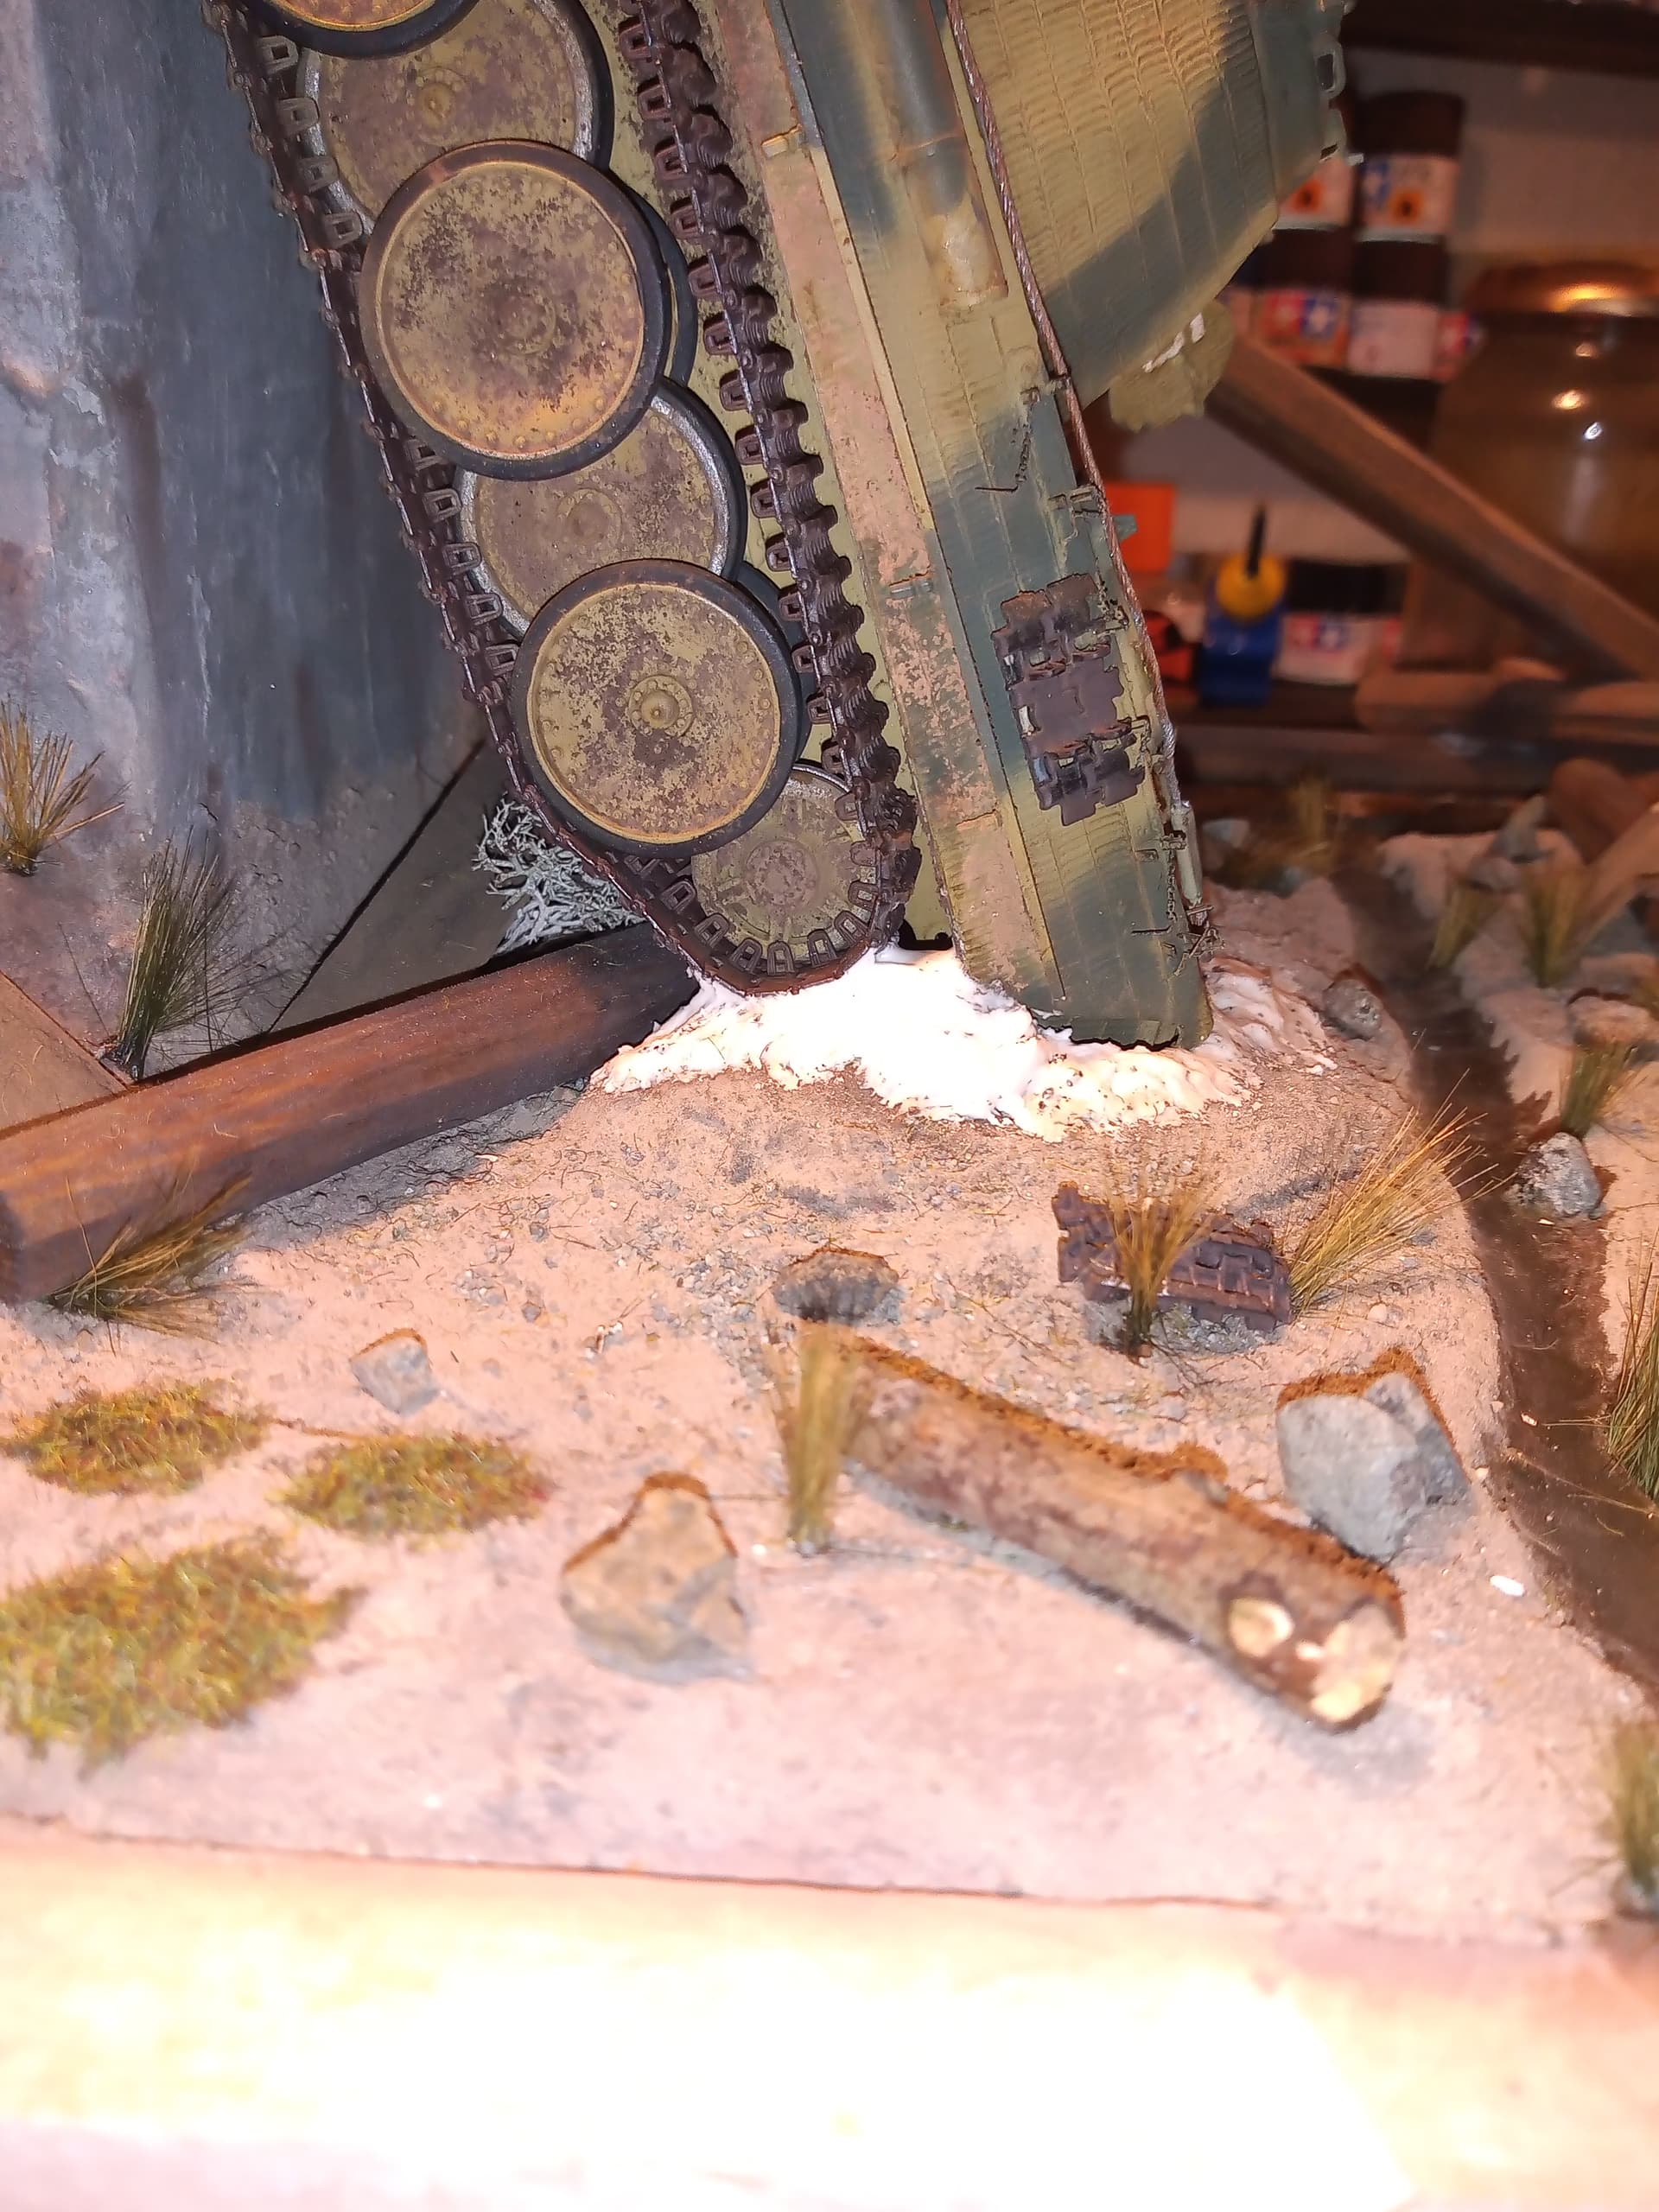
I built up around the idler and angled section the hull and also around the rear LH bin and exhaust.
The indoor filler is touching the track and hull under the rear bin in a few areas, but that should be sufficient to hold the Panther in place. So it’s now set and will let that all cure and paint it to blend in with the rest of the groundwork or more likely carefully use some PVA glue and real dried earth to make a proper blend.
I have to add the RH tow rope which will only be secured to the front bracket and allowed to hang down.
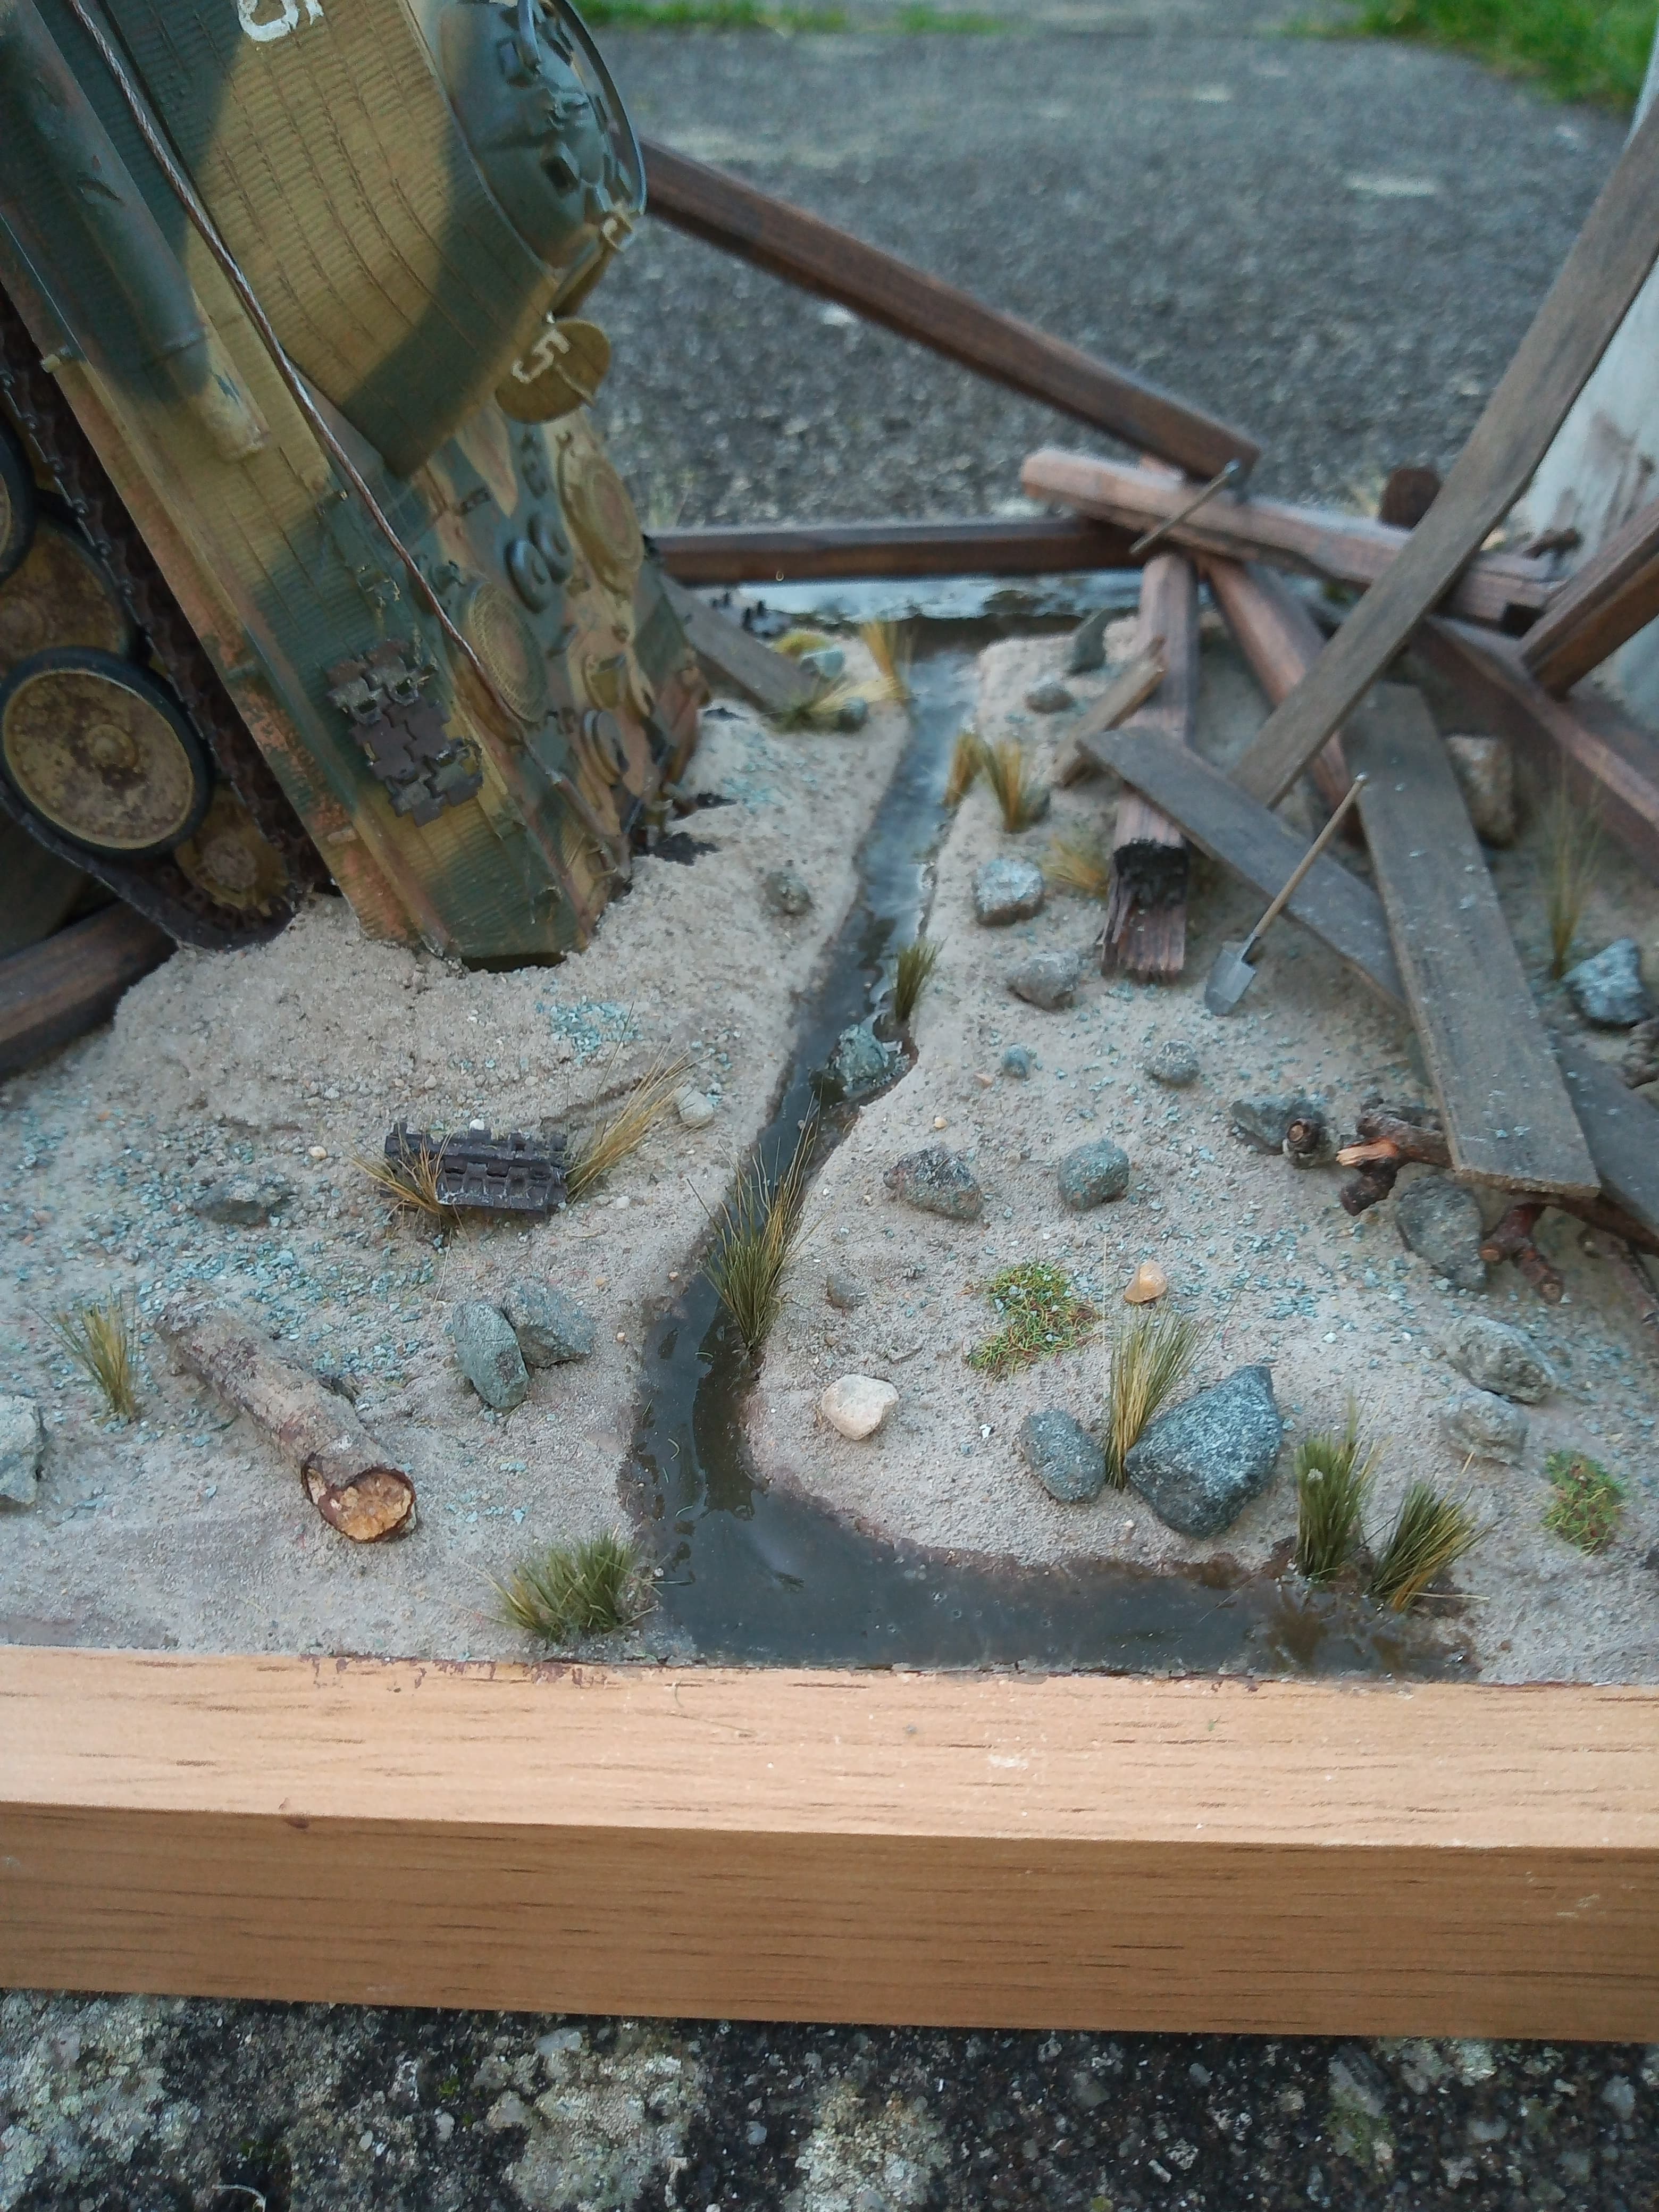
There will be a bit more detailing on the groundwork and then that will be that. Last thing I will do is finish the streamlet going through the middle .
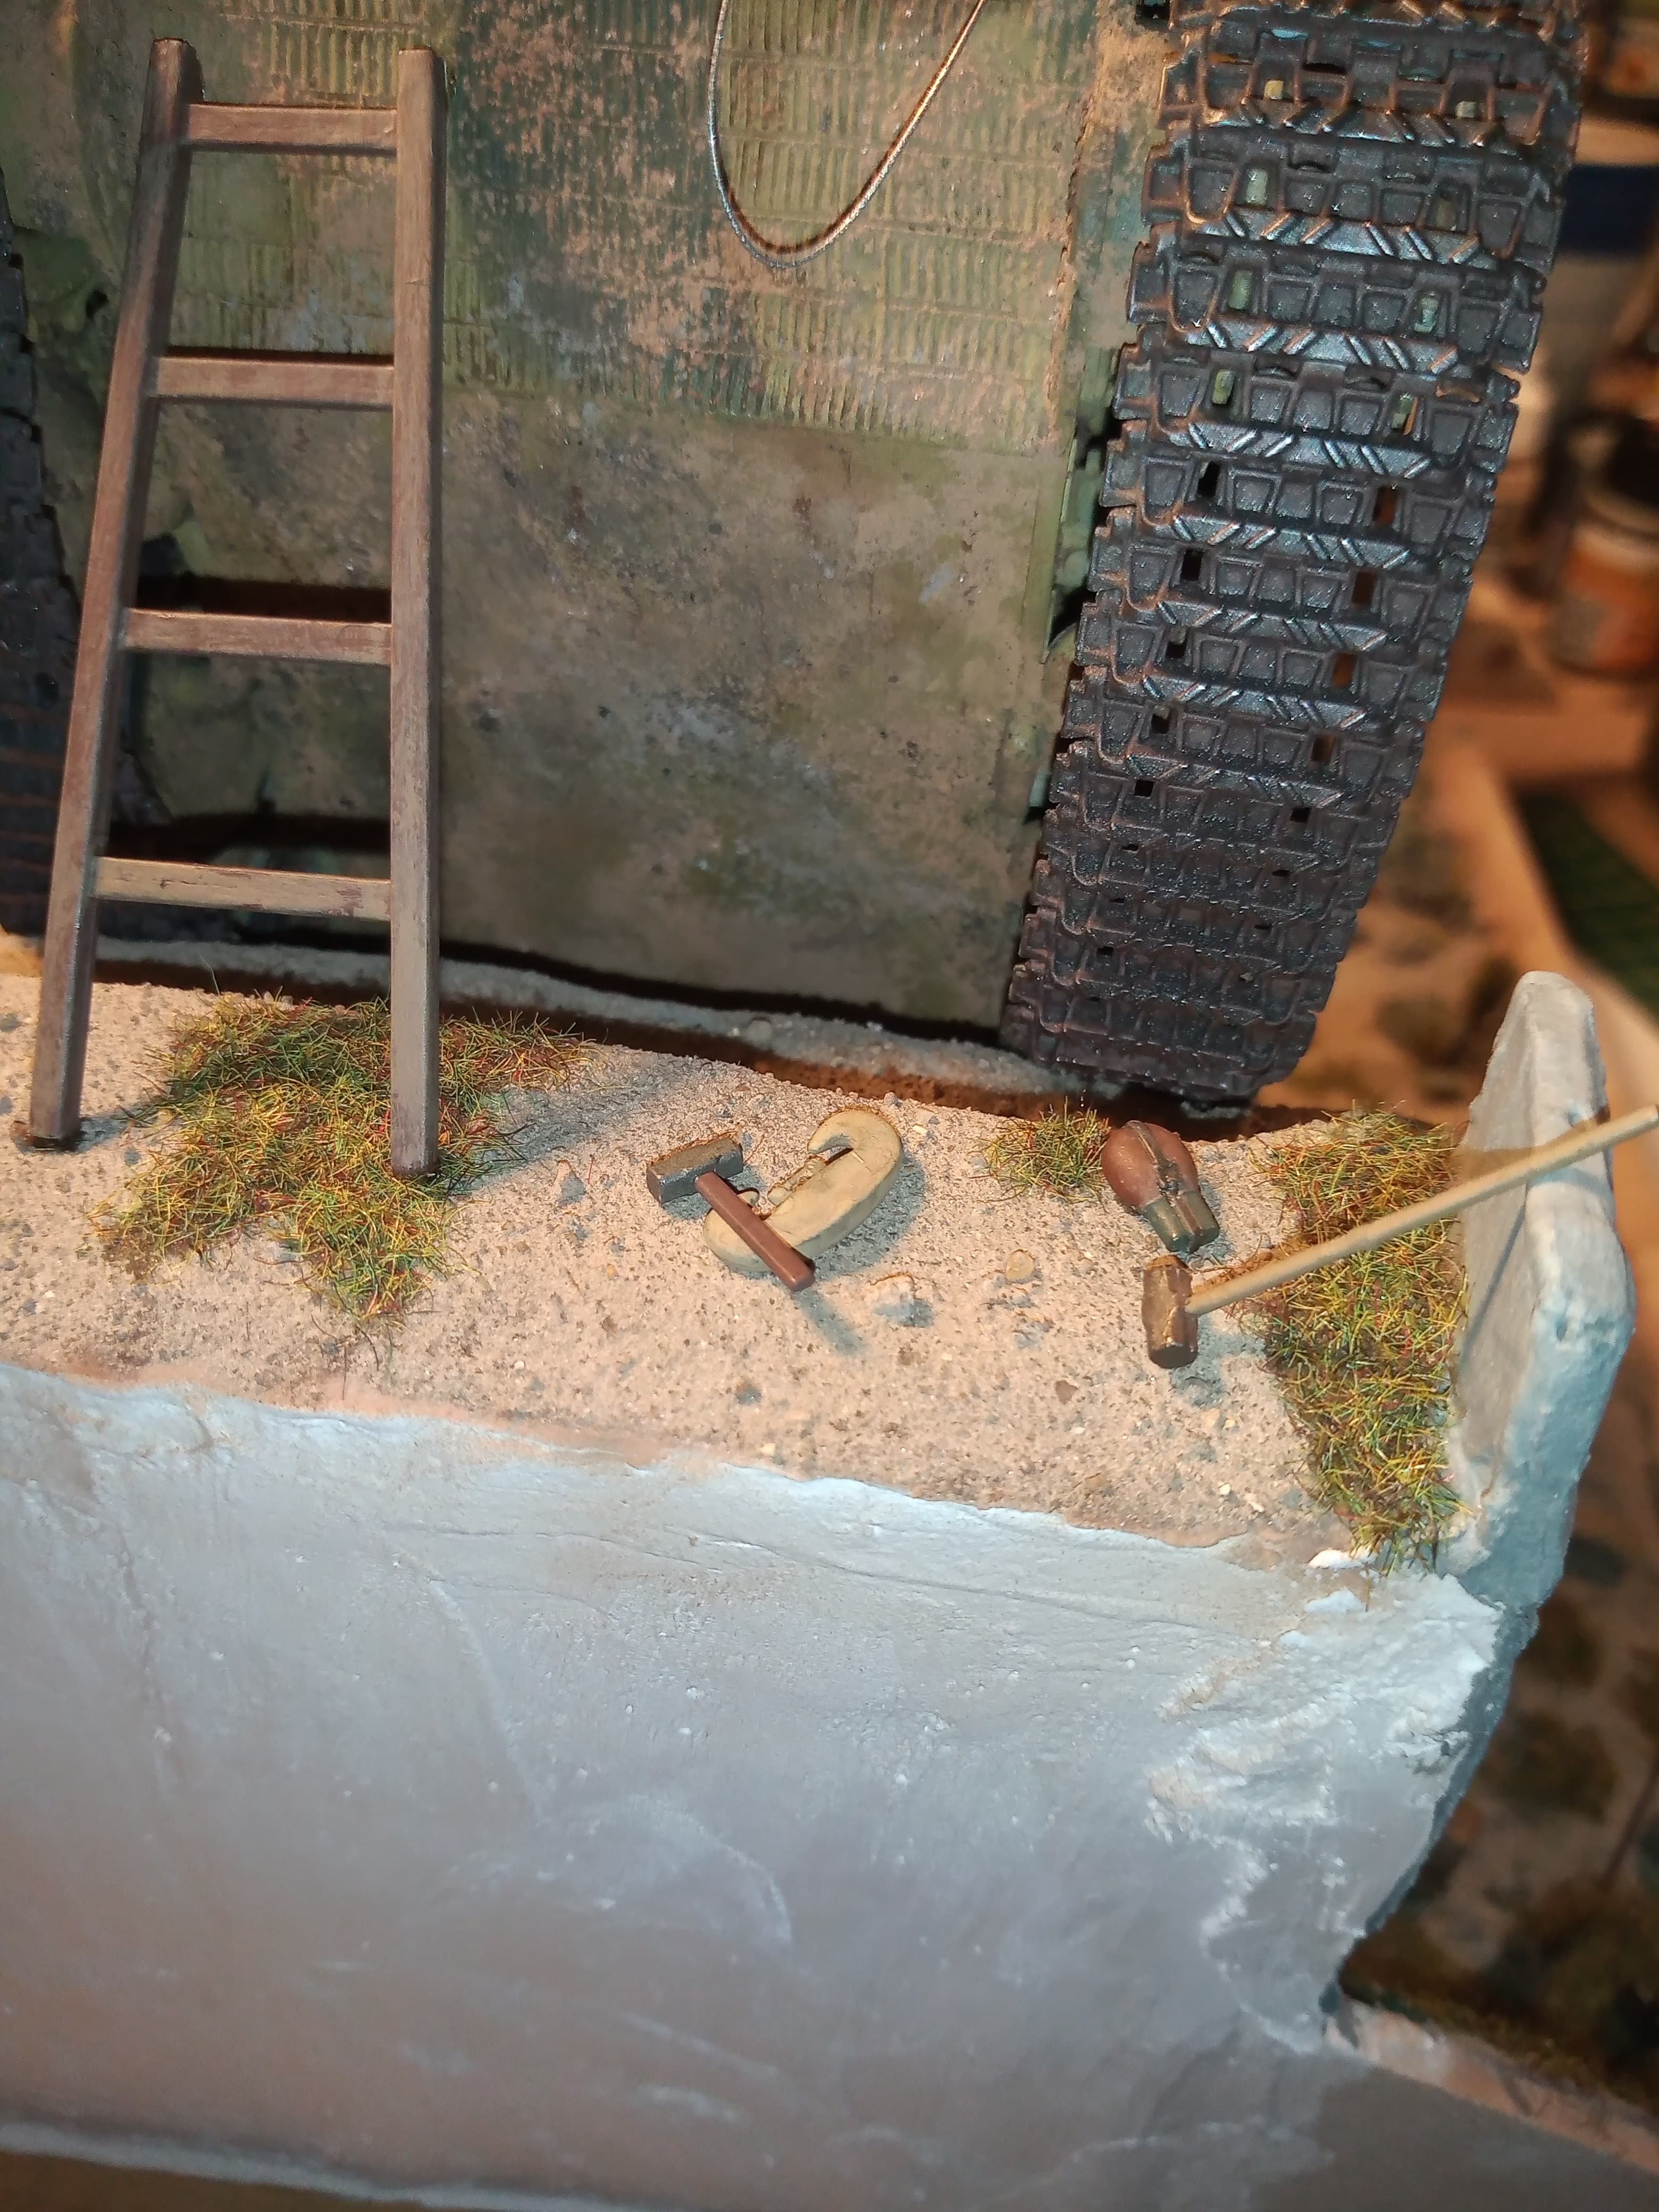
I have also added a small ladder resting on the front lower hull and that needs the wood effect redoing…
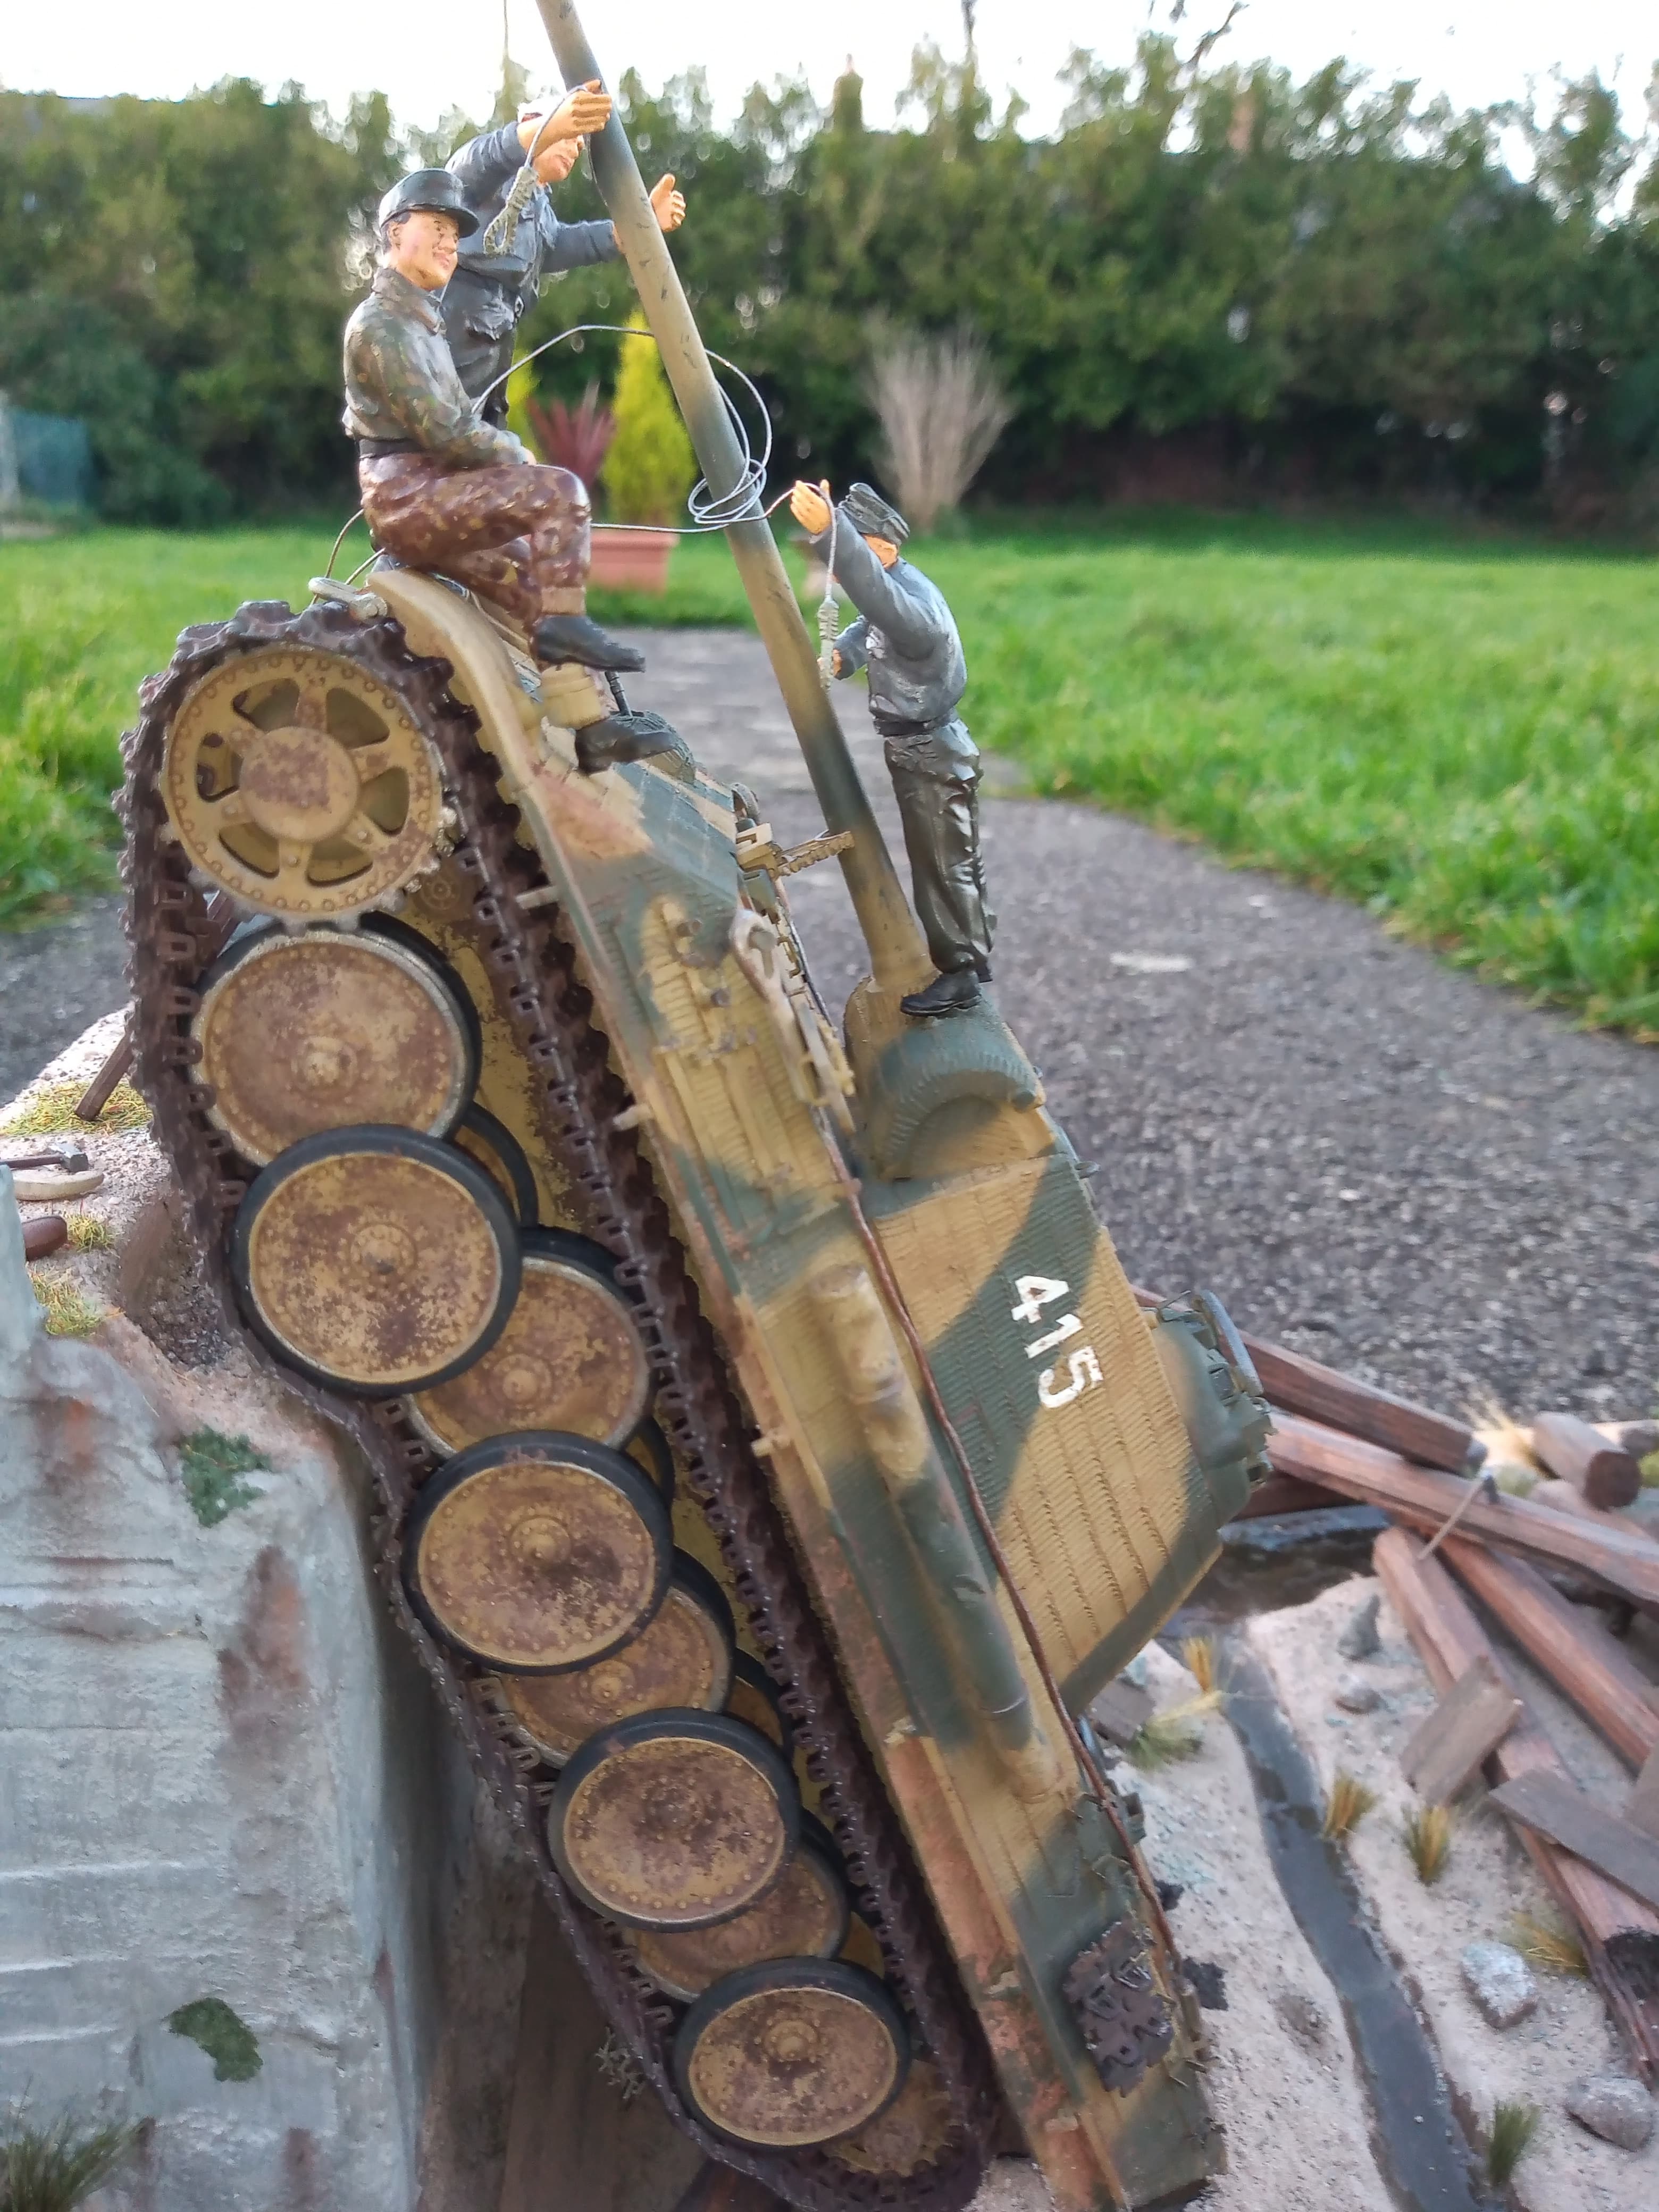
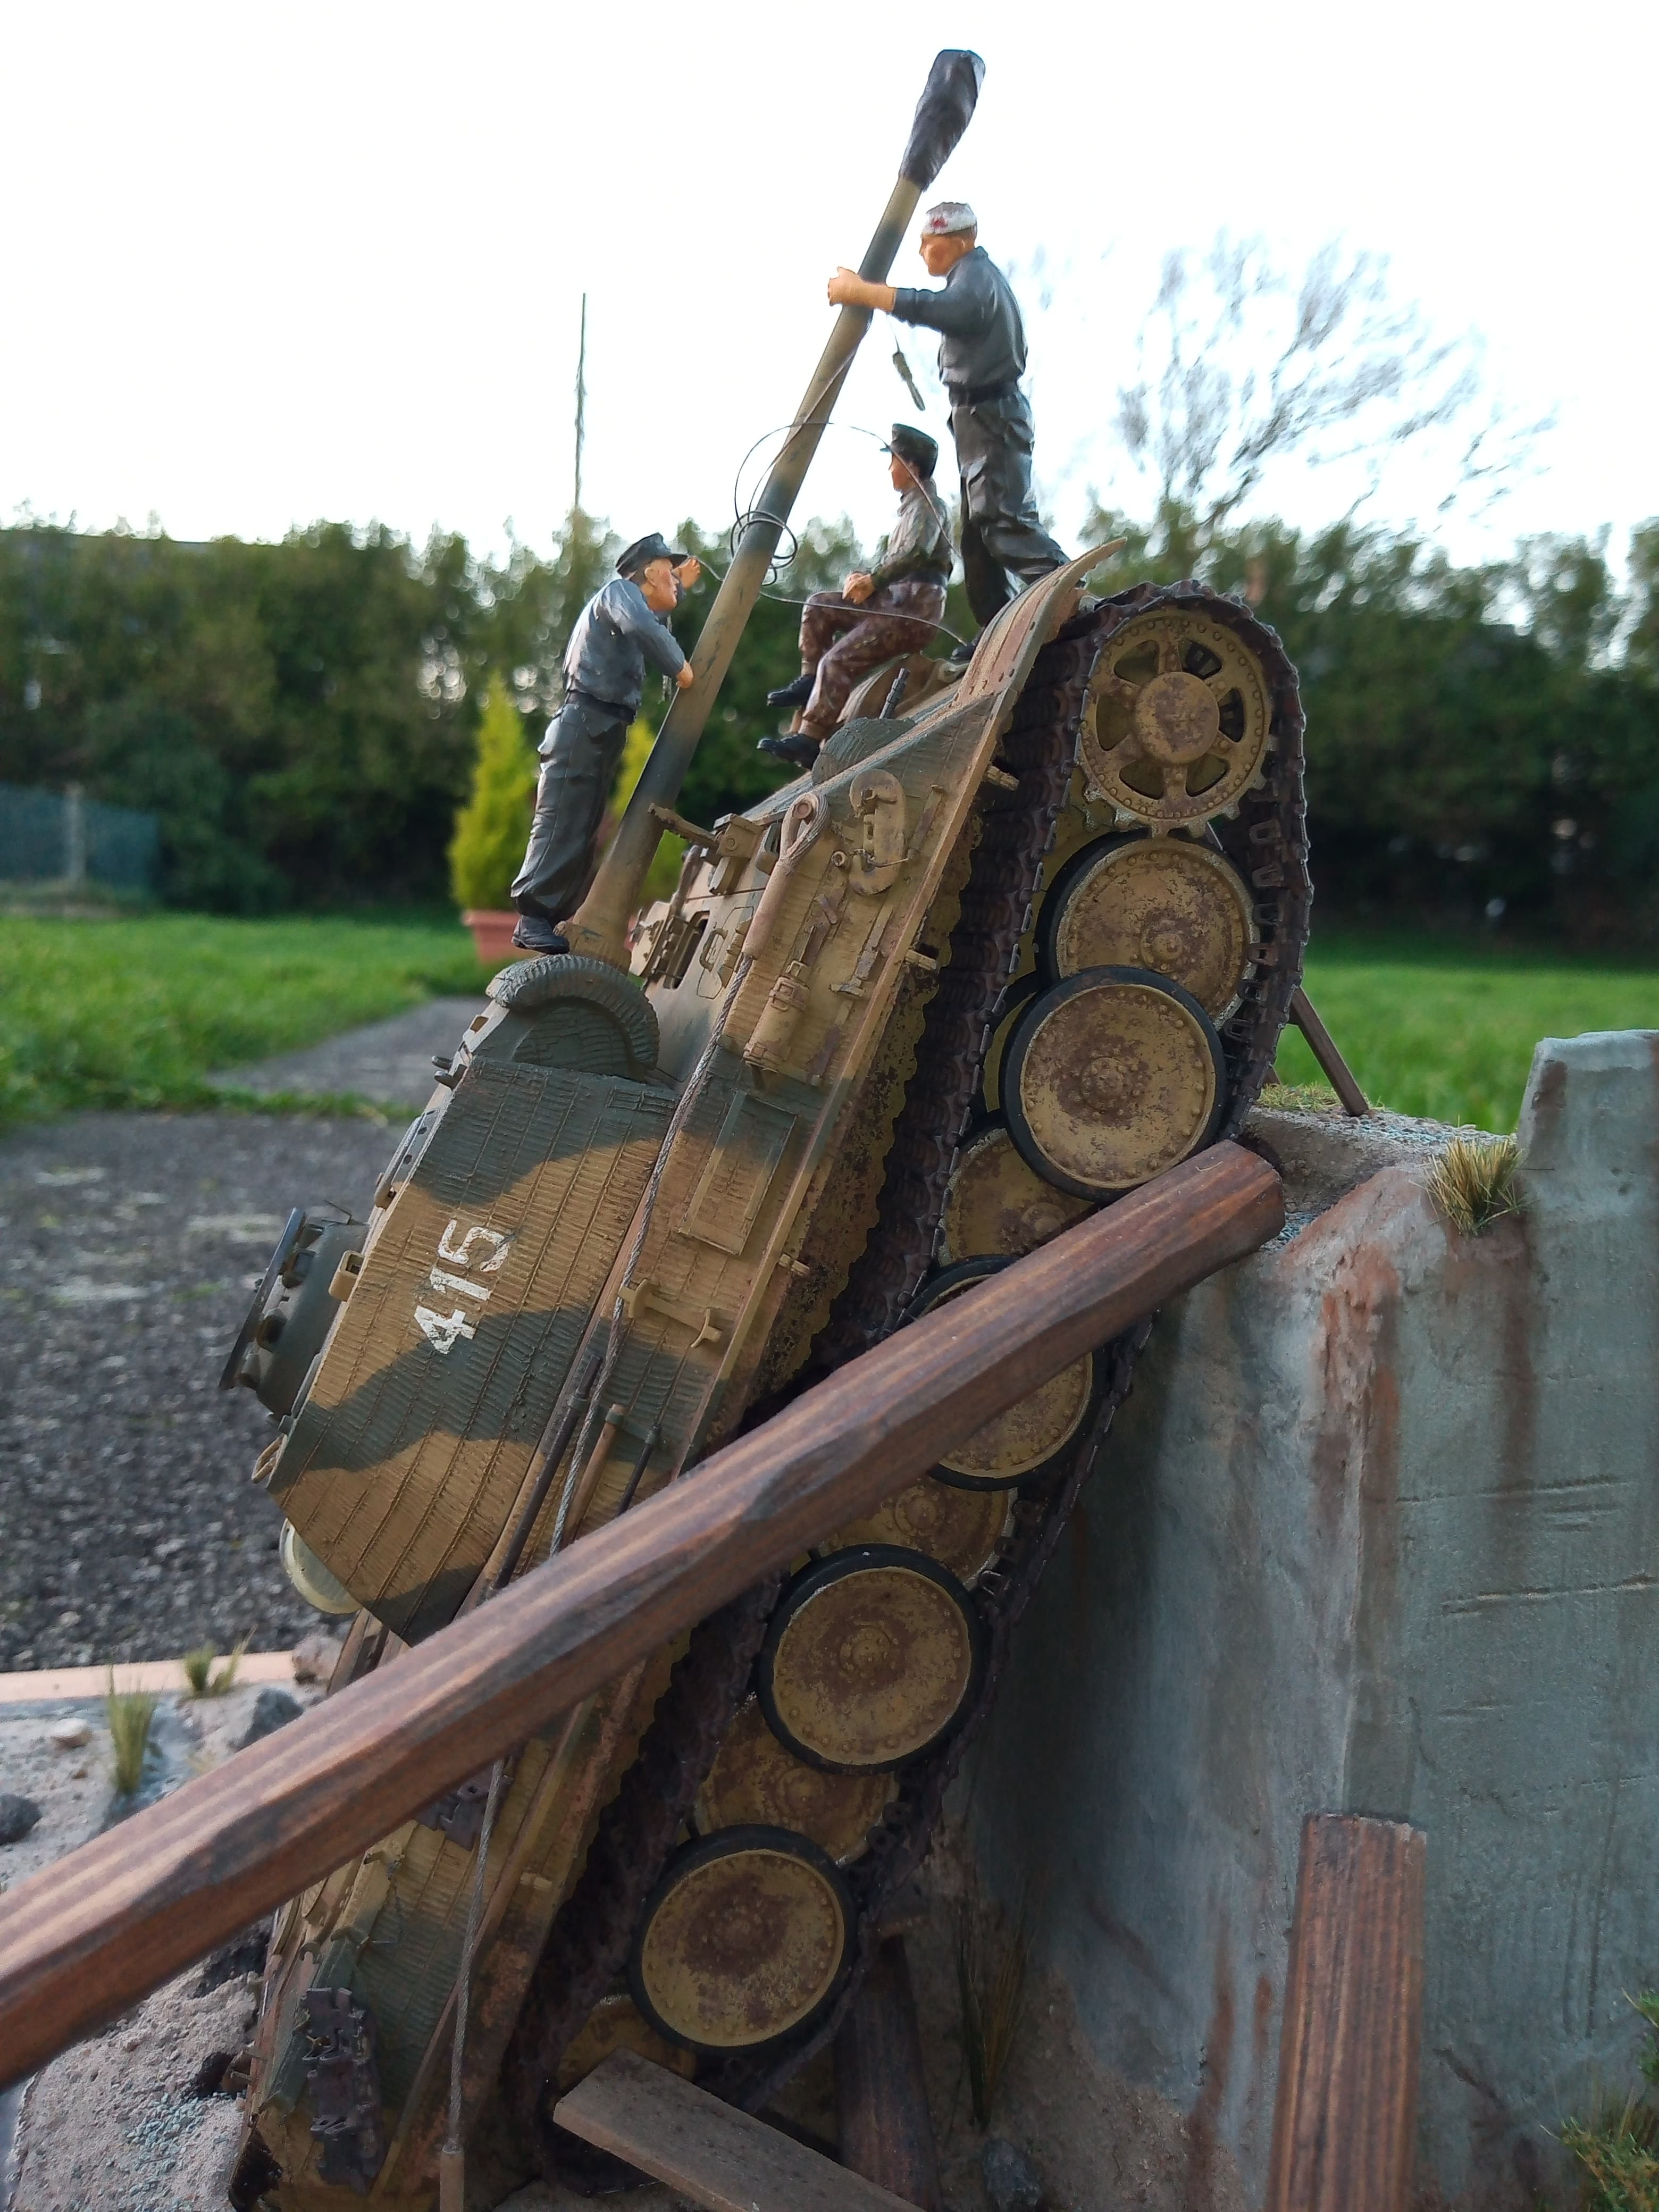
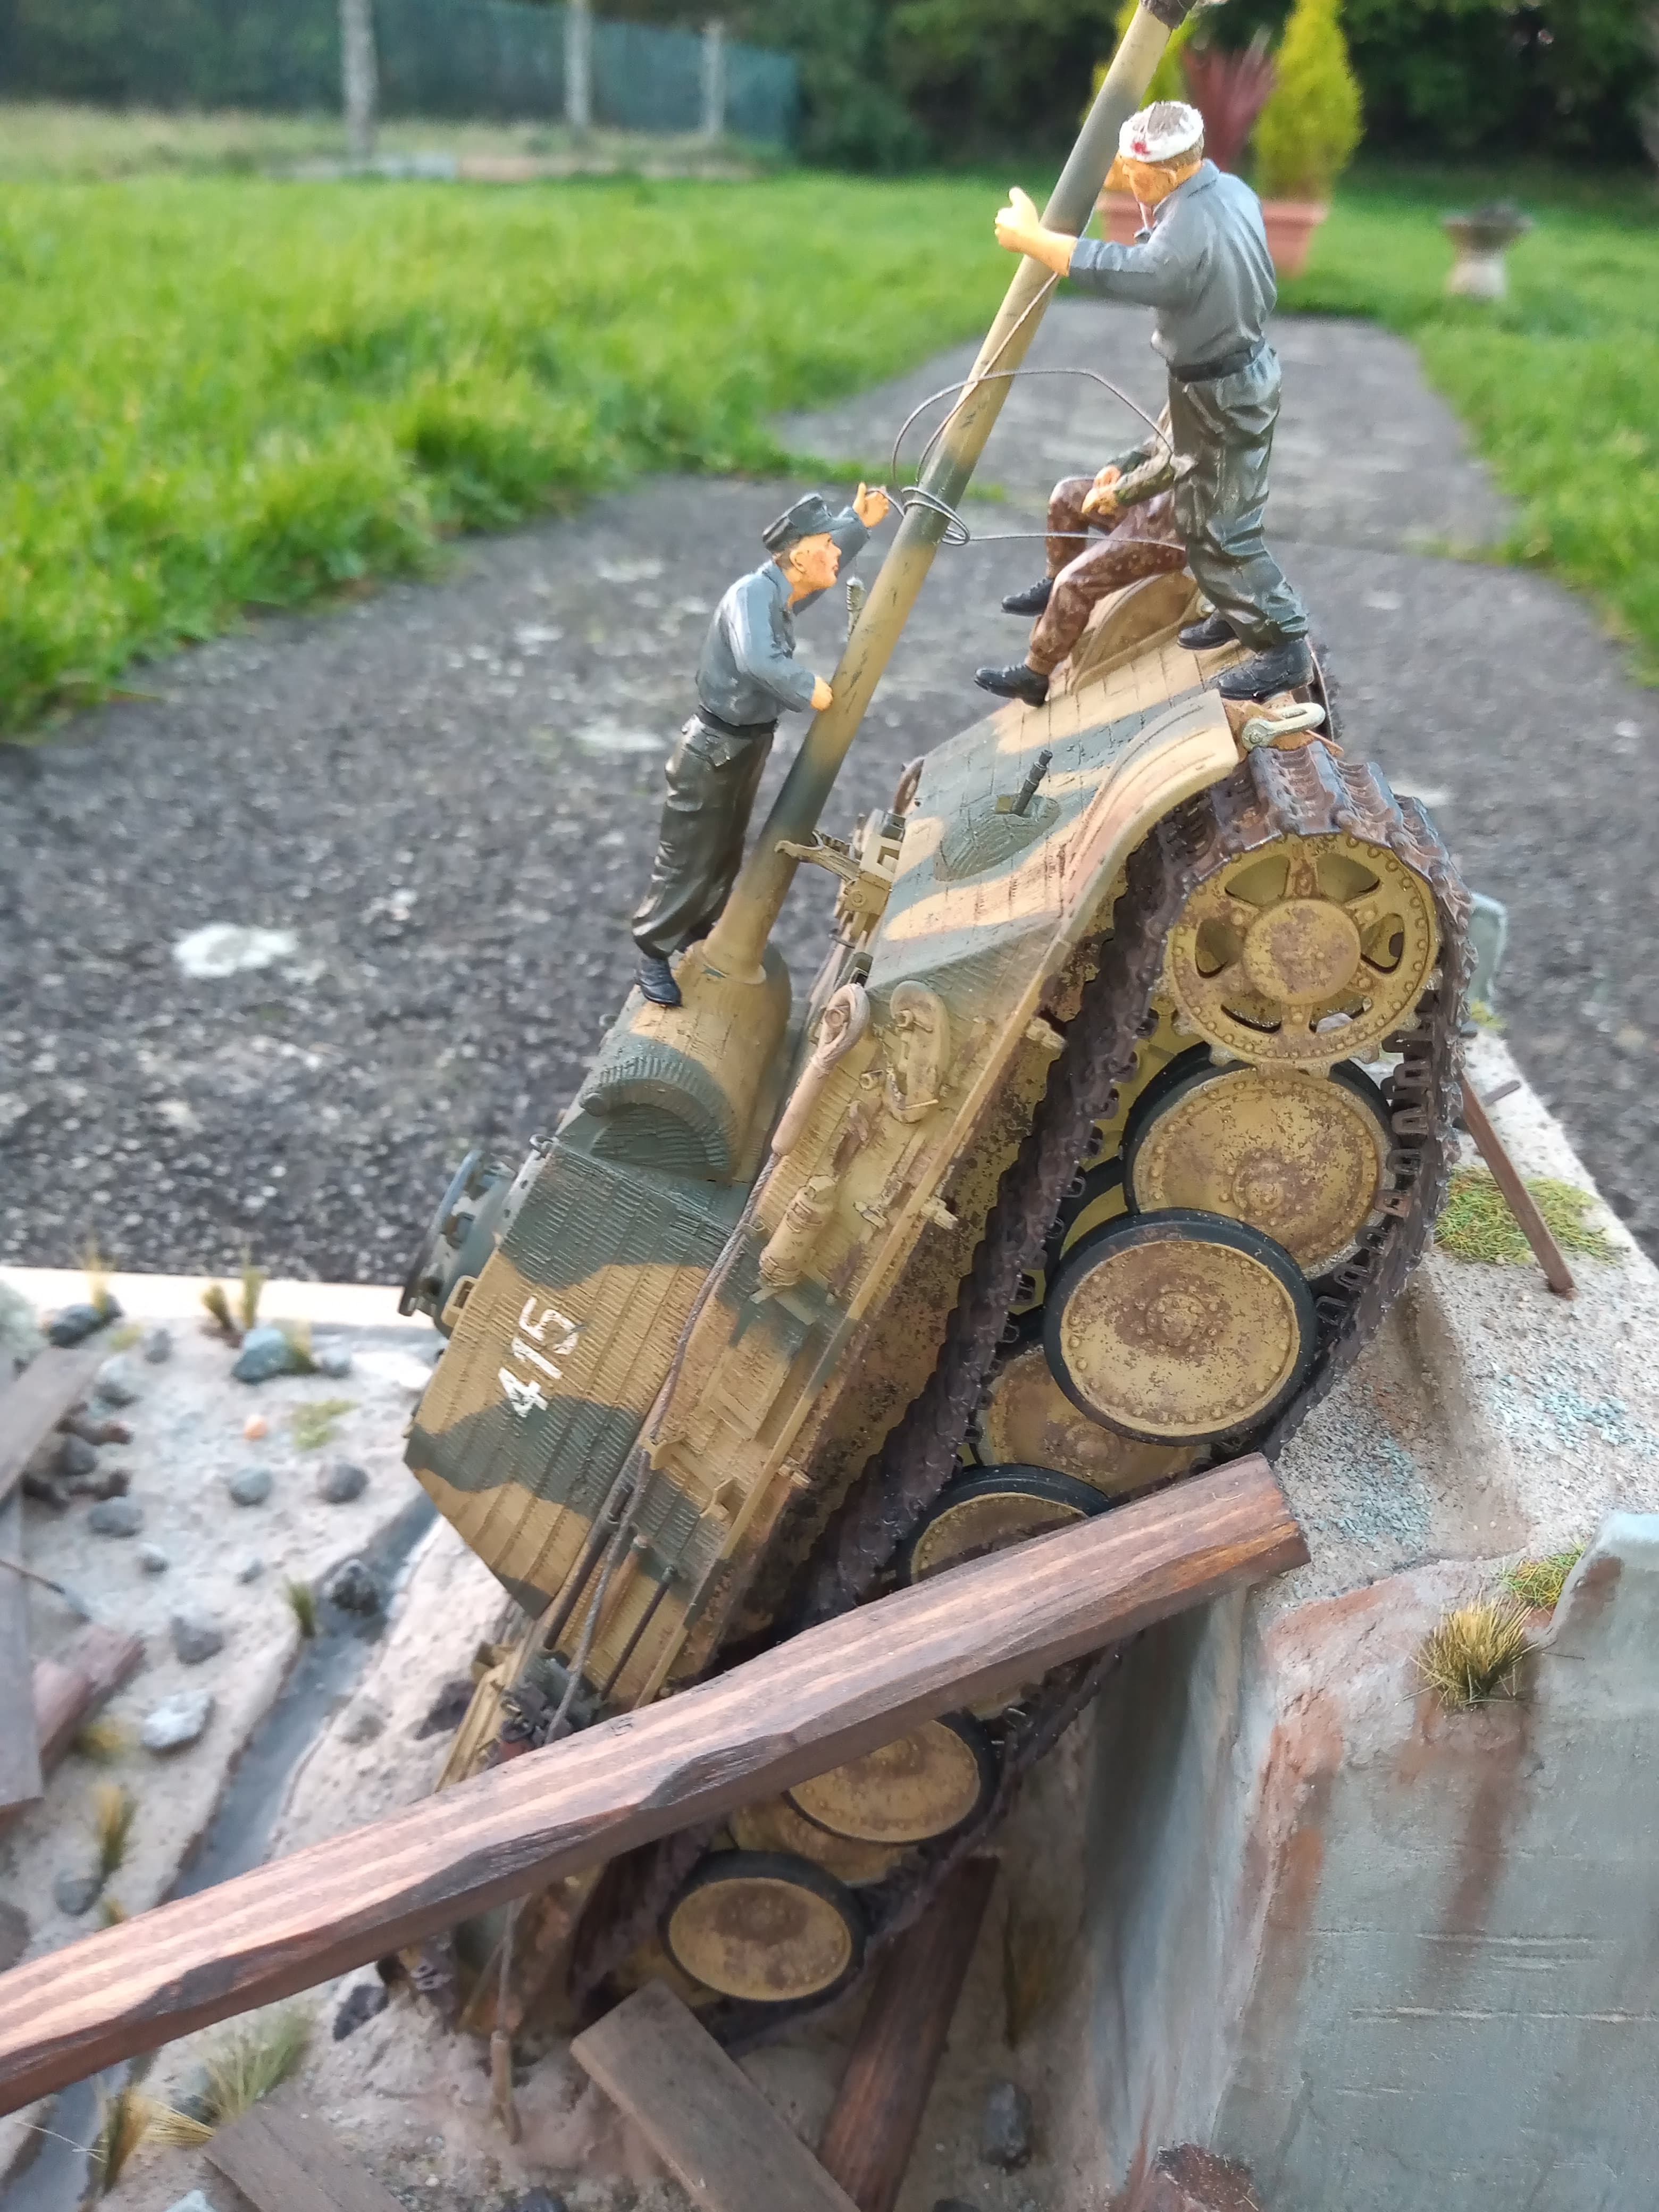
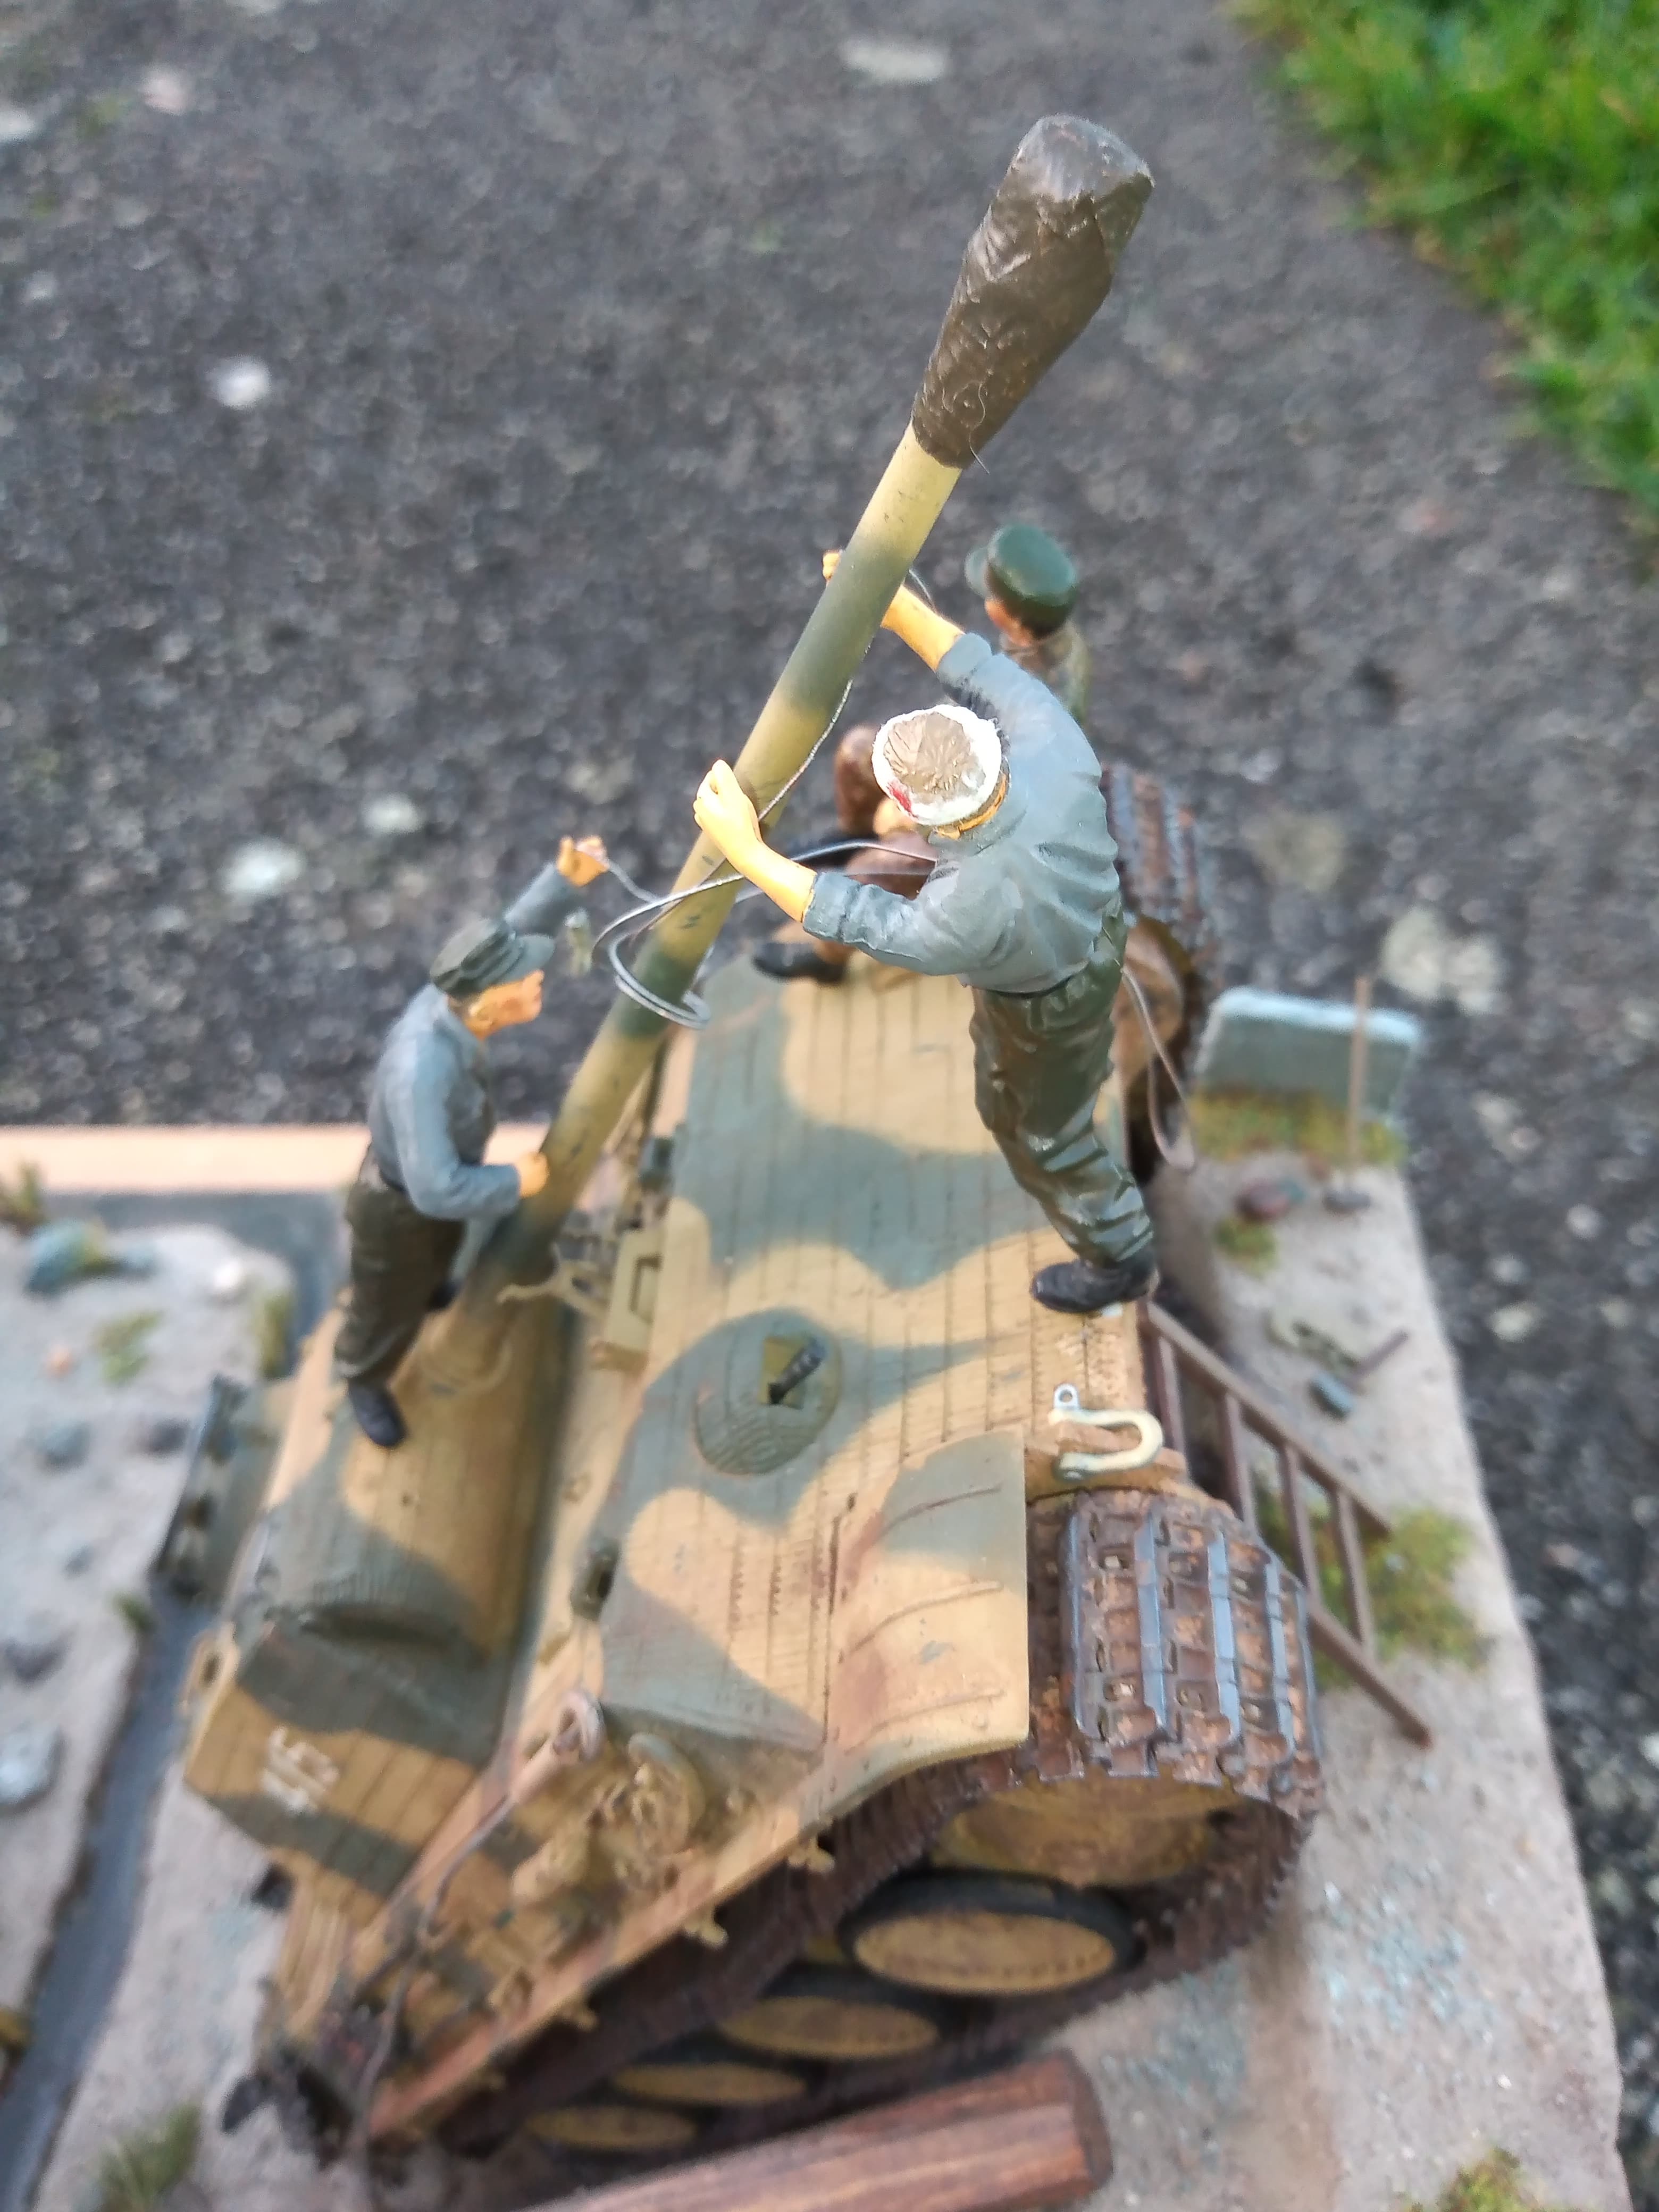
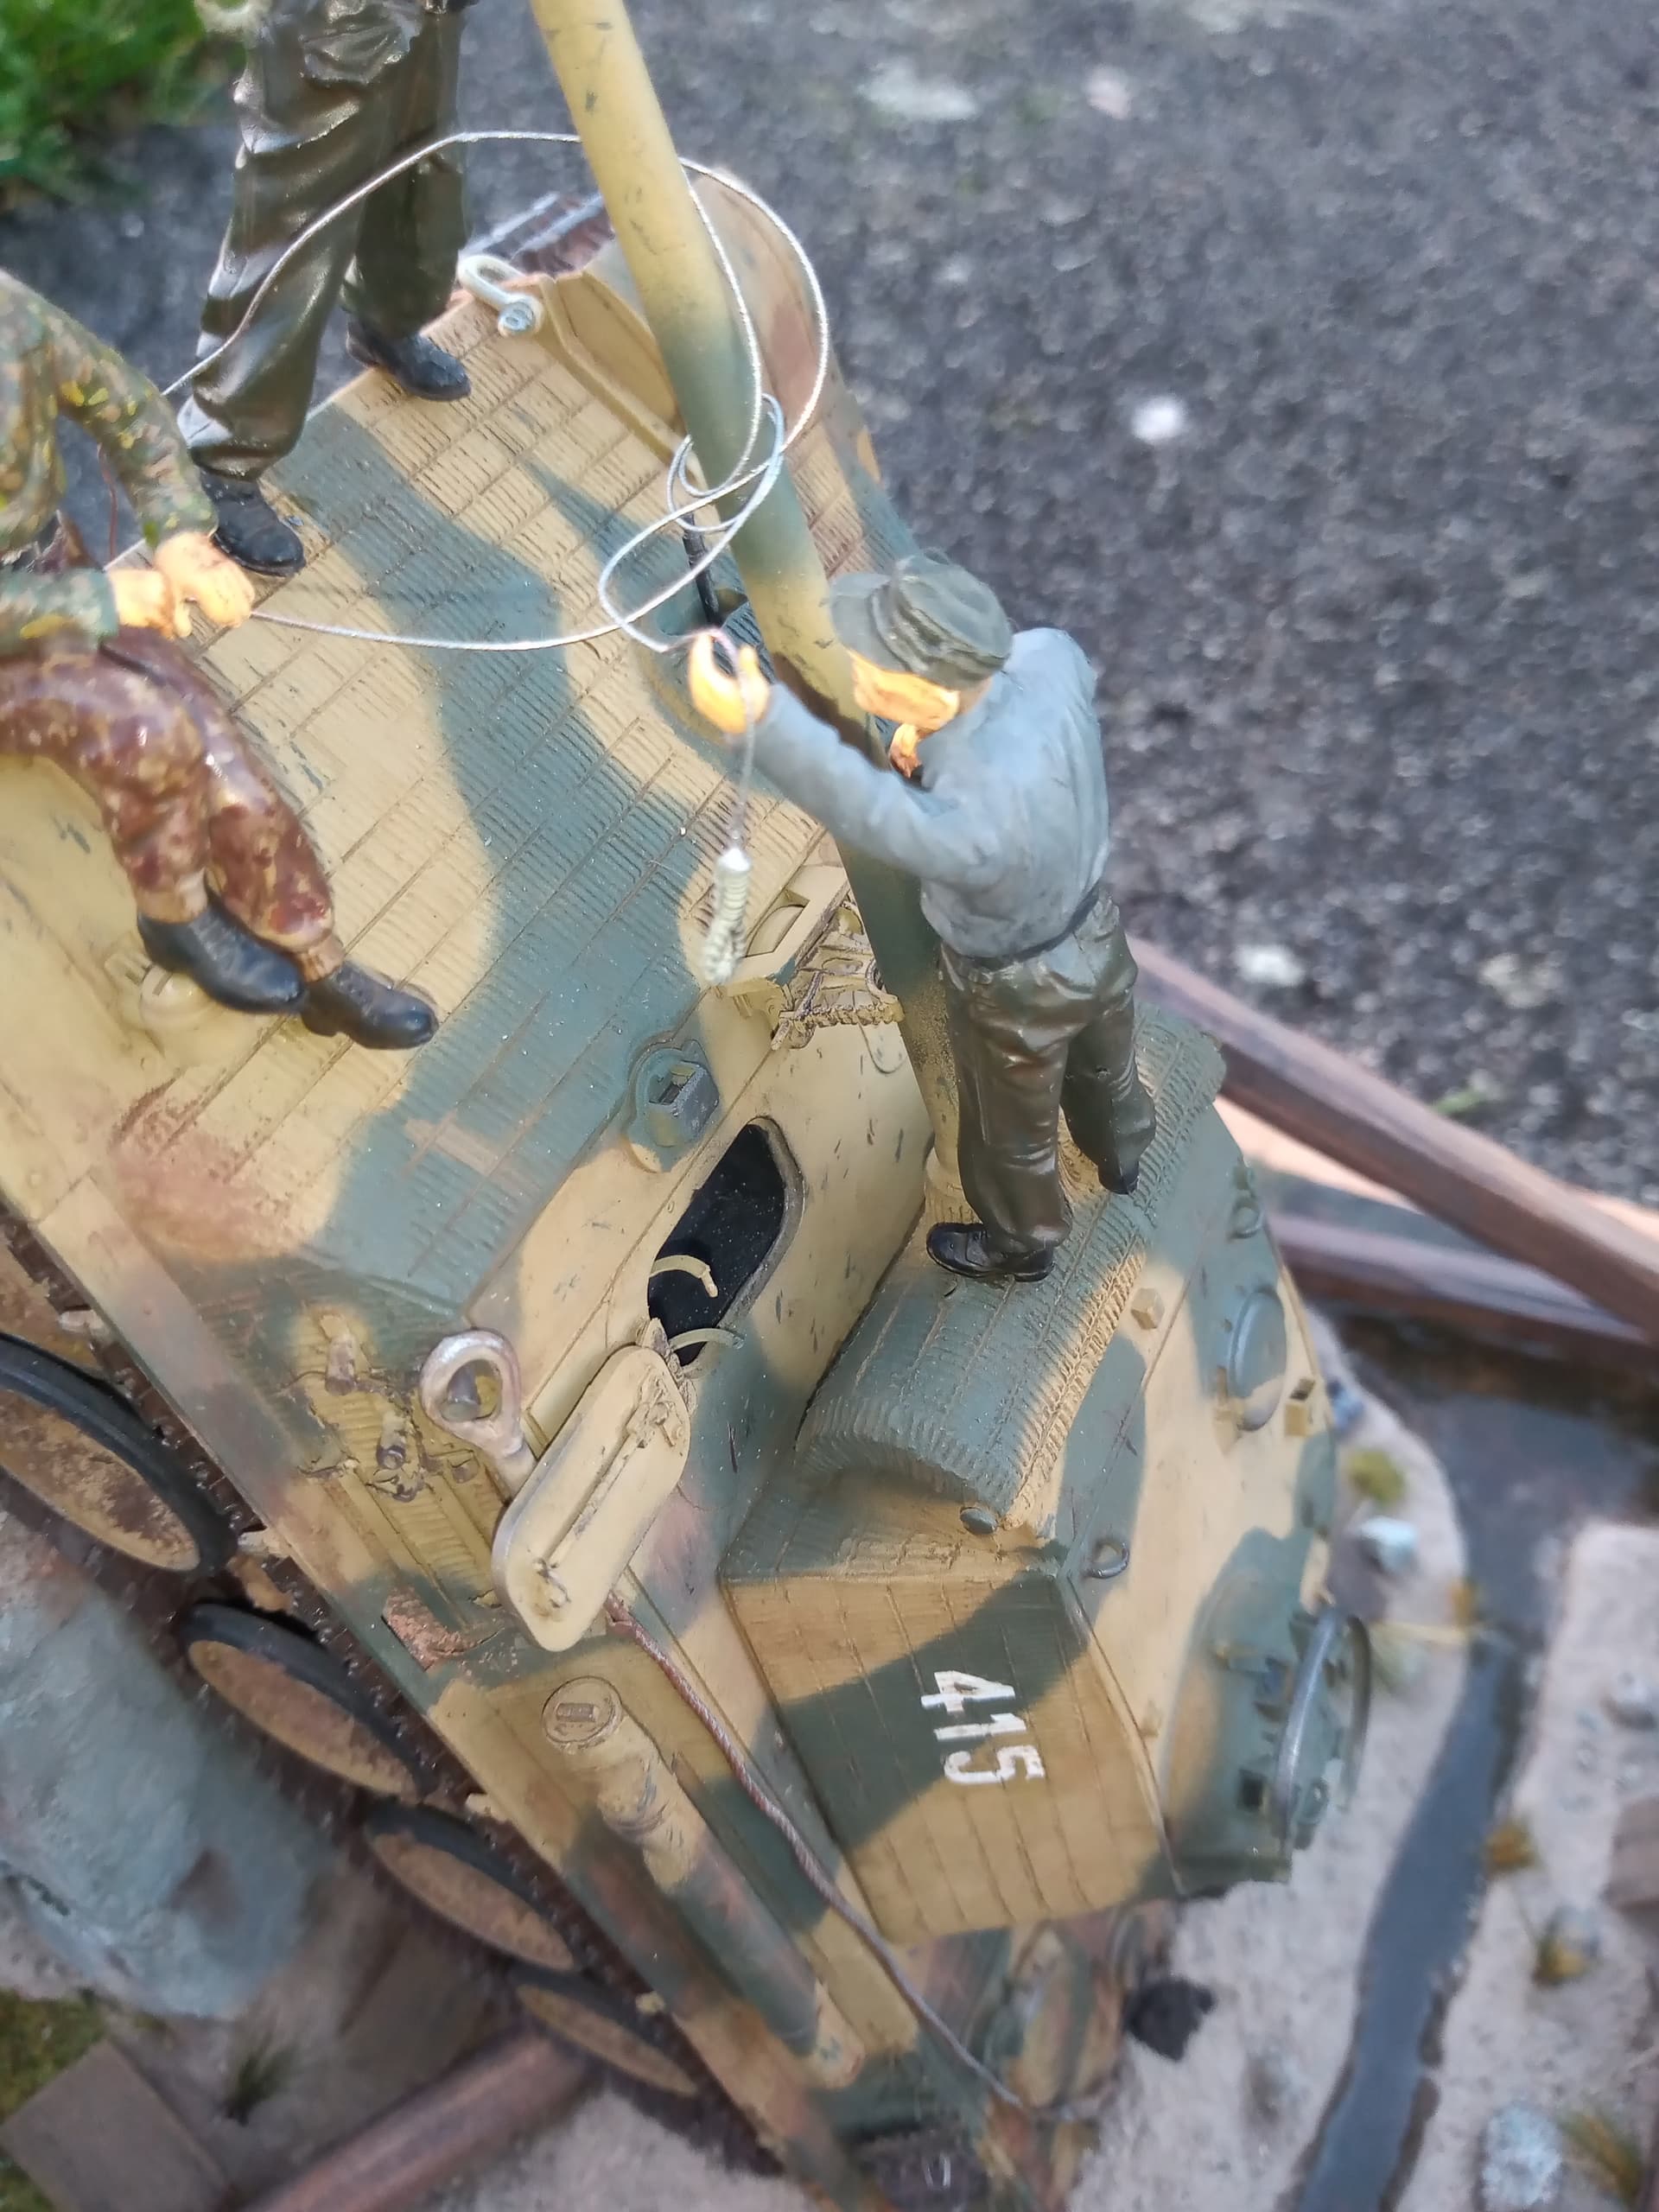
Now, my real area of pain… The dreaded figures … 
Now the guy sitting on the LH mudguard has a bit of artistic expression … The only one I had who fitted the bill was a Wiking figure in combats, and my figure skills are not good enough to be remodeling uniforms… So he stayed in those. I have to rework the paint on his jacket to soften it a bit more and change the colour to smaller patches.

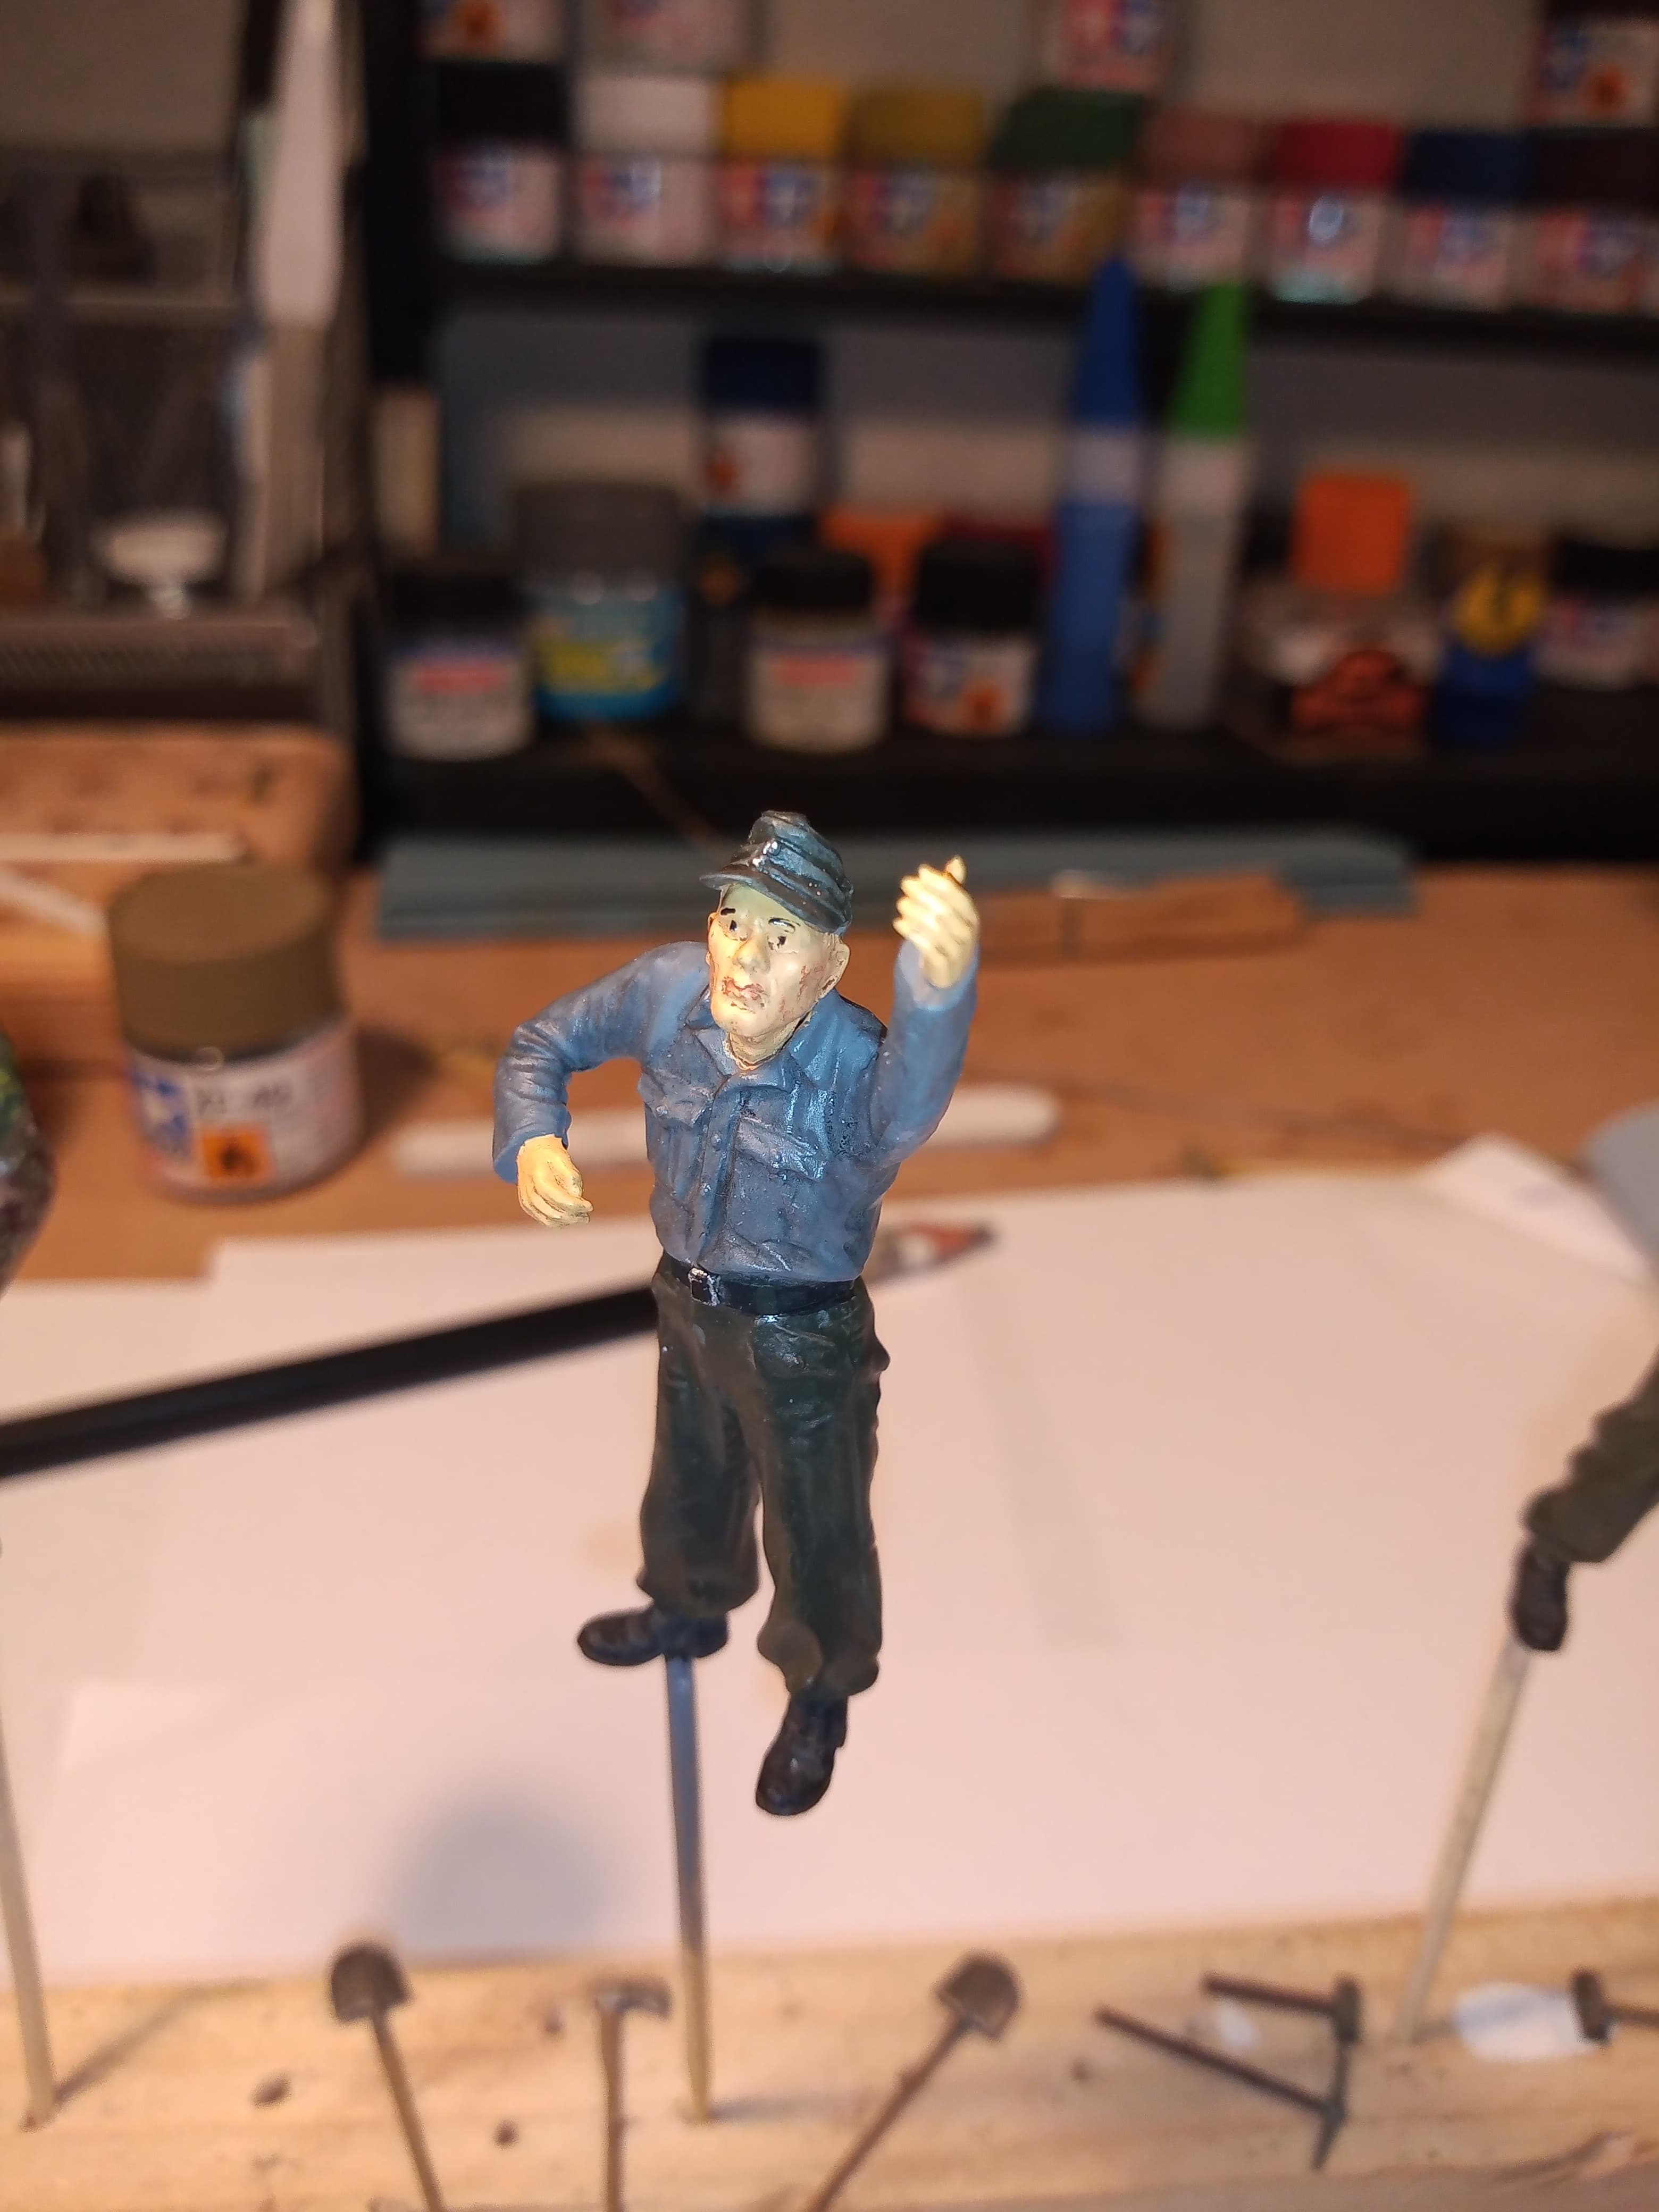
The other 2, well I was happier with these and they were from the Miniart maint crew and just needed some minor surgery with arms and a change of heads.
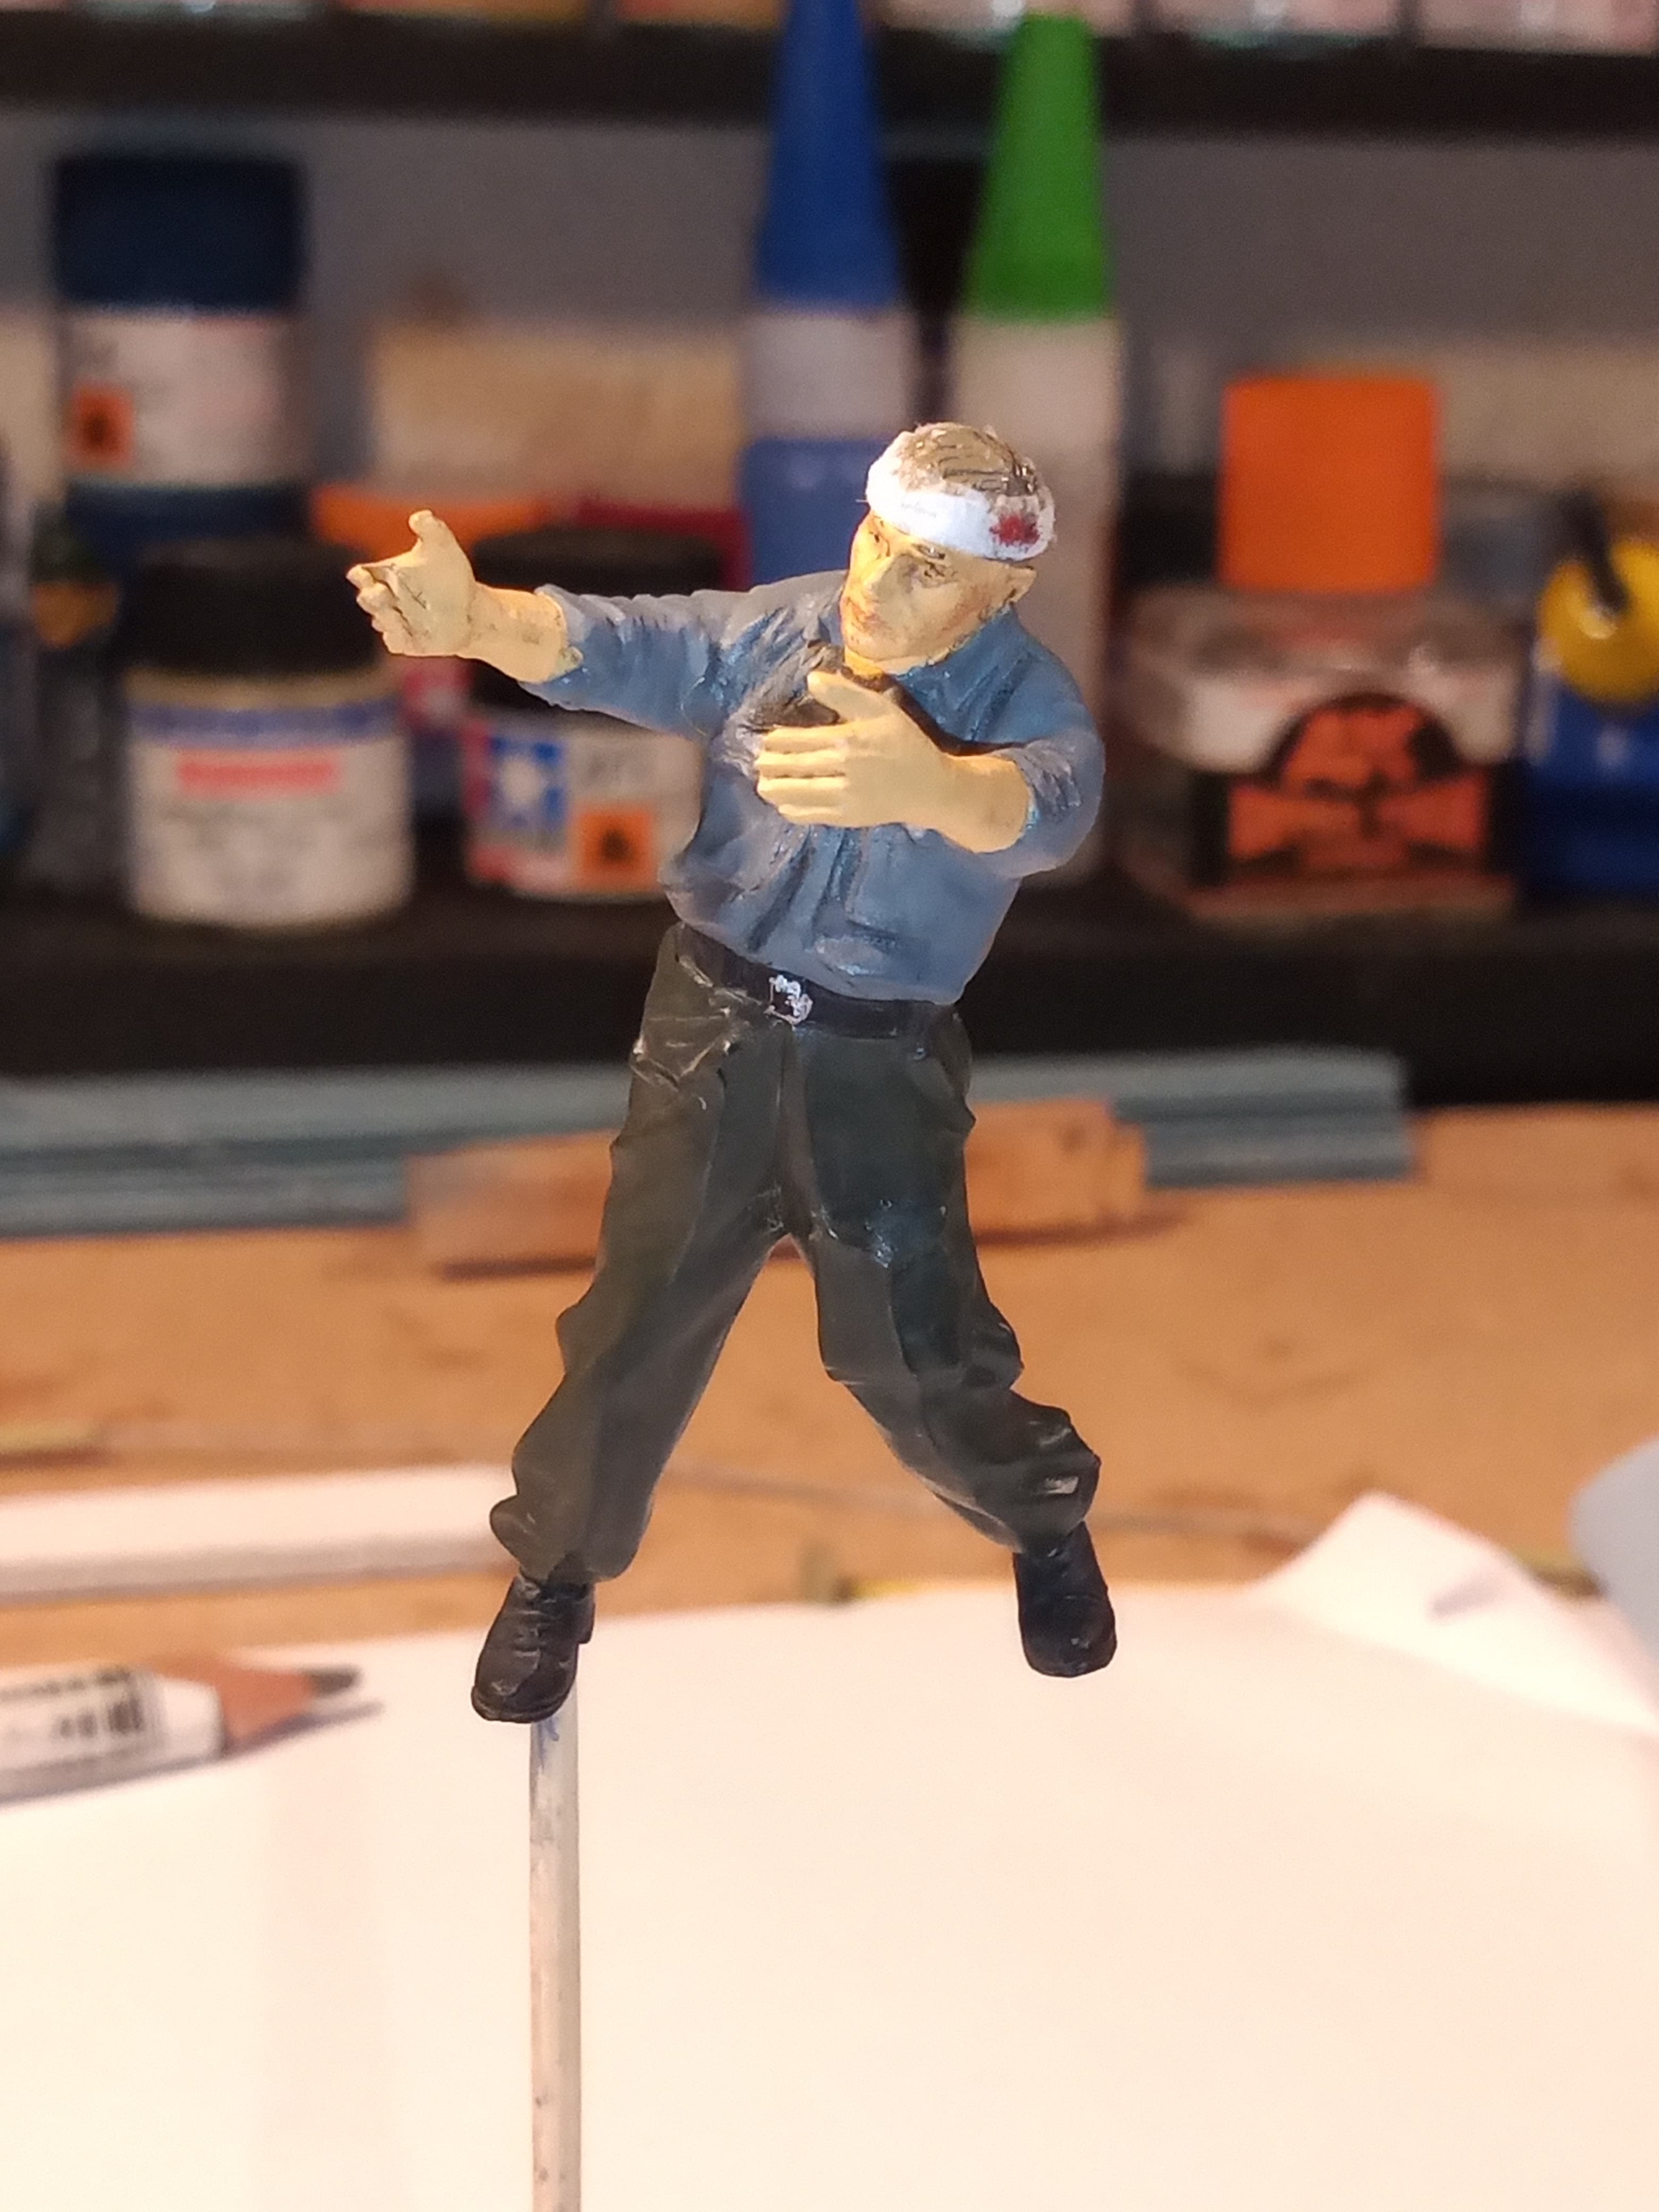
The guy with the head bandage was fun as he is in the photo, so thought he should be here as well…
Flesh tones were various Vallejo ones and I attempted to do some pinprick eyes on all of them with some highlights on the cheeks and neck. They are not the best, but they will do for me, as I know my limitations with figures and these are it lol…
More to follow
7 Likes
Nice addition on that impact area! And love the bandage, you’re into using red these days 
1 Like
Great effect to the impact John, it really adds an appearance of weight to the Panther. Your figures are looking fairly respectable, too. Better than you give credit for.
1 Like
Thanks Matt and Bert. I am nearly there with this now so I just need to tidy up some areas until I am happier. To be honest Matt as soon as figures enter the field of play, my enthusiasm goes from hero to zero at Mach 3… I just cannot get them anywhere near how I want them to be. Thankfully they wont be the main focus on this one and just here to accessorise the whole thing.
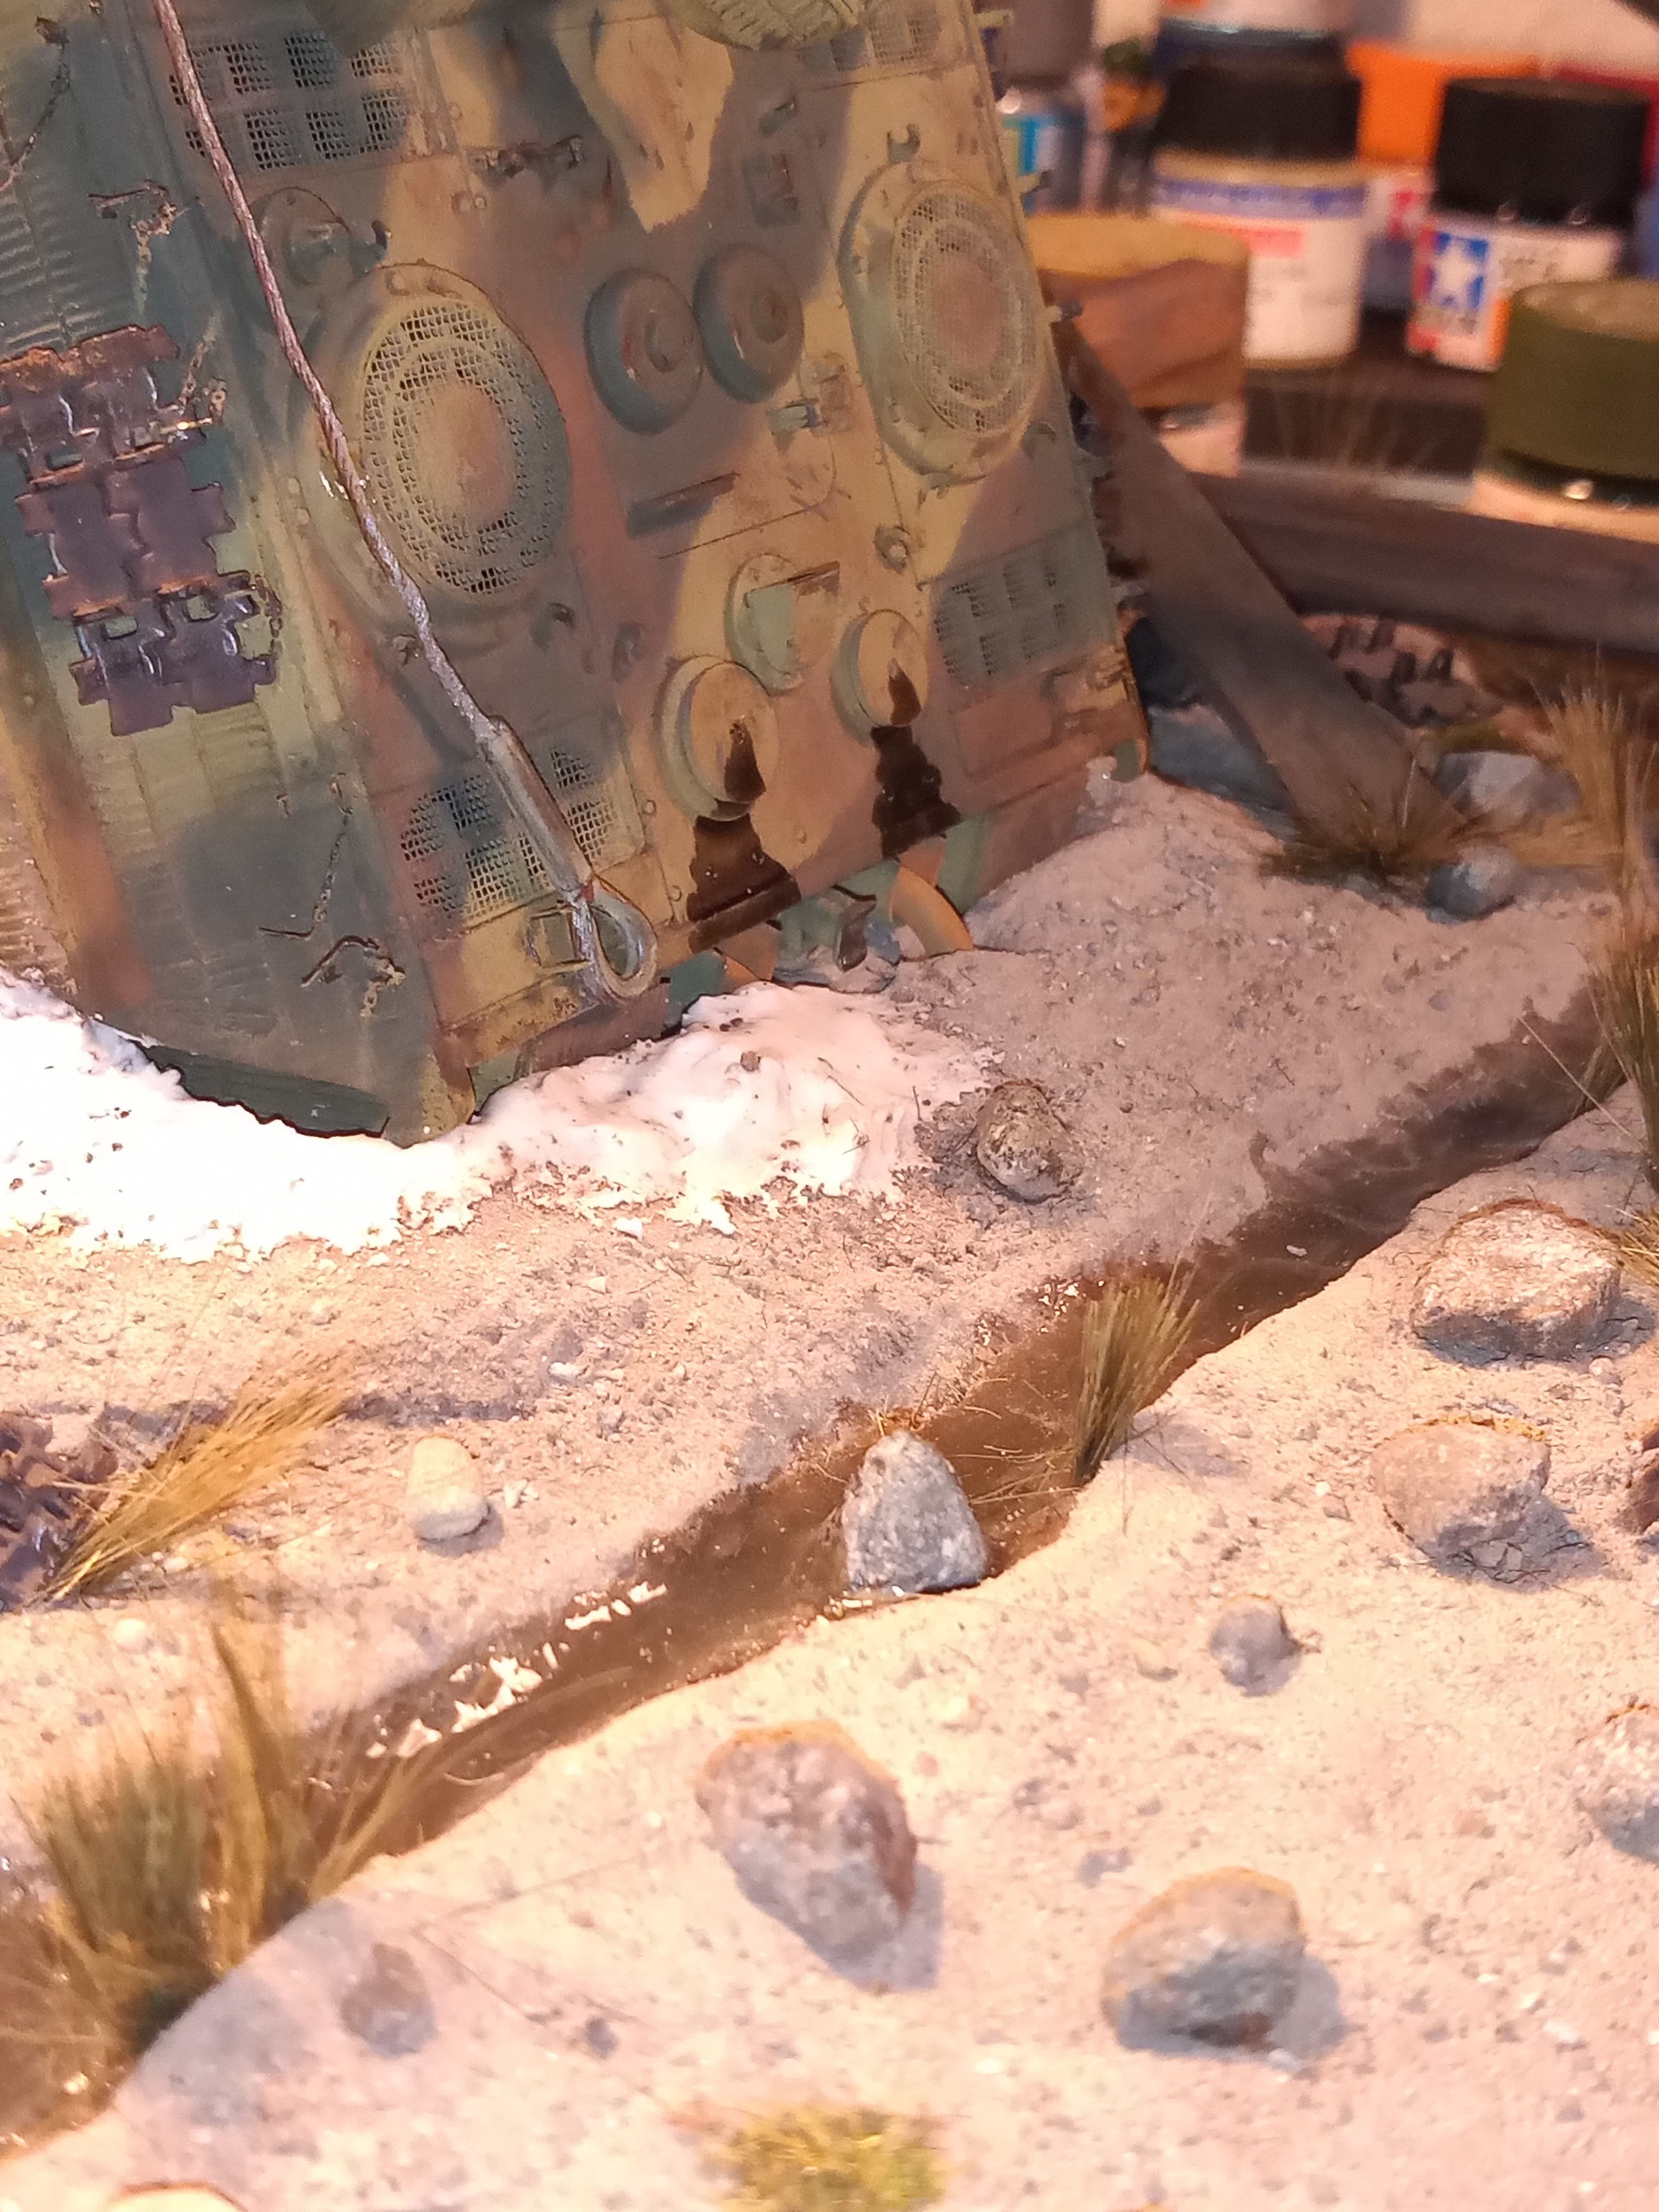
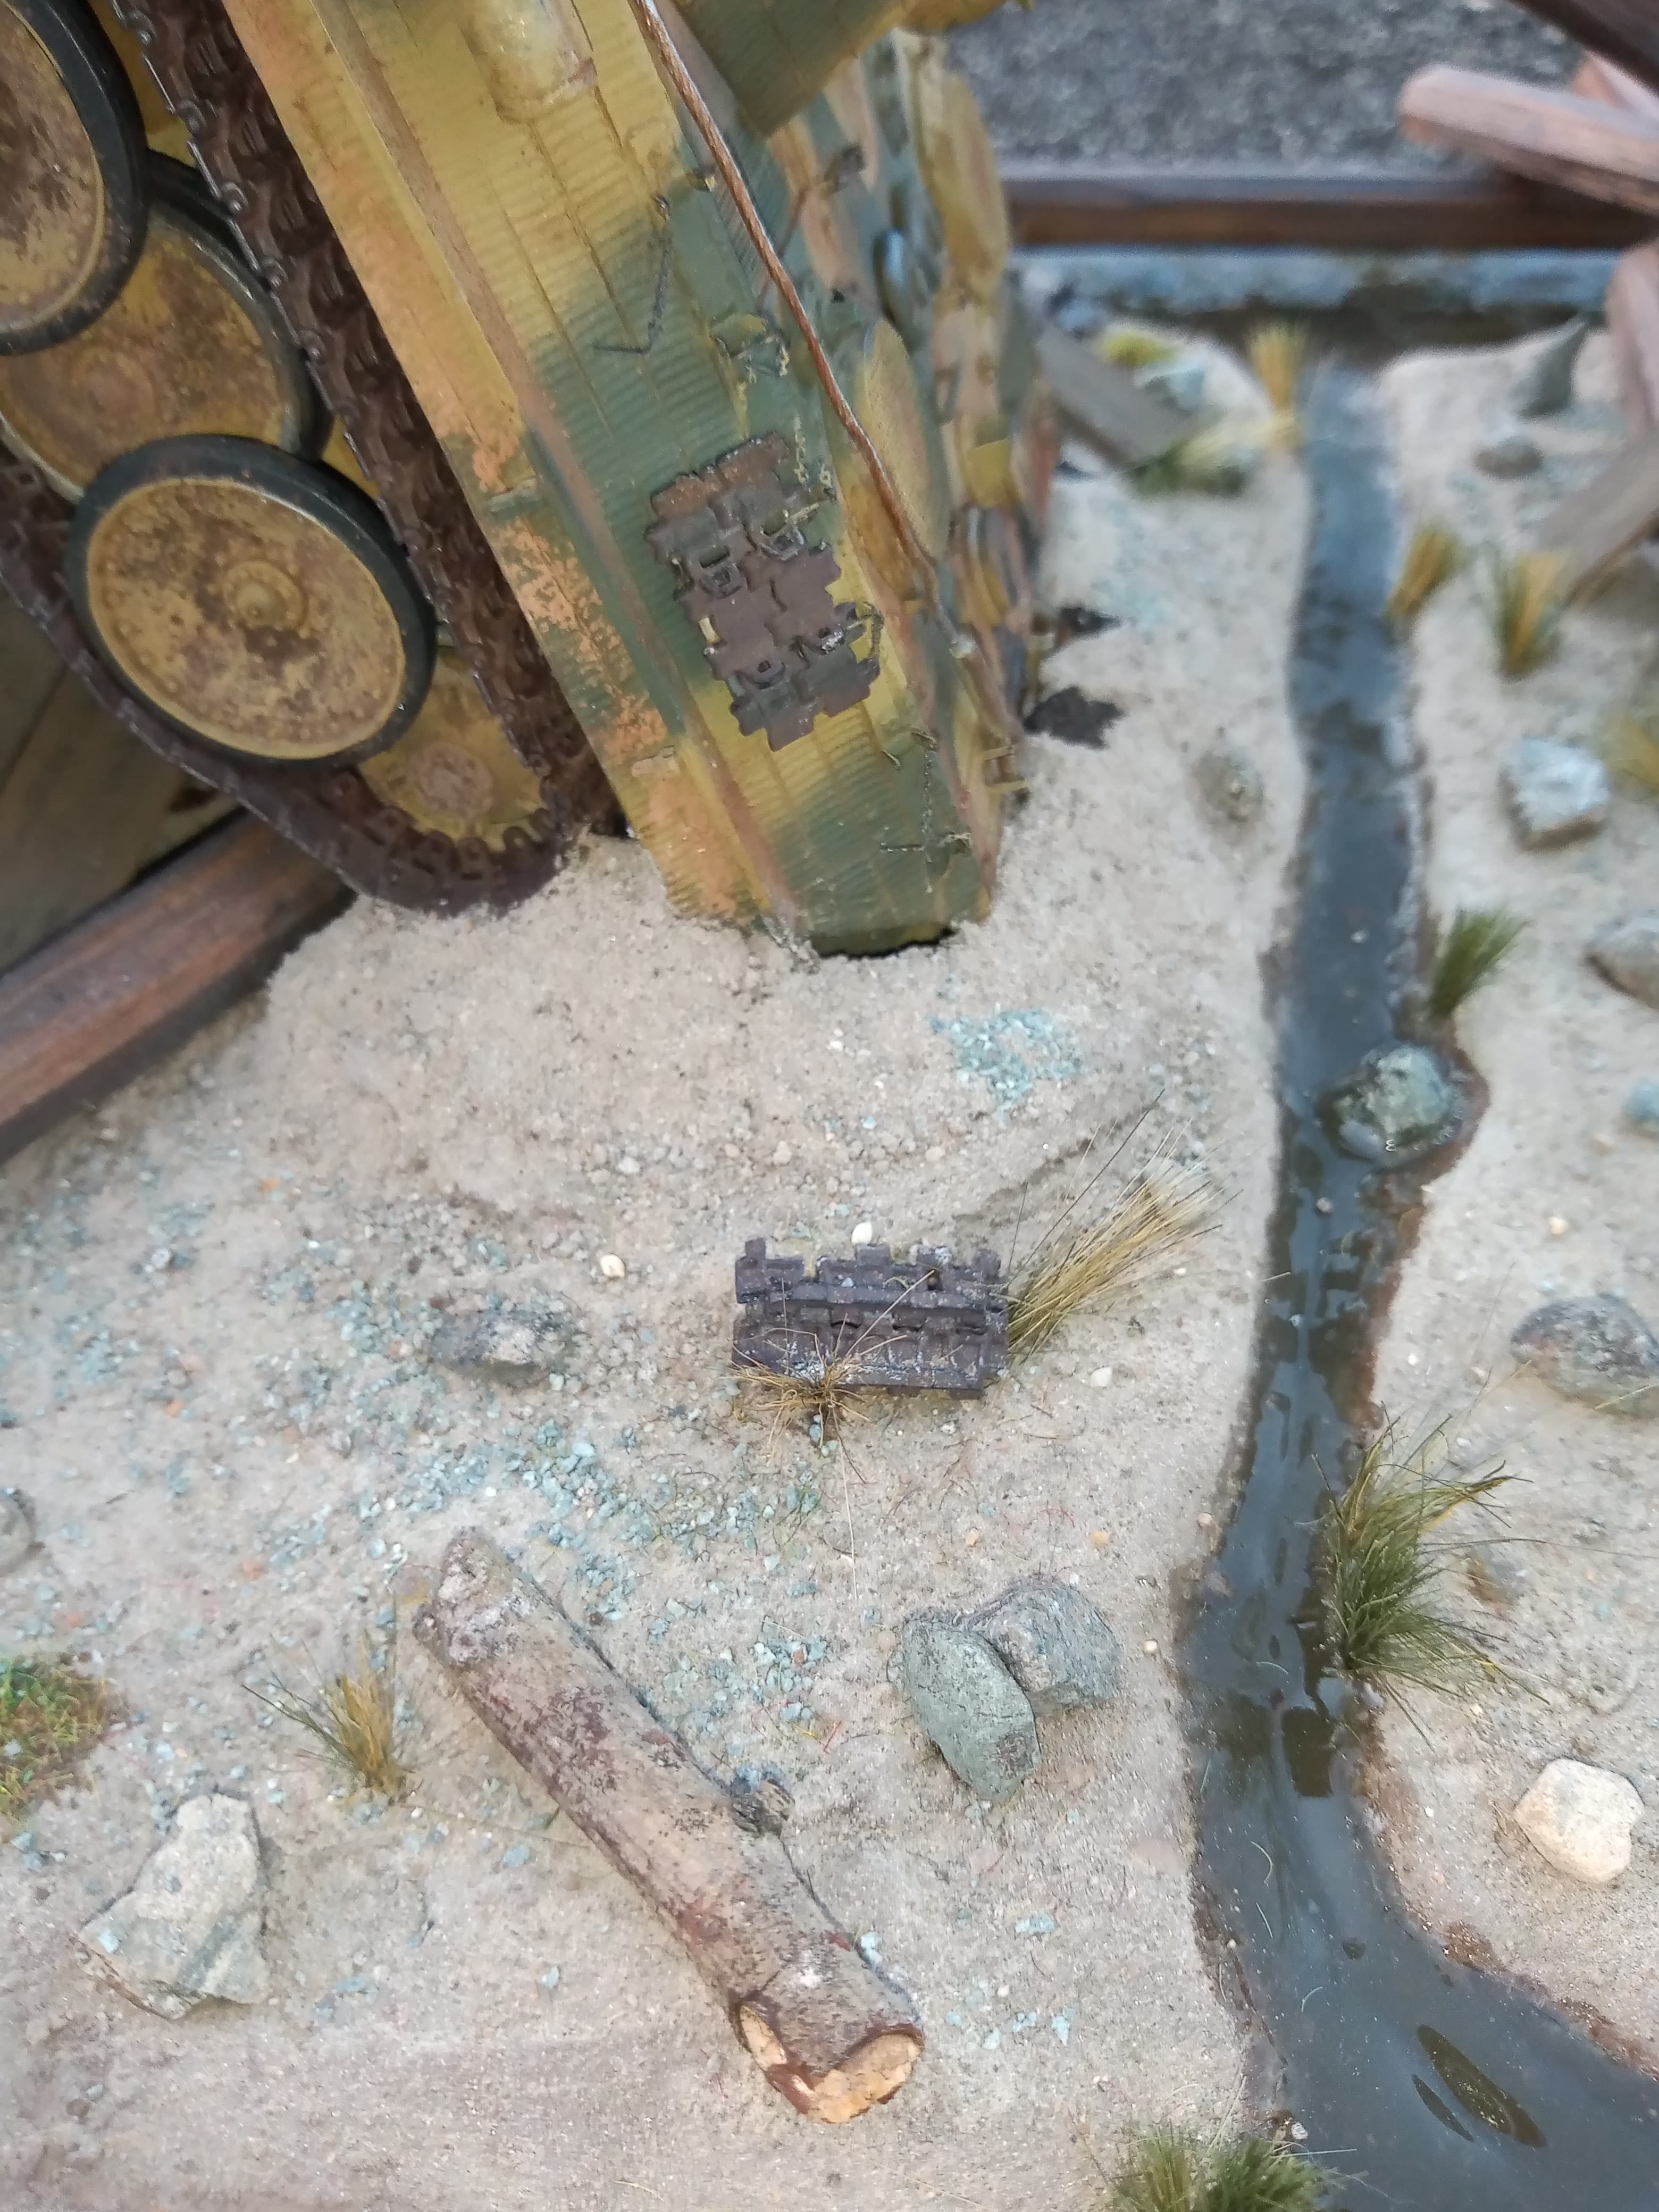
I realised that I had to build up the impact area as when I initially did the bridge ends and river bed I hadn’t gone down deep enough on the LH side. By the time it was all set and cured, if I had dug down then the height relationship between the where the tracks sit on the bridge end and where the tank rear end sits would of been totally out, hence the building up … I think I can get away with it, and I’m fairly happy with how it all looks now.
1 Like
The end is truly in sight for this one now. I have a few teaser shots of small areas which will be it until the big reveal in a few days once all the detailing is done and the streamlet is finished…
I have also coloured and blended in the built up impact area and just need to let that dry to see how it looks or if it needs more tweaking… Stay tuned
8 Likes
Very nicely done John. Fabulous stuff
1 Like
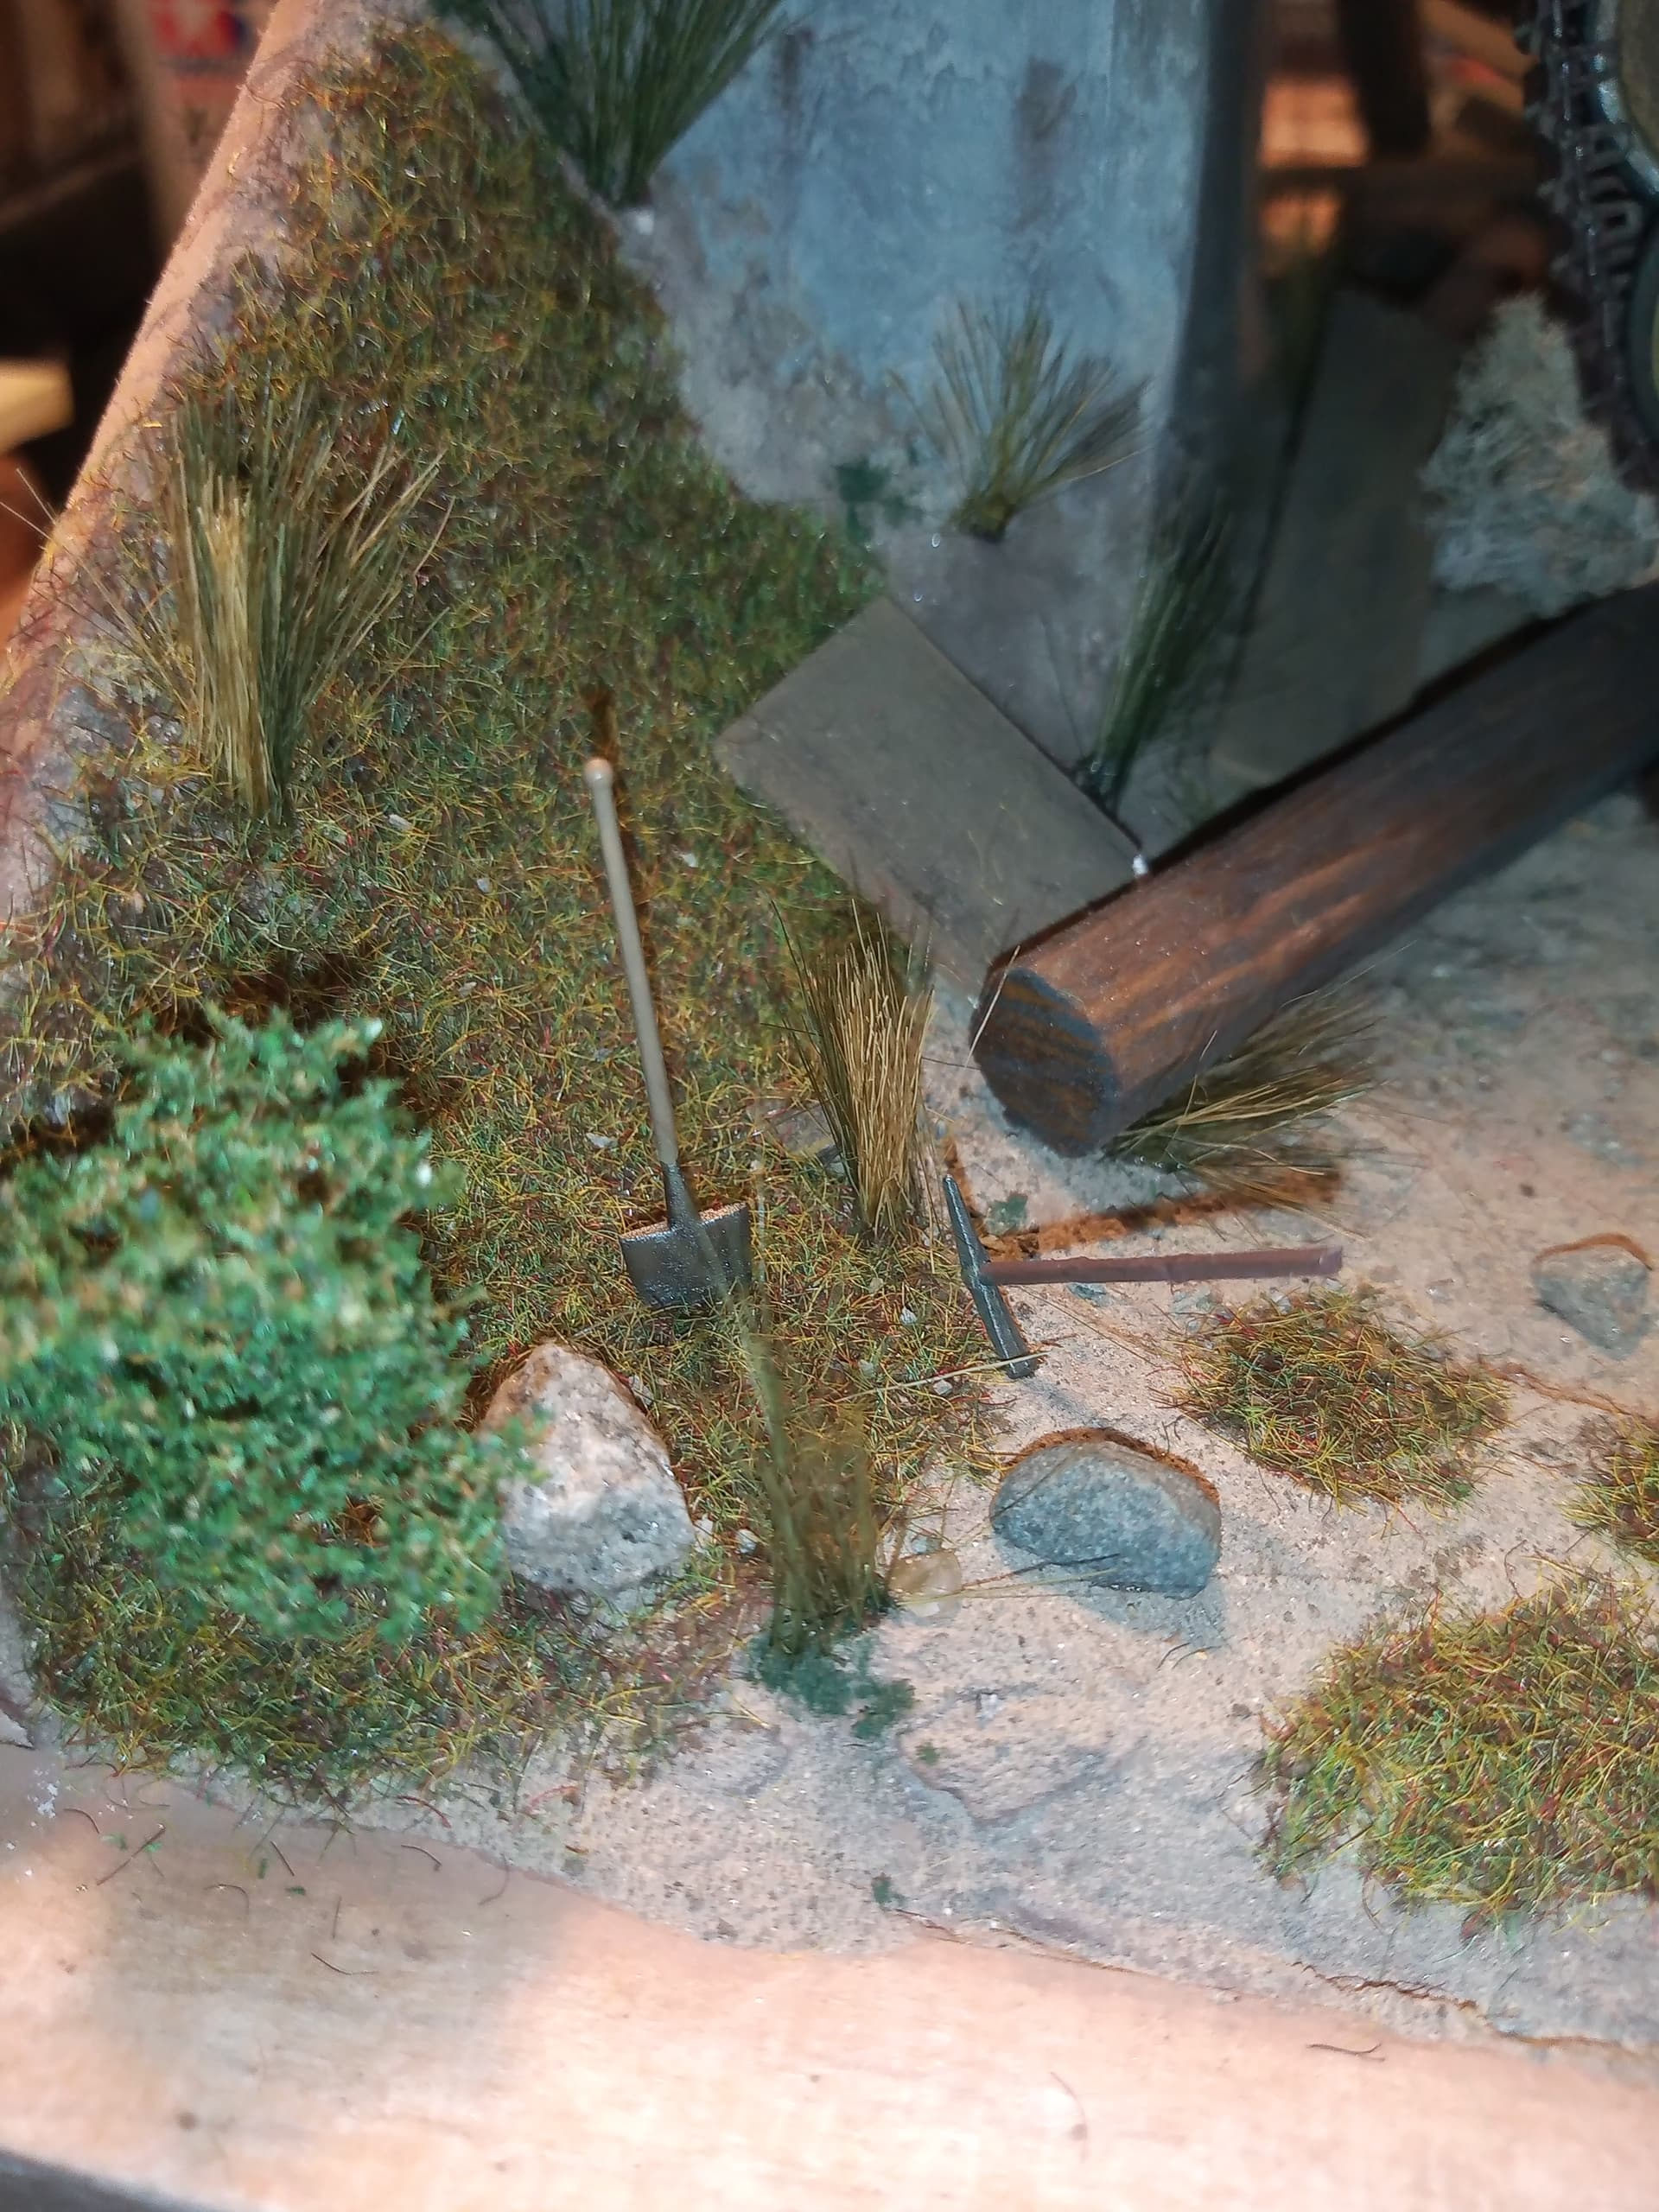
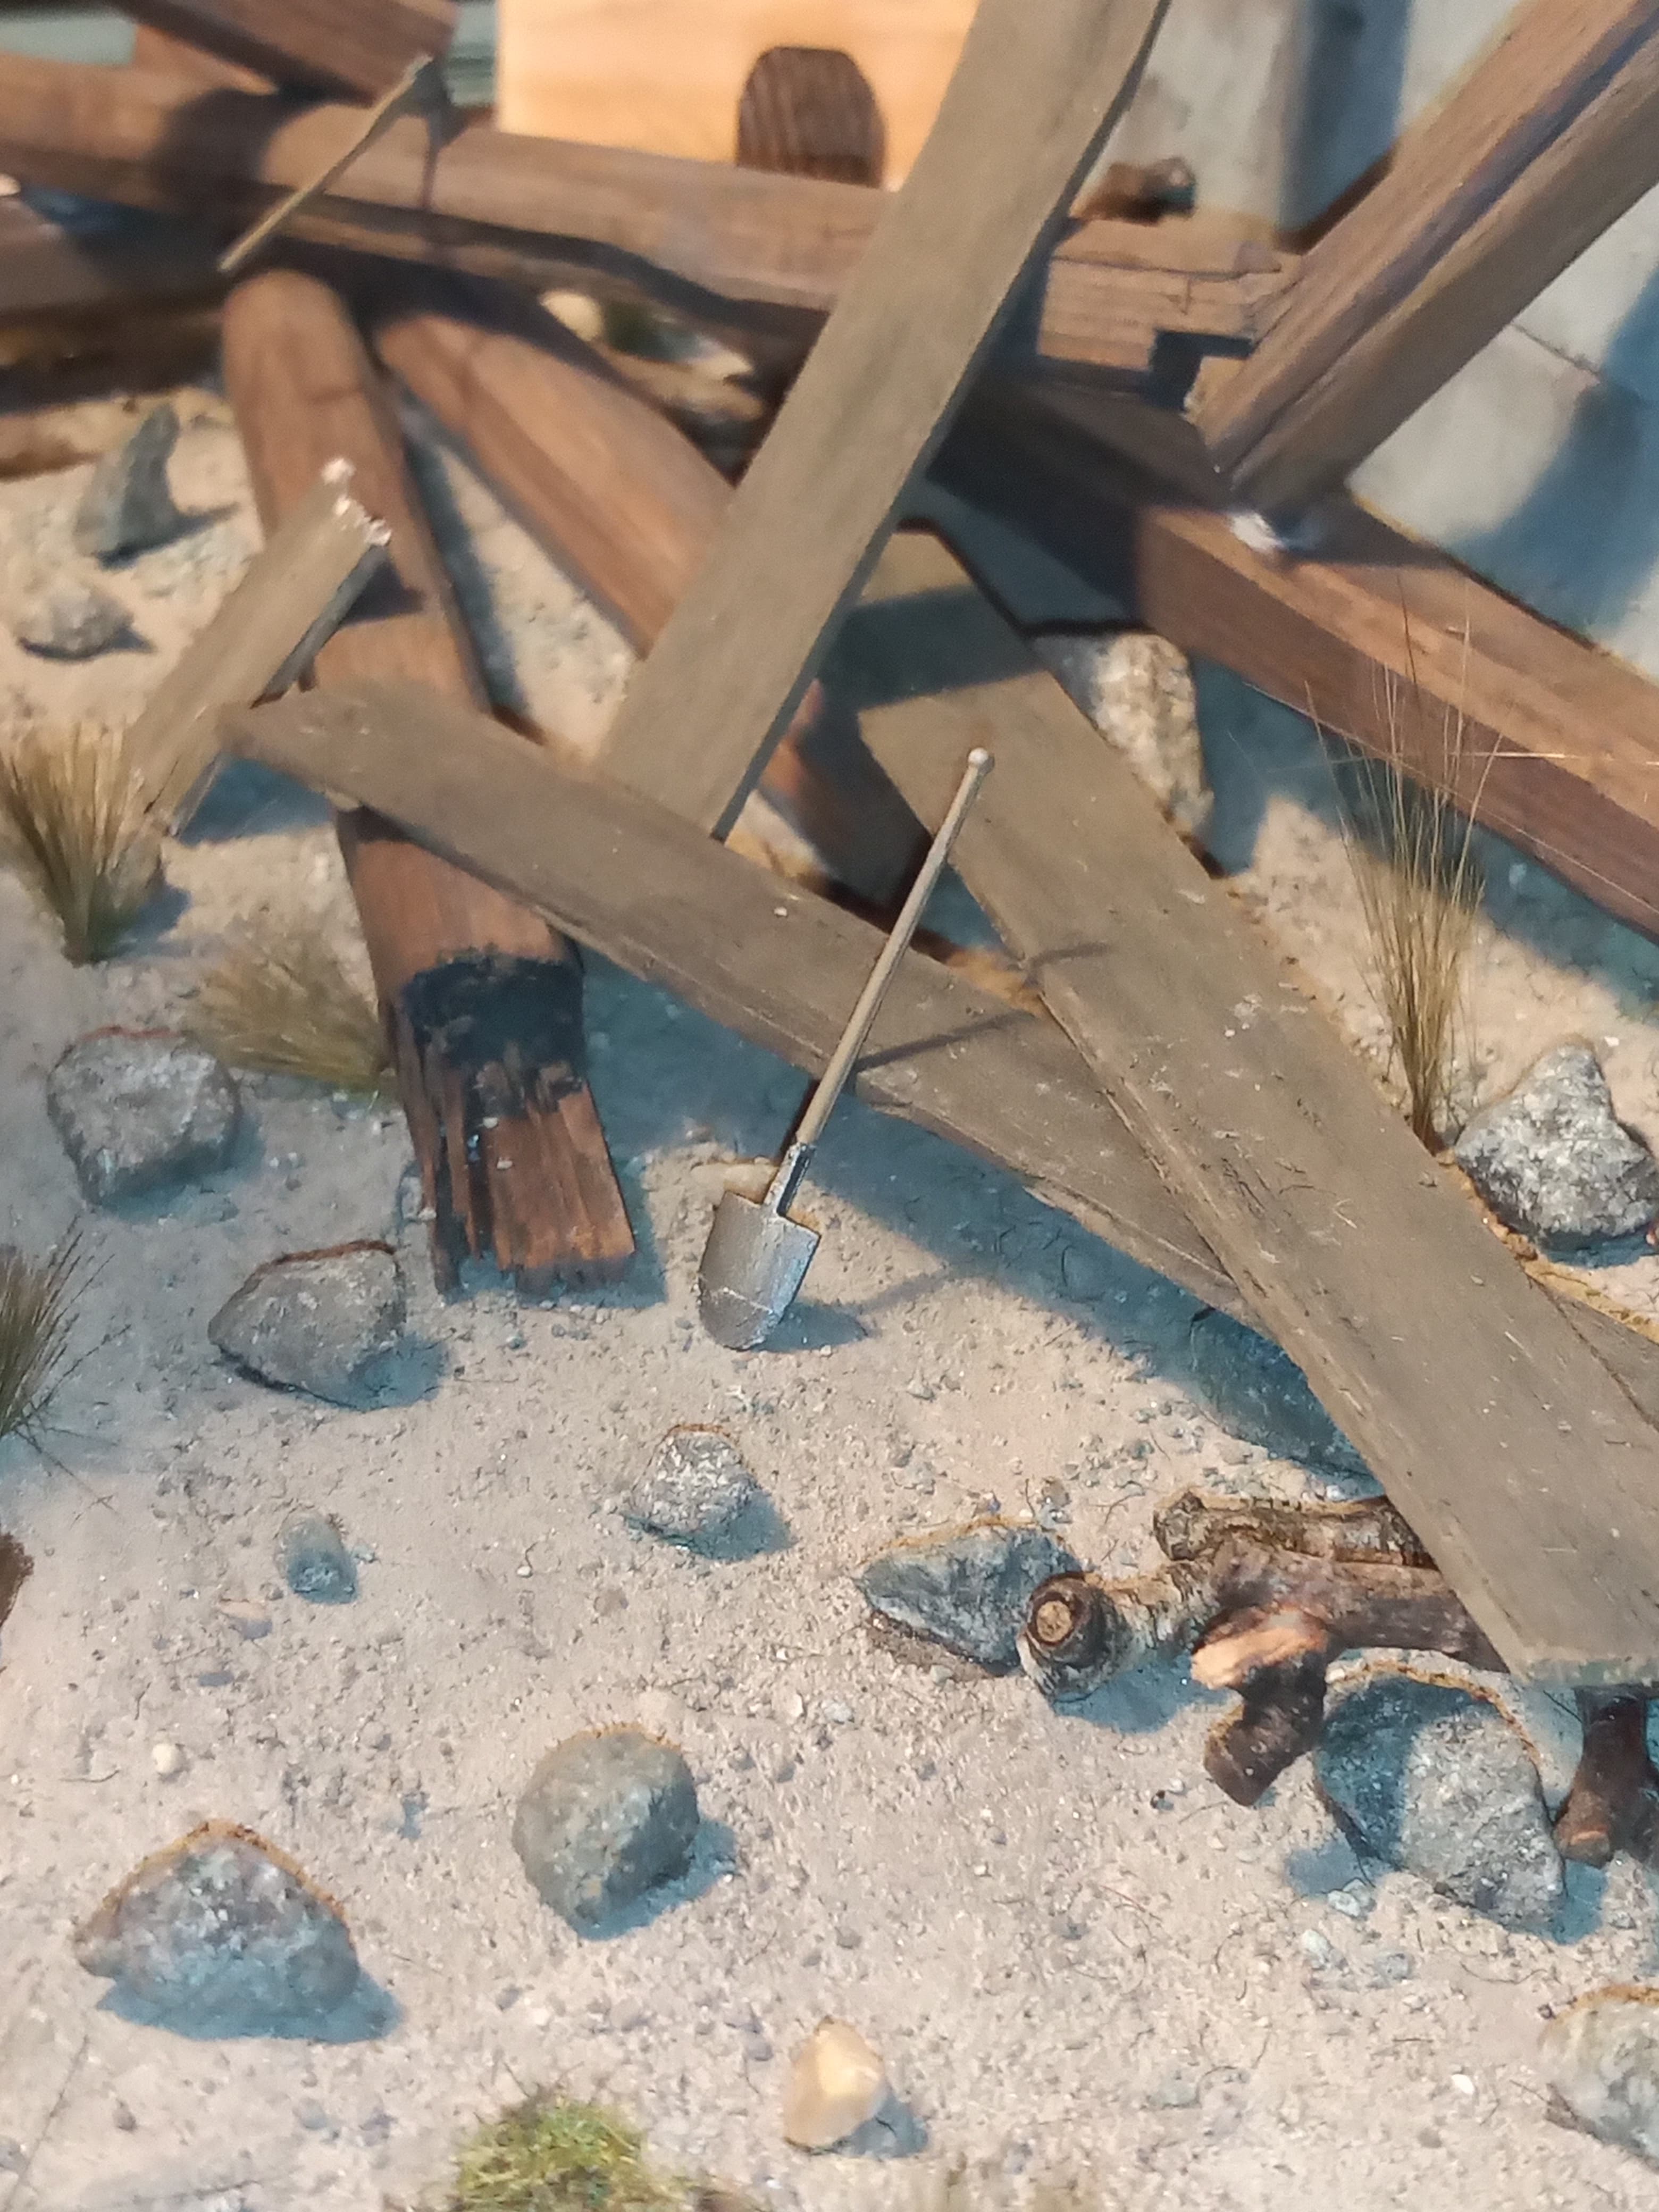
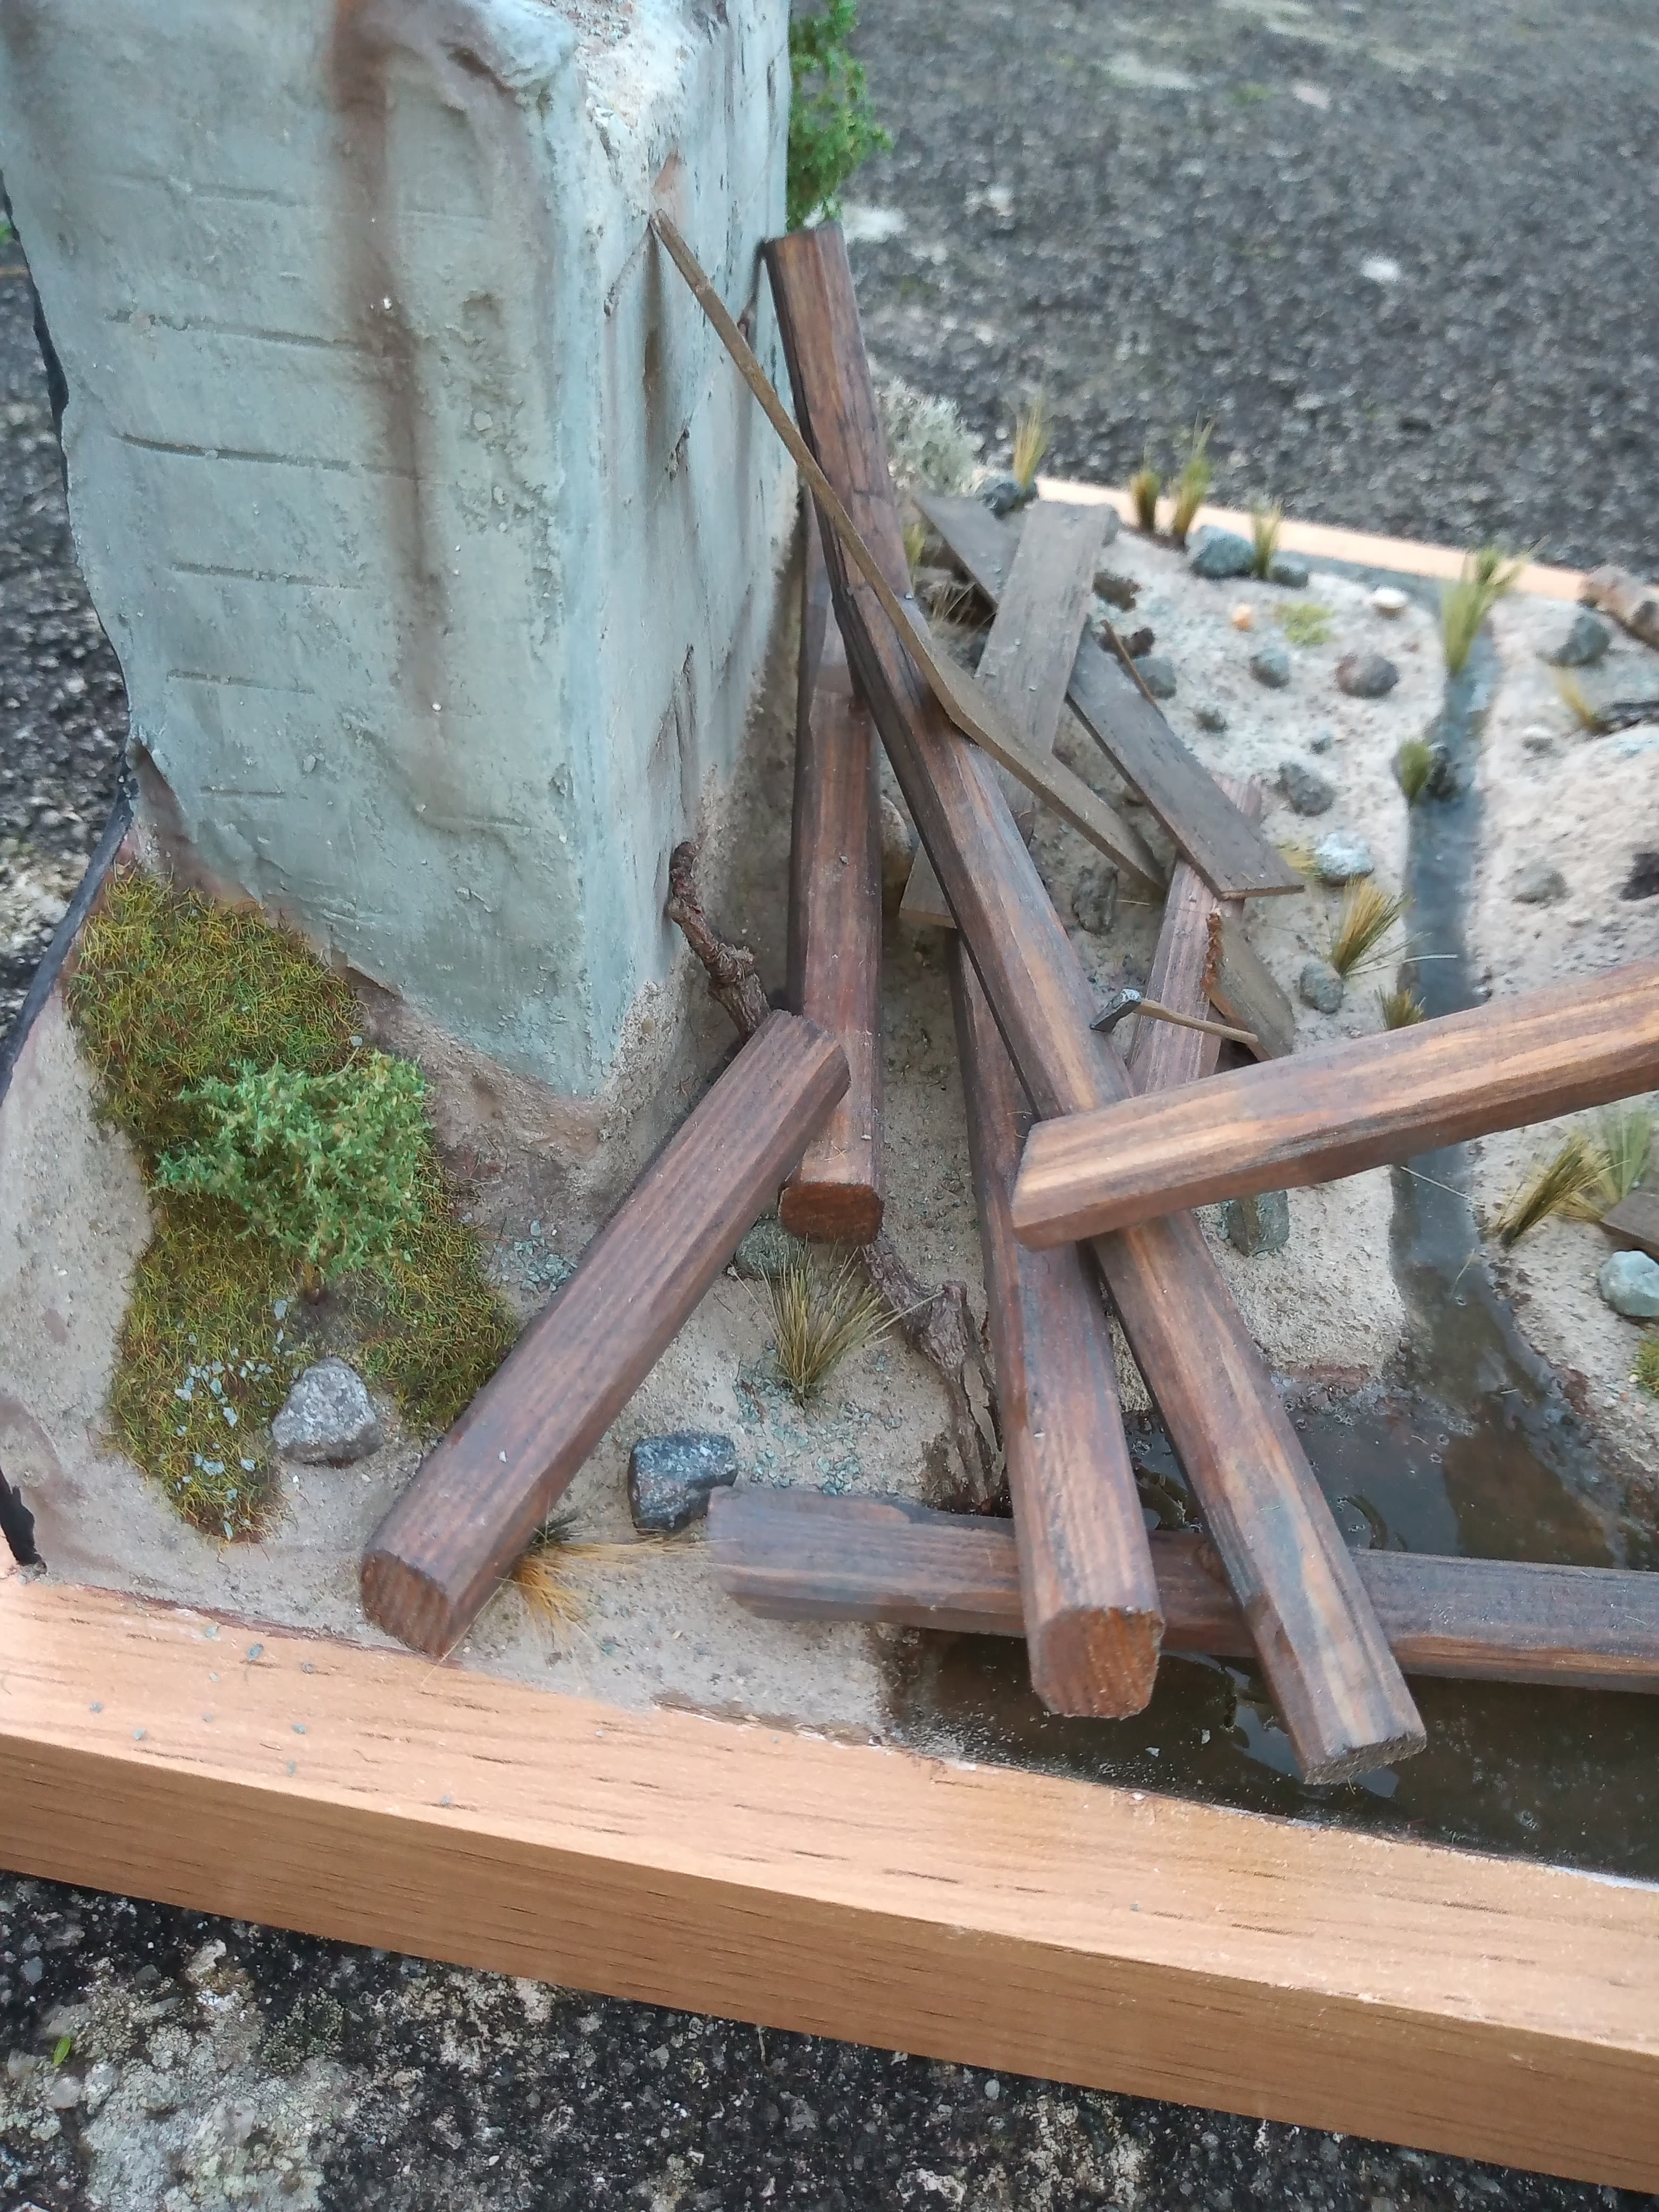
Shovels, axe, nice details! Will stay tuned
1 Like
Looking fantastic John can’t wait for the big finish!
1 Like
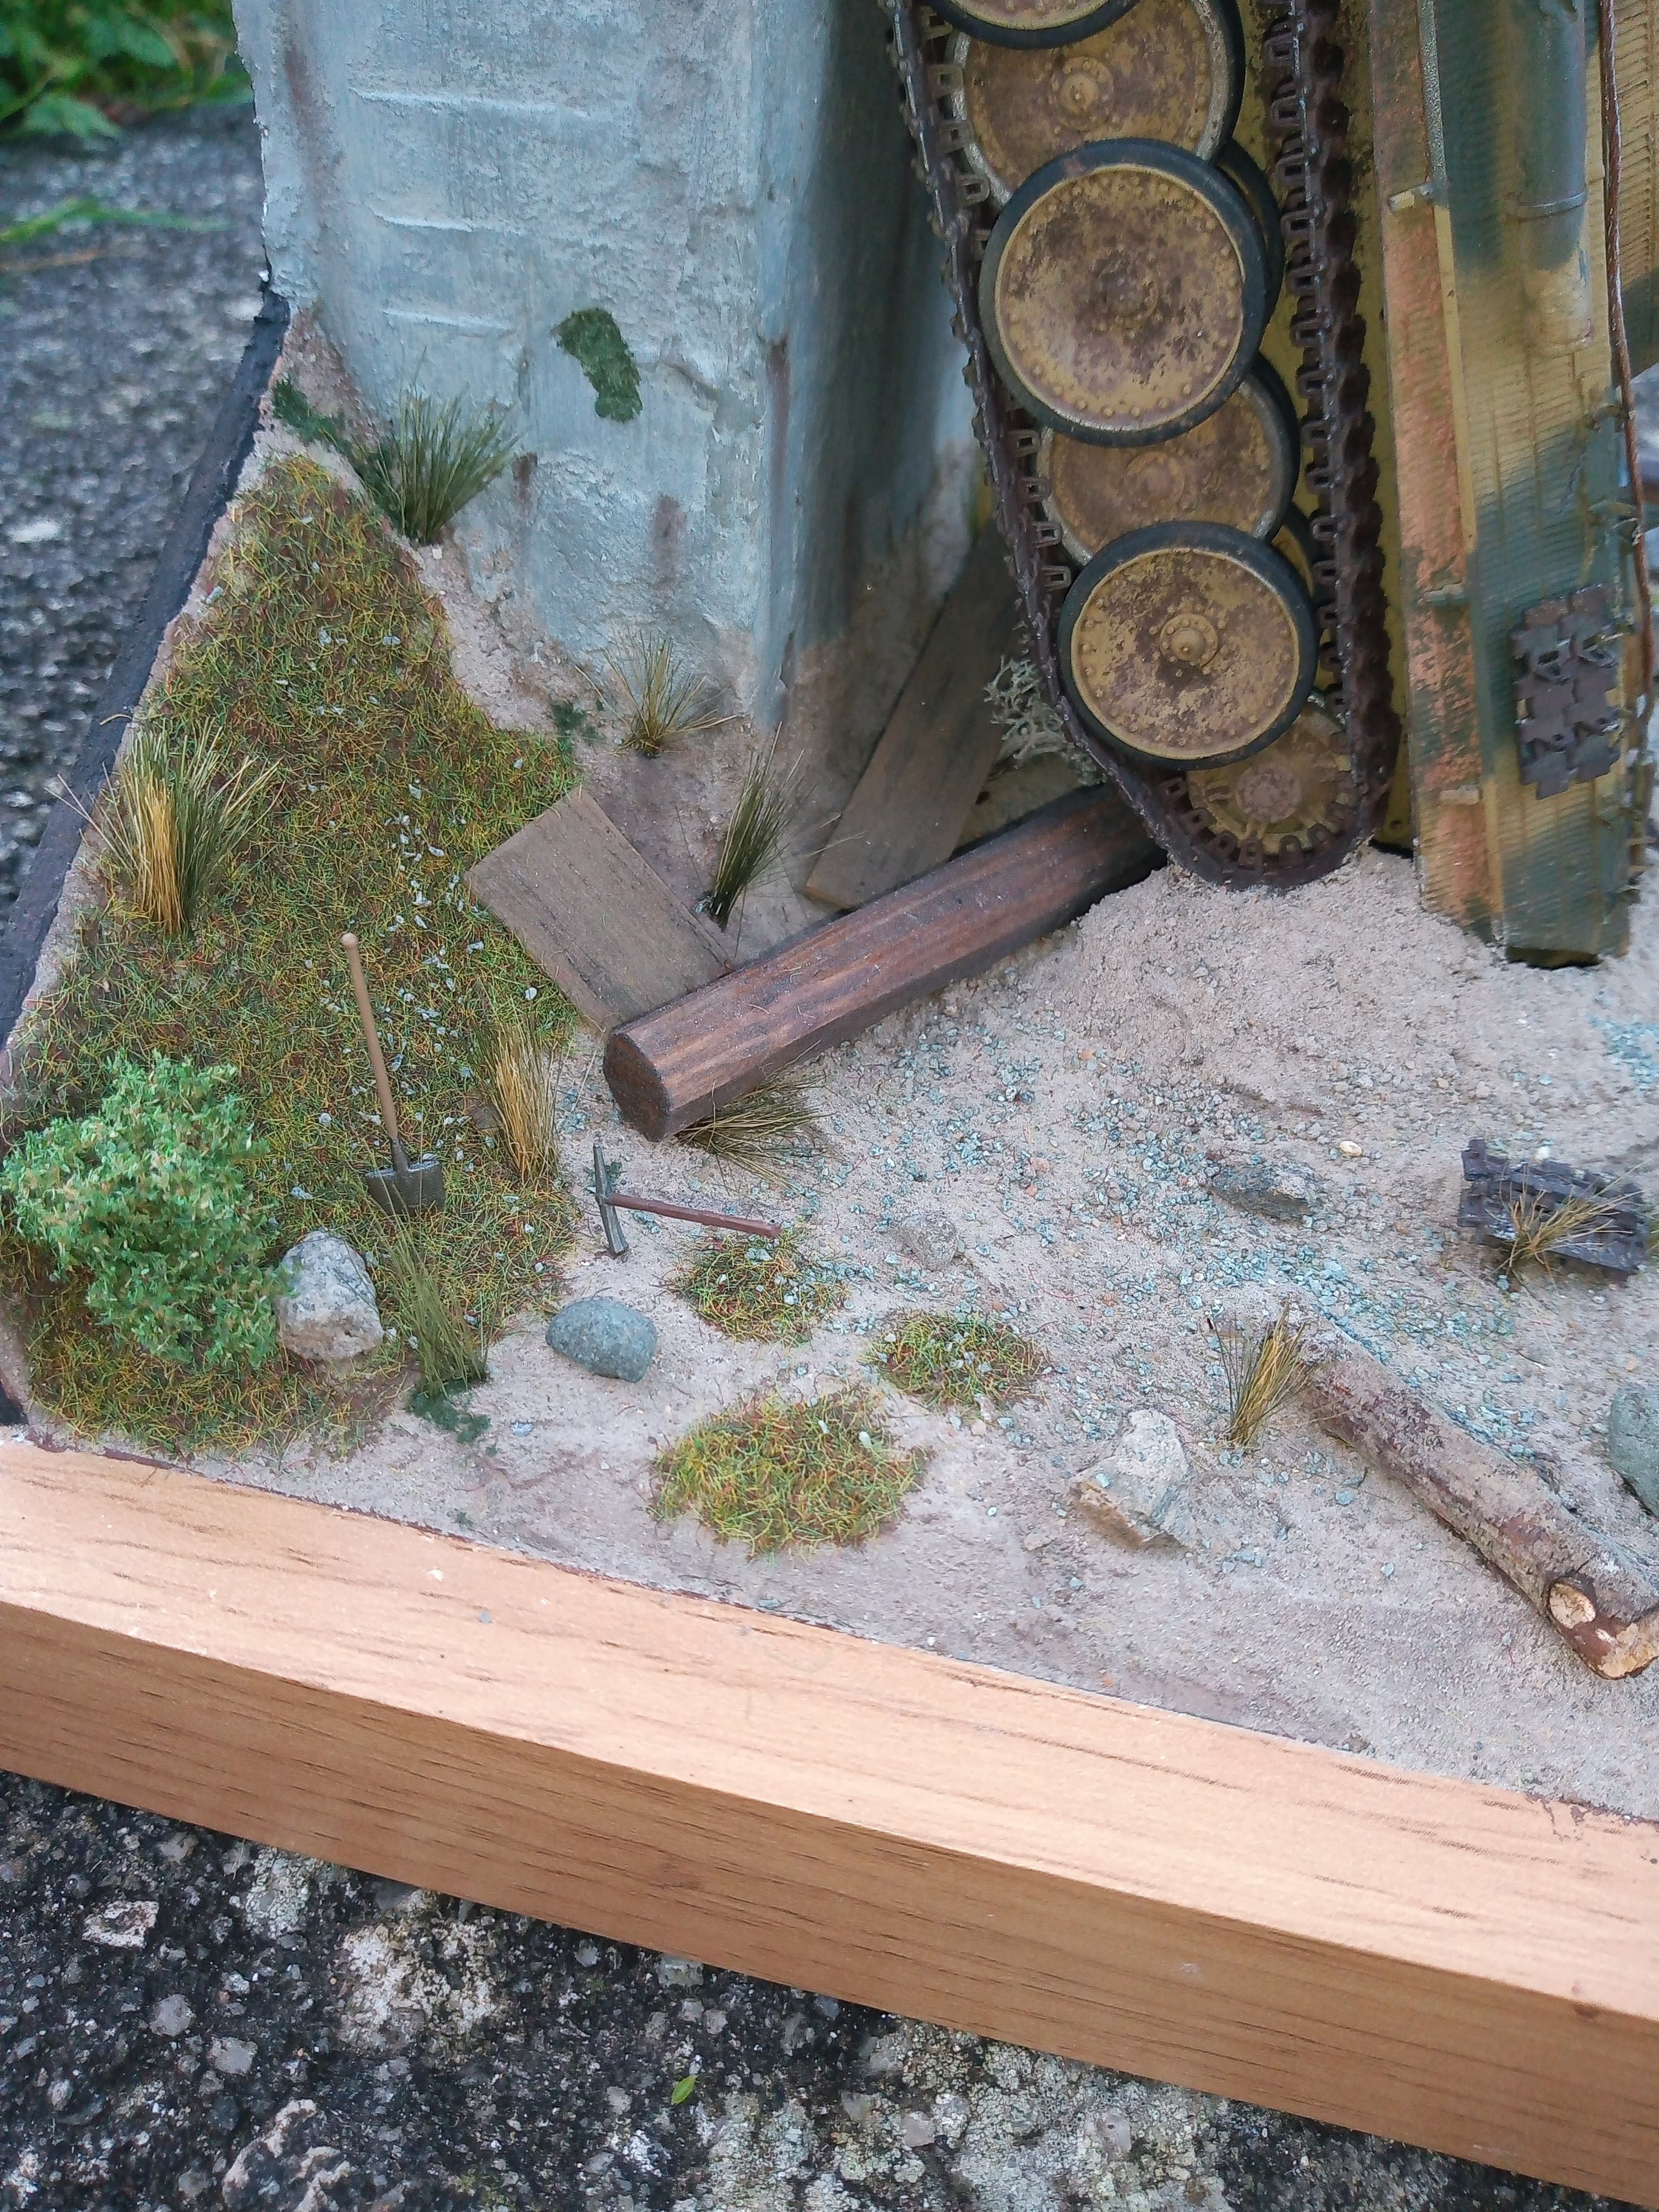
Thanks Gil, and Bert . i thought they had been clearing the area around the rear end, so there would probably be various ground tools laying about, and it is justa little extra detail as are the hammers on the bridge ends.
Matt, cheers buddy, its getting there and the joy of all these pics we can post now is you get to see little areas for correcting or that you’ve forgotten such as me forgetting to add a dust/dirt wash to the tracks and then some loose pigments… more work later tonight lol …
Outstanding! All the small details are really bringing the bigger picture to life John,  .
.
G,
1 Like
Cheers G…the big reveal is about to occur… I did some daylight shots so will post them now
So… At long last (thankfully  ), the time has come to call this one done…
Now, this is the image I was trying to get…
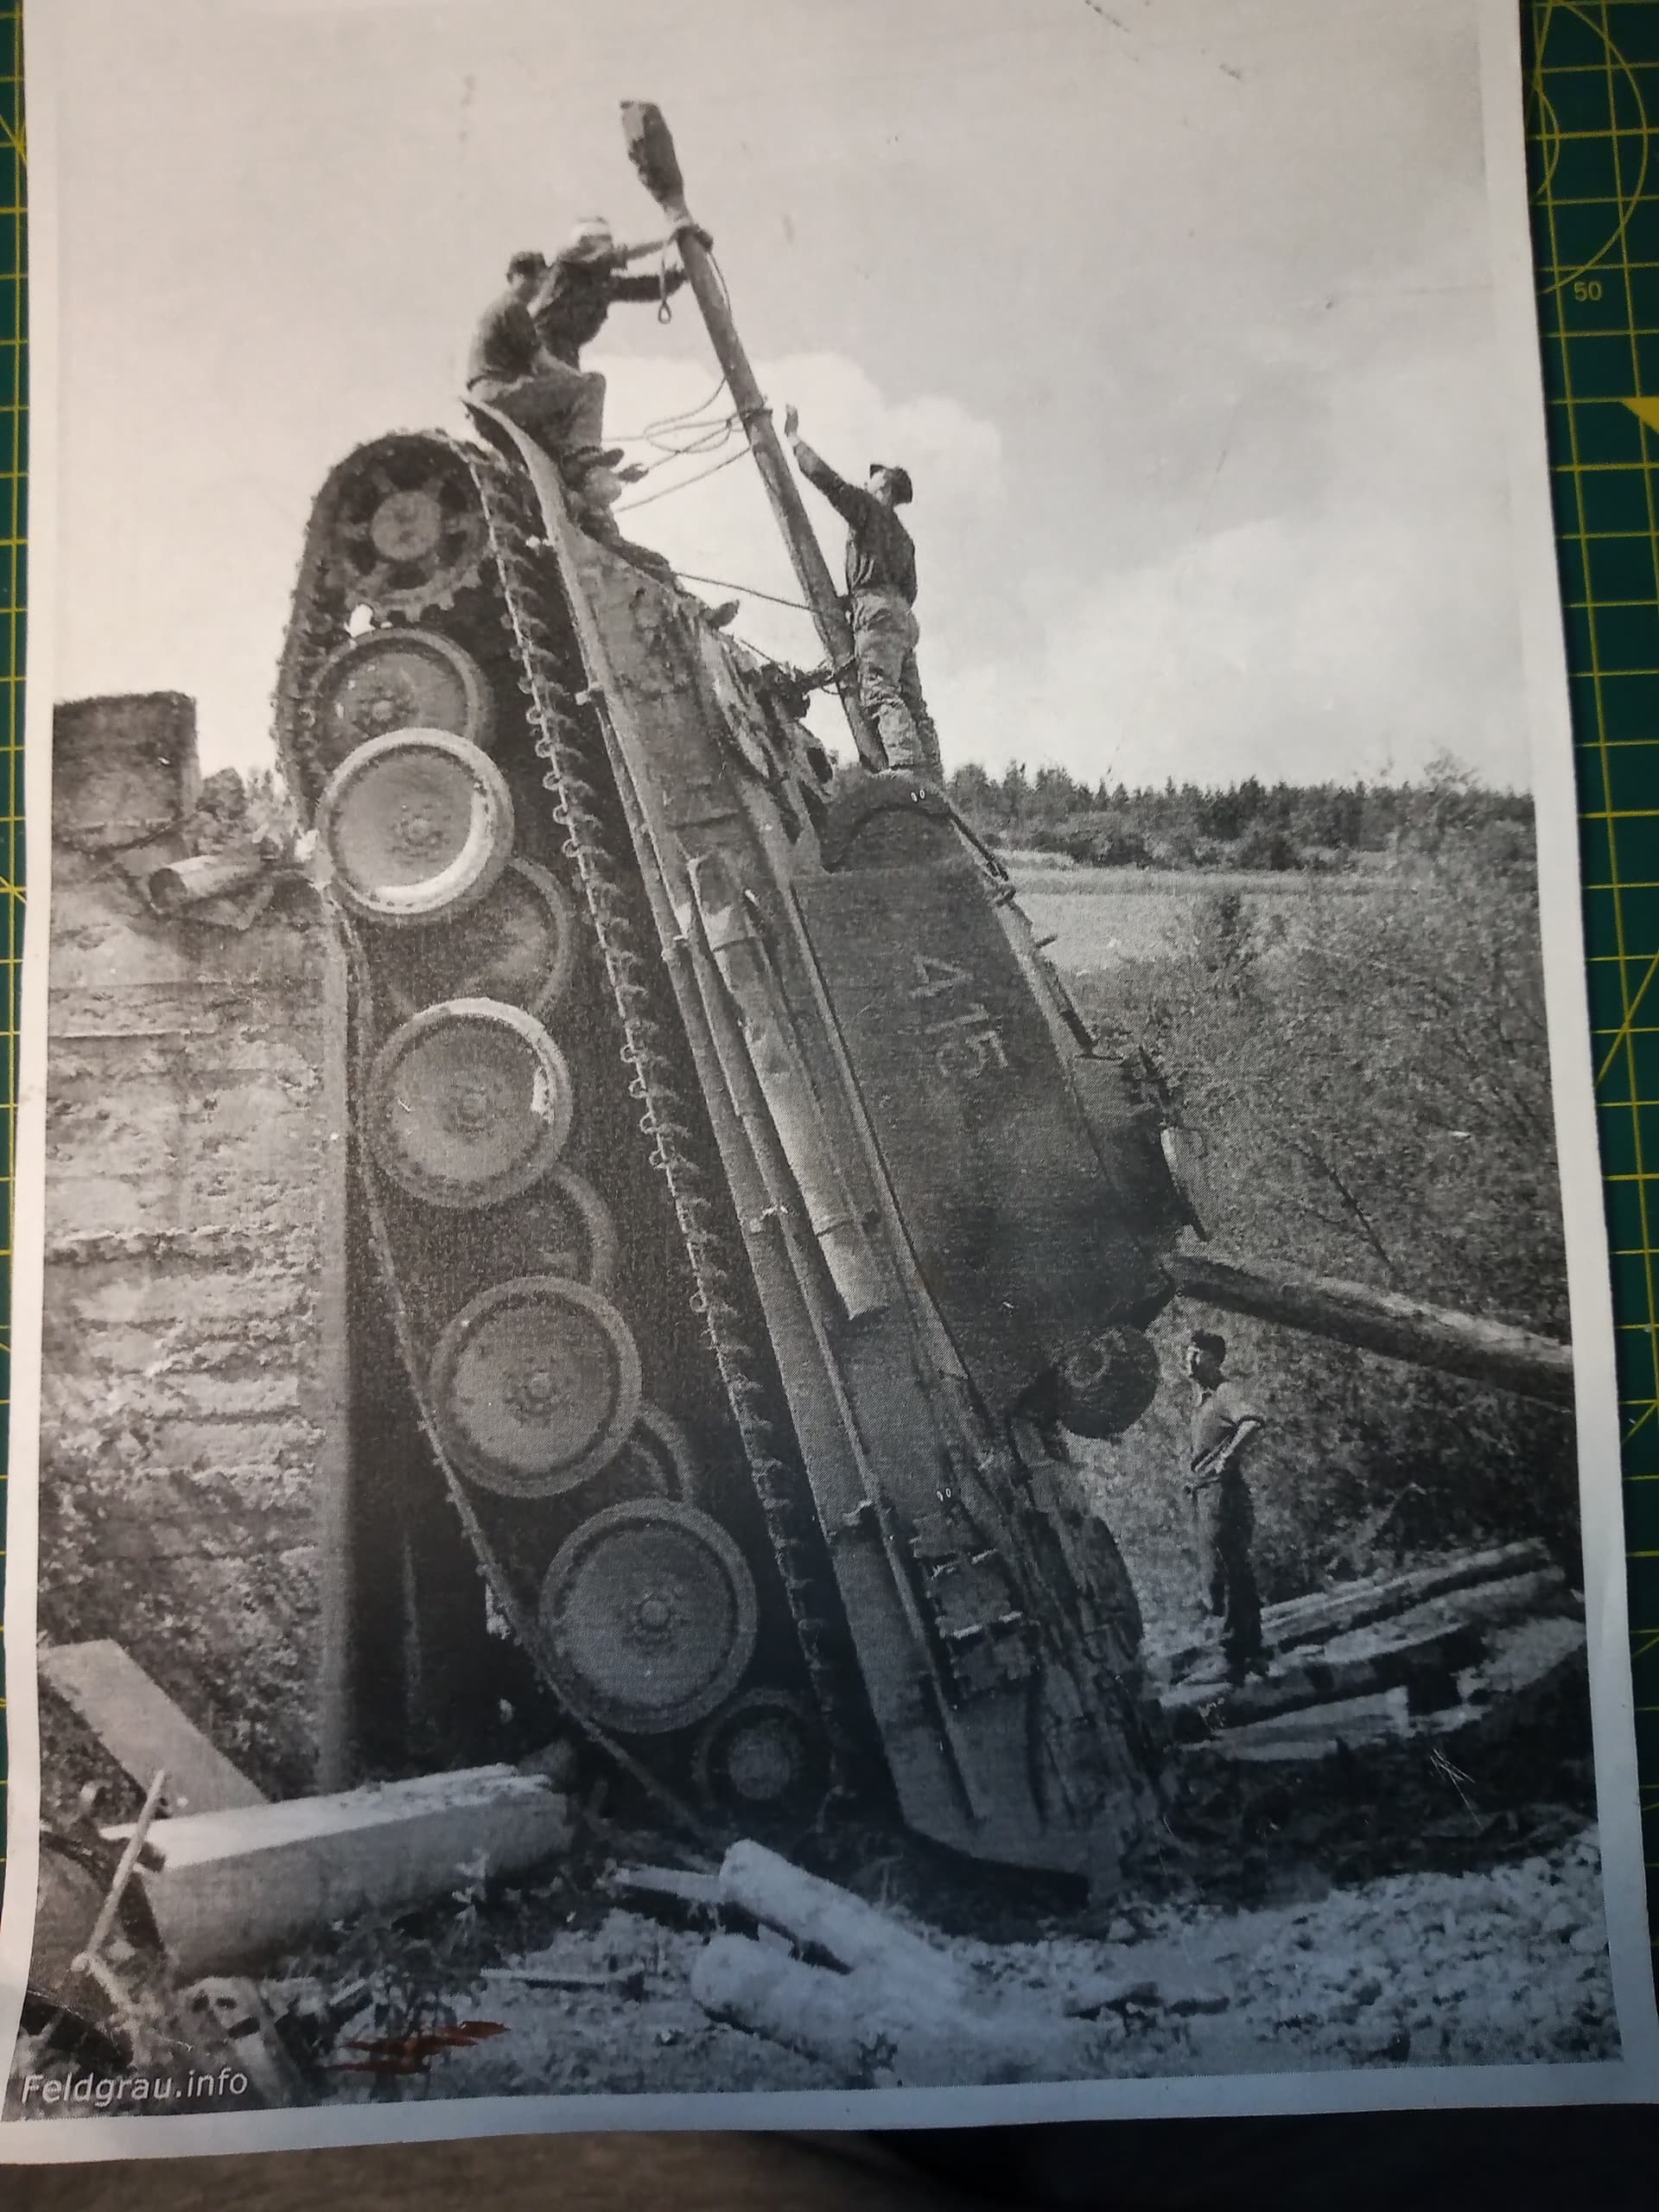
And this is where we are …

The photo this comes from is one of 2 possibly 3, so there are some areas which are left to artistic licence or what seems logical.
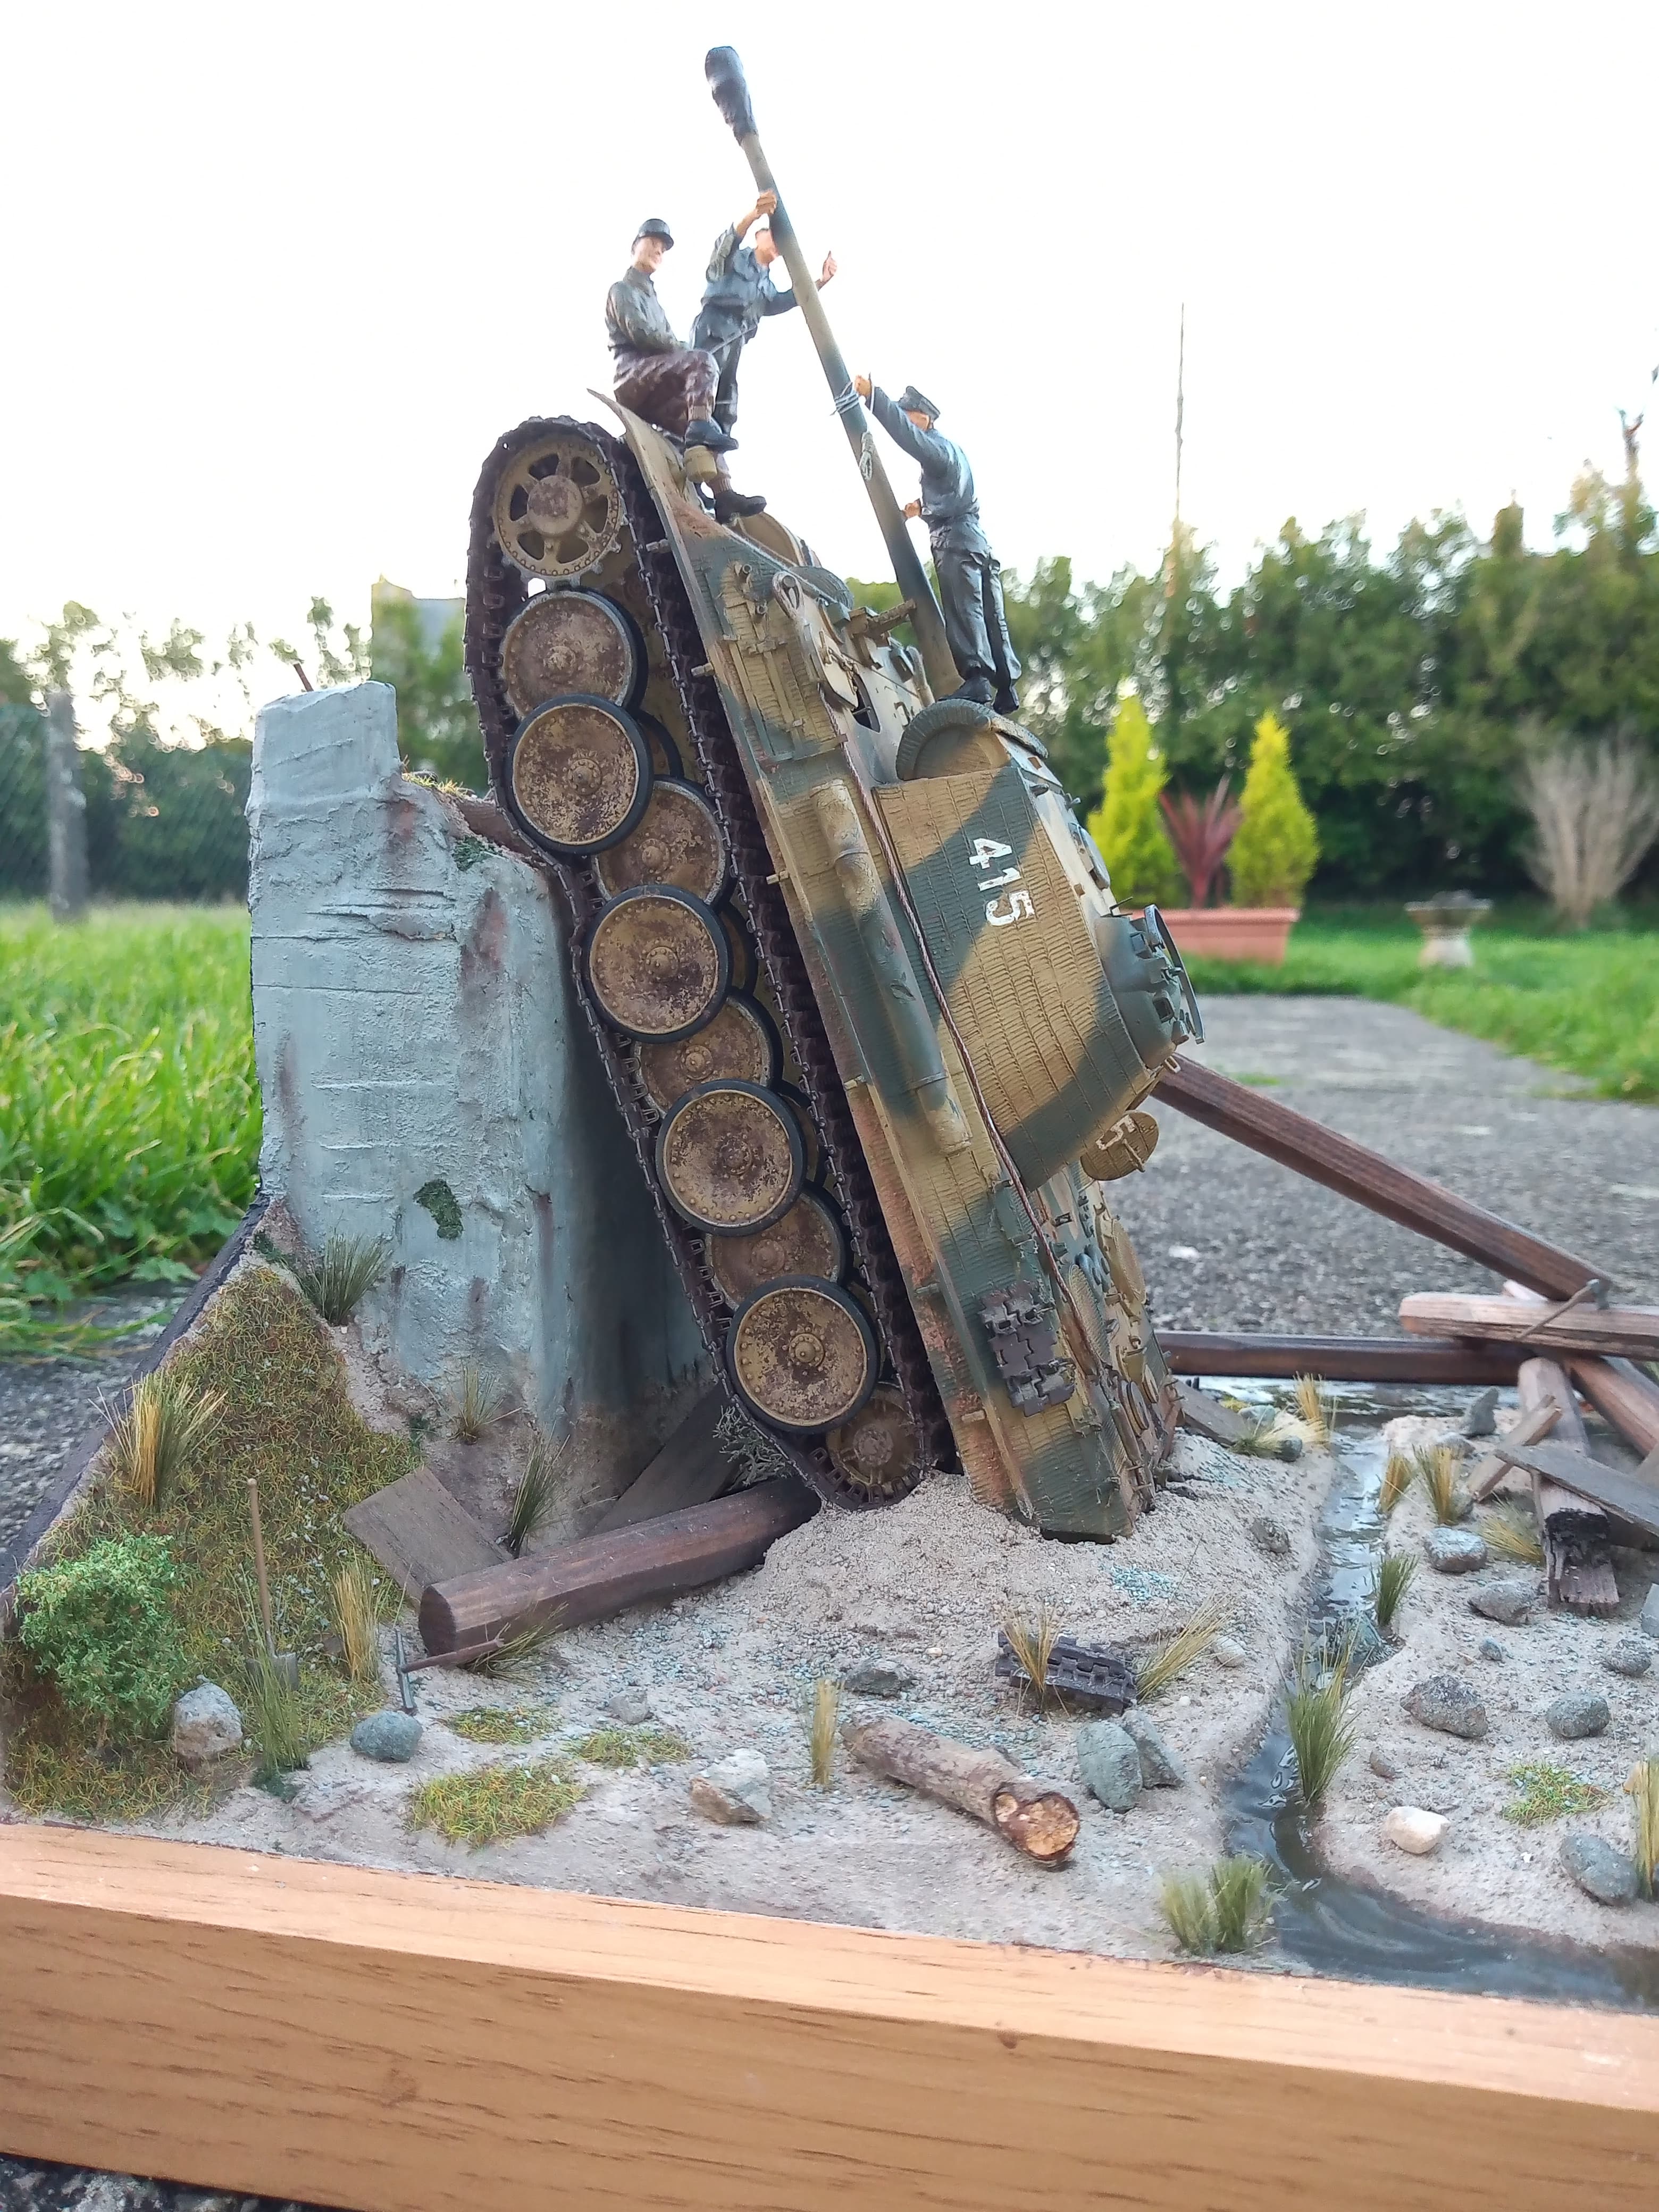
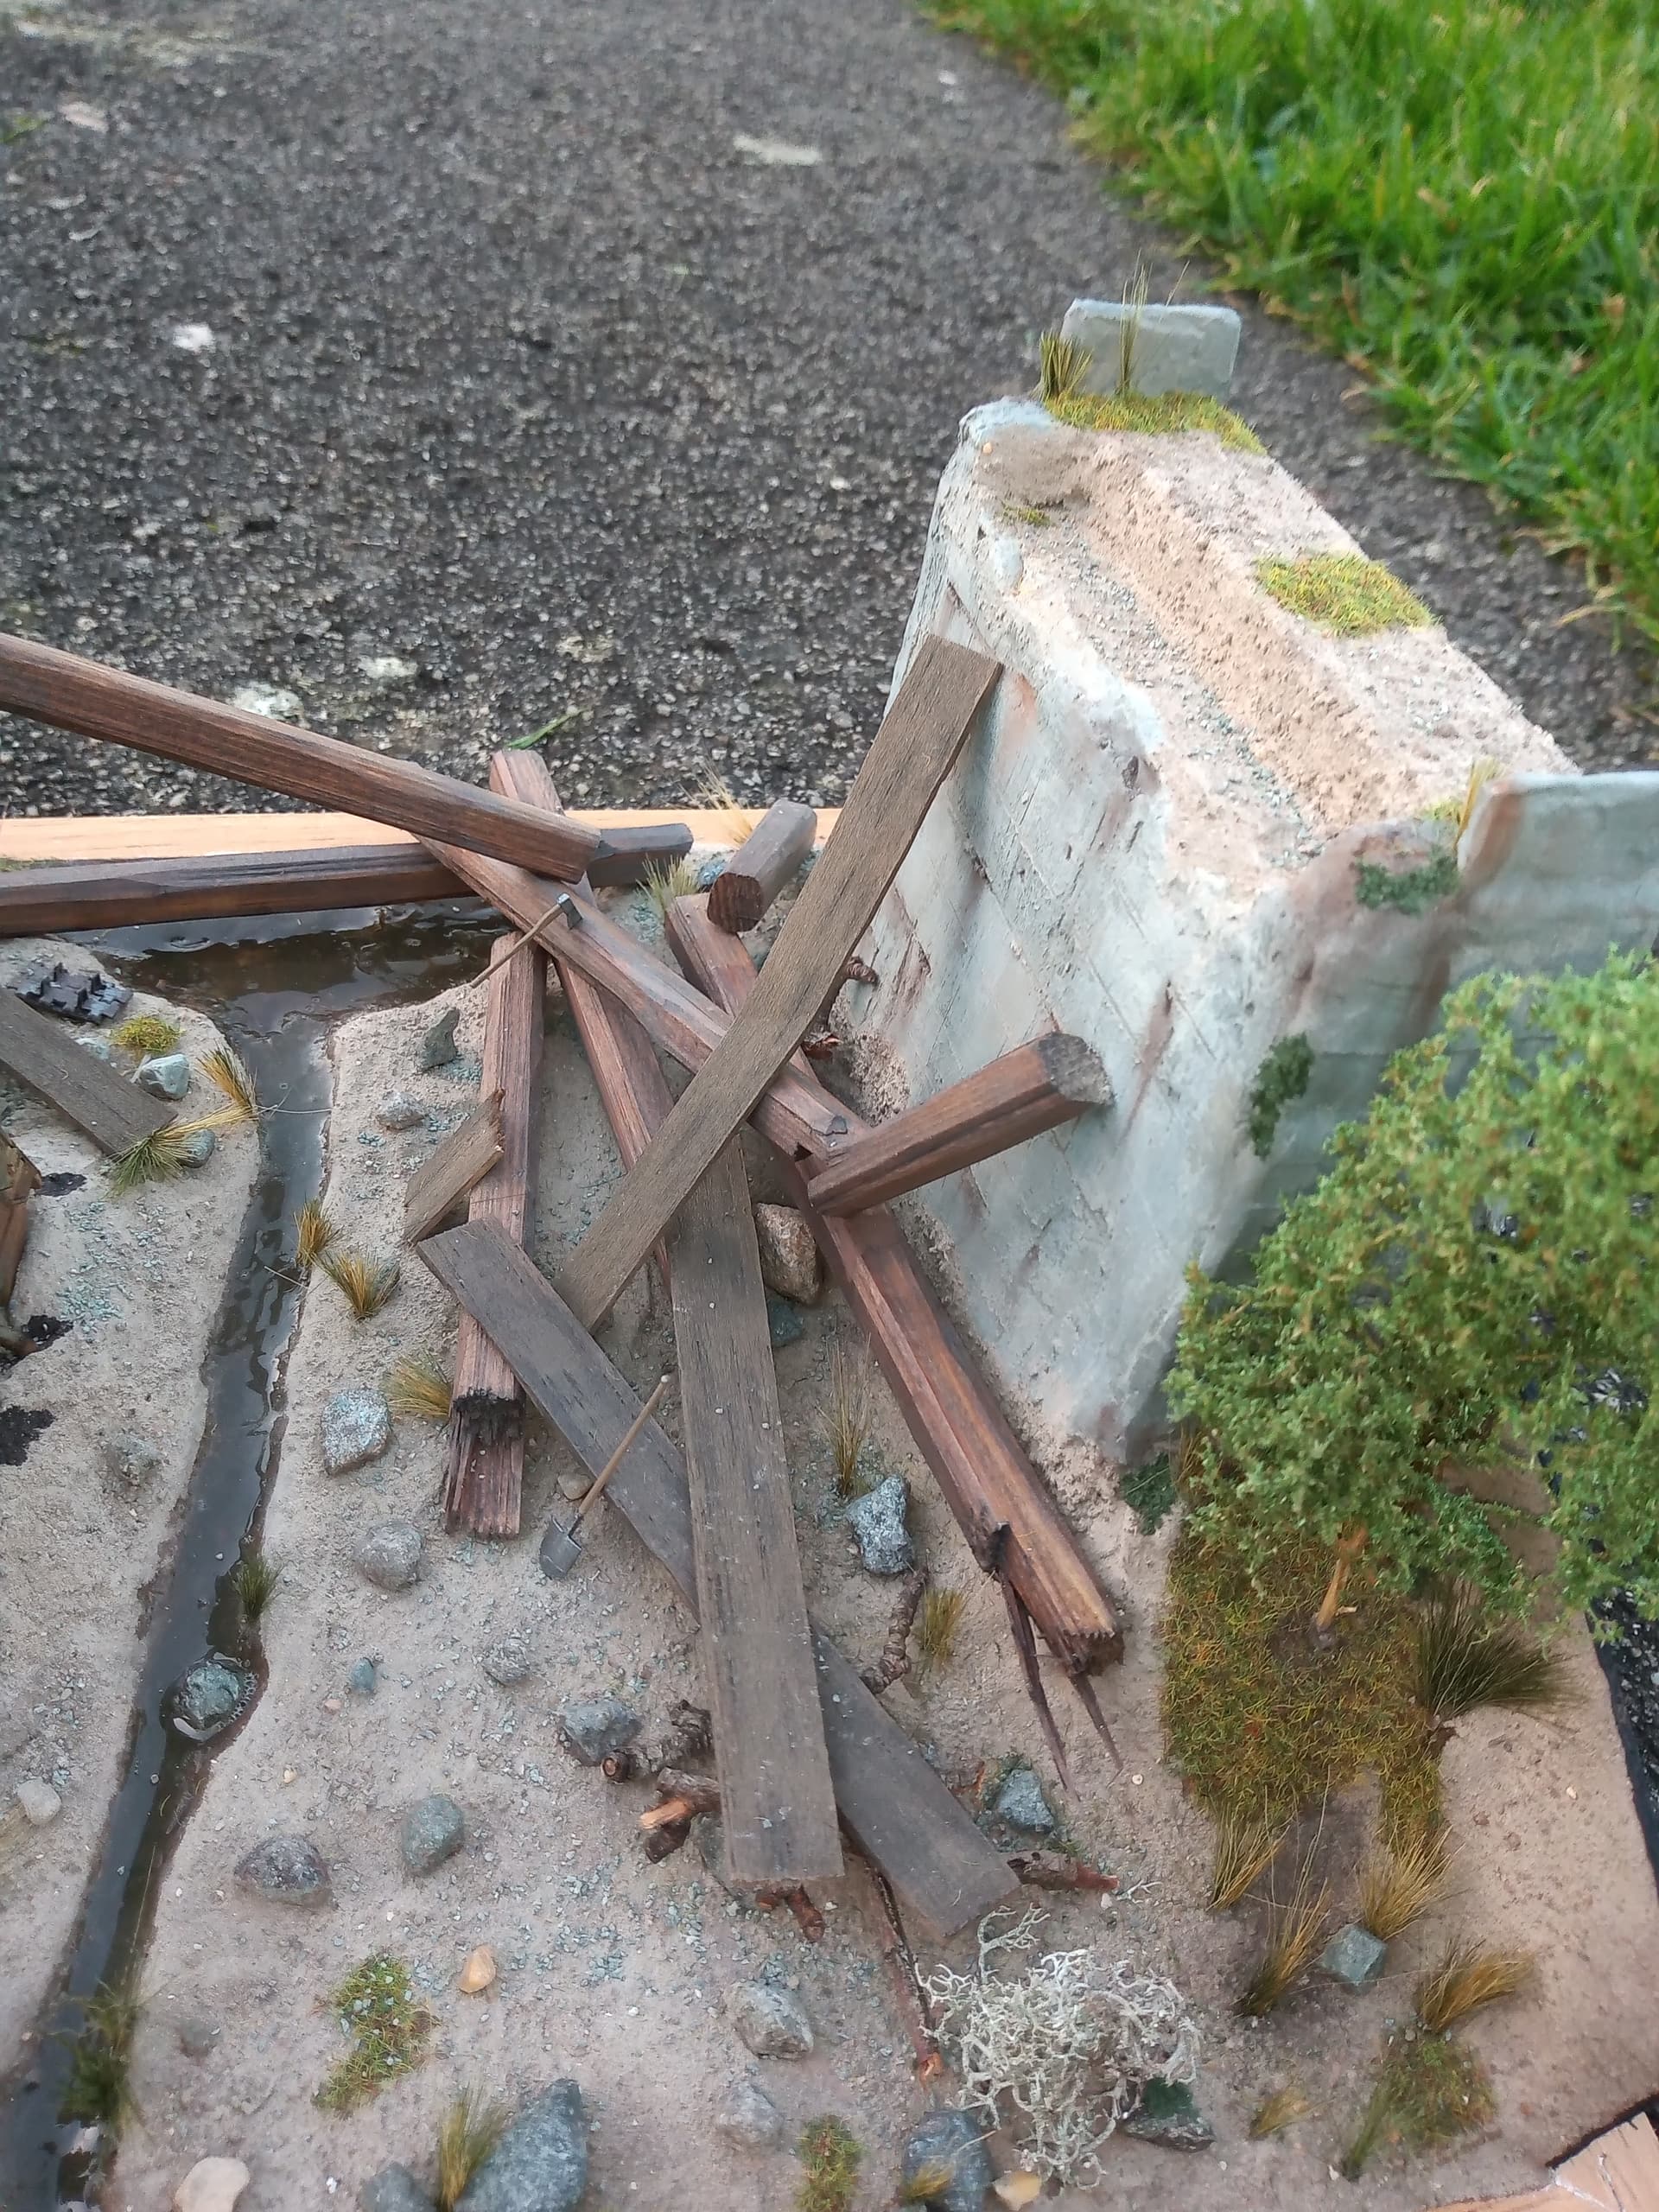
This is the first time I’ve tried to replicate concrete and I was pretty happy how it turned out … Also a first for any form of still water and I used AK Puddles for the little streamlet which again I enjoyed doing and how it looks. Thanks to @petbat who nudged me onto doing the figures, and to be fair, it wouldn’t be true to the build a photo premise of I’d left them out. They are not very good, but I had fun doing them, and they look ok from a distance …(like a 10m lol) I do need to Matt down the finish on them still which I will do. And now the pictures in no particular order, with or without a guideline.
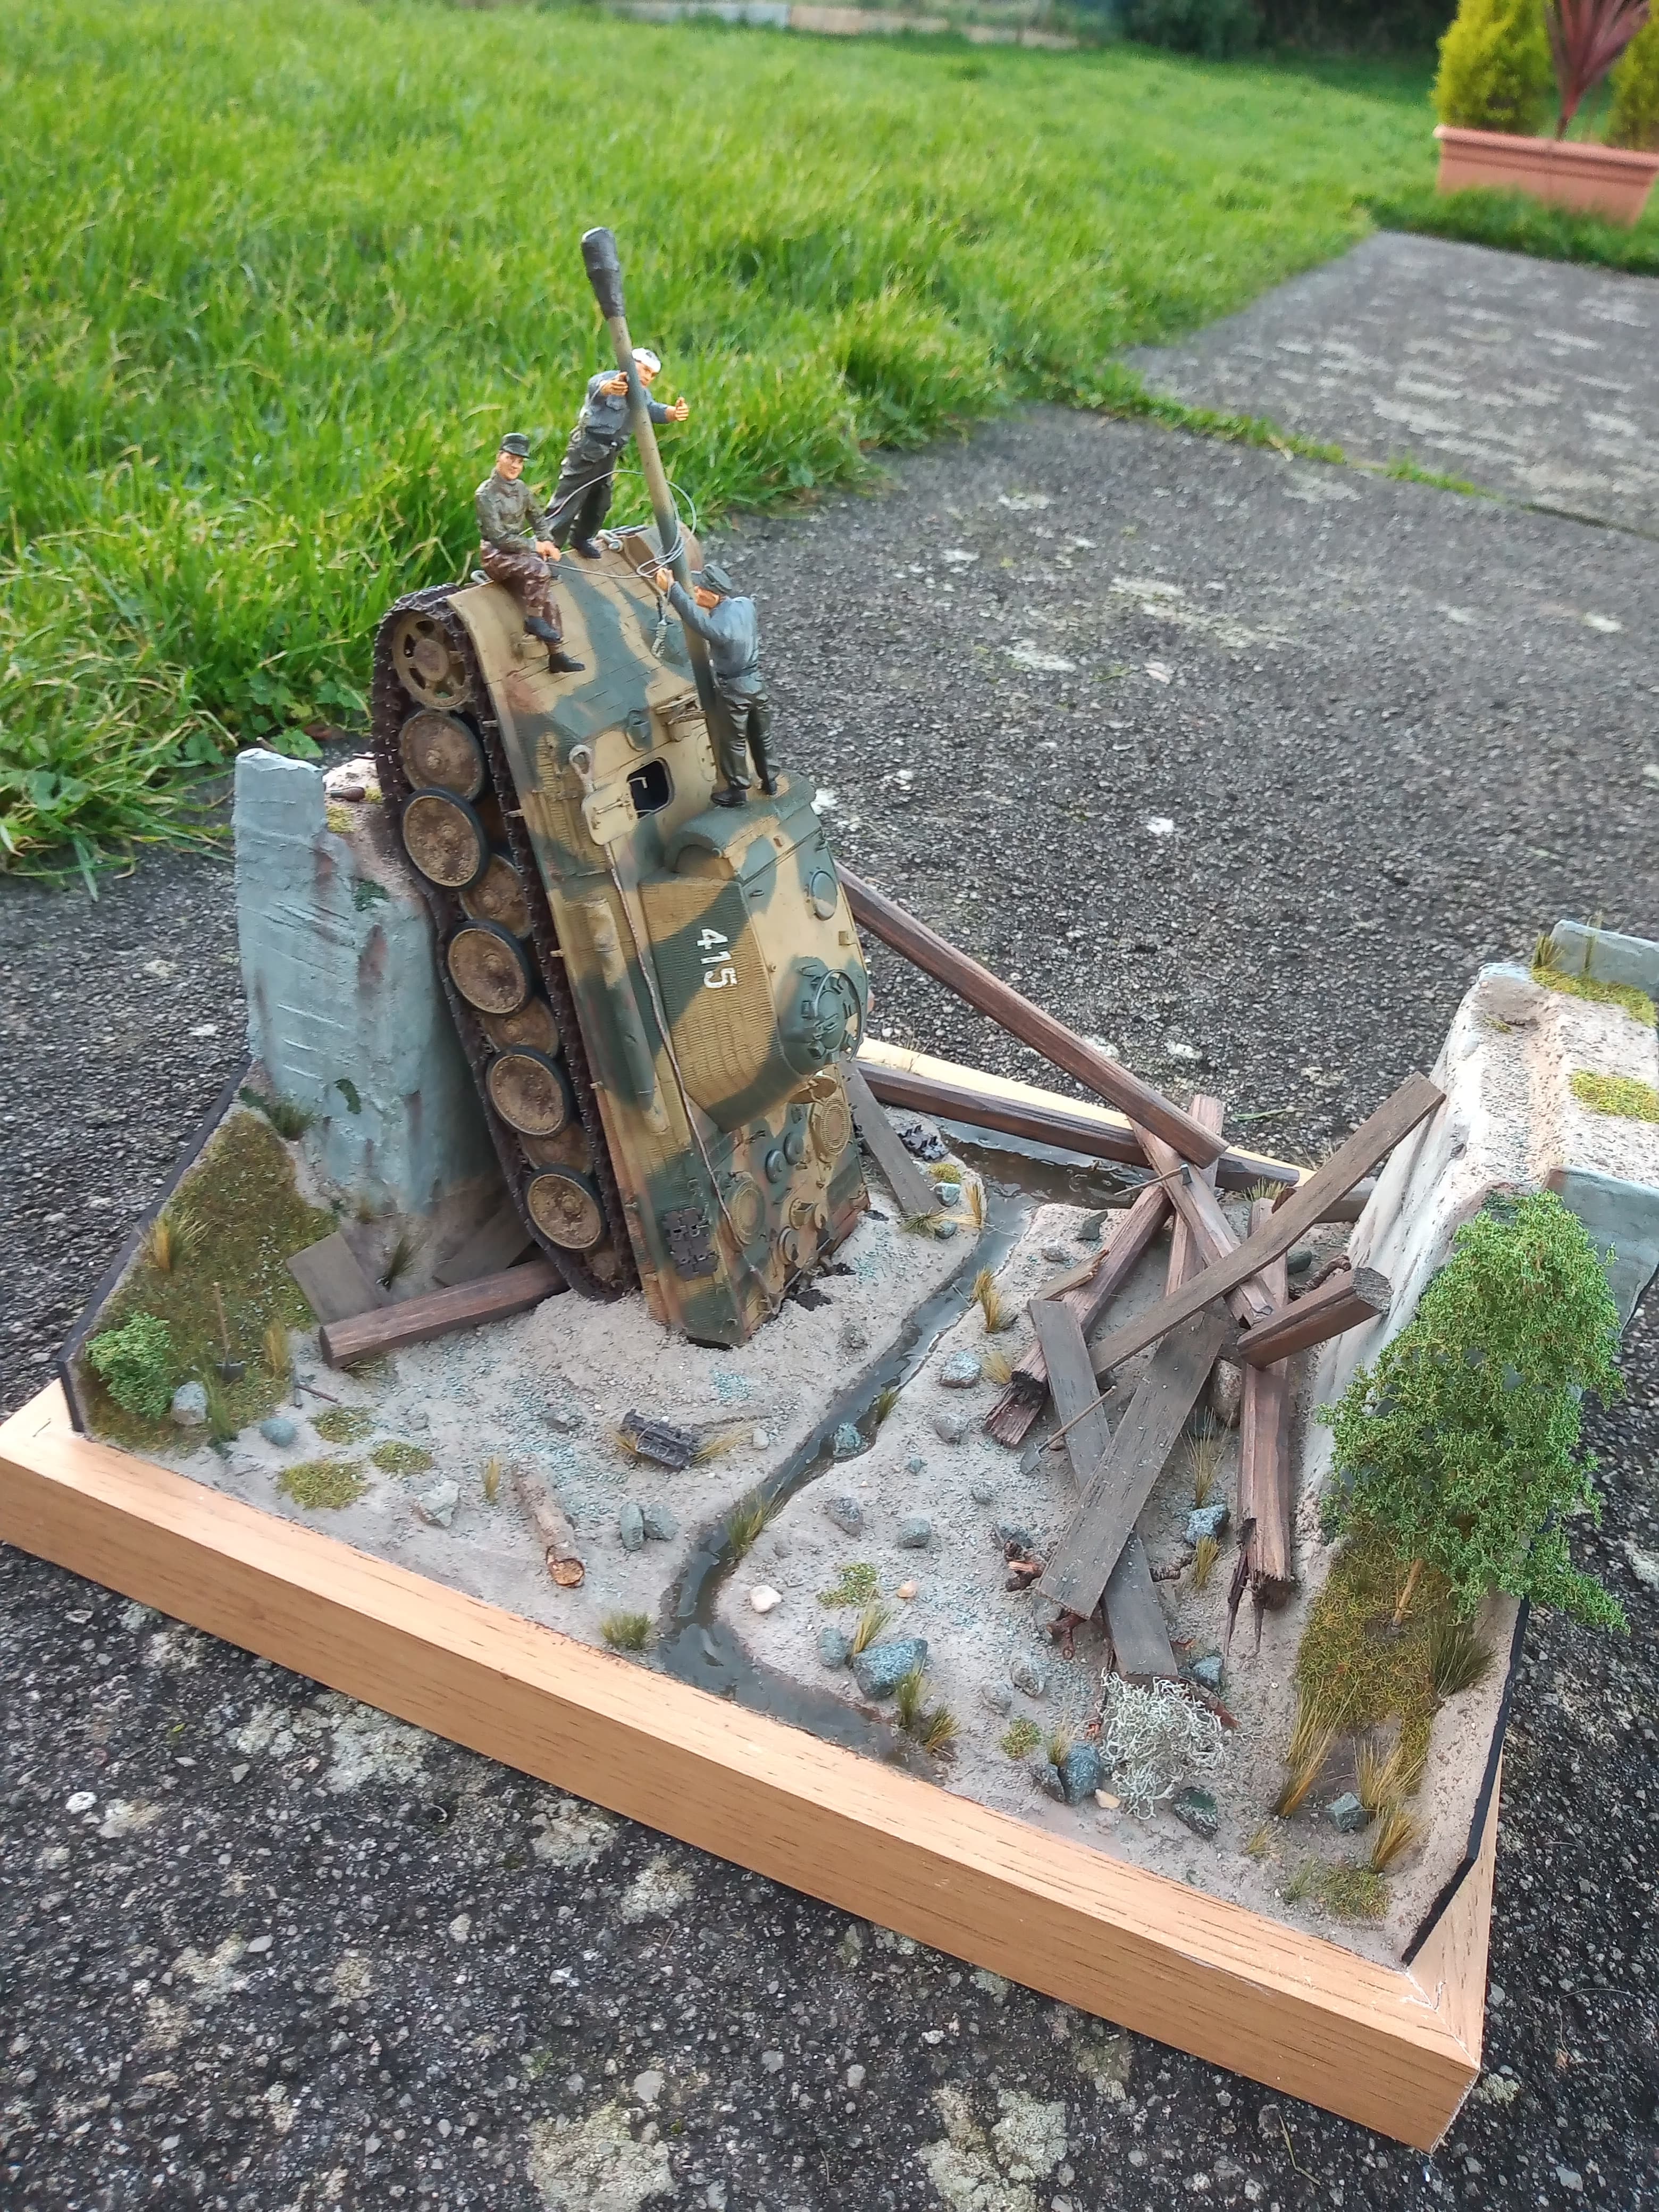
A couple from the other side …

And back to general shots …

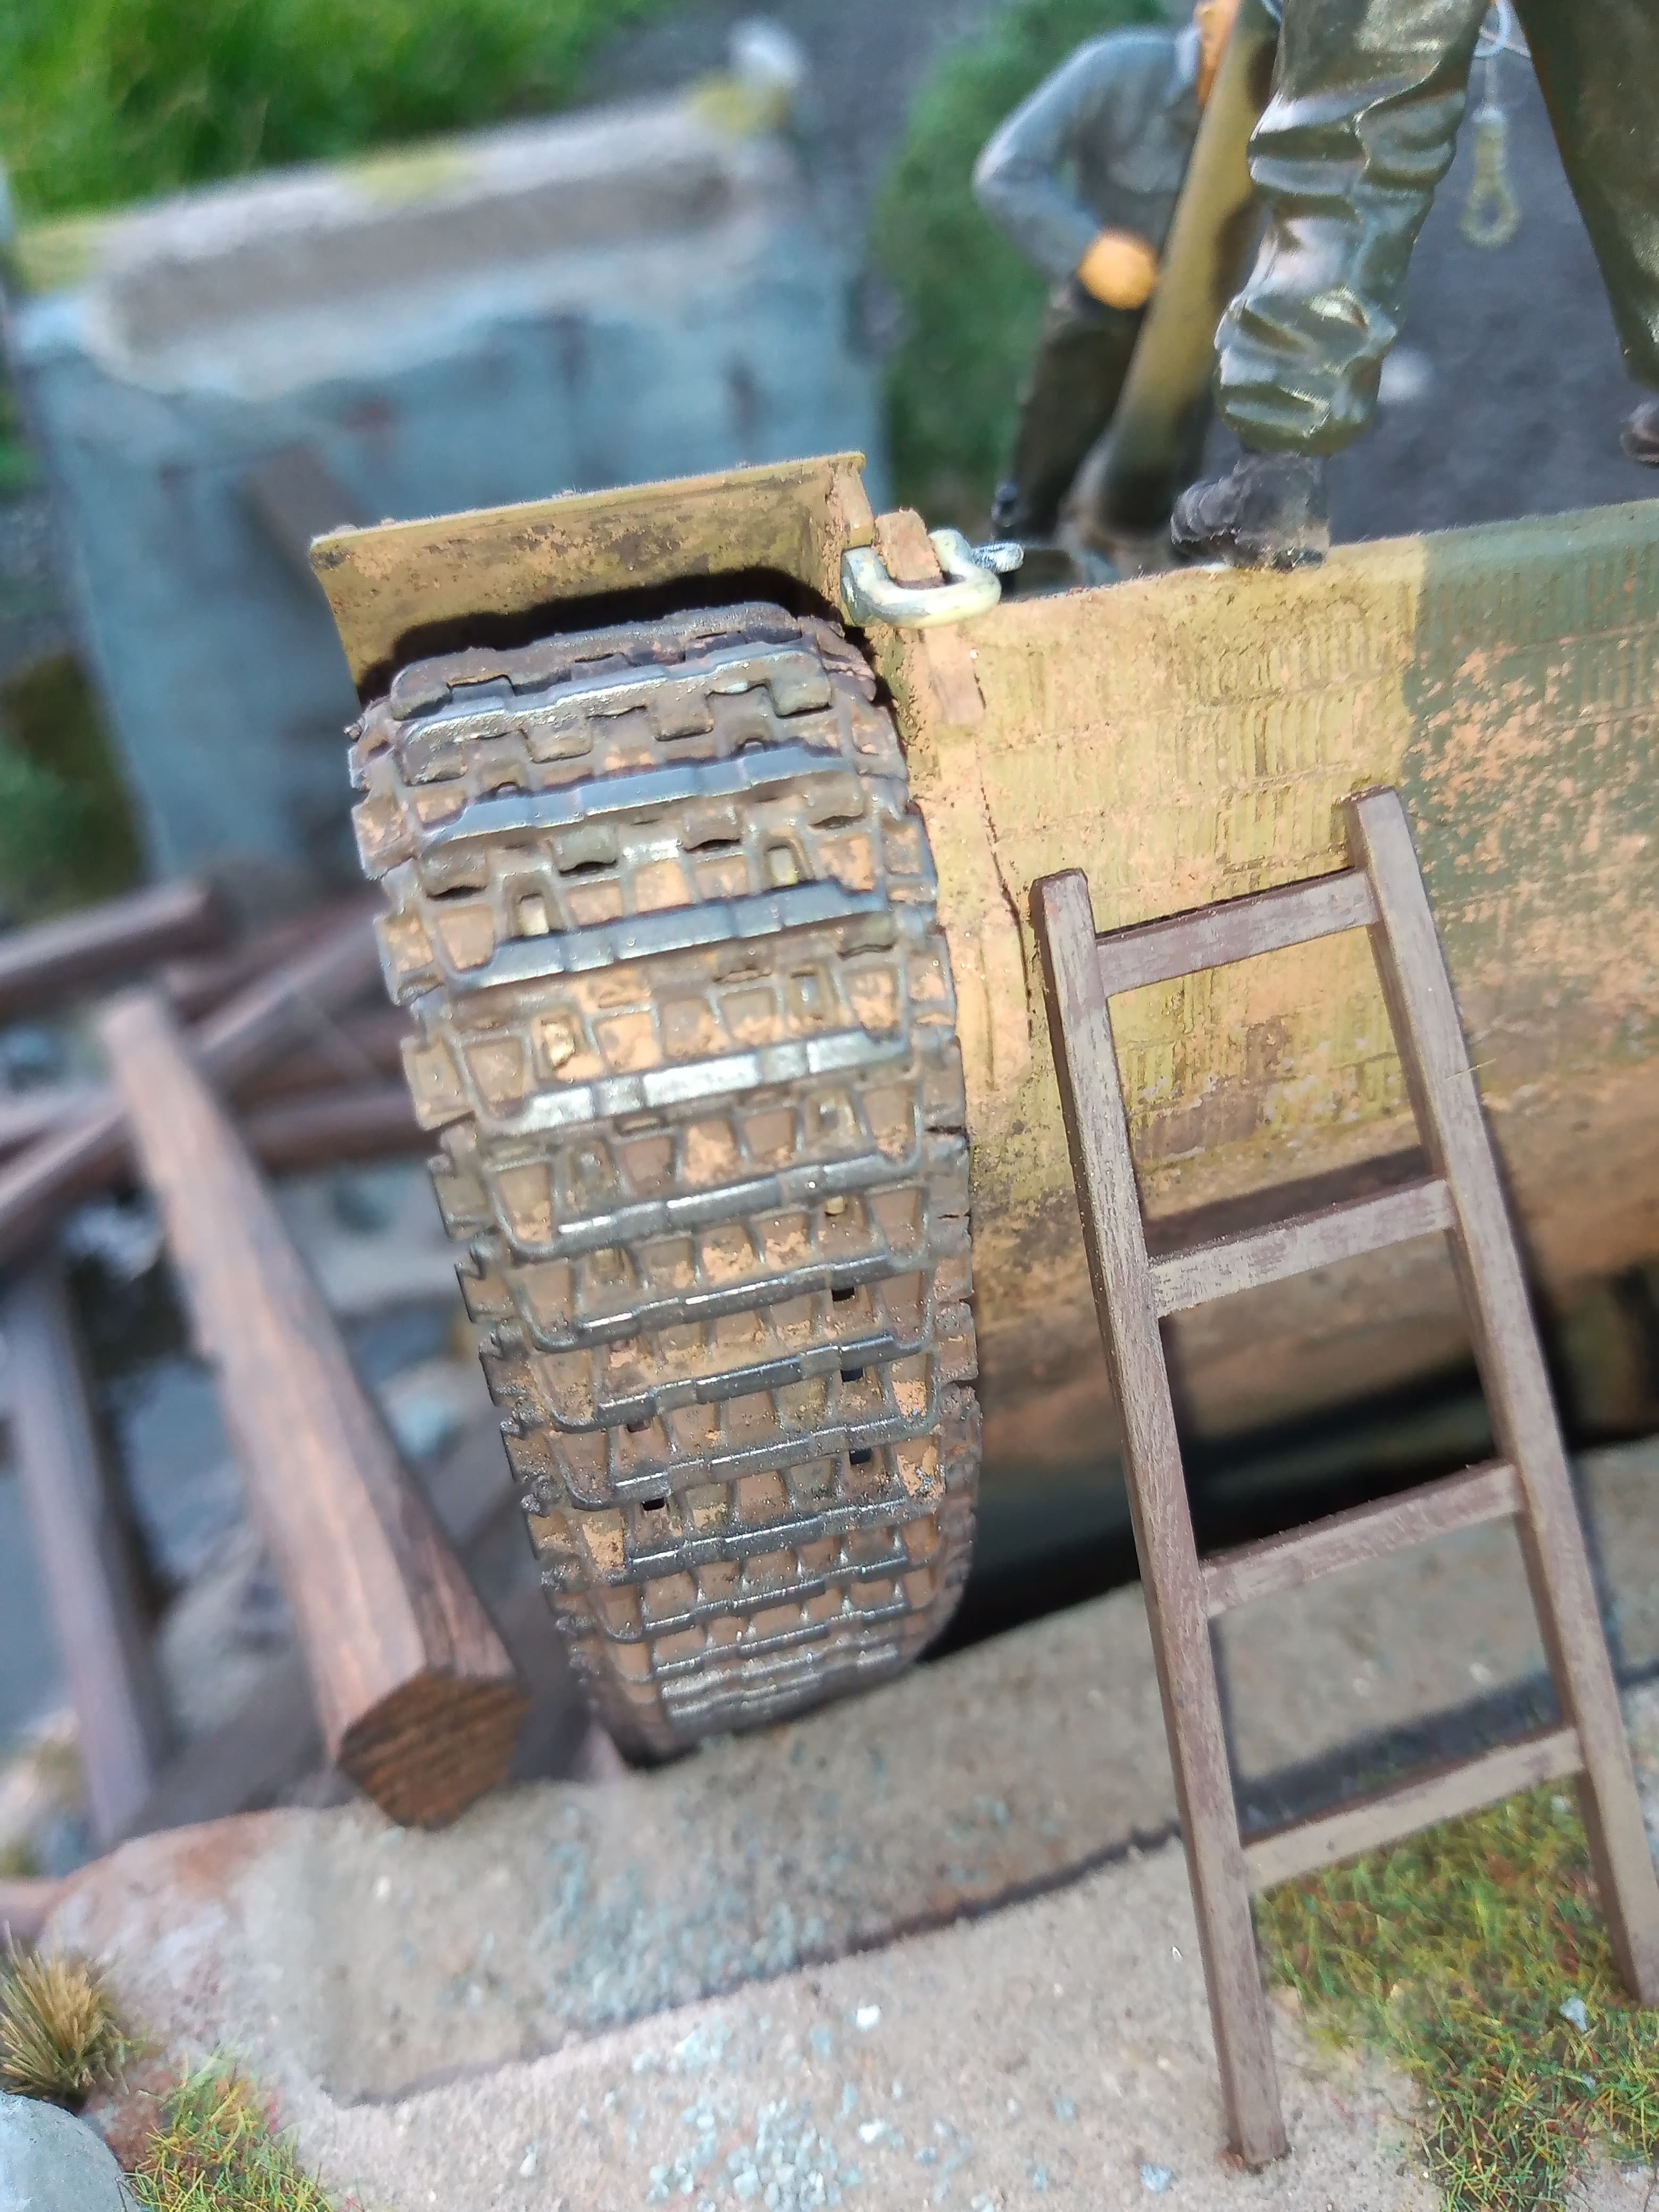
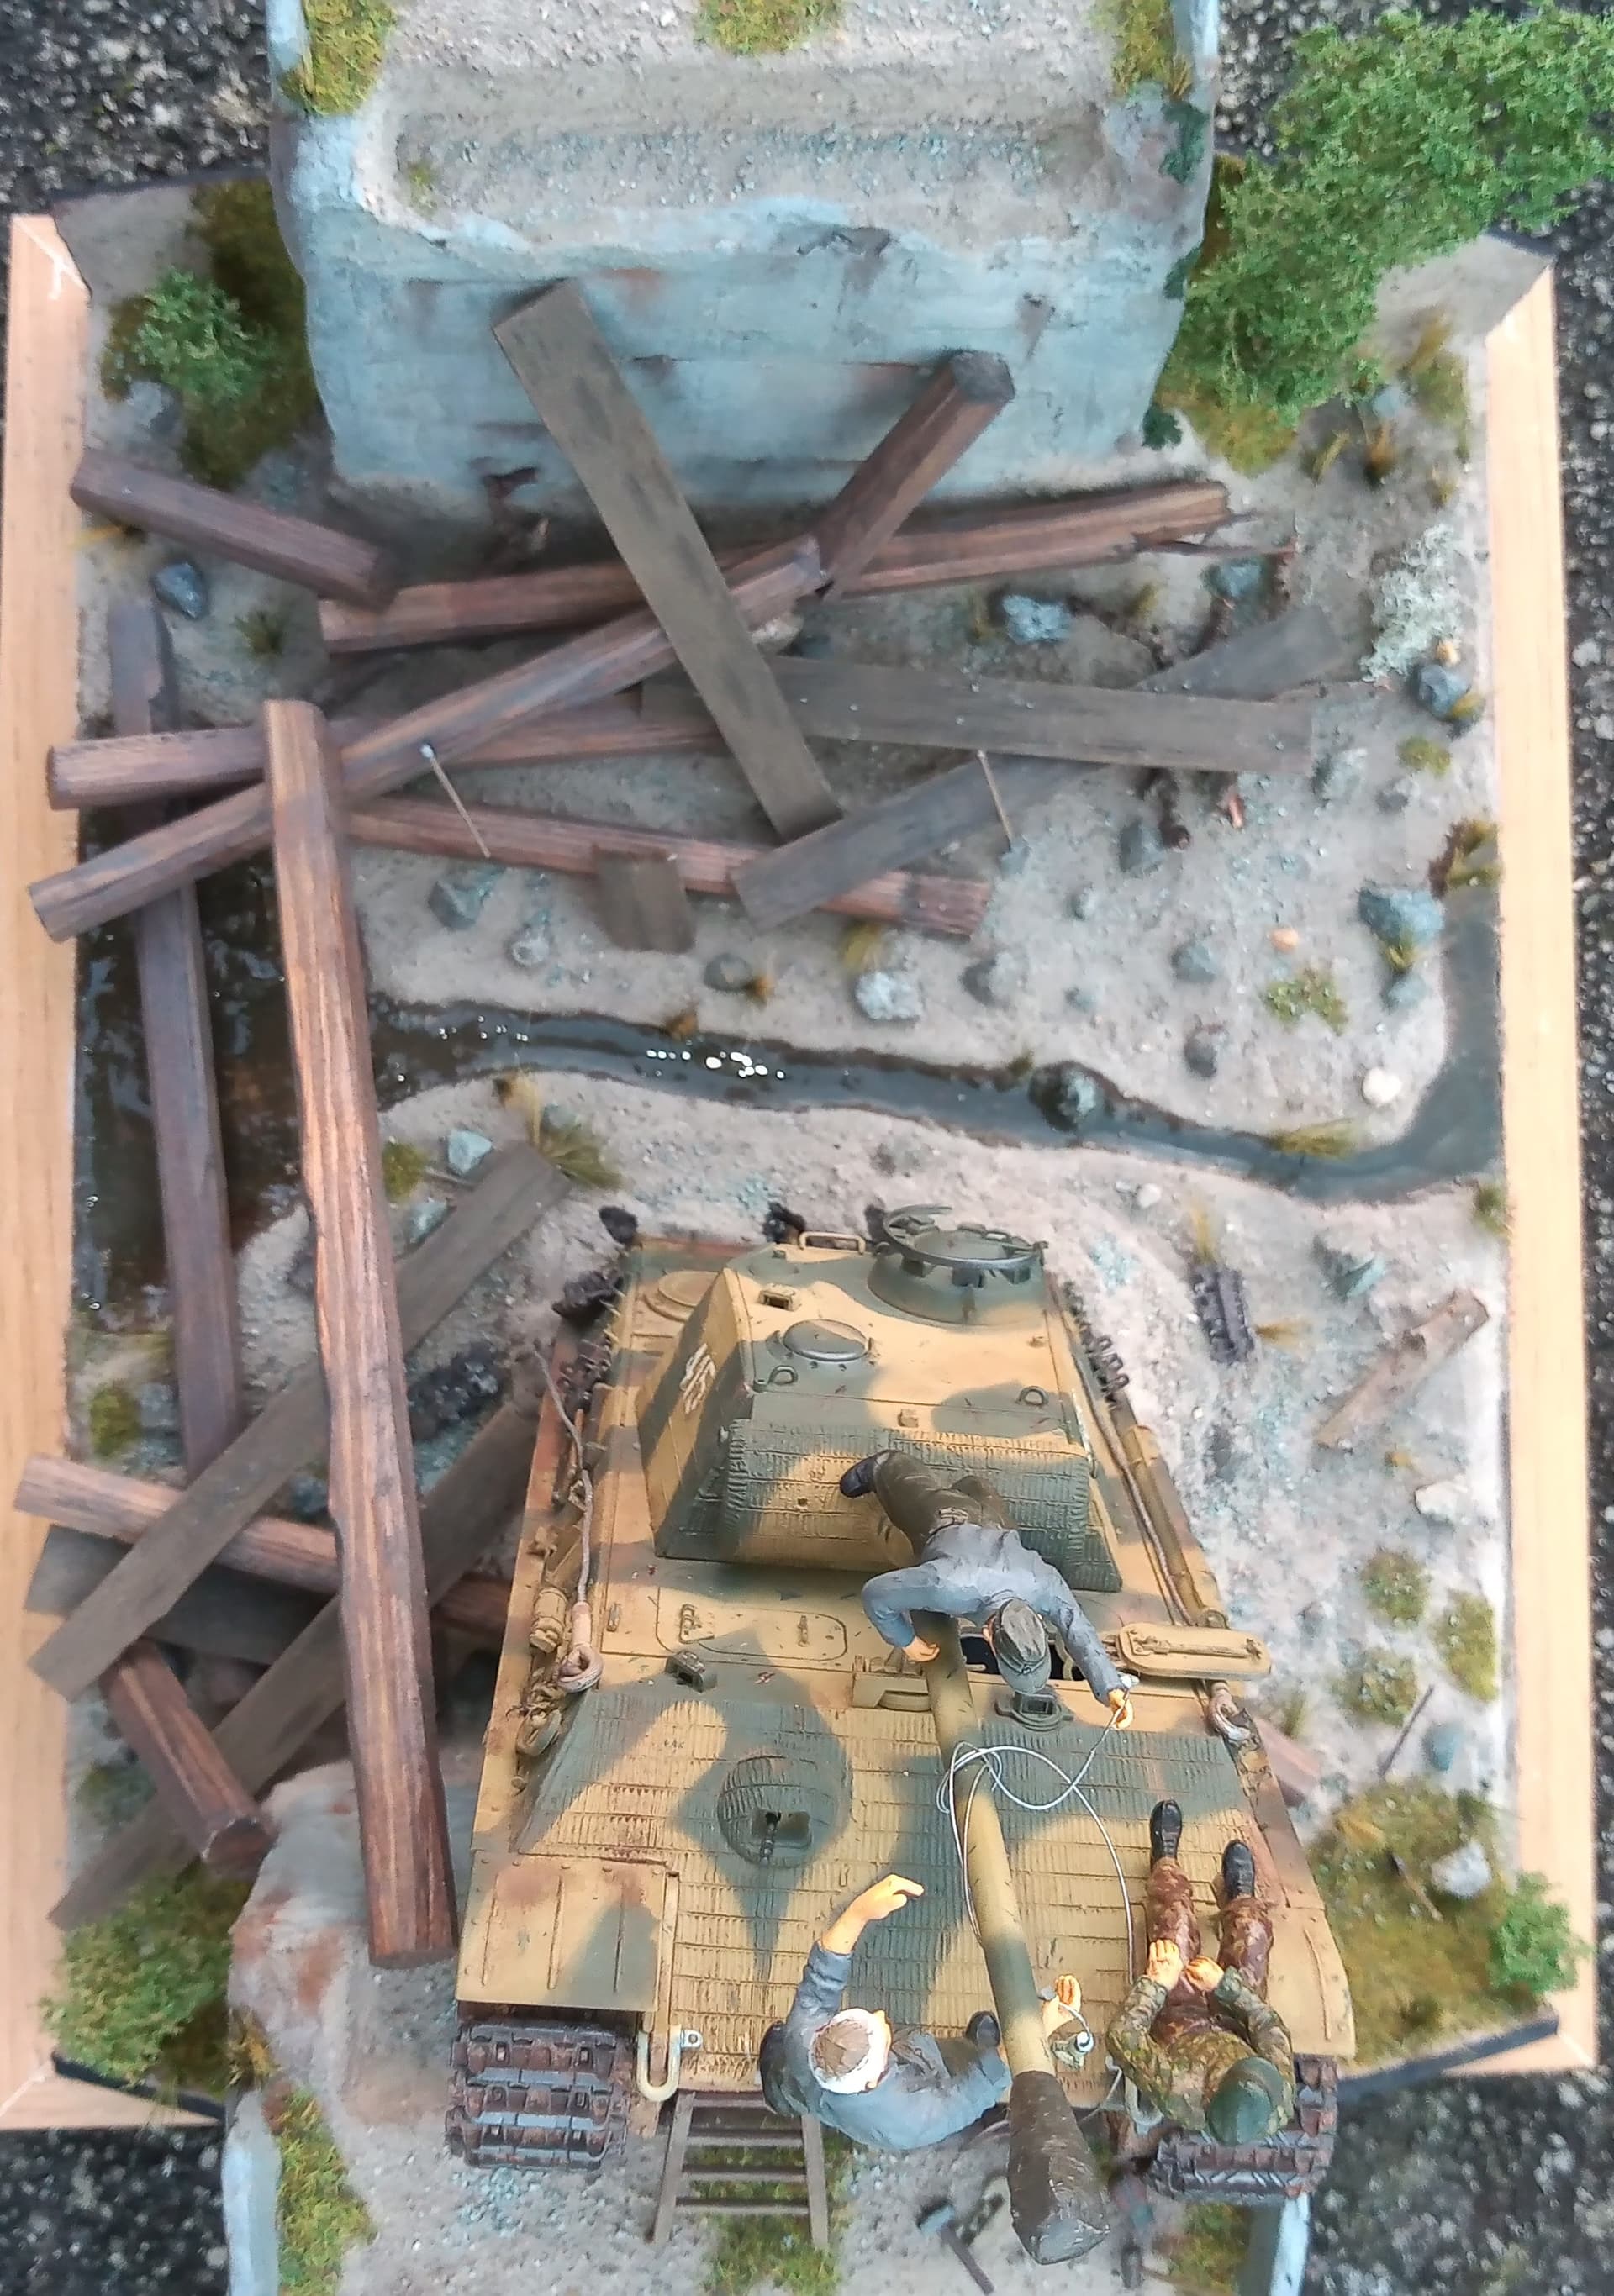
I threw in a few little extras like the tools and ladder and bits like that as this would of been a fairly big job to get the Panther back on the ground again so felt I was justified putting those into the scene. Anything you would like to know … Please ask away…
Thoroughly enjoyed this build and the massive amount of support, guidance, and advice I had along the way.
Paints were from Tamiya, Vallejo, MIG, LifeColor, AK.
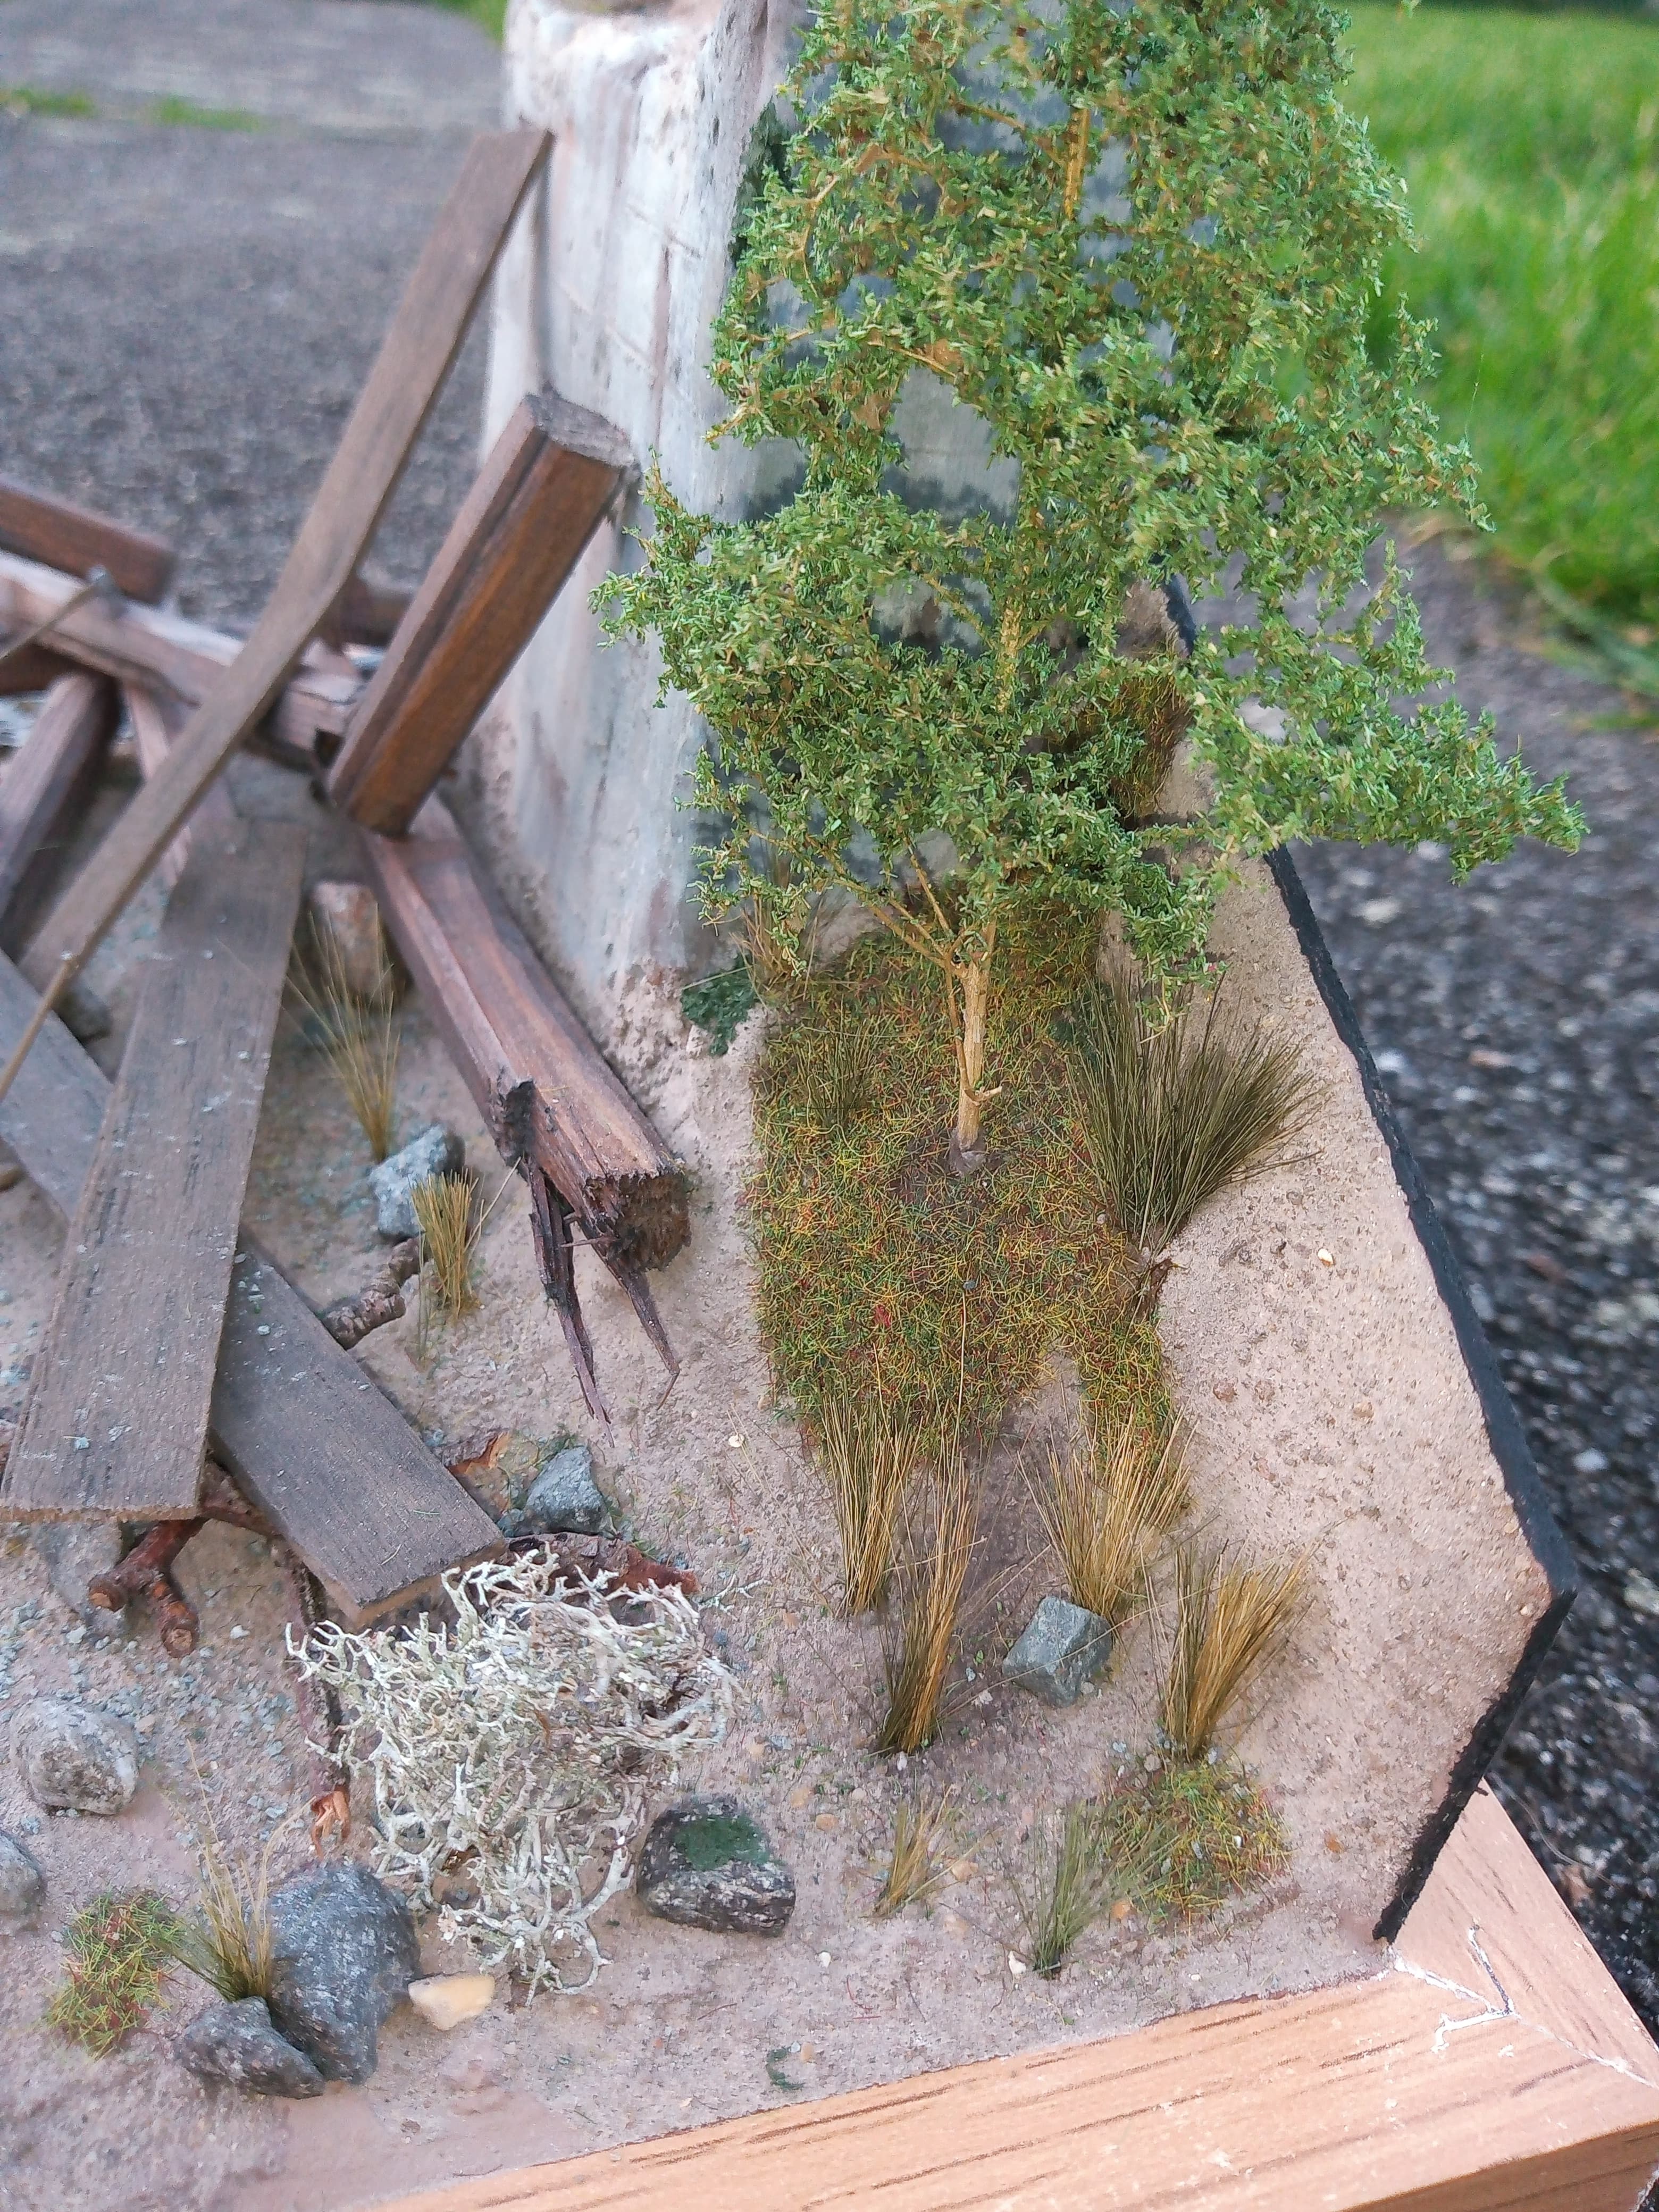
Trees were seafoam and railway green scatter. Streamlet was courtesy of AK Puddles.
Panther was the Tamiya early G, and the Zimm was the lovely to work with Cavalier.
Hope you enjoyed watching
12 Likes
Holy crap Johnny. That’s one hell of a display you’ve got there! The scale of that thing alone is a marvel, but you really did nail the photo. You should be very pleased.
1 Like
Congratulations on a great looking build.
1 Like
Fantastic photo-finish! Congratulations! 
1 Like
John, this might just be your best work yet. You certainly didn’t skimp on anything. The Panther is finished to perfection. Your detailing and weathering is excellent. The scenery is outstanding. Something to see everywhere, and it is all so well done. You’ve made a static scene busy, but not overcrowded. And the figures totally complete the scene, and are very well painted, no matter what you say. A fantastic job and a superb match to the photograph.
1 Like