Thanks Bert …
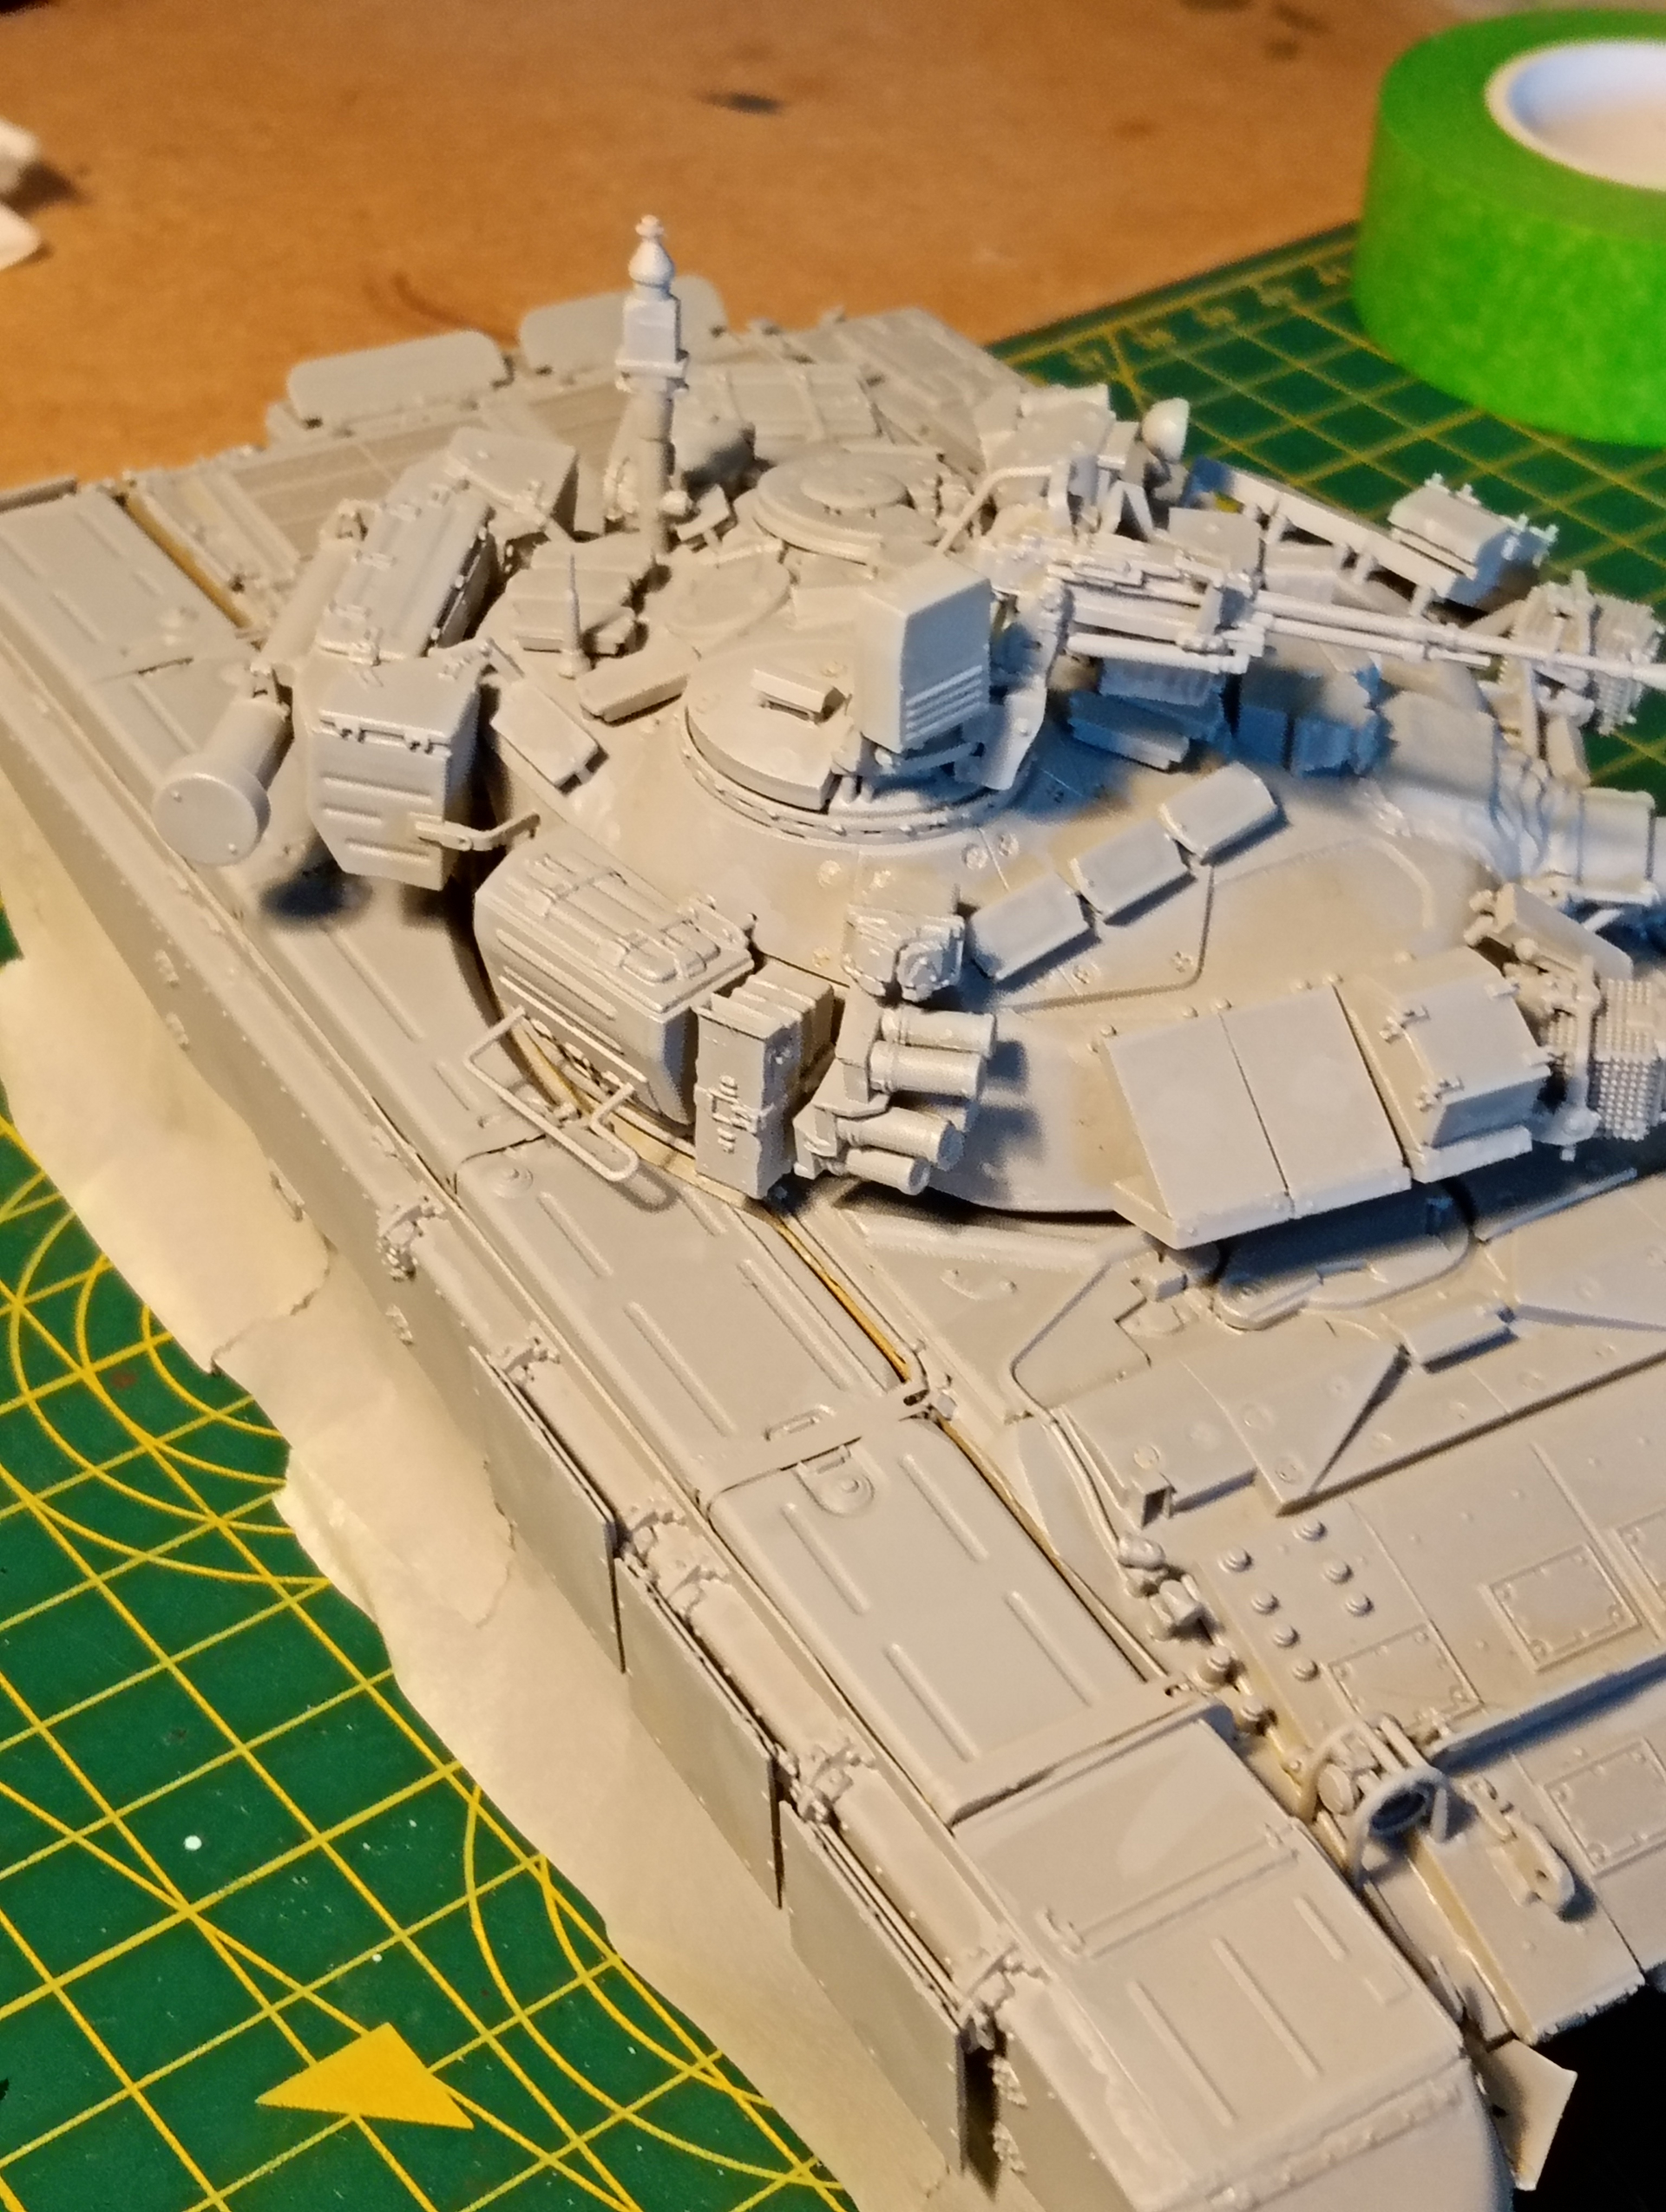
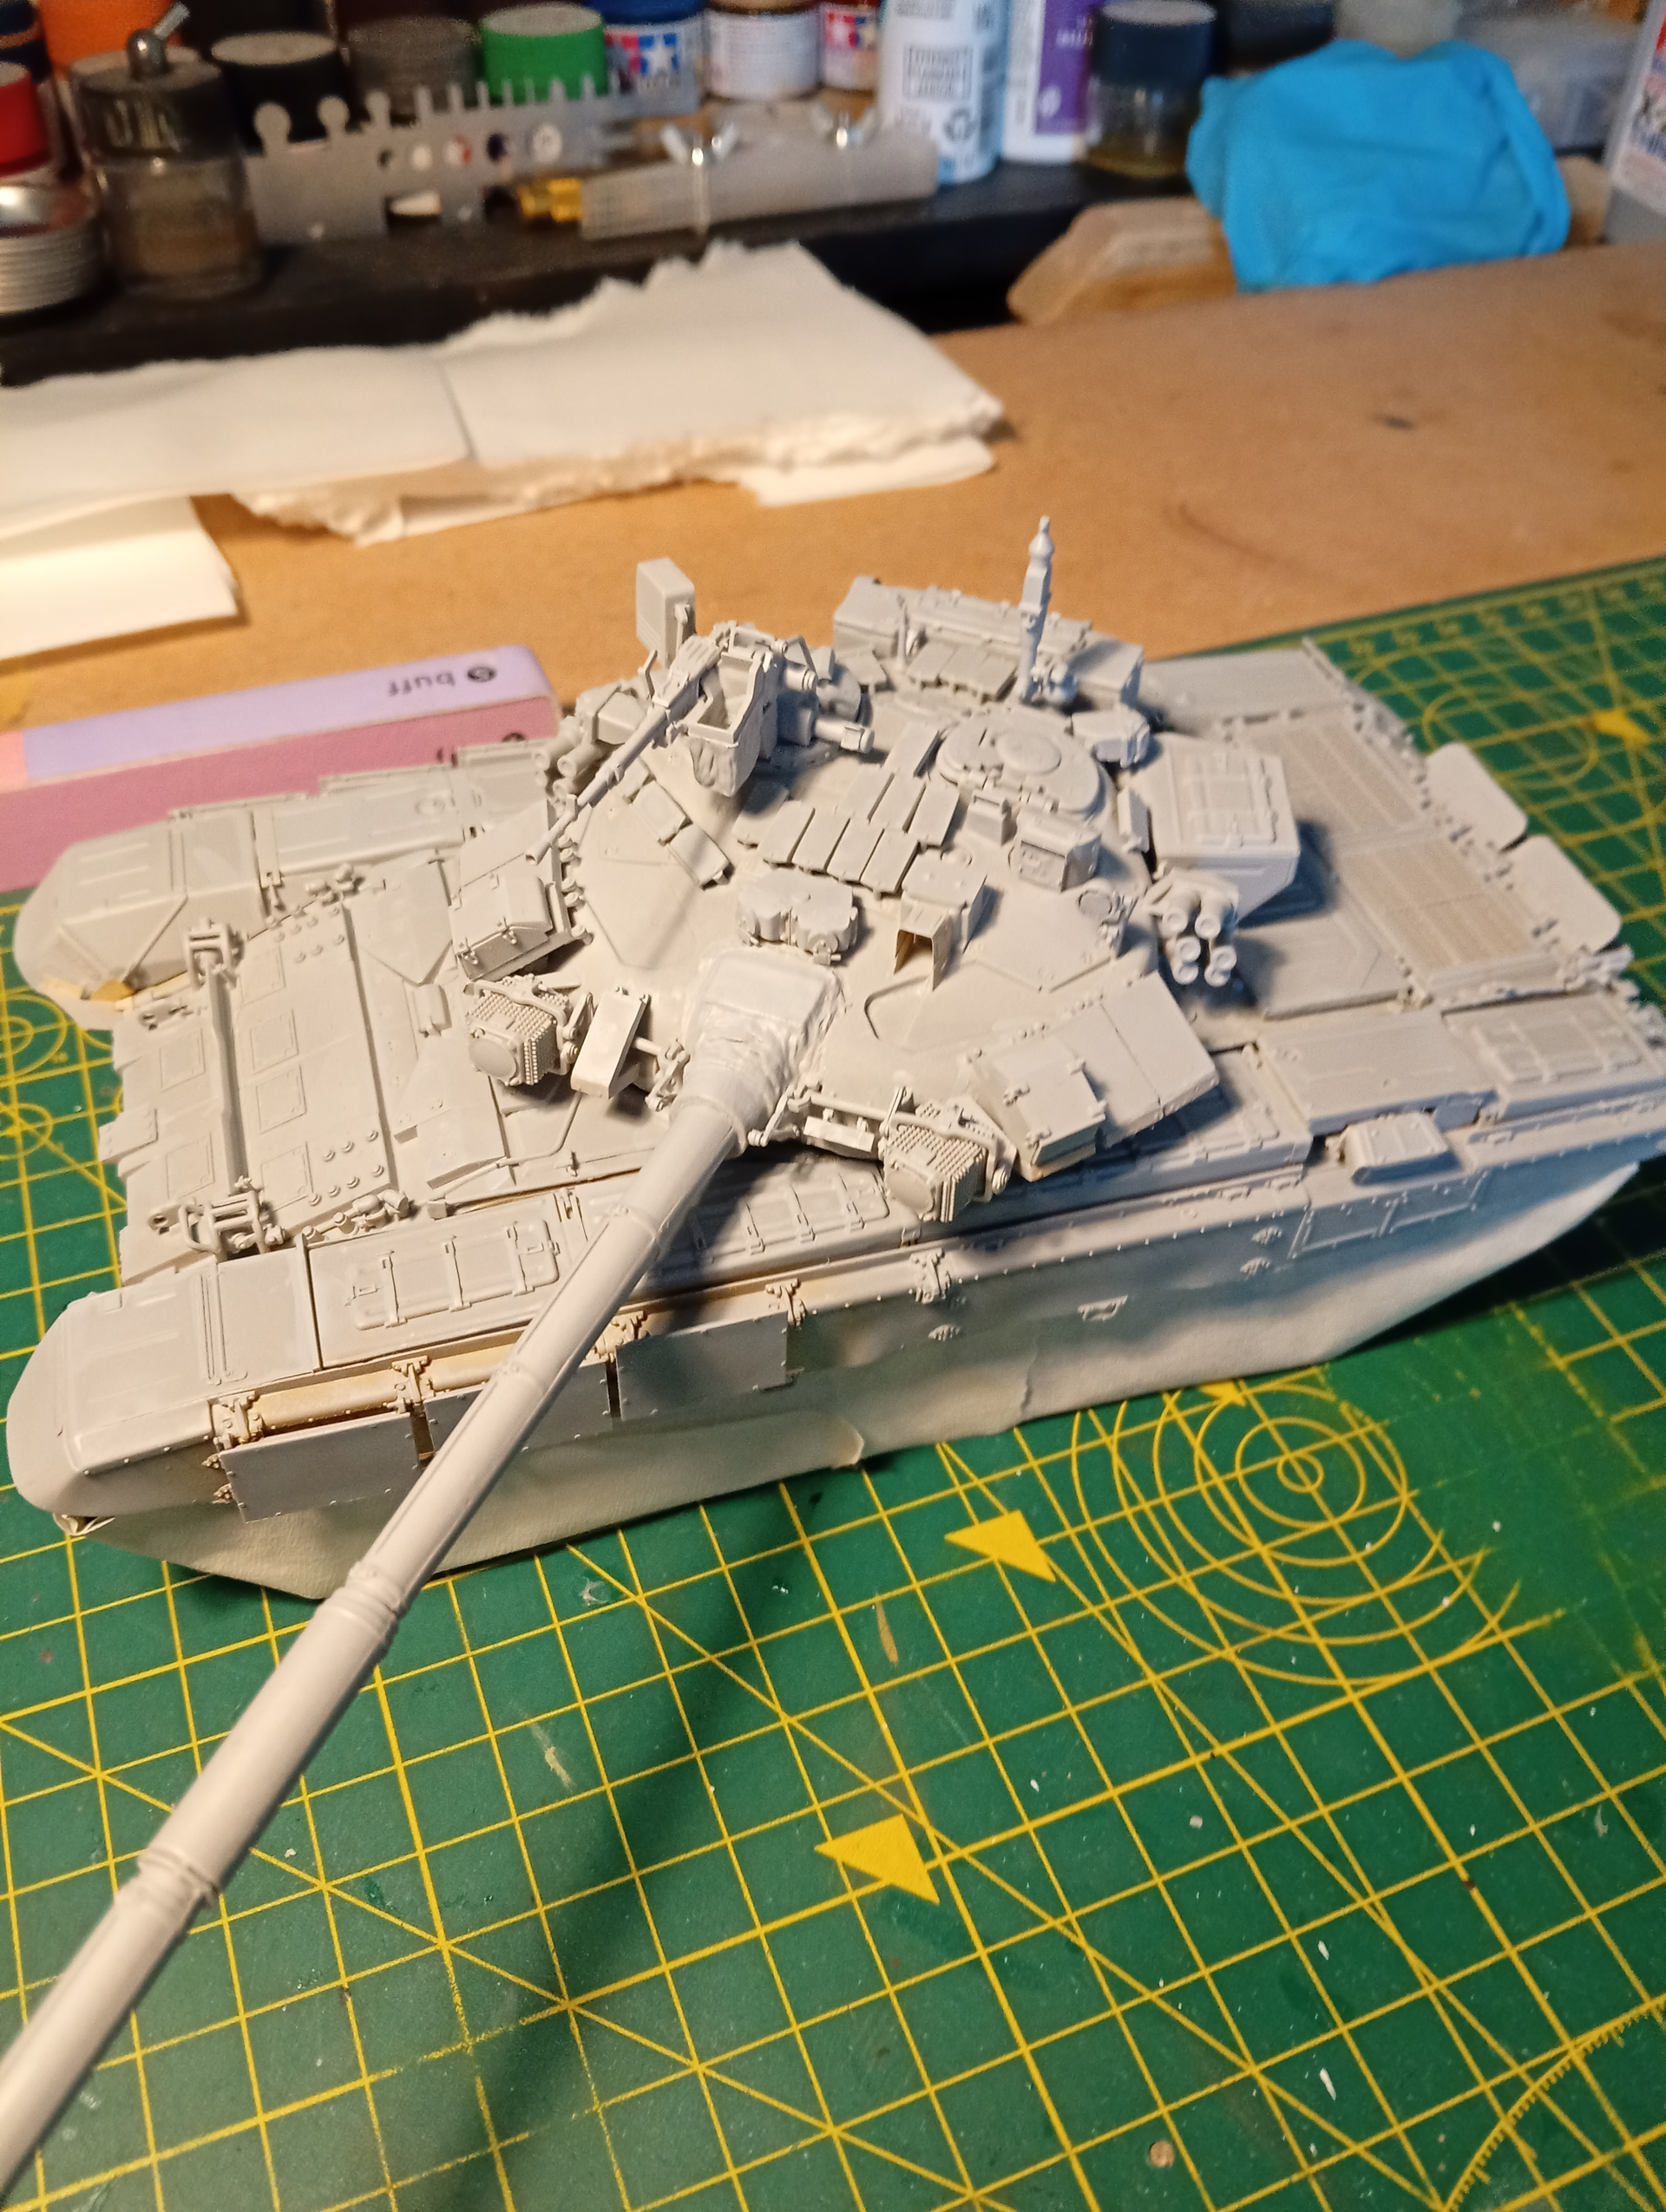
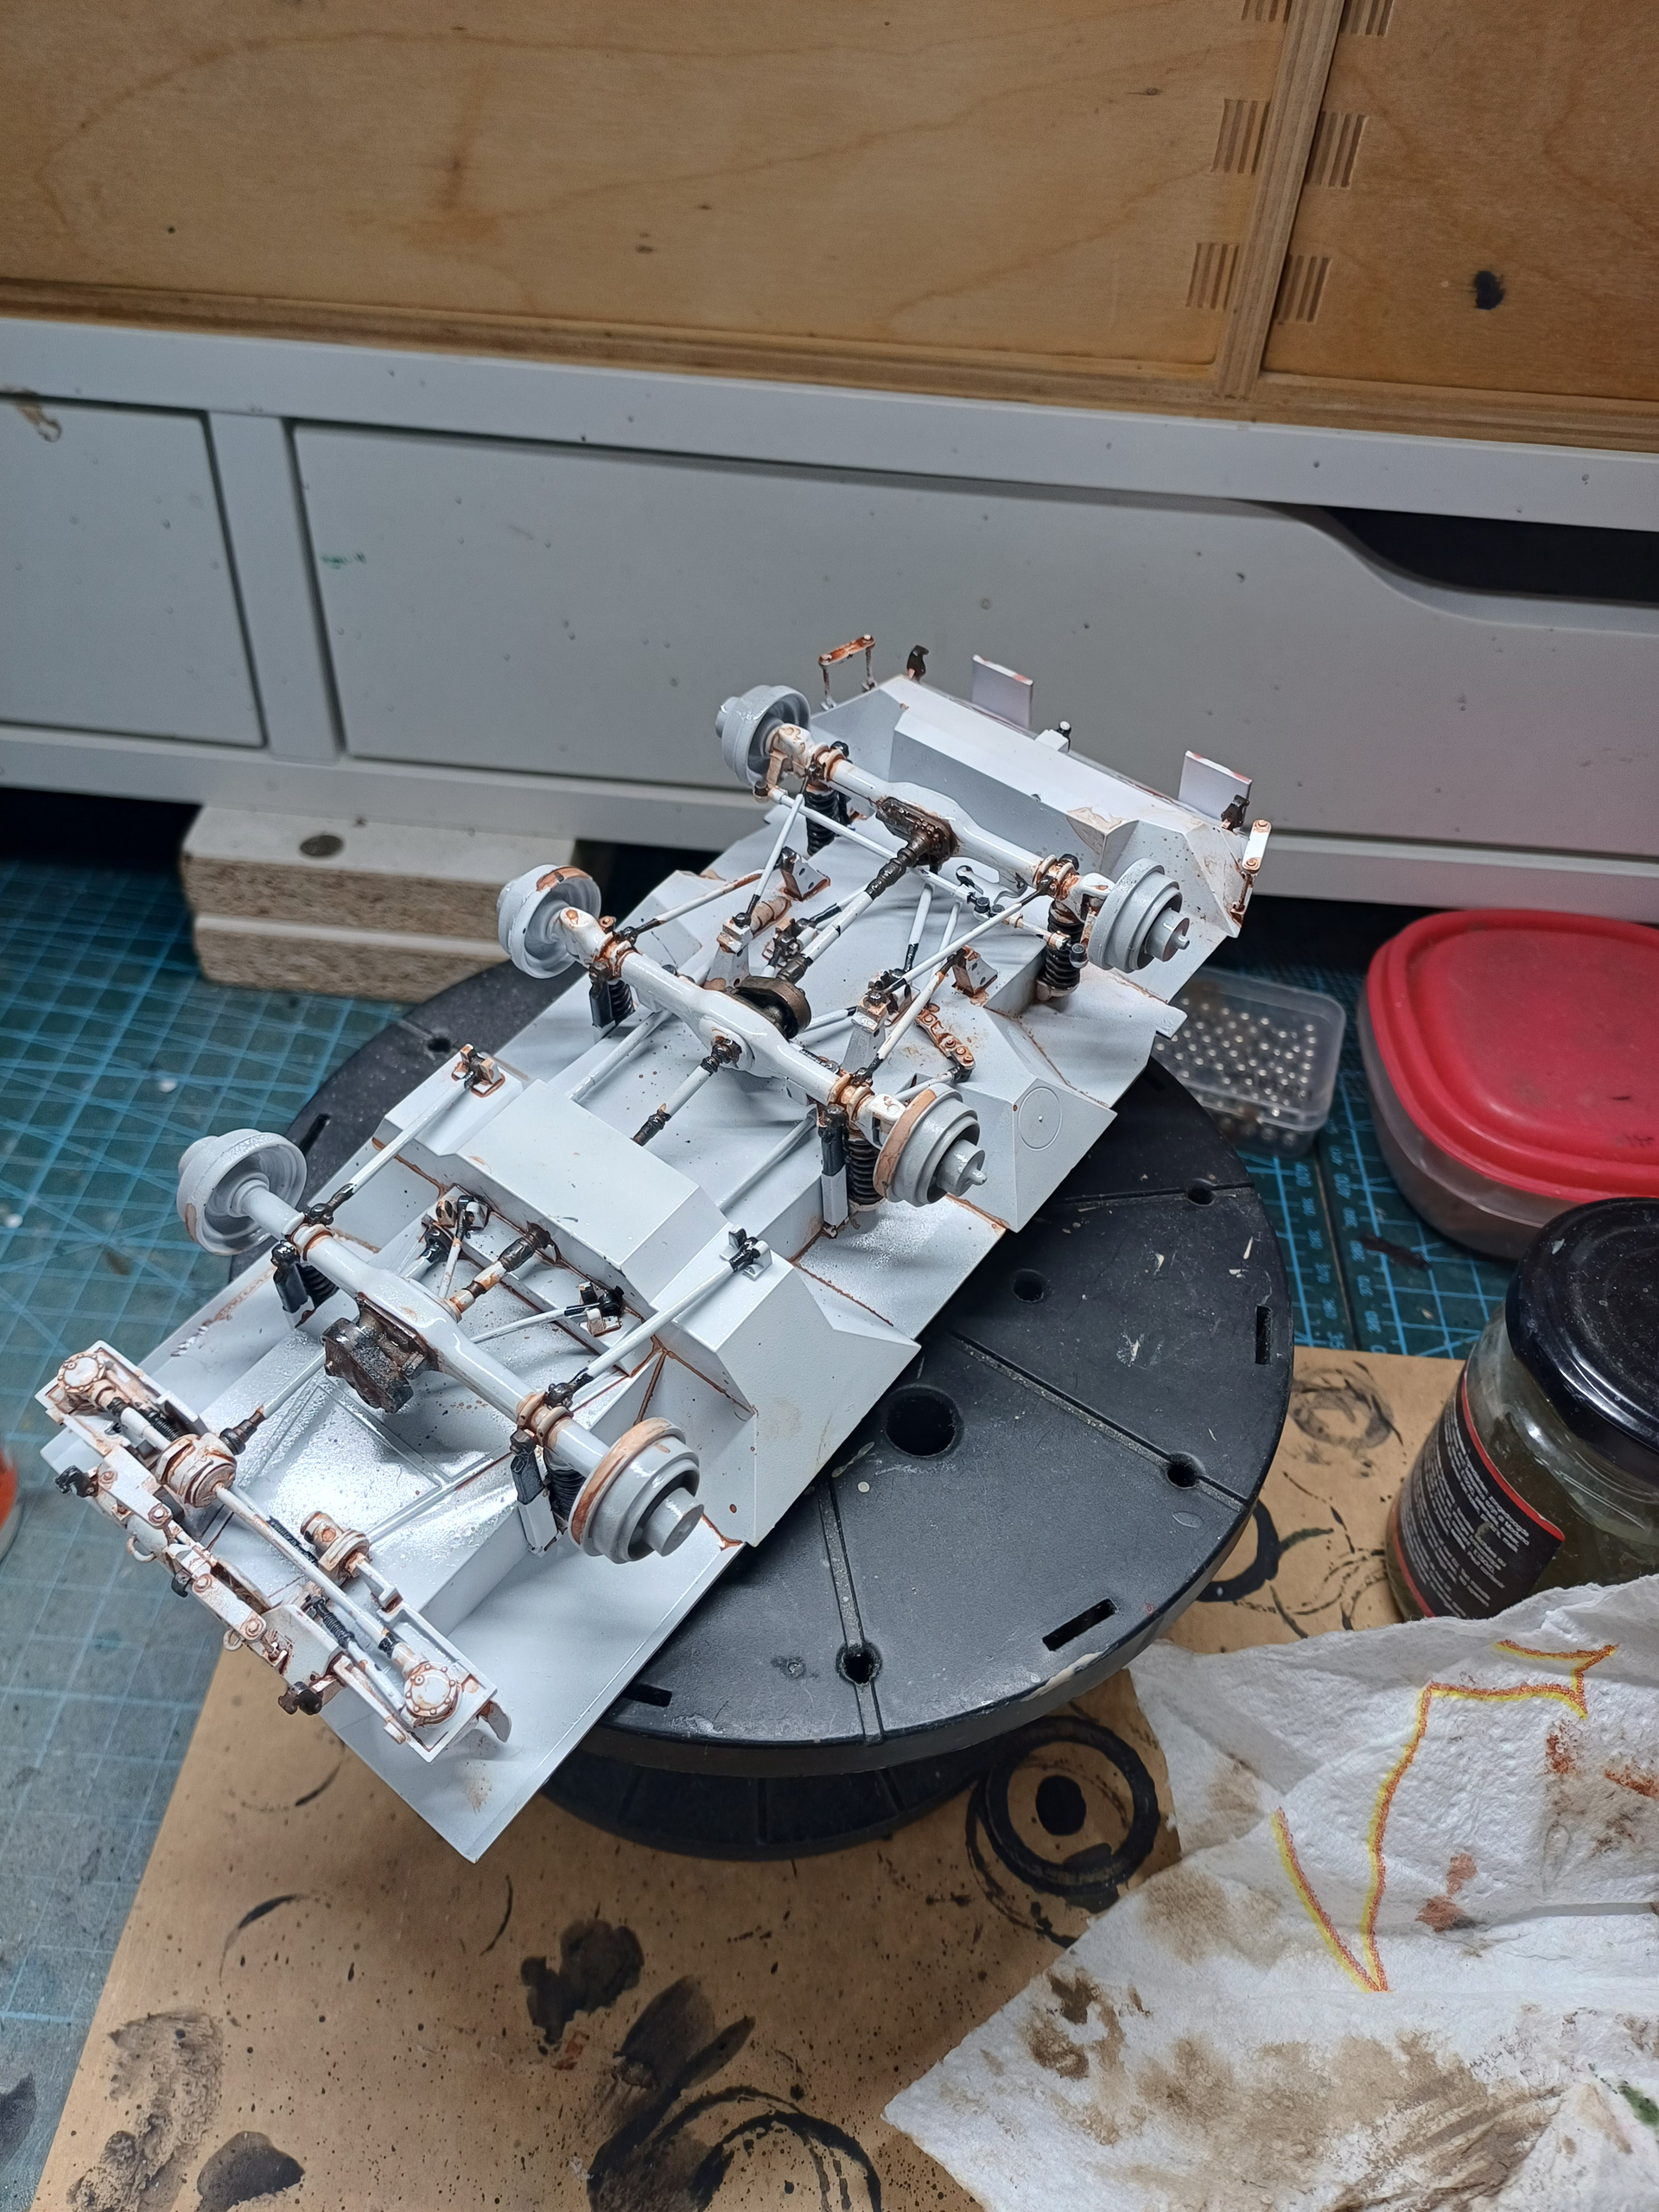
And base coated on… Halfords grey rattle can
Nicely primed 
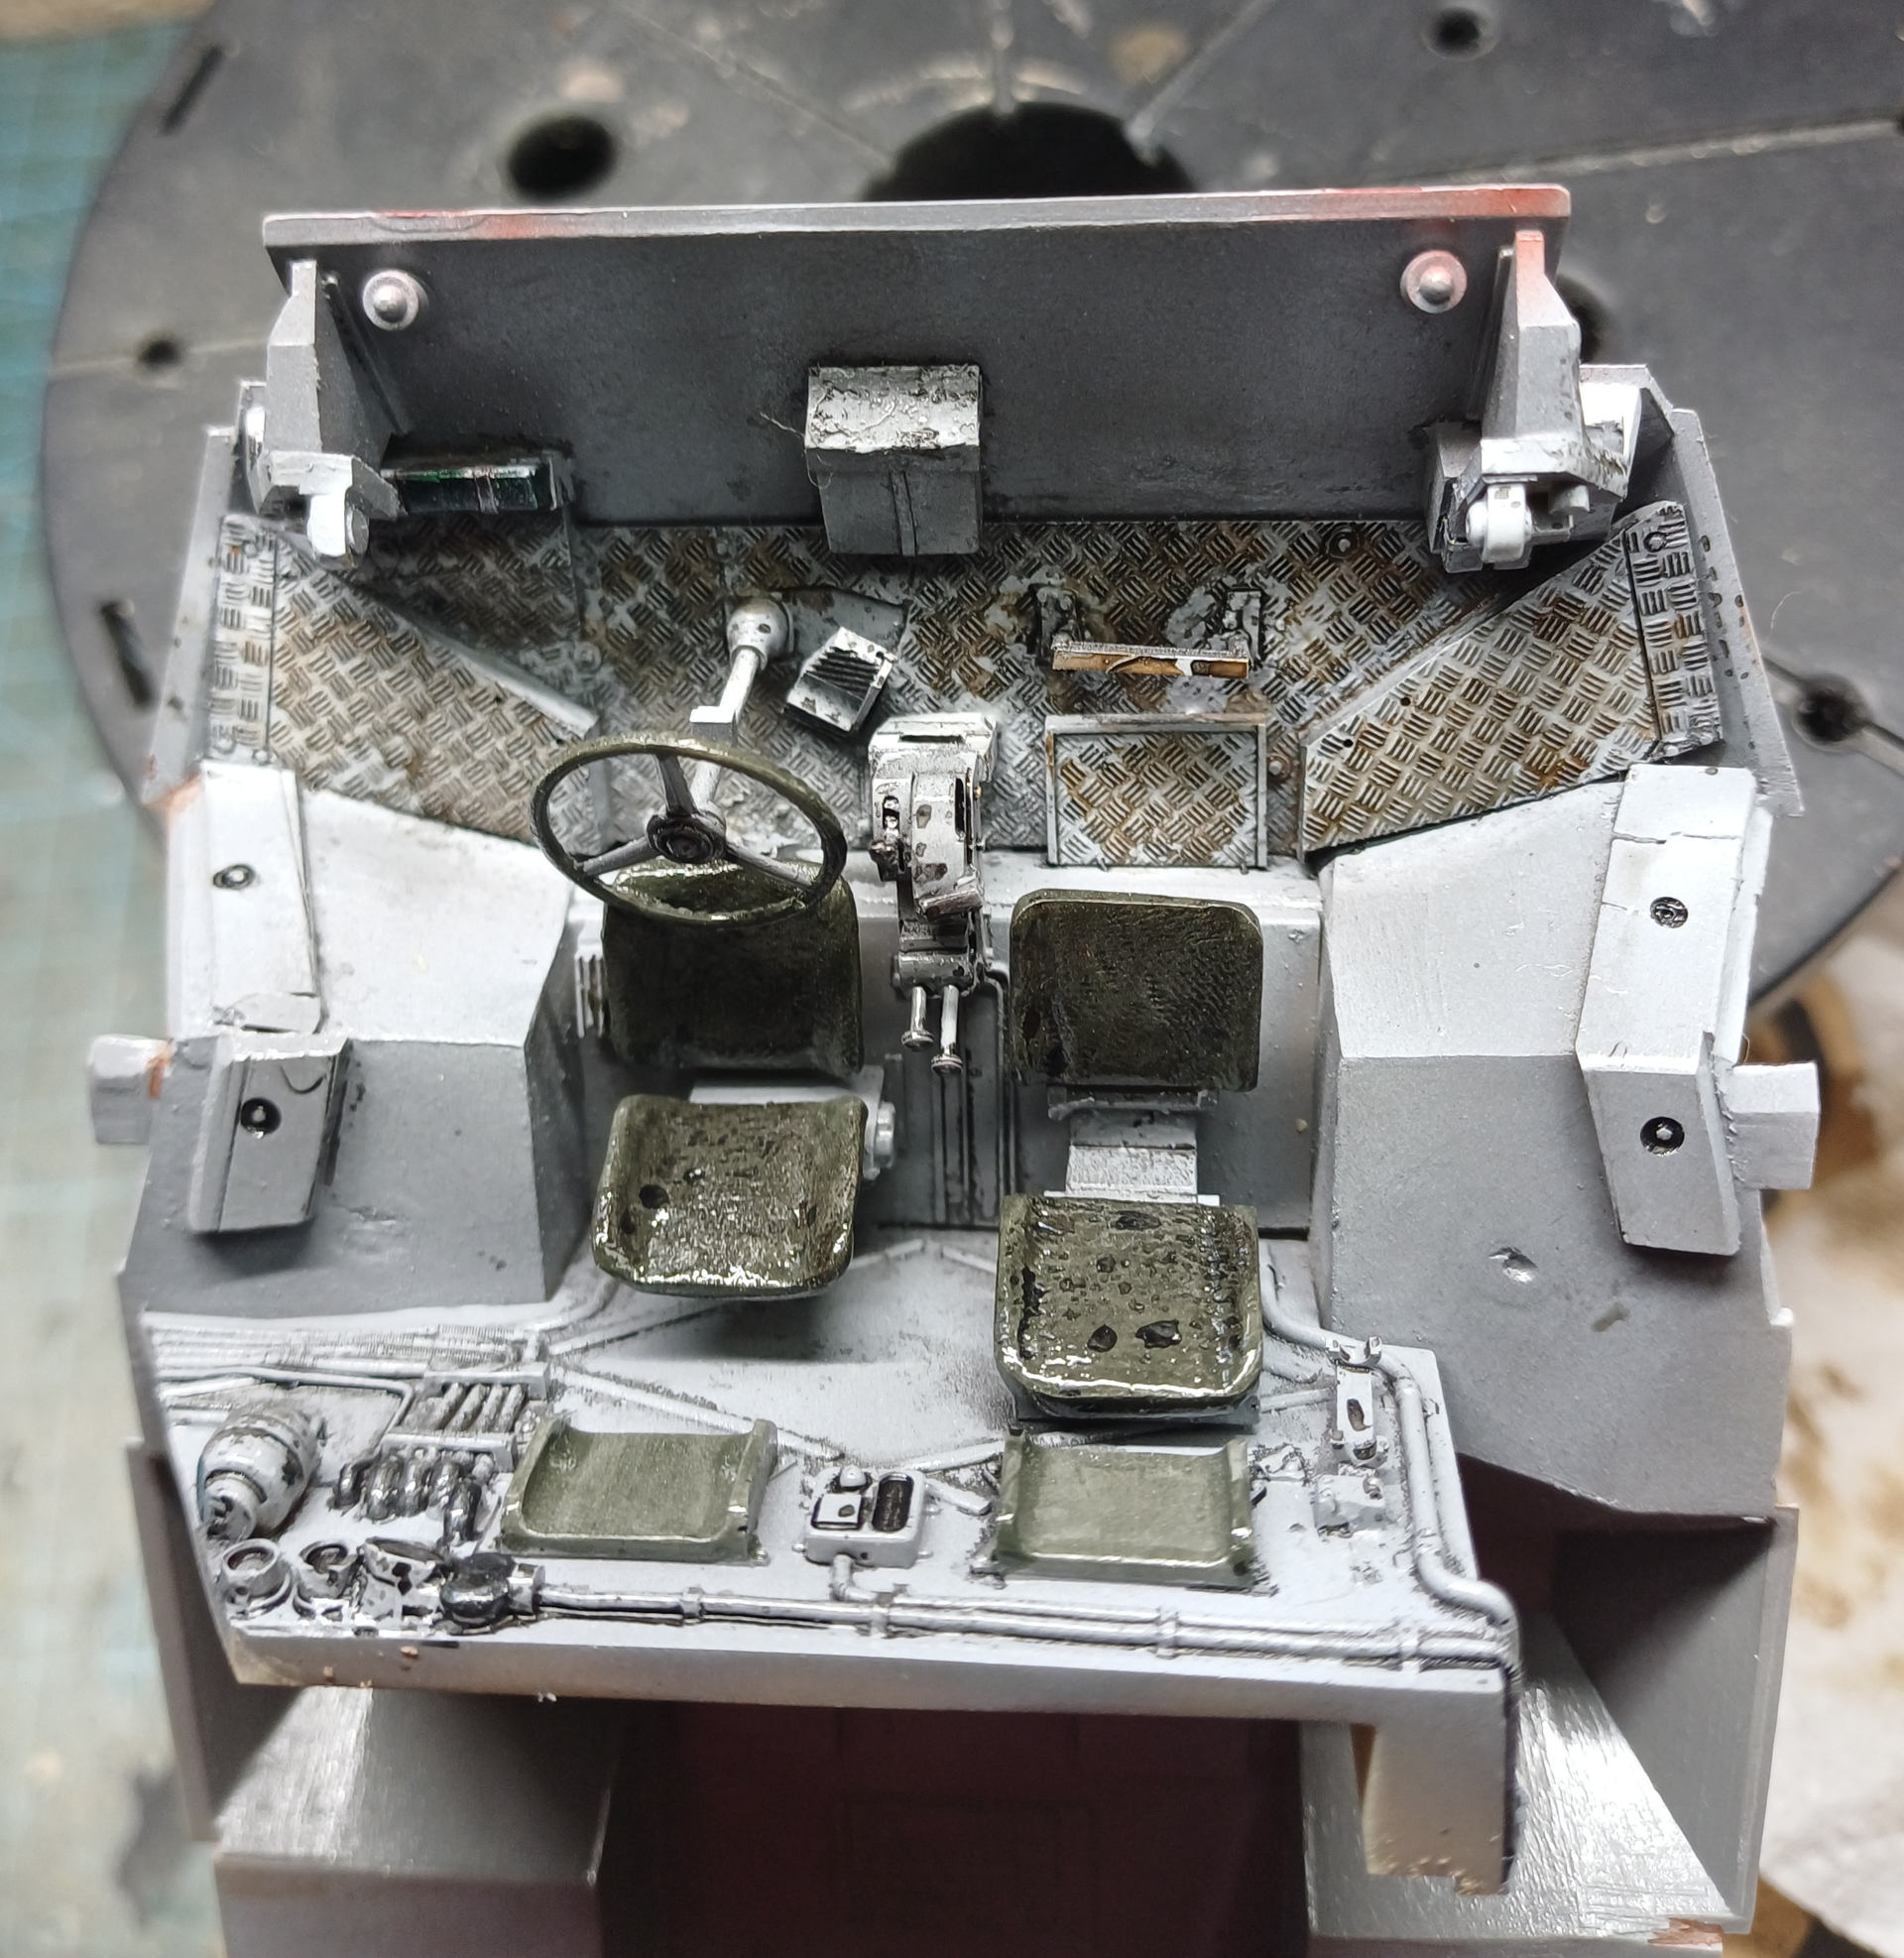
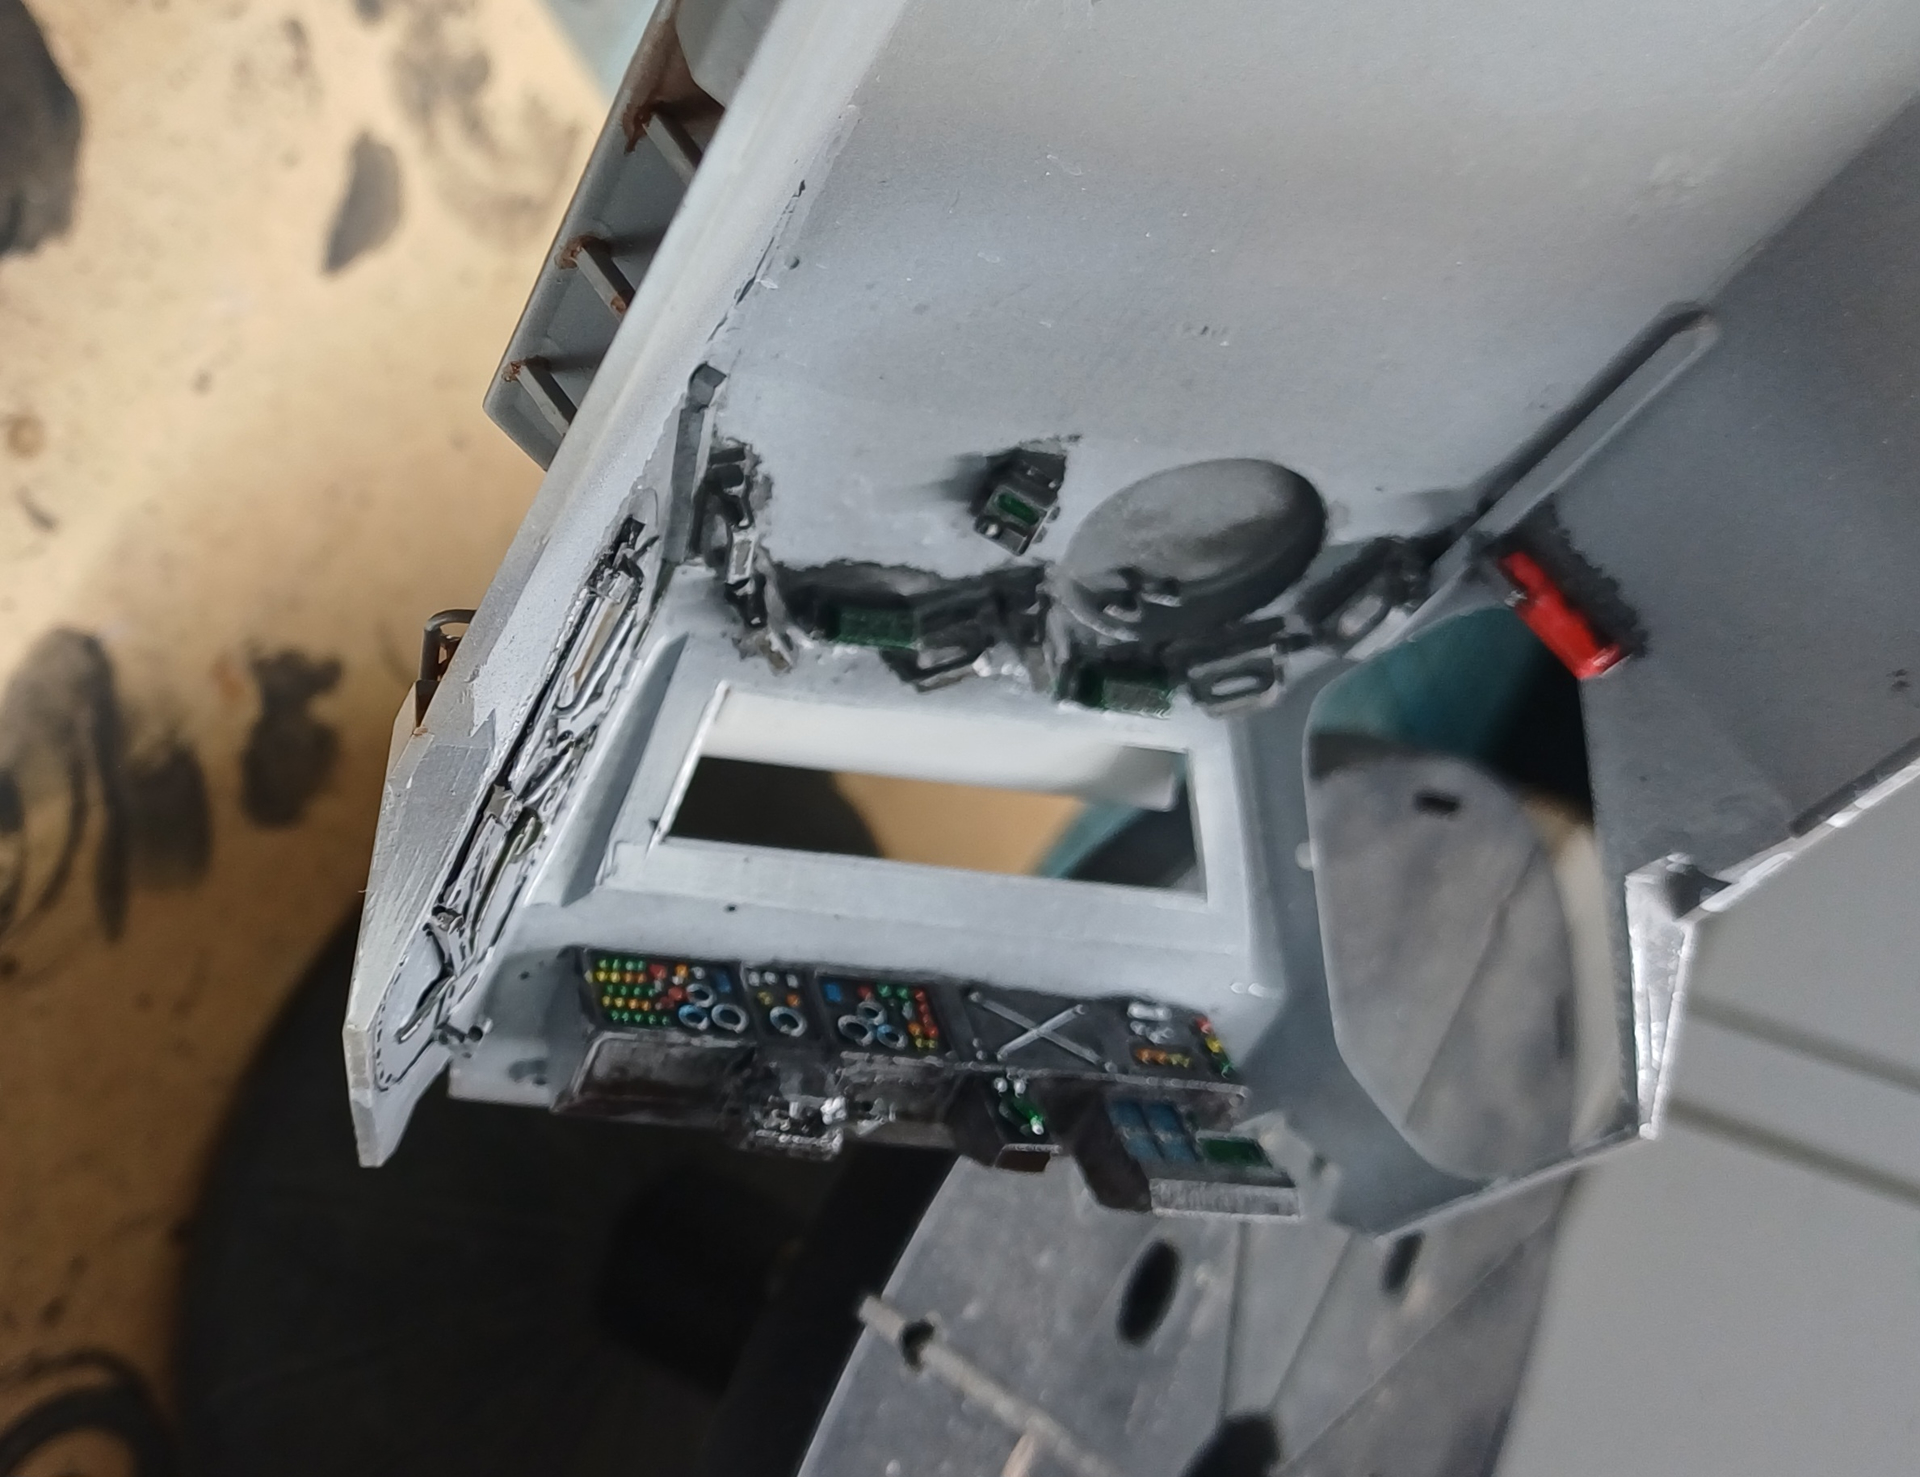
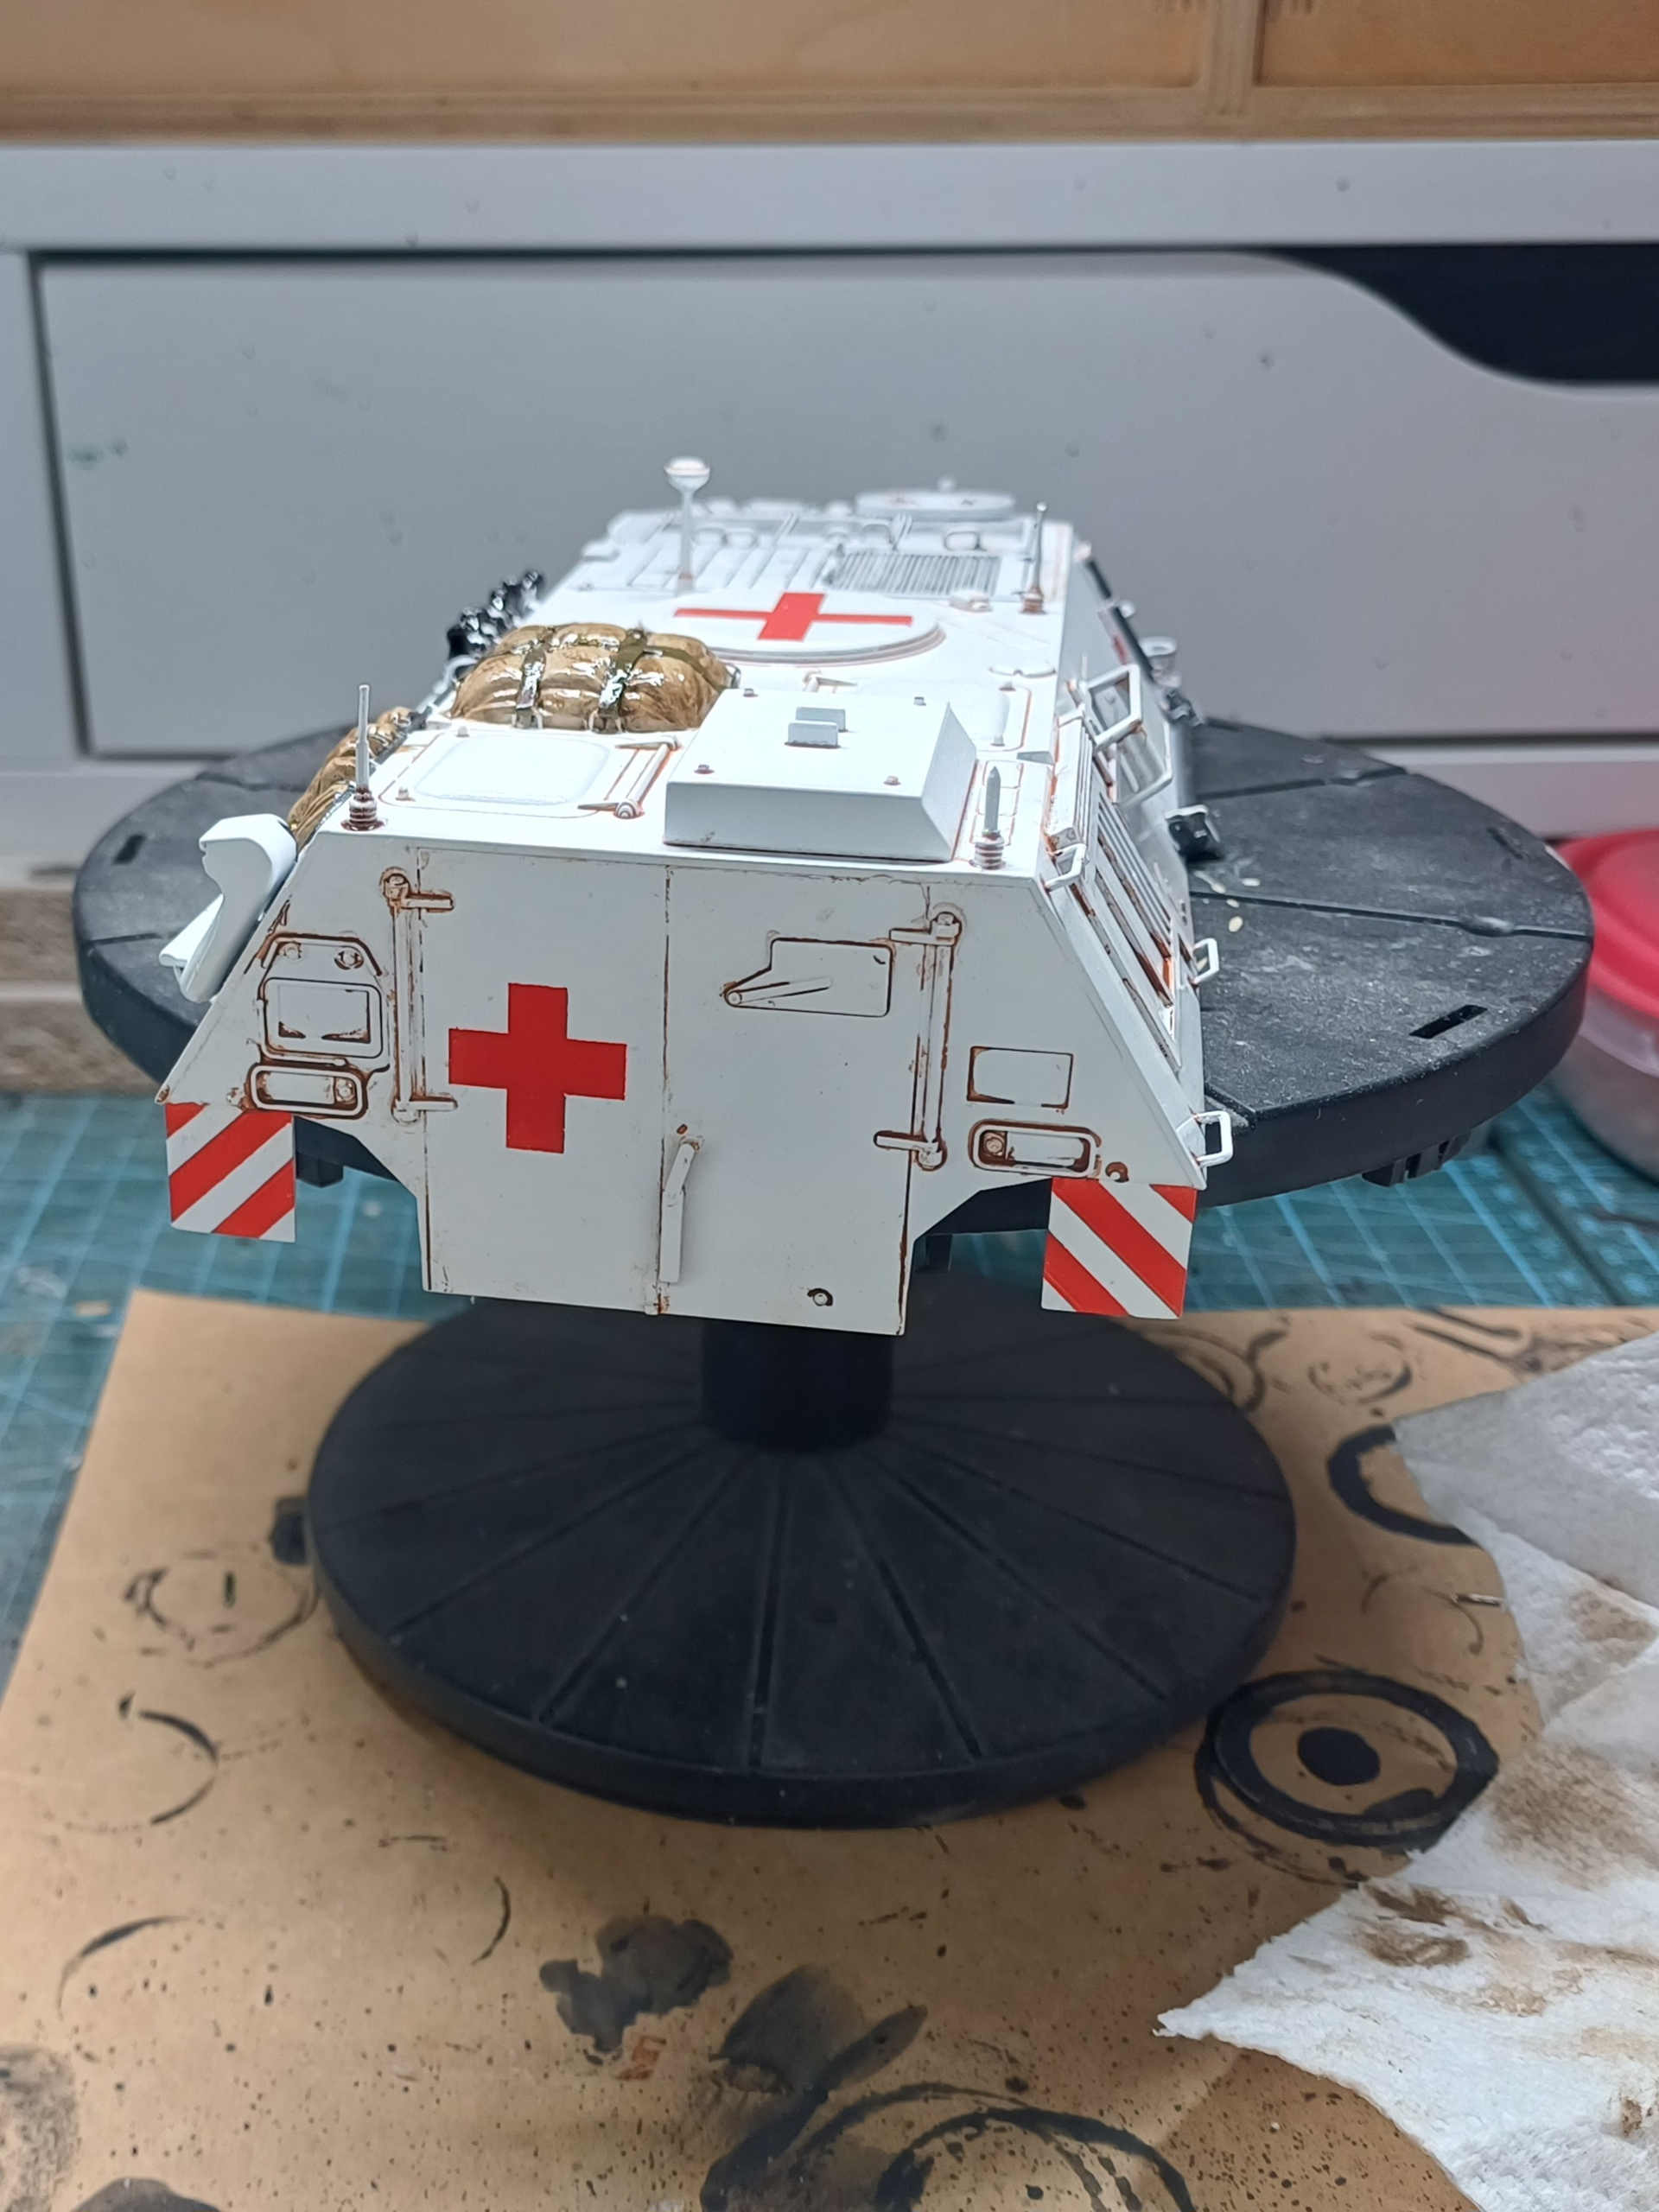
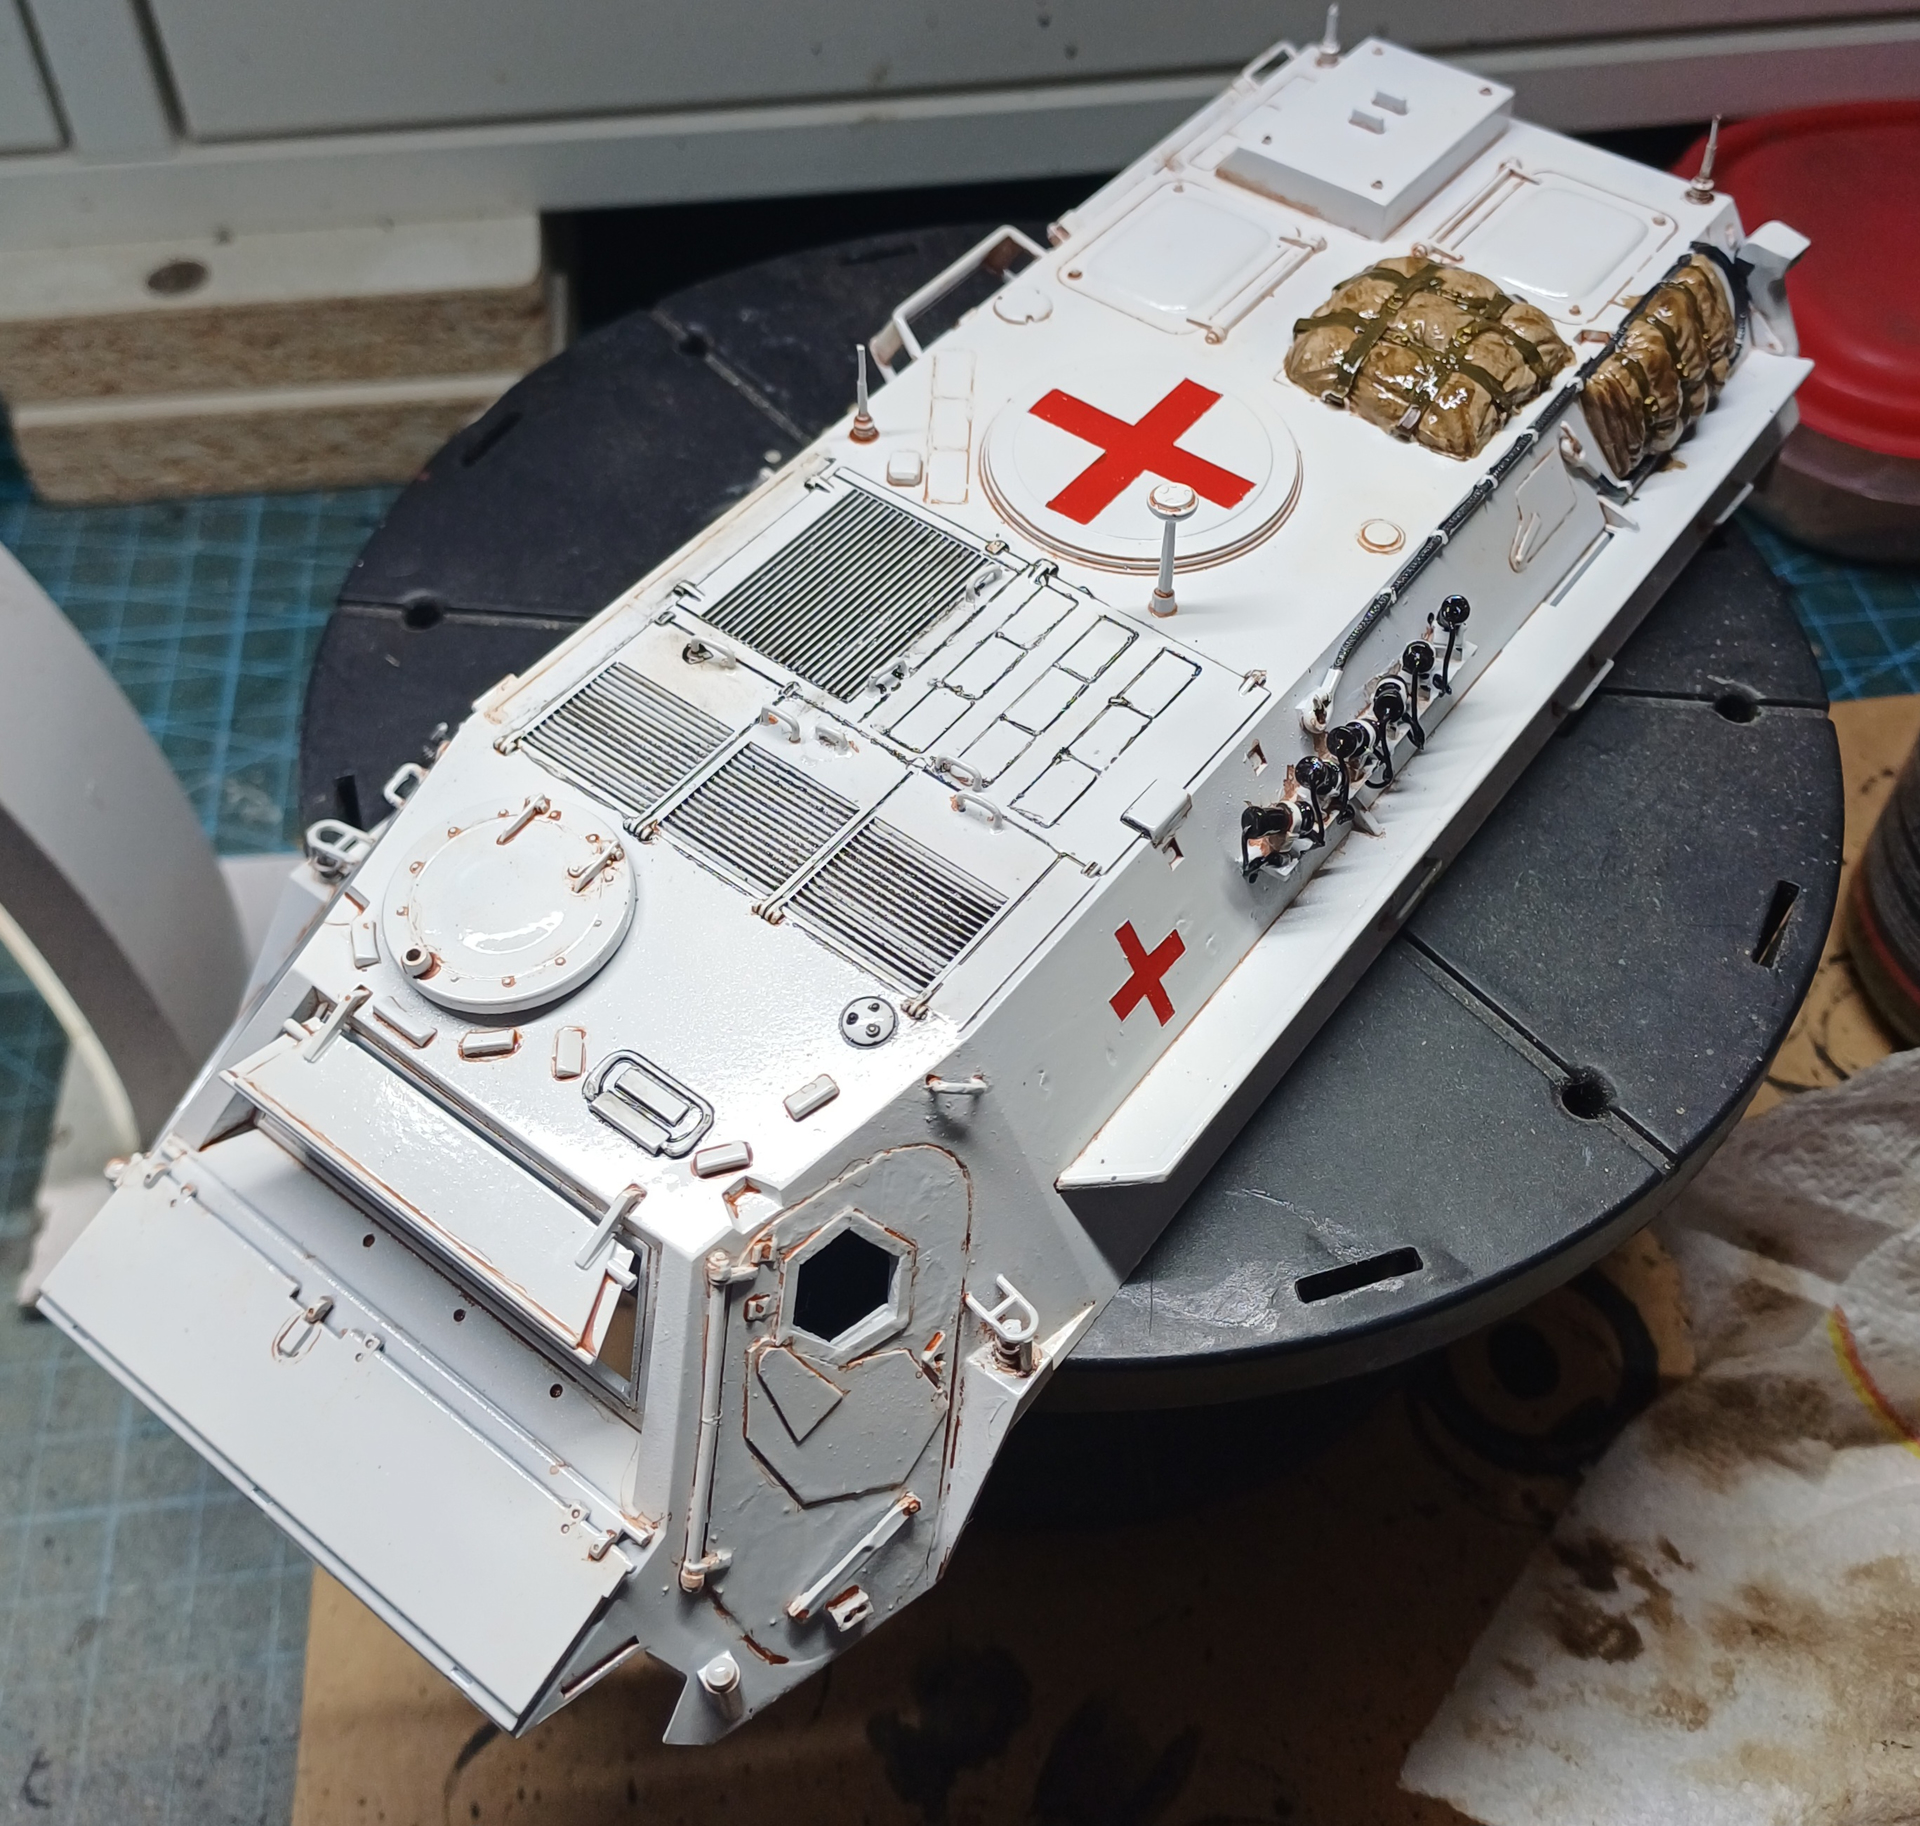
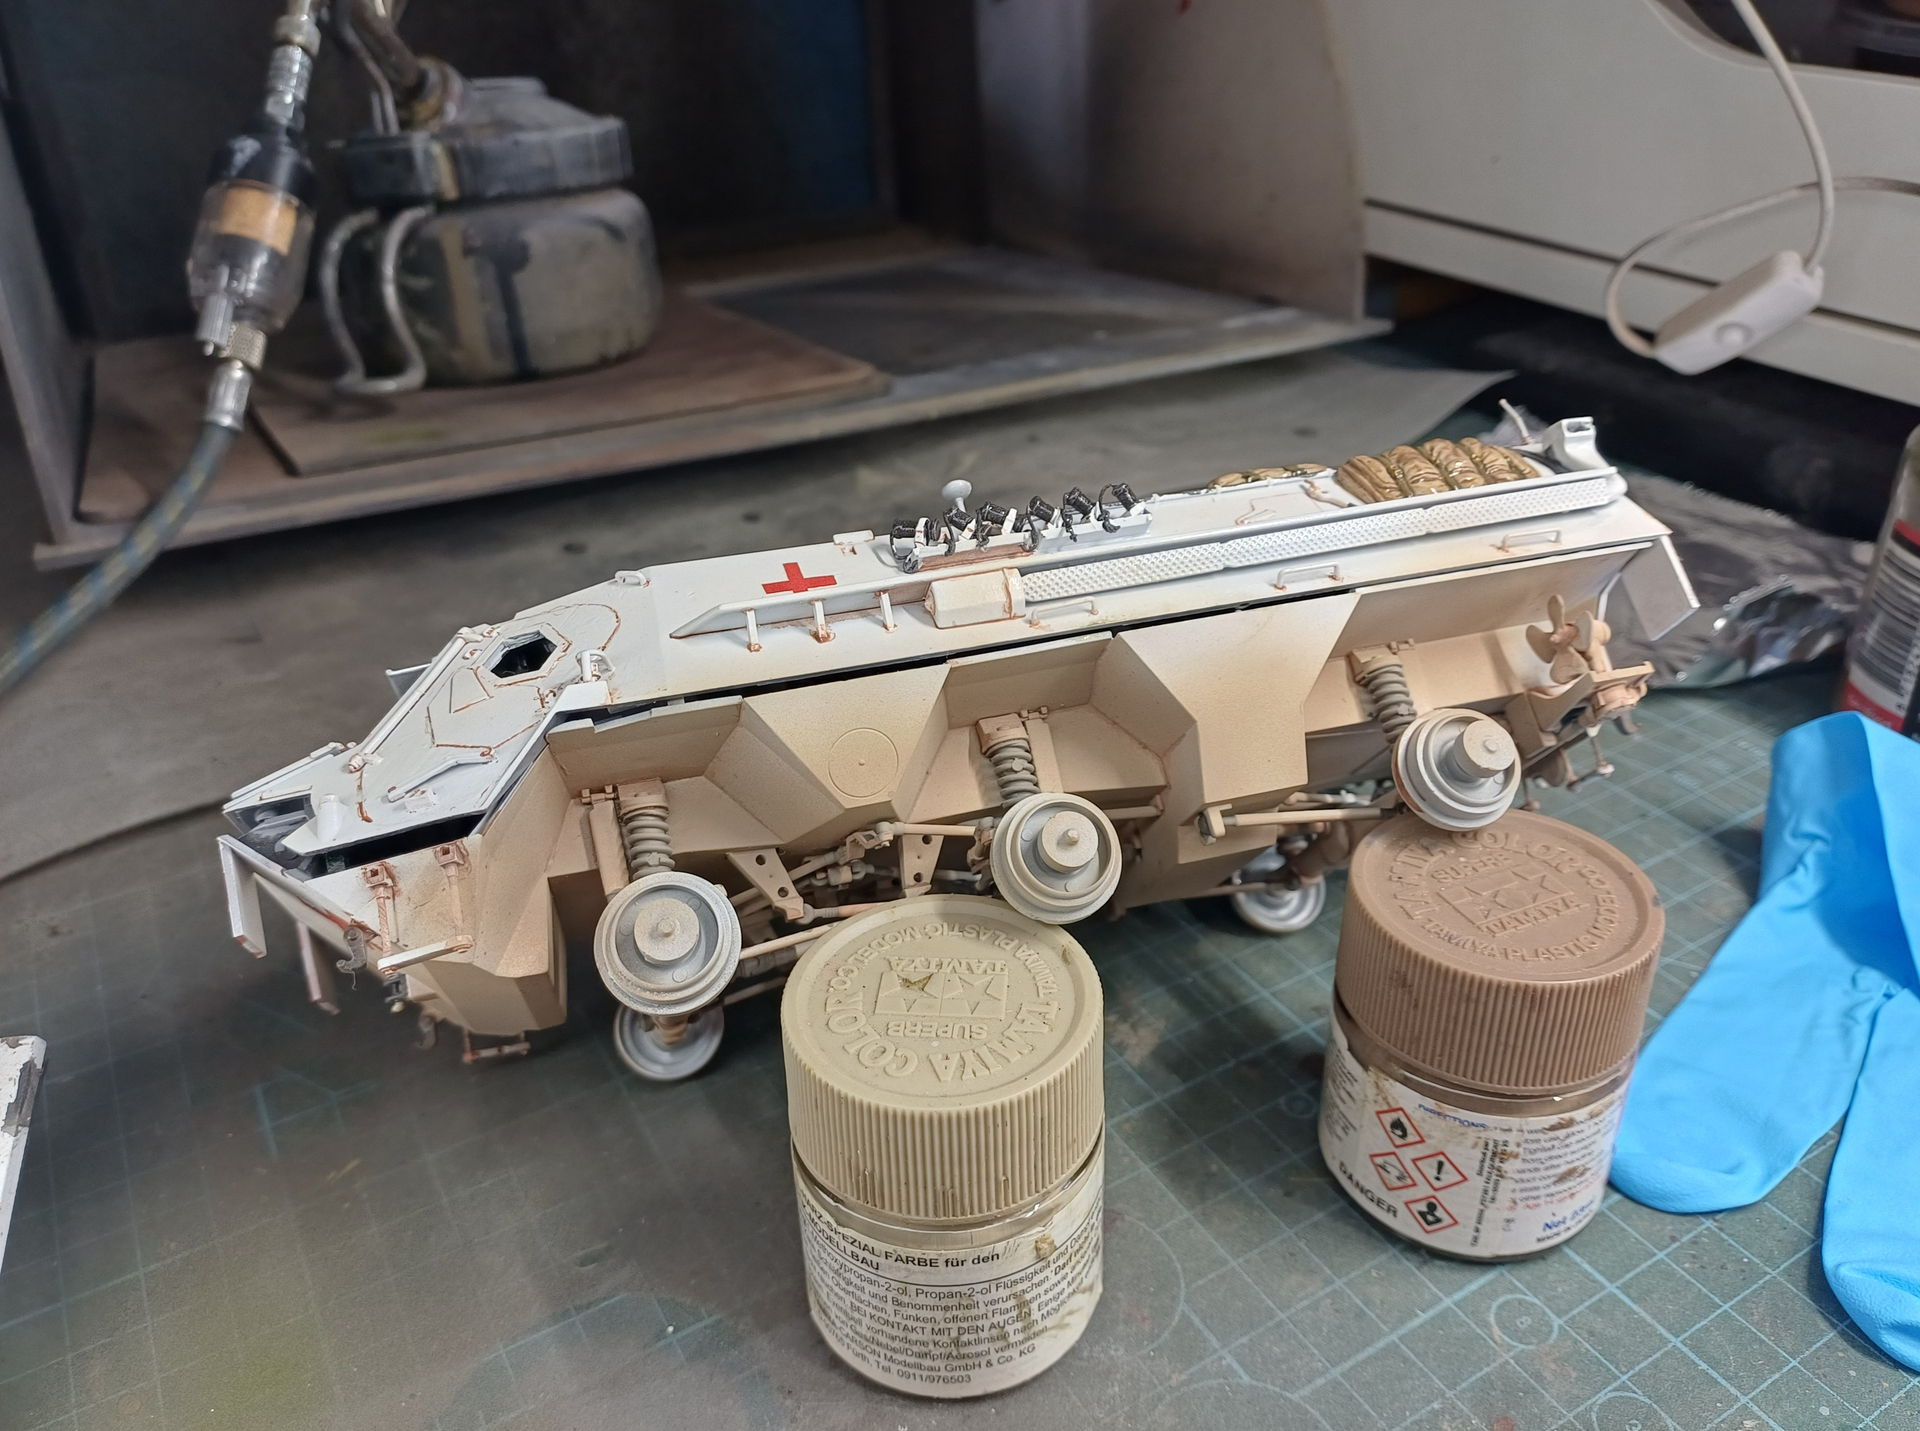
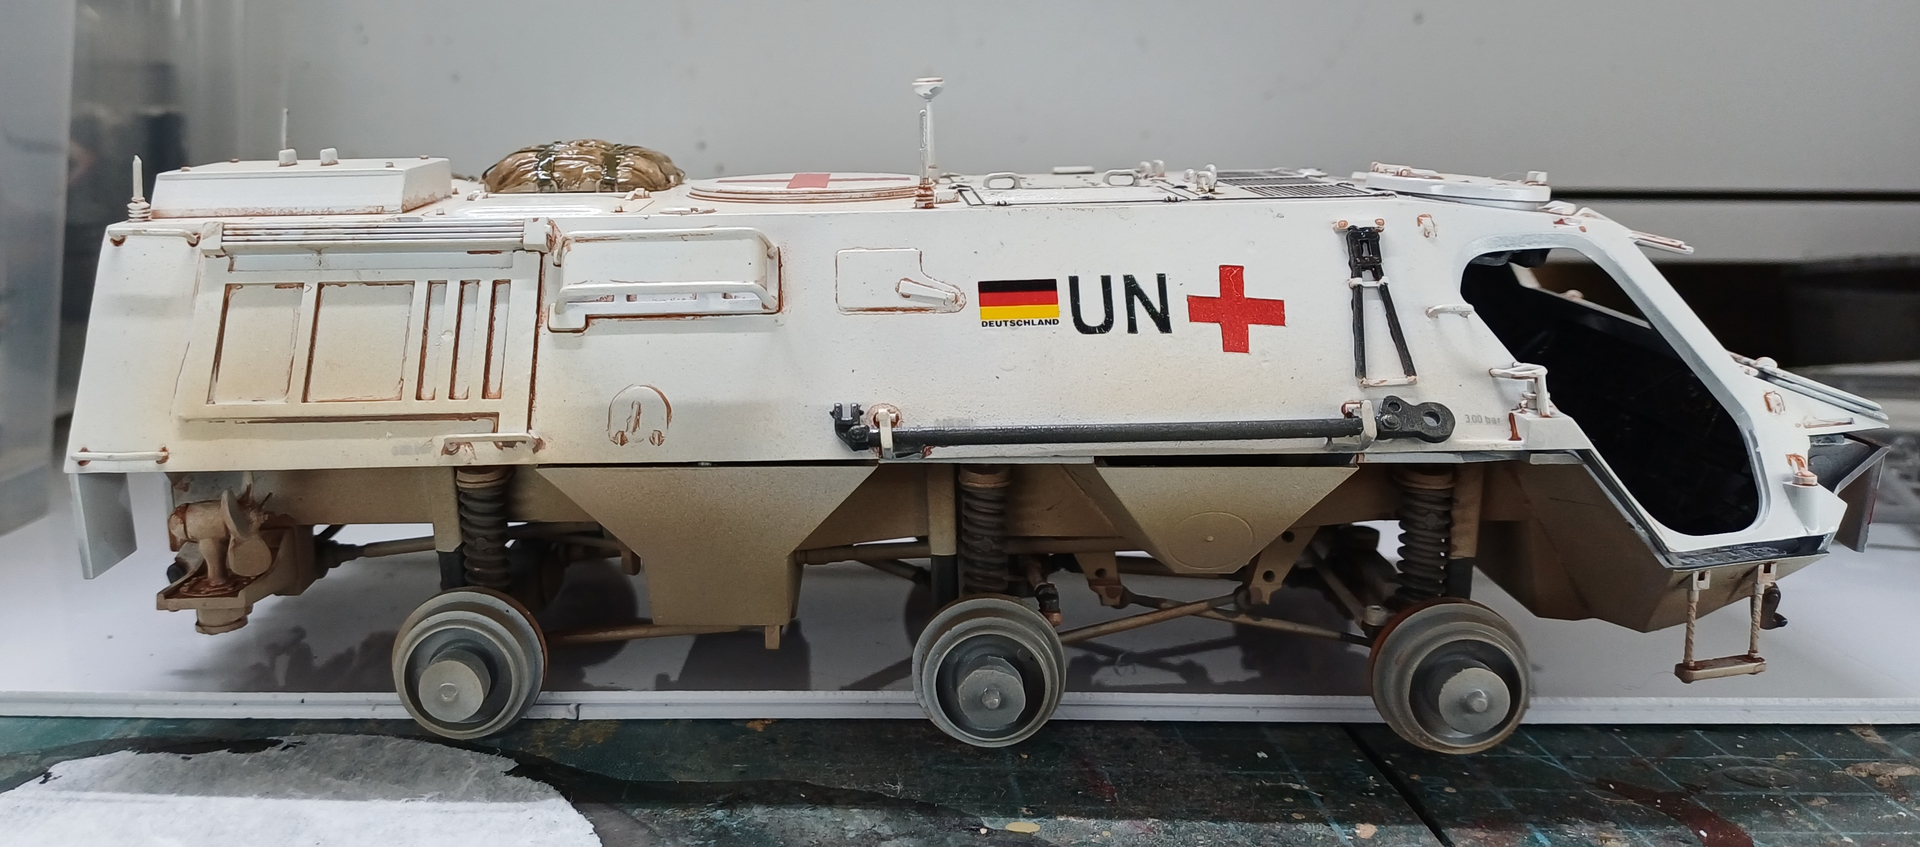
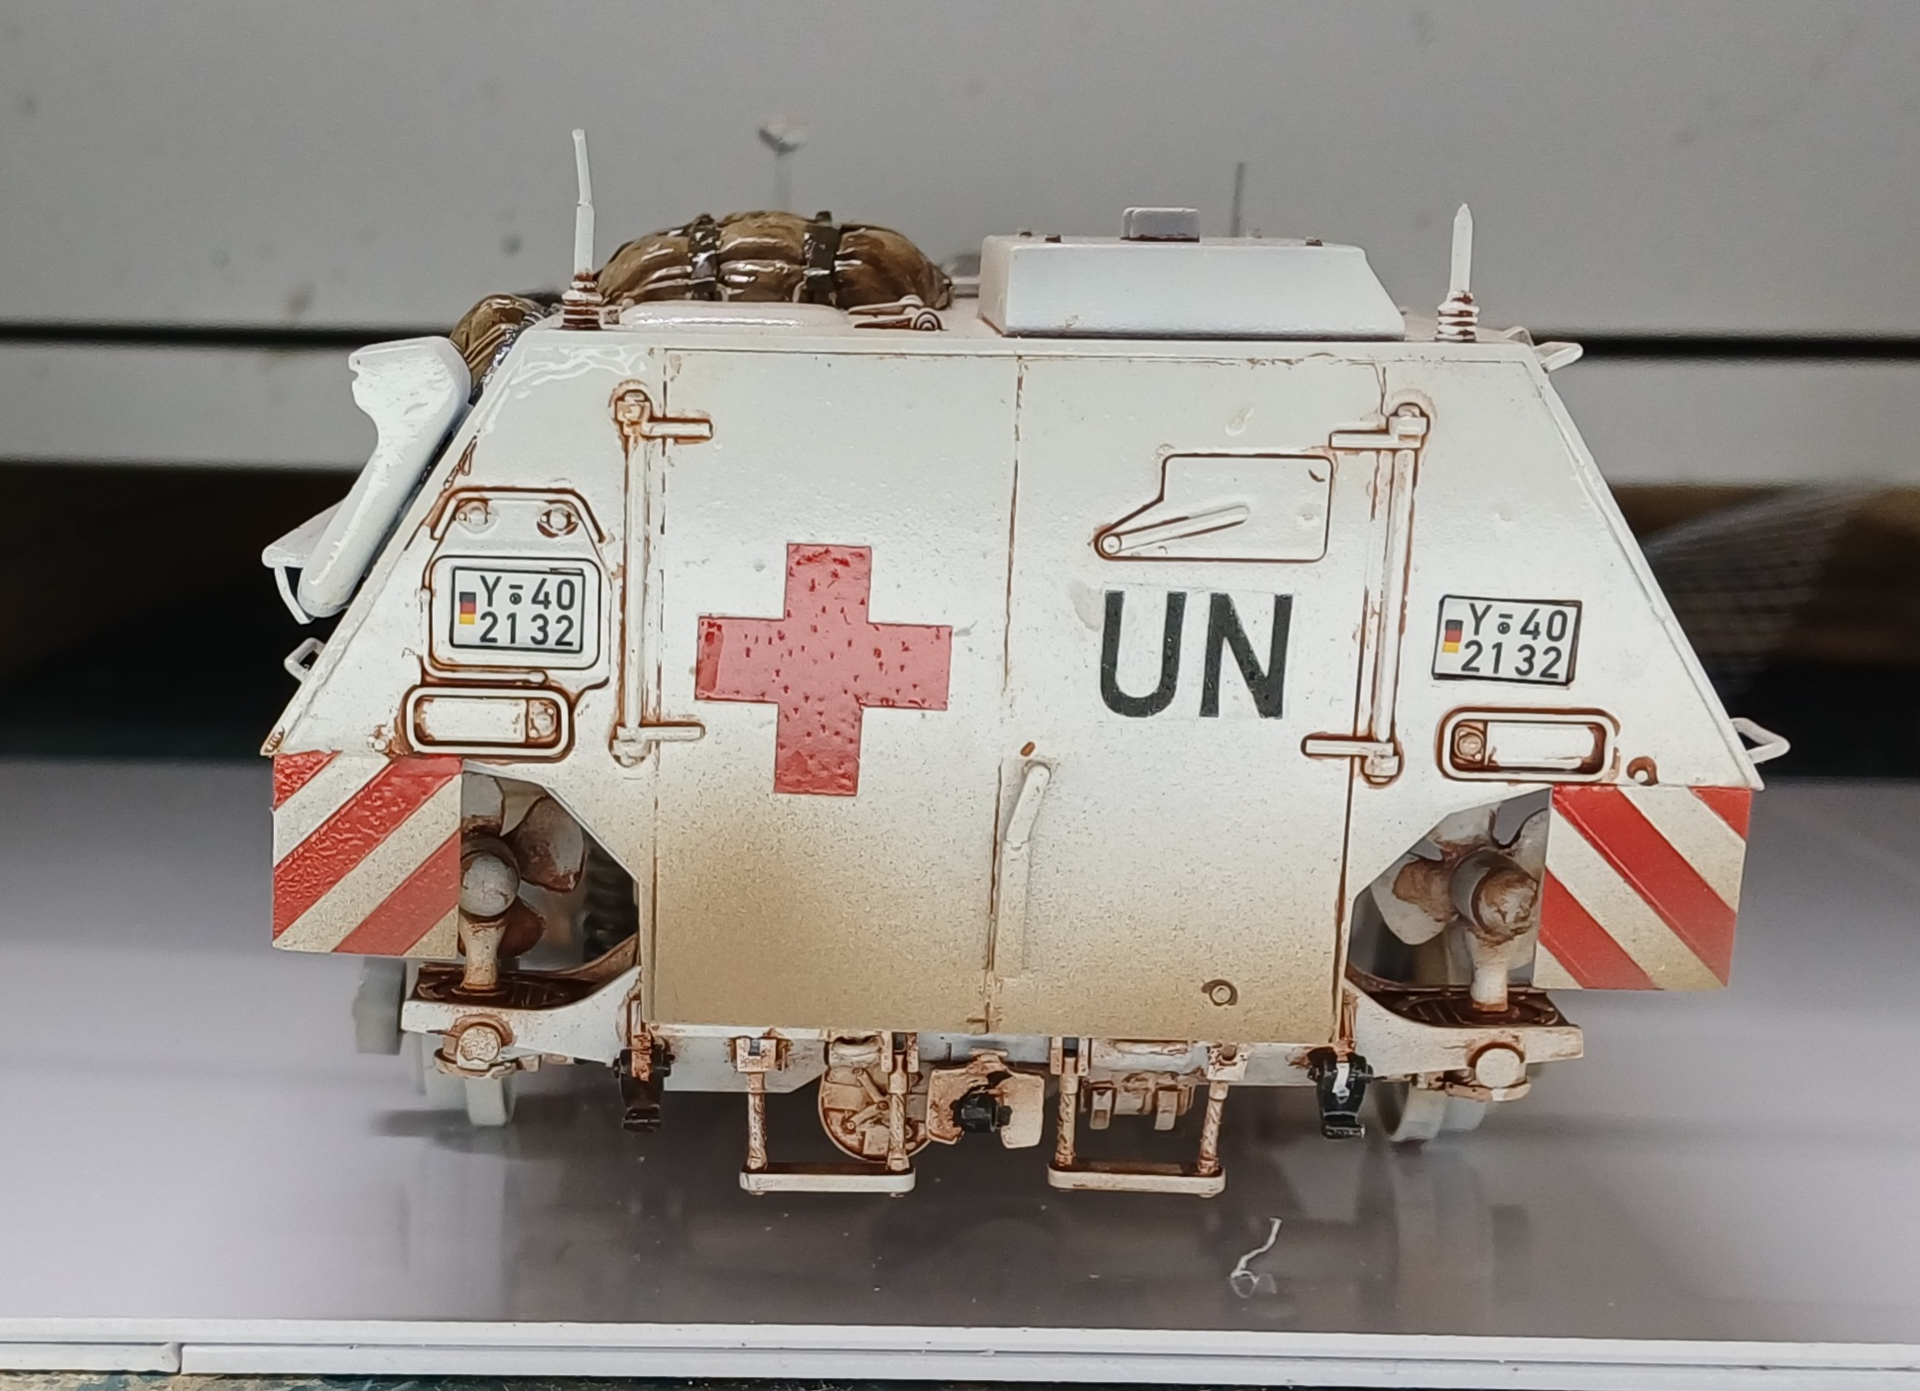
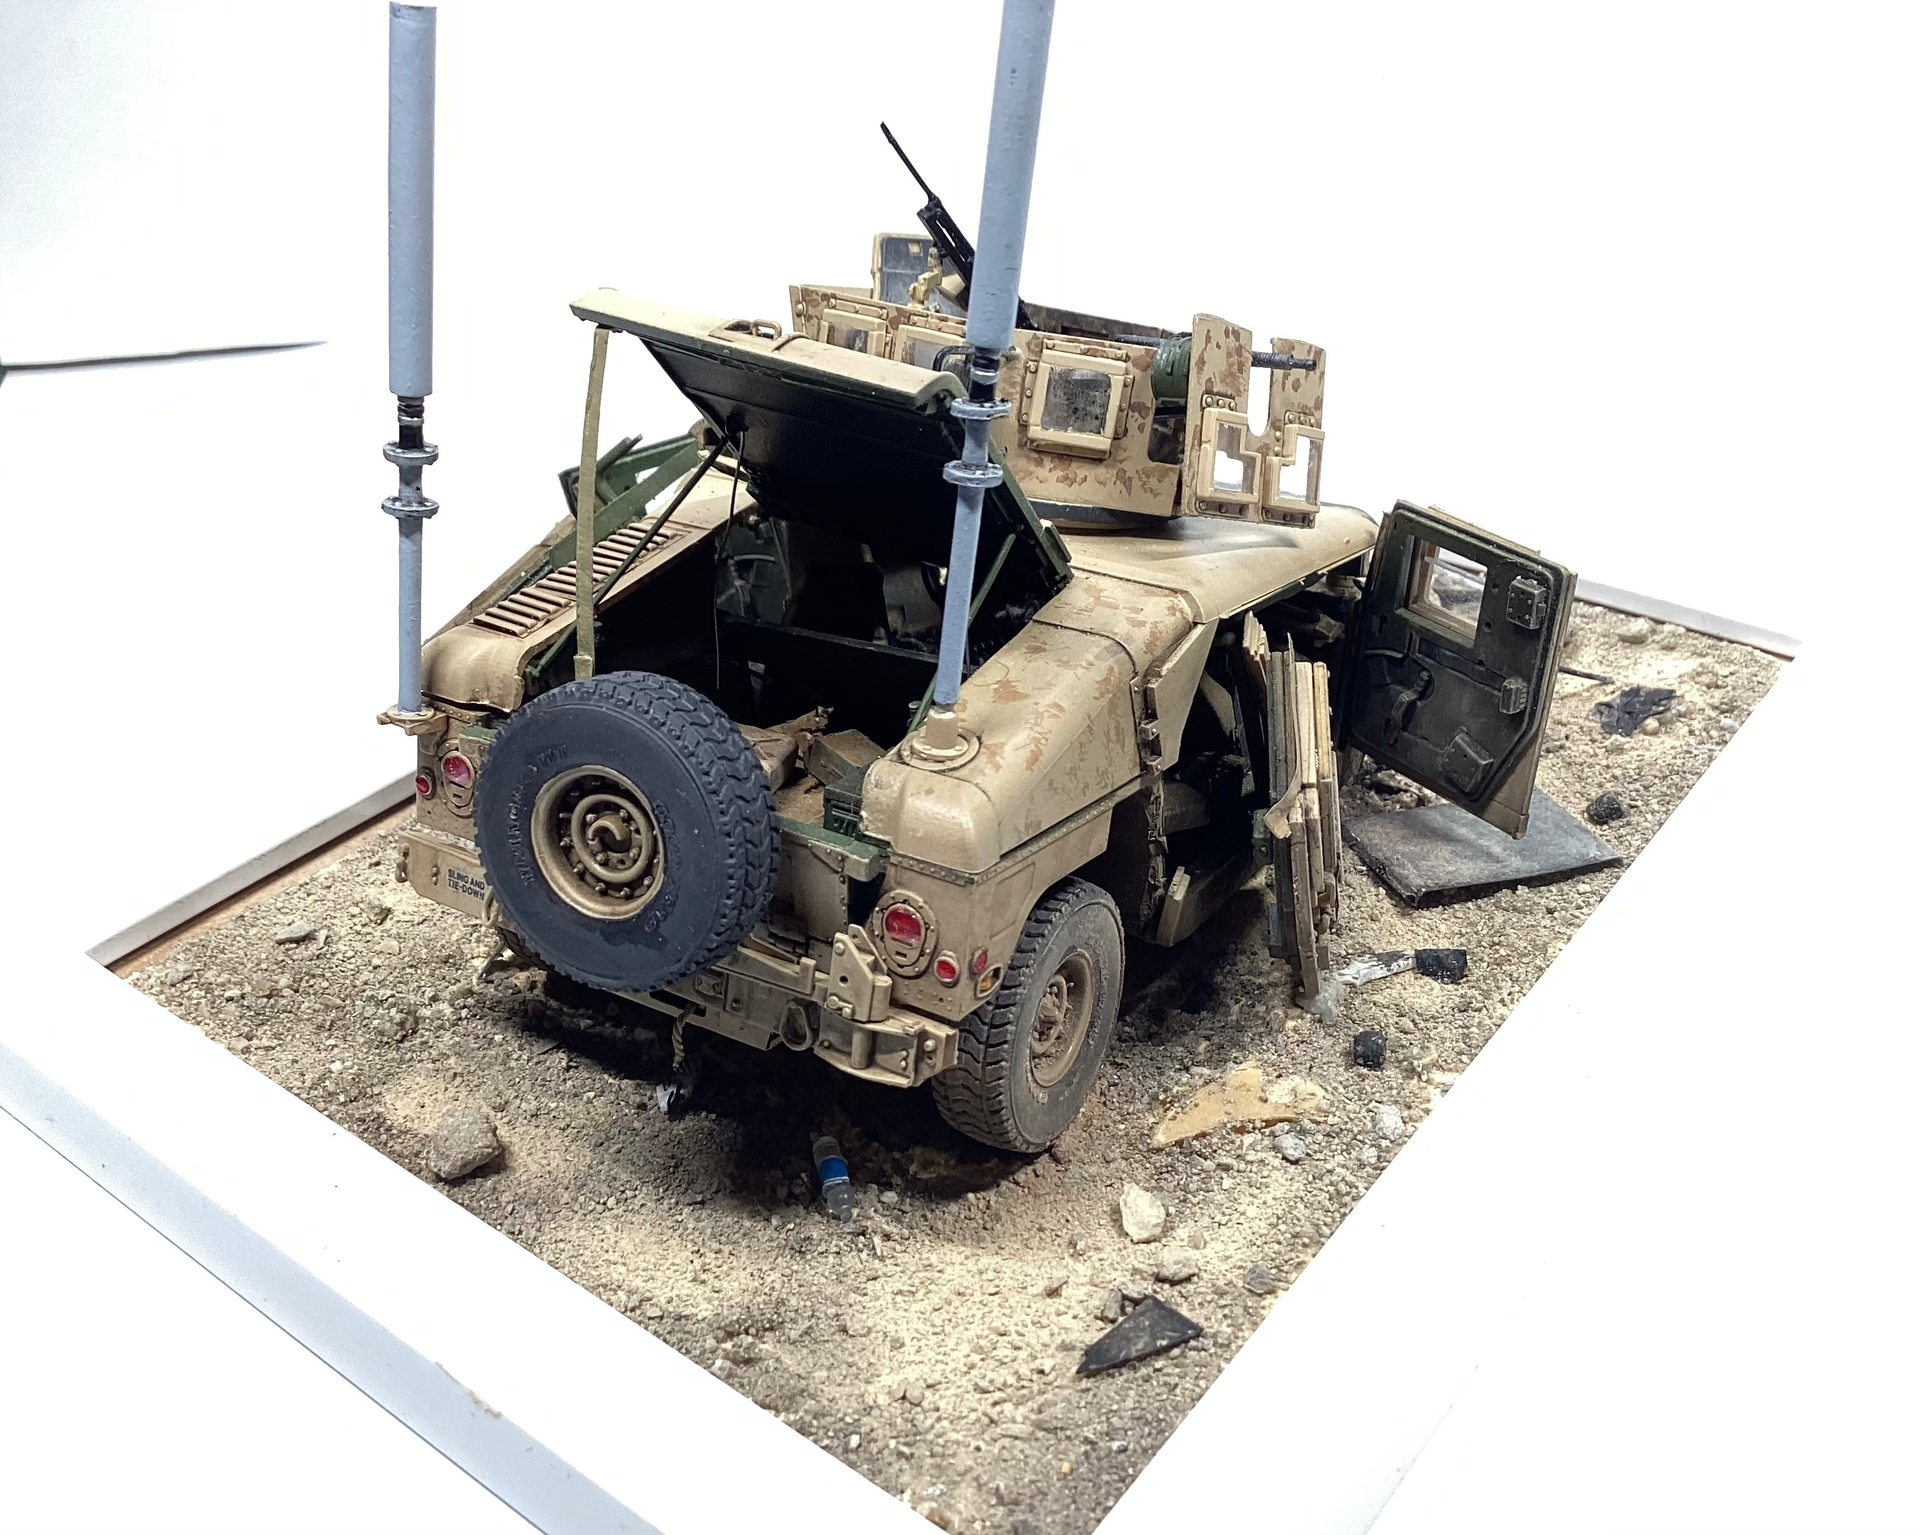
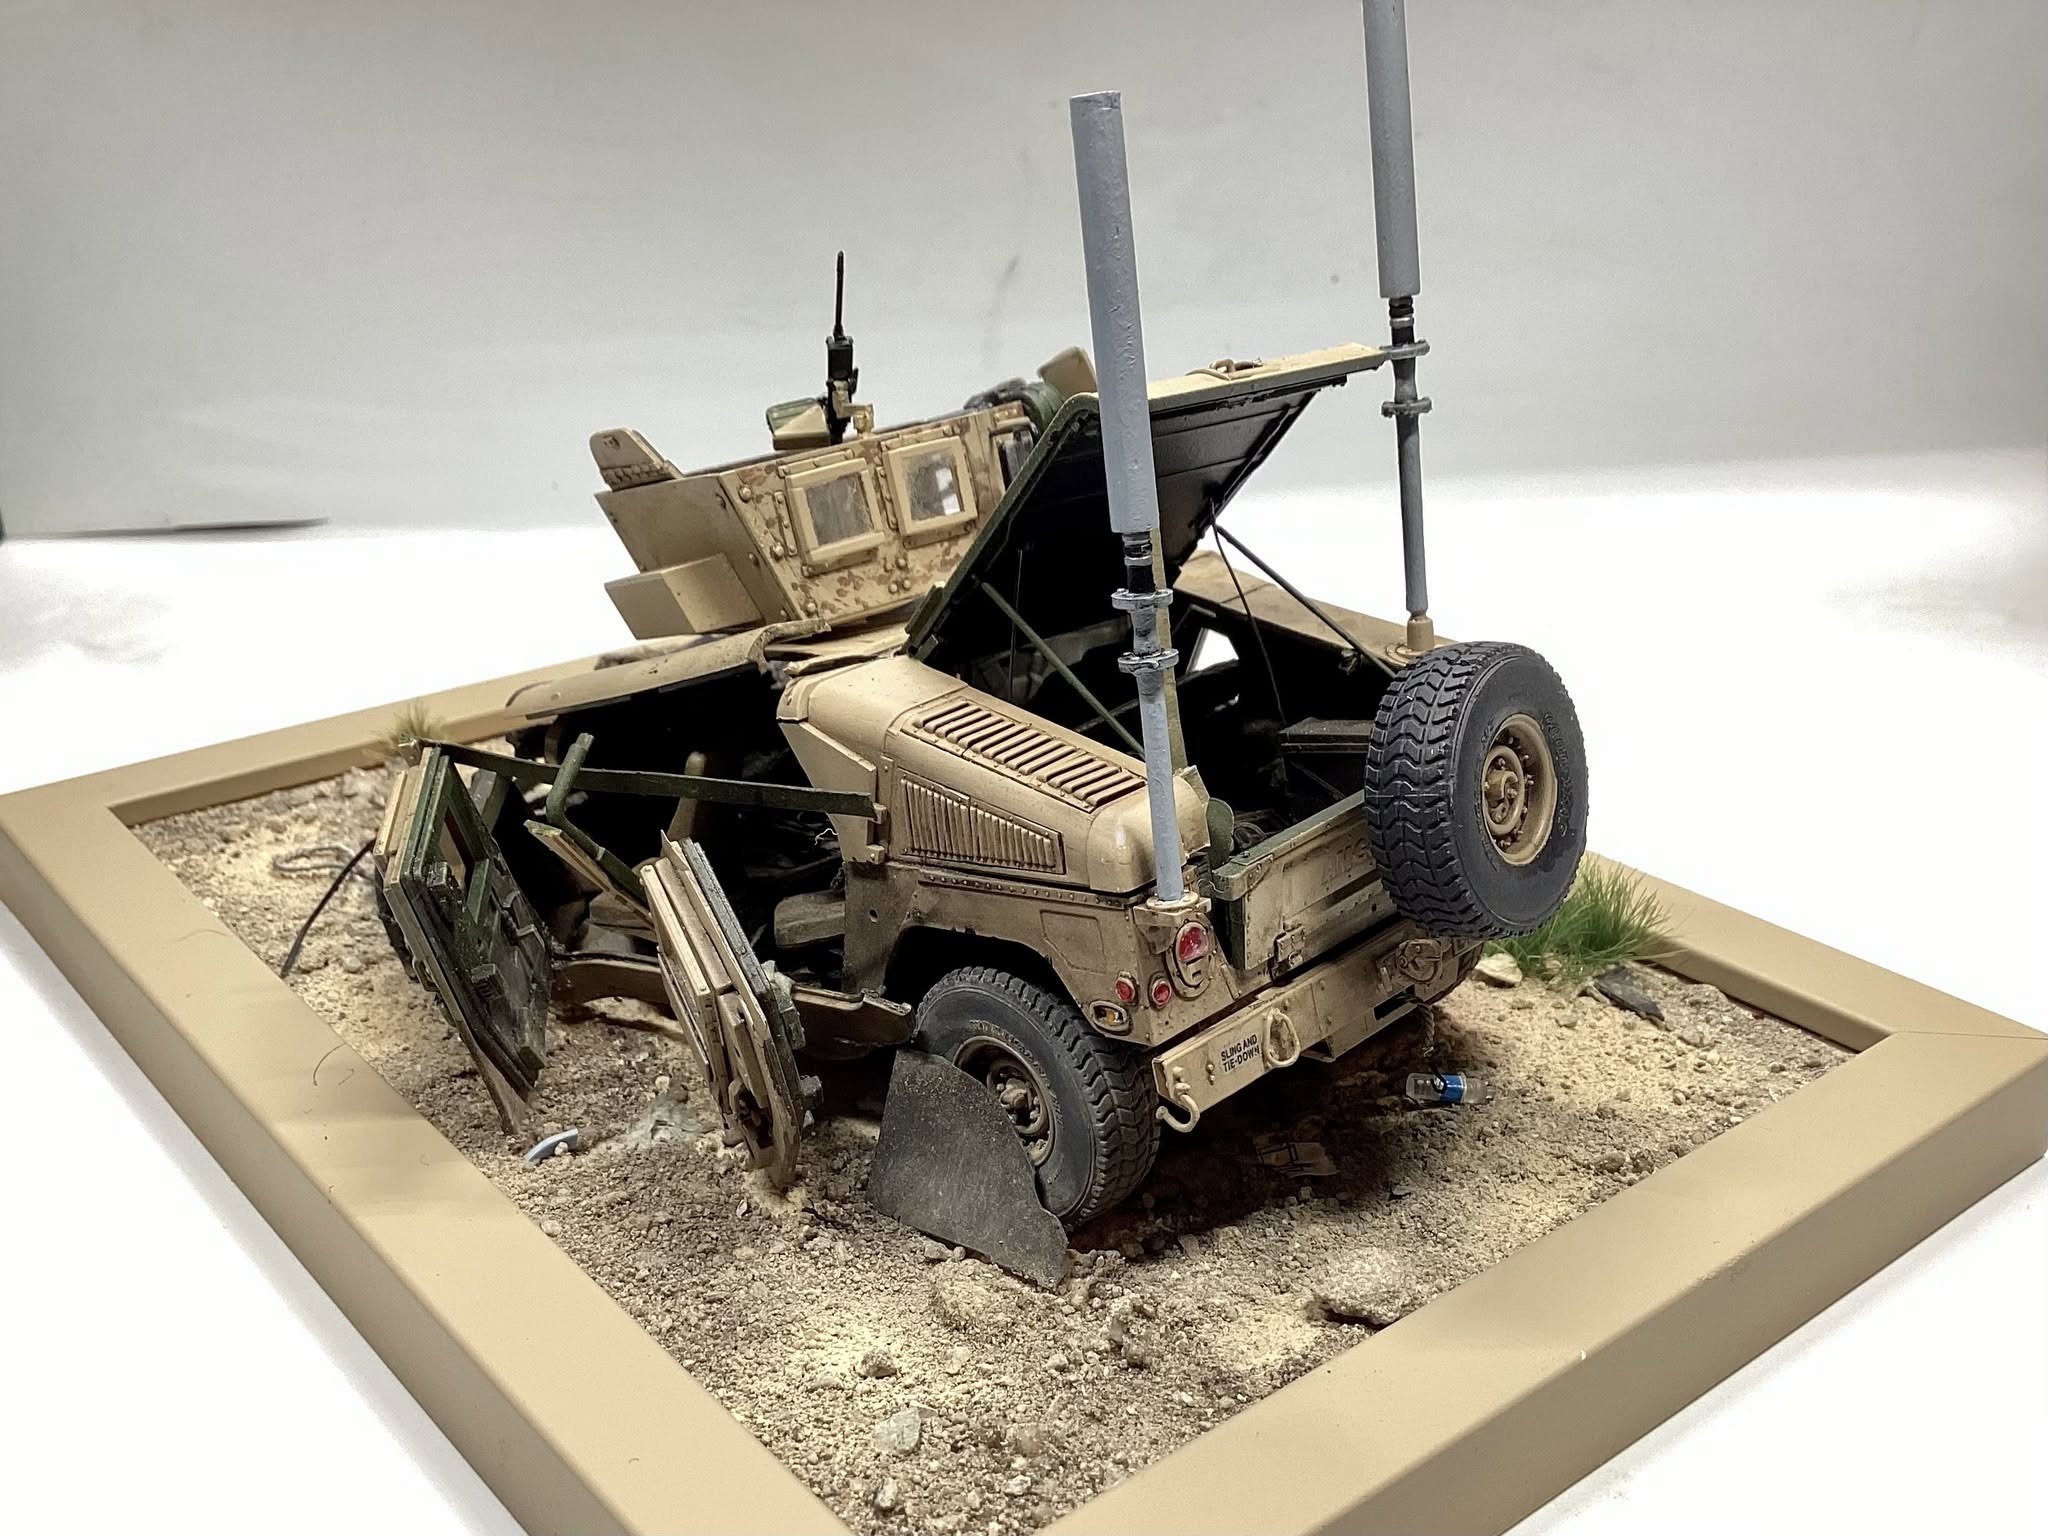
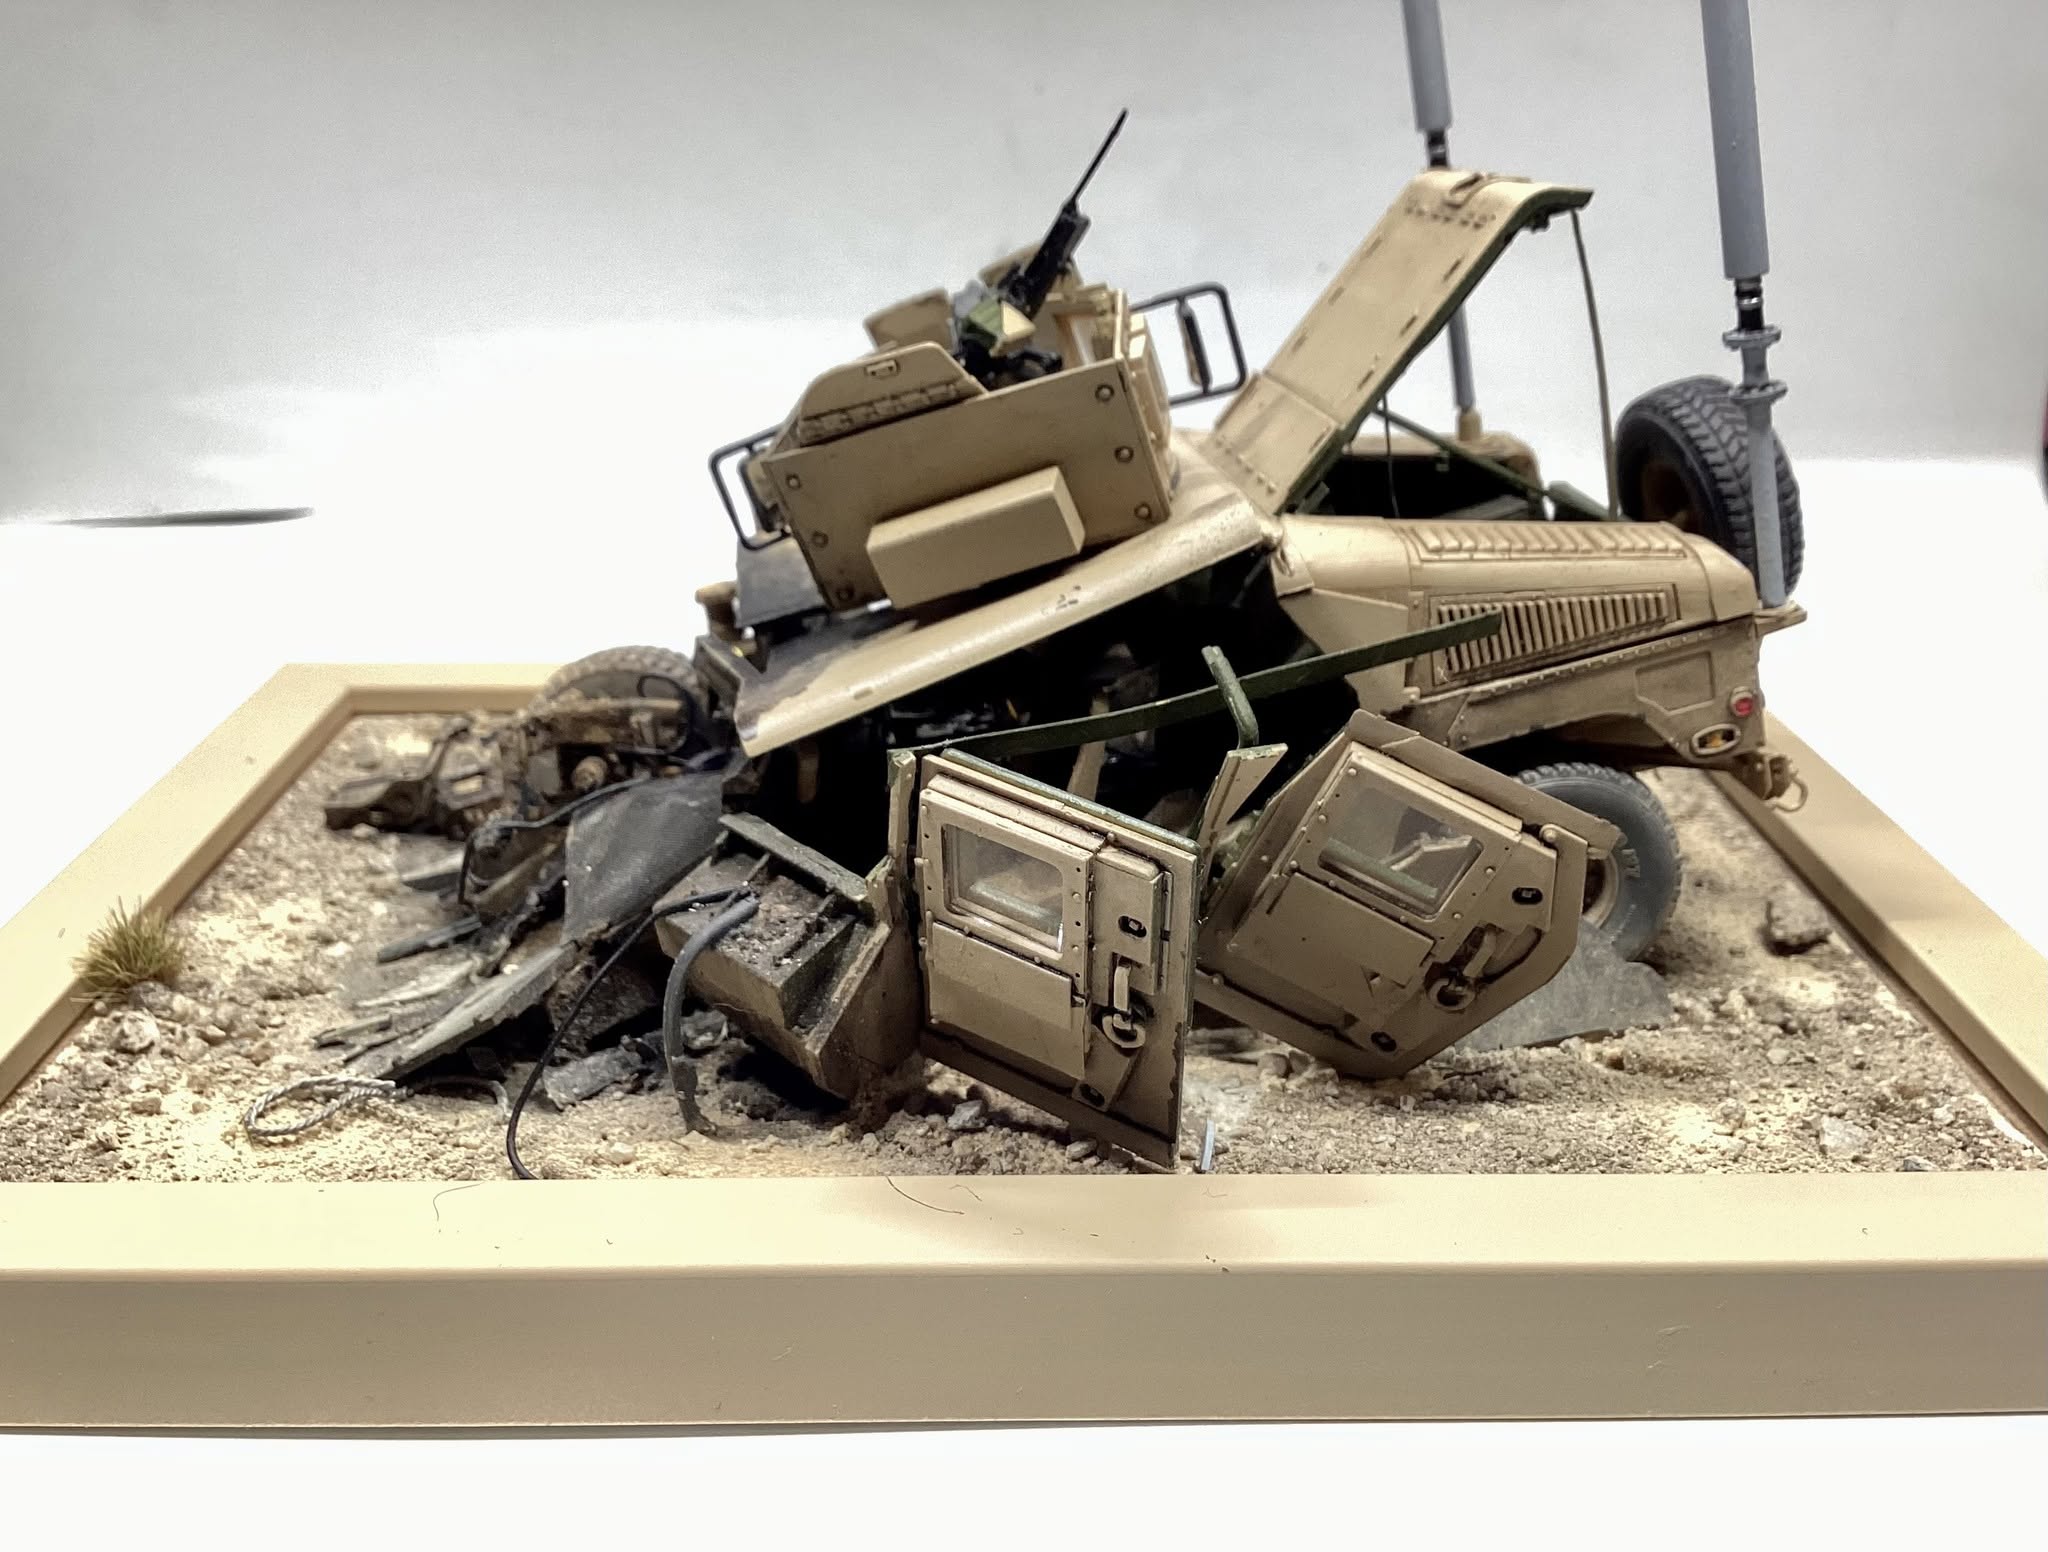
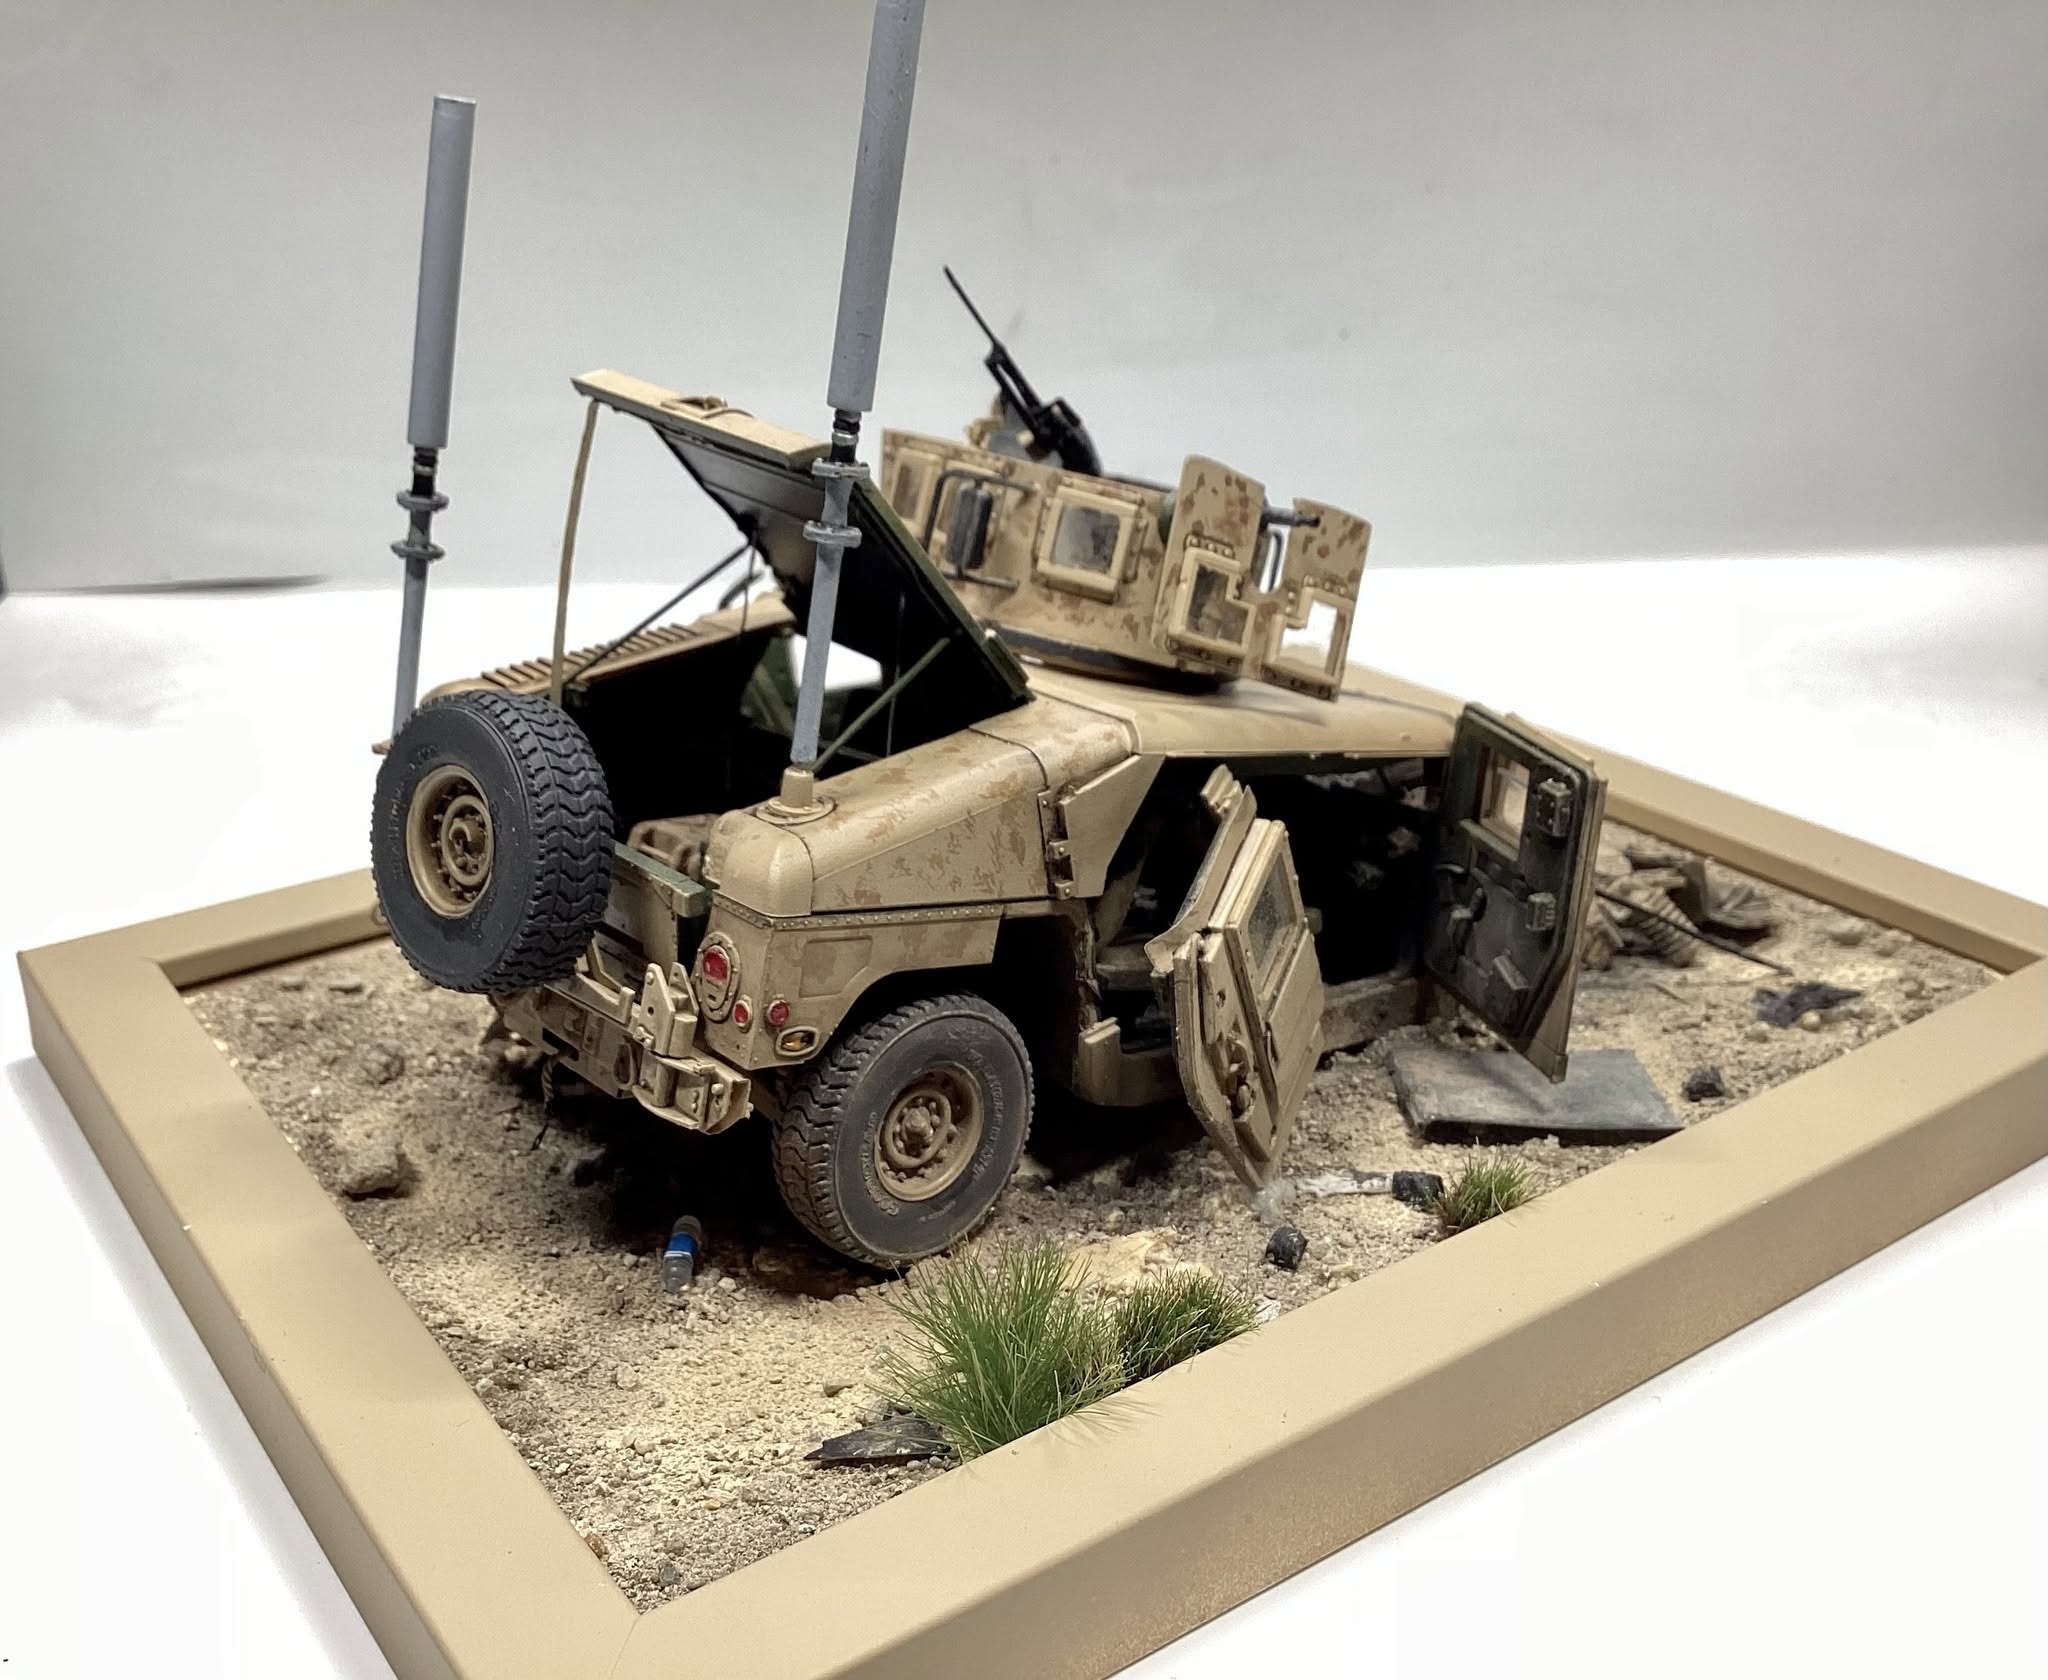
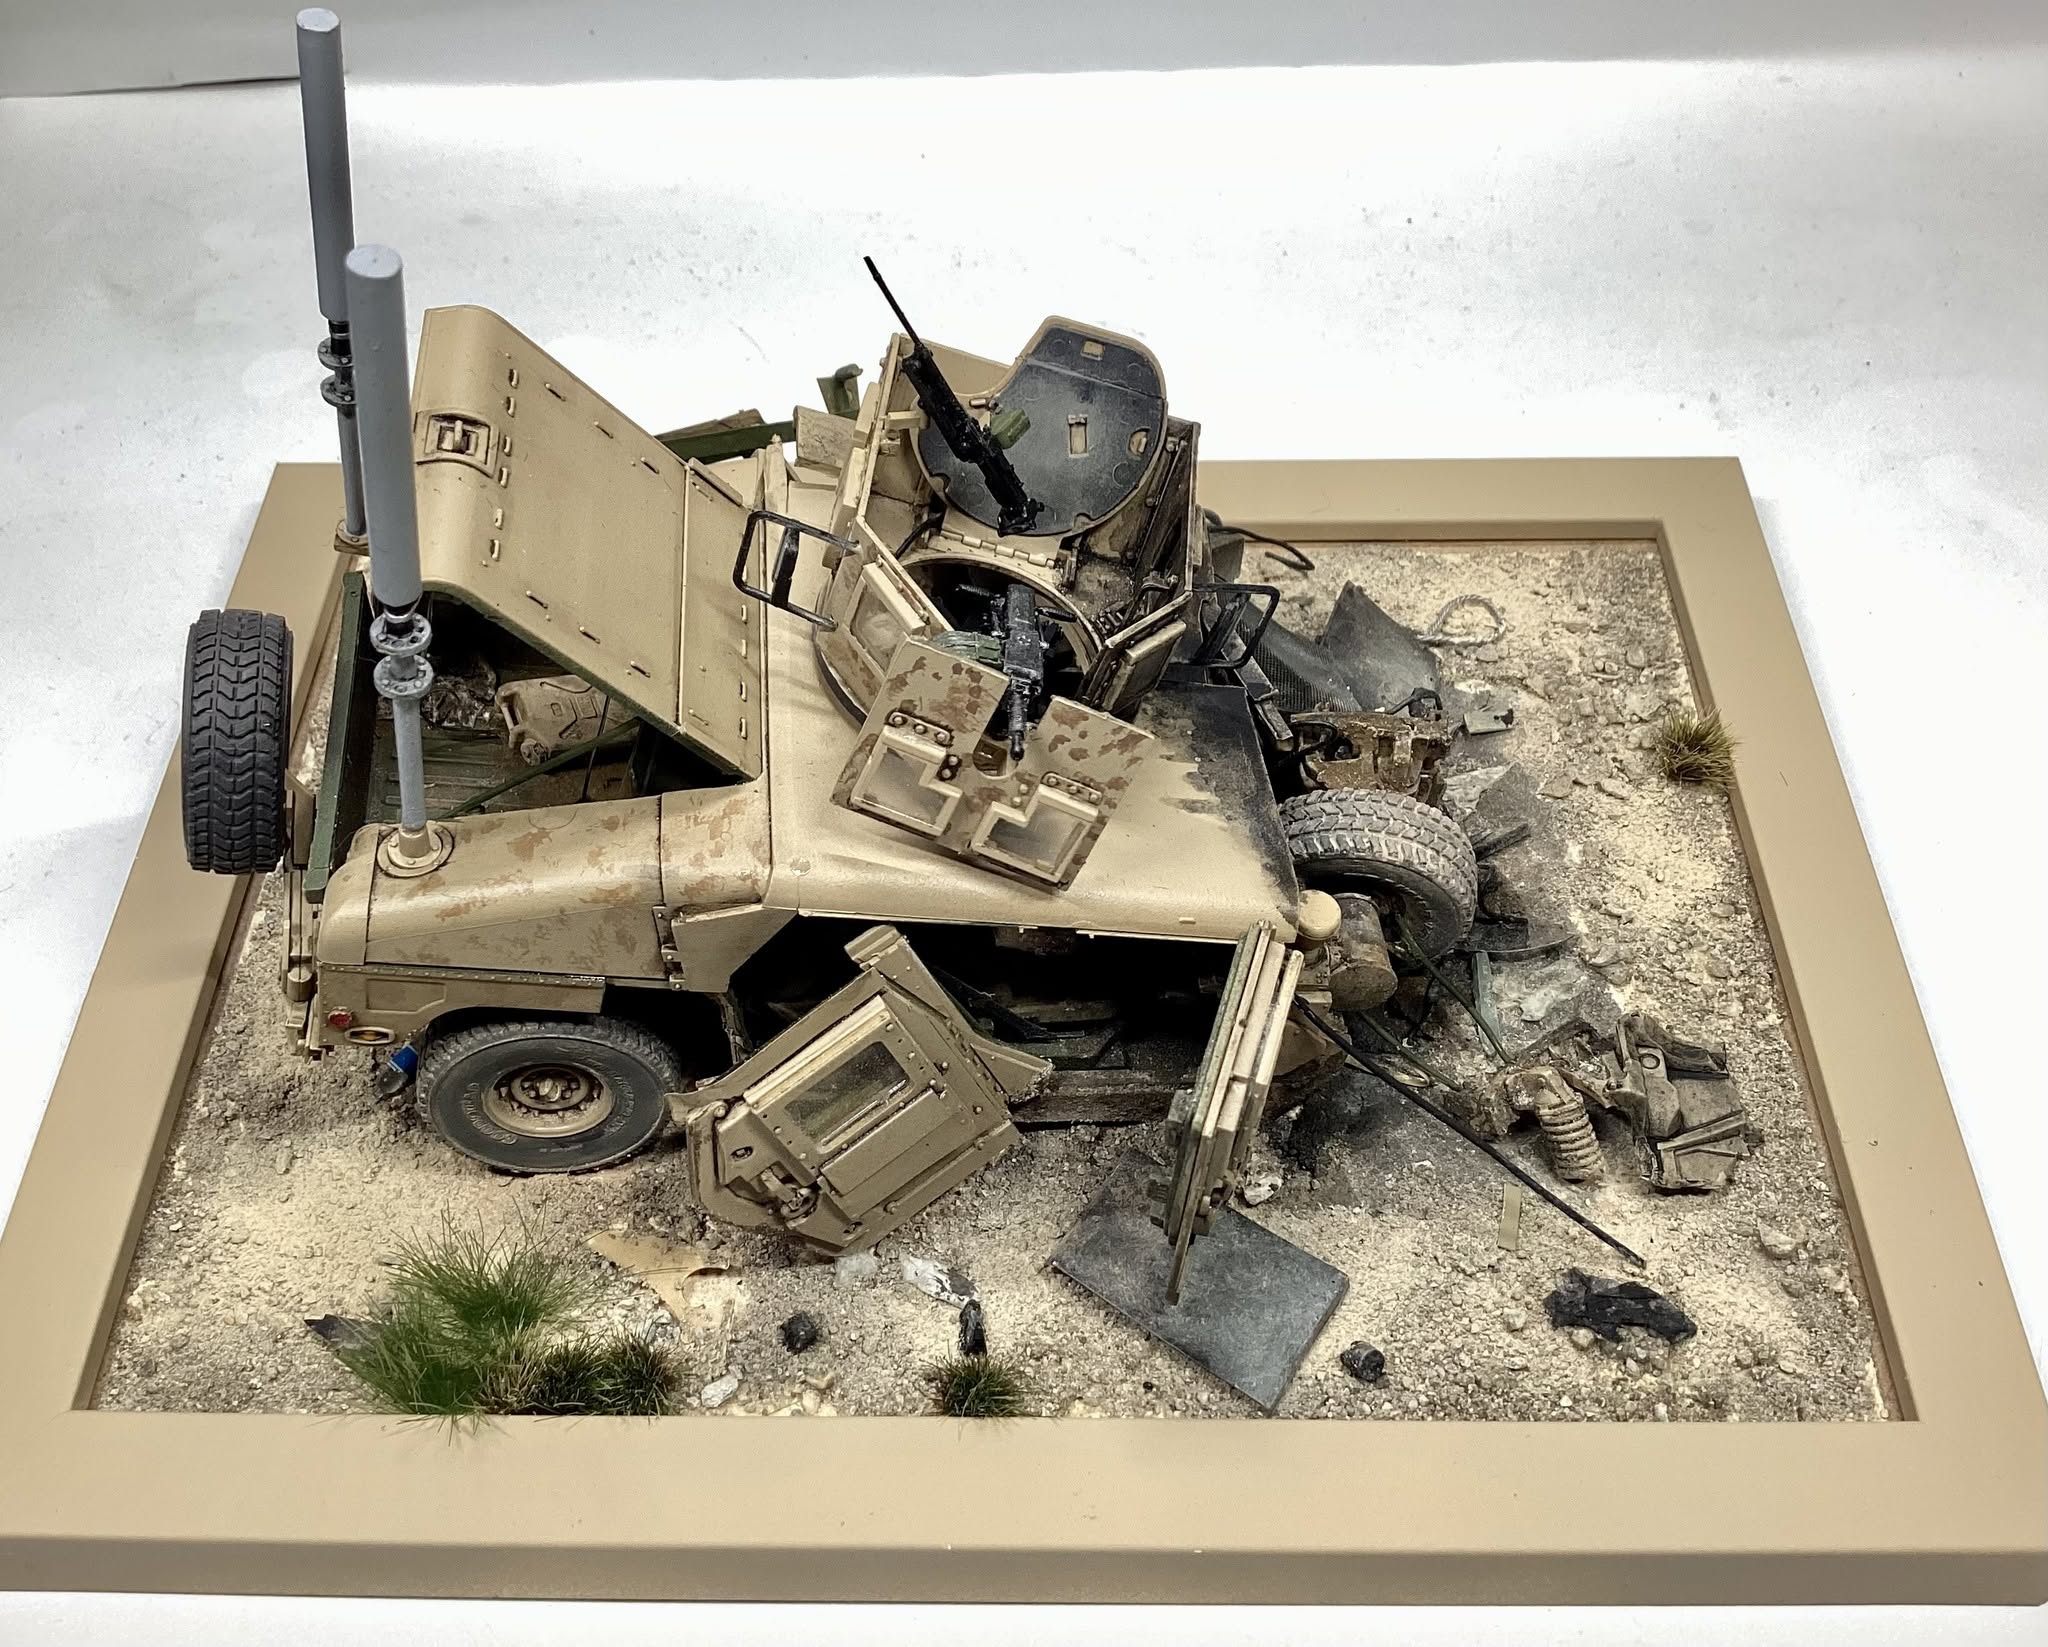
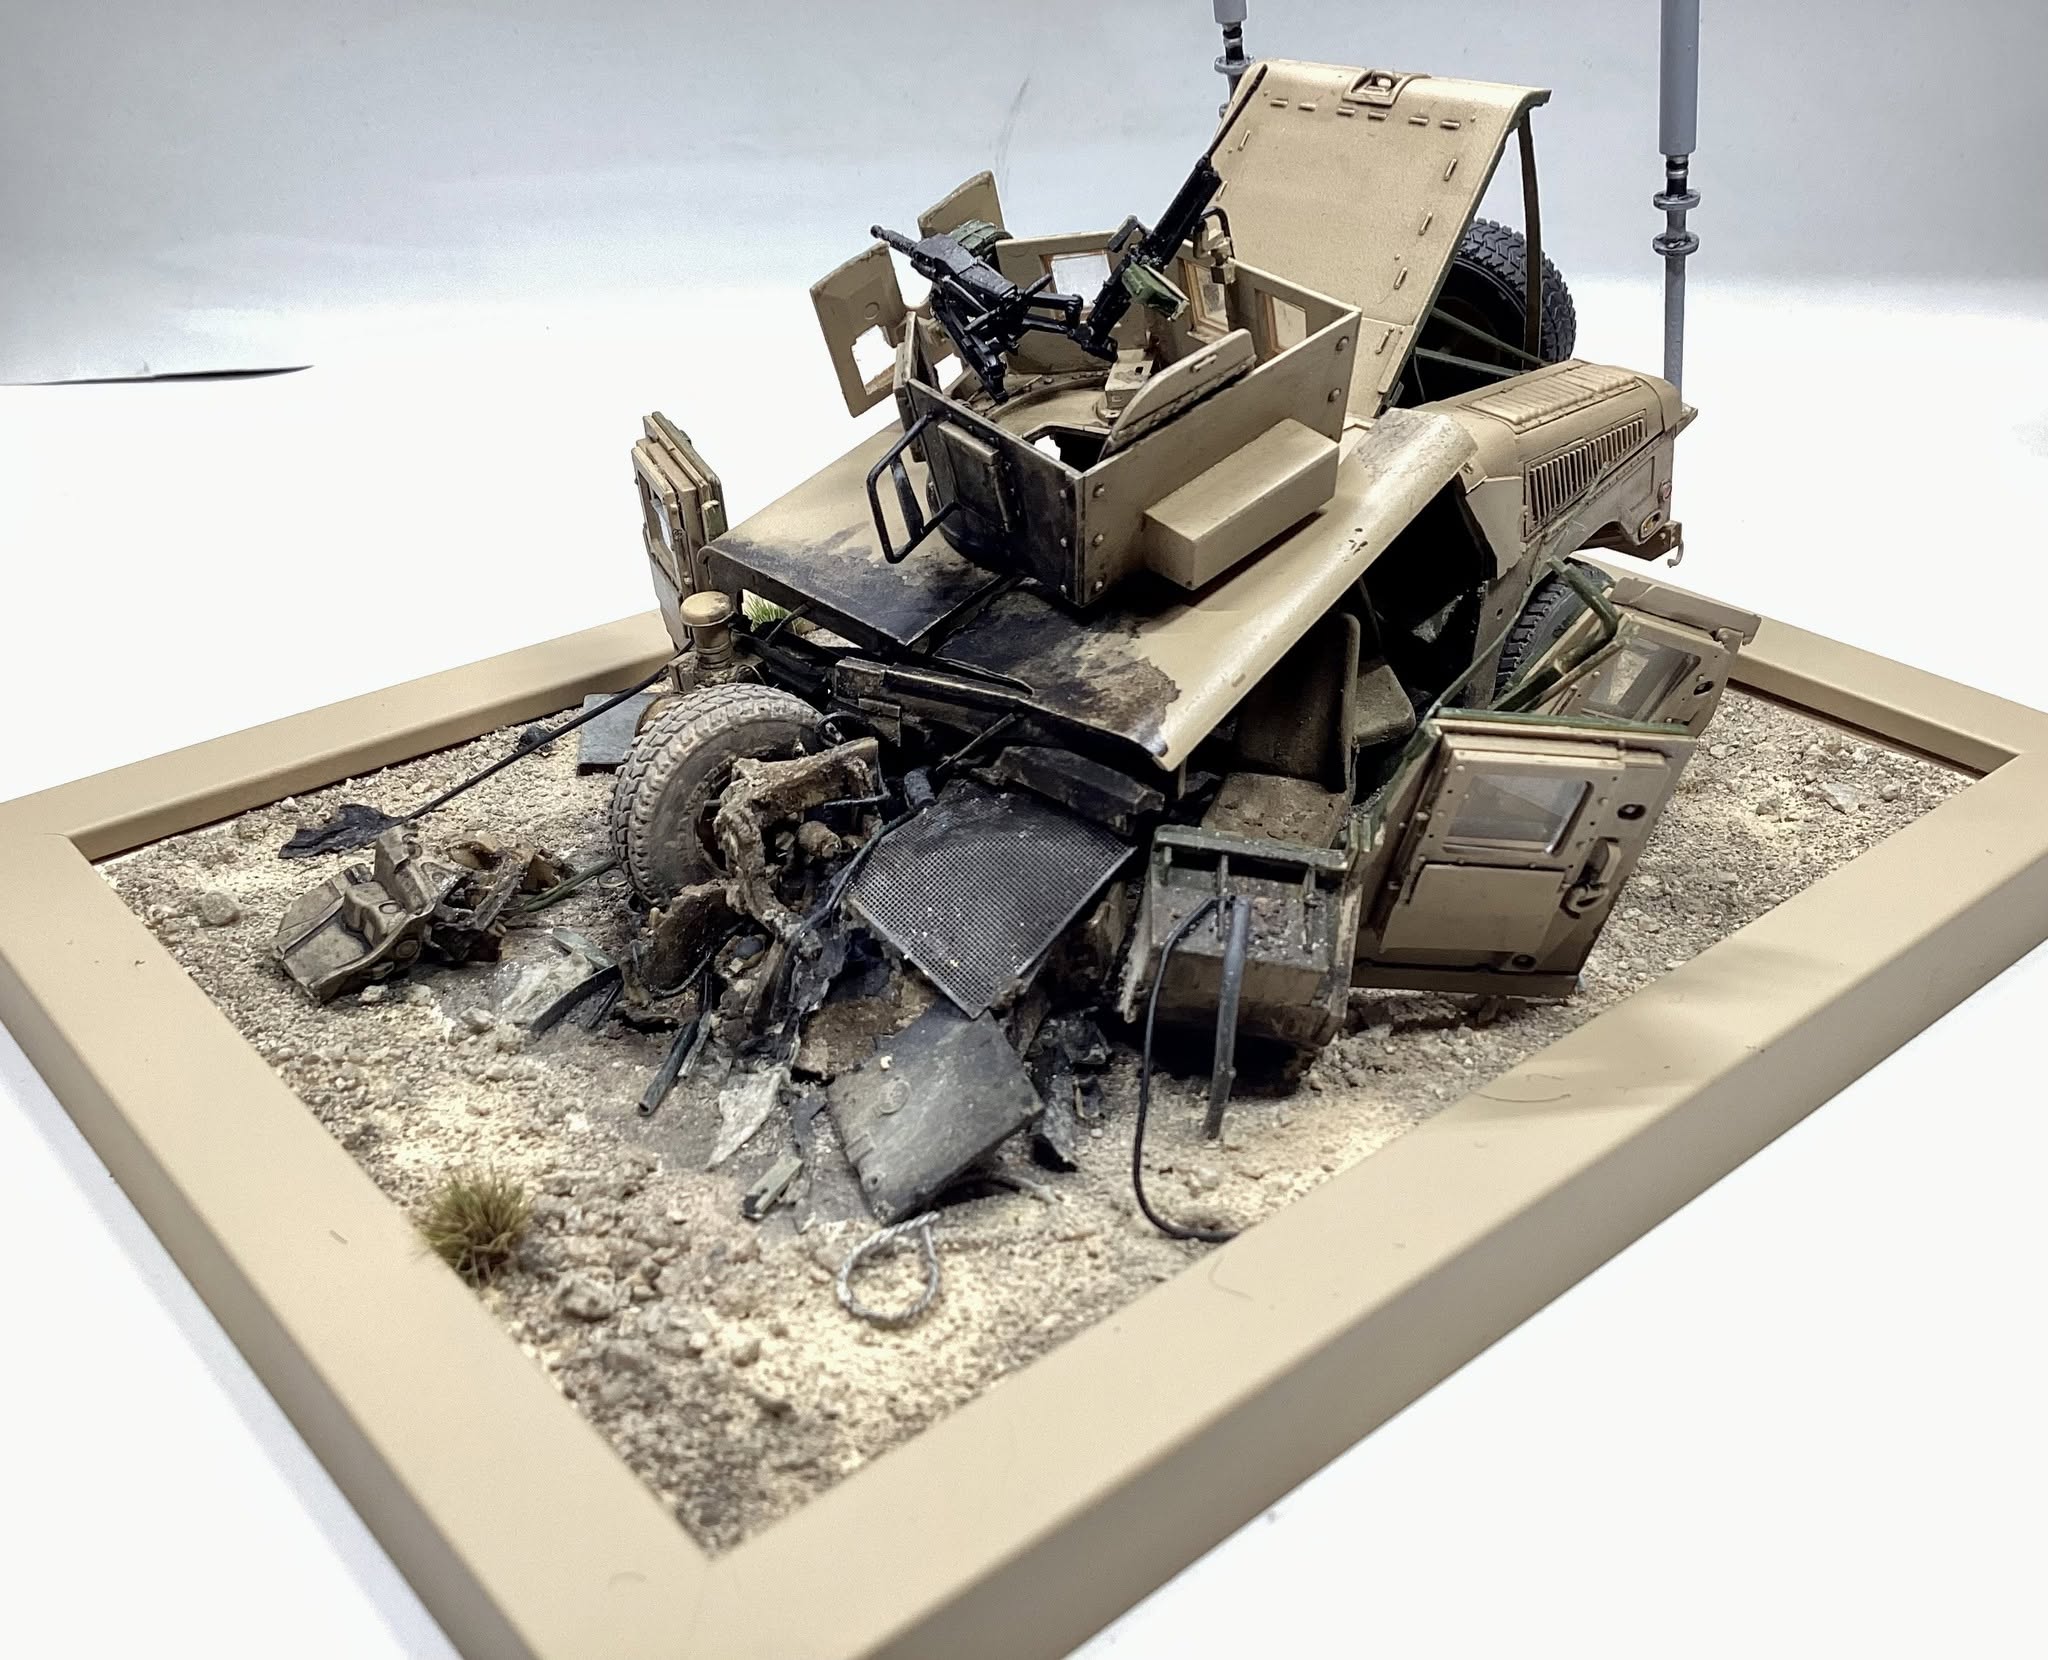
Progress on the Fuchs, wash on the inside…
Then went to the outside, used both black and brown..
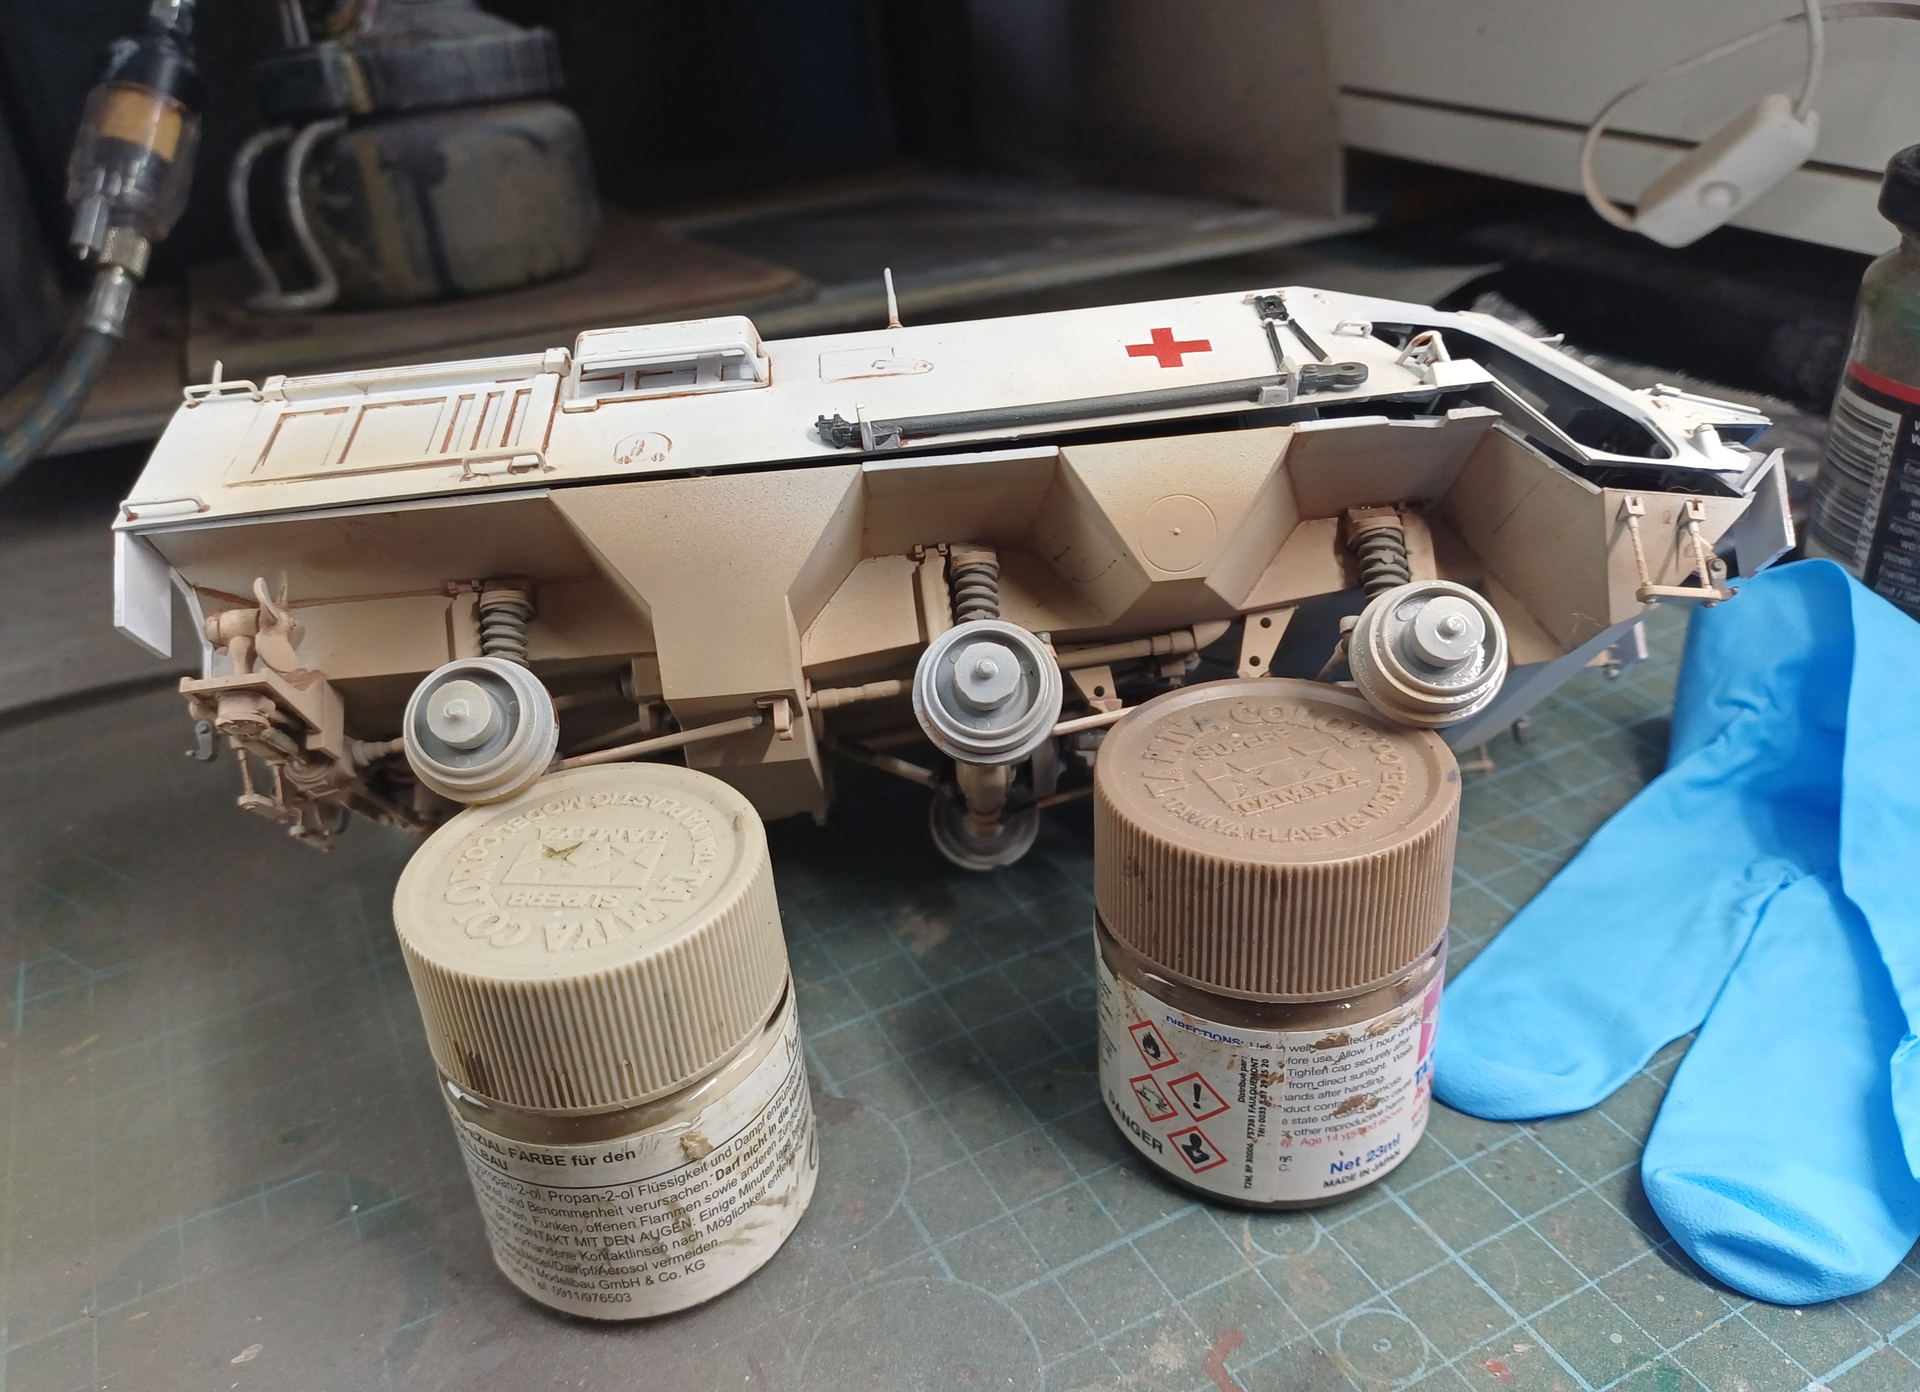
Using the brown as a first bit of dirt/dust, so only used brown on the underside..
Which was than followed by a light coating of Tamiya Earthbrown followed by Tamiya Buff, thus taking care of the staines from the wash 
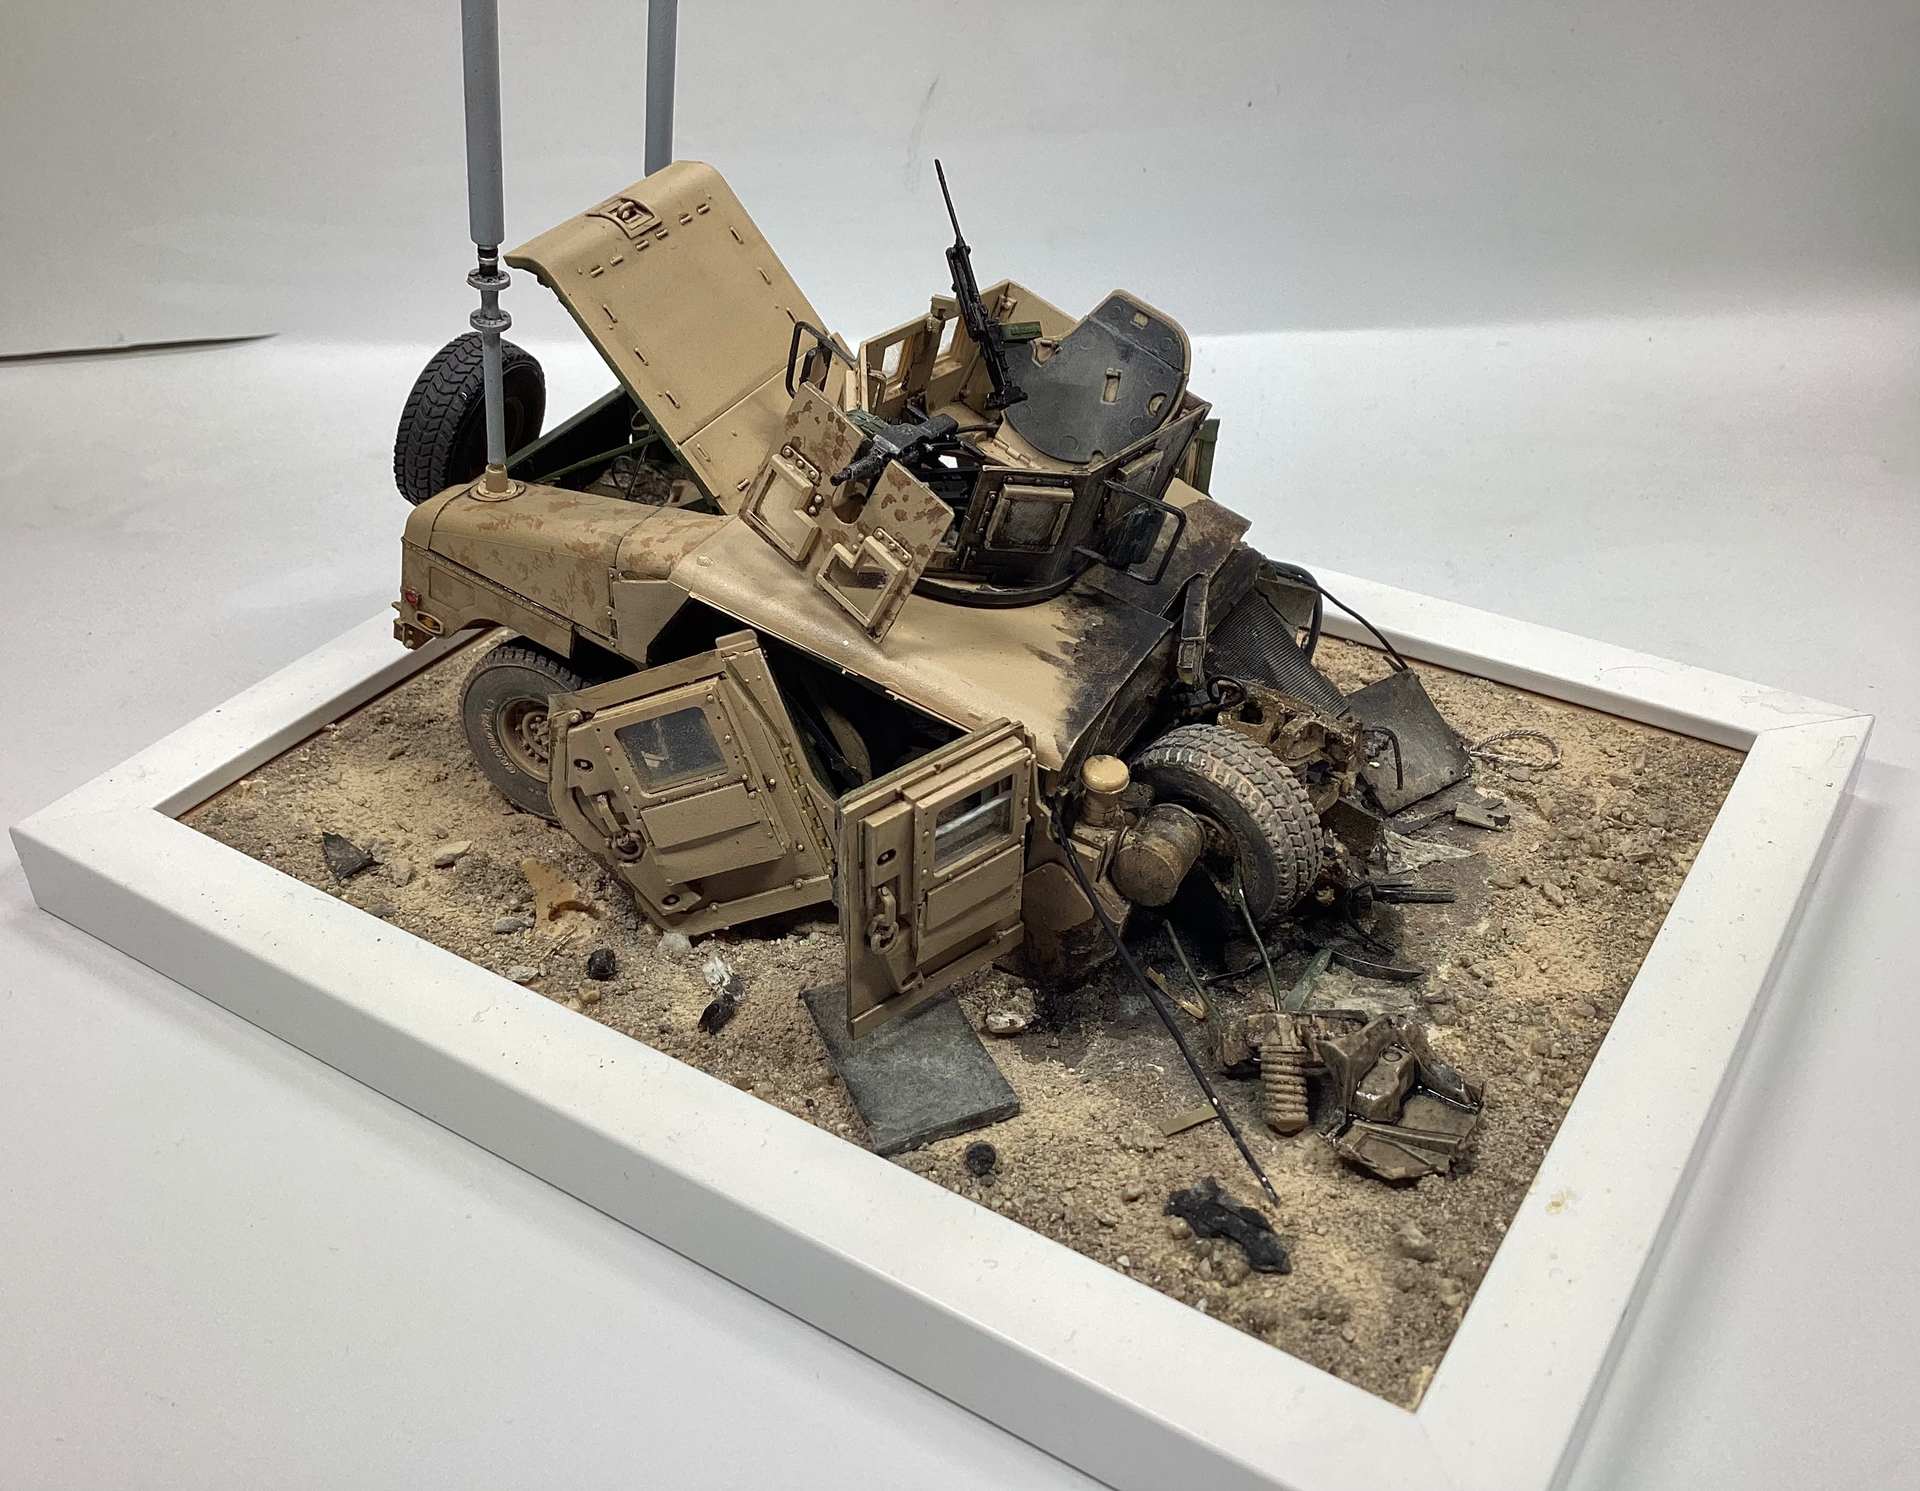
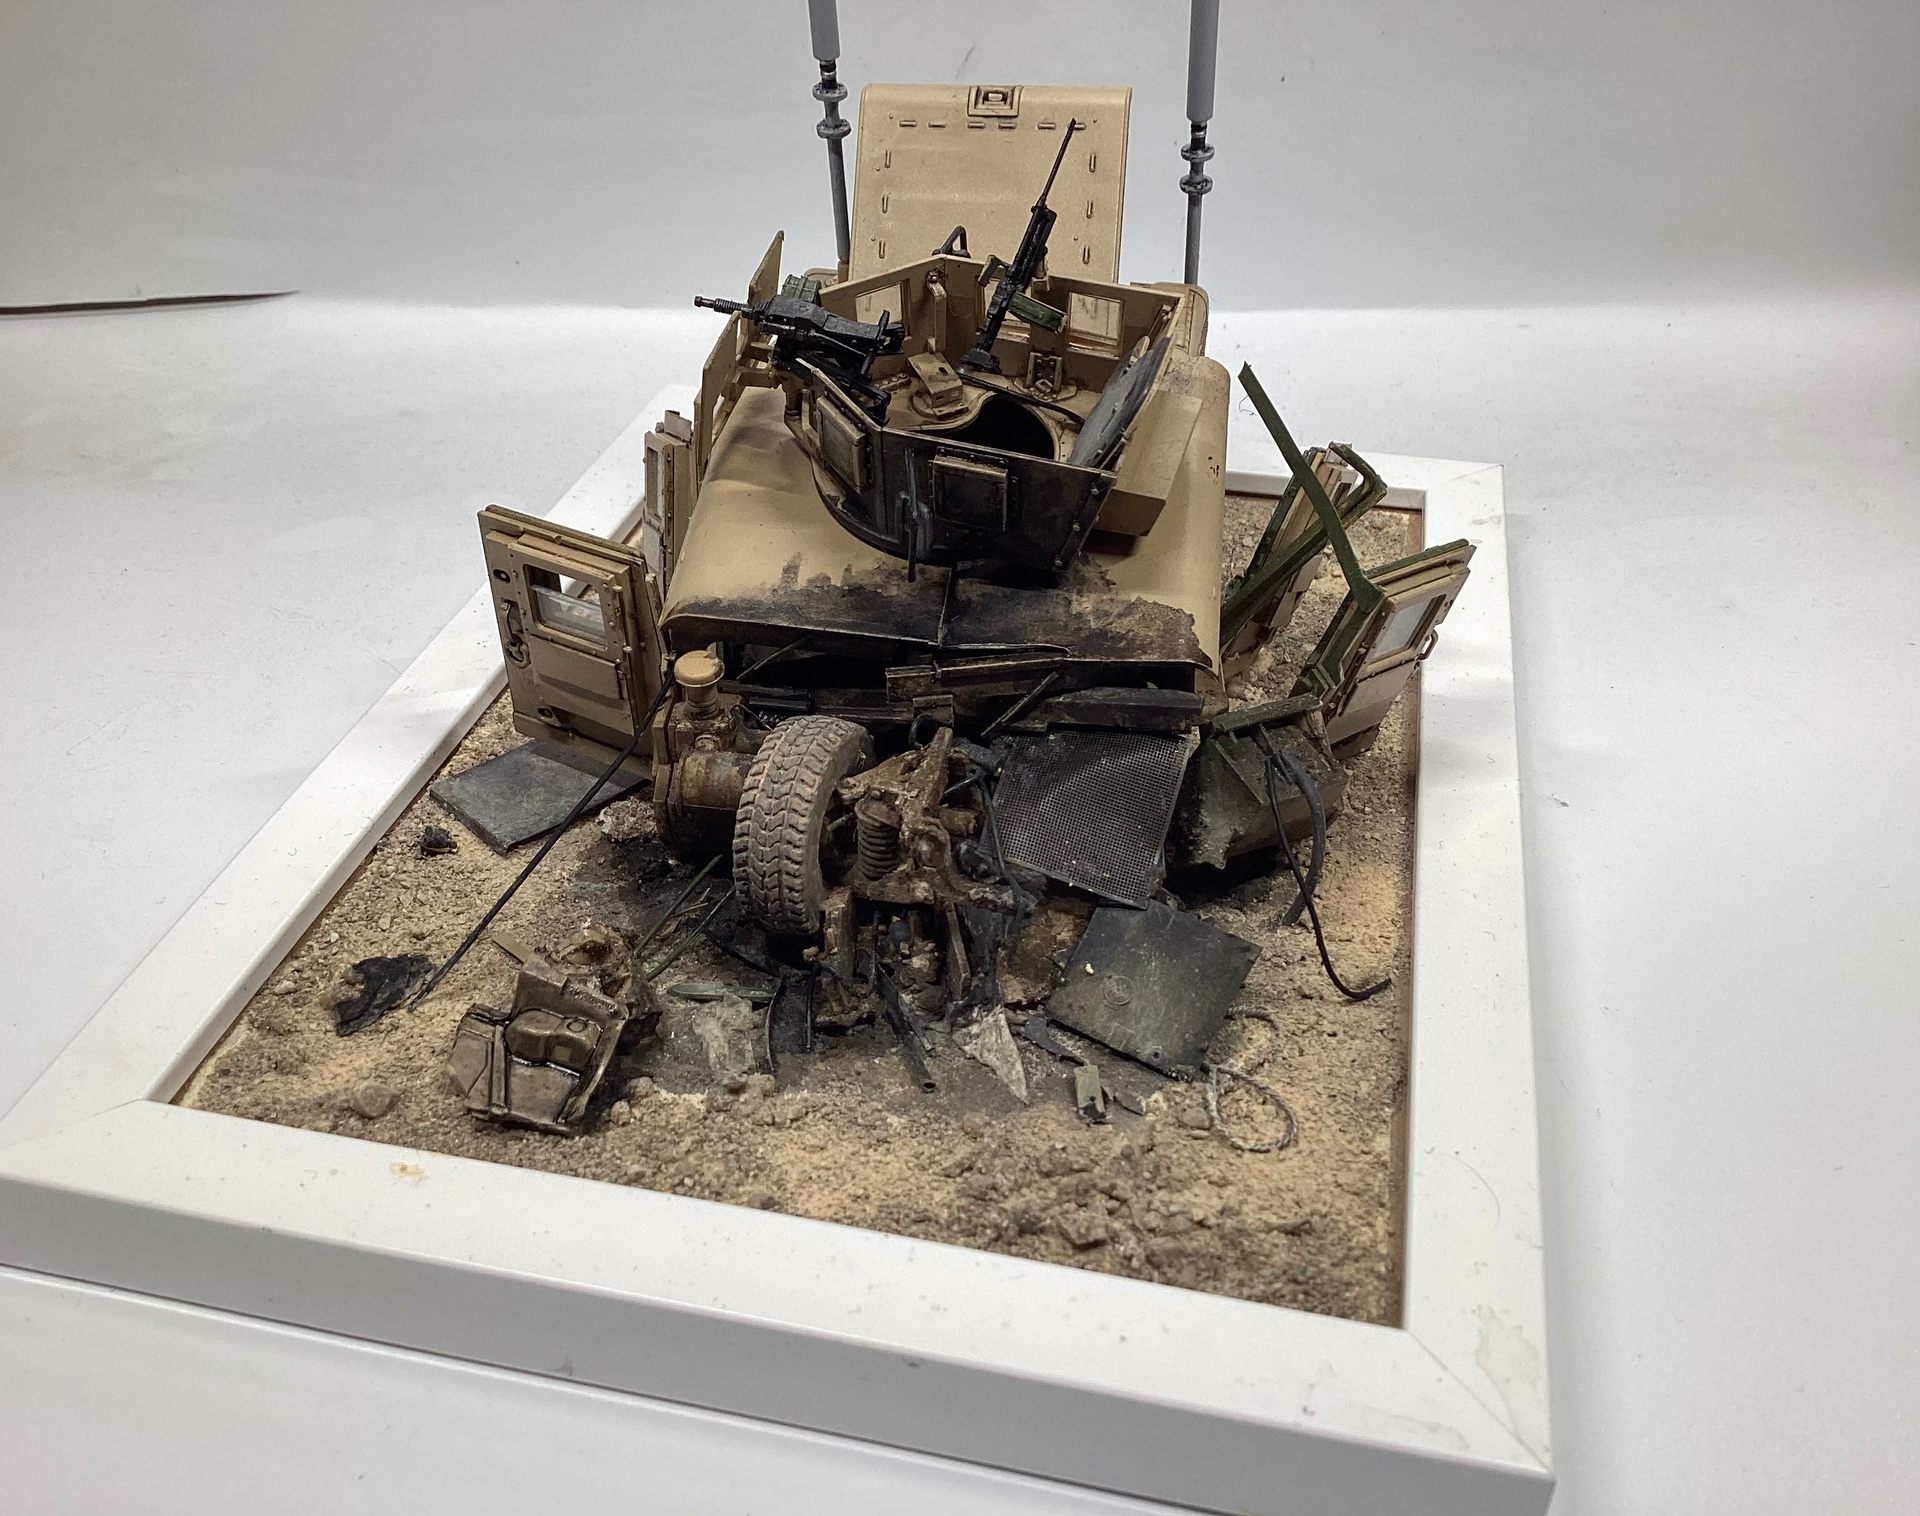
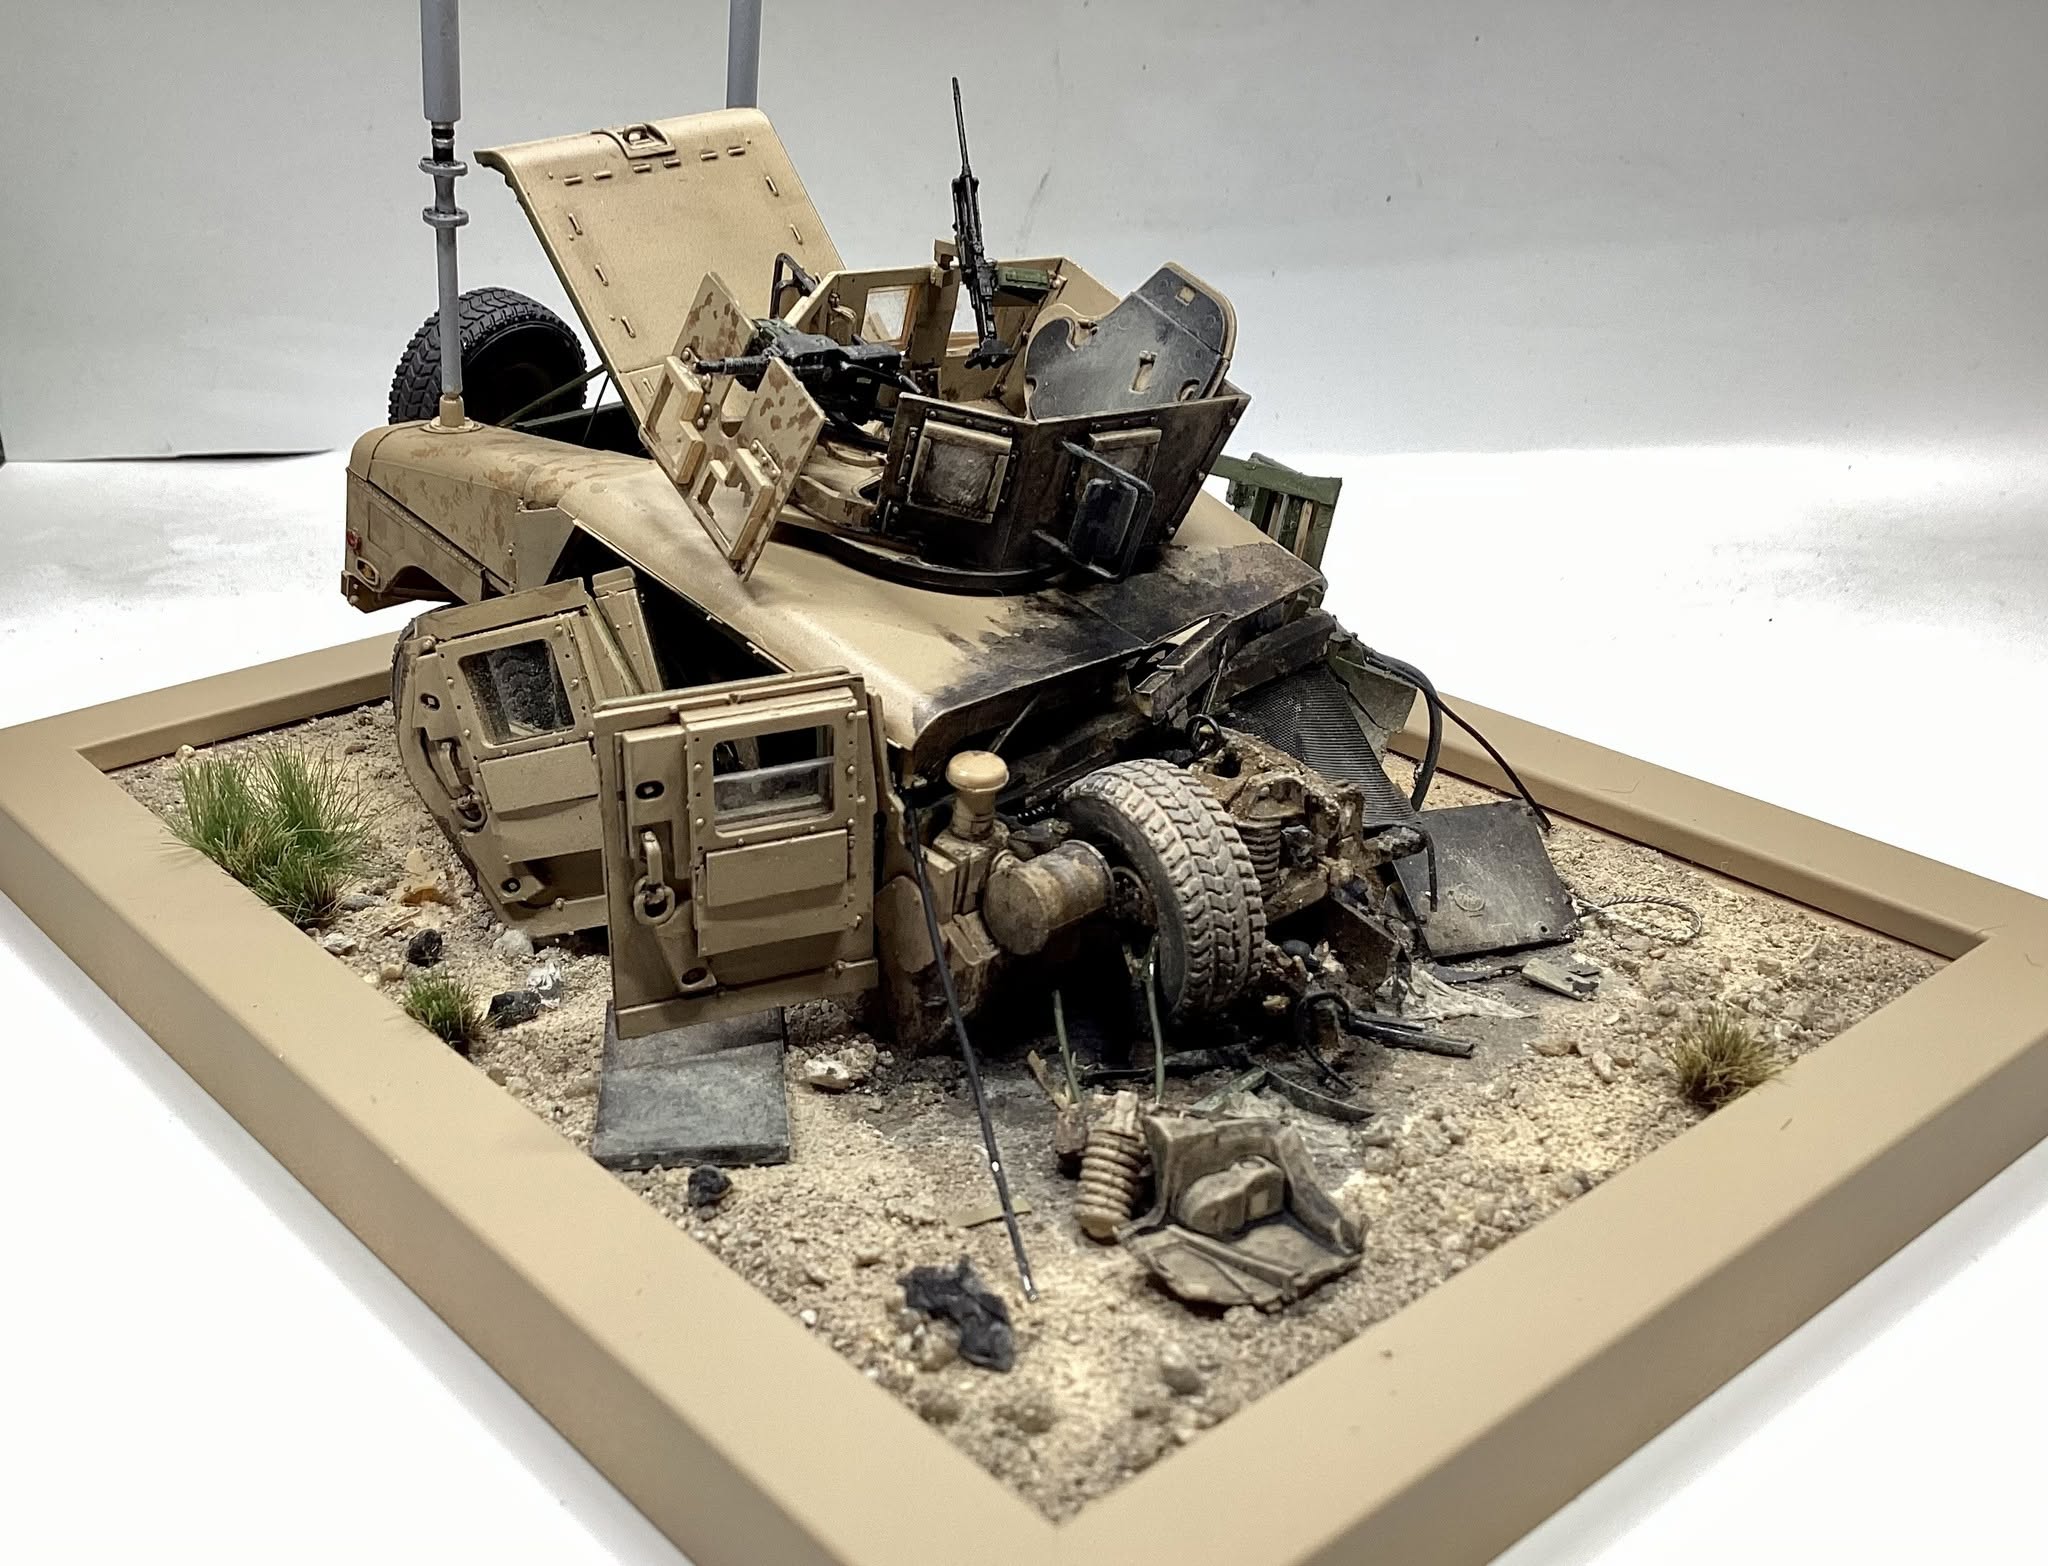
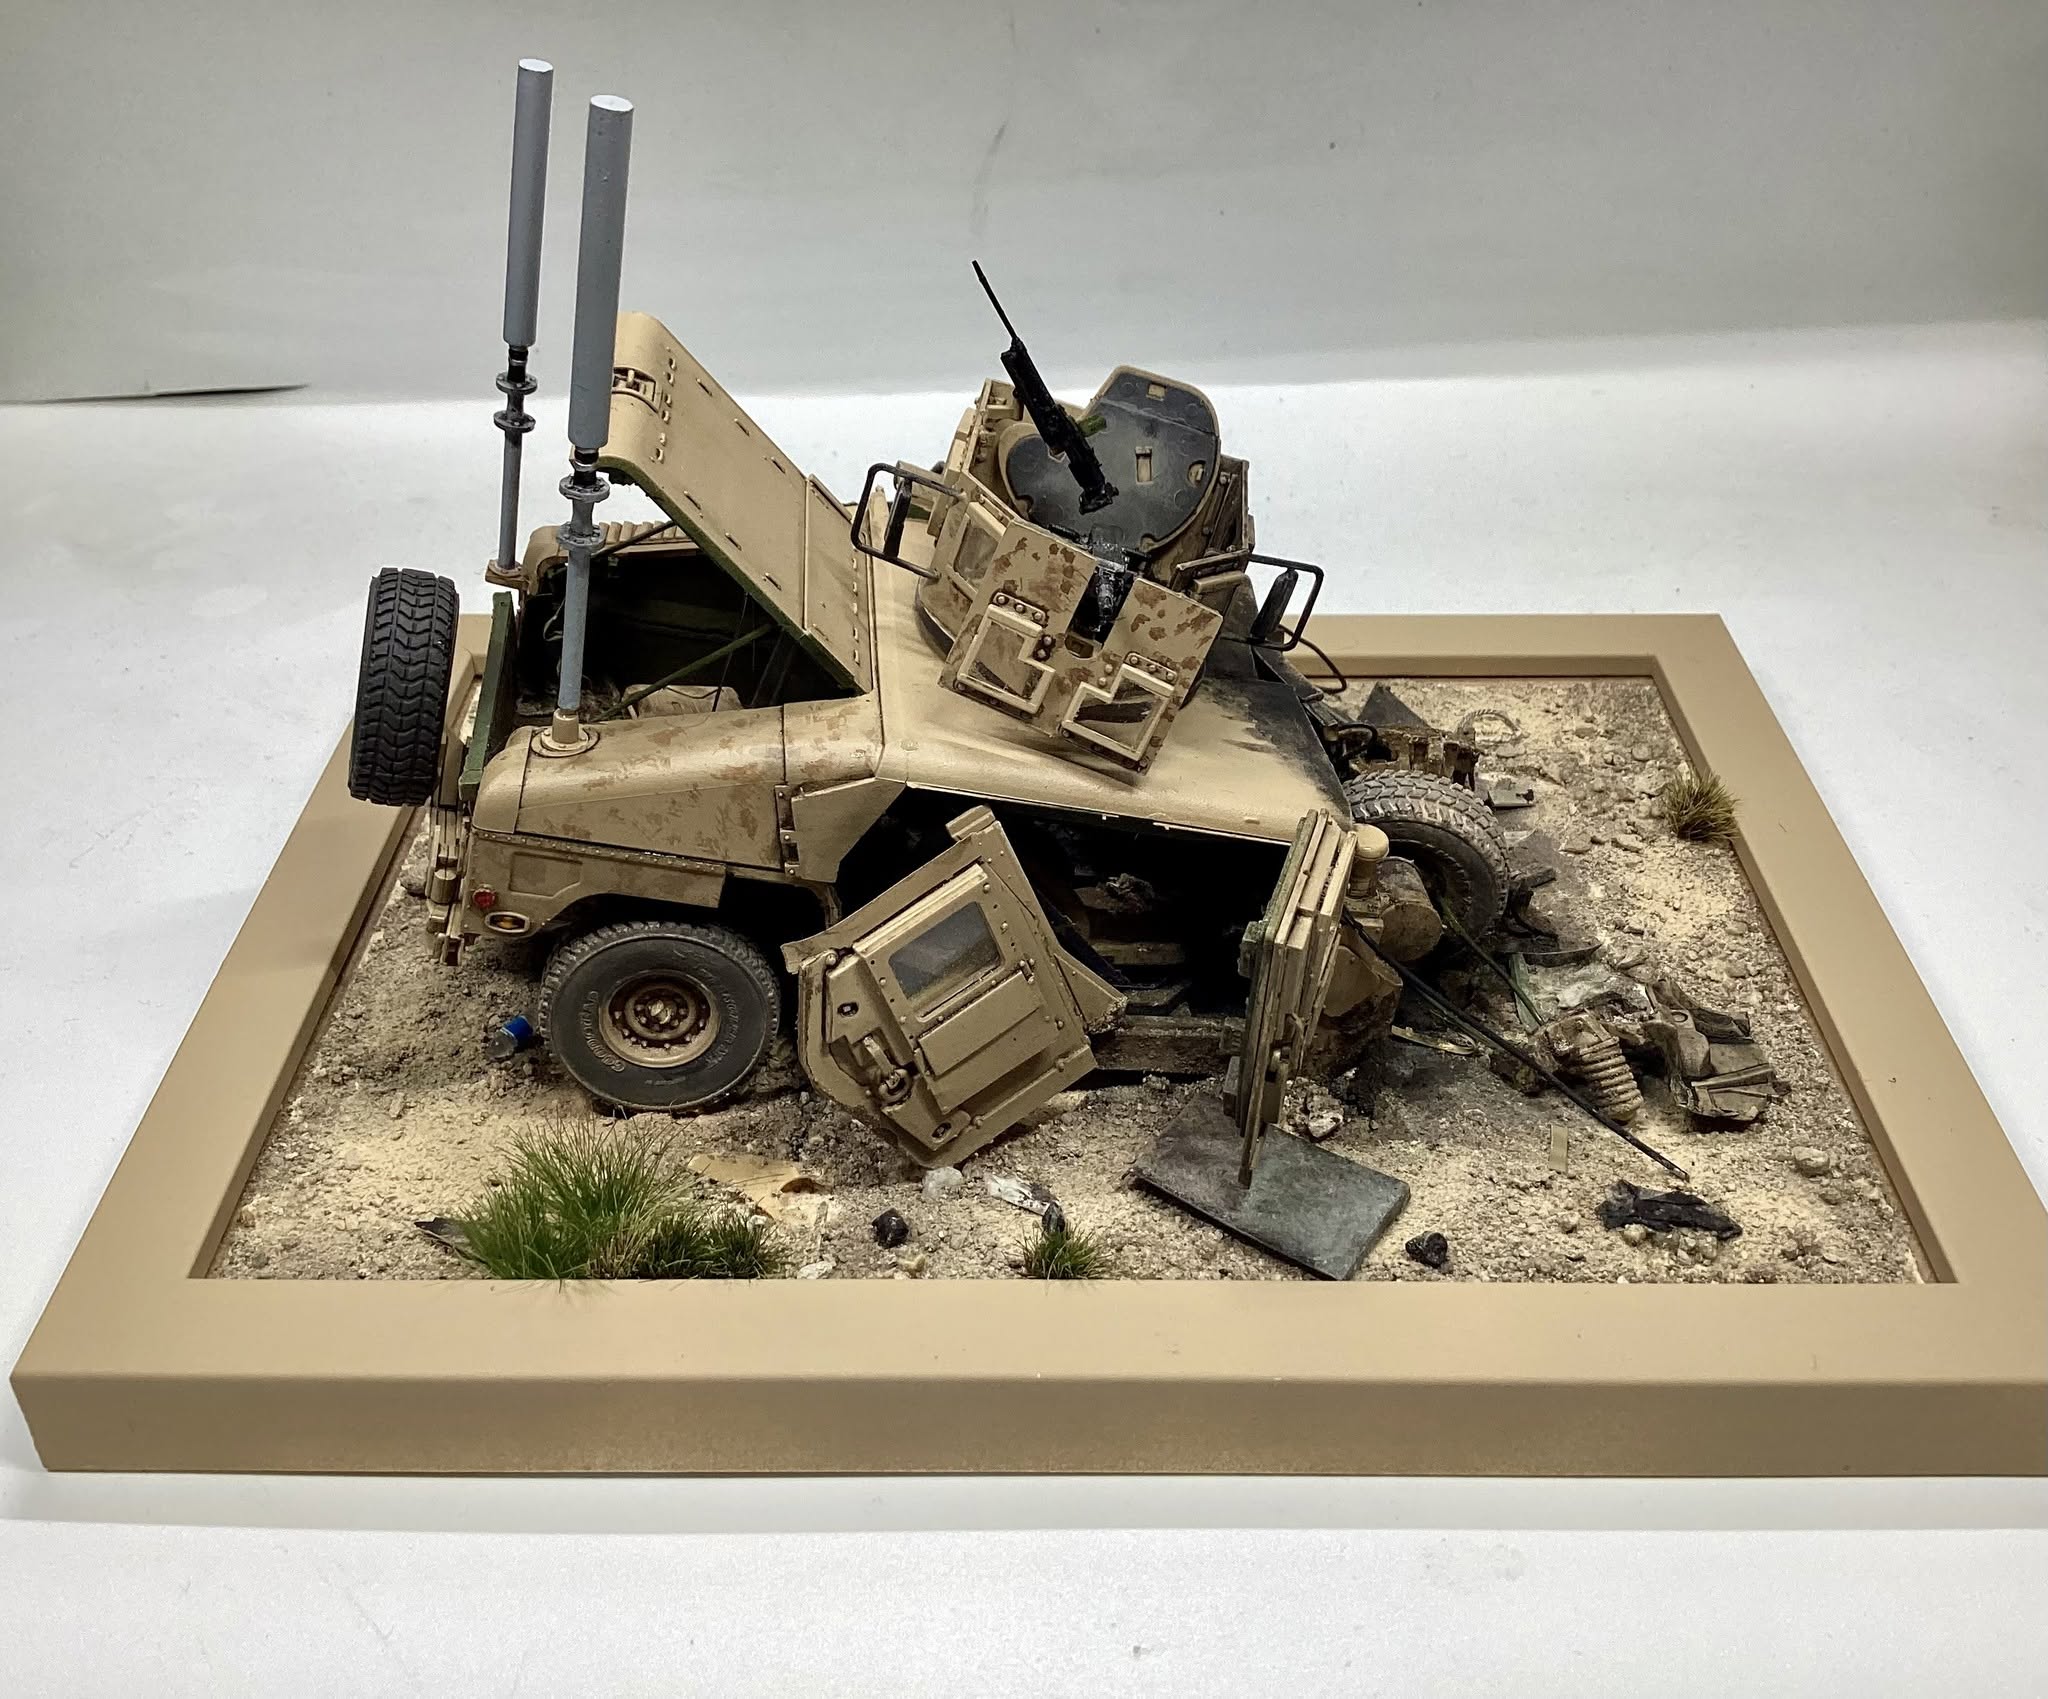
The details of the clutter around the vehicle still need to be refined. The roof and turret are in place without glue. CU
Both are looking great guys … Some great elements on both kits which are really lifting them up.
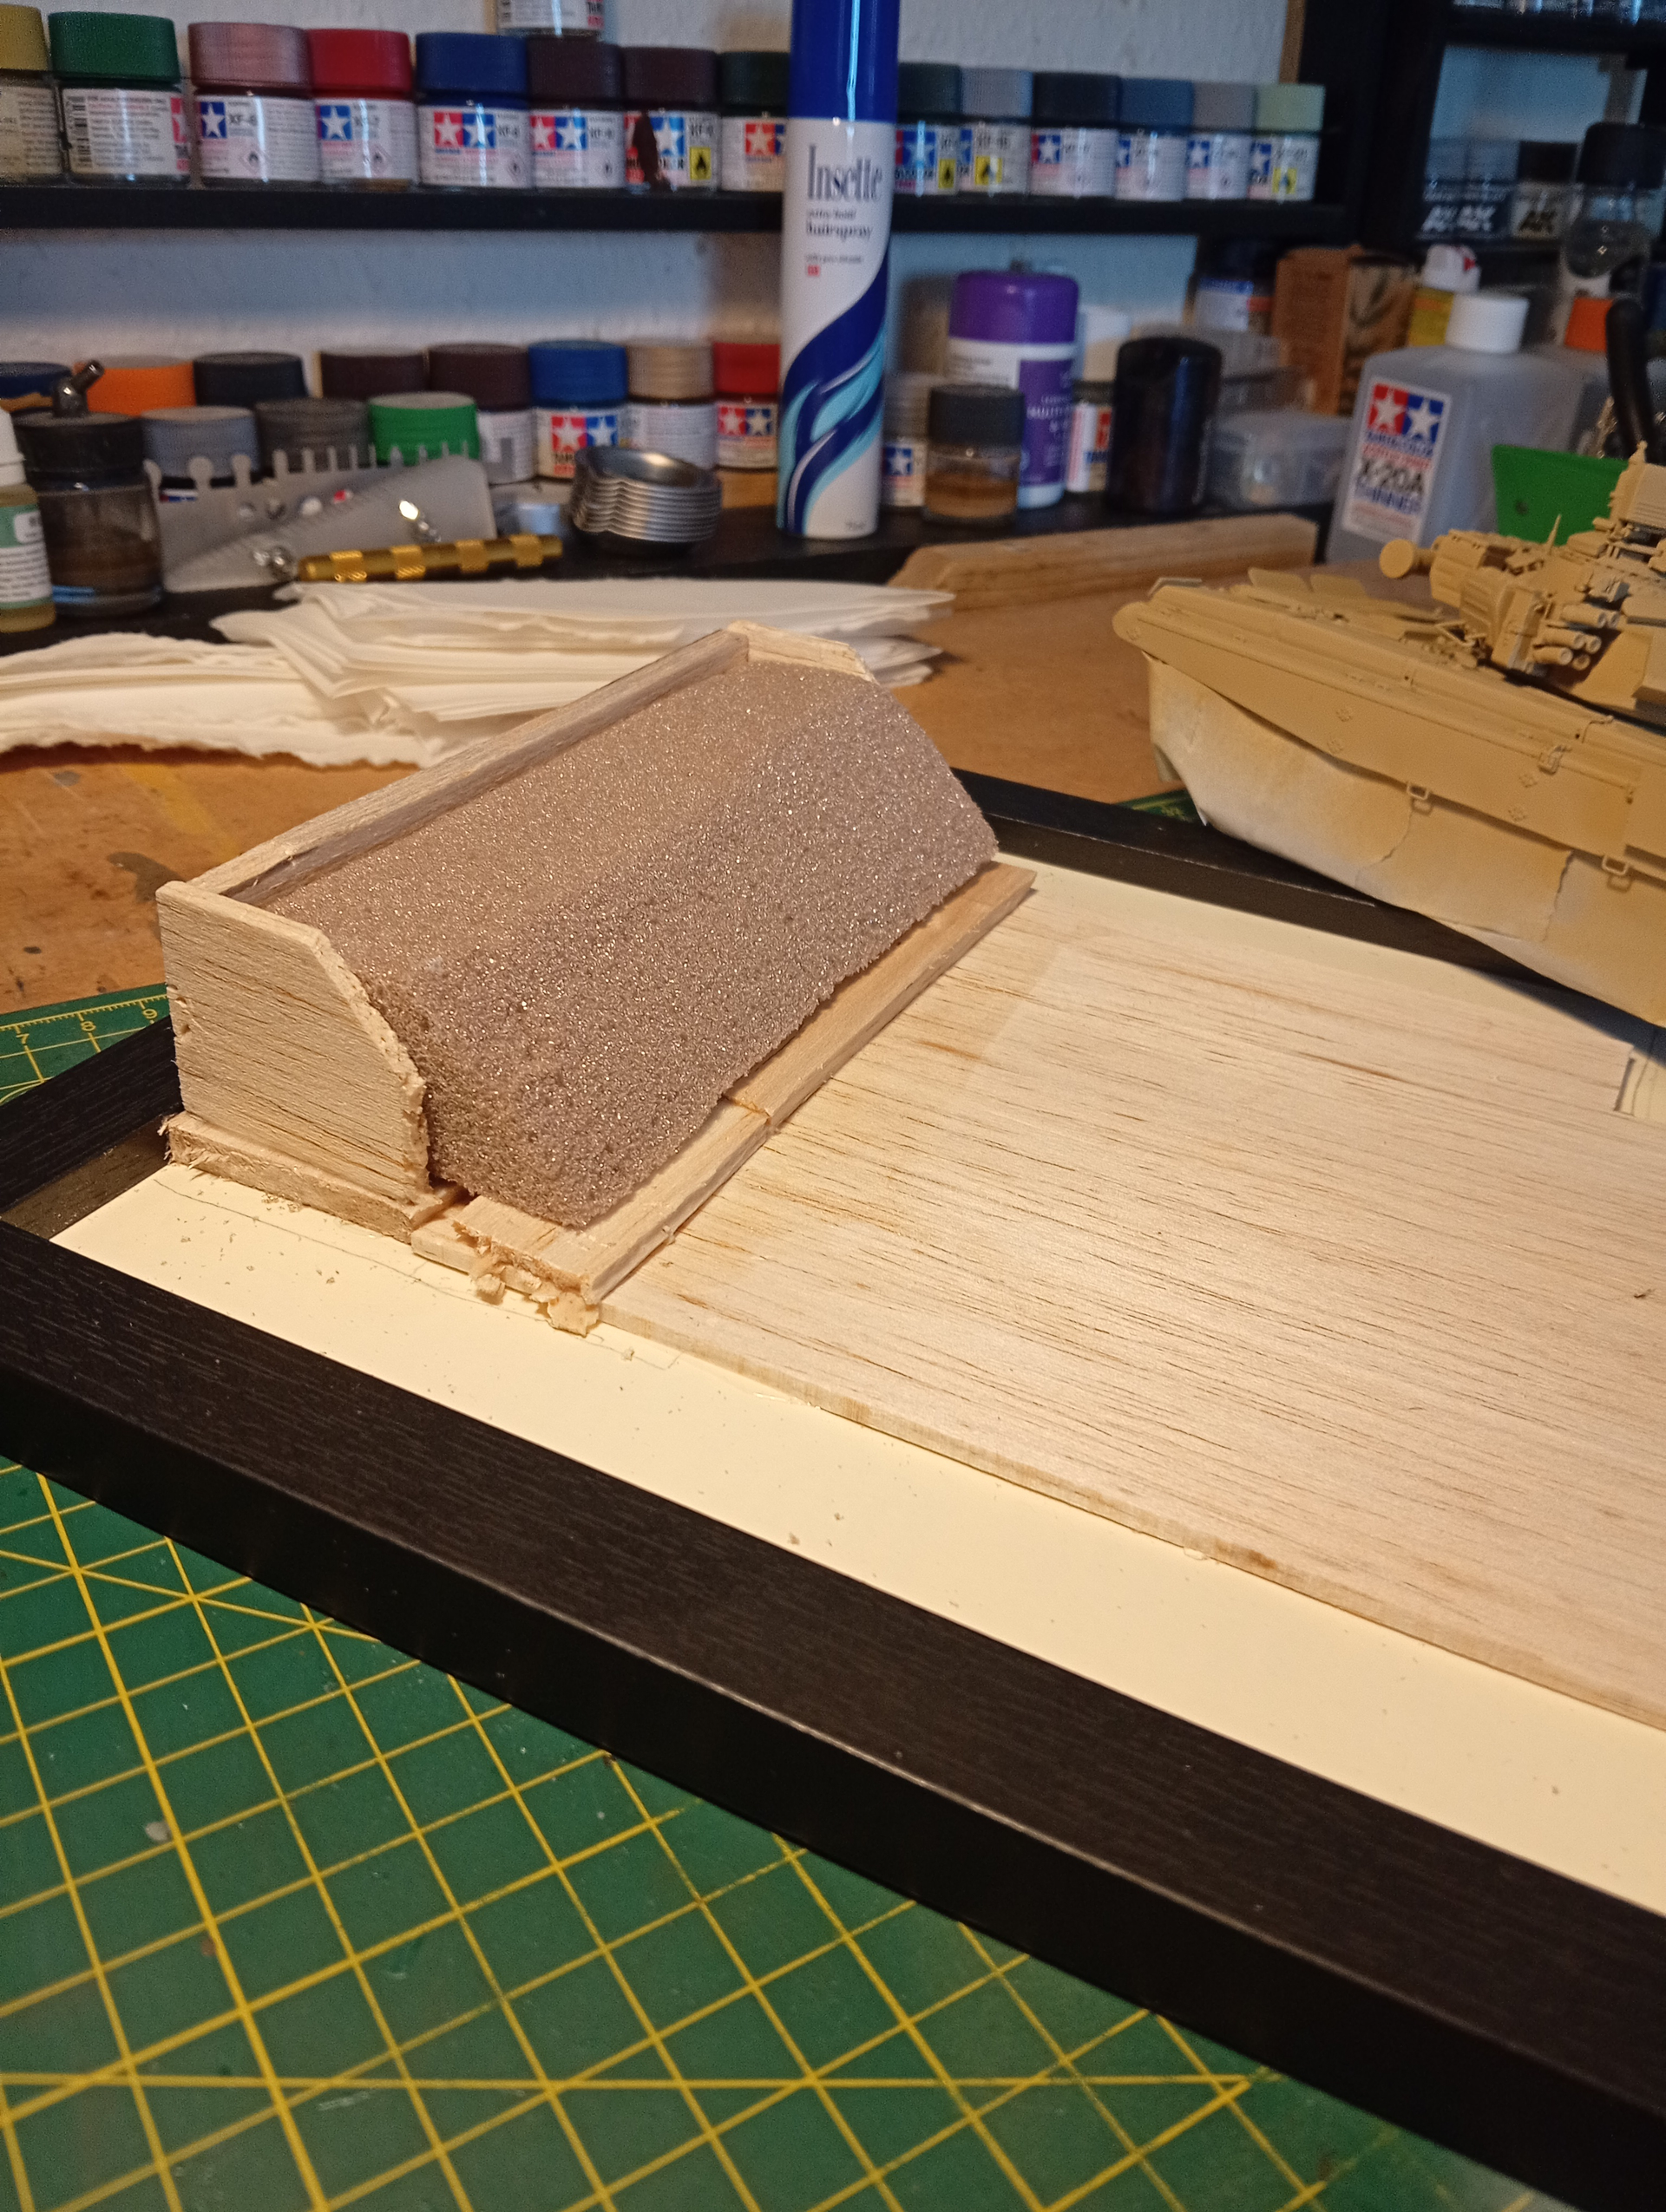
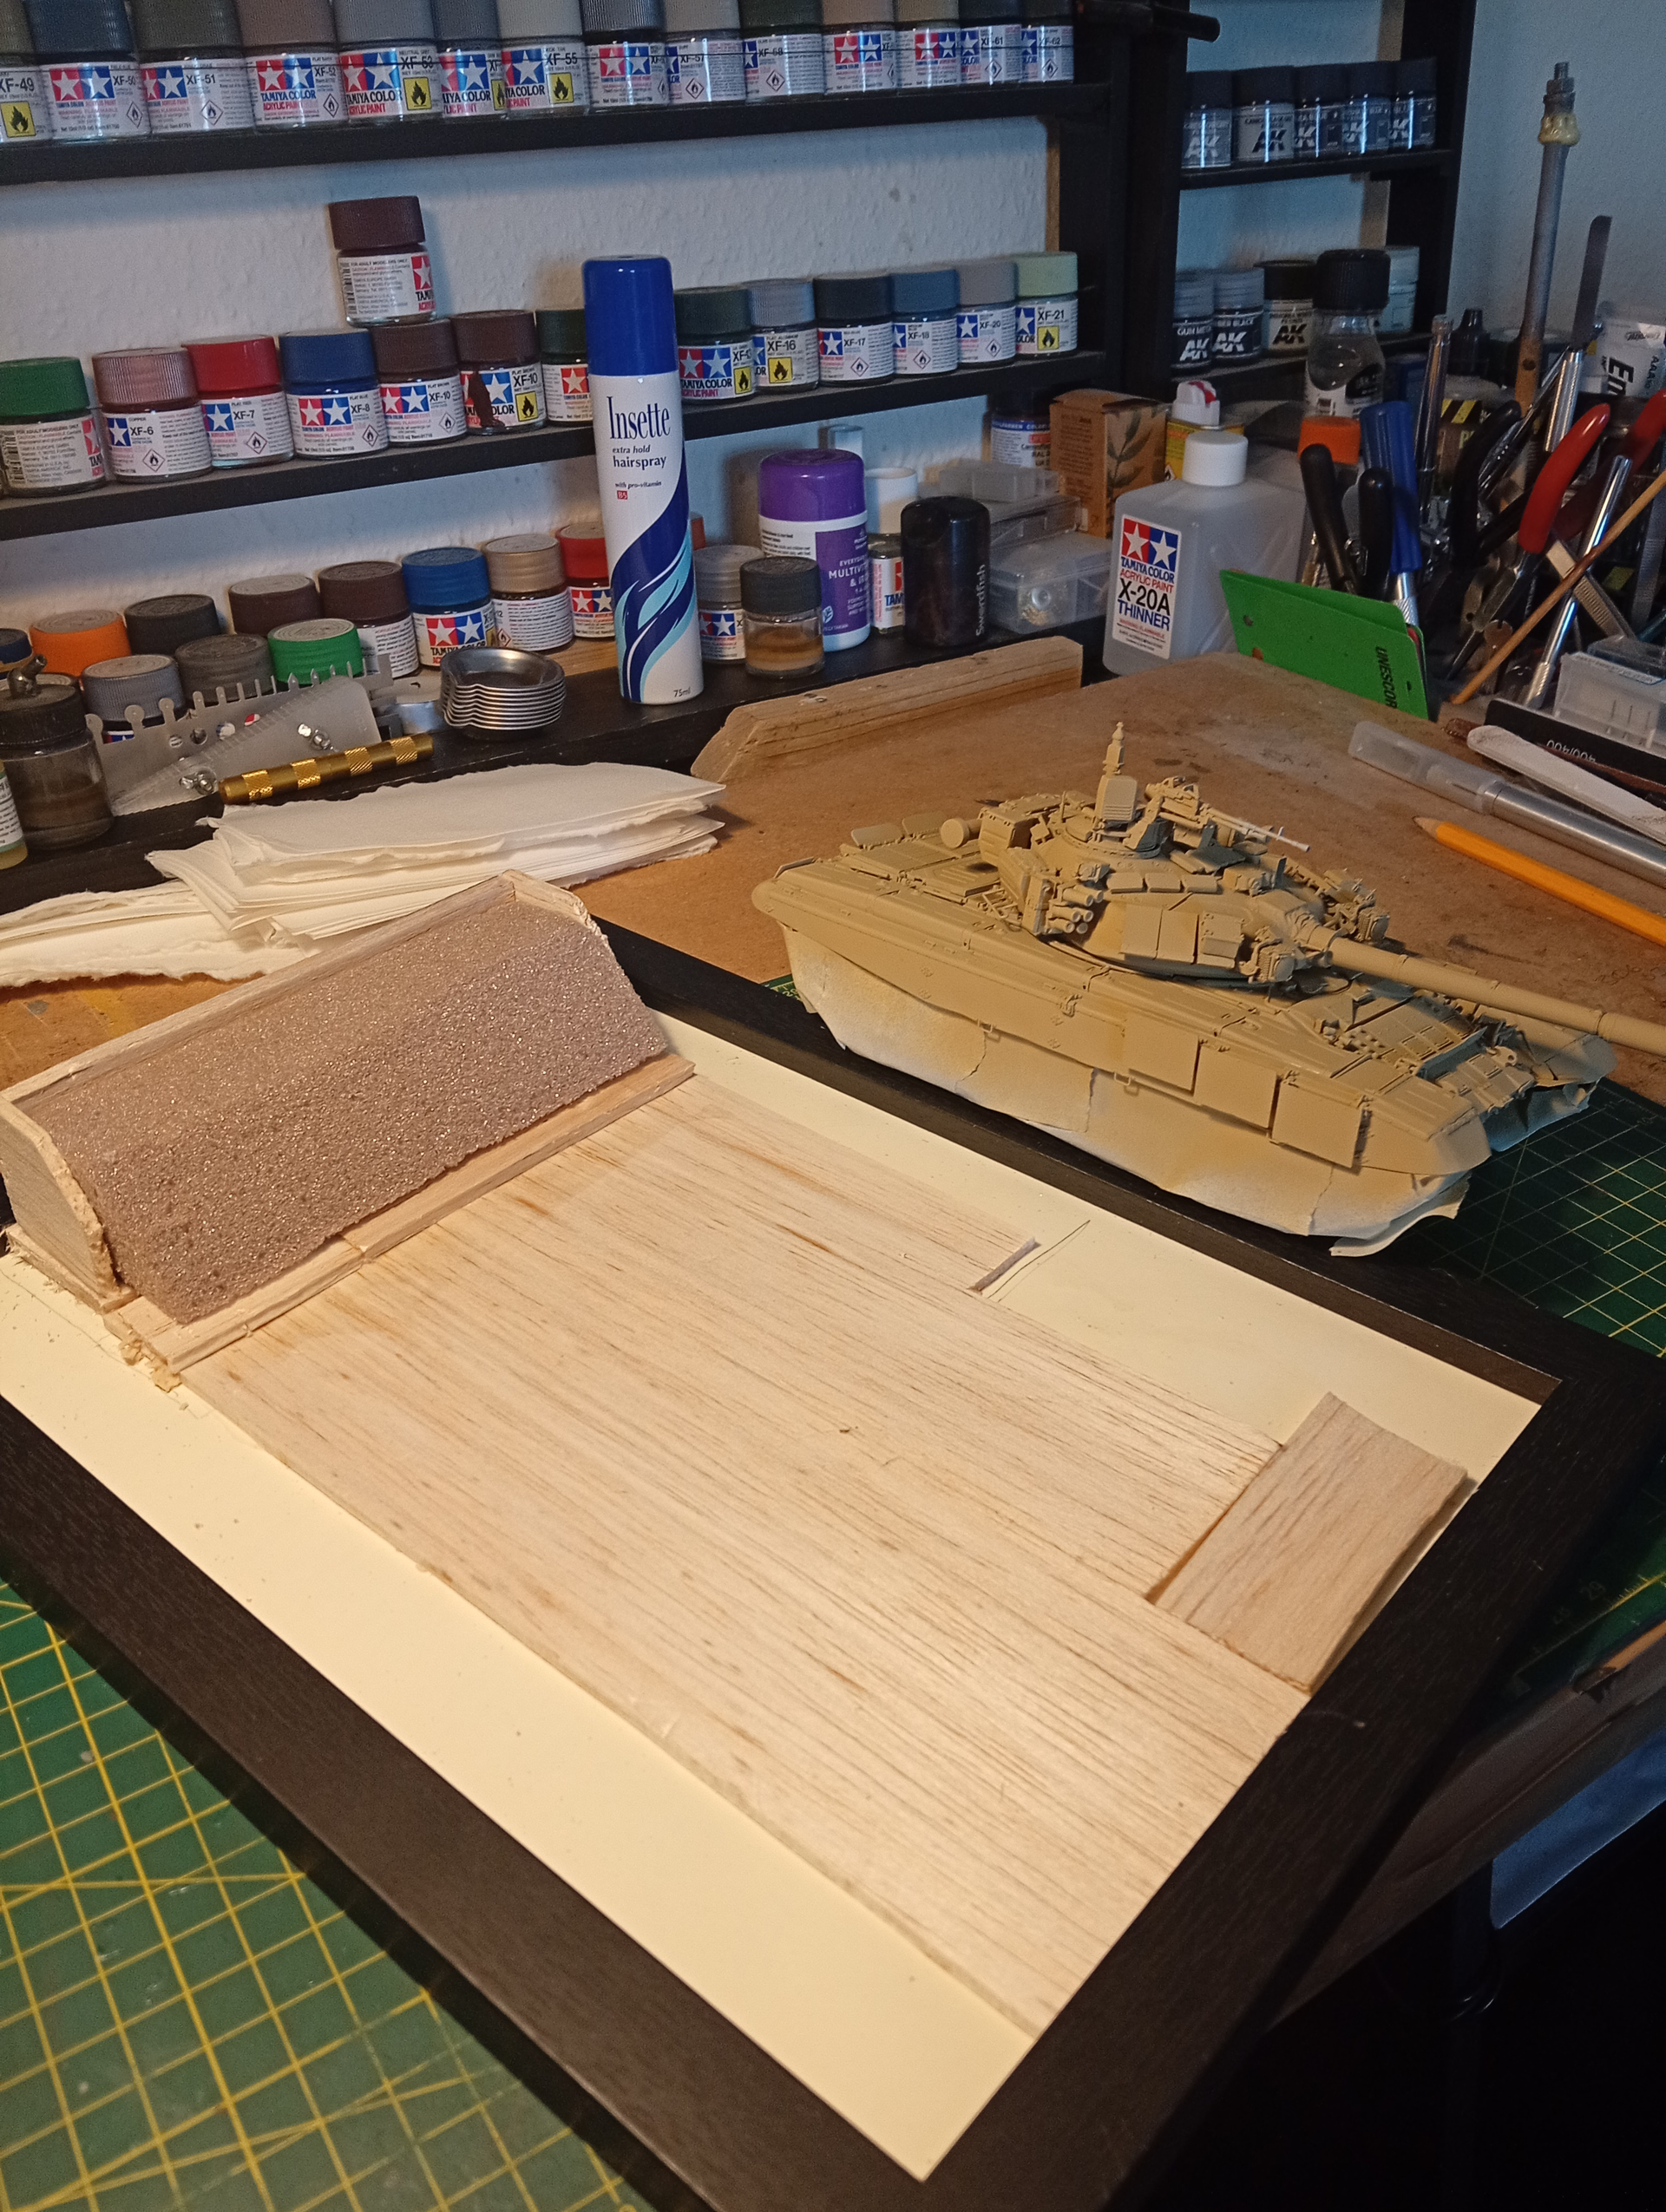
Some progress on the base setting … Picture frame again and a hard card base with the ramp built up with balsa and flower arrangement foam…
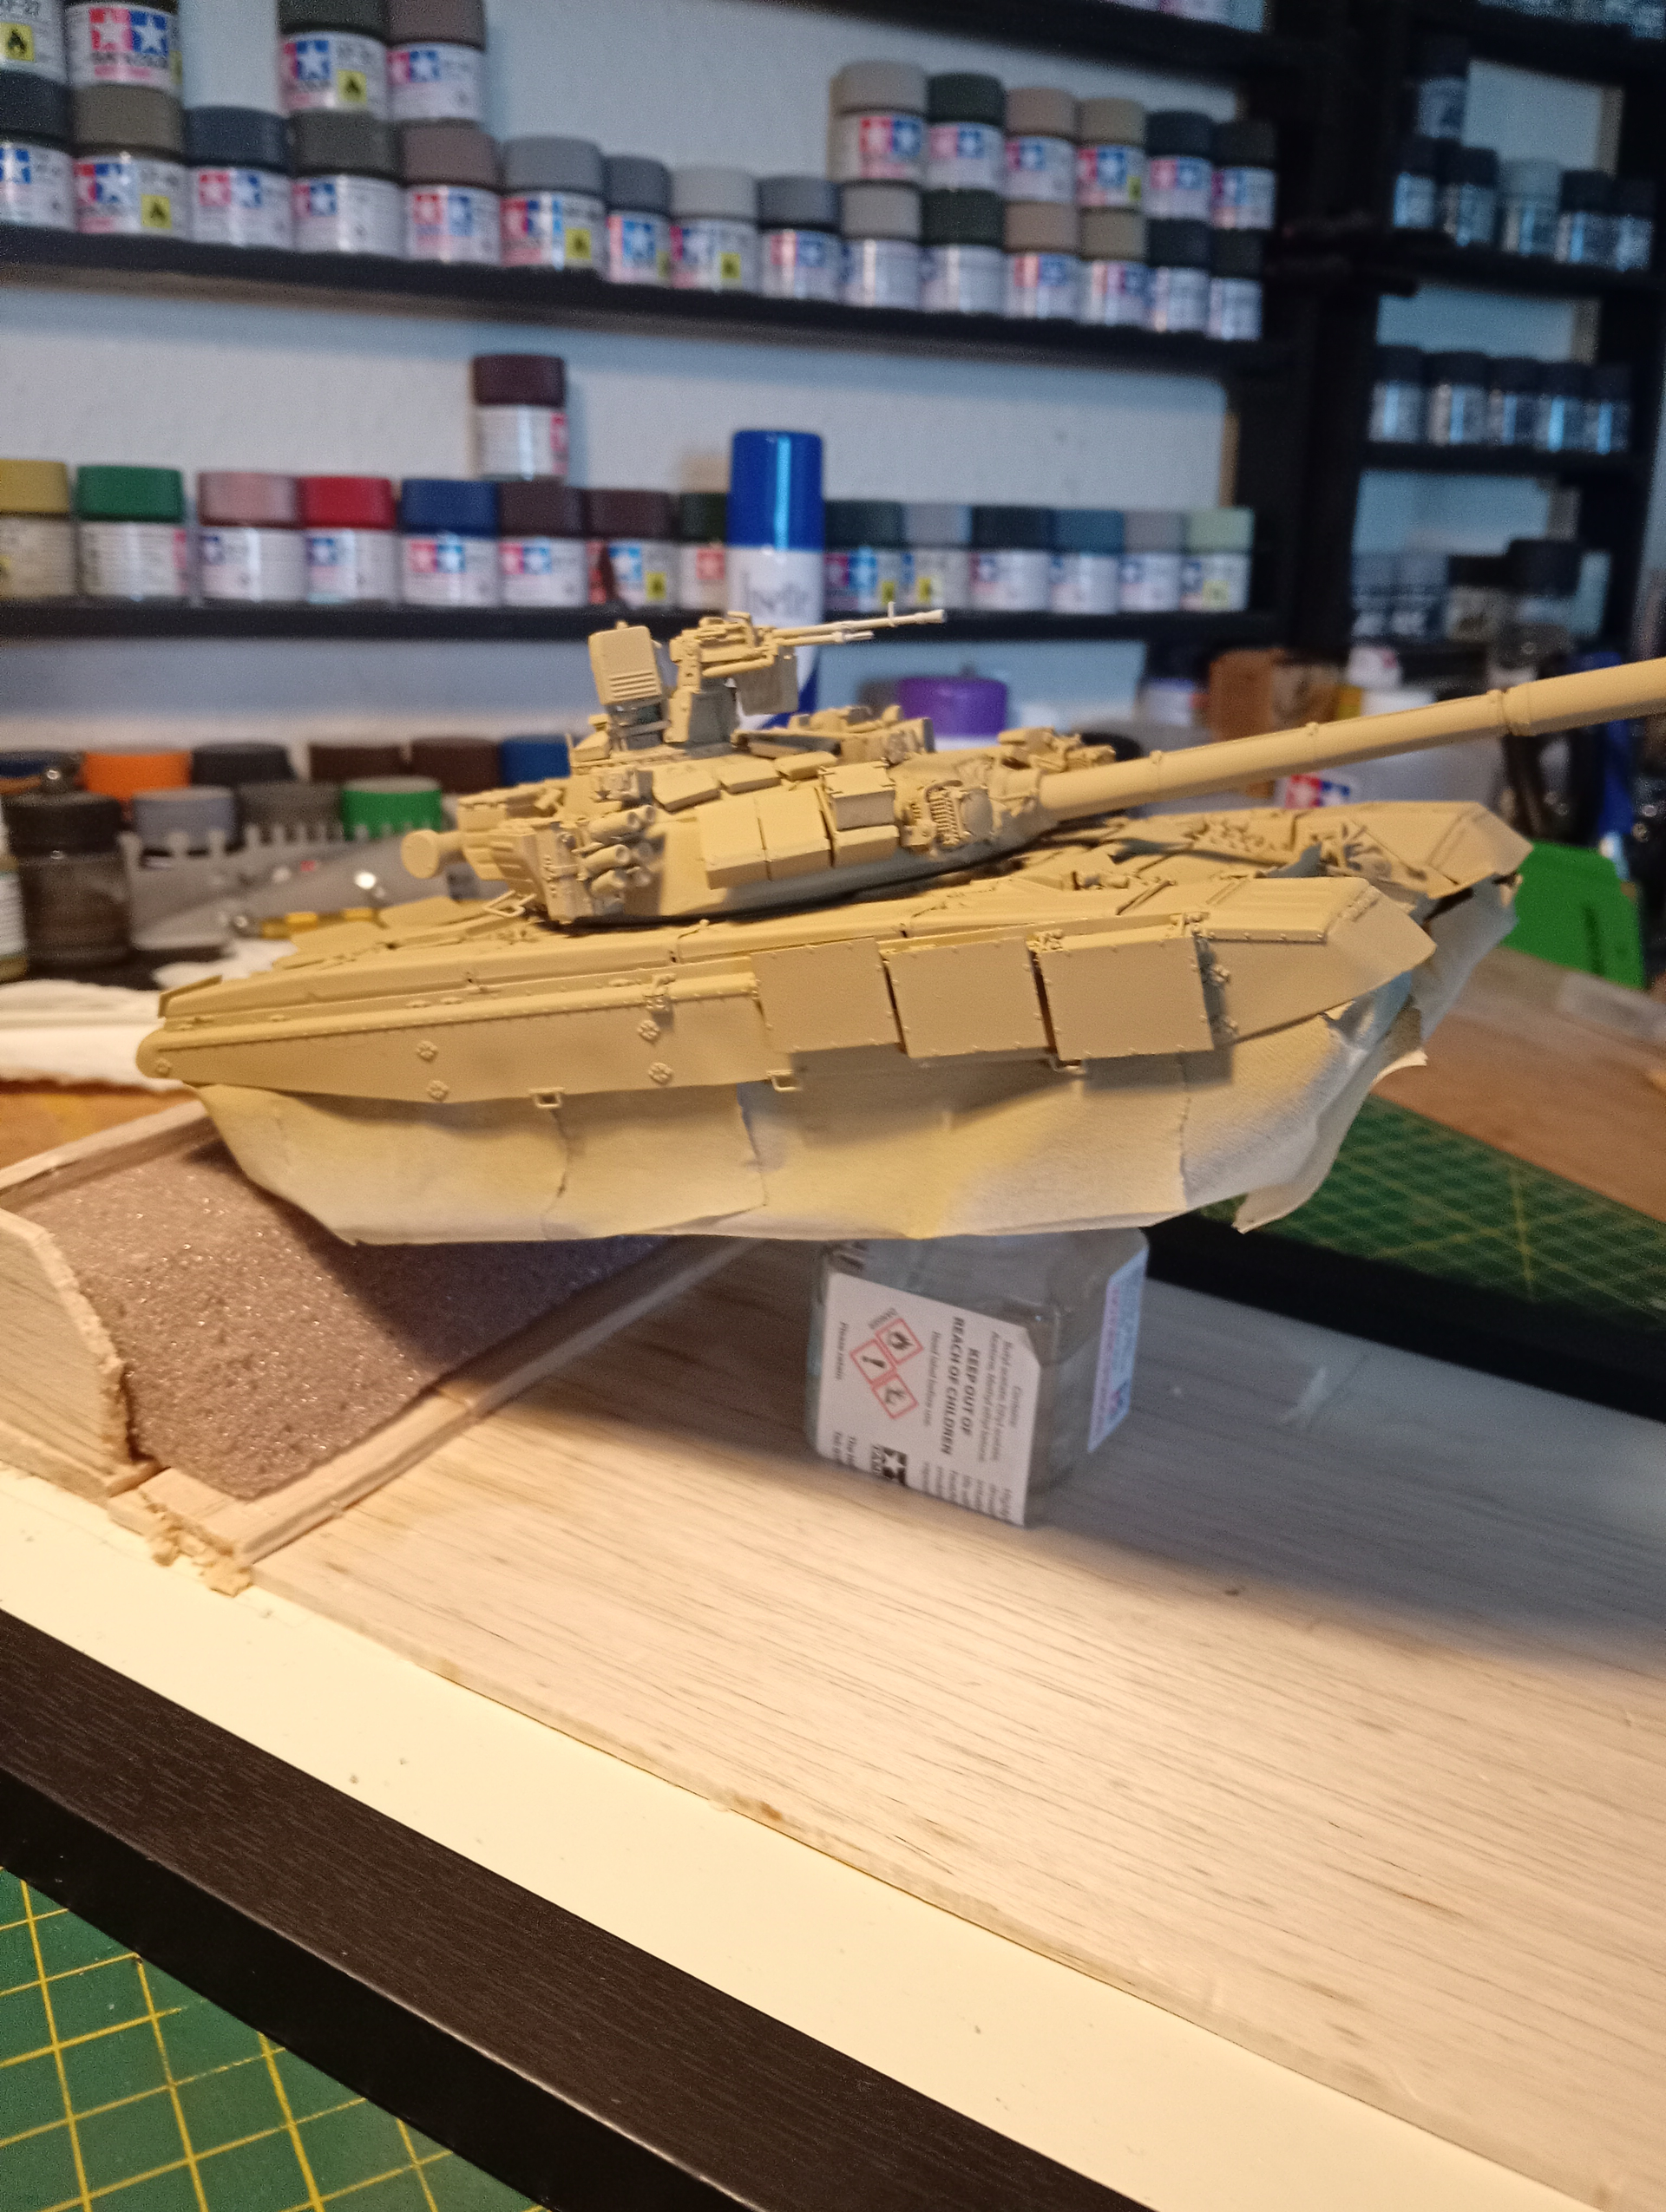
And the sandy base colour on the T90
And rough idea of how it will look once done …
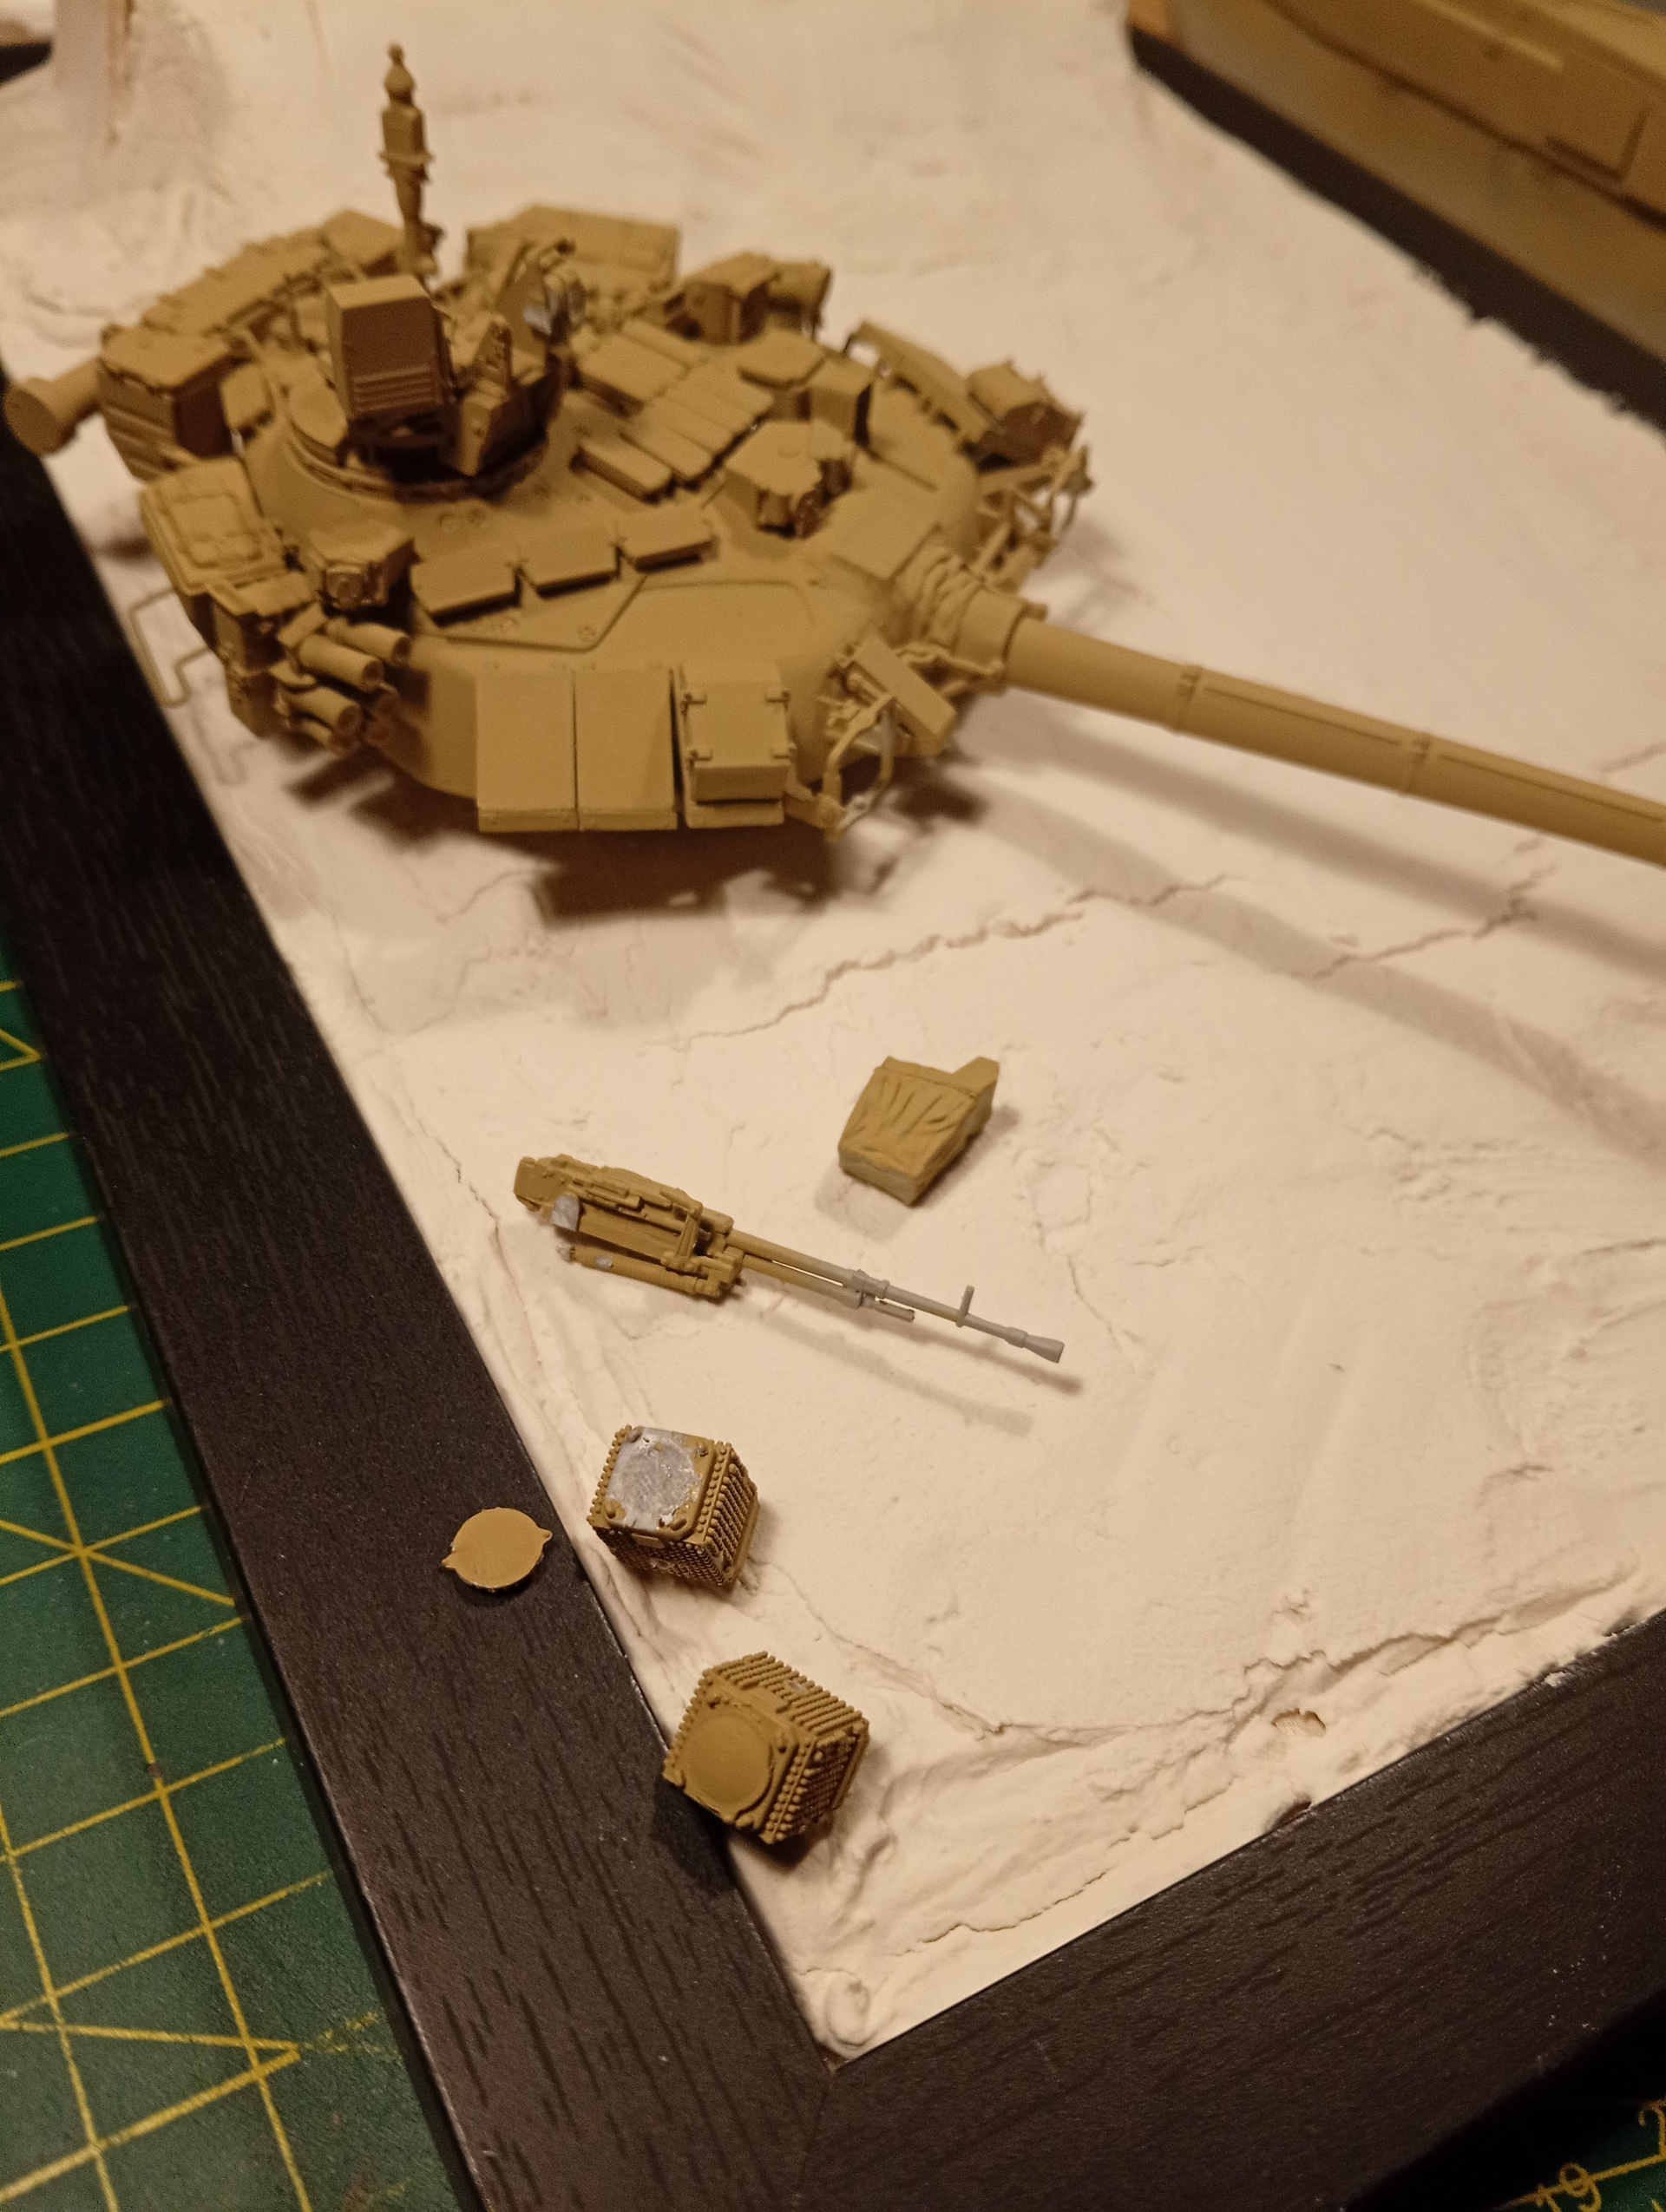
On checking the reference picture, I needed to do a bit deconstruction… The cupola MG is/was at wrong angle, so that needs adjusting and the front box sensors have the covers removed, so they need to be removed
Have returned to this project. Using AK real colour RLM66 marker to do the camo. Much more pleasant than trying to mask it off. Made a critical error not installing the tires before painting. All my paint flaked off the rubber wheels. Wish I had replaced them with resin, oh well
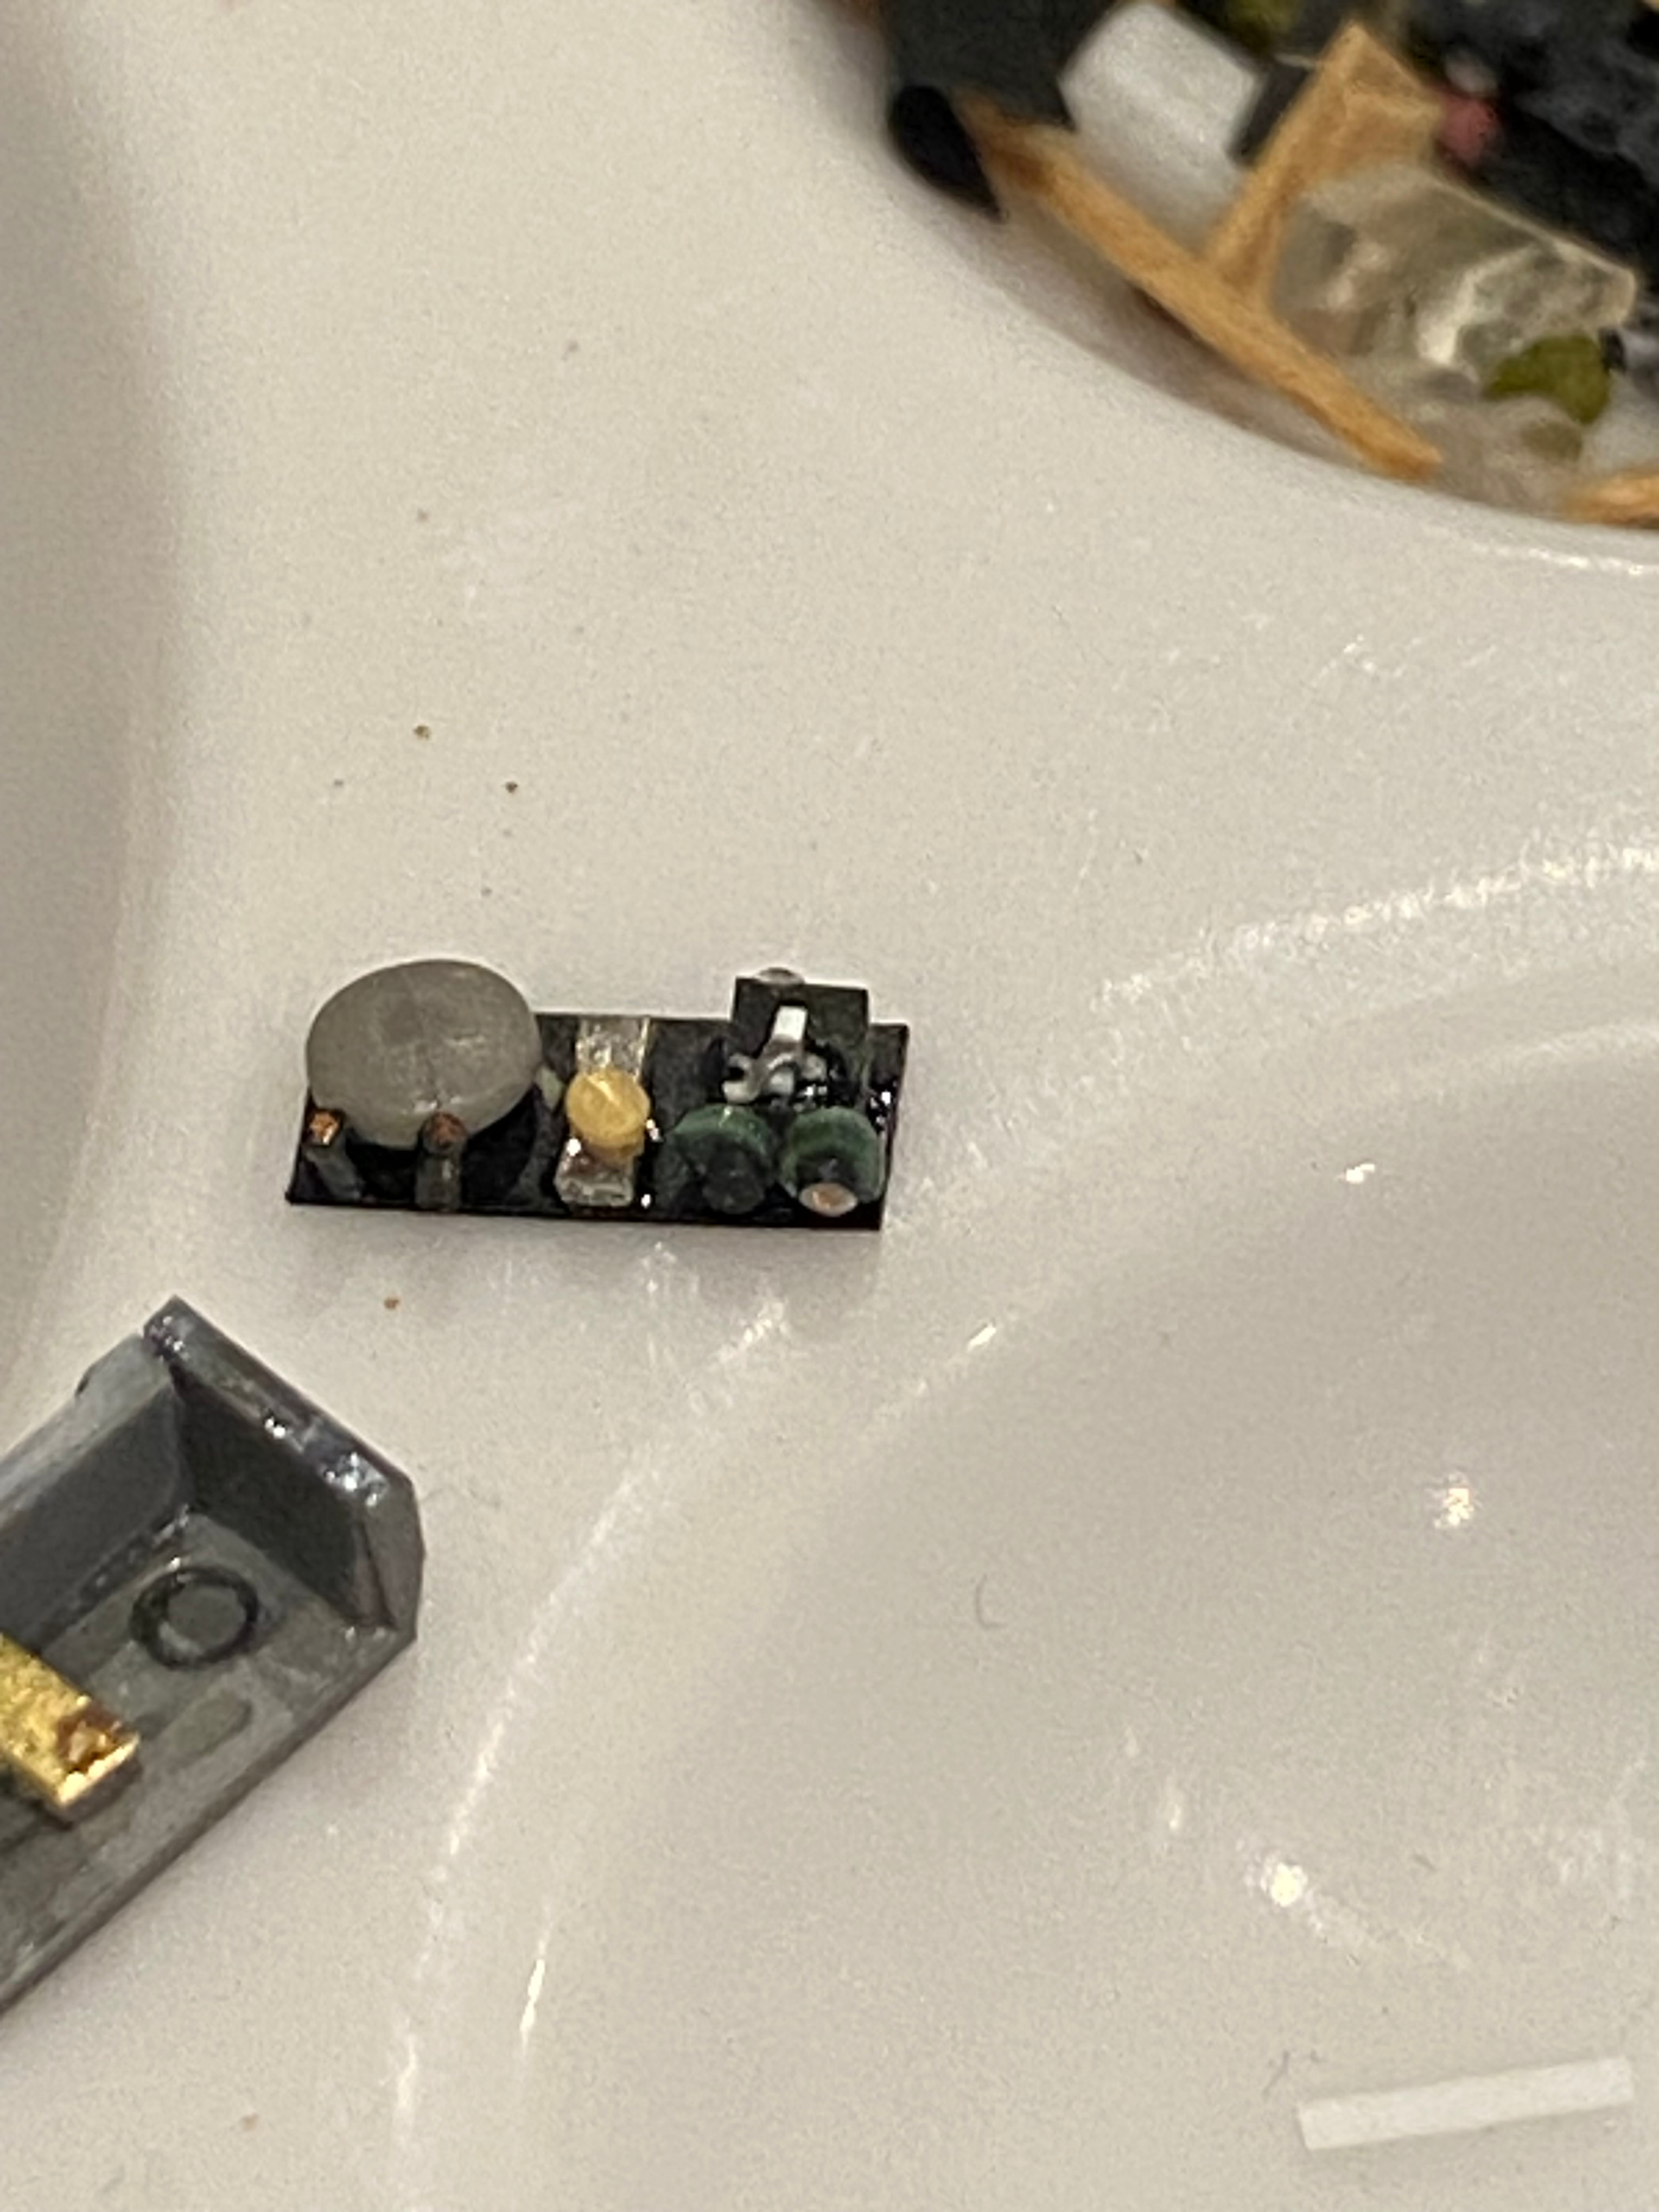
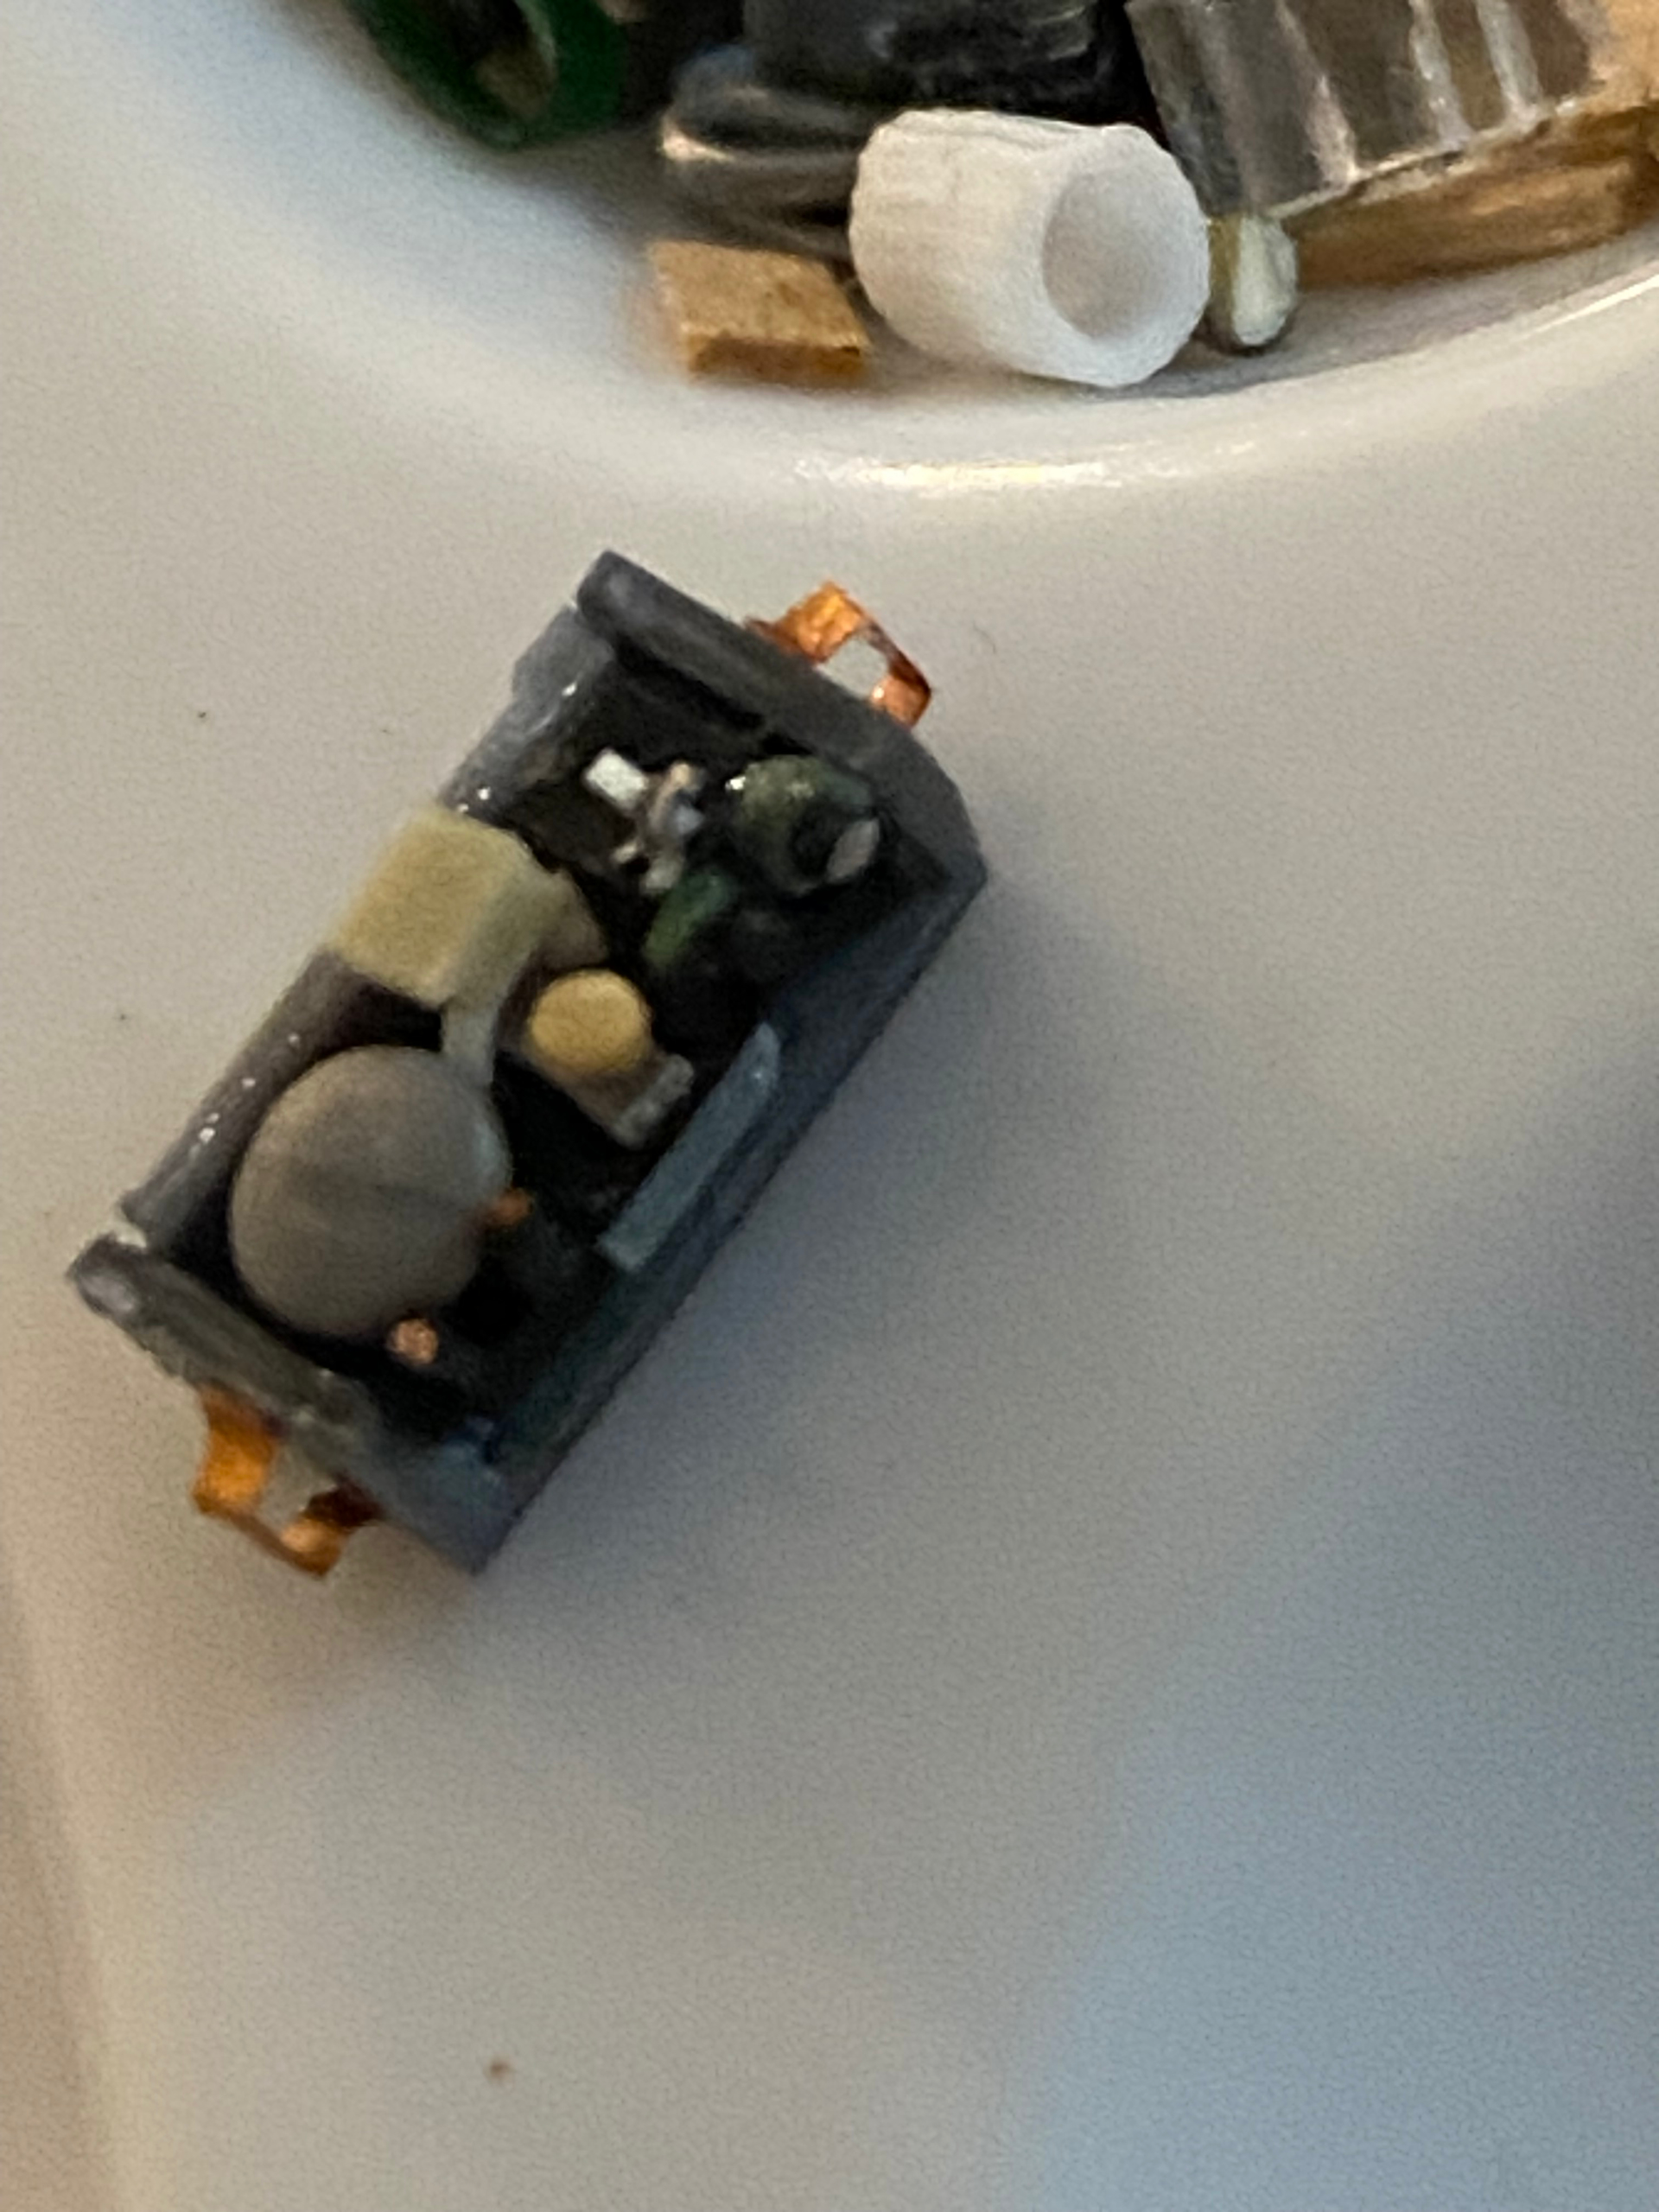
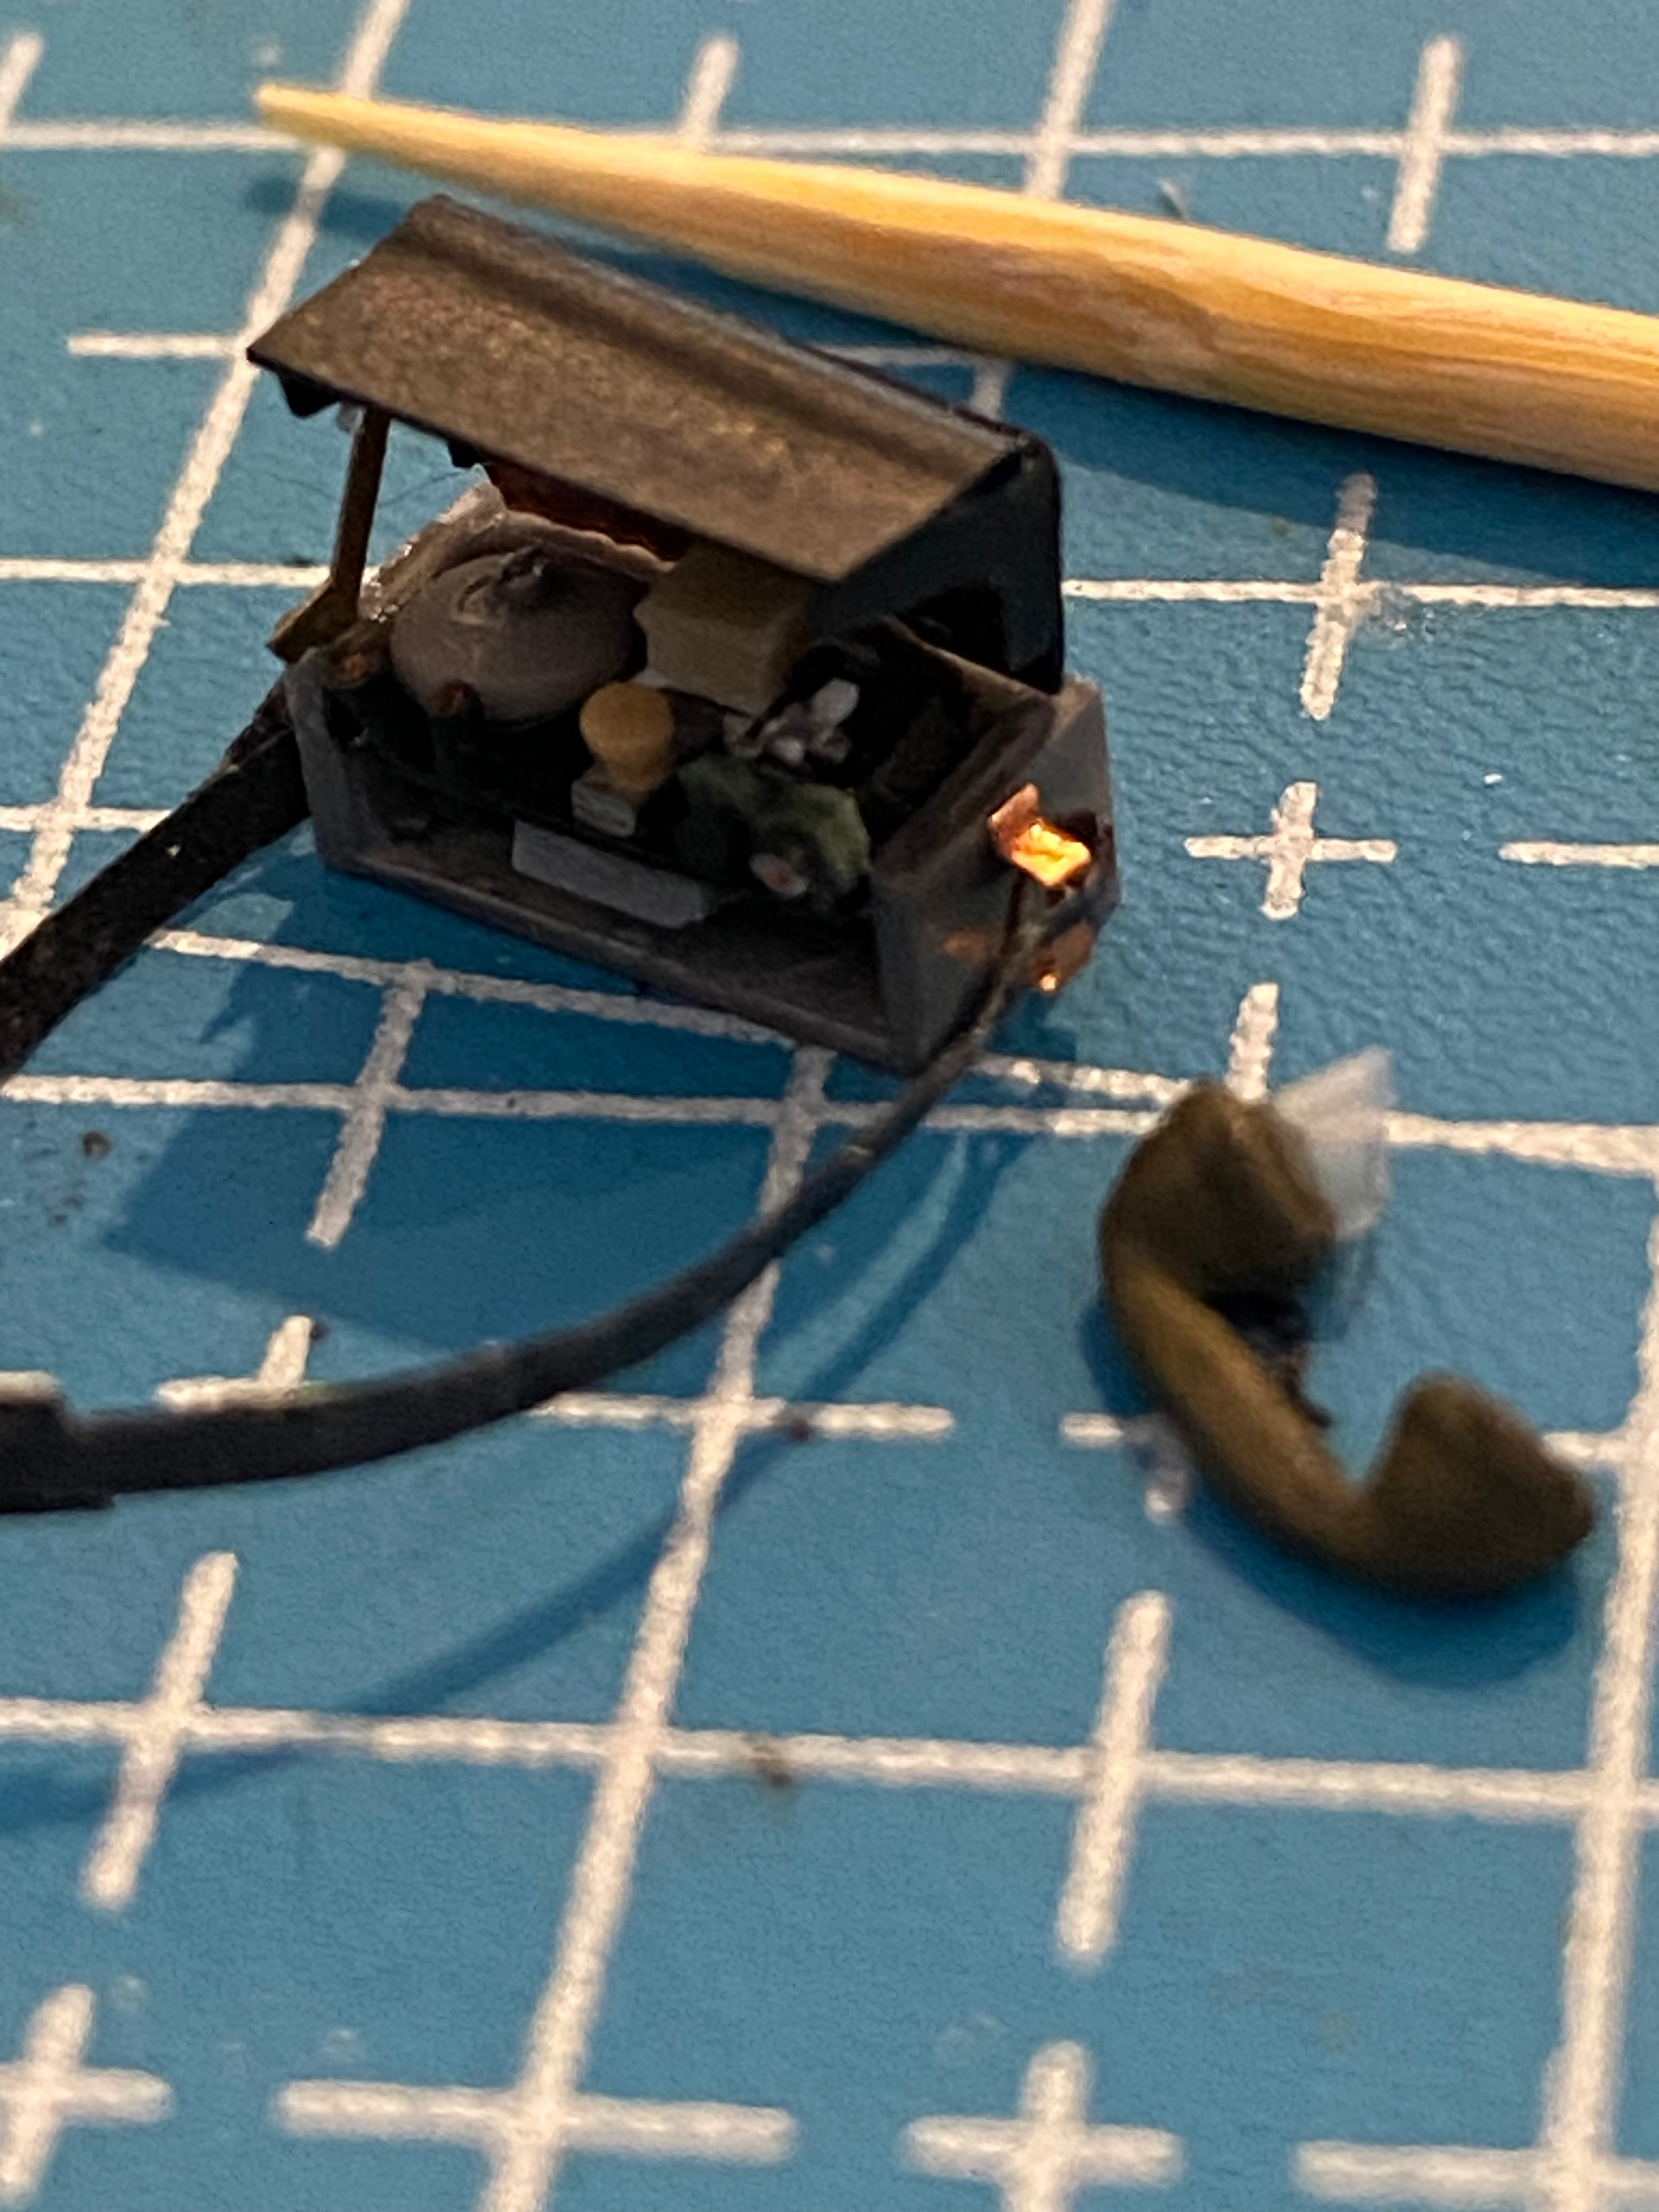
I’m diving into various parts of the builds and basically building both photos at once. Looking at the field phone now. It’s a D Mk V so, not having one I decided to build it.
Photo ref first then build stages. Final photo is with binoculars, binocular case and a scratch built ‘flimsy’ can (for the other scene).
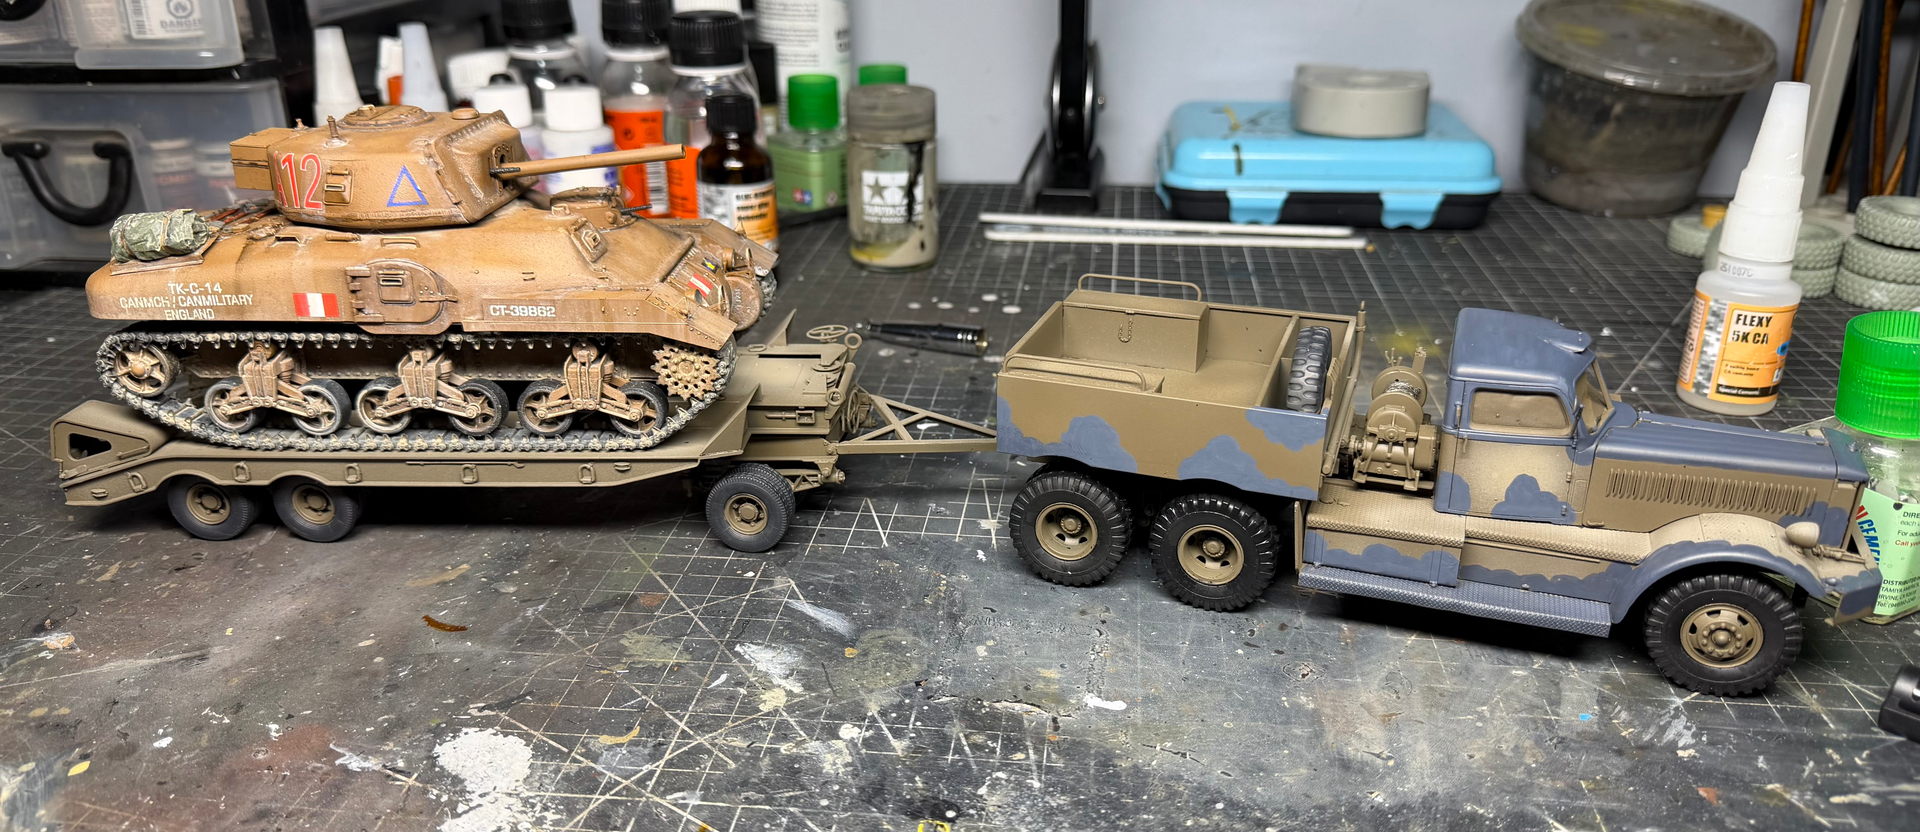
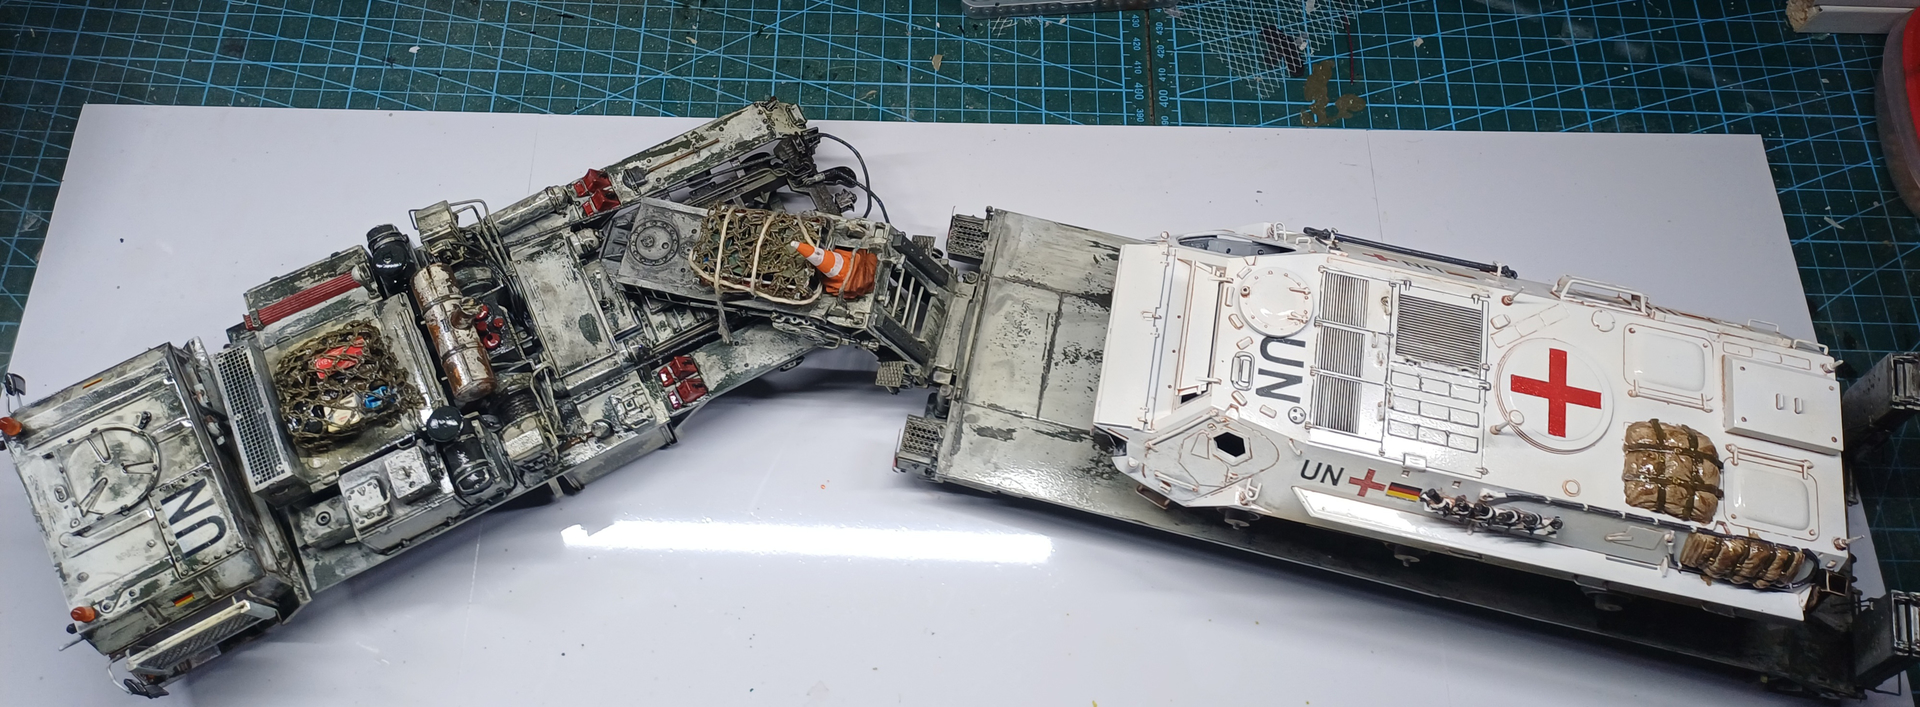
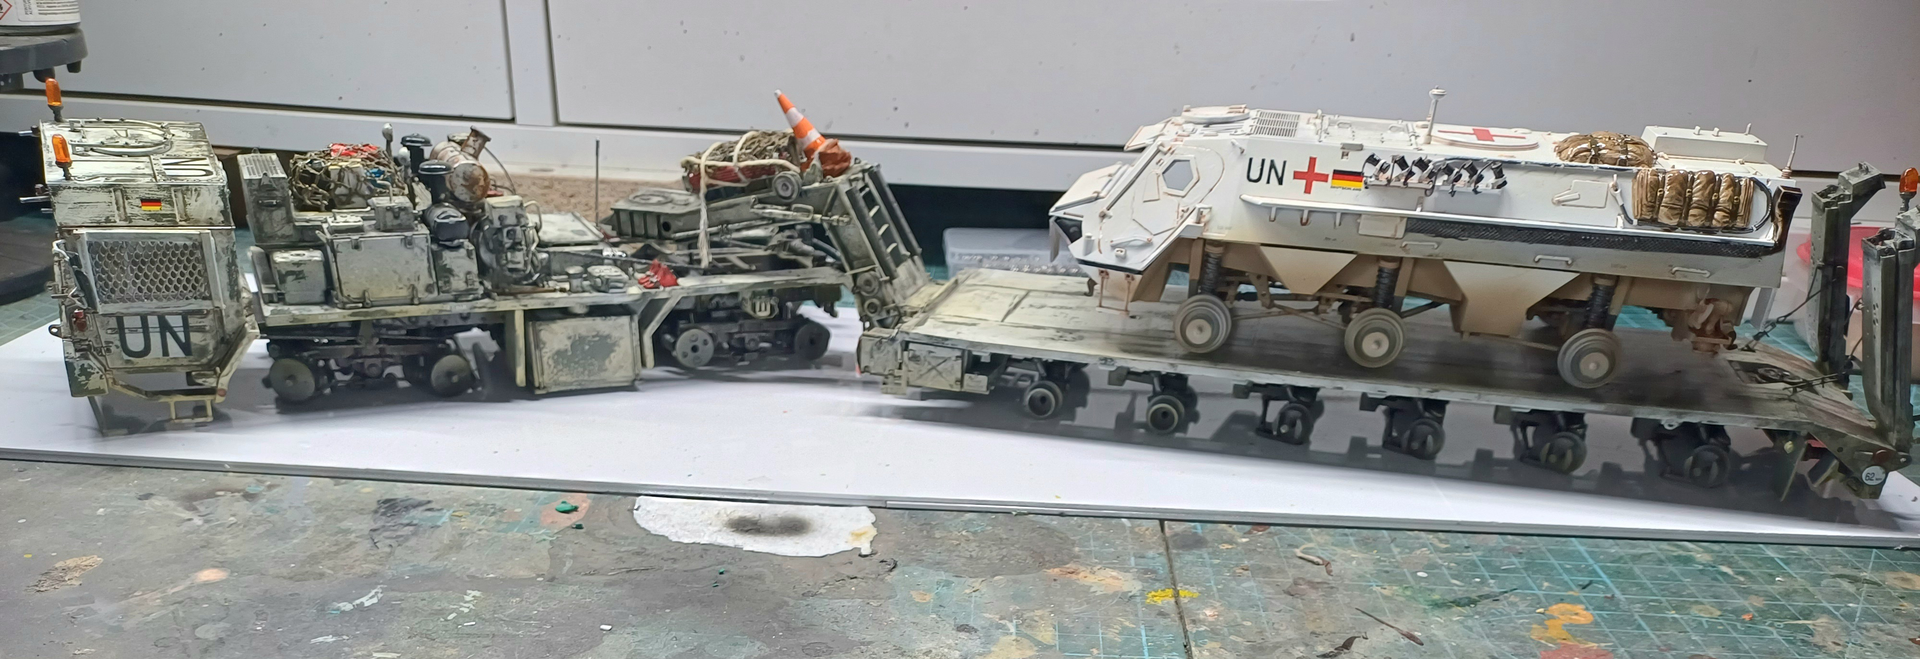
As the shelves in my cabinet are 56,5 cm long, and this combination is 60… it will need to be positioned like this…
Lovely scratch building Sam for those scenes. Always nice to see that
Looks super Bert. I think sometimes a wagon and trailer combo looks a bit better when displayed with a slight turn … adds to the look
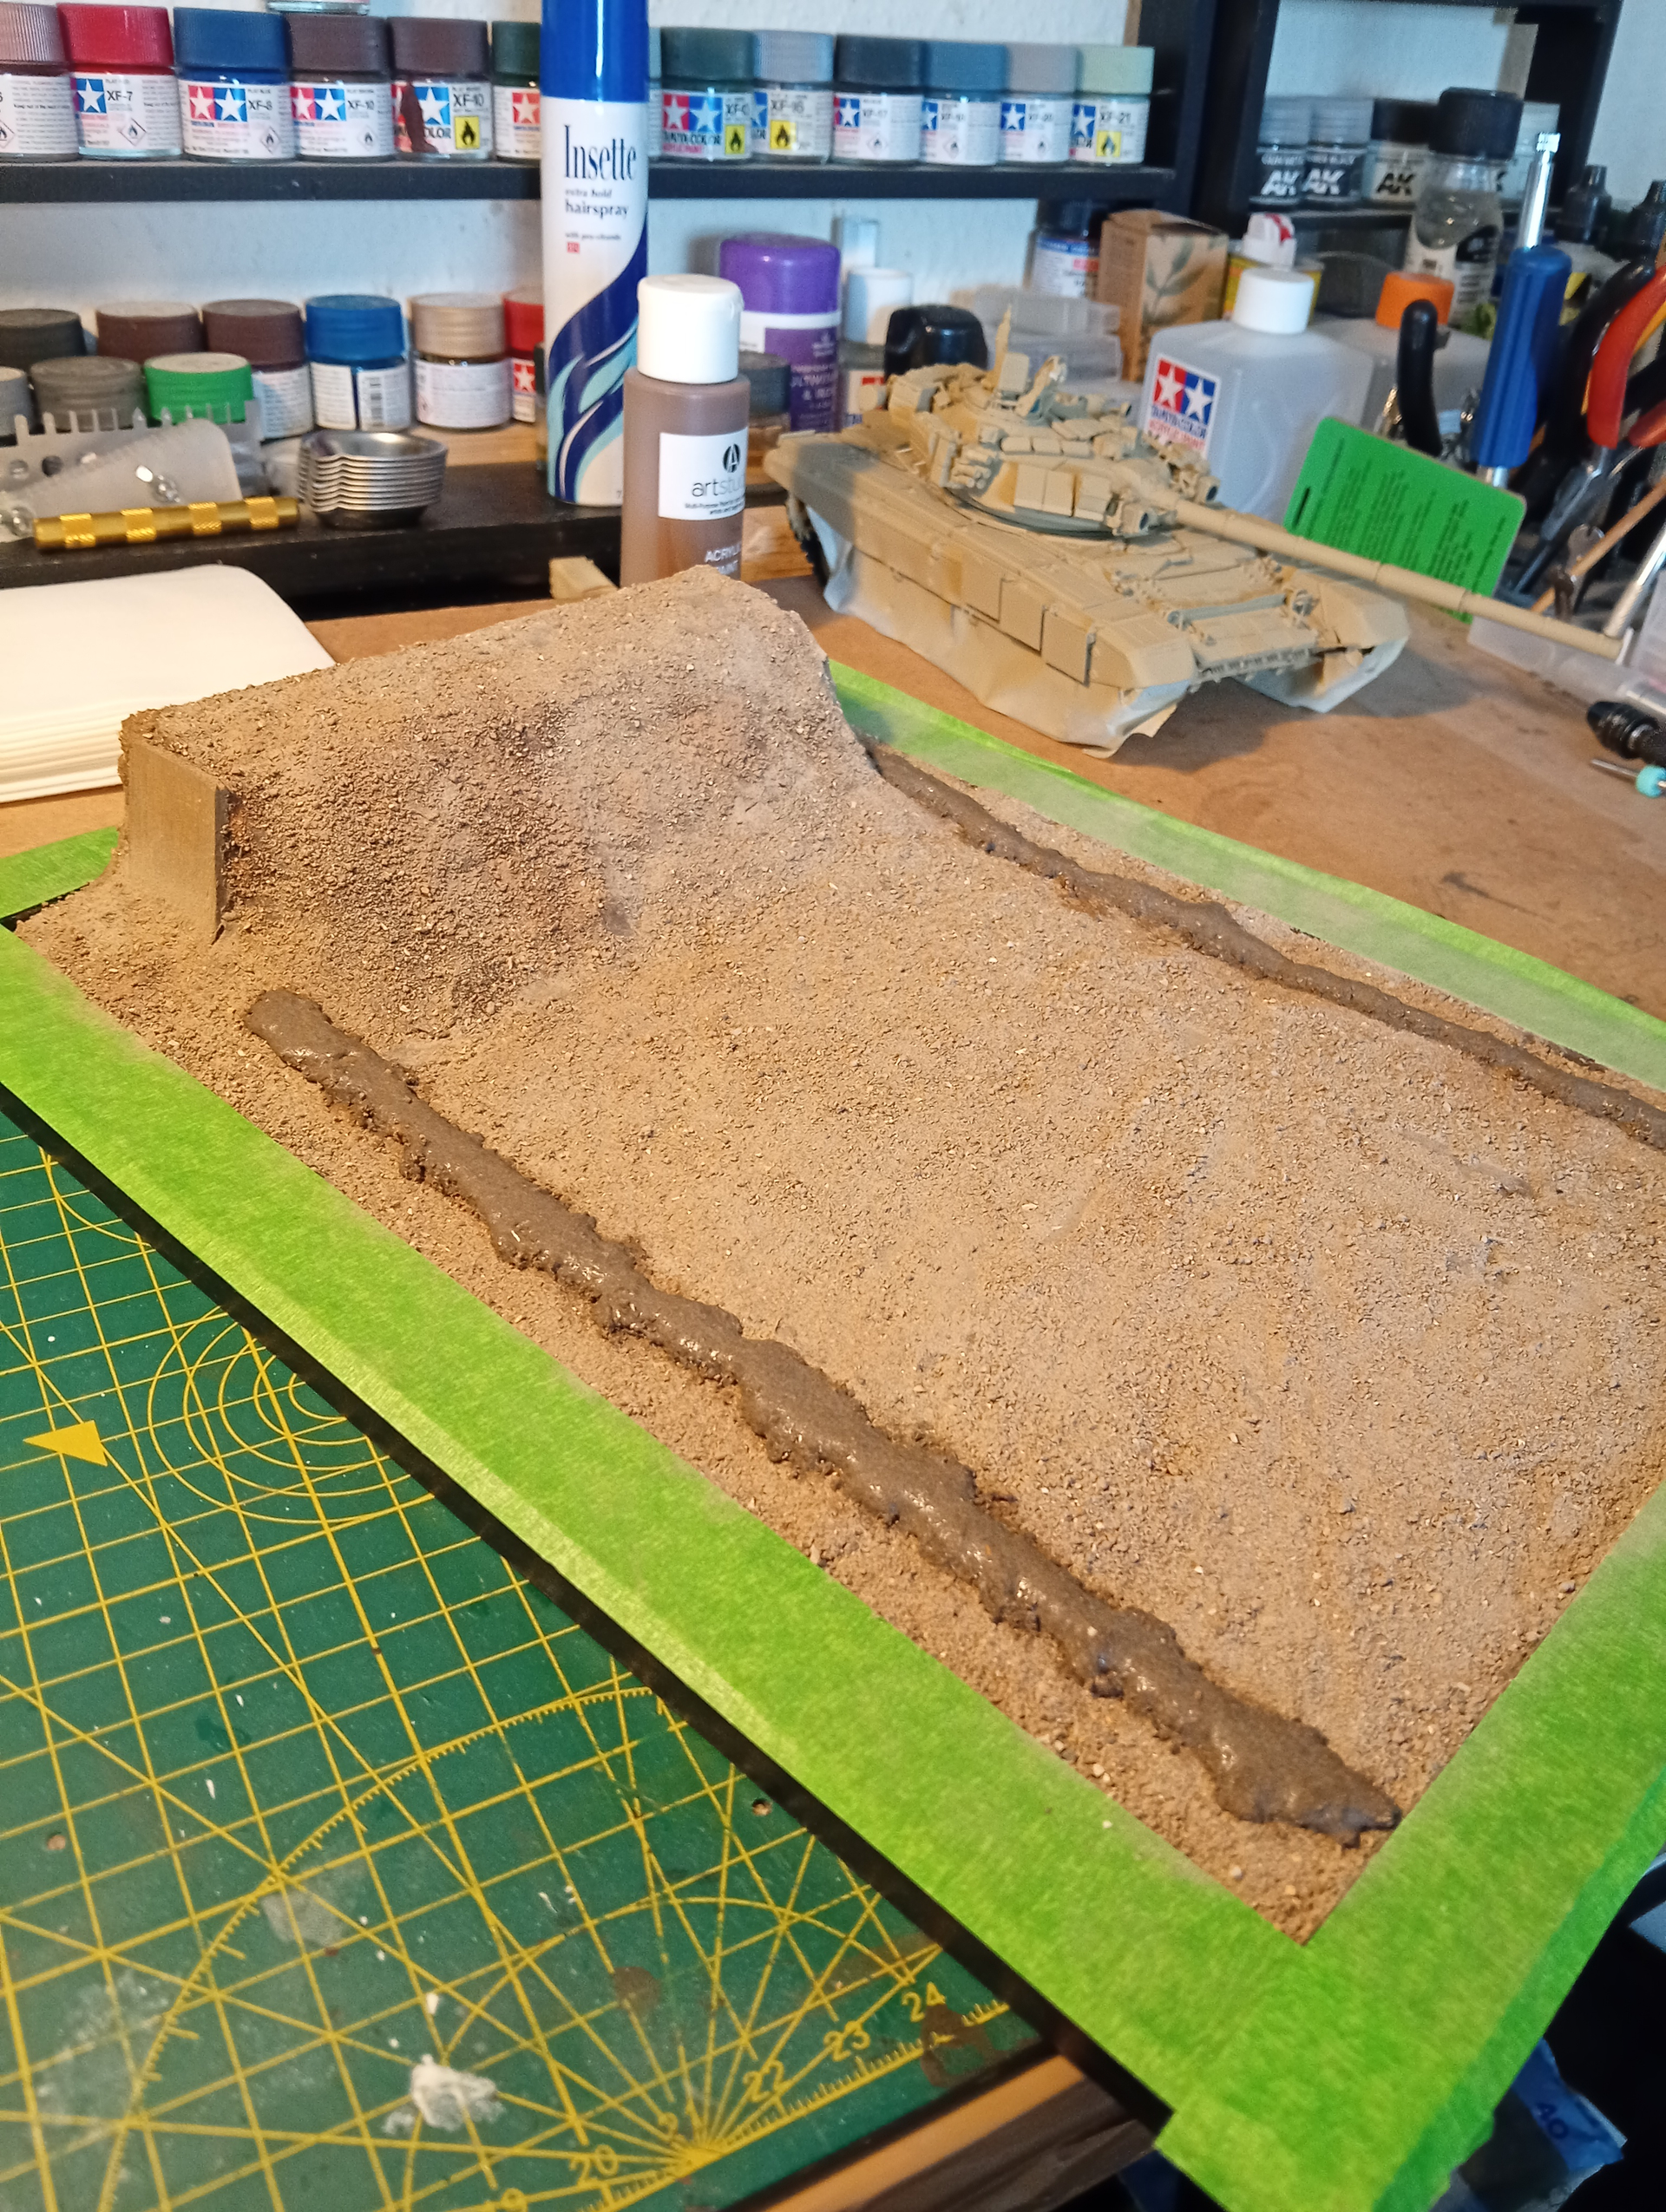
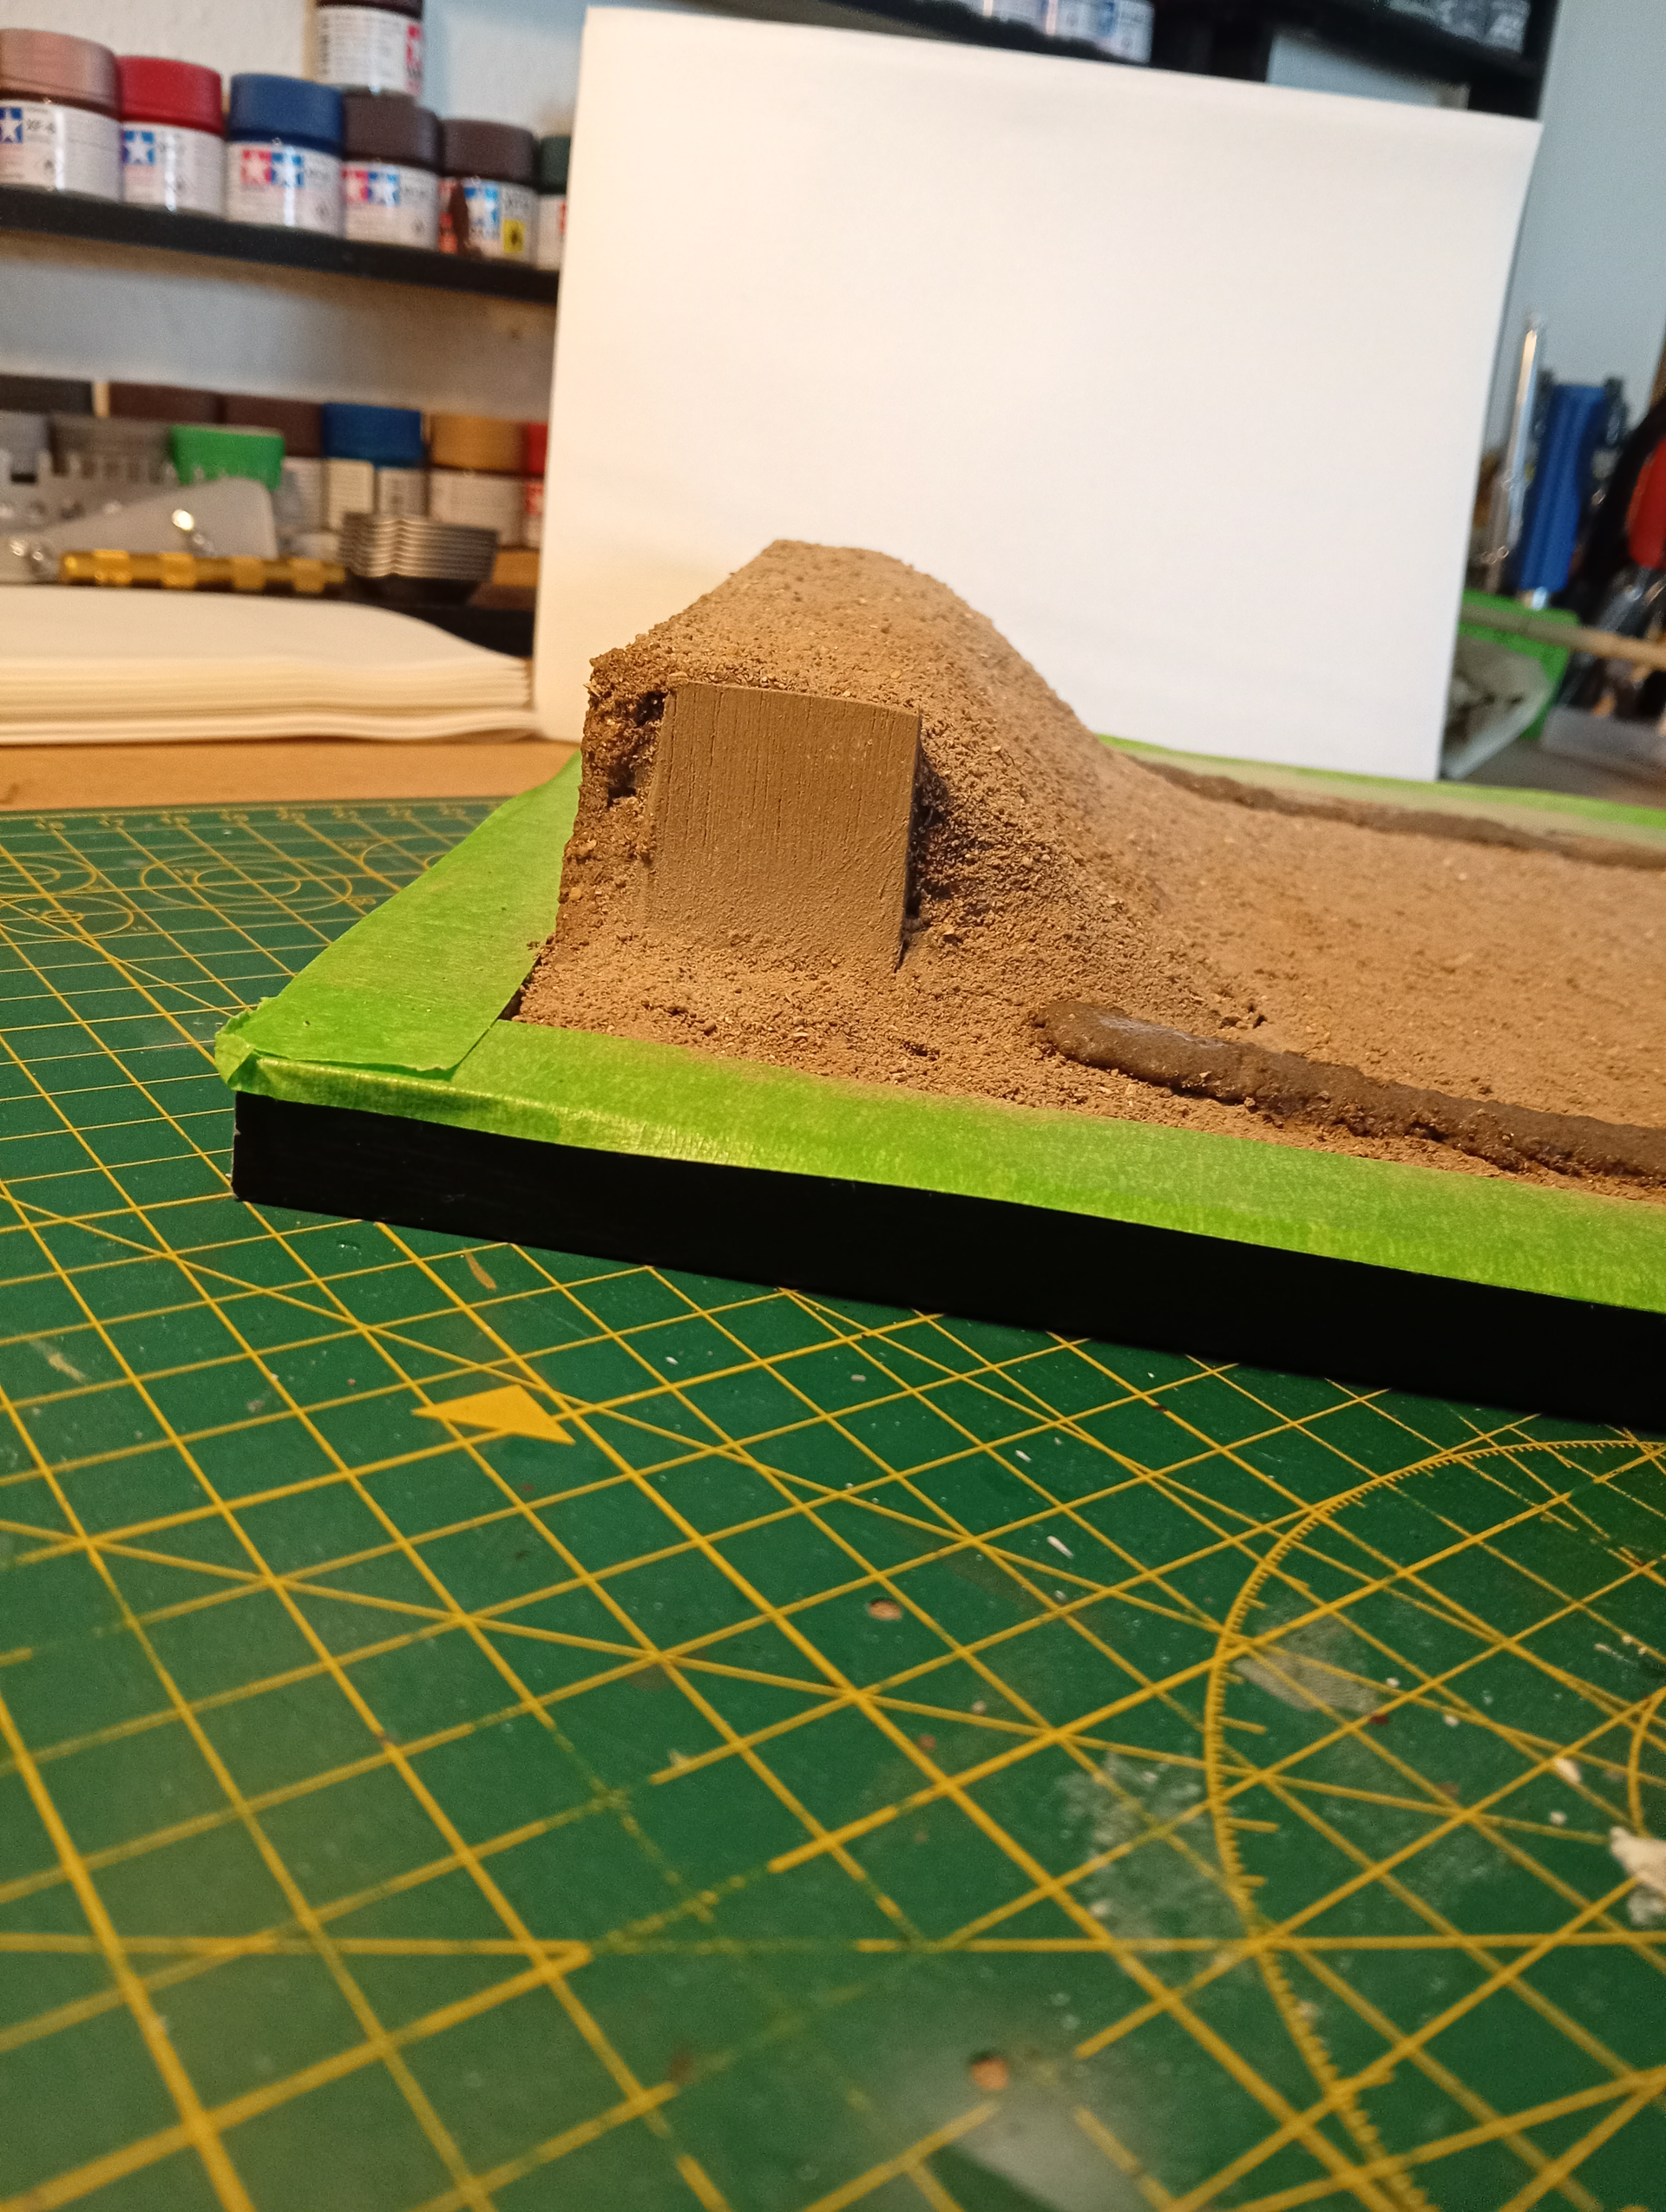
Some ground work on the base scene.
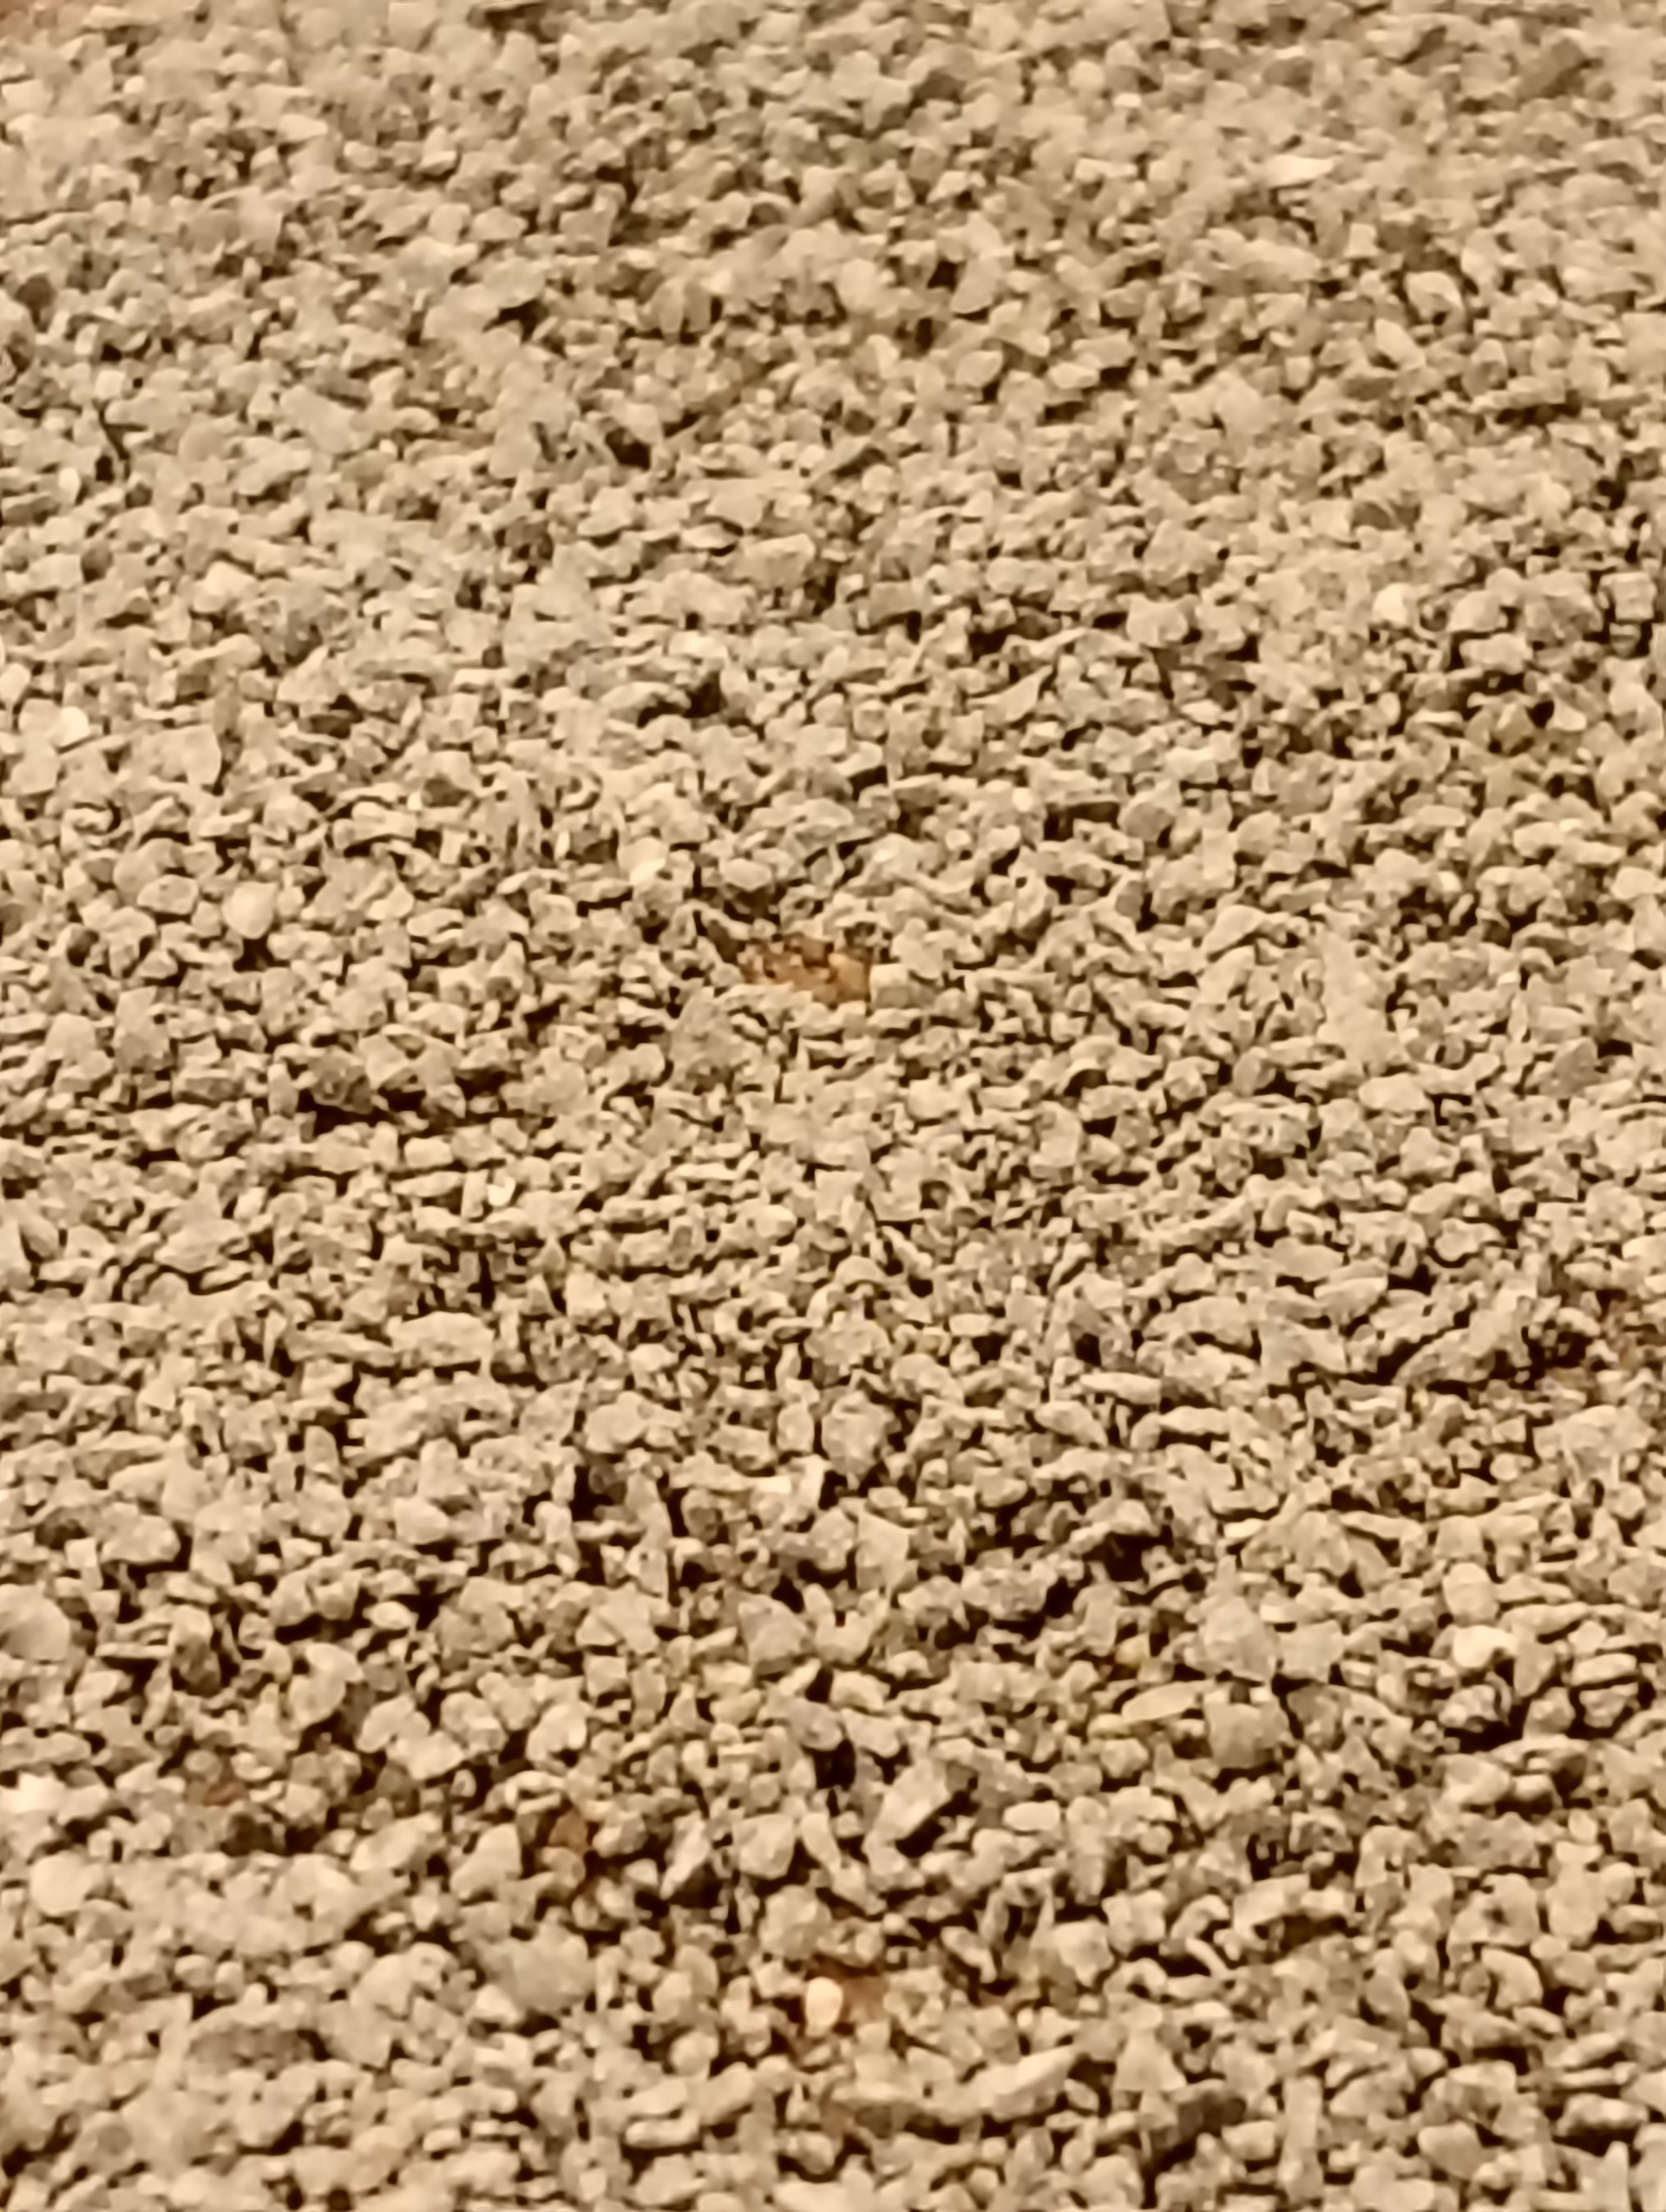
Soil is actual real soil dried and sieved.
The 2 thin darker raised lines are the demarcation ridge up to the track area. These will be recovered with fine sieved soil to blend it in…
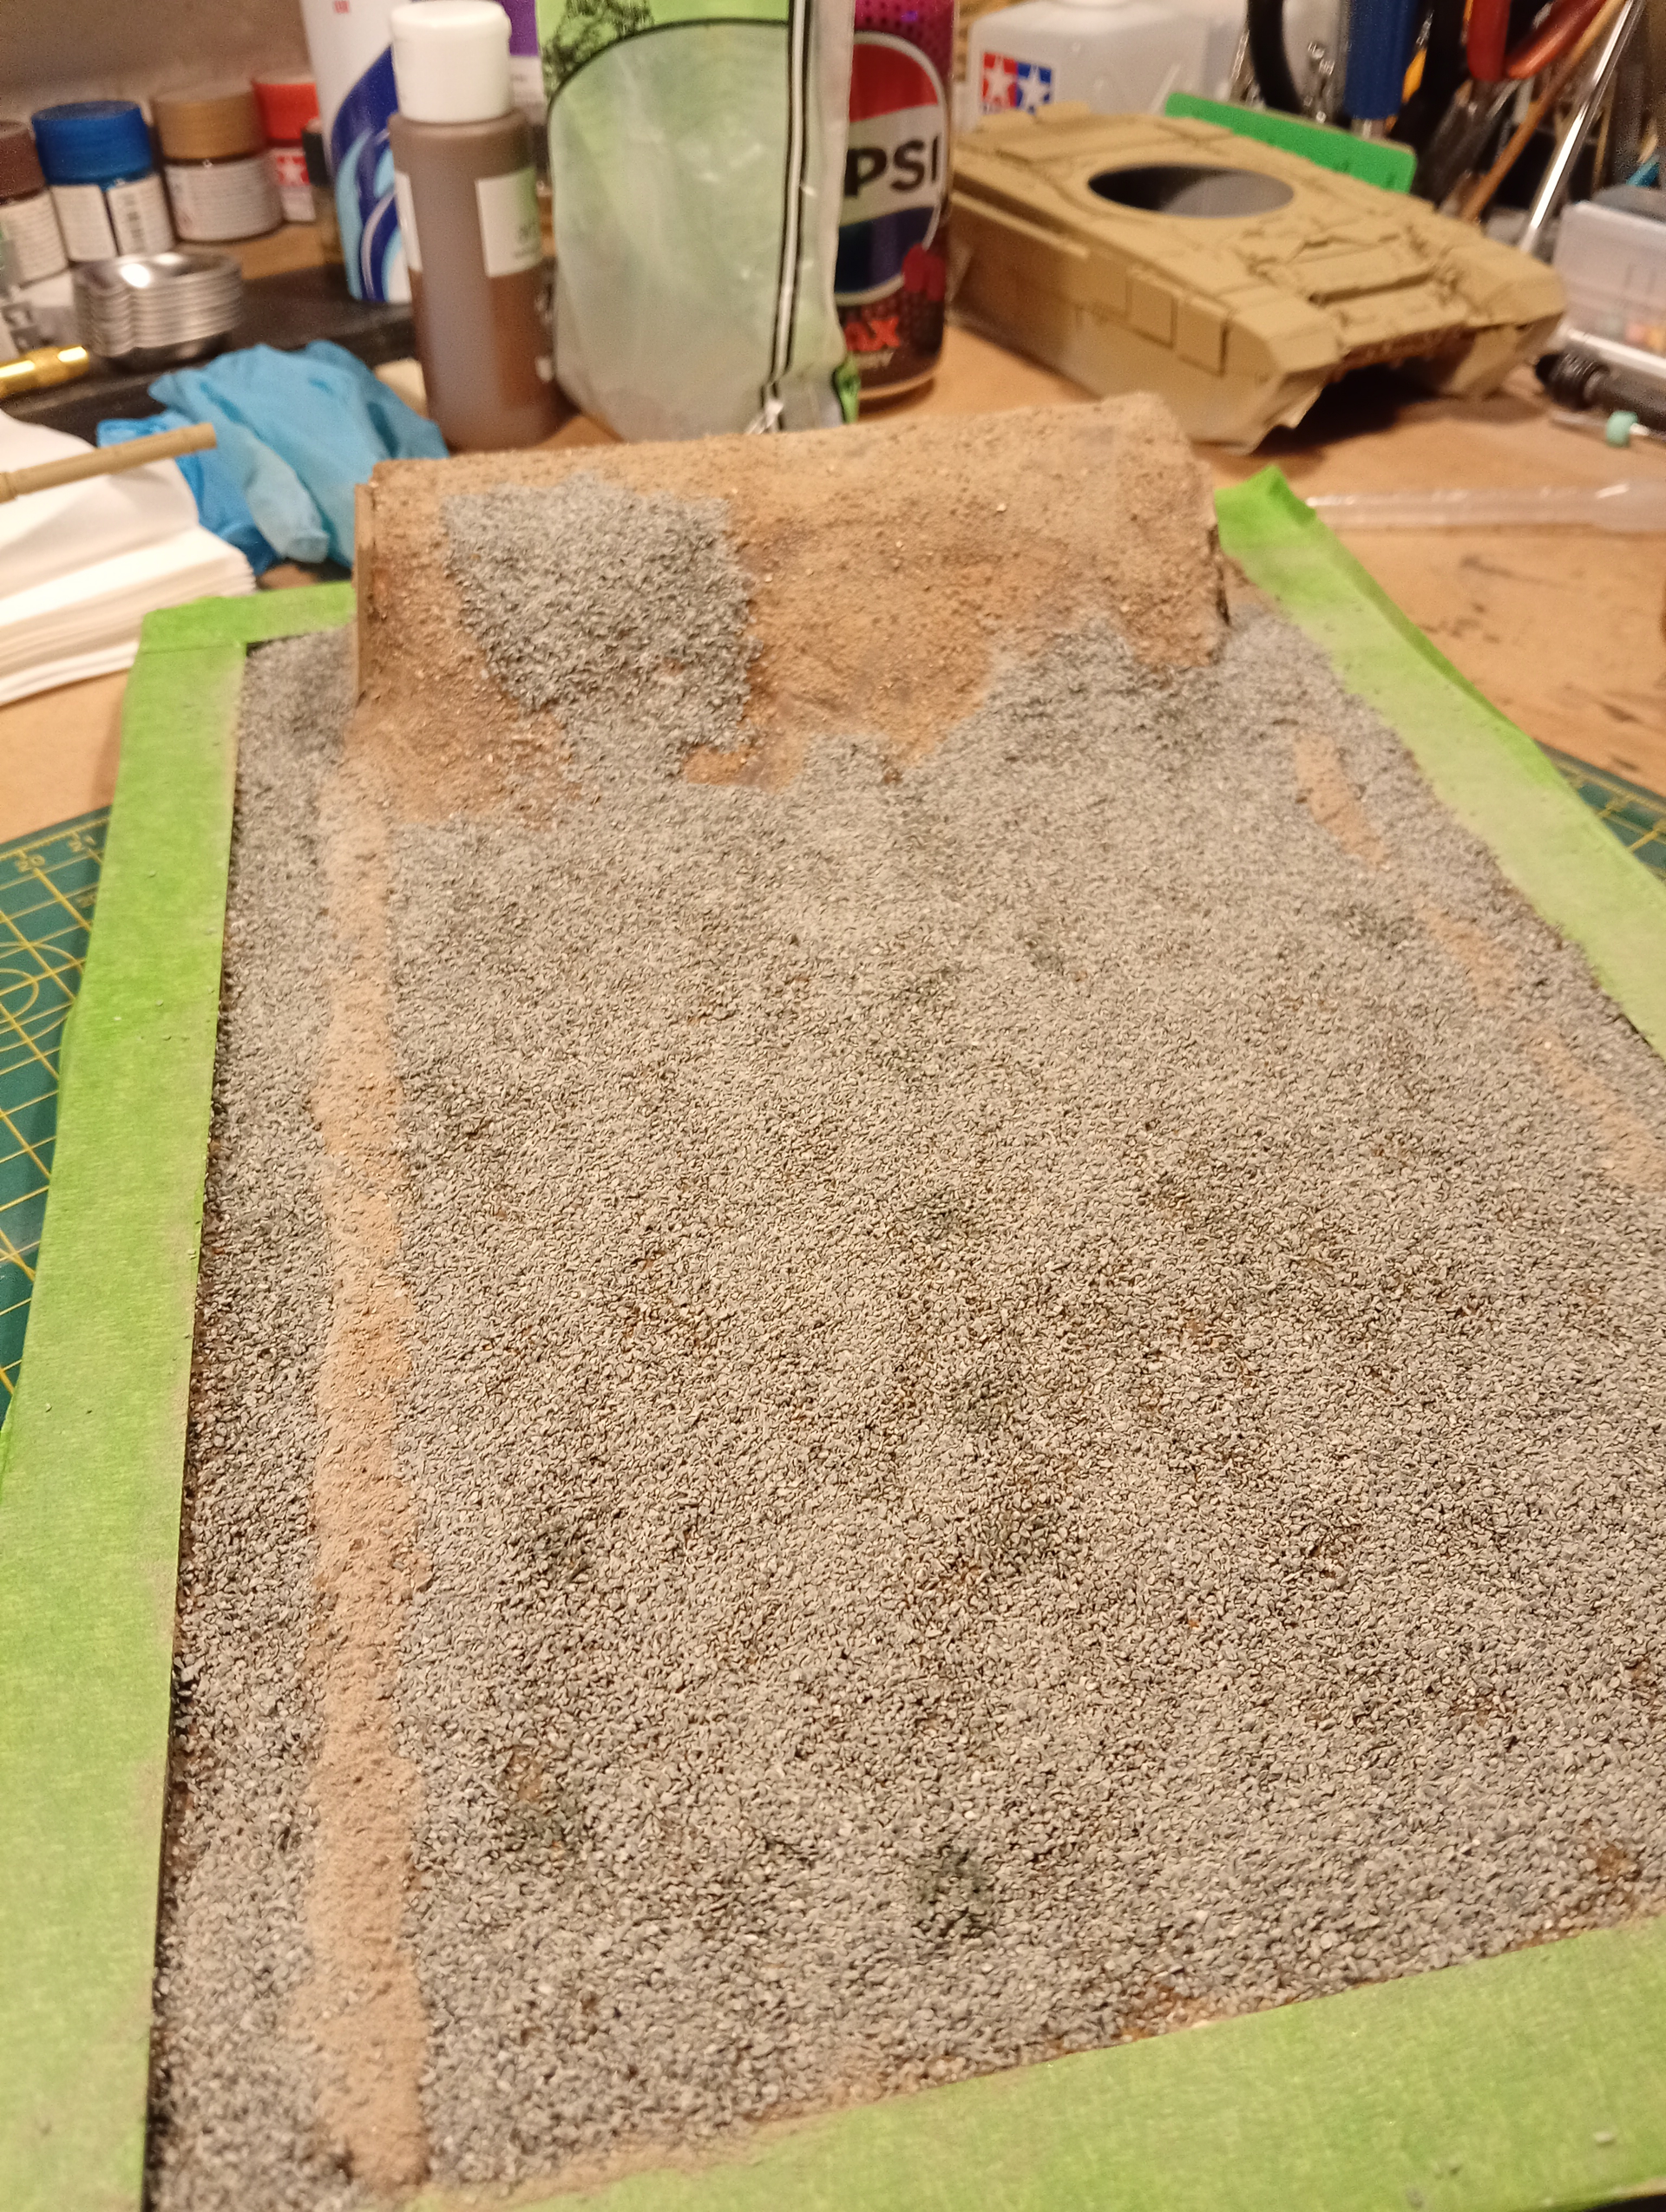
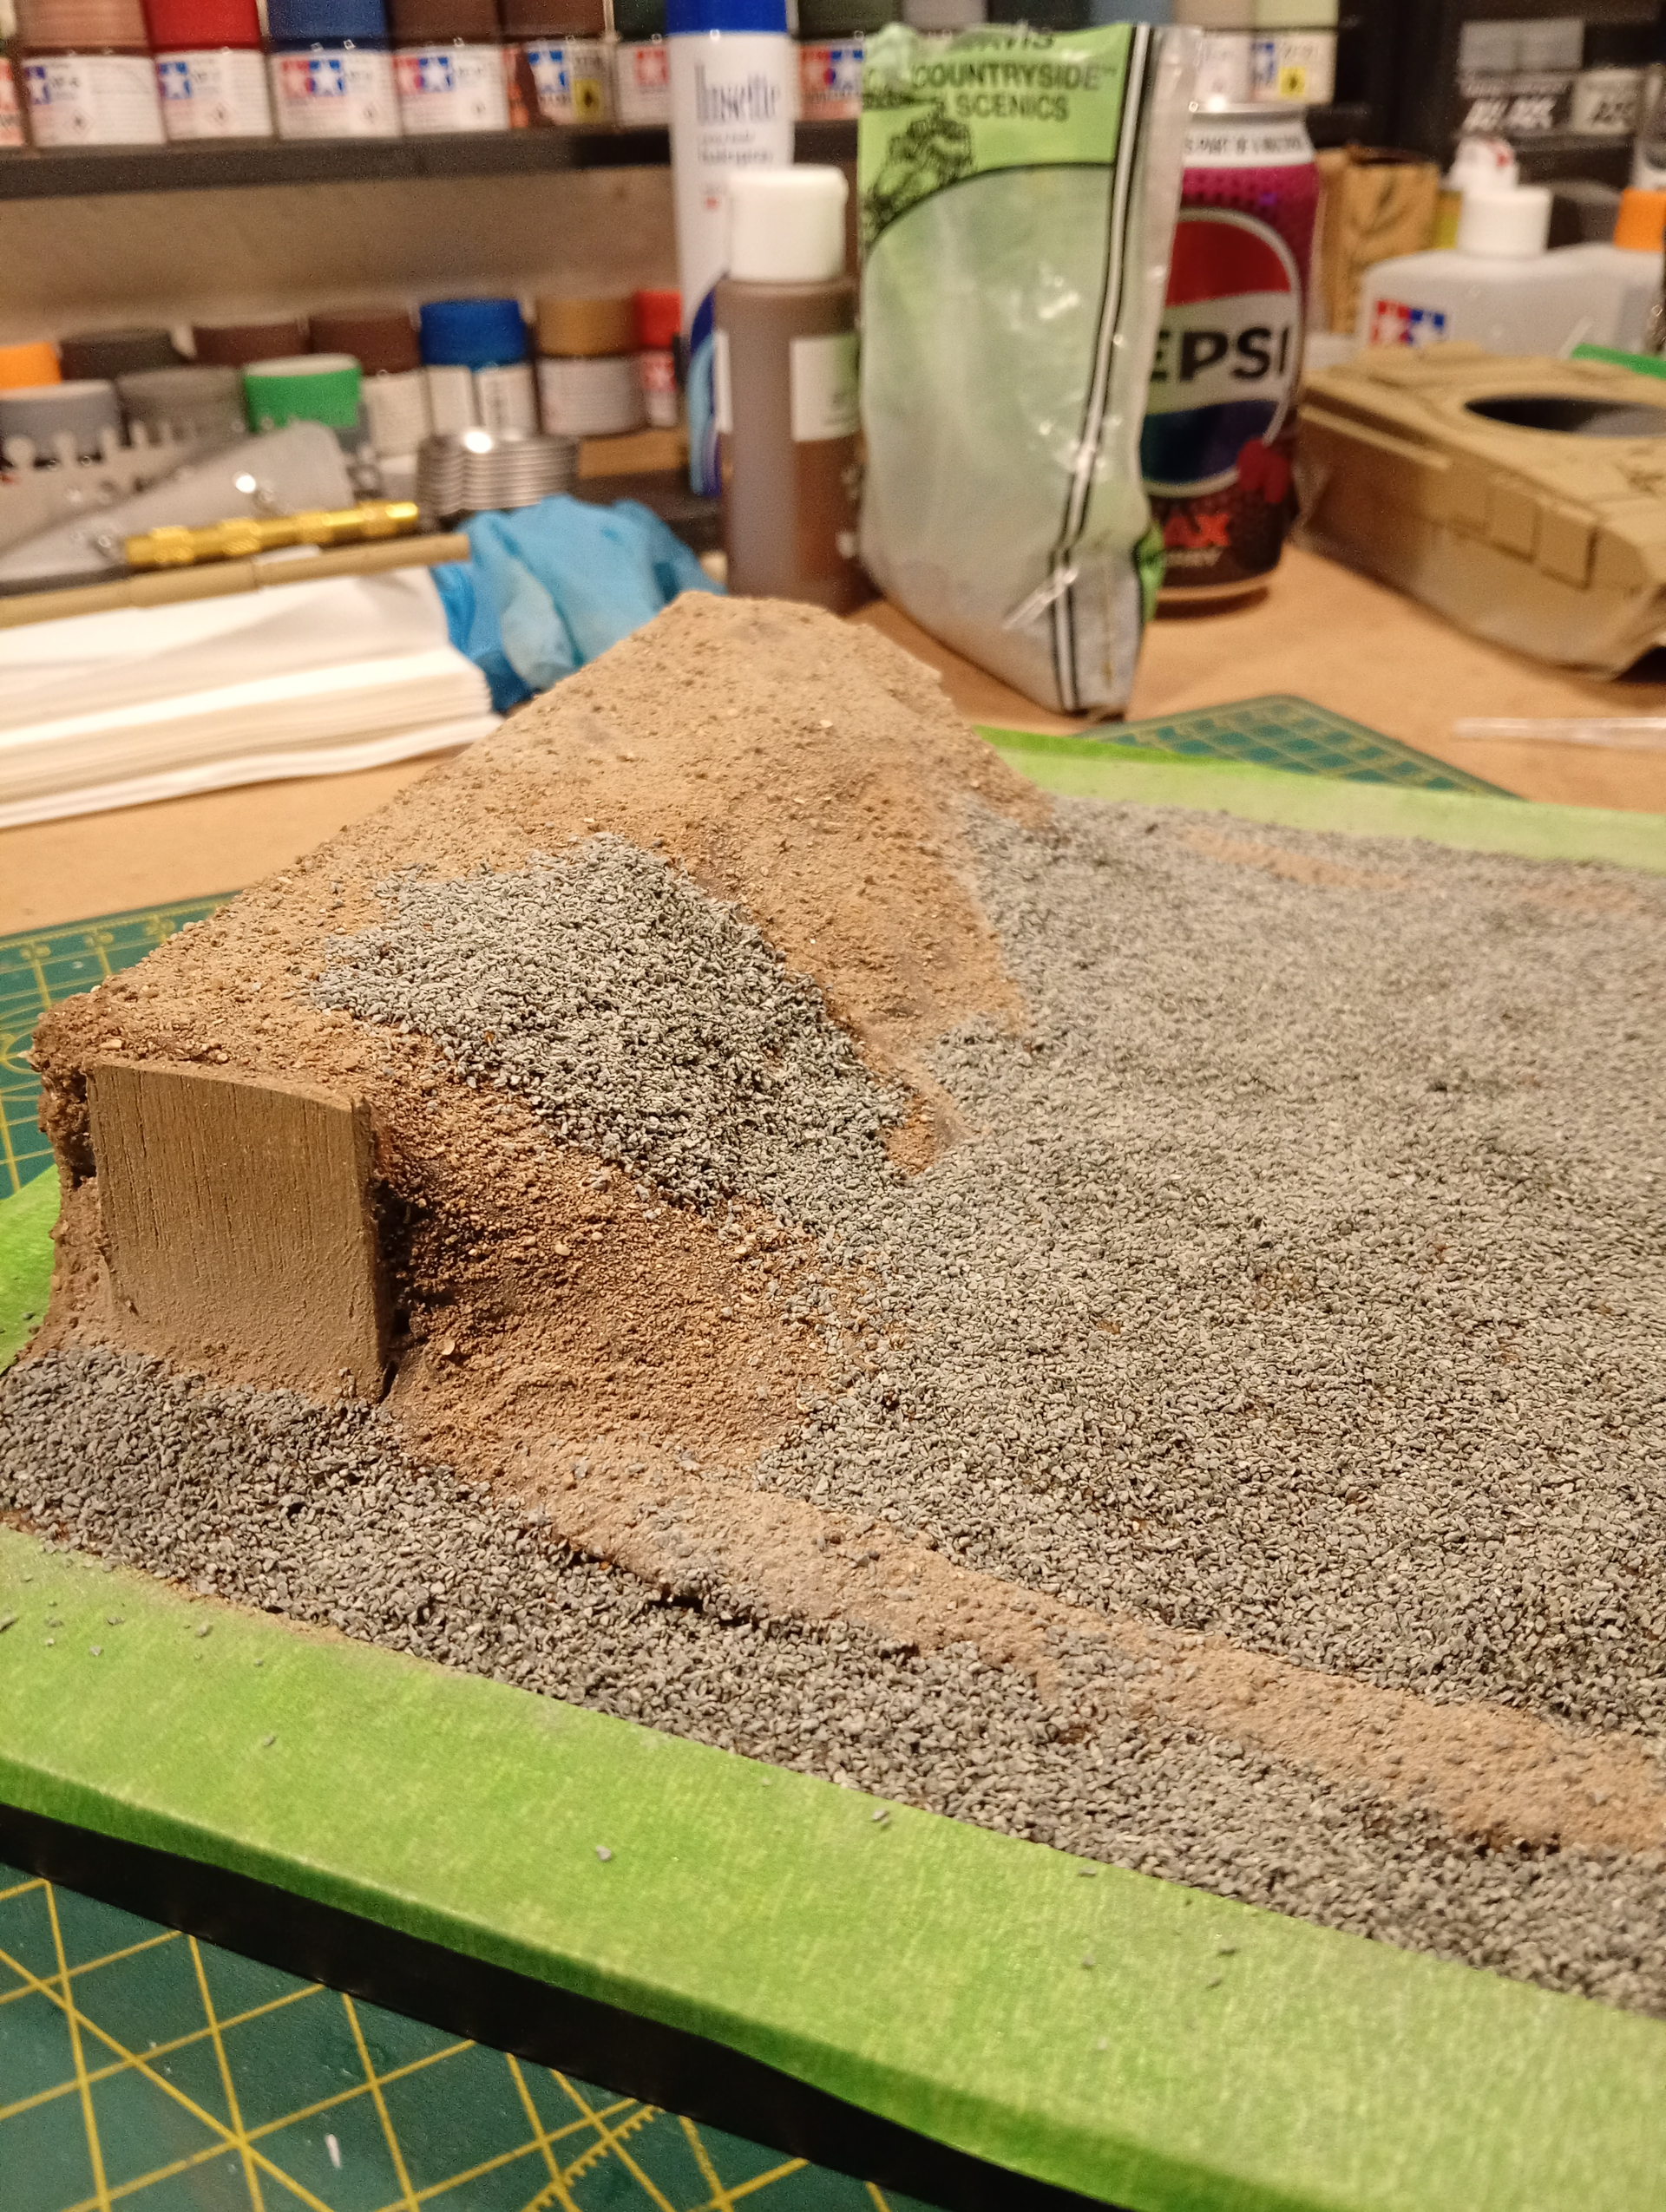
Ridges have been blended in and I realised I had some very fine granite chippings from countryside scenics which are perfect for the track and outer edges.
Once all this is dry, I can do some colour tone variations with the airbrush as per the original photo …
Some colour on the ramp drop off as per the original pic … still needs some brown added in patches which I’ll dry brush on.
I’d go for the 3d printed soil as it’s way more realistic! Oh, …, wait, … 
Seriously, that does look really great. I have tried using garden soil a couple of times but I’m wondering how whenever I see it on another person’s base it looks so much better than mine. I guess it’s the type of soil?
I was going to ask how you blend the colors with the weathering on the model but then I saw you were airbrushing some color then I realize of course you can paint it and weather it just like something built with train terrain products. I’m very slow today…
Thanks Phil… I usually use top soil which I totally dry out for upto 5 or 7 days then sieve multiple times . Each time you can then collect serious size grades which can replicate small stones etc.
Colour varies from county to county for soil, and I expect it’s the same all over…
On this one the major weathering on the wagon will be dust only as on this example, the ground is part of a track circuit where the Russians hold an annual tank contest (lots of clips on YouTube of it) for different countries that operate T72 and T90. (They also let the Chinese enter using a Chinese tank) So the ground is very uniform and mostly split between chippings and small sections of hard earth track…
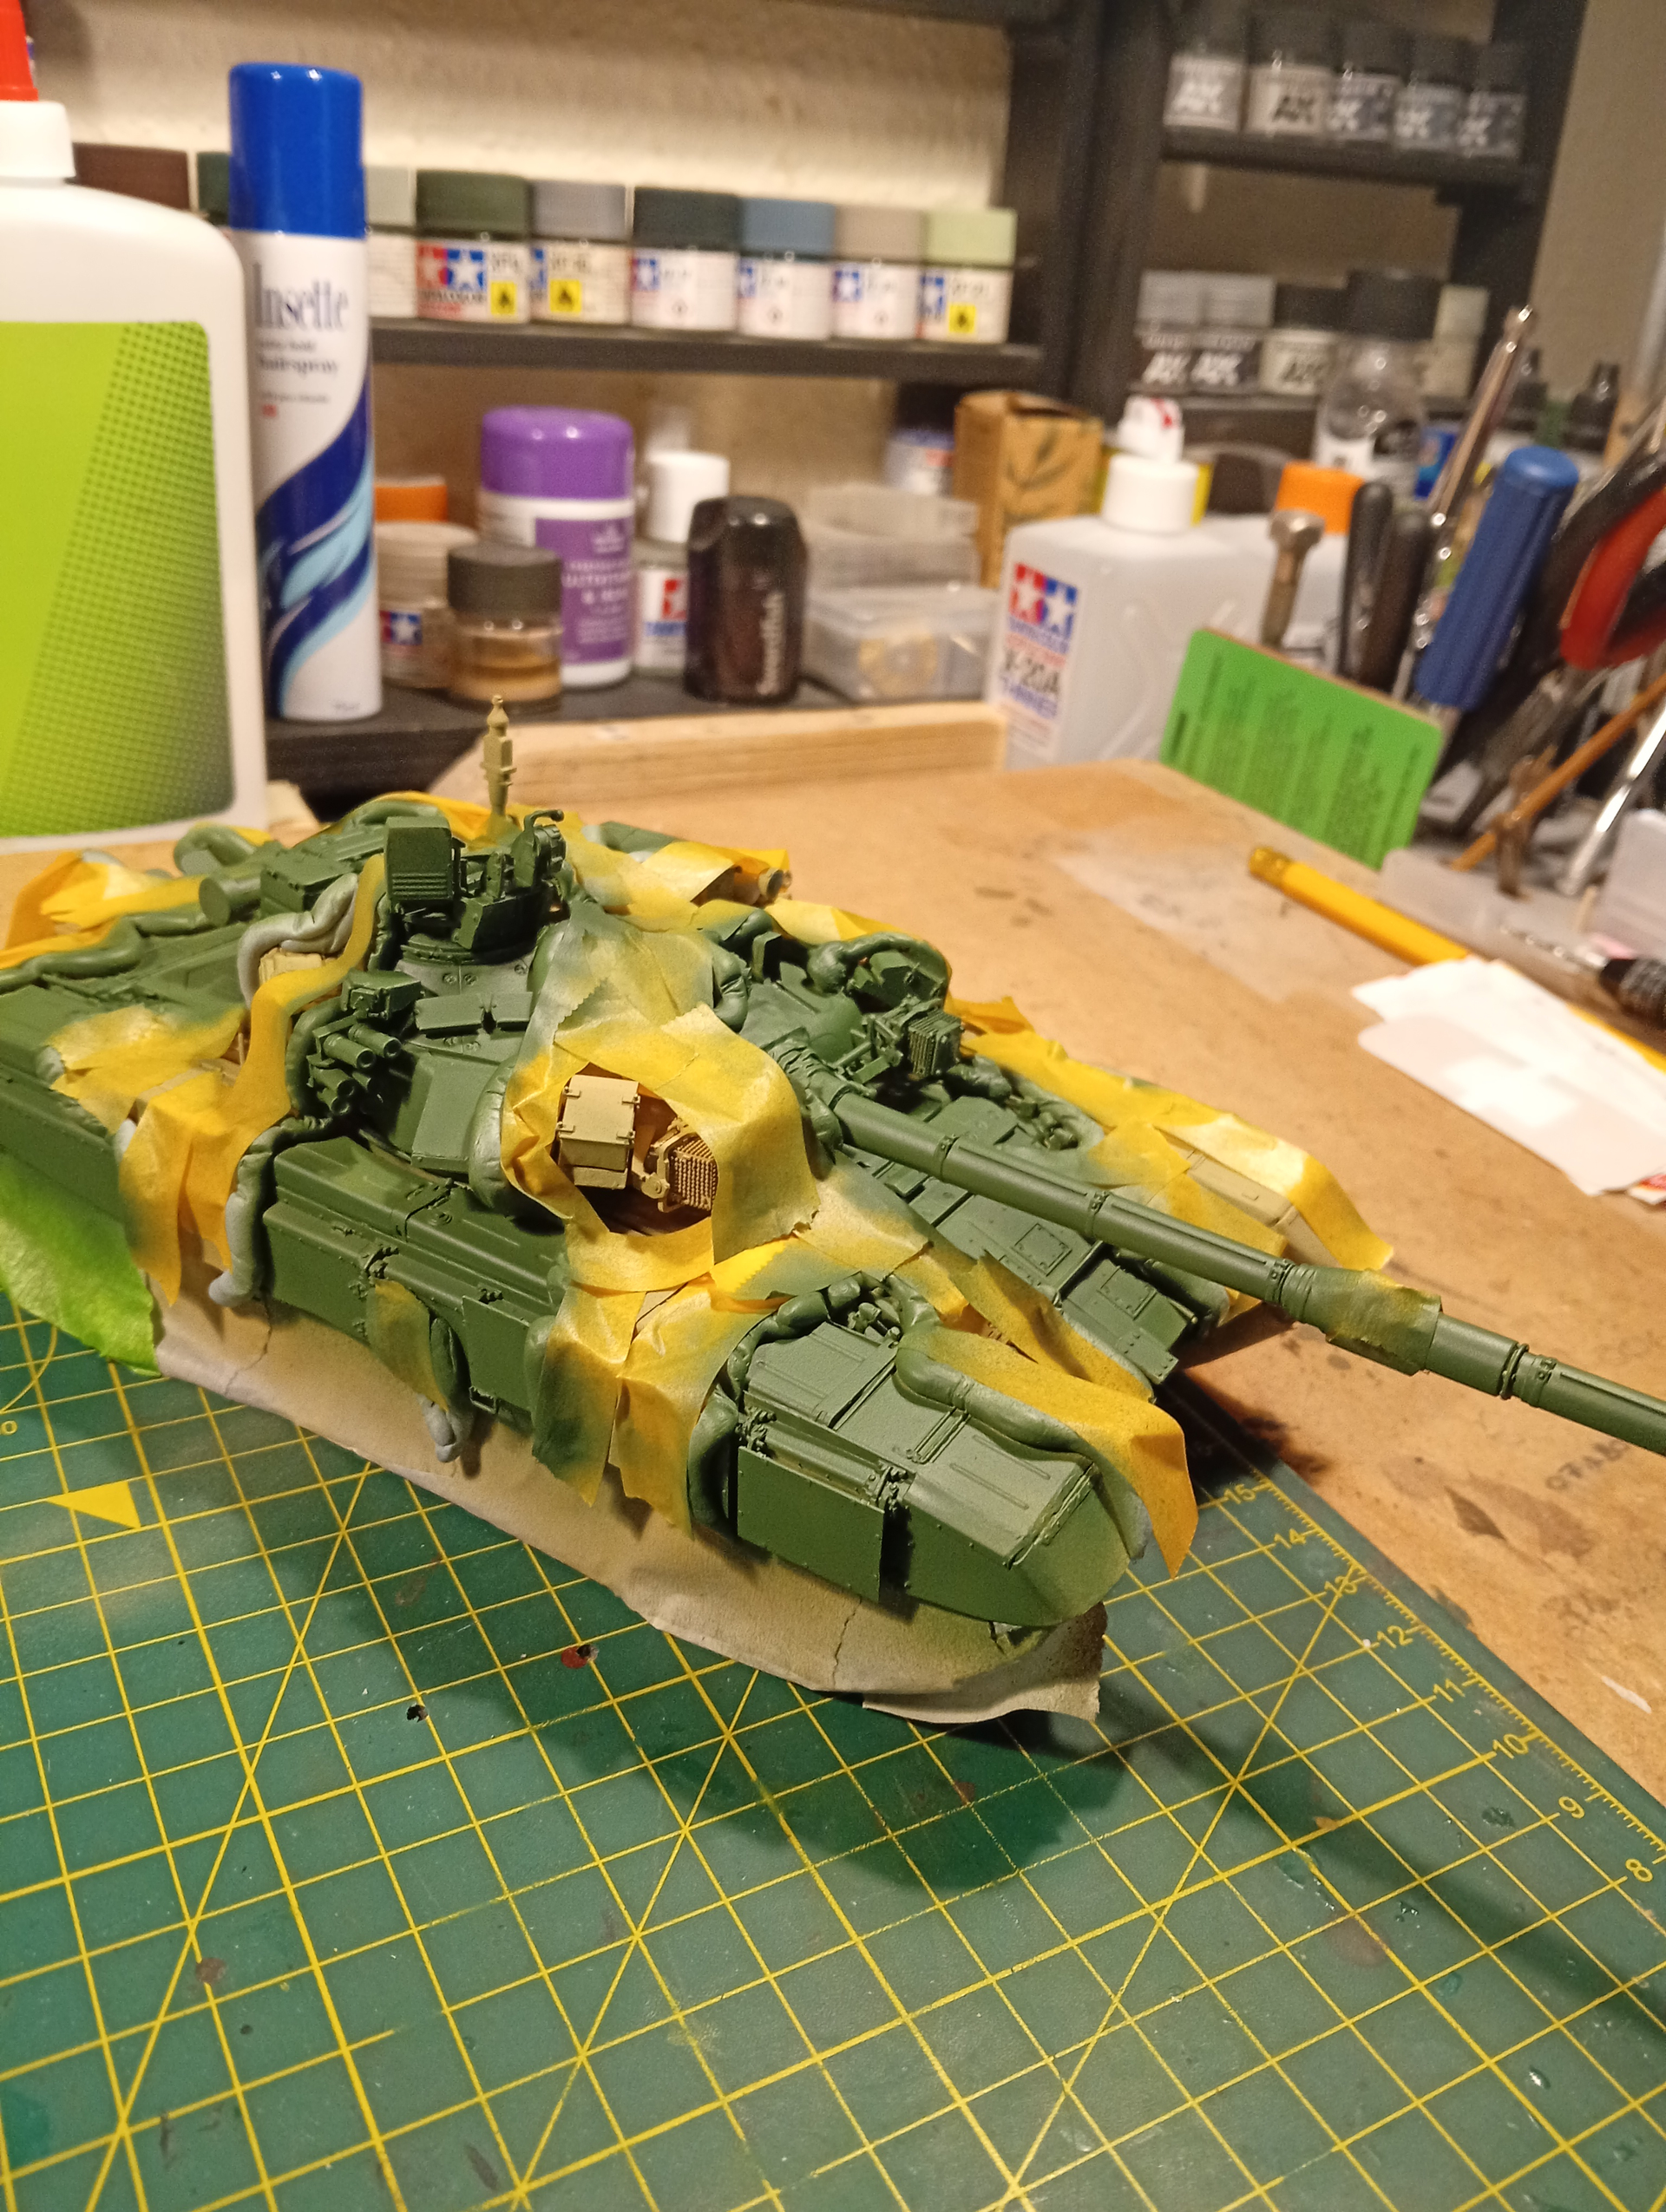
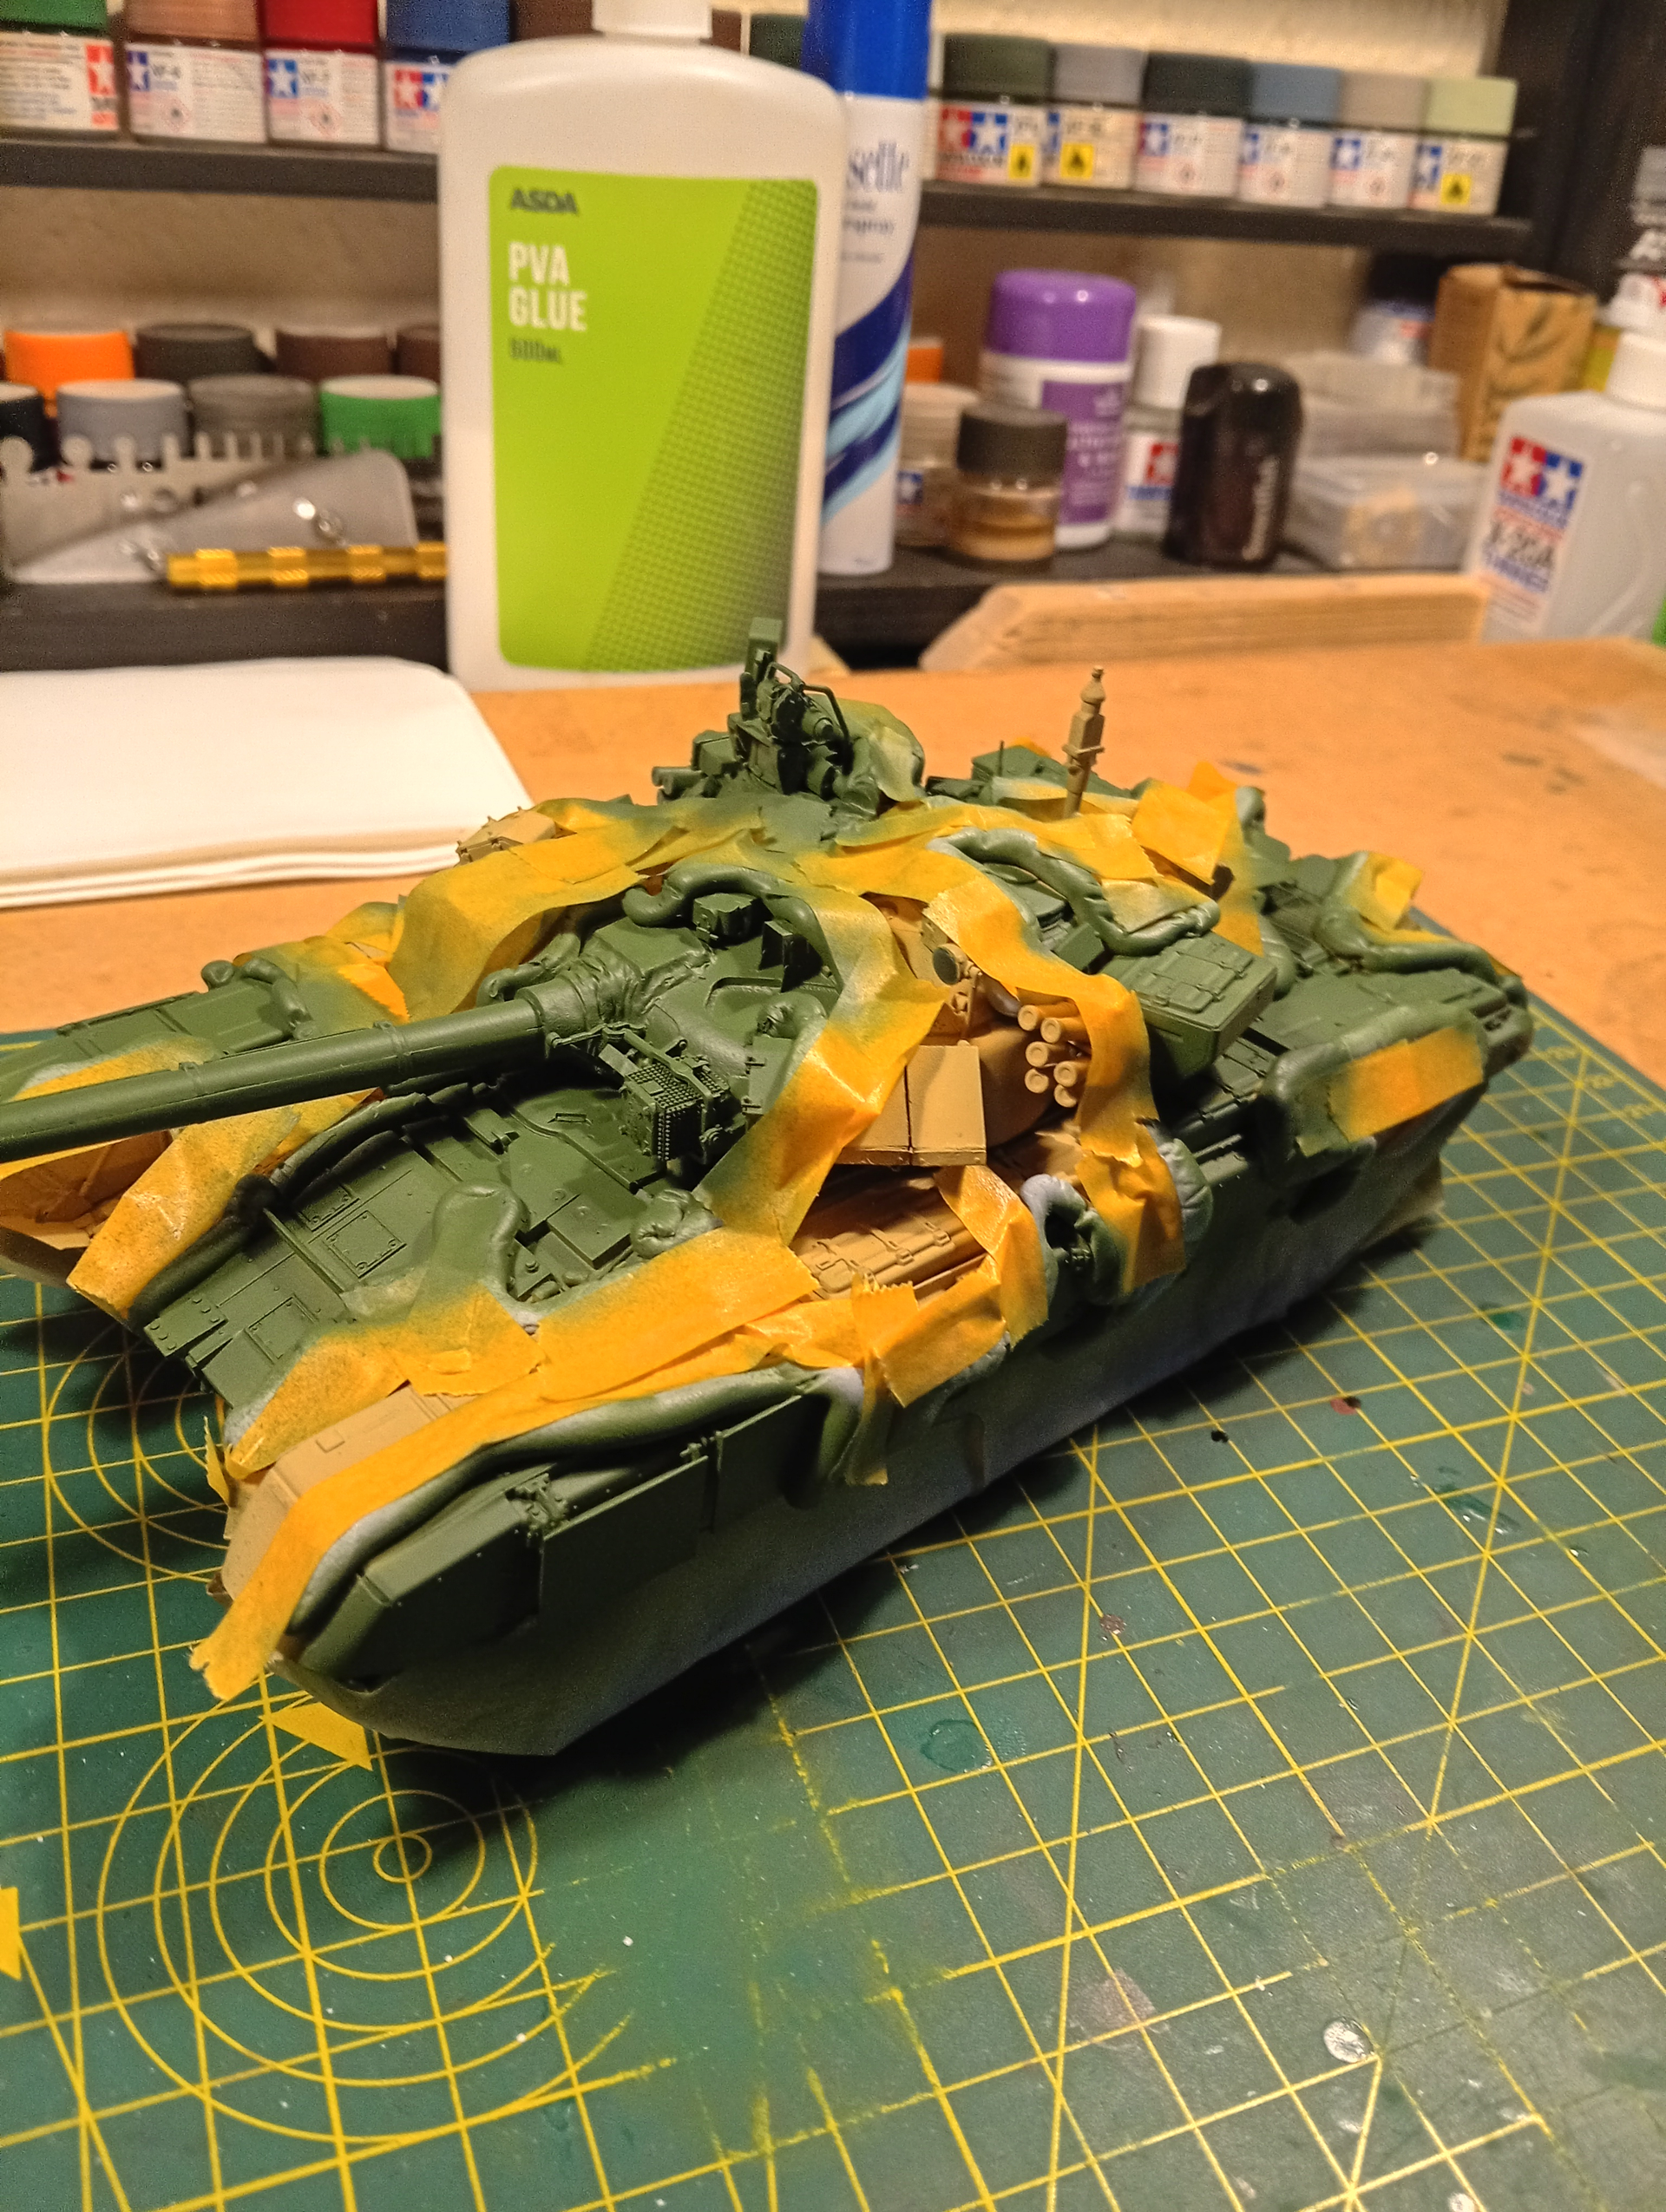
First coat of AK Russian modern green.
A small amount of feint over spray which will be easily sorted out. Going to use AK NATO black for the small areas of Black cam.
Shame … that would have been a cracking entry !! Looks like a great build as well.