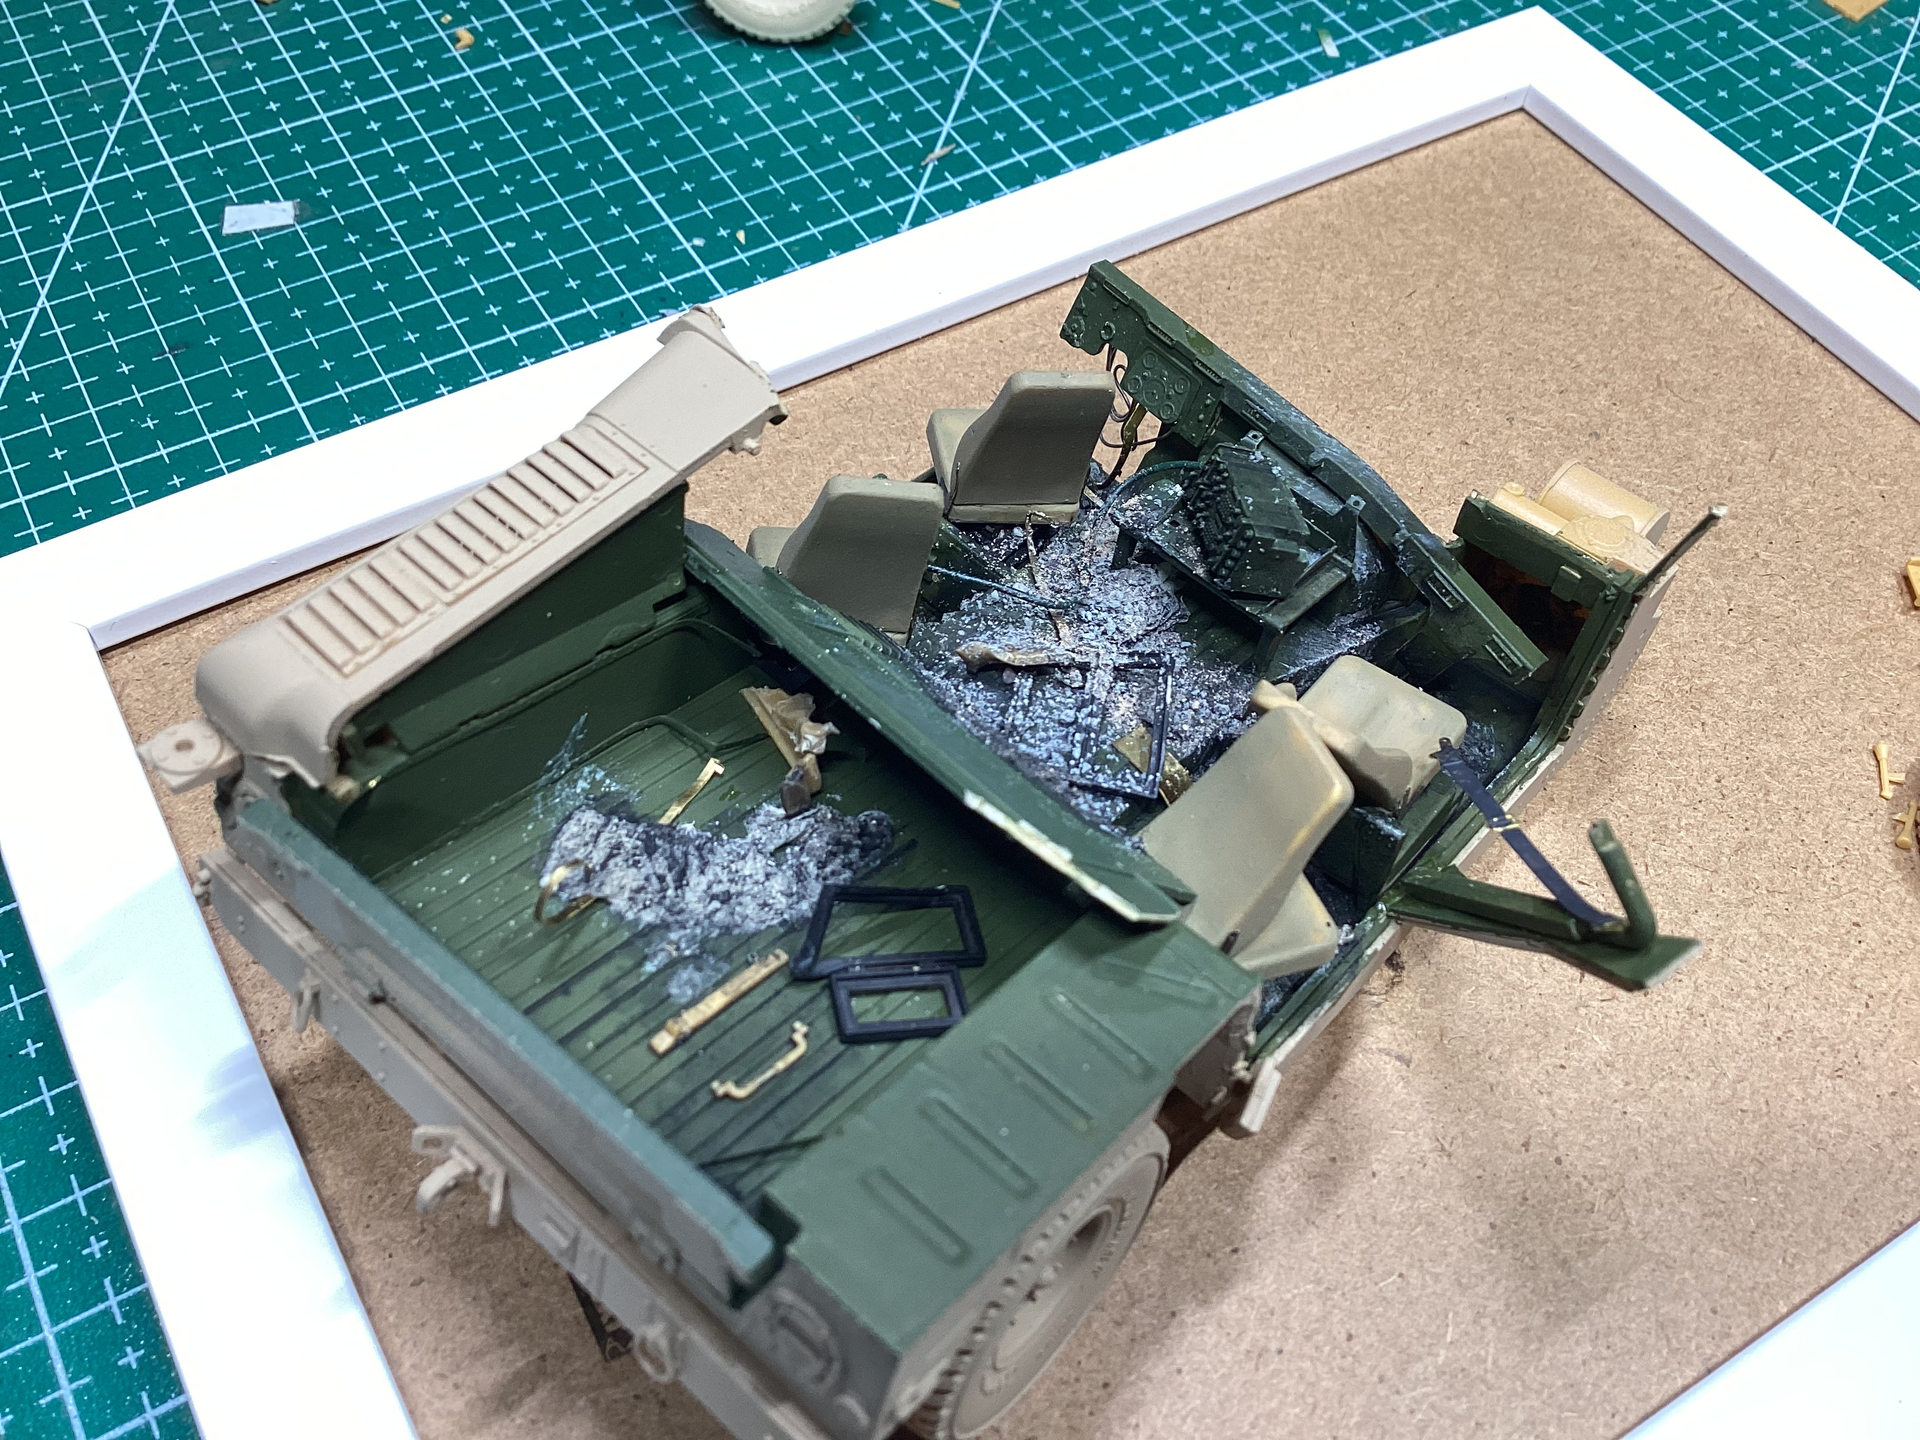
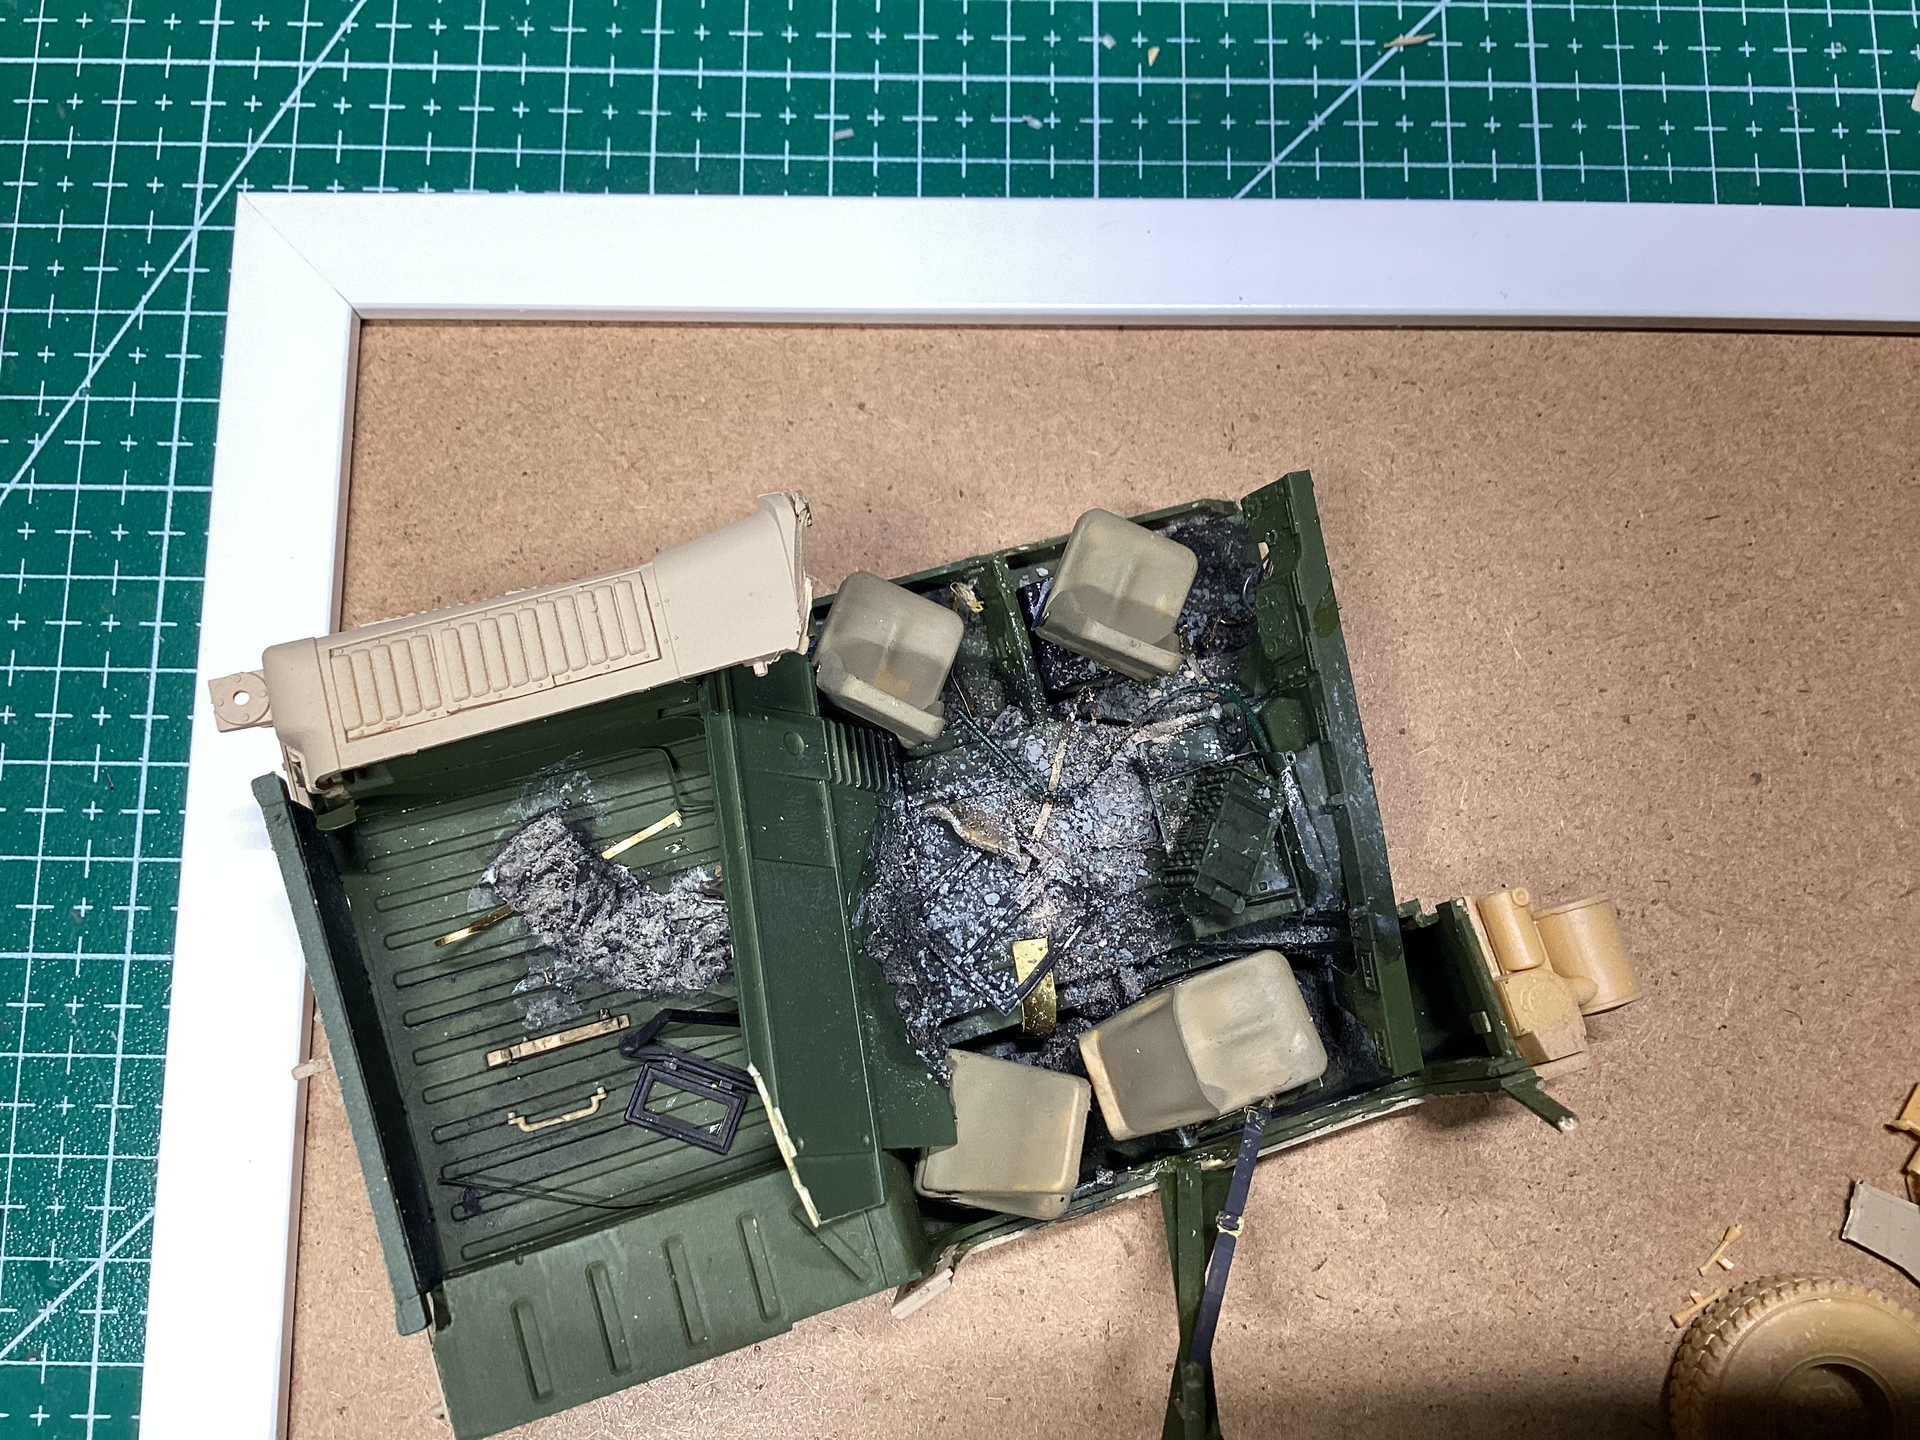
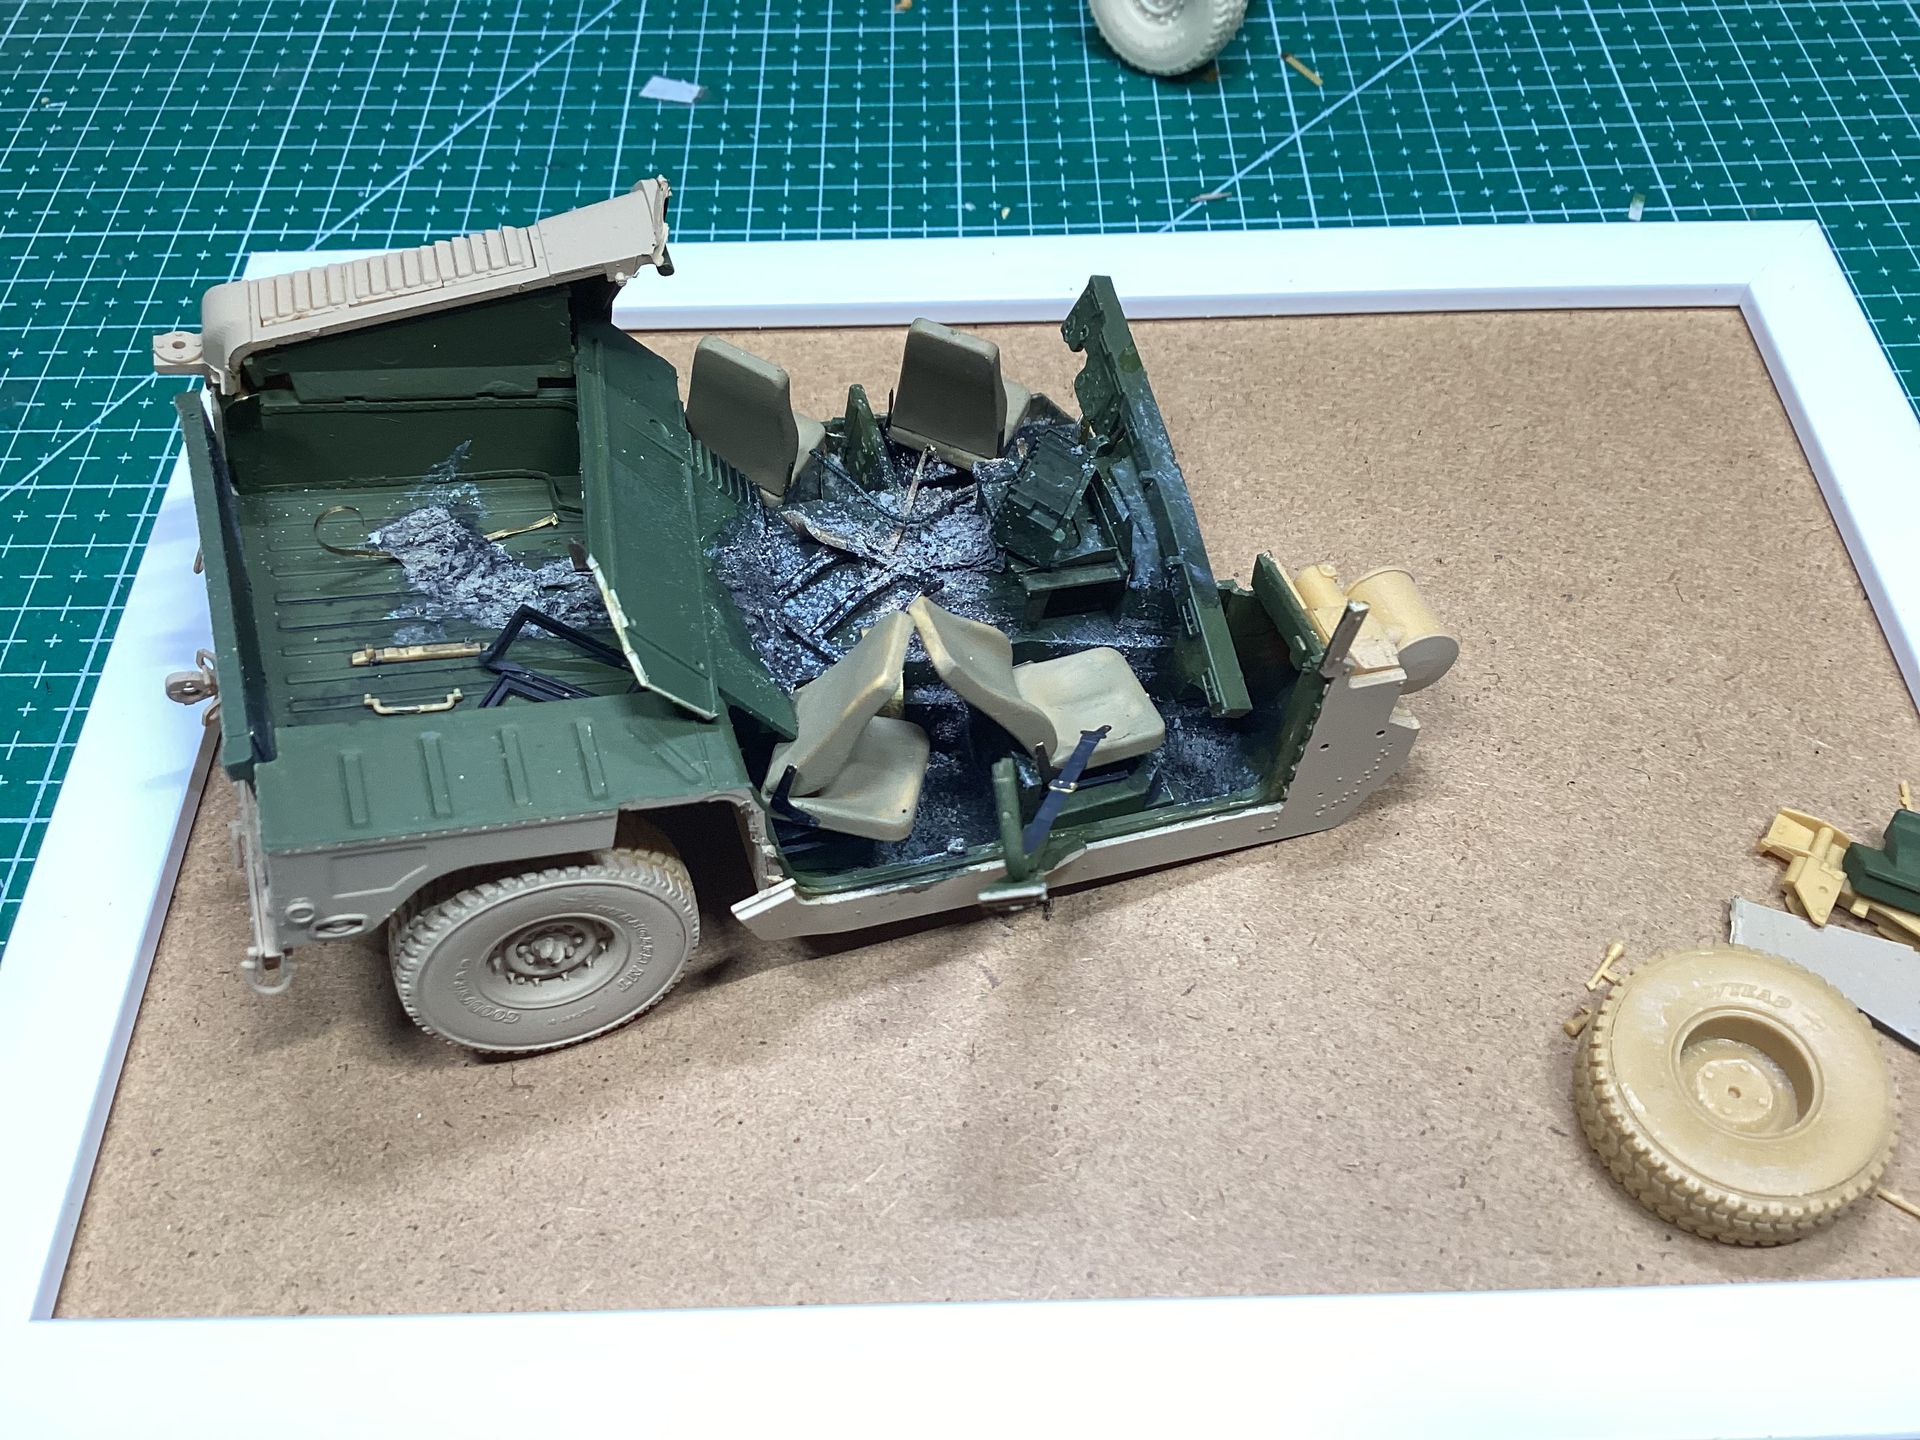
I am beginning a symphony of destruction
8 Likes
Looks great so far … it’s always a strange feeling knowingly destroying a kit(s) for this … but the results always justify the means in the end.
1 Like
That looks great, I just wonder if those seats aren’t looking to undamaged?
3 Likes
Give me a moment, please…as I wrote, I’m starting the process.
3 Likes
Hahaha, sorry 
1 Like
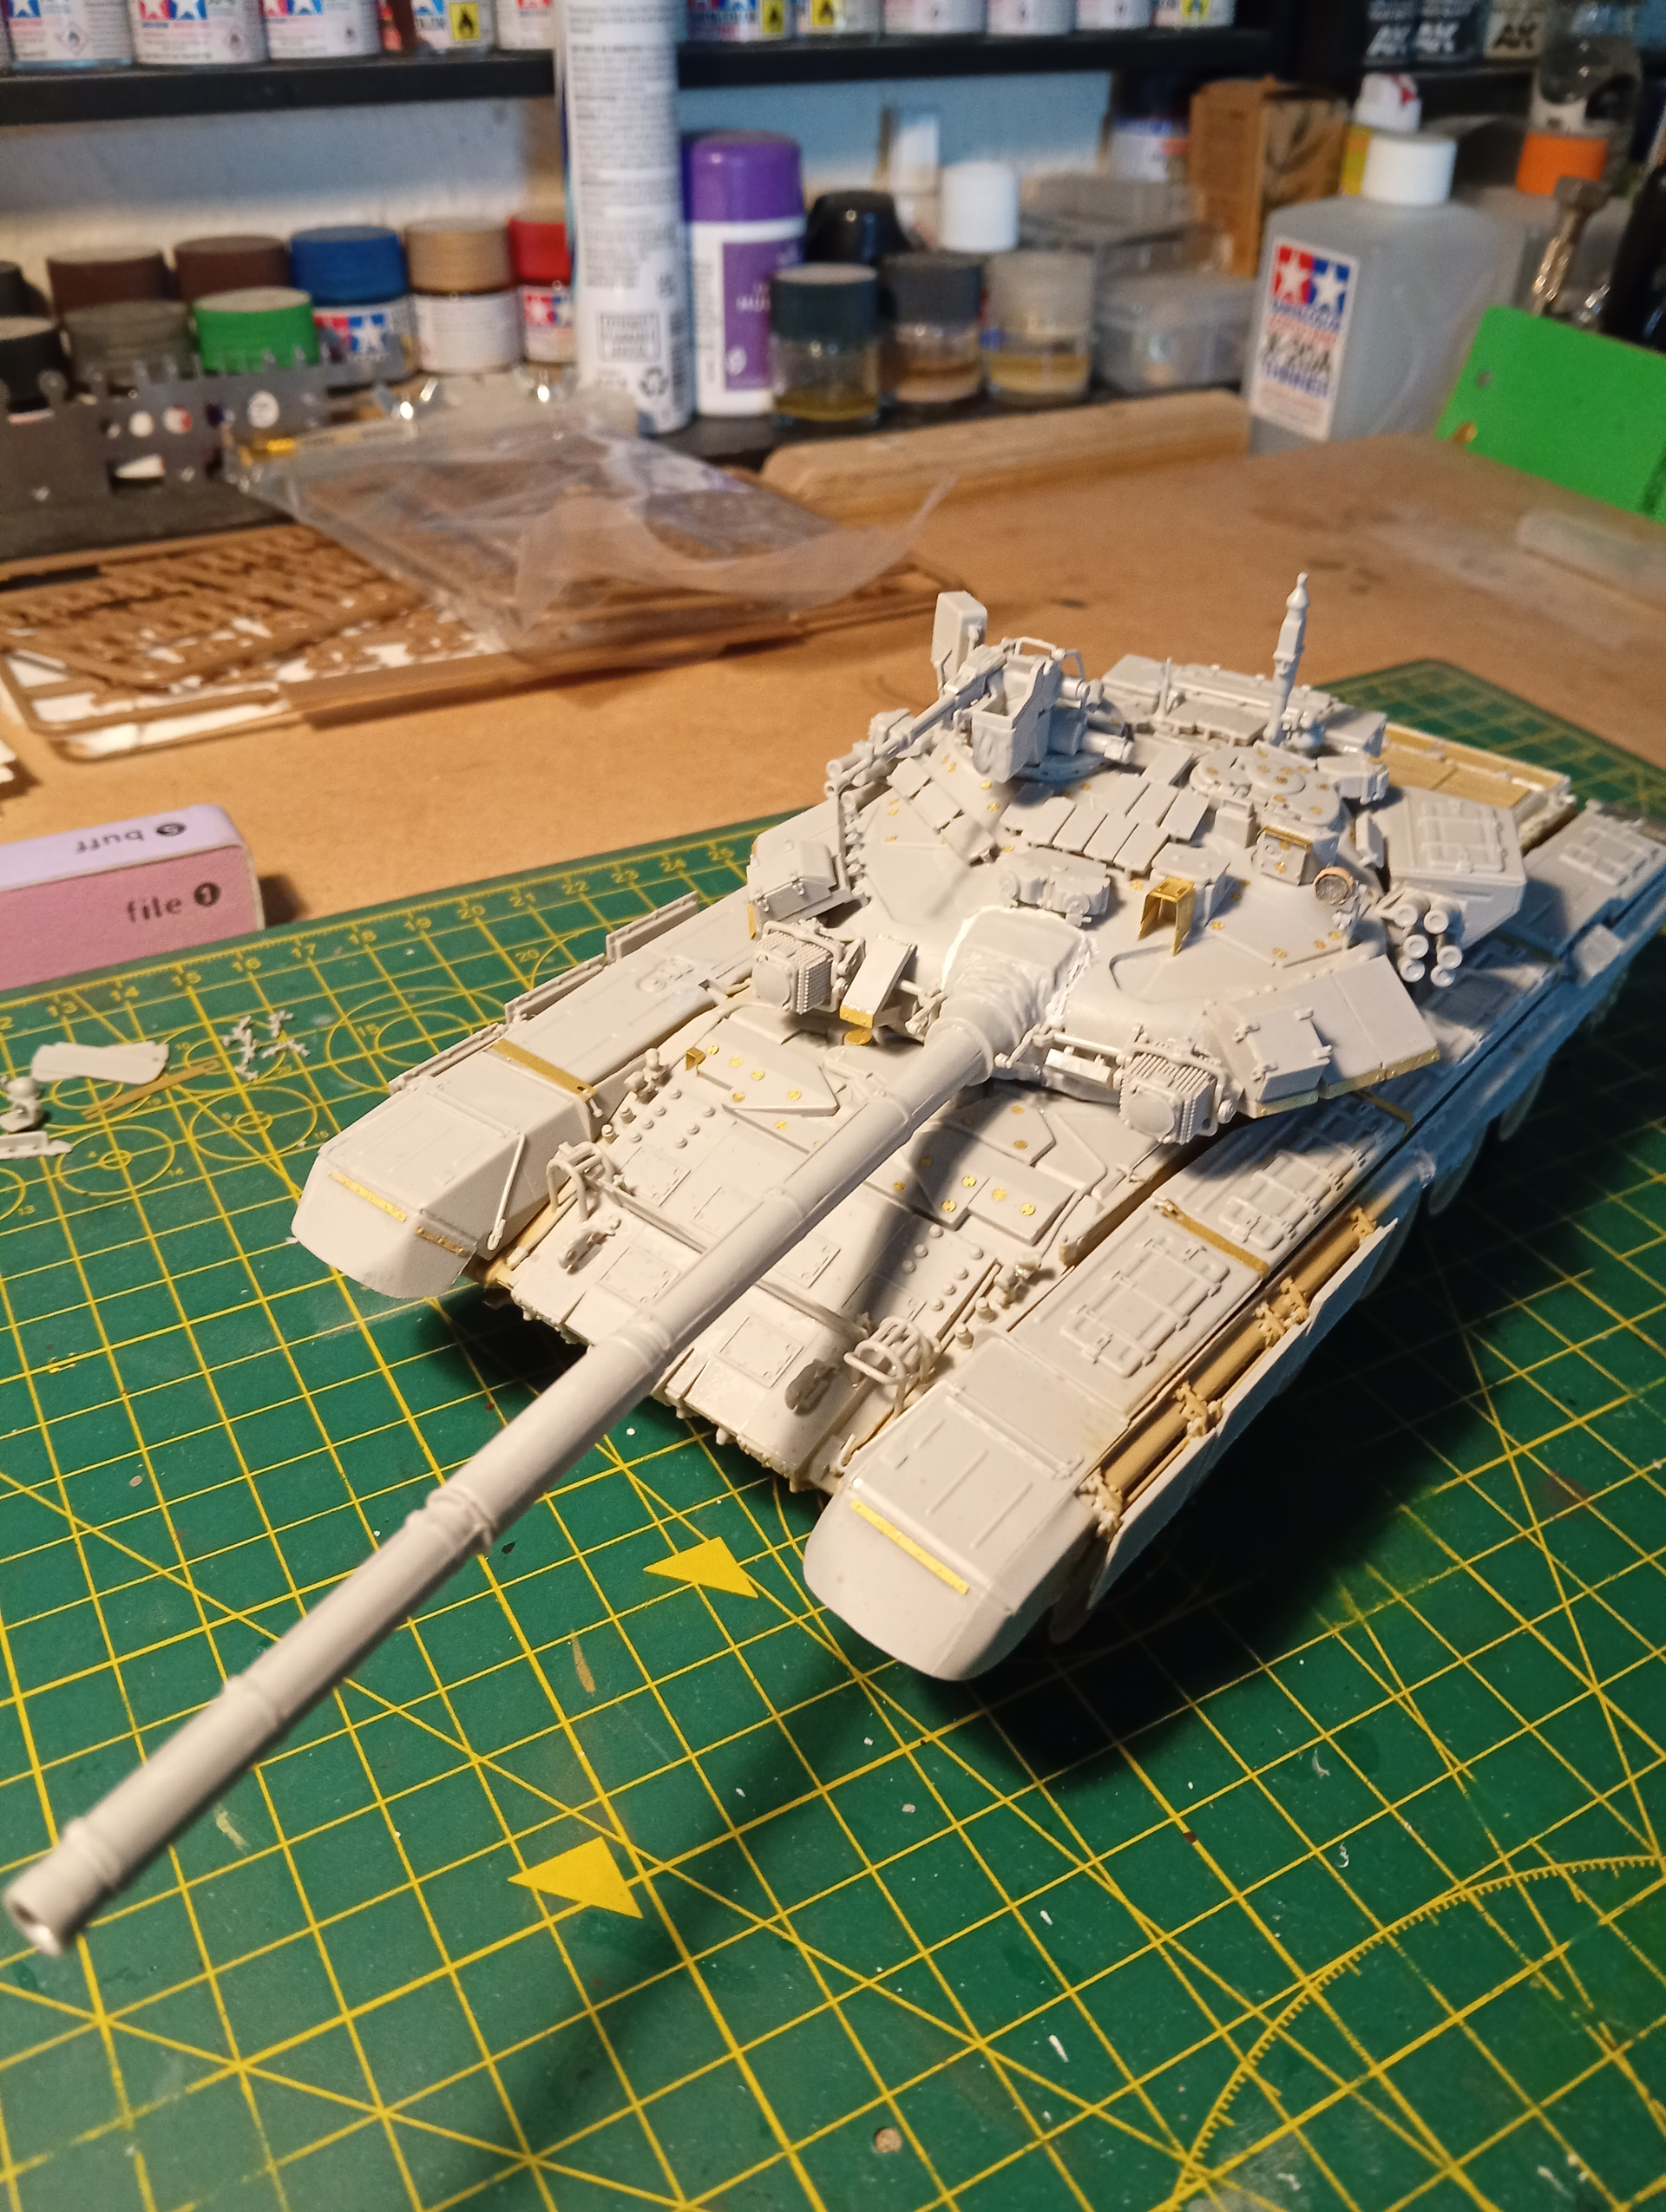
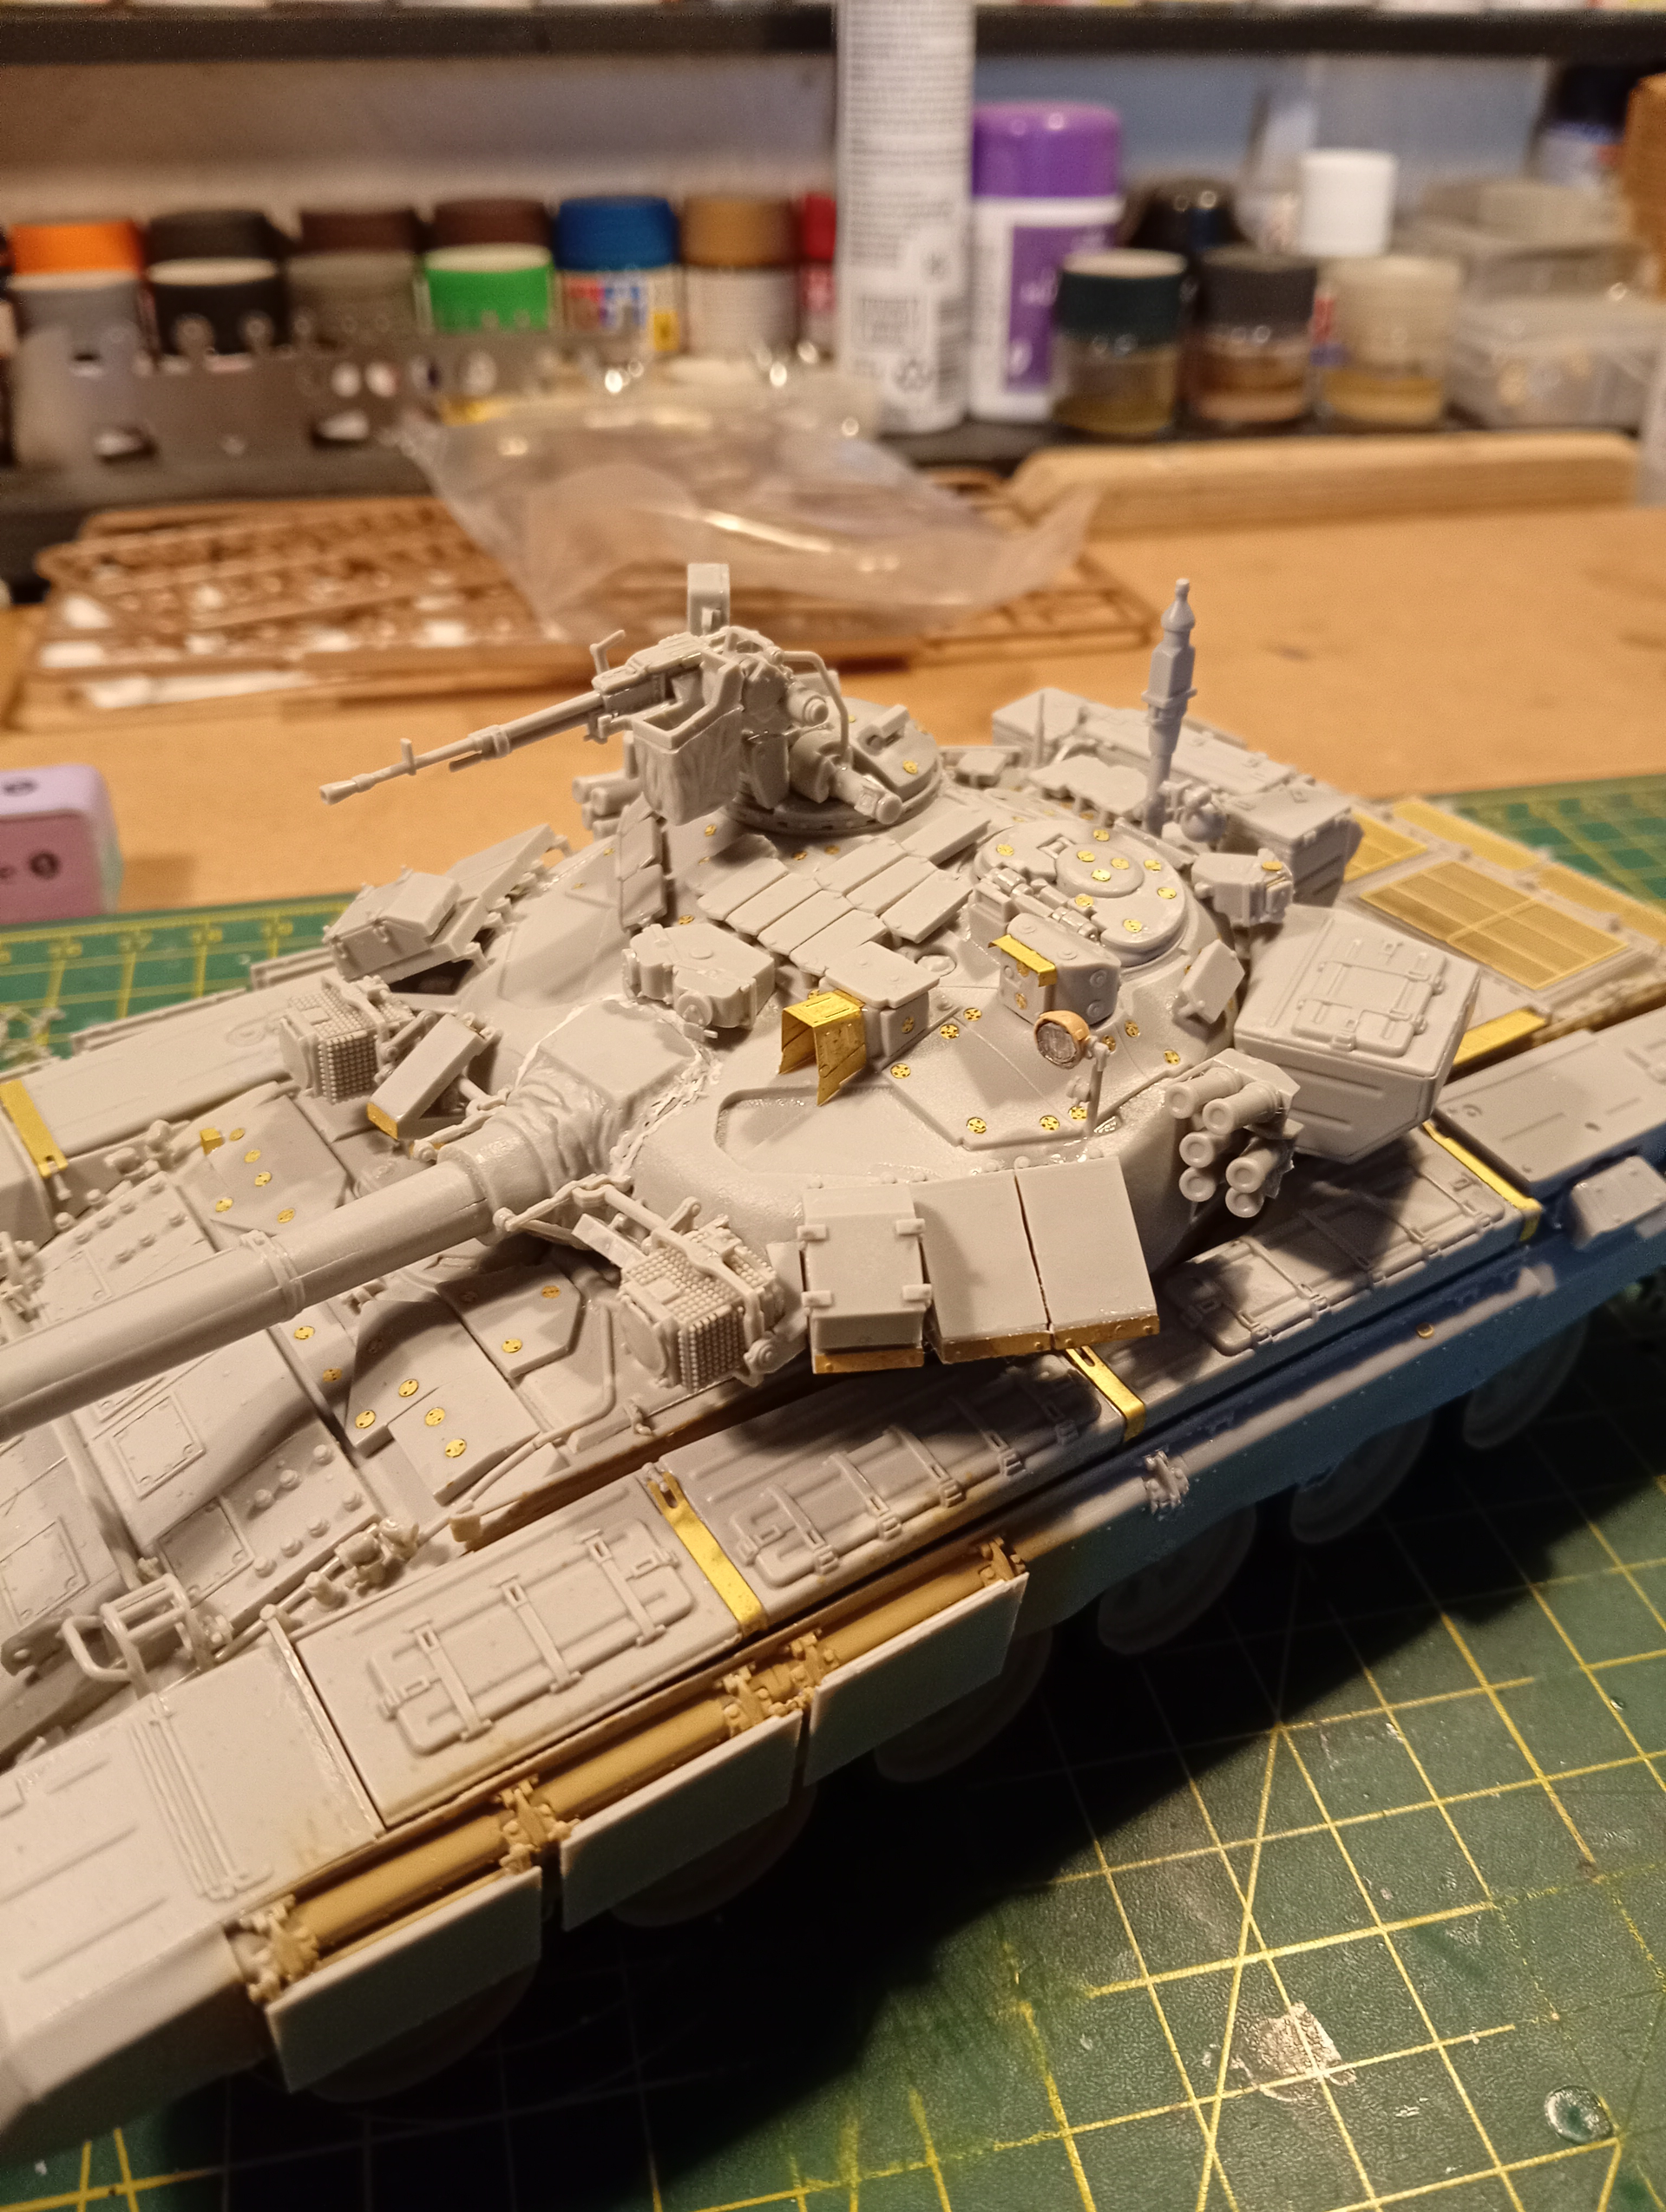
All major parts now built and fitted. Next on the list are now indi workable tracks …will start on those tomorrow after more house viewings.
Sponsons are just resting on and not fully secured
7 Likes
Mate, you are just rolling through the kits! Fresh off the back of building a beautiful 1:16 carrier, you’re already up to this stage on the T90! Setting a high standard!
2 Likes
That looks great!
2 Likes
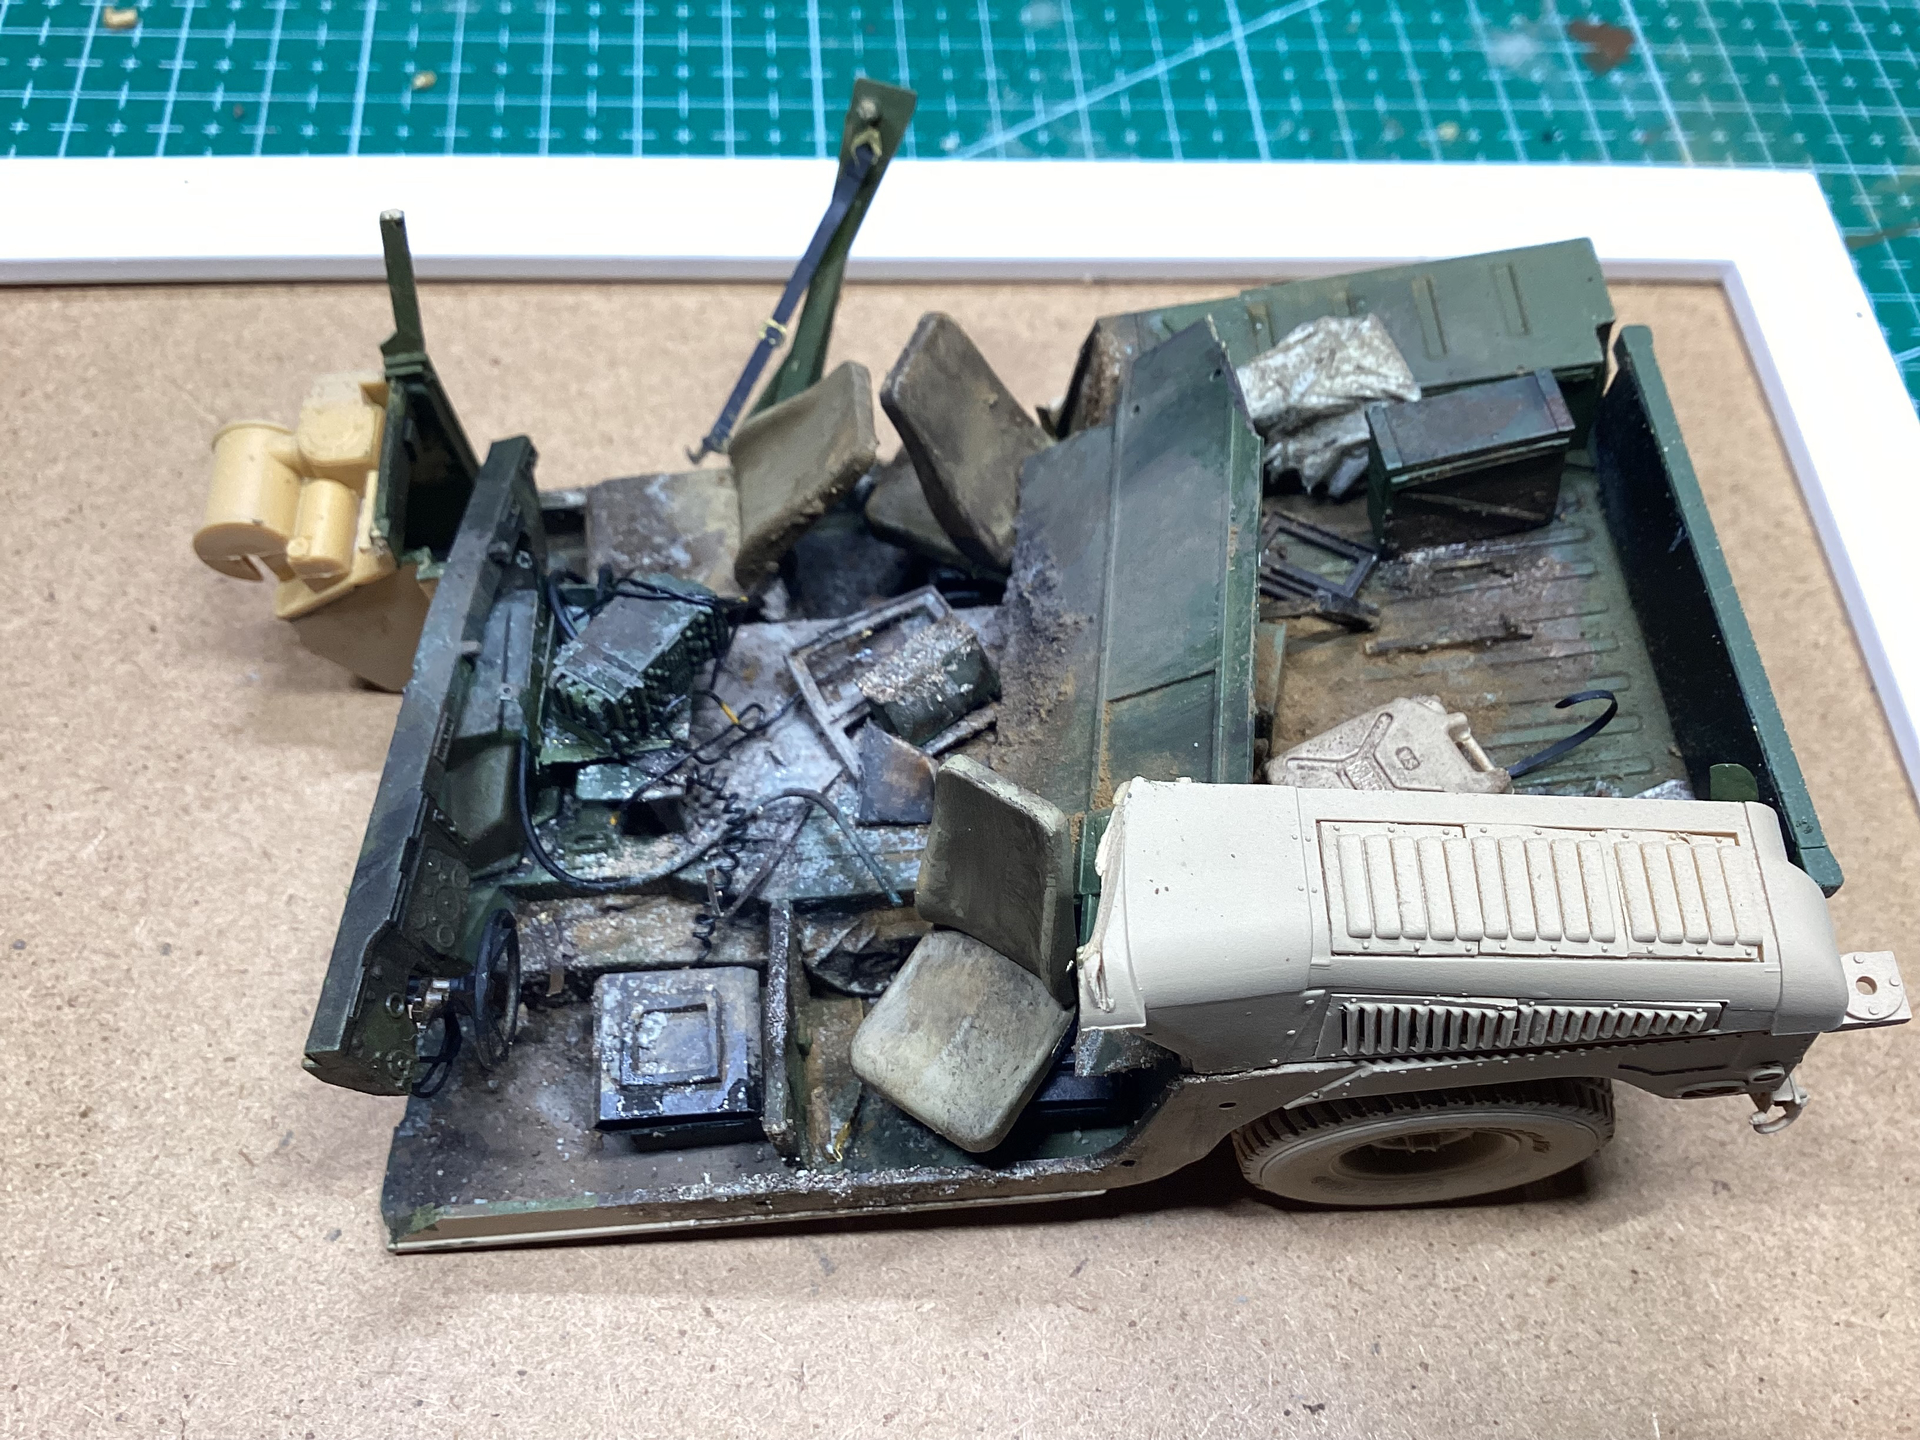
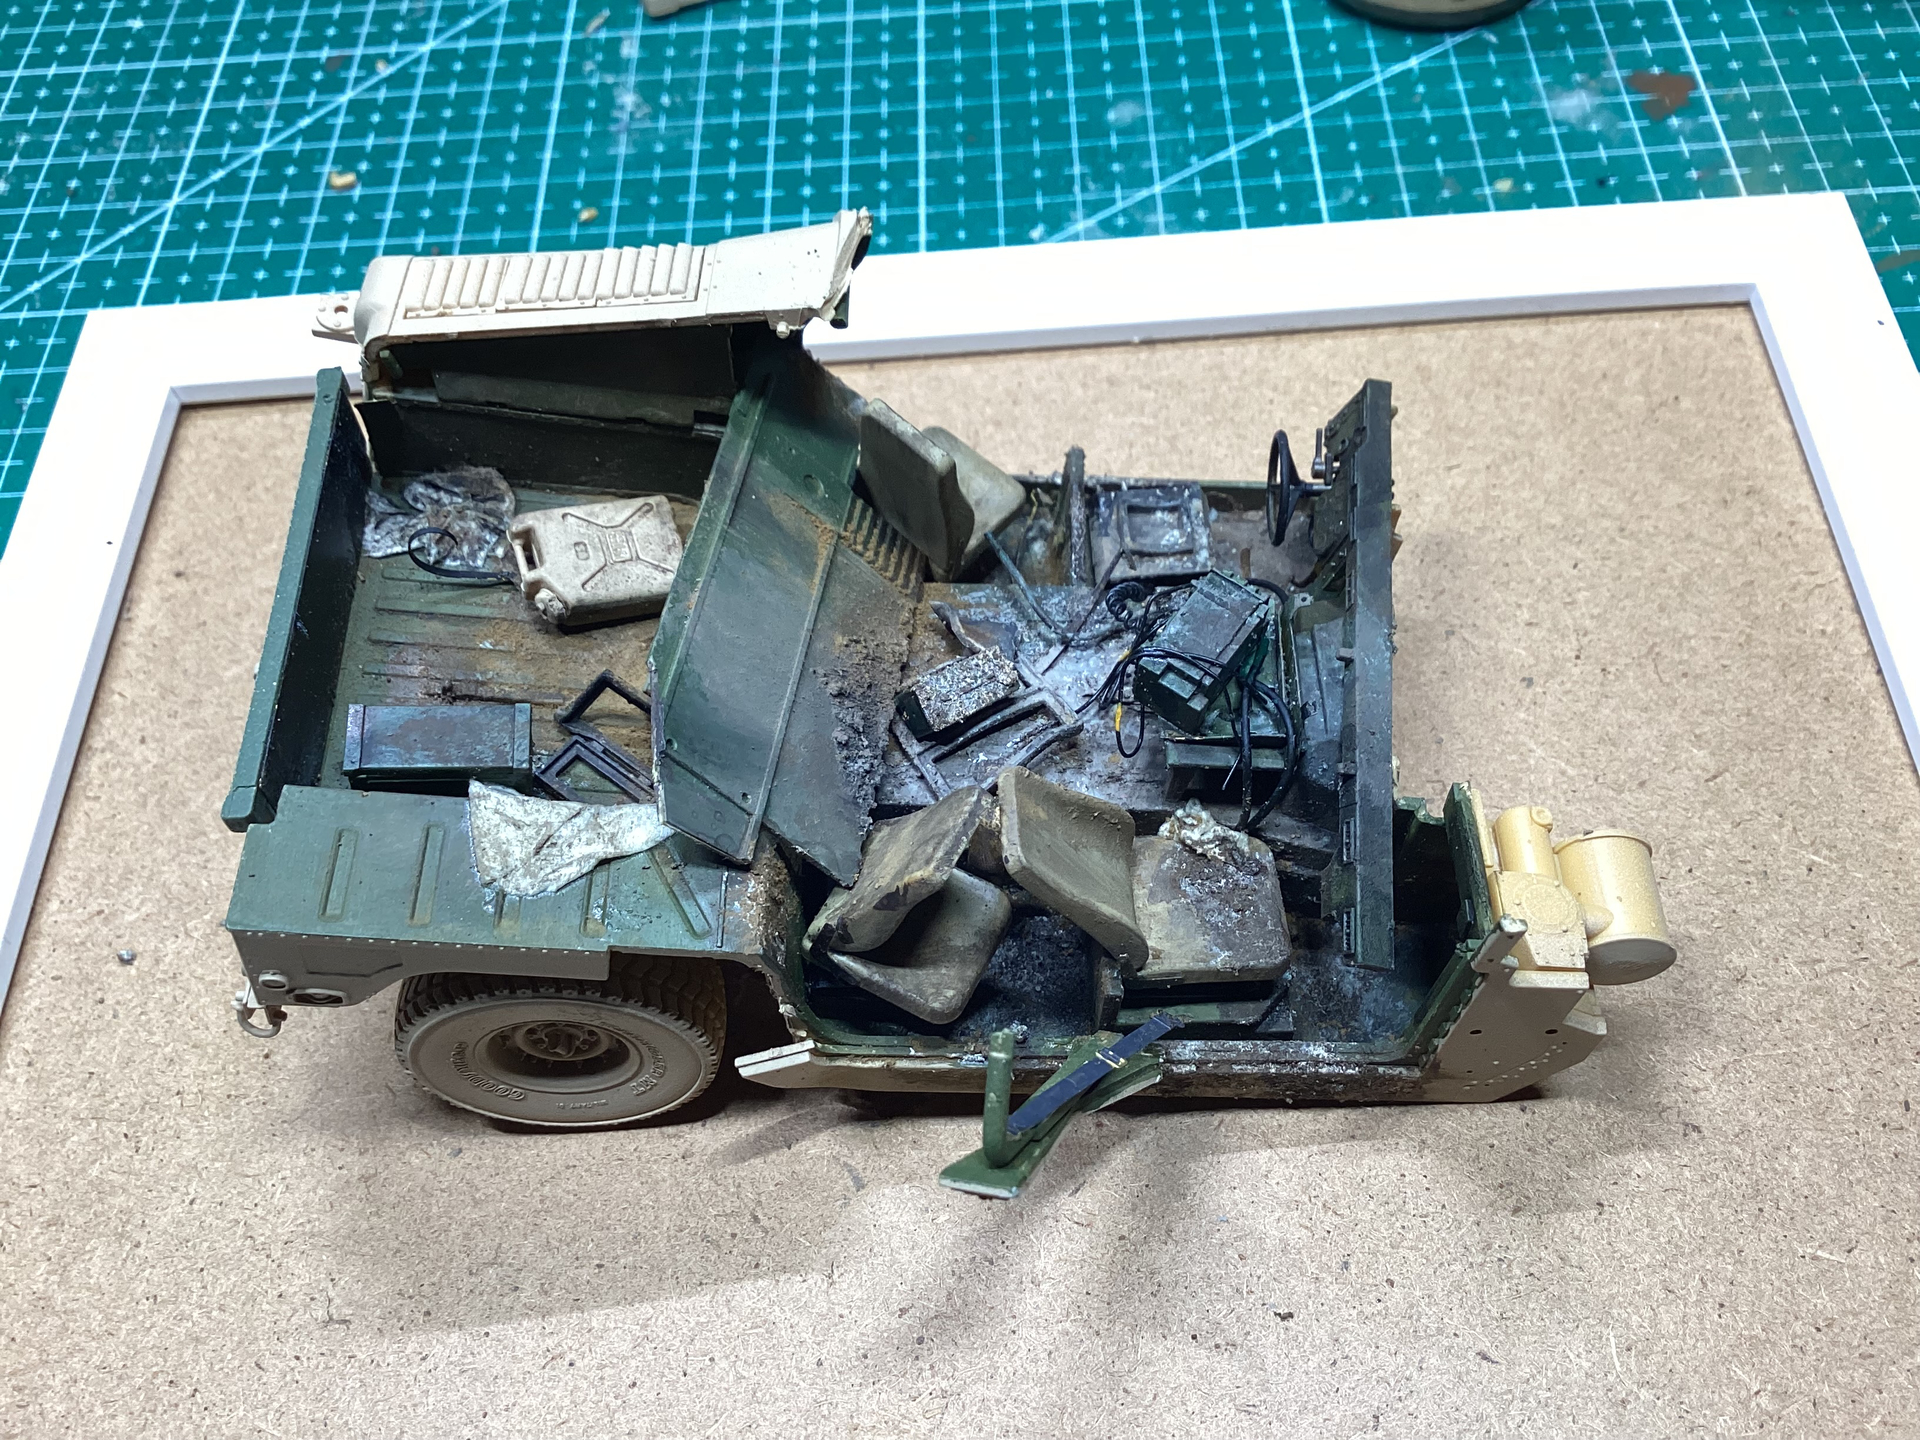
As you can see, with the roof in place, you can’t see much of the front of the vehicle. I think that’s enough damage. Right?


11 Likes
Looking good Piotr… the damaged area is looking pretty convincing so far 
3 Likes
Looking really good indeed
2 Likes
Thanks Sam and Phil… Appreciated guys .
While I’m here … Can anyone give a bit of direction on the tracks … does it have rubber pads on the inside run or is it just all metal…? I looked at a walk around and initially thought they were pads, but then in another shot, I thought they looked like solid metal 
1 Like
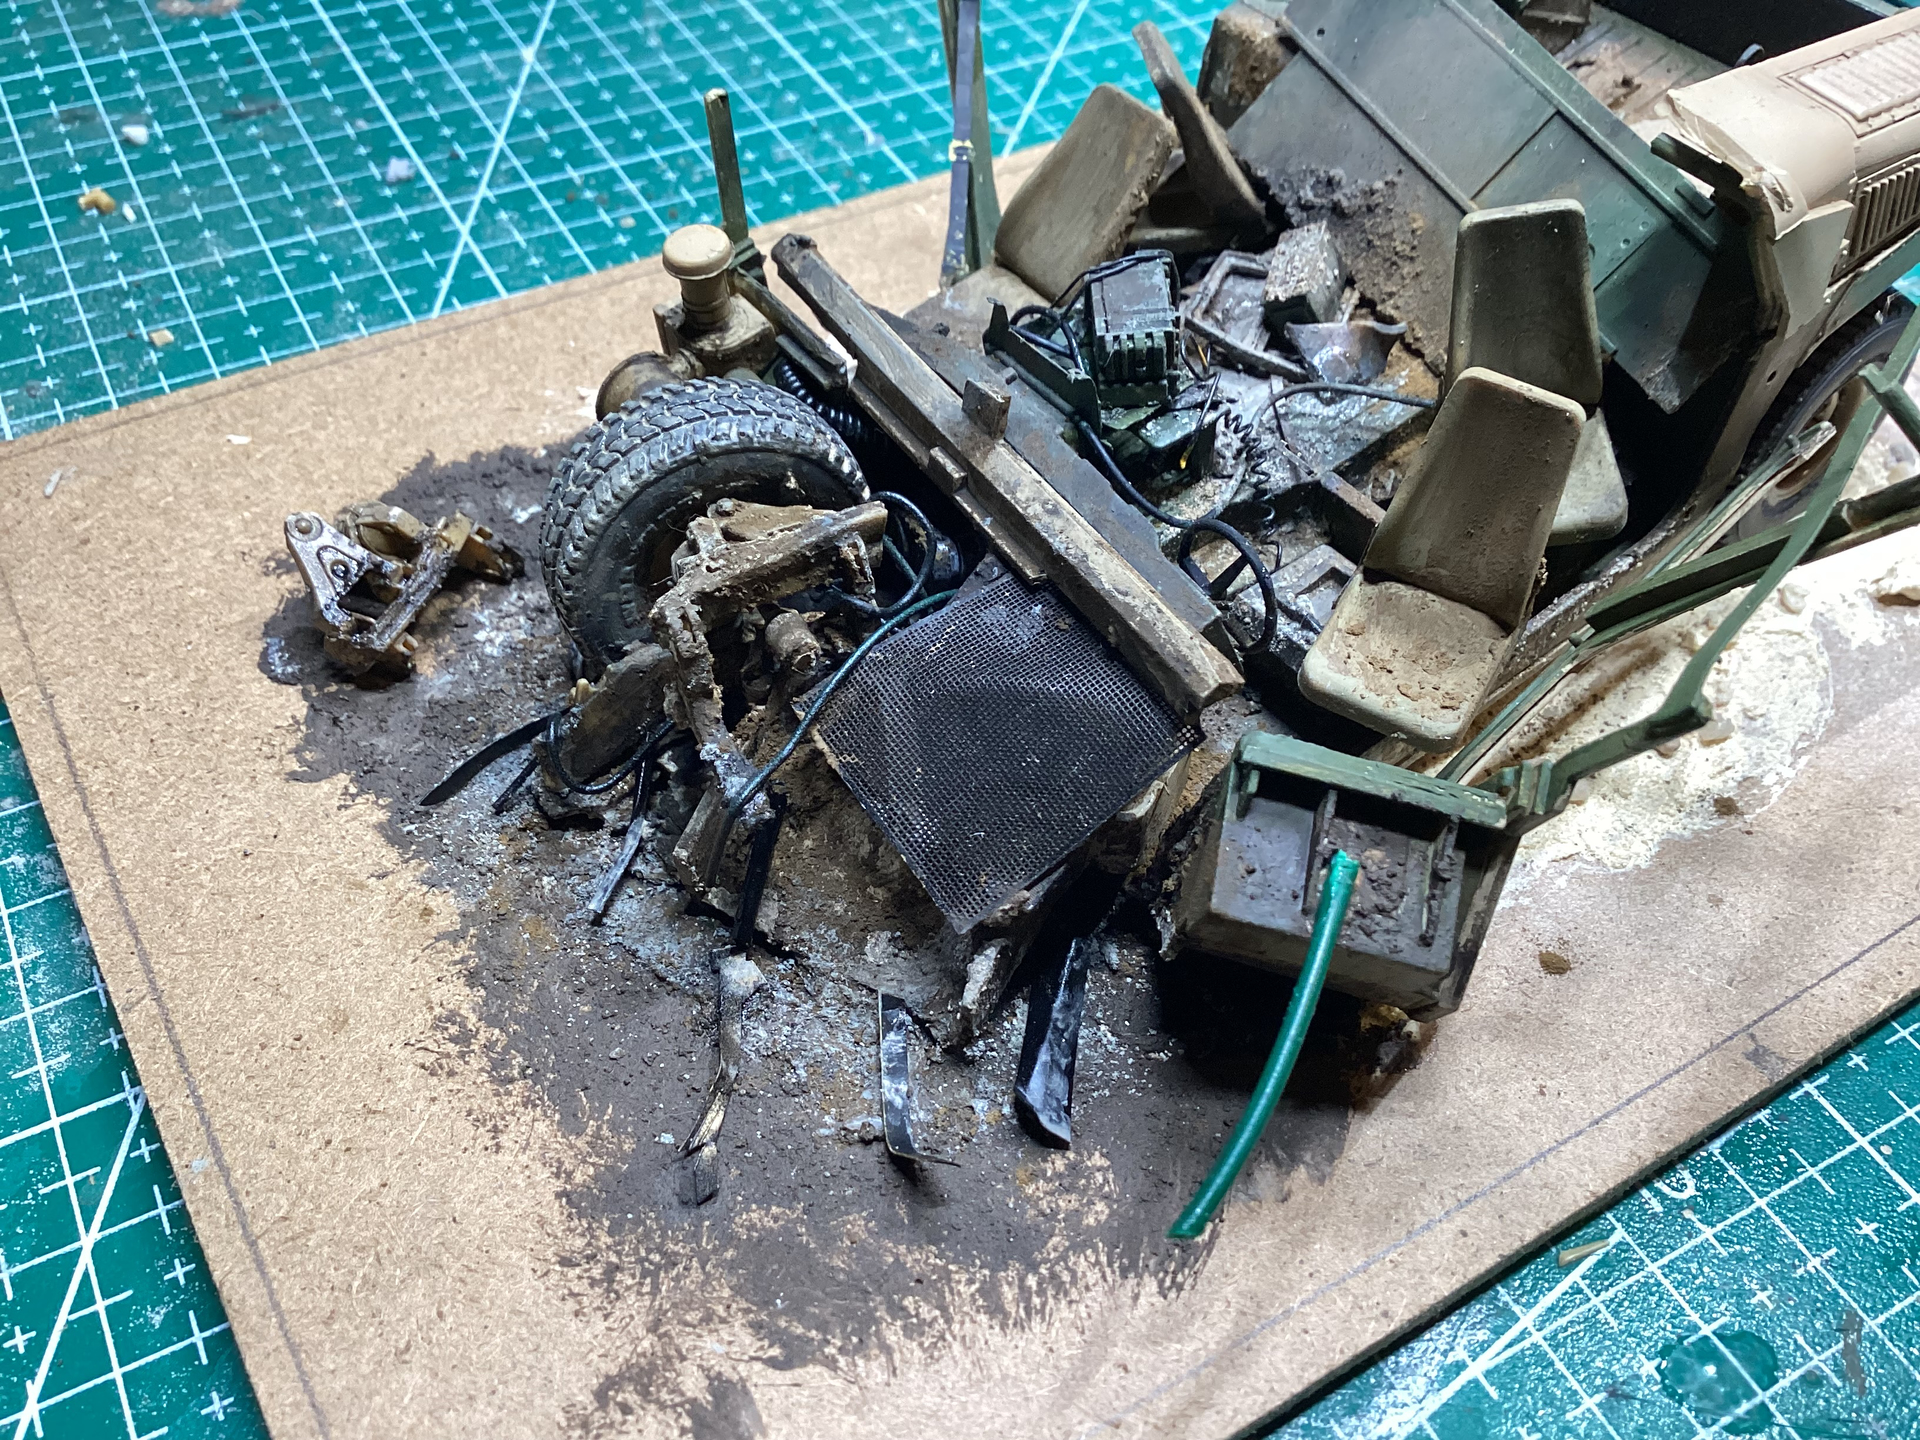
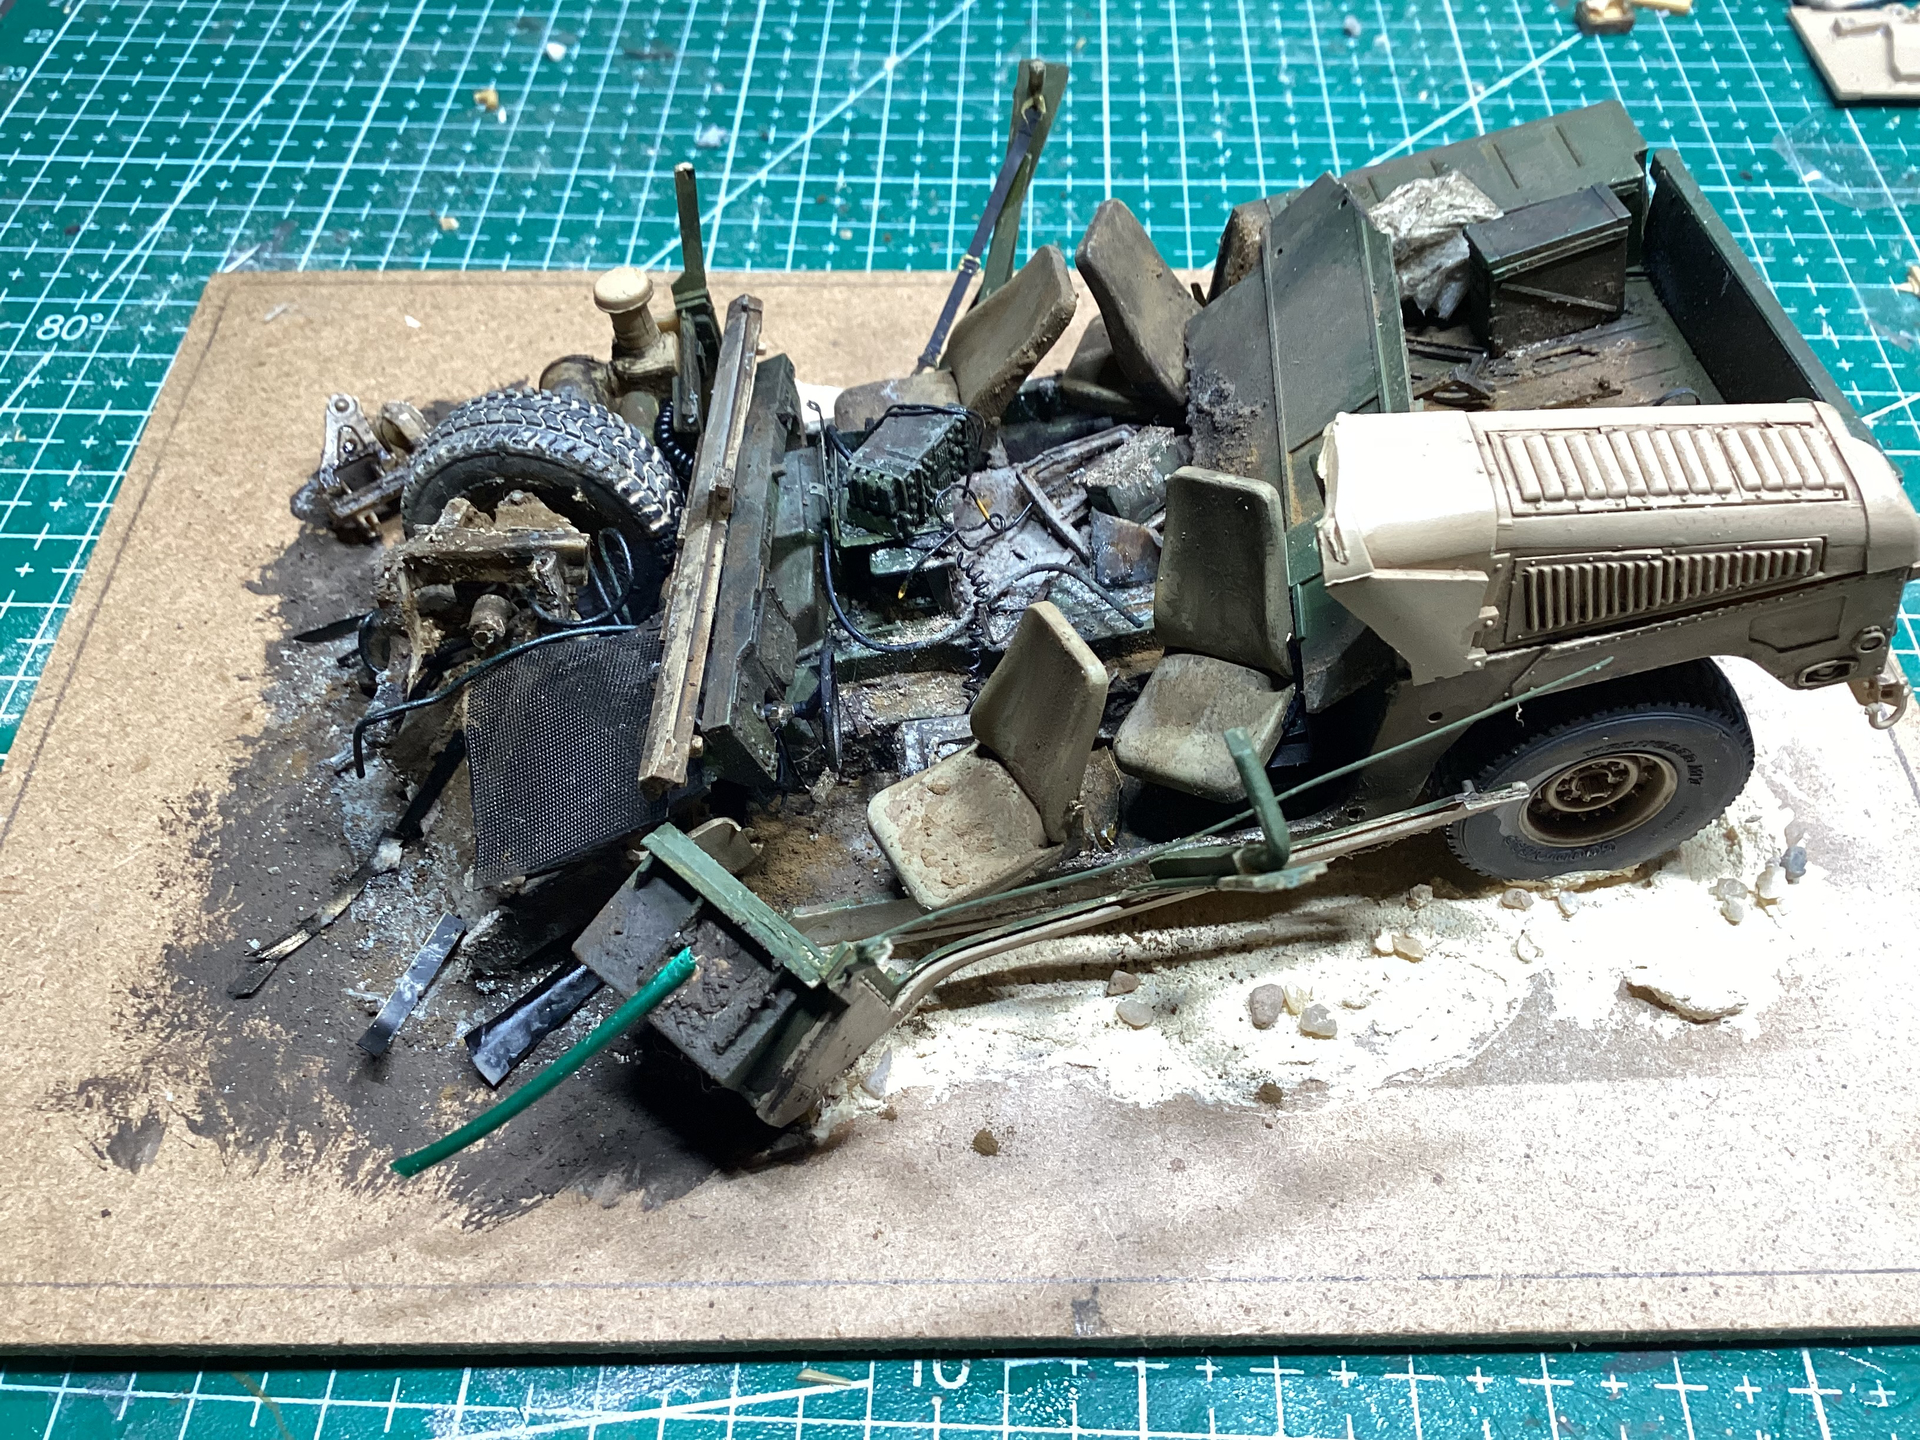
Bang! Work is underway. The weakest of the reference photos is the one showing the front, so I have to improvise a bit and make some guesses.

10 Likes
Great improvisations
1 Like
Greetings. If the question is about the T-90, yes, there are rubber pads on the inside of the tracks.
2 Likes


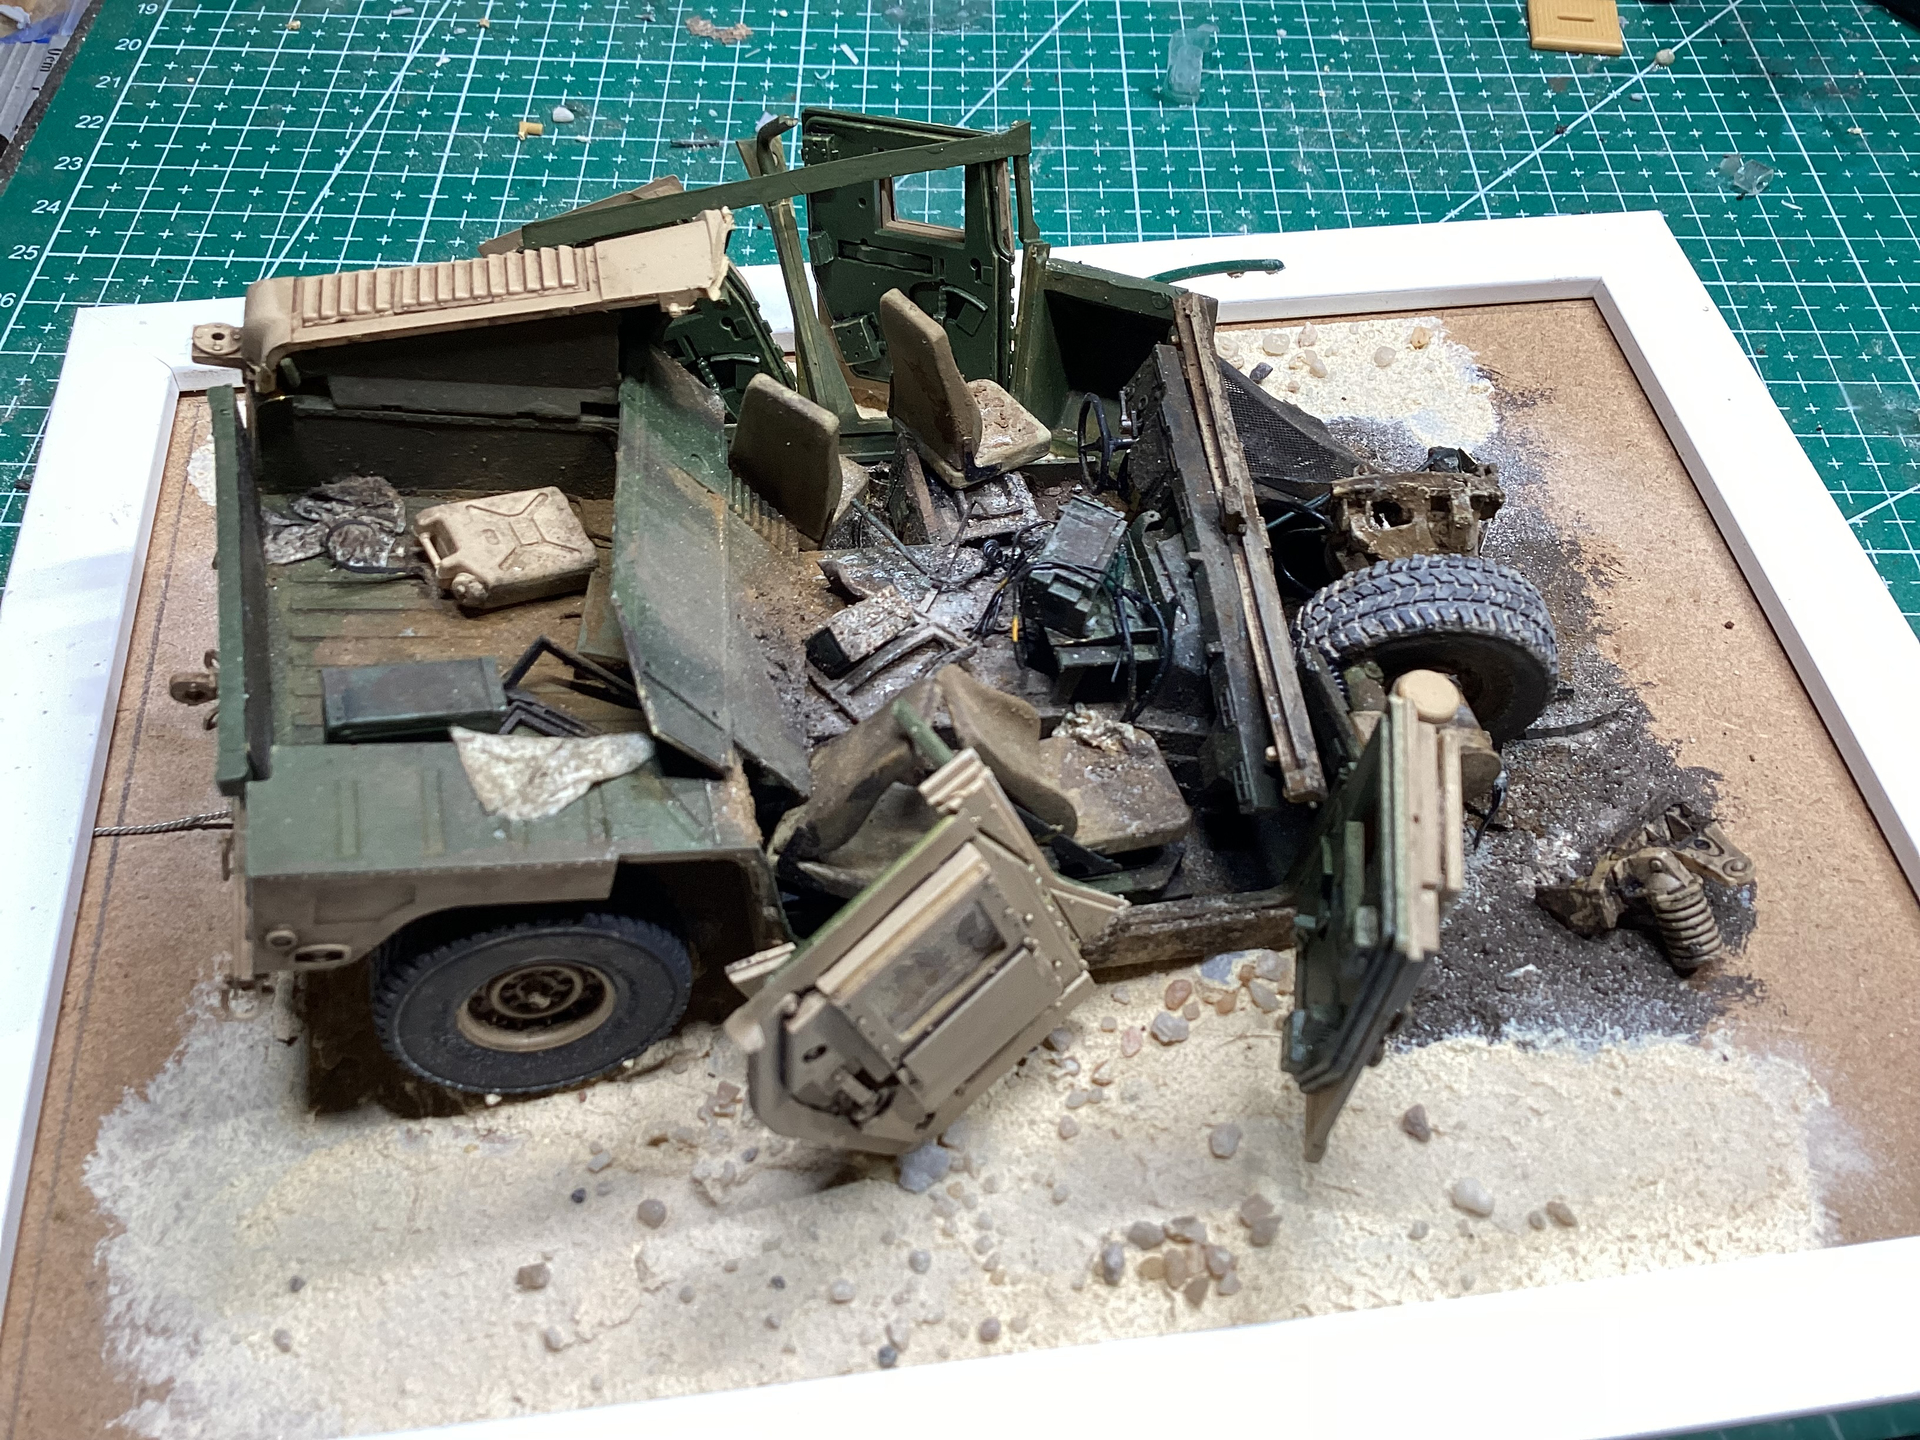
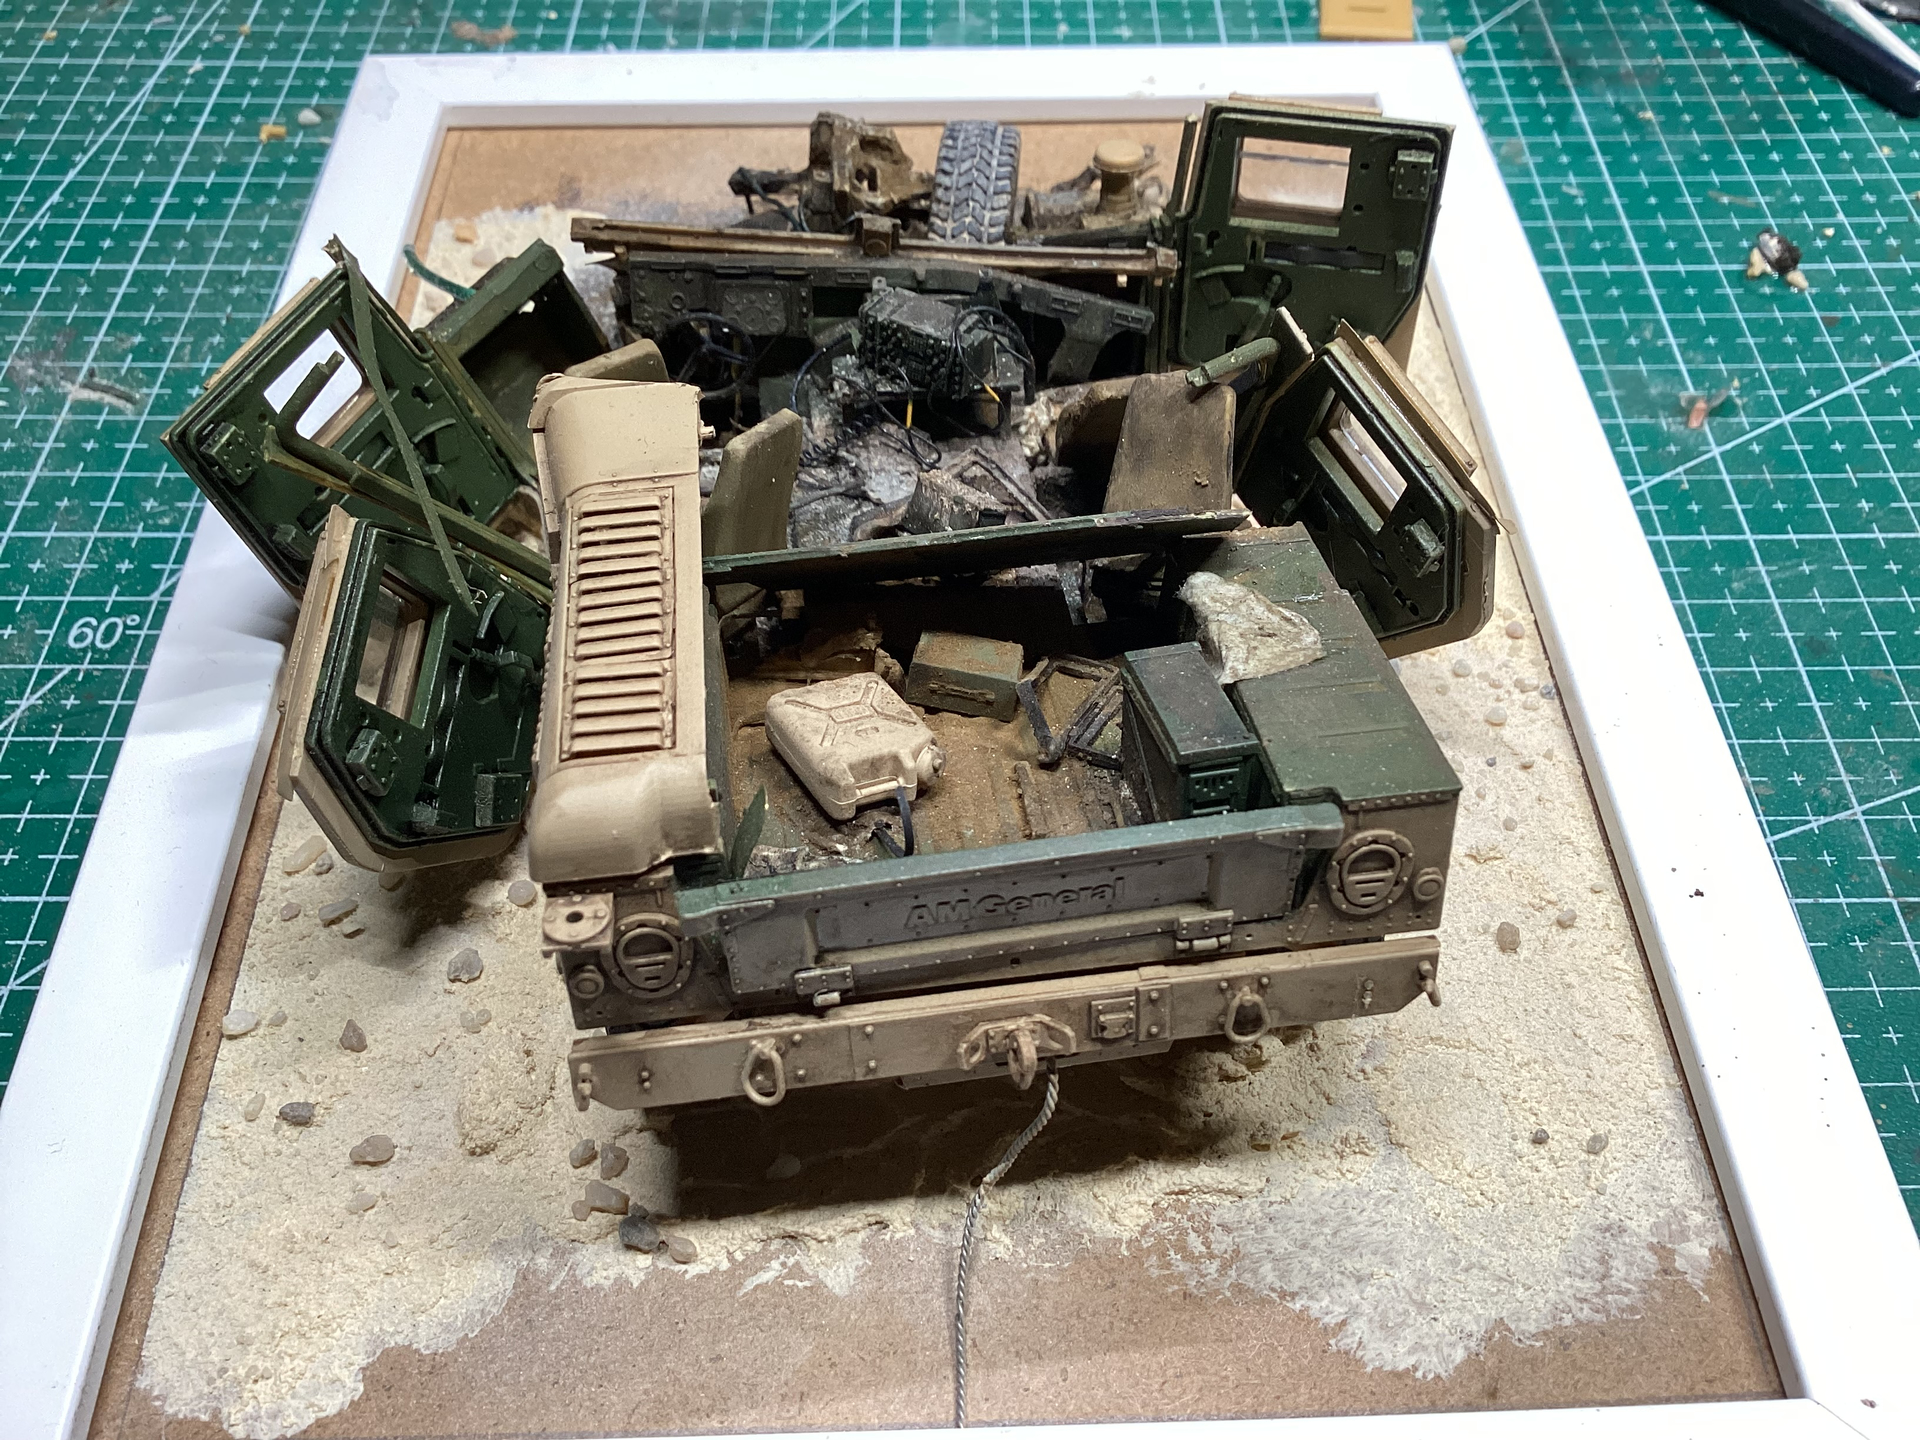

Excellent progress Piotr … looks really nice with what you’re doing with it.
2 Likes
T90 build is complete. Just need to add the 2 front mudguards brackets which I just noticed on the side lol… whoops … can then a base coat of primer down and start the cam … will also source a picture frame for the dip base and get that started.
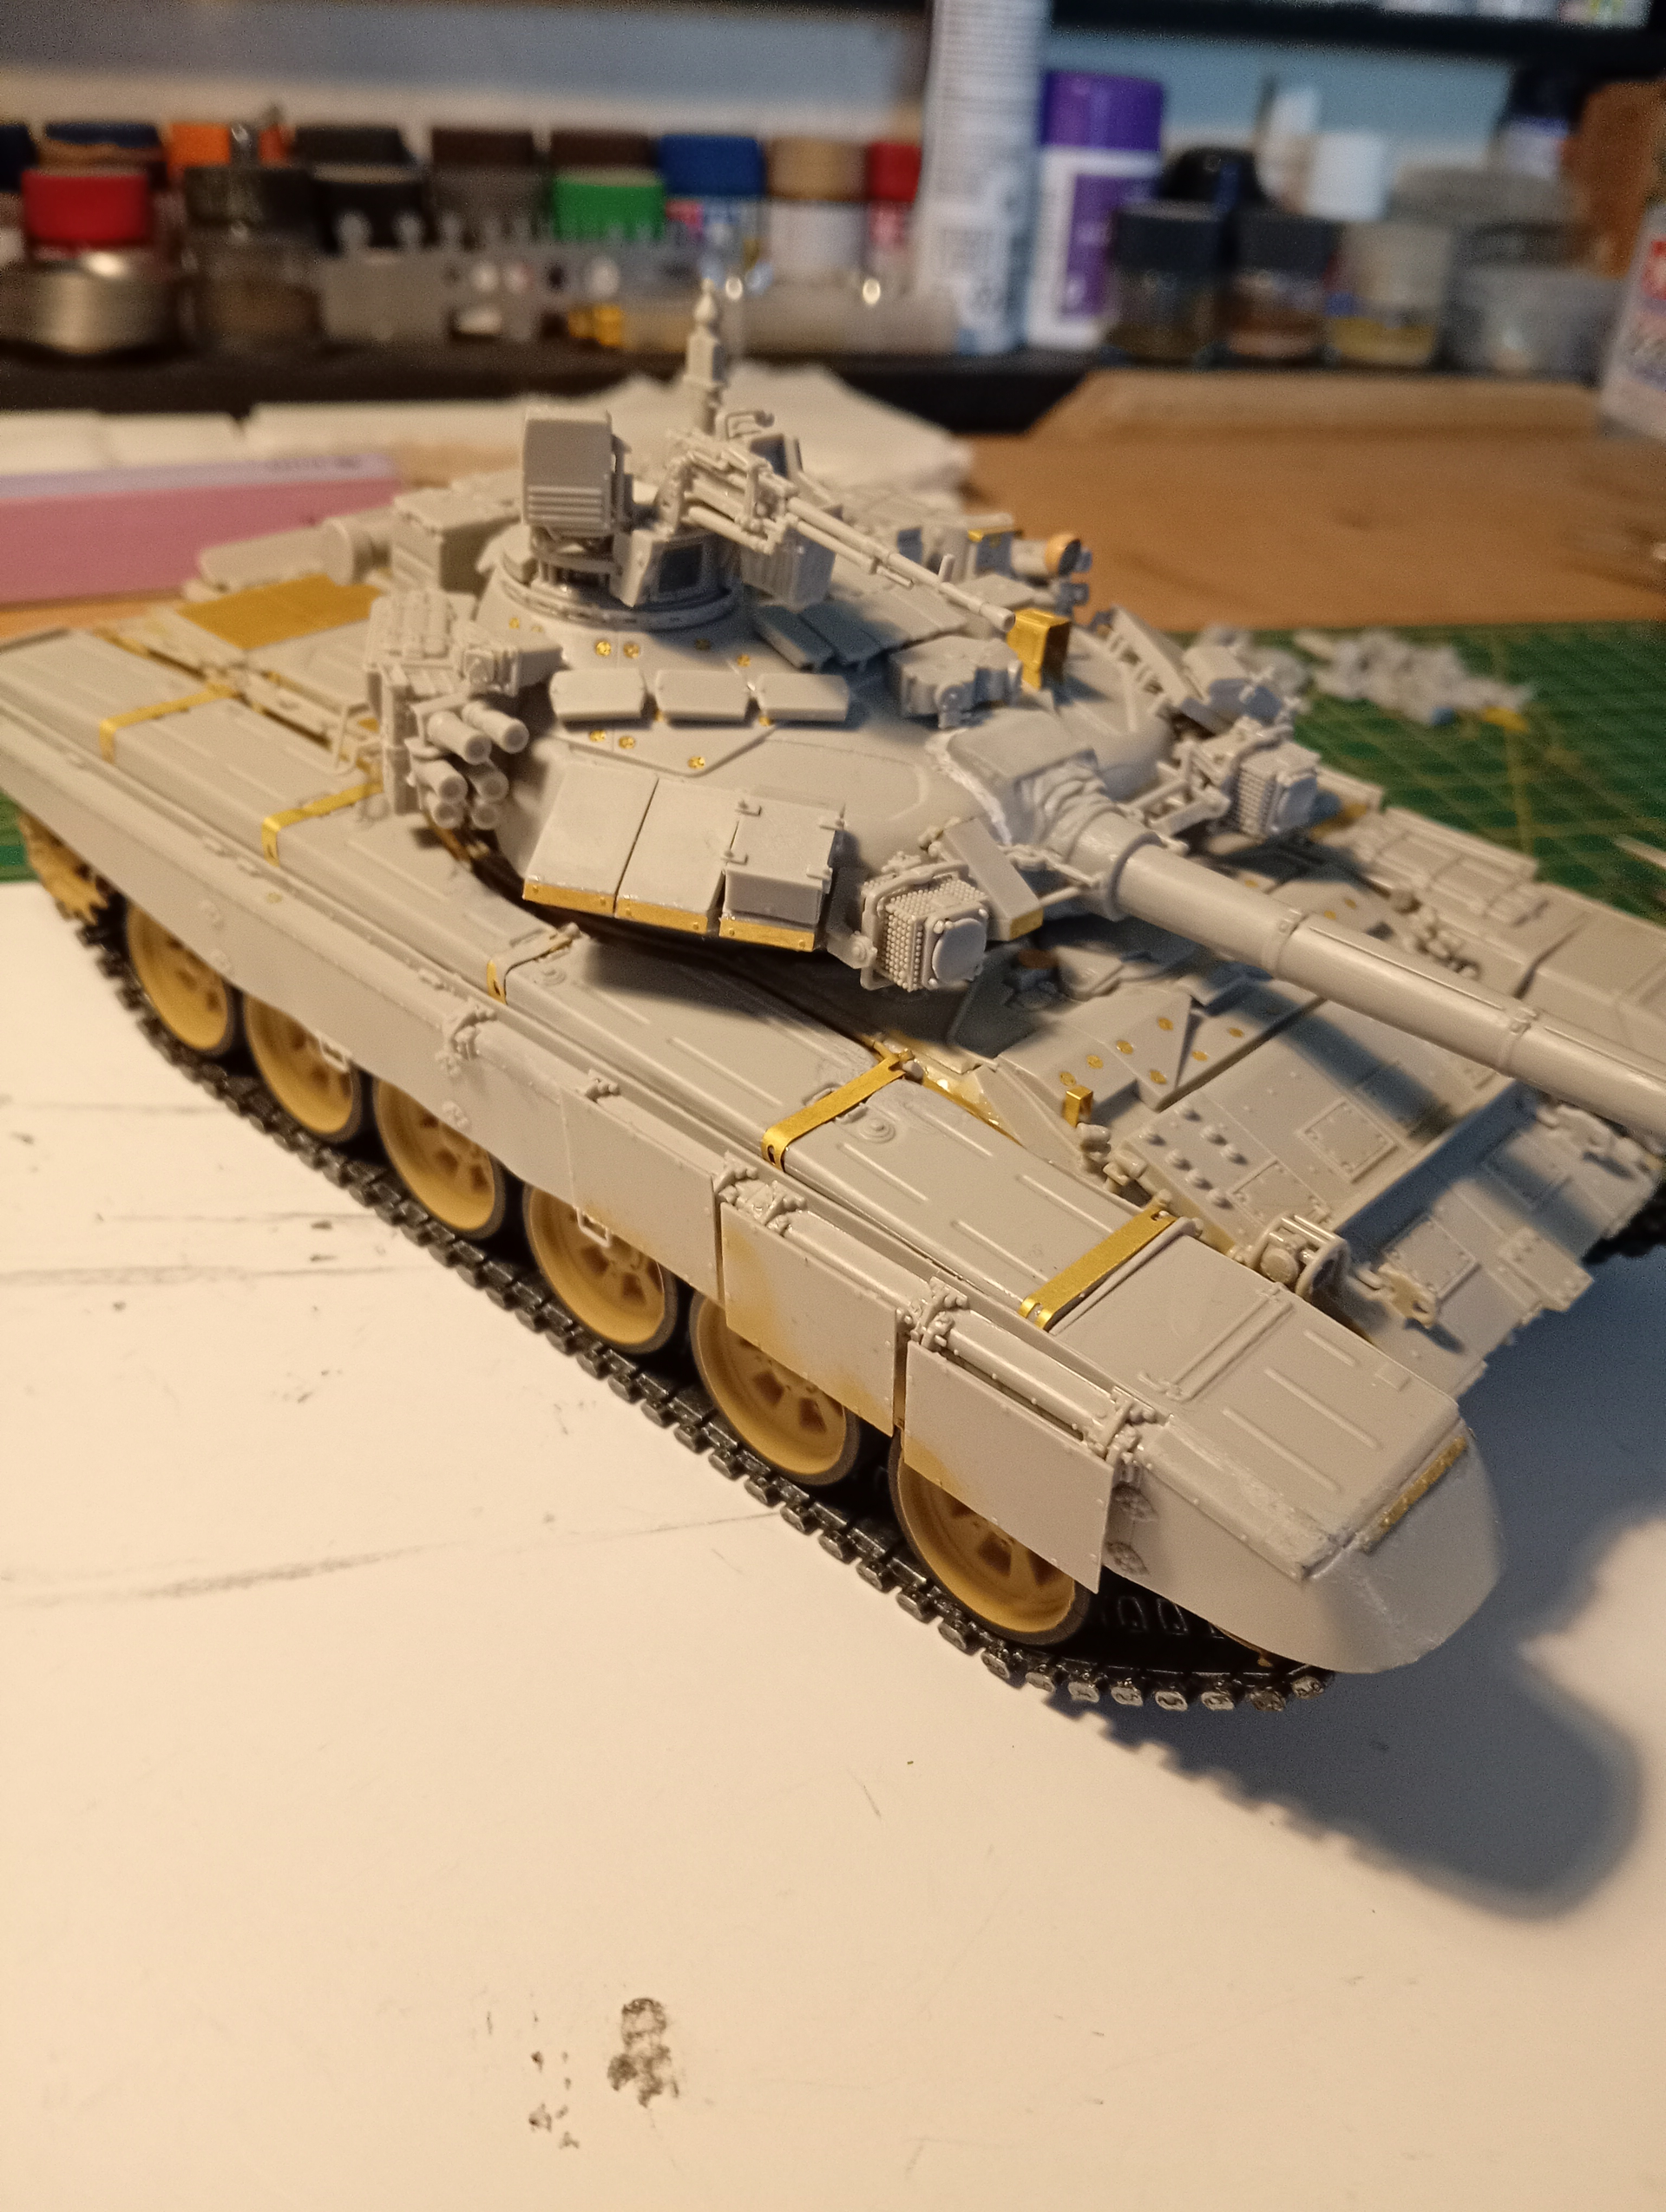
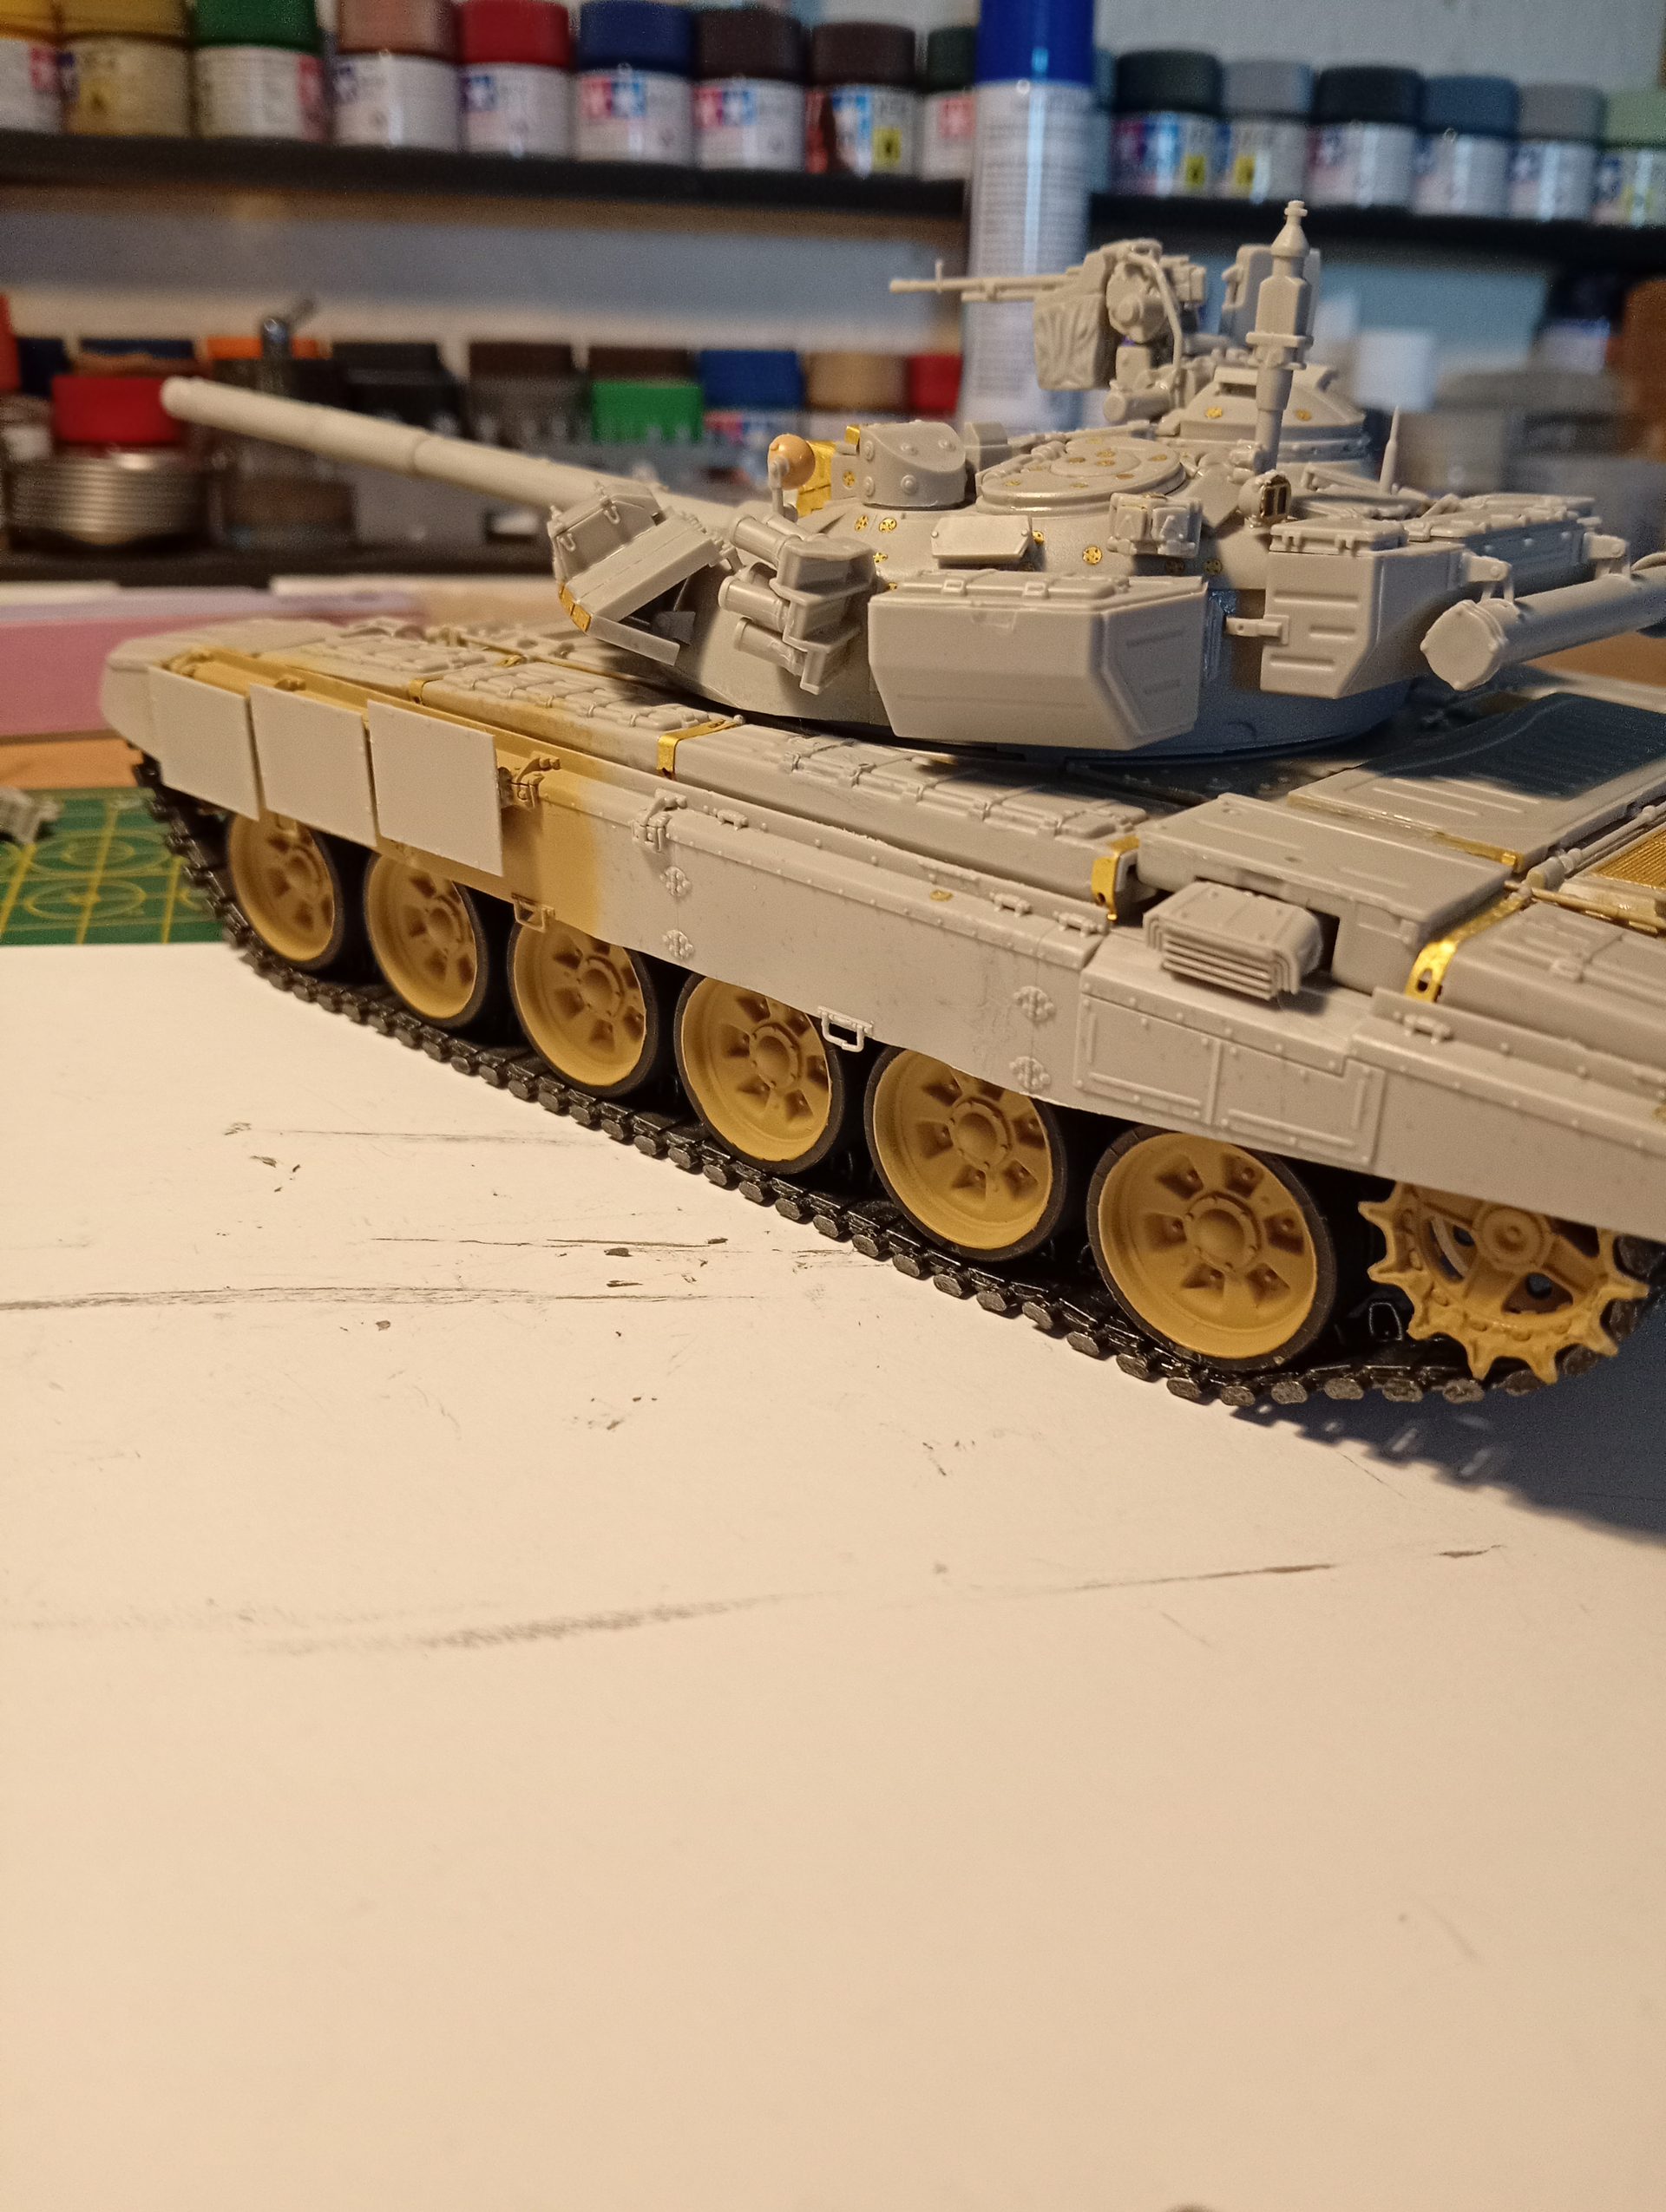

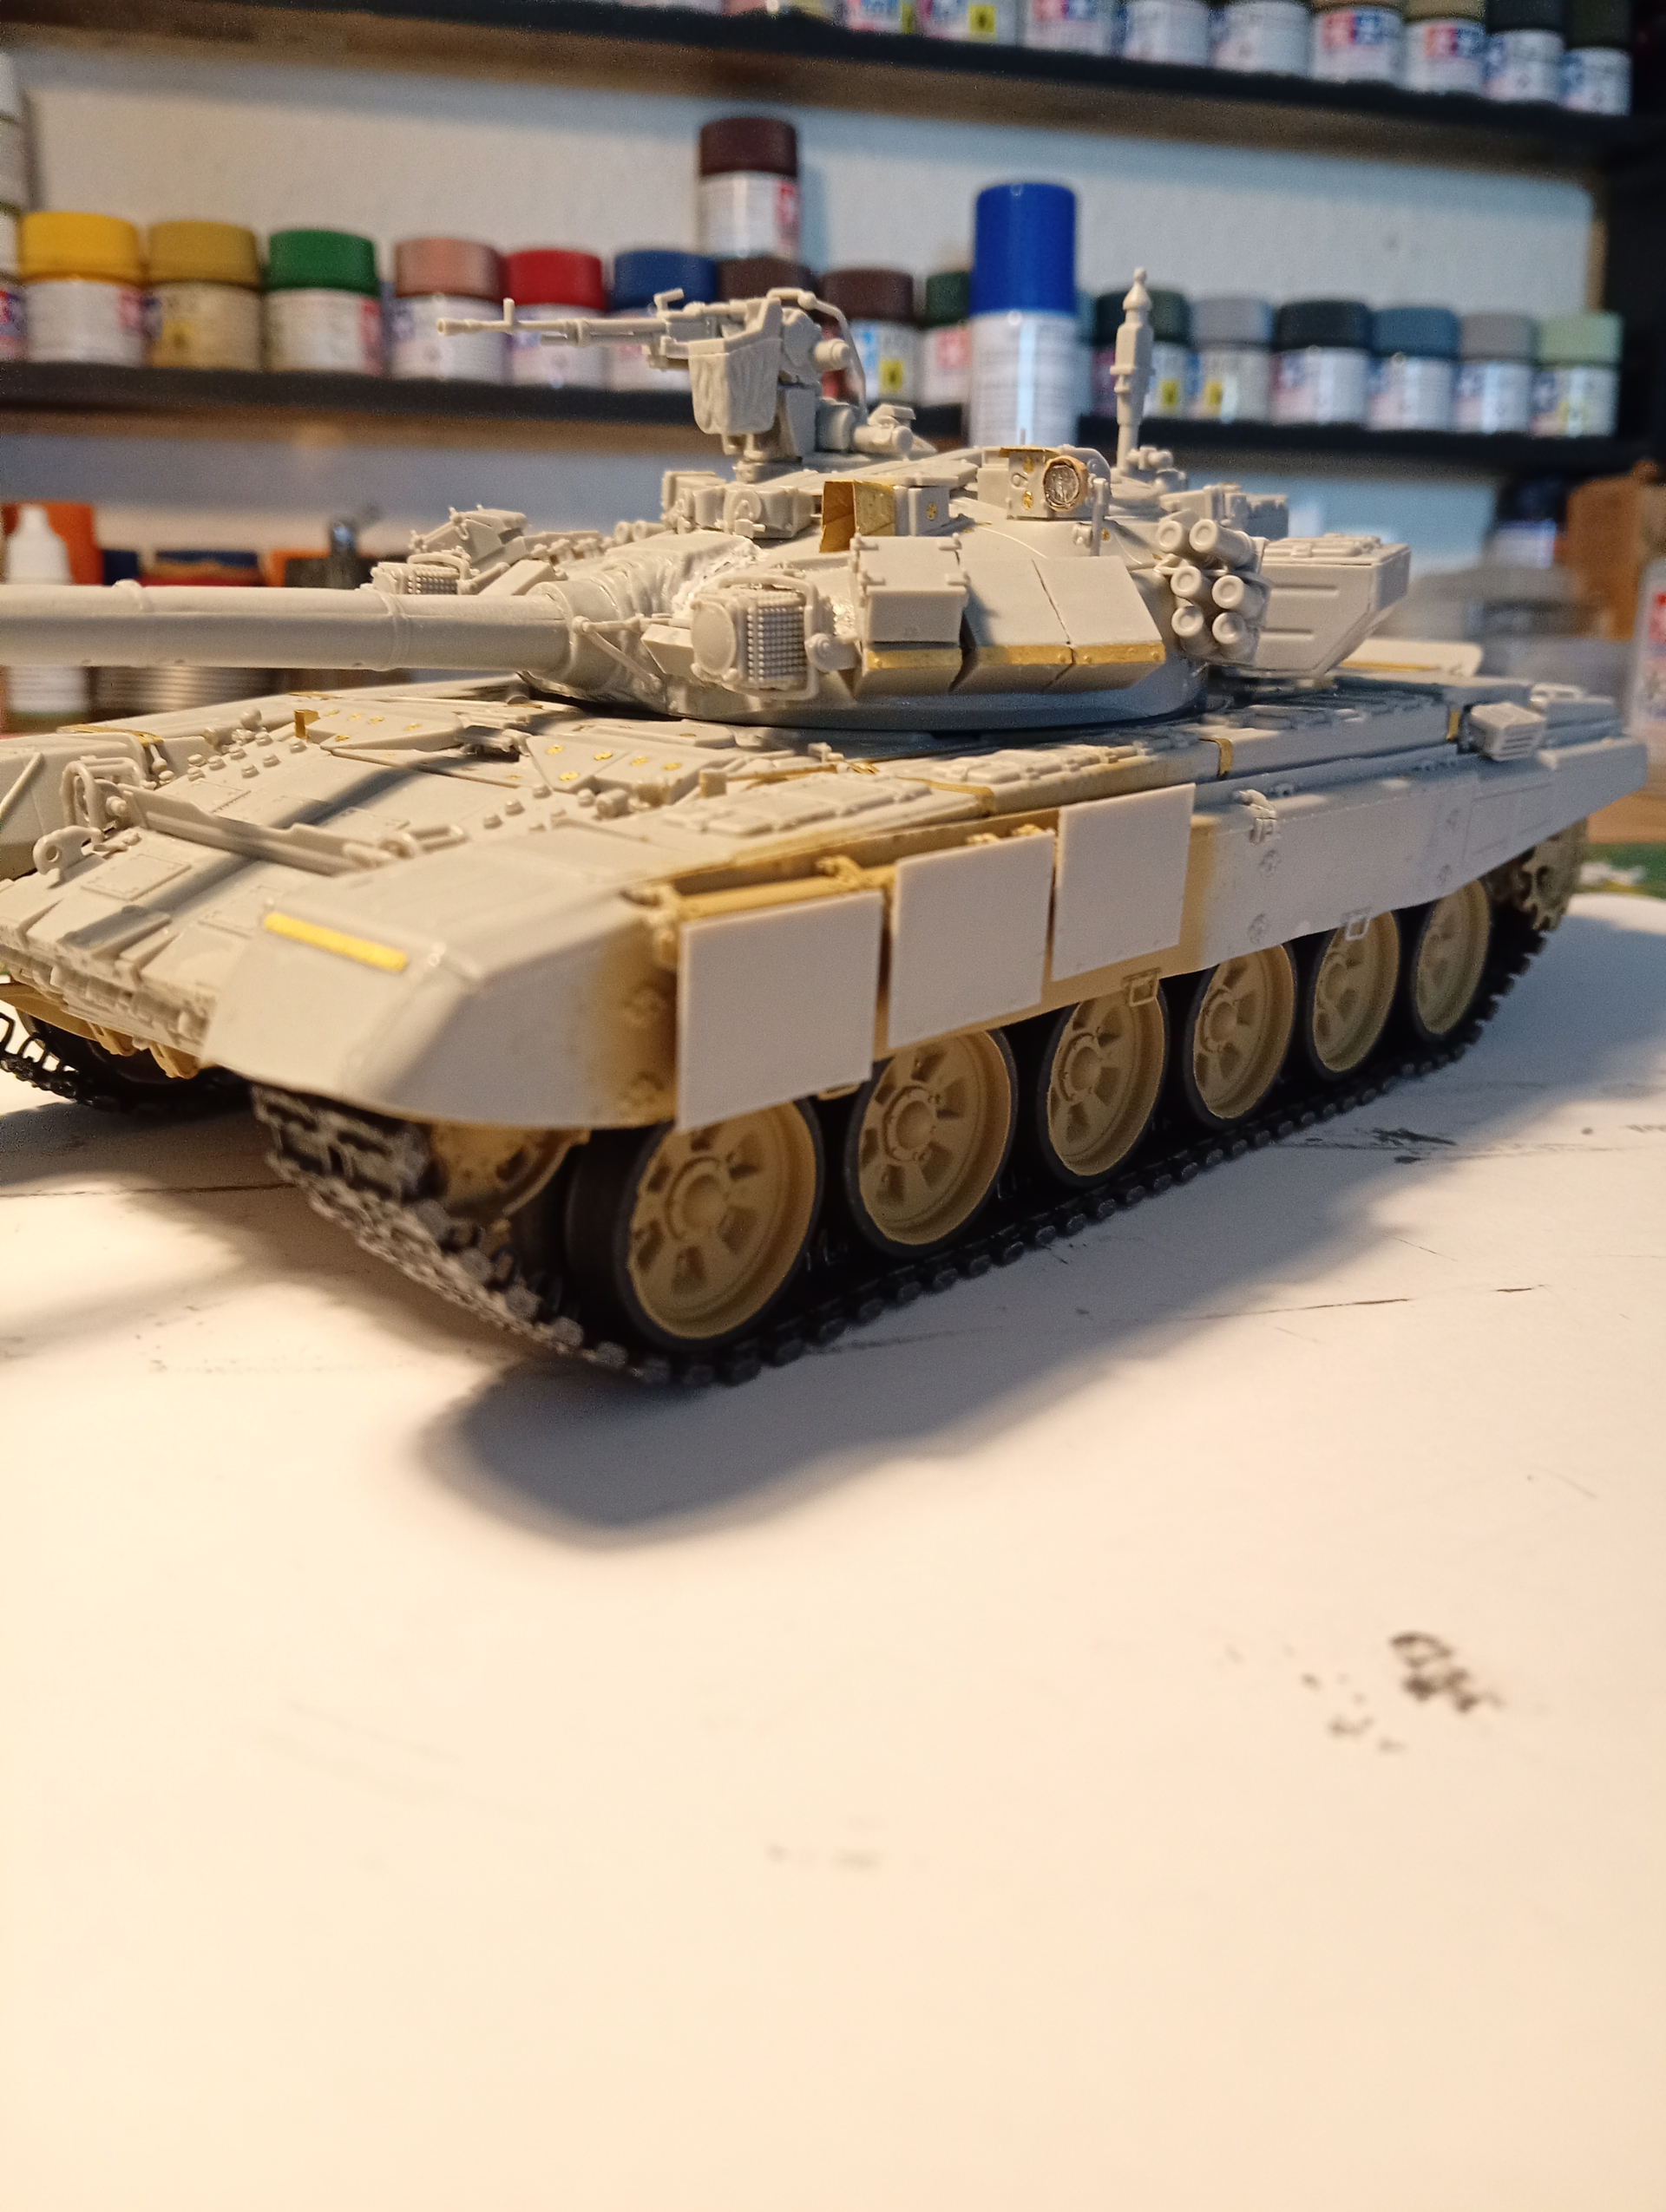
Oh, and I need to do the antenna and flag but that will wait until nearer the end once it’s ready to be set up.
8 Likes
Great looking tank
2 Likes