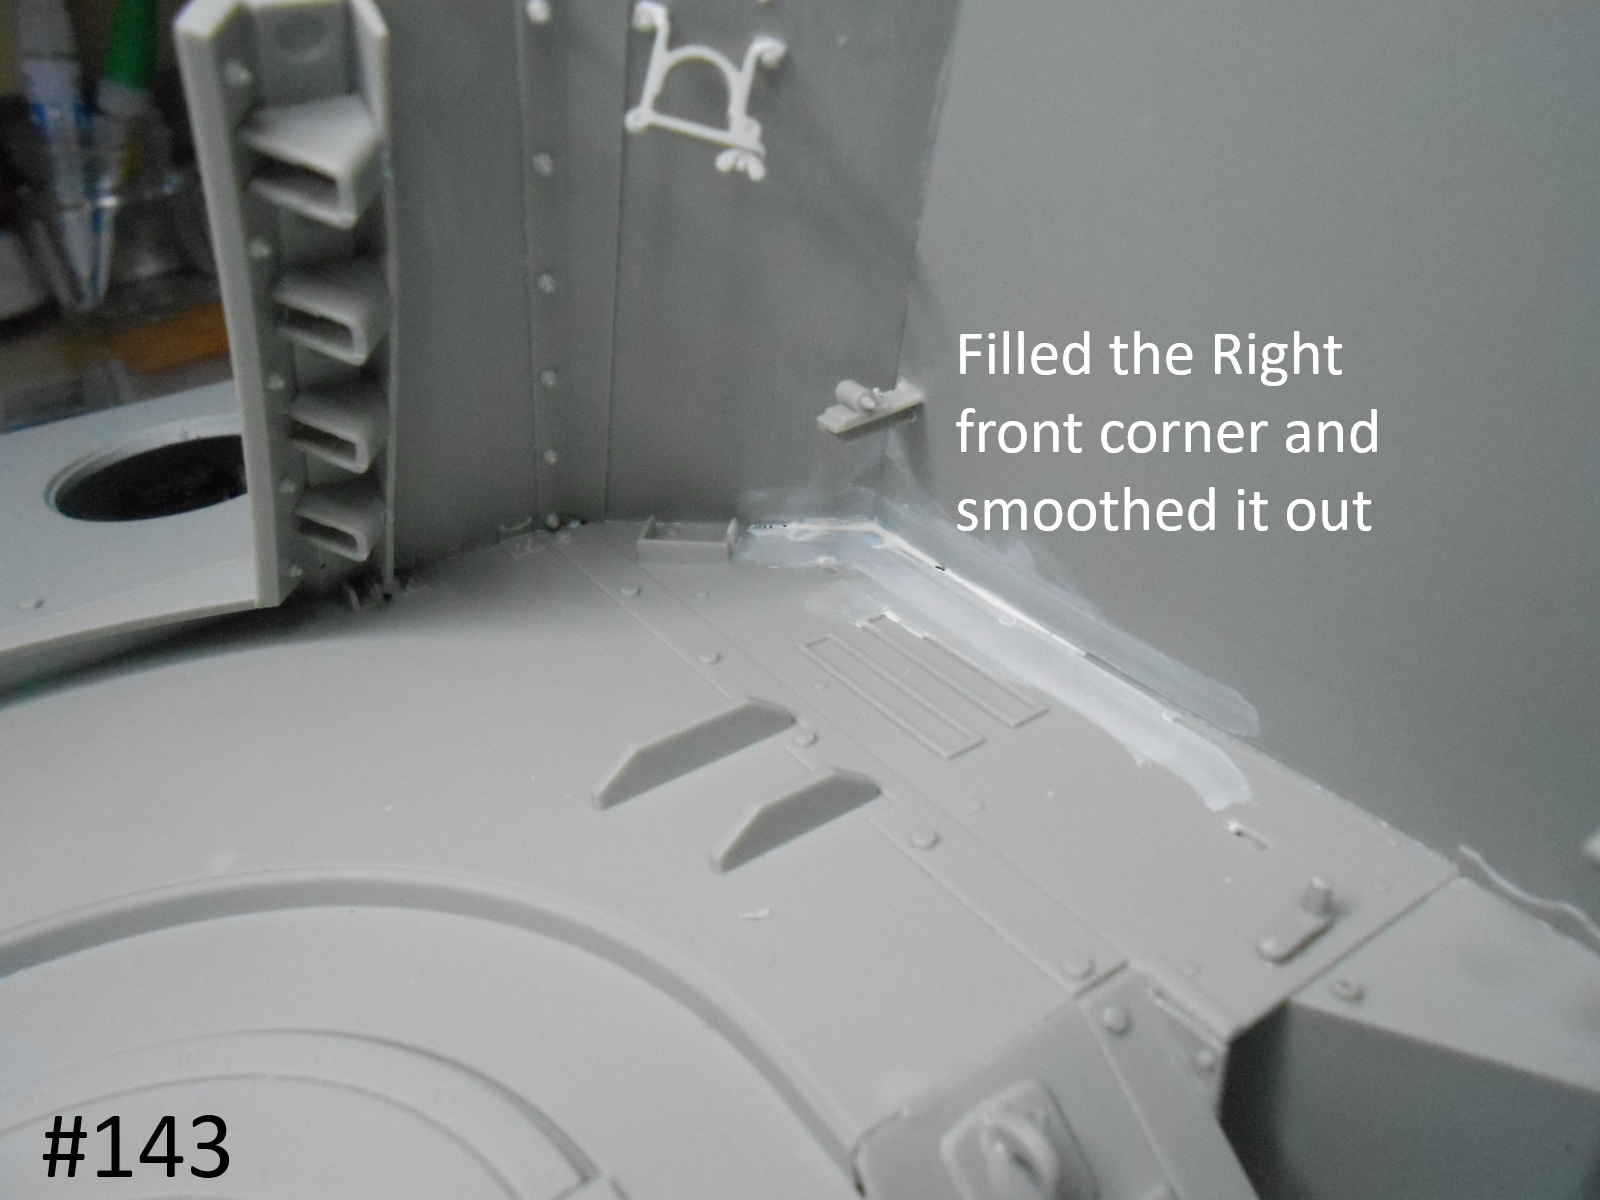
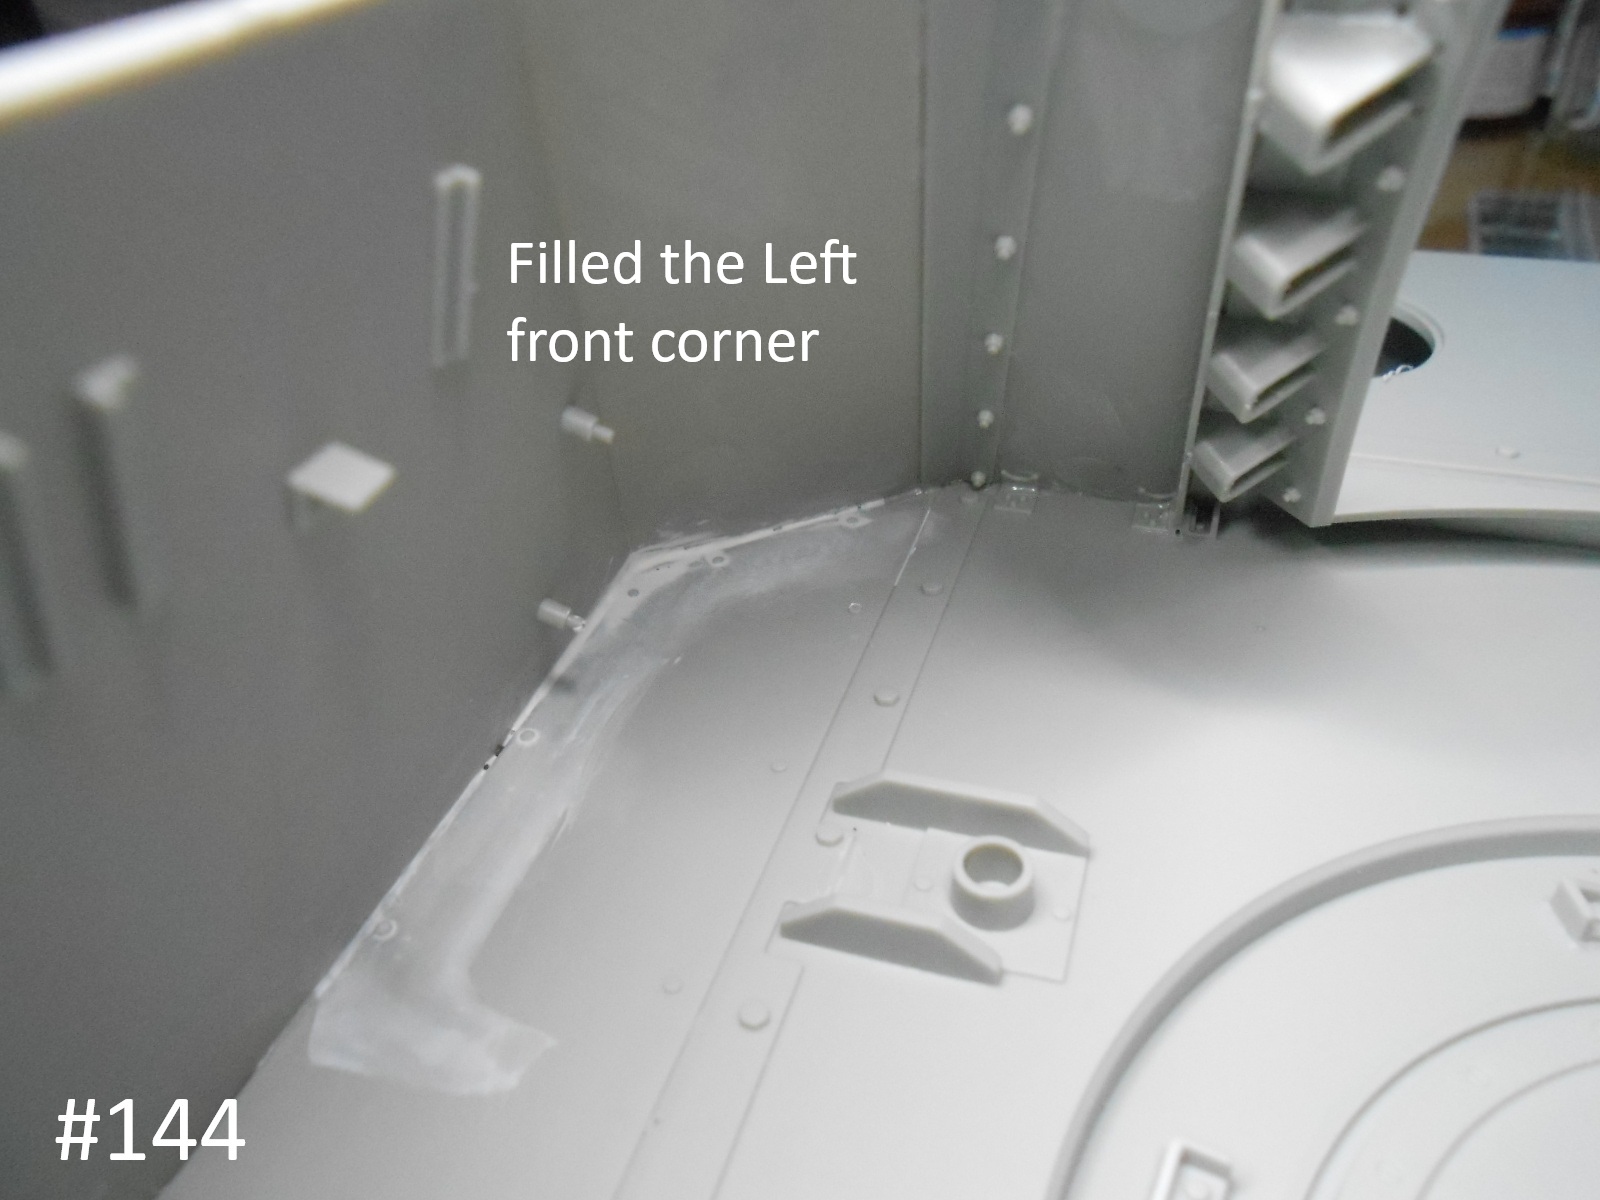
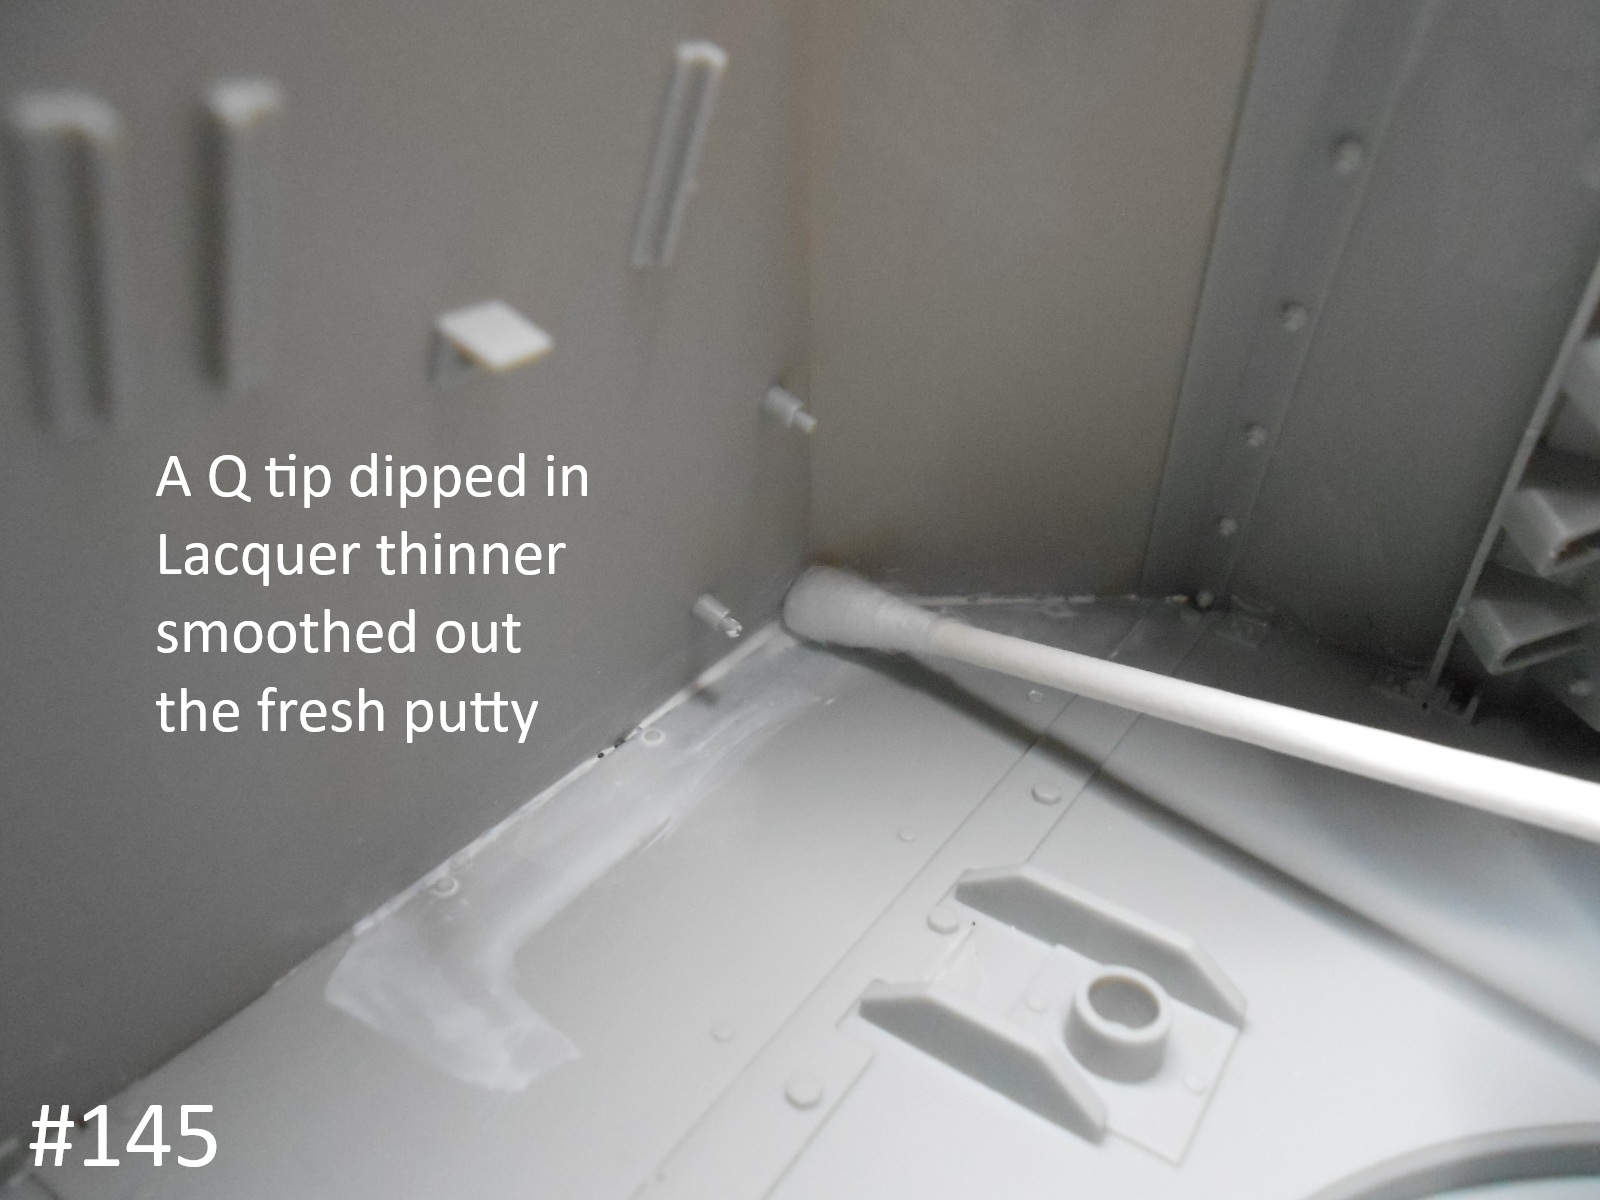
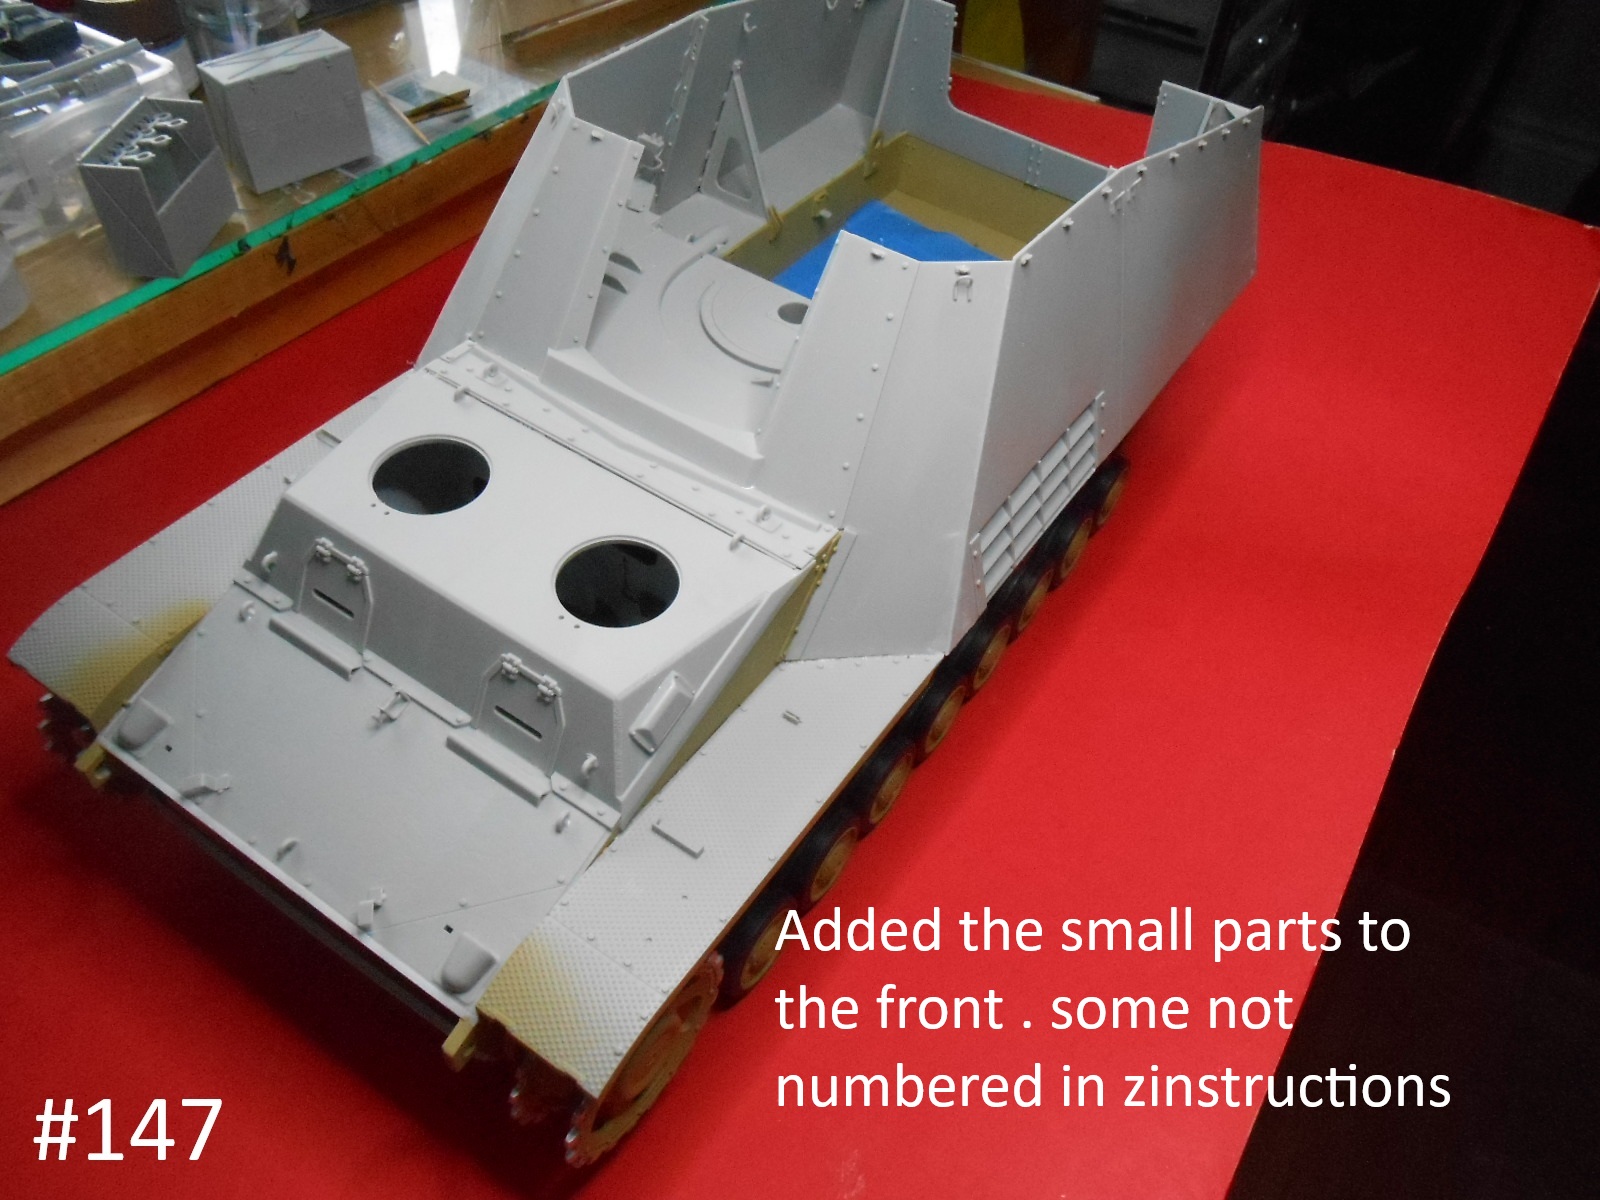
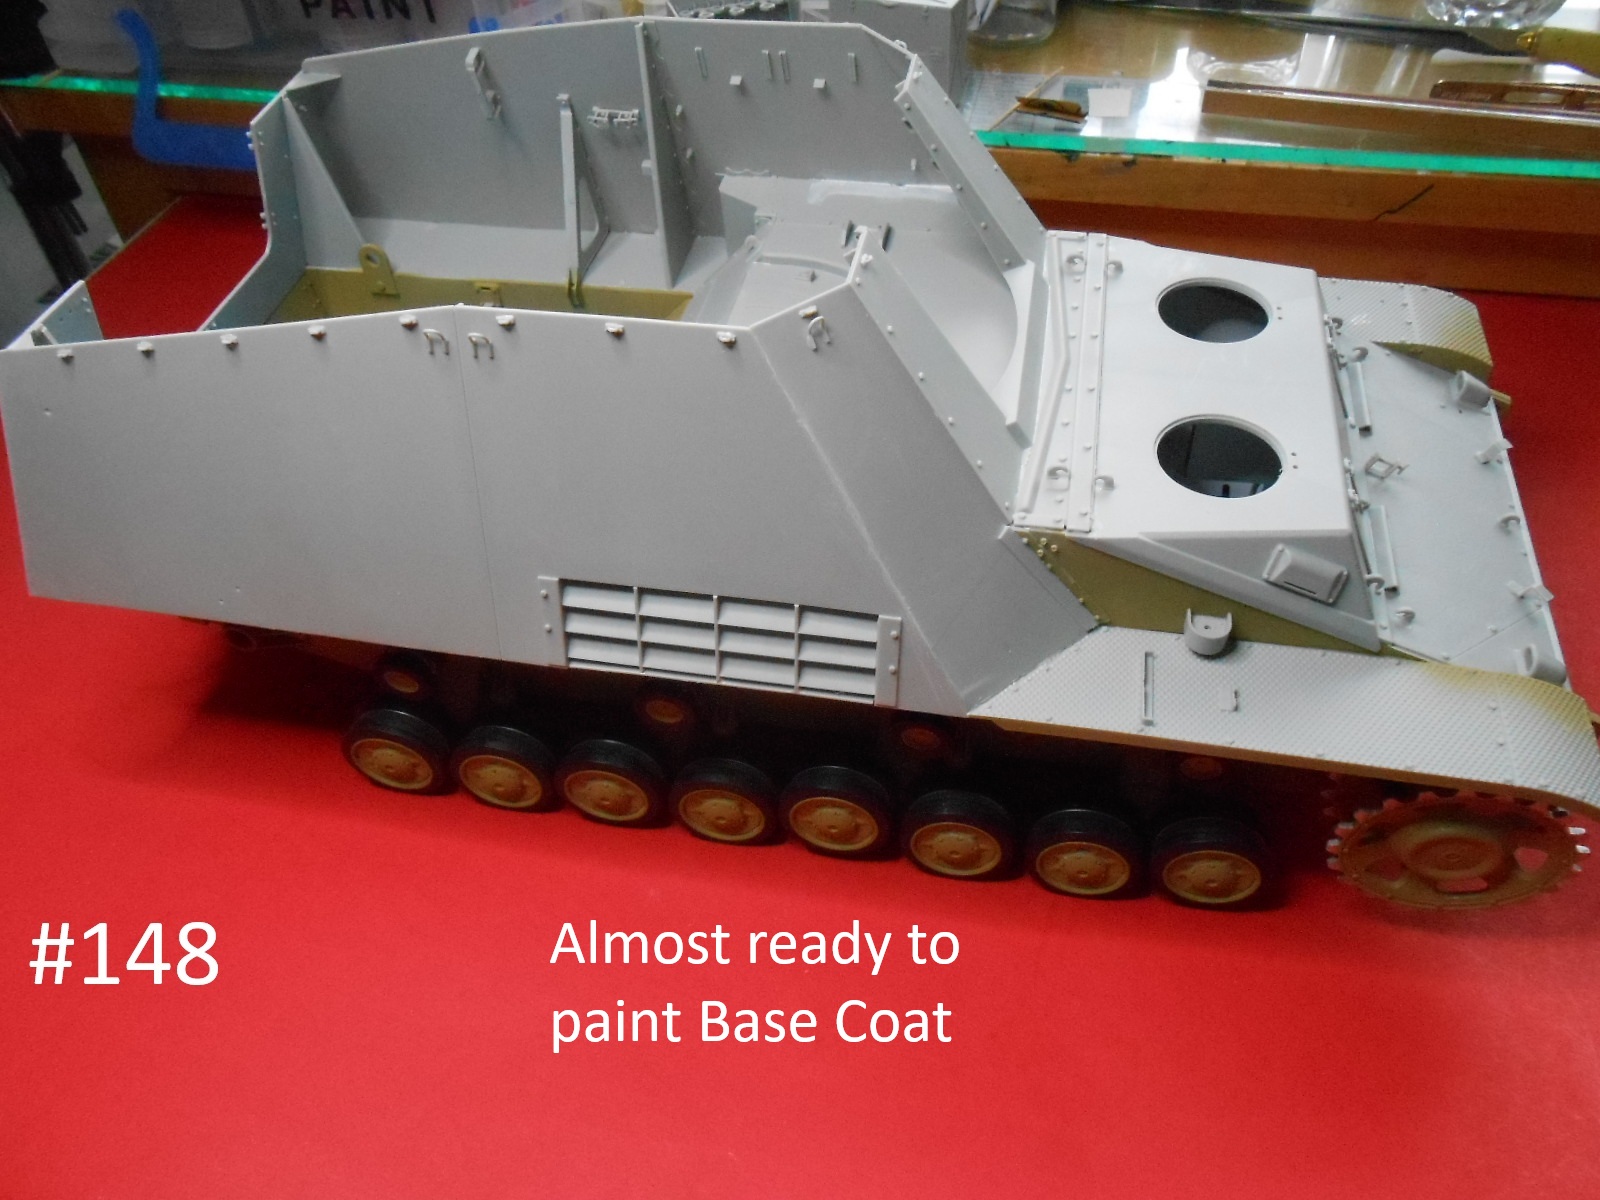
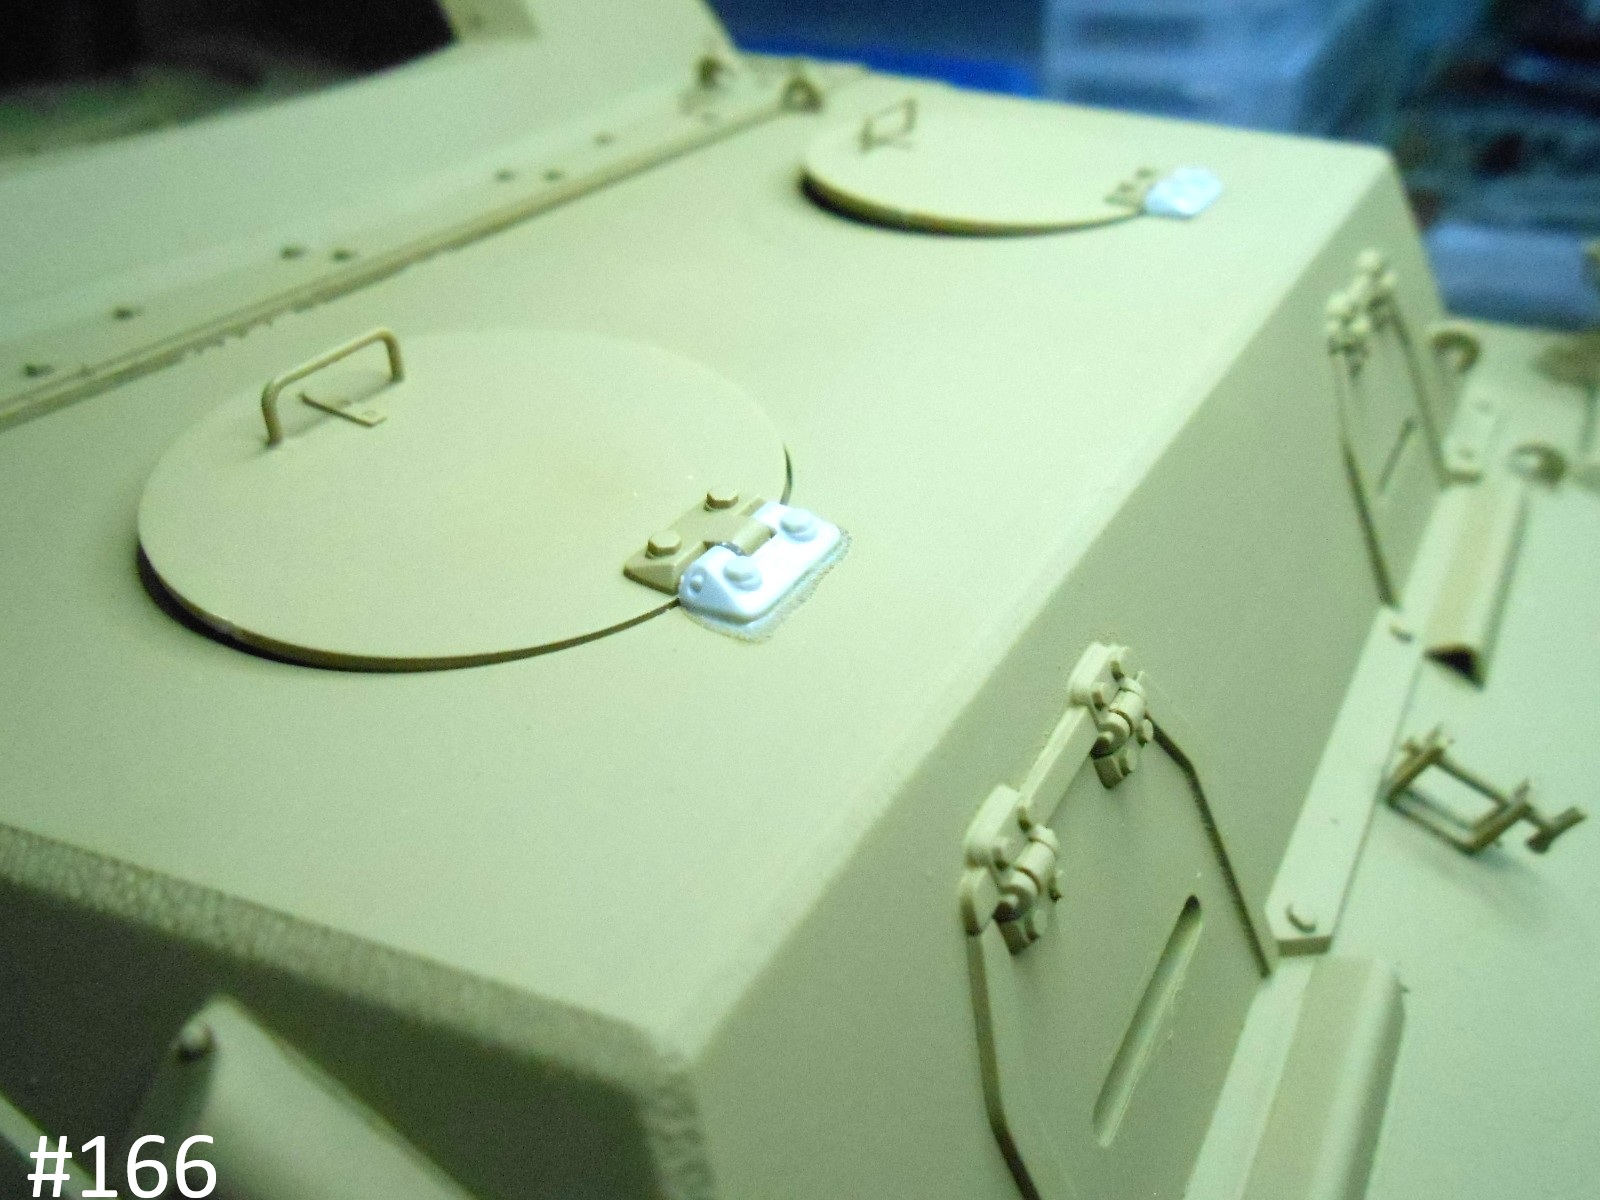
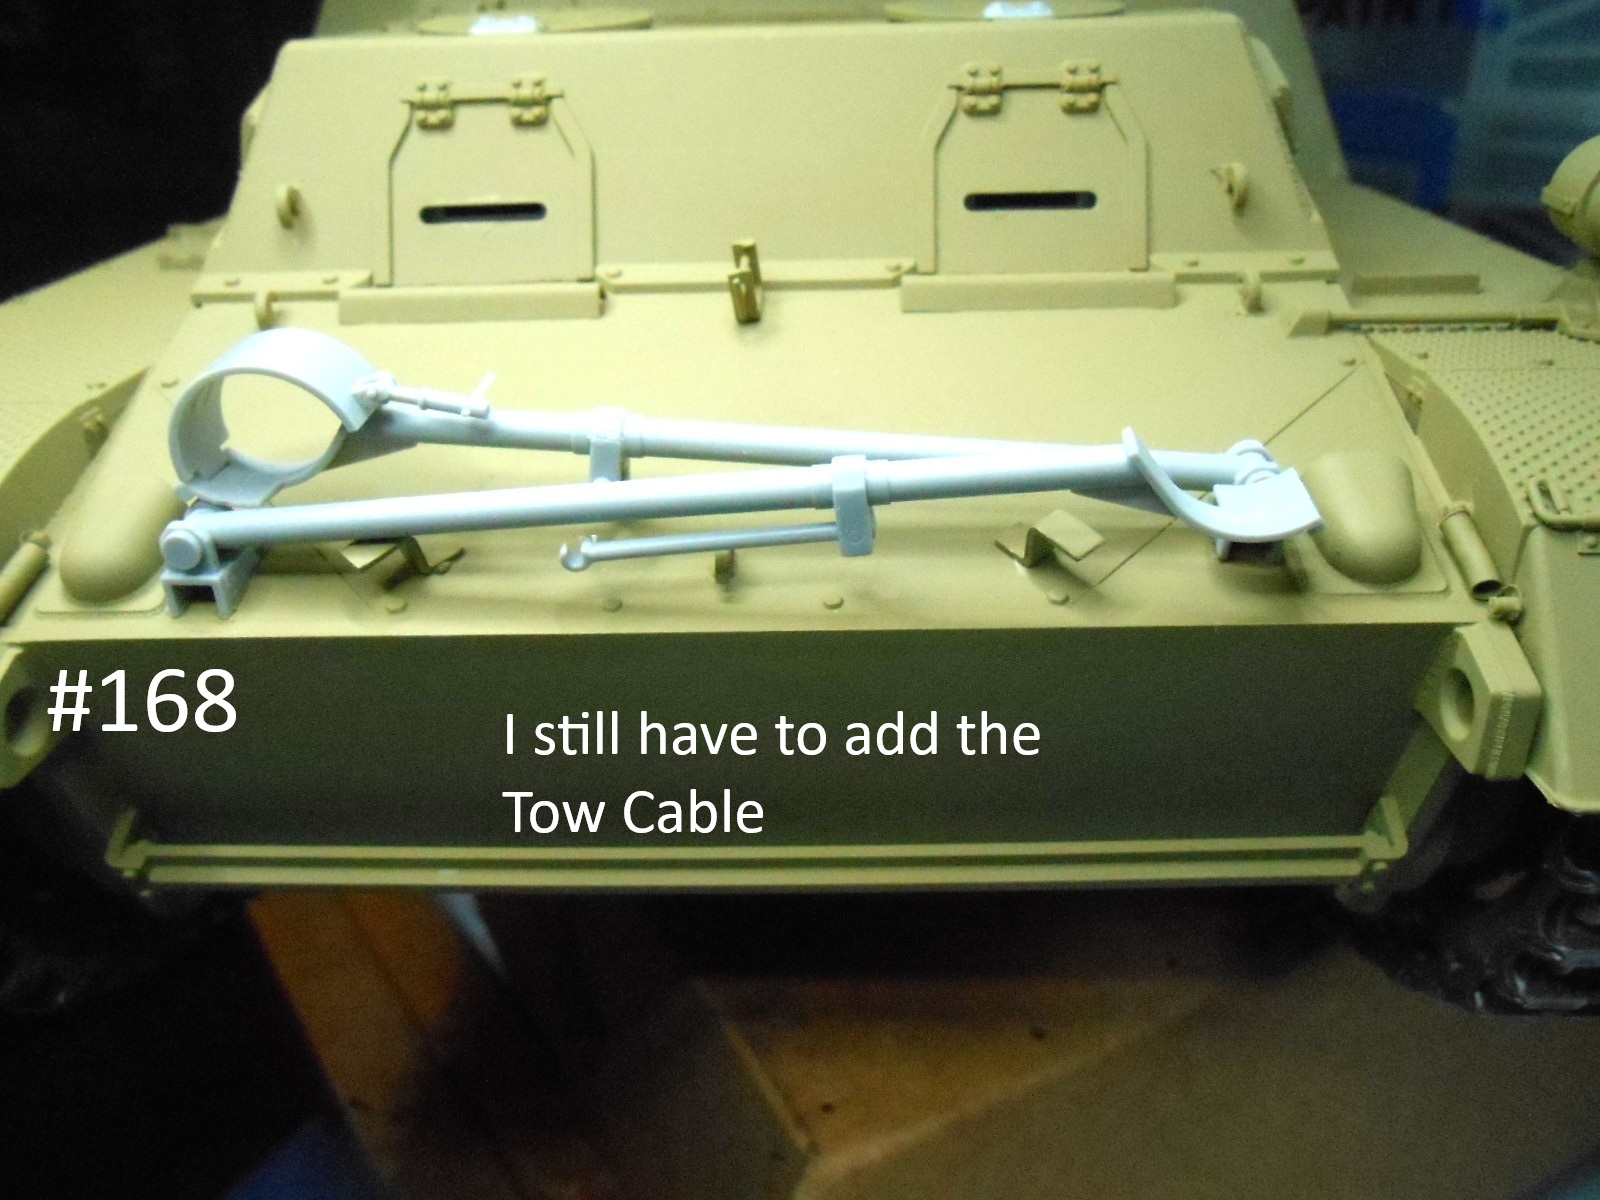
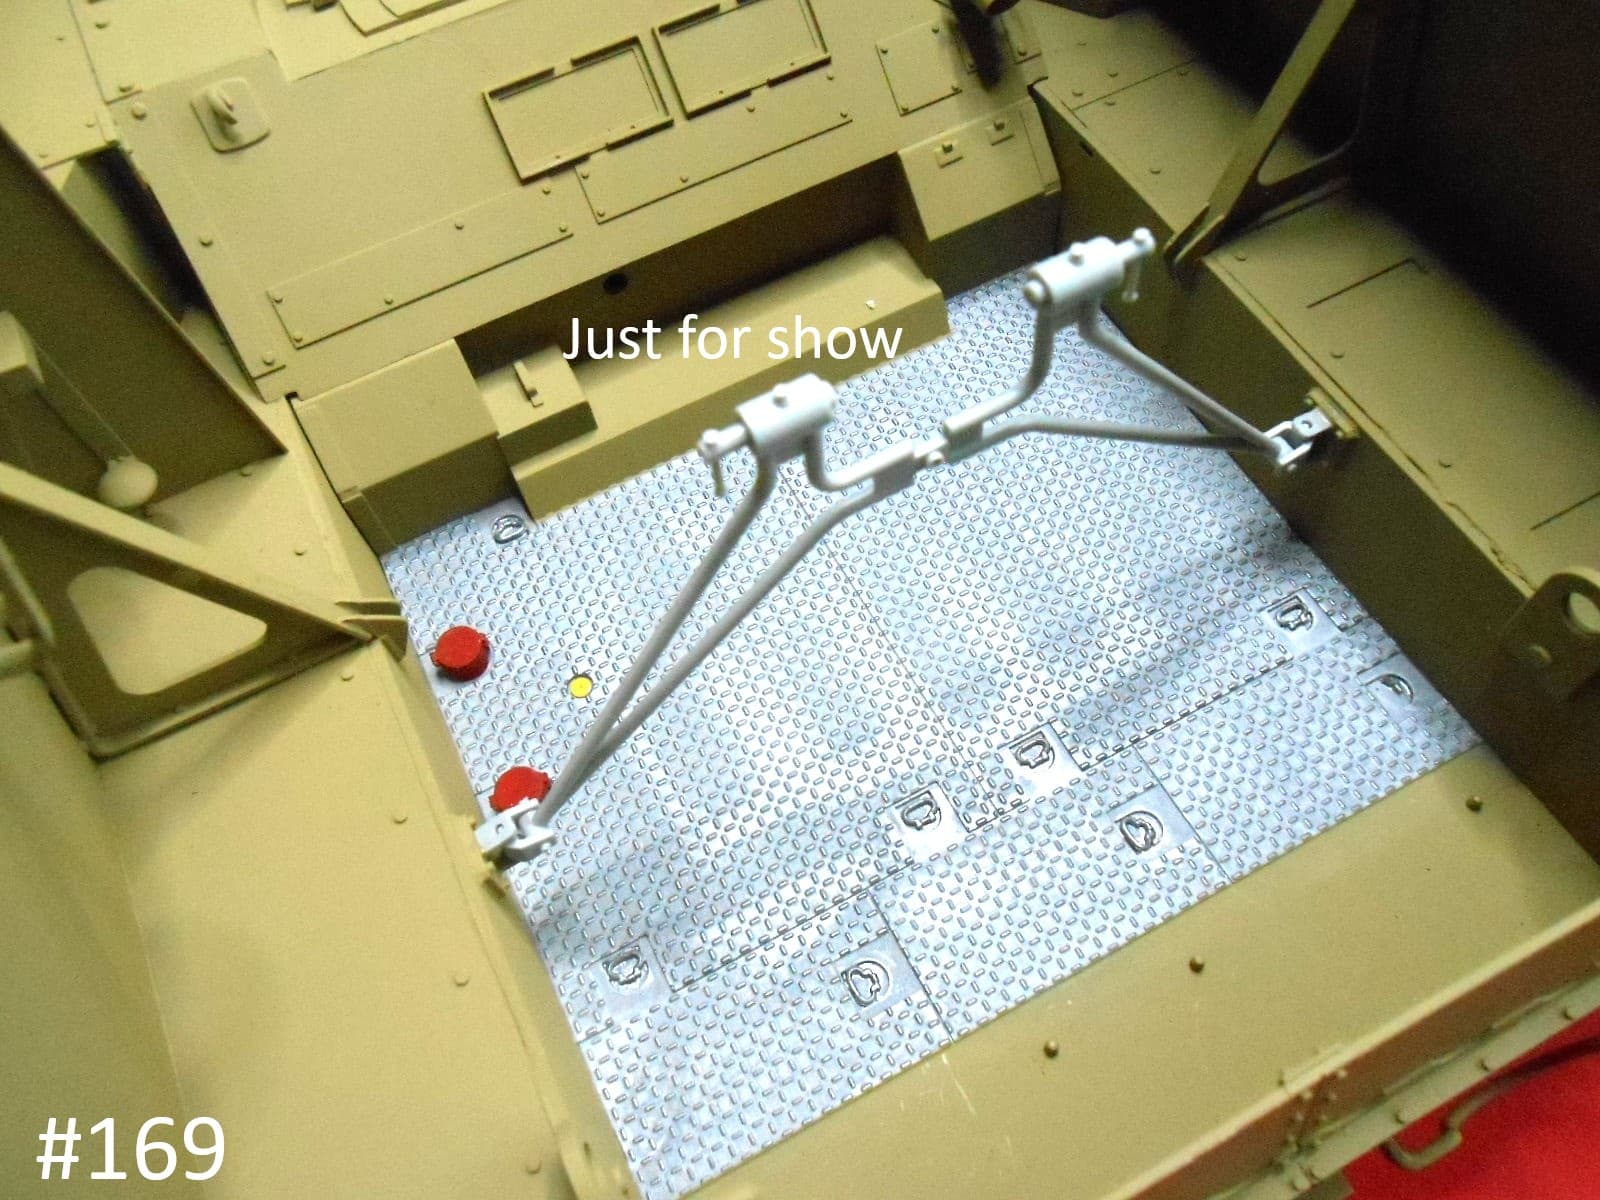
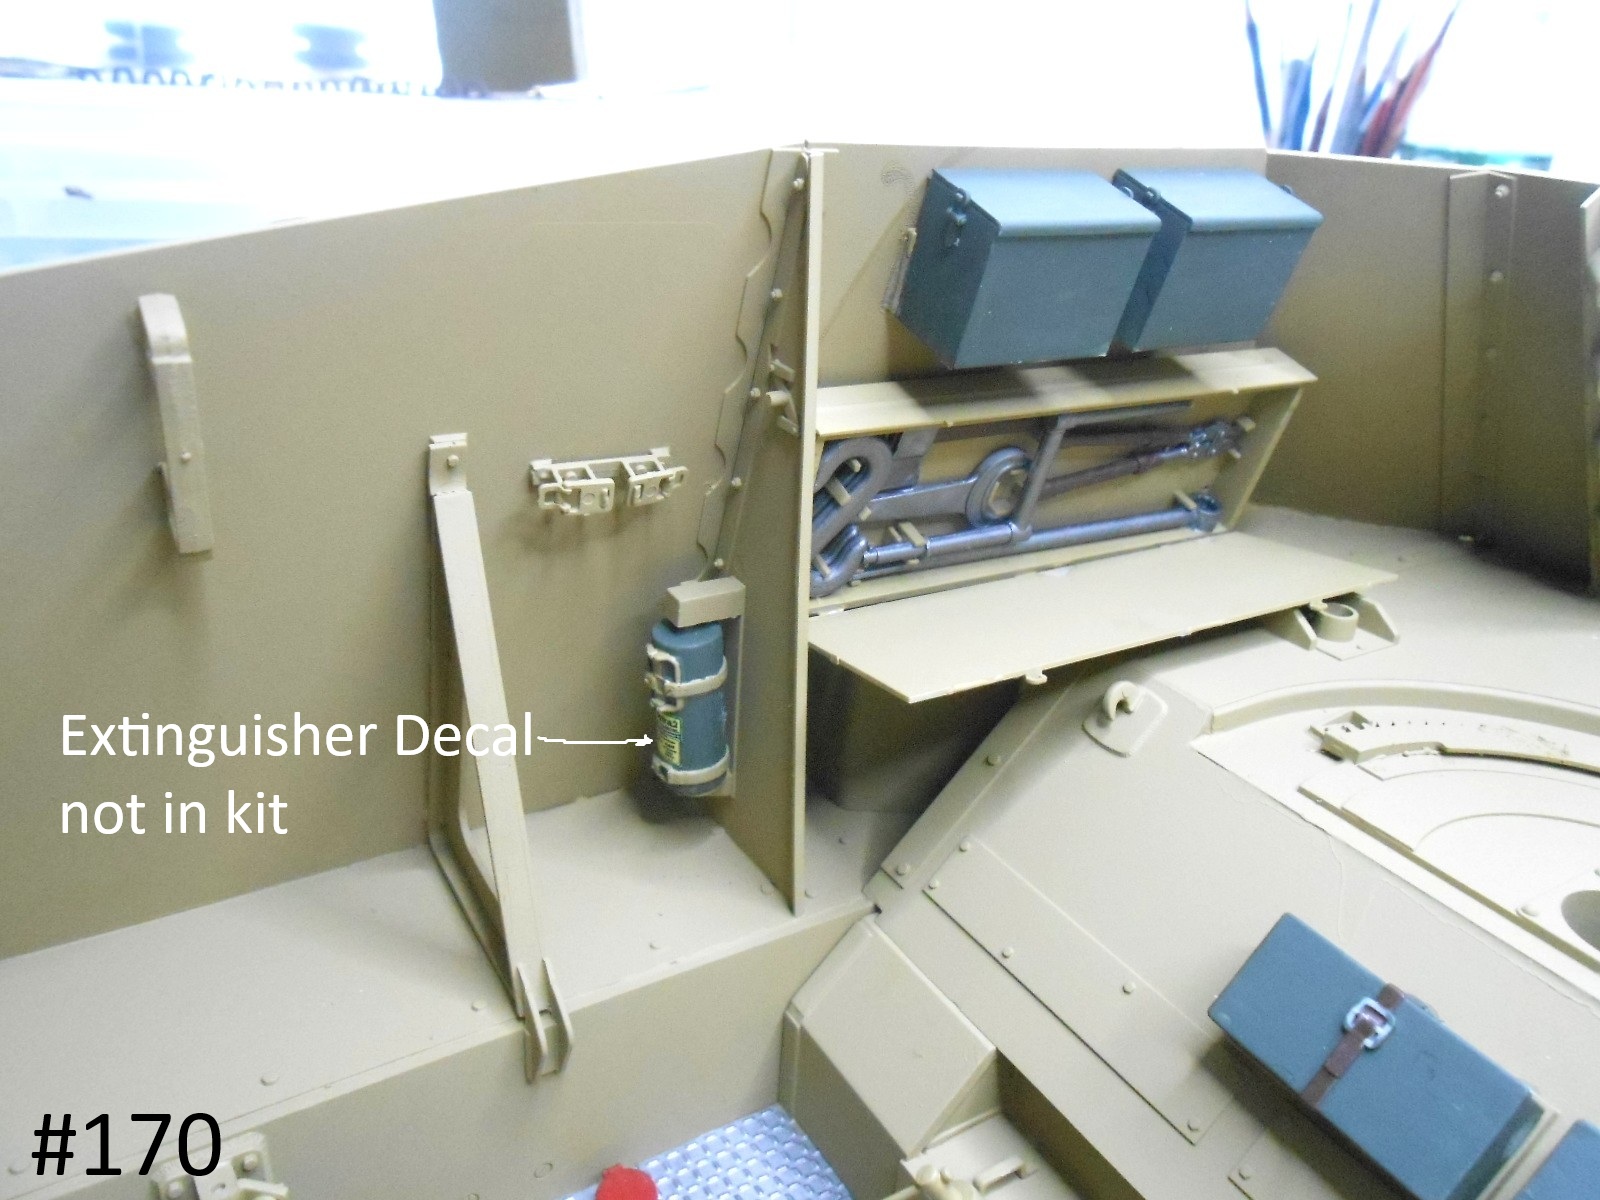
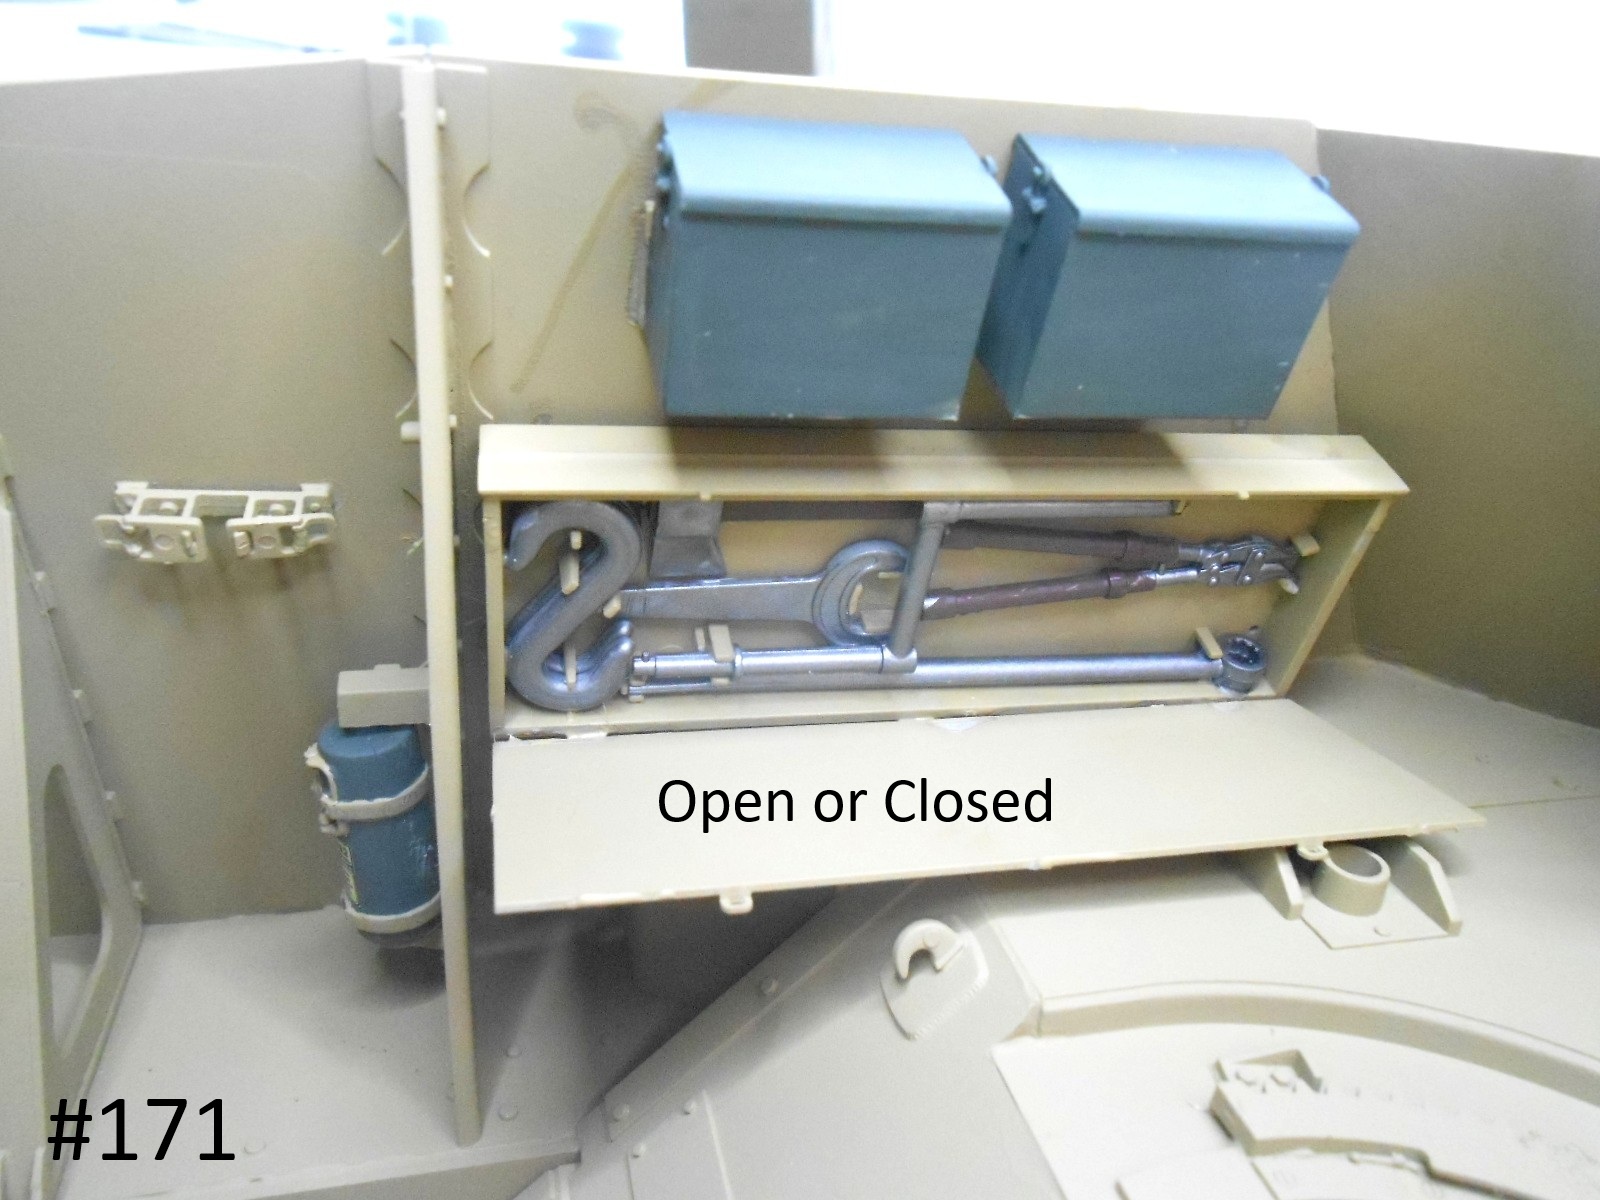
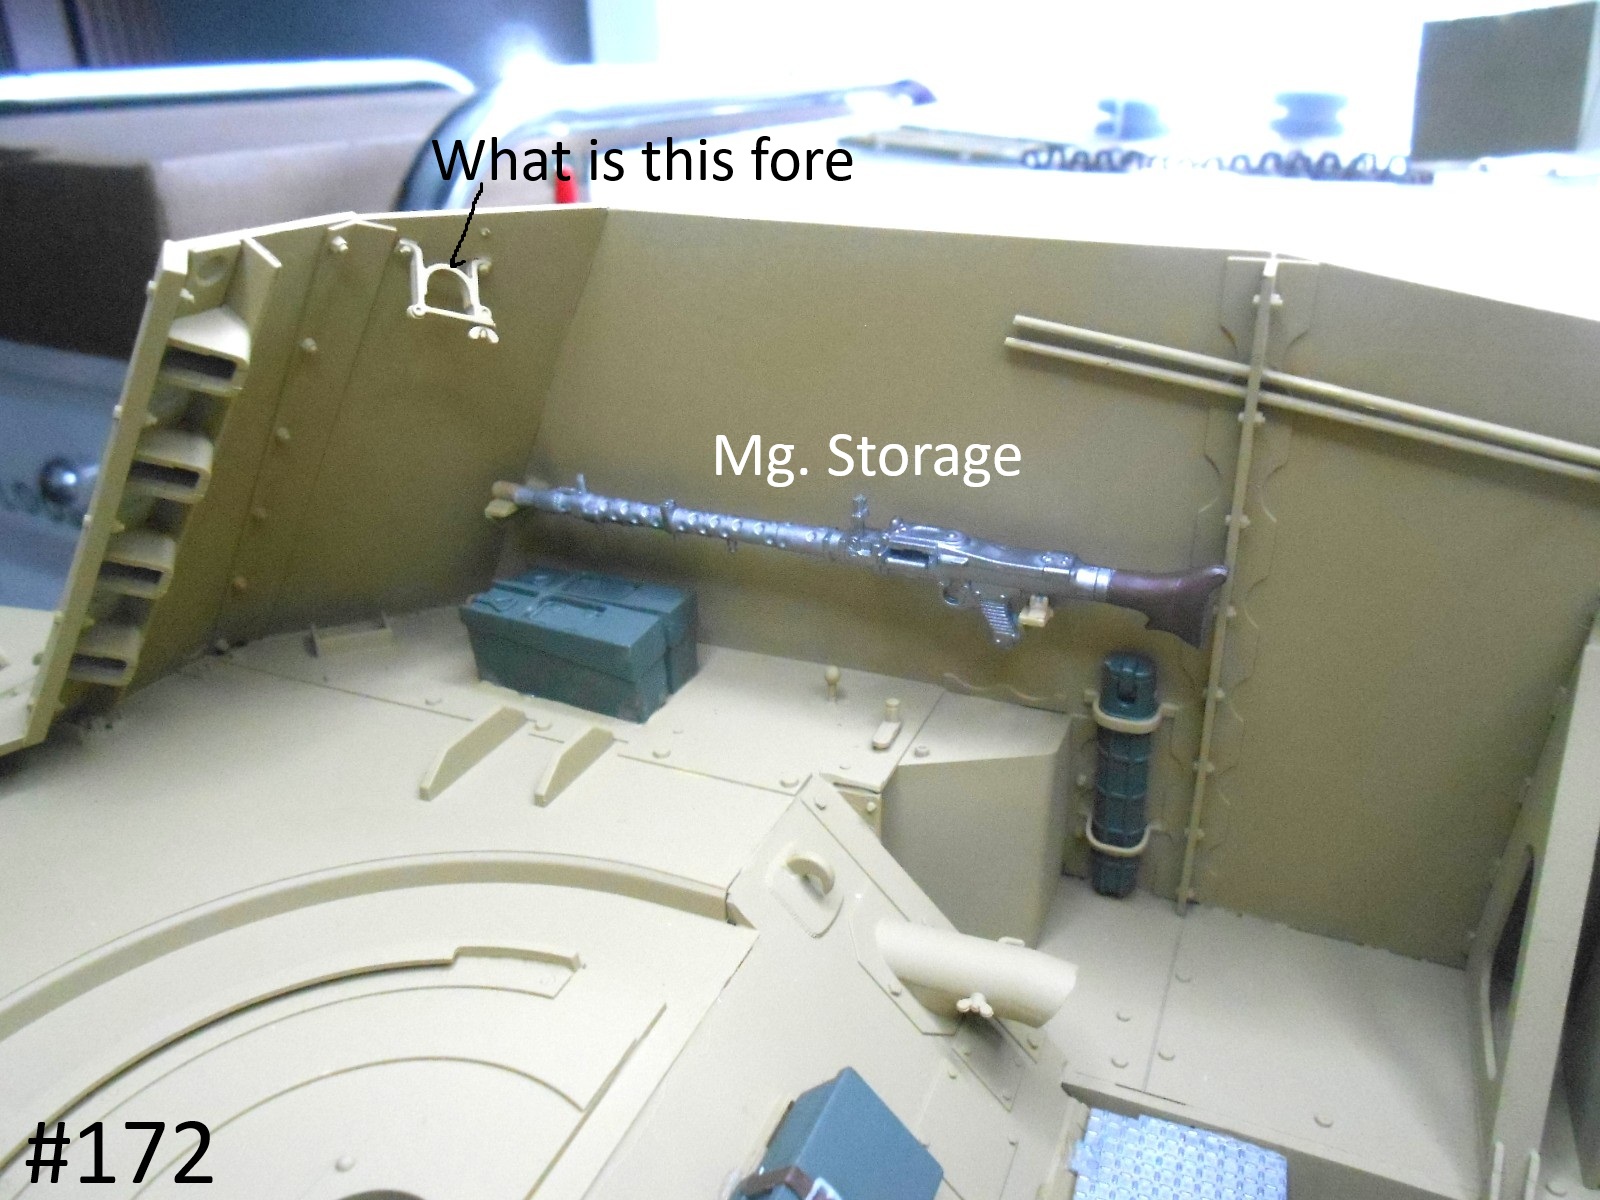
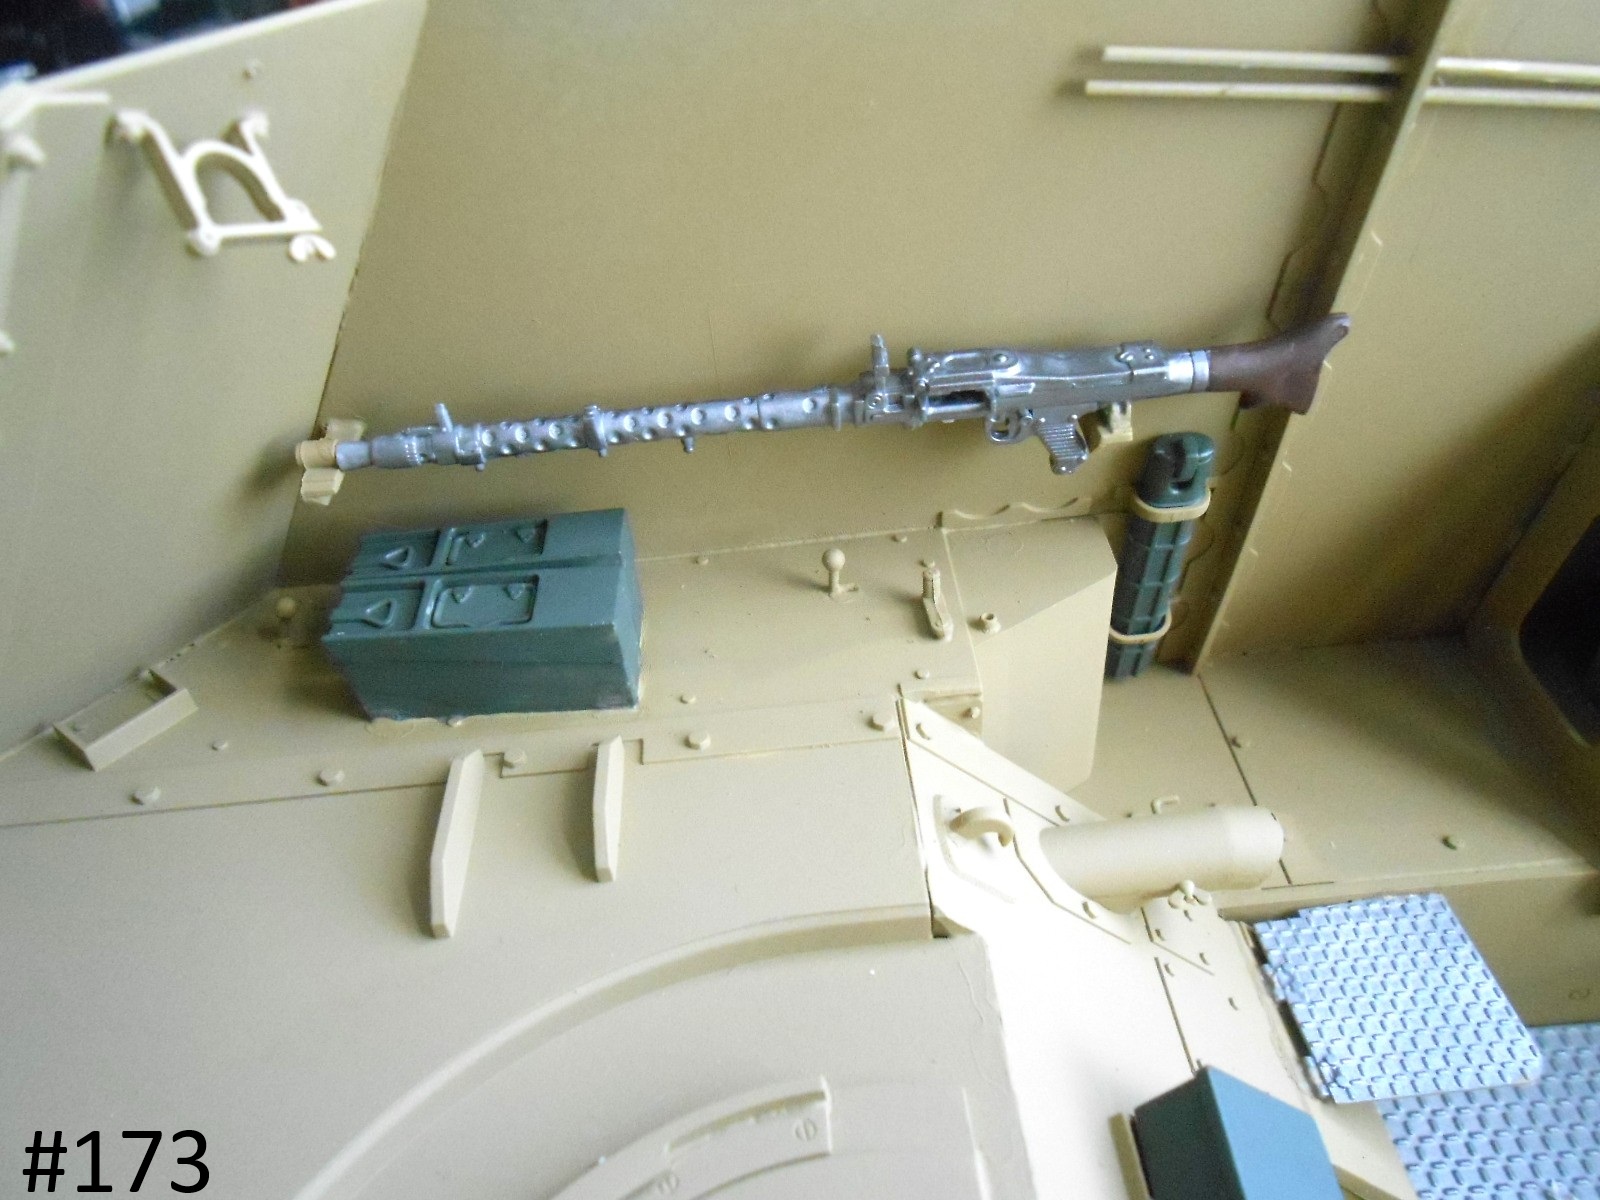
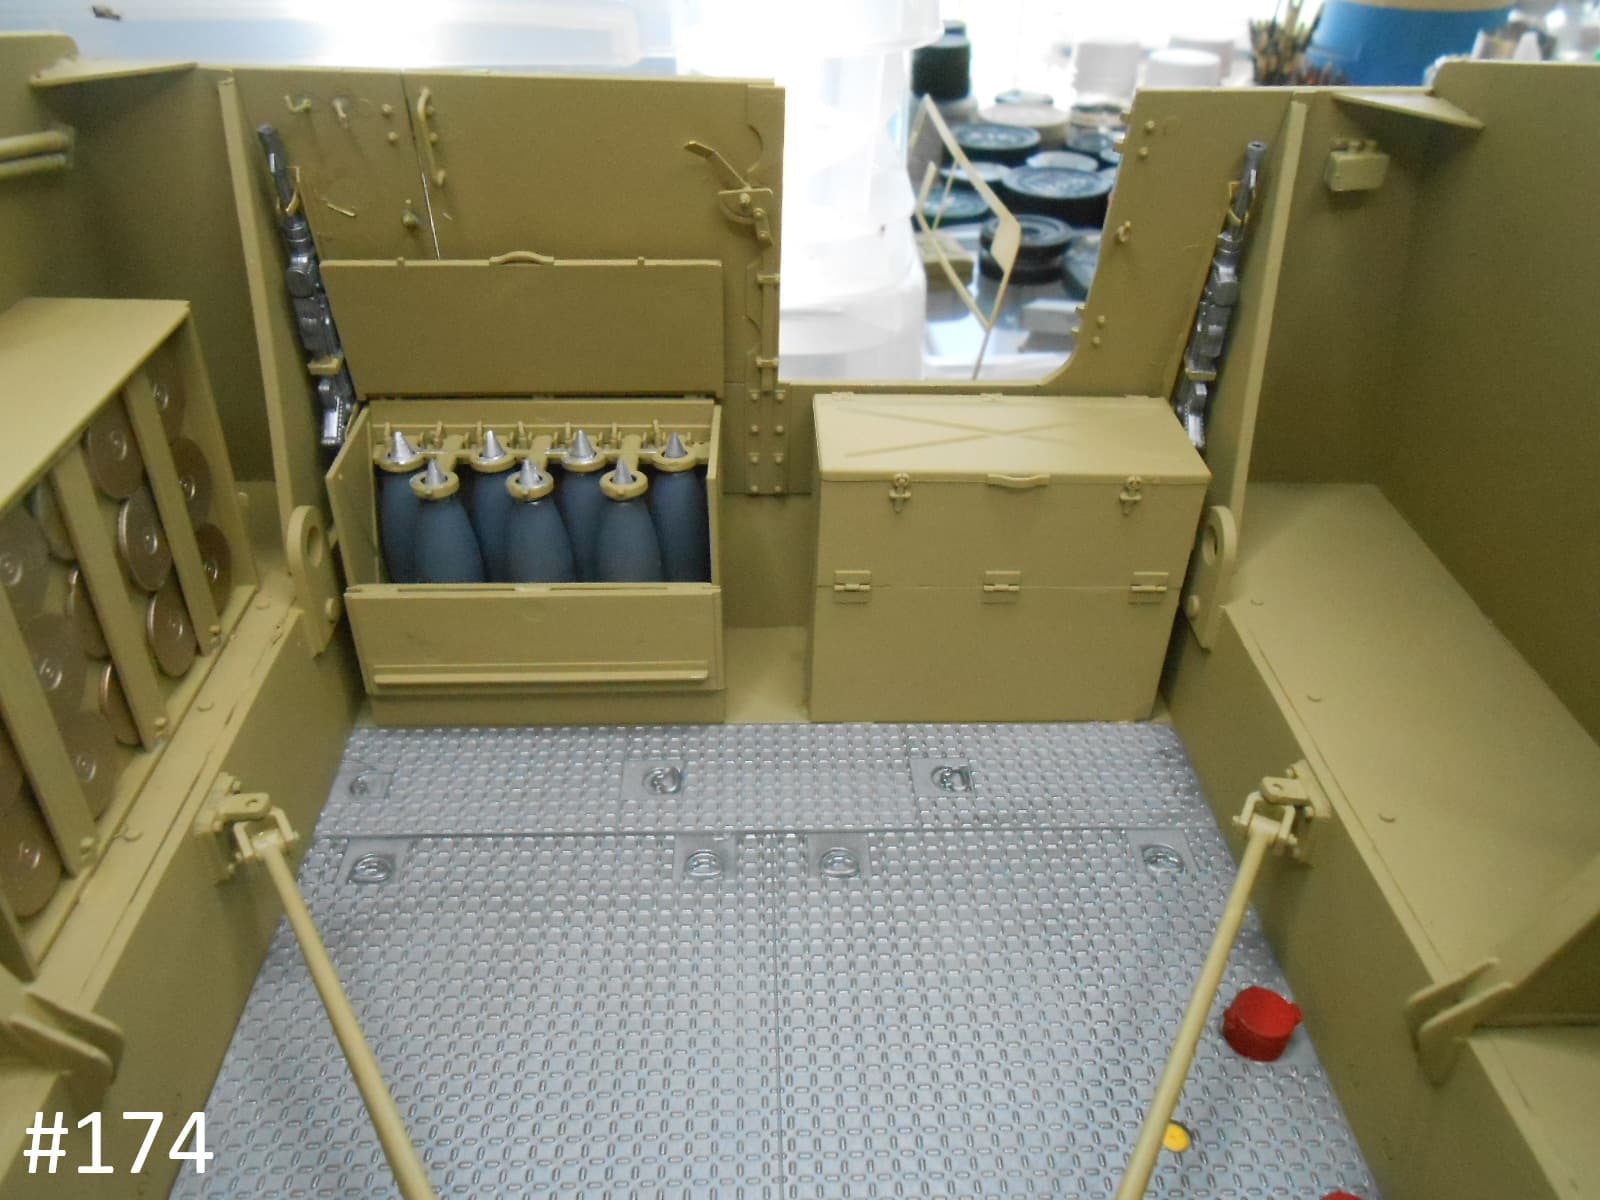
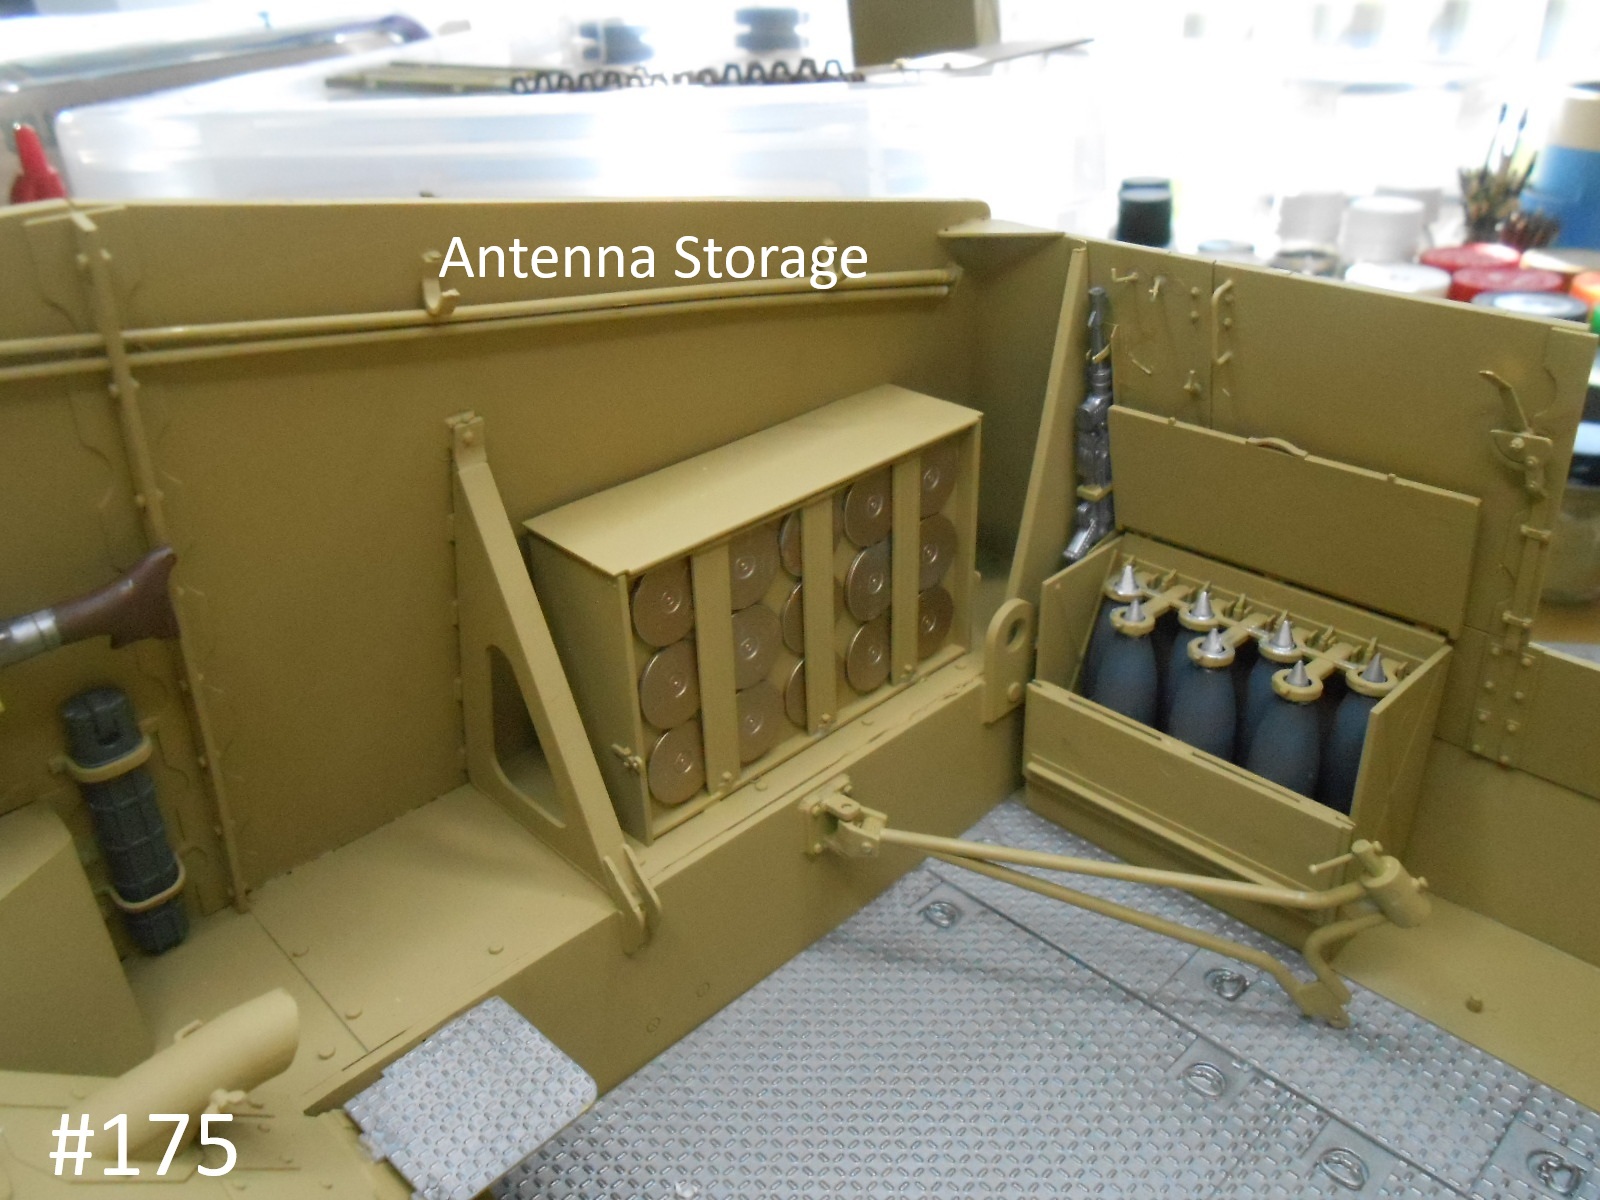
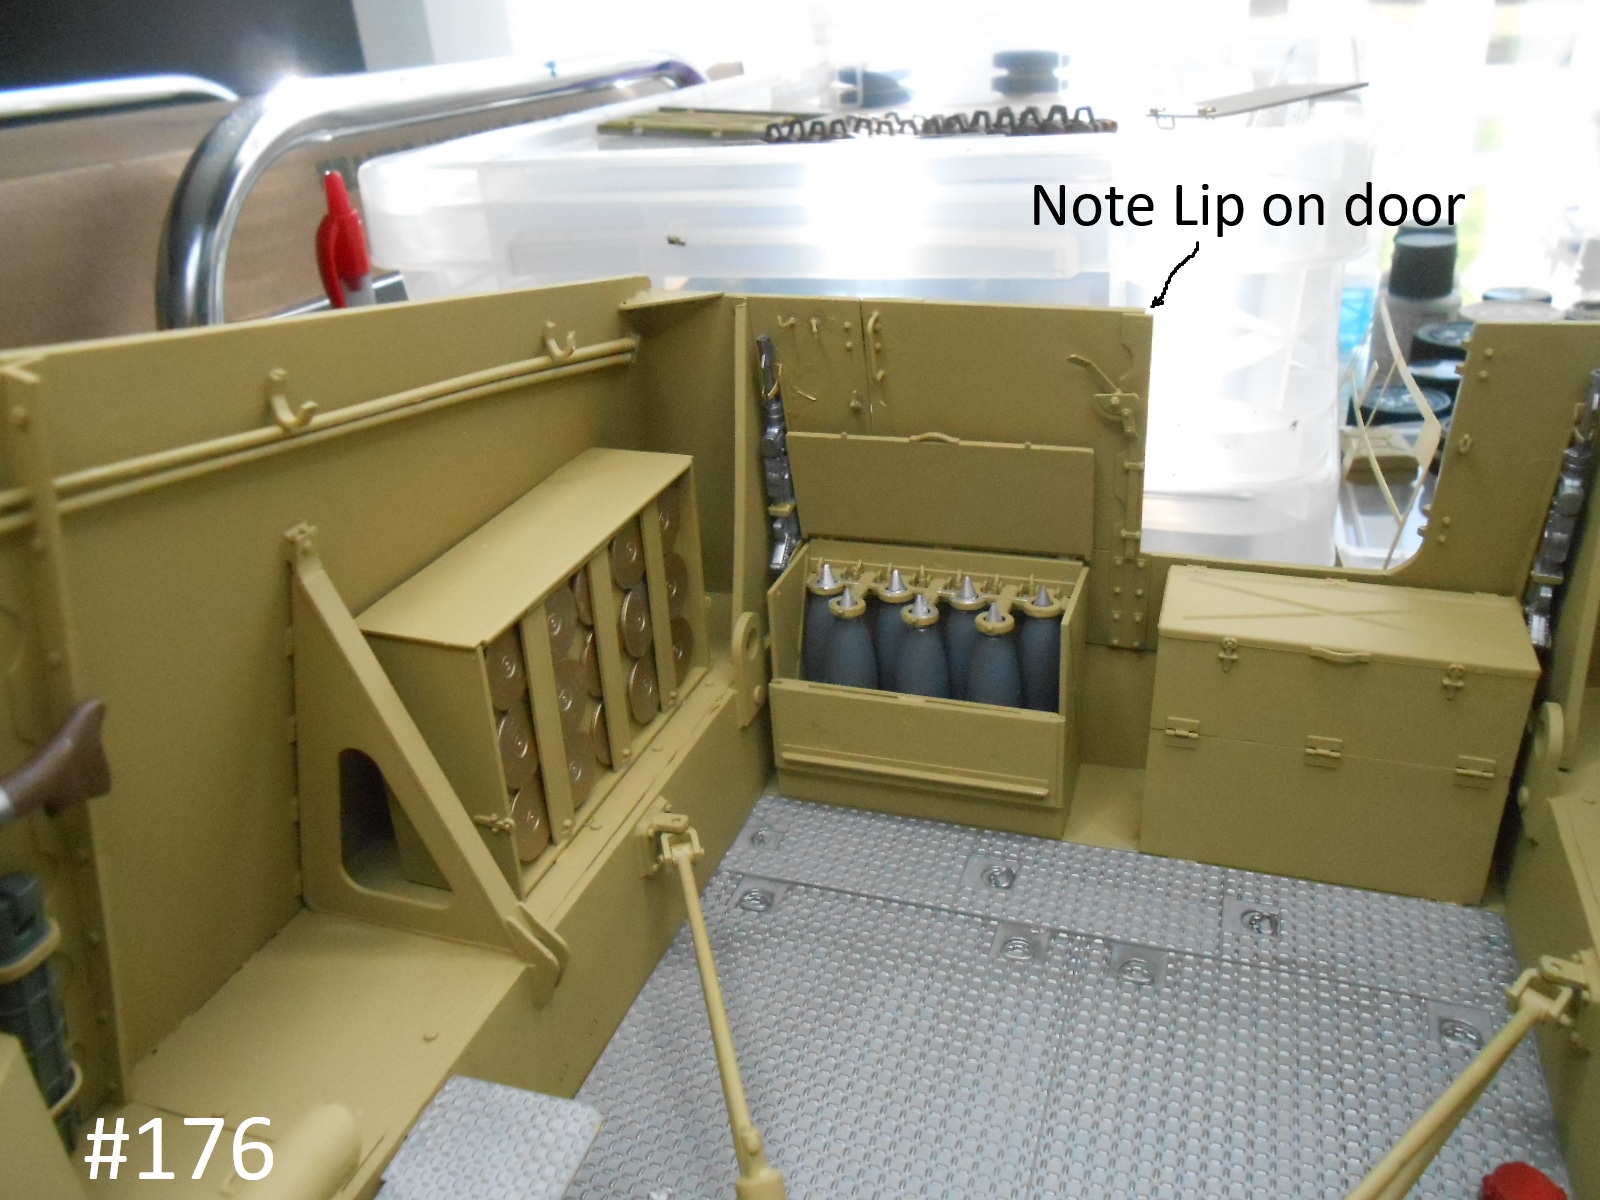
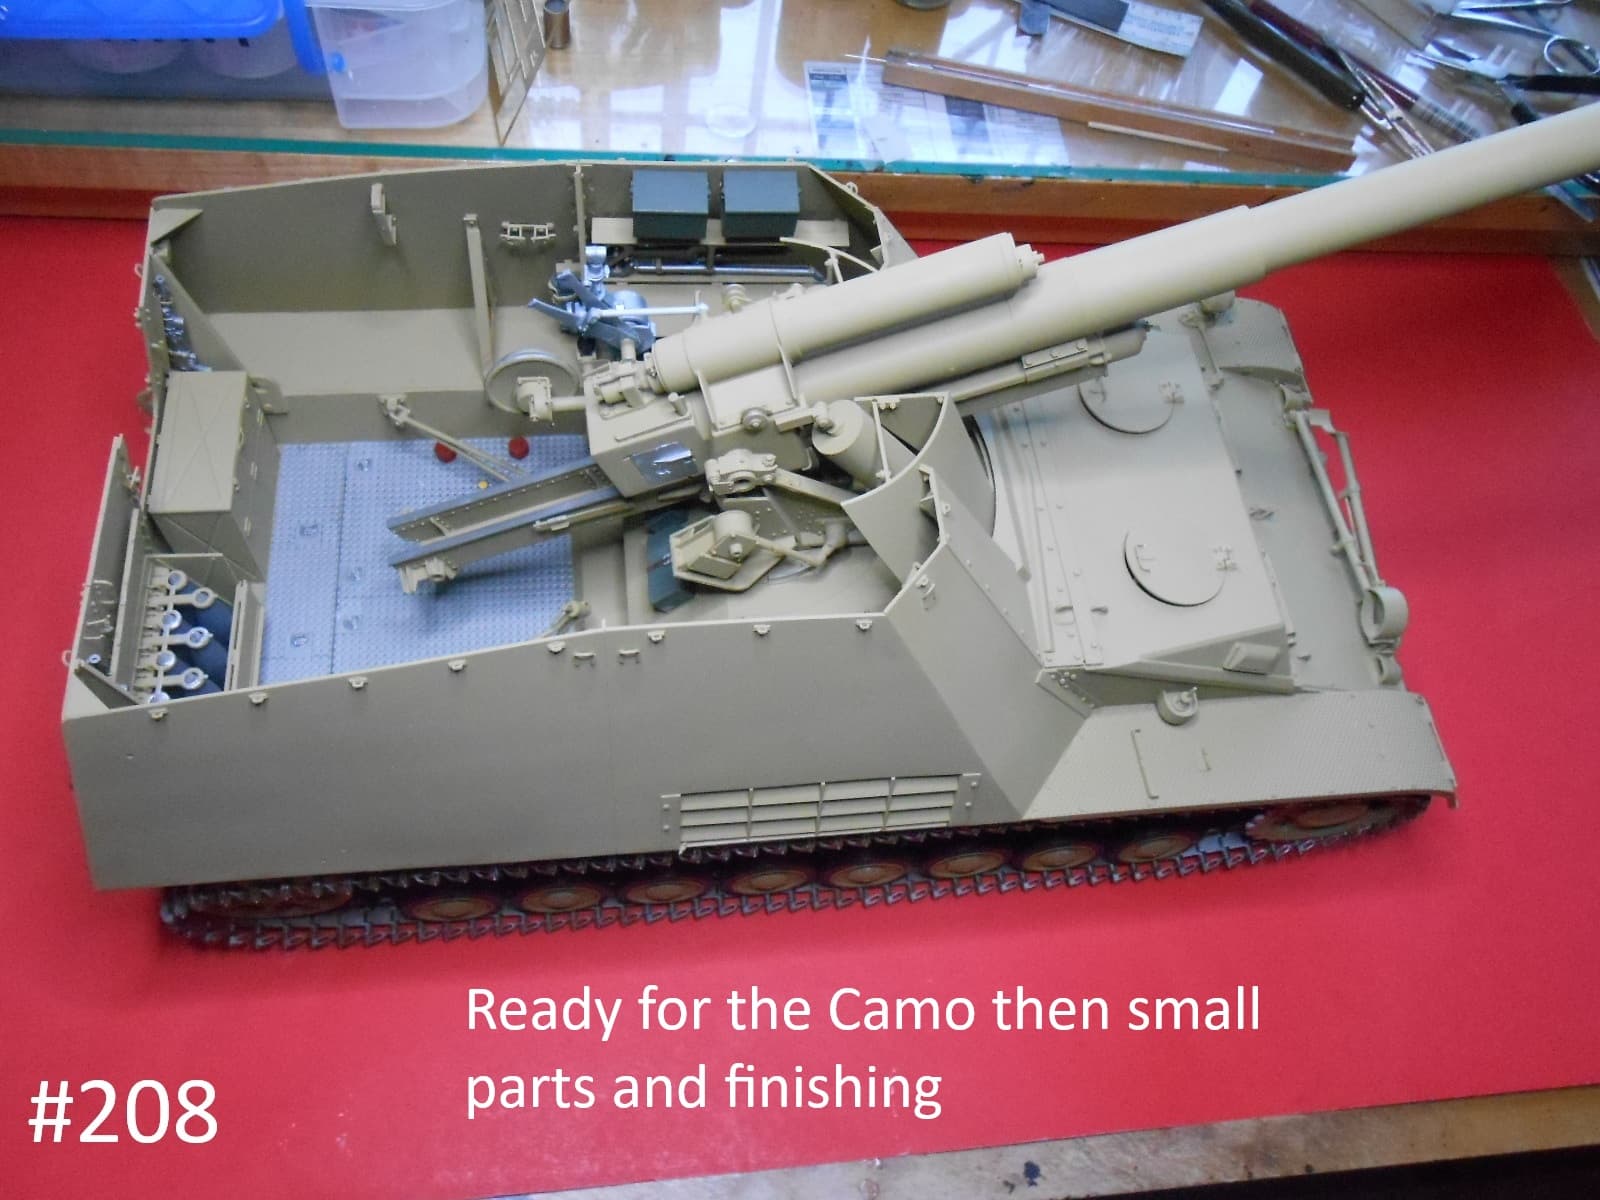
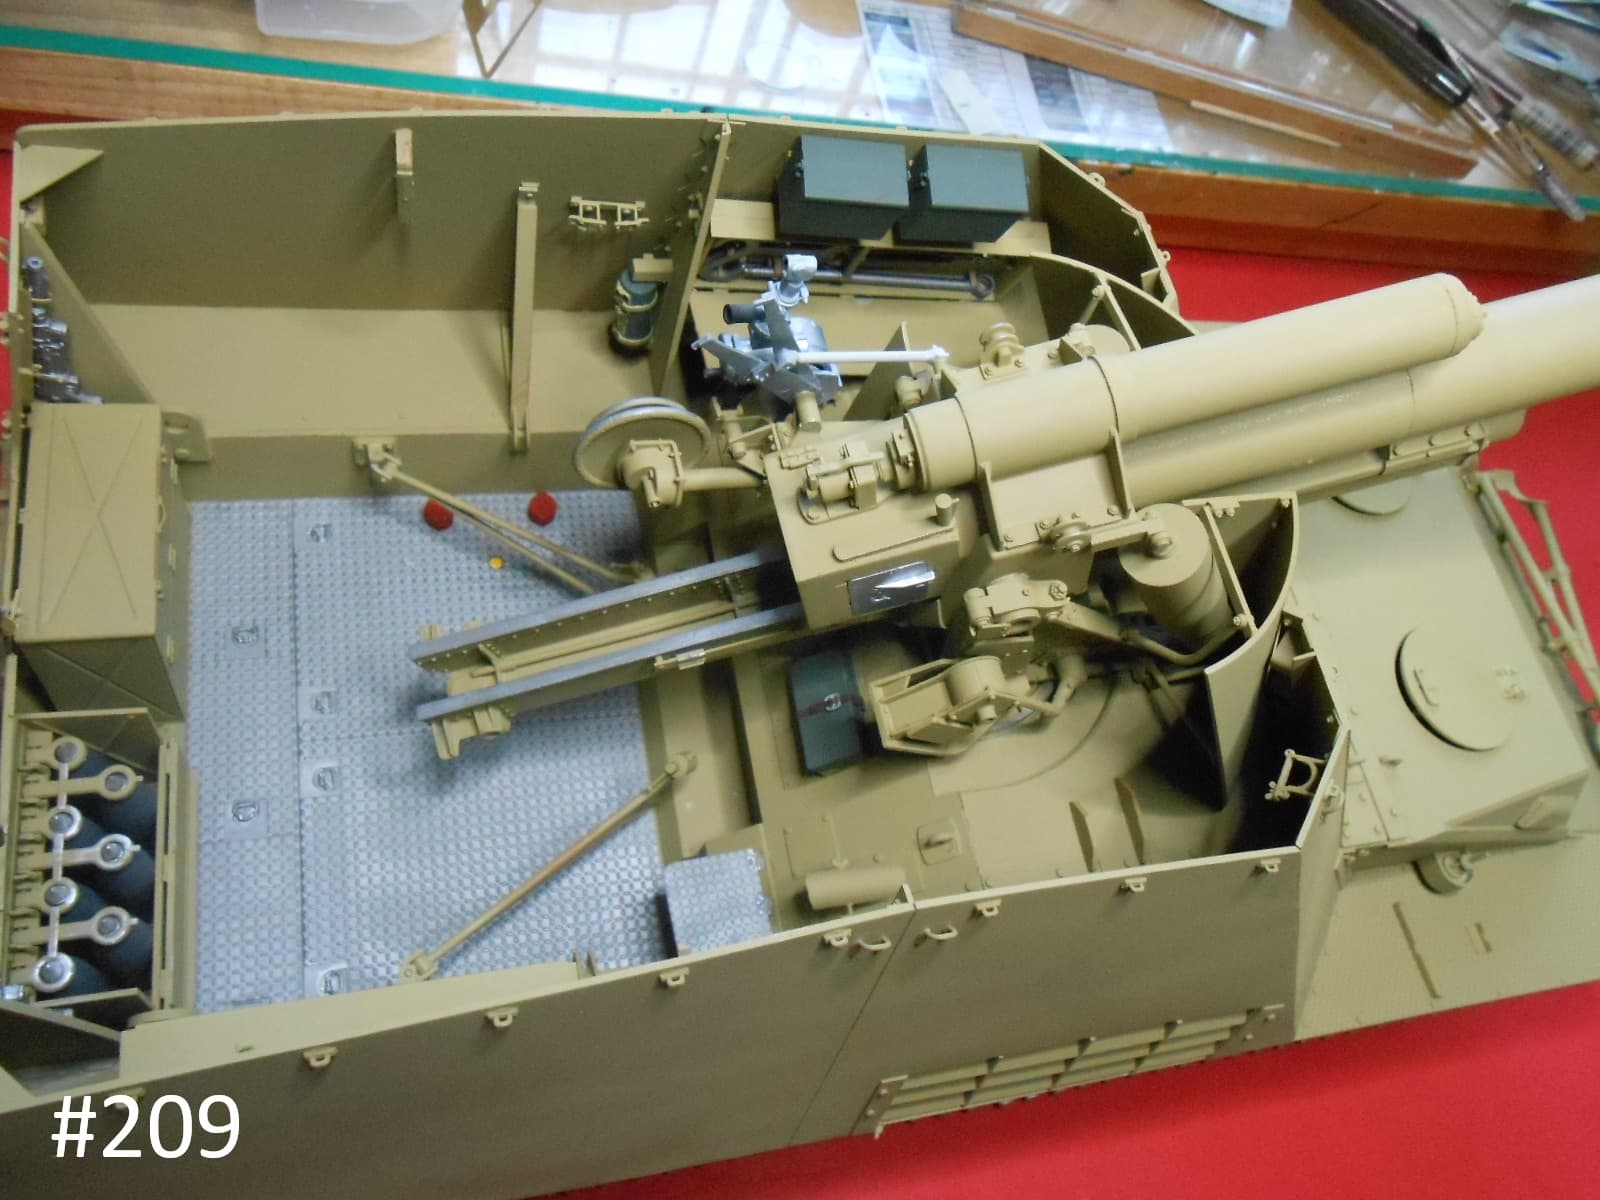
Well I finally finished the Upper plate install.

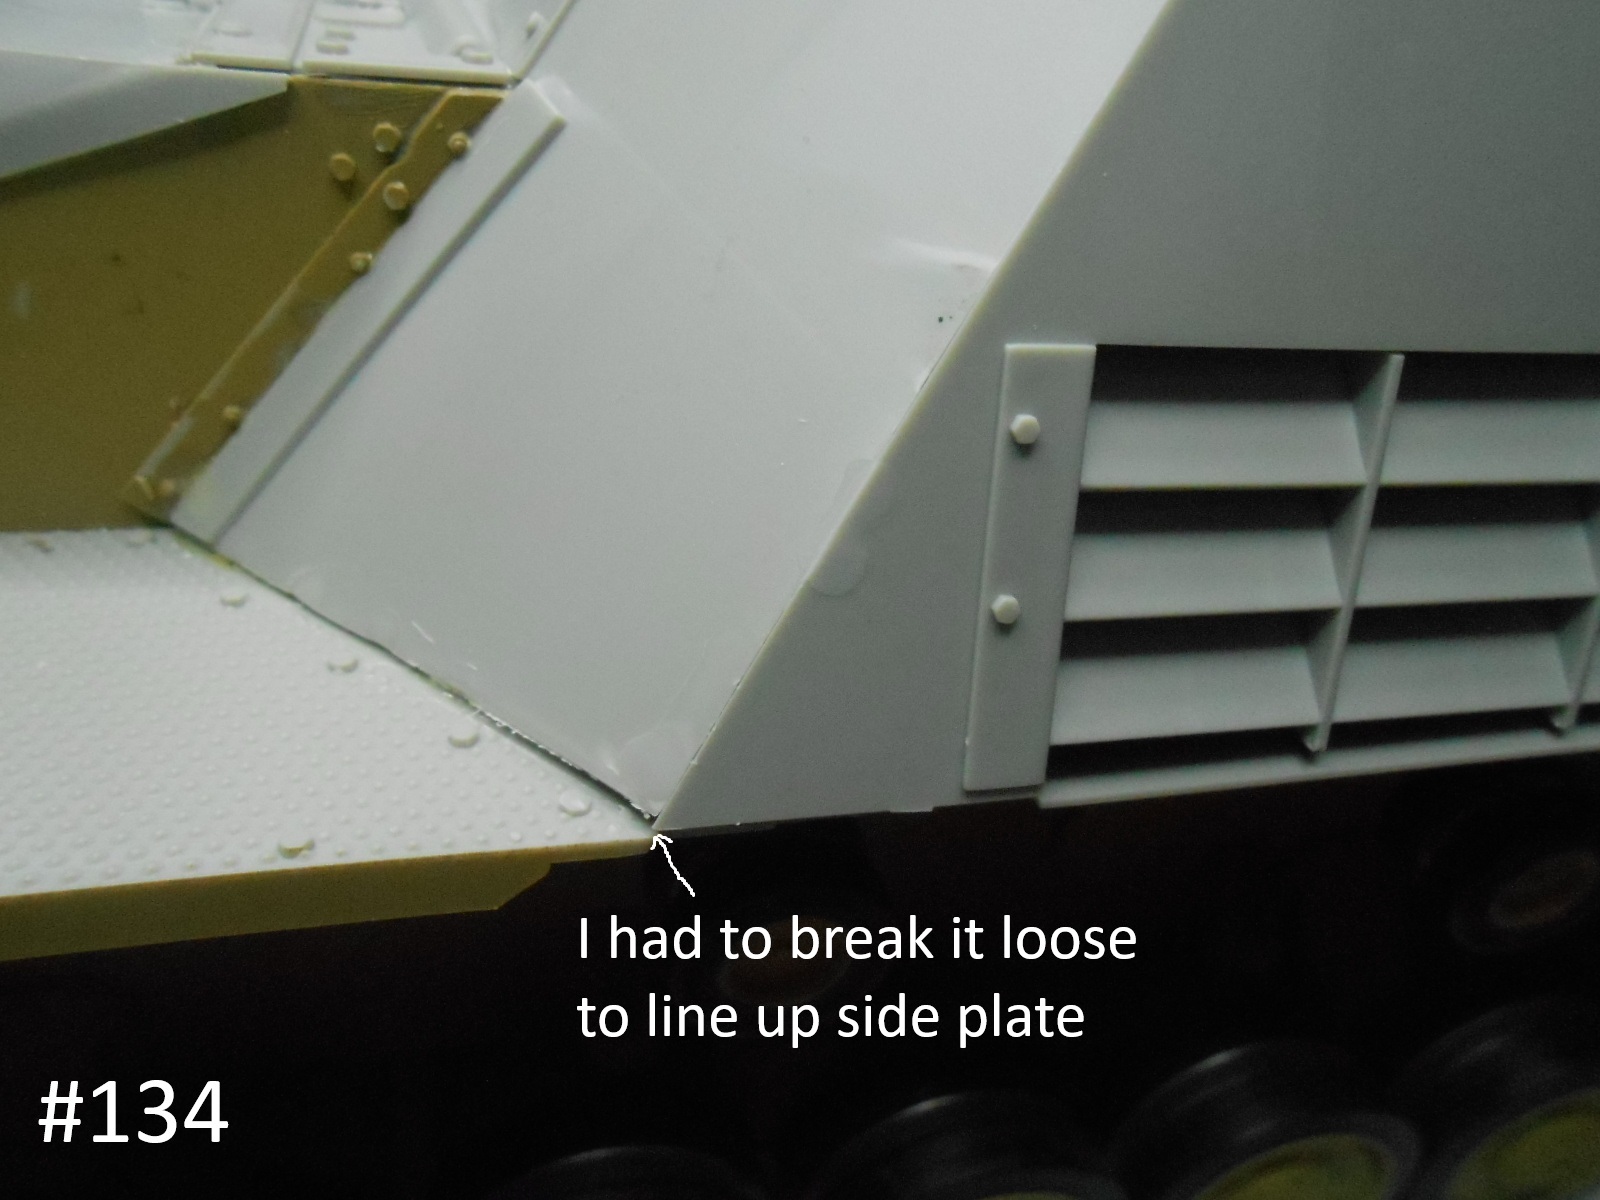
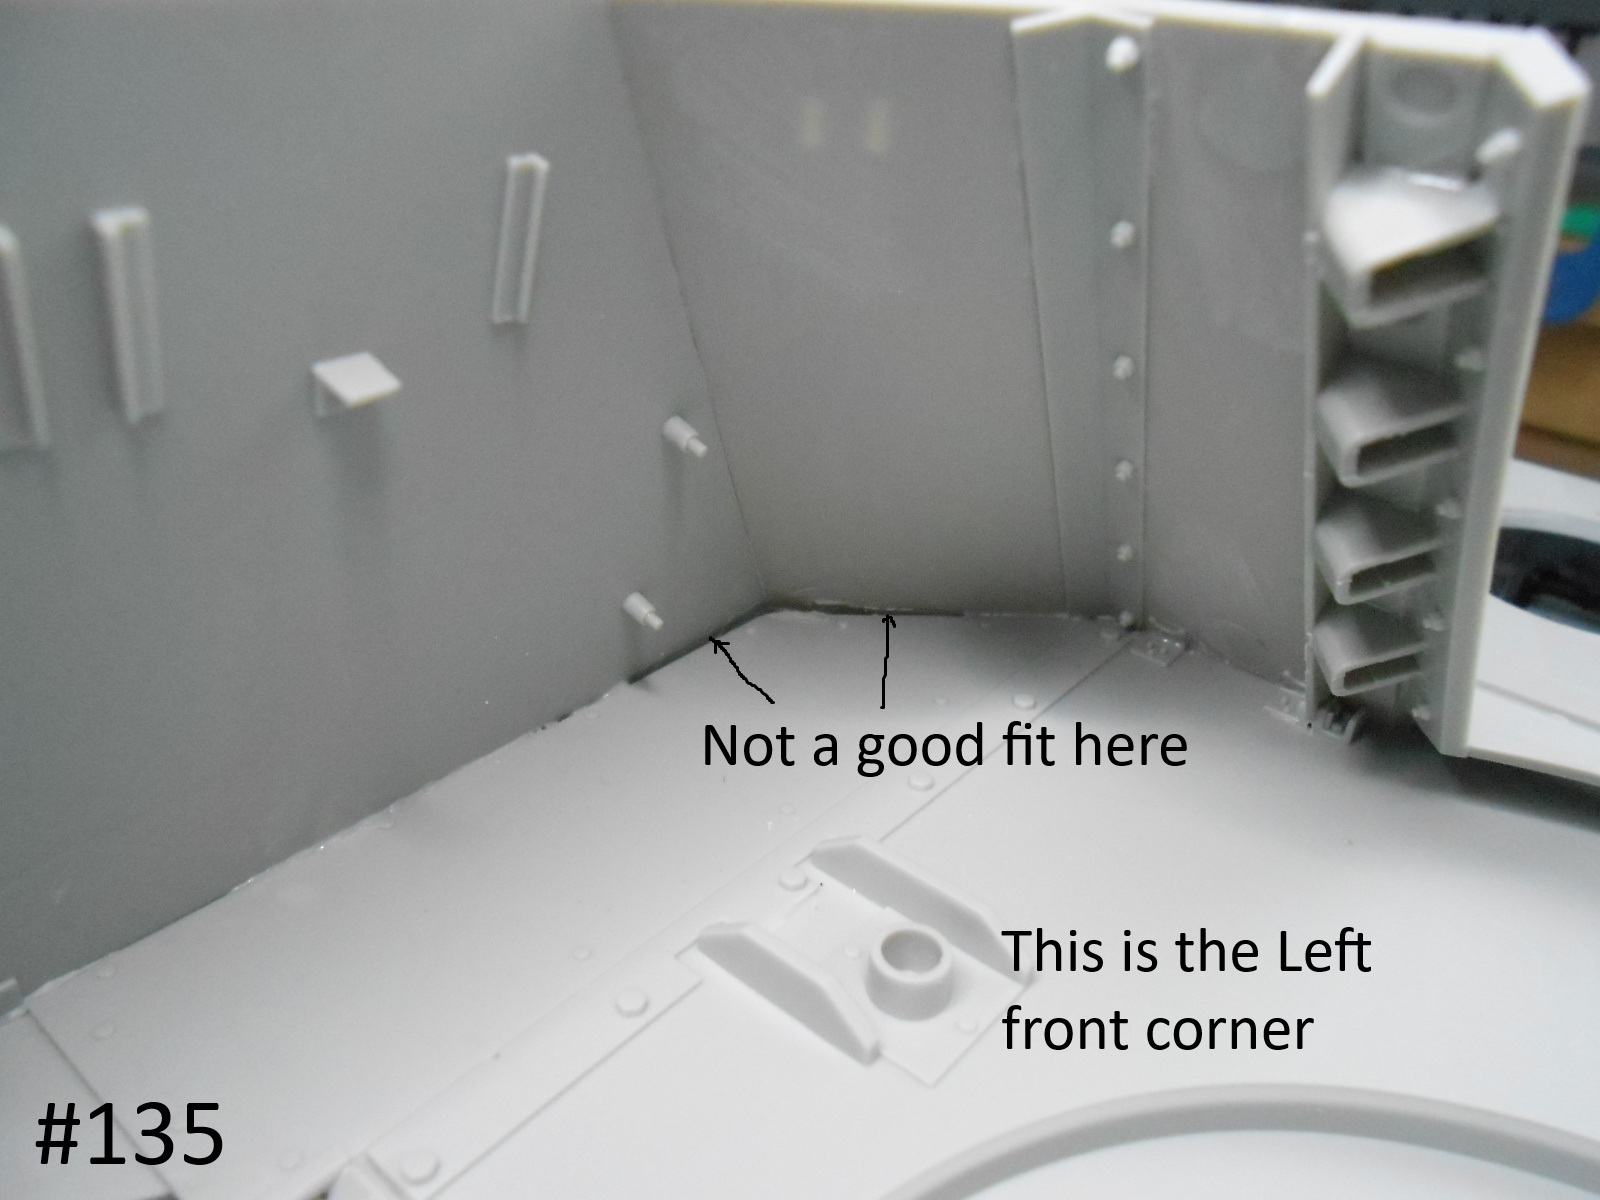
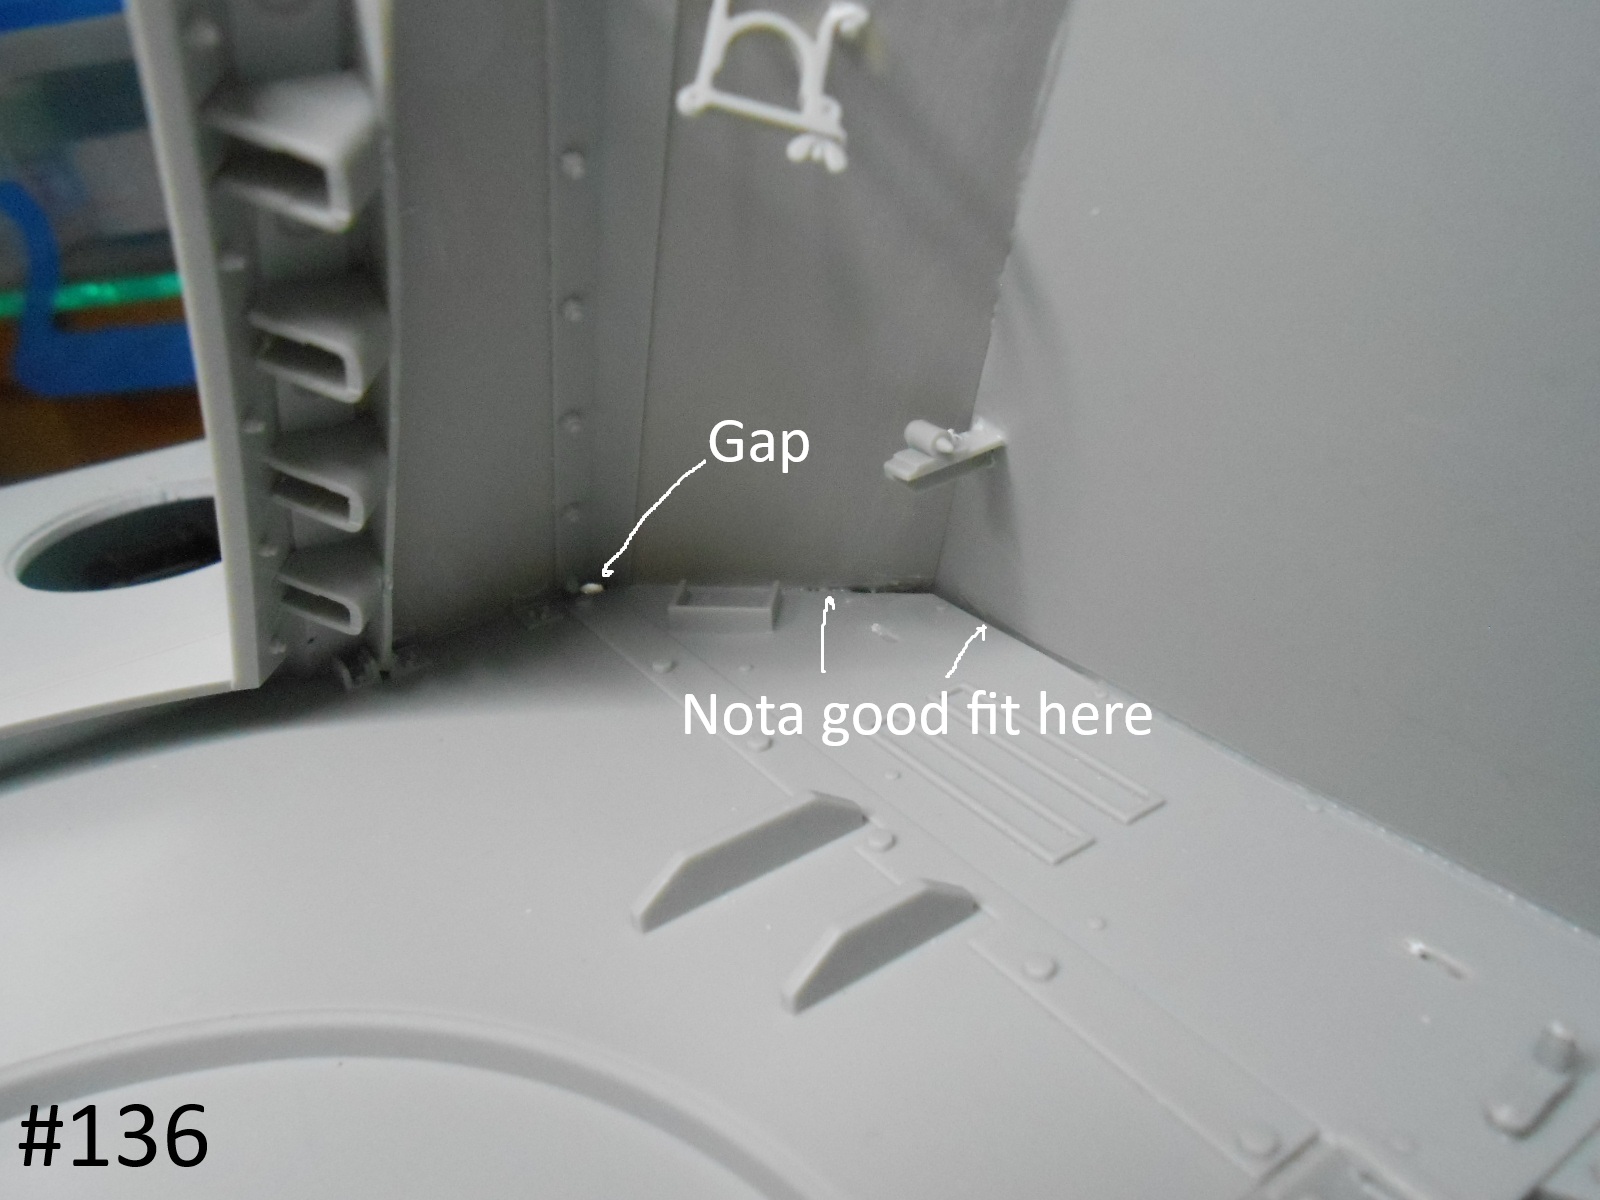
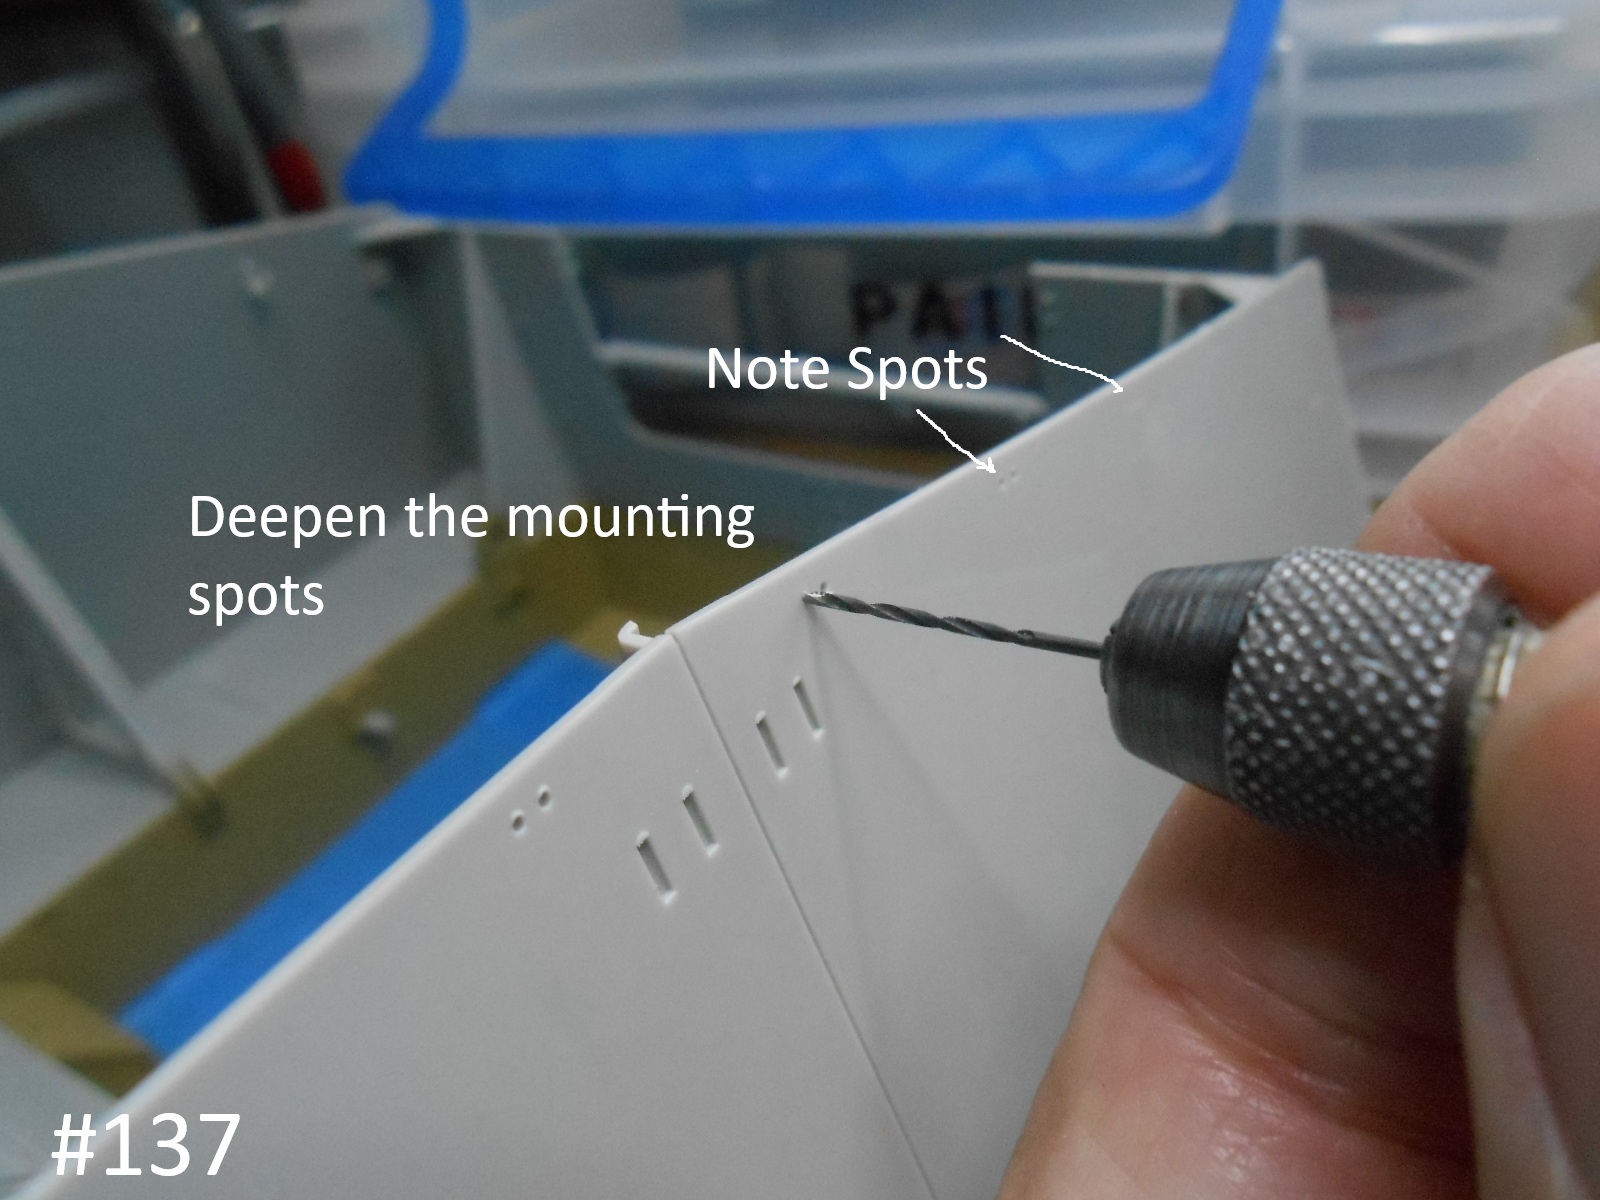
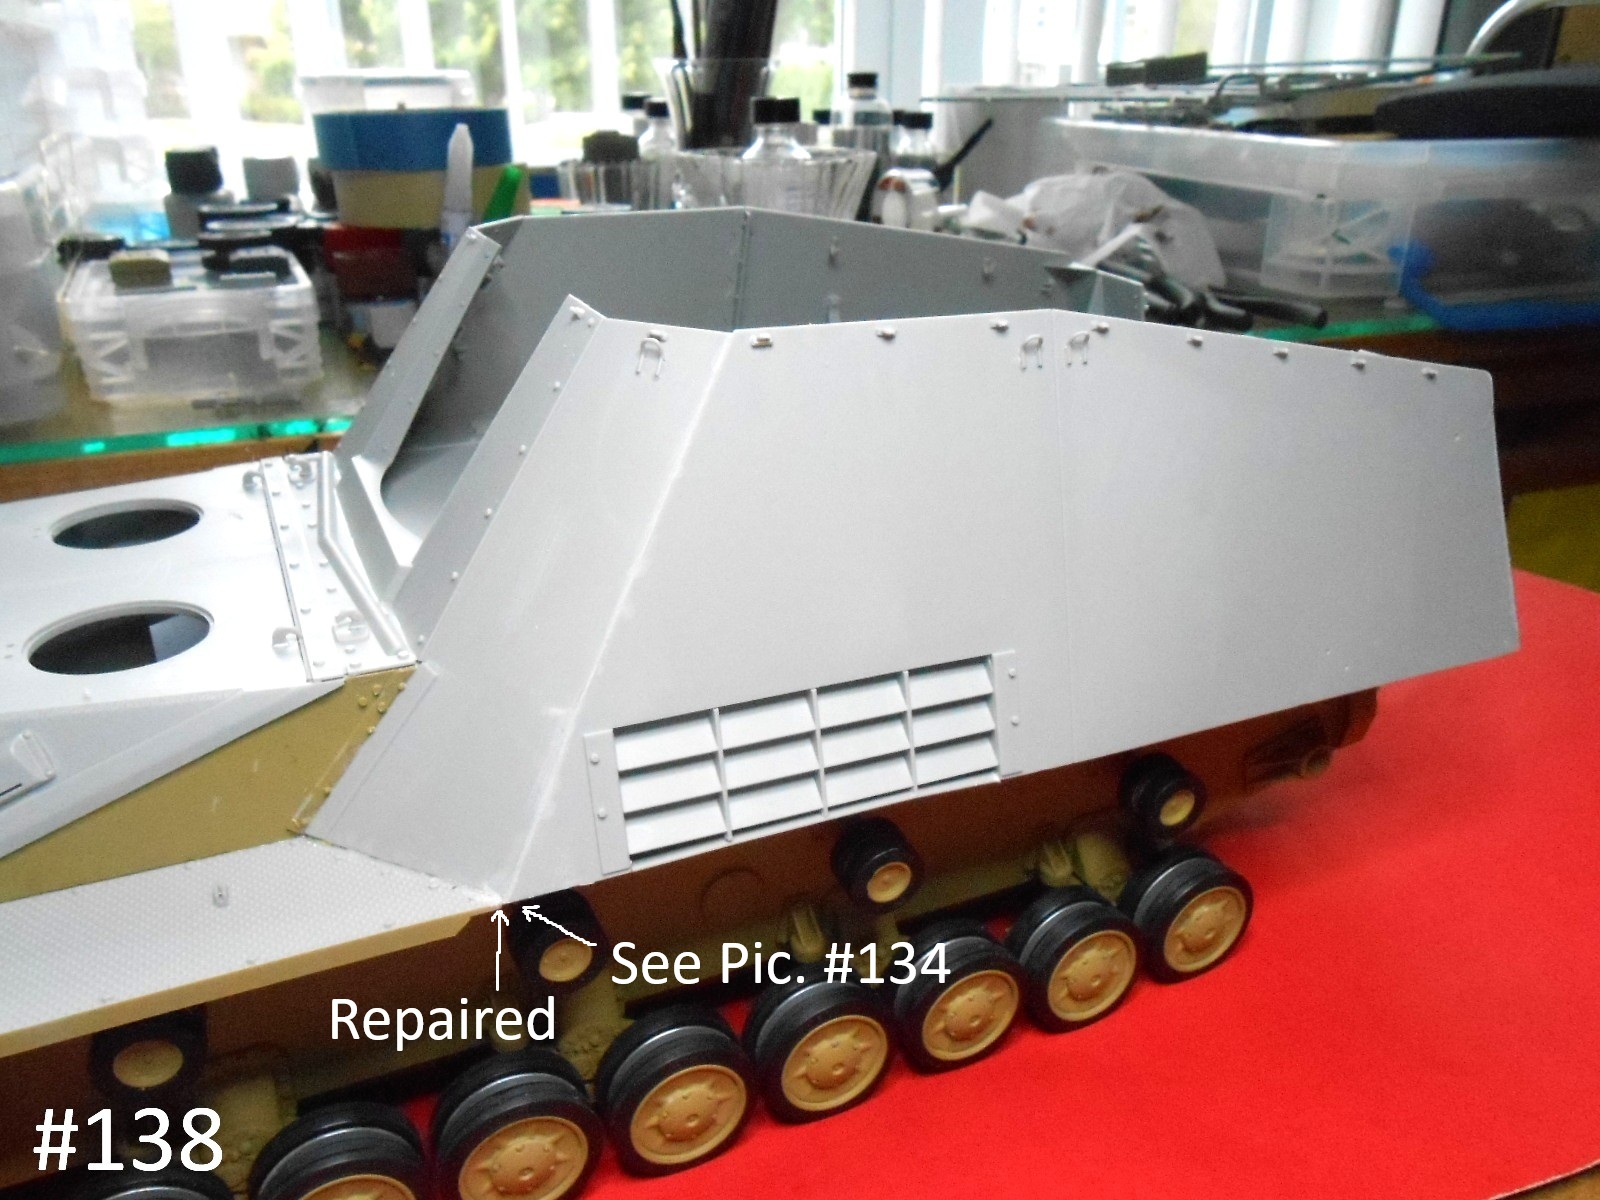
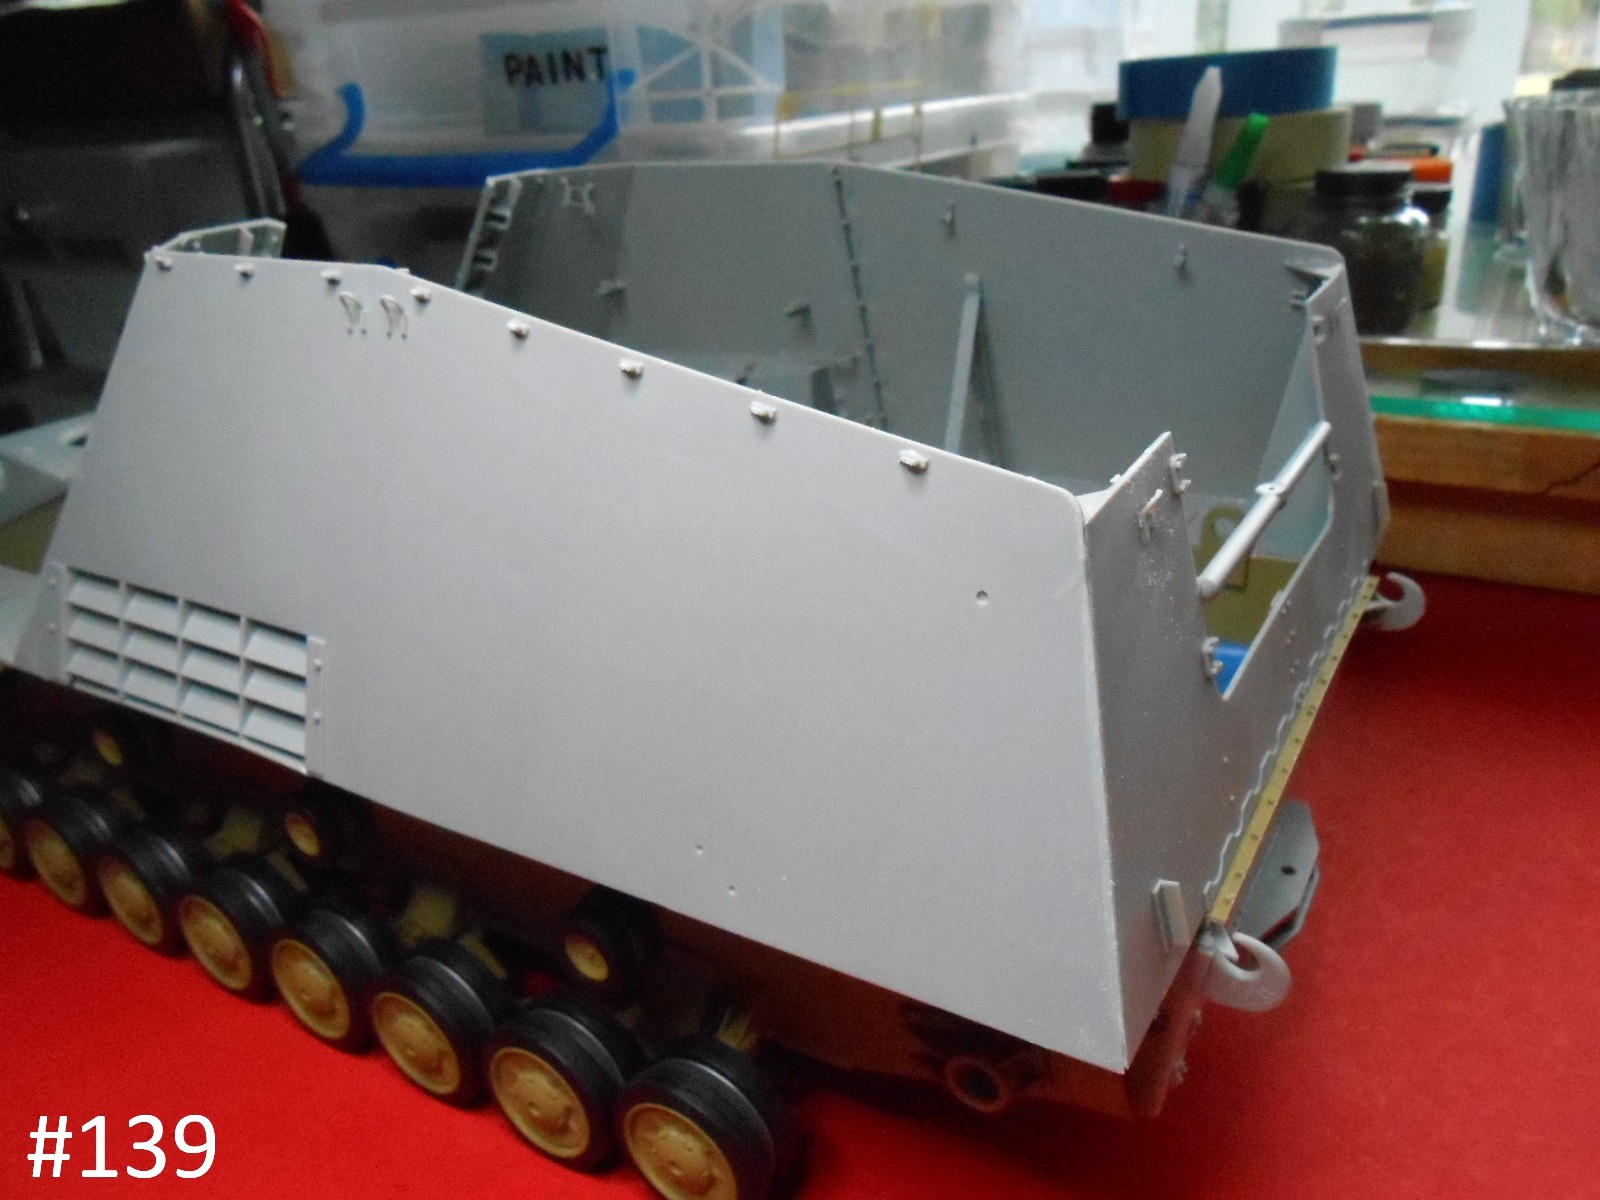
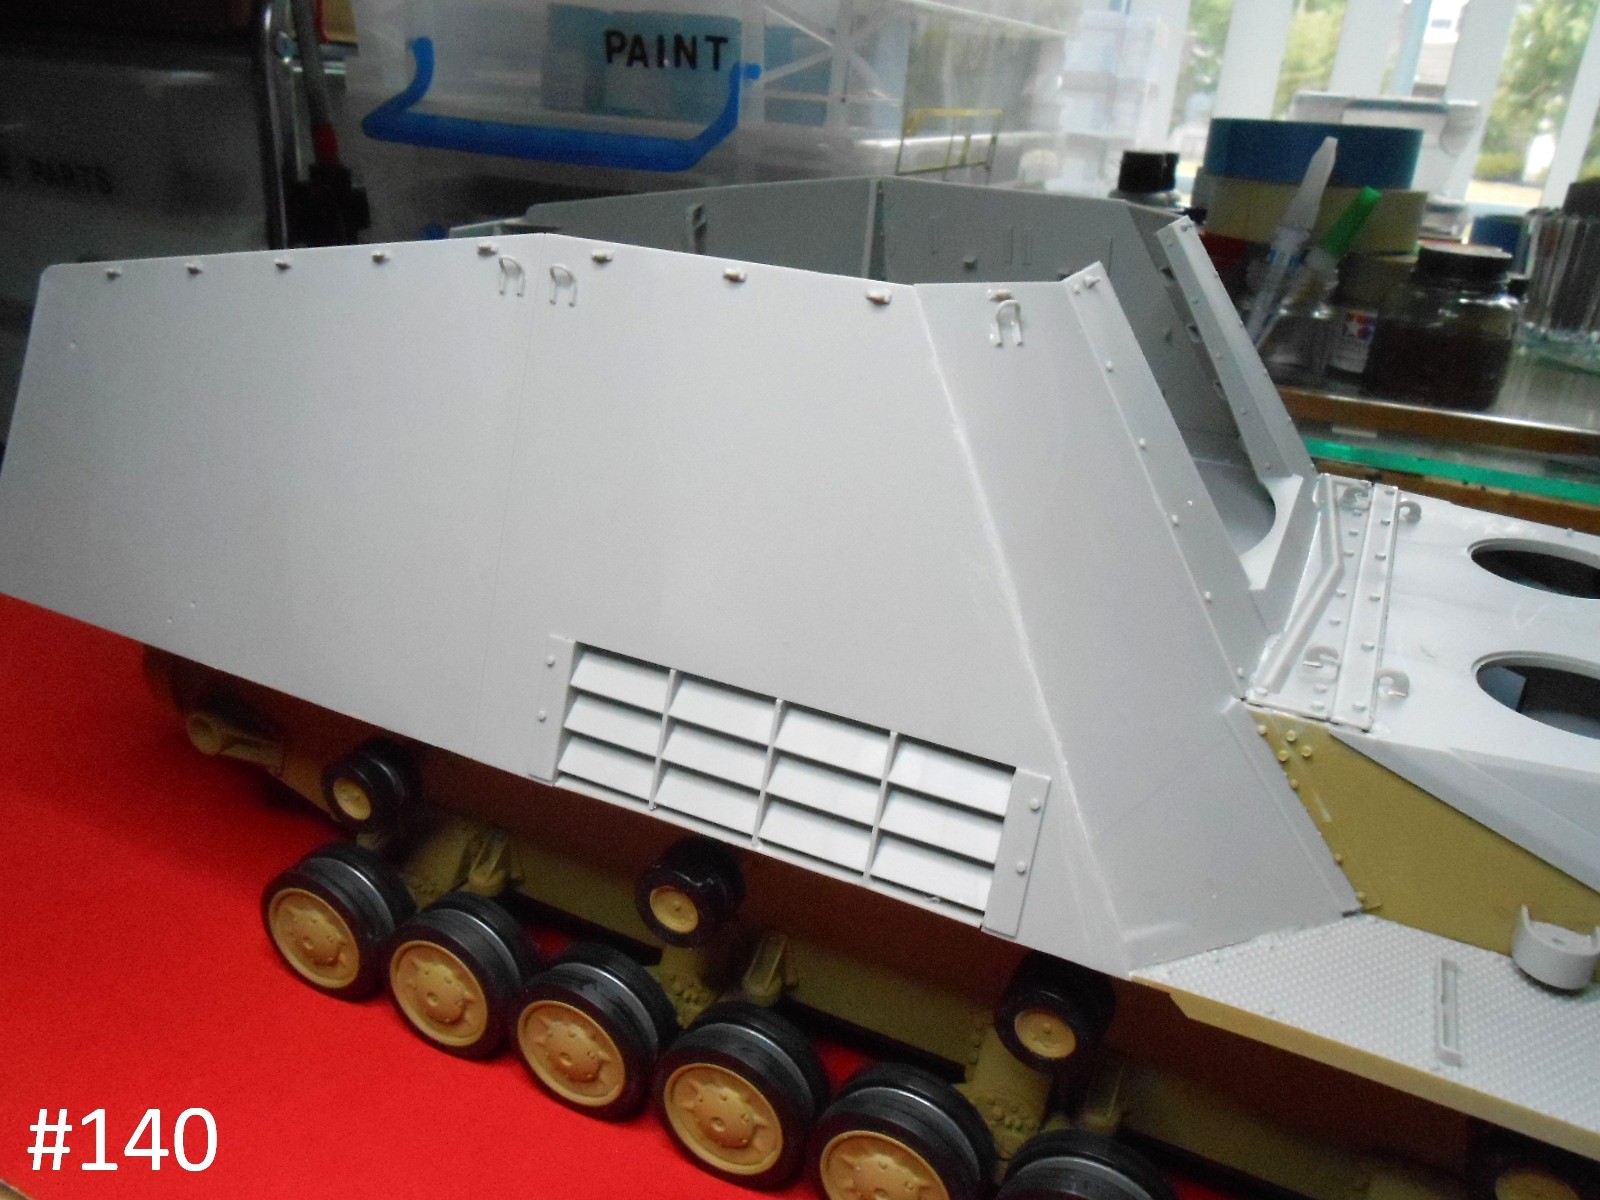
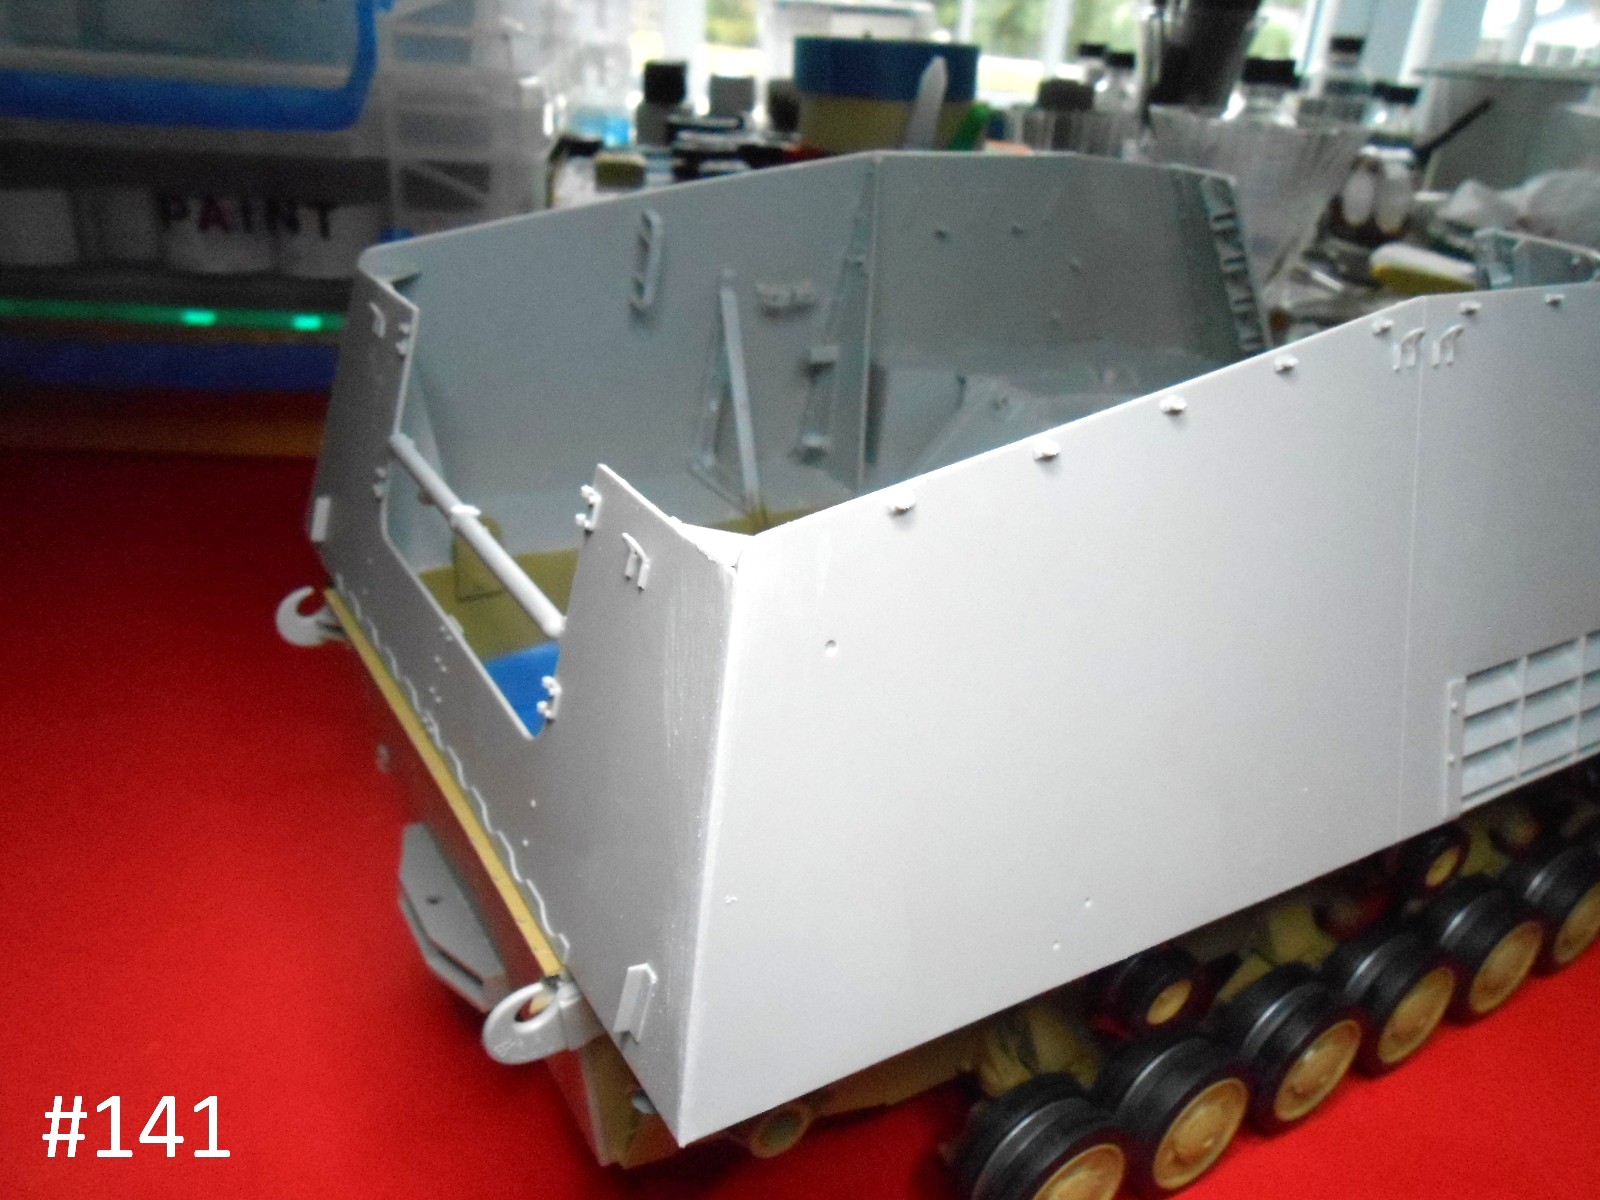
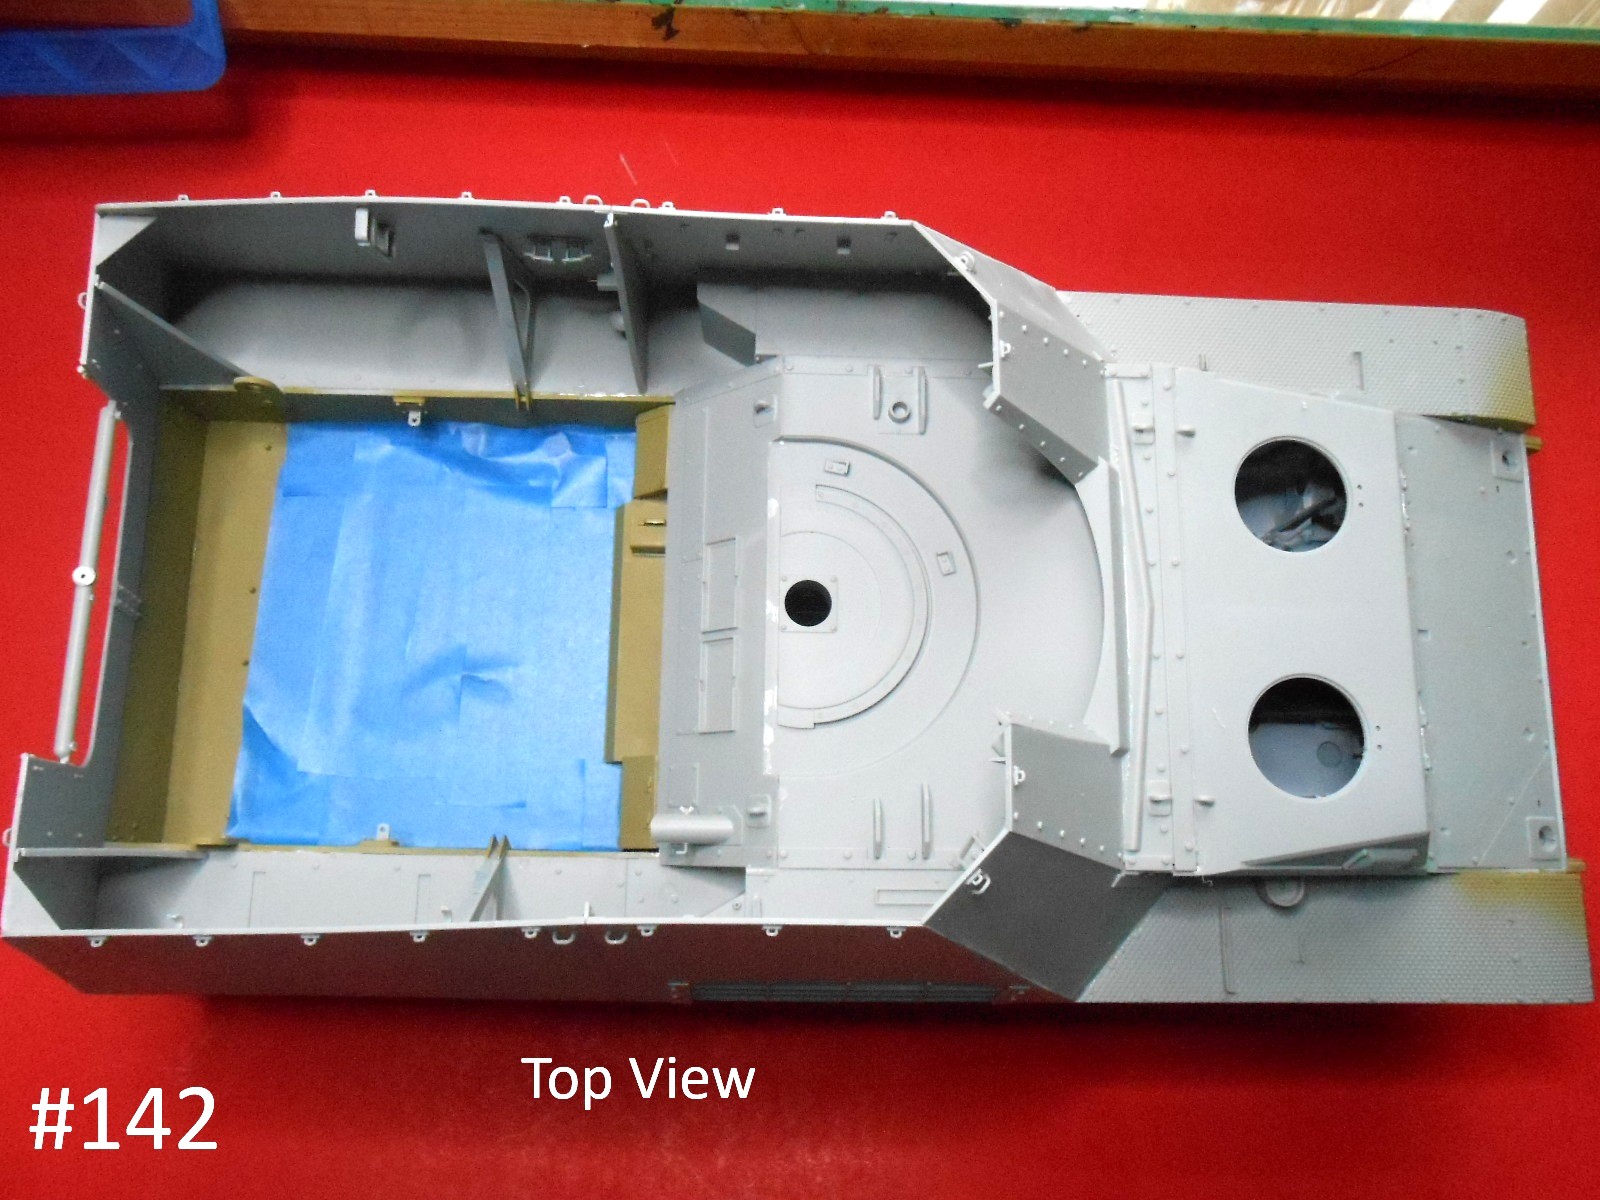
Now I have some filling to do then add the rest of the small parts to the Hull.
Regards
Donald
Well I finally finished the Upper plate install.
Now I have some filling to do then add the rest of the small parts to the Hull.
Regards
Donald
Thx Donald.
I only modelled in the 70s and 80s so it was a lot of Tamiya and some Italieri but I’m shocked by the regular reports of poor instructions these days. I guess Tamiya spoilt us in those early years!
i use the instructions as place marks as there the parts should go, that is why I hop around in my builds. I like to get the basic structure built first , then add the small parts that could get broken off during handling.
If it’s something brand new I even add the Engine and drivers parts to show what can be seen.
On this build you can’t see any of the Engine and hardly any of the Drivers area, so when I do their Nashorn, I will skip the Engine and Drivers areas.
Regards
Donald
Some Painting done.
Working on the Track Now, I don’t know how I will like it as there are no Pins to hold it together. It is one of those snap together Items.
I wonder if that Das-Werk snow Track were used on this Vehicle?
Regards
Donald
I’m working on the Track right now.
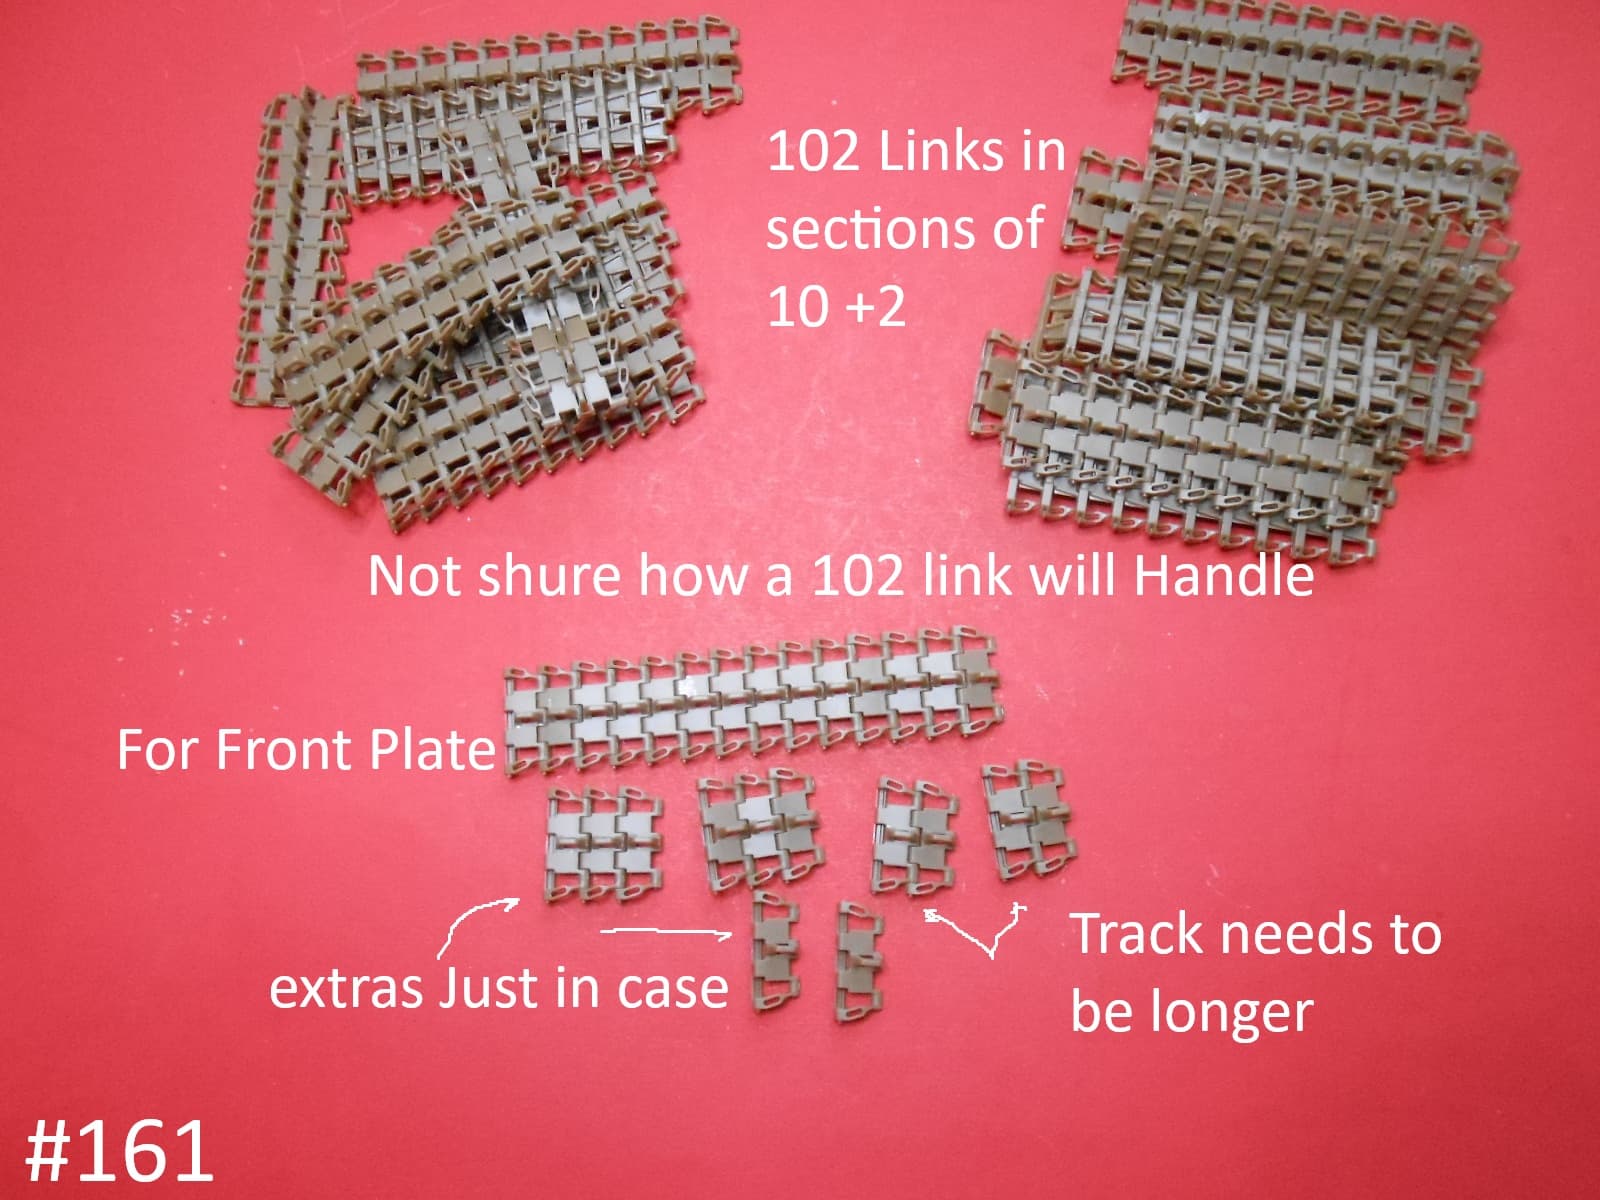
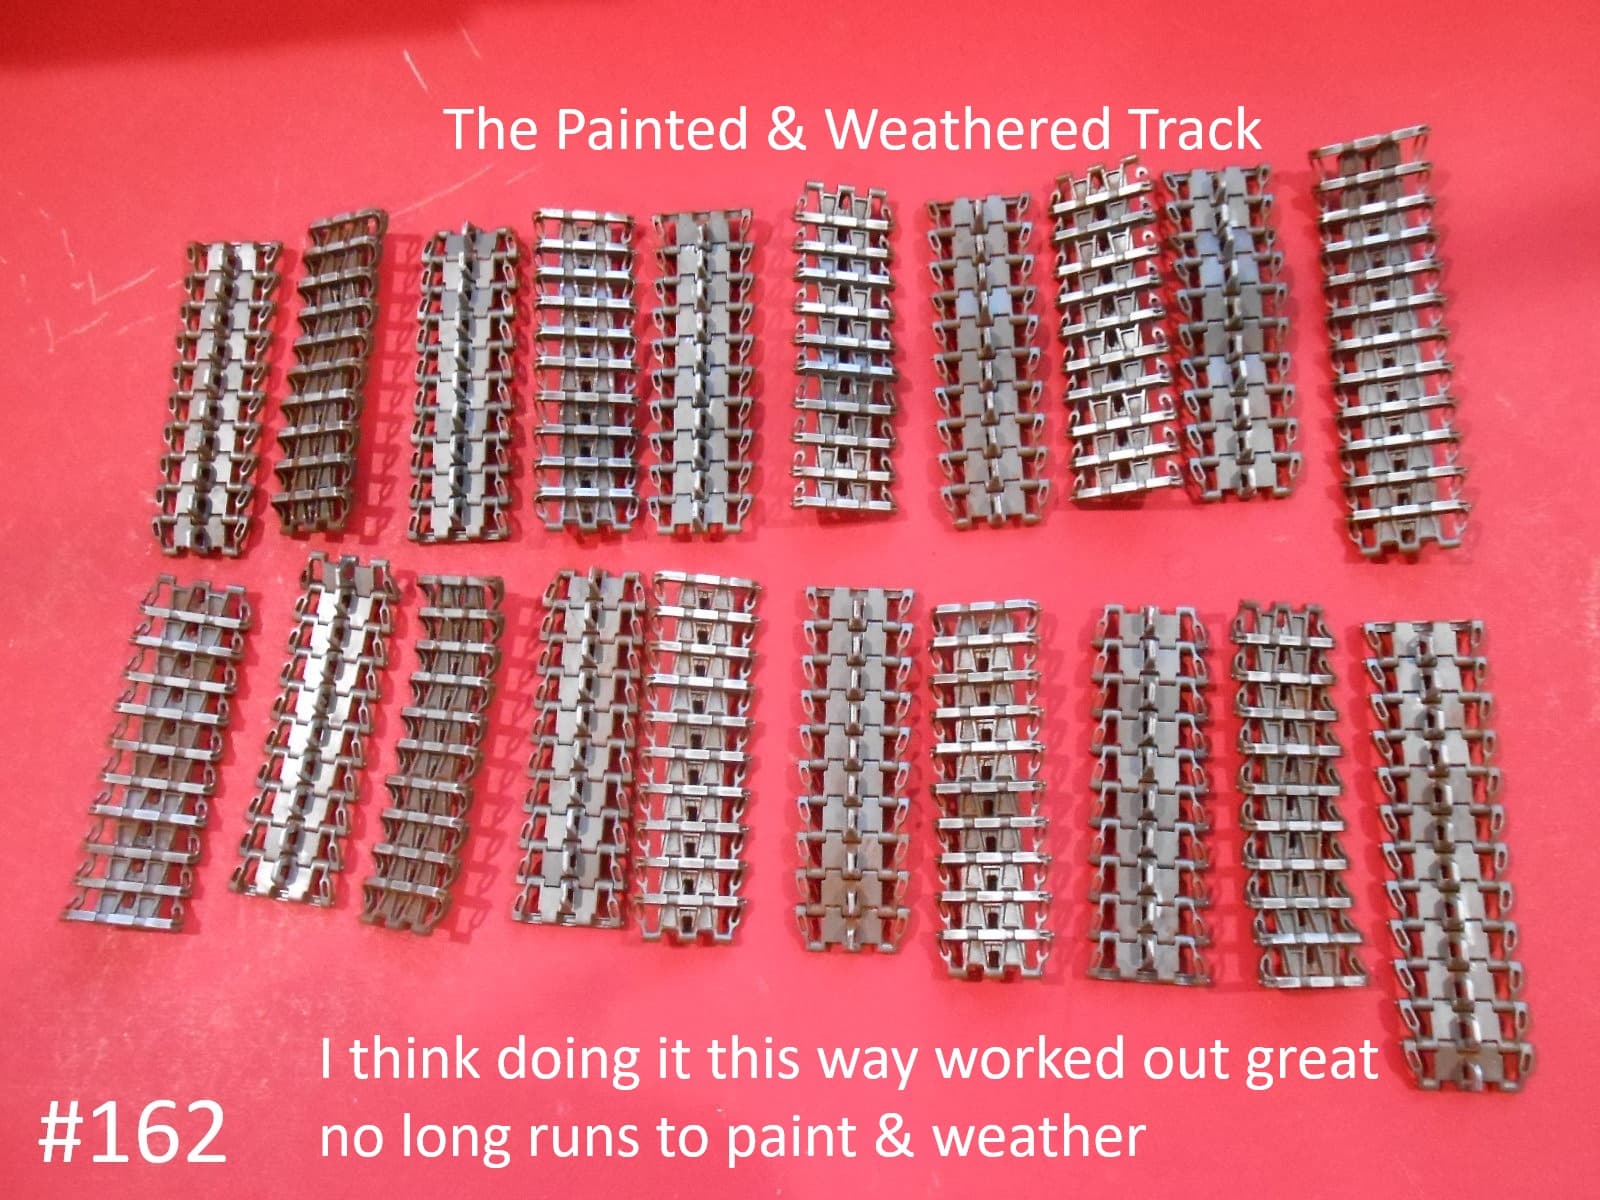
I am doing it in sections of 10 and one of 12 for each side.
The reason is, I’m not shure how a track with a length of 102 links will stay together with just snap together connections. I figure to do it to finished condition and then just join the finished sections.
I have never built one like this before, usually it’s metal or at least plastic pins.
I agree. A set of Osketten or winterketten tracks would make’r look menacing .
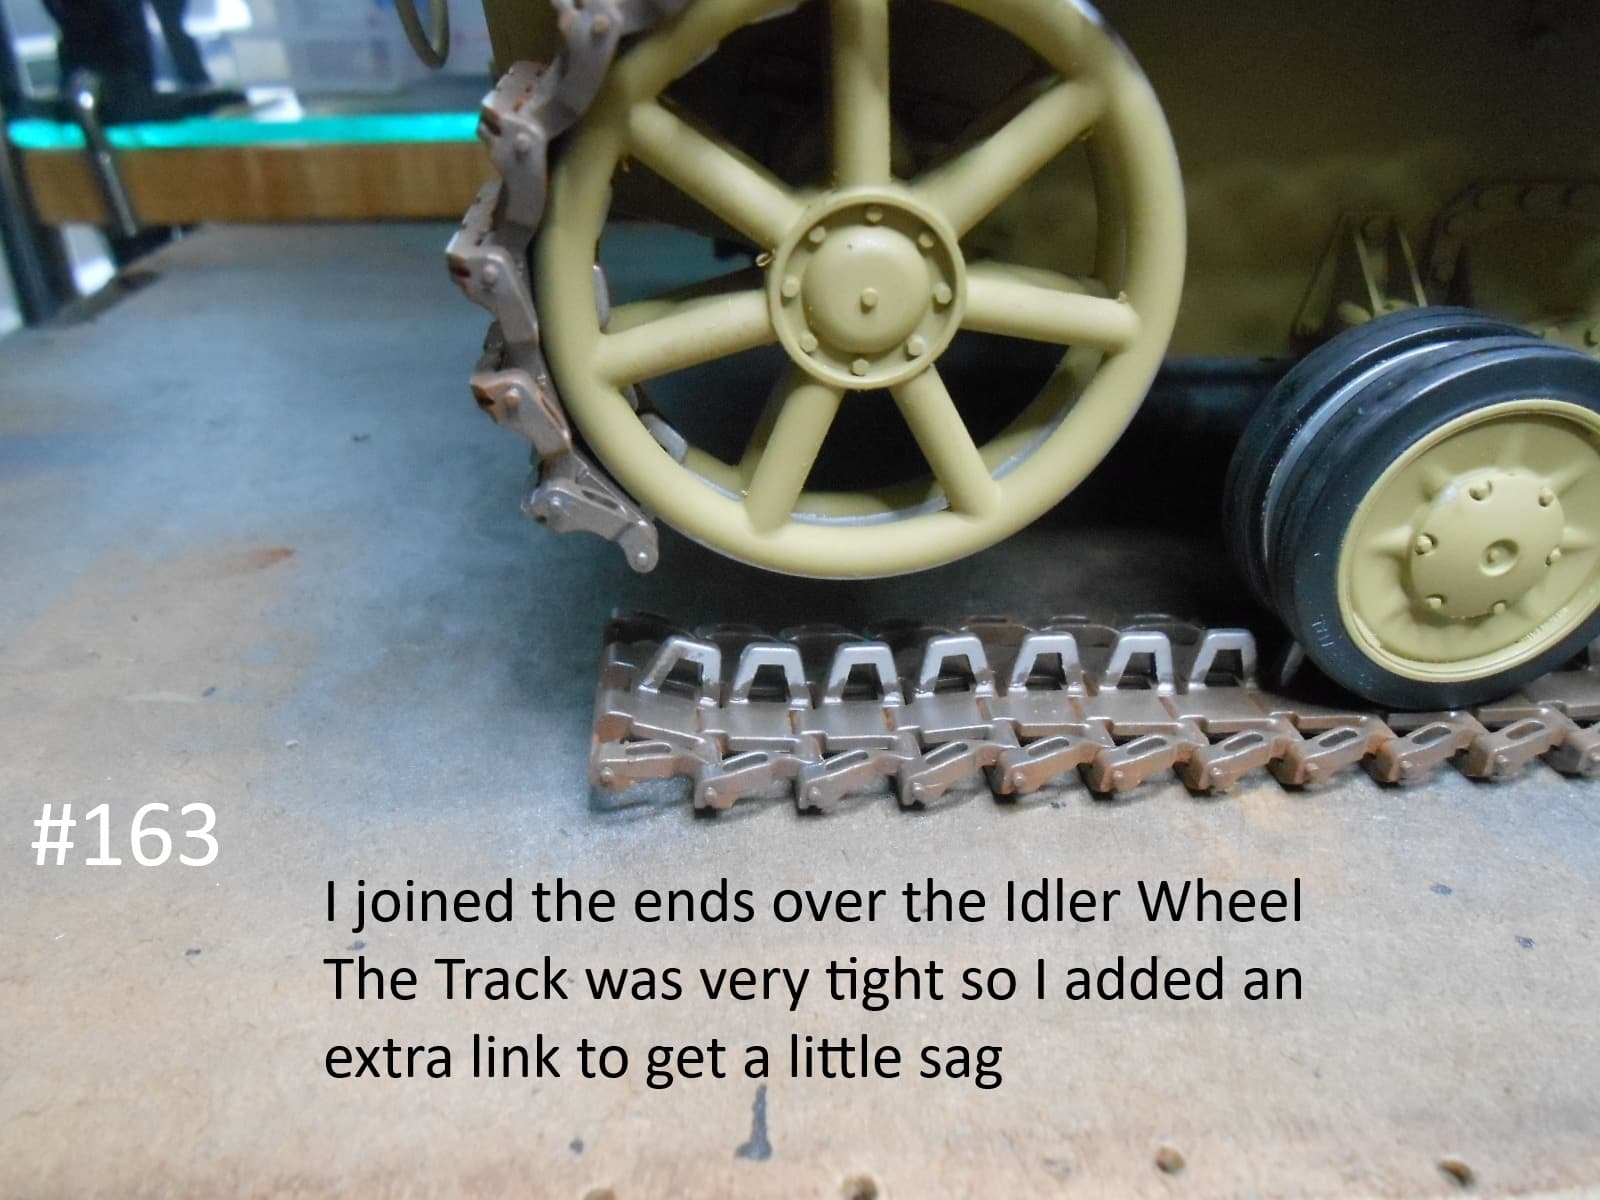
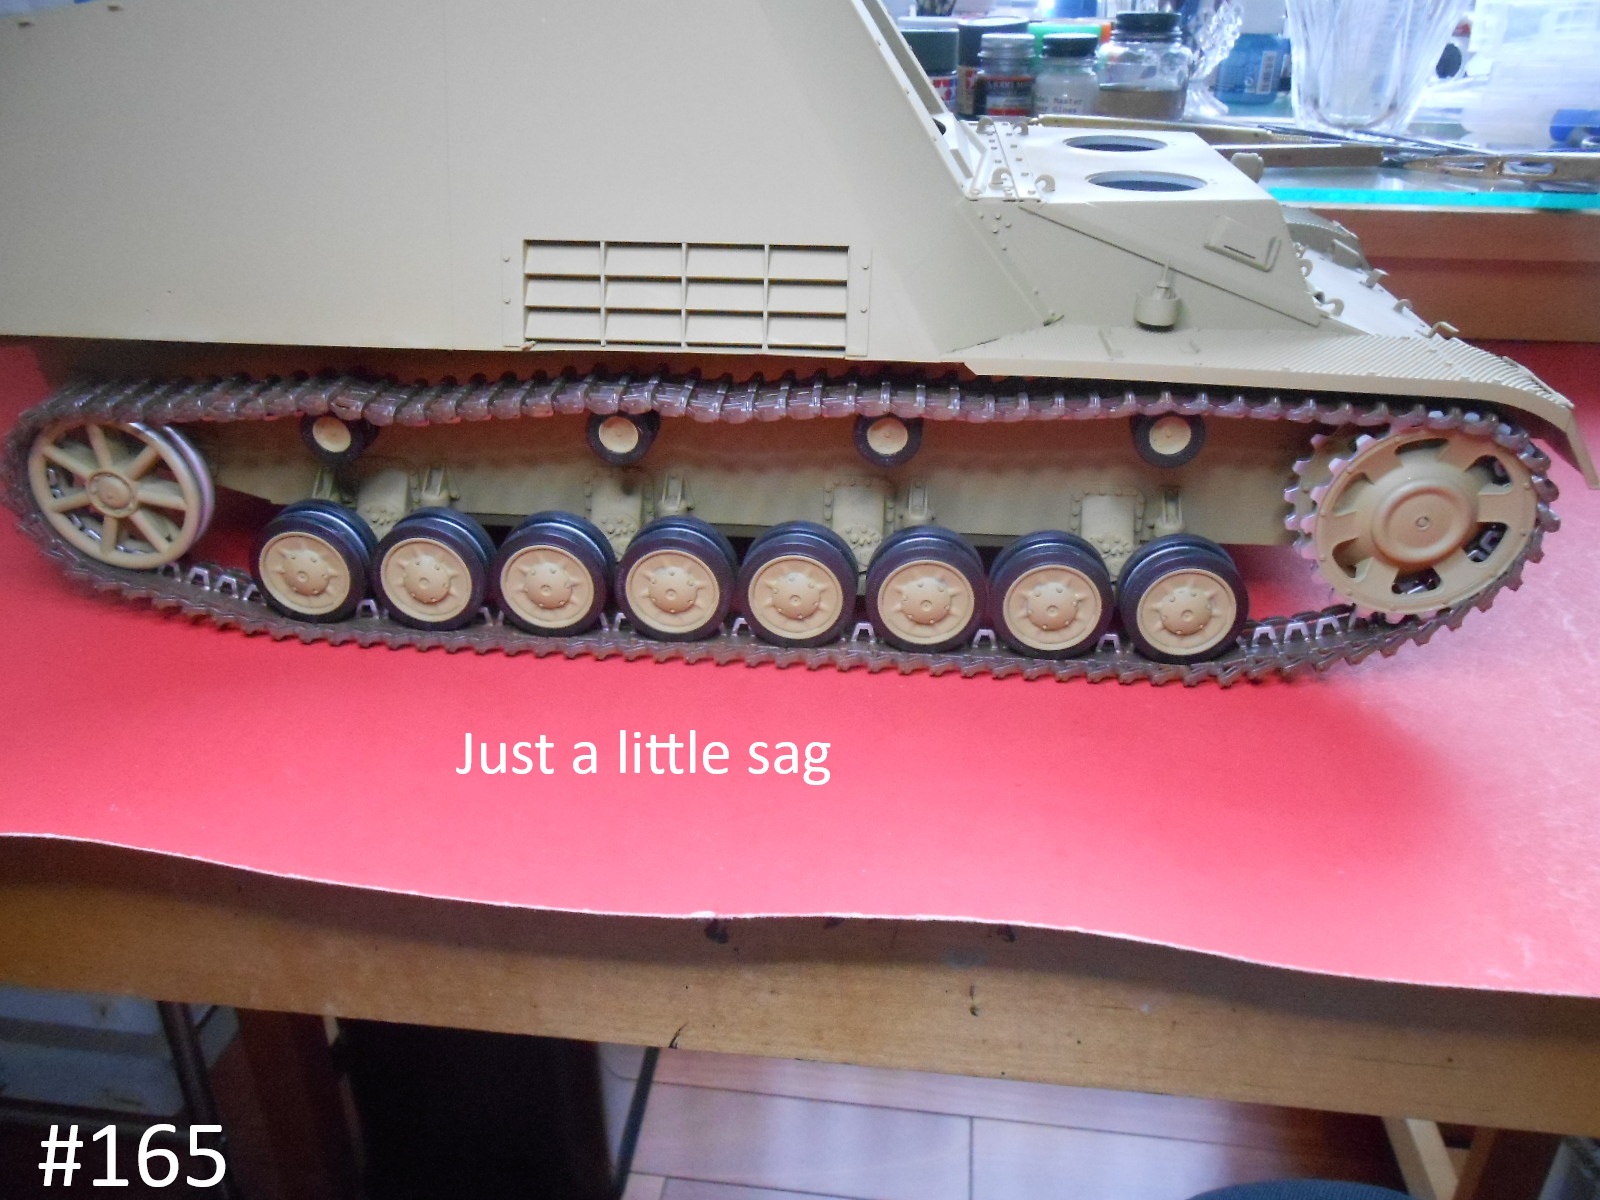
I finished up and installed the Track. This was the first time that I used any Click together Track.
This is why I did the Track in sections, I wasn’t shure that it would stay in one long Run.
The Fit is very tight so I added an extra link that I had pre finished bringing the total to 103 links instead of the 102.
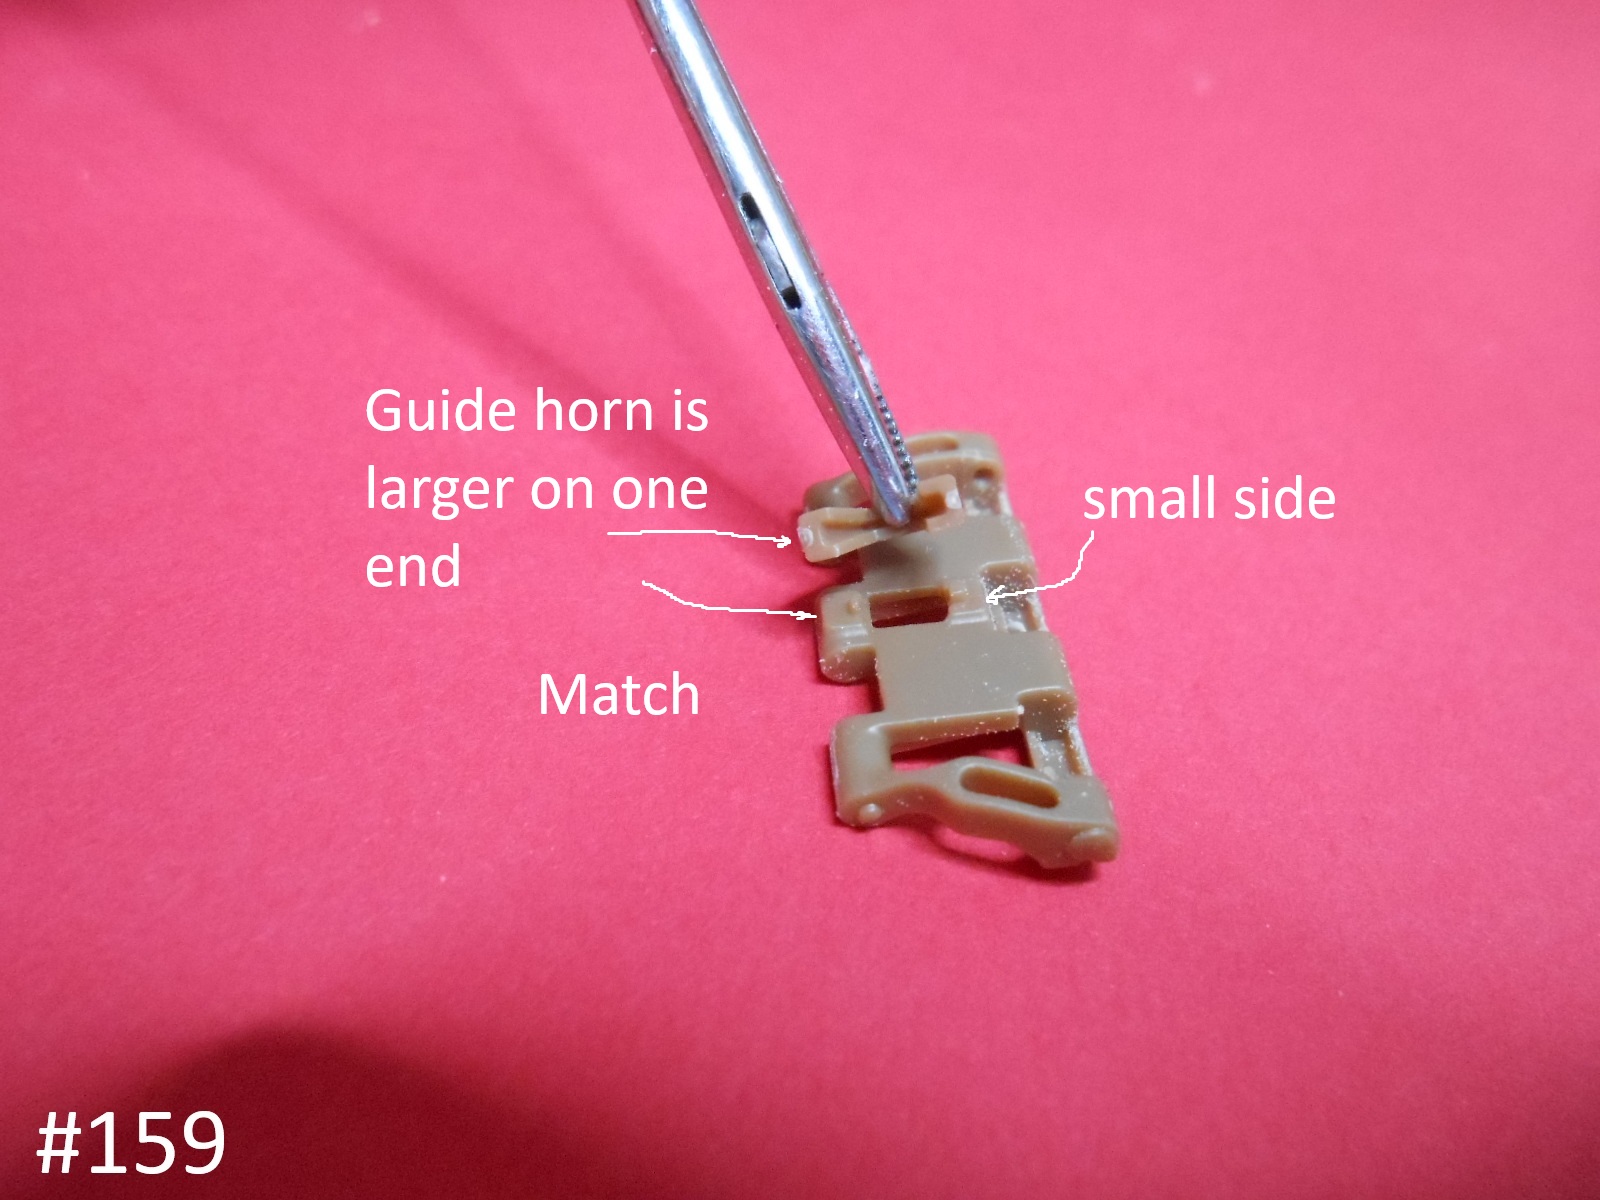
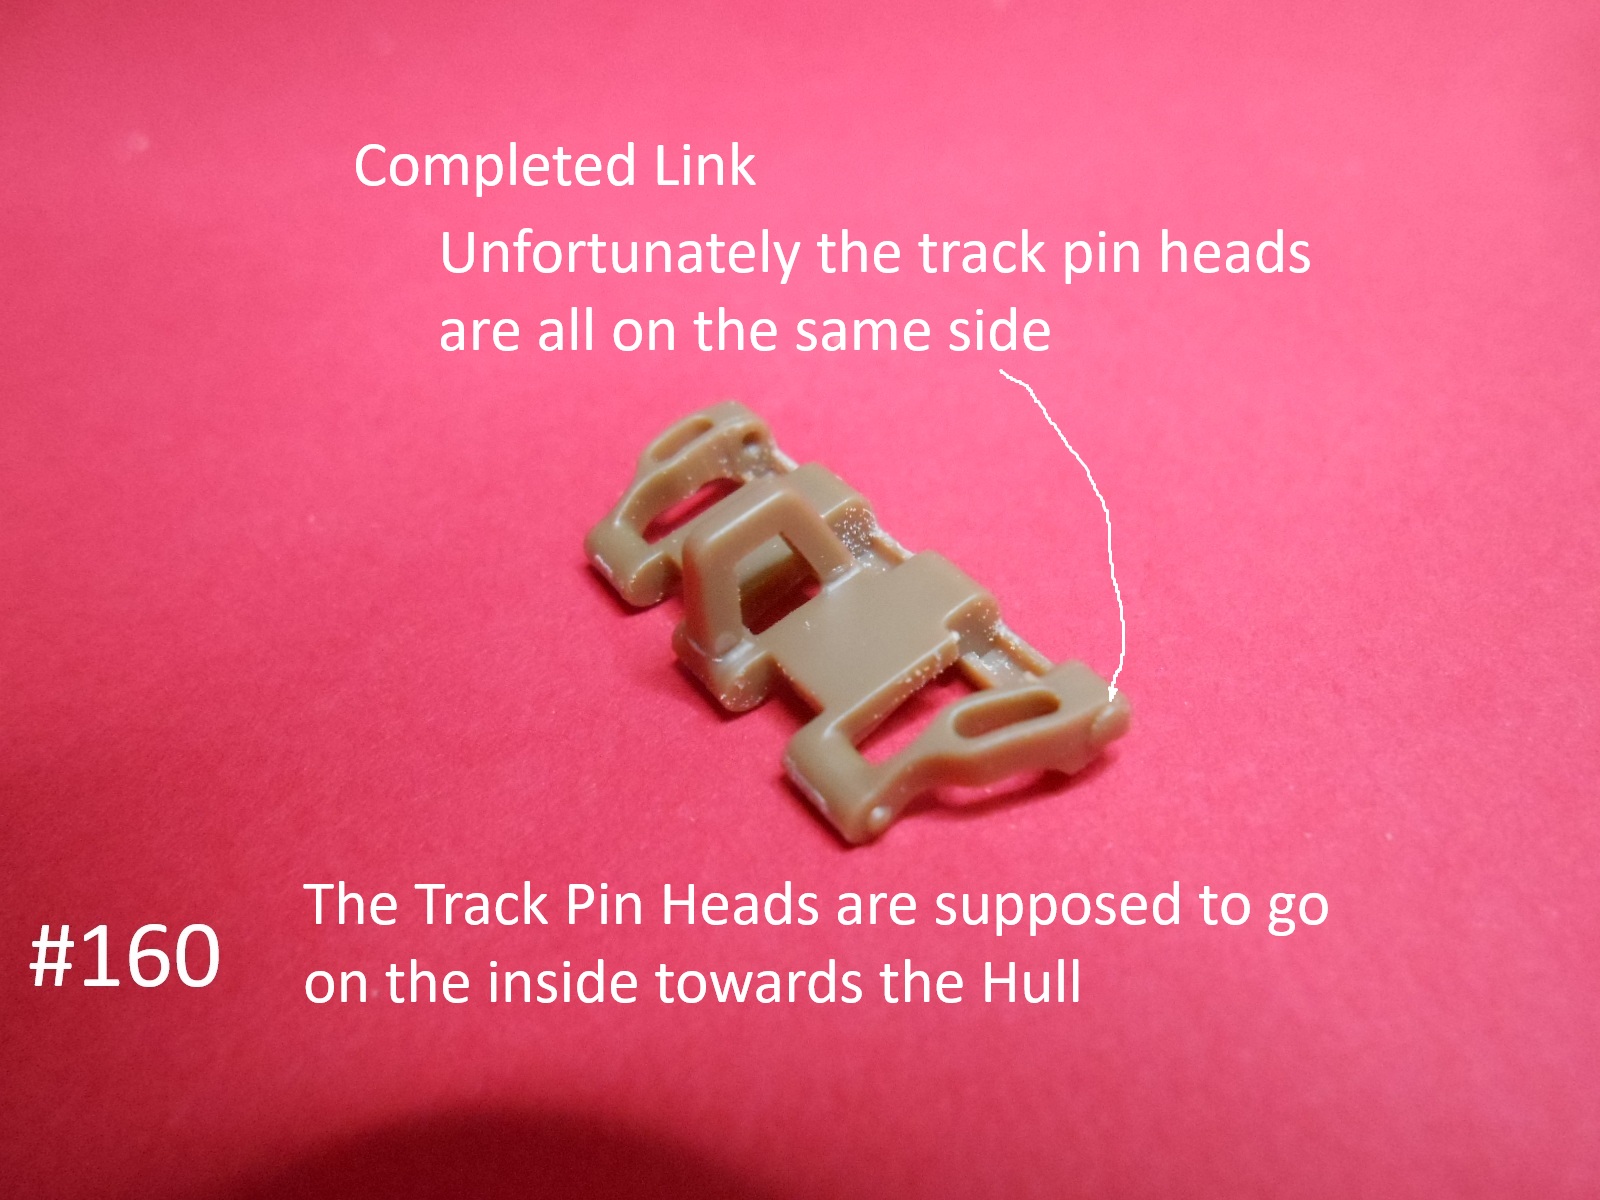
the mistake that I found with the Track is that the Heads of the Track pins are molded the same for both sides. the Heads should all go towards the Hull.
Ok Here are the Pics.
Finished for now.
Donald
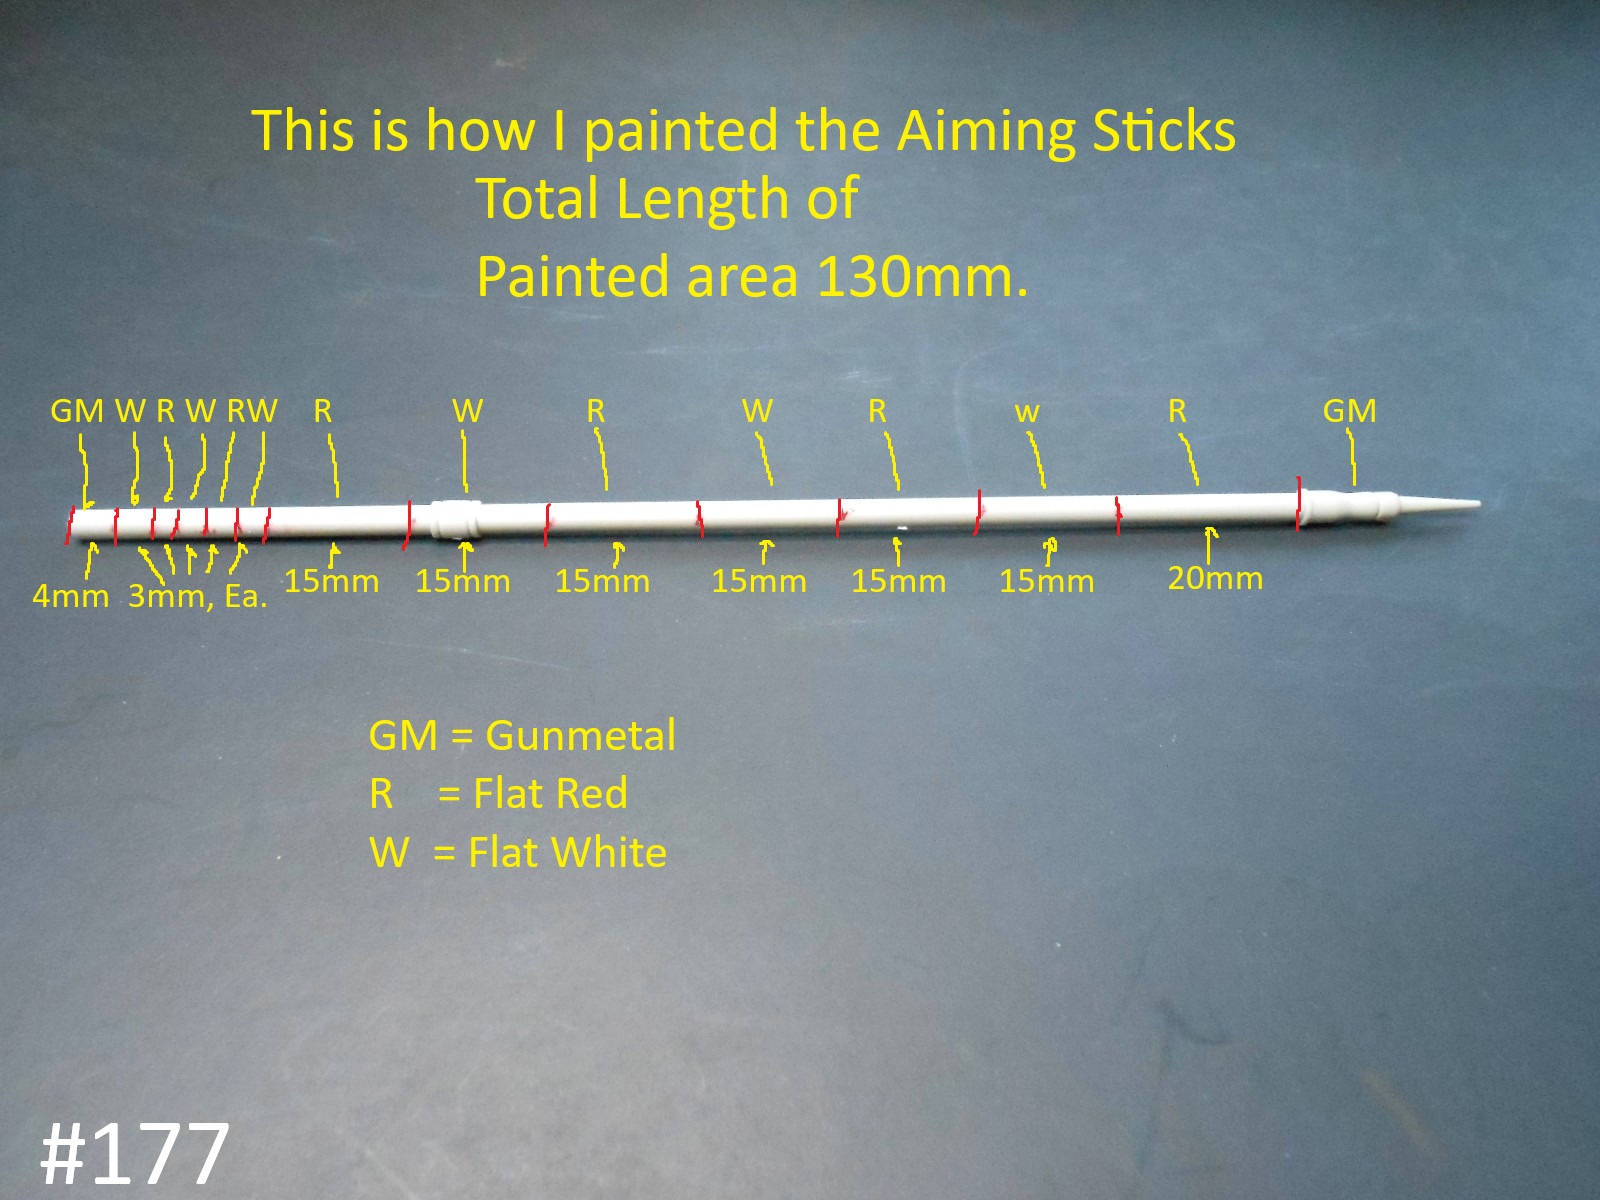
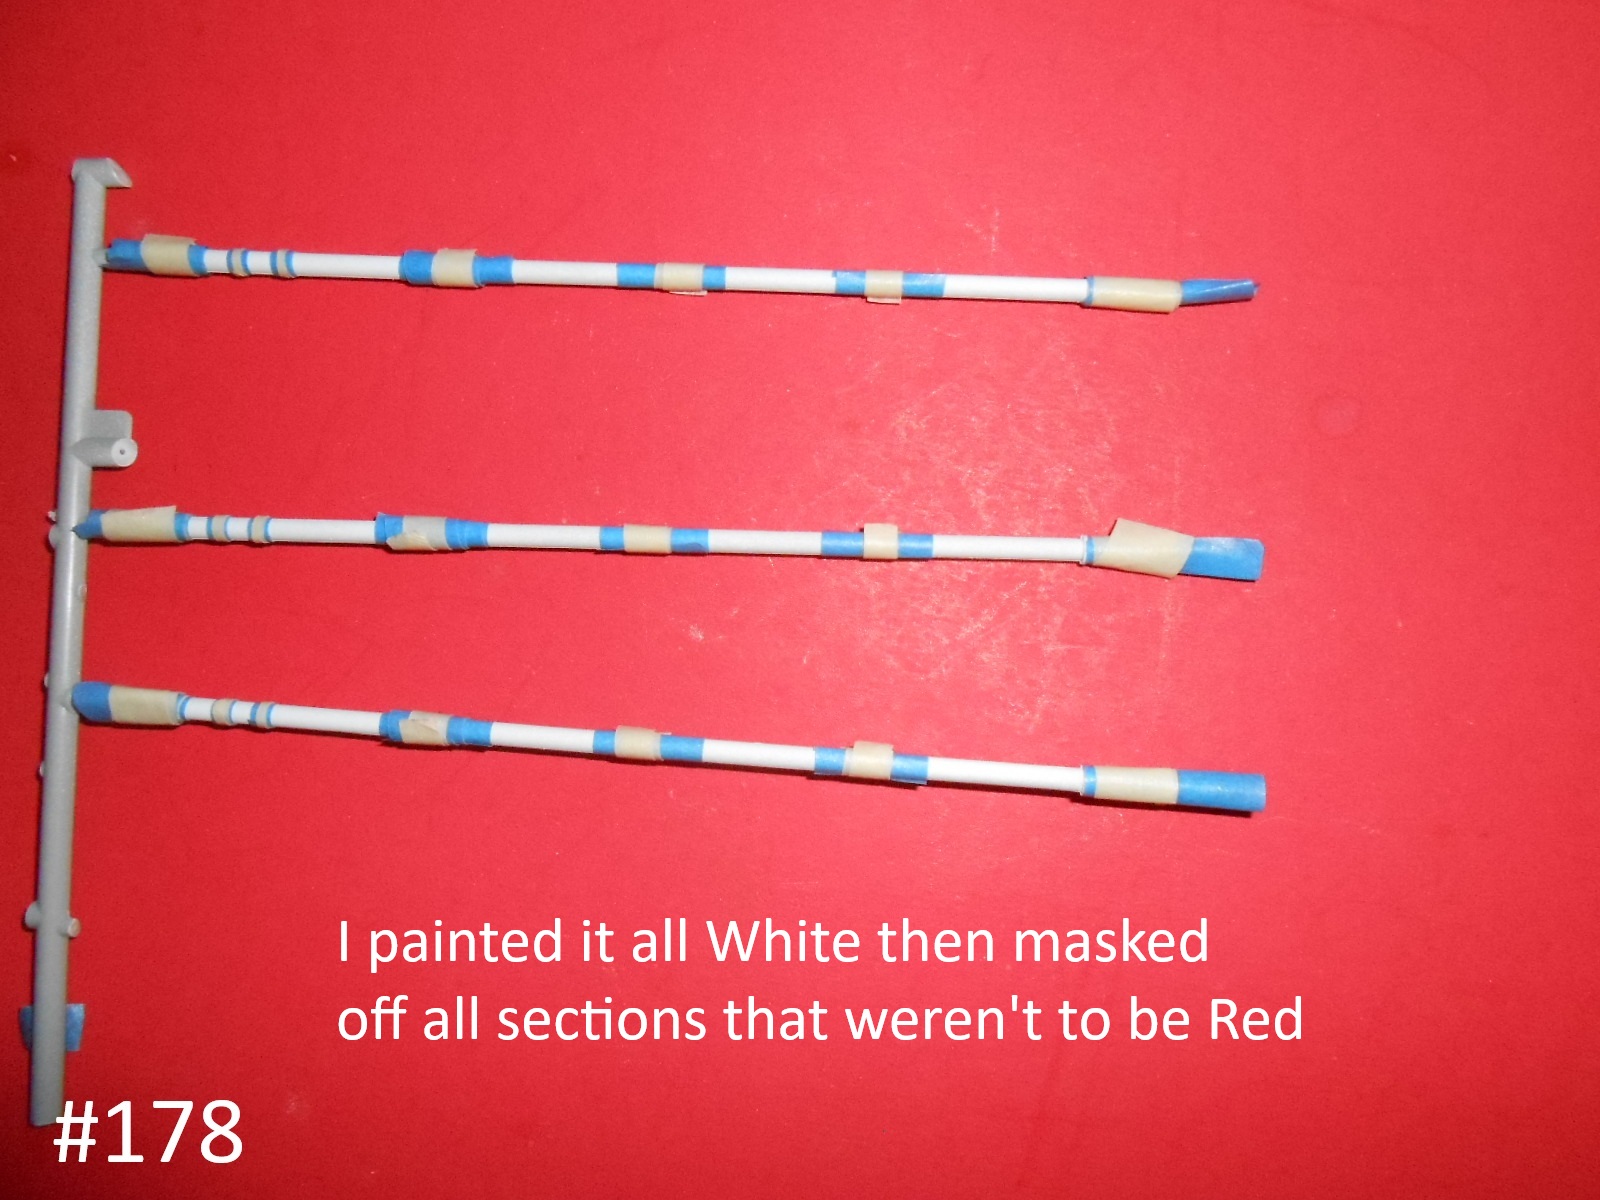
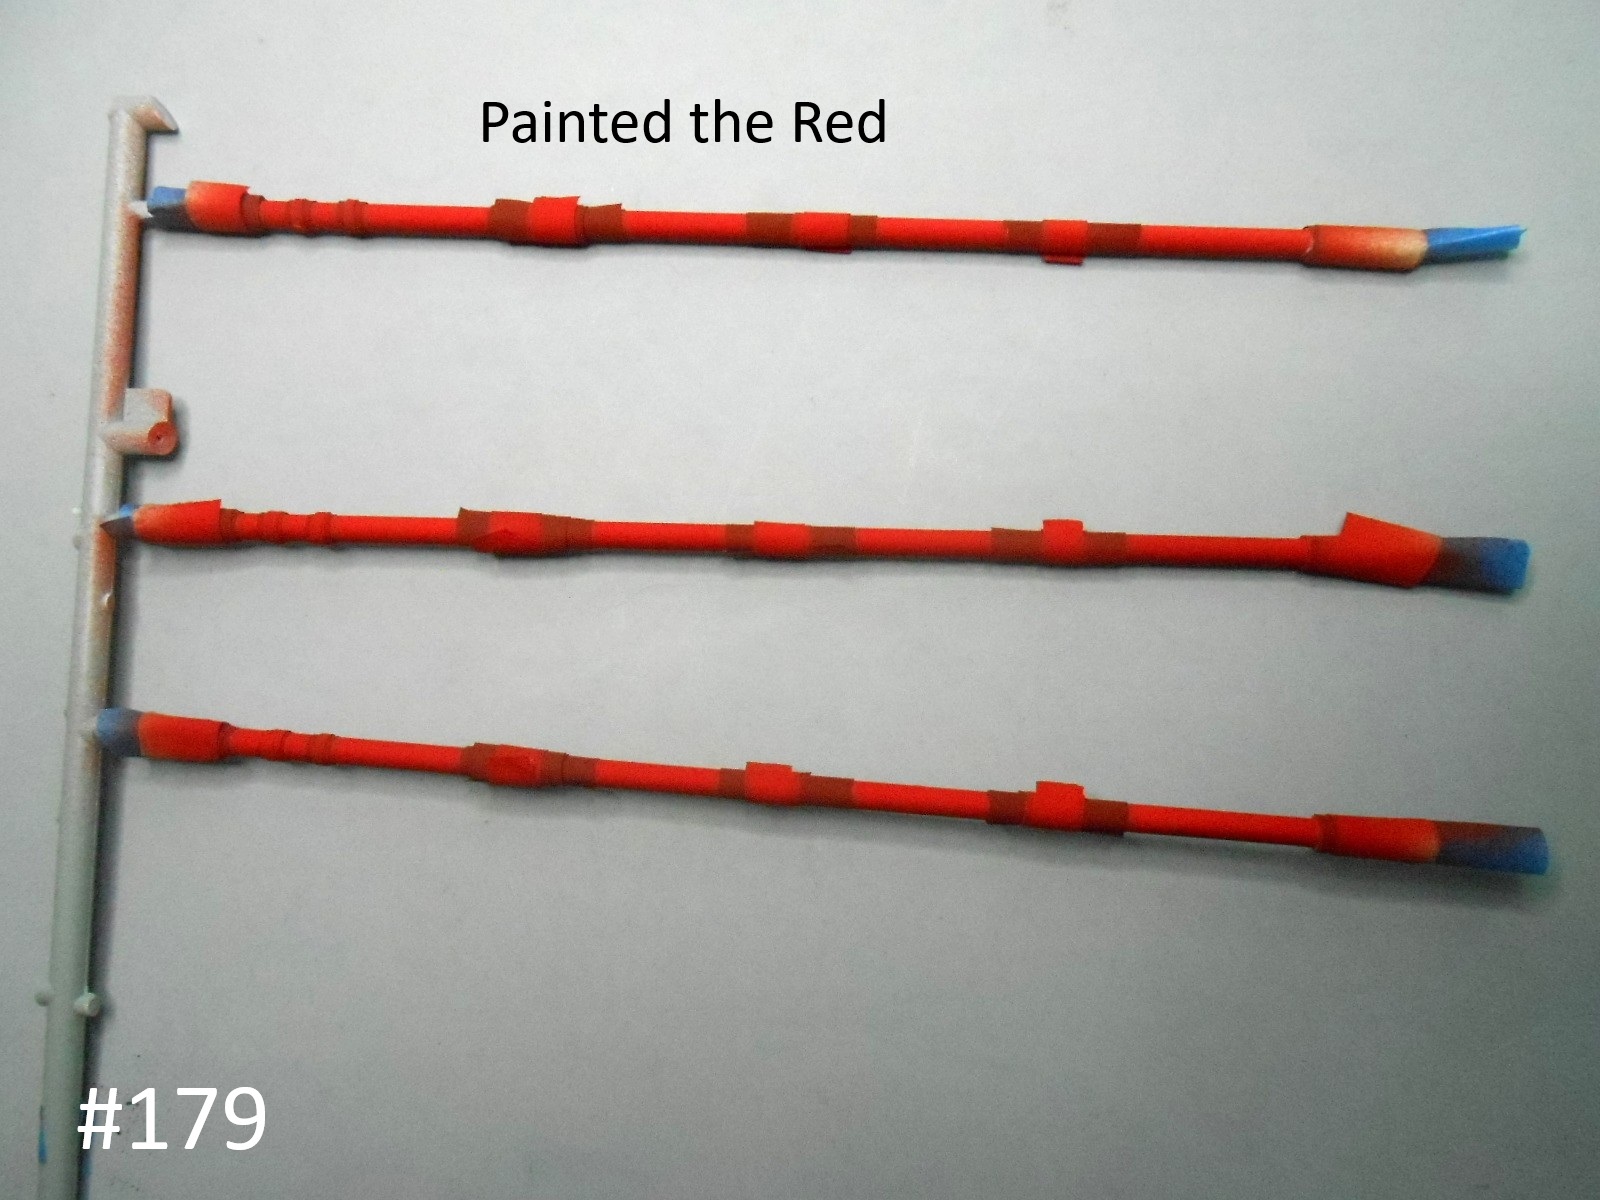
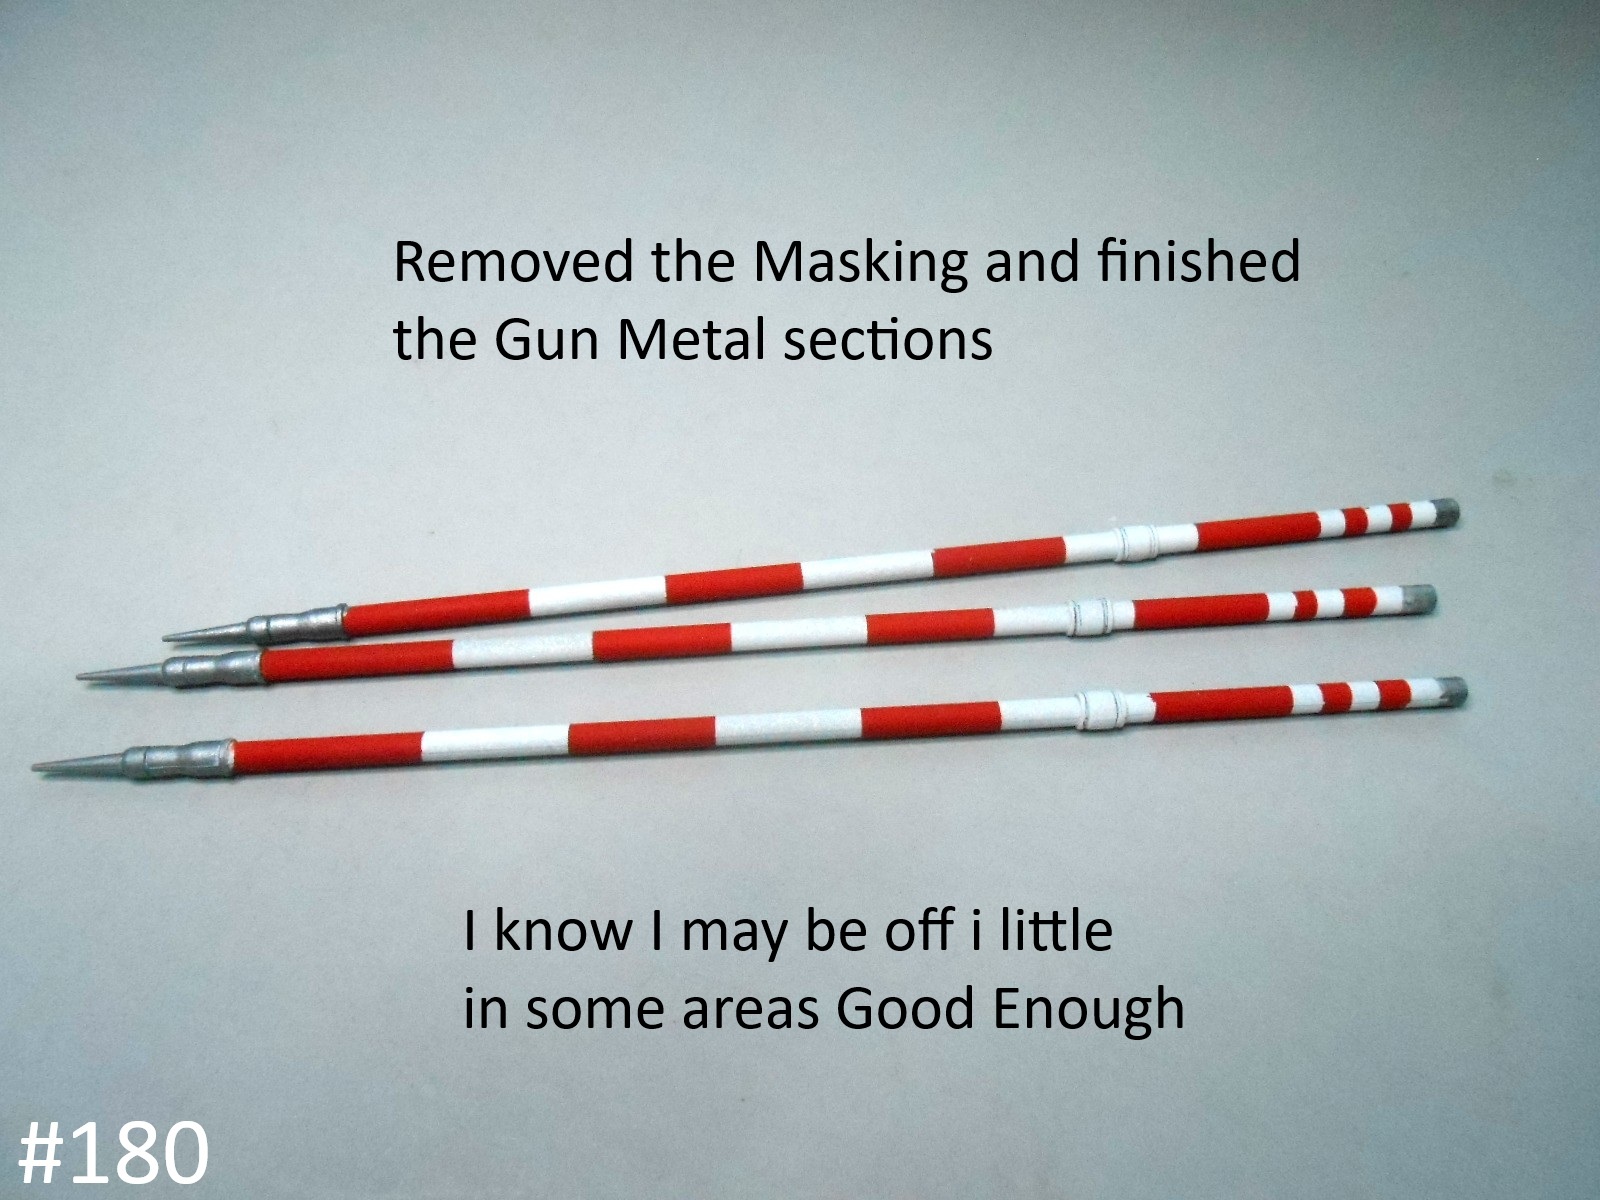
here is how I did the Aiming Sticks.
That’s all for a while , until I get some of the Gun Assembled.
Regards
Donald
thats a pet hate of mine I always seem to mess them up. 
Any plans to build the AHHQ Halftrack Donald?
Keep on keeping on. Keith
I have it in line, I just have to finish this first.
Regards
Donald
That thing looks like more pain than anything.
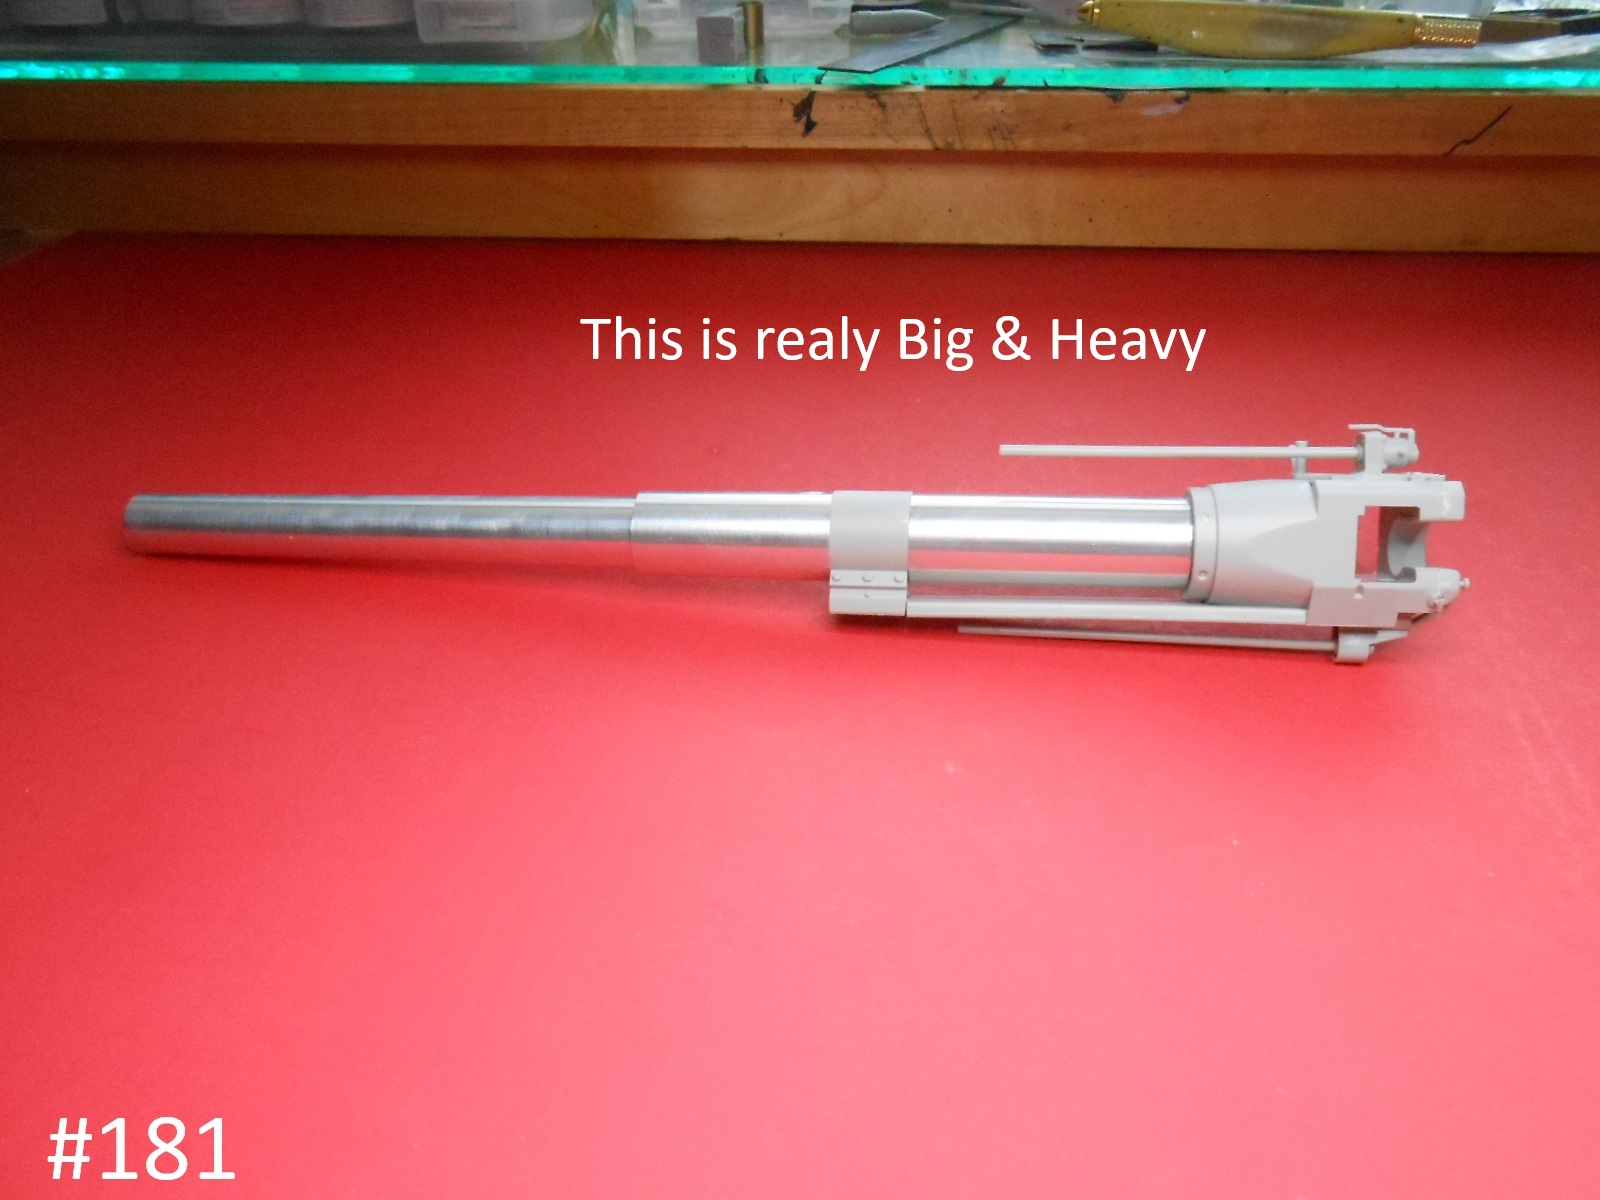
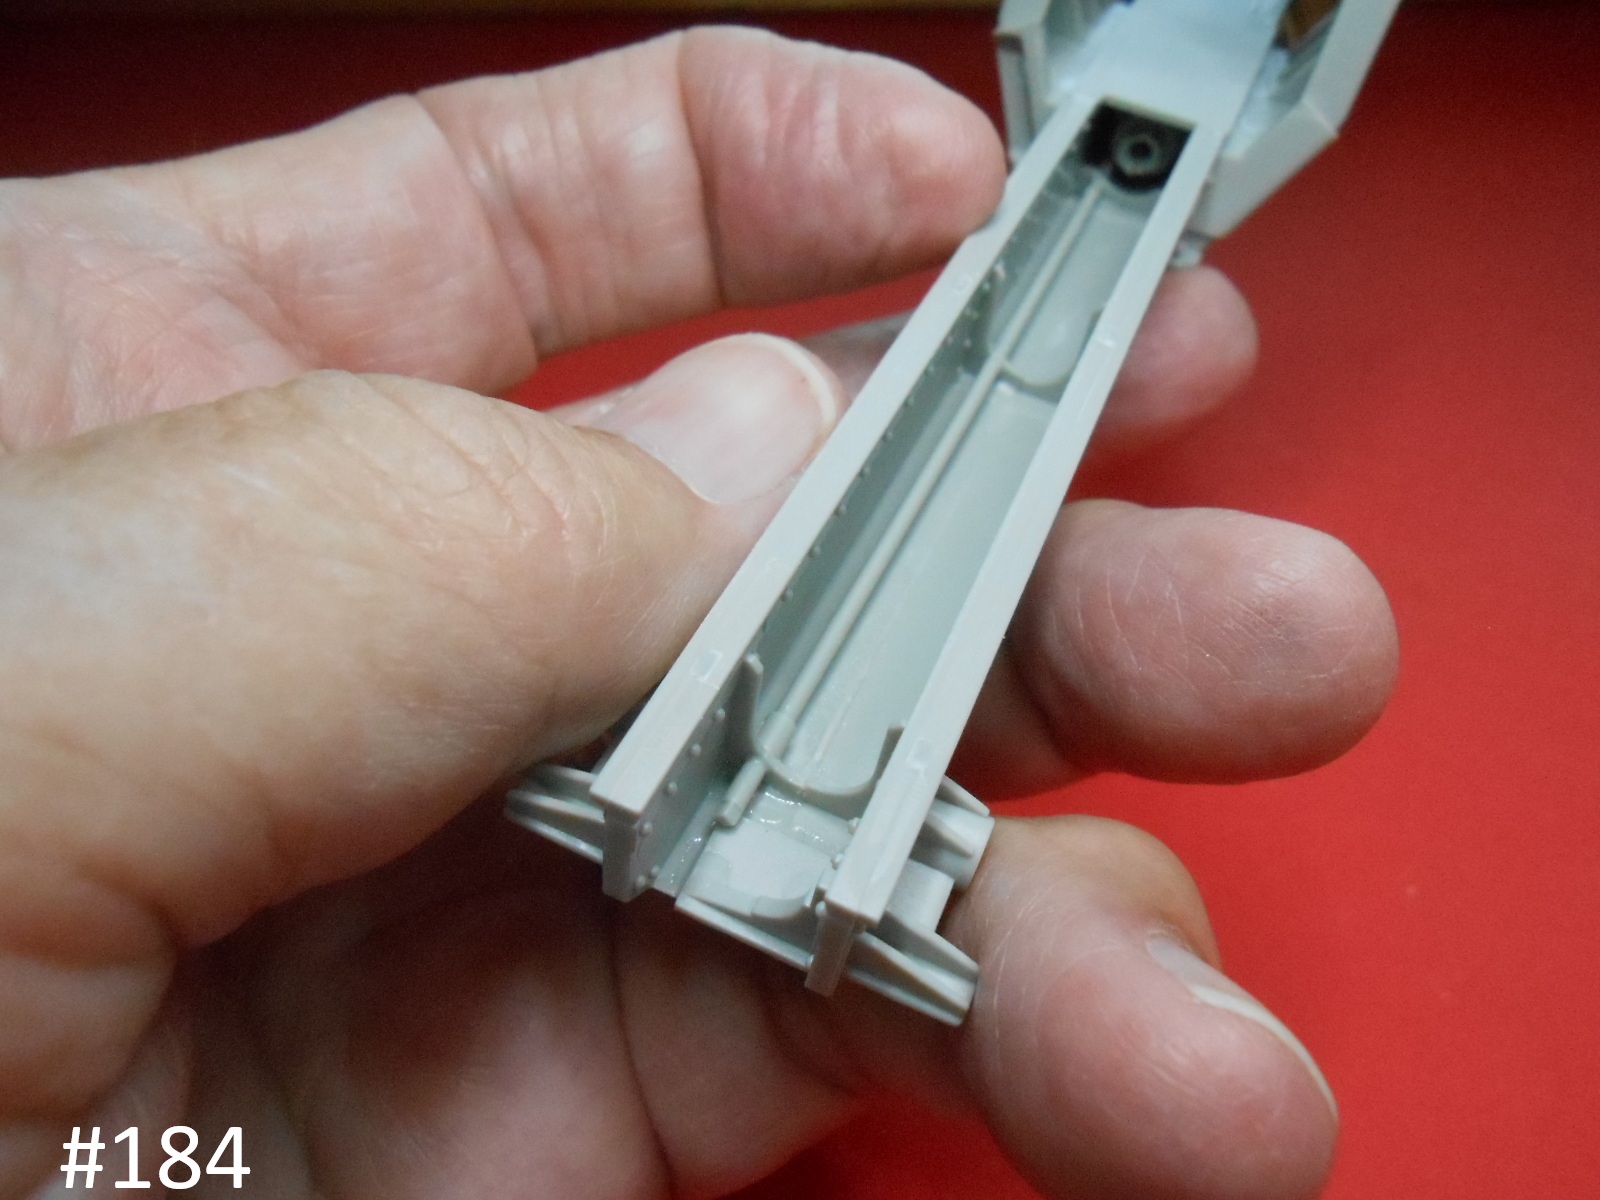
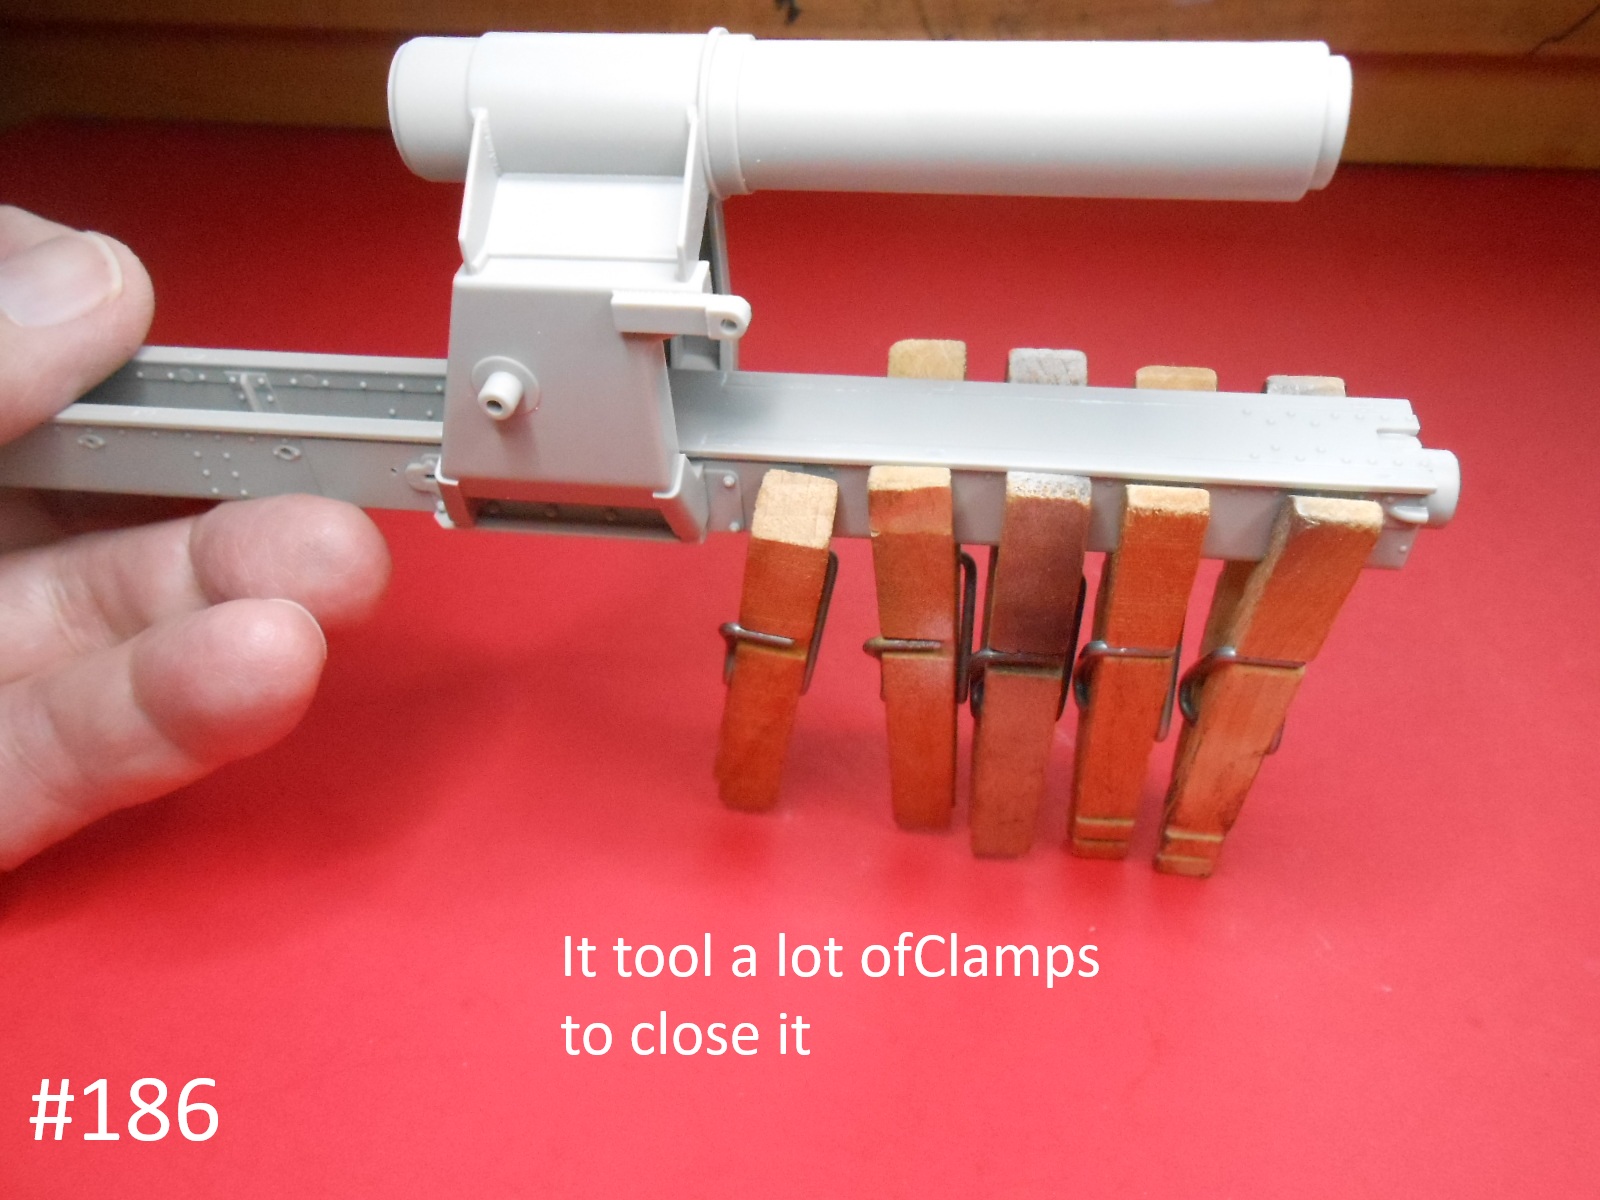
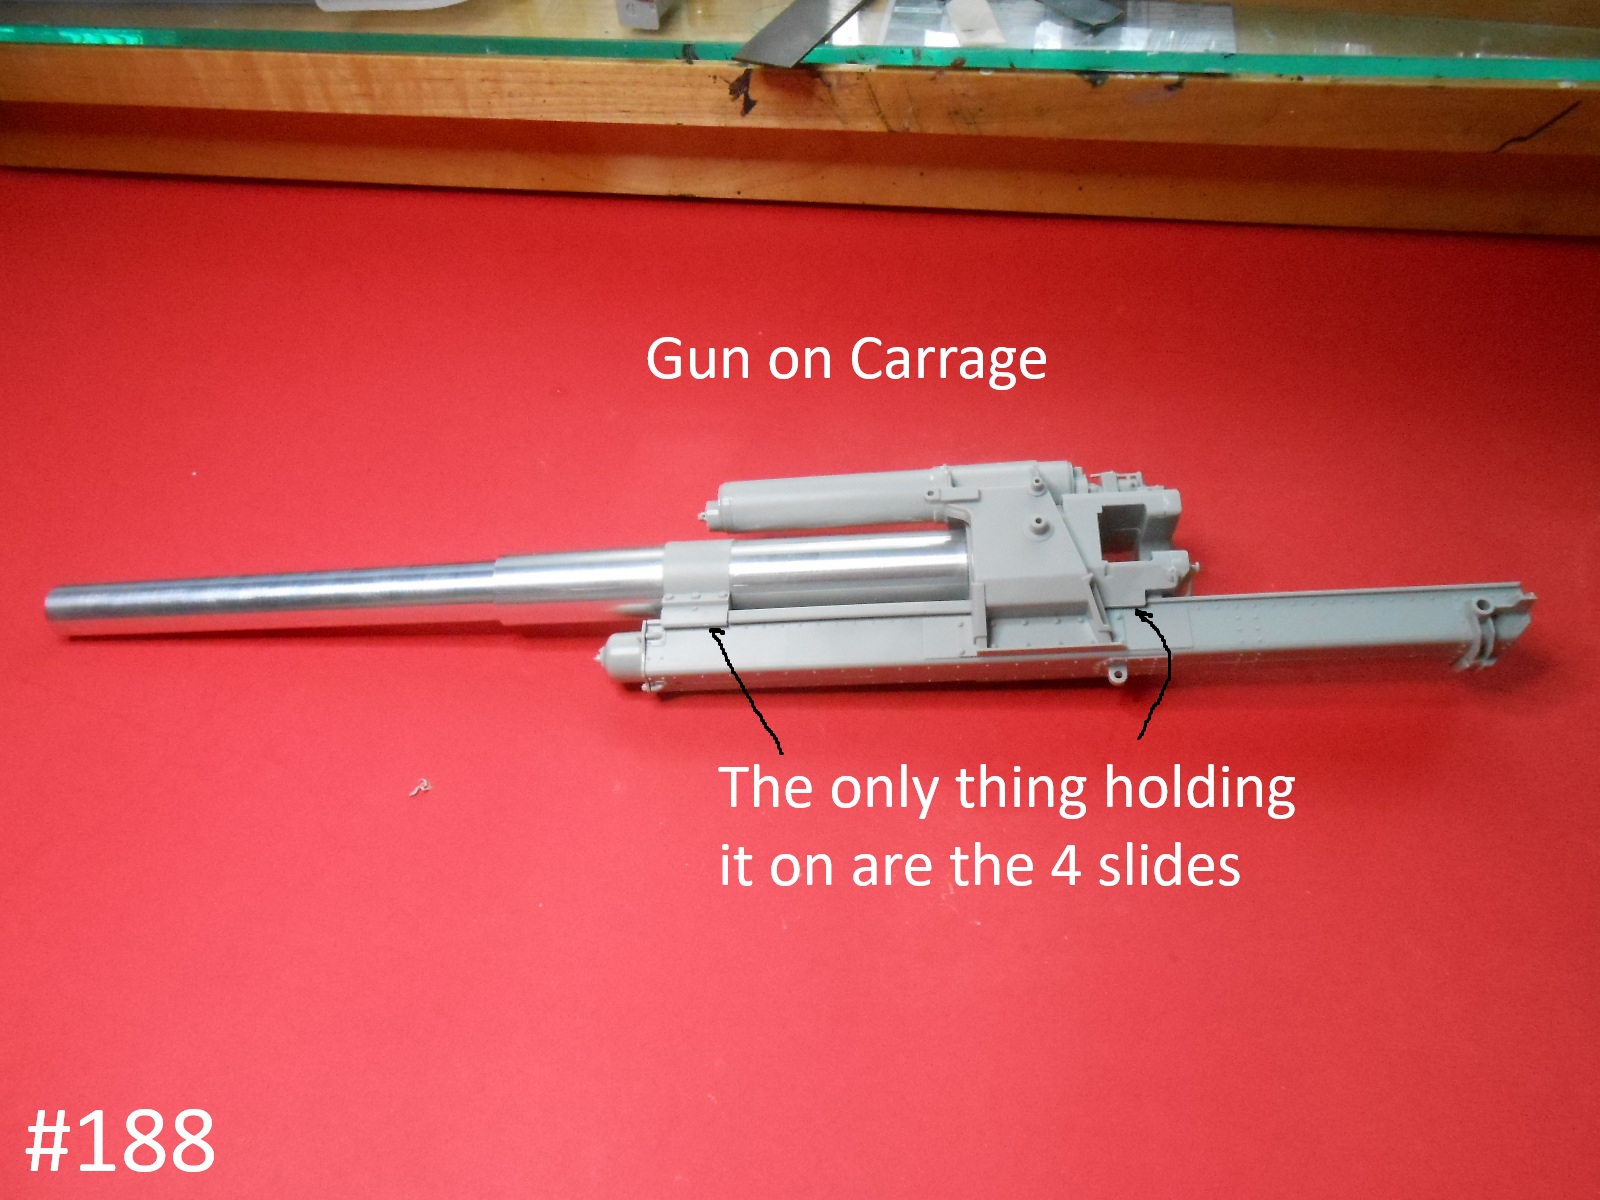
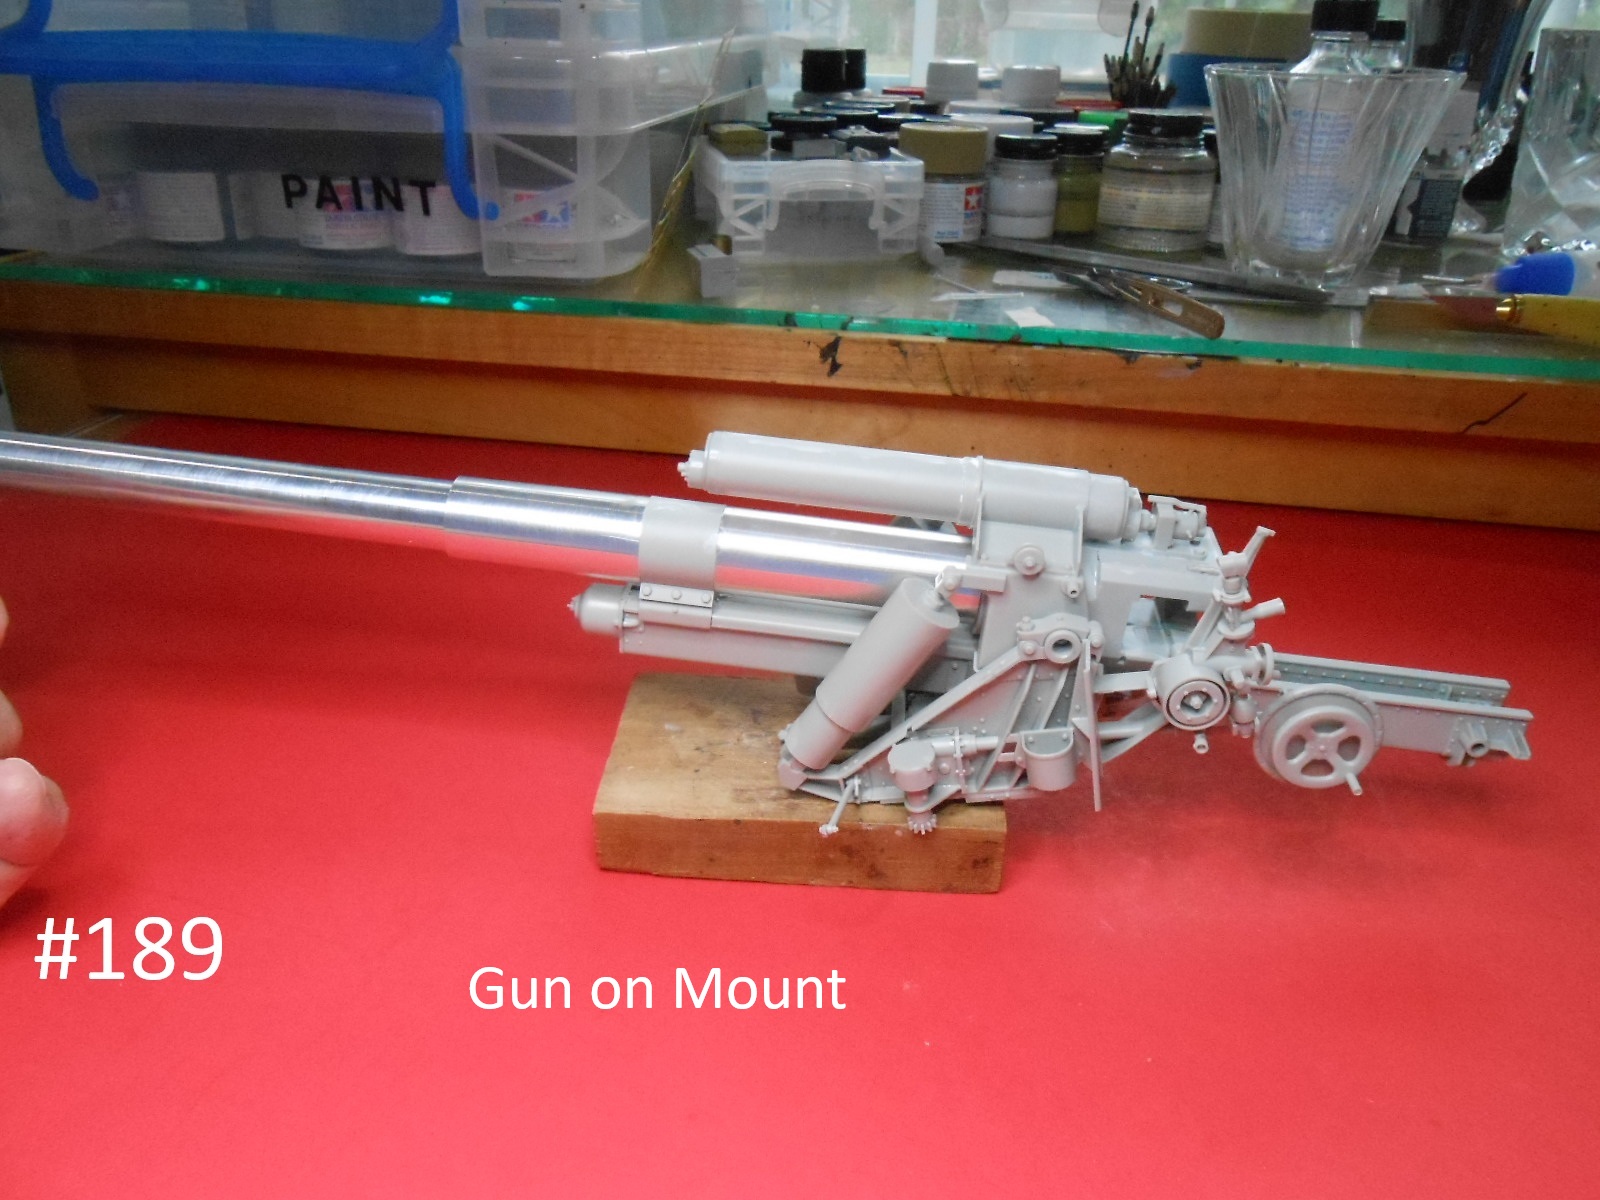
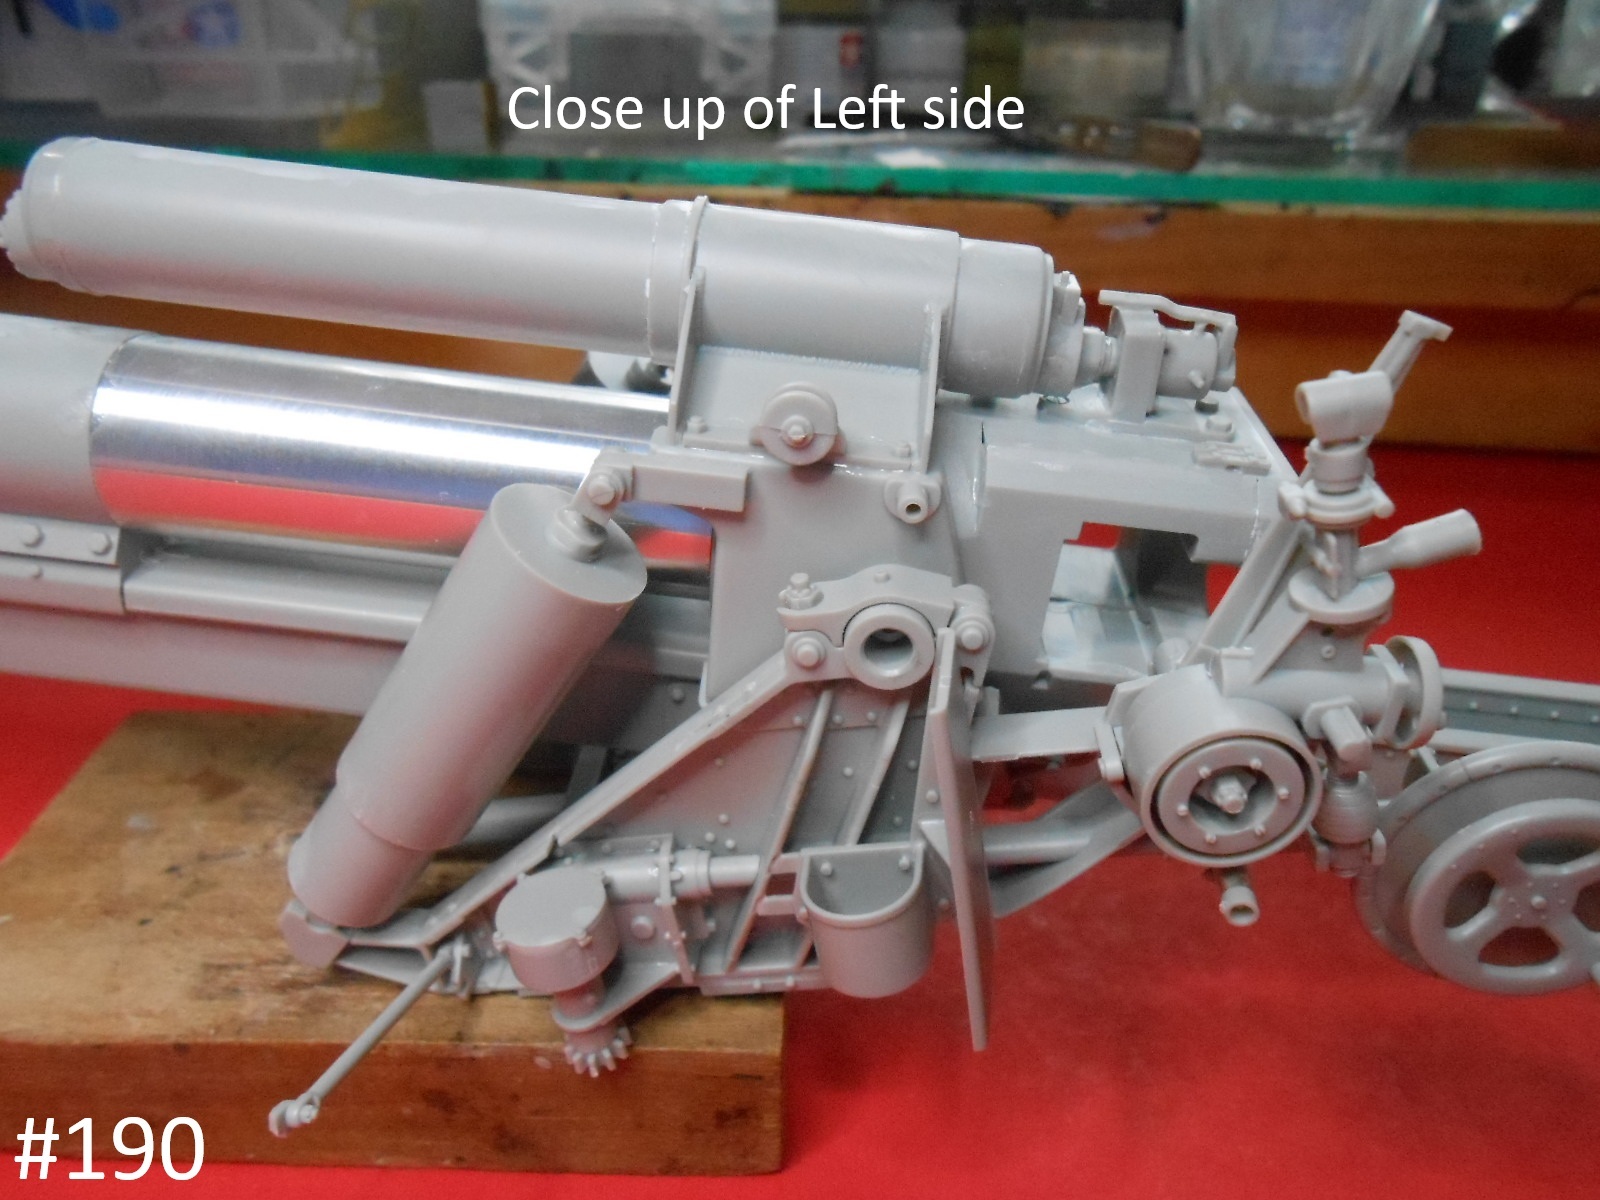
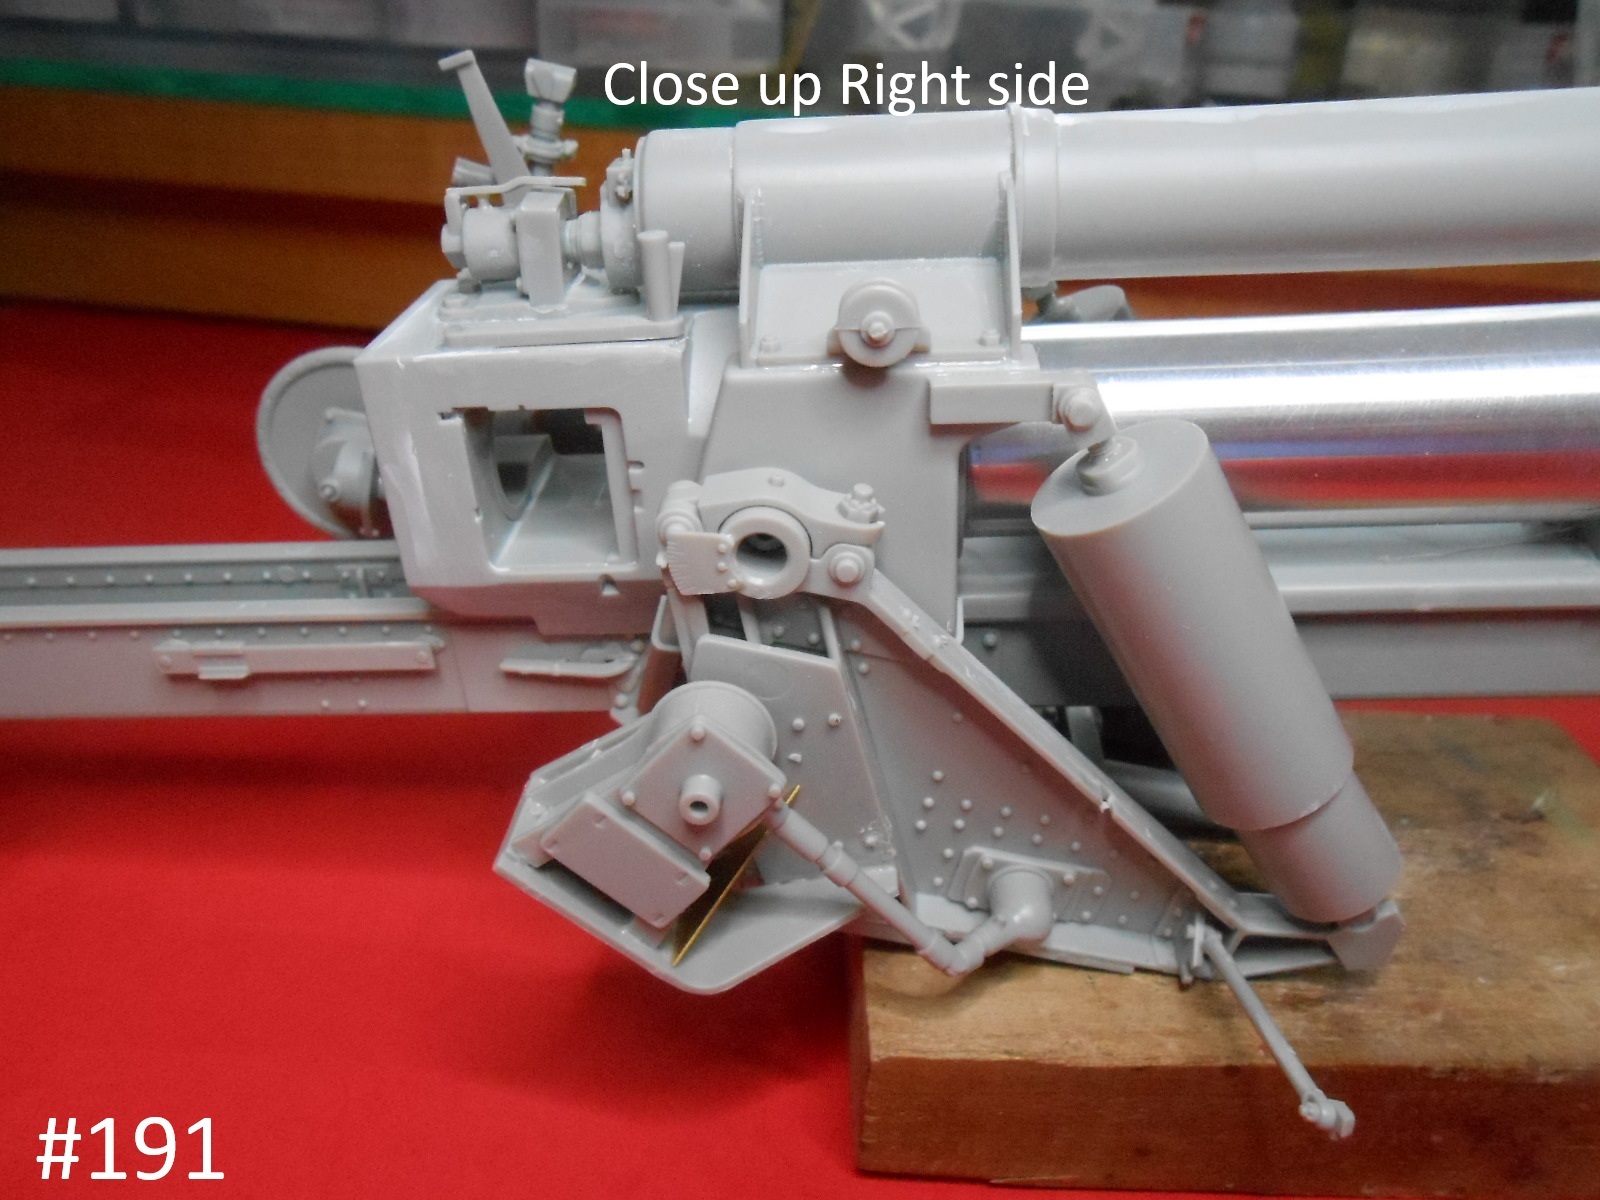
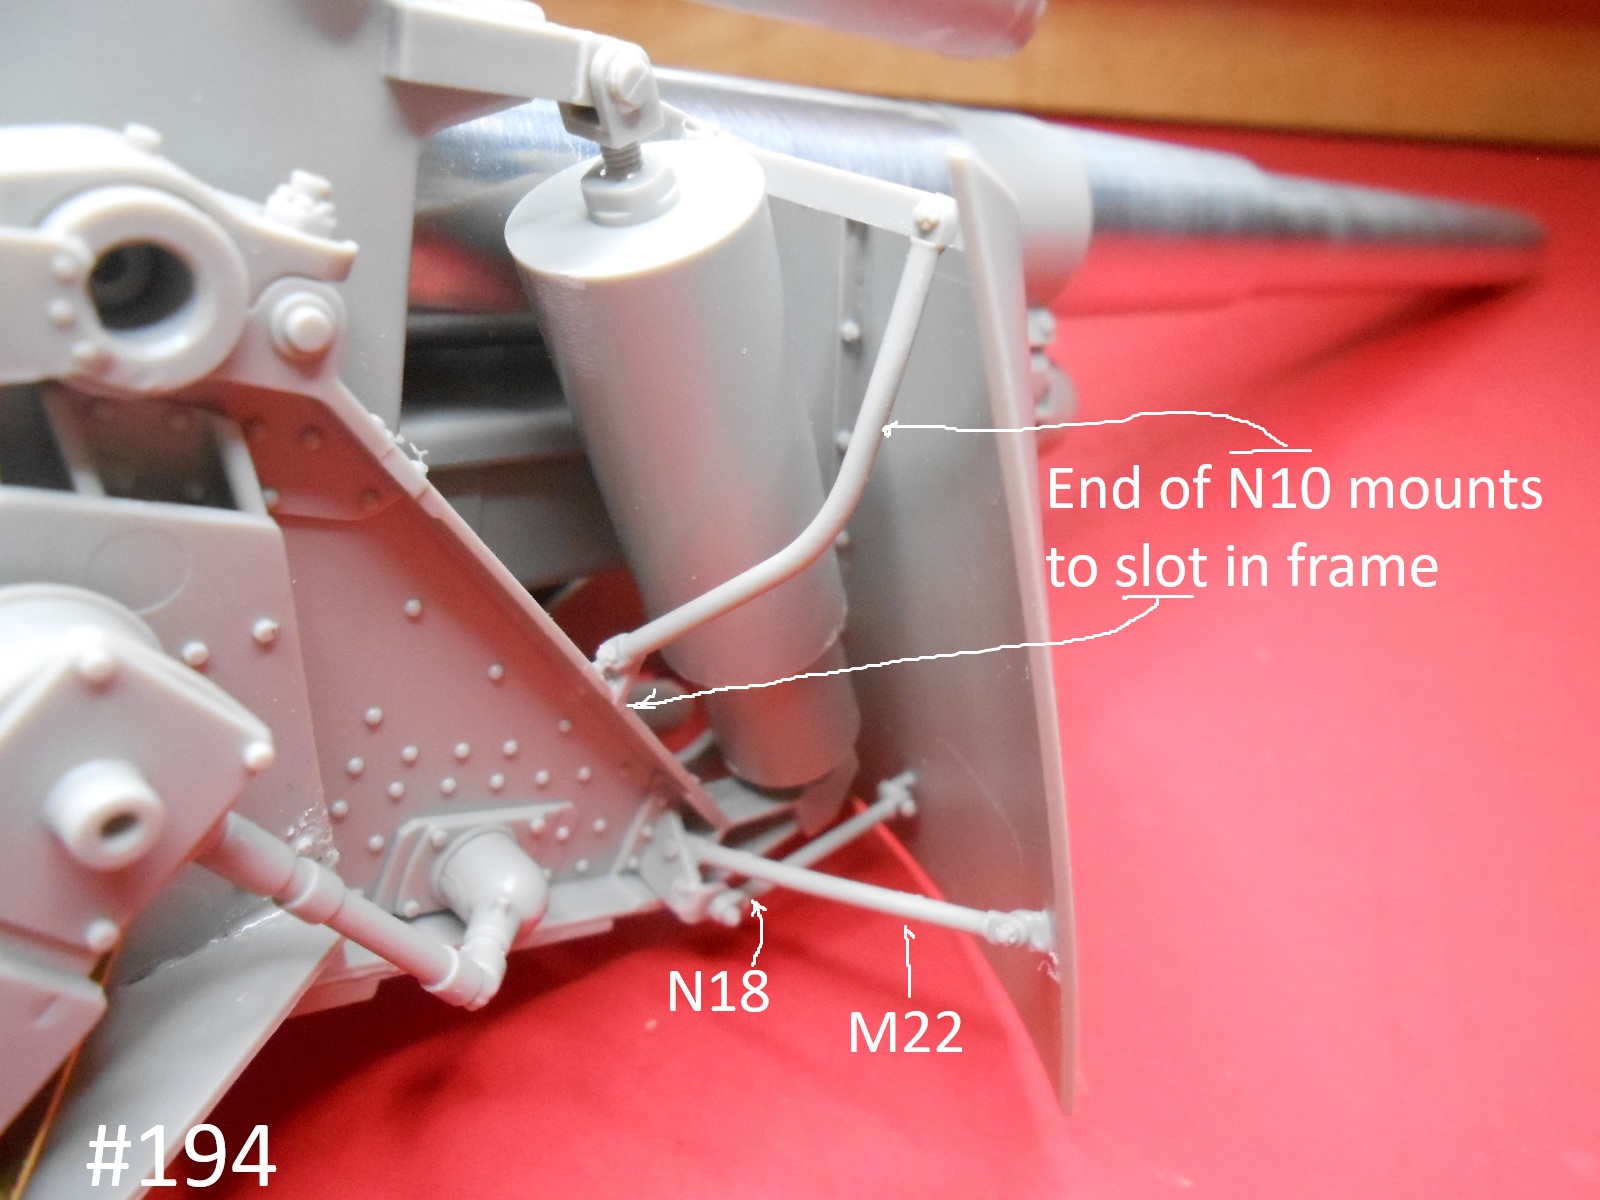
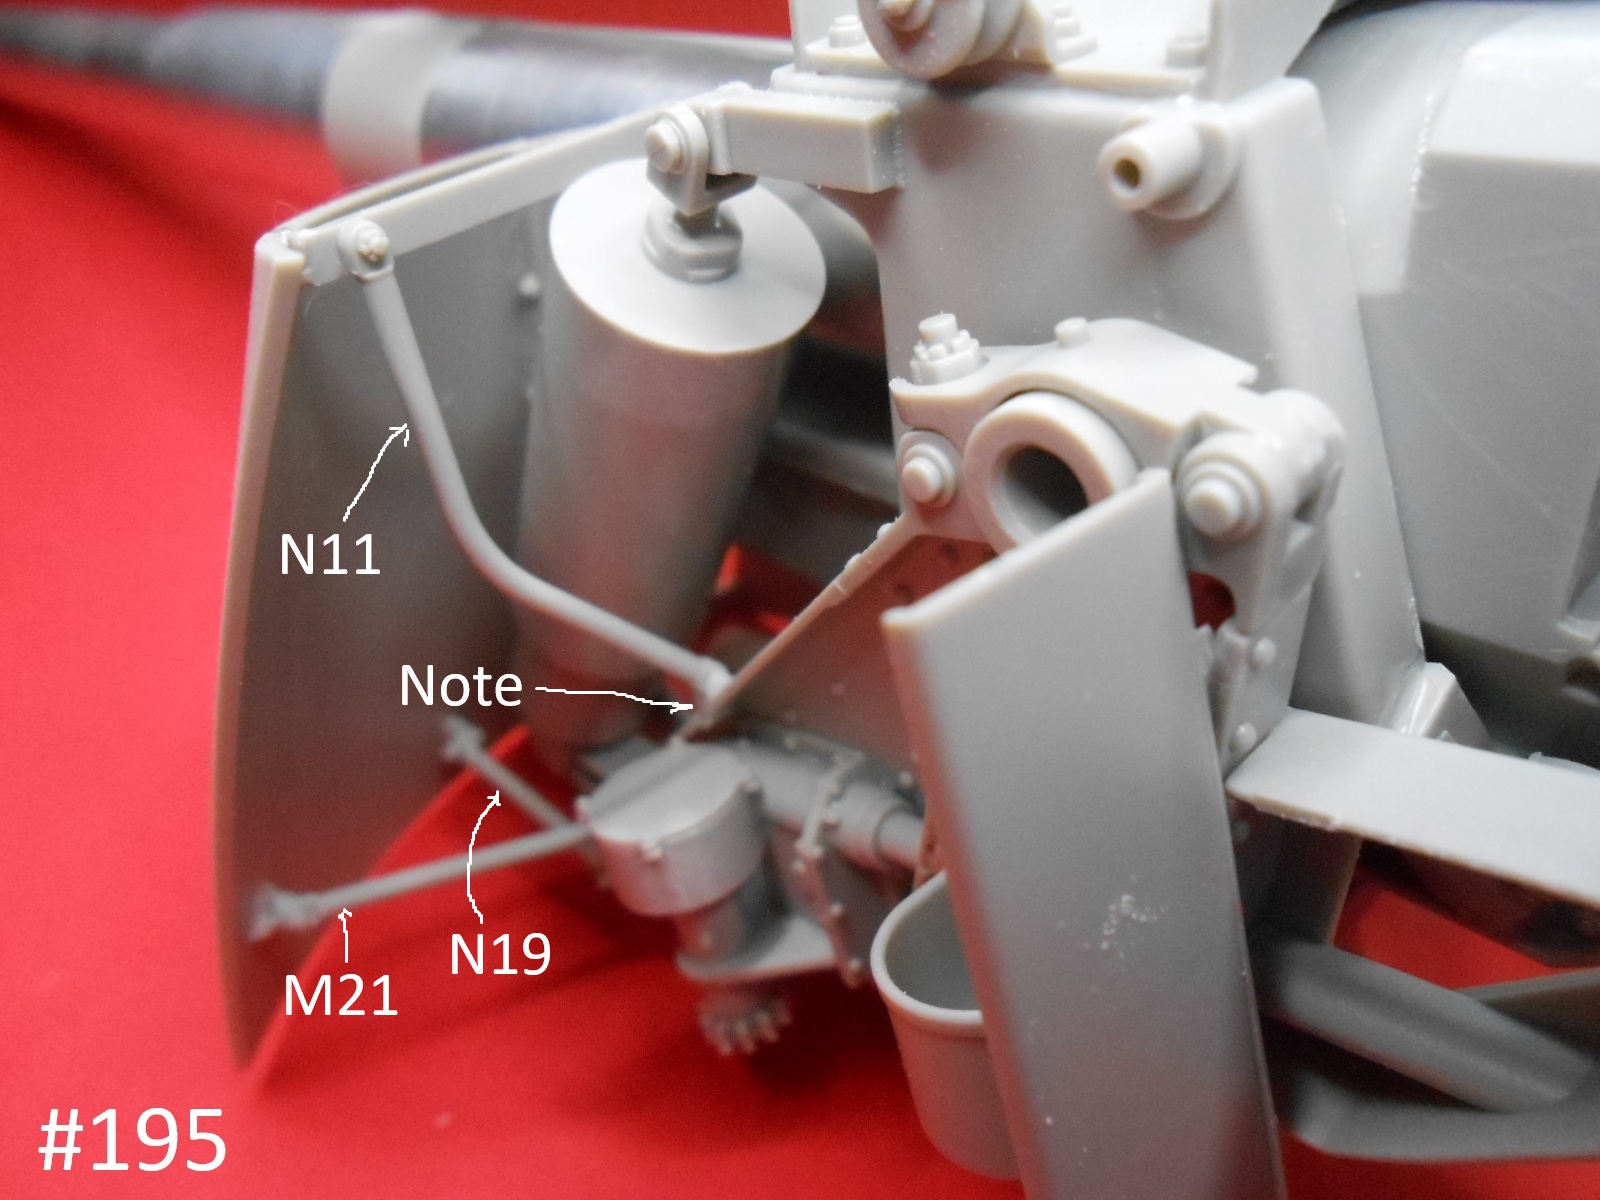
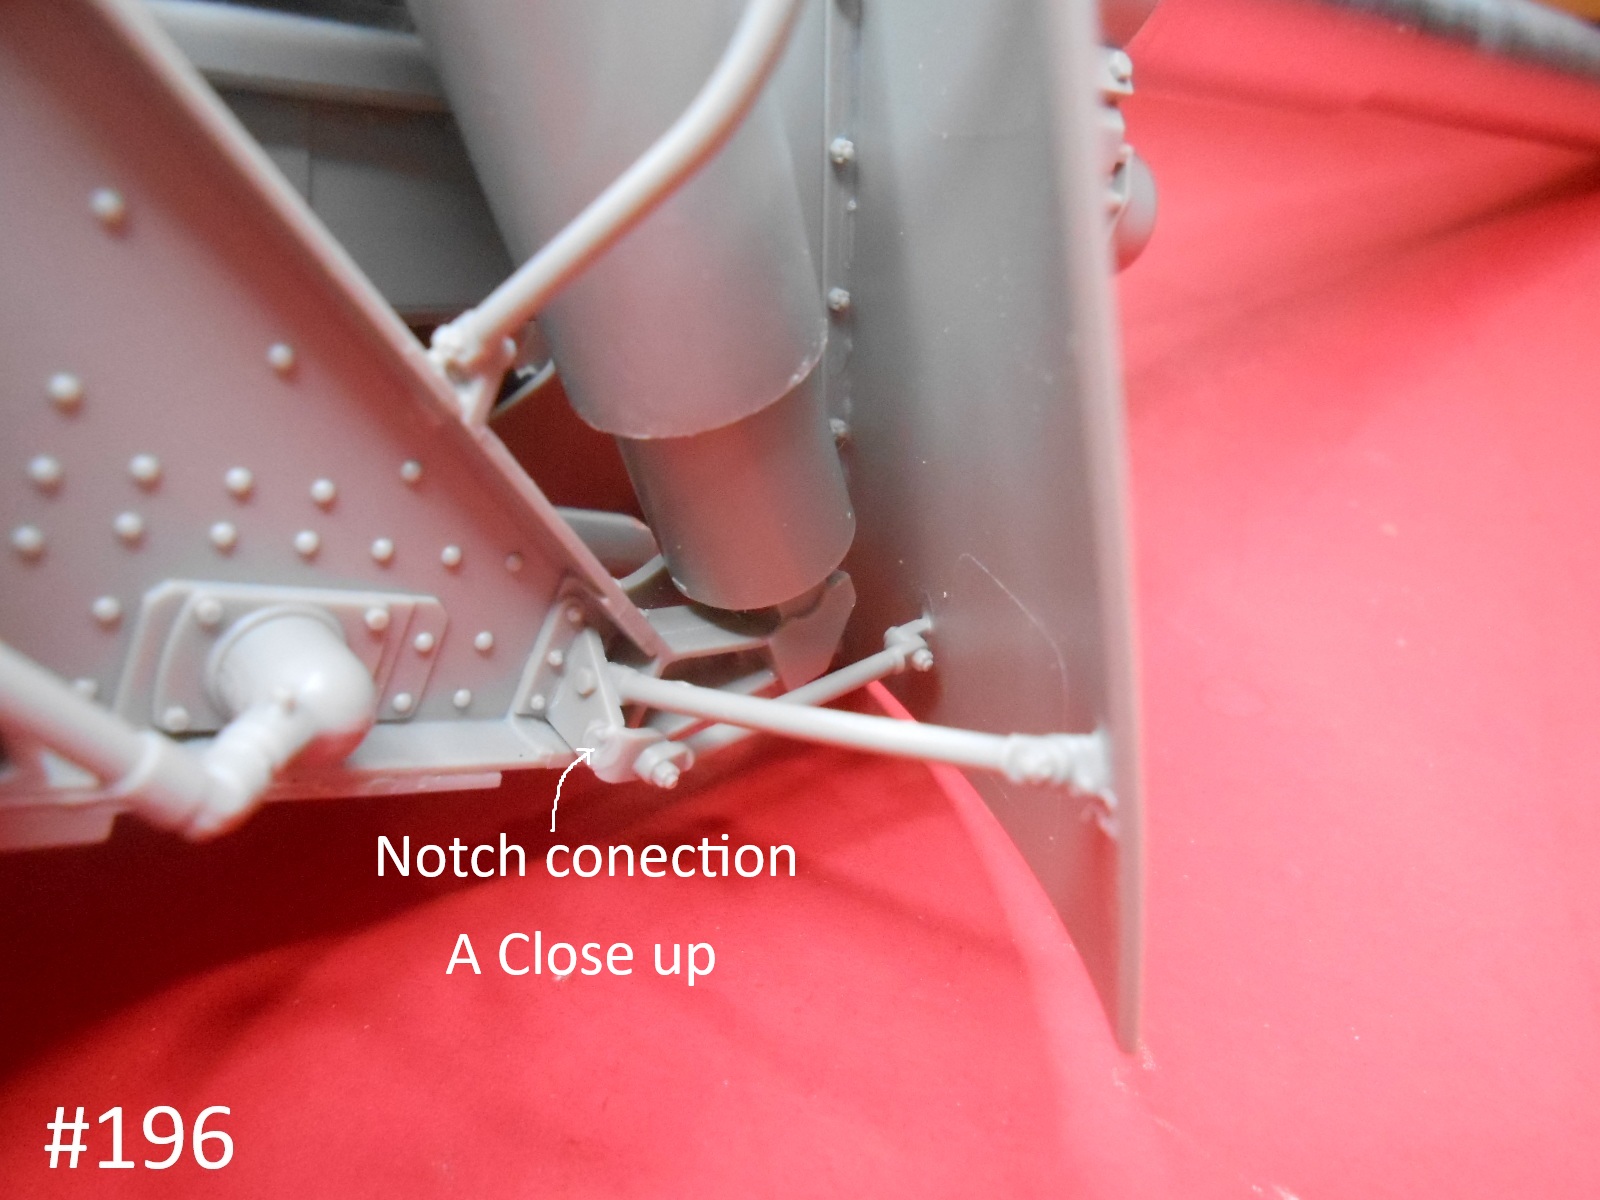
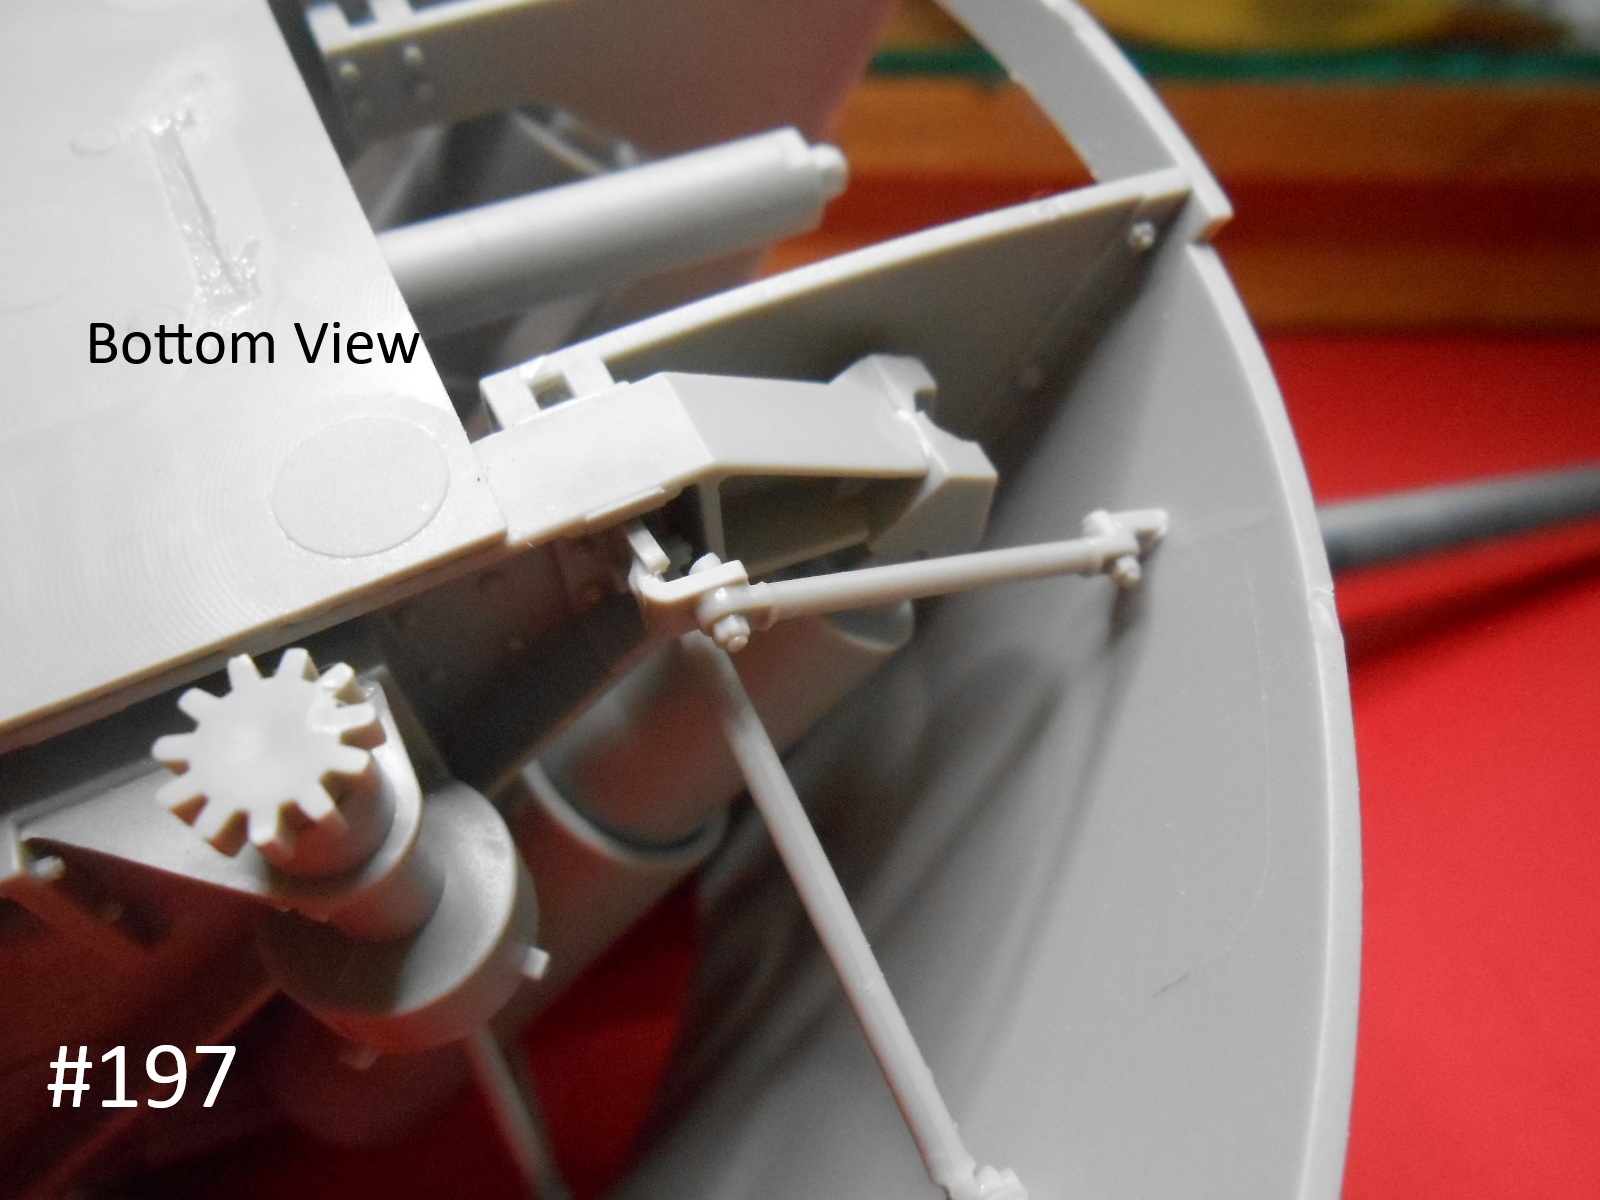
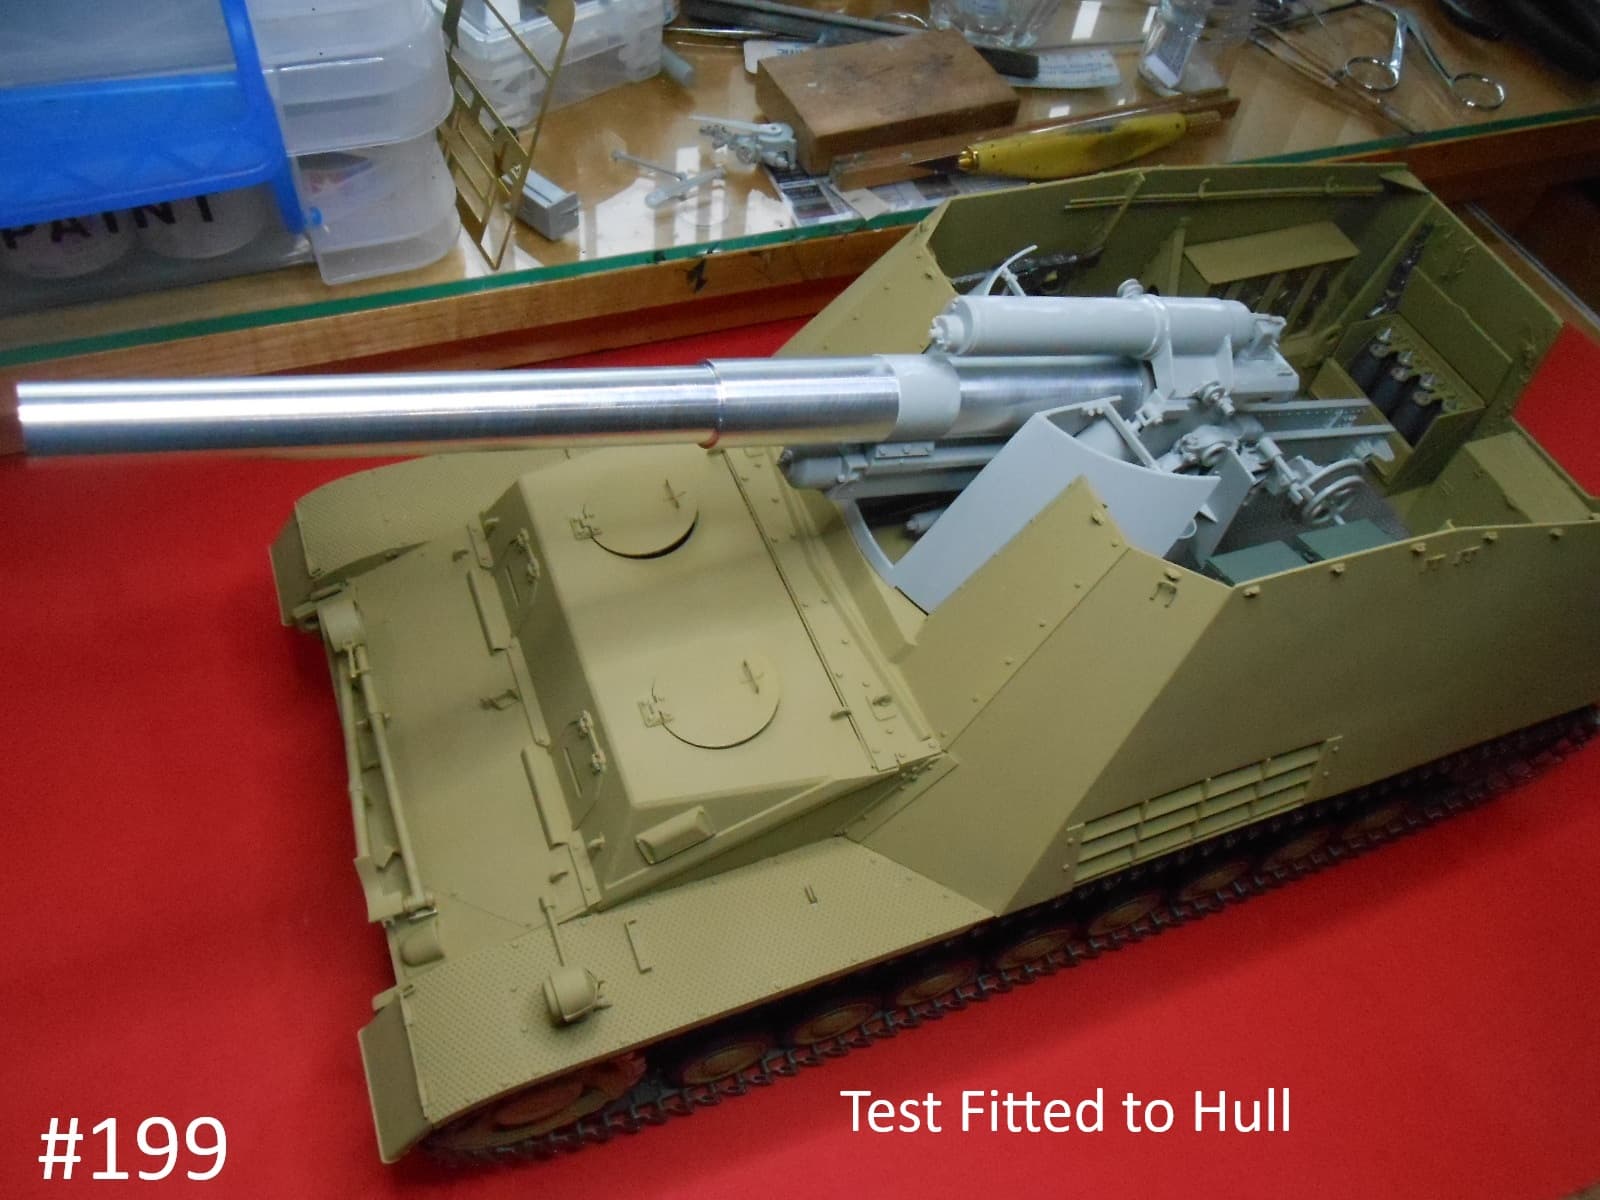
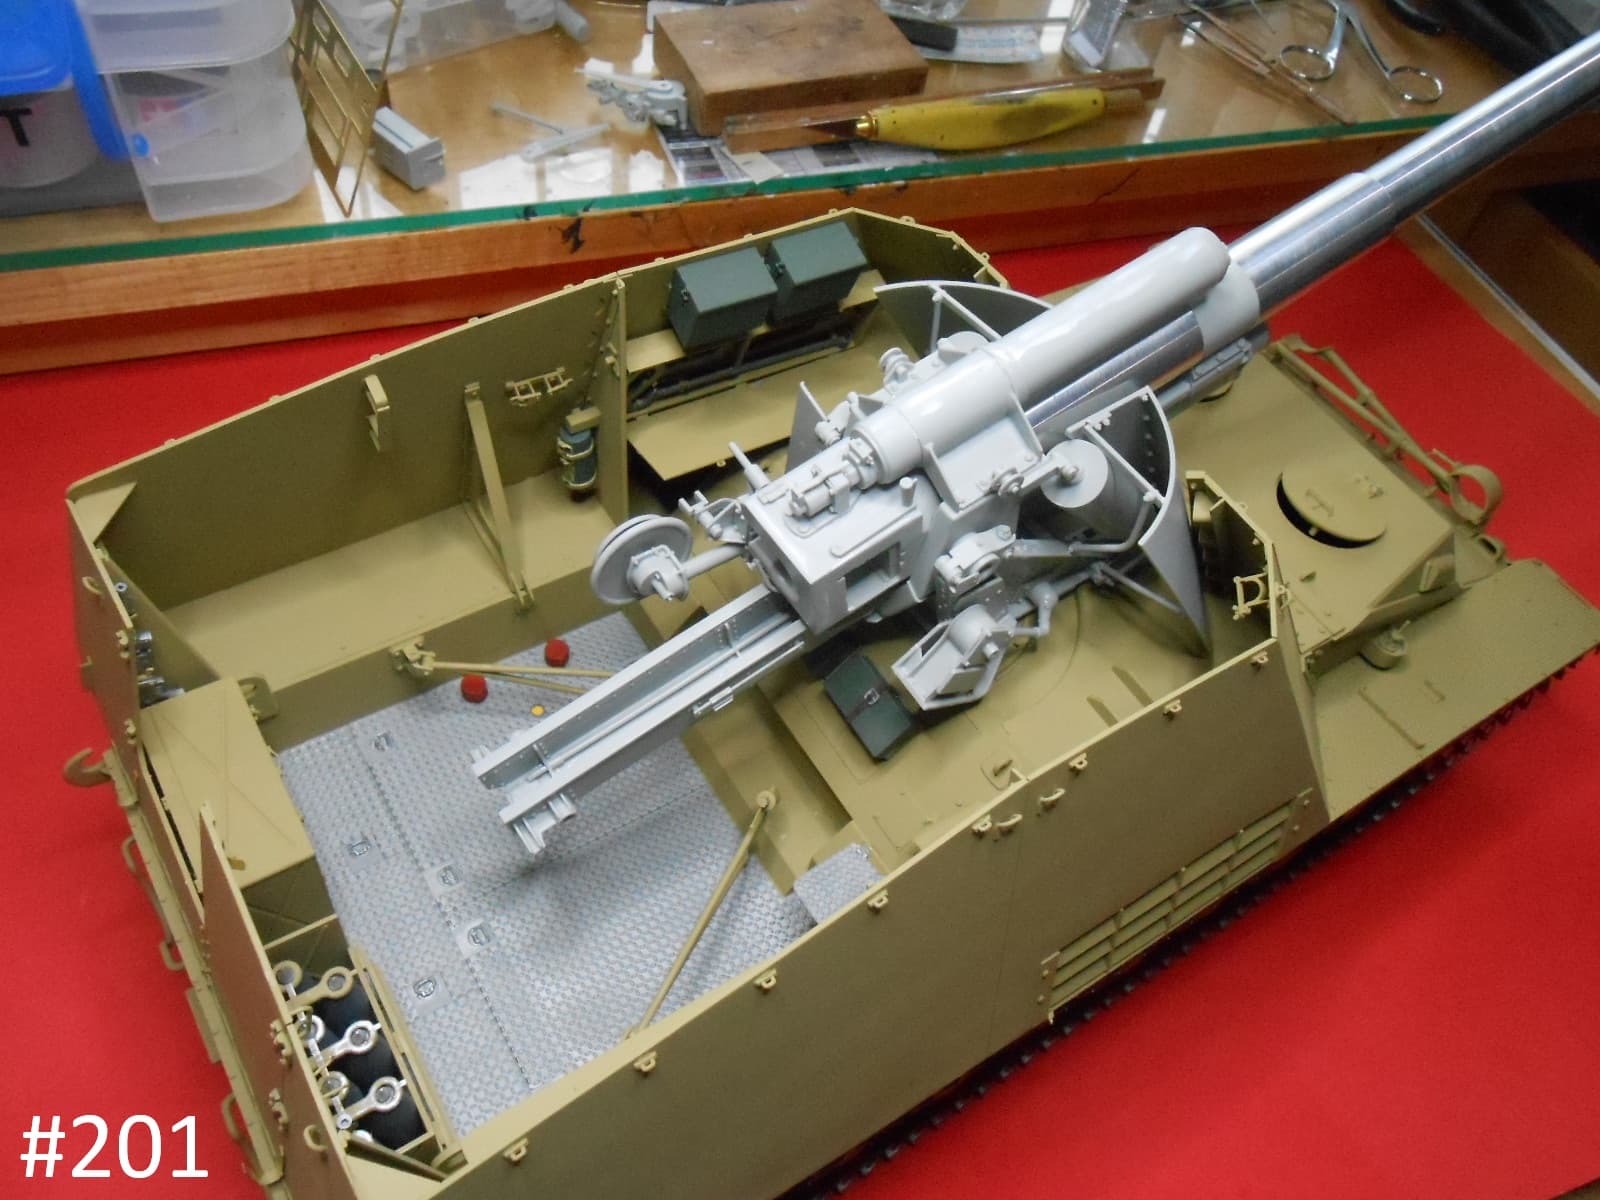
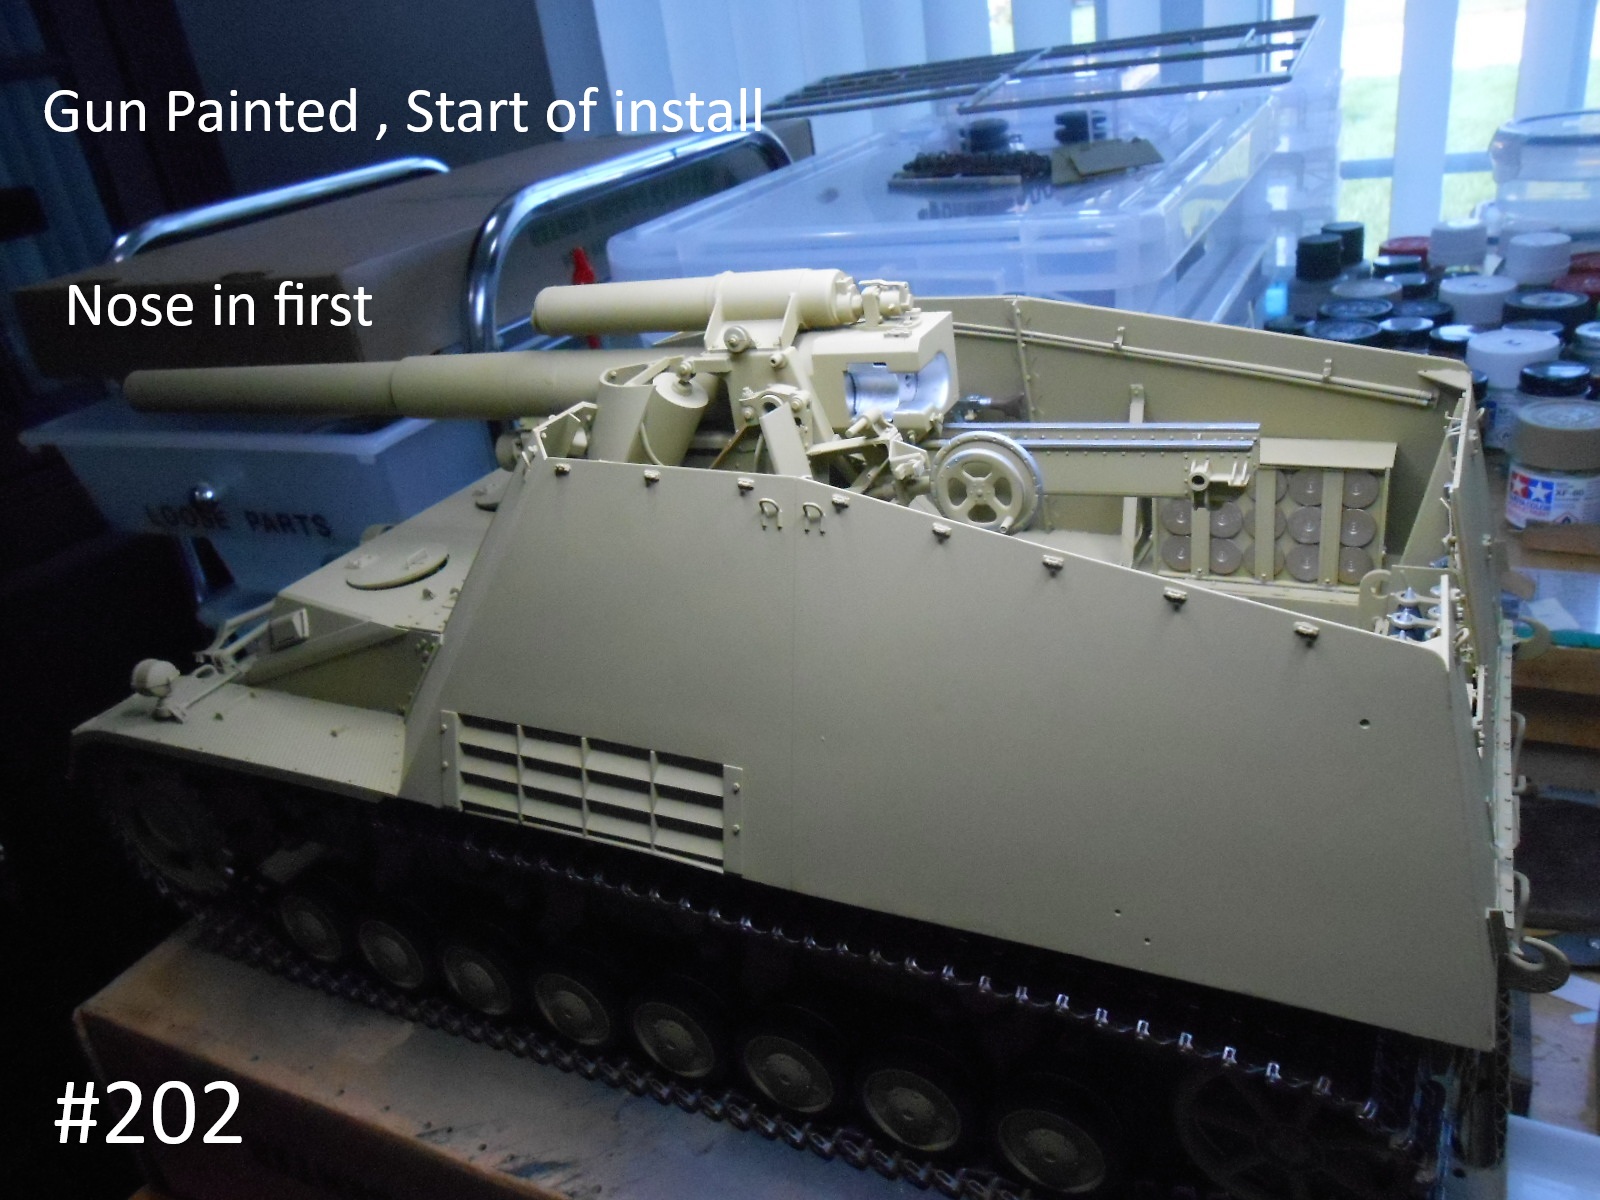
Well the Gun is almost finished and I test Mounted it to make Shure it would fit.
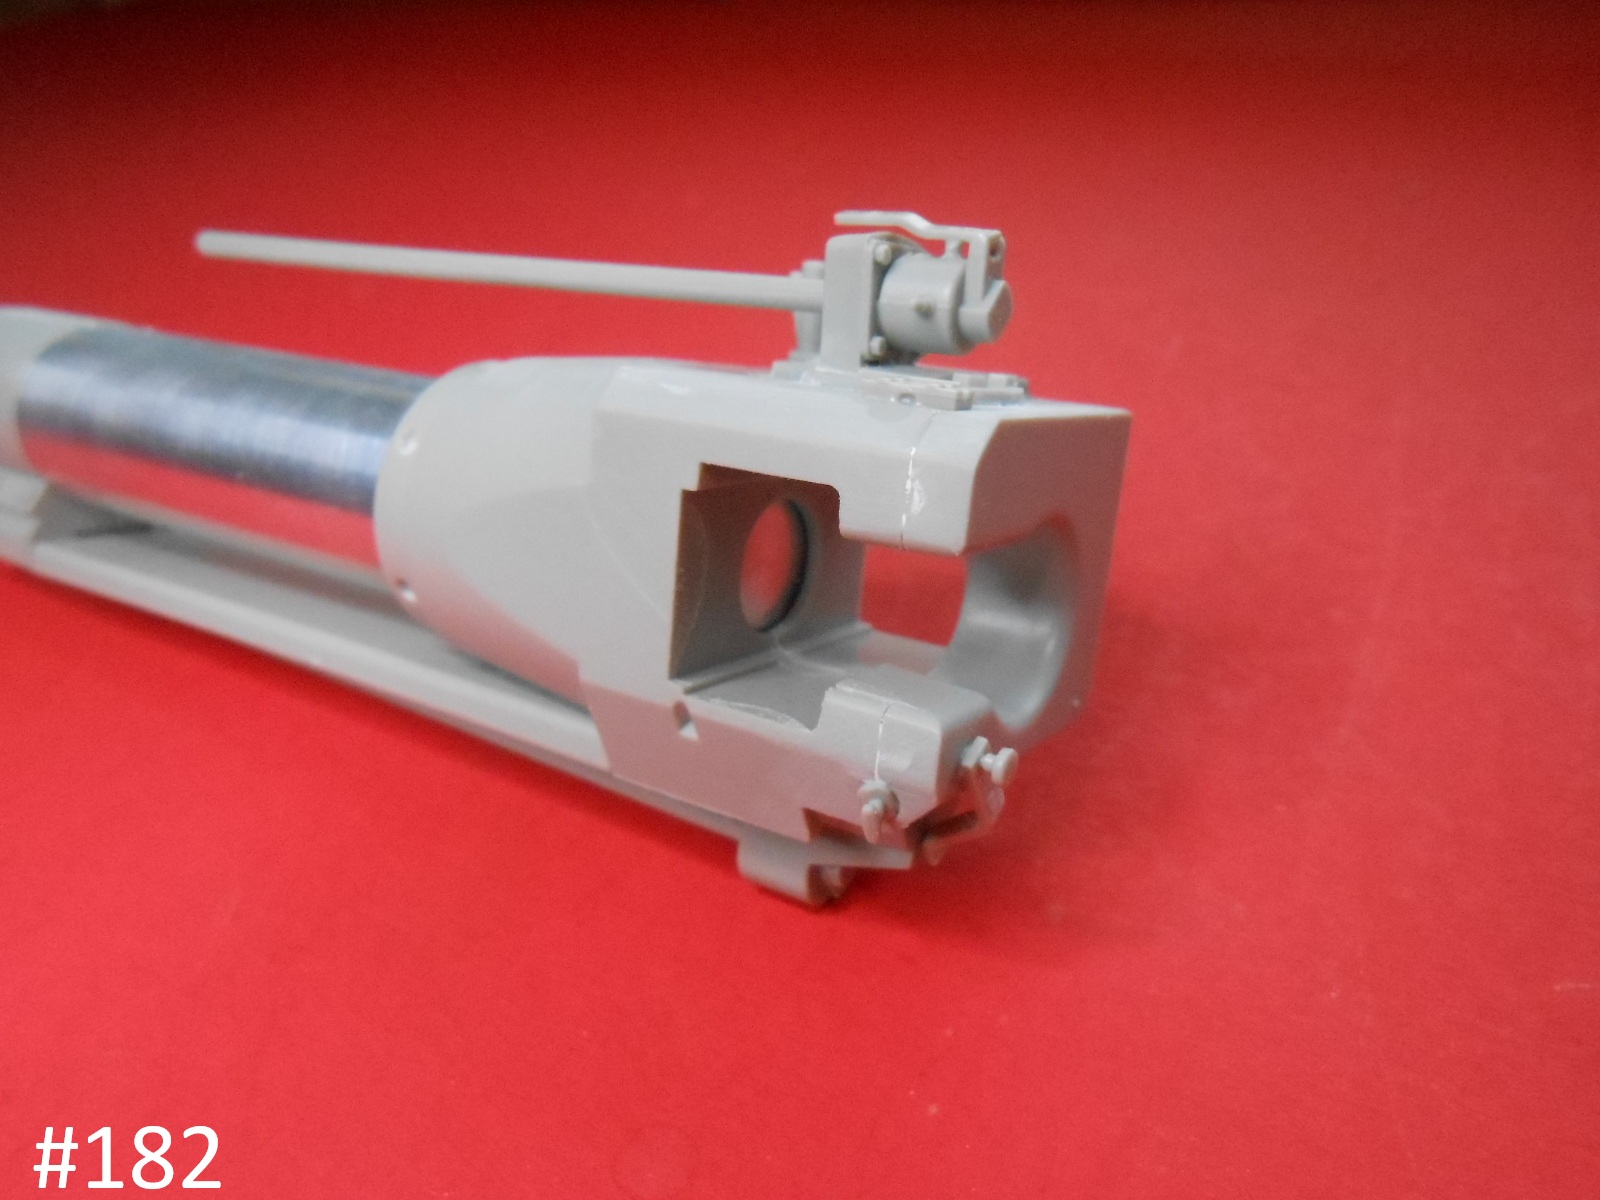
The Kit is designed to be built in the Travel Mode. With a few modifications I plan on building it in the Firing / Operational, mode .Most of it is rather simple modifications. The most complex so far is the Gun Sight.
Finished for now.
Donald
That assembly looks impressive and heavy I can see why they only give the travel position option.
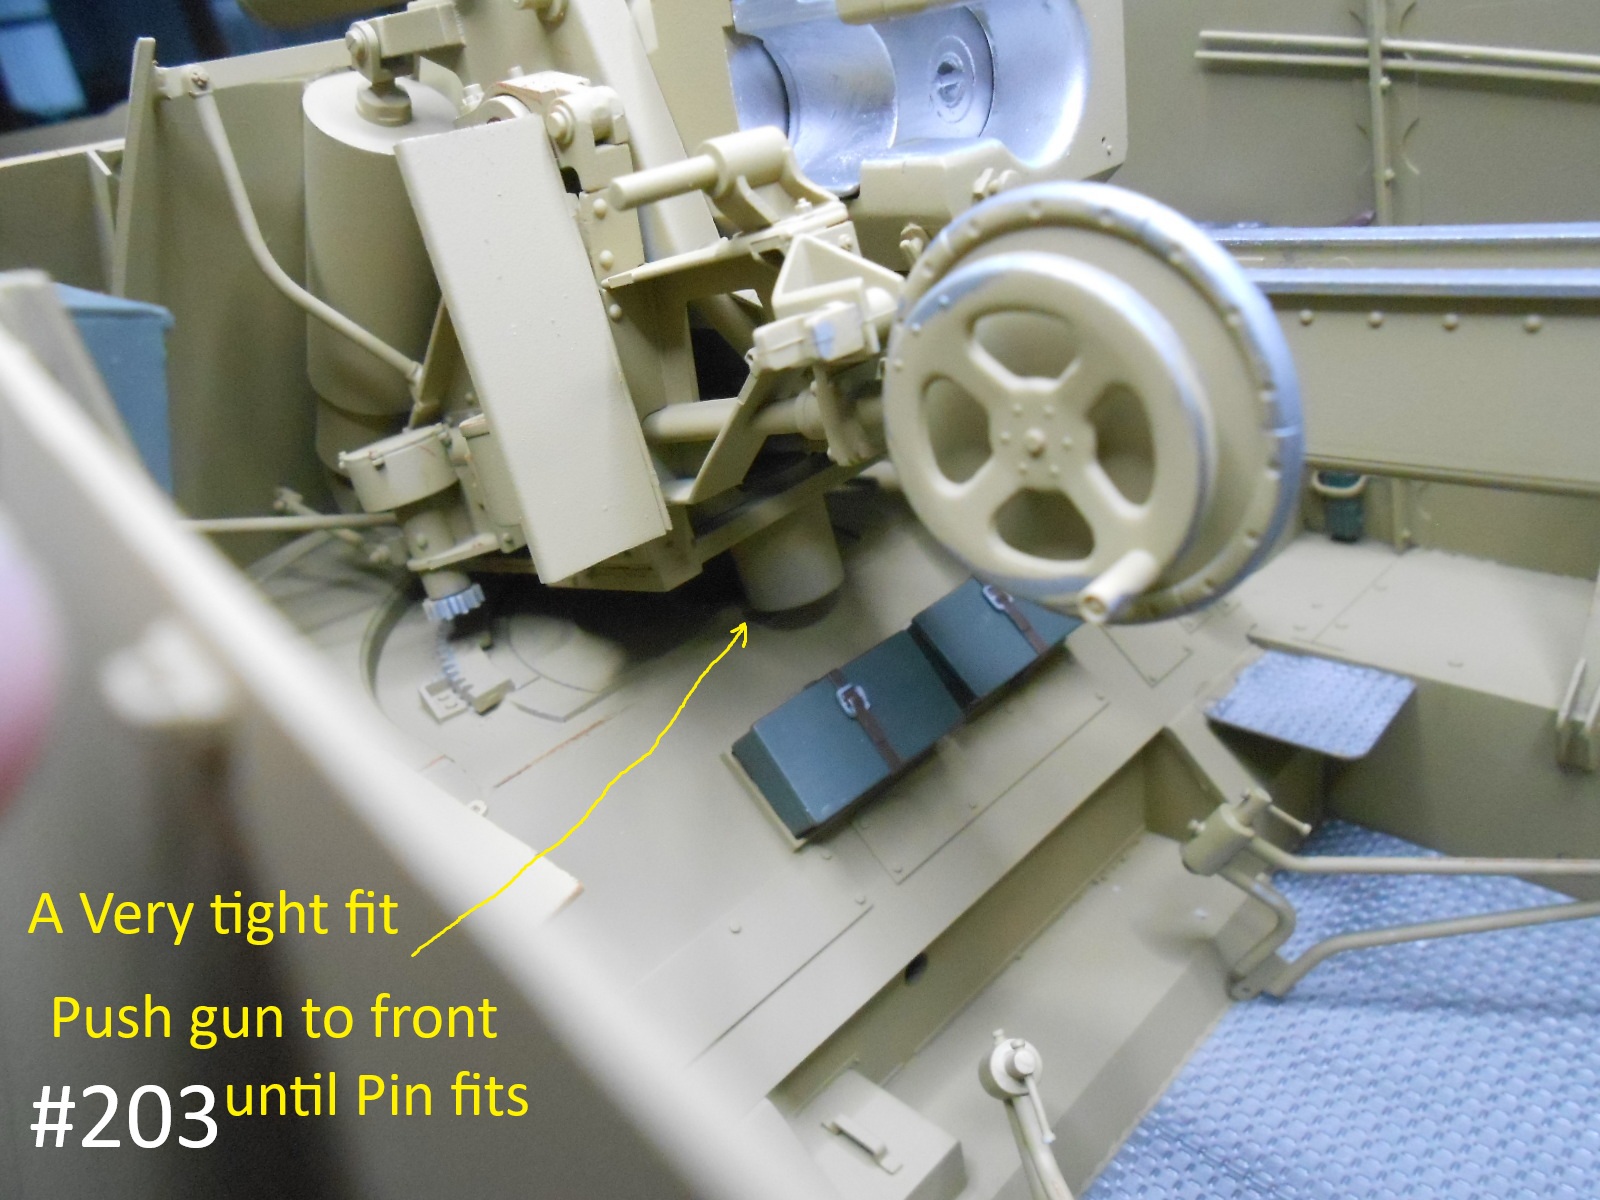
It is possible to do the Gun in the Firing Position, there are just a few minor alterations to make.
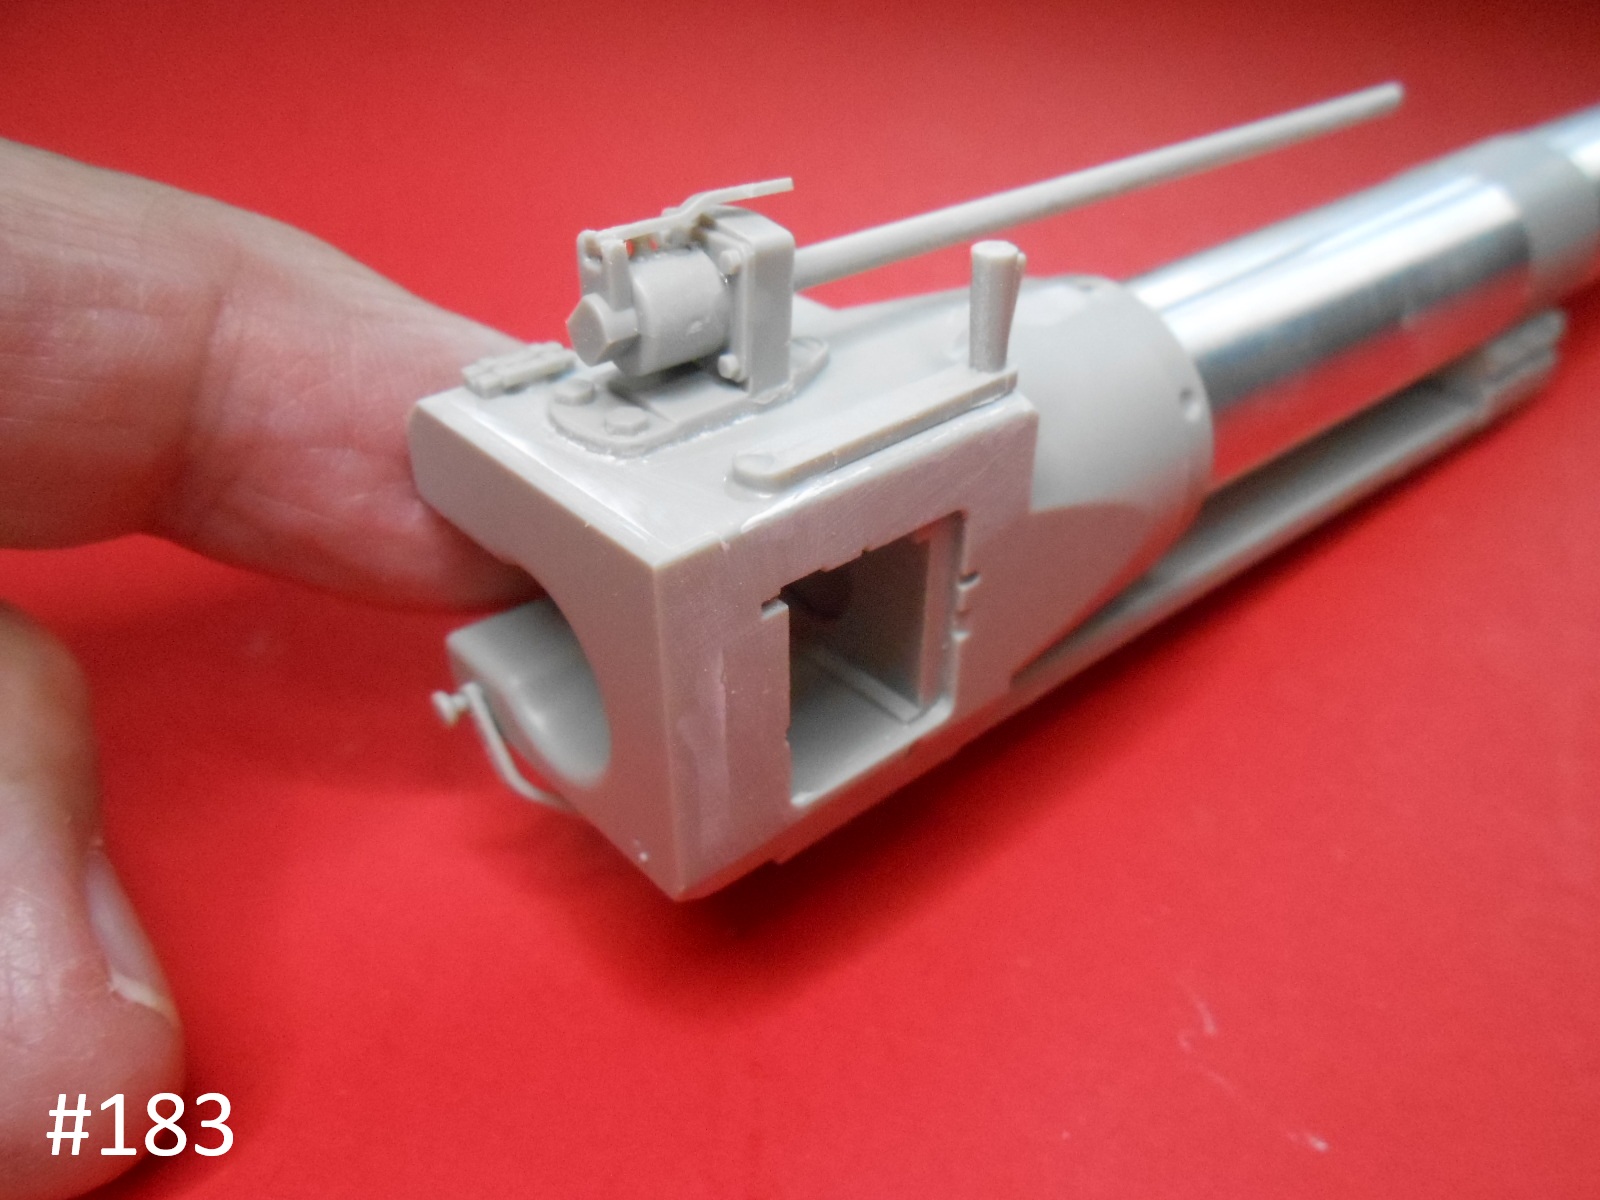
Most of it involve the Gun Sight,
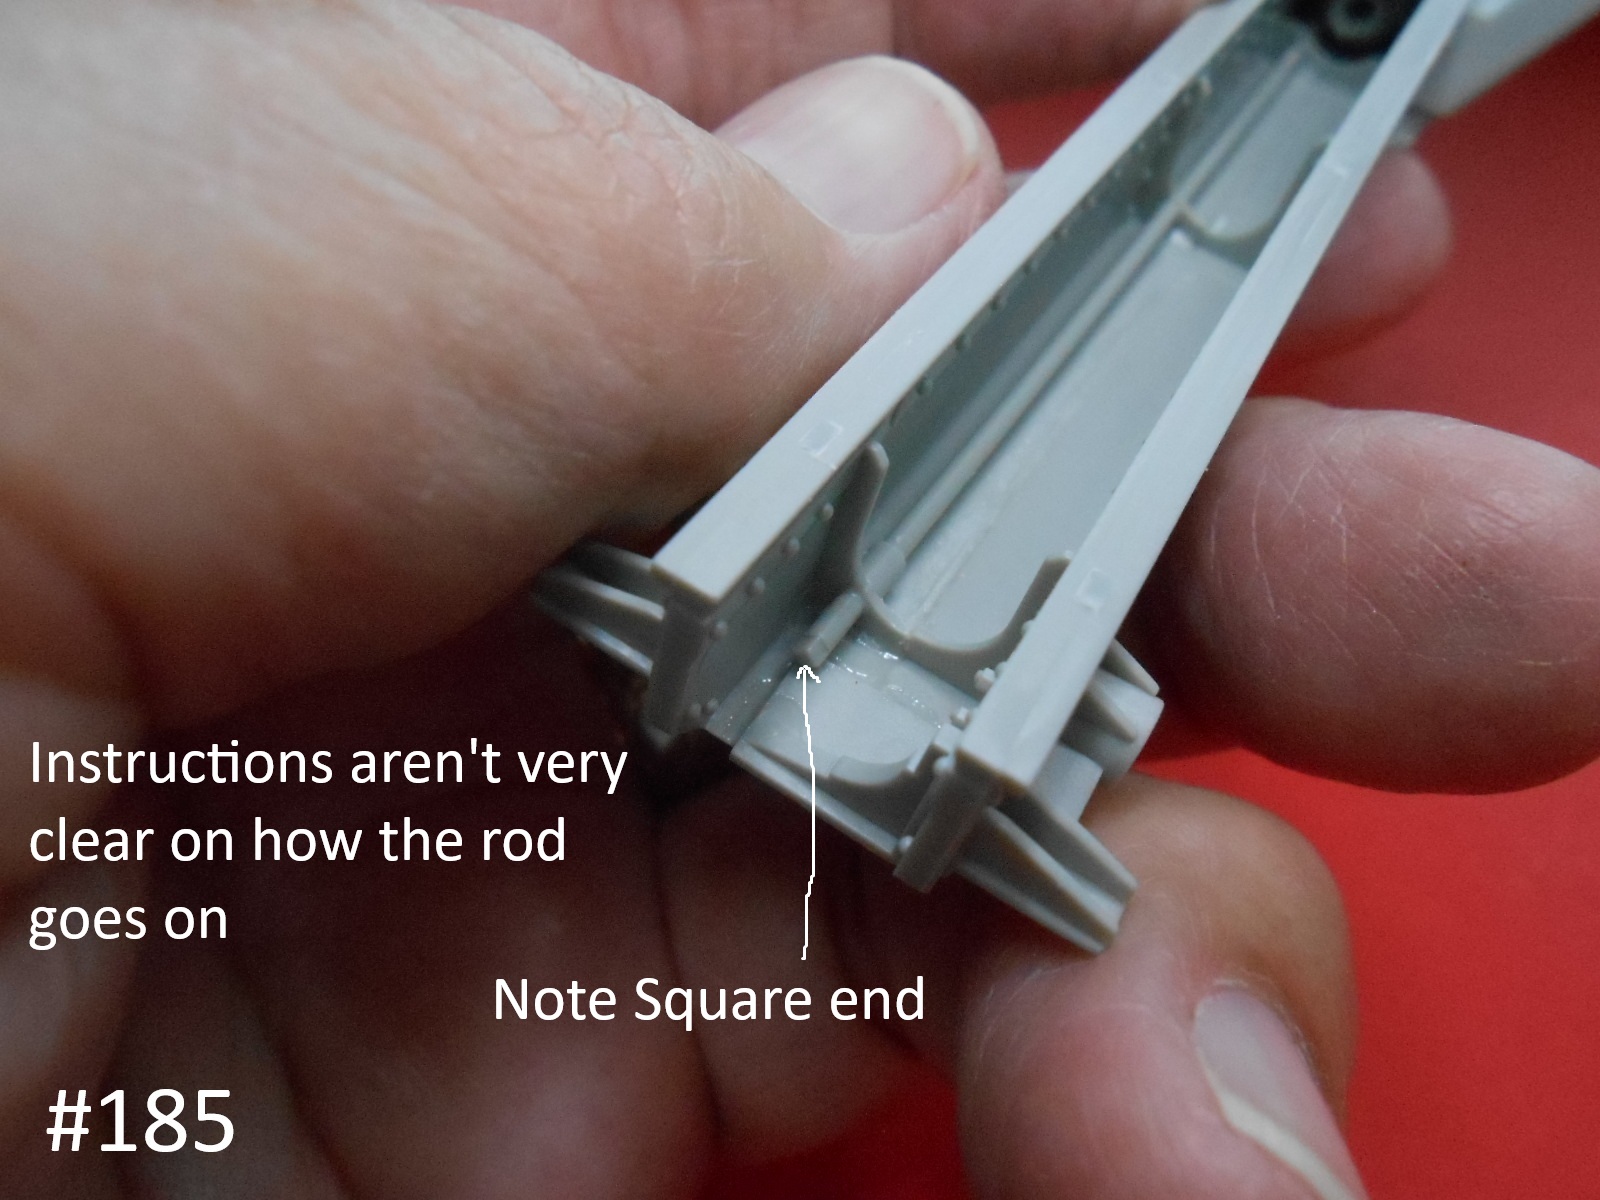
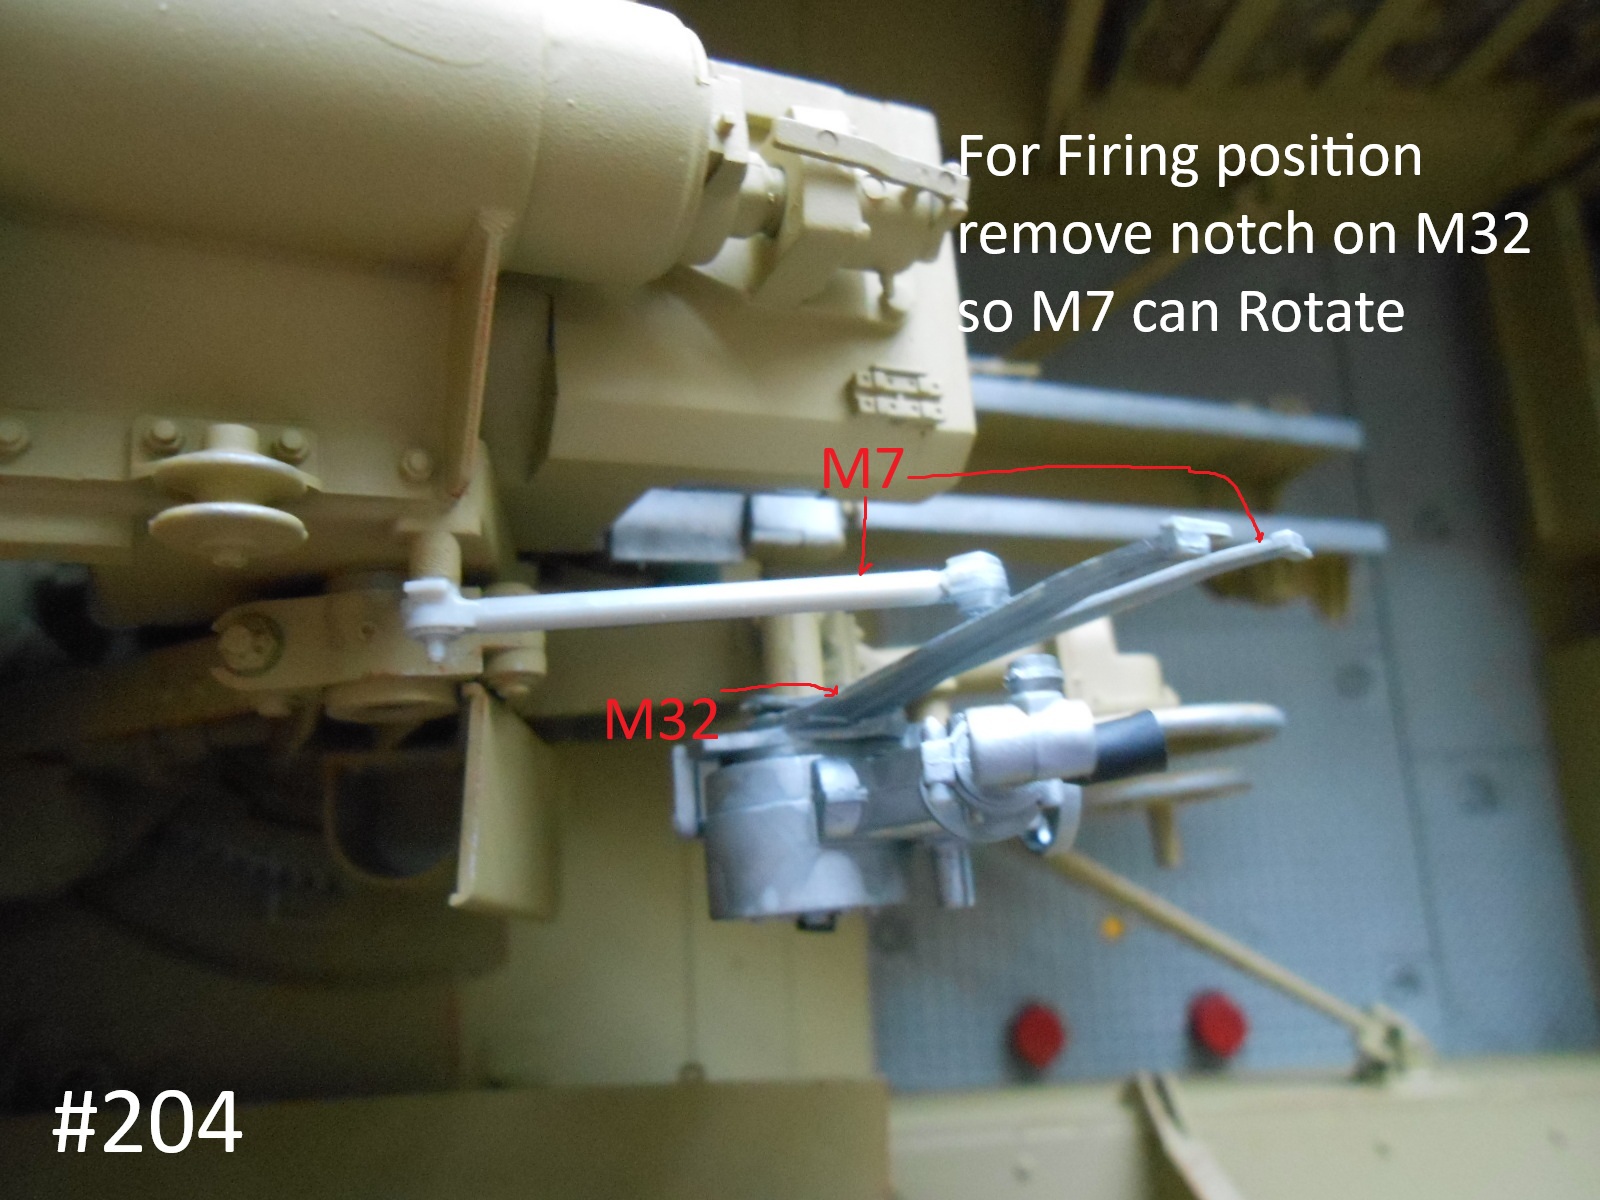
#1 Remove the square pin on the back of M32, this locks M7 in position.
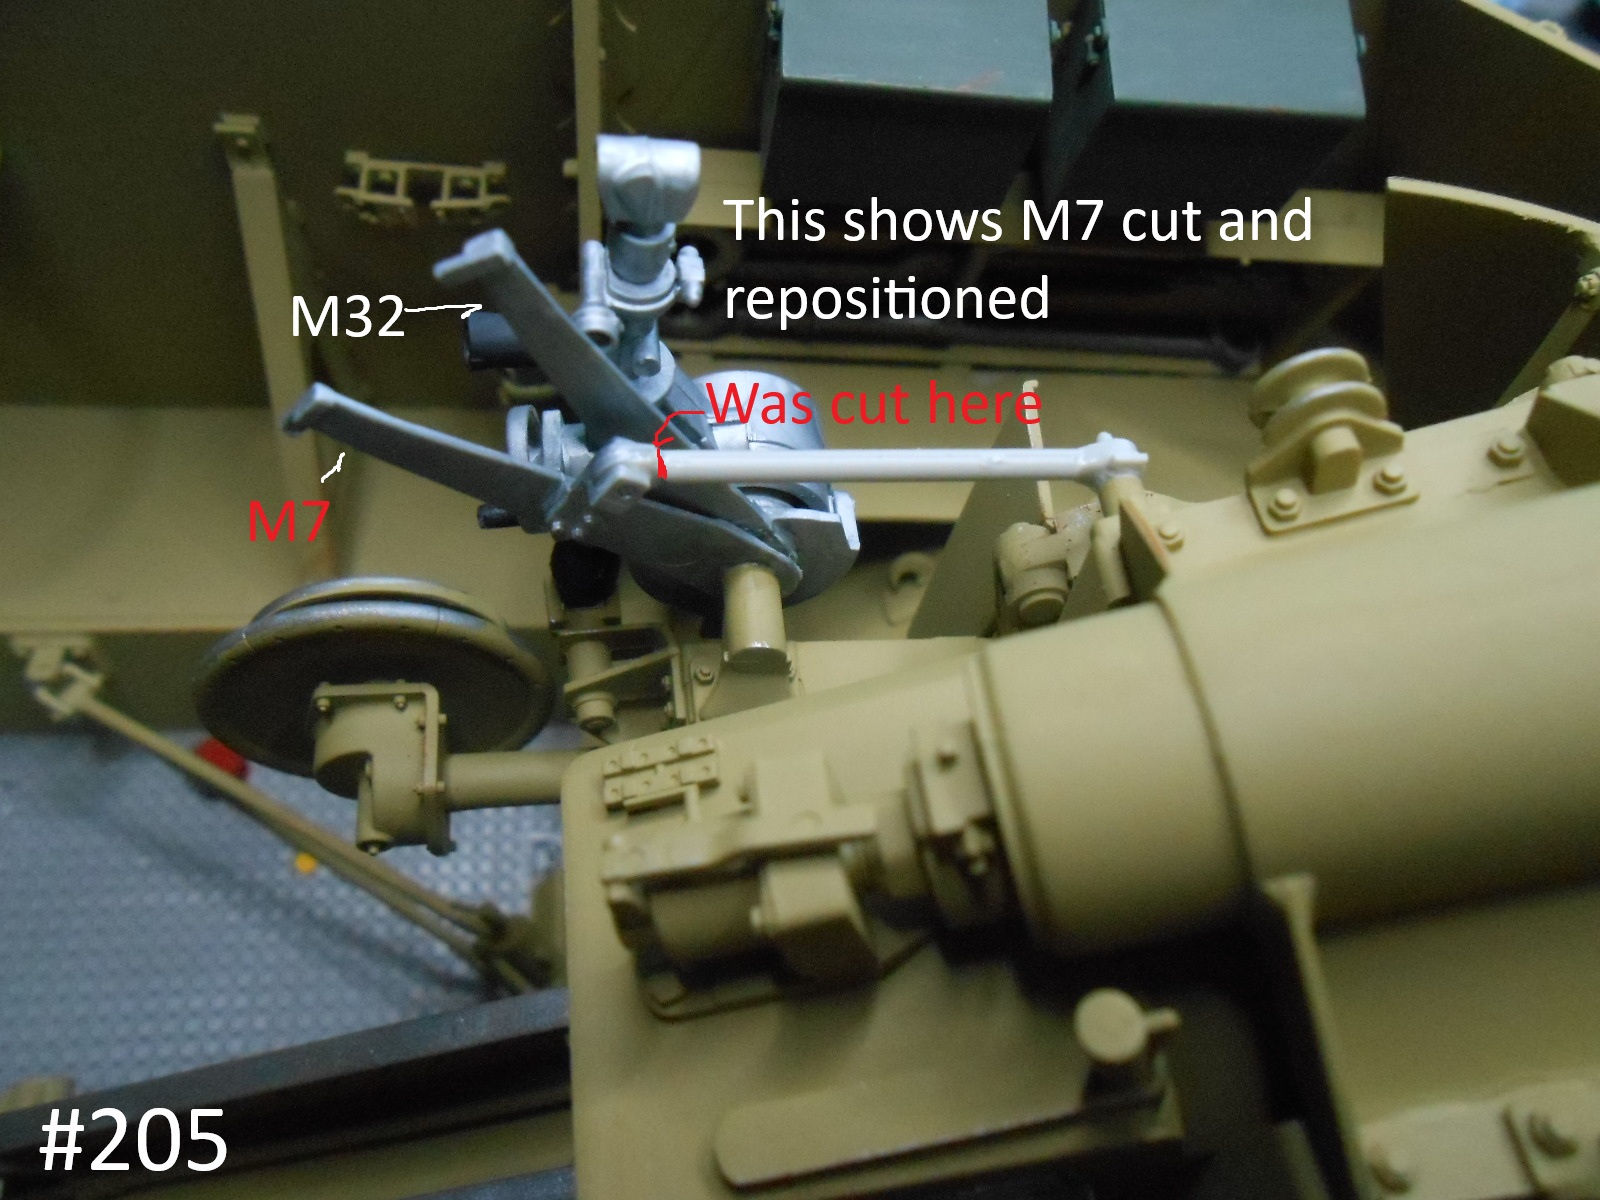
#2 Cut the Rod on M7 close to the Arm, you will glue it back later.
#3 Position the gun as you want , then install the Arm from M7 and part M32.
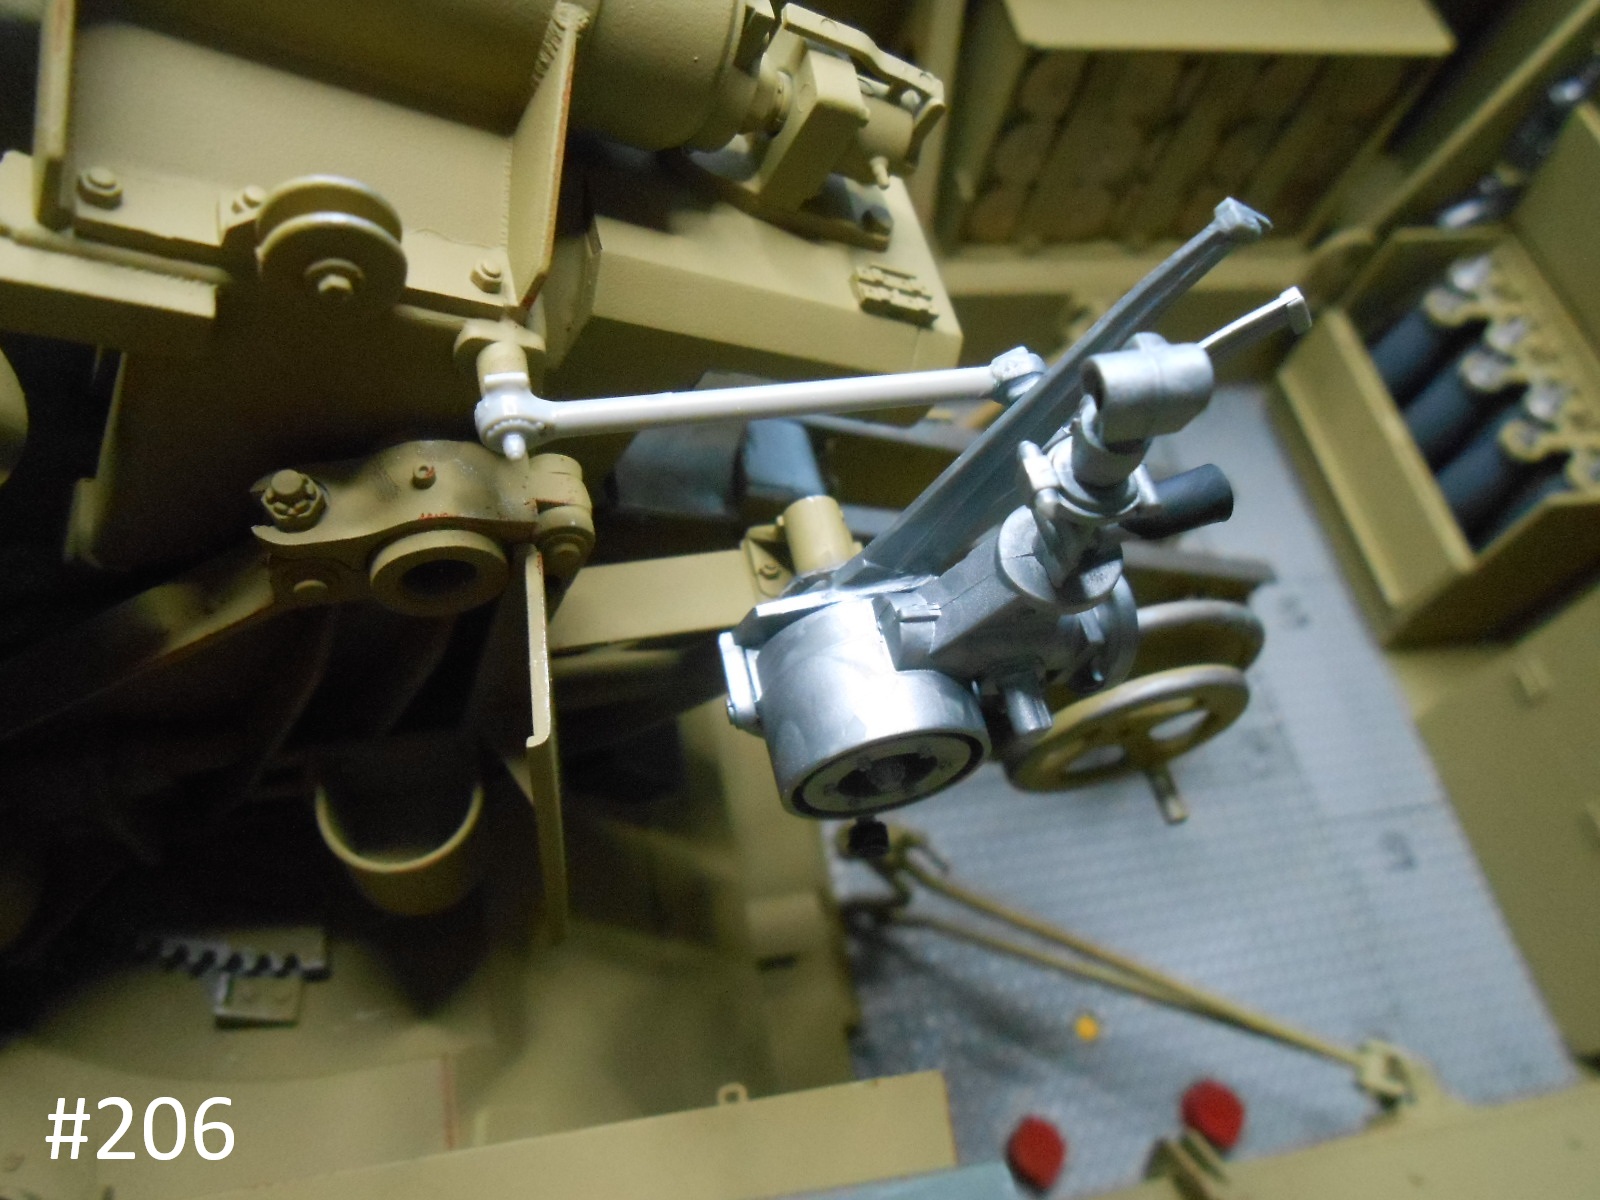
#4 Glue the pin on M7 arm to the Gun and the cut end to the M7 Arm
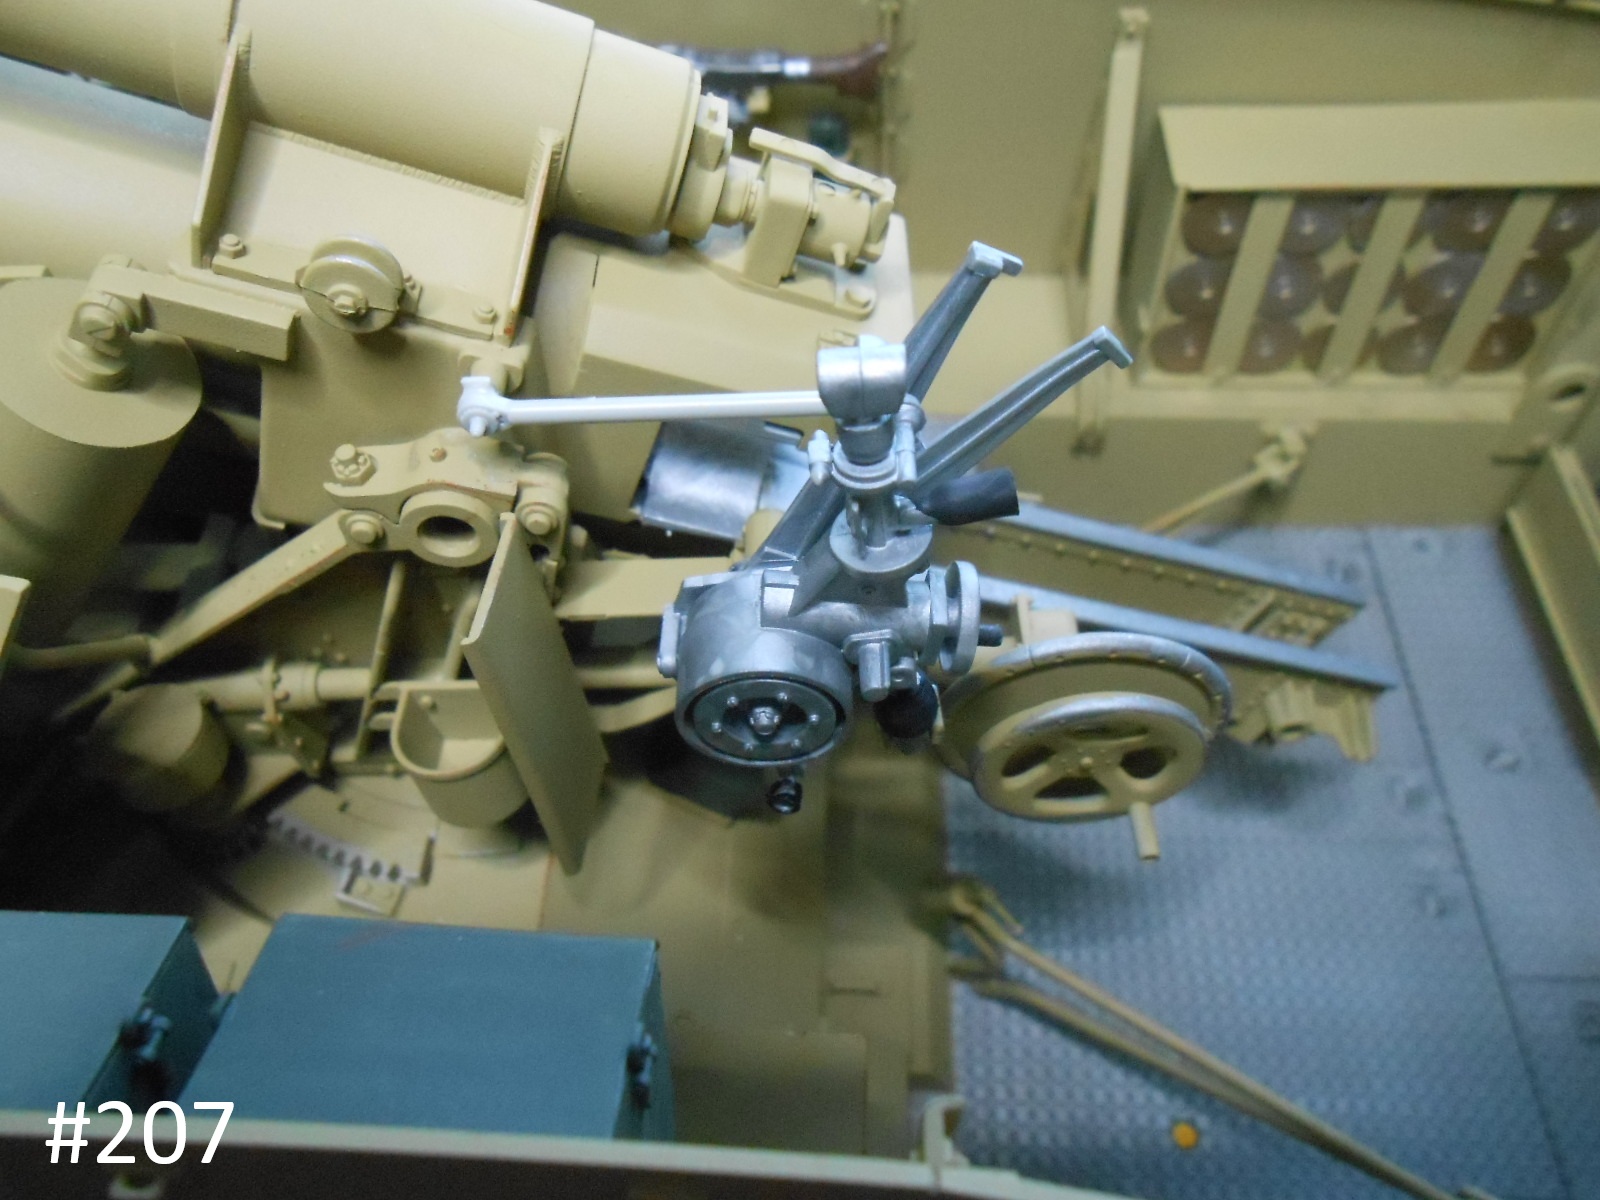
Level the Gun sight and glue in place.
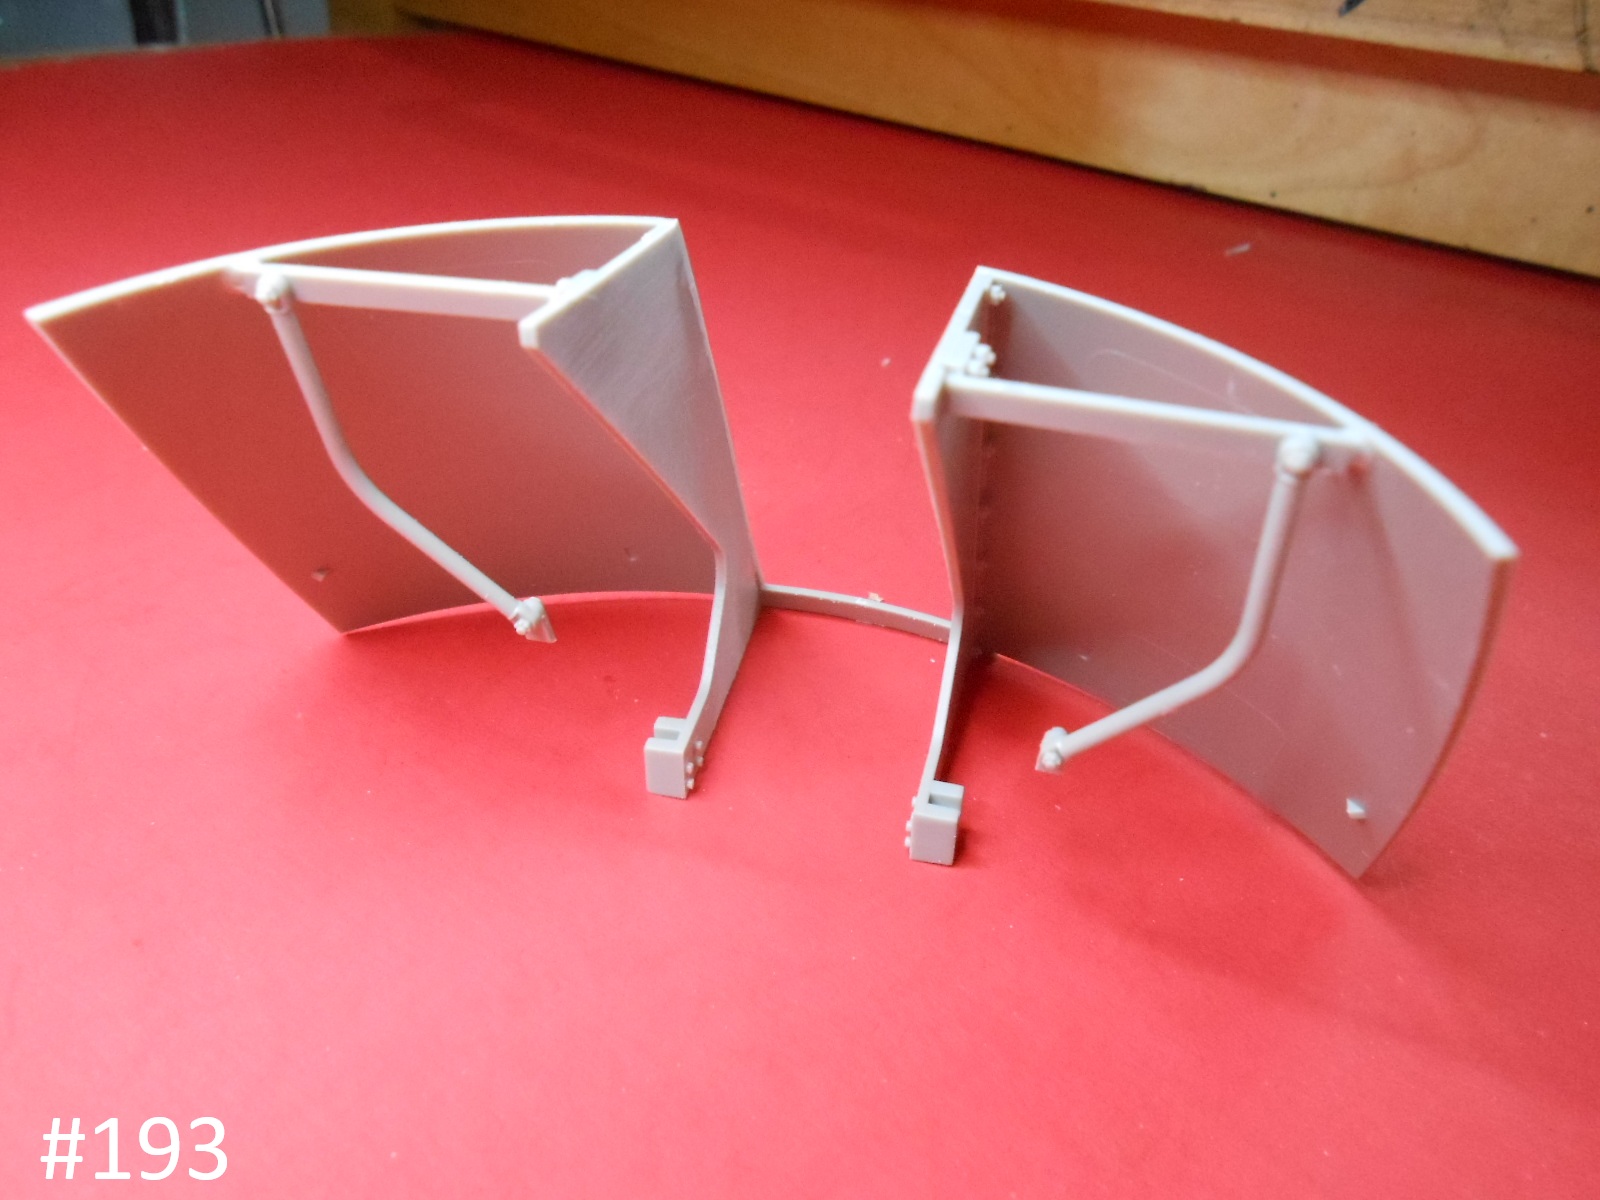
Ok I hope this explains the following pictures.
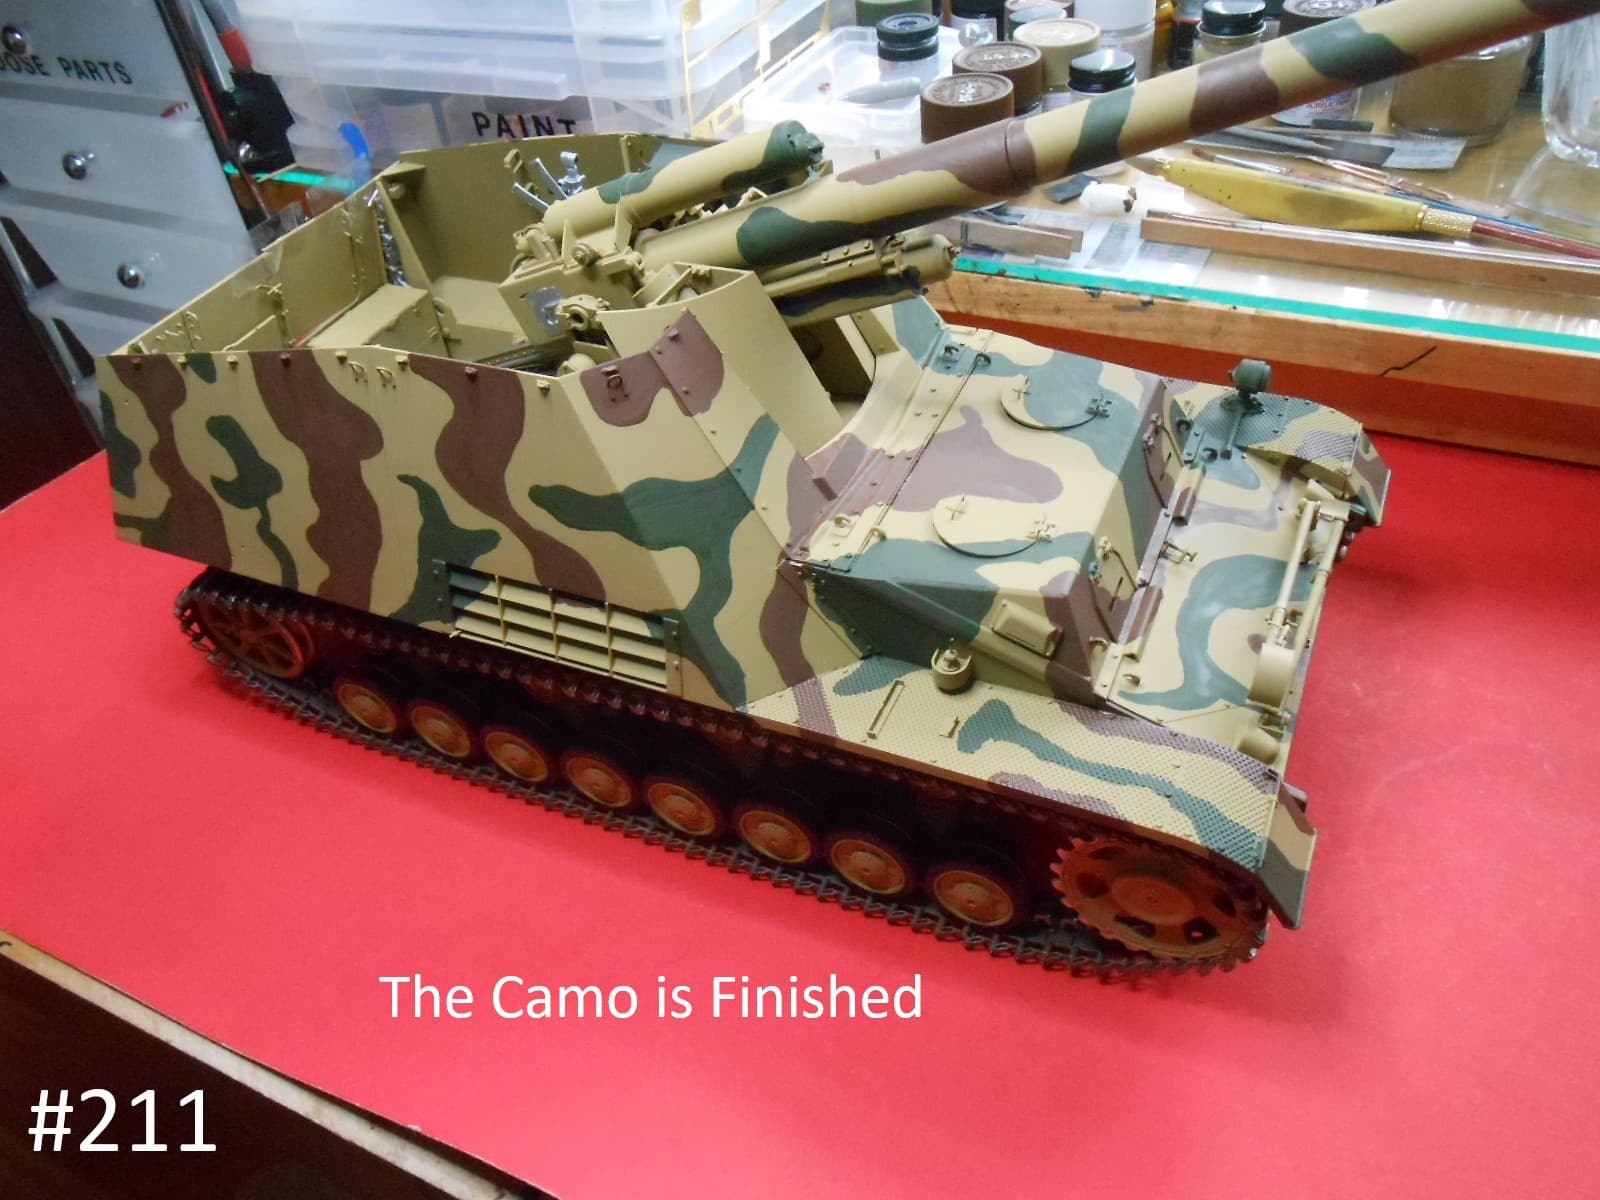
I’ll be doing the Camo next.
Regards
Donald