I do it this way,not with using the clear part.Filling the holes is my first work next weekend,that’s my only time for modelling.That means,it will take some time.Thank you for your informations.I found a alu-barrel from Aber for this kit.Have a nice week
OK Now for some more stuff.
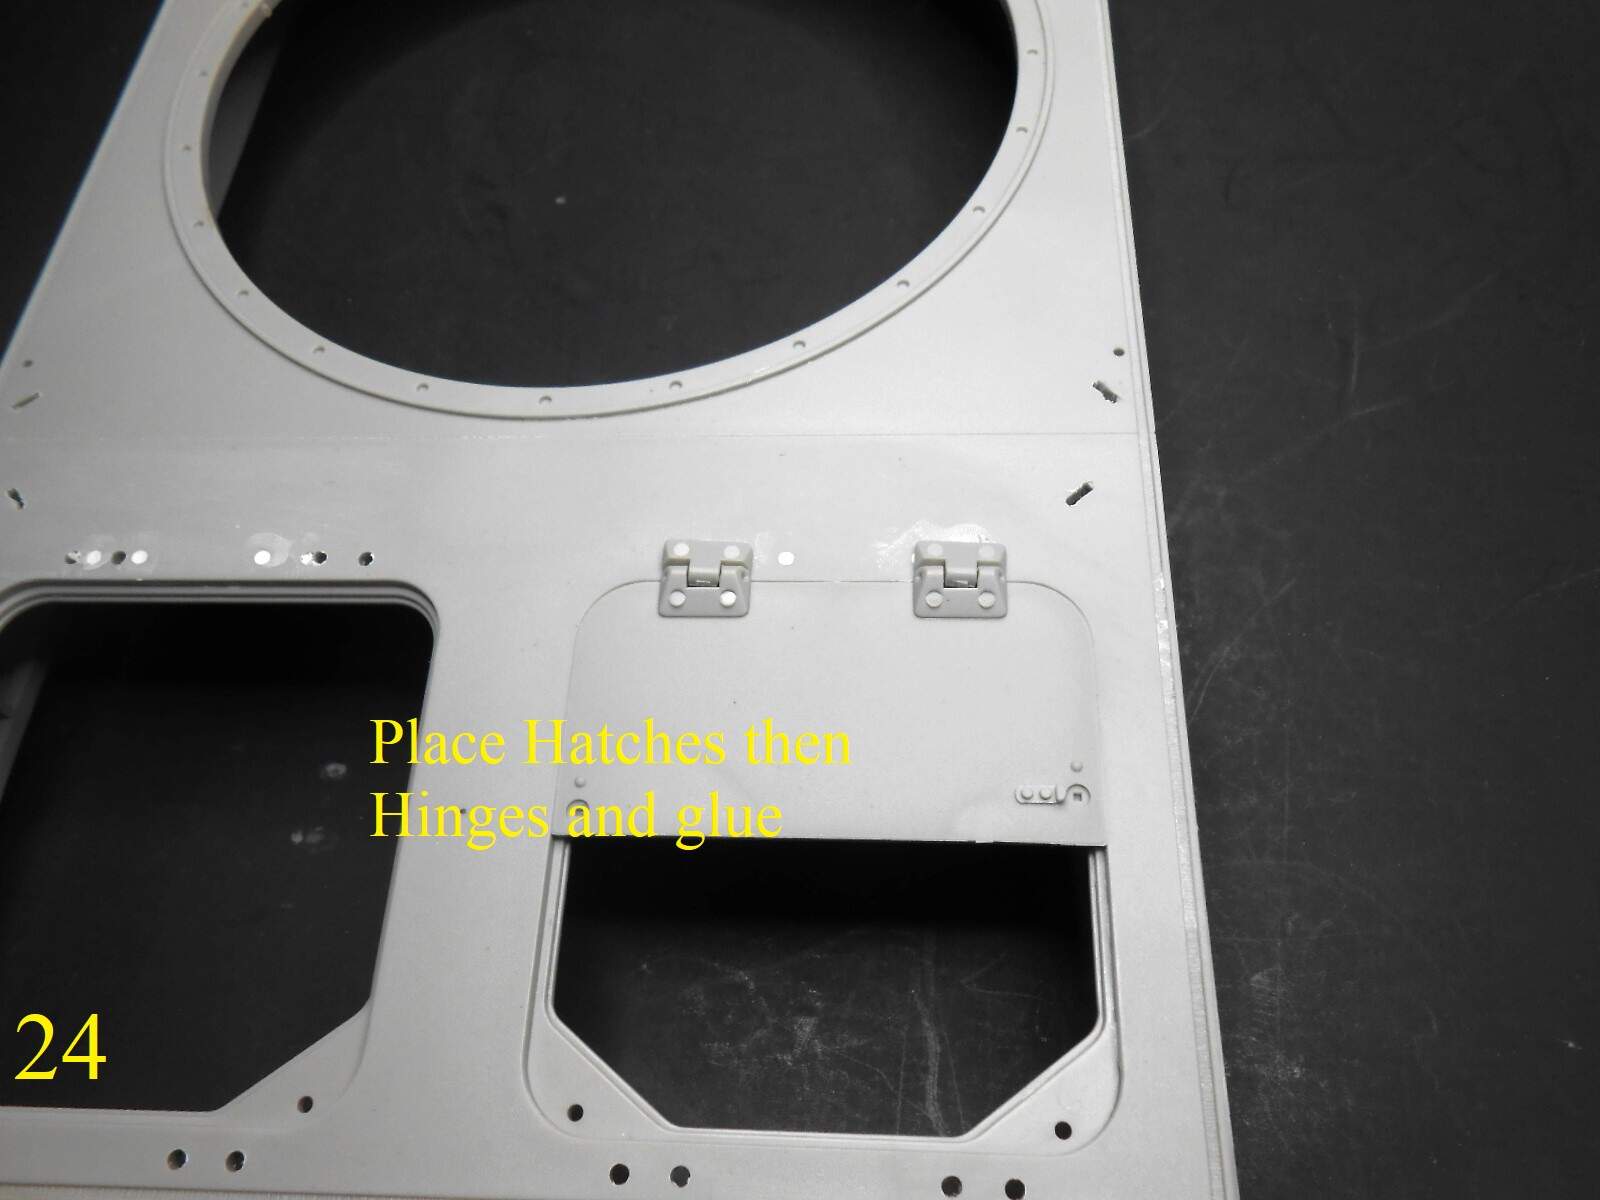
I have been working on the upper hull , Here’s how I installed the Engine Hatches The instructions say to install the hinges first. I found that it’s better to install the hatches first , they are a realy tight fit and need a little trimming. Then install the hinges otherwise they may not line up with the hatches.


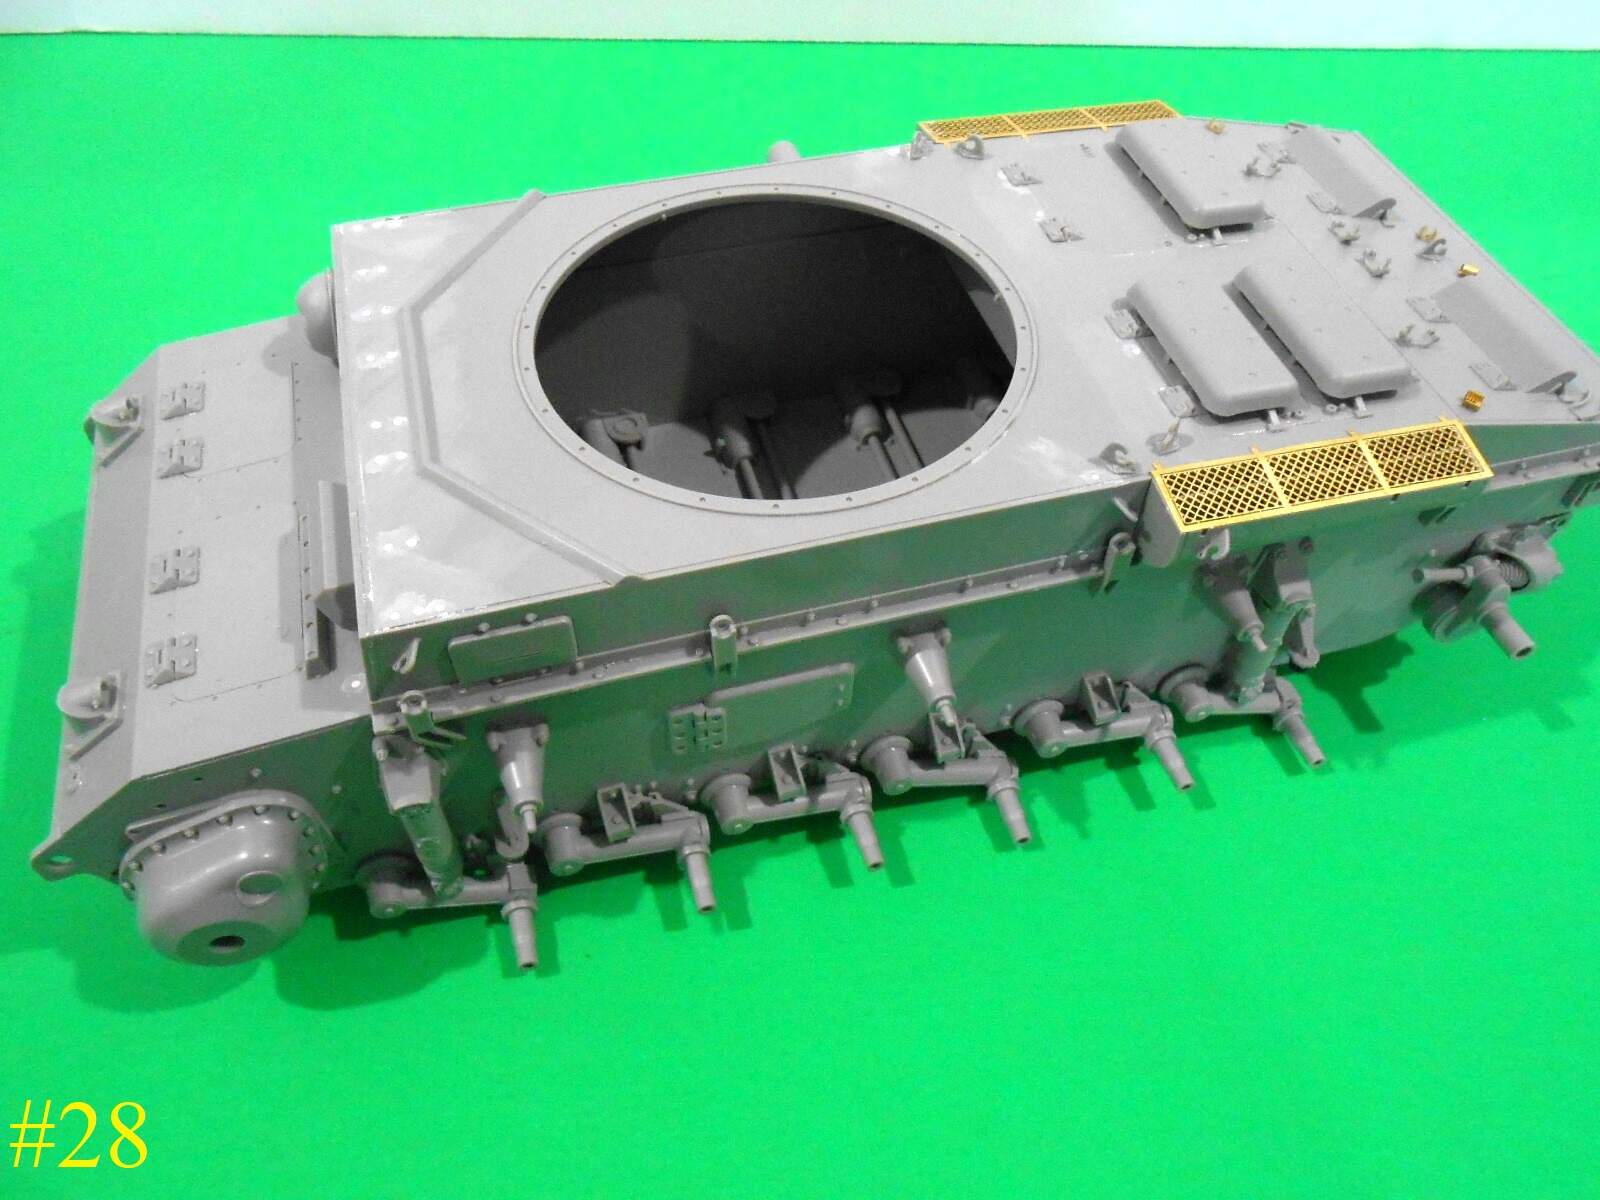
I’m still working on the rest of the upper hull.
Regards
Donald
6 Likes
I have seen a presentation of the new Tiger 1 from Andy’s,wich you are waiting for, he was at Modellbau König, the Shop where I buy my modelling-stuff.It looked really good, I have ordered one of them.Are there any AM-Products you are using for the Panzer III?
Everything is out of box.
Except I’m planning on using the 1.35mm cables from EUREKA
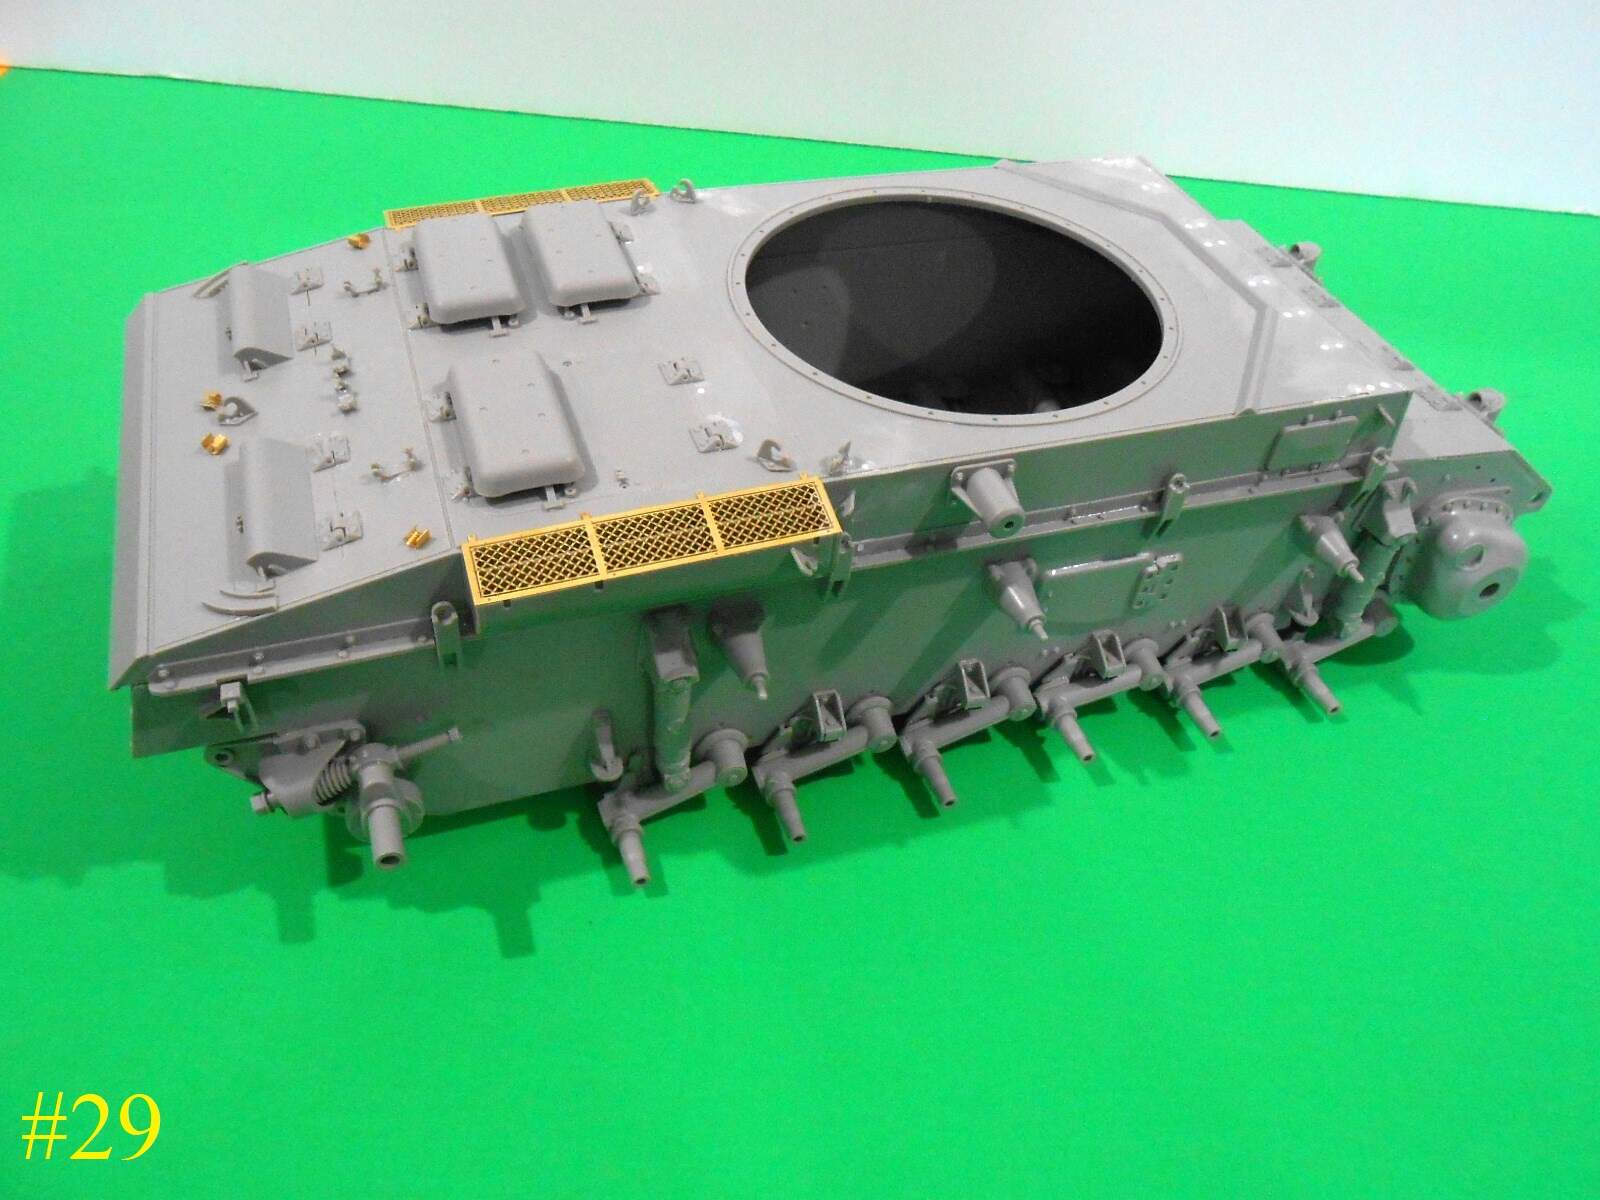
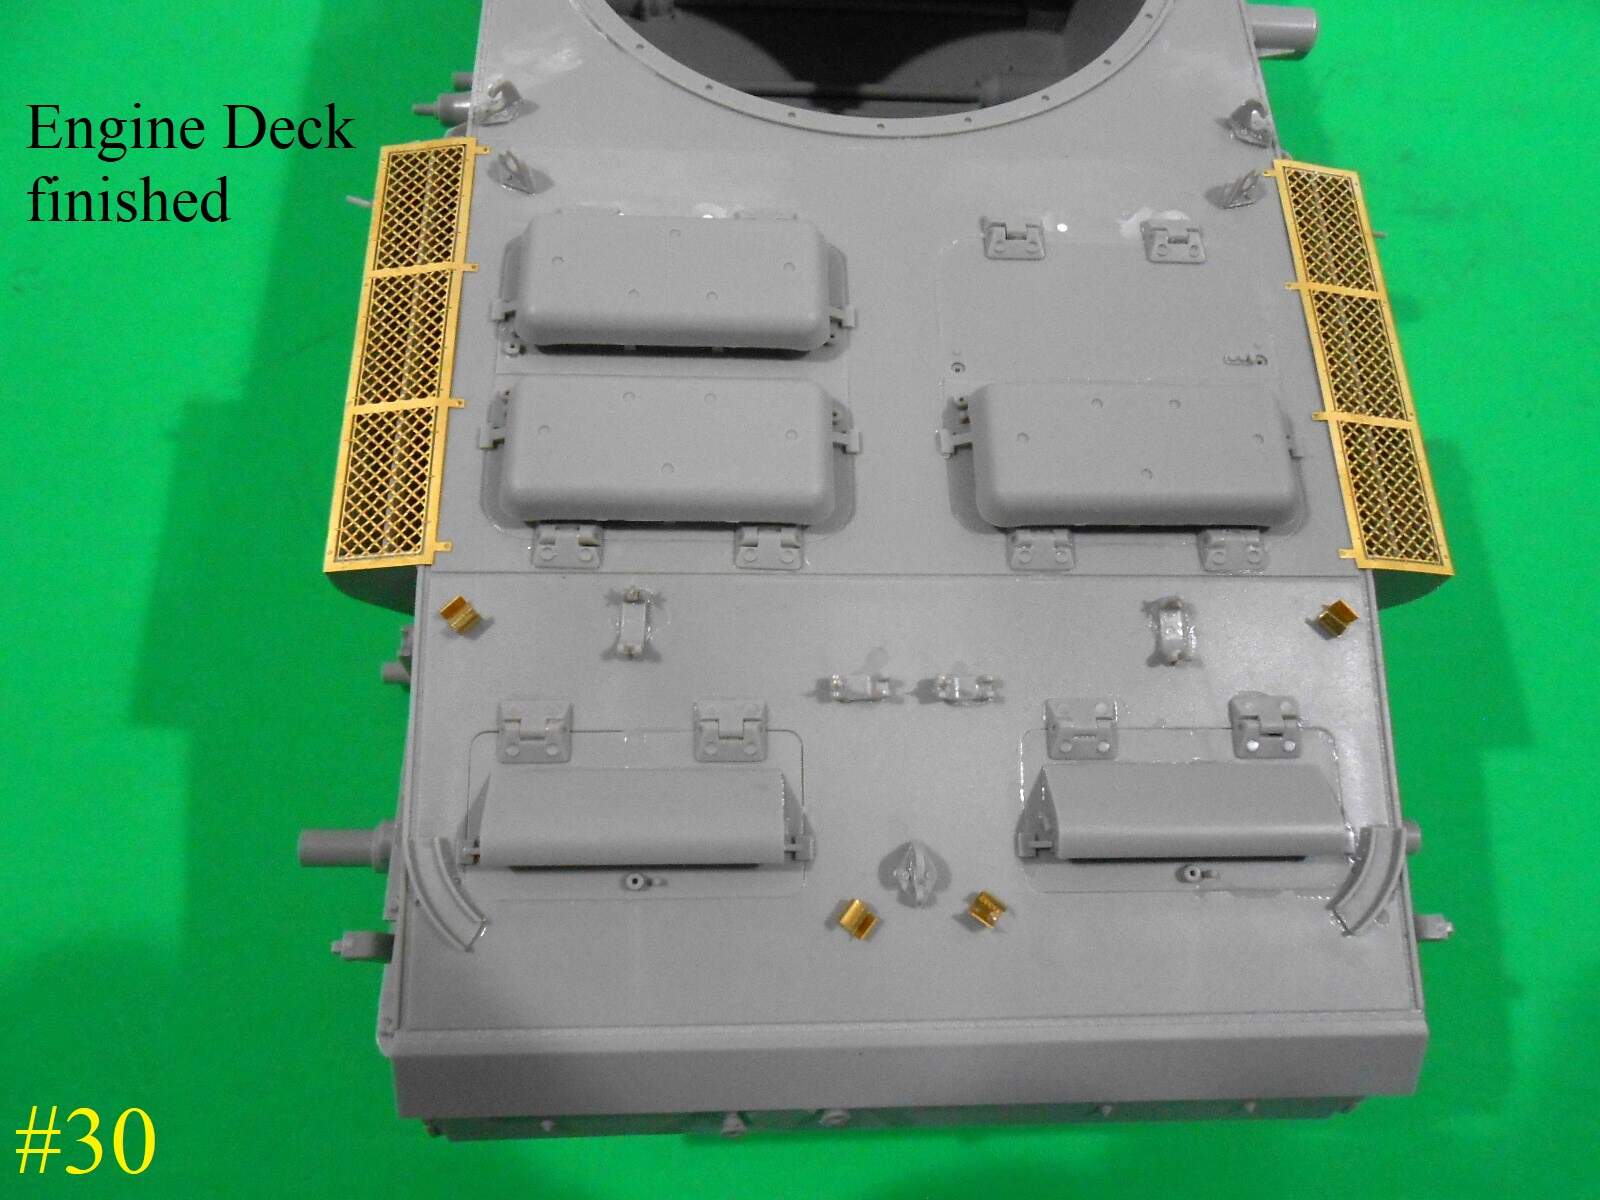
Some more finished


Now for some painting.
Regards
Donald
3 Likes
“Just needs a little squeeze!” ![]()
![]()
![]()
Ken
1 Like
You are so fast,it’s surprising to me.I need much more time,it’s fine to see you painting soon
I have some of the base painting finished

I like to build in sub-assemblies it makes it easier to paint and detail
Regards
Donald
3 Likes
Nice.What kind of colours do you use?I like the acrylics from Ammo,the sets with(nearly)every colour and wethering-products for a project
I use mostly Tamiya paints.
The Grey is Tamiya XF63 German Grey
The Tires are Tamiya XF69 Nato black I ran out of the XF85 Rubber
The Rust on the exhausts are Aquieous #344 Rust
For weathering I usually use AMMO Pigments like pastells they blend easier than doing the weathering with washes and tints.
Regards
Donald
1 Like
Since you’re doing corrections, I will inform you that the radio op’s side vision port needs to be moved.
See
Panzer 3 vision ports
David
You’r right , but it’s a little too late now.
It stays where it is this is where the kit manufacturer put it.
I thought it was a little odd having it so close to the Mg.
Donald
The Atak-Website works again.But the zimmerit I’m waiting for is not finished.It’s a one-man-company,some things need their time
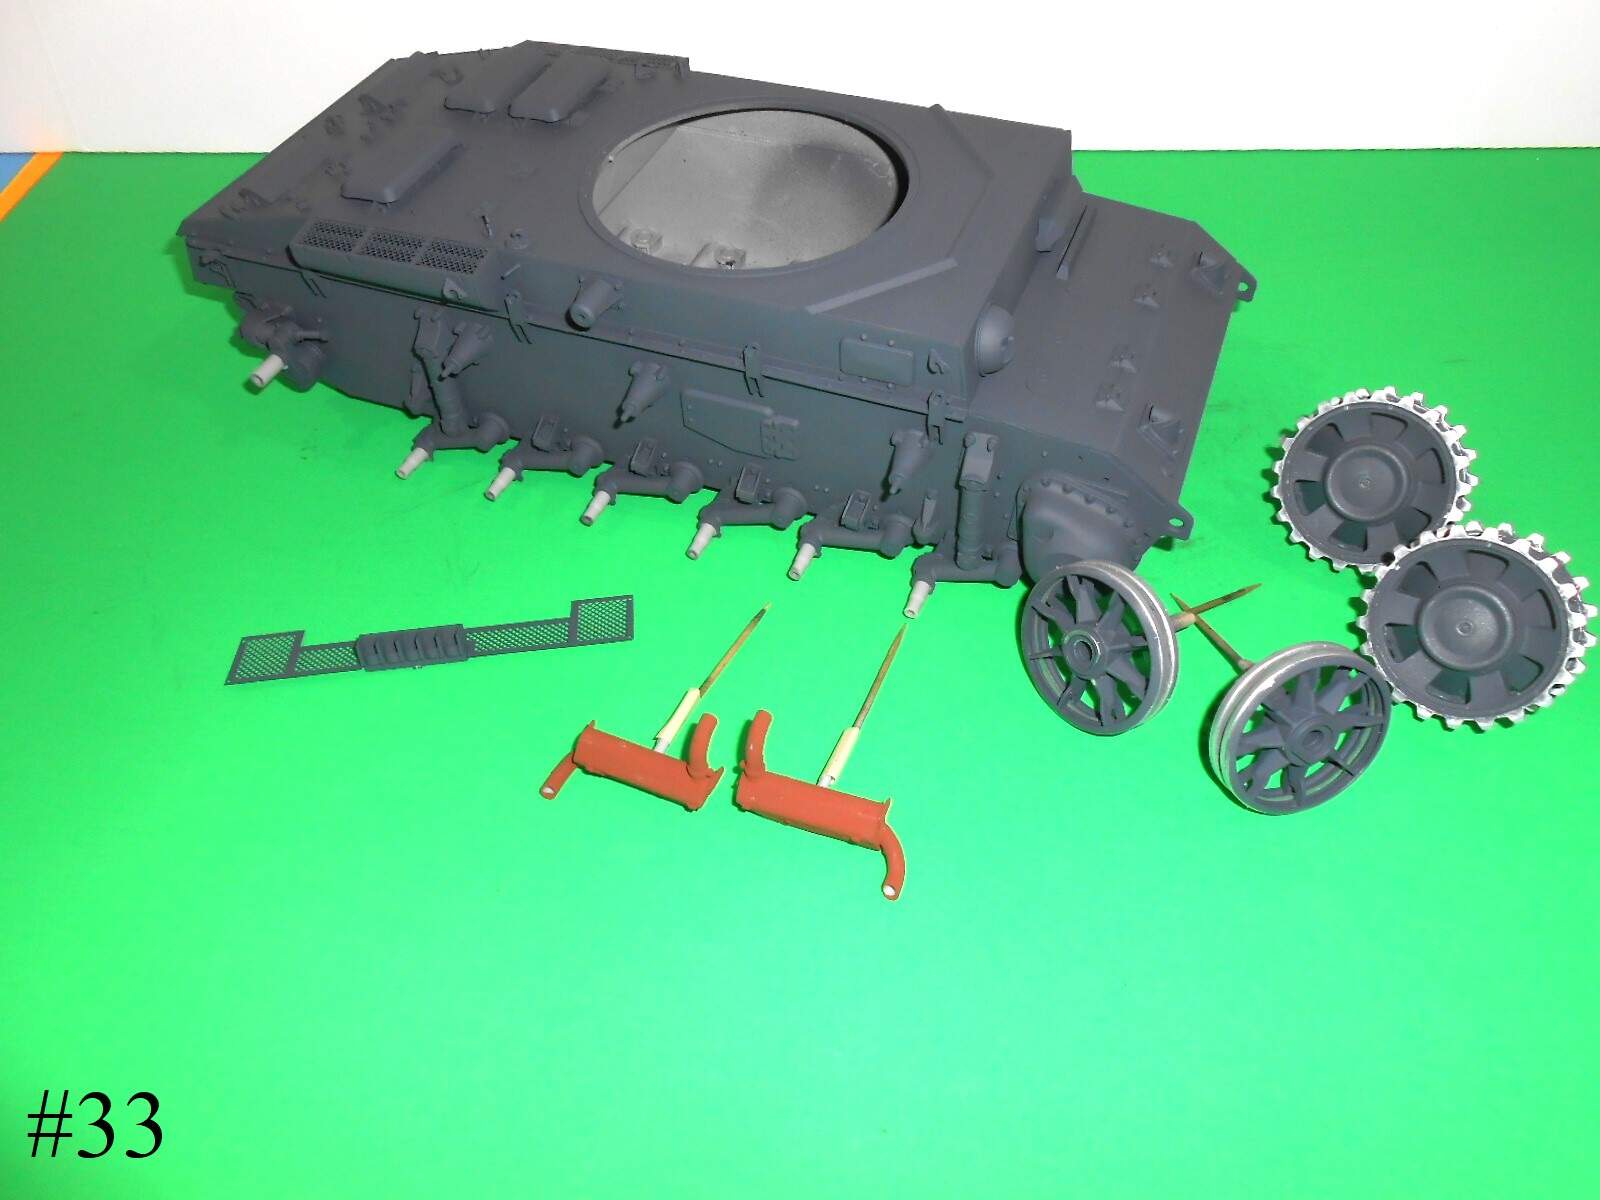
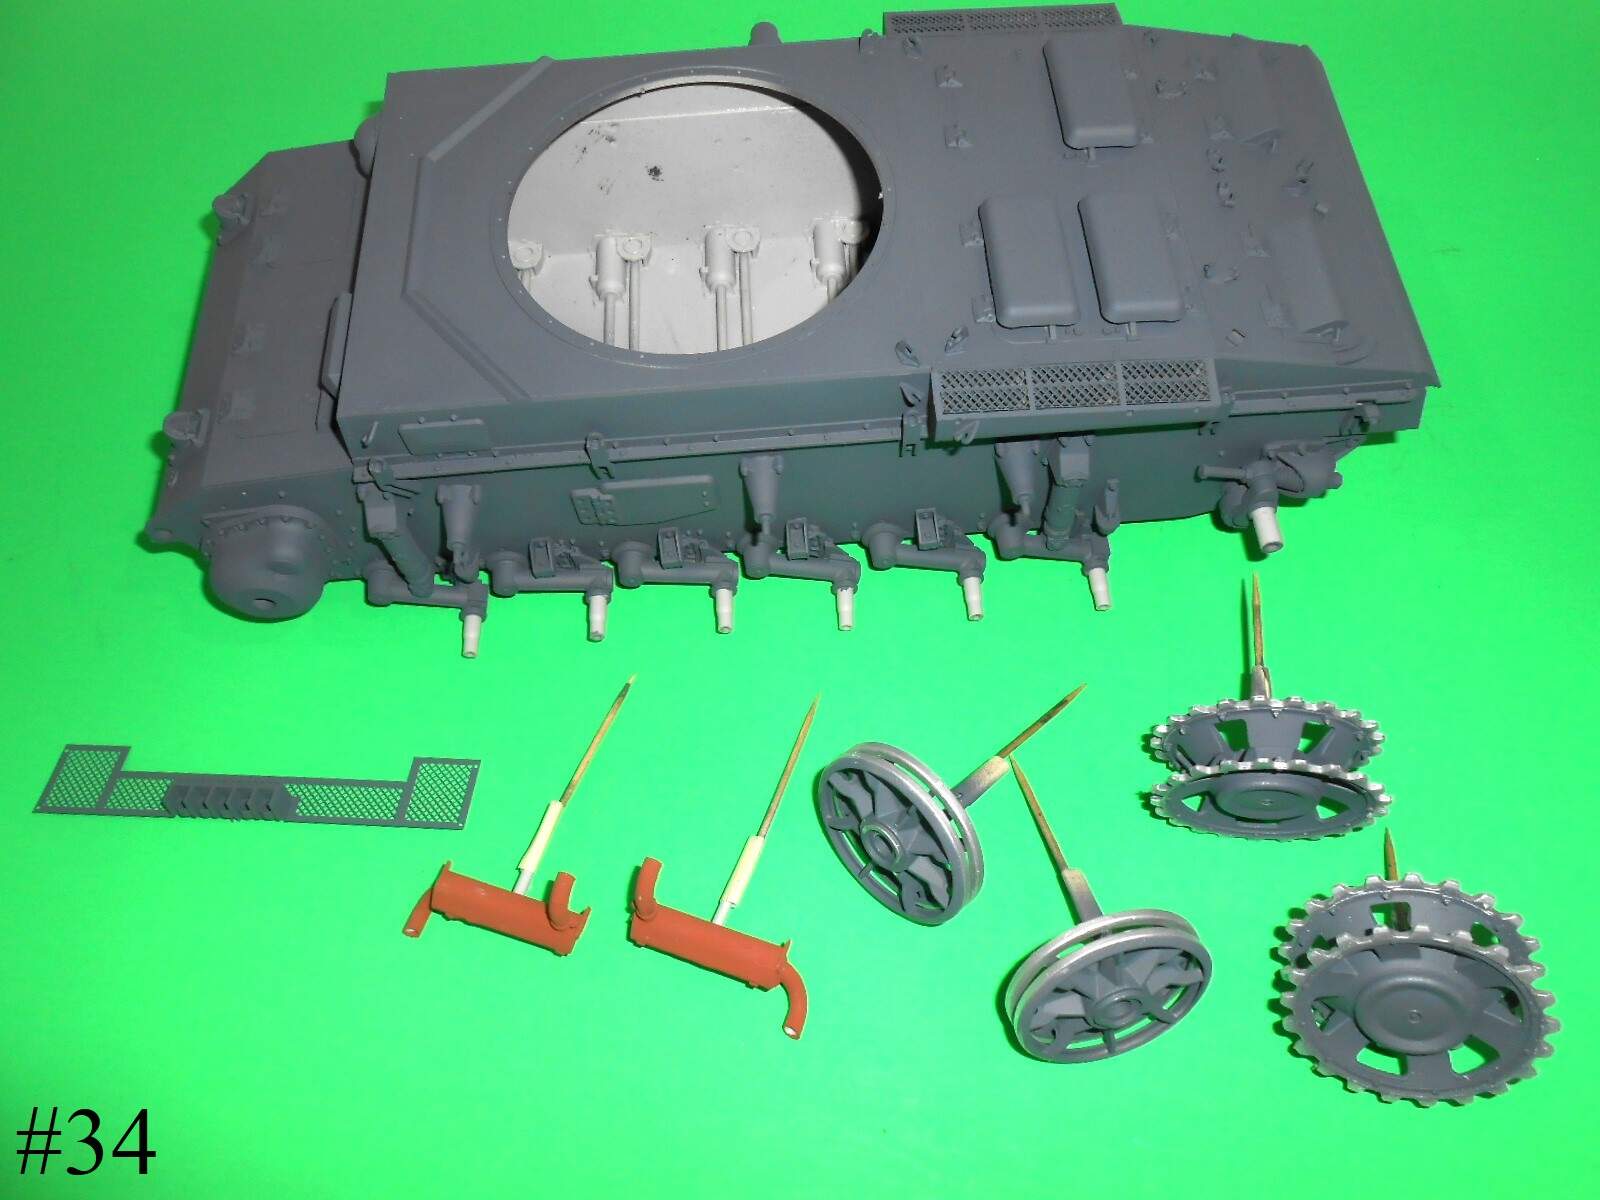
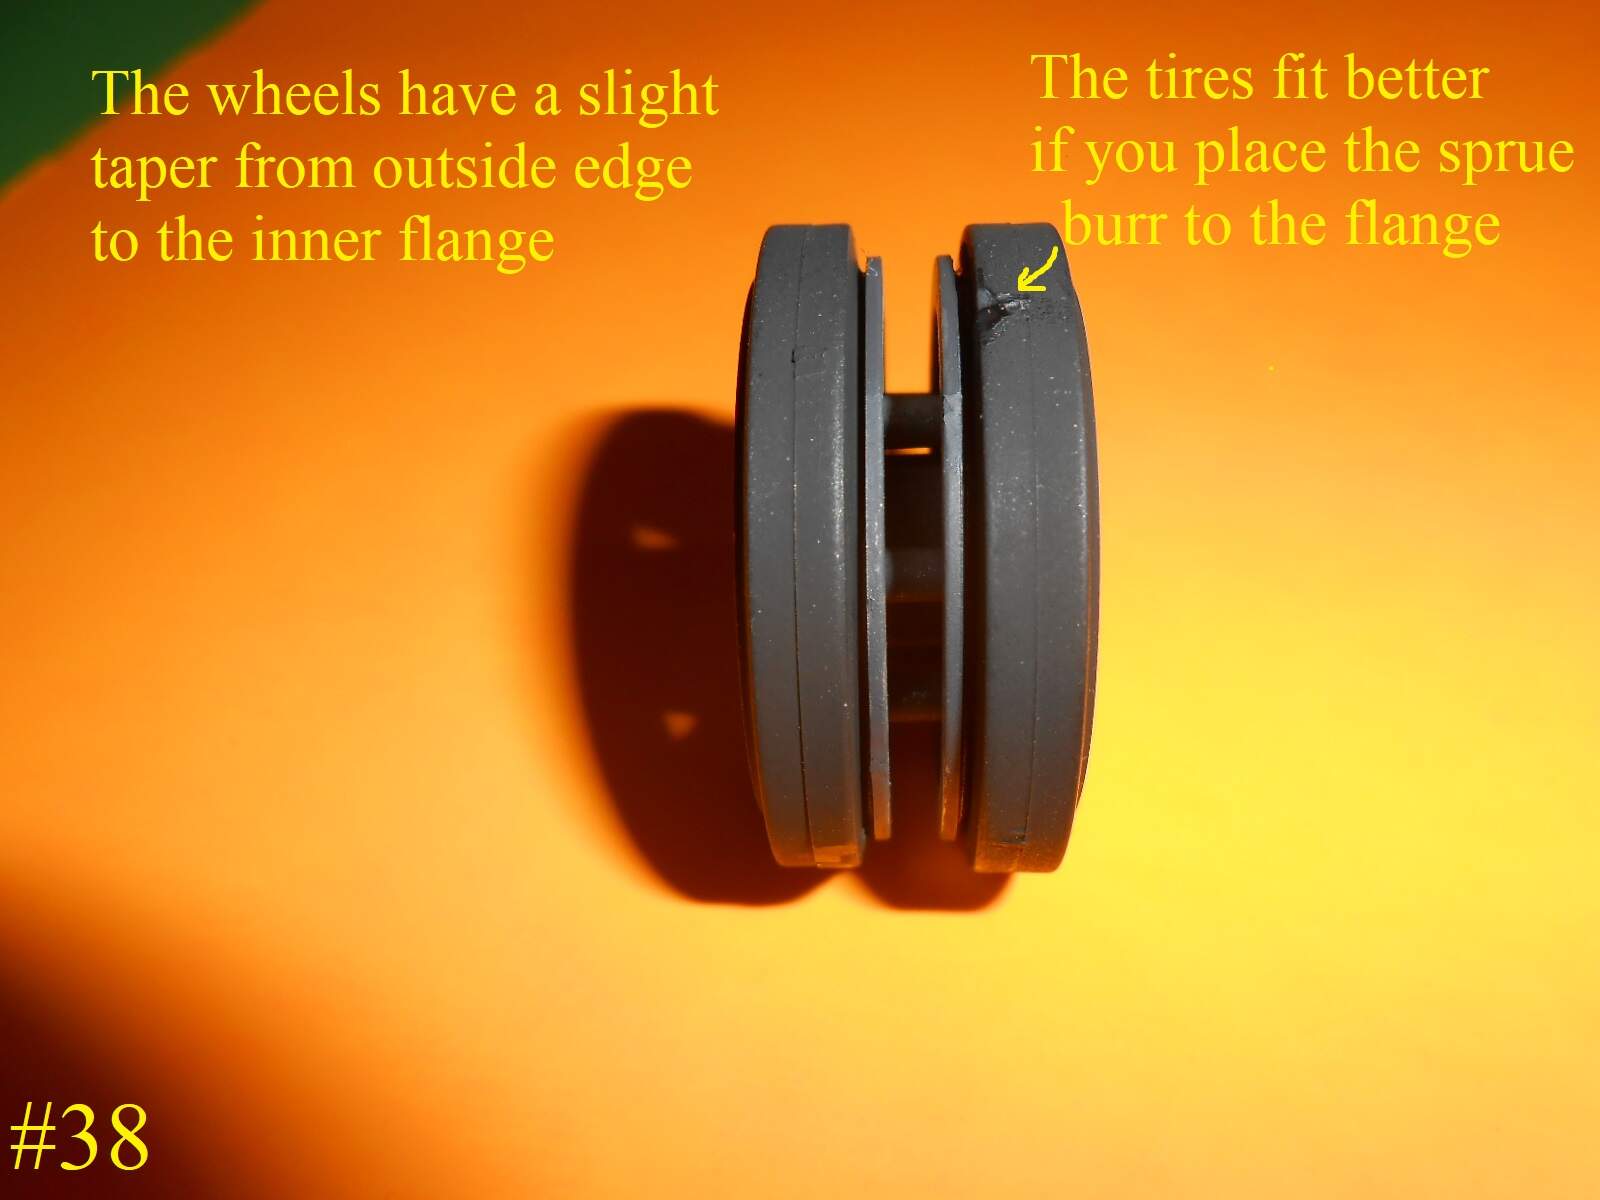
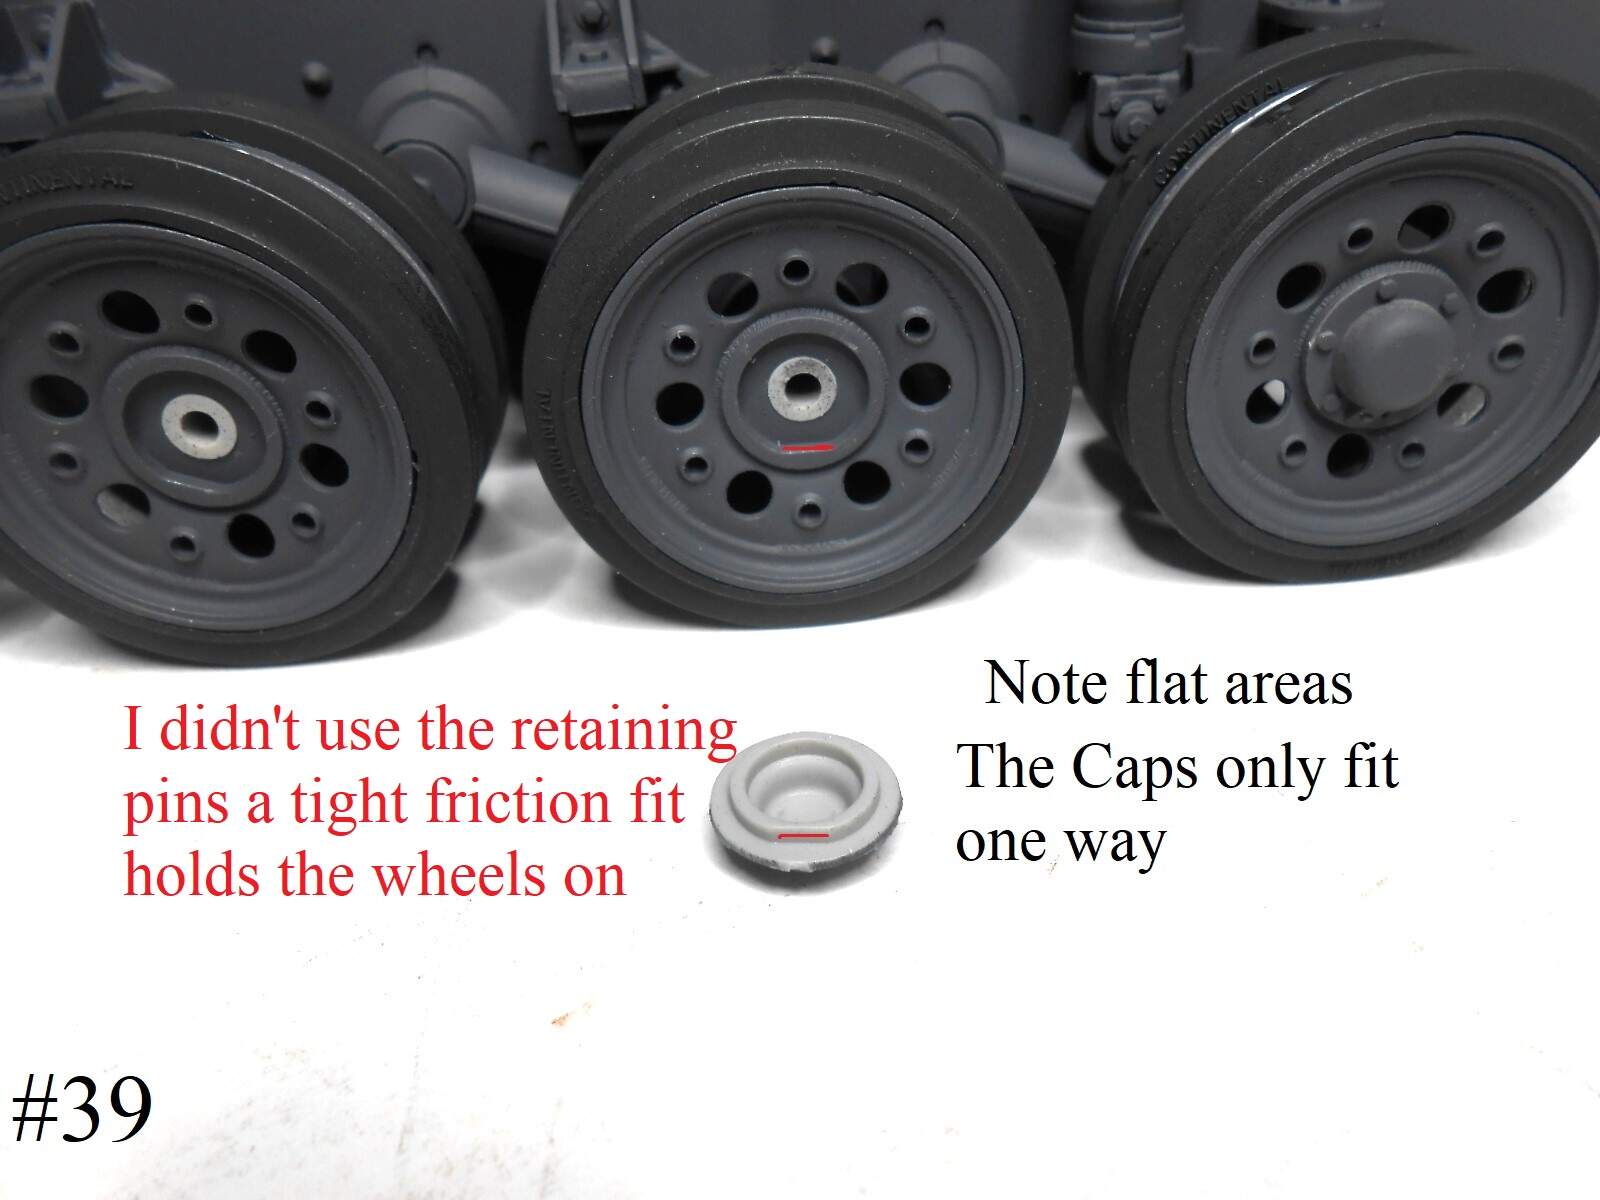
The Wheels are ready to install/
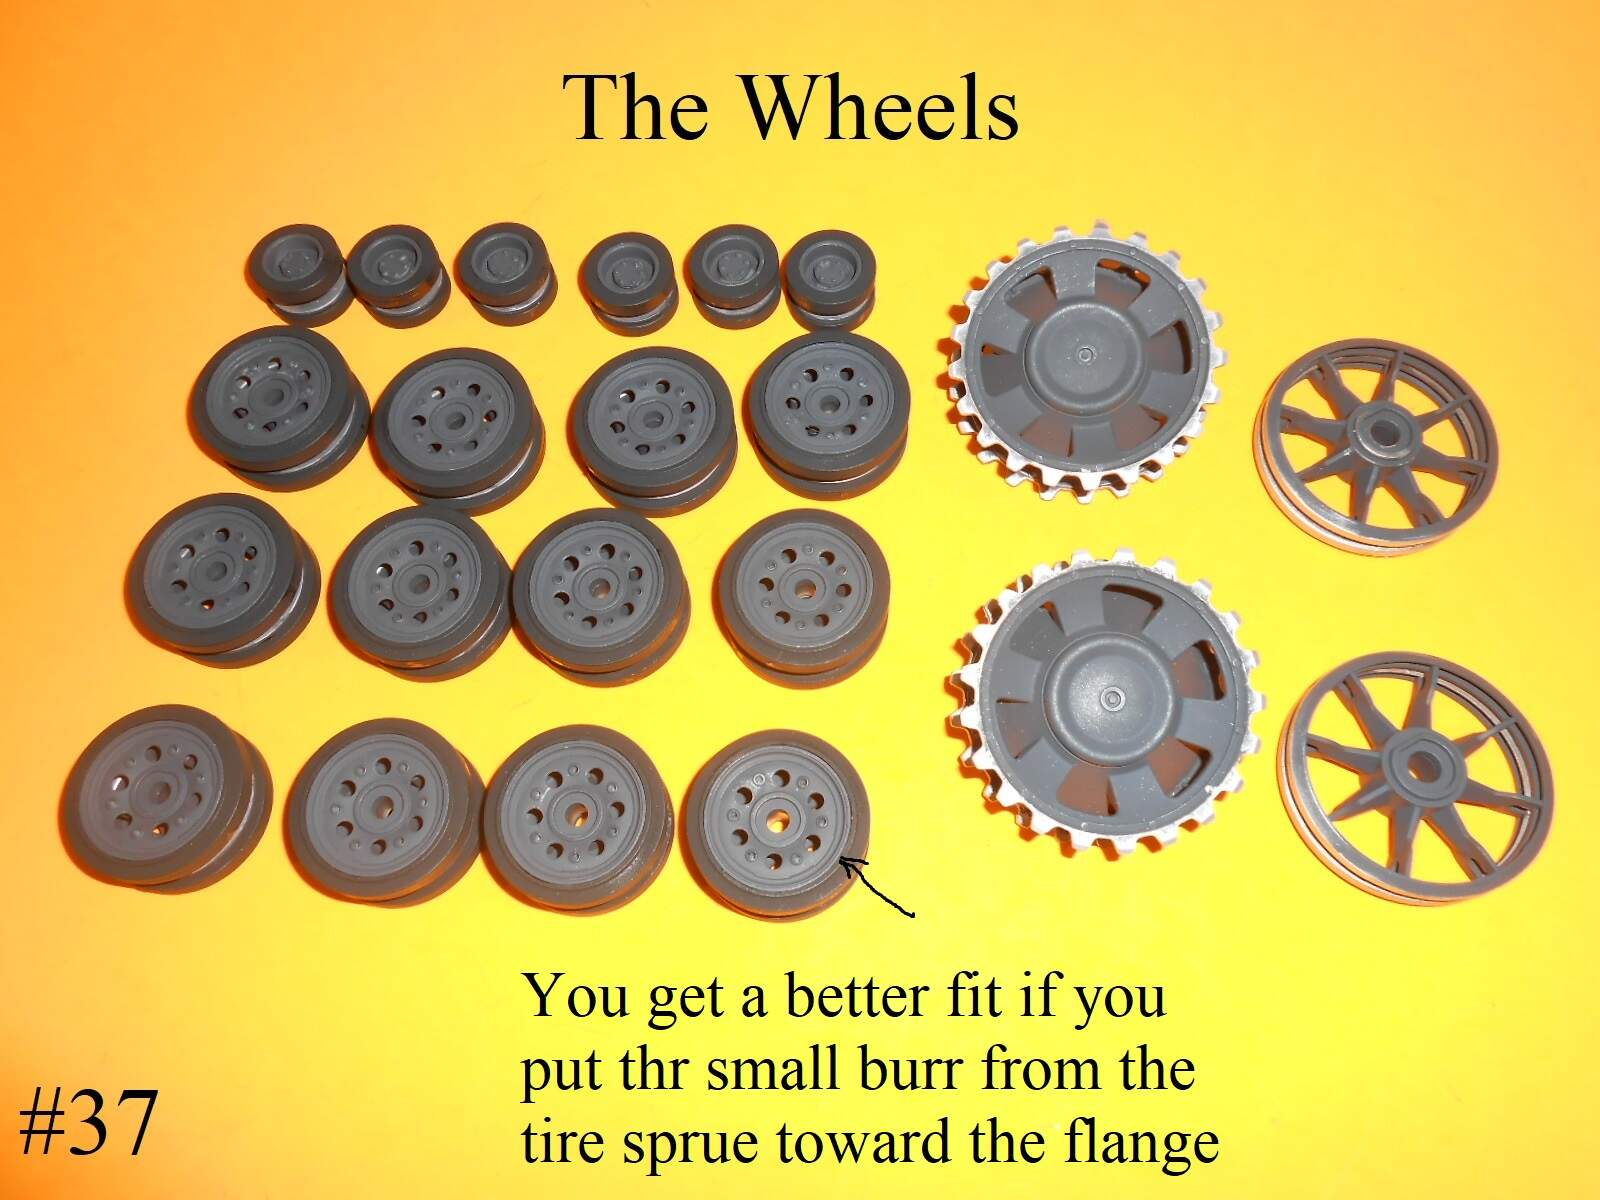
Just a note the wheel rims have a slight taper to them , I found that you should place the tires on them with the slight burr from the sprue toward the flange on the wheel inner edge.
They will fit the other way but you will have a larger gap between the wheel and tire.
Now to install them.
Regards
Donald
3 Likes

I always enjoy your big kit builds Donald!
2 Likes
Covered in stowage no one will see
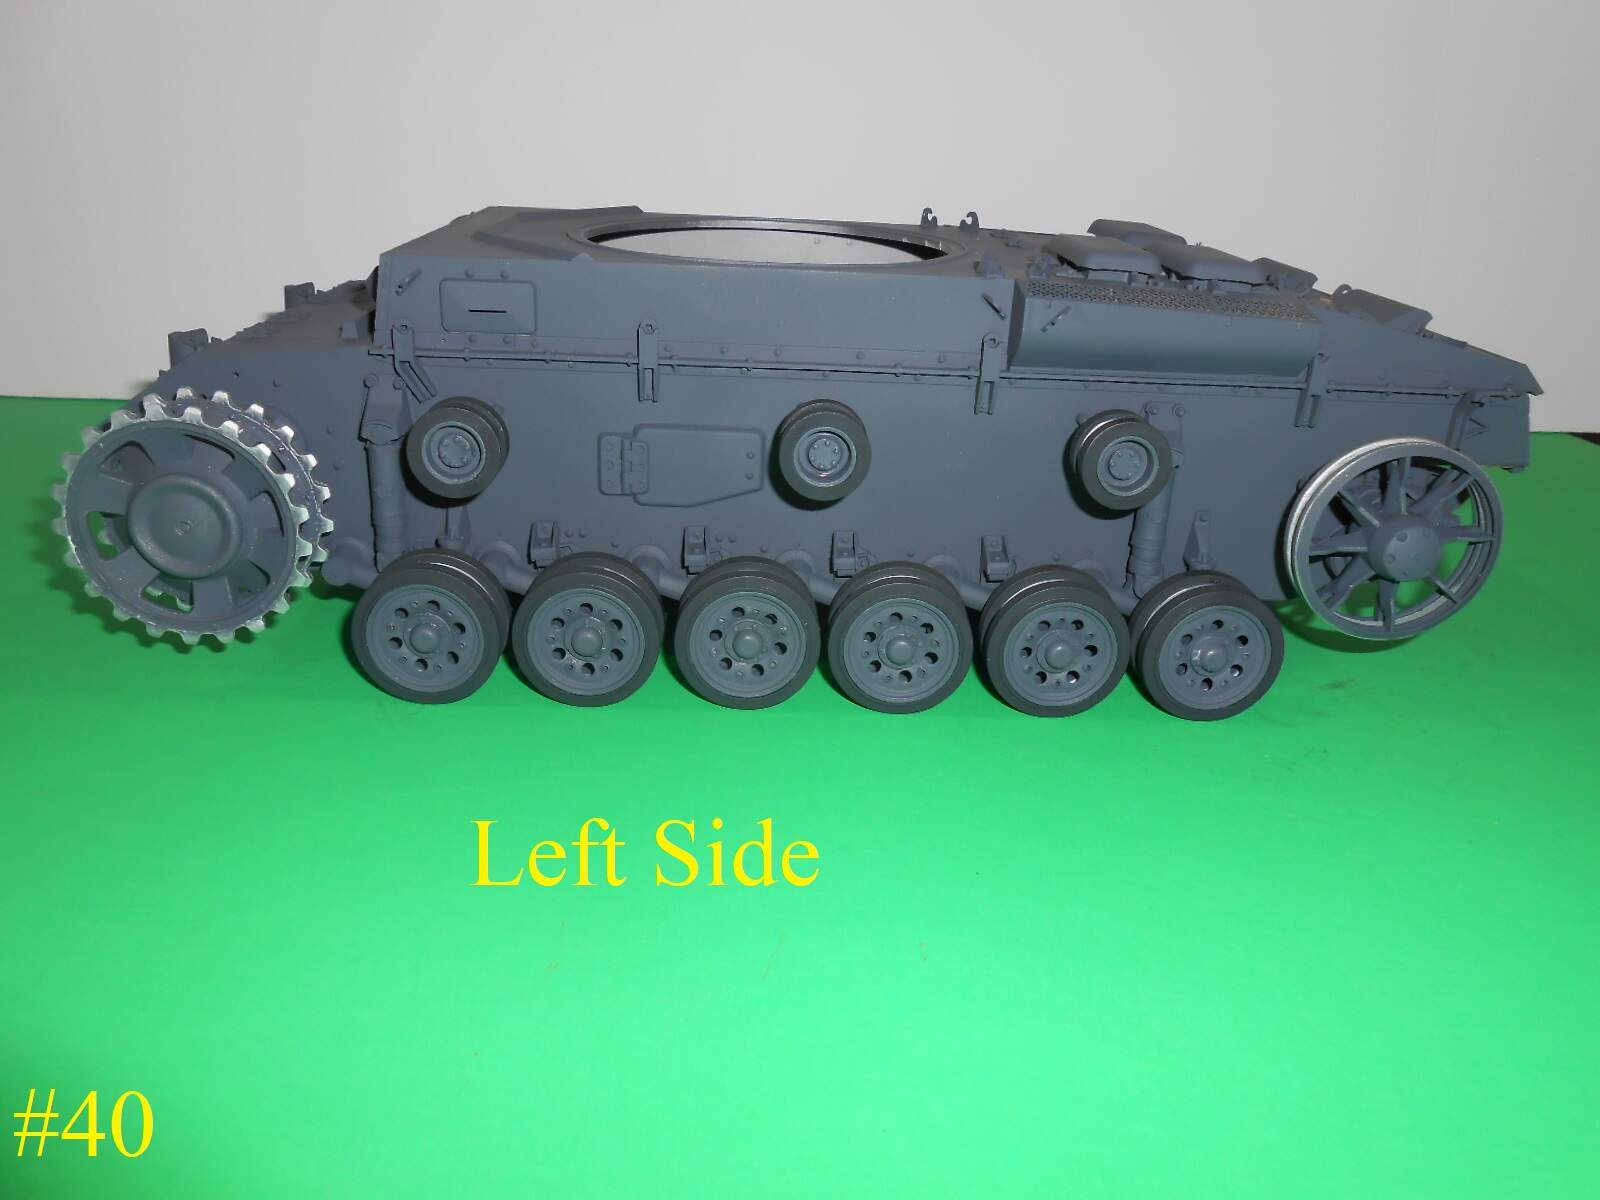
Could it be that some dimensions of the model are not correct?Sorry,I can’t find the right words,I mean the first small wheel for the tracks for example.It’s too far in the front,must be between the first two wheel
I’m sorry but I’m not shure which model you are talking about.
If it’s about the Jagdpanther please post your questions there
Regards
Donald
I think he means that the front return roller looks to be mounted too far forward, should it be further back, so it sits above the center of the first two road wheels. Like the other two?
Yes,I mean the Panzer III,and yes,I mean what Khouli thinks.That’s no critic to your work,it’s a fault of them,who designed the kit