Building a US Special Forces GMV, Afghanistan

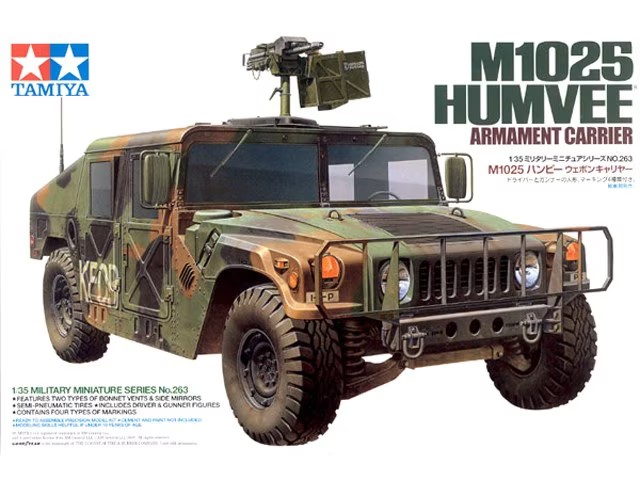
This build is something I started in late January after I completed a SAS WW2 Jeep. Building the Jeep gave the inspiration to construct something more modern, and since I had the Tamiya M1025 Humvee and the Pro Art Models “Dumvee” kit in my stash the choice was easy.
nr19

nr20

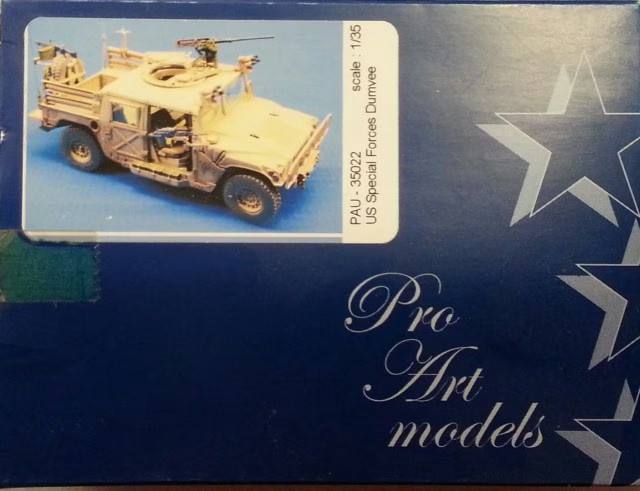
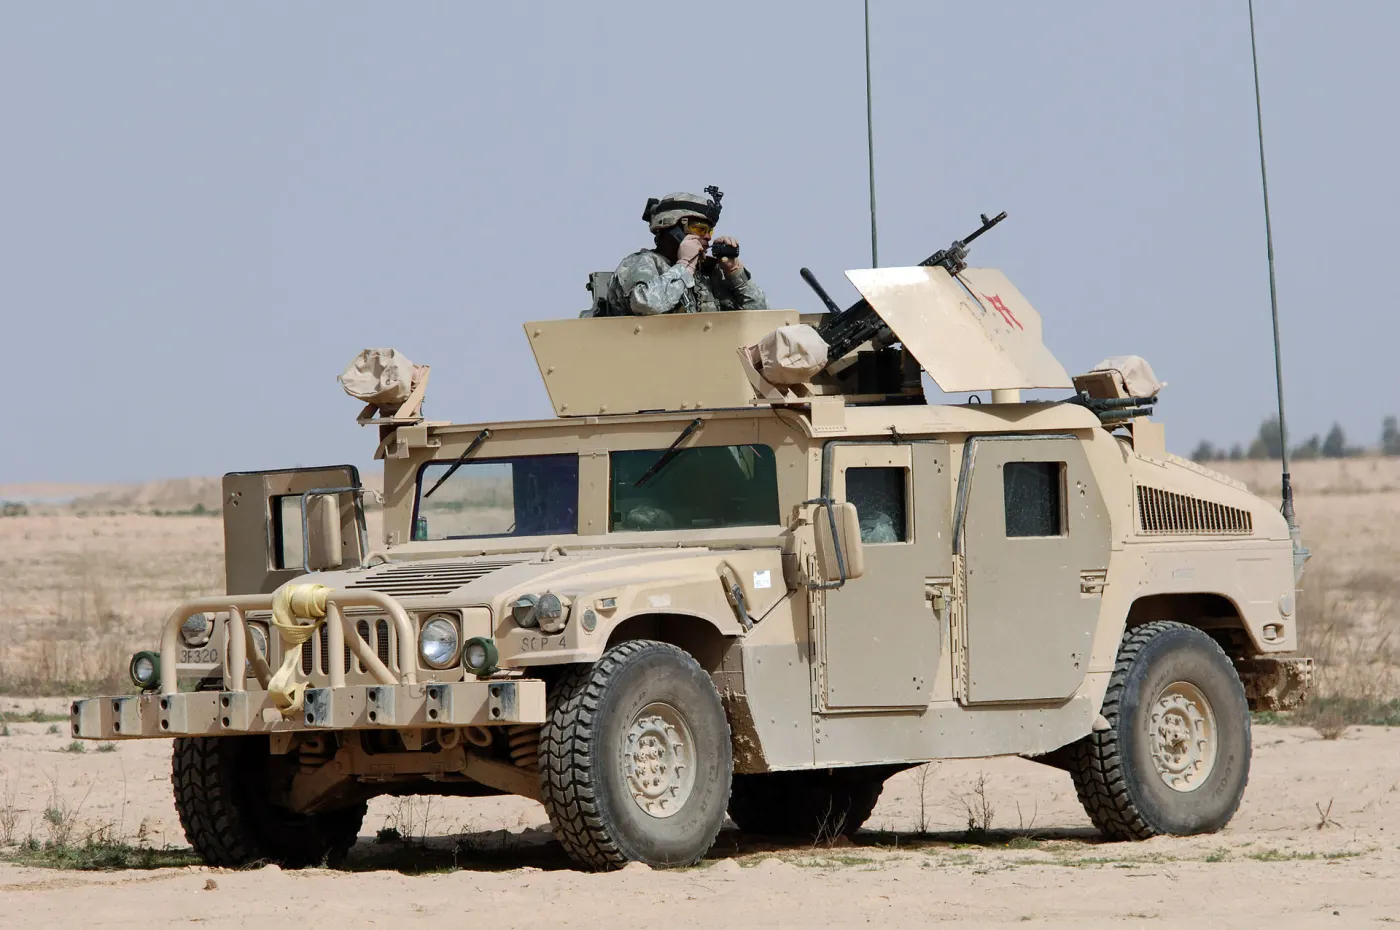
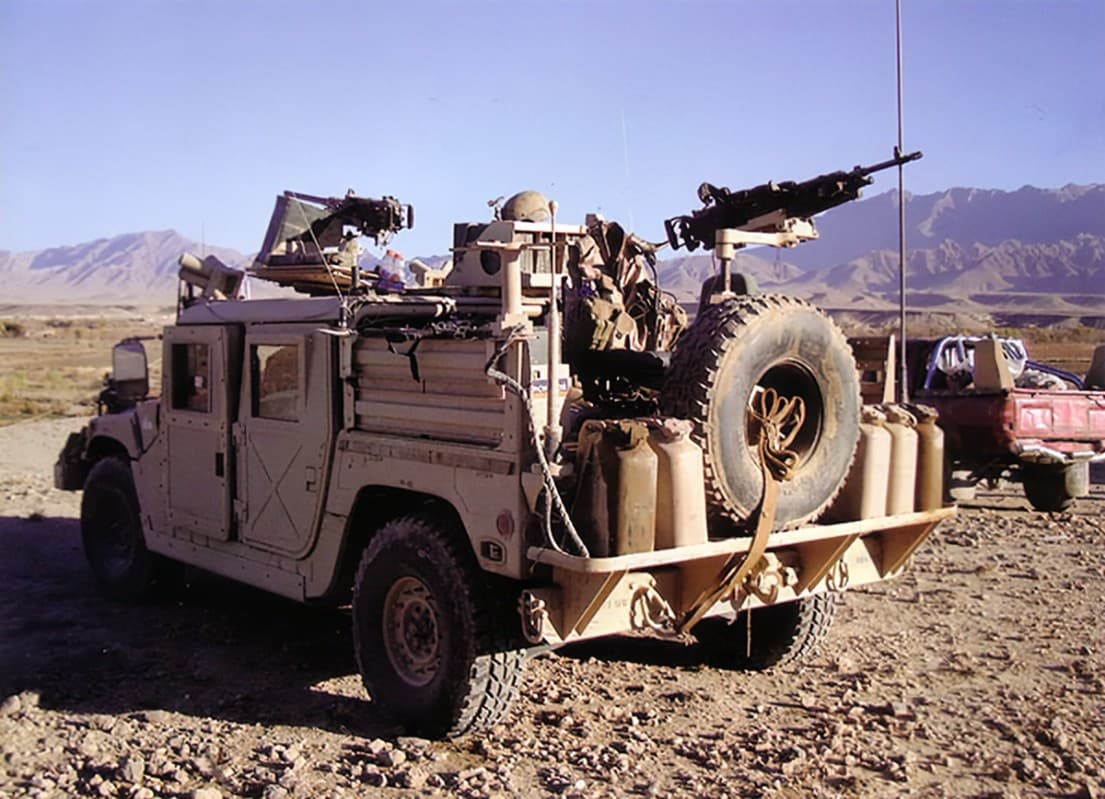
The Pro Art conversion kit represent an early GMV (I think…) and you can find a pretty good review at Vodnik.net . His specimen is of lower quality than mine, and the bad Mk 19 he refers to is not a part of my kit. He is spot on when it comes to difficulties cleaning the parts, and this is not a kit for resin beginners. There has been a lot of grinding and sanding so far, and wearing a face mask and having a vacuum cleaner close by has been an absolutely must.

I saw the real thing from a distance at Bagram back in 2003 and that is more or less the only time I have been remotely close to this vehicle. Pictures and information is sparingly on the internet, so any advice through the build is most welcomed.

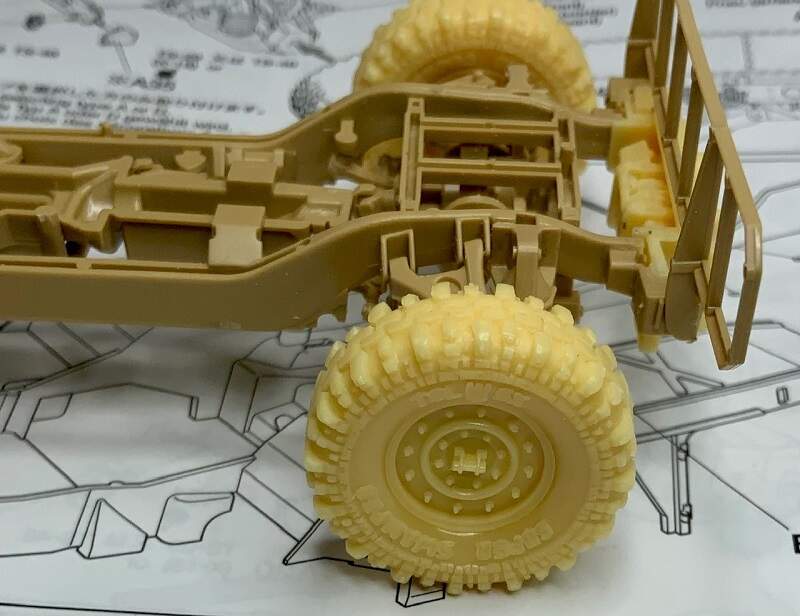
The build itself starts with the vehicle frame. This is straight forward with the exception of the winch. The winch has good details and fit and is perhaps one of the easiest parts to install from the conversion kit.

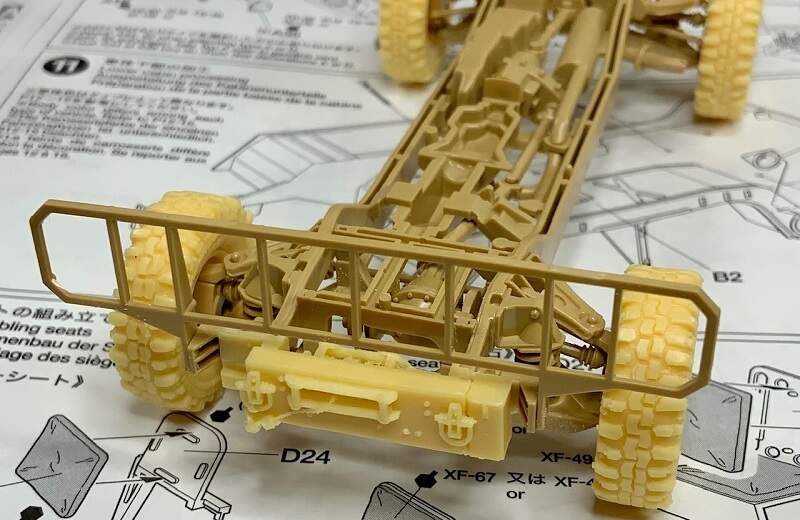
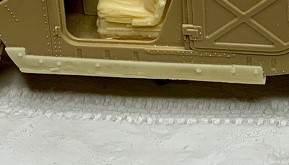
I read somewhere that the frame of these vehicles were reinforced in some way, but with exceptions of the slats along the channels there are no modifications to the frame itself. It really don’t matter since the frame can’t be seen when finished.
nr121

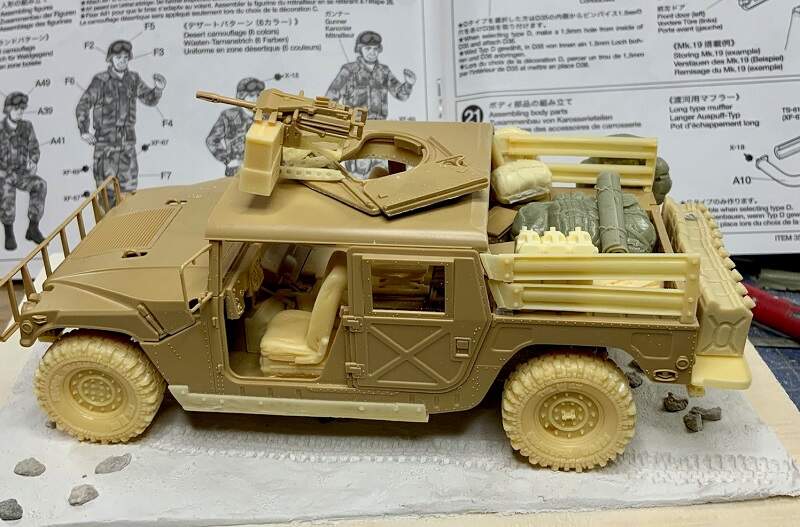
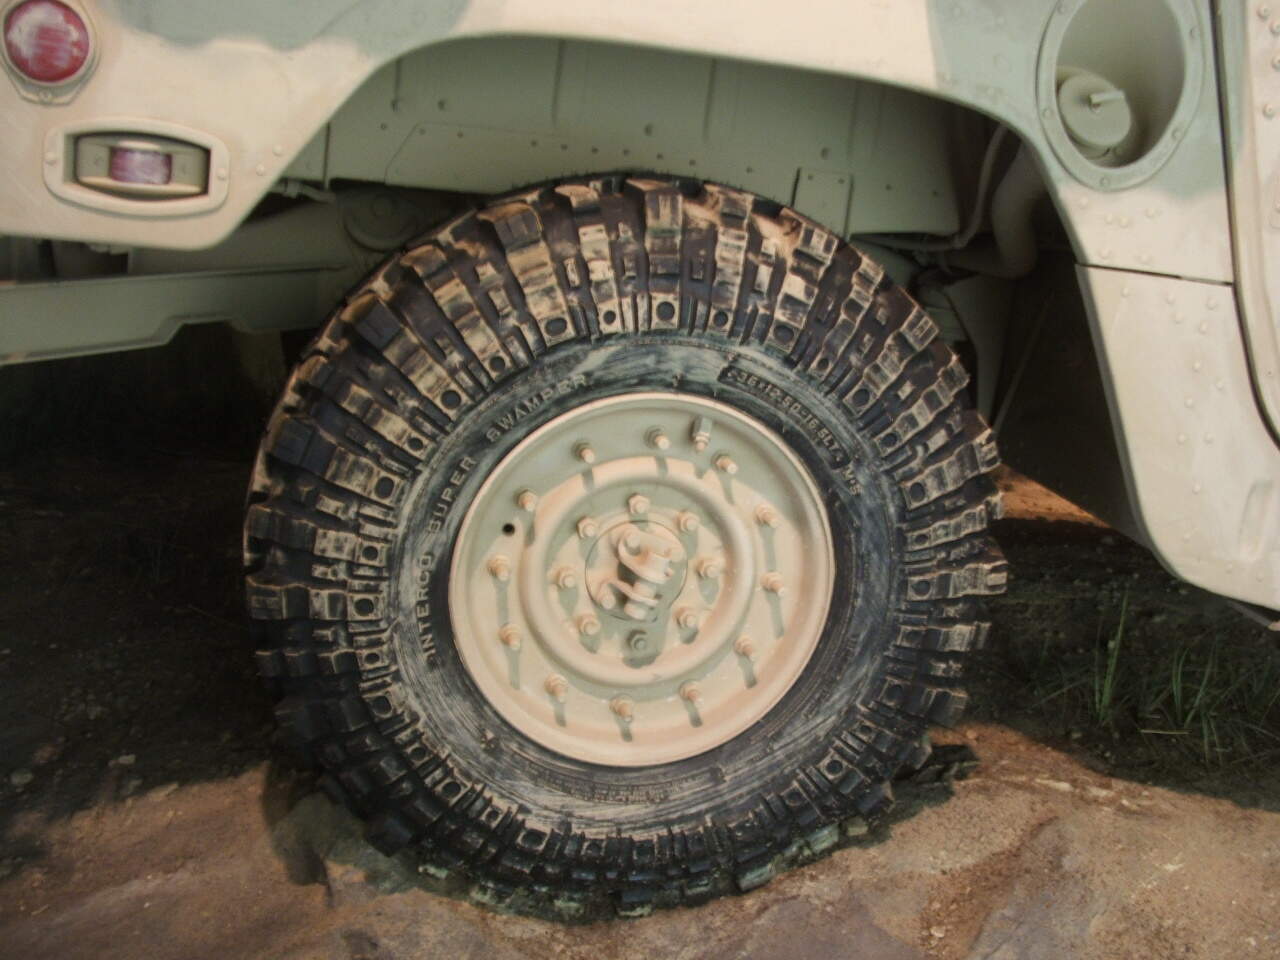
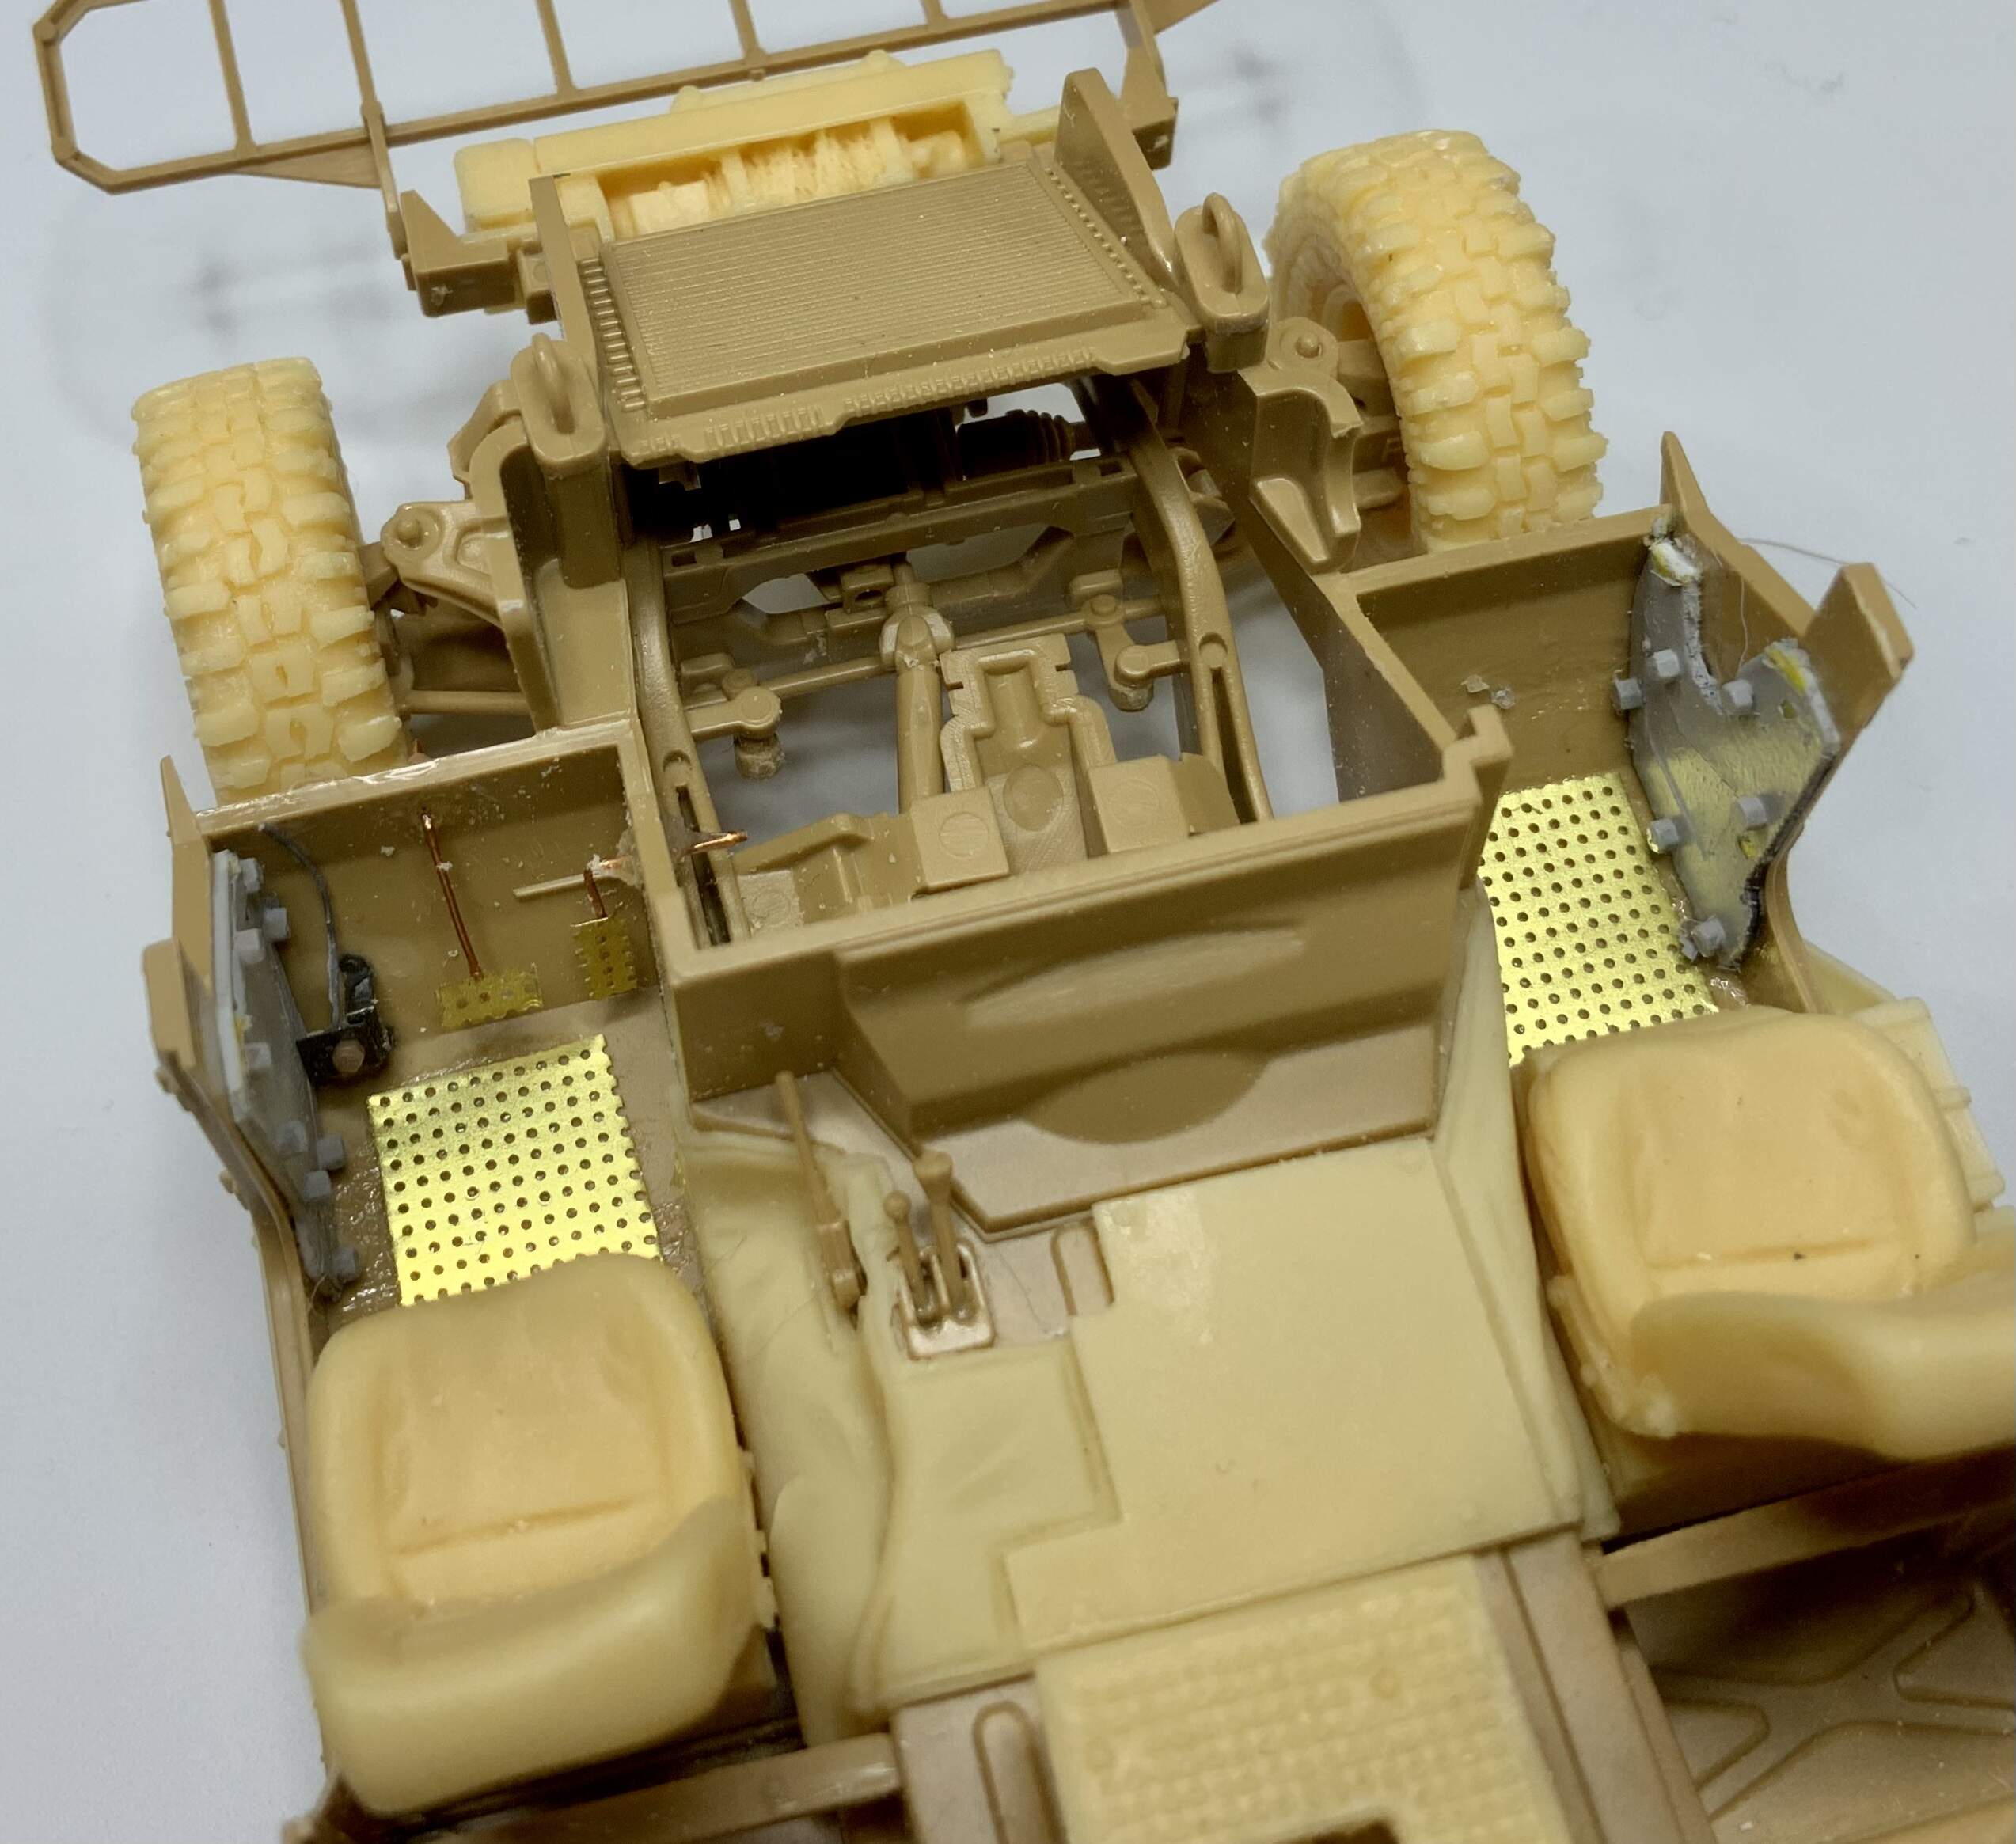
The Pro Art kit comes with a set of tires with an “aggressive” pattern, but I changed them with a set of Super Swampers since they look better. Please let me know if this will be wrong for an early GMV.

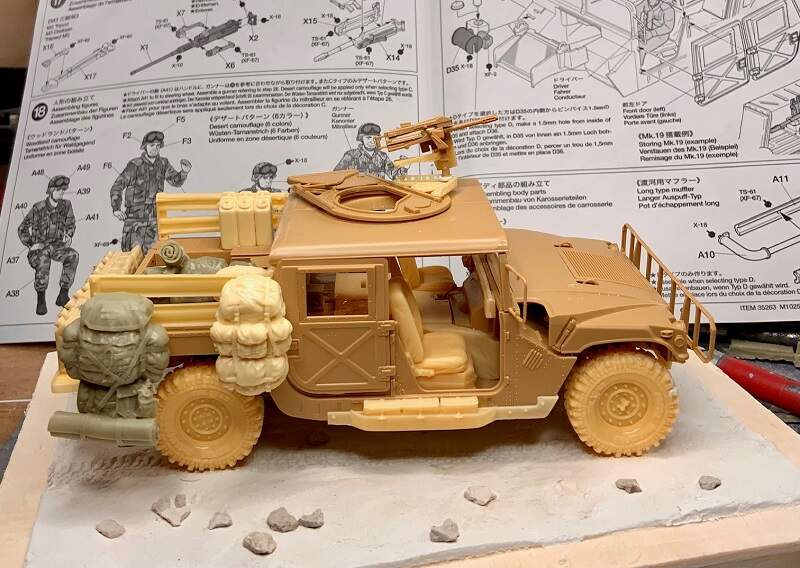
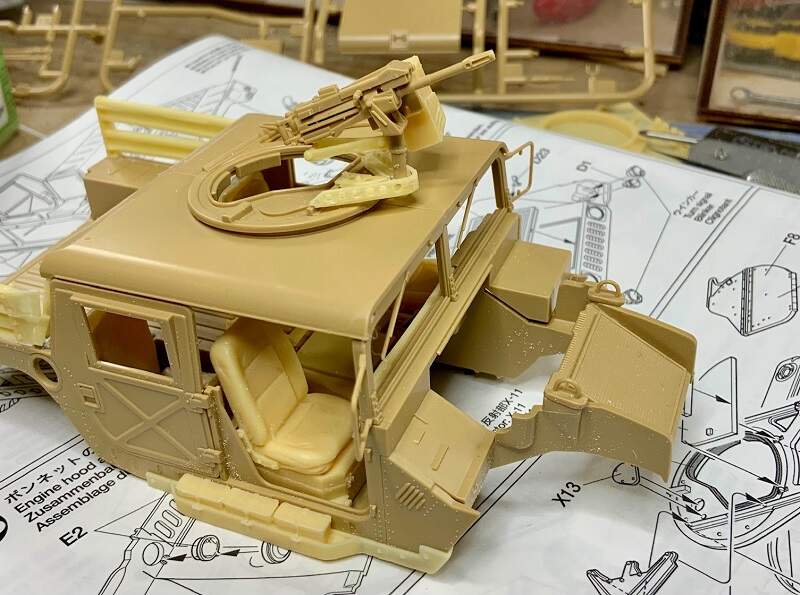
For the rest of the pictures, very little is glued permanent, since the interior will need a lot of detailing. As usual with Tamiya, most parts fit like Lego.

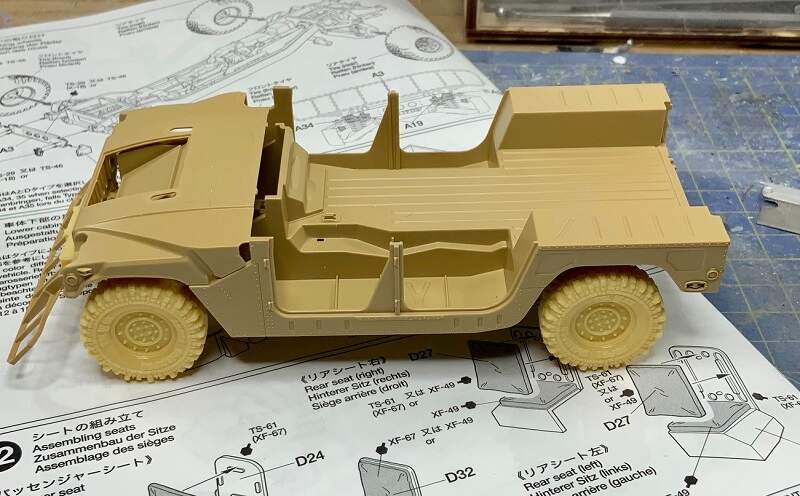
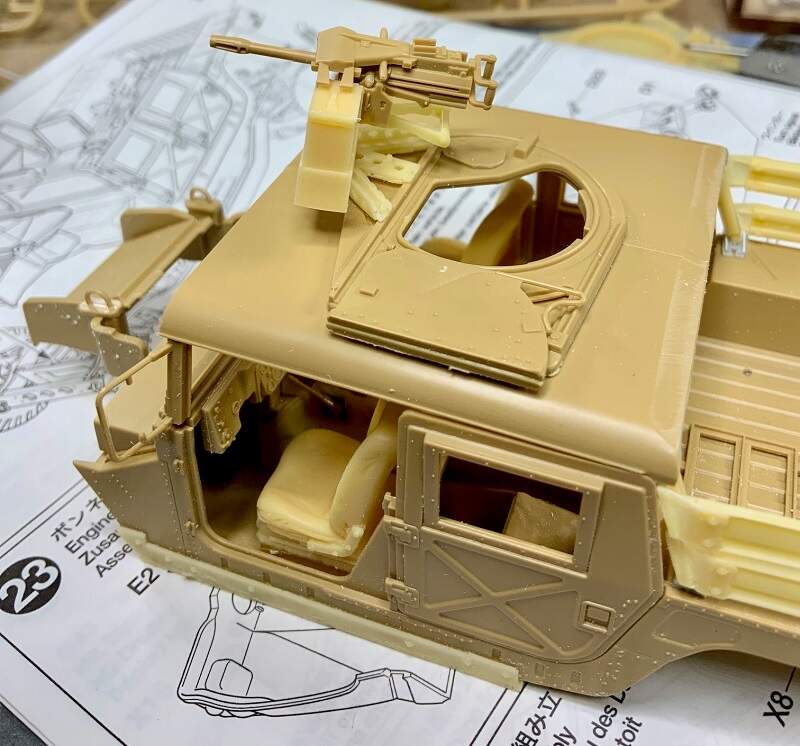
I have started with the interior, mainly seats and dashboard. The radio will be a Harris 117F. The roof has been cut and so far most things line up.

One of the main issues in Vodniks review is the weapon platform for the main gun. Tamiya is supplying an older version and the correct version should be a lighter version not supplied by the Pro Art kit. I have yet to see a picture of how it should look and I guess I will go with the original Tamiya part since I’m not very interested in buying additional parts for this build.

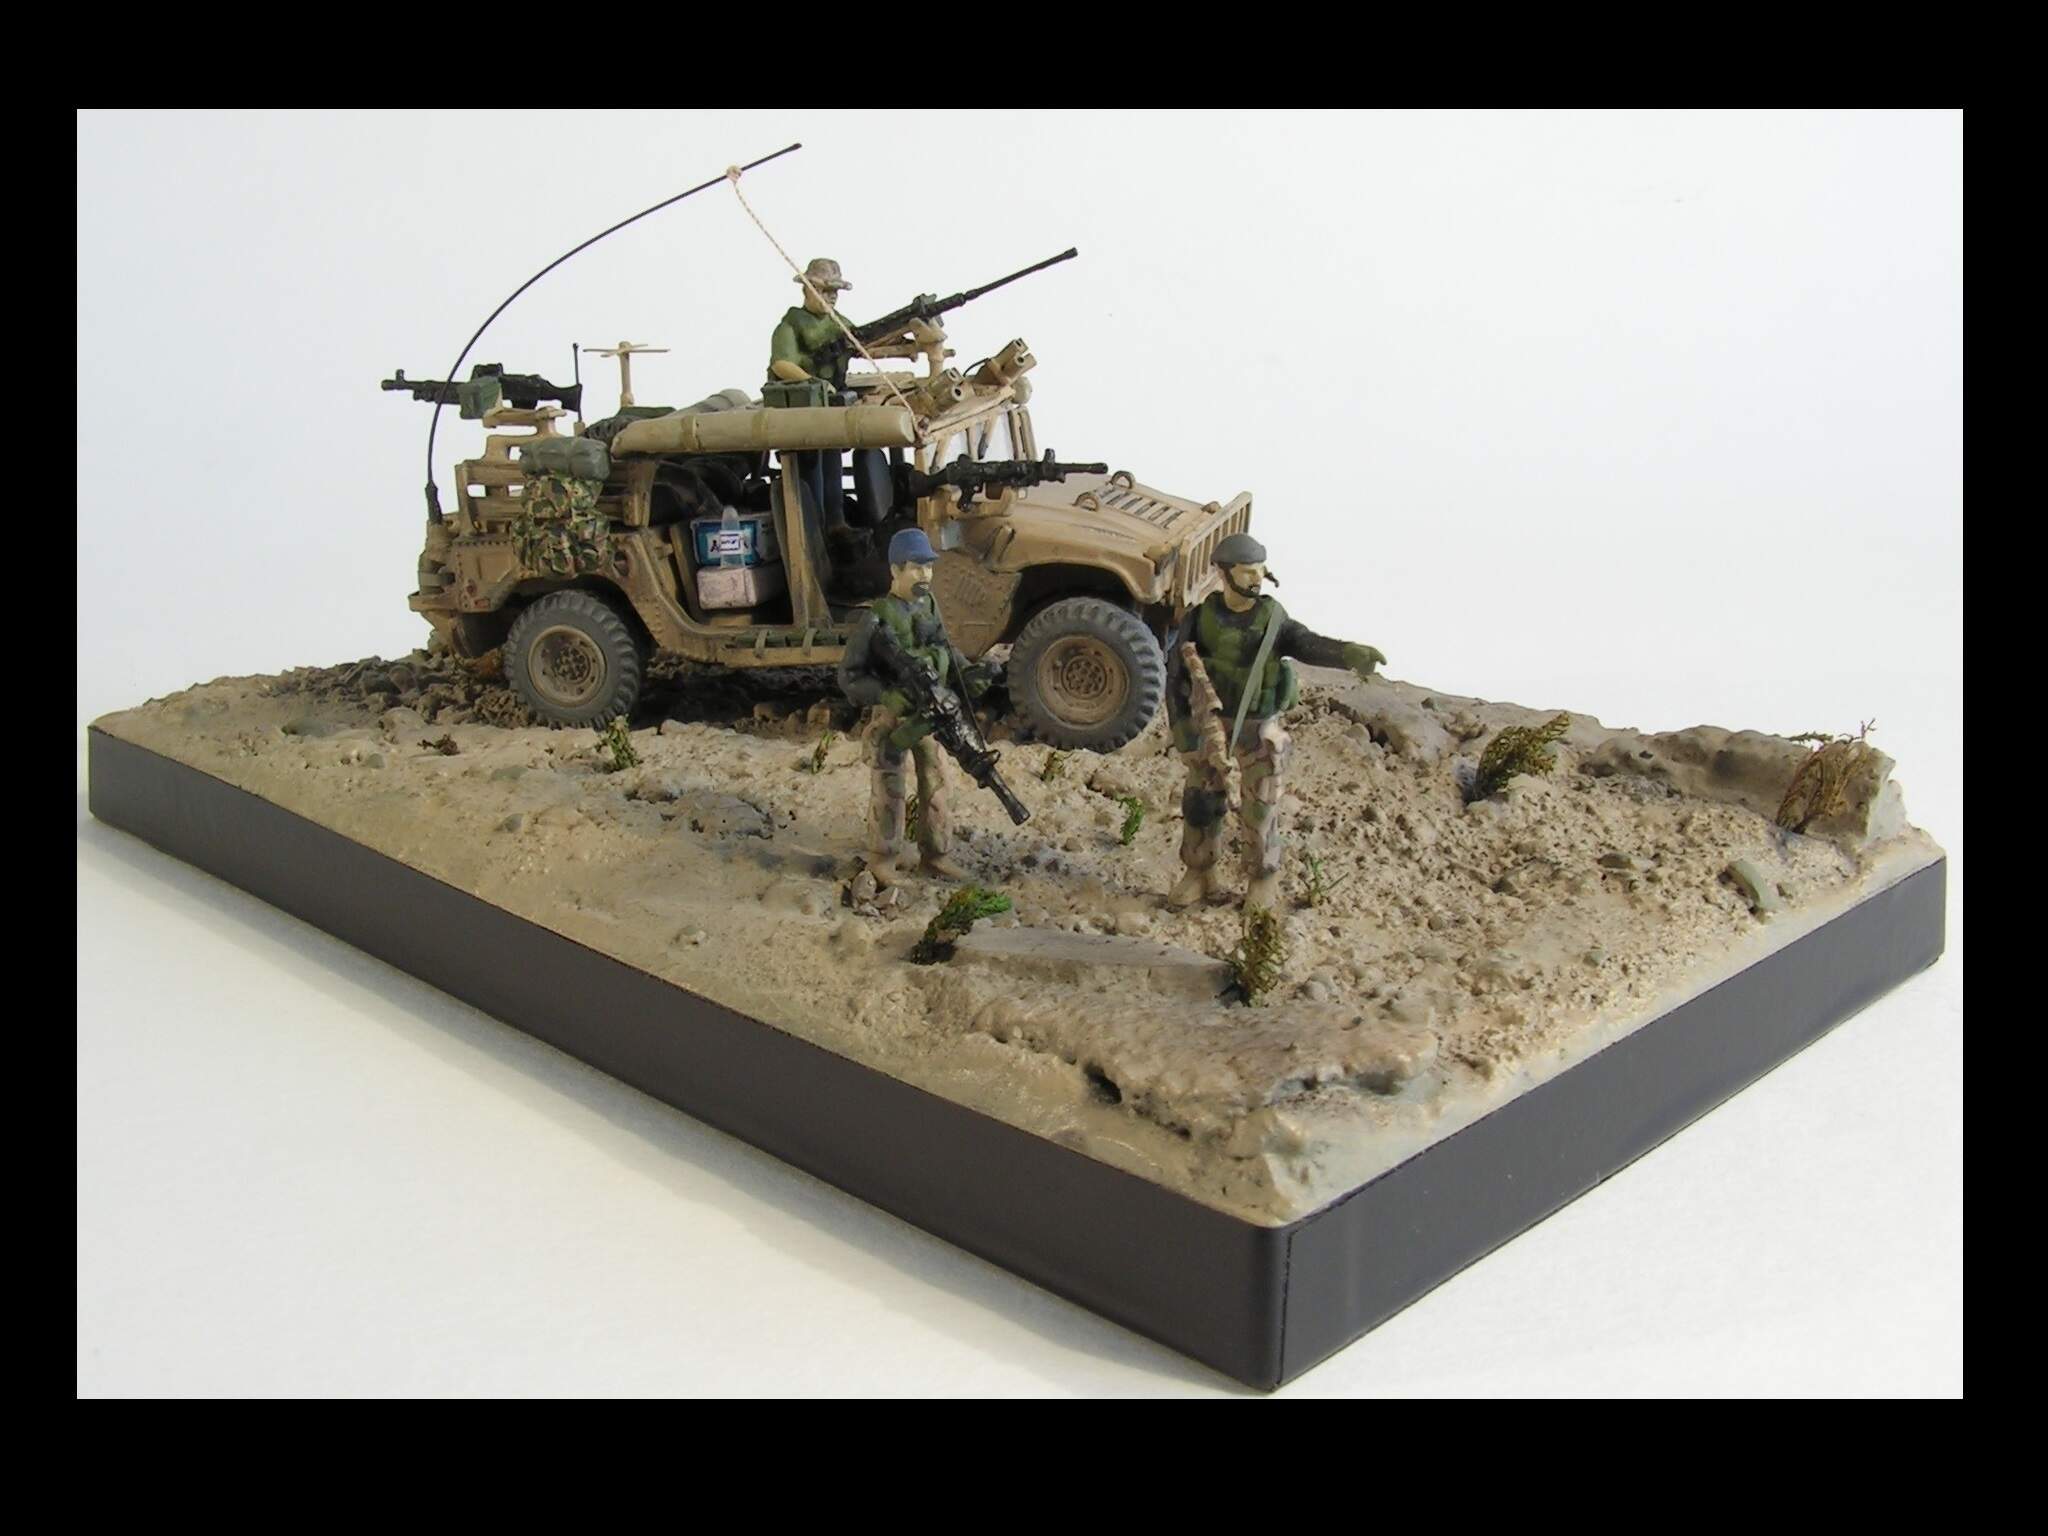
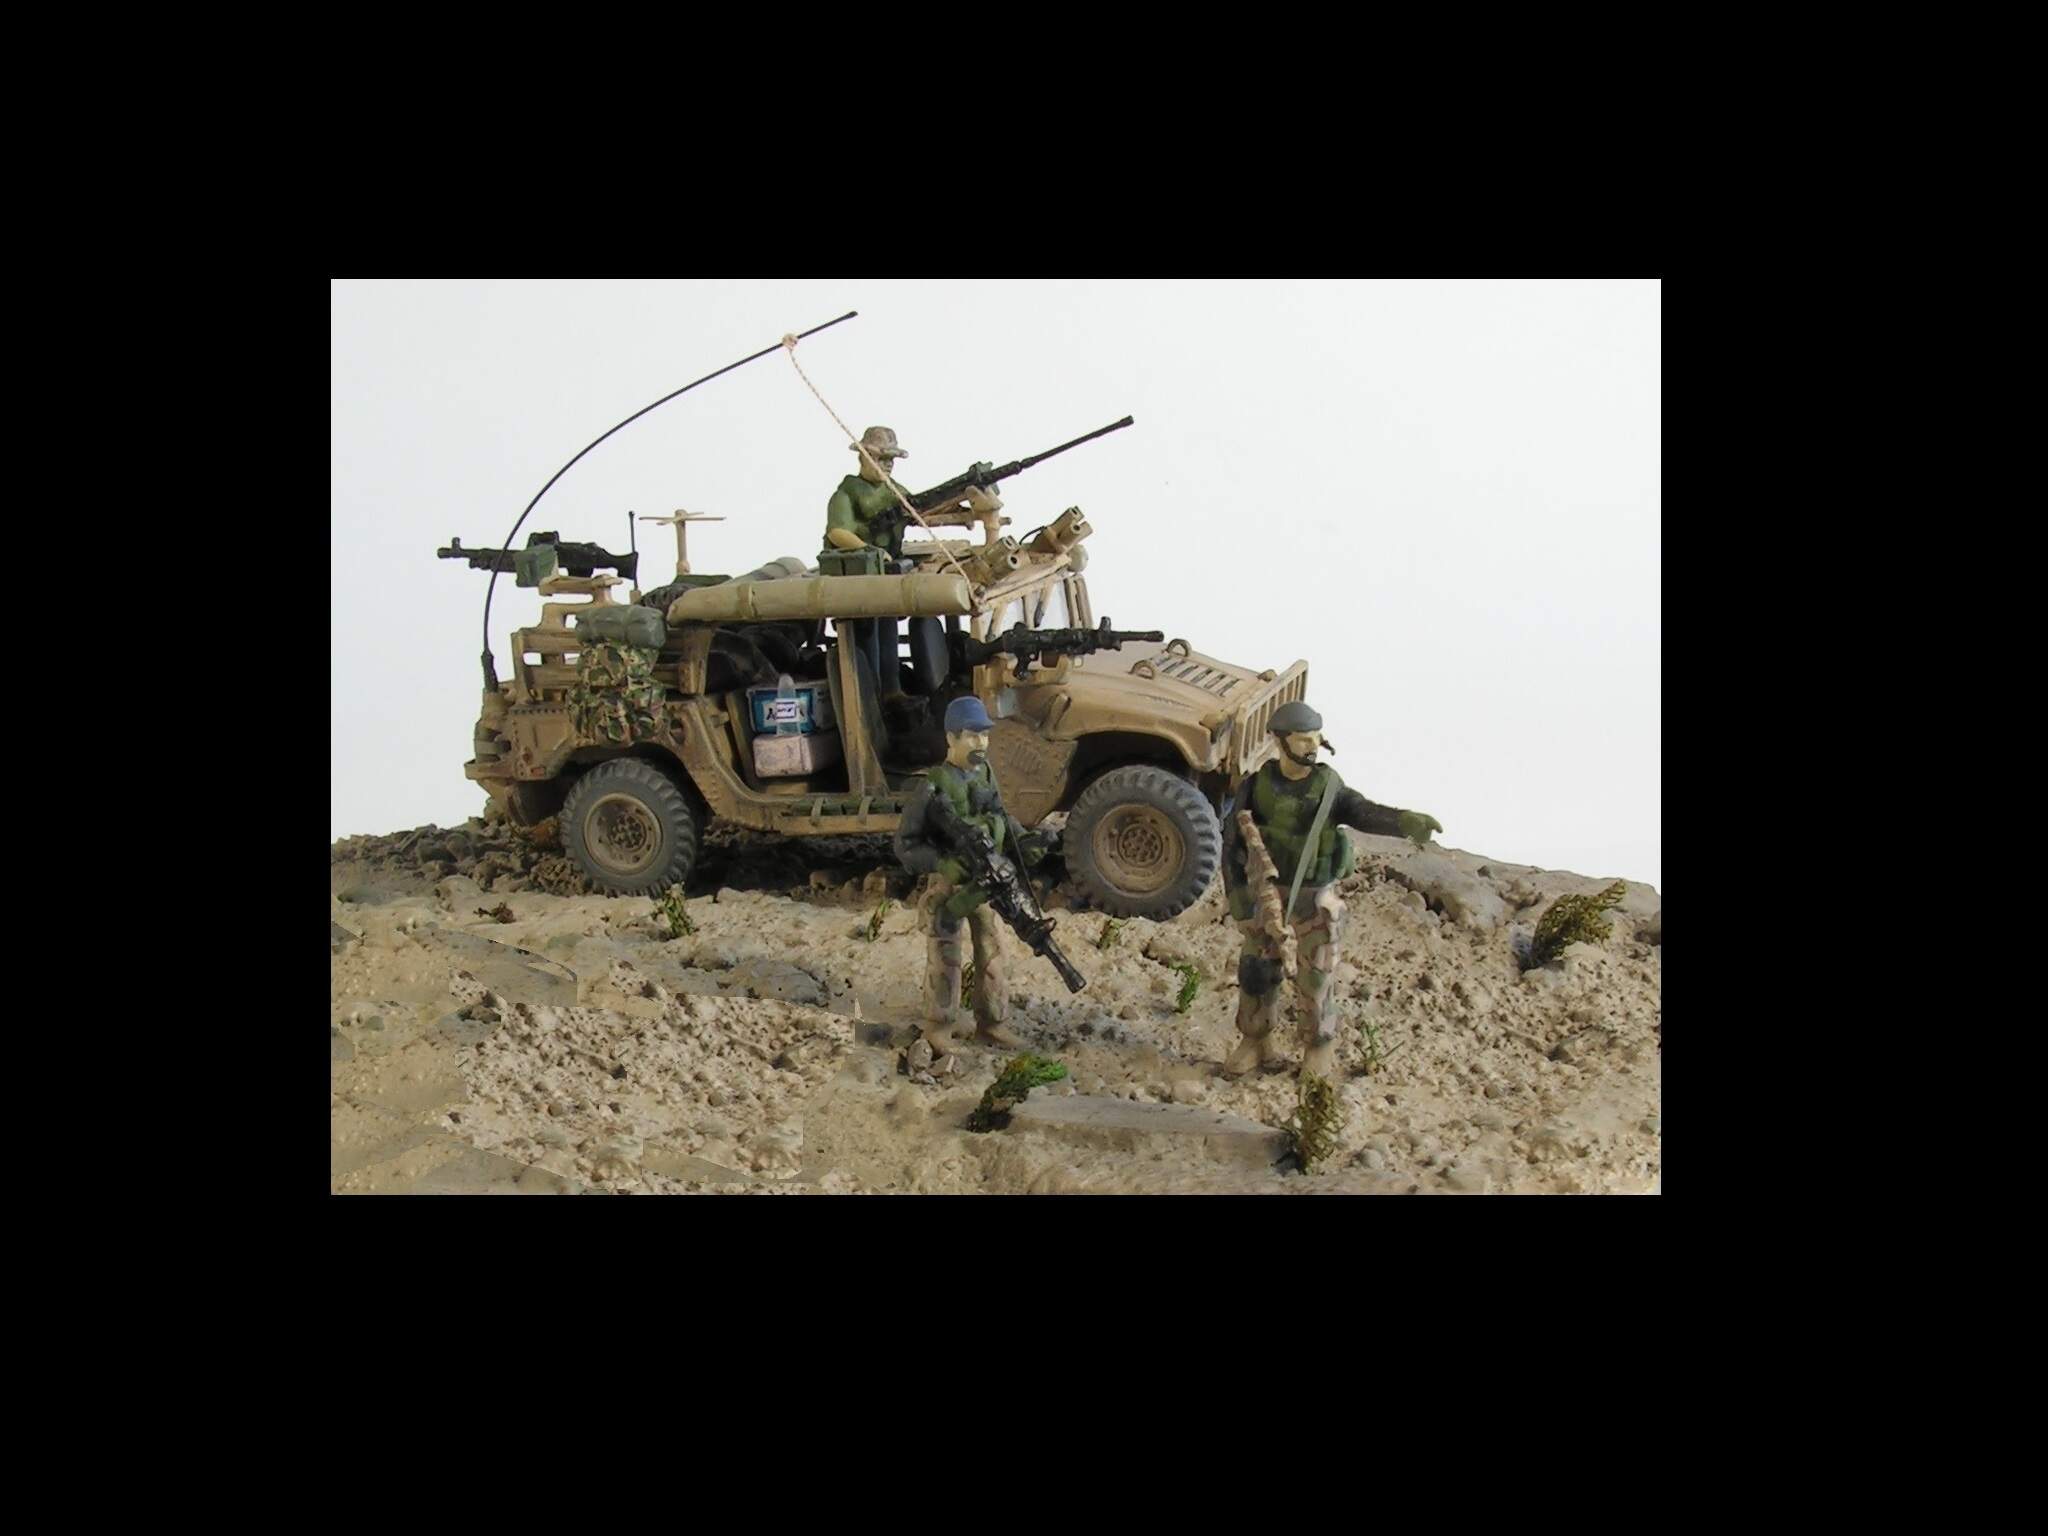
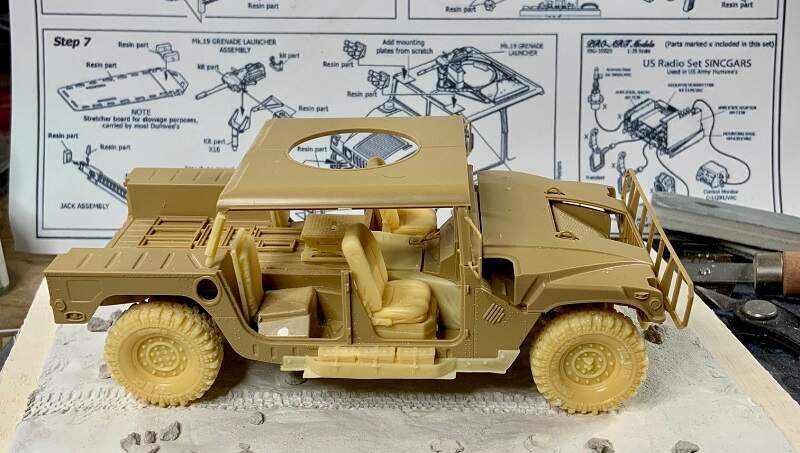
I prefer to have all my models on a base, since they are much easier to handle when finished. Base is made from an old box of dried figs and air drying DAS clay. It is still work in progress.

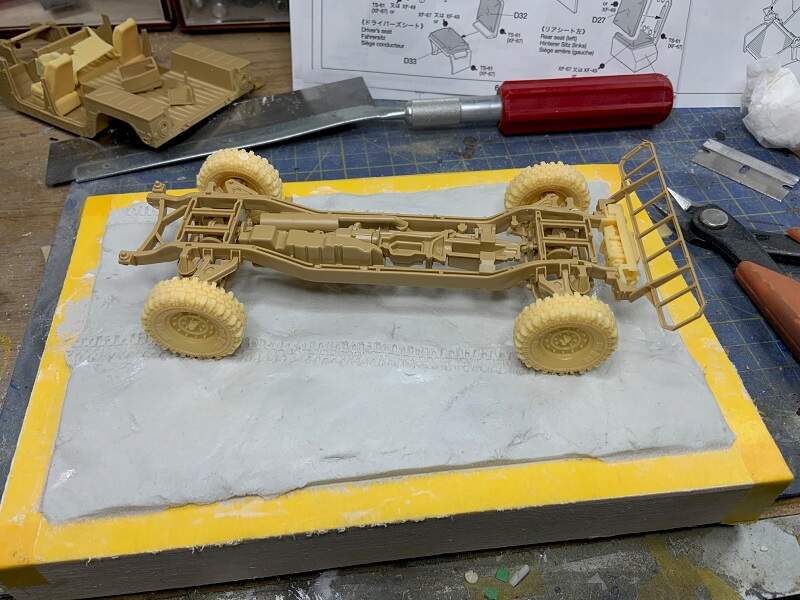
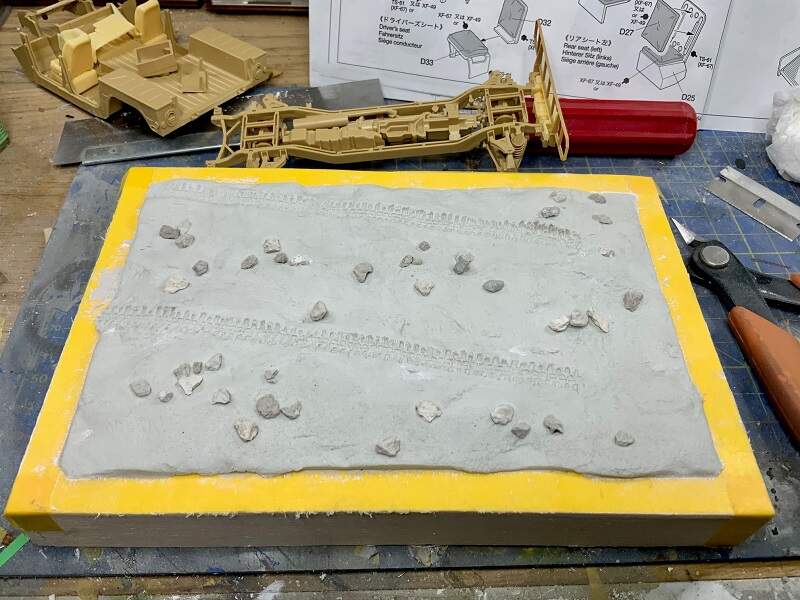
At the moment a mock up of the kit looks like this. Nothing is glued permanently. As stated ealier any advise is must welcomed.

9 Likes

Wonderful start Erik. The resin bits look very nice and crisp detailing on them as well. The initial groundwork looks very good. smashing work :+1:

1 Like

Great work so far. This should be a fantastic model.

2 Likes

Yepp, there is nothing wrong with the detailing, but the way the parts are casted is a bi**c. For the slats below the doors I first had to separate the two pieces with a razor saw, then I glued them to the body with super glue and finally grinded them down with a motor tool before finishing with a sanding stick…

1 Like

Thats why we love modelling lol … :grin: :rofl:

3 Likes

dumvee is…dumvee. That’s all… :wave:

Looks very good. Be careful with the location of the wheels, front and rear have different hub.

On this picture, you are right.

On this picture, you are not right.

4 Likes

looks really good.

2 Likes

@erik67, Looking good, the Pro Art kits were sure nice- a tough find these days.

Regarding the tires, as I recall reading, the Super Swampers were indeed used, but, as you can see by the tread pattern, are designed for strictly off-road use, and are not well suited for carrying a heavy load or traveling long distances on highways. As such, they apparently began to delaminate with prolonged use in theater. And as I recall, they were eventually prohibited for use - who knows? maybe urban myth, but being familiar with the tires, I suppose it could be true.

The tires shown on the Tamiya box are, if I recall, Goodyear RTs, which are bias ply and strong. There was a later version used (which I can’t recall the name/brand of, but shown in the picture above), and eventually a different Goodyear tire - maybe an MT? which is a radial. Each of the tires I note were made for civilian use, but I’m not sure about the version I can’t remember the name of -

As you are doing an early version of the rig, the Super Swampers seems reasonable, tho only the opinion of an off-road enthusiast who has built a few of this HMMWV variant - :wink:

Cheers
Nick

2 Likes

Thanks, I had not noticed that. Luckily the tires are not glued so that is an easy fix.

1 Like

Good and useful info, Nick. Thanks a lot.
As for the Pro Art kit, I bought it many years ago when it first came out. To my knowledge Pro Art Models is out of business now.

1 Like

Erik67,

Excellent work so far!
I completed a similar subject some time ago, but in 1/72 scale.
The base kit was from Revell, with resin and white-metal conversion parts from Friendship Models.
The figures were built from various spares-box items.

Paul


3 Likes

i like it. I think I’ve used one of those a time or two. I’m not aware of any reinforcement, but there are some armored panels inside near the driver’s and TC’s feet. They probably don’t appear in many photos, but if you add them you’ll notice the difference. I’ll send them to you if you like.

1 Like

Impressive work in 1/72 scale. I thought of doing the same thing since I´m a big fan of braille scale,

That would be great if you get the time to do that.

PM me a good email address and I’ll send them today.

Willco!

Sent. Note that right and left sides are different.

This is the GMV at the SPECOPS Museum at Ft. Bragg. Super Swampers it is. Early on at least.

1 Like

Recieved! Thank you!

@18bravo was so kind and sent me some pictures of the extra armor which is attached beside the driver and front passenger. I scratched the armor from styrene, Tamiya tape and some leftover bolts. The bolts are a bit over scaled, but it is what I had in my spares box.

Same armor with a coat of primer. I think they turned out okay.

The Tamiya M1025 comes with no accelerator or break pedal, so I found a reference picture and made something that at least look like pedals… Anyway, they will be hard to see with a driver figure in place…

5 Likes