Looks good so far! I’ll keep an eye on your building
Regards
Carlos
Hi All,
I’m following this build with great interest as I’m just starting on this kit and trying to improve accuracy using suggestions on this site and David Byrden’s site. I’m a long way behind so please excuse late replies to different posts as I try to get advice and info. I’m bit of a novice jumping in at the deep end … and progress will be slow as I try to find time for this project.
Kind regards,
Andrew
Taking note from Tiger1.info for a late Tiger, I’m not including the thinner duct. The wider duct I truncated at the fan and filled in the spaces for the ducts in the firewall. The floor strut part A31 is cut away for both ducts, see build photo 14.
Should the area for the thinner duct be filled in such that the cutaway resembles part A32?
Thank you so much for the advice on placing the shock absorbers. It is difficult enough to manouver the firewall in place with an empty hull.
Concerning the steering, brakes, accelerator, clutch mechanisms. Where can I find info on those details for a late Tiger I? I have the Saumur interior photos and the gear is quite a mess to figure out what goes where and what is missing or broken away. I have several other sources but not all are reliable for a late Tiger. Maybe David Byrden has info on this?
Thank you for considering my first of many questions.
The only Shocks you need are the front ones, The rear are under the fuel tanks and can’t be seen.
If you leave the rear ones off it should be easier to position the fire wall.
The duct work is as the instructions, The big one goes back to the engine the small one goes to the back of the transmission .
The Clutch & other pedals are way under the Transmission Drive shafts to the side. You aren’t going to see them much if at all.
Regards
Donald
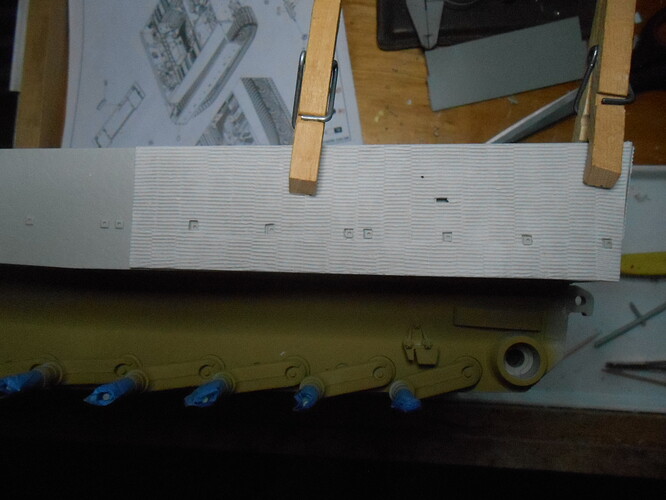
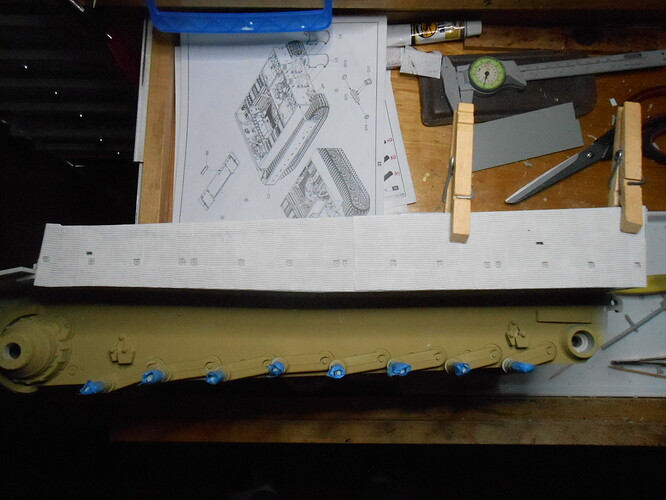
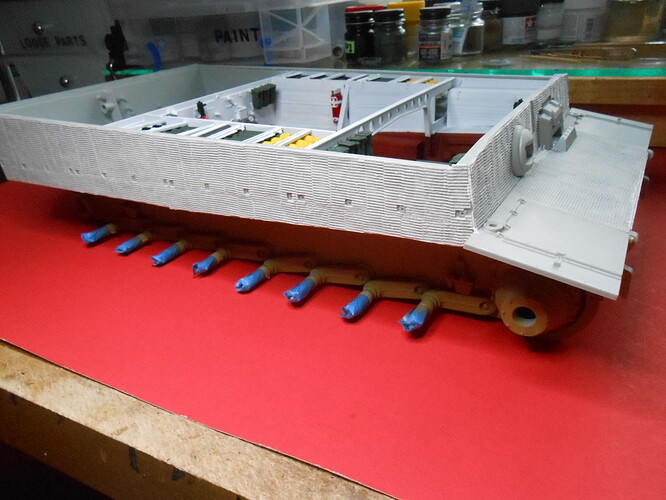
Well I started installing the ATAK Models Zimmerit, it is very nice but it still requires a little fitting here and there.
Lining up the side panels is a little tricky. I used some clamps to hold the rear panel in place after making Shure everything lined up.
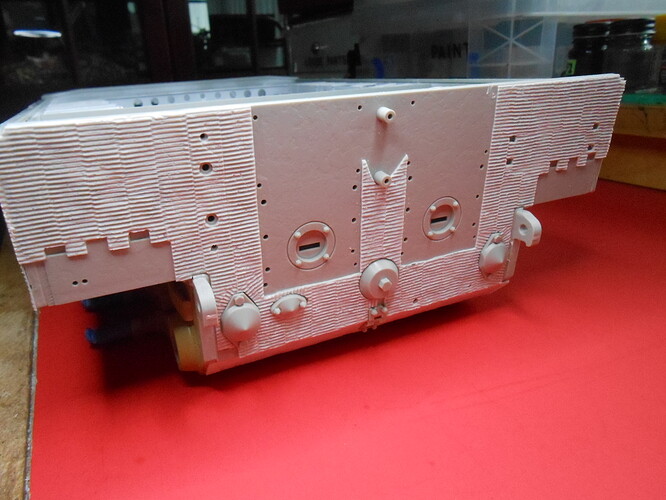
Then installed the front panel, doing the same to make shure everything lines up.
For the rear I used the kit parts to place the panels after trimming them to fit
The Front was a lot harder, having to fit the parts around the Ball Gun and Drivers Visor.
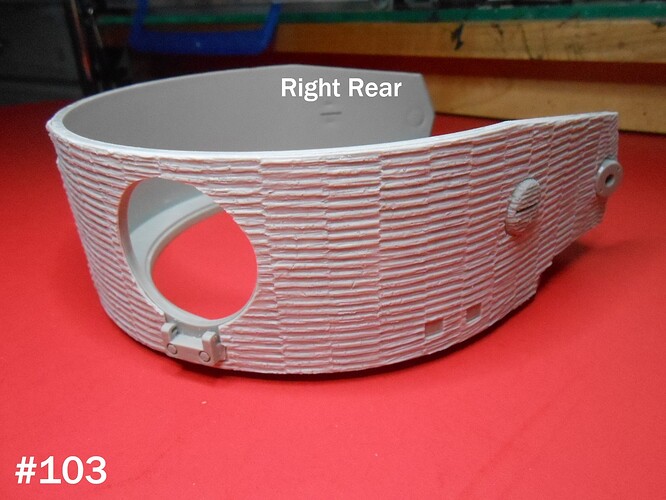
I’ll be putting the Zimmerit on the Turret next,
(NOTE) I think that this Build is going to be my last, I am getting to clumsy and forgetful.
Regards
Donald
Donald, the zimmerit is looking great! All of your work looks high quality A++
Thank you, but I am getting older and more tired.
I’ll be 78 next March if I live that long, it just gets harder and harder to keep on going.
Donald
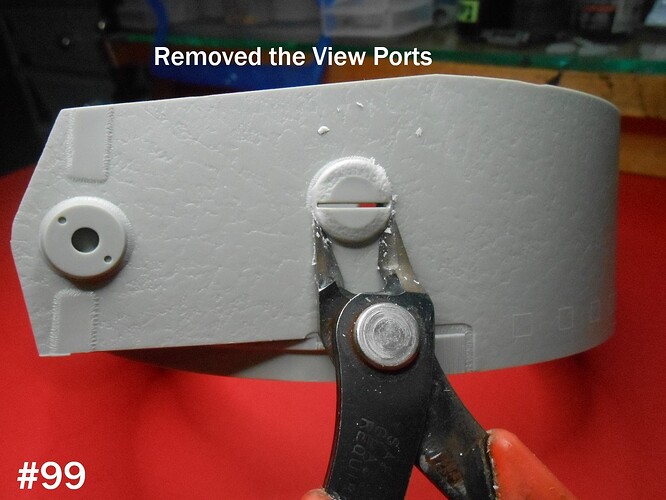
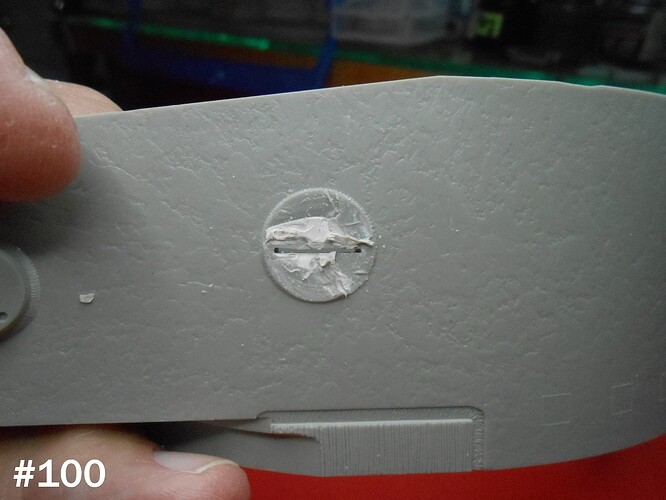
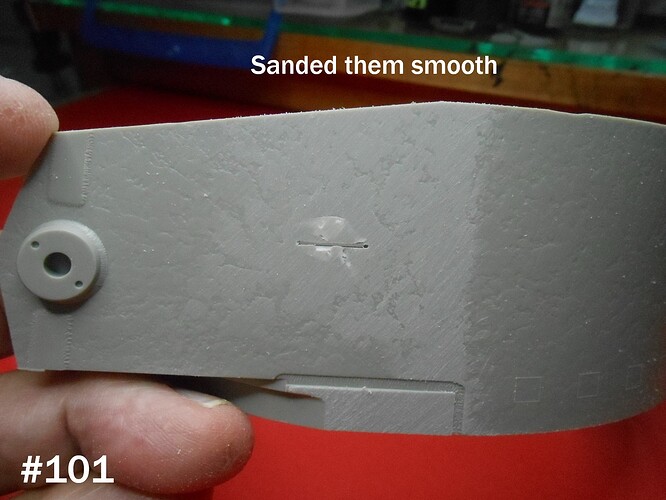
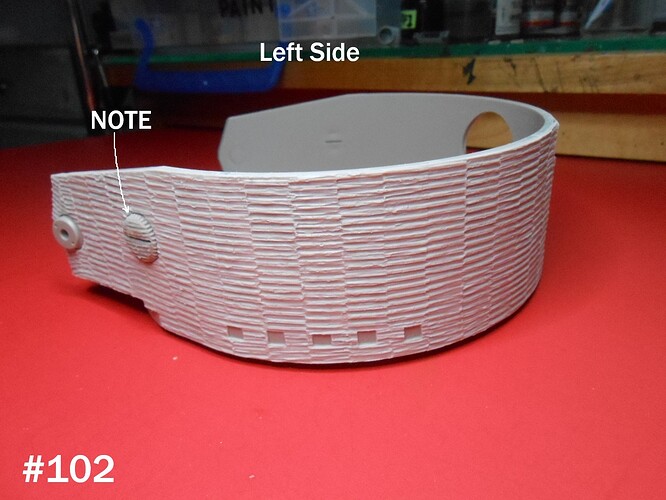
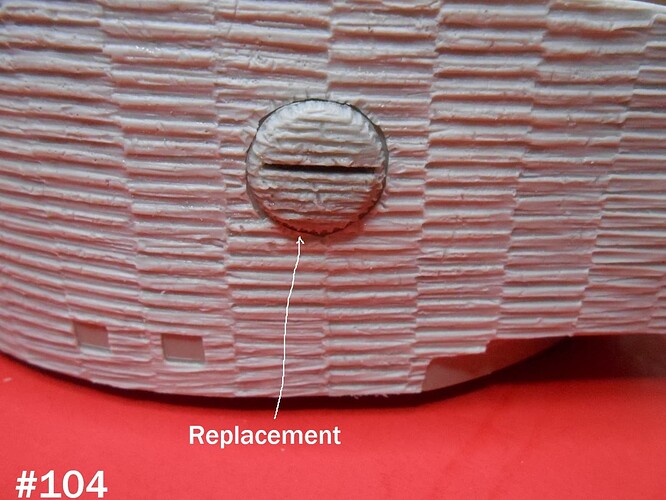
I have the Turret Zimmerit installed. I’m not working on the Turret yet, I figured to get it out of the way, just in case I screwed it up and trashed the Model.
The Zimmerit set has View ports for the turret, which means you have to remove the molded on ones.
The Zimmerit came out pretty good.
Now back to working on the Hull, Engine deck.
Regards
Donald
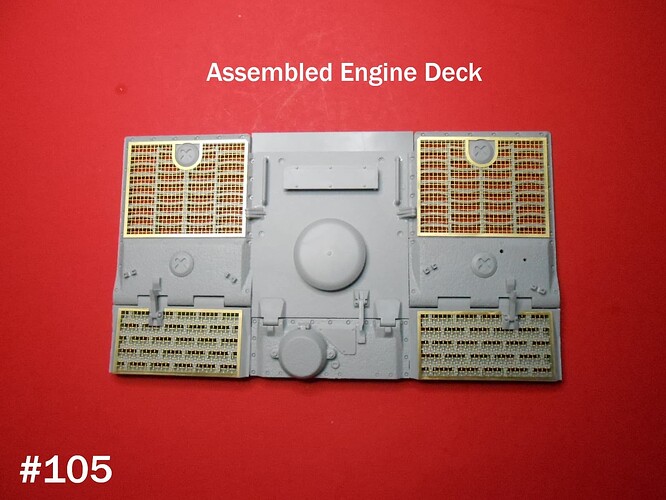
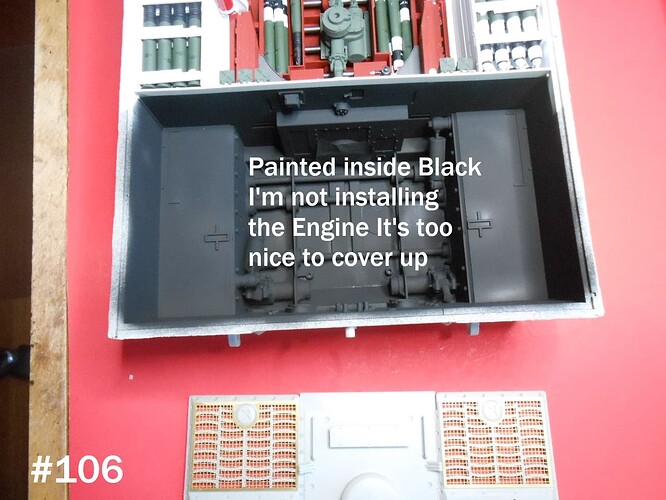
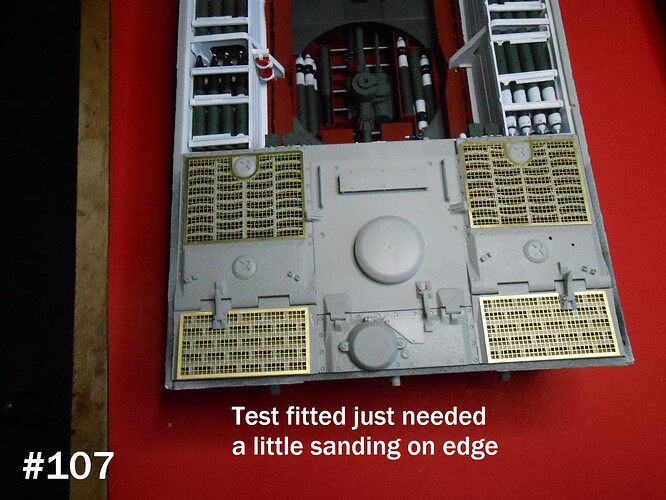
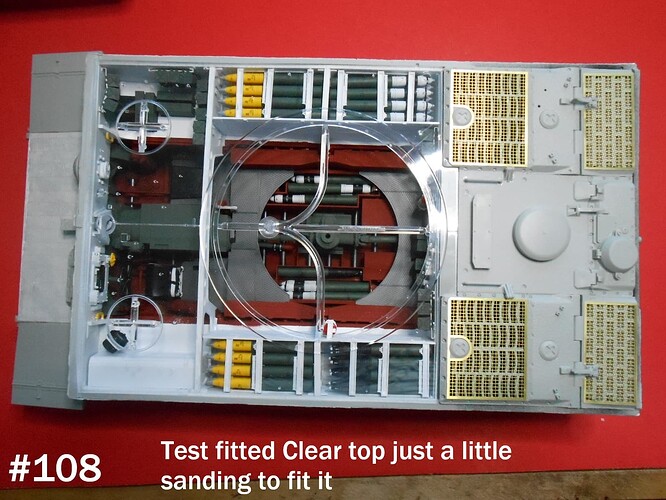
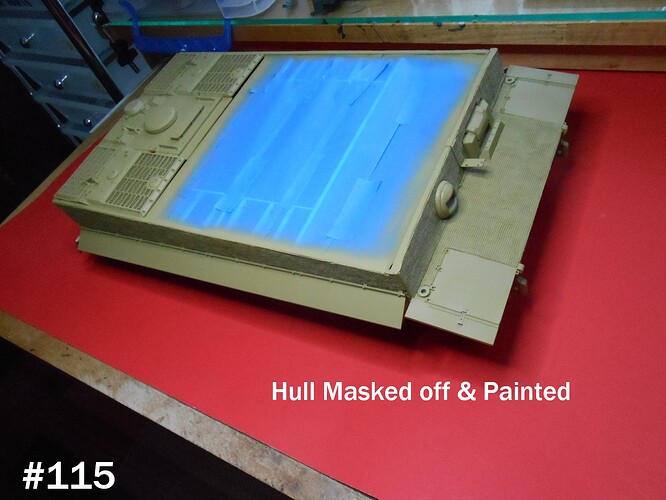
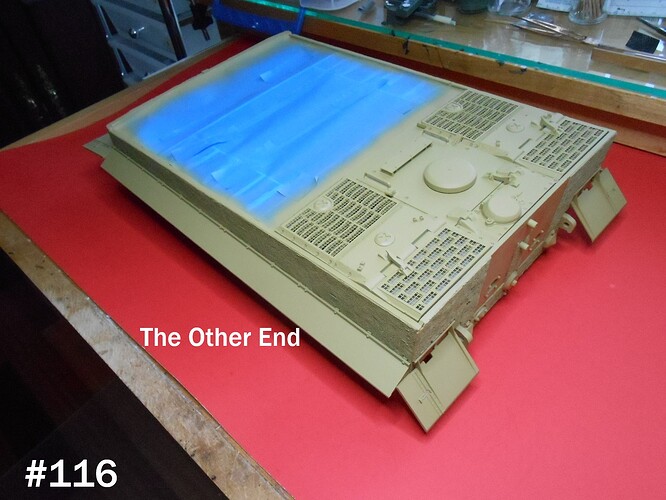
I assembled the Engine Deck, and painted the compartment Black.
The Deck fitted
The Clear Deck fitted
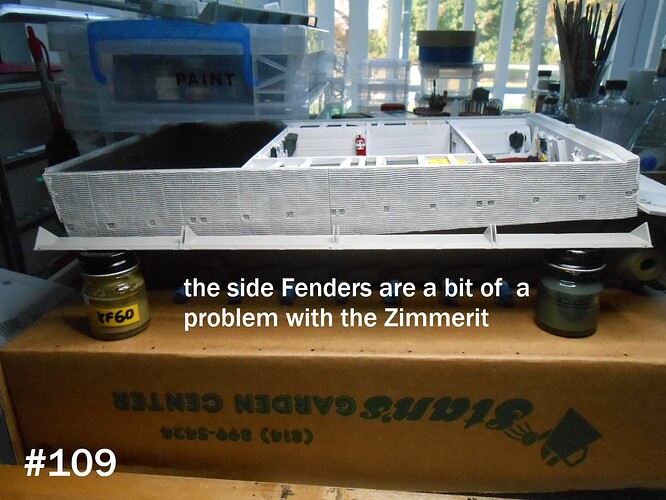
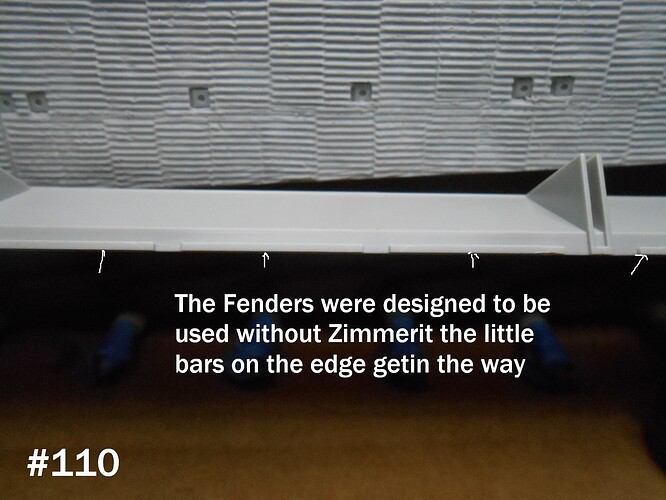
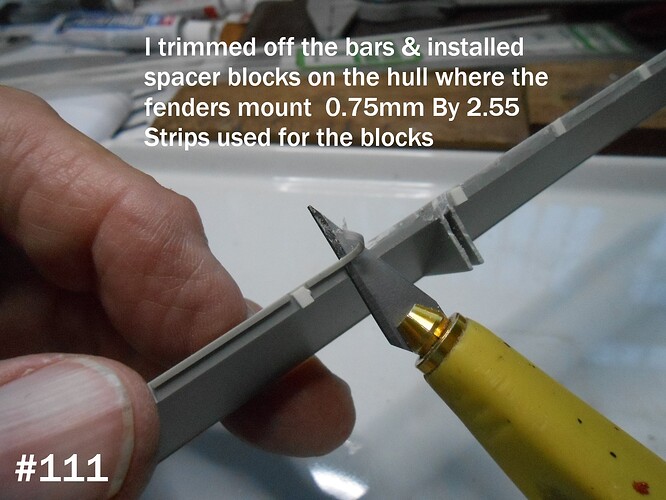
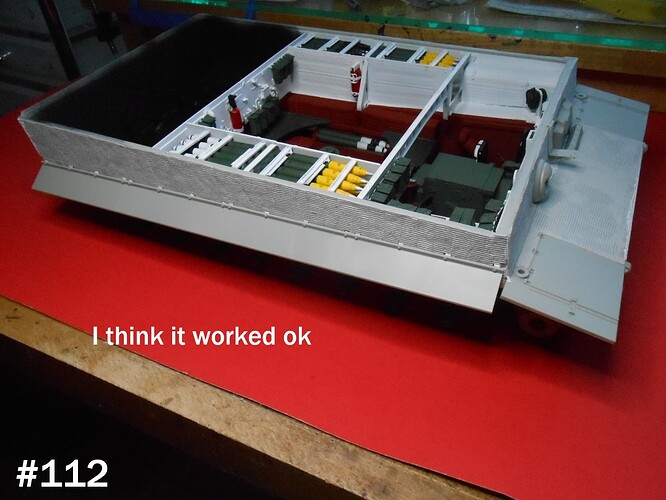
On installing the Side Fenders, well that’s a little more complicated.
The Zimmerit raises the surface about level with the Fender Mounts.
Finished for now.
Donald
I think you picked the right way to work around that little issue. Looks good.
Ken
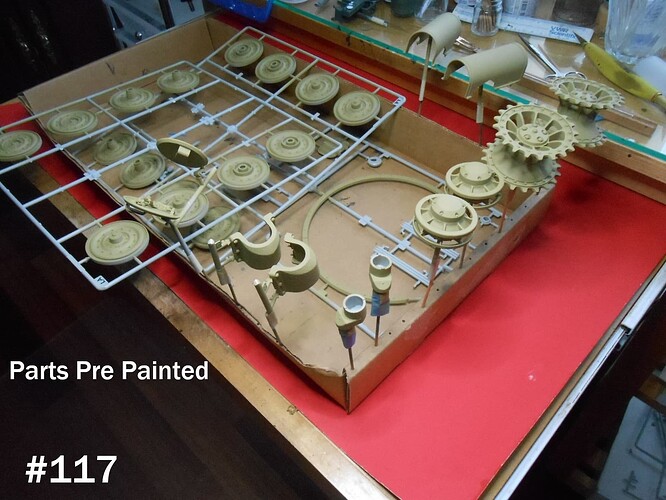
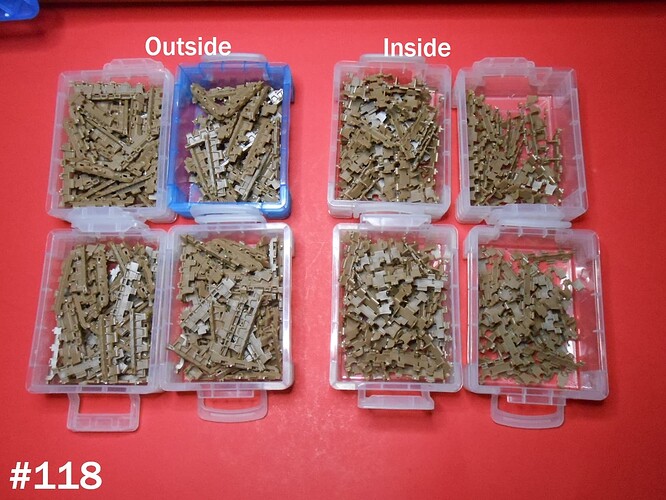
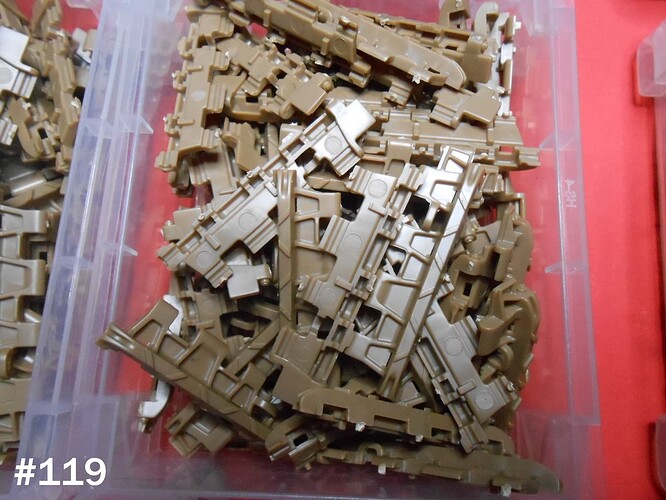
Cleaning up the Track, only about 1 Million Pieces.
There’s a lot more work cleaning up the Trumpeter Track
Eack Shoe has 2 pieces and Pin.
Each run on each side should have 94 Links.
That comes out to about 282 parts for each side.
I’ll be busy with this for a while.
Regards
Donald
Hope all those ejection pun marks are recessed you have enough to do already.
They will all be on the inside glue surfaces, the pain in the butt is cleaning 4 to 5 sprue attachment points on each piece . 4 on the inner parts and 5 on the outer ones.
Actually I just finished that, and will start assembling the links tomorrow/
Regards
Donald
That is inner to outer then cleaning up the joints, and probably re drilling the holes for the Track Pins.
Yes I saw and just hoped they didnt project out and stop the two track haves joining correctly. Plenty work on them as is I can see. I just finished assembling the Universal carrier tracks and that was bad enough…
Keith
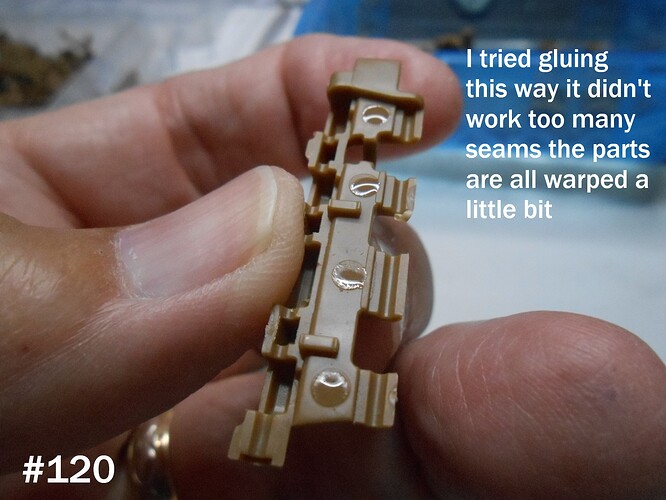
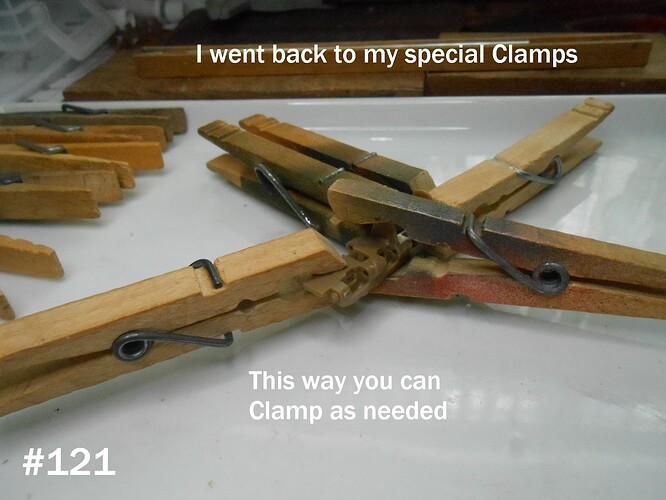
I have the Track Links assembled , the parts were almost all warped a little bit. I tried the easy way but it didn’t work so I went back to my special clamps. They worked fine, just very time consuming.
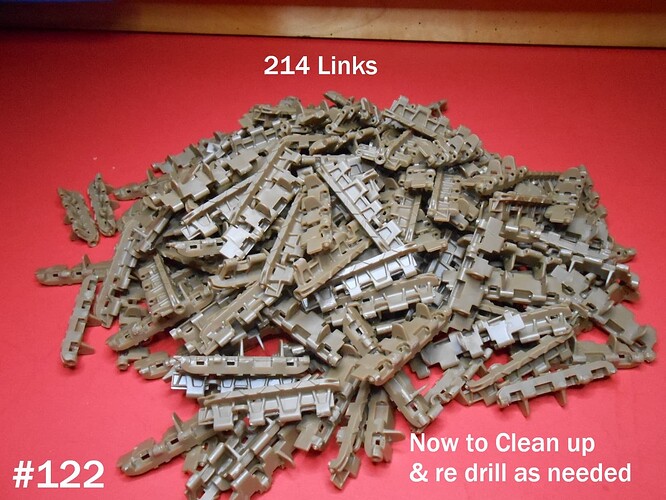
Only 214 Pieces, I damaged 2 but there’s more than enough.
Now to clean them up and re drill the holes for the Track pins as needed. The pins are metal so they won’t get broken.
Regards
Donald
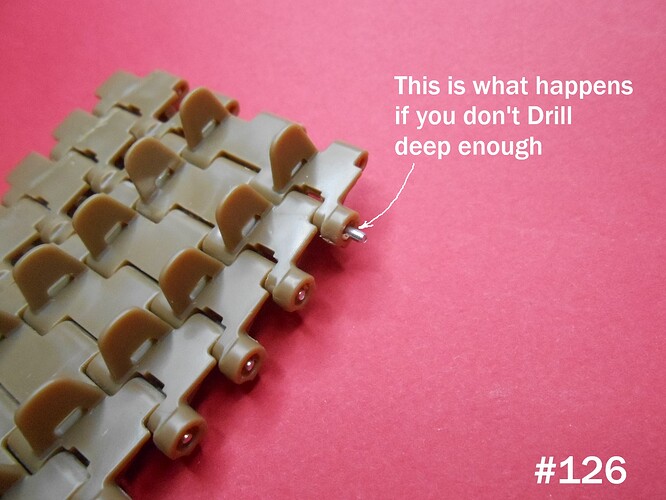
Today I drilled out the Track Pin Holes using a #55 Drill. It is very tedious to do this.
But if you put the Pin Vice in a Cordless Drill it is a lot easier and goes a lot faster.
That’s 214 Track Links with 2 holes each or 428 holes to drill.
You would think well I’ll just stick the pin in and it will be fine Right?
Well No when gluing the link halves together you are going to get squeeze out into the holes, and the pins will not fit. Don’t believe me? Well here is what the drill removed.
Hey you could just force it or Buy a Resin Printed set from T Rex at around $230
Regards
Donald
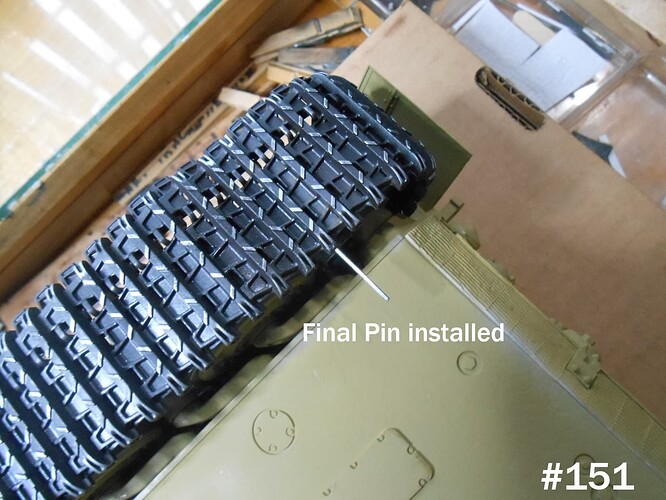
I have the Track assembled now all I have to do to it is Painting and detailing then install after the Wheels are finished. Here is how I did it.
Finished for a while.
Donald
Ps. Don’t use the thin Super Glue as it may run in where you don’t want it and screw it all up.
I have the Track Painted and ready for Installation .
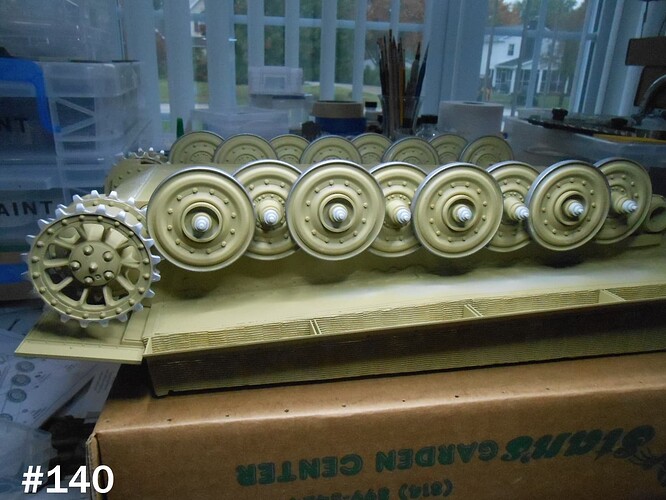
But first the Wheels.
Now the Track.
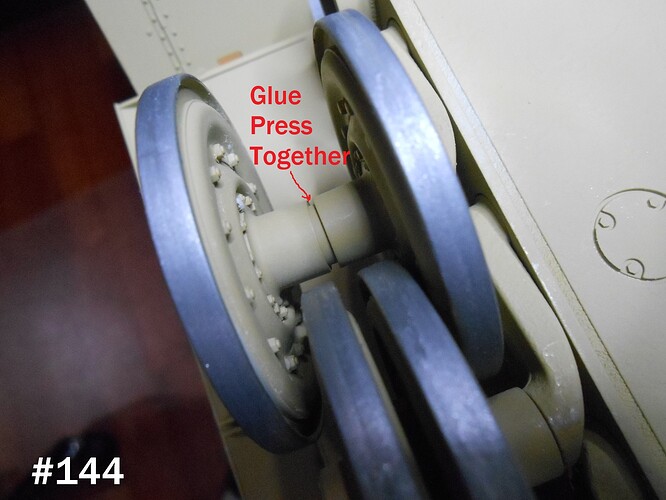
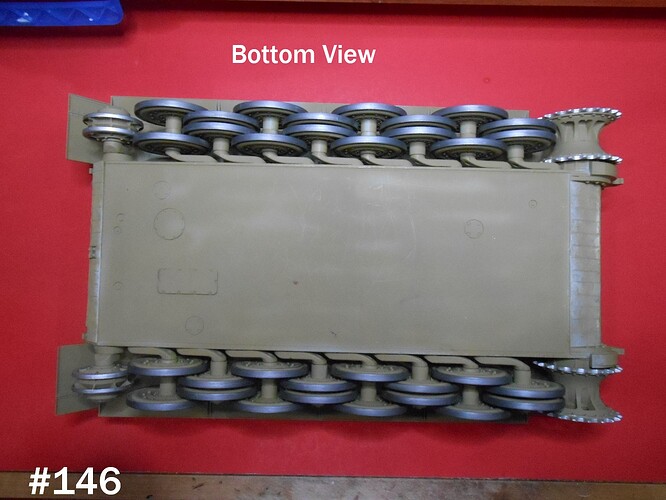
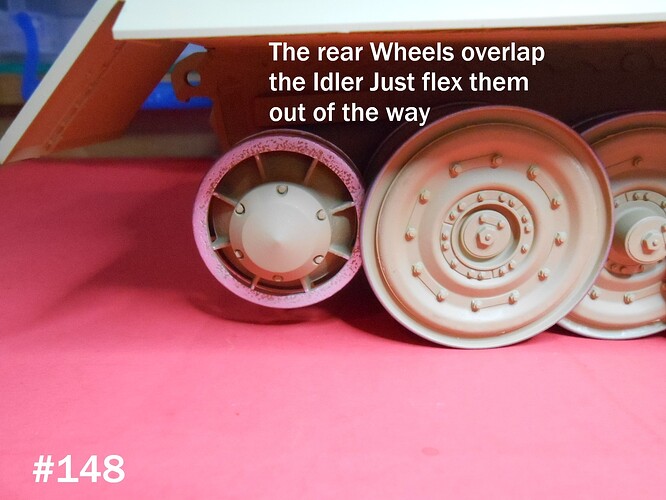
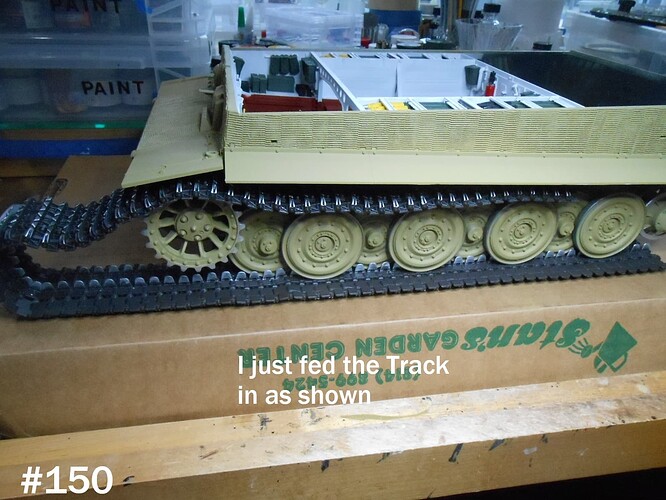
Tomorrow I’ll install the Wheels and Track.
Regards
Donald
