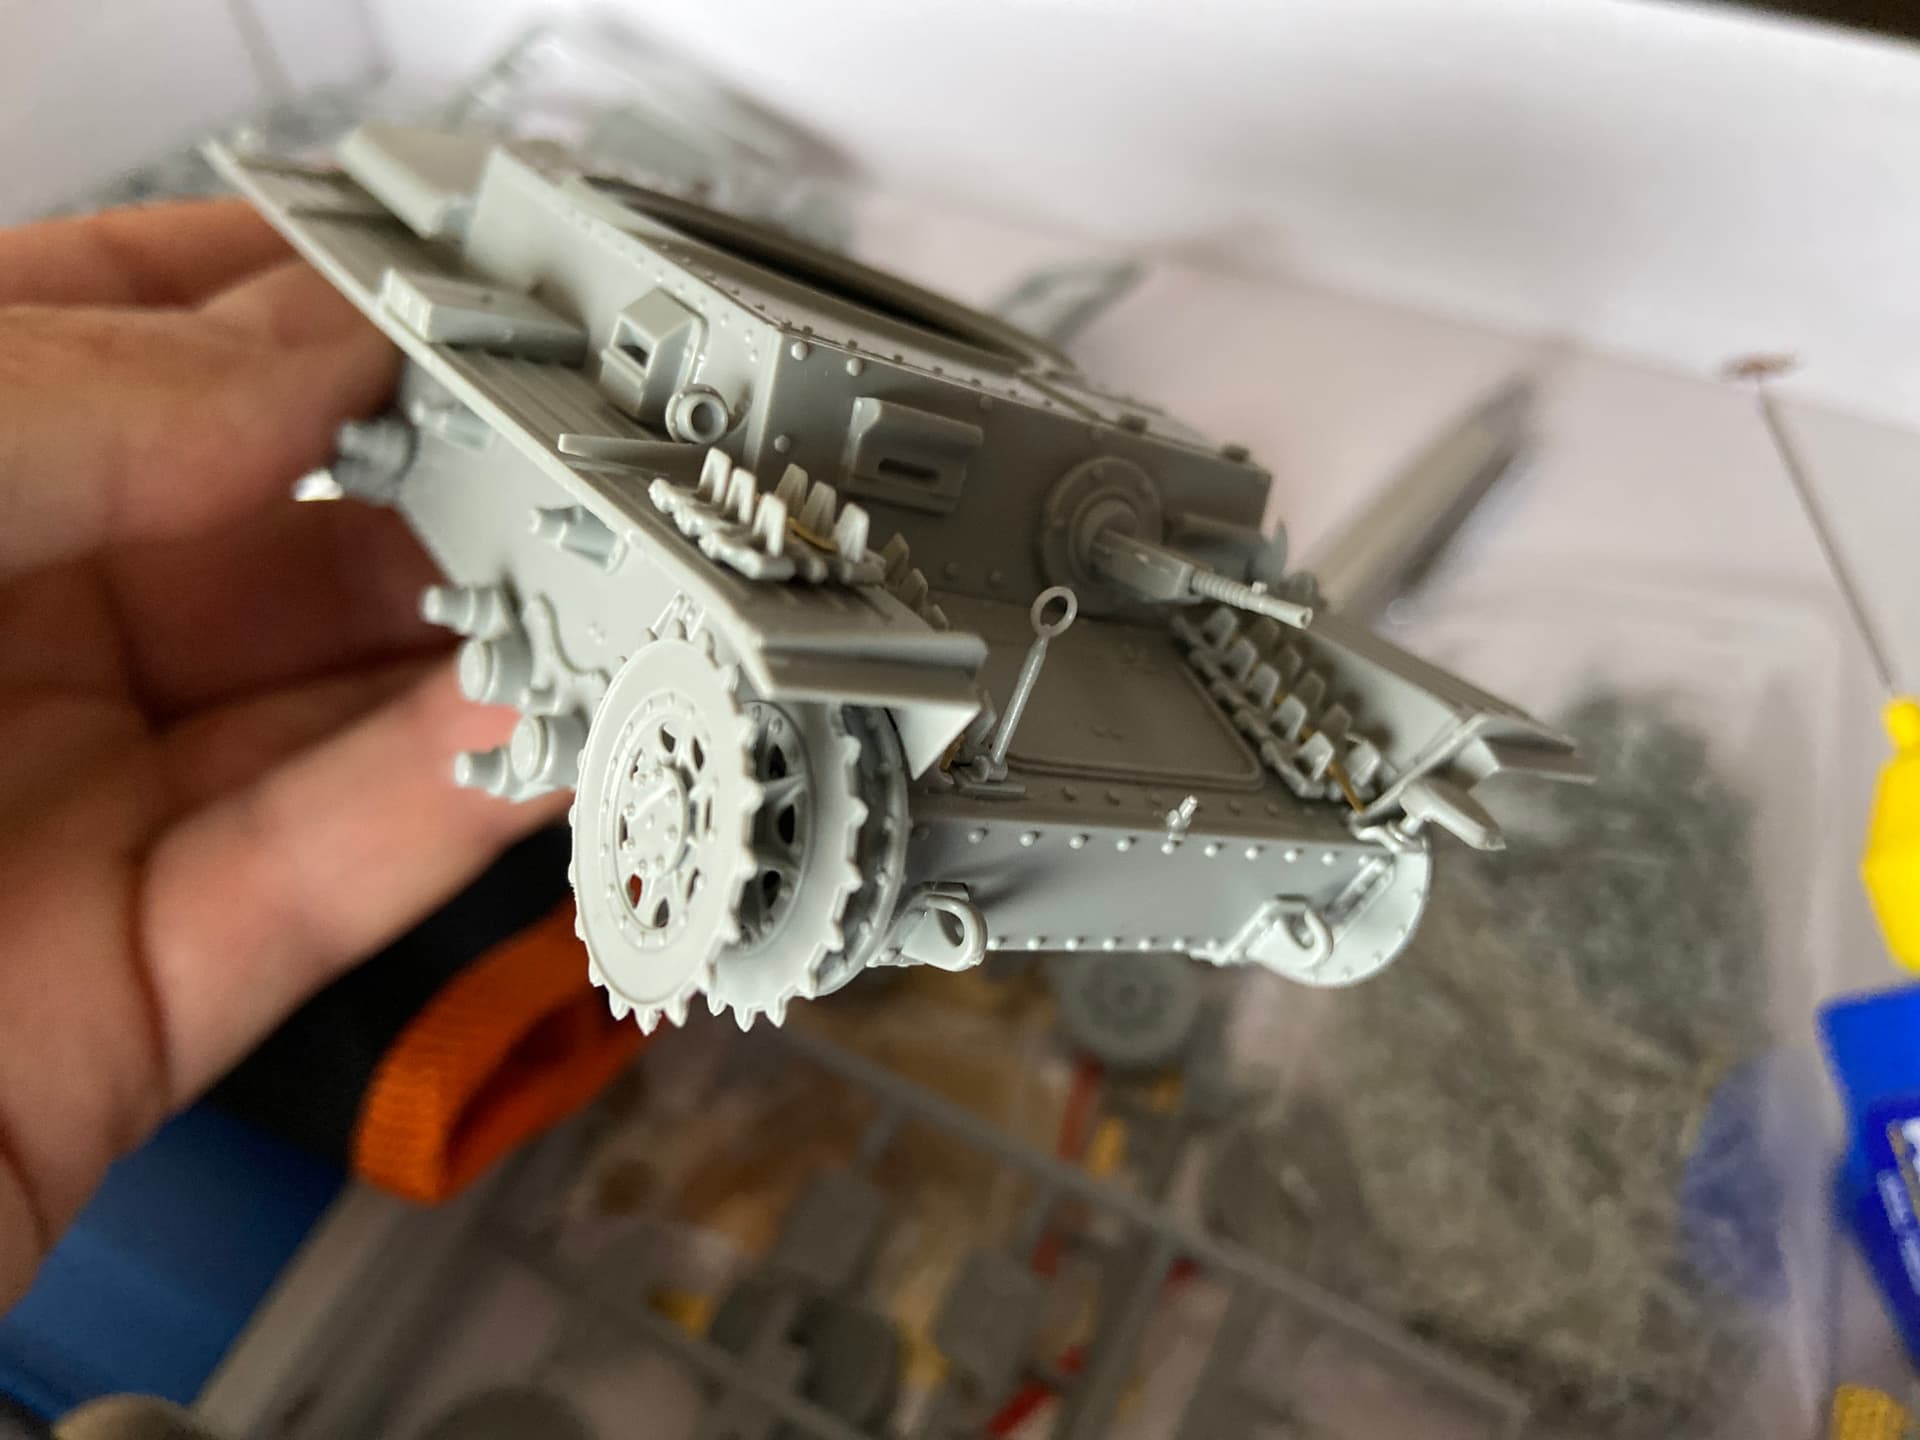
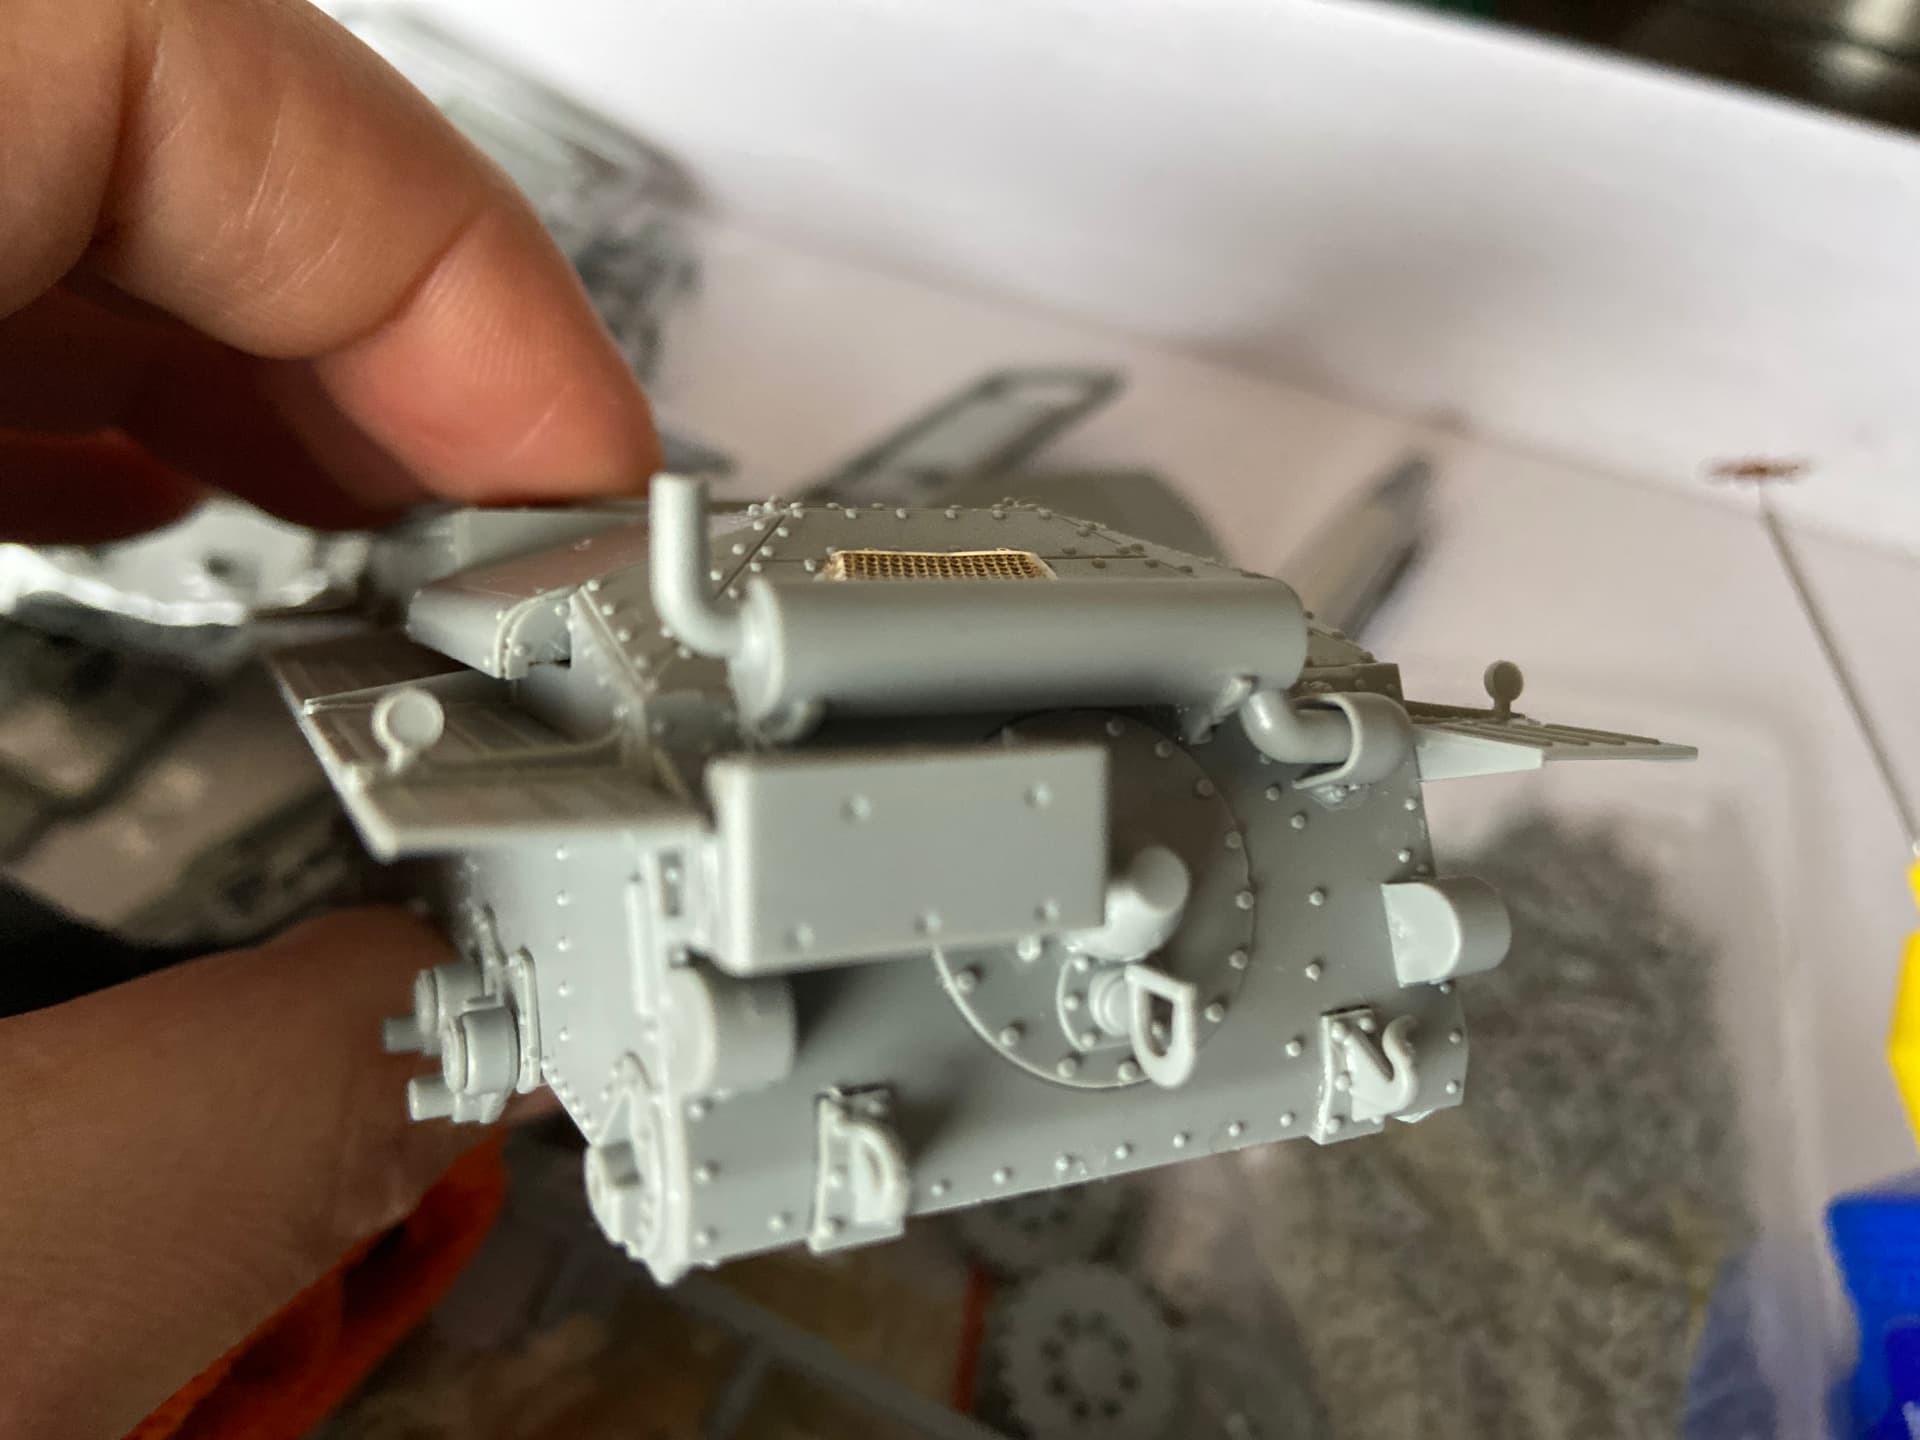
A bit more progress - the PE is not my favorite medium to work with, but it does add nice details. I will add some damage to the fender on one side and the exhaust before I fit the last details.
Unfortunately I noticed I used the wrong version of the hull front plate. Too late to fix now, but I can live with it.
Well the rain has finally stopped here, now I just need the humidity to co-operate so I can lay some paint on the Steyr. Summer in sub-tropical Queensland is not modeller friendly… it is worse in the far north tropics though.
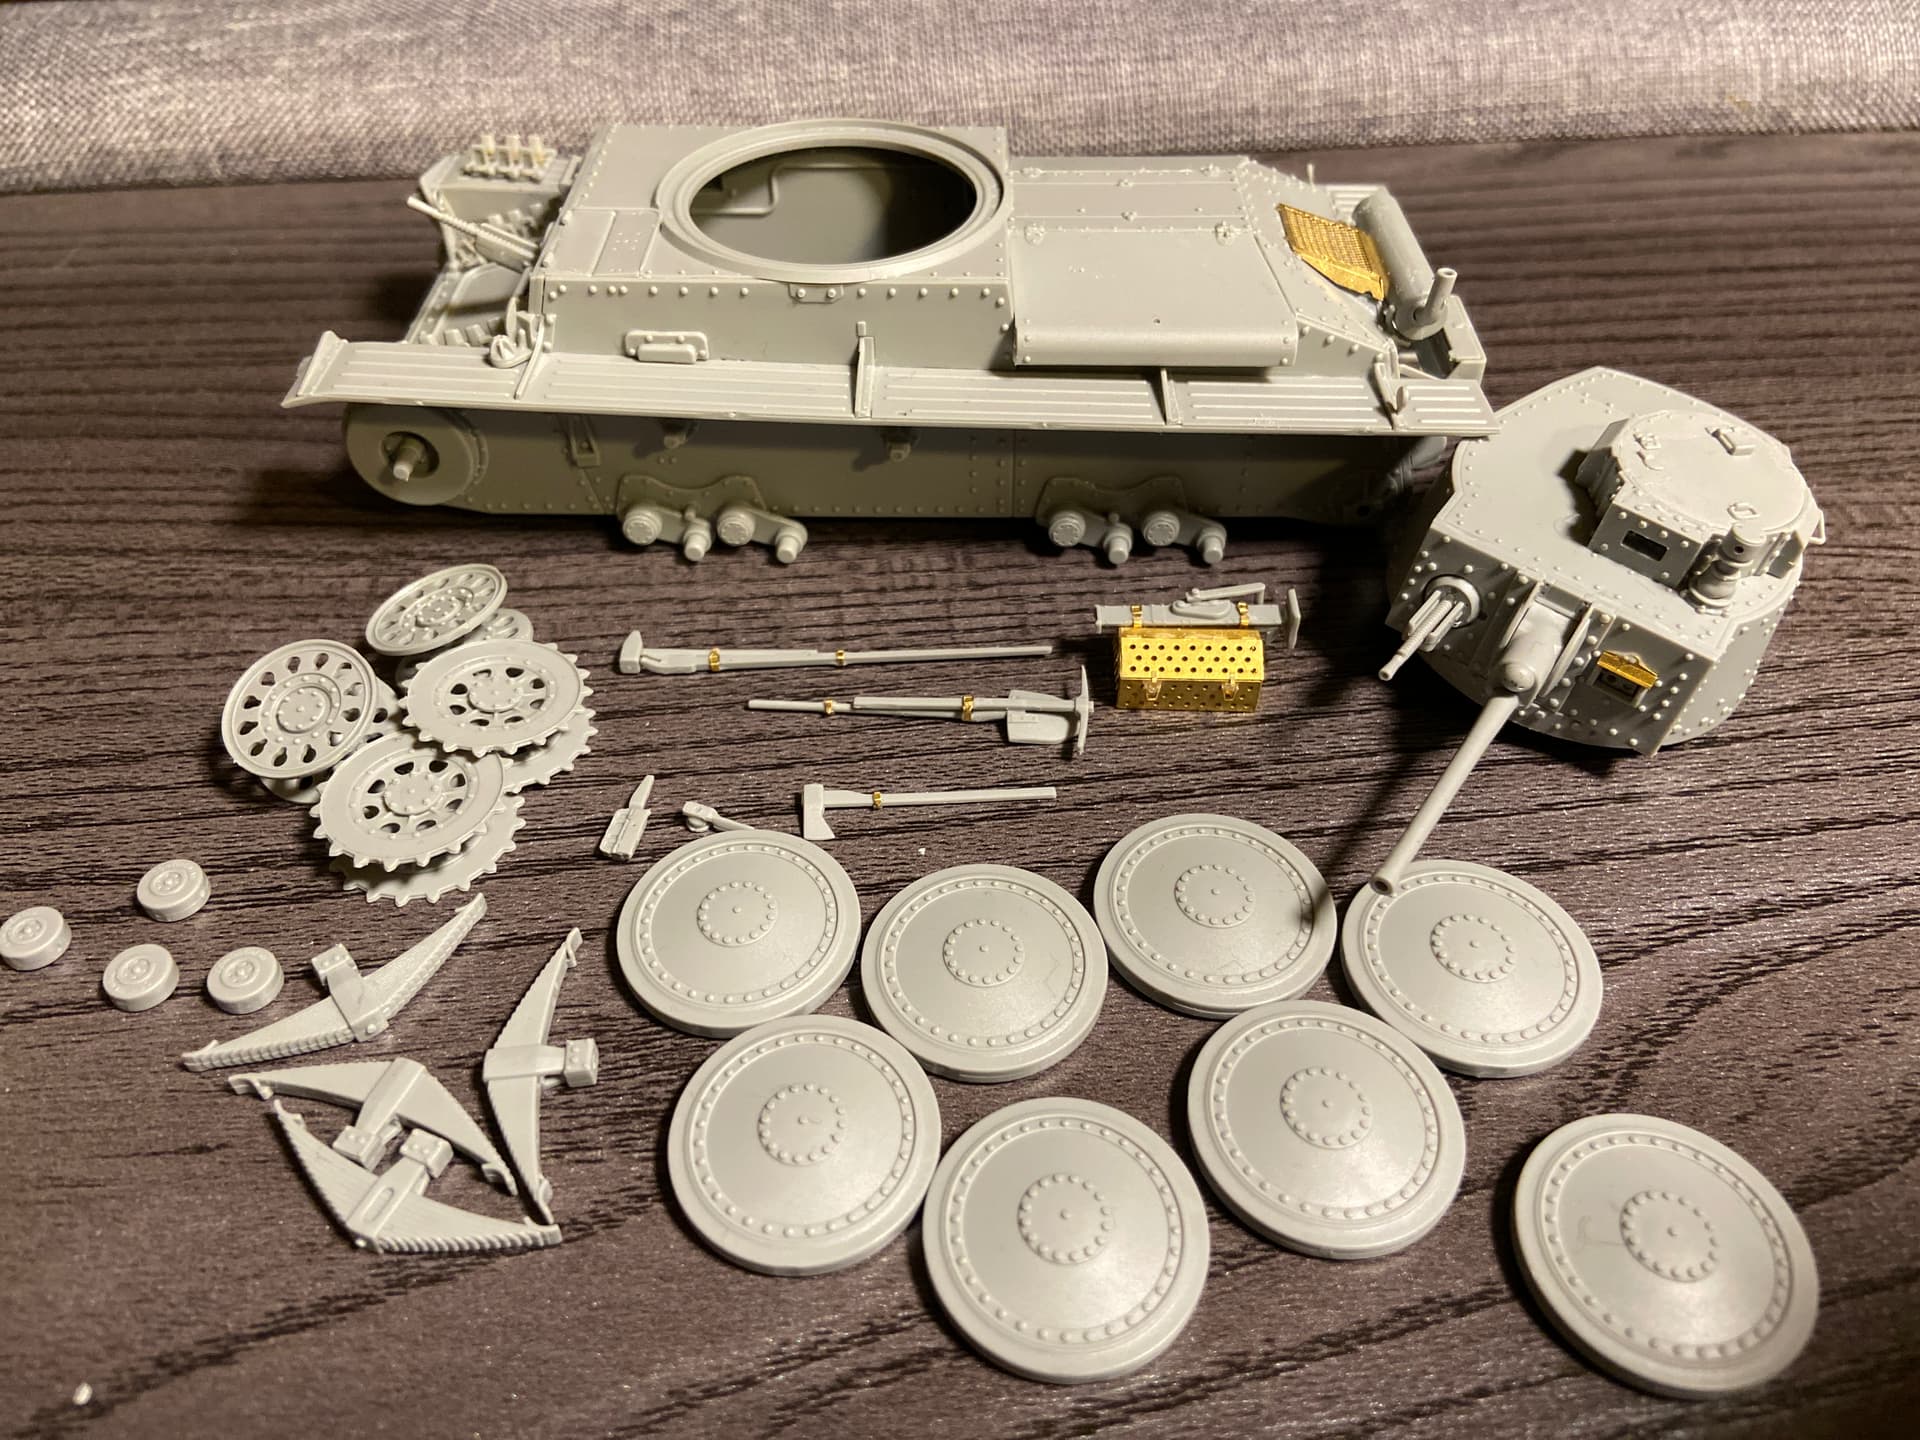
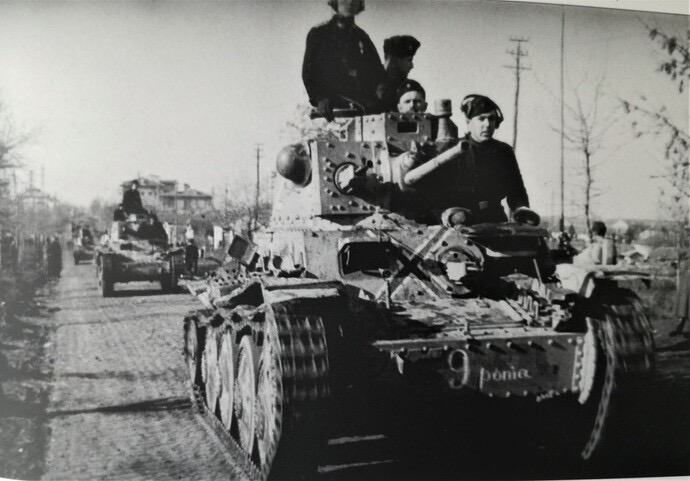
I have hit a bit of a crisis with my build. I did a number of things wrong on my version of the Pz. 38t to be accurate and it is annoying me somewhat.
Looking at the pictures it clear that the a number of things are wrong:
Front plate is not correct. Not enormous issue, but not correct and not possible to correct.
Stowage on the fenders does not fit with any of the options in the kit and especially on the left (in direction of drive) the stowage seems to be completely messed up and very difficult to replicate.
Rear plate is also a bit different. I could probably remove the smoke discharges but would leave a scar.
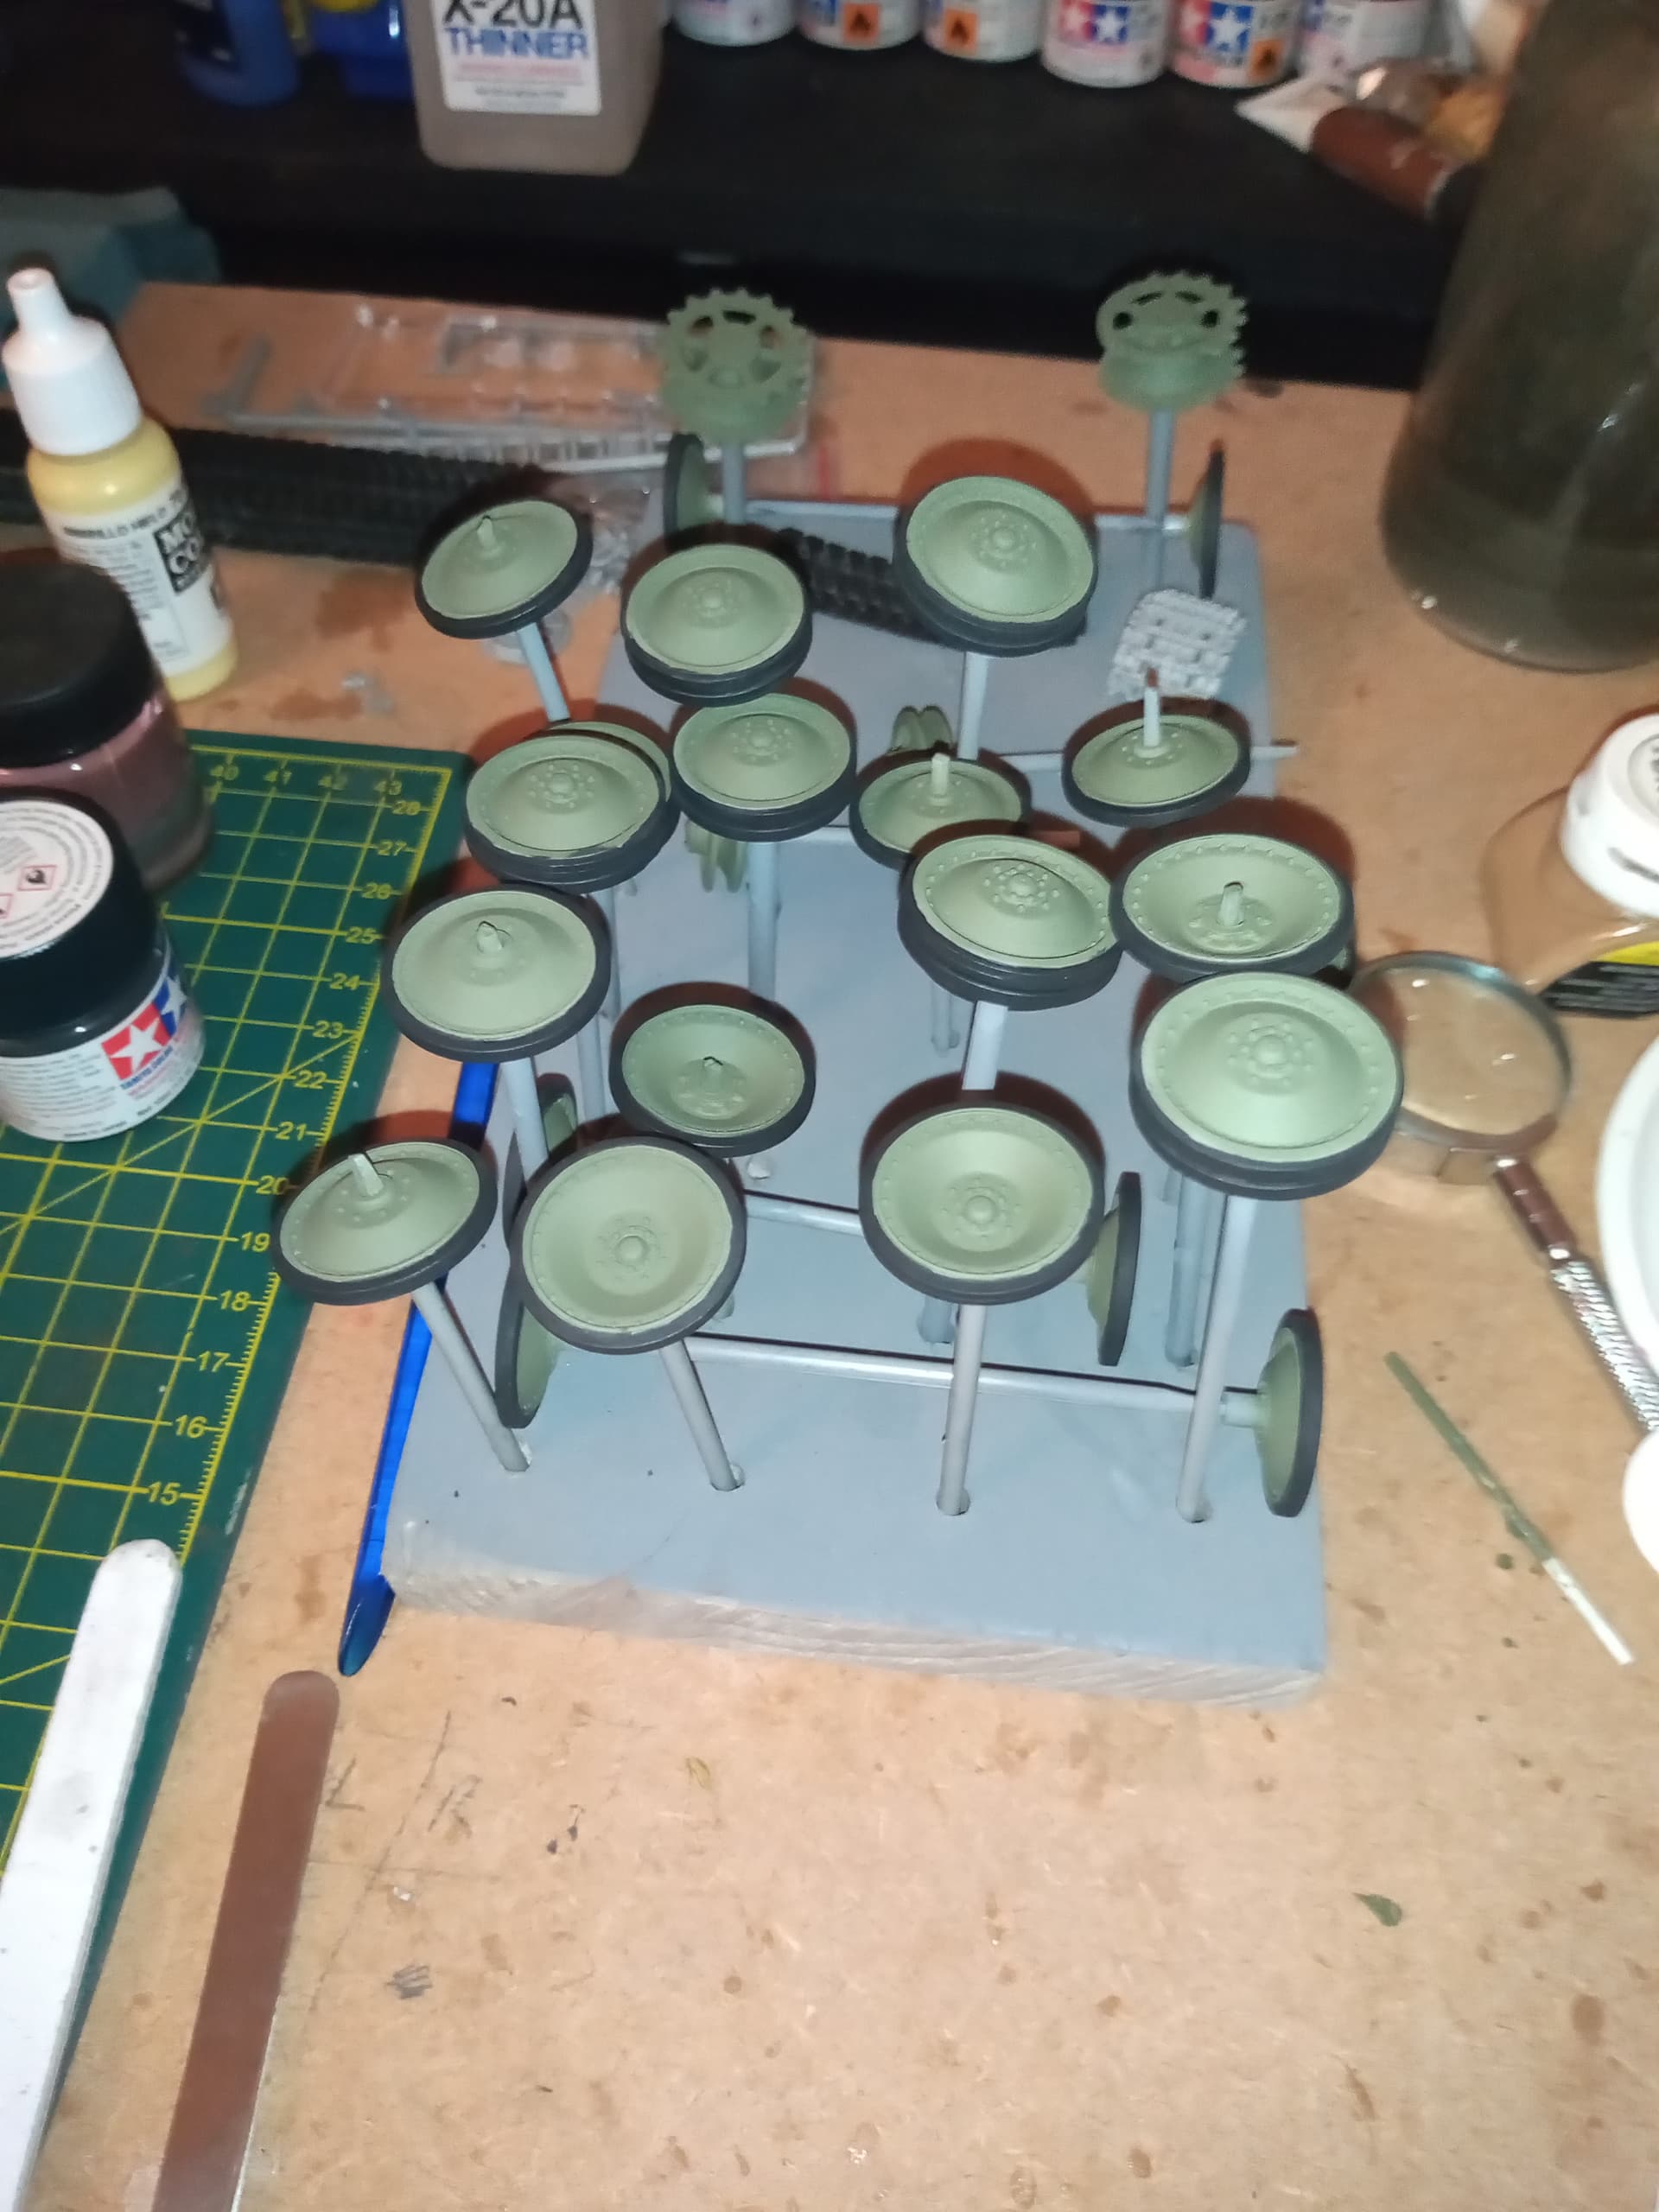
Drive sprockets are different. I have the right ones, but already used the wheel caps on the wrong ones, and cannot remove the wheel caps for the right drive sprocket.
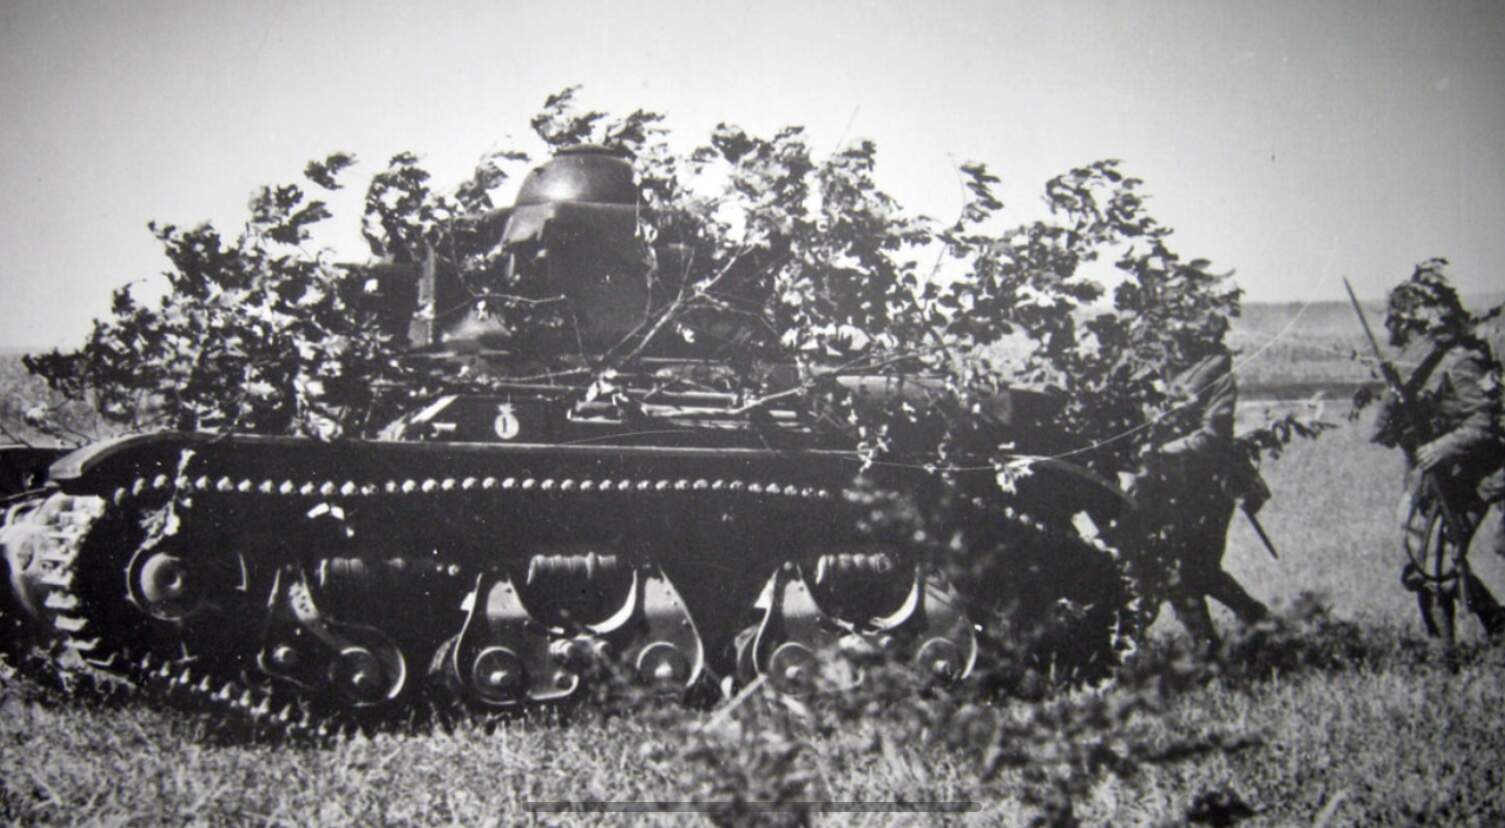
There are actually two helmets on the turret. I will never be able to make two similar helmets, but could live with just the one.
The messed up bend right fender is also difficult to replicate in plastic, but here I am ready to give it a try
Sooooo what to do? I think I will just move ahead and live with the inconsistencies. Although I feel annoyed at myself for not catching these details earlier.
Alternatively I am also playing with the thought of making a Bf 109G in Bulgarian colors and doing this tank as a generic German vehicle.
Let’s see - just sharing my frustration over my own mistakes early in the build
Tricky one Jesper, The front plate looks like a possible easy fix. On the photos it looks like the tow hooks have been removed as you can see the outline of the mounting area/plate still, so maybe just remove the hooks and thicker part of the plate to leave a rough a weld line there ? The odd C shaped mounting plate should be easy enough to duplicate using thin styrene sheet - I have n idea what it would be for though.
Can you not just fill the scar left by taking off the box under the exhaust ? its a shame not to do it as a Bulgarian one as yo uhave put so much effort into it.
And ref the 2nd helmet … I would just stick with one … you did a cracking job on it and looks great.
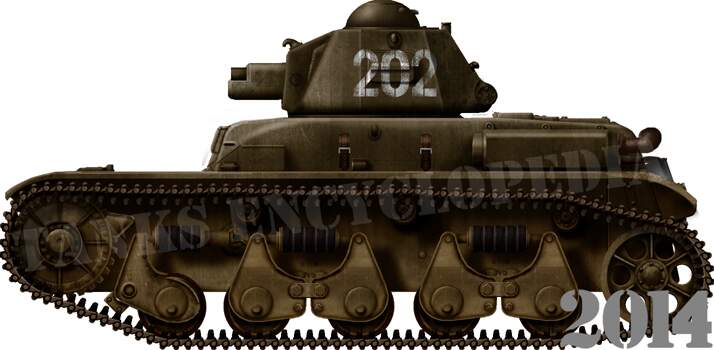
Nothing wrong with the front plate, besides the tow eyes of the original tank being not present(torn away while extracting the tank). The terrain in Serbia is plains and hills/mountains, it was autumn with a lot of rain and there are many pictures of Bulgarian tanks with their towing eyes ripped off… So ripp these off and don’t be affraid there will be scars left.
Same for the smoke discharger box on the rear. Plenty of dirt present there, so probable scars can get a nice treatment.
NP with having only one helmet on the turret side. It may be just one, but what an M.36 helmet it is!!!
You can bend the RHS fender- even plastic bends under pressure.You can use a pair of pliers-or at least that’s what I used when I built my Praga 3 years ago.
In other words-I don’t see any reason why you can’t finish the Pz. 38(t) as a Bulgarian Praga.
While a Bulgarian Gustav build will be the cherry on top of the cake!
Jesper - Do you have any white silicone Bathroom sealer at home? You can use the white ‘Bathroom’ type to create a mould of a styrene helmet part. The white will not stick to the styrene like the clear and coloured ones do - test on some sprue to make sure the type you have releases from styrene.
Push some blu-tack inside the helmet you have, just up to the rim of the helmet and inset a tooth pick or match to hold it. Put a fair sized blob of sealer on some card (enough so you will have a thick wall and floor to the mould) and roll the outside of the helmet over it making sure the whole outside is coated (to remove any trapped air from the surface. When it is coated, press the helmet into the blob until it is immersed to the helmet brim. Leave it to cure.
When it is fully cured, just pop the helmet out of the mould and mix 2 part putty to push into the mould. Use a length of sprue to push the putty down into the bottom of the mould and a toothpick to roll the putty up to the brim with a thickness that will ensure the helmet sides is strong enough to handle. When the putty is cured, you have a perfectly identical helmet without having to buy expensive casting material.
As to the rest:
As John says, it is not a major issue to use what you have. However, if you used Tamiya thin to secure the front hull piece originally, if you run a little more along the join now, you may soften the connection and be able to pop off the hull piece. Even so, given you have a whole replacement part, you could also drill out the centre of wrong piece so you can try and pop out the rest, or remove most of the part and get in and trim off the remaining outside sections that attach around the sides, so the new piece can be added.
Removing the smoke candle box may leave some scarring, but you may be able to sort that by scraping with a blade. Even if filler is needed, it would only be for shallow depressions. I expect there was a box there originally!
Same with the idler adjustment covers. I am sure you can pop those off easily after running some extra thin around the edge.
The buckled fender is your biggest issue as I think the Dragon ones are quite thick and this will be noticeable. The only way to really replicate the pic is to use brass or copper sheet. However… do you really want this vehicle to be exactly as per the picture? You could still depict it earlier in its life when the fenders had not been damaged or only damaged a little!
I wouldn’t think the German would have saved it or added that back after repainting it. So does that not suggest that maybe some where not repainted and left in French OD green, thoughts?
In fact, it makes sense that gun tanks were not repainted by the Germans if this snippet from Wikipedia is to be believed:
The majority (843) of R35s fell into German hands; 131 were used as such as Panzerkampfwagen 35R 731 (f) , issued to panzer units and mainly used for security duties or driver training, or used on armoured trains; most were later rebuilt as artillery tractors and ammunition carriers after removing the turret.
If only 131 gun tanks out of 843 were used, why would they paint the rest?
I had planned on doing mine in green unless the experts here know otherwise…
Jesper, I think we were all wrong. I can commend you for your efforts to be as accurate as possible. But … if you follow the suggestions of John, Peter and Angel, you will minimize the inaccuracies you have.
Congratulations again!
Kalin
Thanks for all the comments. I got the mojo back after being a bit down on the whole project. i will try making another helmet, it is be worth the try if nothing else.
Thanks for all the good suggestions! Much appreciated.
Looking forward to see the R35s. There is too little attention to the early war French tanks by the kit manufacturers. So many attractive camouflages and markings to choose from. Recently that is being offset a lot by ICMs releases. Very nice to see.
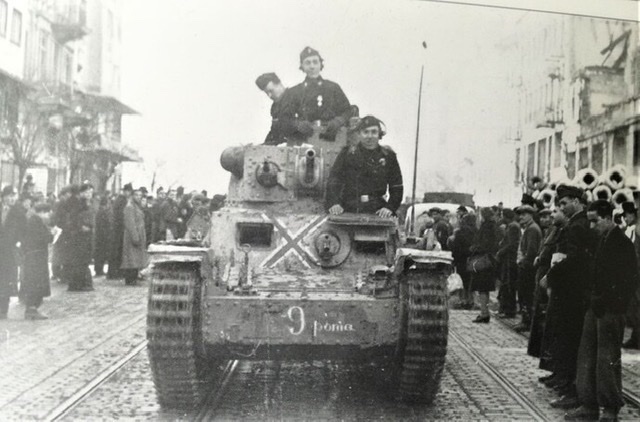
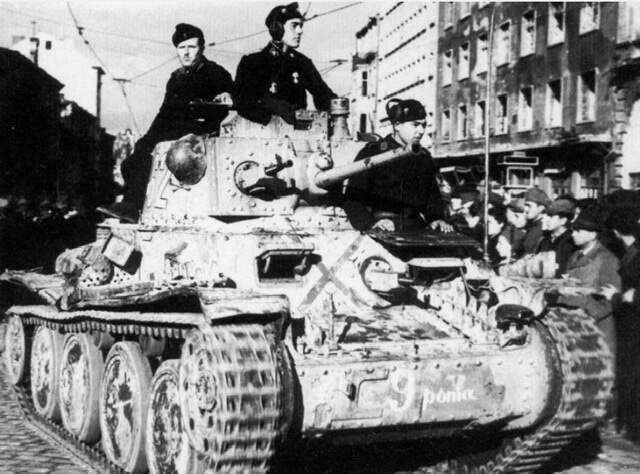
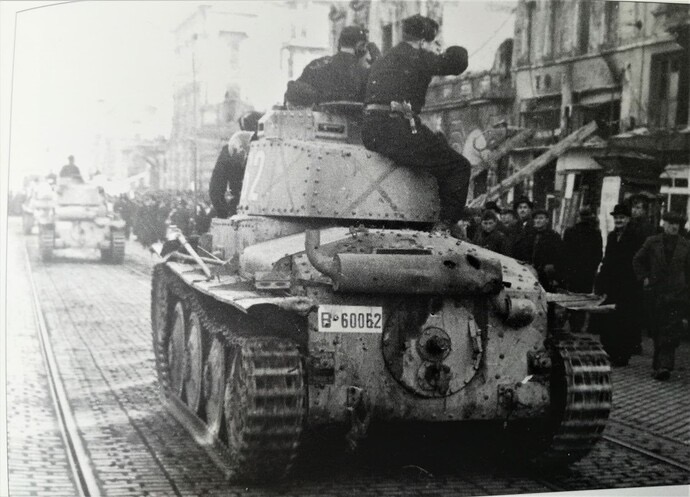
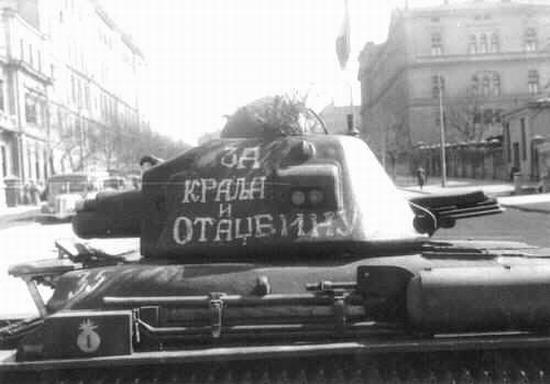
I’ve never seen this picture before, but soldier uniforms do not look Bulgarian at all…
This R35 belongs to the Royal Yugoslav Army and was pictured during the Grand Manouvres in Torlak,Yugoslavia in September 1940.
With regard to the “bomb” marking- it is found on other Yugoslav R35’s too:
Picture found here:
Very interresting info about the “bomb” sign here:
Bulgarian R35 tanks(40 in total) were received- as ordered- painted in German Panzergrau(RAL 7021) color.
The purchase order was issued in April 1941- a month after the R35 tanks were shown to the Bulgarian delegation, that visited the Reich in order to negotiate purchase of direly needed military hardware.
R35 in Bulgarian service was not a “love story”- the initial Army joy of being able to establish a Second Armored Battalion soon met the shortcomings of the tank, that proved to be underpowered, unreliable and poorly ventilated and finaly turned into frustration from being cheated by the ally.
The frustration was so strong, that even 3 years later- in 1944- the Army strongly objected against the German proposal for supplying Hotchkiss and Somua tanks as replacement for contracted Pz.Kpfw.I deliveries.
The R35’s never took part in combat and were only used as training vehicles(11th and 12th Arm.Companies of the Armored Brigade).
Thanks Angel for correcting the information on that website. The first photo which matches the Star decals and the vegetation camo seemed similar to lead many astray it seems.
Thanks for ironing that one out Angel. Dunkelgrau R35 it is…
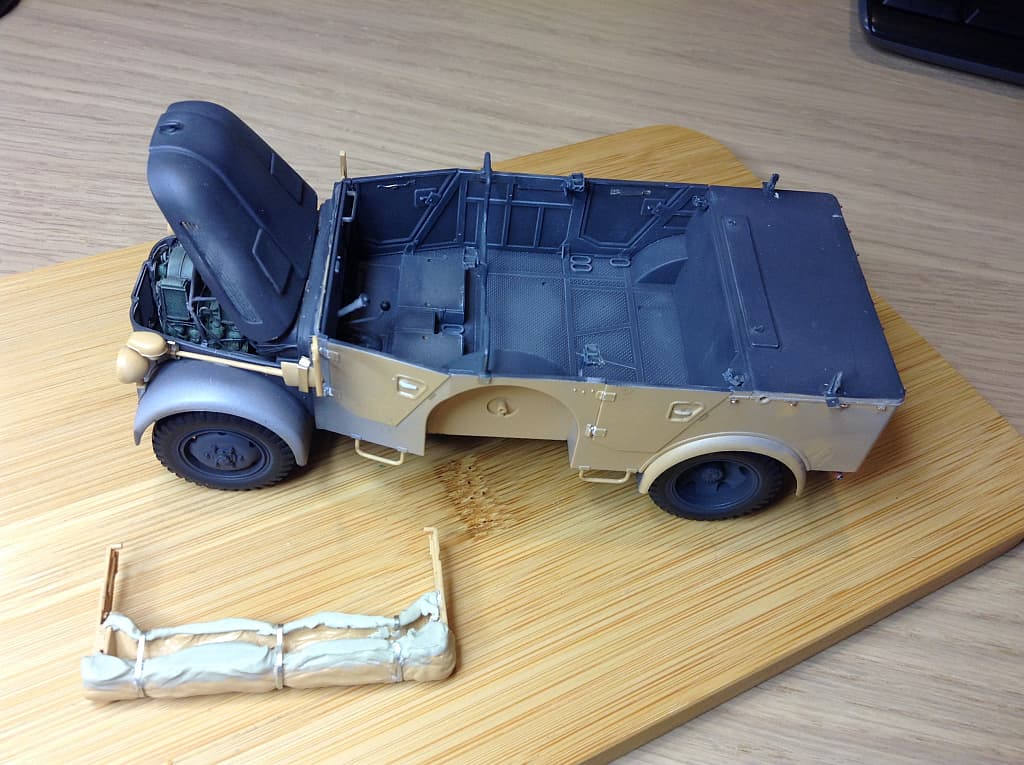
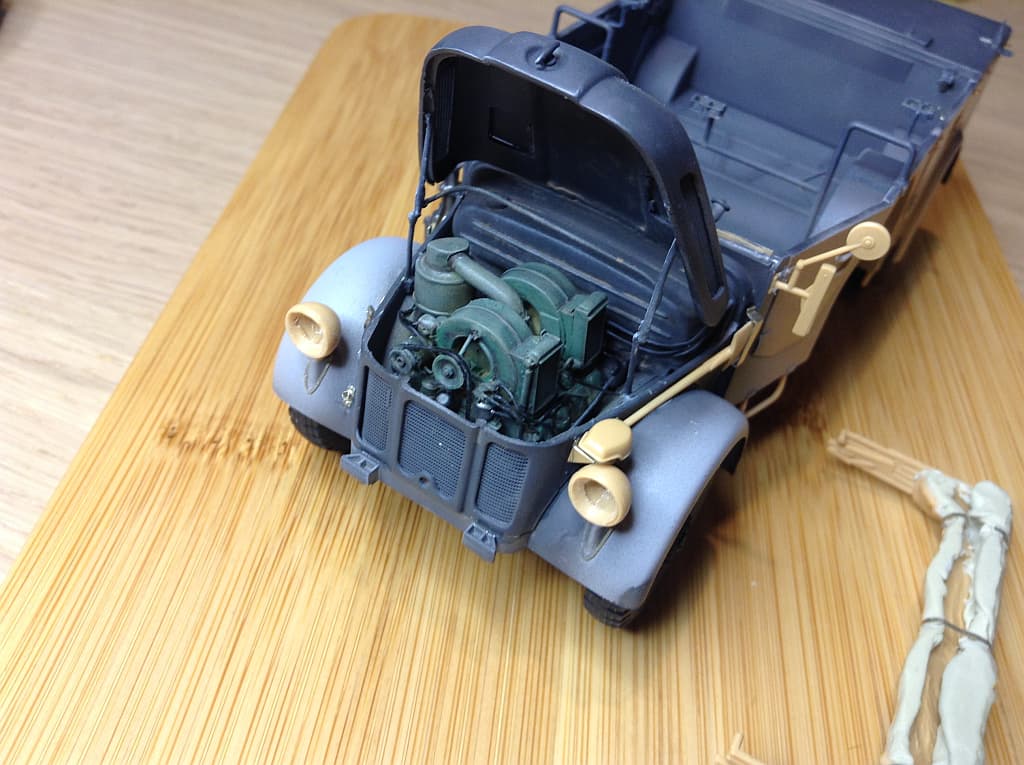
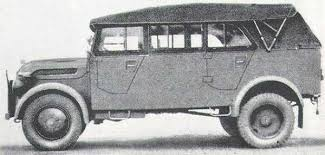
Well I did manage to get some paint down on the Steyr and the Citroen 11CV for the Speedy J Build. The cab has now been glued to the chassis on the Steyr and some additional drybrushing has commenced on the interior. I have also added almost all of the exterior etch.
The rear roof assembly is designed to sit lower on the kit, however there are supports on the sides of the cargo compartment that hold up the frames at an angle to make raising the roof easier. Aber give you the multipart etch for them, but when they are correctly fitted, the whole canvas roof sits well above the cargo area and the hollow underside is very visible. To remedy that, I added some Magic Sculpt to depict the sag that would occur:
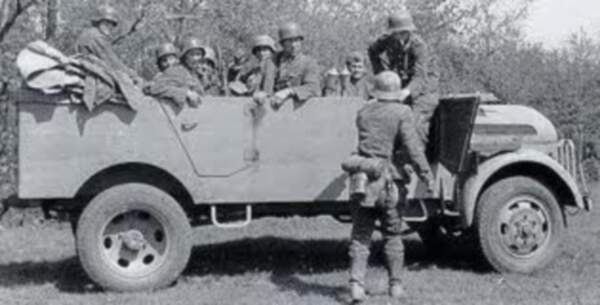
Front headlight had the covers drilled out so that I can add full lens to them as per all the pics above. I chose to leave off the pickaxe, as that seems to be missing in the pics too. Some touch ups on the engine needed.
…and a boo boo to fix. Scalpel slipped when I was removing moulded on parts… and you can see I removed the dash parts and replaced with the Aber etch and dial inserts. Glad you talked me into that.
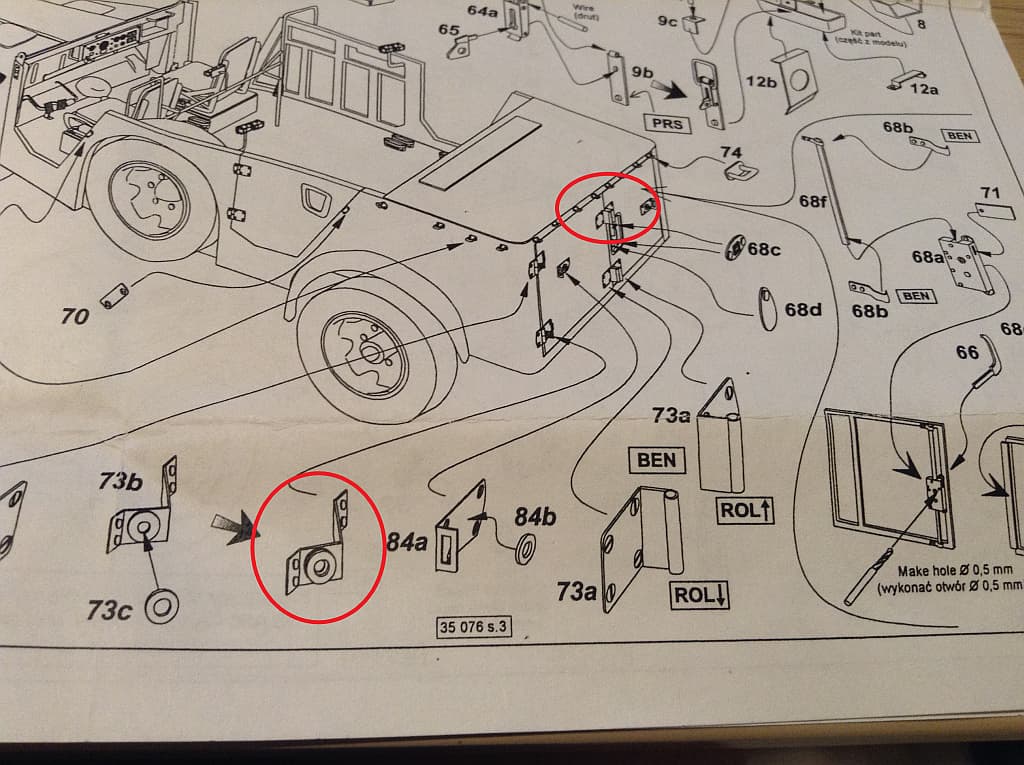
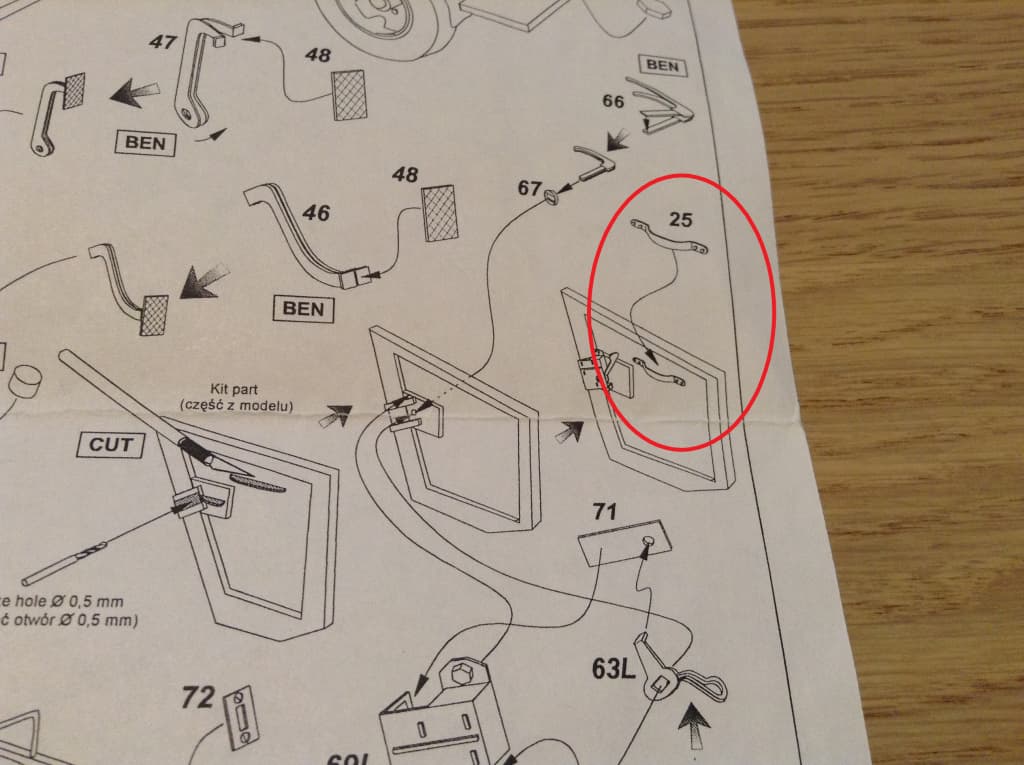
Interestingly Aber have a few gaffs in their set and instructions. On the rear doors they show you to fit two right angle brackets lower on the door and two more are shown fitted higher - only two pieces are supplied on the fret. These are present on the Horch 108 but of the few pics I have seen of the rear of the Steyr, they are not actually there!
Then they have the zig zag door stops that go over the hinge. If you fit that, you can’t fit the licence plate in the right place under the Notek - and again, no wartime pics seem to show them.
Then they tell you to make the door handles curved, when the real ones are squared: