I can second Kalin on that!
The kepe(side cap) looks really the part and the surgery on Mitko legs came out perfect.
Well done Ryan!
Cheers,
Angel
I can second Kalin on that!
The kepe(side cap) looks really the part and the surgery on Mitko legs came out perfect.
Well done Ryan!
Cheers,
Angel
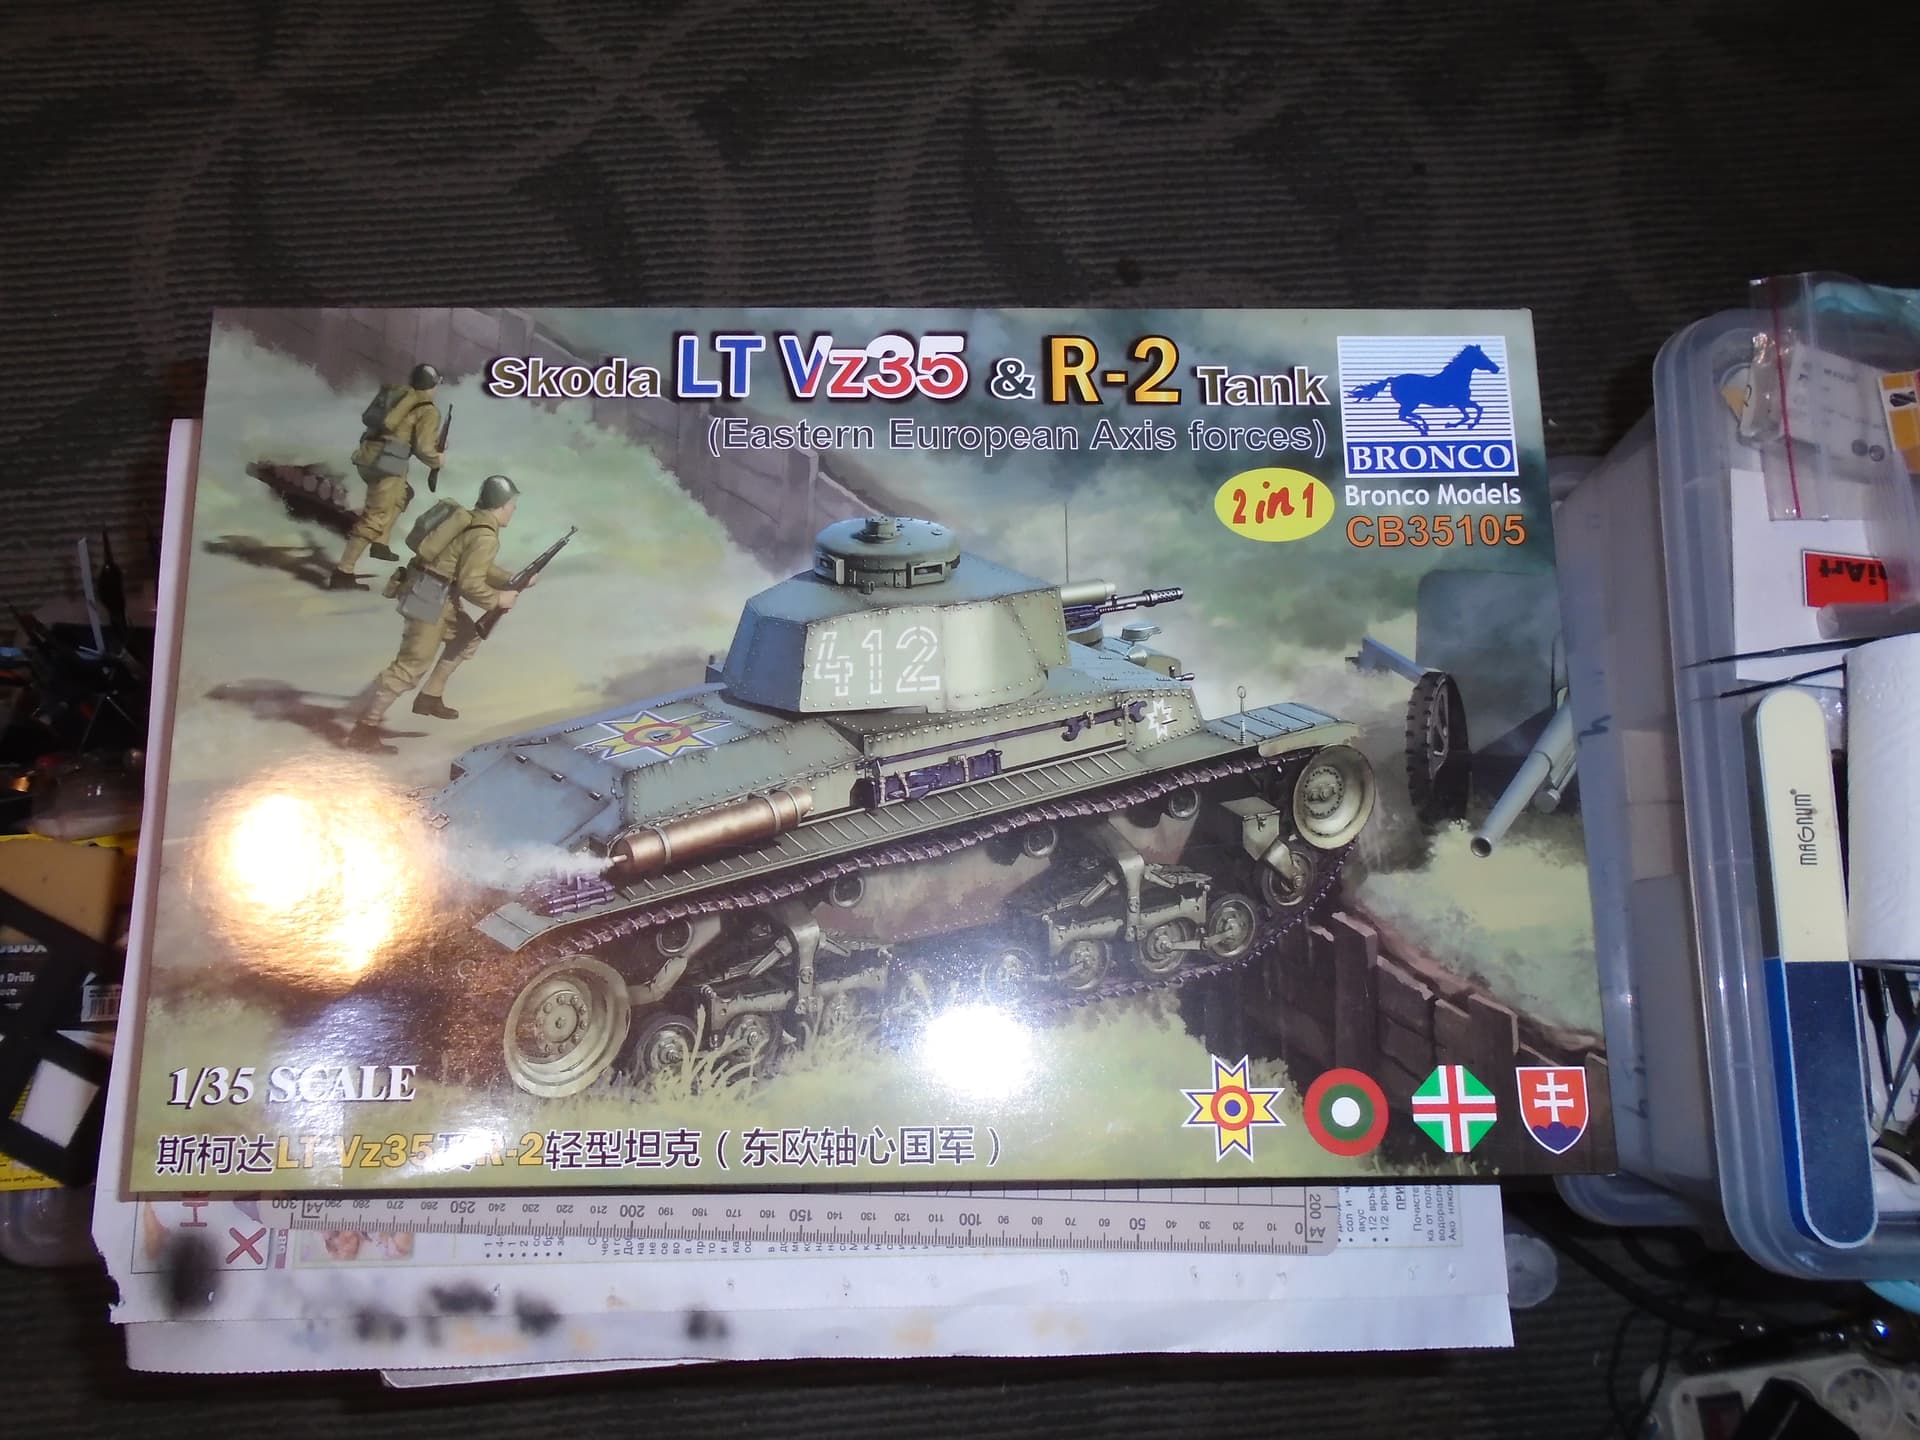
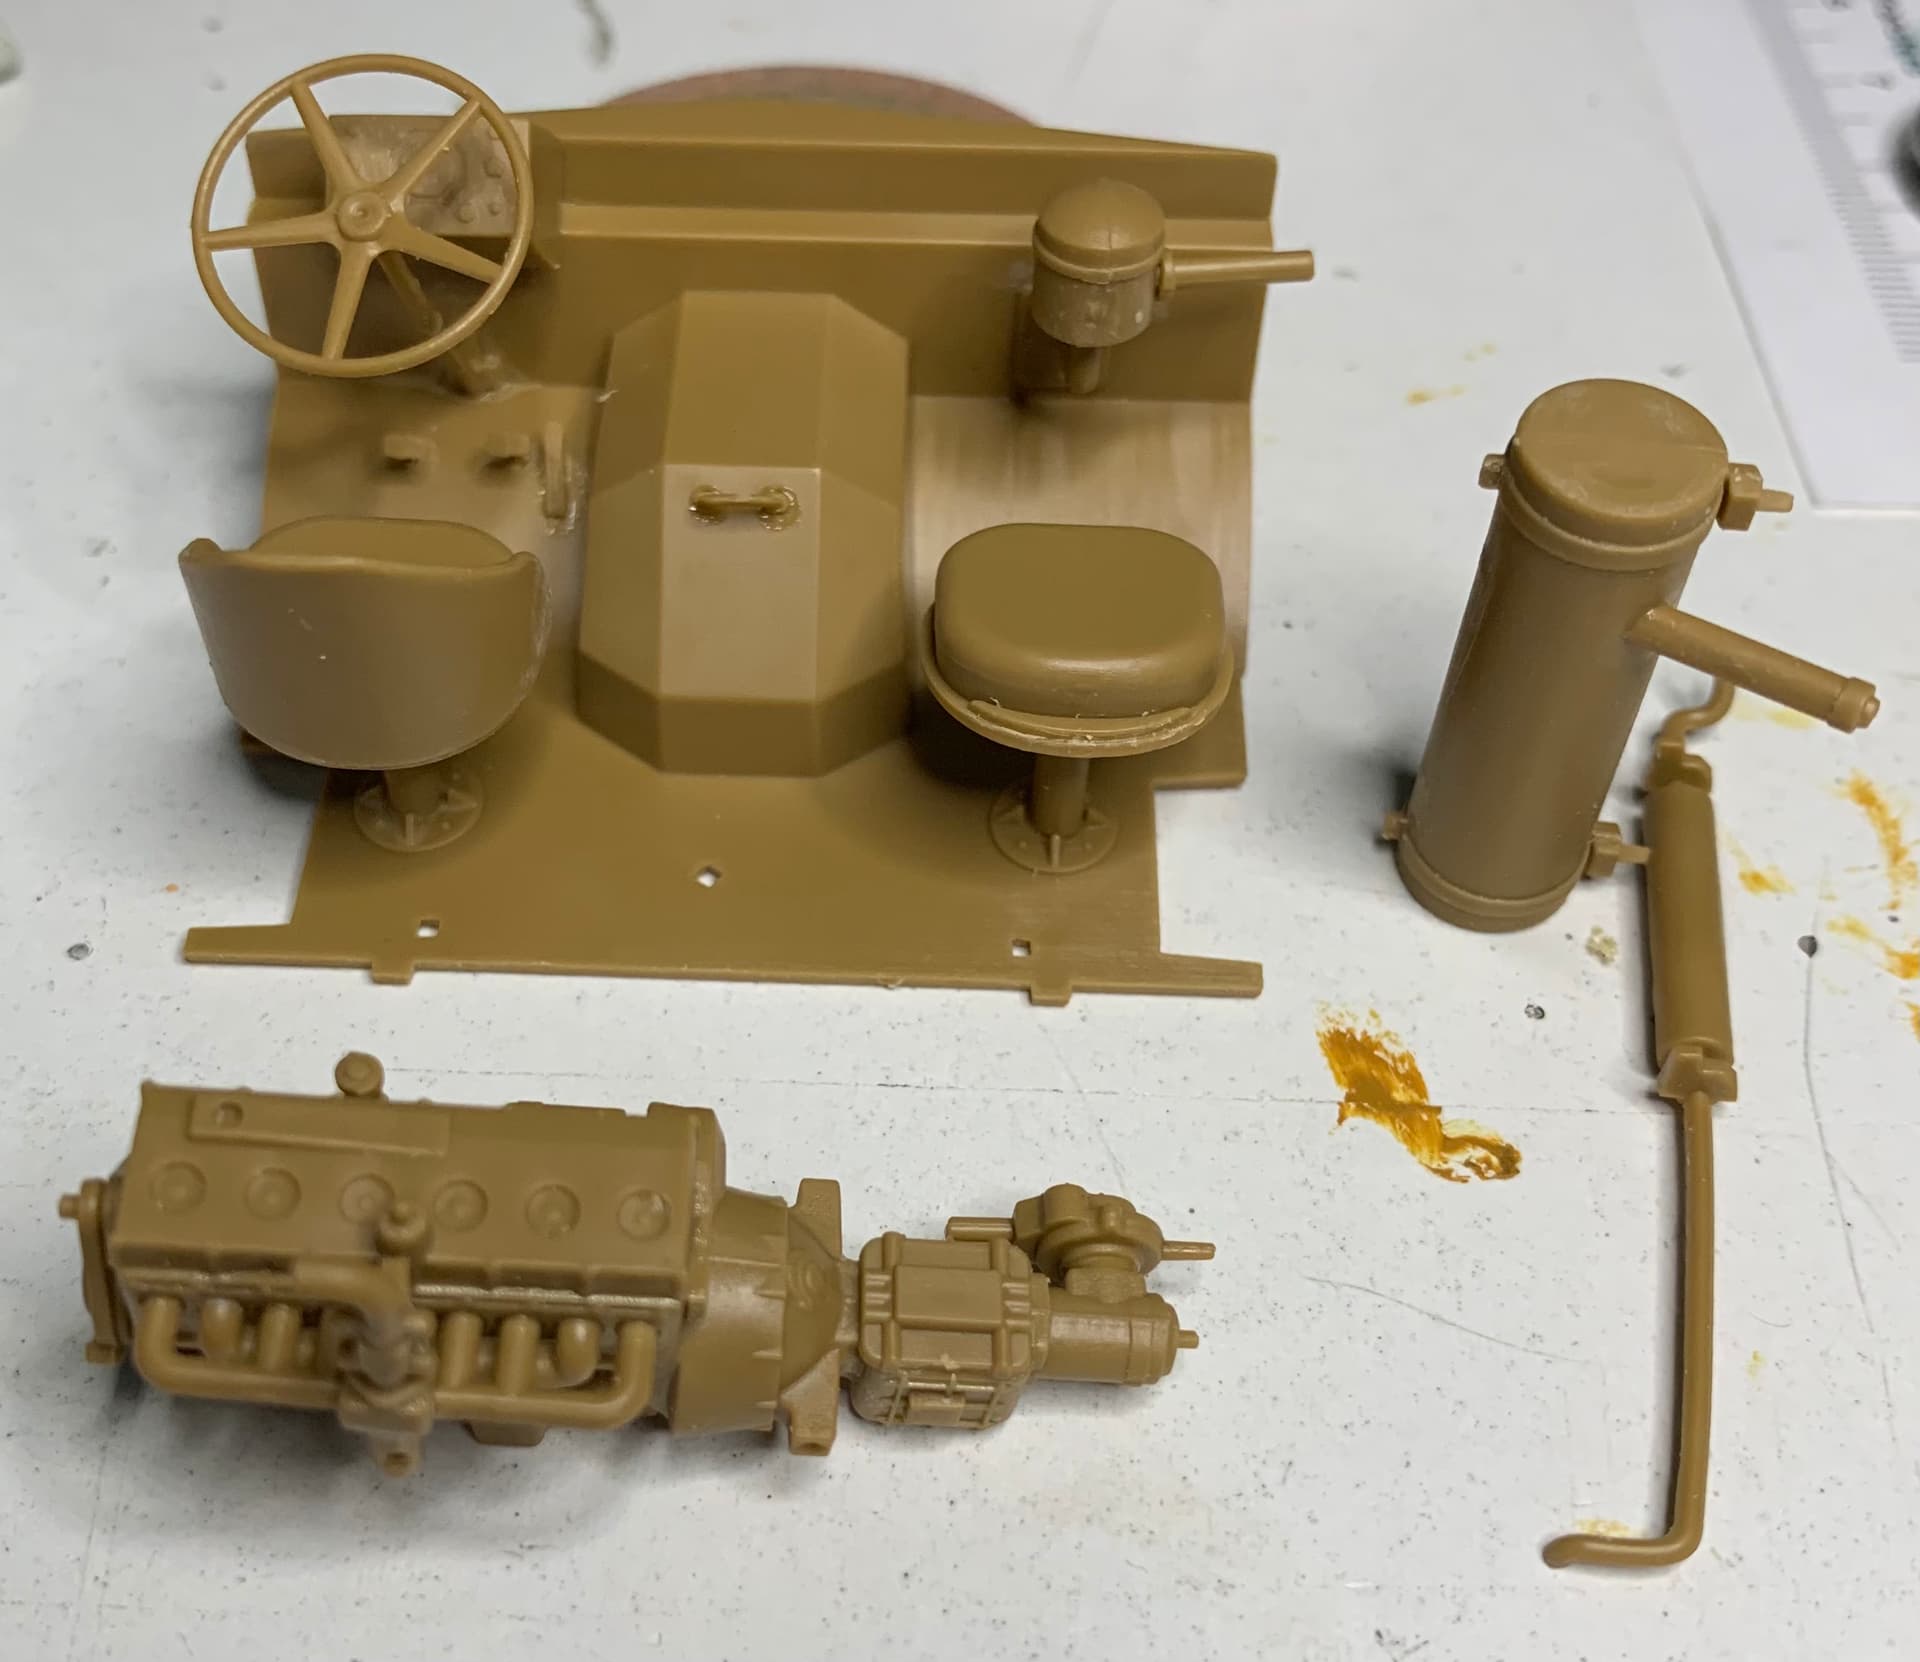
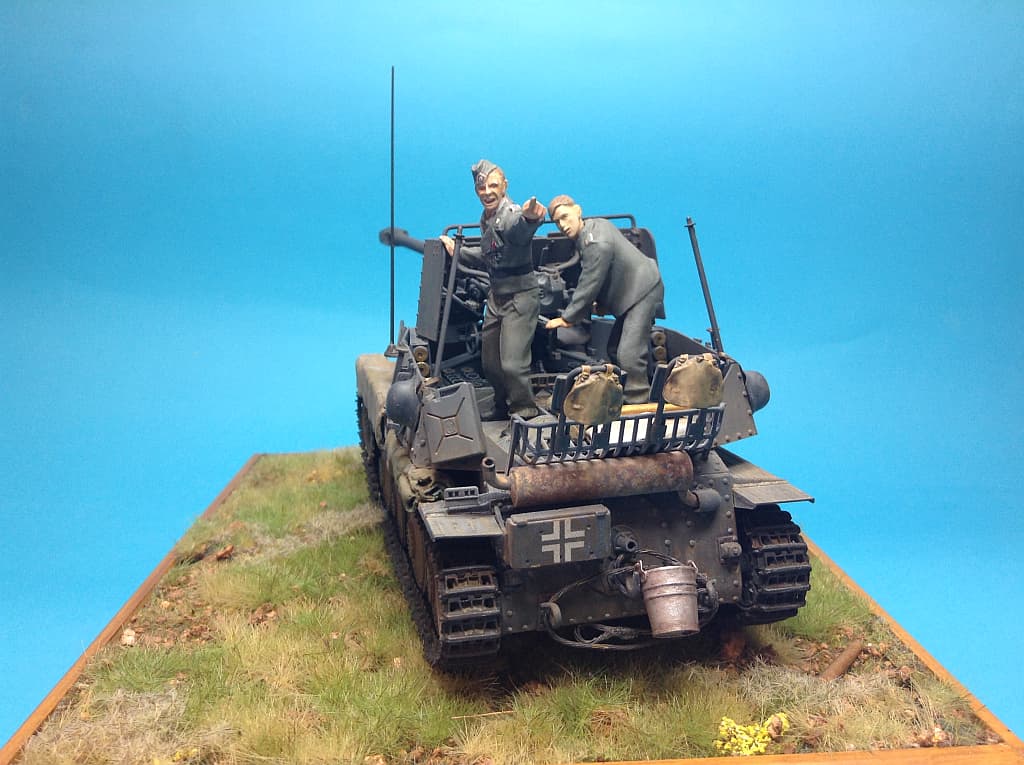
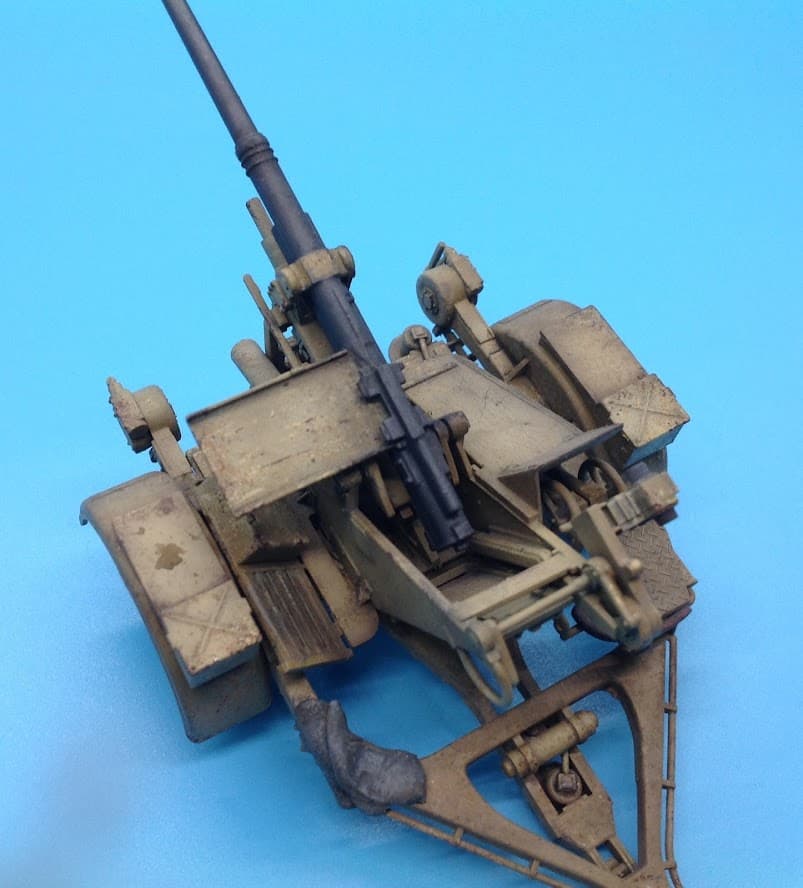
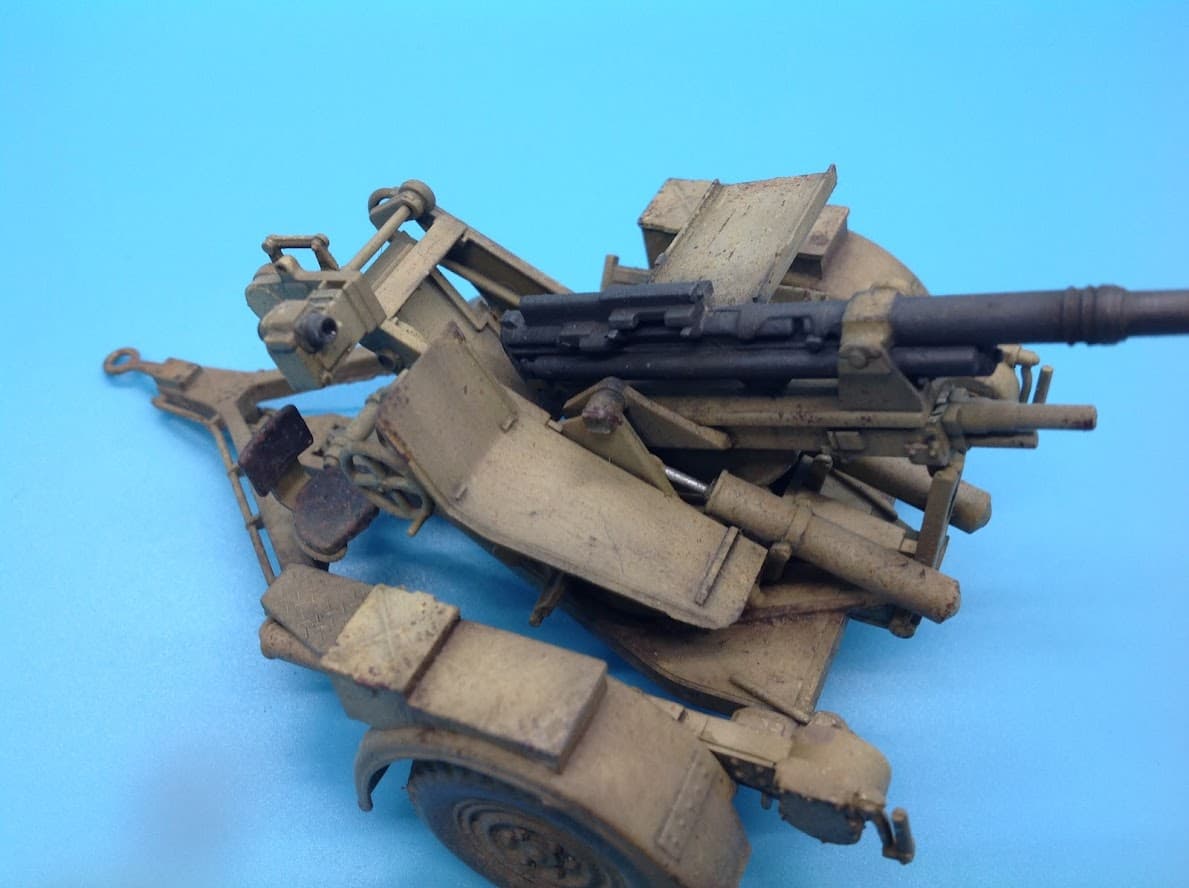
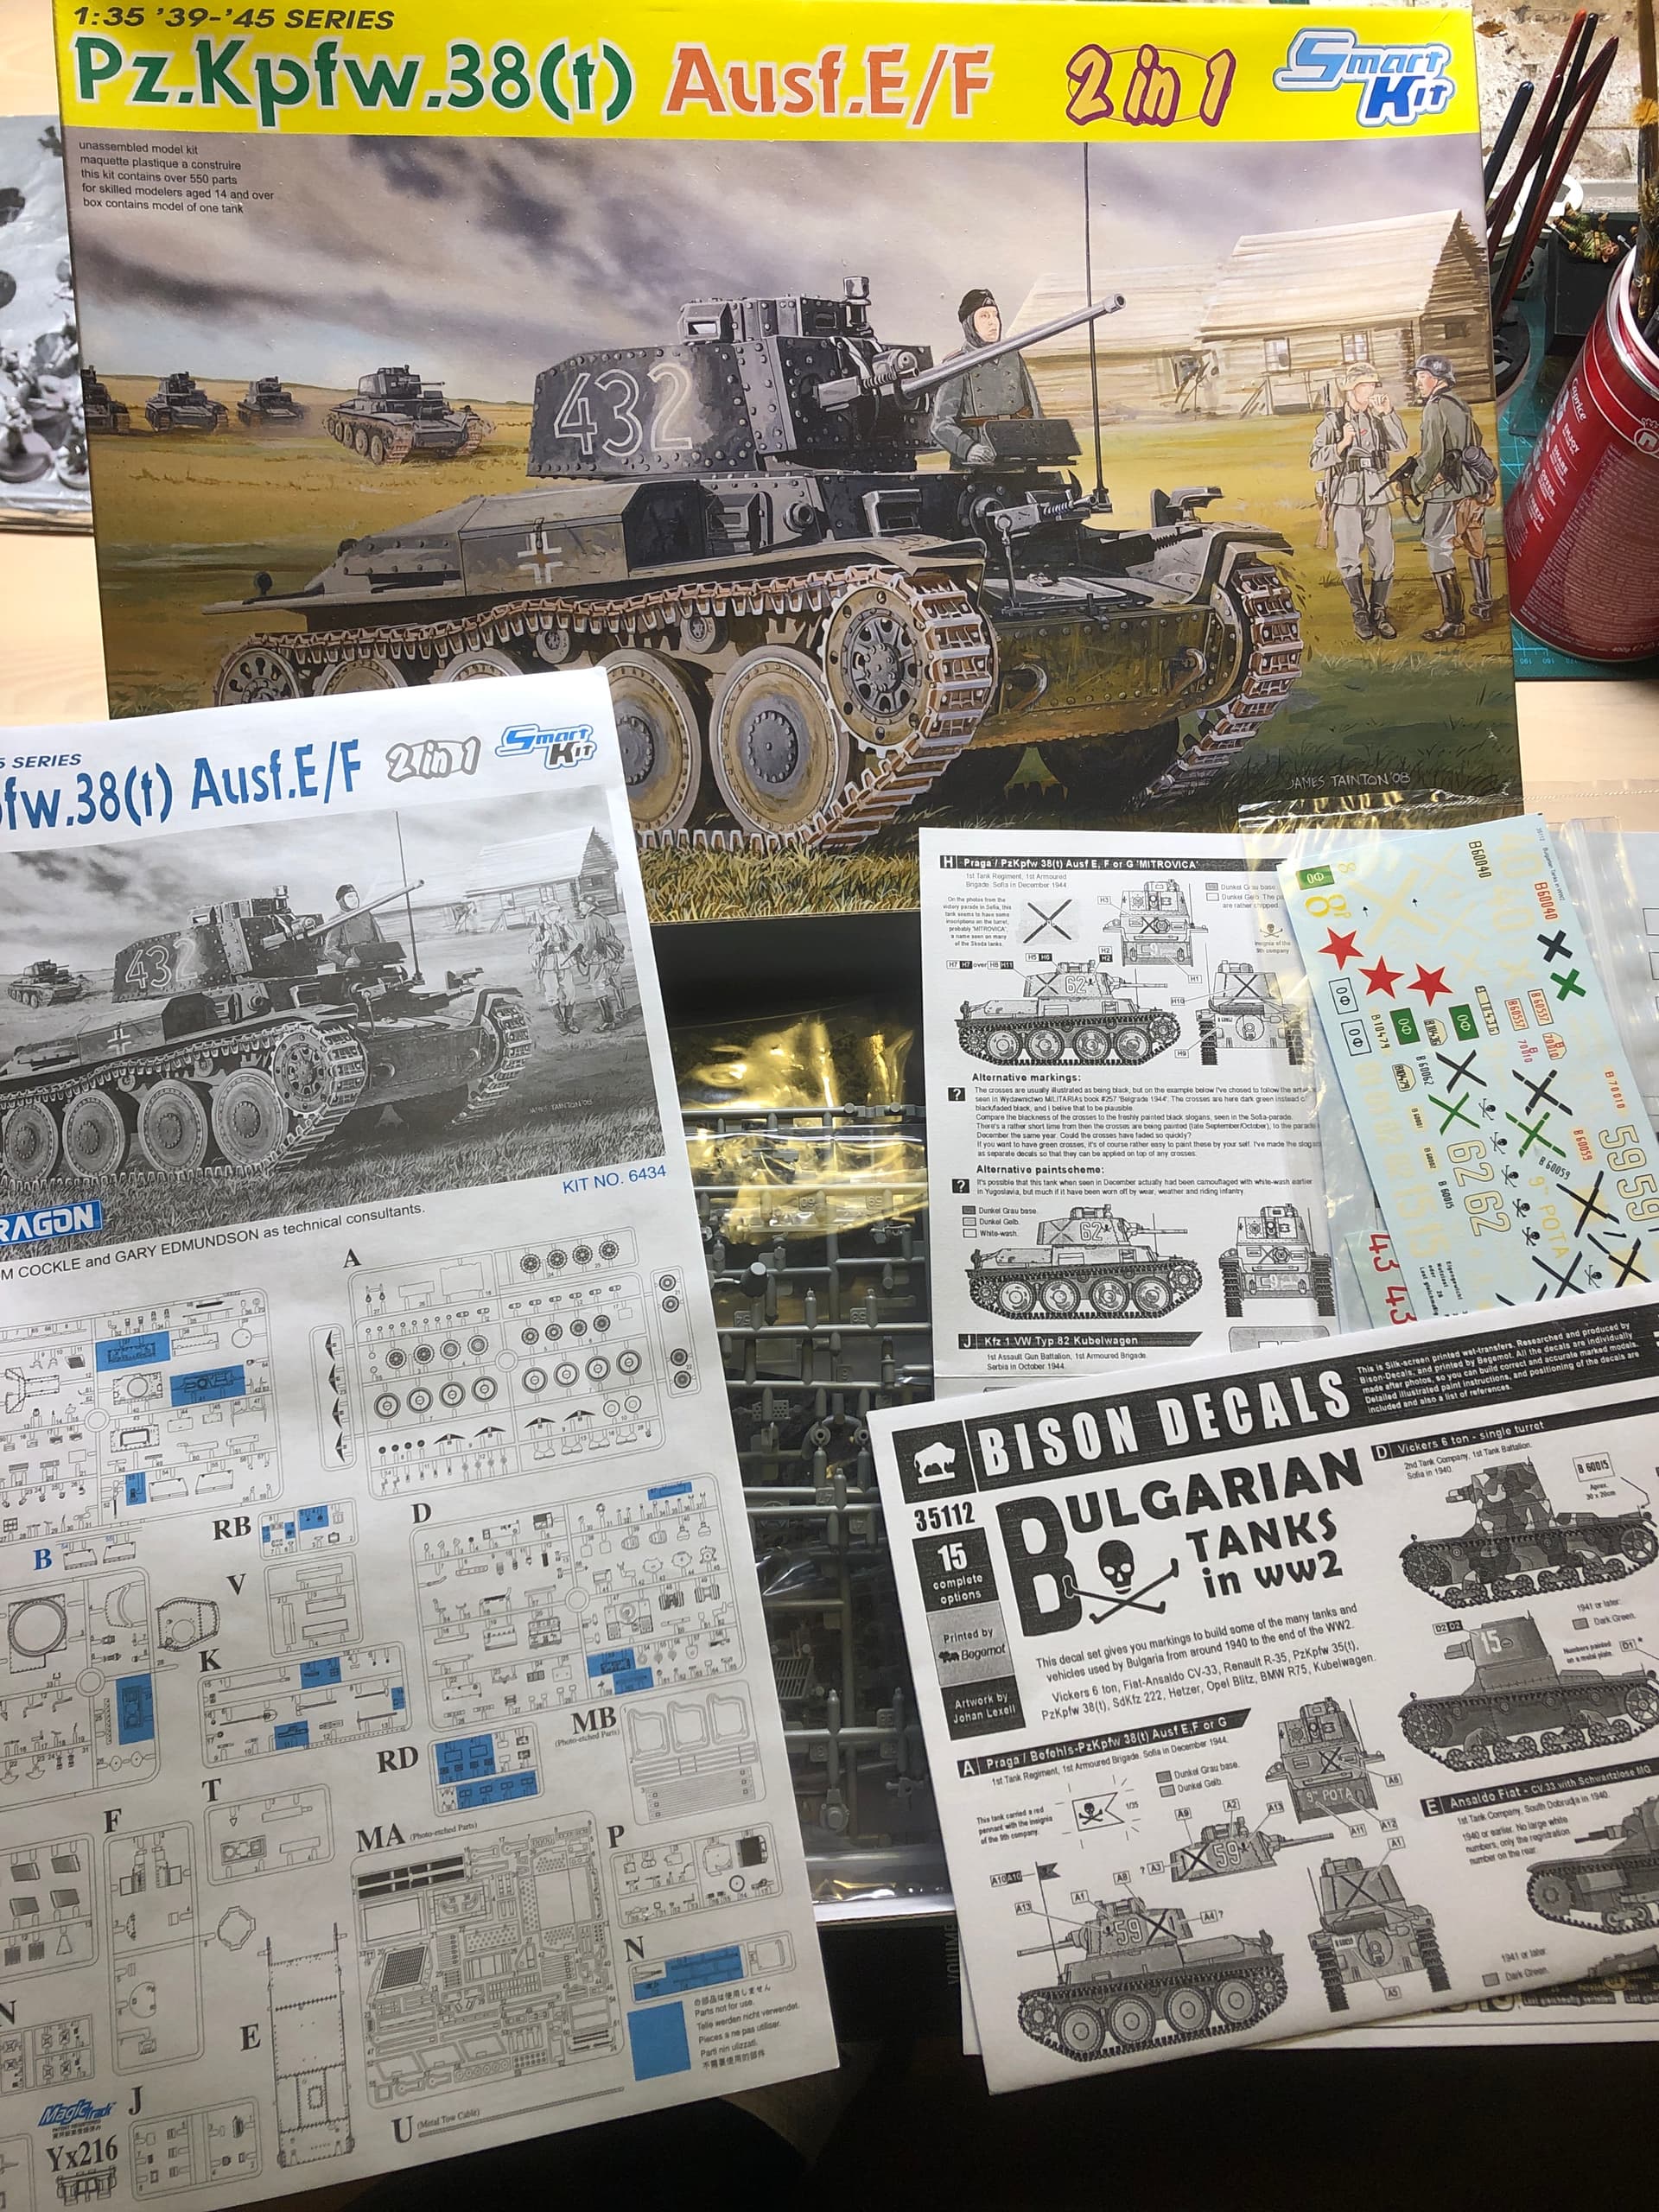
And now for my activity in the campaign.
I ordered barrels for the machine guns of the plane and at the moment I am stopping work on it. While they appear (around the middle of October), I’m starting another model, which I think I’ll be able to finish by the time the machine gun barrels arrive.
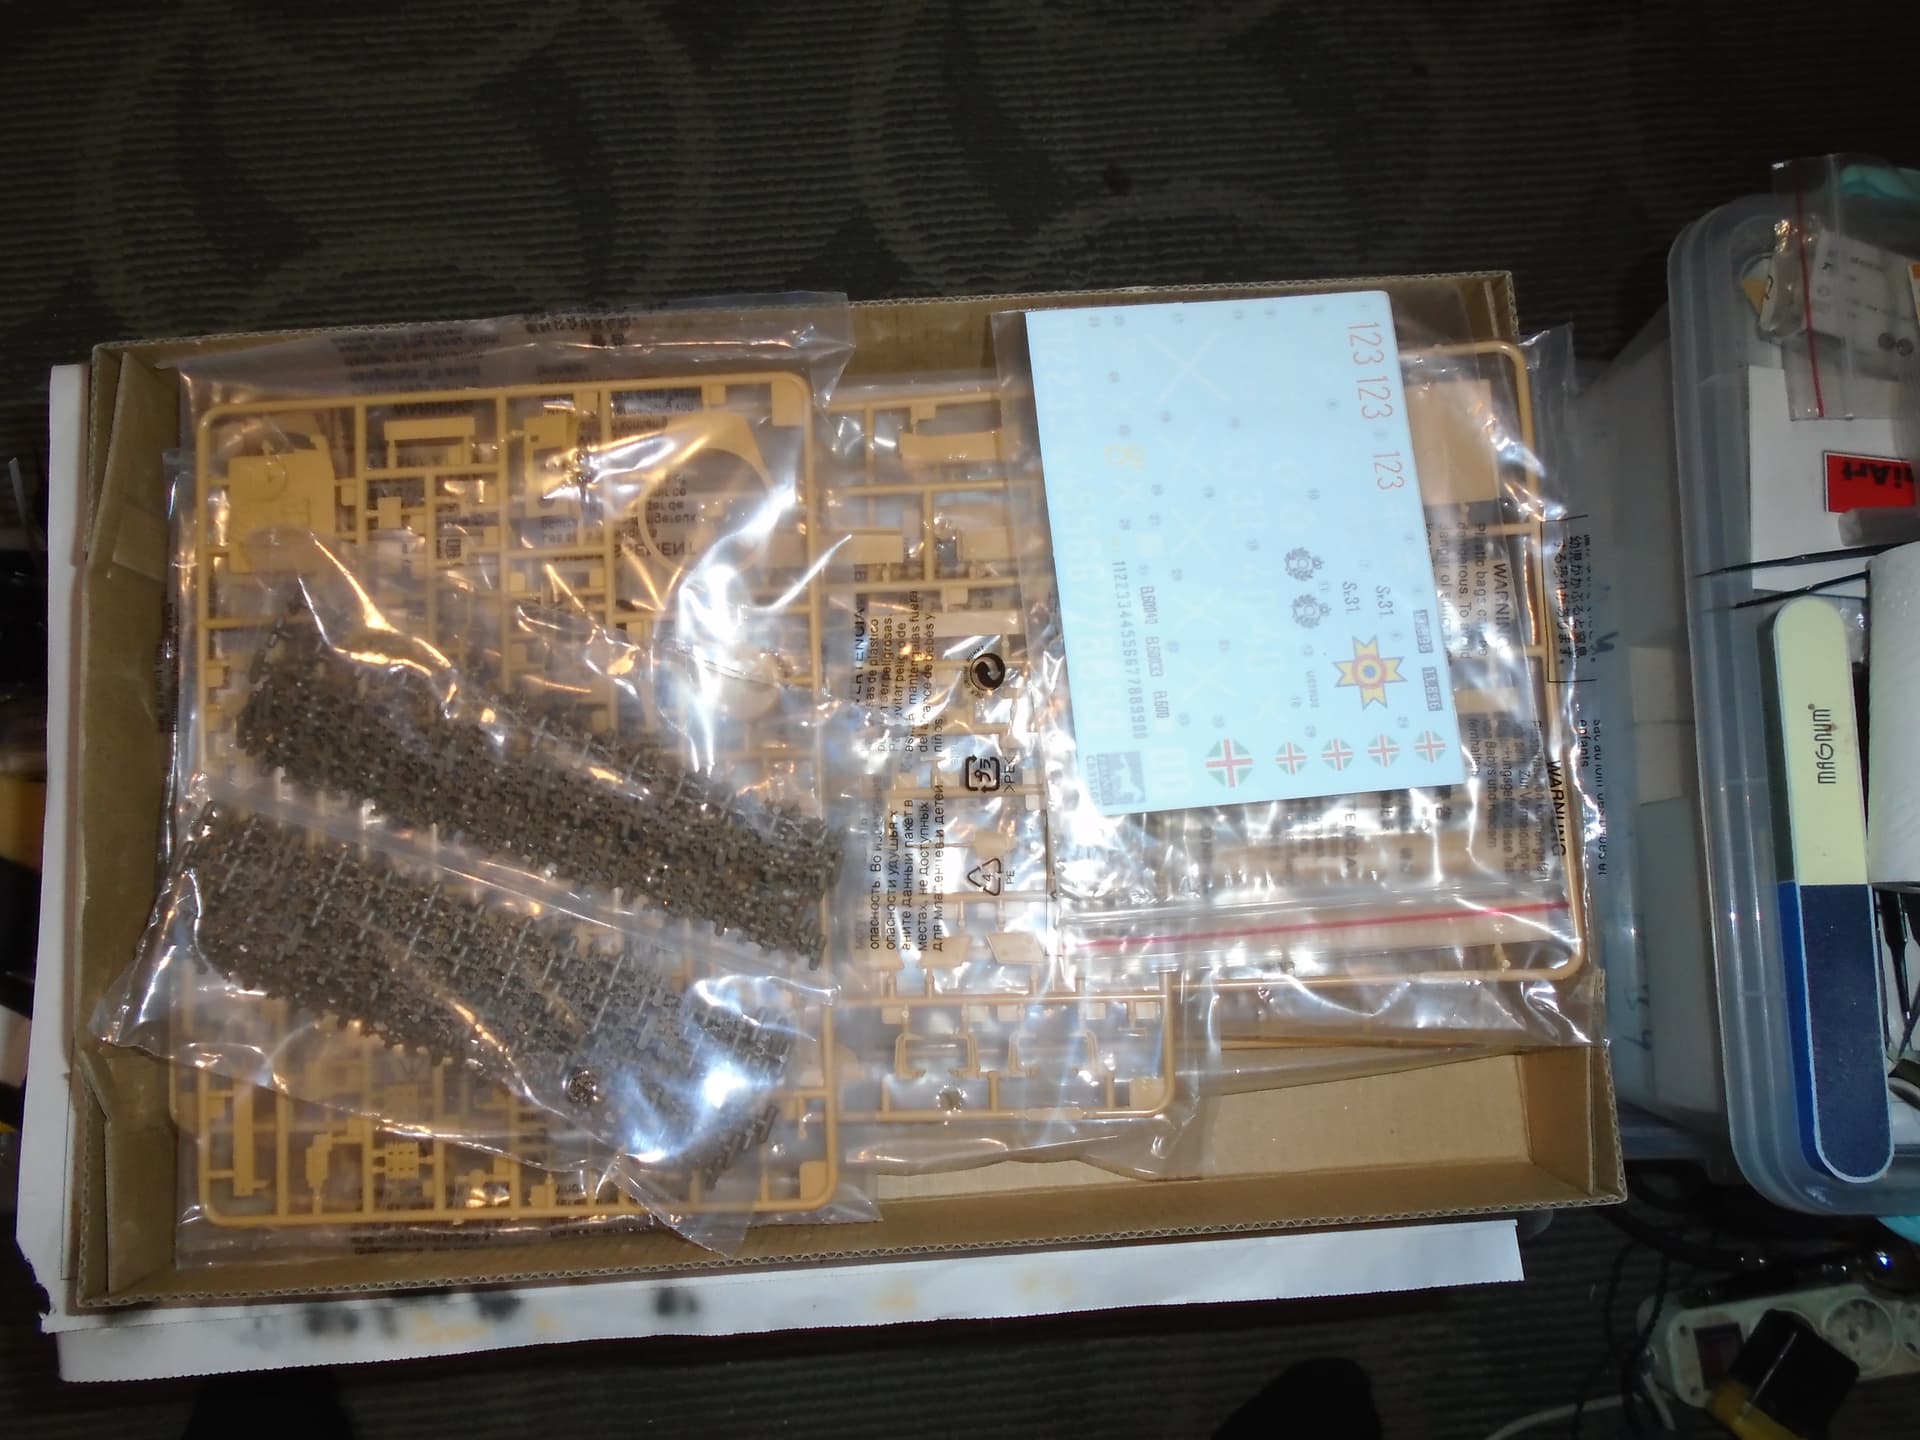
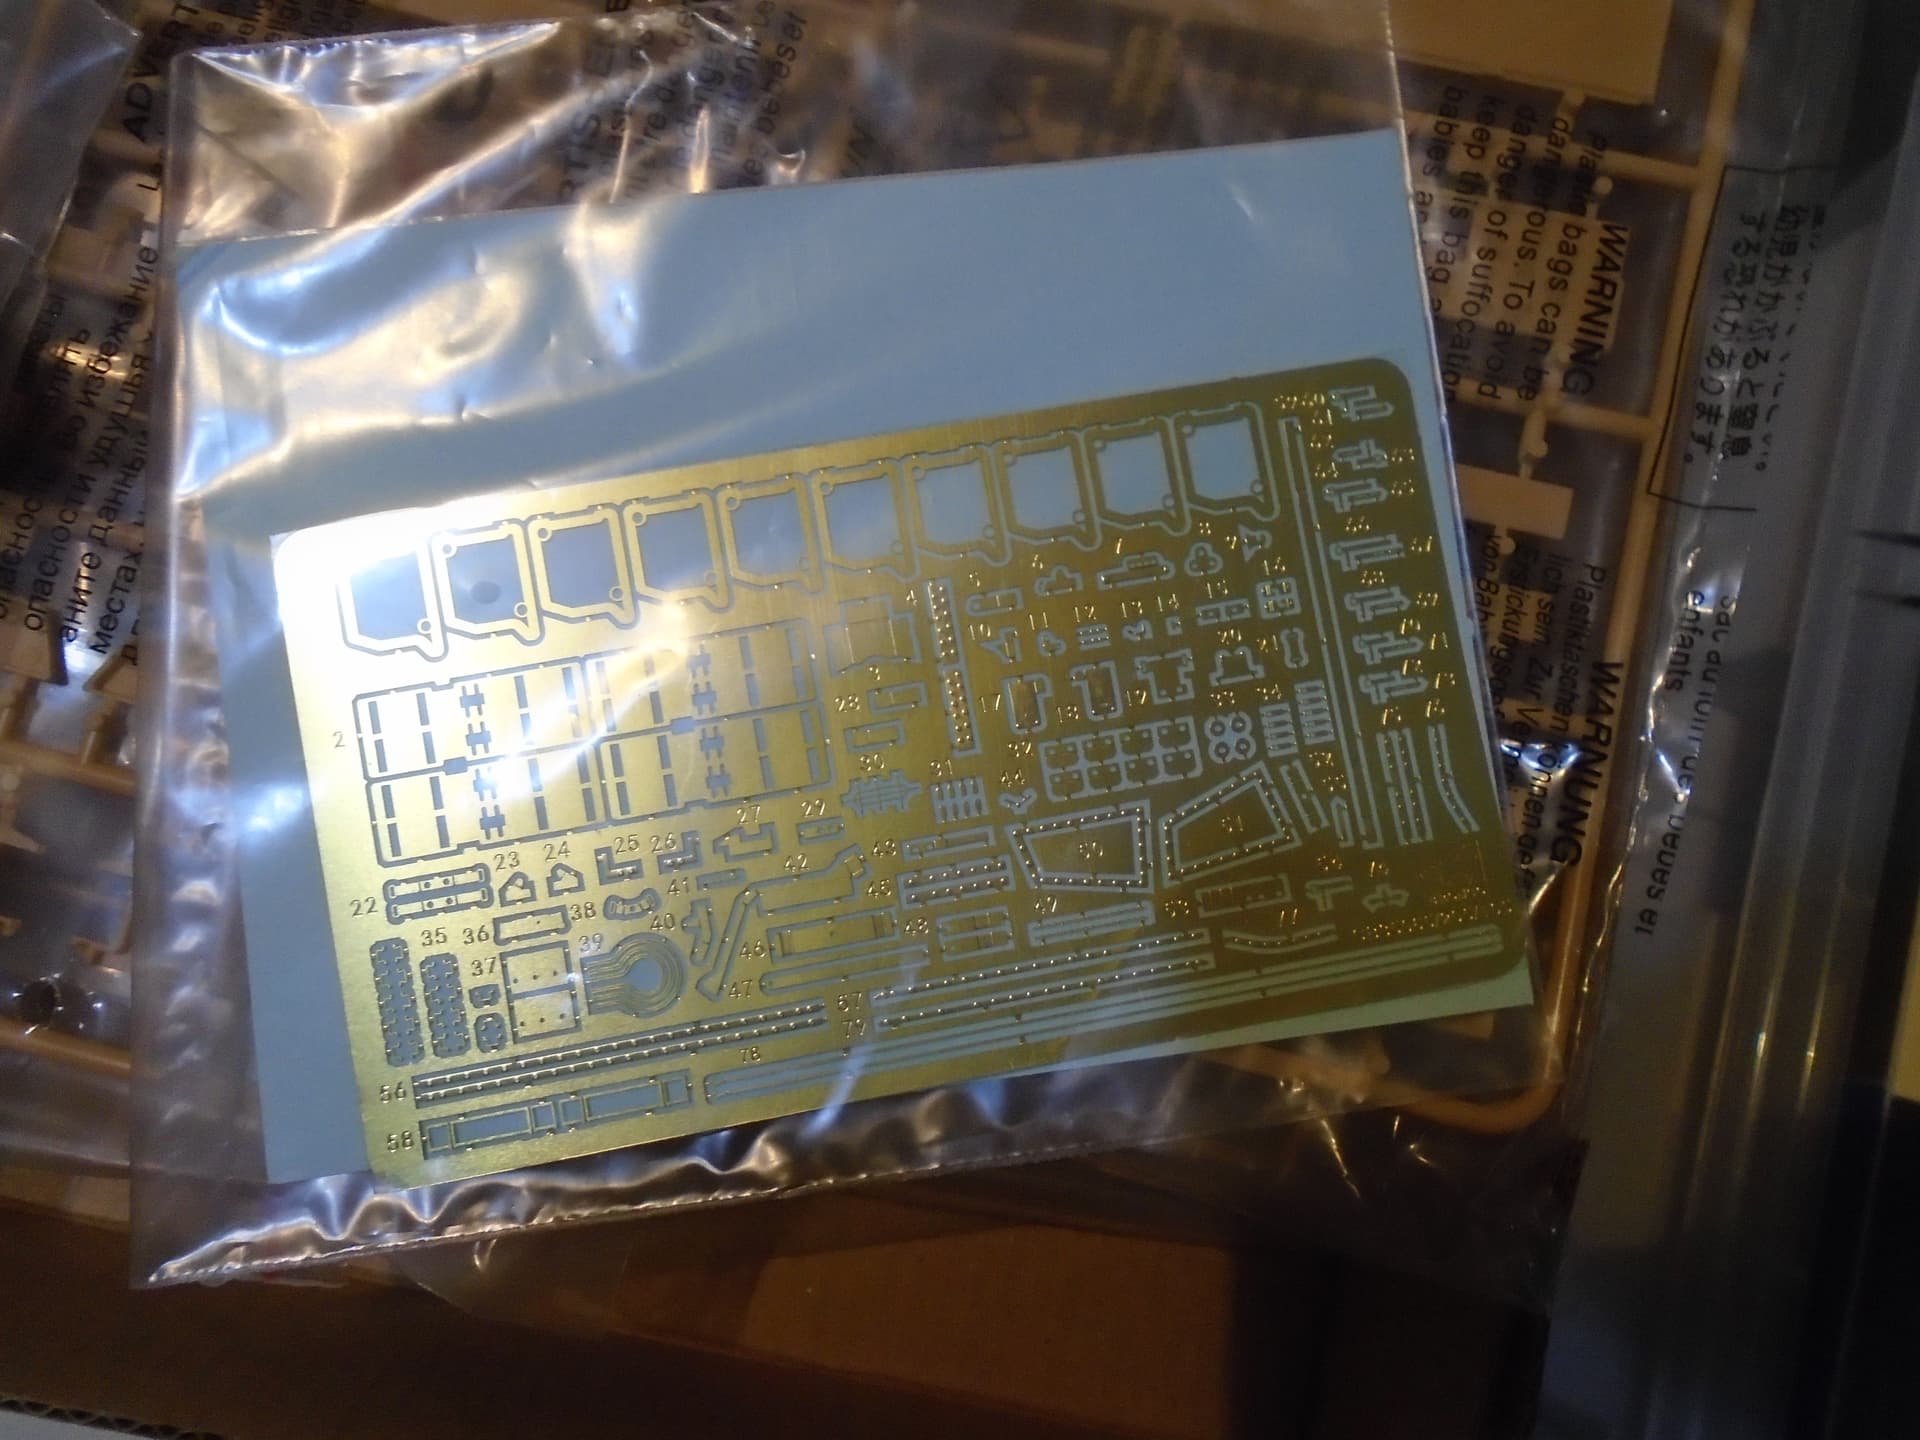
Here are the starting photos.
25 days for a Bronco kit?!?
Hey, we’re talking about Kalin- the Modelbuilding Machine!!!

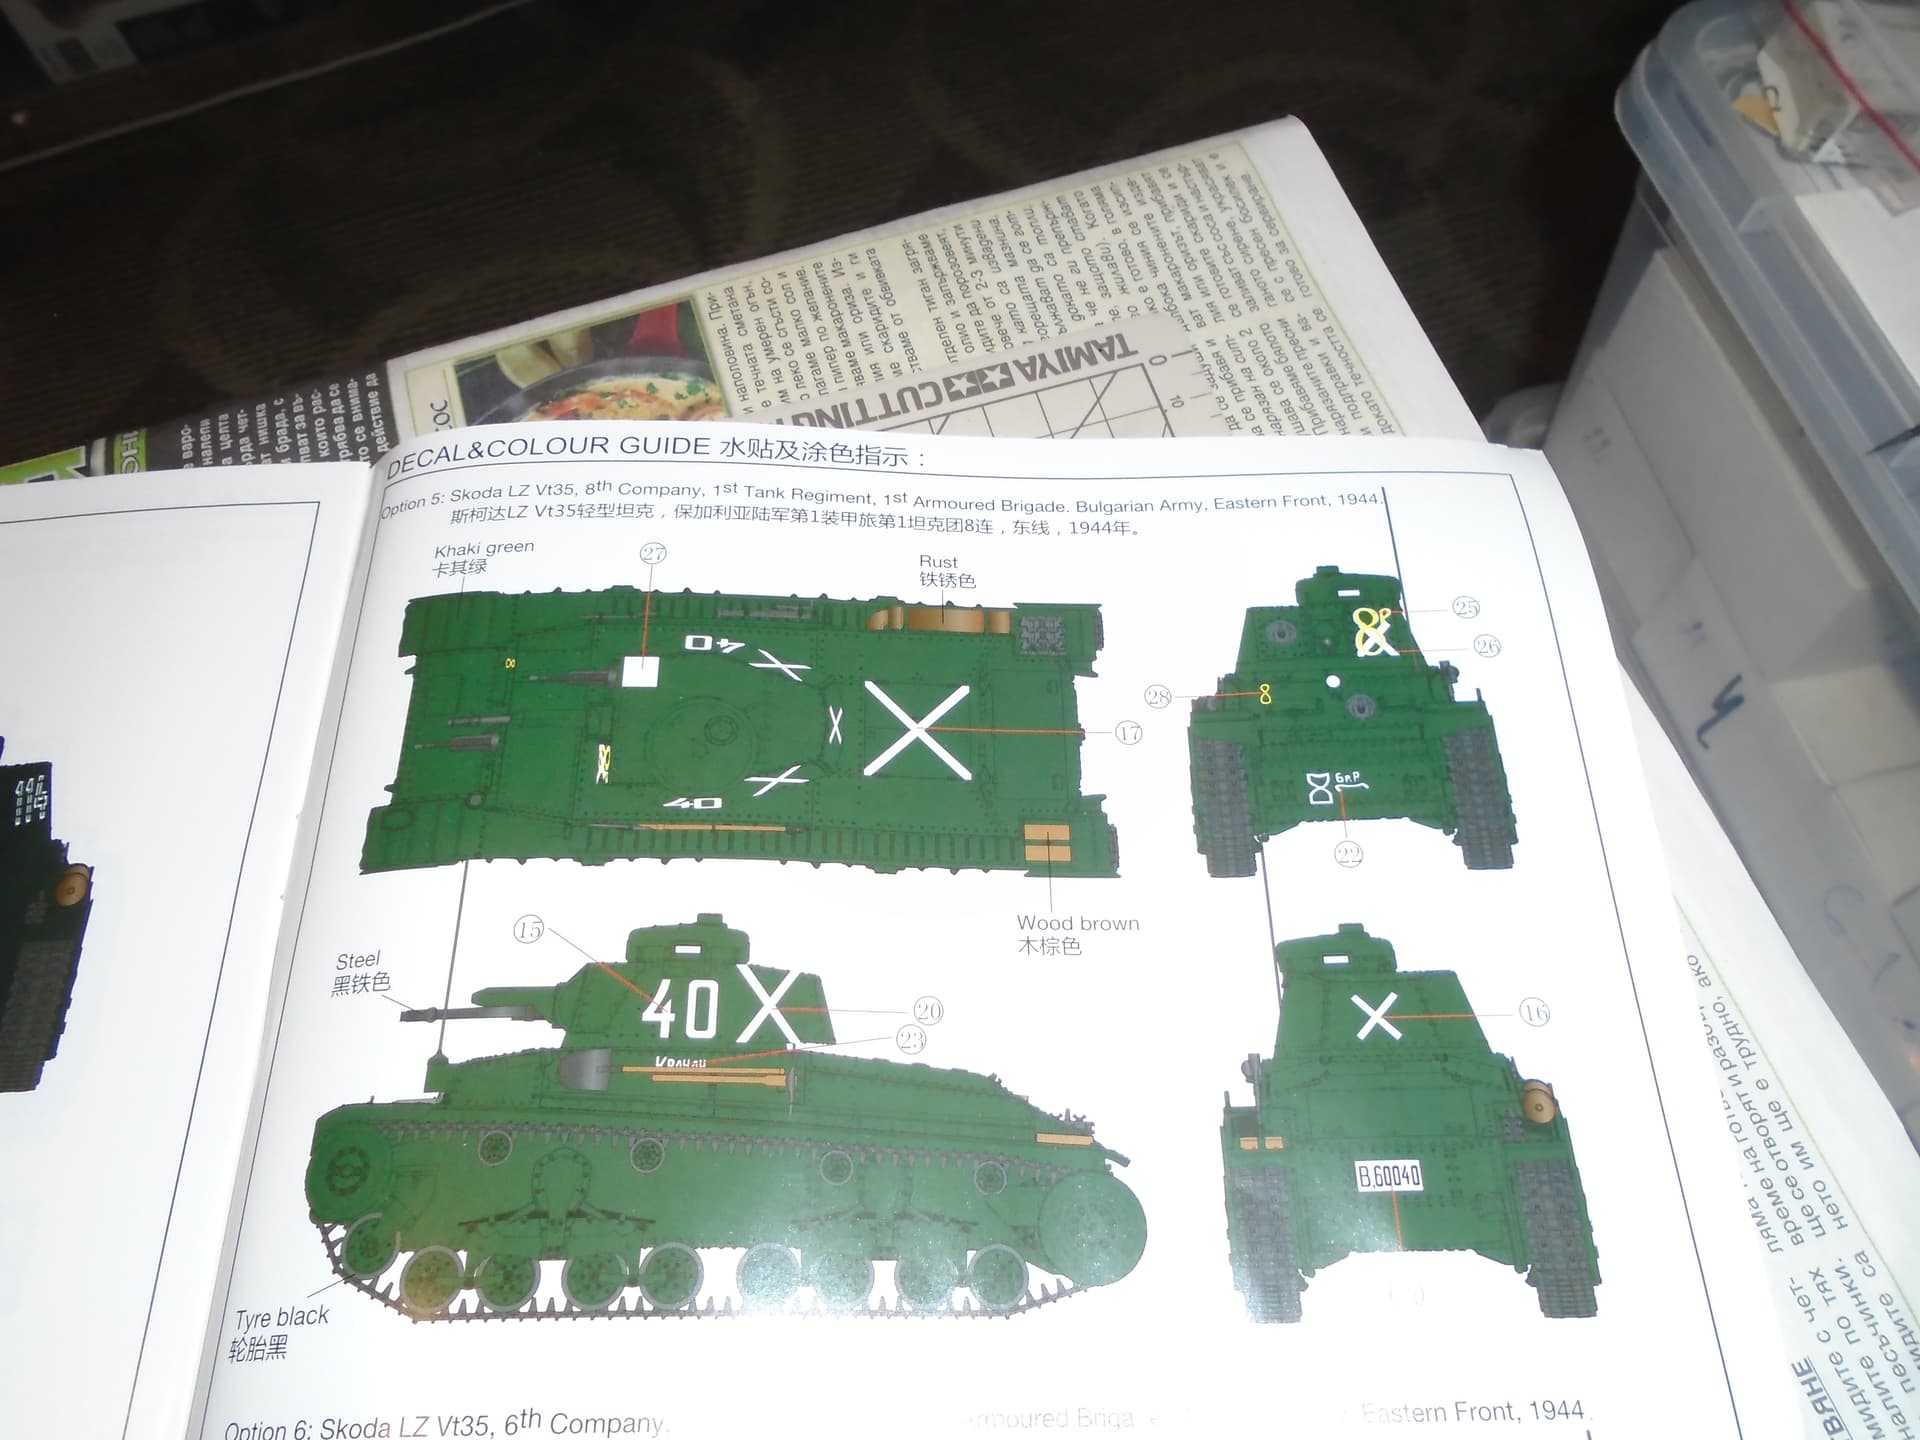
I’m sure you won’t use the post-WWII dark green color scheme as suggested by Bronco 
Good luck and keep us posted!
Cheers,
Angel
Thanks but that is all Master Angel’s doing. He gave me an education on the uniform. I think for my limited skill the kepe is easier to modify then making the other hat or helmet.
Thanks. It was with your knowledge that got me this far but Mitko has more work to do to become a proper solider.
It would take me 25 days to read the instructions and cut out the tracks alone. More power to him.
Why not give it a try.
You know me and have seen me make several models at once.
This is a Bulgarian campaign. I may not sleep but I will manage.
I ignored her. I don’t even think that’s the color of post-war tanks.
Kind regards!
Kalin
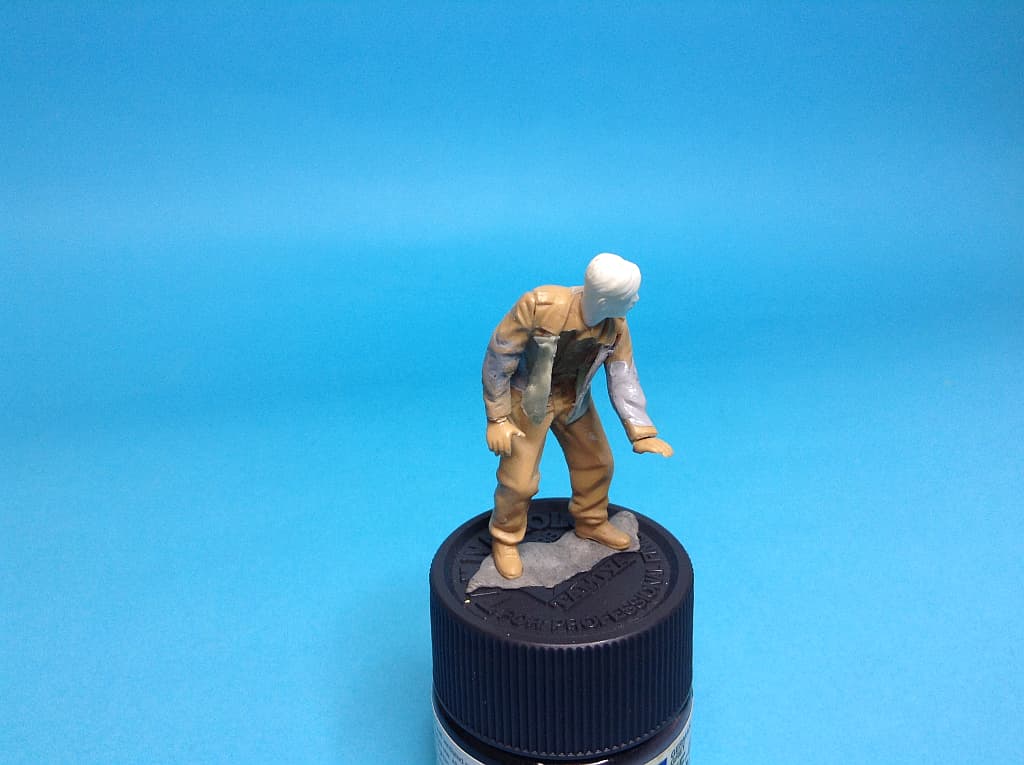
Ryan, when adding large amounts of putty to a figure, do it over a couple of sessions and you will find it easier. Firstly add the basic big lumps between leg segments but don’t putty all the way up to the edge. Just fill the gap leaving a couple of mm all around. When that is dry, roll out some putty to make a wide ribbon a few mm thick. Wrap that around the already cured putty. Then using a bamboo skewer (or rubber tipped sculpting tool if you have one) and a tooth pick, shape the ribbon to fit up top the outside edge of the plastic and add some pleats and creases. Dip them in a little water to help smooth out the putty, especially at the join with the plastic. Sanding should then be minimal.
Allowing the big blob cure means you have a solid base to work from later. I also find it best to use 2 pieces of wire per leg for large gaps. This is still easy enough to twist the leg as well as bend it at the knee, and when you add putty it means the wire is trapped solid, so the putty can’t turn and will be held exactly as it needs to be.
Using the wooden tools means no finger prints to sand off. Also with the cured blobs in place it gives a firm base you can press the tools against to form the creases.
One of my conversions to show what I mean:
First addition of putty to the arm. Notice the join with the plastic and the roughness of the basic putty added to the figure.
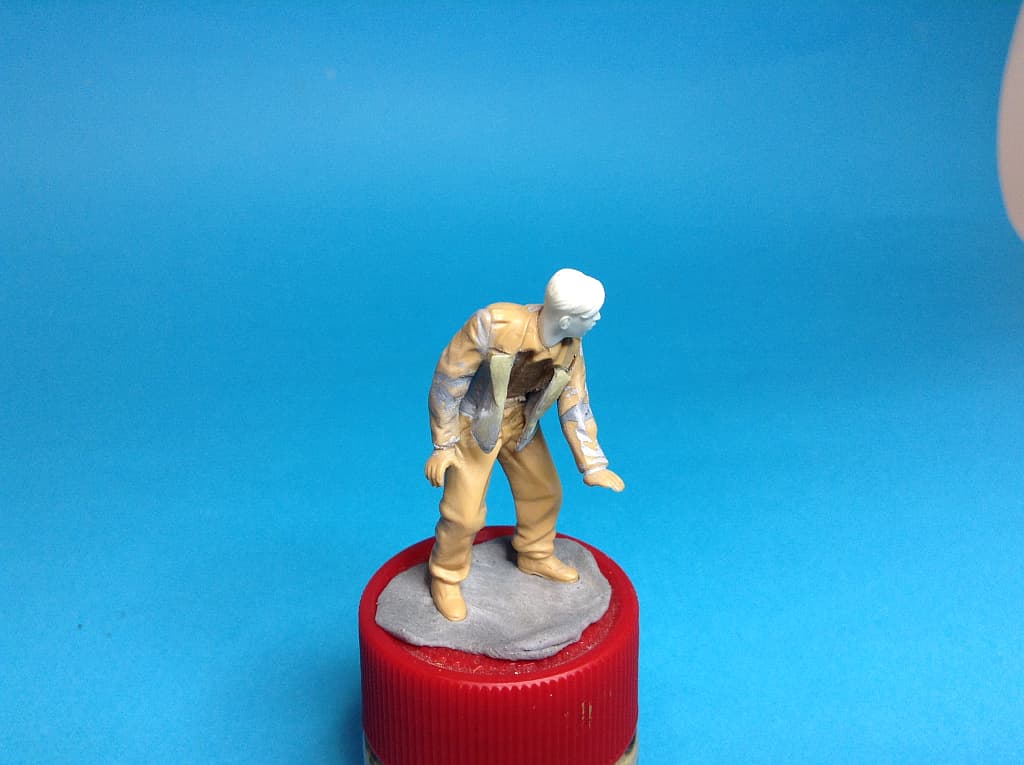
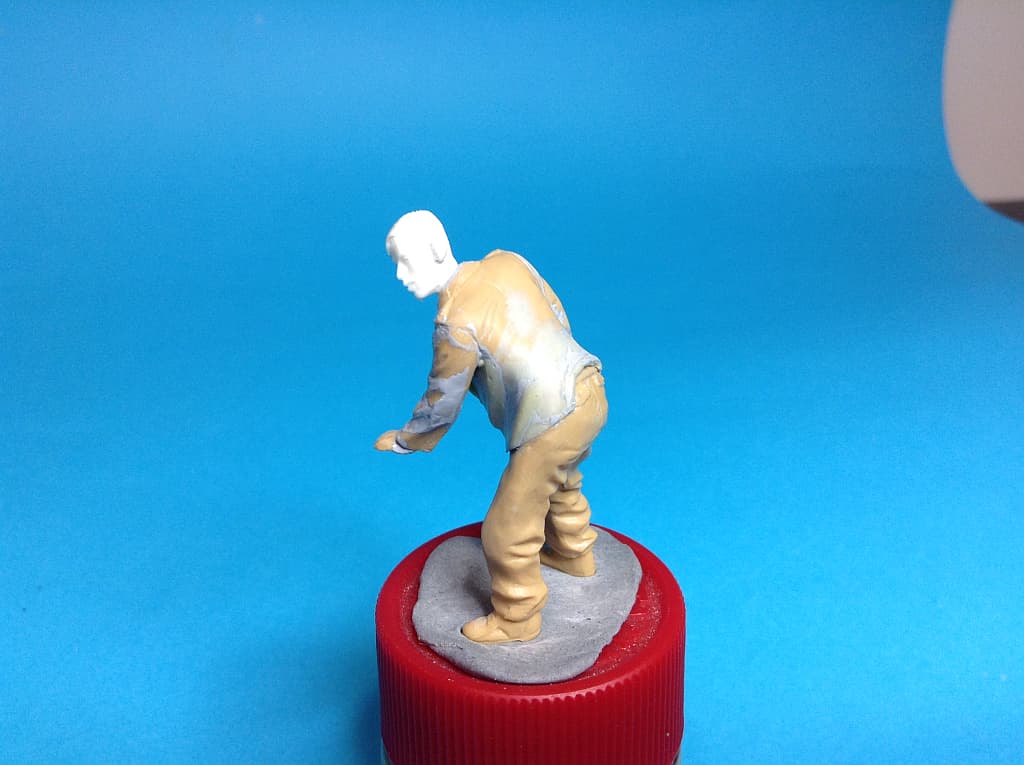
Second coat and smoothing process - Lapel added, etc:
Final result painted.
And another nice addition to my “Peter’s Tips” folder!
Cheers, mate!

Angell
Thanks. I had tried some of those techniques but the execution was well less then flawless. More like an episode of Nailed it! Sabrina x Nailed It! Challenge | Full Episode | Netflix - YouTube
or what happens when doing something seen on Pinterest.
I do like the idea of two wires but that’s not a lot of space to work with. I had rolled the putty thin in an attempt to rap around the wire (two would have made that easier). I had rubber tools and water on hand. The legs suffered from the wire not being set properly first. So with the spinning legs, the time crunch with the putty and trying to make sure the new angles fit didn’t help. I was able to use the water technique on the kepe. Probably should have went thinner on the putty for the kepe but I found too much mass in a small area to work. Found even more appreciation for sculptors in this scale. As I am not one.
I didn’t know you were so good with figures.
What I have looked at in detail will help me in my work.
Congratulations, Peter!
Kalin
My face painting leaves a lot to be desired… ha ha. Some days it all just comes together, other times, well not so well. This was for the build a photo group build, so I needed the figures to match this pic:
Thanks for re-posting them, Ezra!
So you’ll do a second build?!
Bravo!
Cheers,
Angel
Looking great, Ezra. Very faded and weather bitten look. 
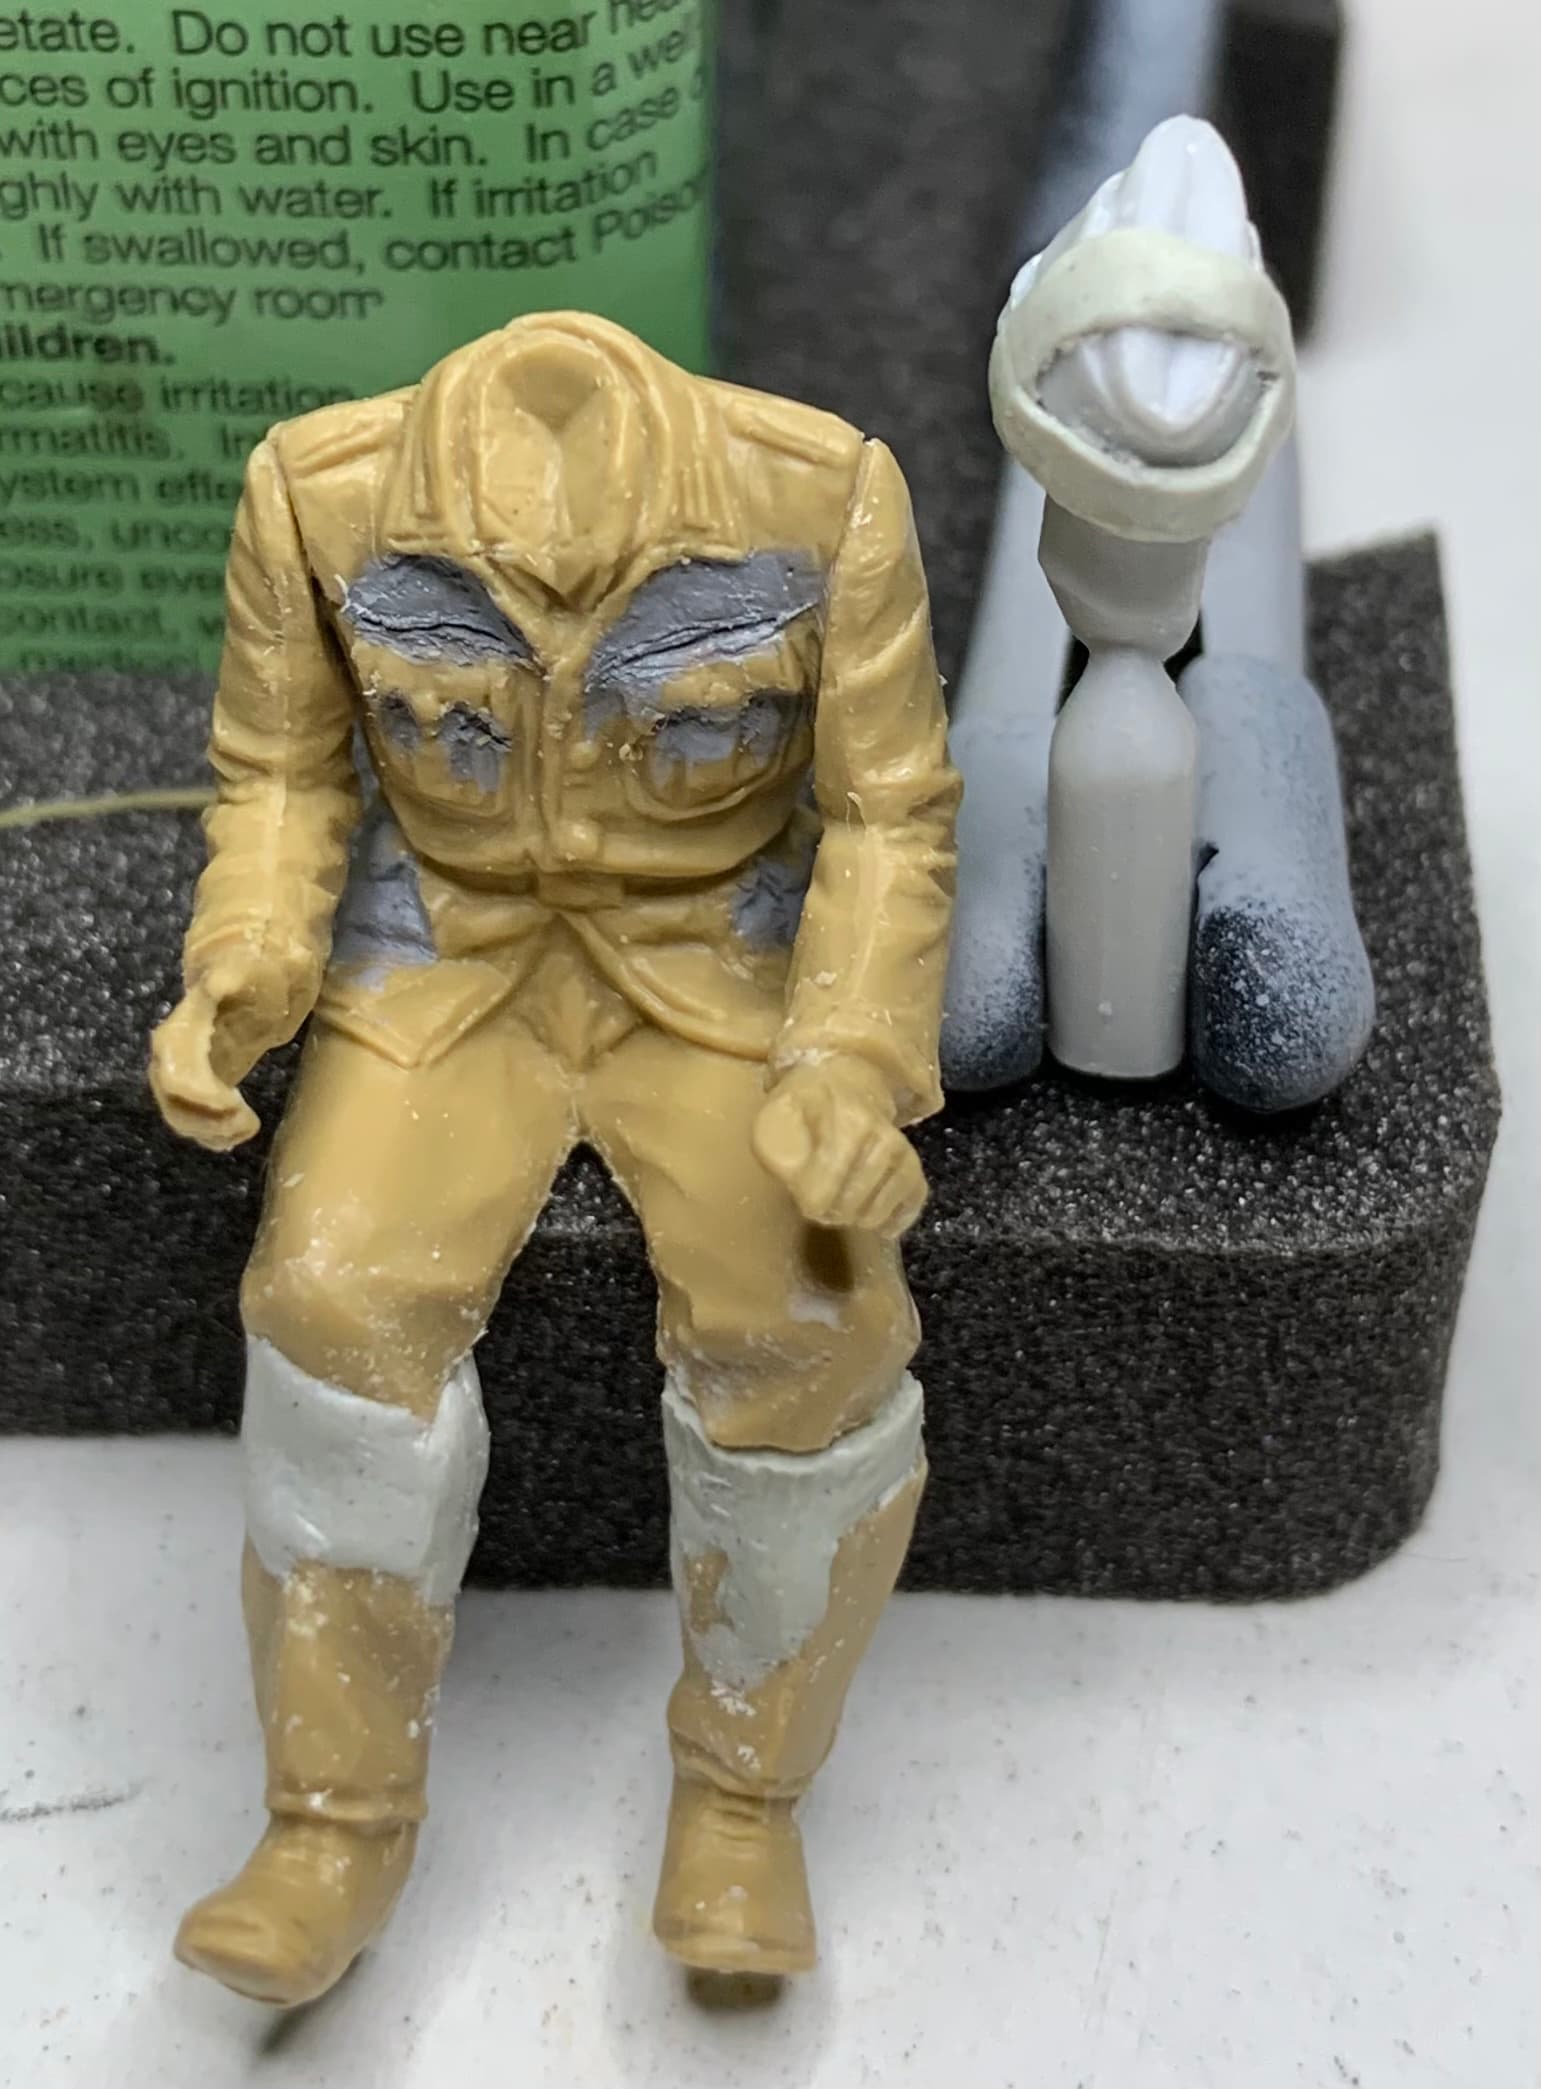
Mitko is recovering……mostly well. More work needed on the left leg.
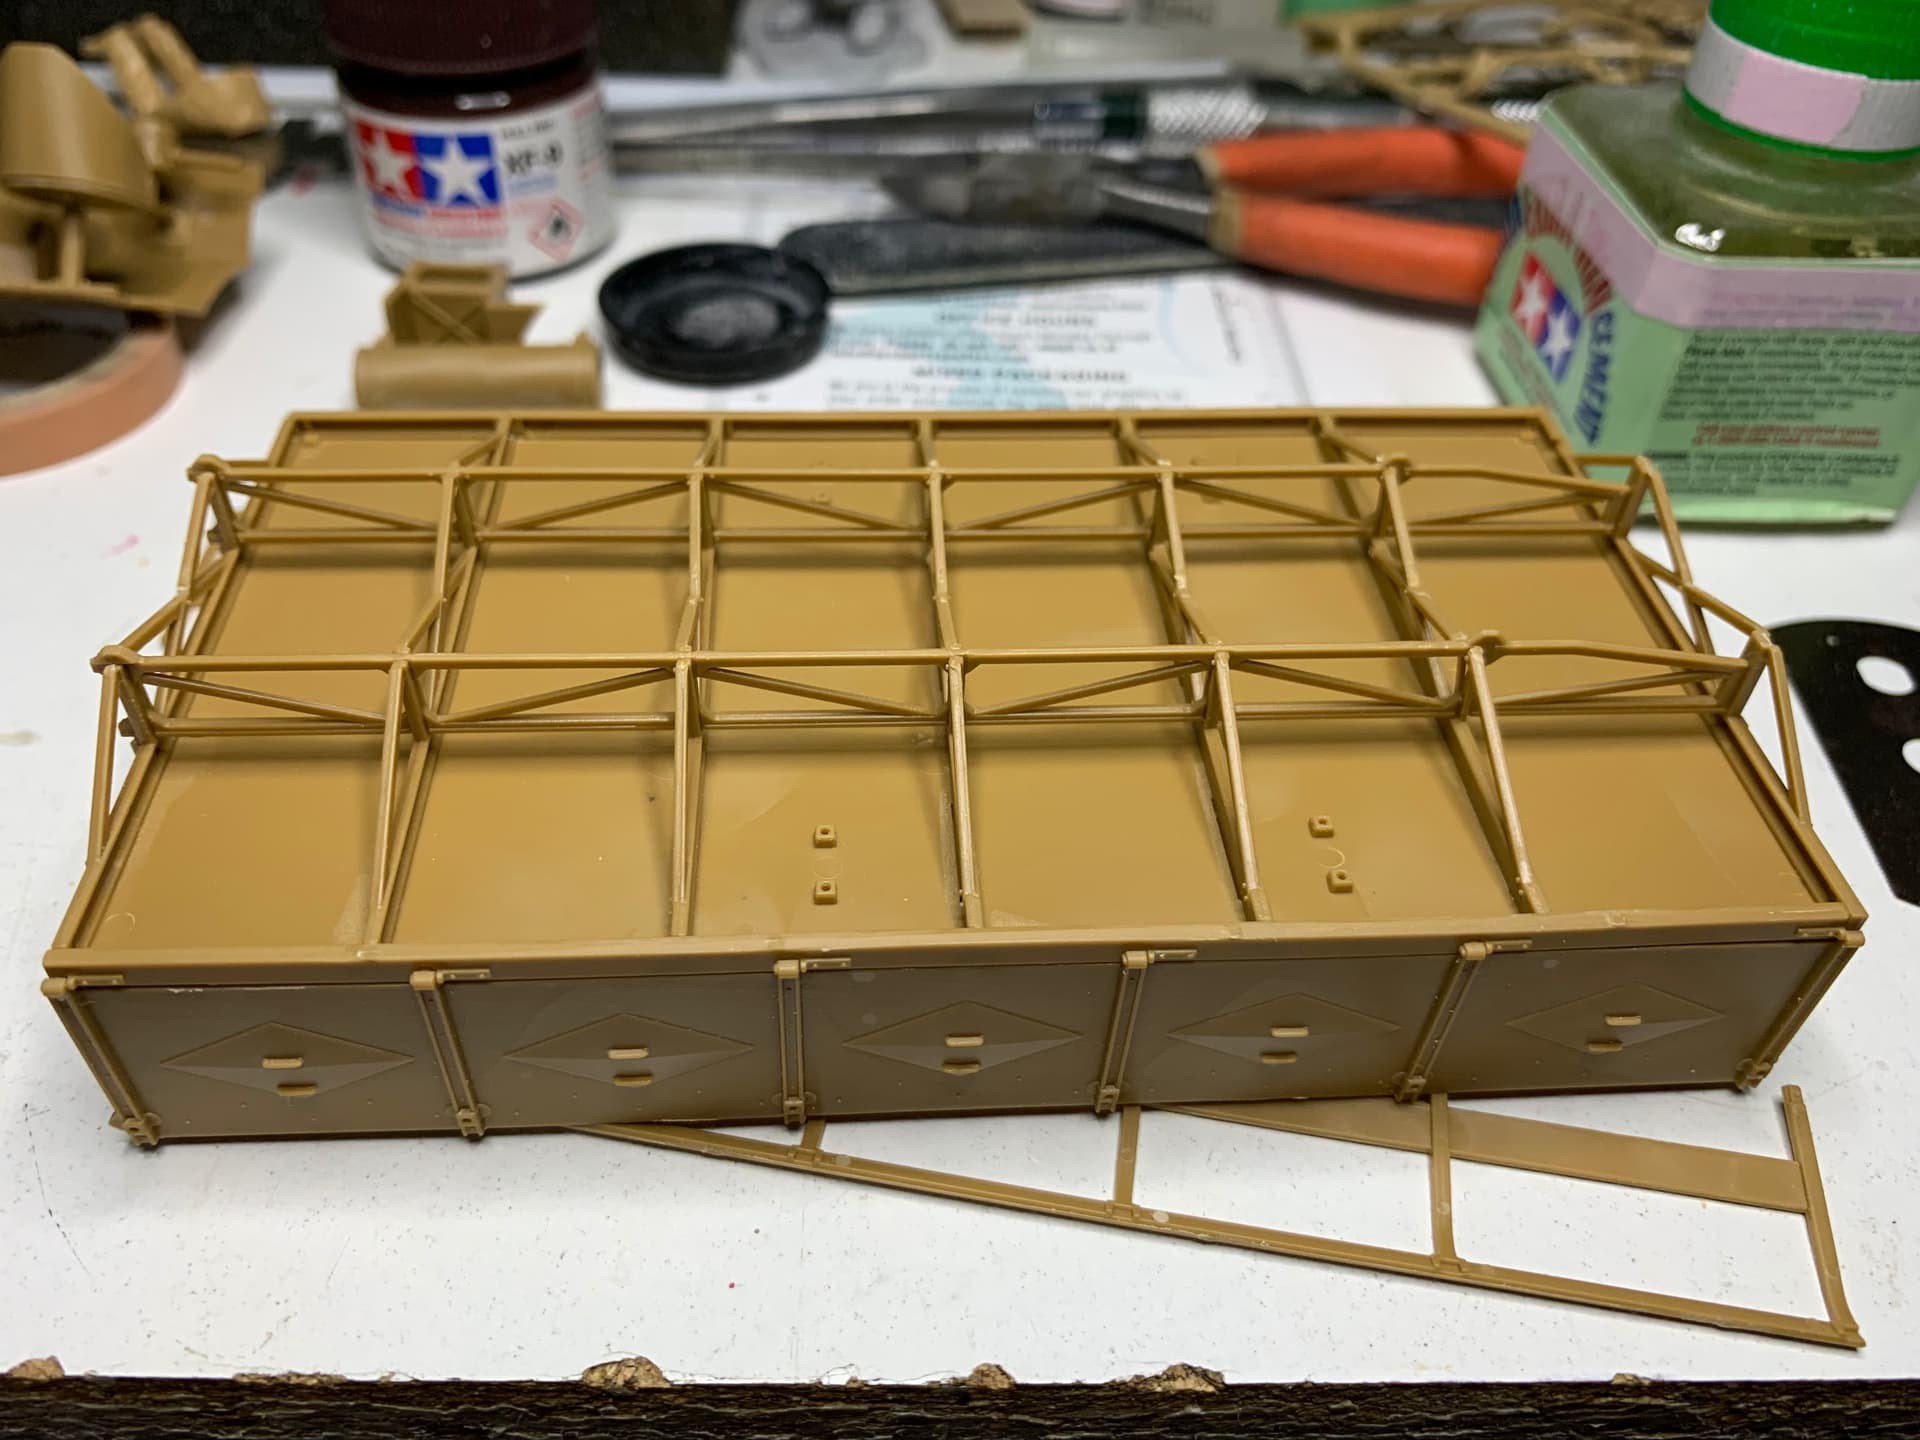
The bed is mostly finished, I do think that I need to paint and weather the bed otherwise once the overhead slats in place it will not be easy.
Super. Success!
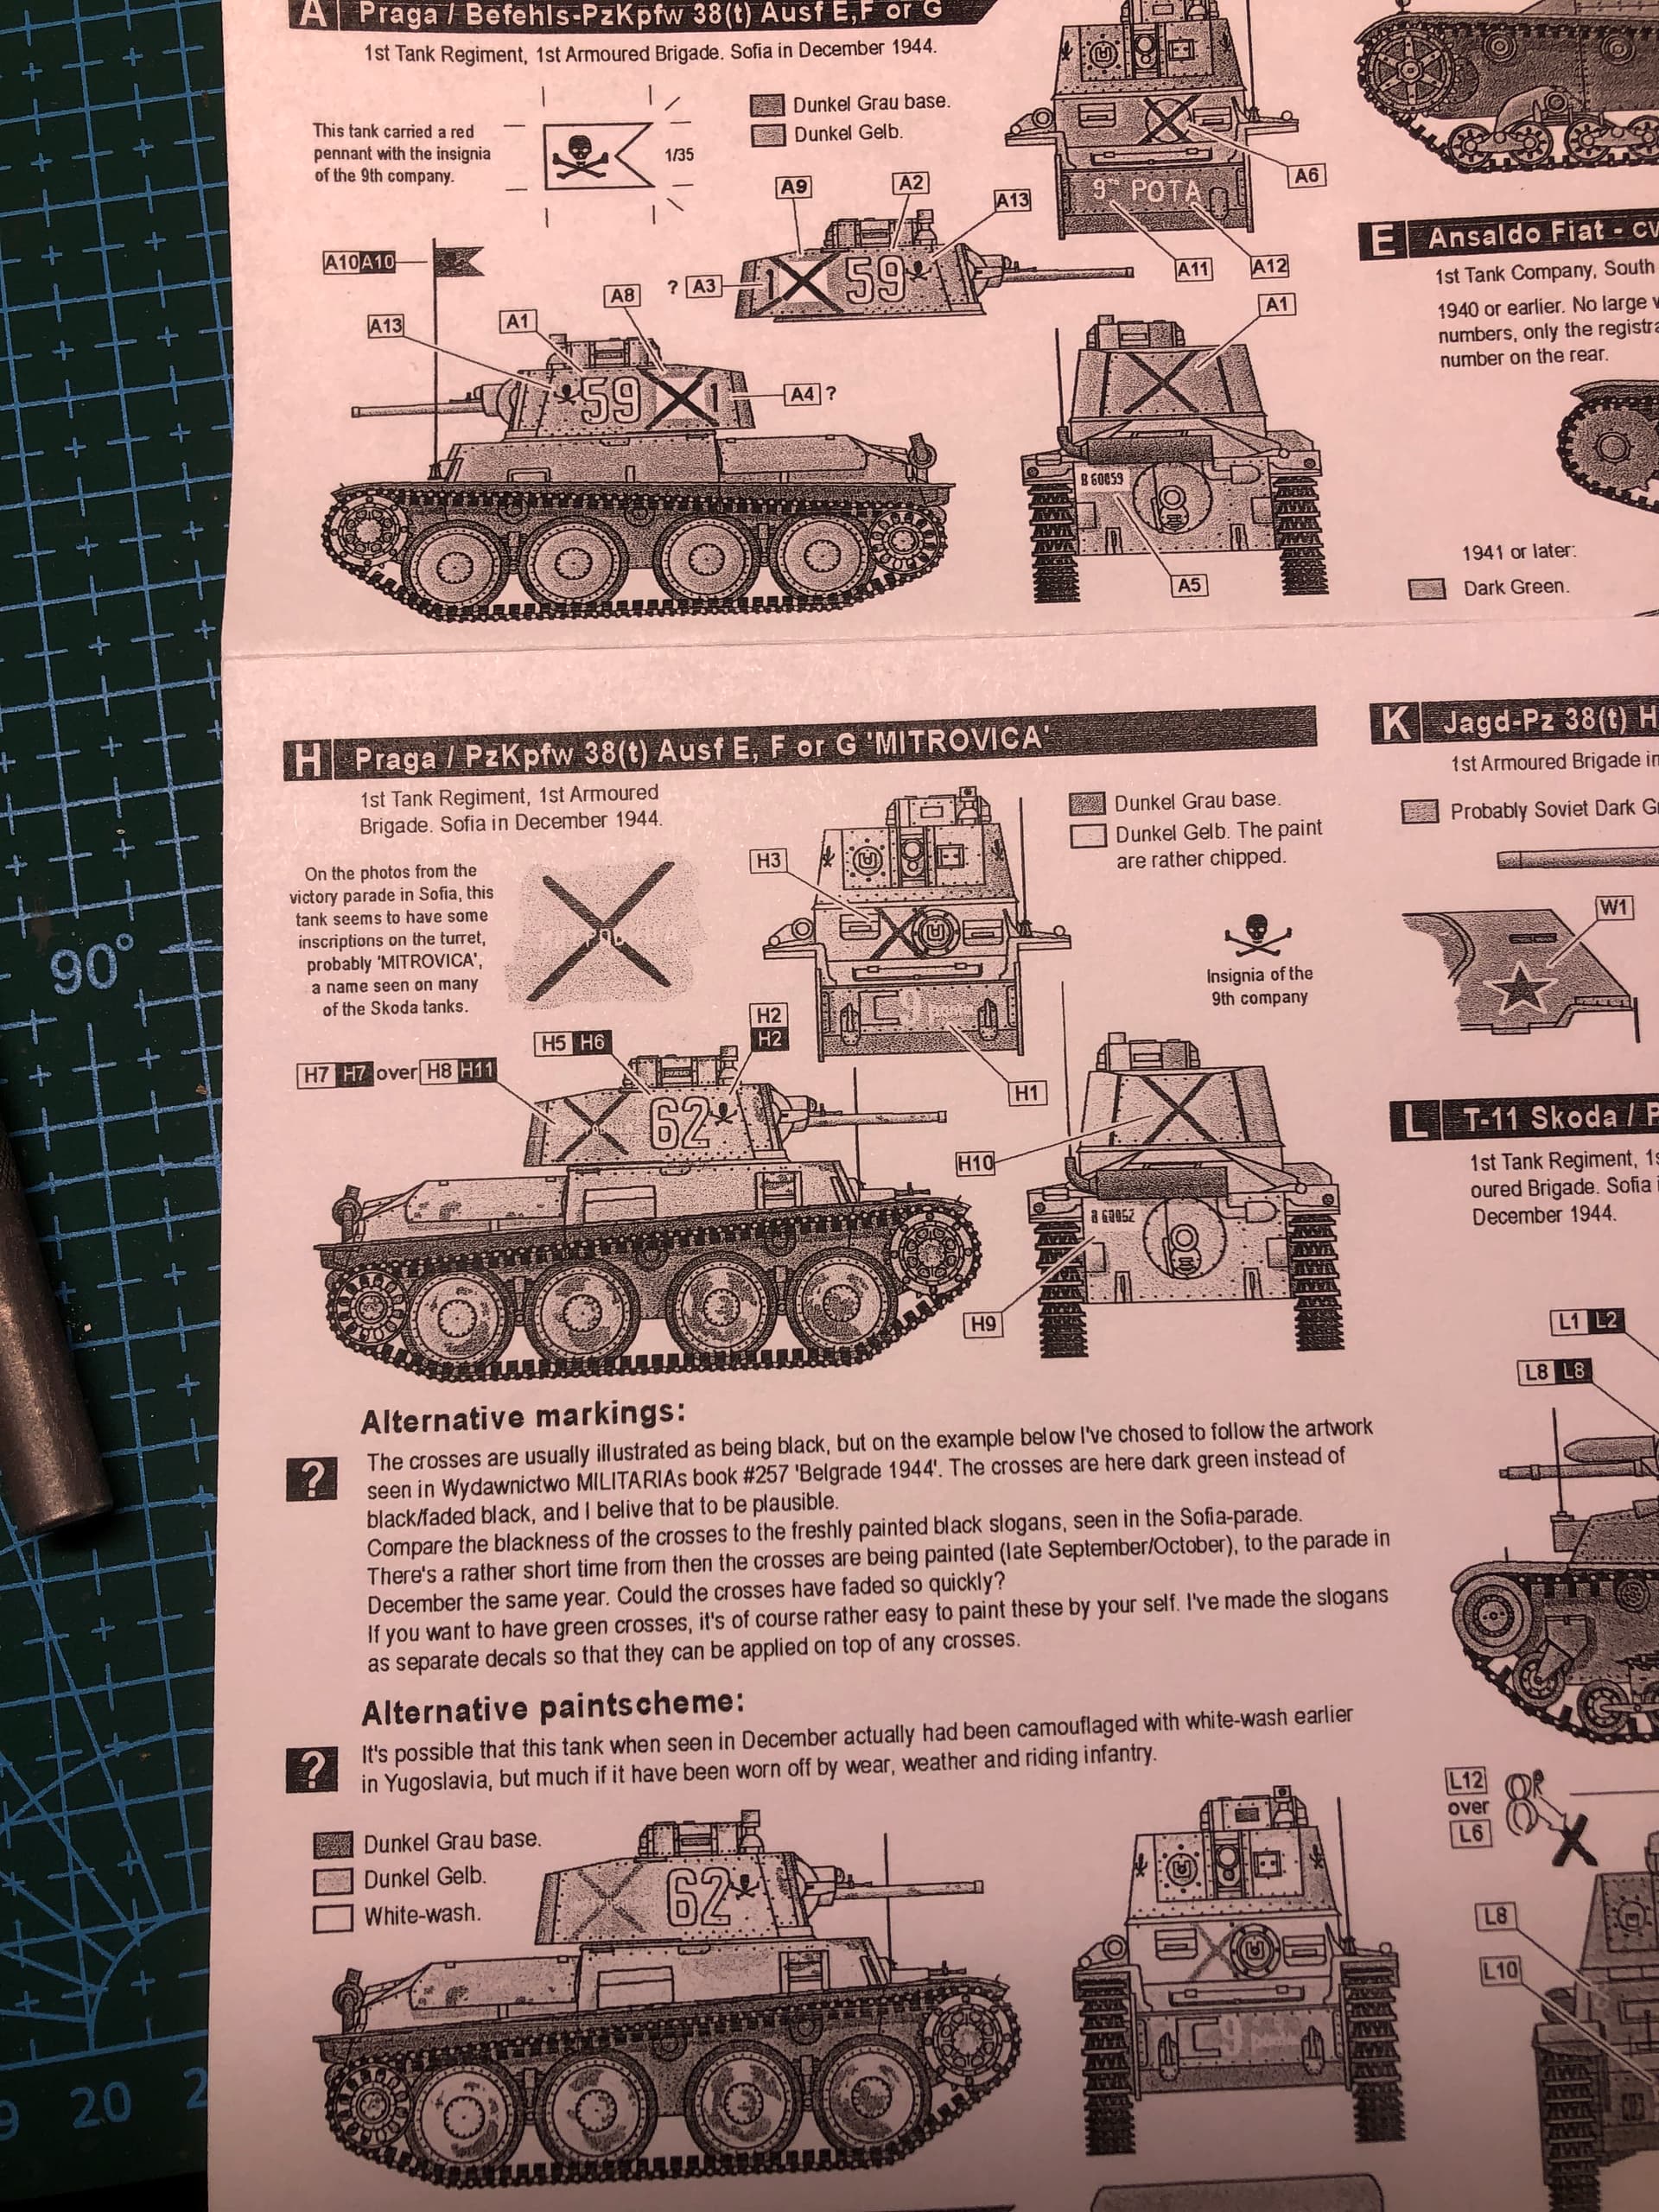
I think the options
when choosing this kit are two. (According to information from Angel). I hope Bison’s decals have these options (B60059 and B 60063).
Kalin