CEC YT-1300 Millennium Falcon by Bandai

Good evening people.
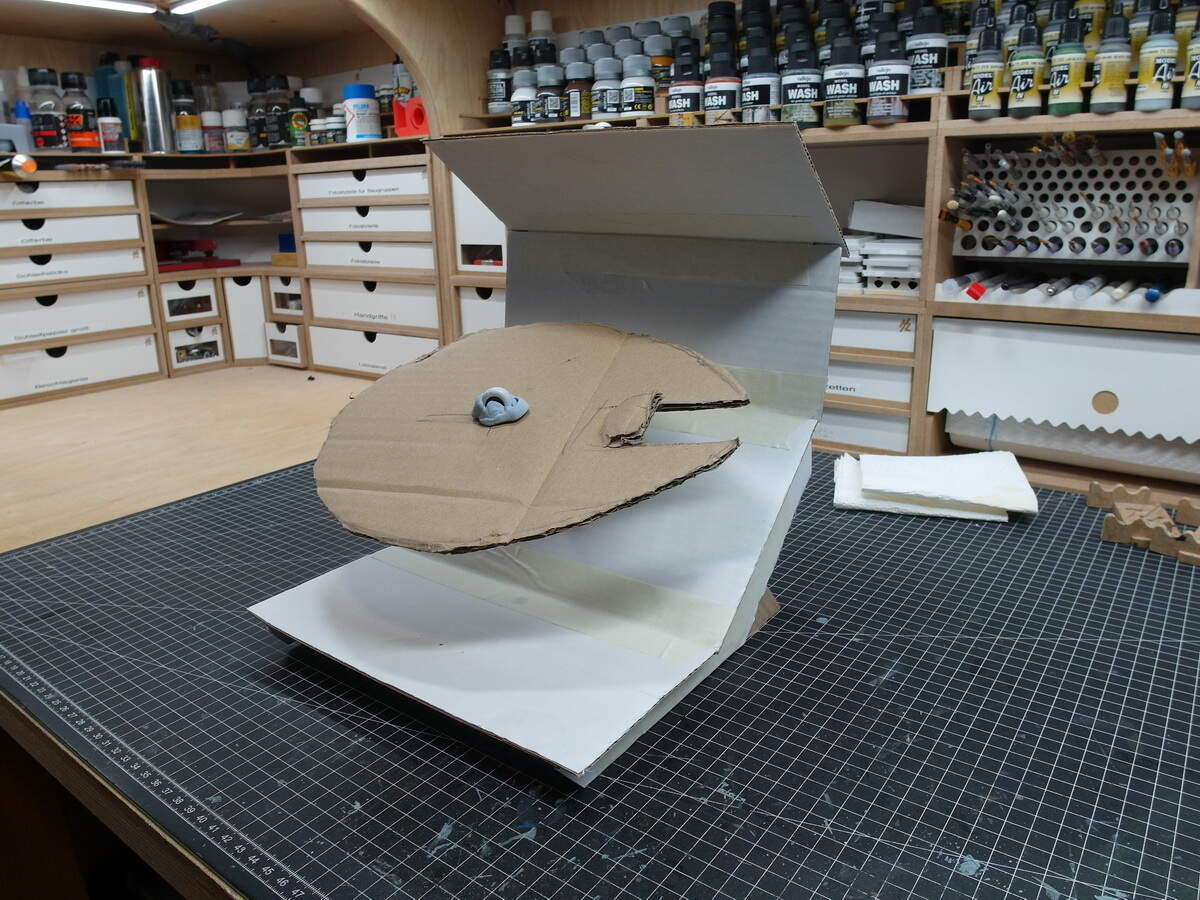
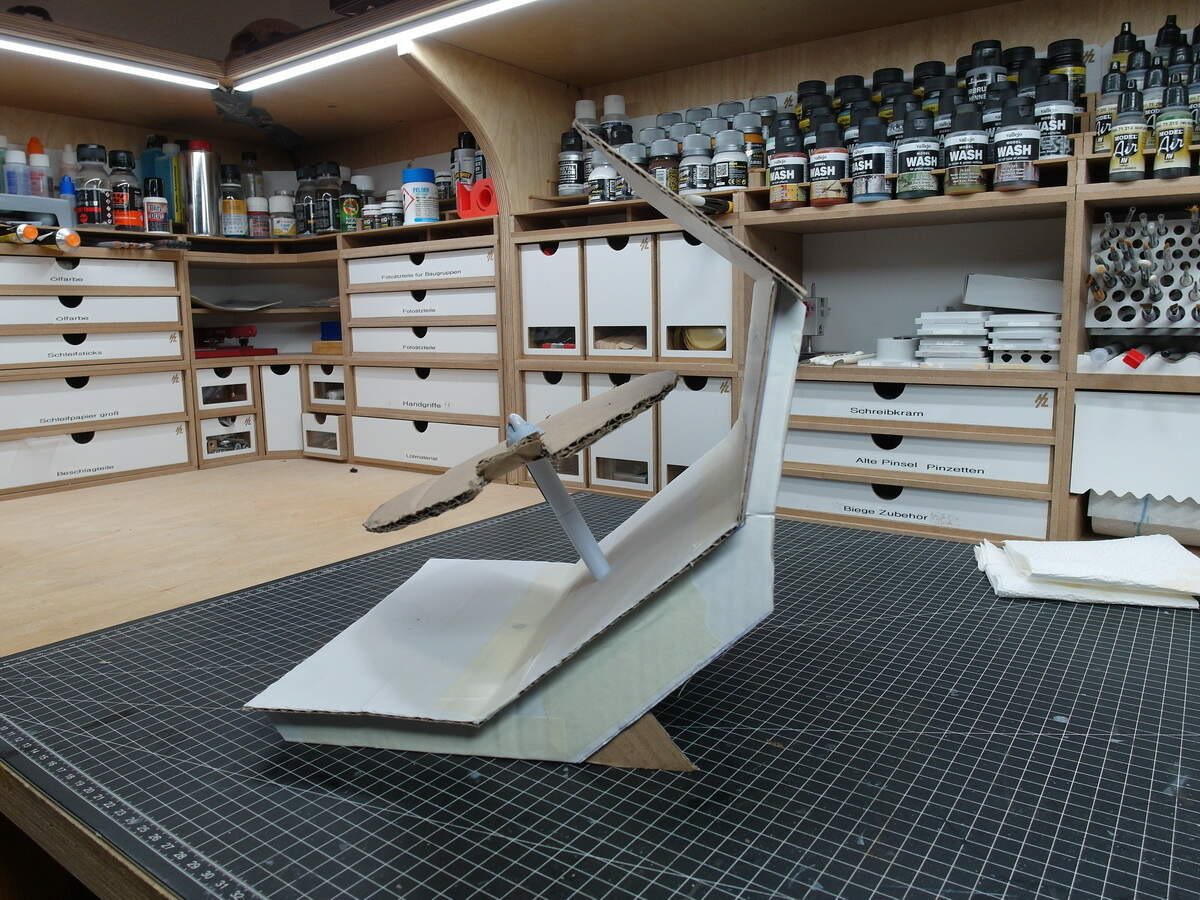
Today I dealt with the scaffolding for the diorama.
The idea was to let the falcon fly through a kind of bisected tube. This should then be equipped with a Death Star surface that I will create later.
But as I said, first of all it’s about the scaffolding which will probably be made of wood.
I made a 1:144 scale model out of cardboard.

I can then screw the threaded rod on which the model sits to the body through a hole.

8 Likes

nice plan and that will look cool

1 Like

Hello everyone.
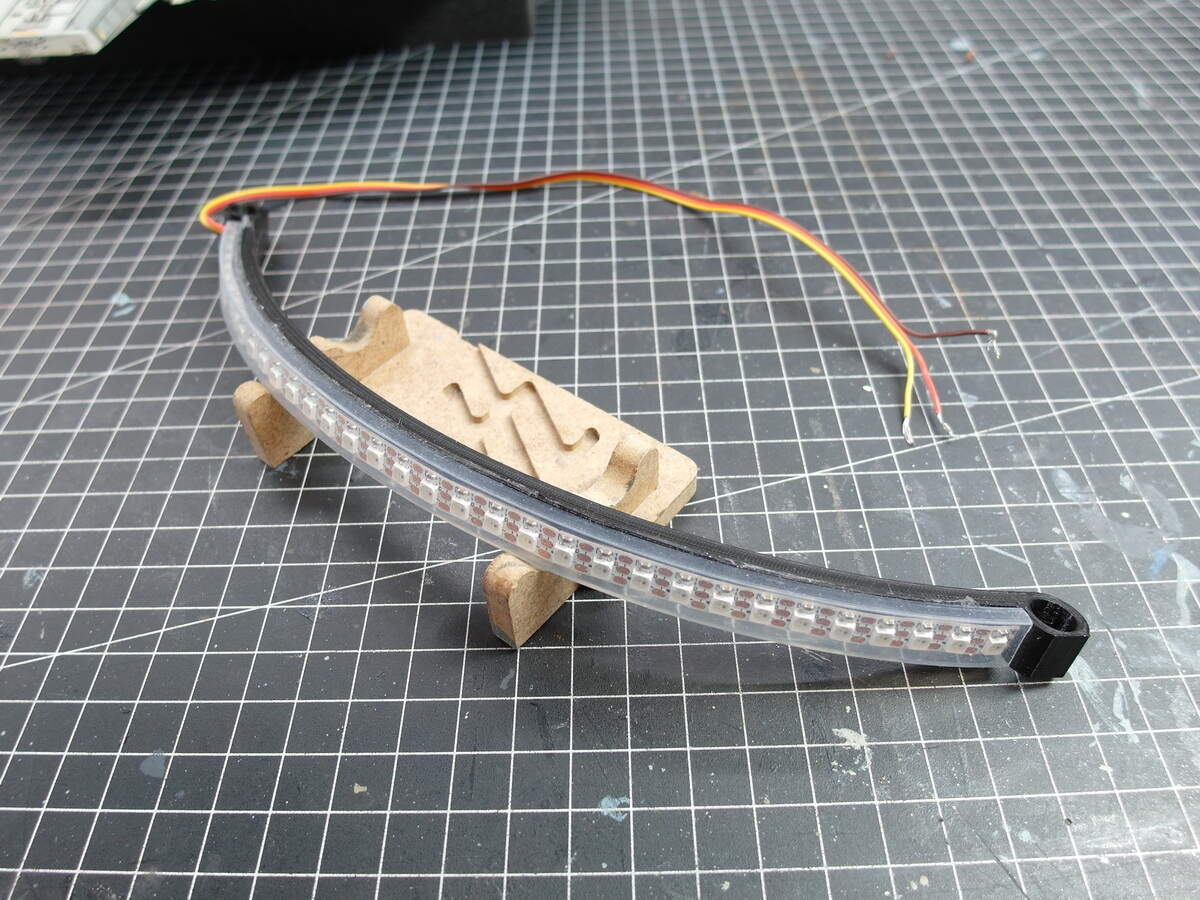
Today we take a small step towards lighting the drive.

In the original kit, only very few LEDs are provided for the drive, which has already been criticized by some model builders.
A remedy had to be found.
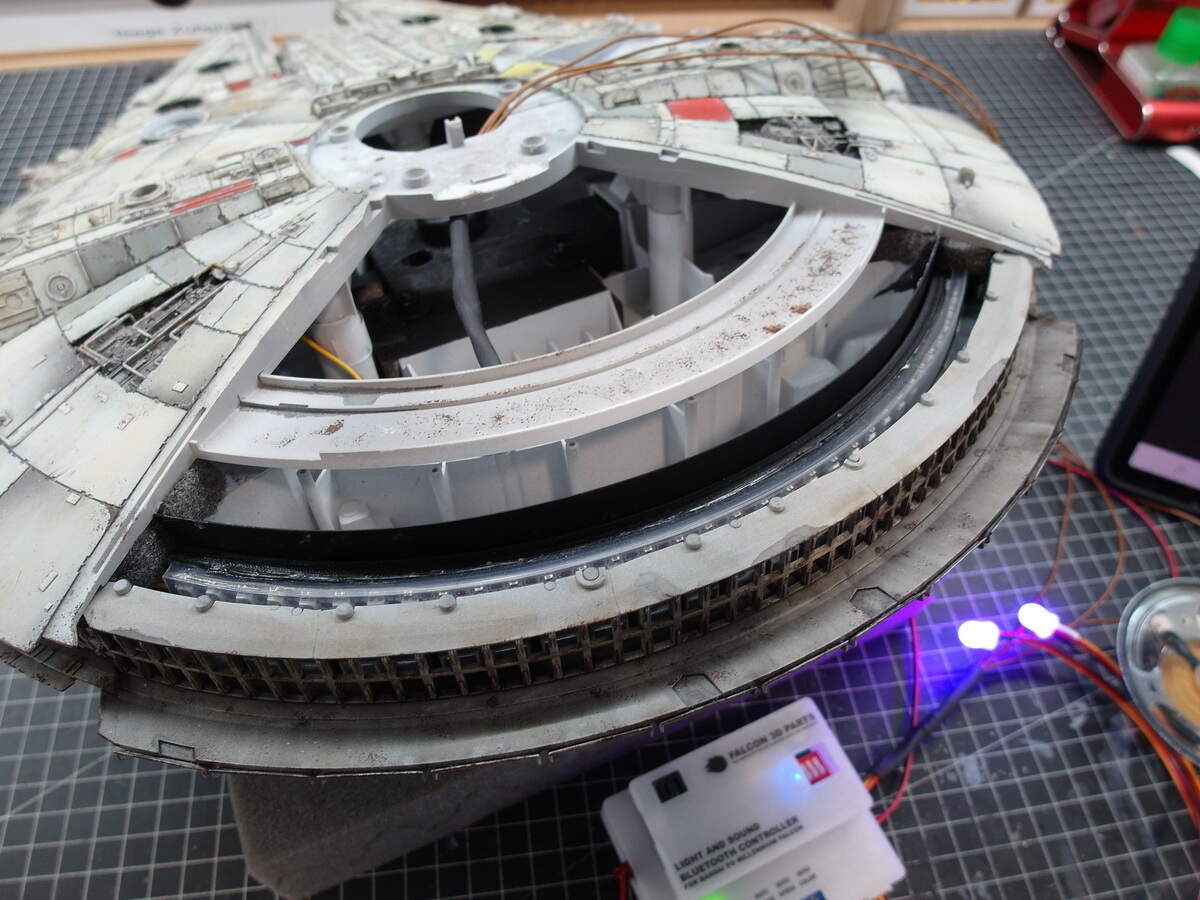
So I got myself a lighting and sound module from America.
The engine light strip consists of 34 super-bright mini neopixel LEDs.

These are glued to a carrier also included in the set and intrigued into the fuselage. Fits great.
Then I cut the plug.
The cables will be extended here later and new small plugs will be soldered on, because I did not build the control unit and the loudspeaker into the model, but into the diorama.

And so the wedding could be celebrated today, the big lids have united.

Now you can already see the well-known silhouette.

12 Likes

Simply sensational Jölle. An excellent build . I am looking forward to seeing it all done.

1 Like

Thanks Peter.
Small update.
The retaining clips and lines to the mandibles have been added.

The brackets are also one of the few components that I had to putty.

With this, the falcon at the bow is complete and can be further aged.

13 Likes

Really looks lovely. Beautiful weathering so far.

1 Like

Thanks Johnny.
So today again made the framework for the diorama. This time with the original model.
Everything has to be right before it is built.
And what can I say, I’m quite satisfied.

The falcon has to move a little more to the right.

And tilted a little more at the angle.

12 Likes

At the moment I don’t have much time for model building, but I have painted a little more on the engine cover.

Filter, washing and dry painting complete.

Put it on once, goes with the rest.

13 Likes

Looks excellent, can’t wait to see the Death Star tunnel section coming together. Great!

1 Like

Großartig Jörg, your next masterpiece is taking shape :heart_eyes: :+1:

1 Like

Ahoy men.
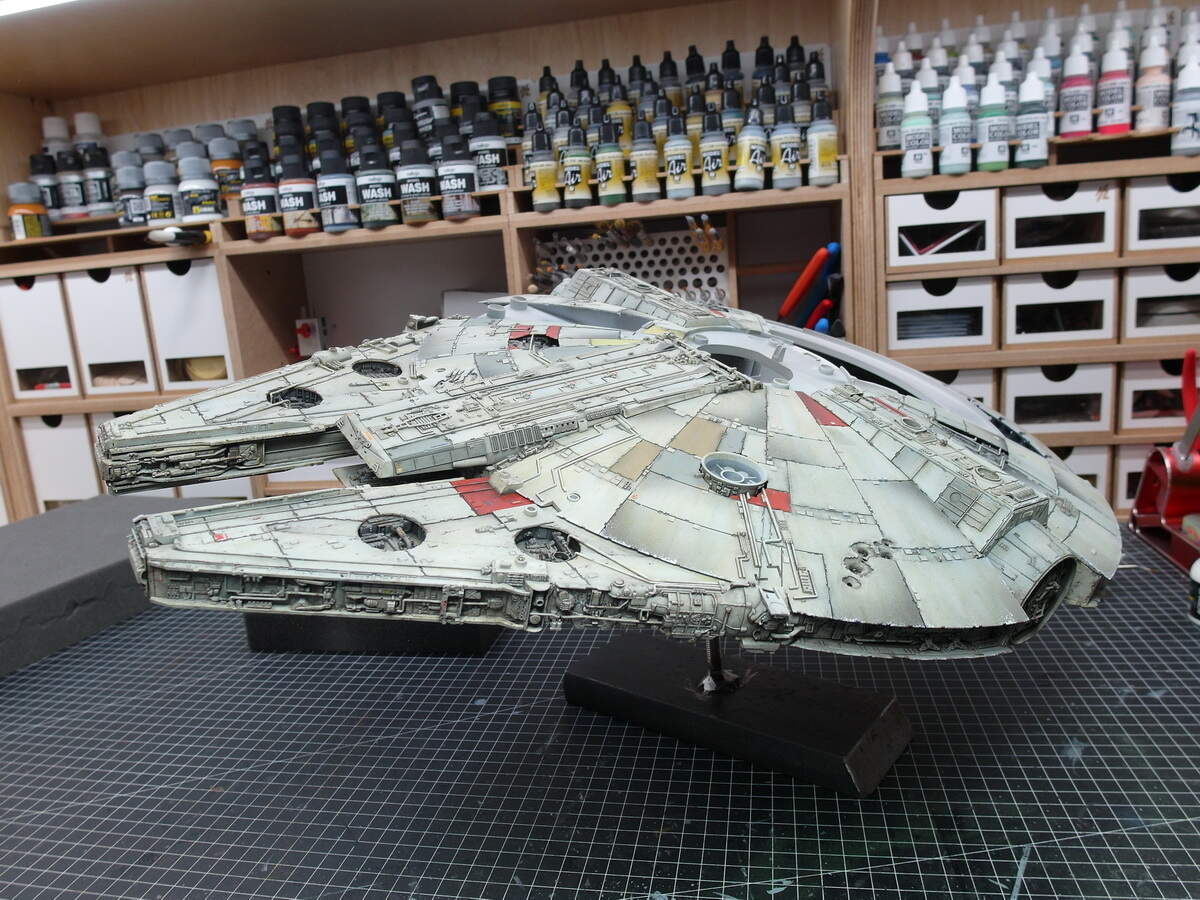
I needed a little break from chipping.
That’s why I took care of the inner values ​​of my Falcon again.
First glued a styrene strip behind the LEDs and lined the sides with foam.
So that the light cannot be seen in front through the crevices of the mandibles.

Then I extended the cables. The electronics should be in the diorama, not in the model.
Then connect it and run a test.
What can I say, great. But see for yourself:
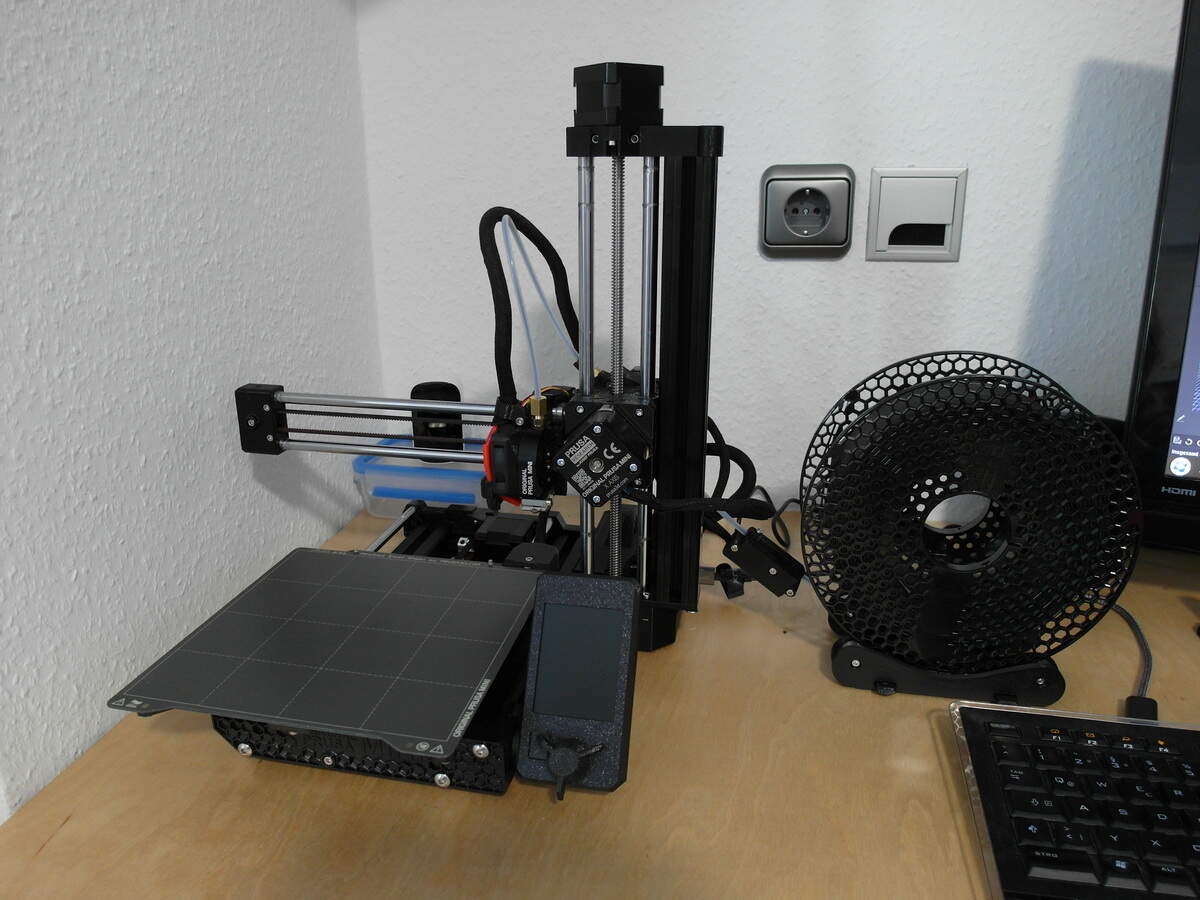
Light effects drive.

11 Likes

Coolness Factor: 10

4 Likes

Just saw this thread and all I can say is wow! Incredible skills at work. You are doing wonders with painting and weathering. Keep it up :+1:t2:

2 Likes

This will look so cool when it’s set in the Death Star tunnel…

2 Likes

Many Thanks. :blush:
In the meantime I’ve finally finished chipping the fuselage and sealed it with clear coat.

I drew fine lines on the blaster damage to increase the effect

Now dry well and then comes the fading.

14 Likes

Ahoy everyone.
I’ve finally gotten a little further.
There was, of course, a good reason why construction was delayed.
And this is him…

My new toy.
I’ve been looking for a 3D printer for a while.
A great part.
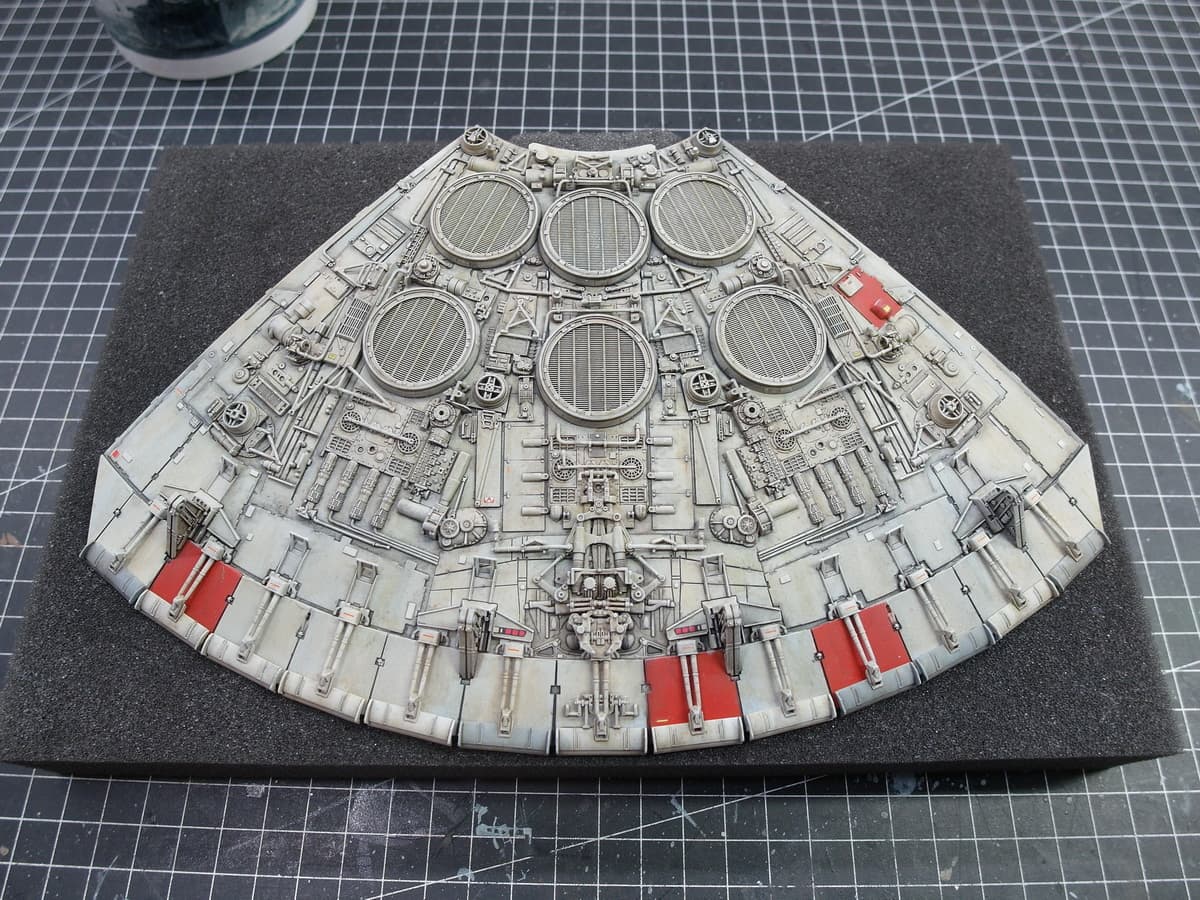
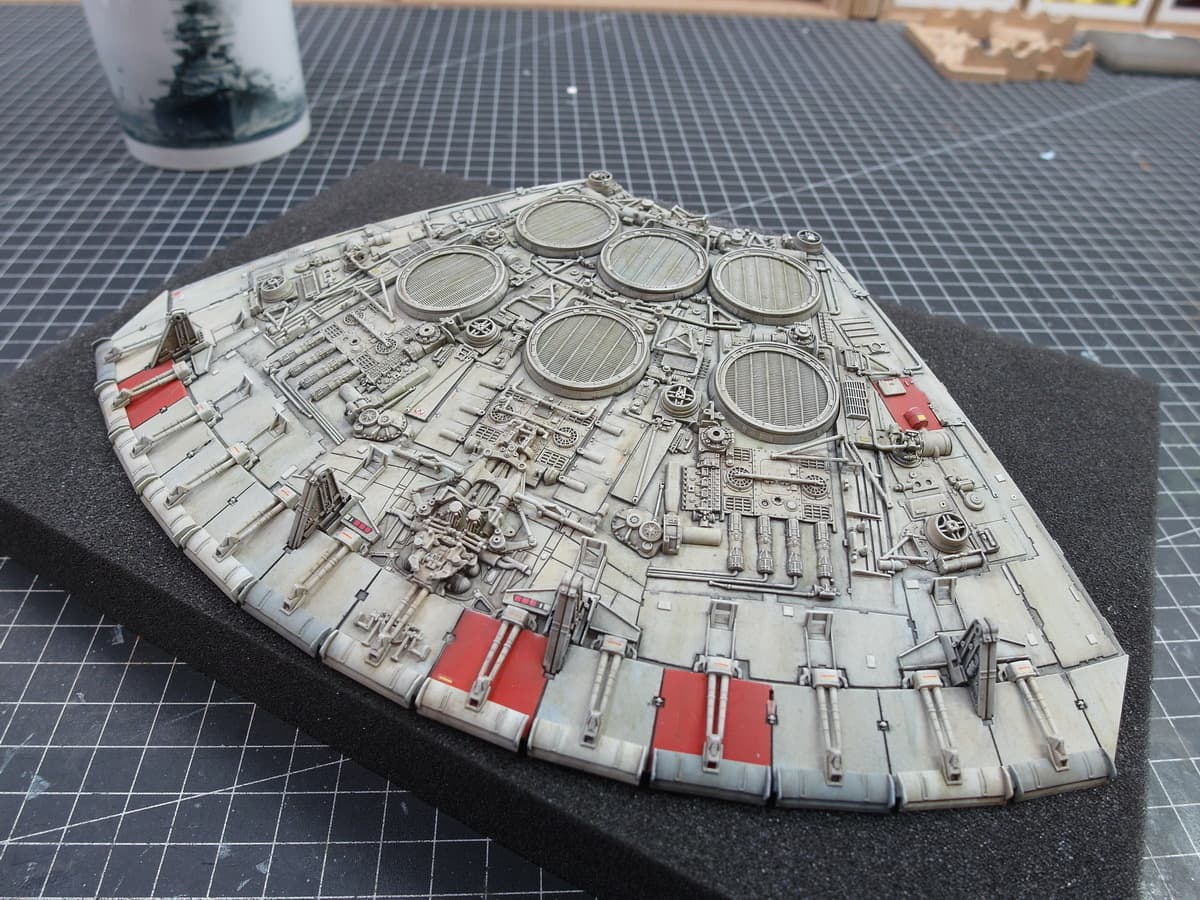
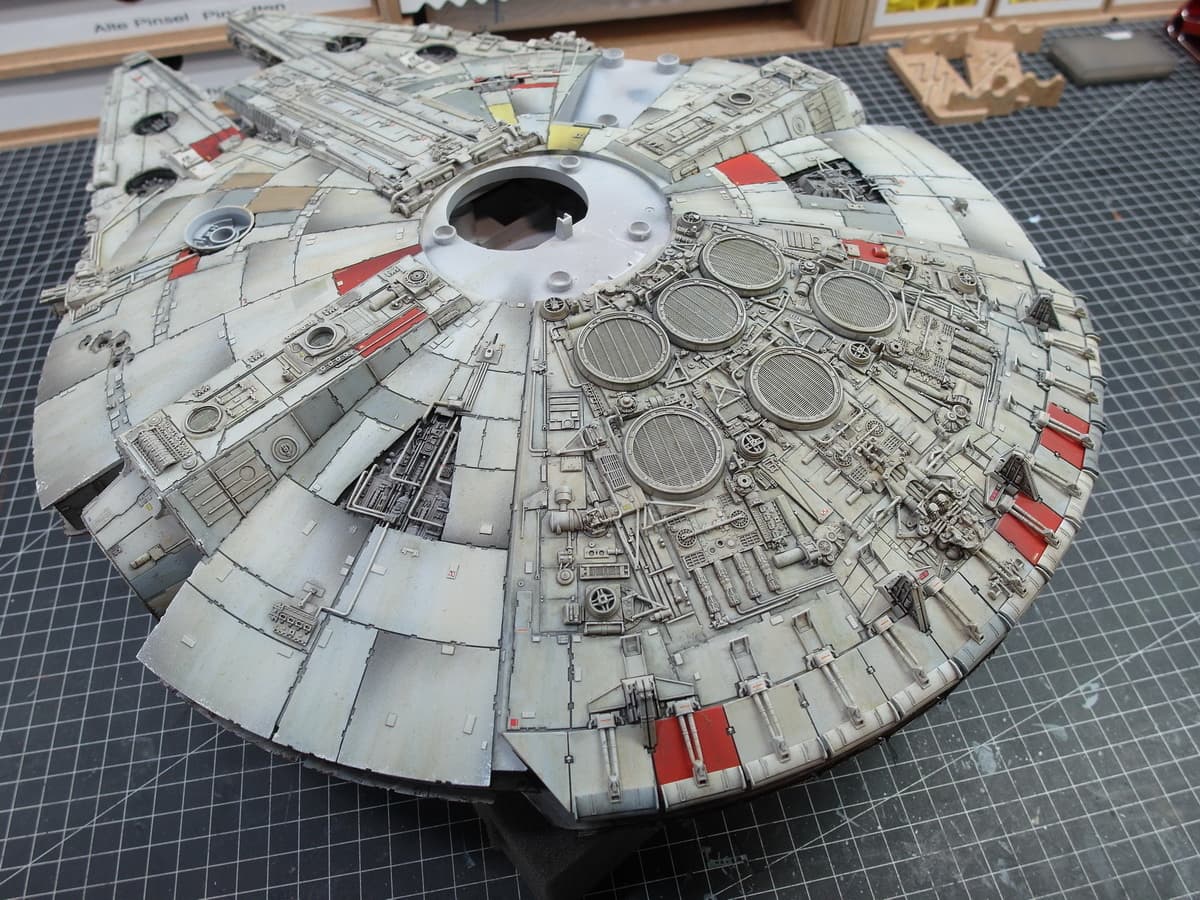
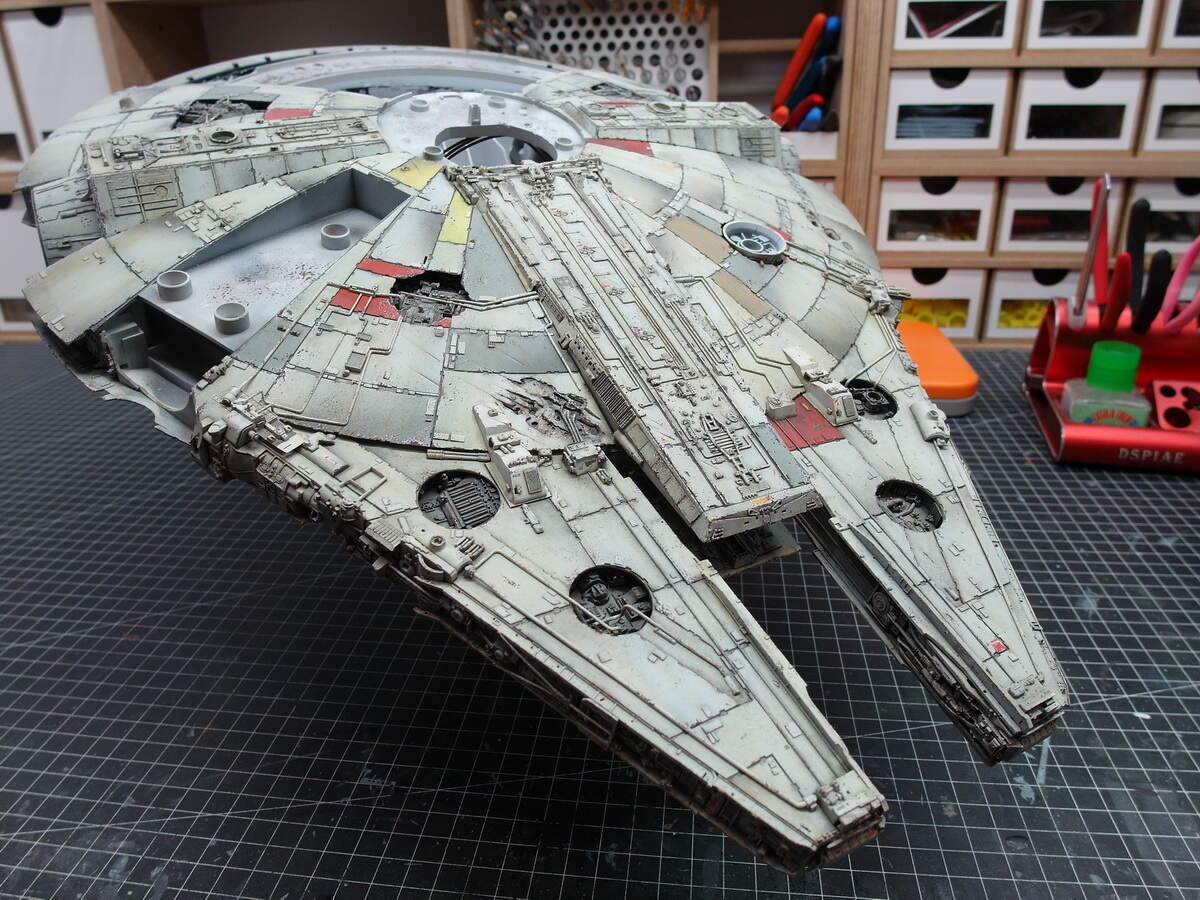
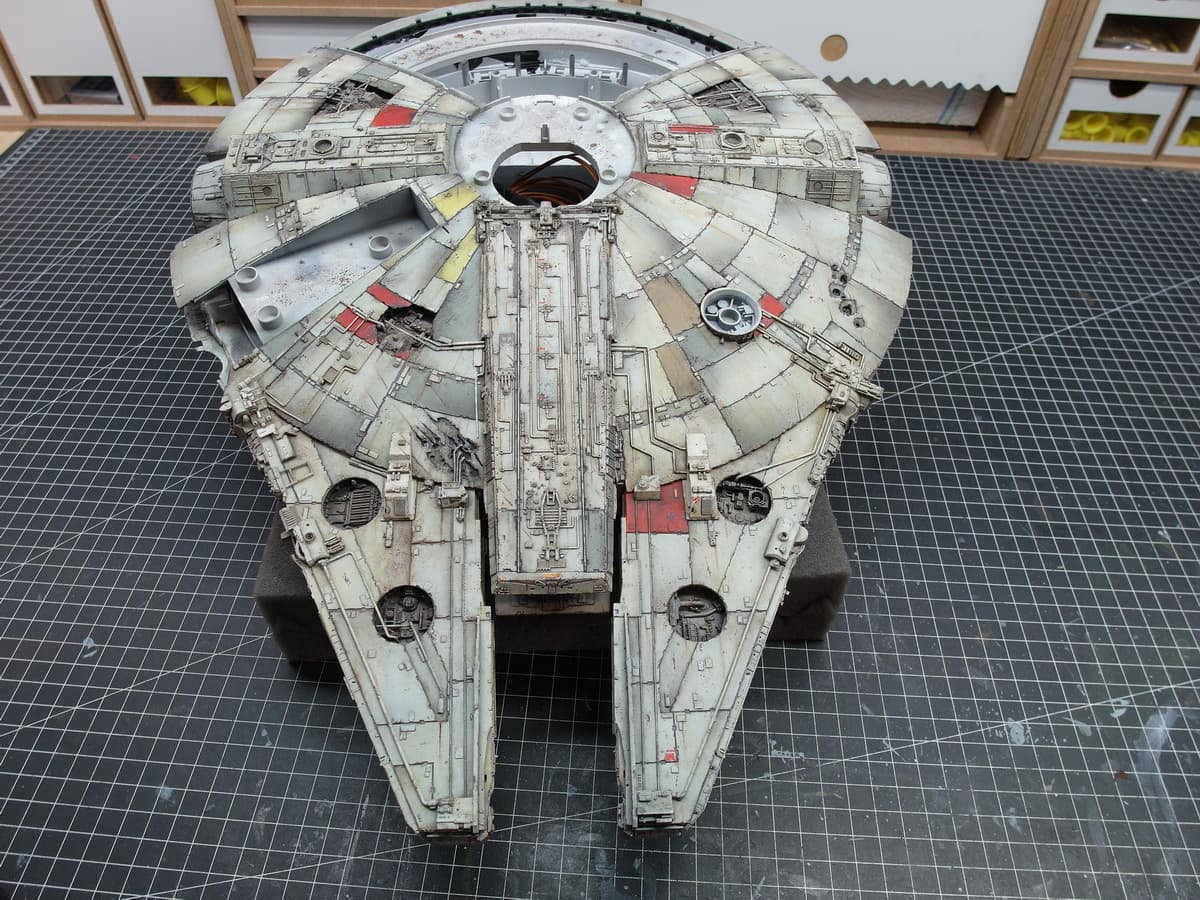
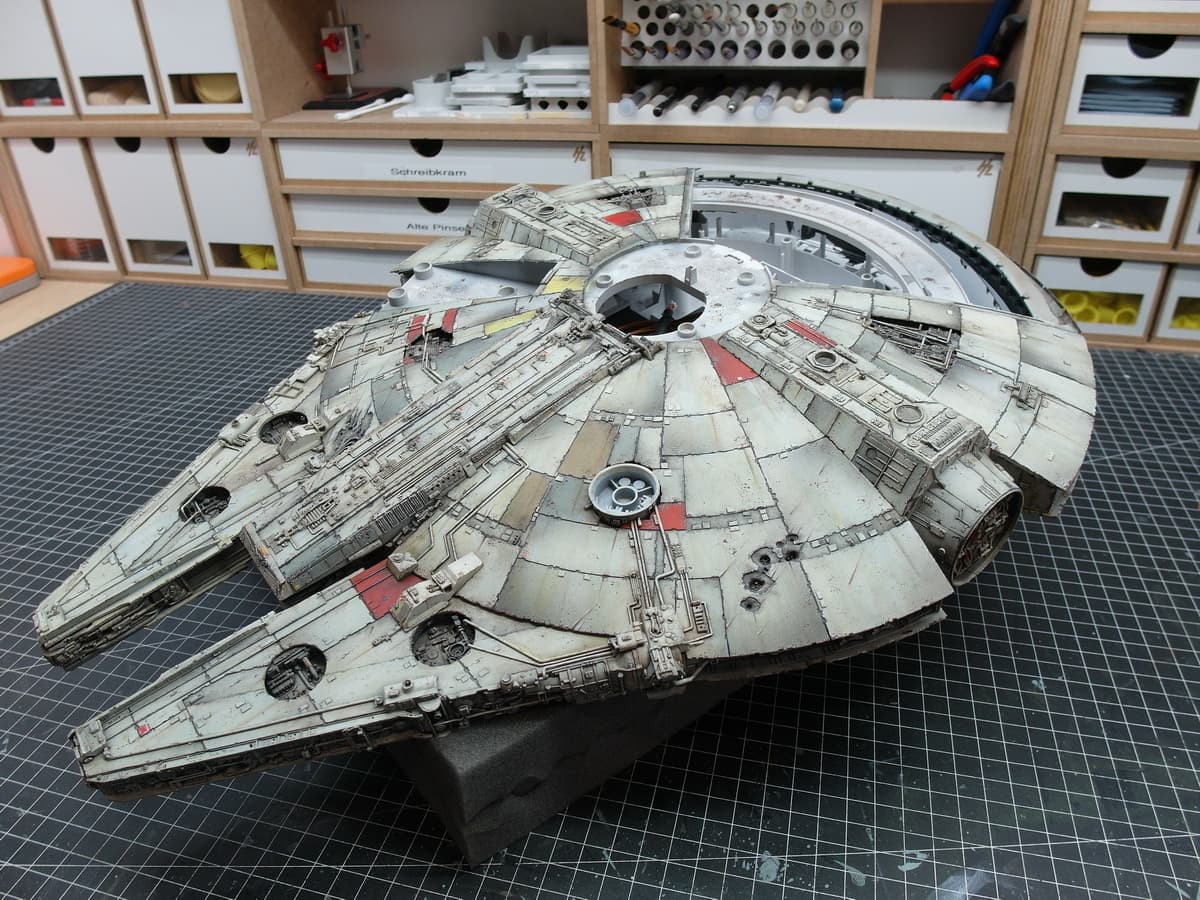
But back to the falcon.
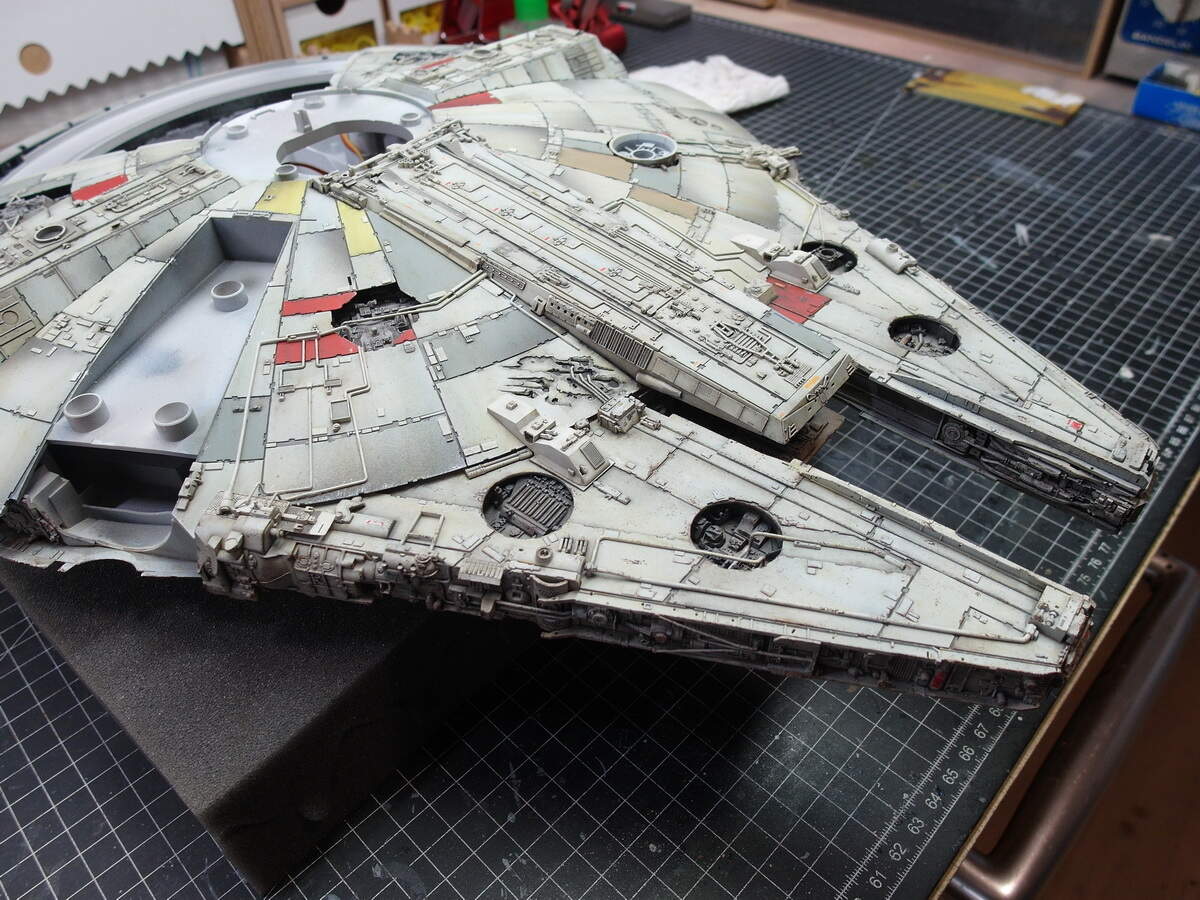
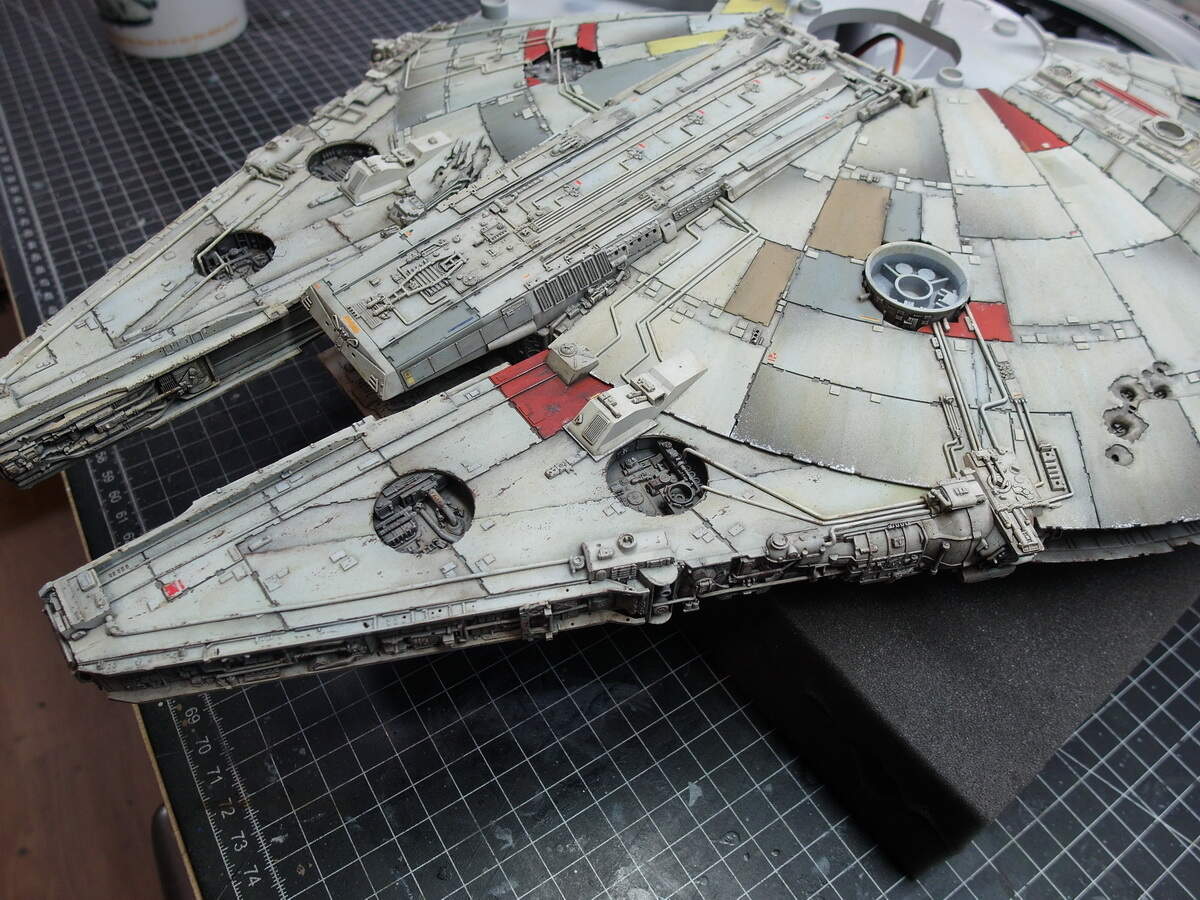
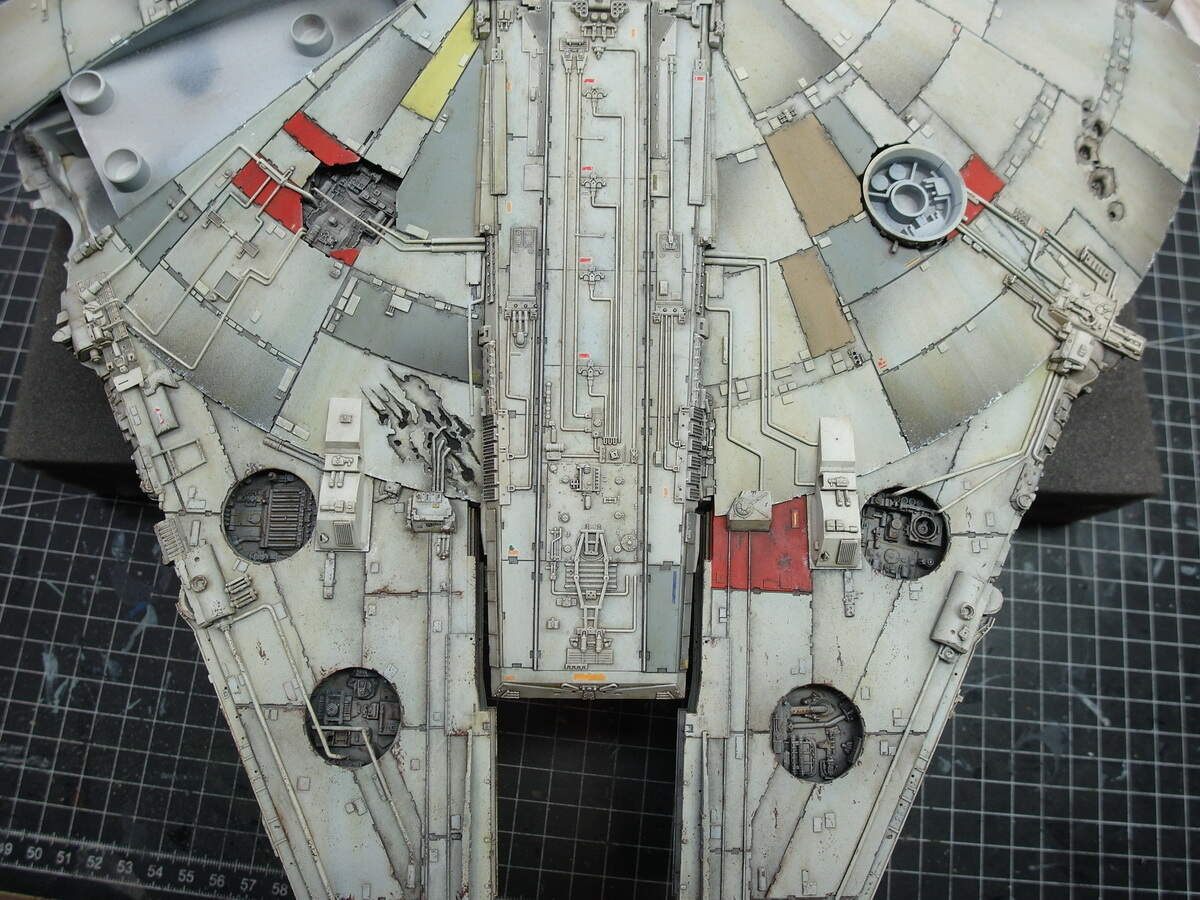
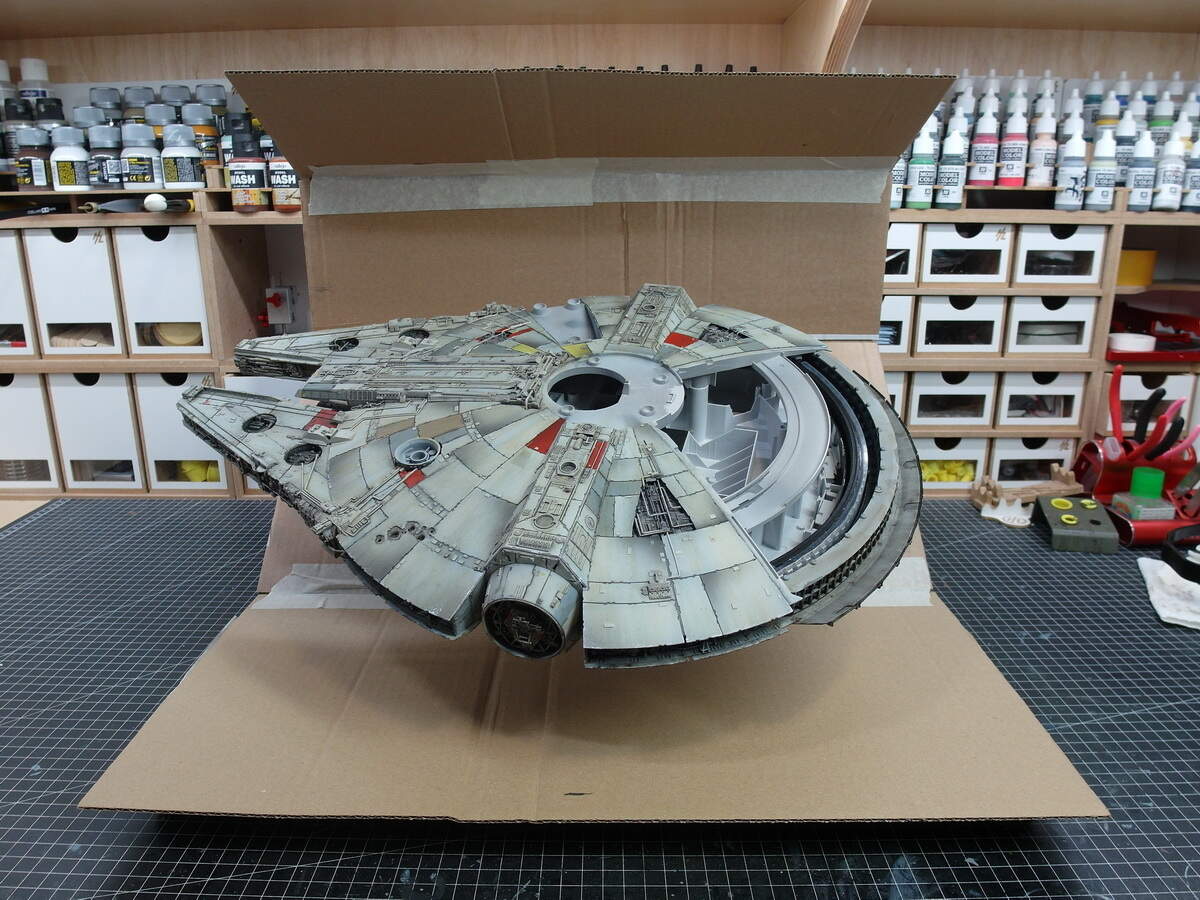
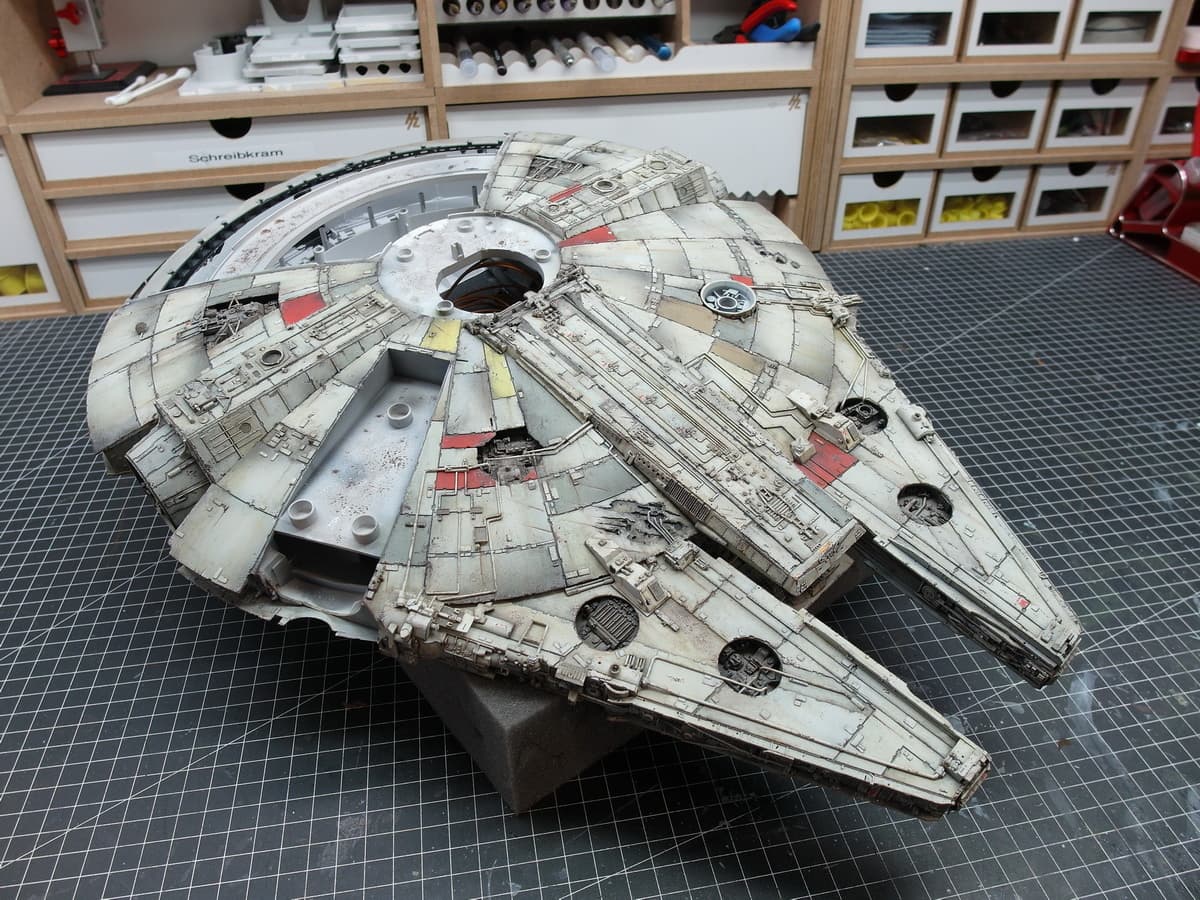
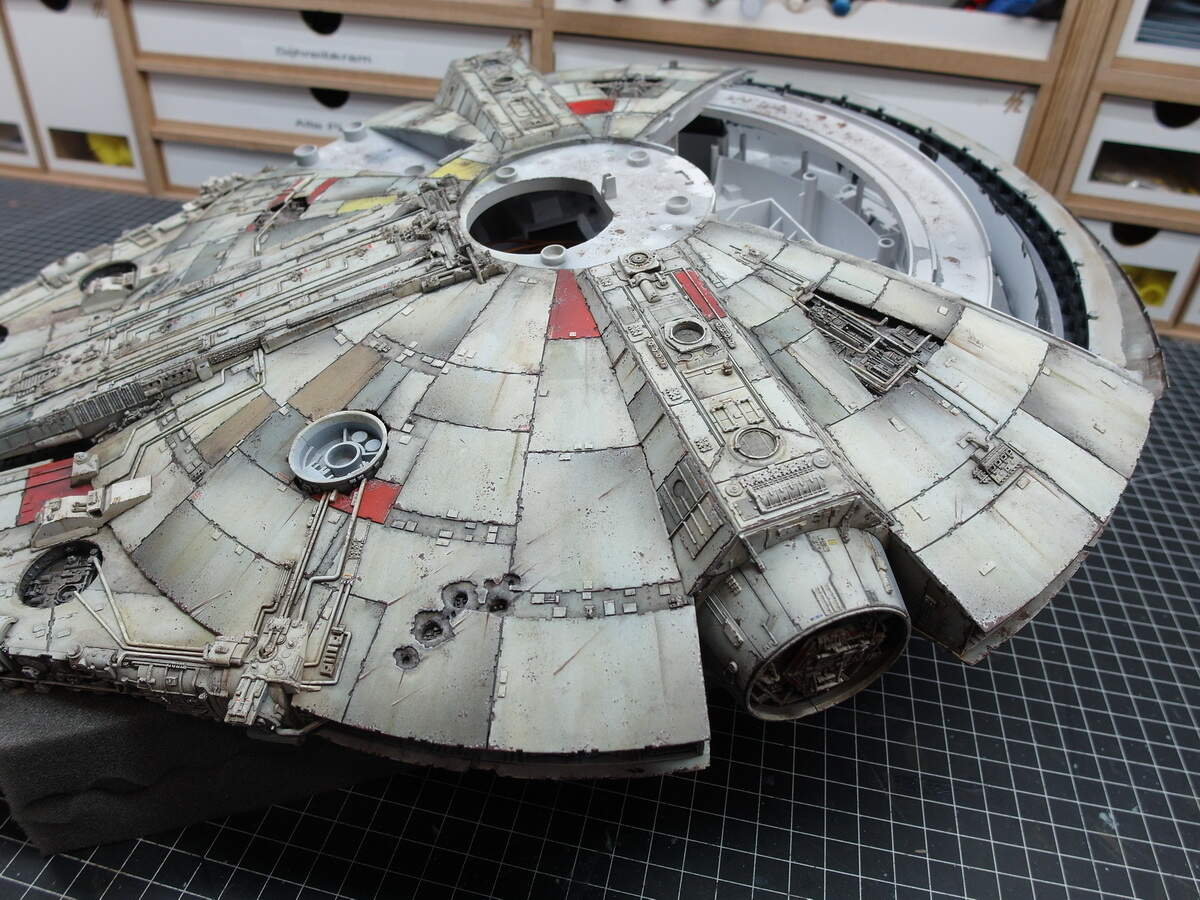
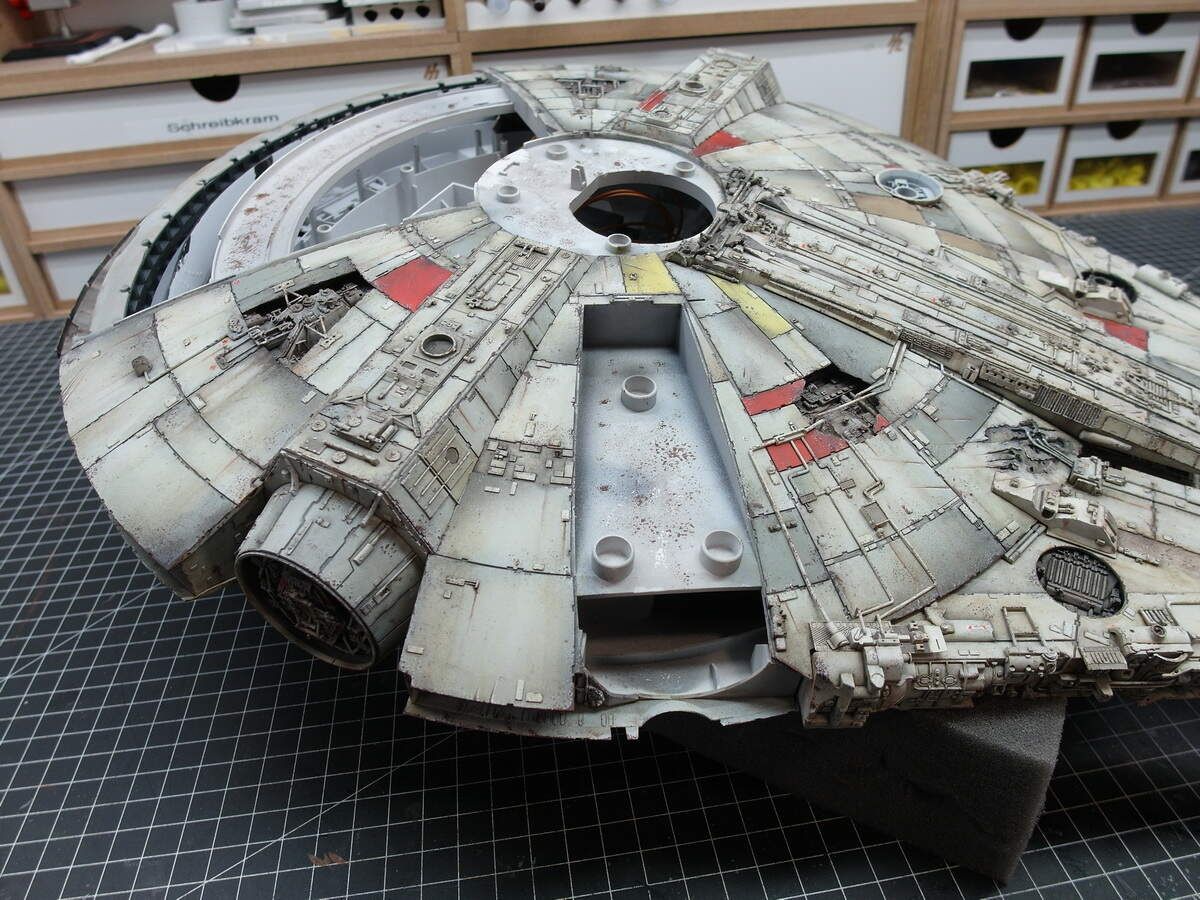
I finished weathering the hull without the cockpit and engine cover.
Here are the pictures…

Now it’s on to the cockpit and its lighting.

14 Likes

It’s looking so good … So good on fact I may well watch a couple of films with it in tonight …:grin:

5 Likes

That is gorgeous.

4 Likes

I am loving this build, keep it coming!

3 Likes

Thank you guys.
I hope you had fun with the movies last night Jo!?

1 Like