Many thanks.
If the force be with me Thomas… ![]()
1 Like
Continue with the base.

The scaffolding is complete.

Made a small dormer sample from the 3D printer. This should later conceal the threaded rod in the falcon.
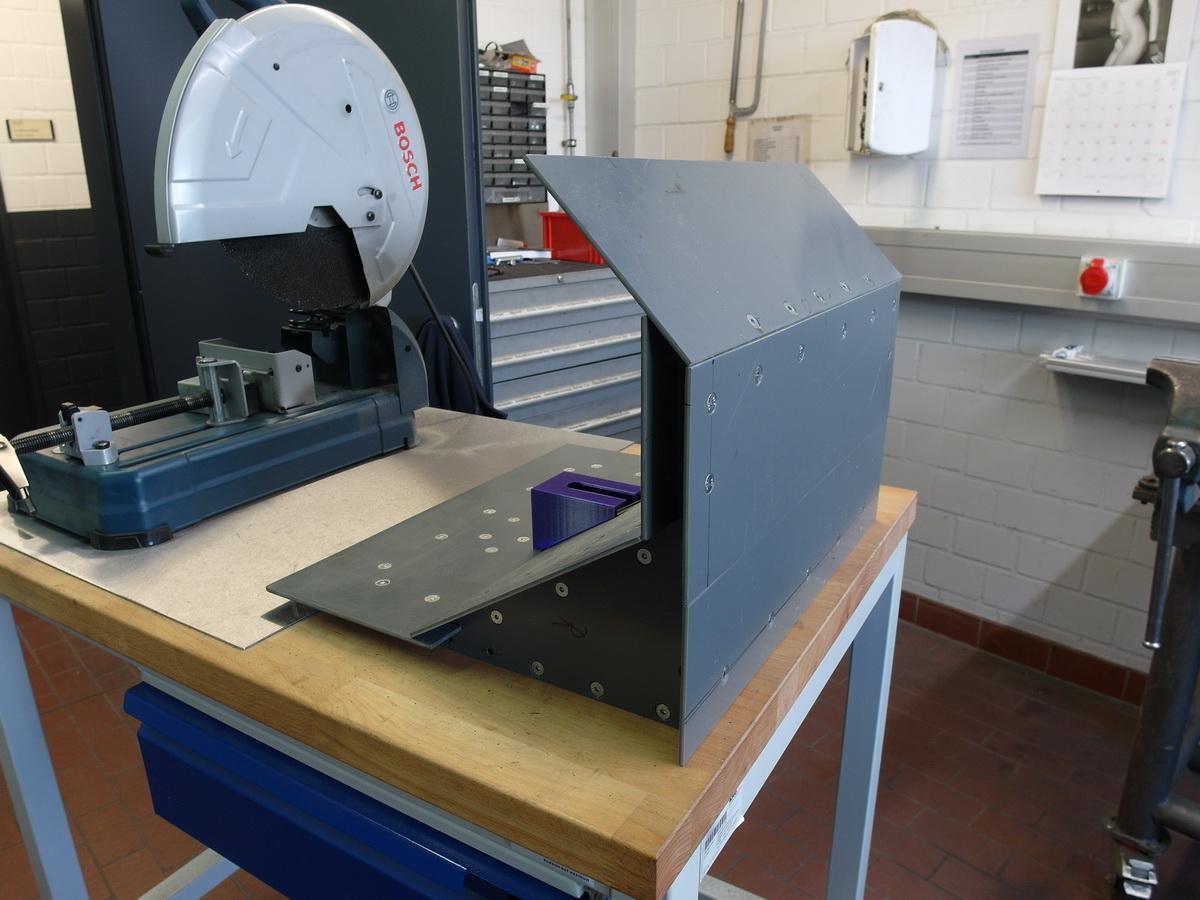
The rear also has a fairing now. Otherwise looks ugly.

Of course, all screws still have to be filled.

I can open the lower part to get to the electronics.

11 Likes
Amazing engineering… ![]()
3 Likes
Thanks Johnny.
The base is now ready to receive the Death Star surface.

Everything is filled, sanded and primed.
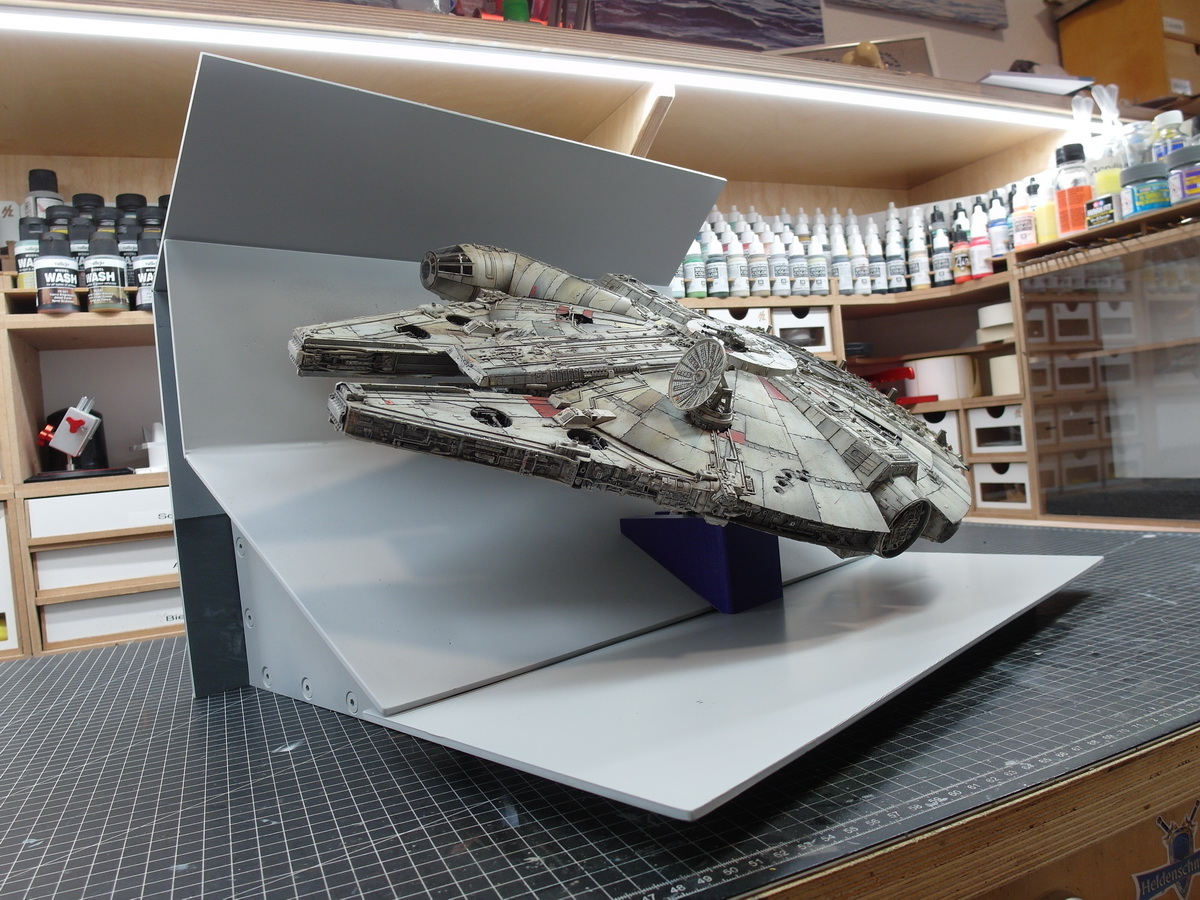
The small dormer from the 3D printer was placed under the falcon to adjust it.
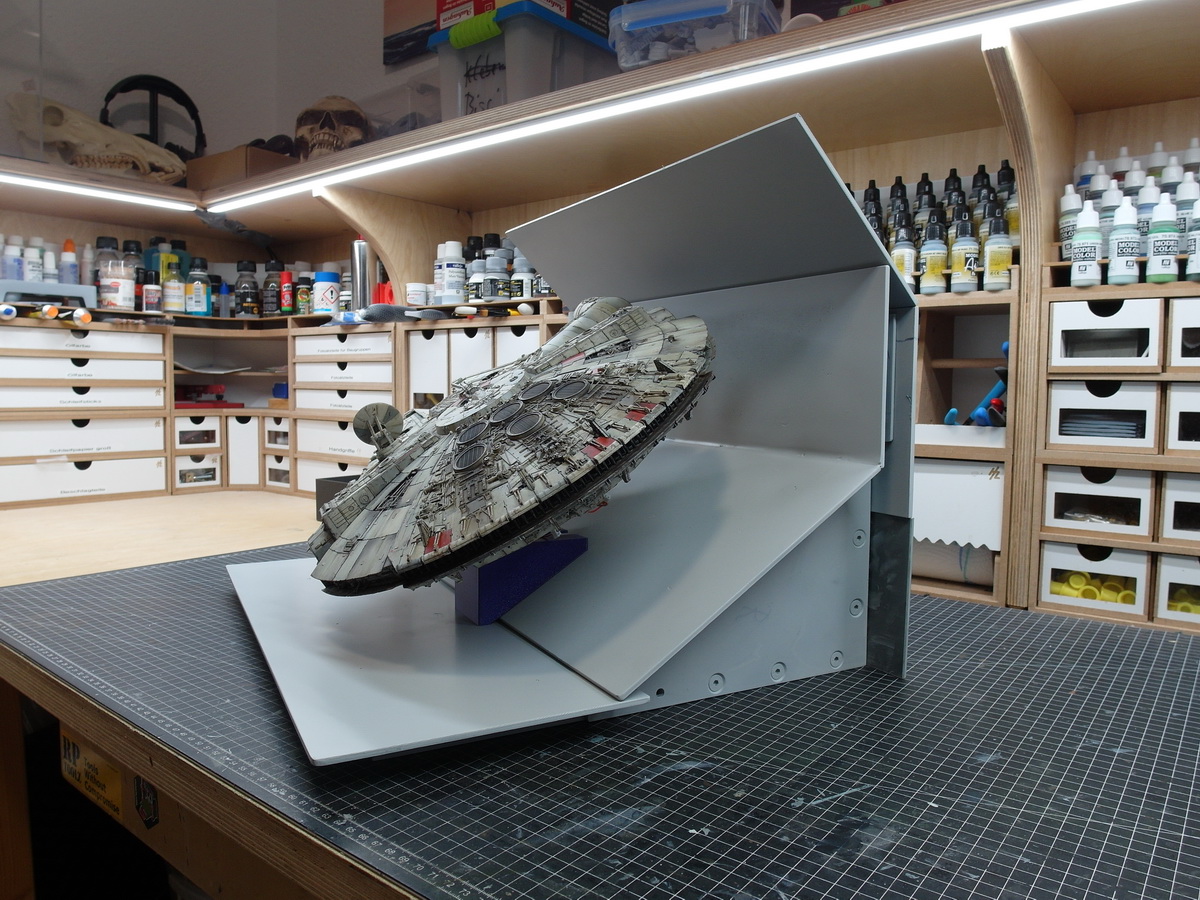
I’ll have to shorten it a bit, otherwise it won’t slide well under the model.
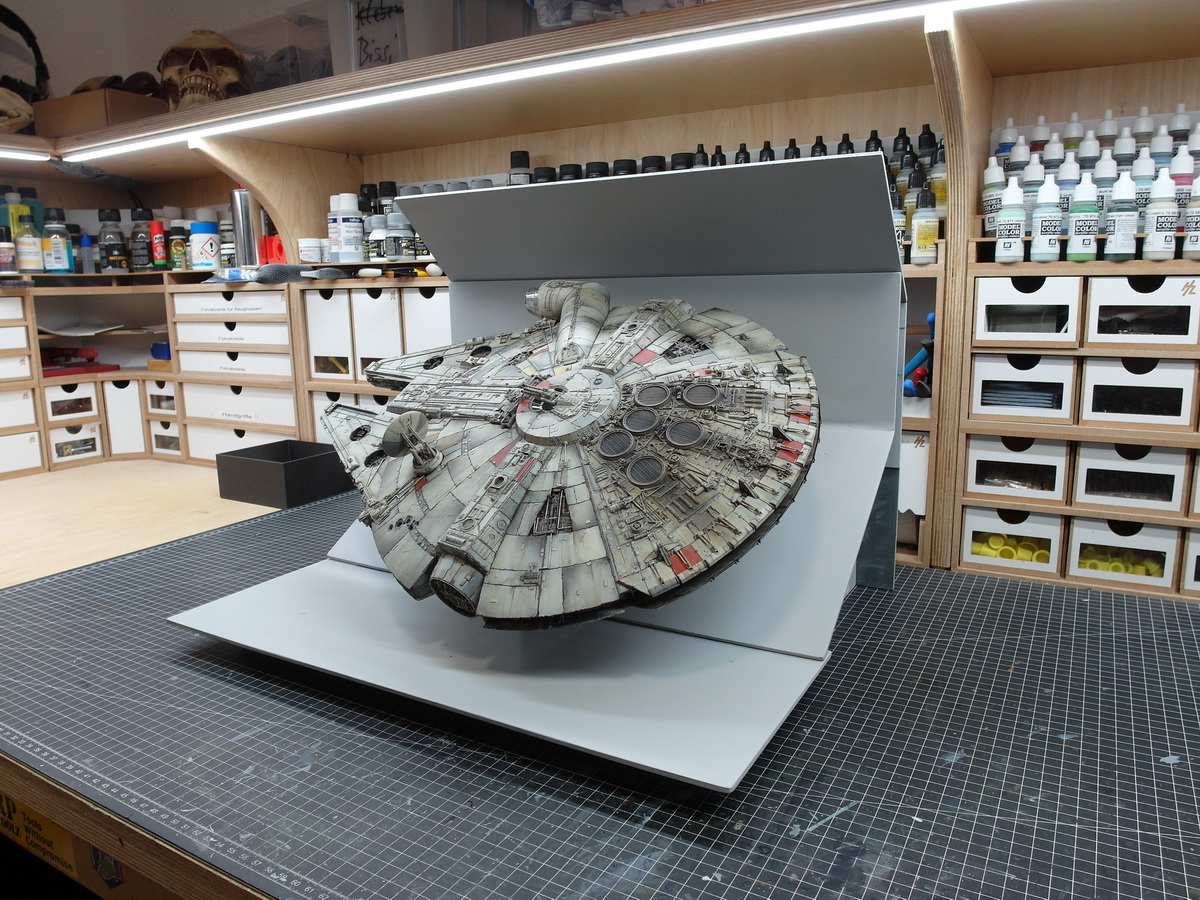
So far I’m really happy with the framework for the Dio.
Now it’s time to work out the details.
11 Likes
this will be a good part of the build with the surface detailing … The force is strong in this one …
5 Likes
I will hope the force is with me. ![]()
4 Likes
It is looking awesome. ![]()
![]()
2 Likes
Take me back to 1977! ![]() I’ve got my popcorn ready!
I’ve got my popcorn ready! ![]()
—mike
5 Likes
Wait with the popcorn Mike, because I’m going on vacation Sunday.
But here is a small mini update. Not that anyone thinks nothing will happen anymore.
So before I start putting all sorts of technical stuff on the top of the surfaces, I and my 3D printer thought about the bottom end.
And that’s what came out of it

Simple half-timbered steel girders with tubes running around.
The base coat is on and a small rehearsal was made

The front covers are fresh out of the printer and untreated.
That was it for me for the next 3 weeks.
Hopefully, well rested, I will then devote myself to the challenges of diorama design.
11 Likes
That looks very nice. Great idea for the bottom area. Enjoy the hols.
2 Likes
They keep asking me to leave the theater. ![]()
![]()
![]()
Enjoy your holiday! ![]()
—mike
2 Likes
It is amazing walking through the creation timeline… seeing how a dead plastic comes alive ![]()
Gut gemacht mad!
3 Likes
Hello everybody.
Here I am and many thanks.
I had a very nice vacation but also a little craft break to recharge my batteries.
In addition, I first had to acquire some skills in creating print templates. It wasn’t that easy and sometimes a bit boring.
But slowly I’m getting better and in the meantime I’ve created the following structures for the bottom plate of my diorama.
First there would be a truncated pyramid. The gray part on top is the shots of a laser.

And this simple square. The surfaces are still untreated. A few finer details are also printed and laid on top.

Then the semicircle. Based on the original. Of course, all the fine surface details are still missing.

And already roughly distributed on the plate.

I’m not yet satisfied with the cover for the threaded rod, but I’m busy creating new shapes.

So, the beginning has been made and I think that new information will now be given at a faster rate.
10 Likes
Glad to have you back and glad you enjoyed the holiday … Trench work is already looking good ![]()
2 Likes
Thank you Johnny. ![]()
It continues.
And these are these next printed parts for the Dio.
Printing time for the two plates, almost 16 hours.

They are sculpted slabs of the Death Star surface found on the web.

They are intended for the side panels.

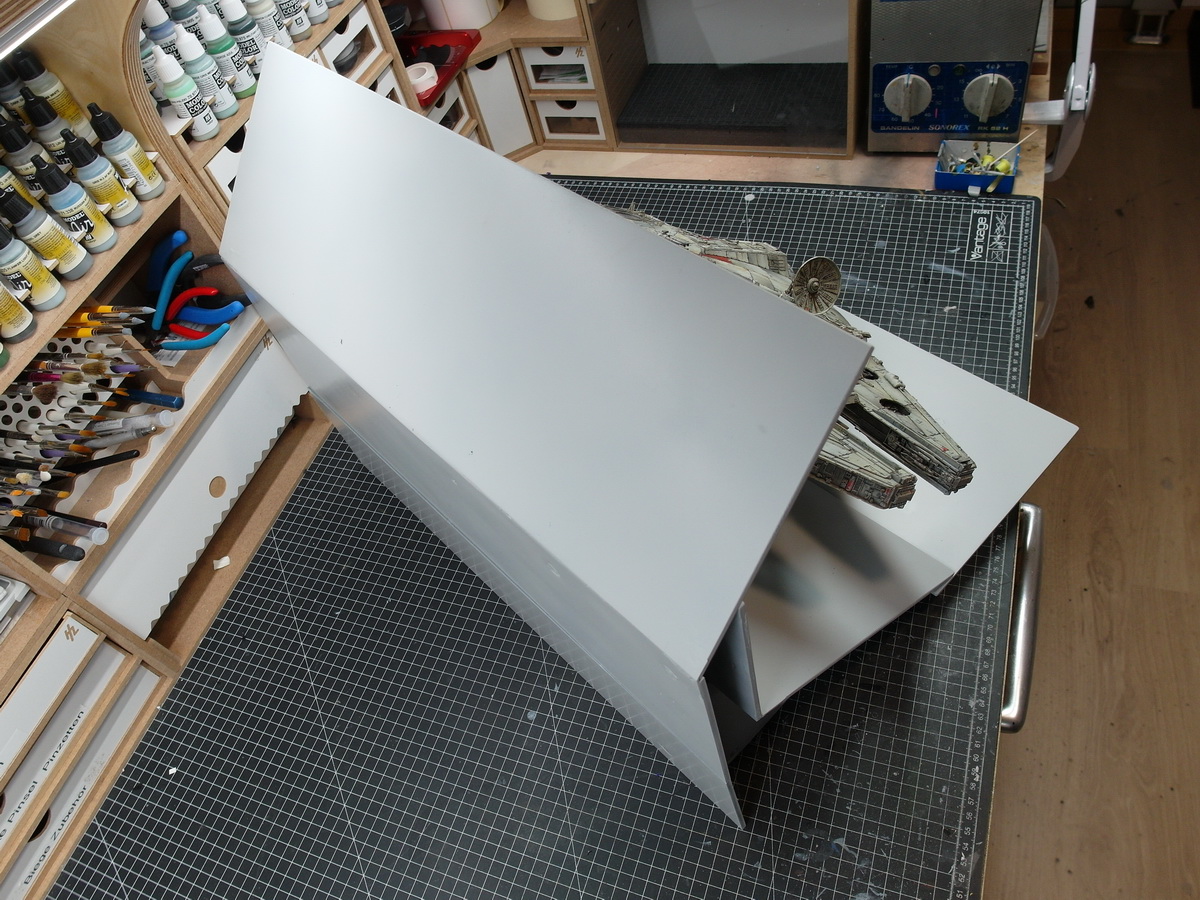
And the casing for the mount of the falcon is also made.

I like that a lot now.
9 Likes
It drags a little on me and the diorama.
But I’ve made a start.

The first parts are primed and now much smoother on the surfaces.

Finally I can start kitbashing.

Now the details are getting finer and finer.

Then primed.

And glued to the bottom panel.

On to the next object.
14 Likes
That’s the problem with doing such a sublime build on the Falcon, the same level will be needed on the display so they both have the same level of excellence…and it looks brilliant so far ![]()
3 Likes
Looking fantastic! … I predict many greeblies in your future! ![]()
—mike ![]()
3 Likes
Thank you both.
And that’s exactly my problem why I’m only going forward very slowly Johnny.
It’s like a blank canvas for a painter. The beginning is brutally difficult. Now that I’ve gotten started, it’s starting to get easier. As now with the plates that are also on the surface of the falcon, I’m slowly getting a rythm again.
The styrene plates from Evergreen, for example, are ideal for this. Simply run the scalpel along a steel ruler and break off with flat-nosed pliers.
See for yourself…

Yes Michael.
I also see Greeblys til far, far away. ![]()
10 Likes

