Sadly nothing. Which if I’m honest I found odd, as to me it’s part of the cab, so in my mind, there should be something included, even if it’s a token gesture … Like I said though, I asked in another thread and will take up on one of the answers about the clear tubs that grapes/ fruit come it. On the the instructions there is a template with the sizes needed, so that’s a help.
2 Likes
Cheers Russ, that’s the bad boy …great reference pics for me to work from ![]()
1 Like
Bit more reference searching and some minor bits done.
Had another more detailed look at the resin conversion and the individual parts earlier. There is a lot of flash on probably 60% of the parts, some heavier than other bits.
A fair few bits have resin overspill/lumps (I imagine where it’s been poured ?? ) that will need a very gentle hand when they get removed, as some of them are on very fragile parts.
There is also more warping than I originally thought, and the upper part of the crew cab is going to need a fair bit of very very gentle trimming/surgery to get into fit into the lower tub with the ballast shell. I will probably try and do the surgery on the lower tub first as that can easily be hidden as the upper part is crazy fragile …
While scouring the tinterweb, and the Cr1 Tankograd book, I found the images that I mentioned where it has the modern large green Extinguishers on the crew cab either side at the front on each corner, and none fitted to the hull, or I can go early and do it with the smaller hand helds, either way, I will need to get the Accurate Armour ones to replace all of them.
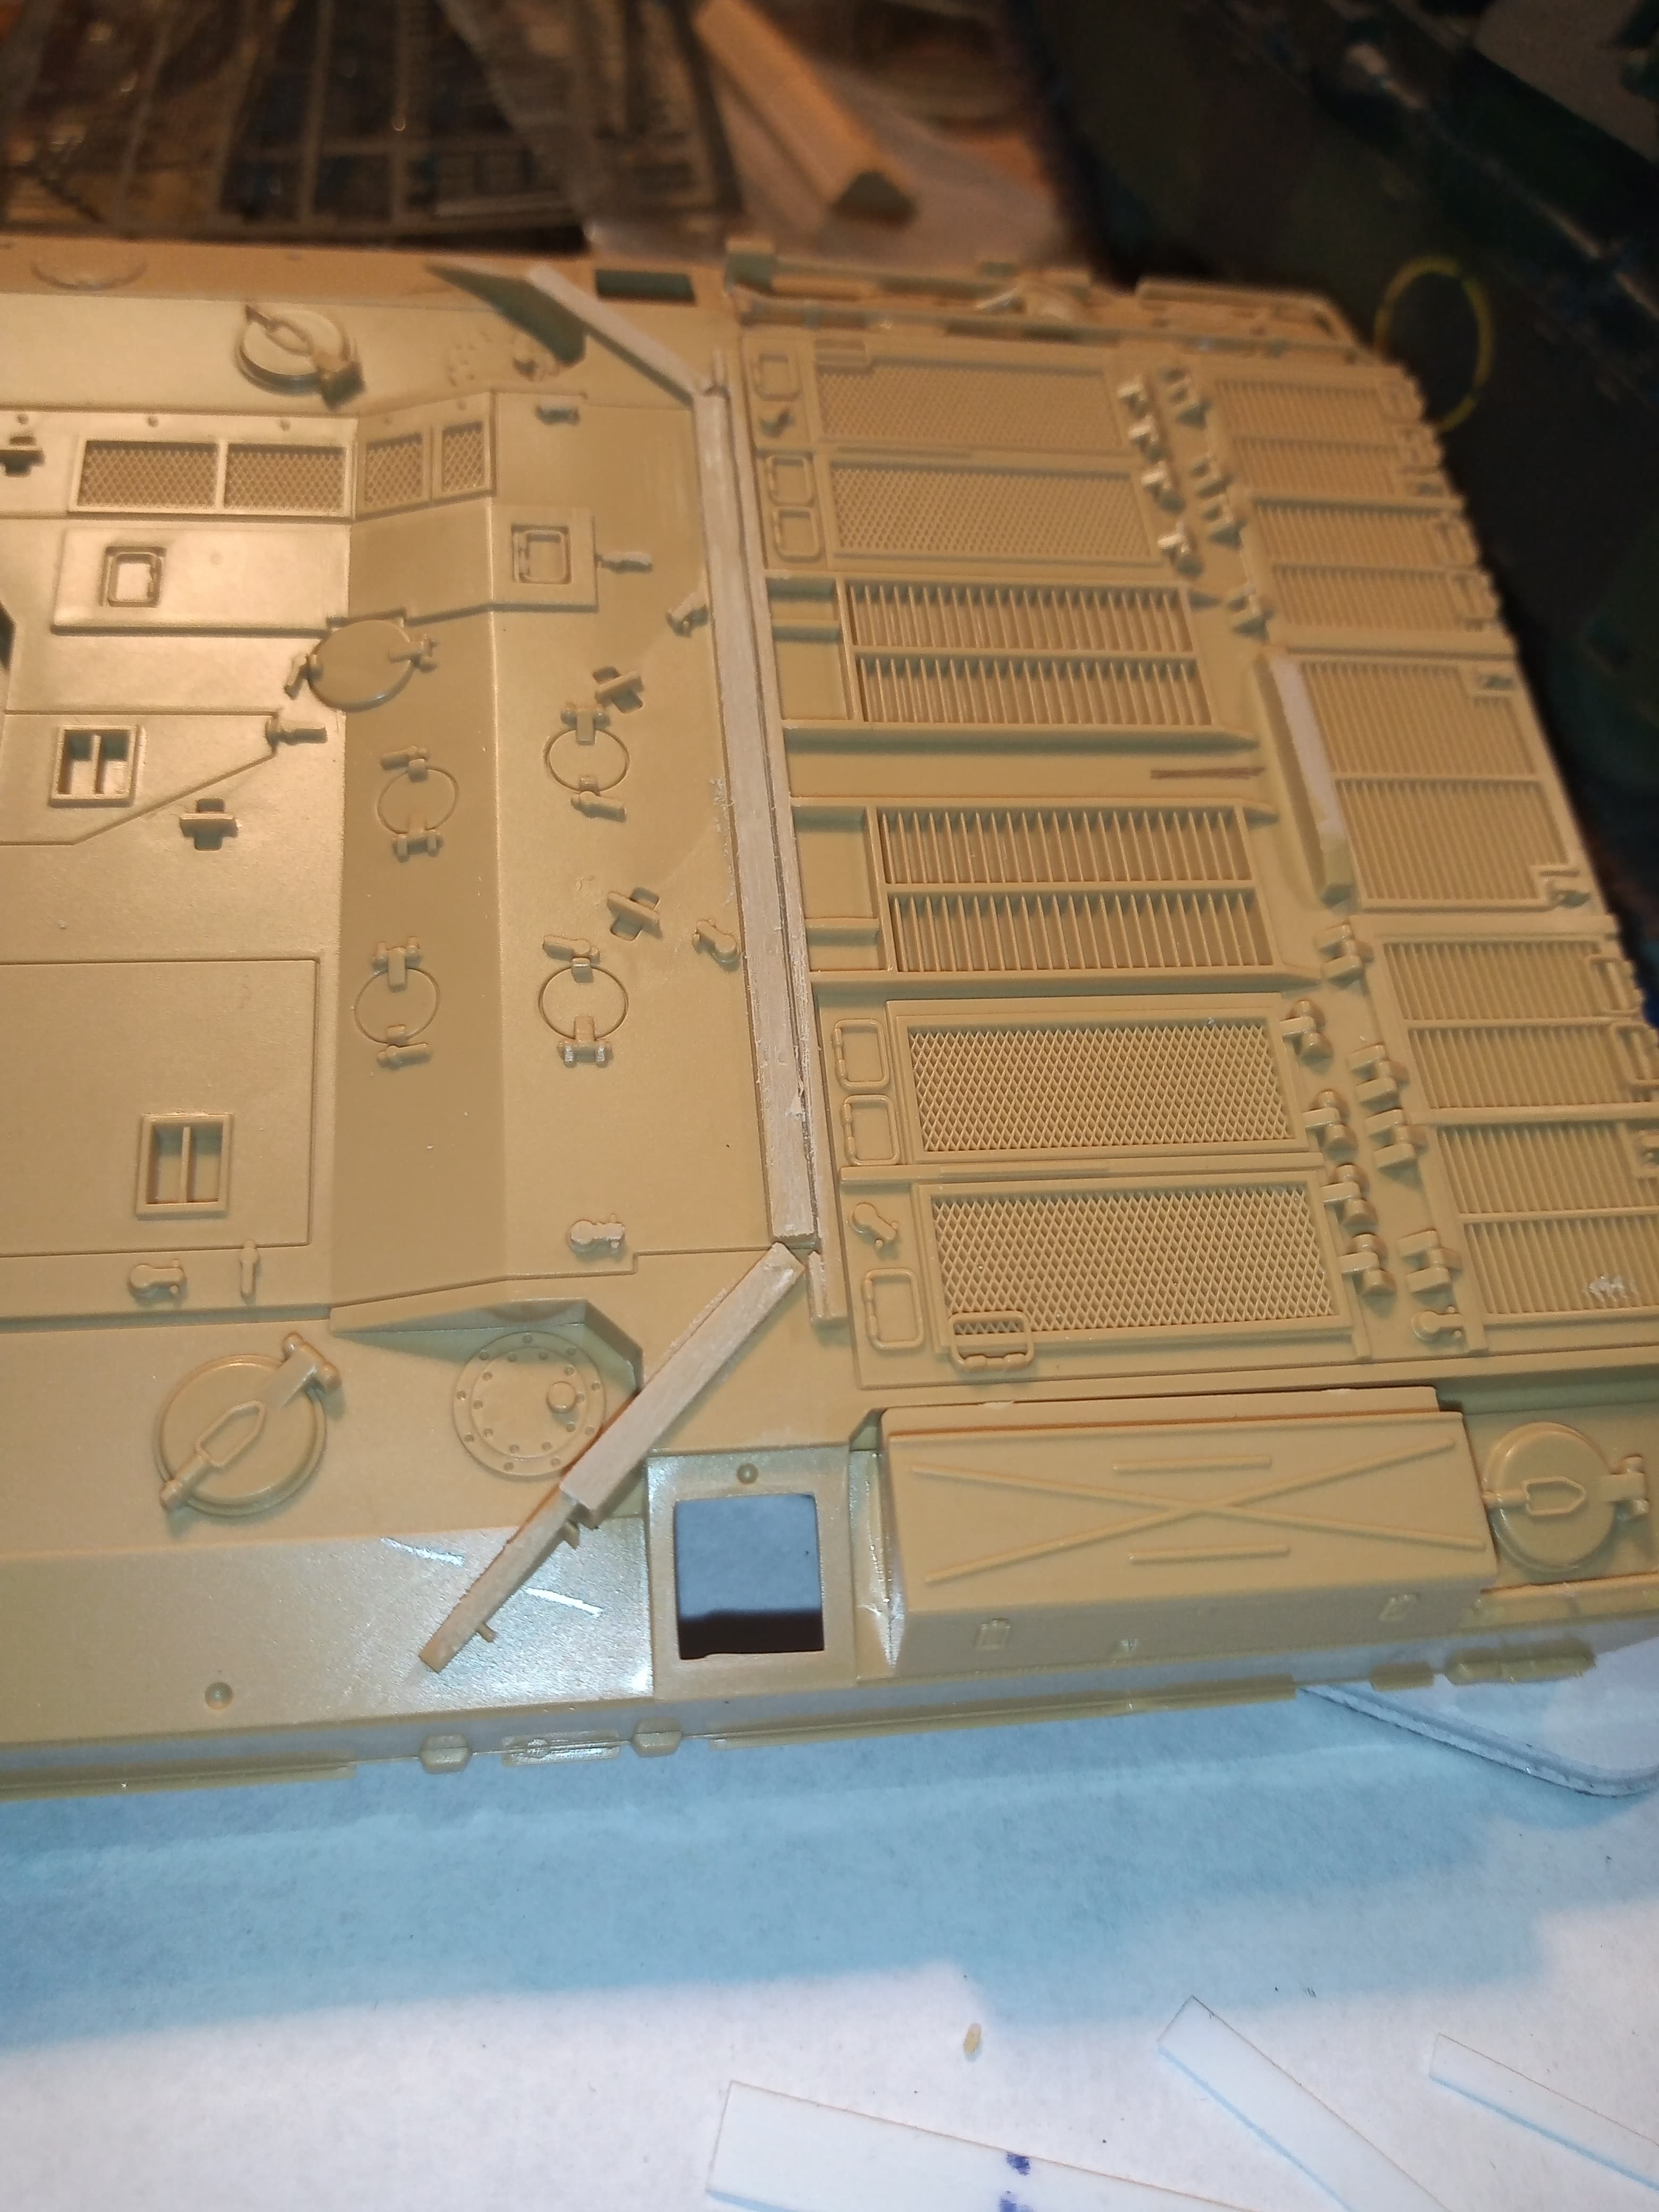
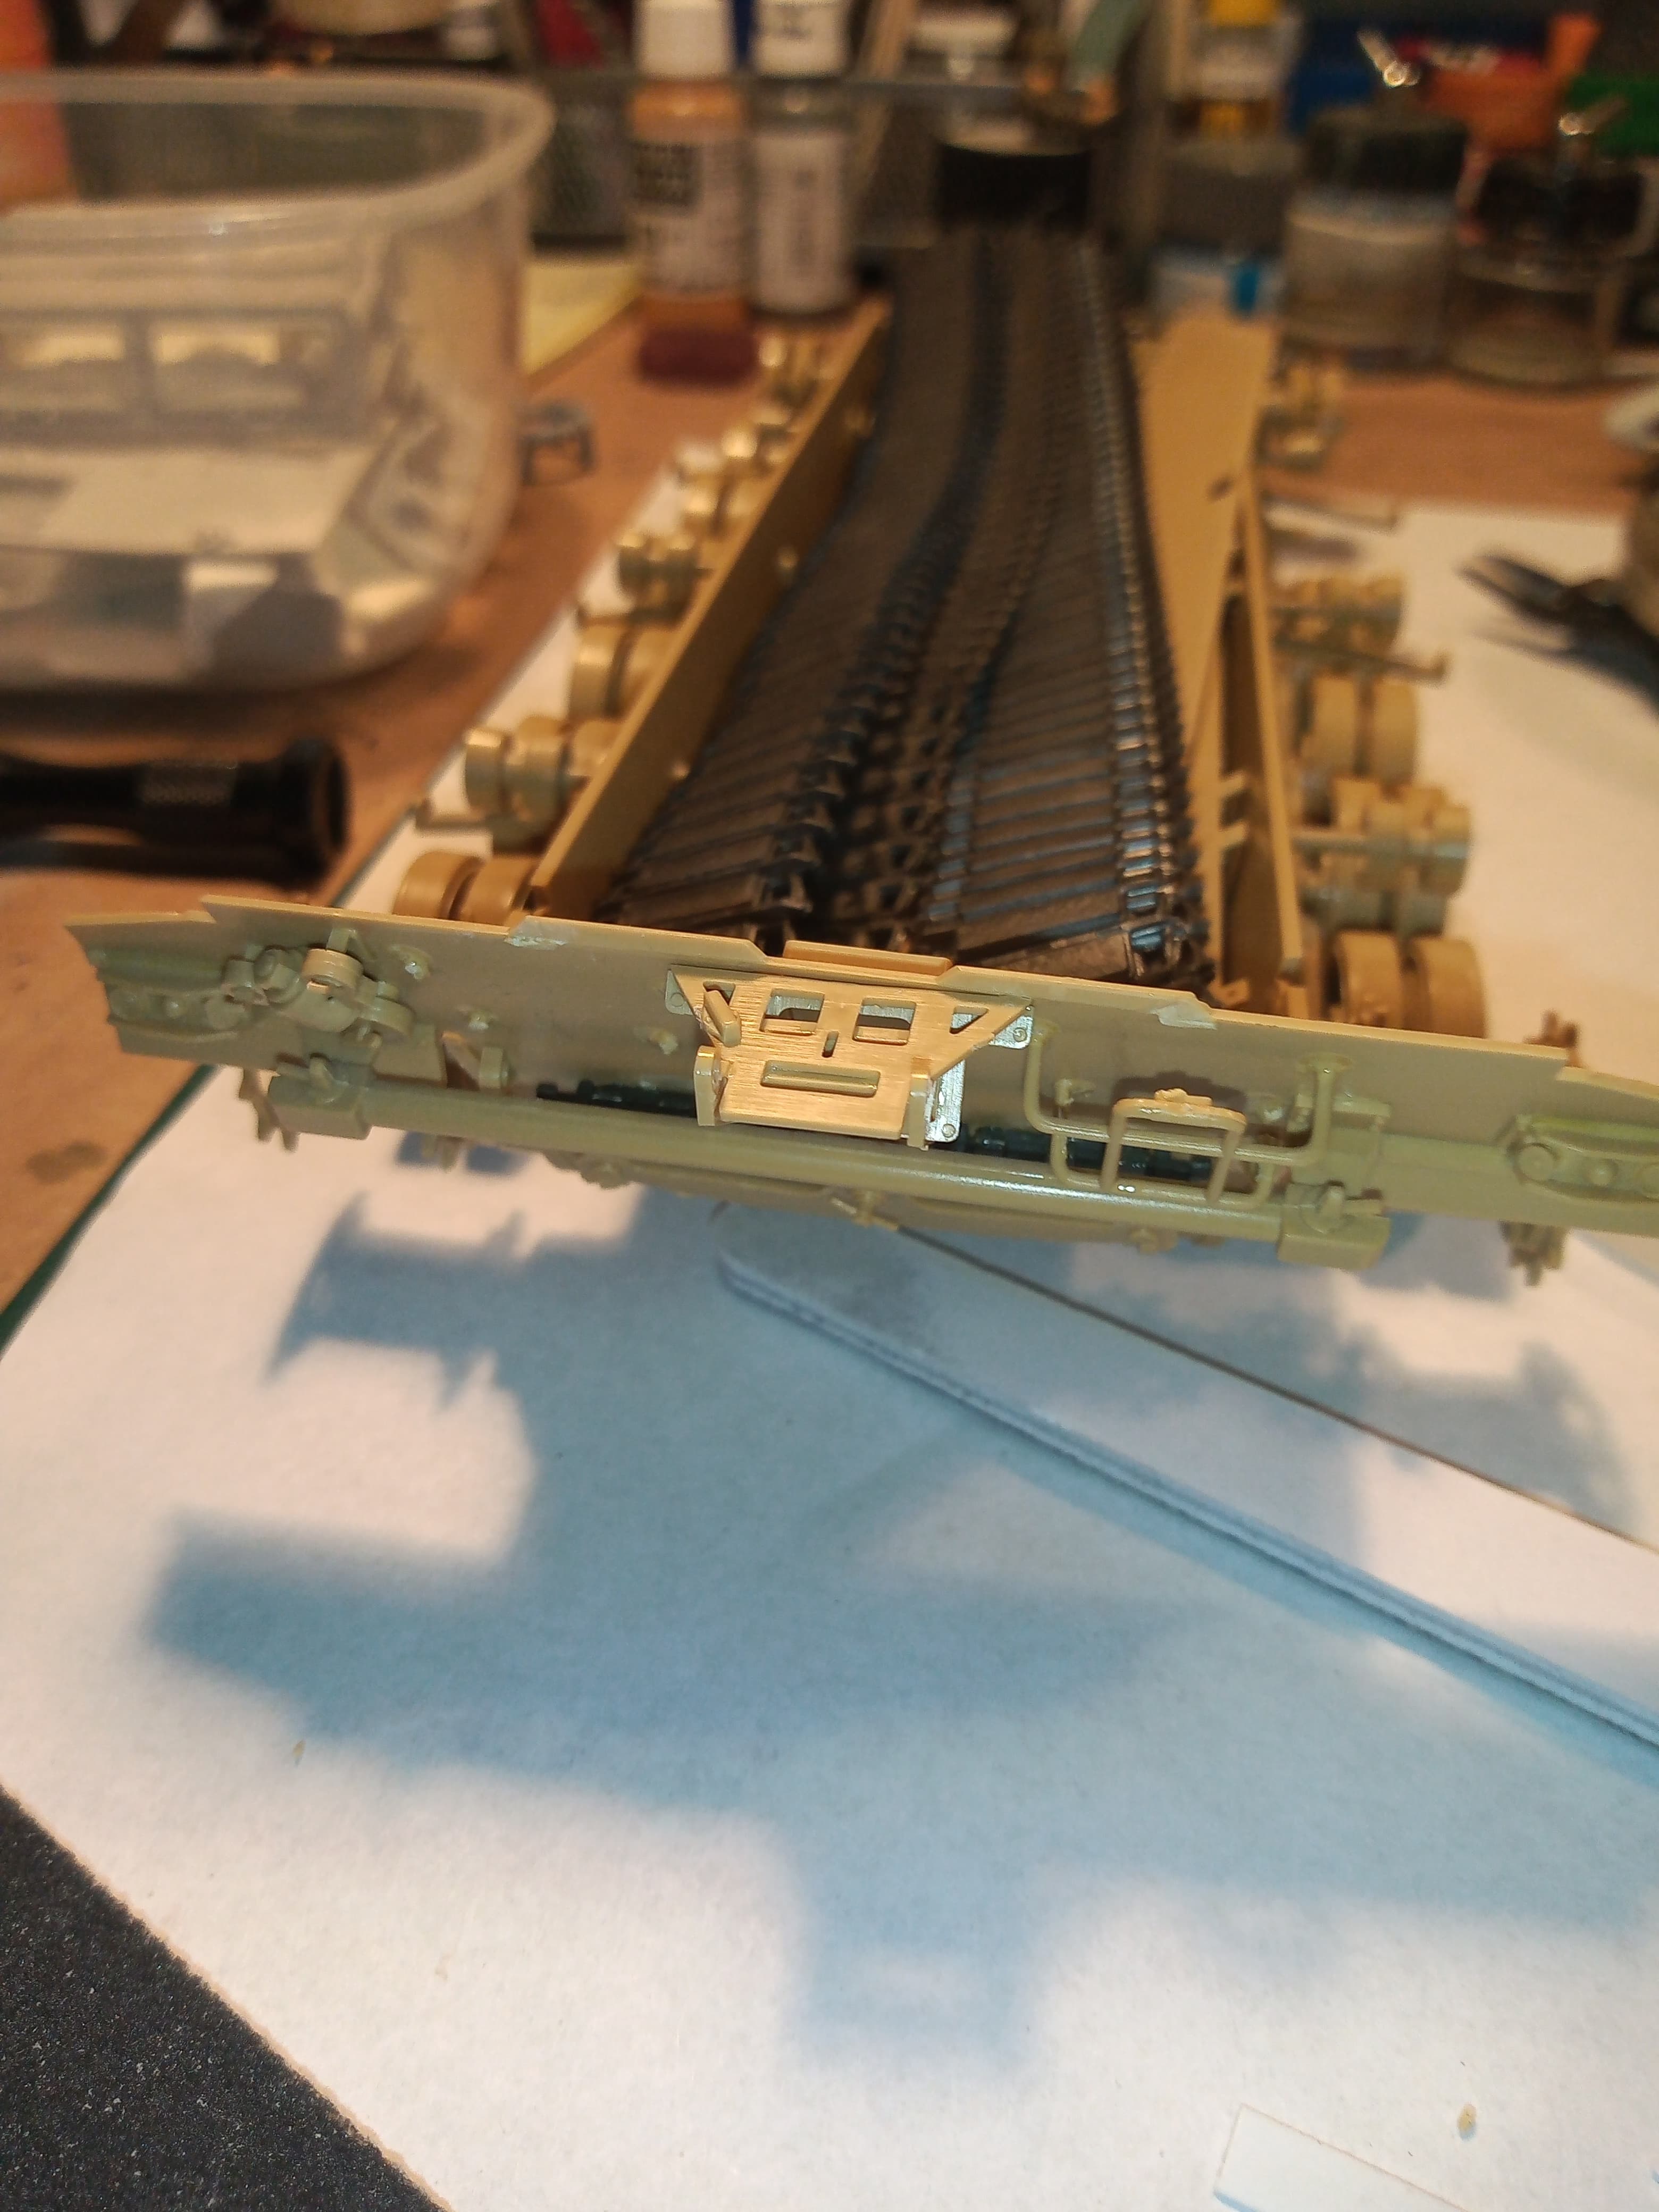
Also I realised that (and by what I can find out) the Cr1 CTTs, didn’t have any resilient railing on the engine decks, only the mounts for it… So I decided to go full in and remove it all from the hull.
This also meant I had to make the mounting plates for the resilient rail that sits on the hull side and straddles one of the fuel cell access plates. Used white plasti strip, cut to length and sanded which you will see in the images.
Resilient rail removed and sanded.
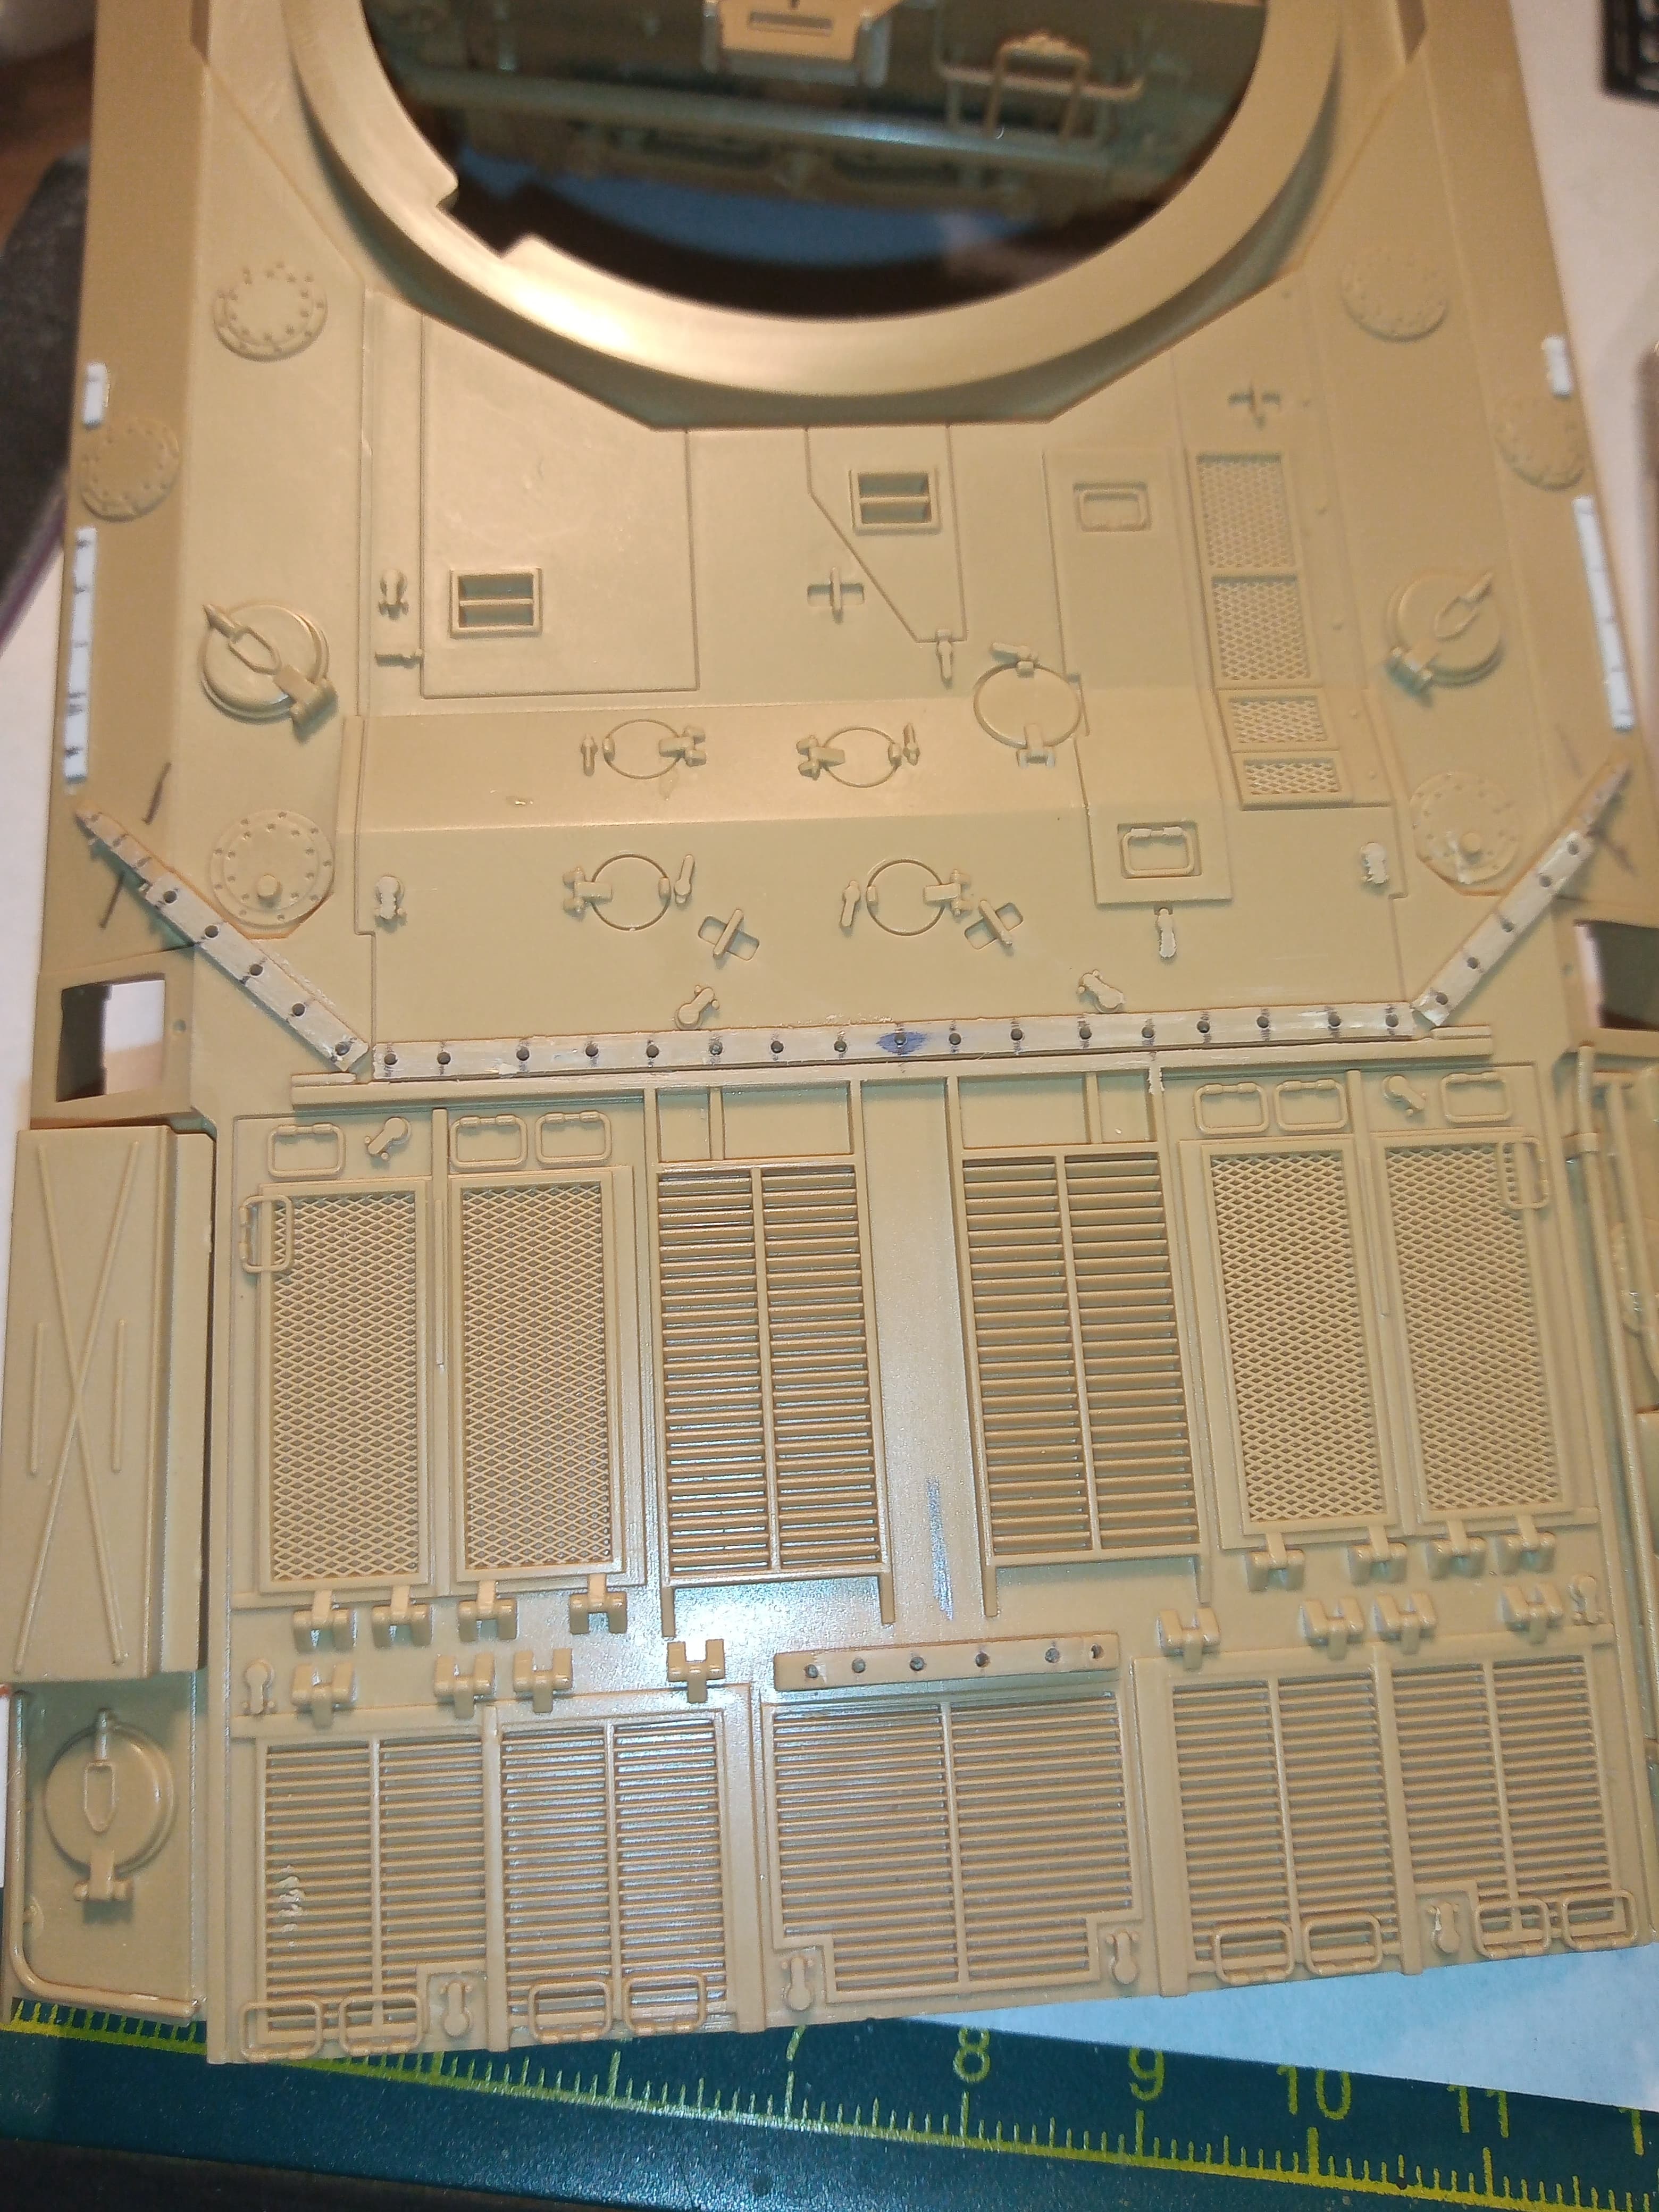
Doing this means that I then had to mark up 51 holes that needed drilling for how the rails get secured into

The added mounting plate, same on other side straddling the access plate
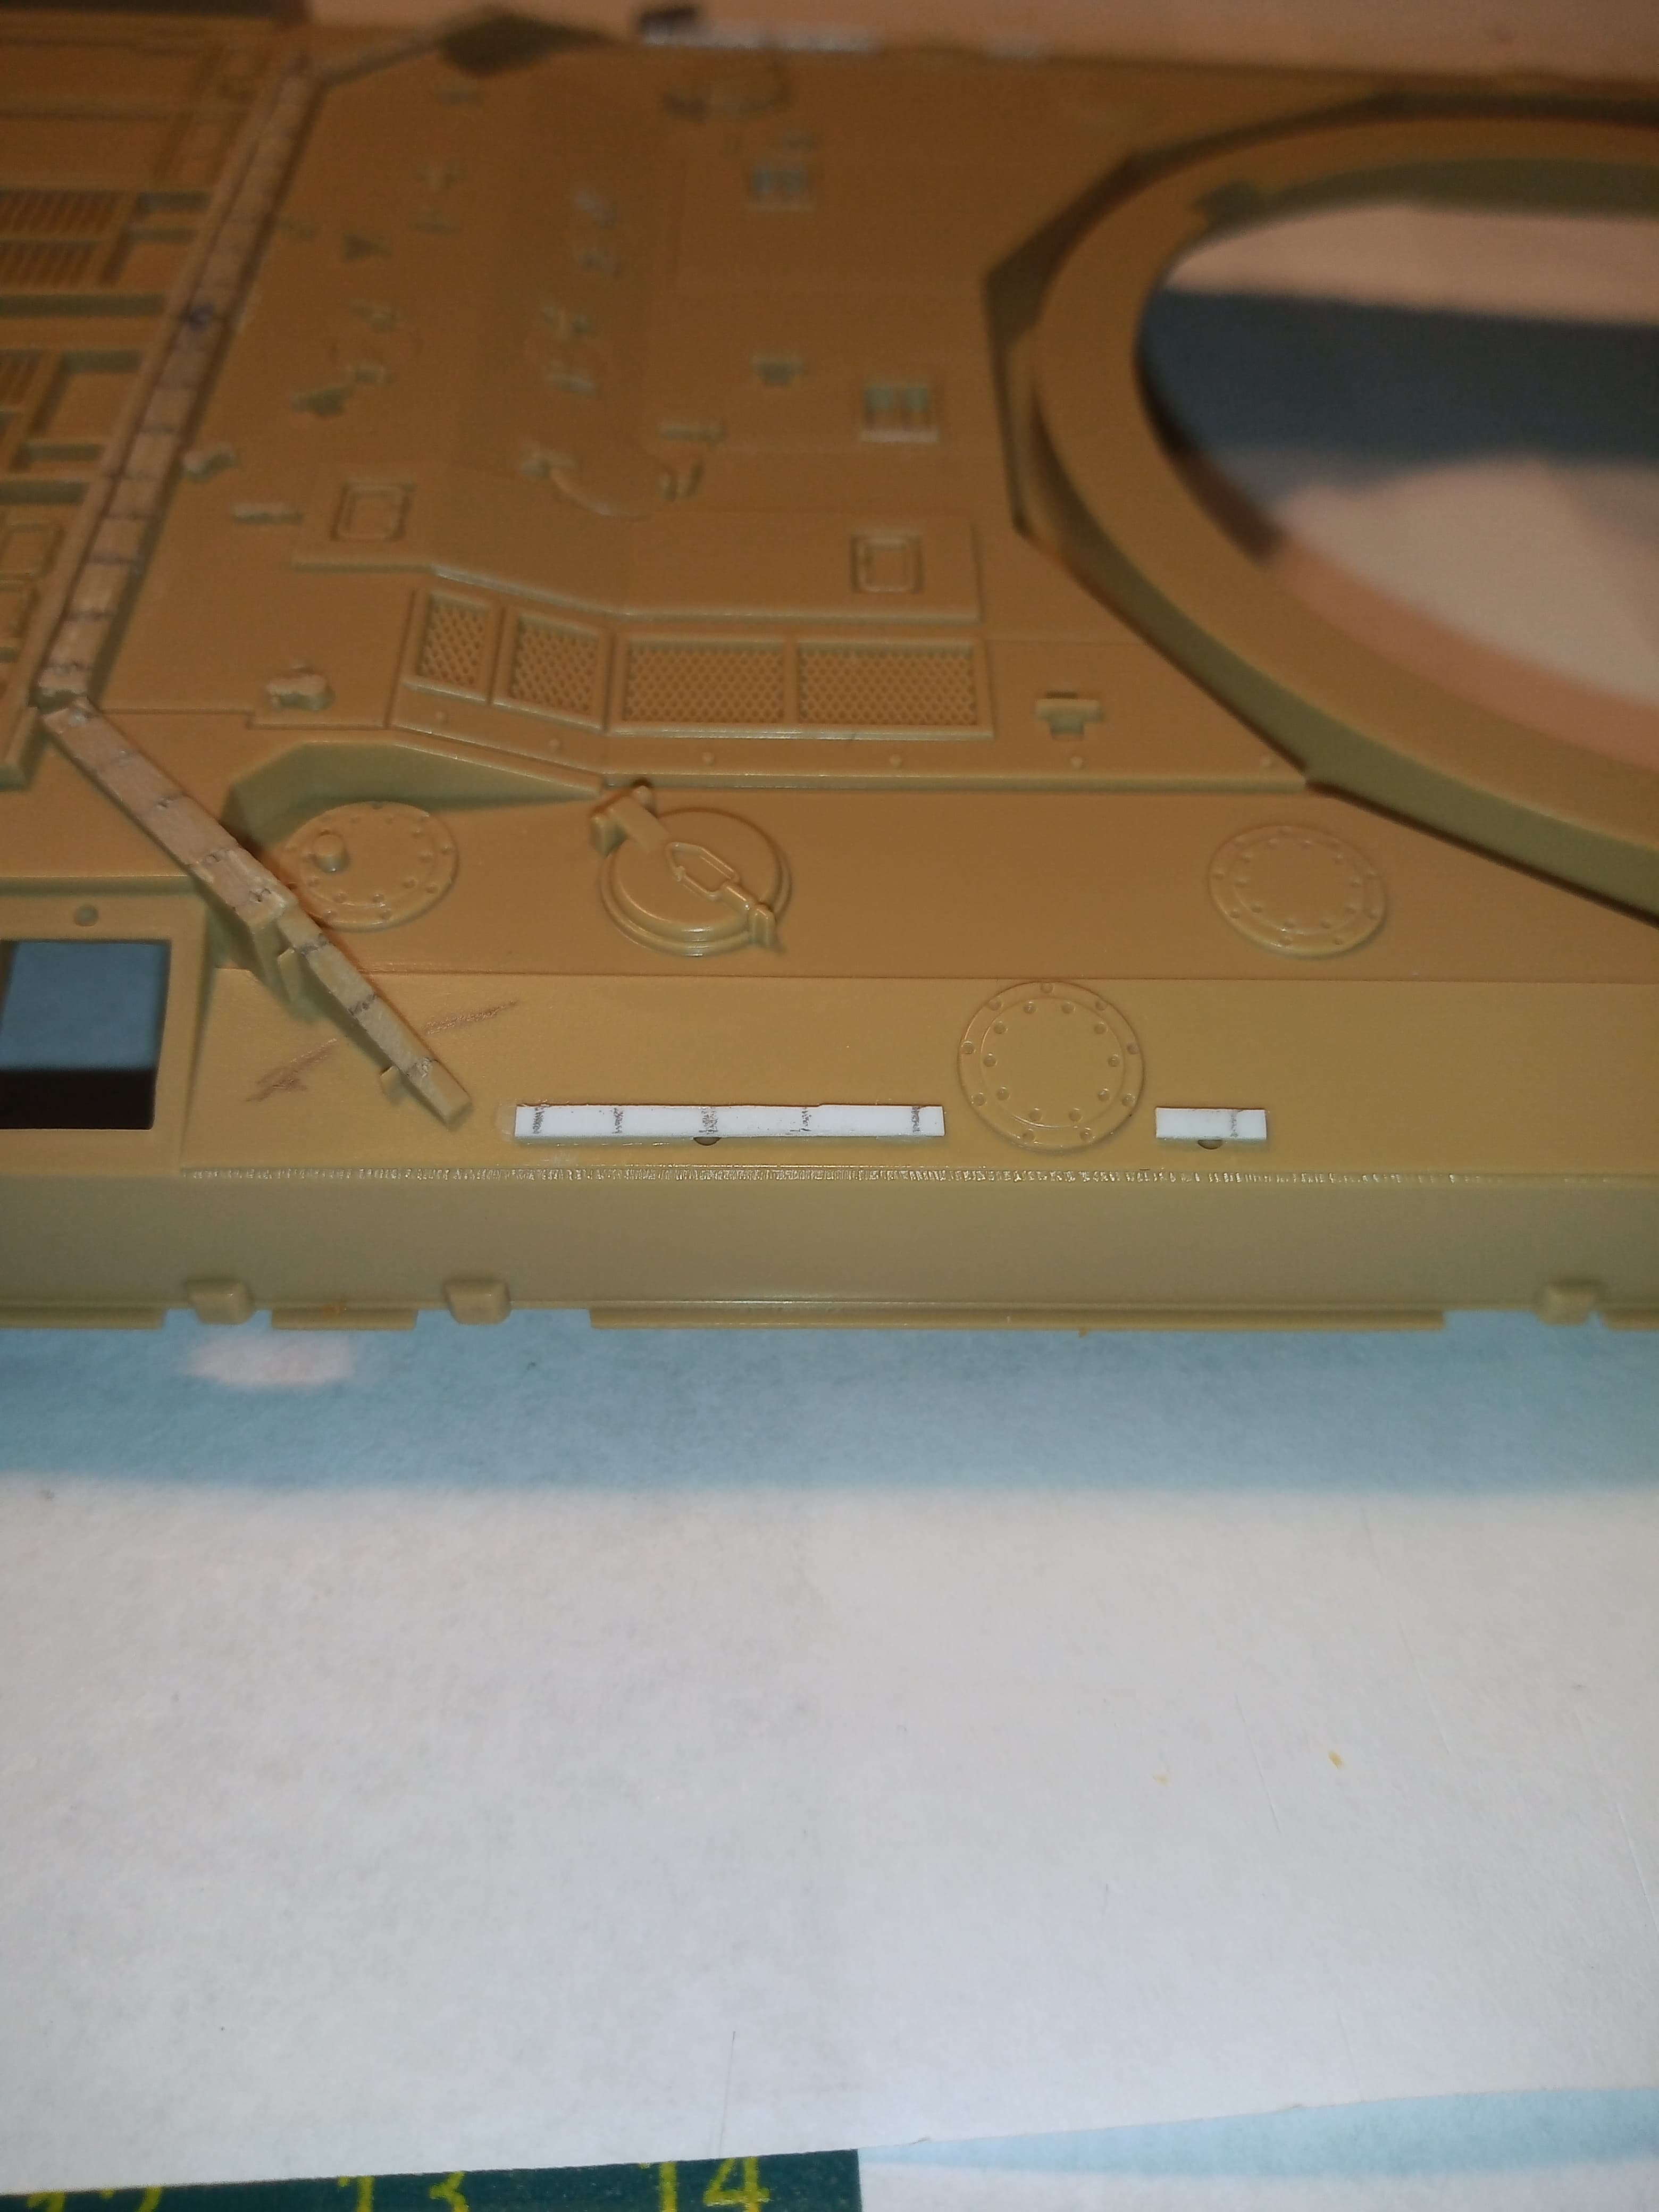
The 51 holes drilled out. Used HGs @HGBARNES method of using a No11 blade tip to make a pilot hole as there isn’t much room for error
Have the holes on the white strips until they are fully set, and I may need to use a smaller drill bit as well.

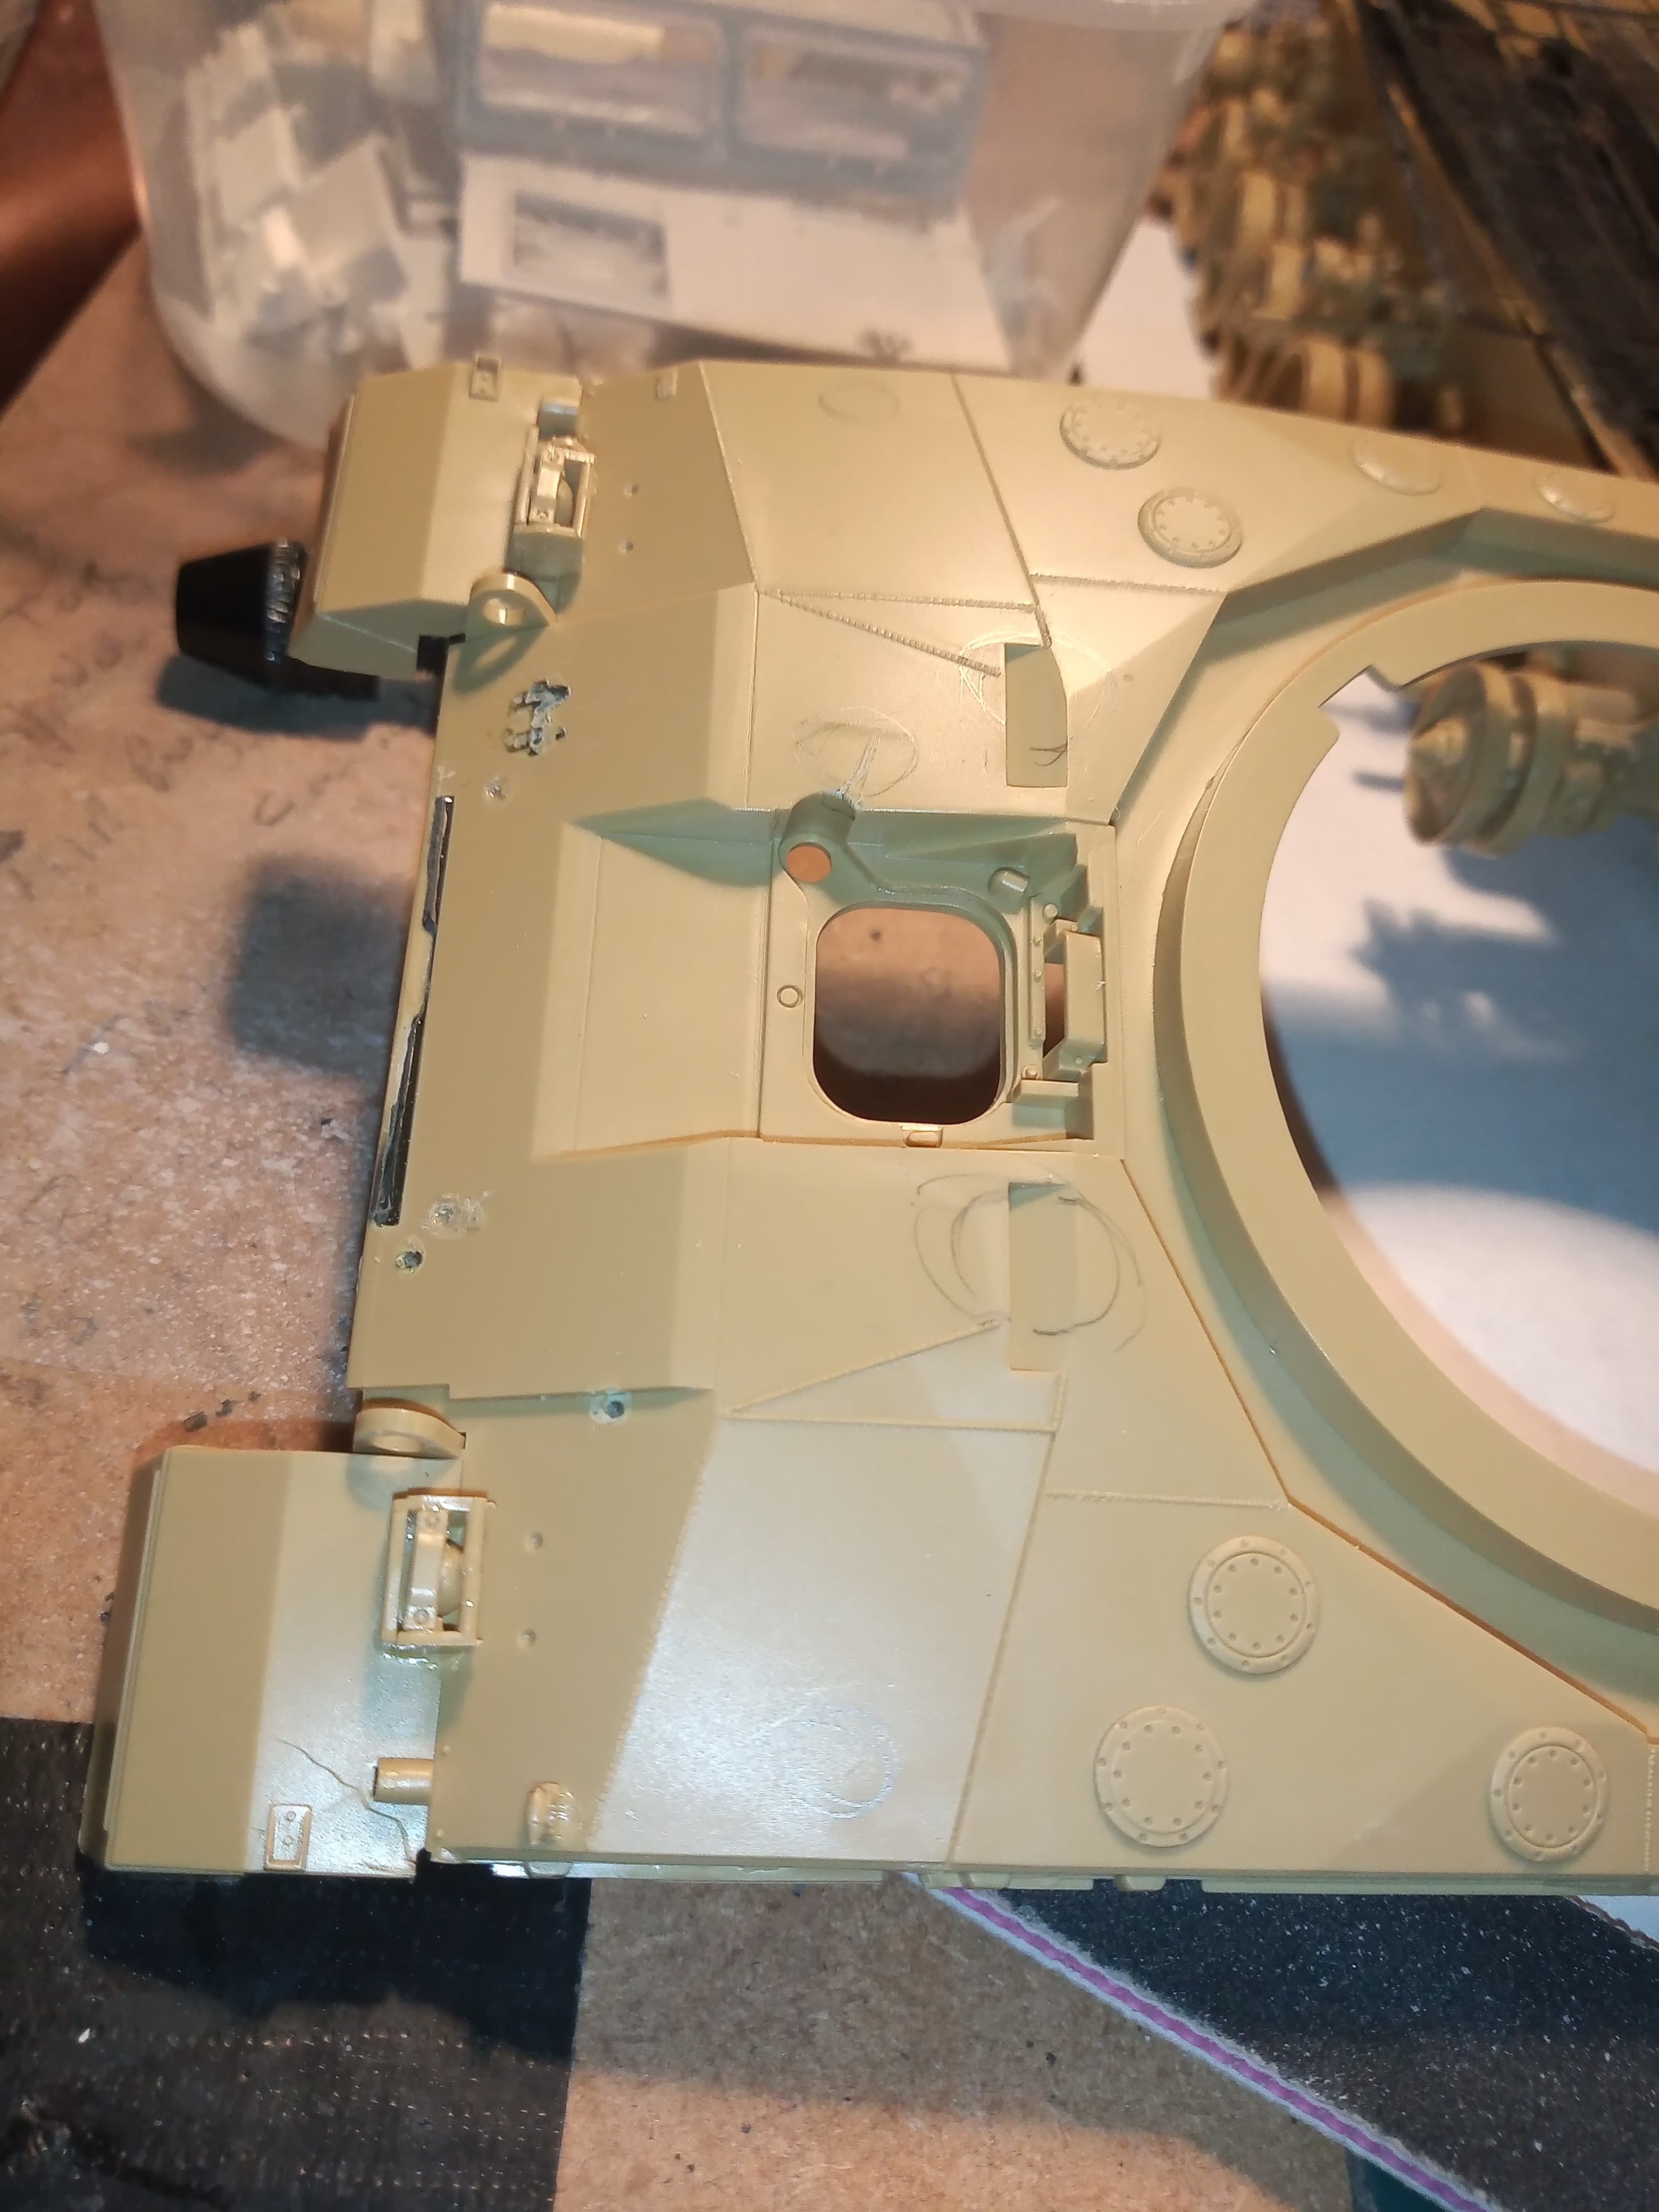
Also got all the parts off I needed to on the front , and don’t forget the slope glacis in front of the drivers cab is being cut out to level that section. Also managed to get the upper glacis lifting eyes off without damaging them.
And bits off the back I needed to, the LH fuel can holder snapped, but it’s an easy fix.

Also sorted the gun clamp as per how it was on CTTs , basically the clamp part is removed, but the mount stays
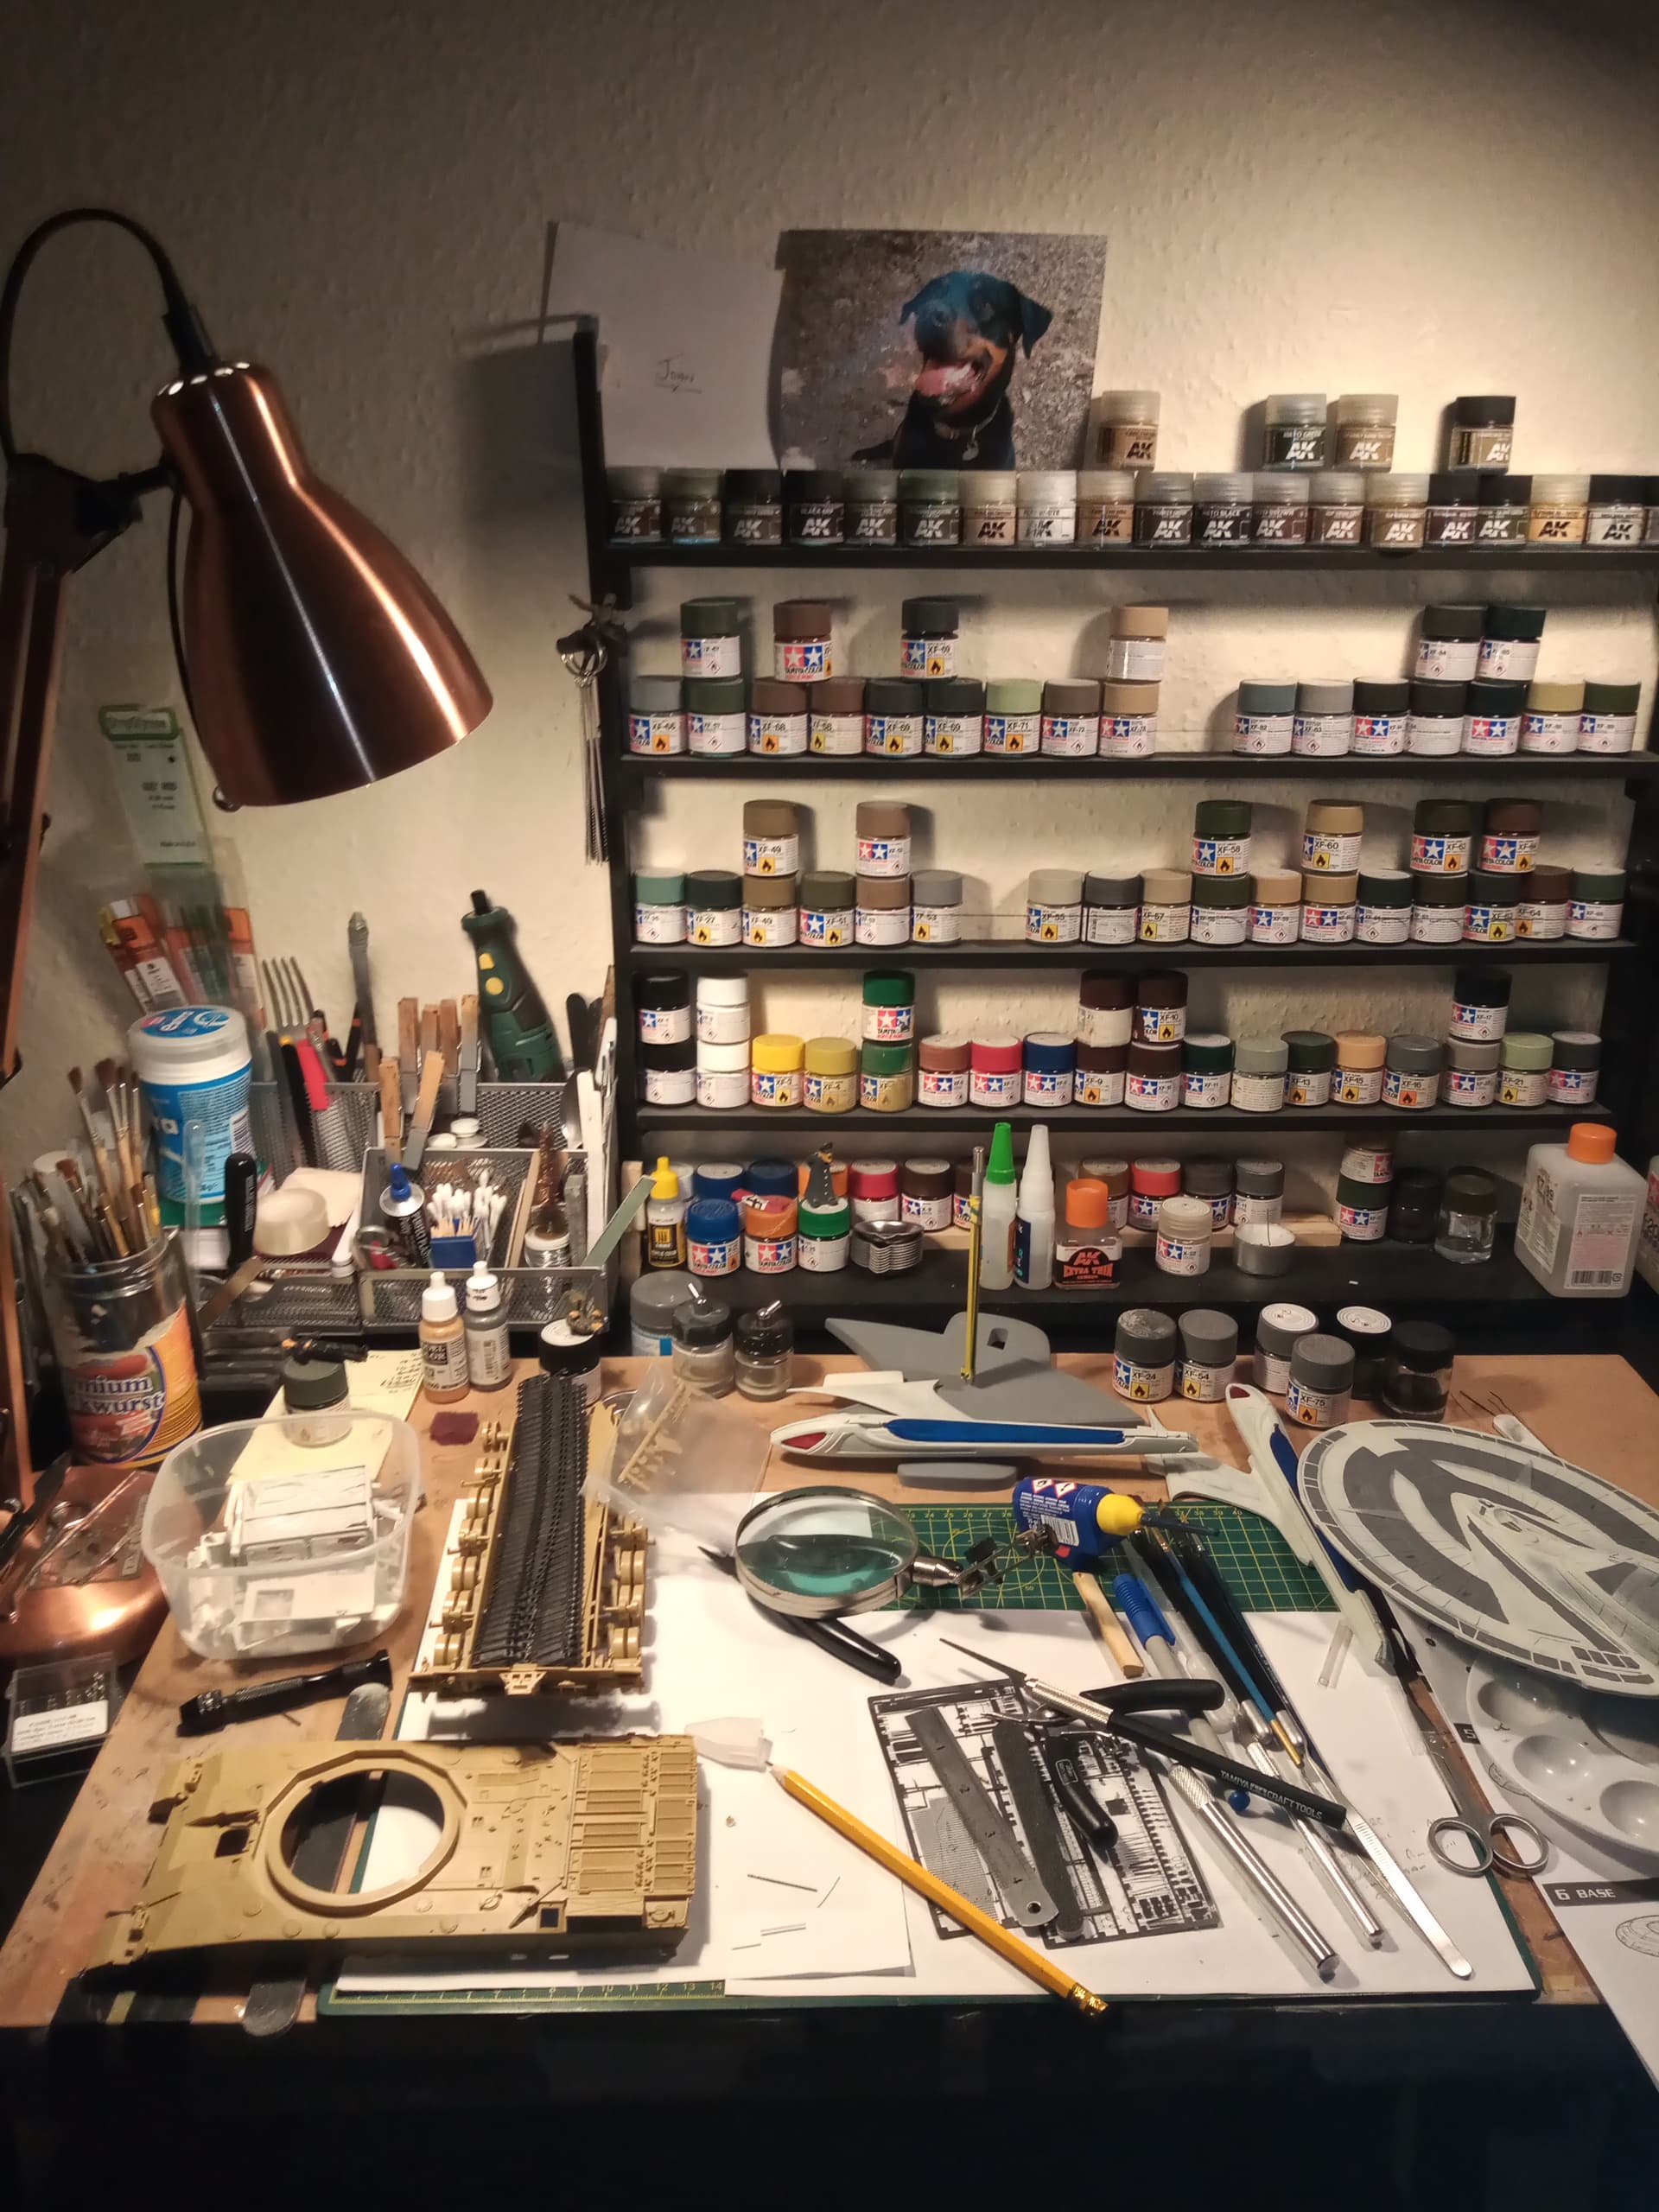
This the chaos that is my bench lol… It pains me to look at it lol .
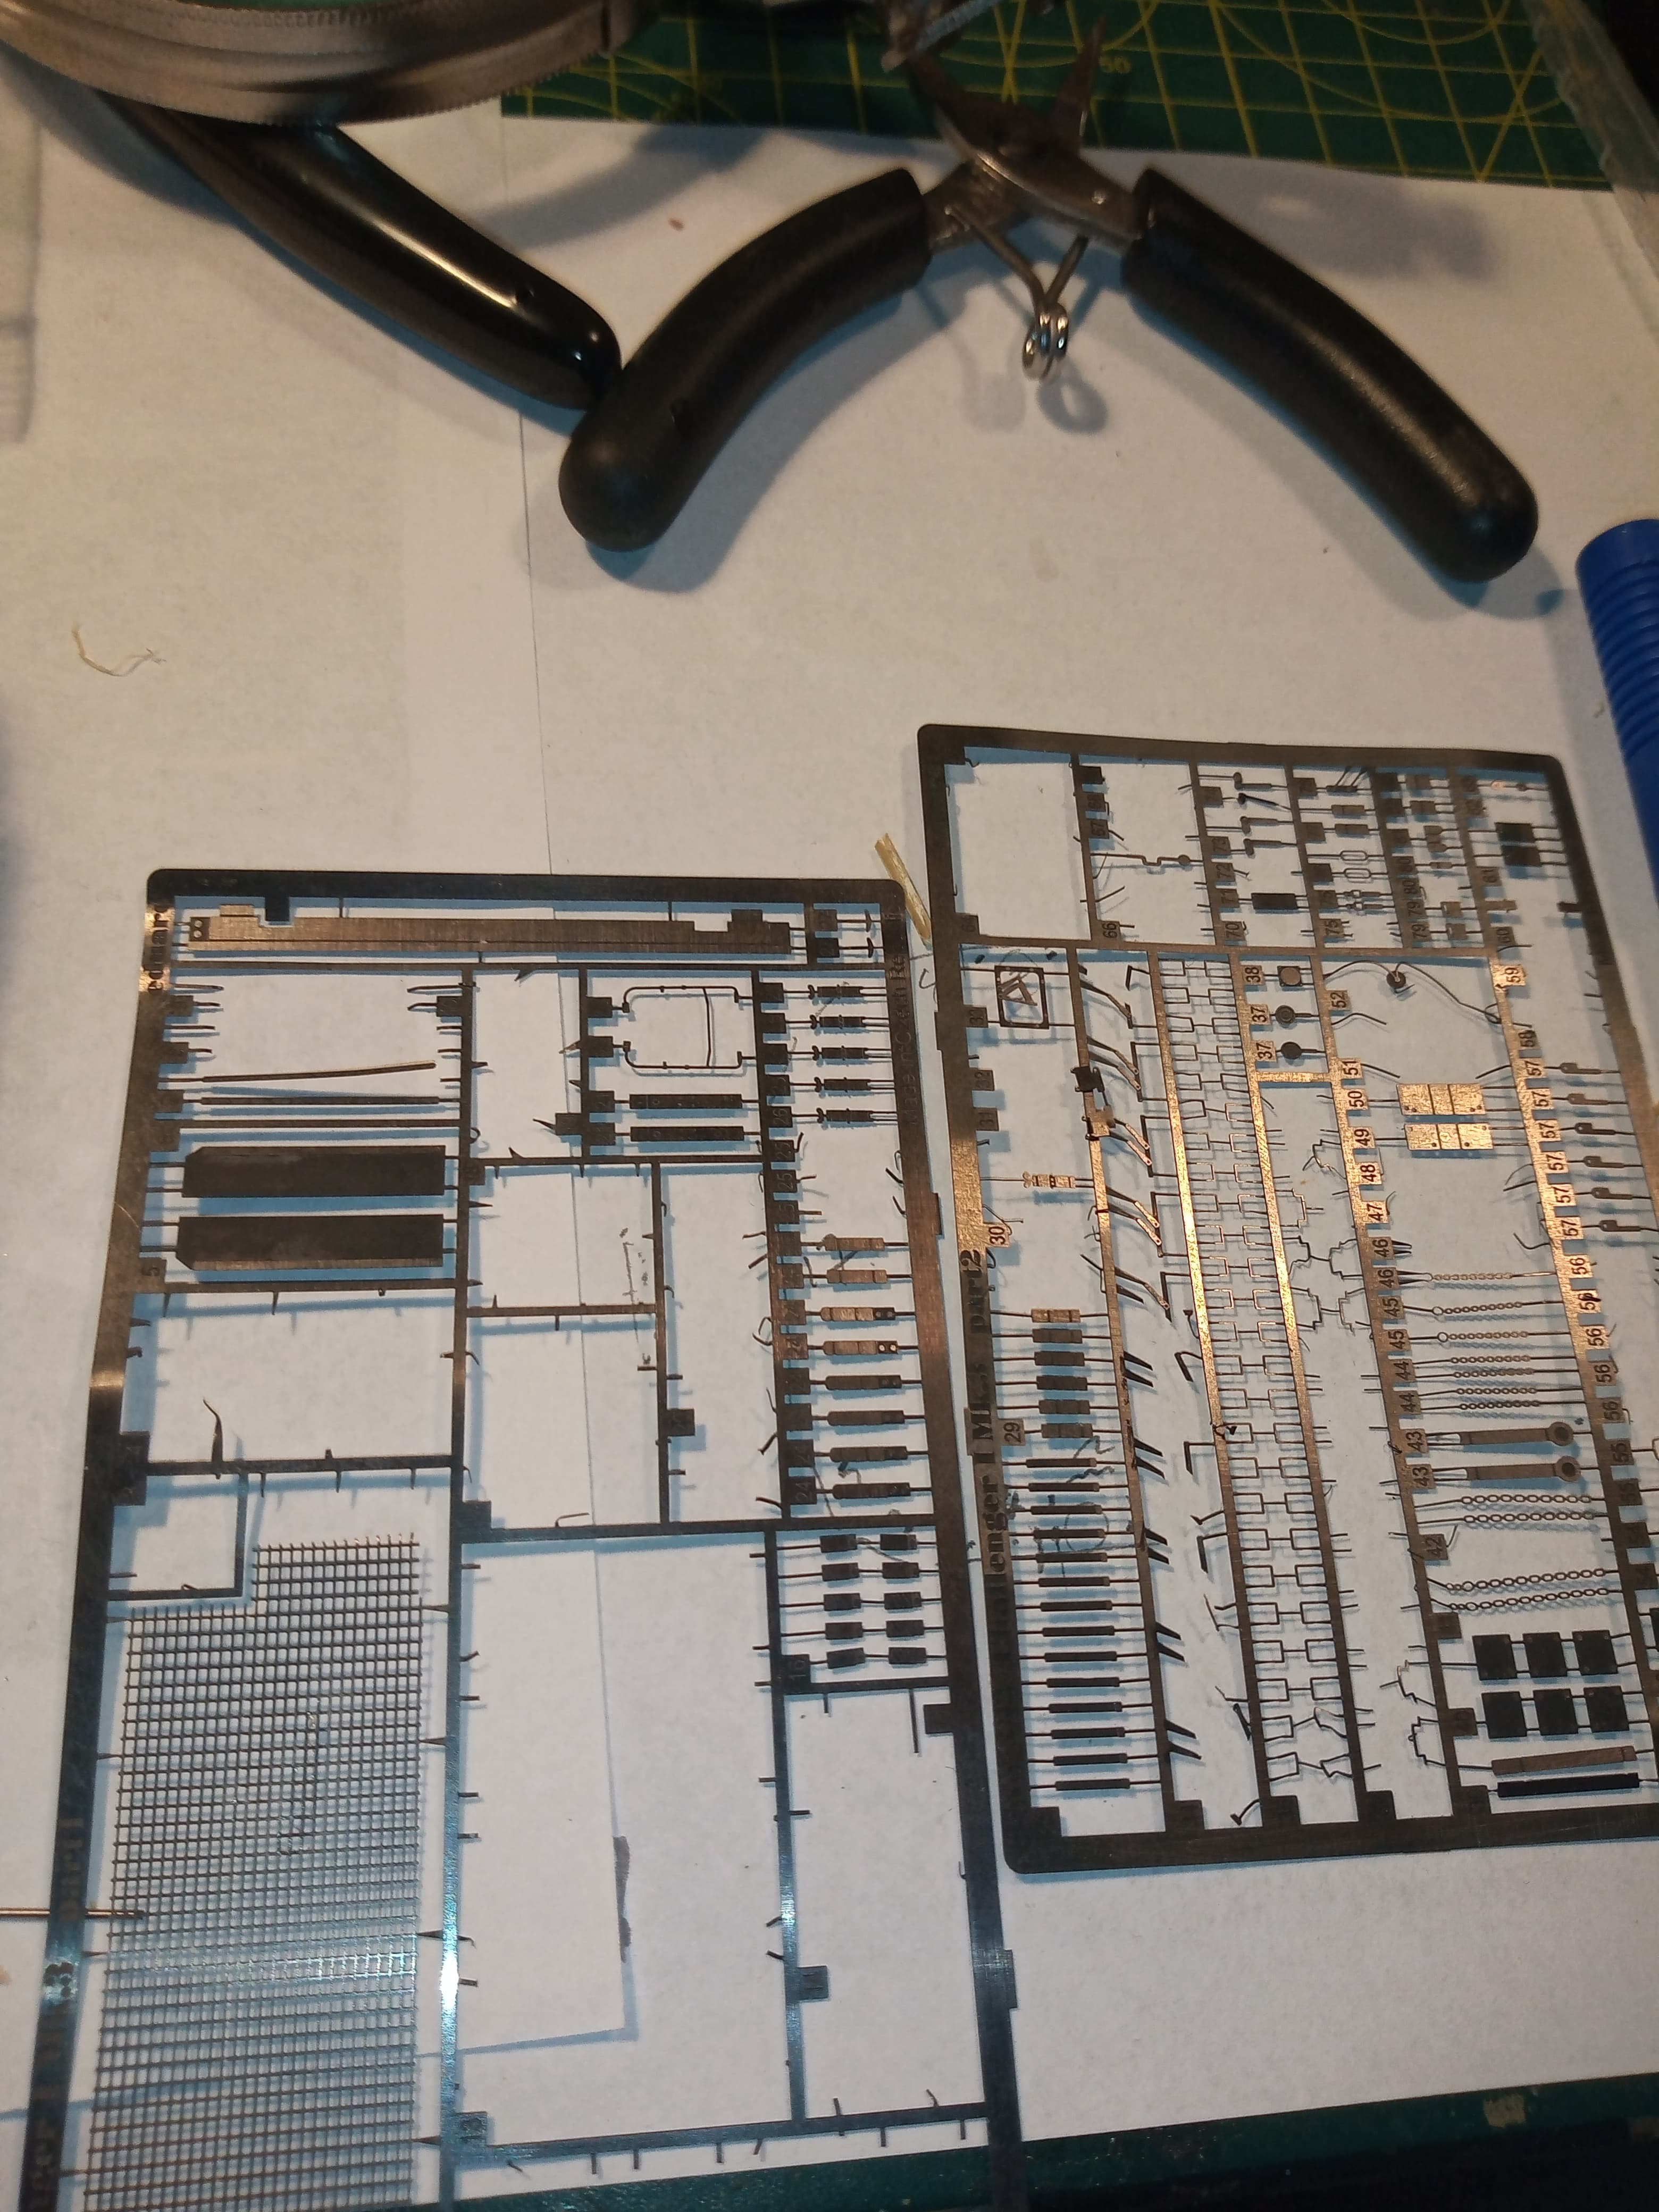
Also found my old PE set from an old Cr1 kit with the splash plate piece and a few other bits I can use.
All decent progress and pleased with how it turned out
9 Likes
Good work! I do love seeing the white stuff come out.
1 Like
Wow John that’s one hell of a post! I expected this was going to be a quickie build. Just ditch the turret and slap the cab on and Bob’s your Uncle. But Nooooooooooo. Not John. He’s physically incapable of quickie builds. Everything has to have problem A which leads to situation B followed by solution C which requires ordering bit D from vendor E…and on we go…
Great work so far buddy, looks like you have quite a bit of delicate work on your hands!
4 Likes
Haha … you know me Matt, never a dull moment ![]()
![]()
1 Like
Russ @rfbaer , this is entirely your fault !!!
I have never been so panic stricken making cuts into a kit …
This is the most worrying thing I have done !!!
4 Likes
And done …
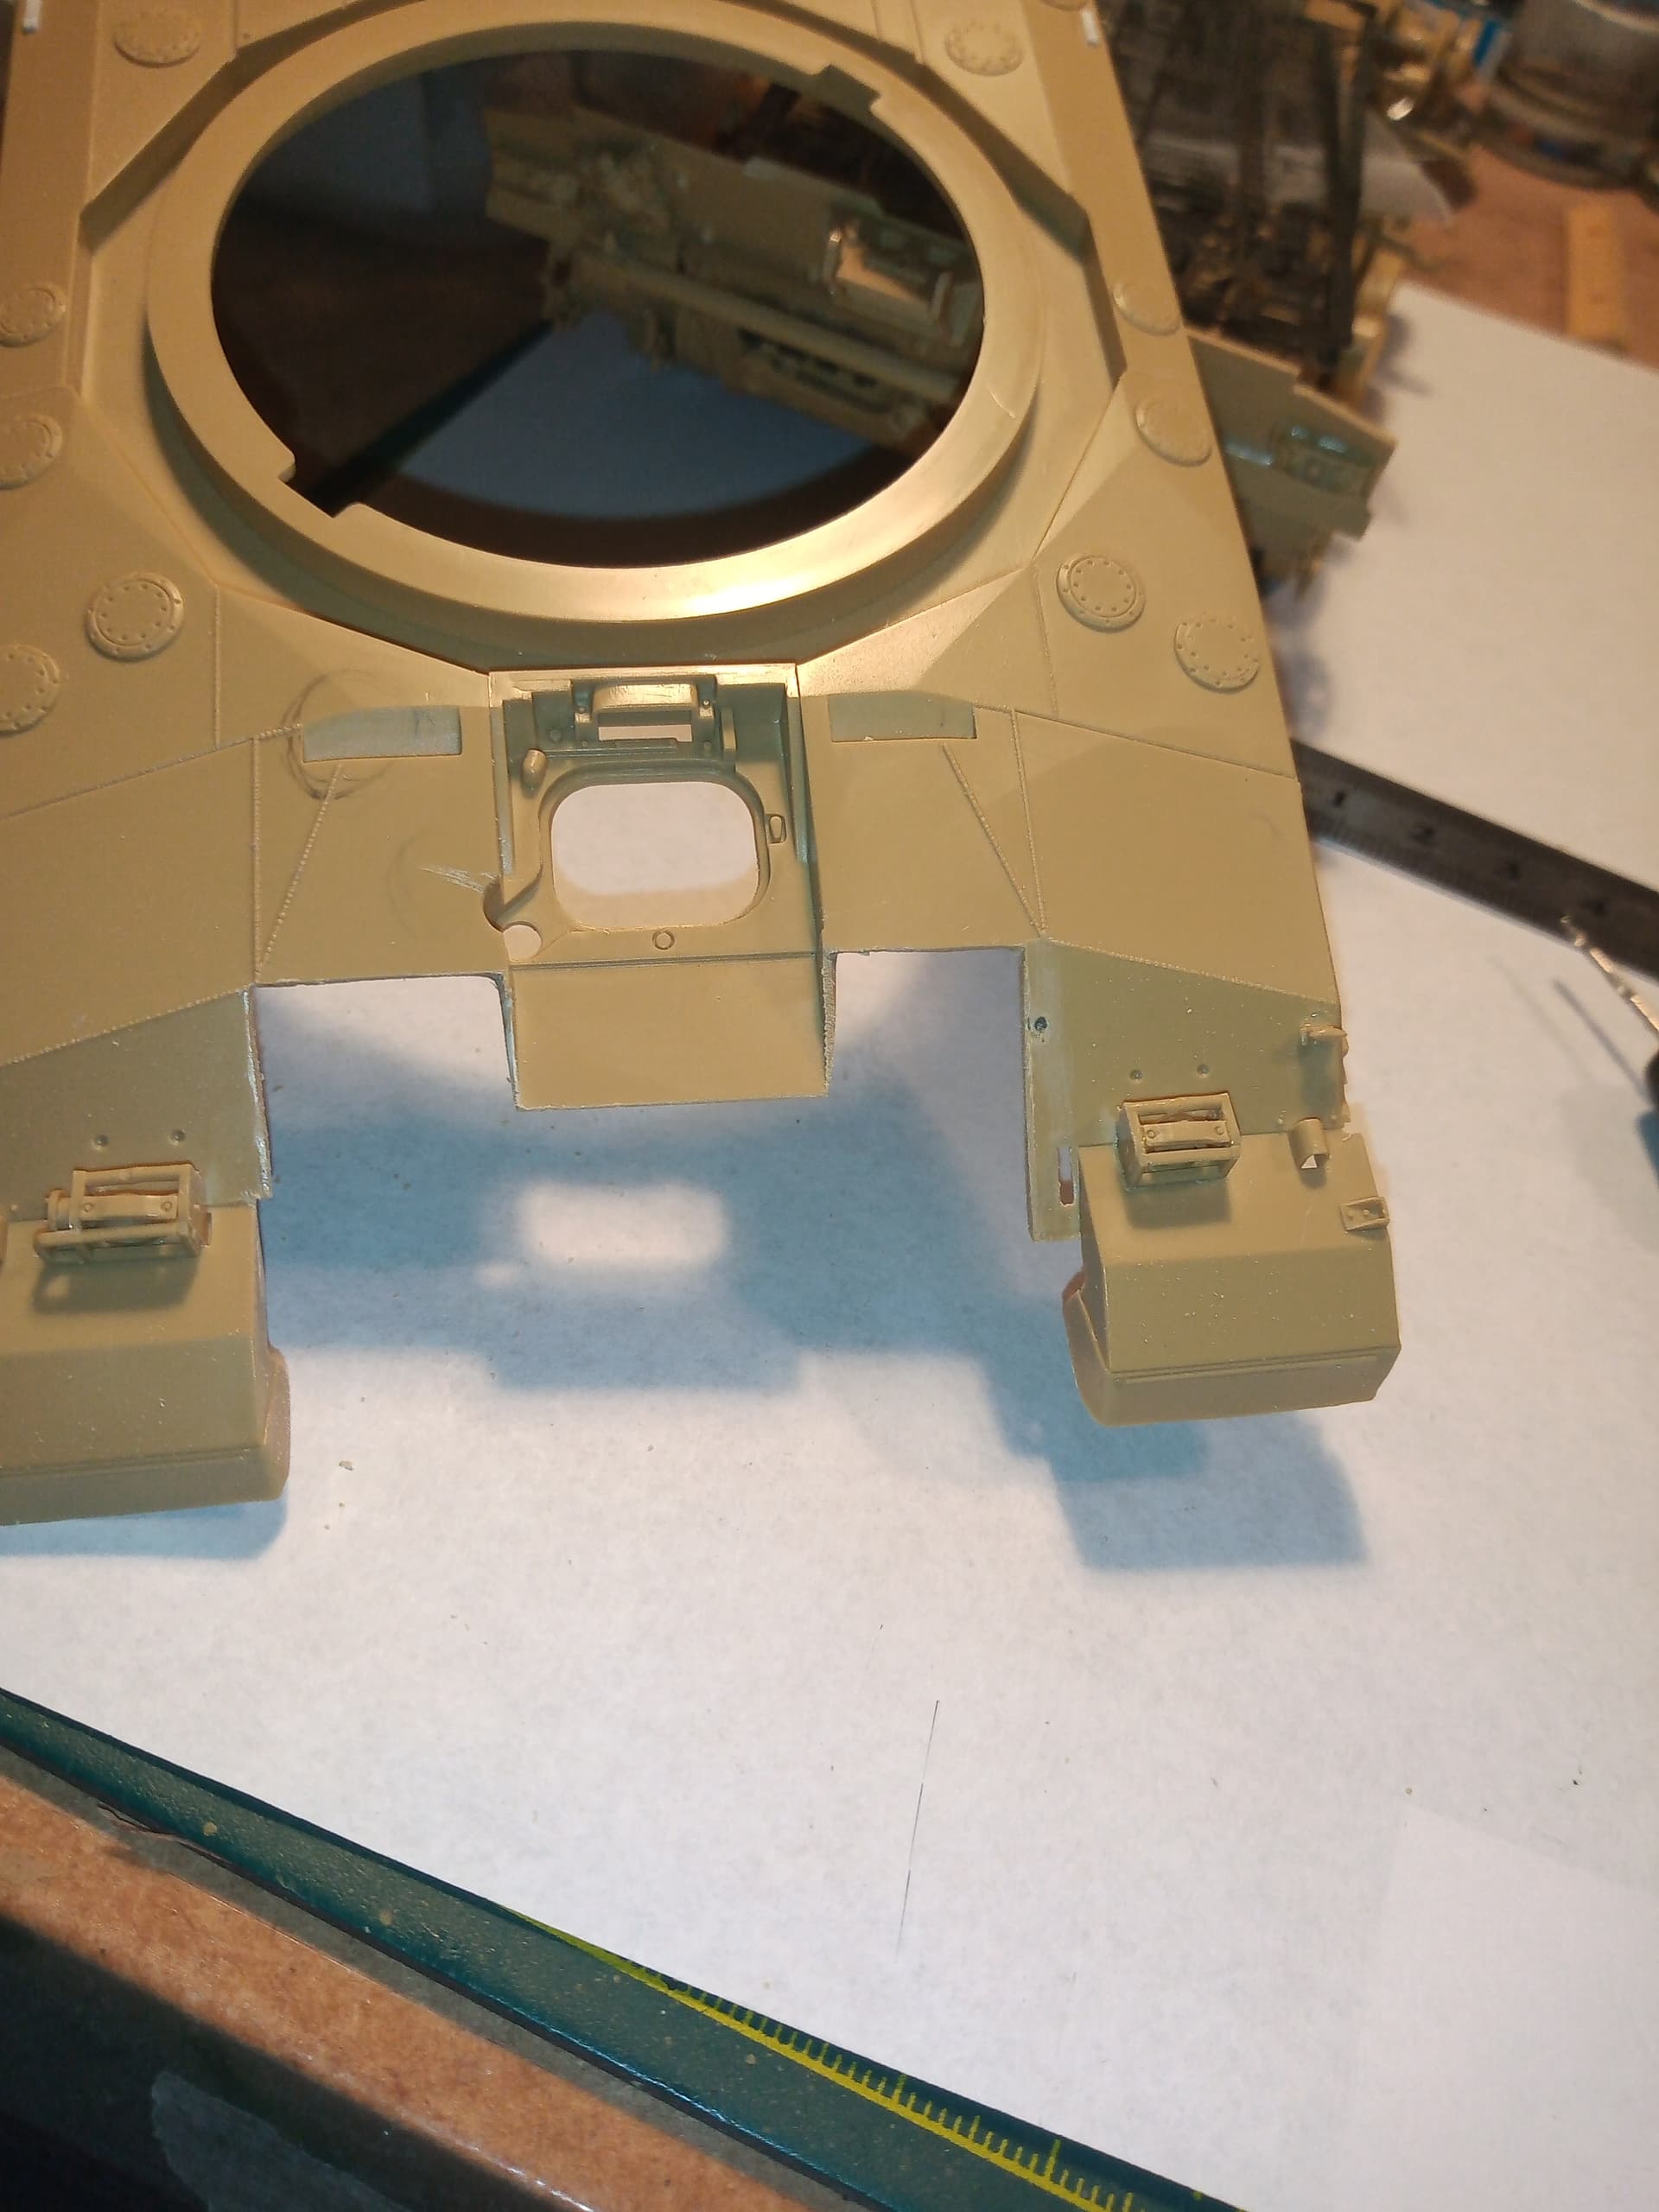
Russ, you’re forgiven lol… Needs a bit more tidying up.
Am also going to order another Cr1 PE set as I want to show it with no hand tools, and replace the track tool holders… That’s your fault Matt @SSGToms ![]()
8 Likes
Multiple PE sets! Your journey to the dark side has begun!
2 Likes
That Leo 1 Driver’s Trainig Tank w/o dummy gun is a Dutch one, see yellow license plate and “NL” on the lateral stowage boxes. And its tracks are mounted in a rather unusual way, with the chevrons pointing up on the idler - something no competition judge would let pass on your model.
I never leave here lol
2 Likes


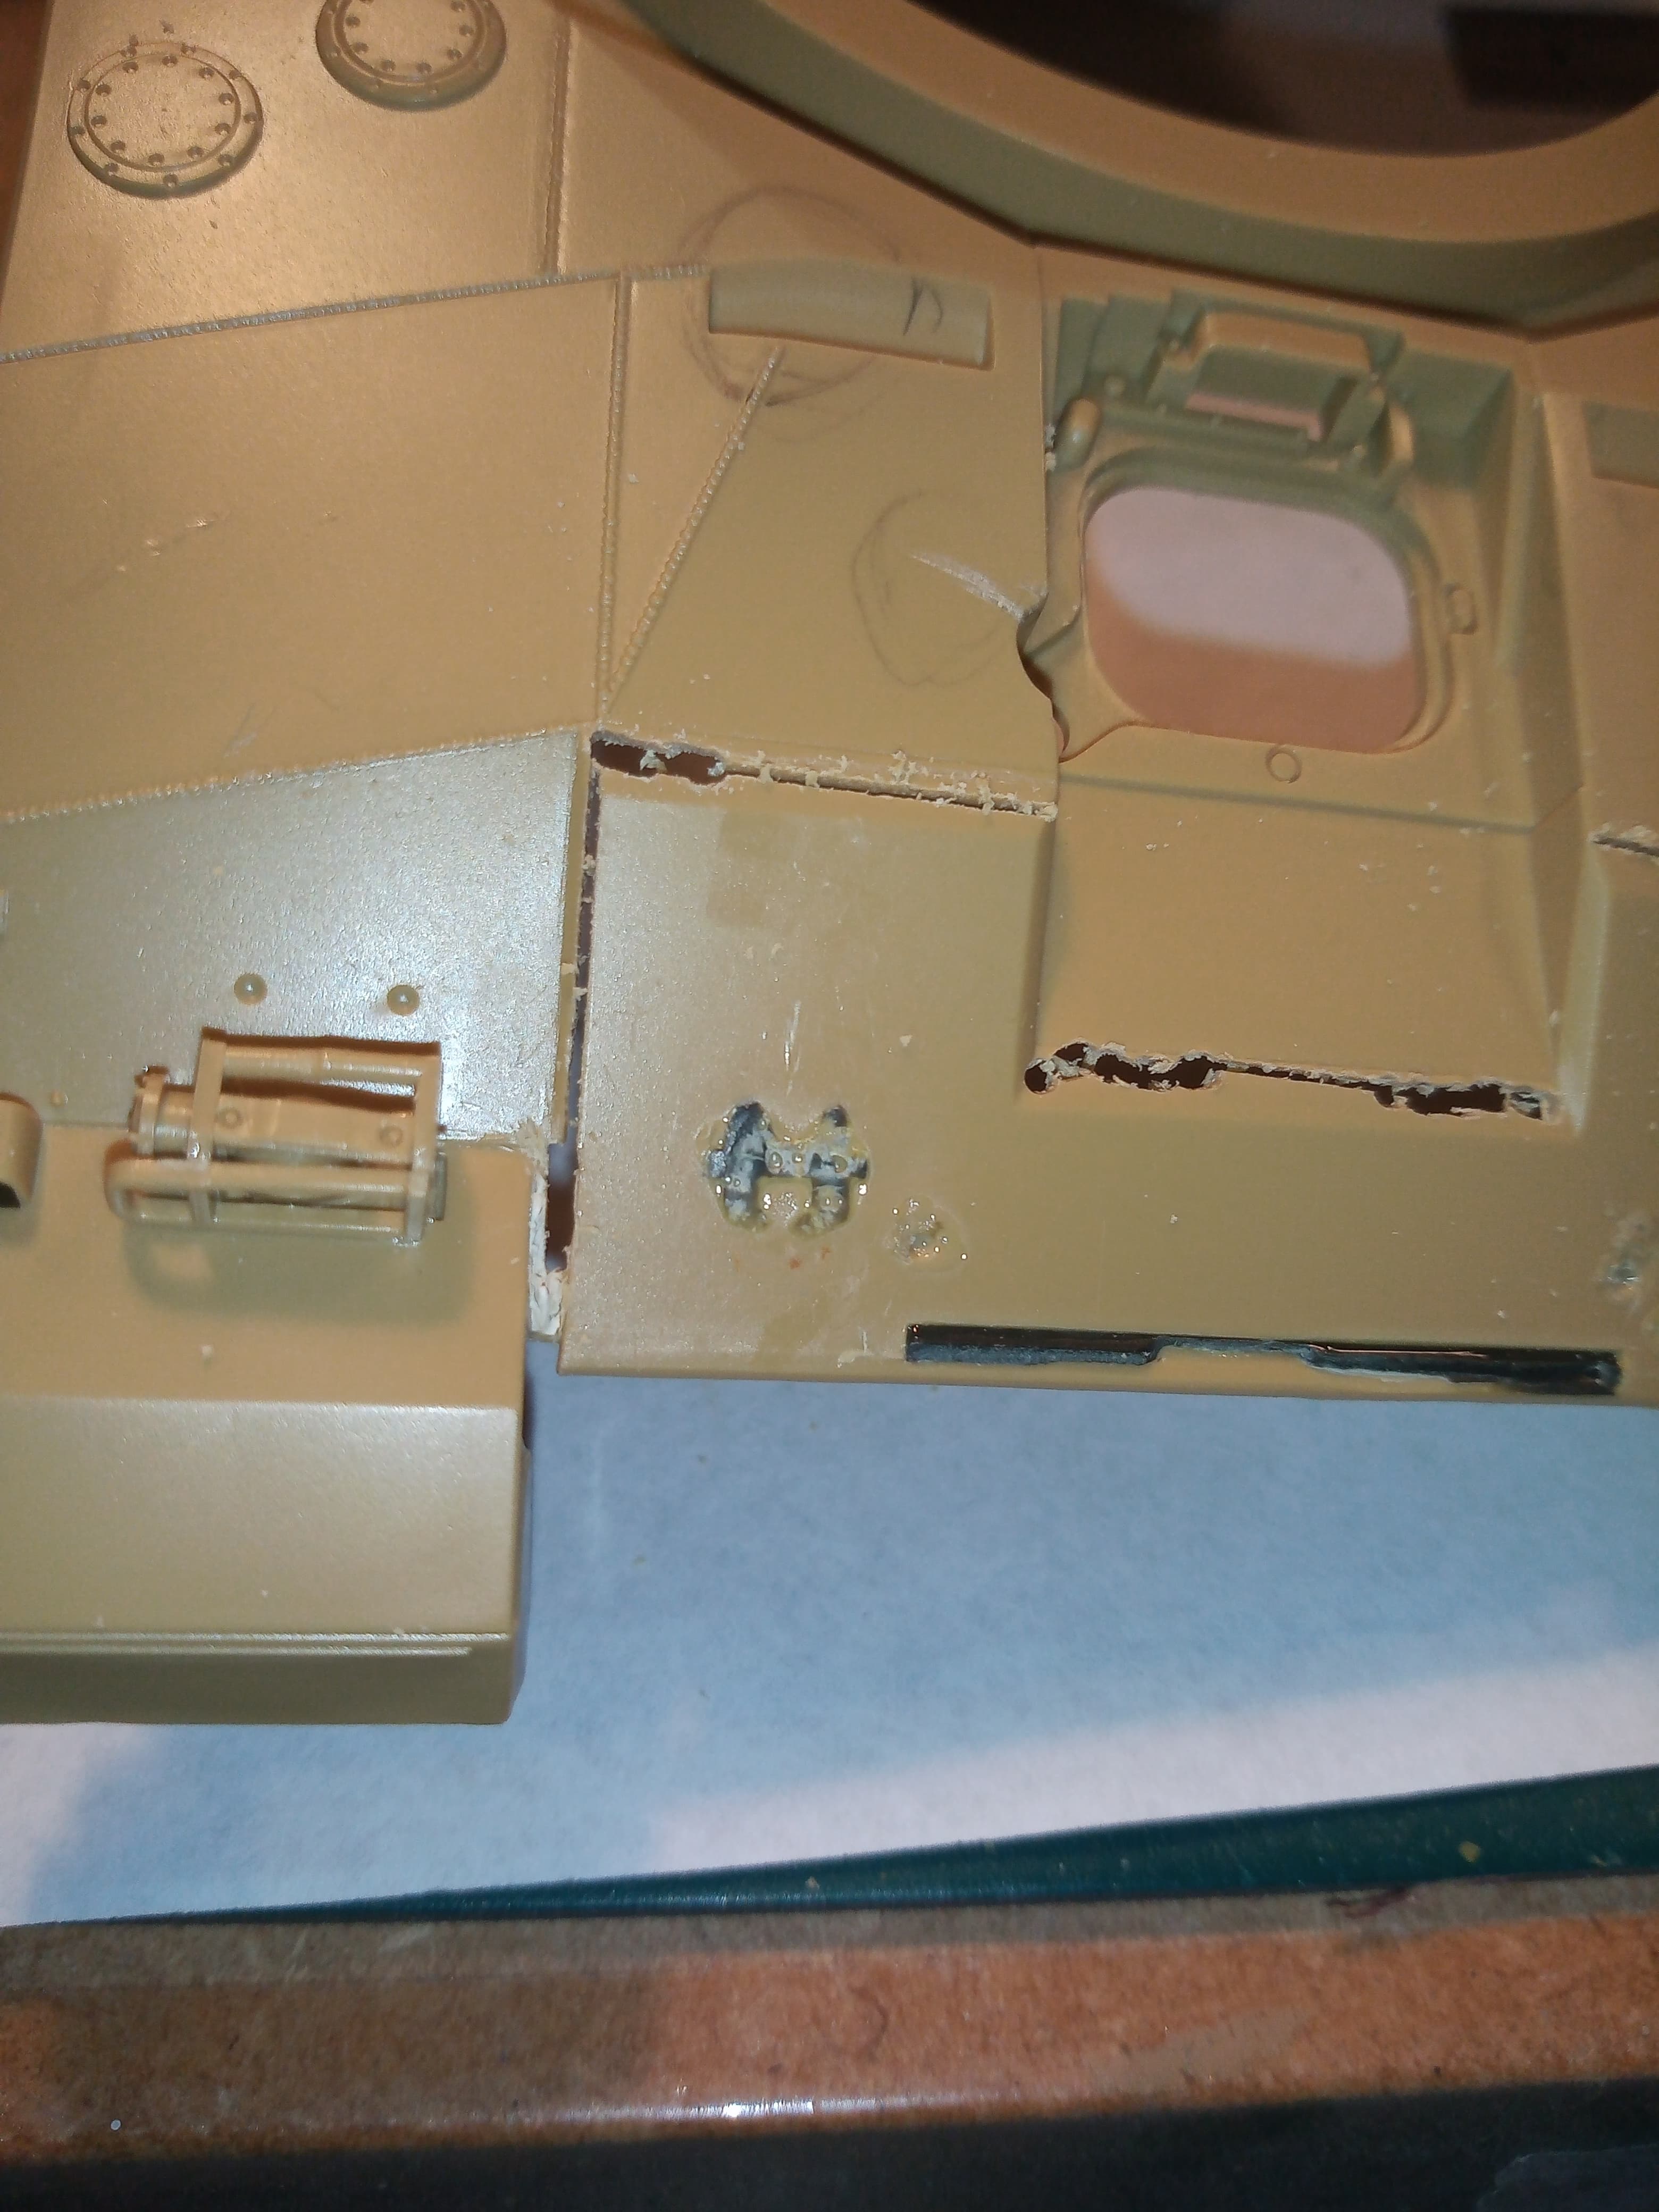
I am now a relatively happy chap ( apart from my Sith dark side) …
Now Russ, @rfbaer this is no where near as tidy as your lovely work you showed us with your Chally… But I am so relieved it’s over lol…
I have only been this nervous doing surgery back when I did my Striker and the AFV club hull I had to butcher… Anyway, the result
The main thing the front slope is level. It still needs some filler work on the joins, and the front leading edge needs about 1mm ish sanding back…
The gaps you can see on the top edges have actually been back filled with super glue gel…
Will let it all set then start the sanding and filling and more sanding …
Time to order some PE …![]()
5 Likes
Your workbench is neater than mine has ever been!
Ken
3 Likes
That bench is chaos! Chaos, I tell you. I don’t know how you even live with yourself.
1 Like
I’m struggling to see the difference in glacis plates…
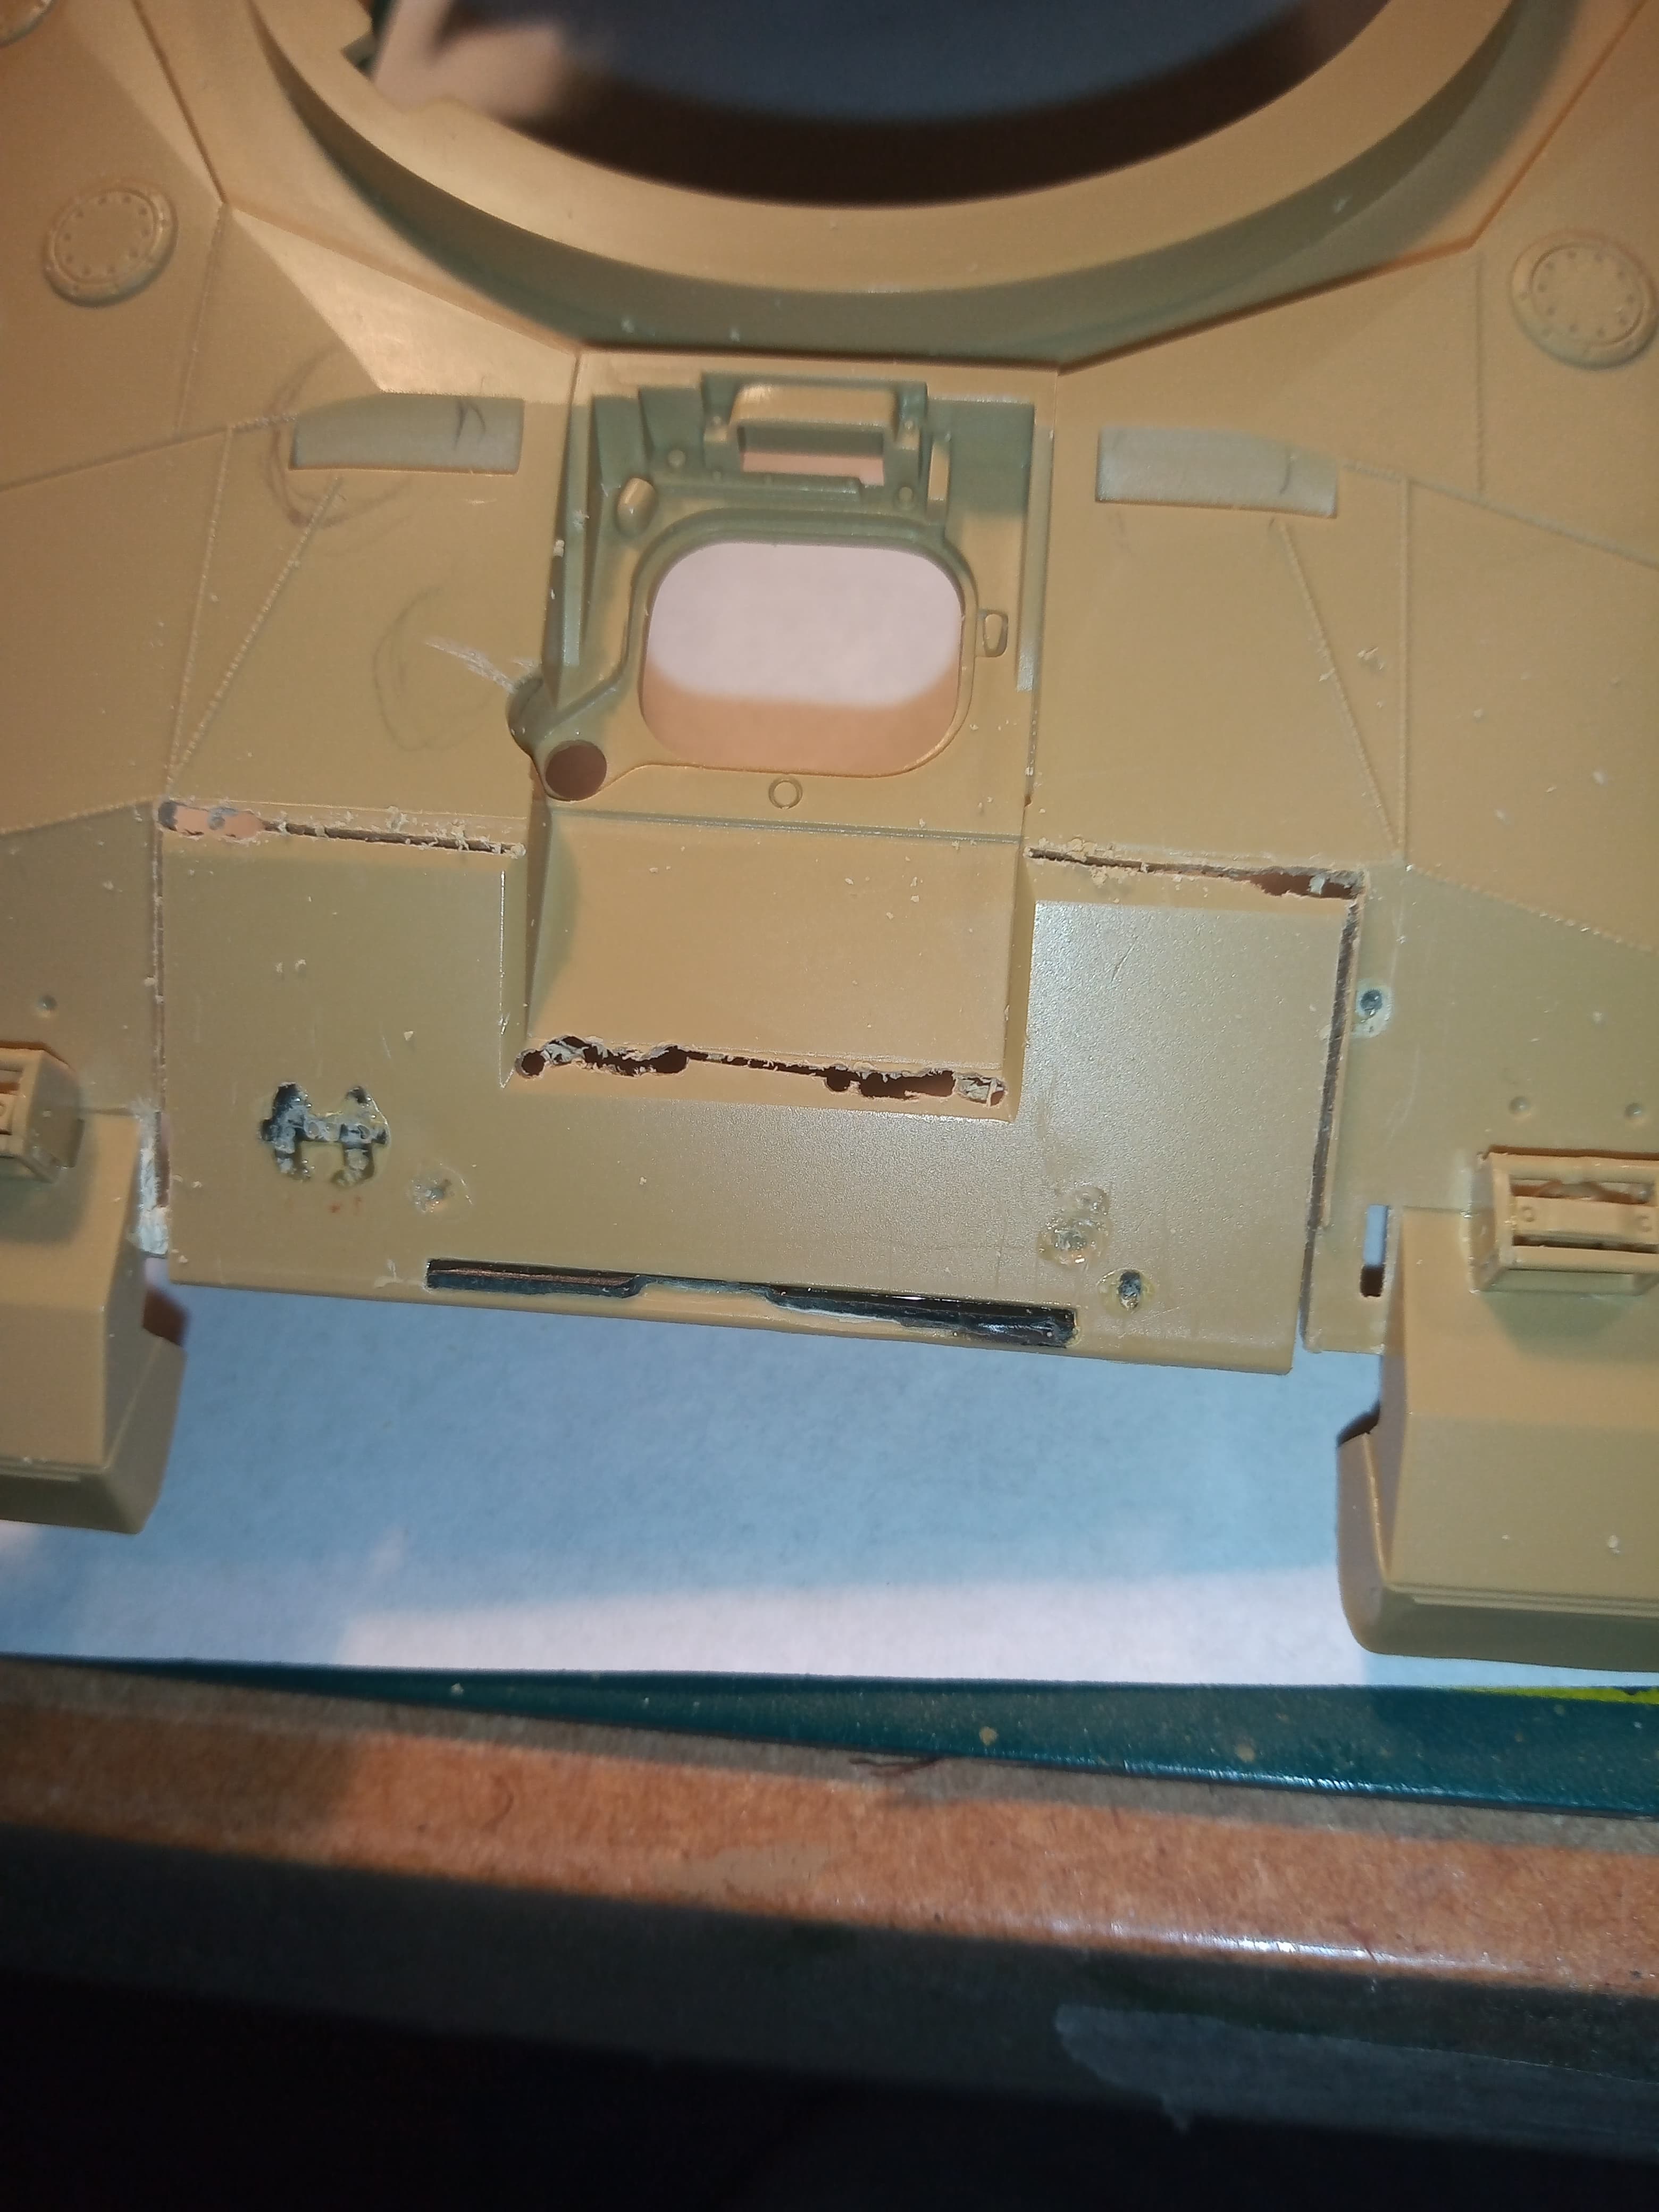
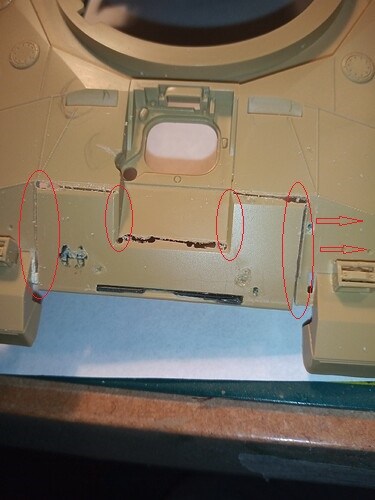
Ok, on the initial batch of Cr1’s they had a raised front section to the front of the driver on the downward sloped glacis indicated with the 4 circled areas on the kit I’m using and the arrows indicate the lower area.
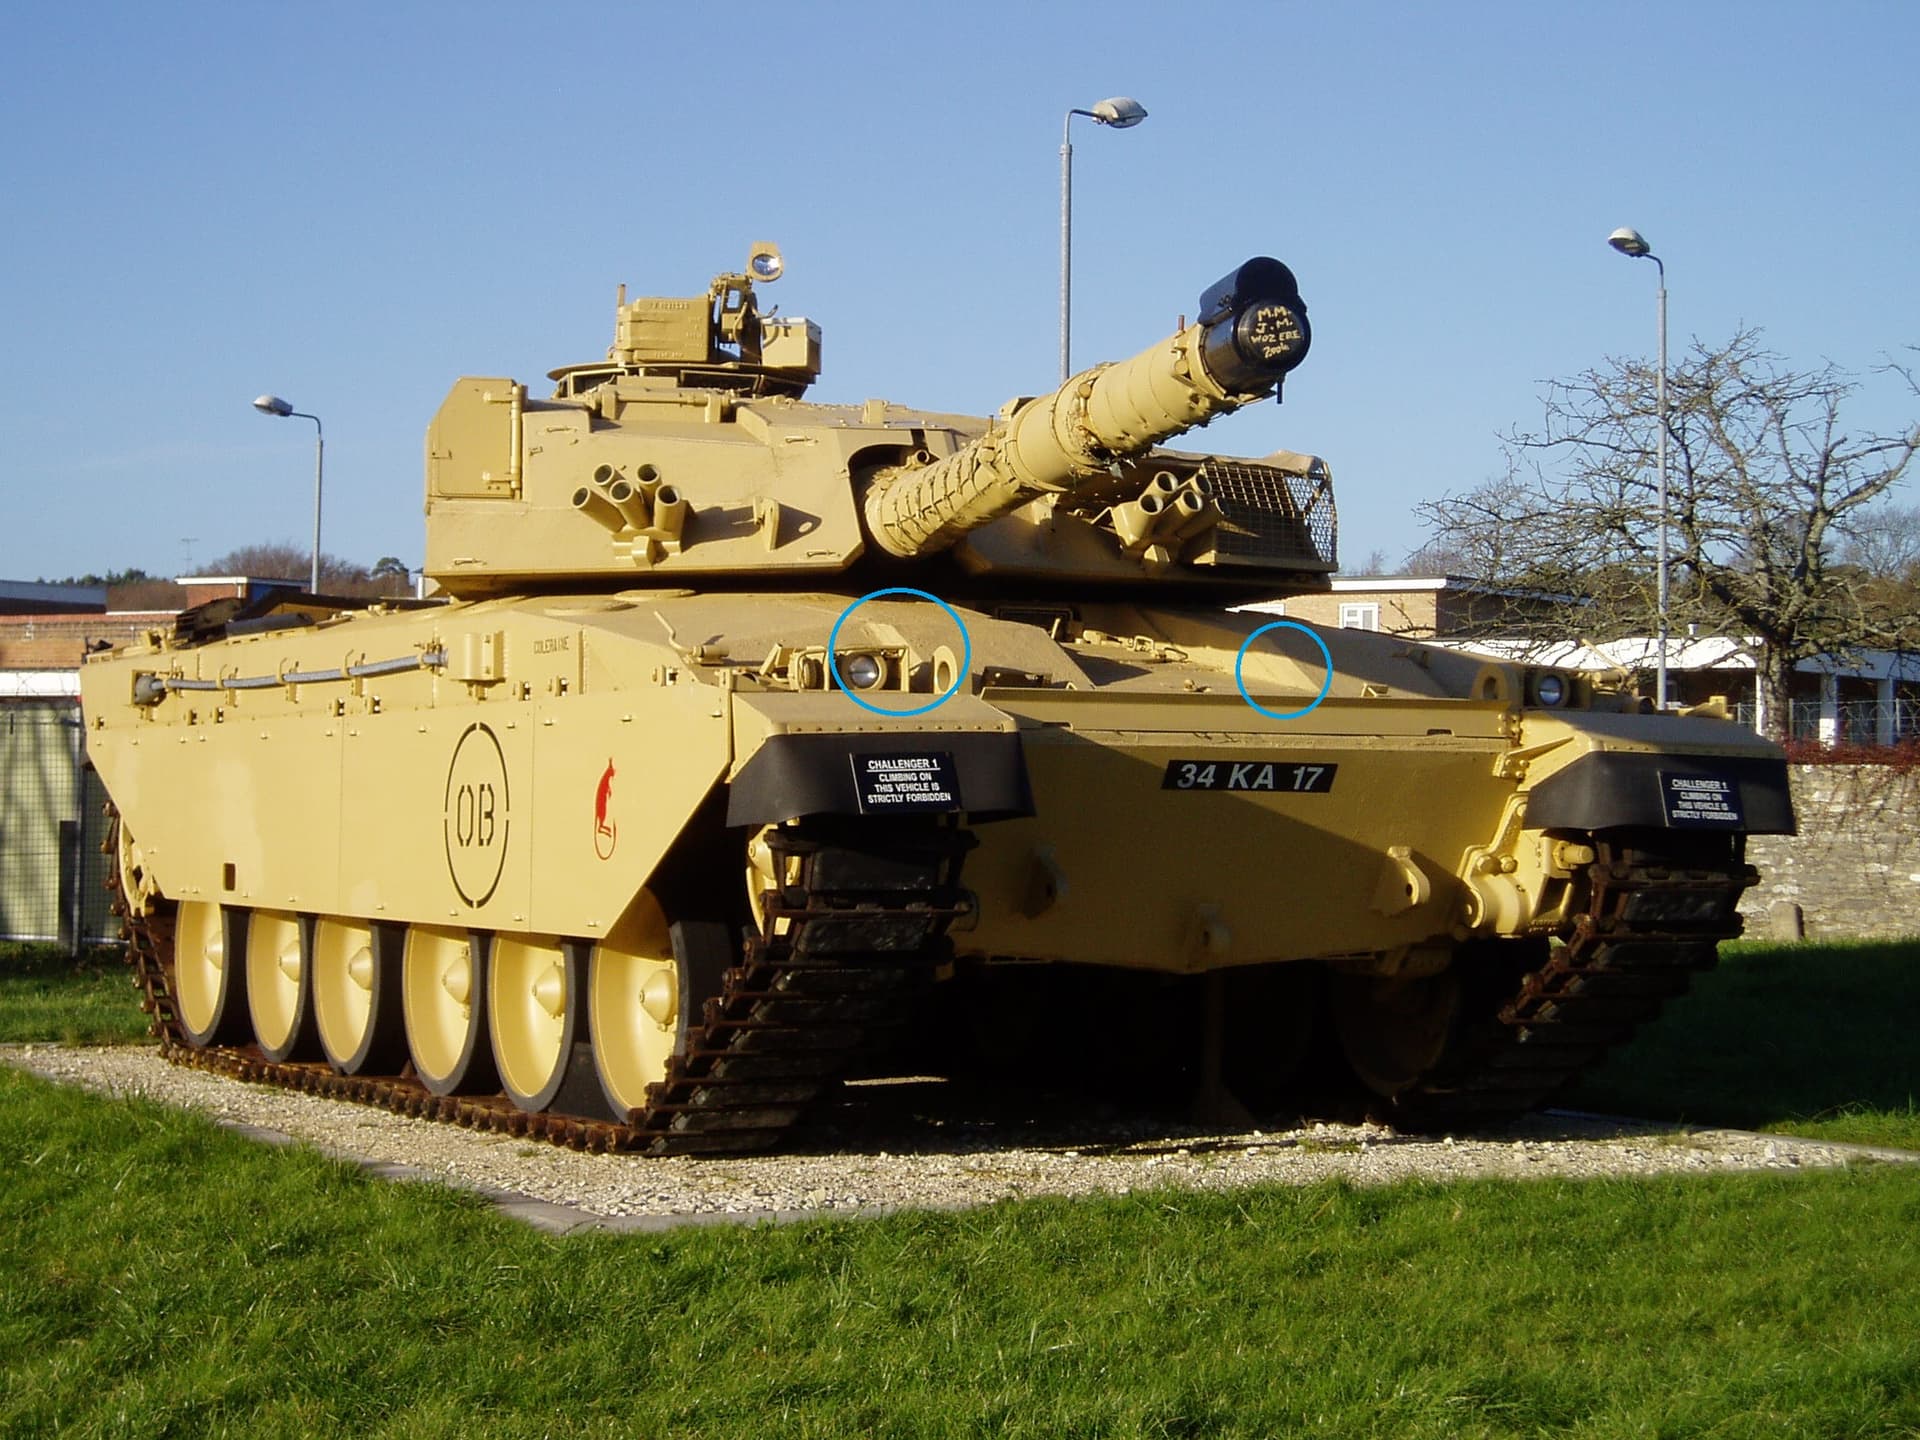
And on a real Cr1 early batch. with the blue circles
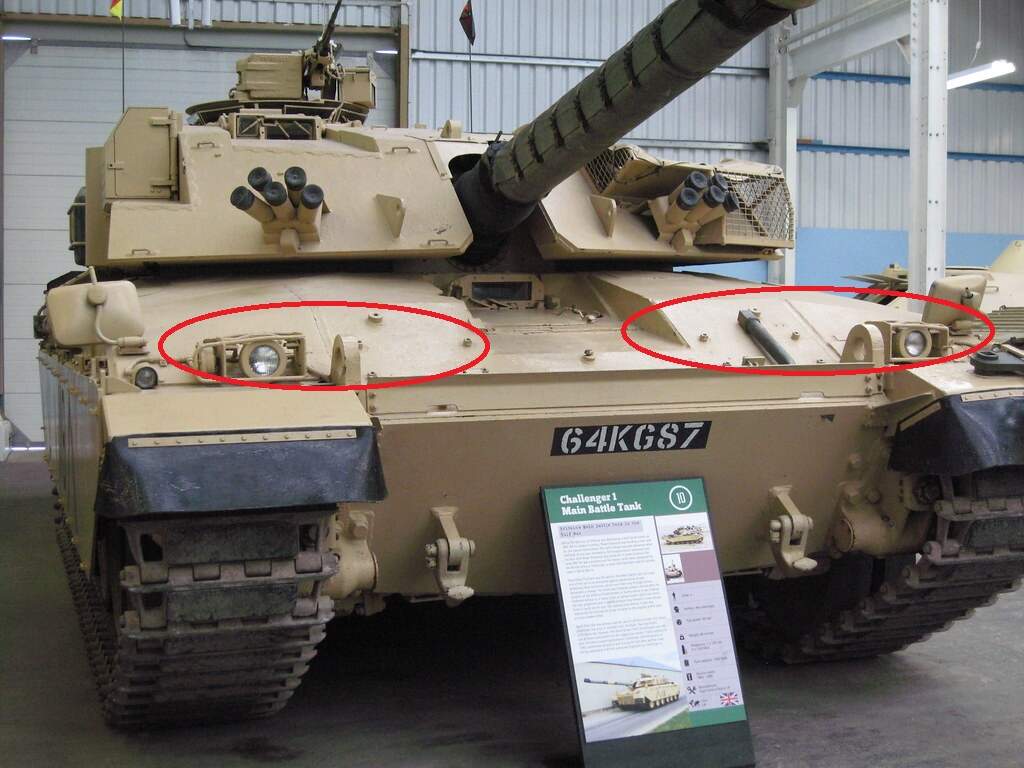
Sometime during the initial build phase ( I think around the 50 to 70 vehicle number - this is my guess - not official), they changed the front and removed the raised section so the whole top part of the glacis plate in front the driver was now flat as per this real one with the red circles.
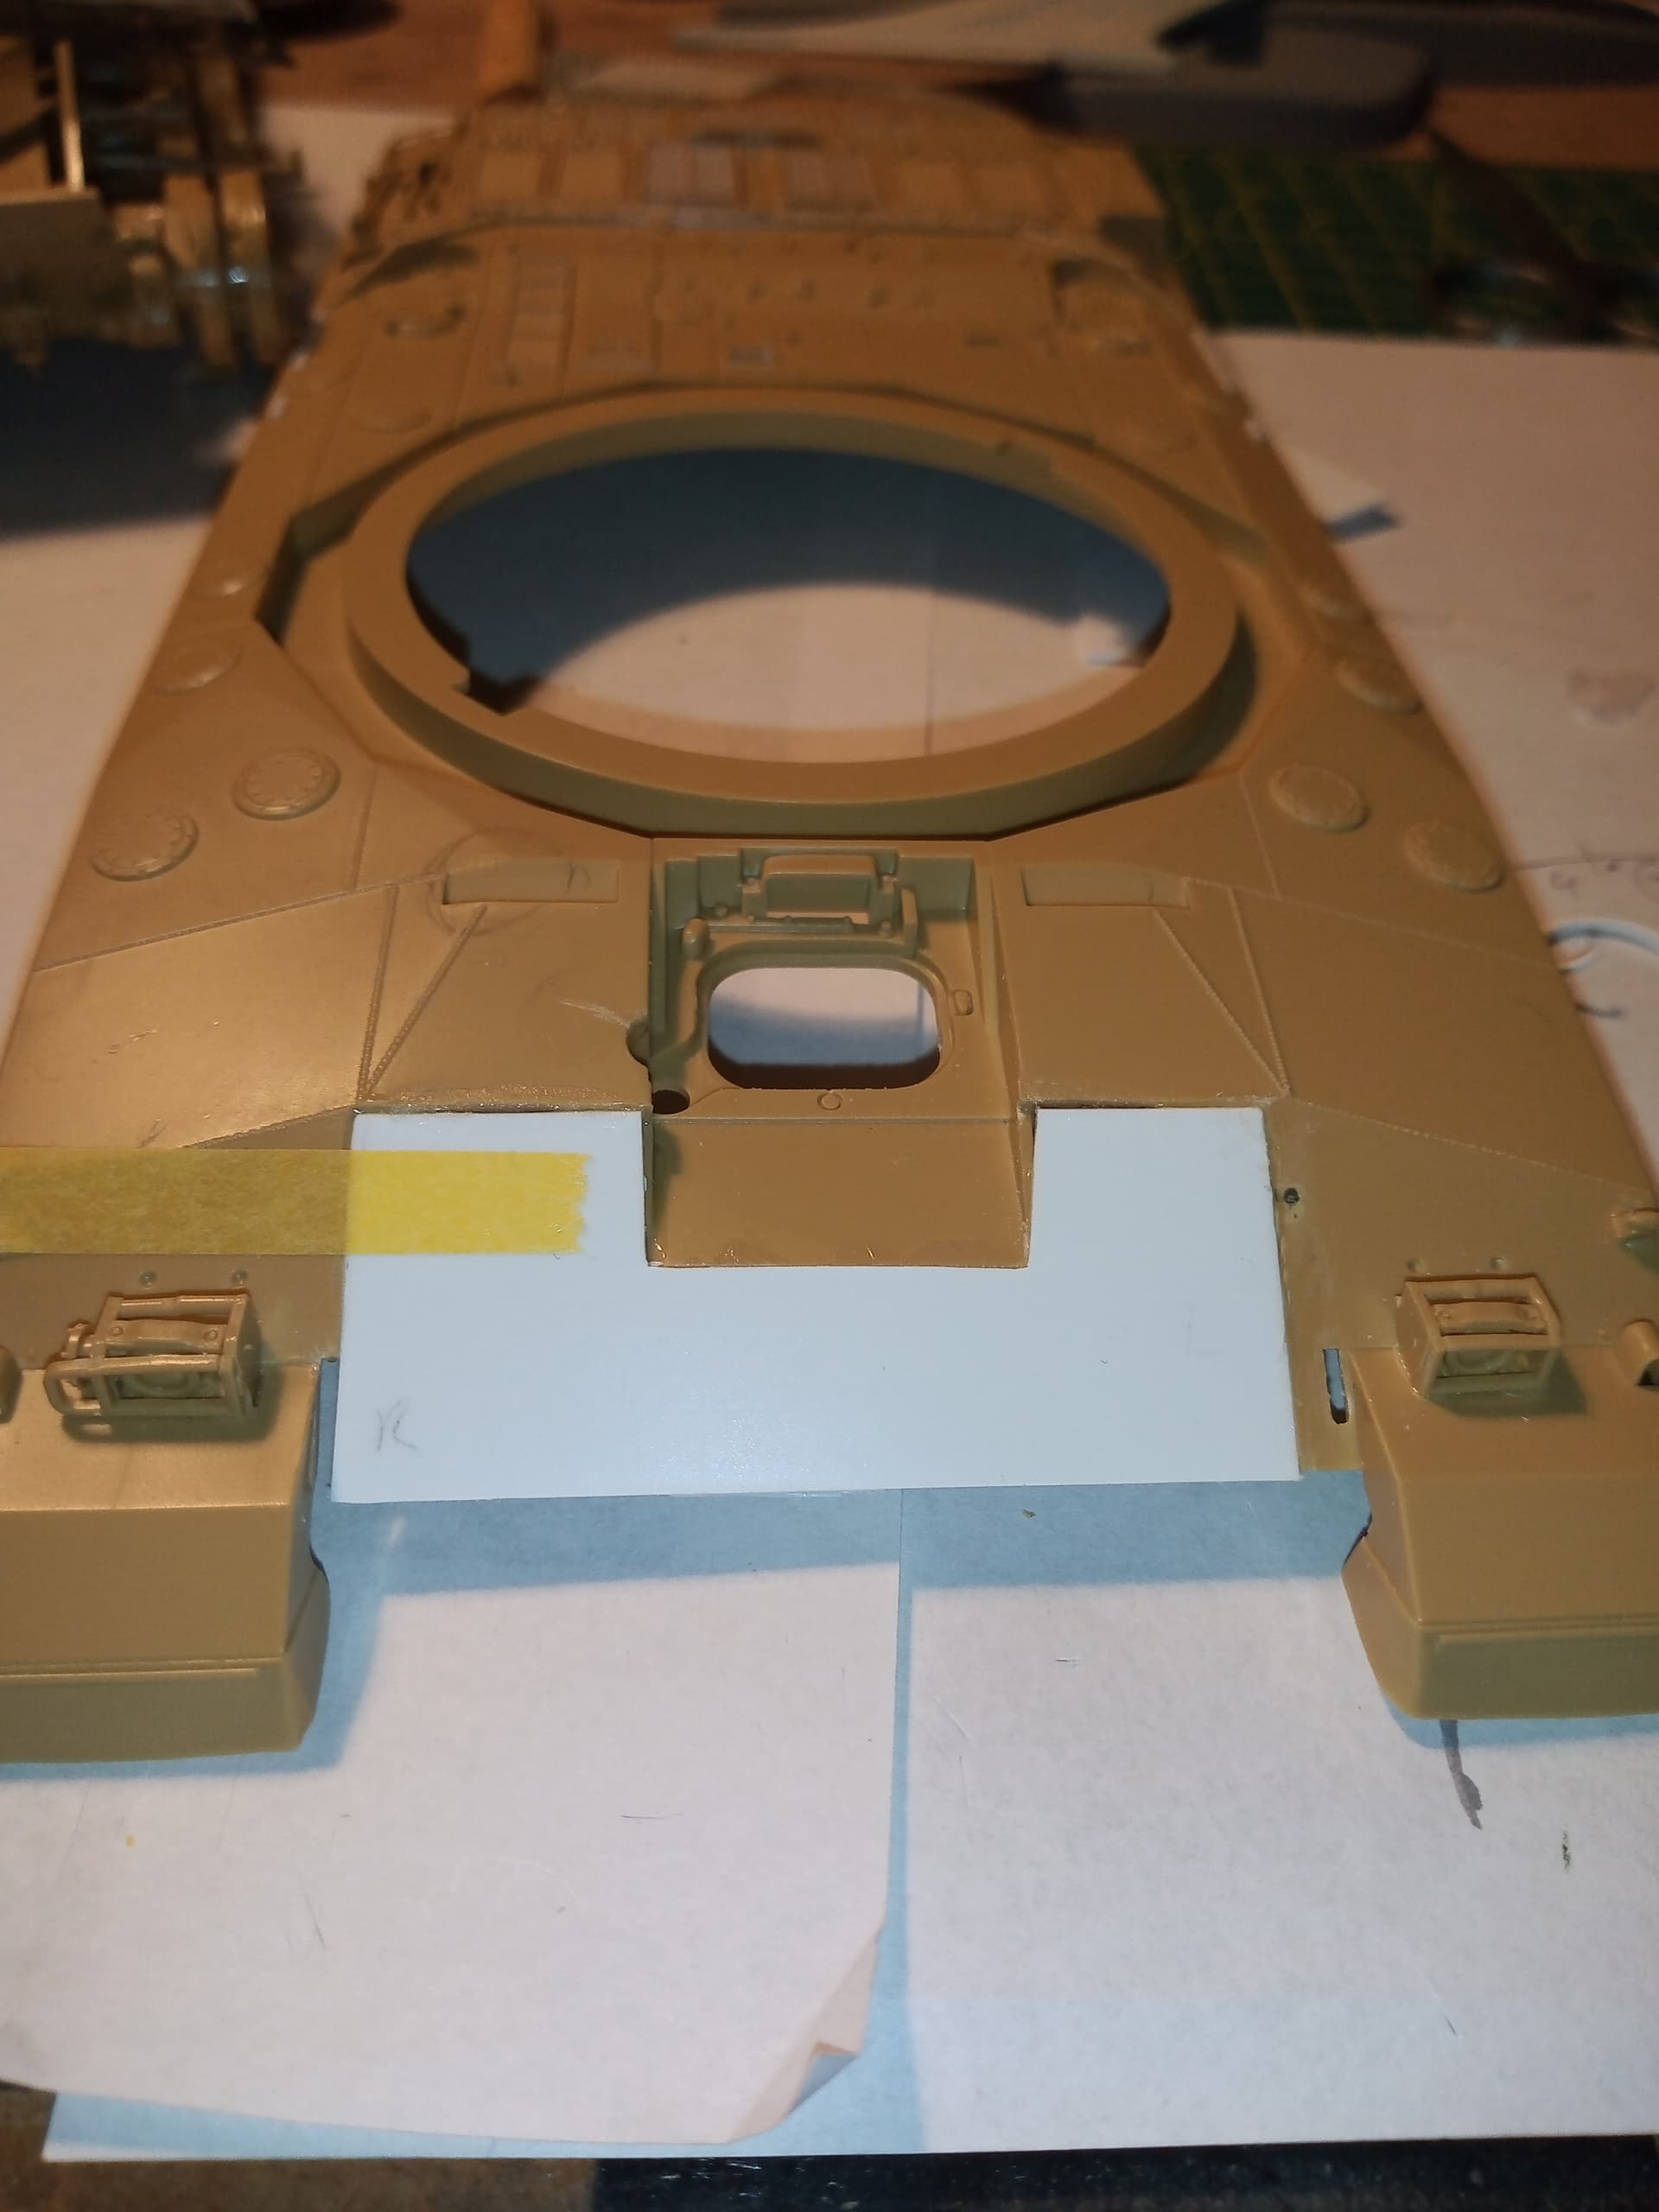
And my kit build with a new front plate.
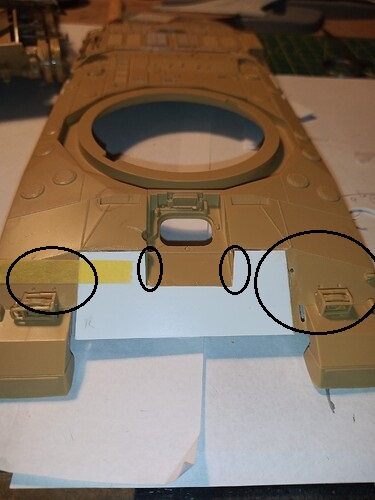
with the whole of the front now flat.
There has been lots of discussions about this and people raising the lower areas on the Tamiya kit to make it flat but this is the wrong way to do it as the area was not raised, the raised area on the real ones was removed on a re-design at the factory. If you simply add inserts or putty to the lower area then you alter the shape incorrectly and make it bigger than what a real one was.
Although time consuming, cutting it is the only way to make it size correct.
Some Cr1s would of stayed with the initial raised glacis as you always get a few that slip through the net, so you can actually build the Tamiya Cr1 as a real Chally but it would be a Mk1 or possibly Mk2 and a real outside chance of a Mk3 with all the upgrades but I have never found any photo evidence of a Mk3 like that. Also, bear in mind not all Cr1’s were upgraded to Mk3 status, some stayed as Mk2’s.
5 Likes
Hi John,
Did CR1 ever get any added armour on the glacis? Seems odd of Tamiya to manage to find a rare pre-production tank to measure. But of course I’m showing my ignorance - the development and use of CR1 is certainly NOT my specialist subject!
1 Like
I see what you mean, although to the untrained eye, it still isn’t glaringly obvs…
My own experience is based on Chieftan (AVLB/AVRE) and CET, where the FIPS was the main cause of annoyance!
1 Like
This is the area that always seems to be grey to some people Tom. Tamiya didnt get it wrong, they may well have done all their measuring and referencing from a real Chally 1 Mk1 or Mk2 which could (and obviously did) have had the raised section as normal for that vehicle, which in turn wouldnt of been pre production, but an actual gun tank.
I can only image people have always assumed that because the vast majority of Cr1 images show it with a flat front, then thats the correct version, and the ones with the raised front area (very few images due to the limited run made) are incorrect whereas in actual fact, like i said above, any images of a Cr1 with a raised section, would be a Mk1, possibly a Mk2 or very very remote possibility (but very unlikely) of being a Mk3.
Its the same as the exhaust outlet on both sides, Mk1s and some Mk2s have the flat slab type with vertical vents, but most Mk2’s and Mk3s you will see have the newer raised exhaust with the horizontal vents …
Cr1 recieved front armour upgrades & side plate armour on deployment to GF1, before that, they did not have additional armour packs.
3 Likes