Sorry for not clarifying … it was the Fruil site I had looked at ![]() so will probably end up going with theirs when I get them.
so will probably end up going with theirs when I get them.
3 Likes
Attack on the resin…
Did a quick clean up on the cab… Some parts needed a trim or sand or both …
Just a dry fit at the moment

It is sitting a little high, but think that is because it’s just dry fit at the mo. Looks nice ![]()
This is the resin that’s been cleaned up

Still a few little area’s that need tthe final sand .
And this is the resin yet to clean …
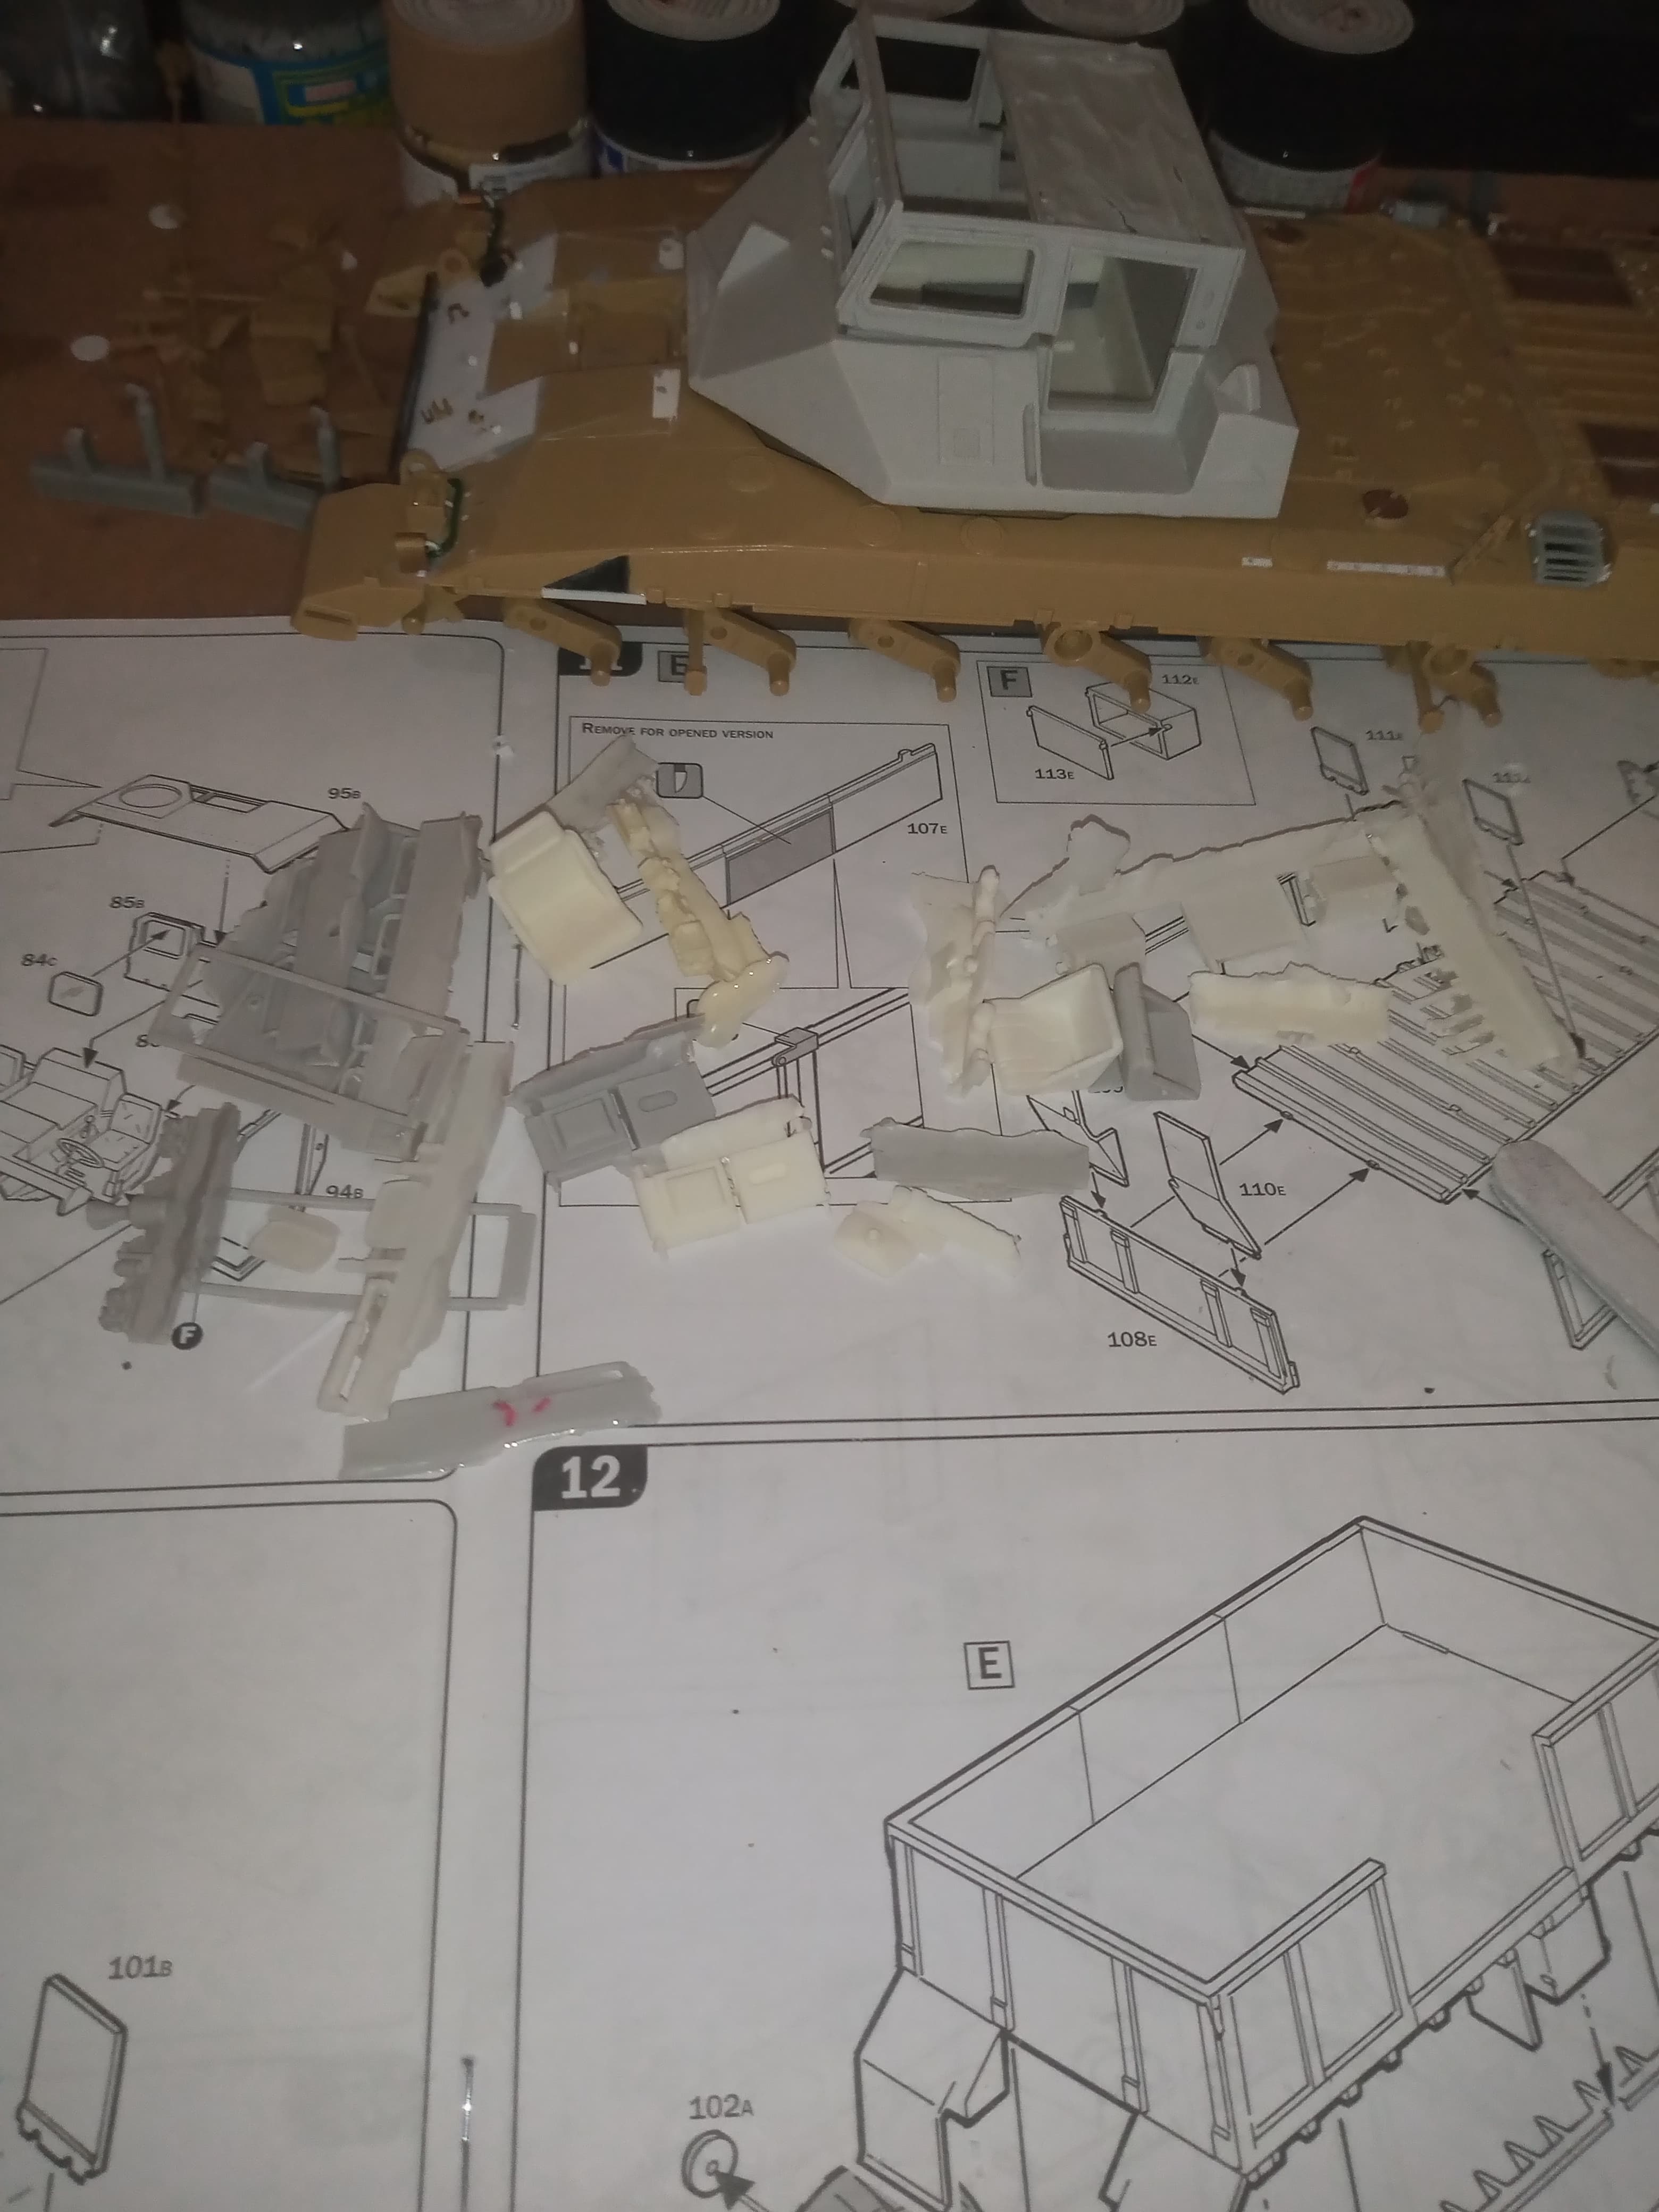
Also need to do a fine clean up on the crew cab main body and roof section. ![]()
8 Likes
Look at that! It’s a good thing after all this time and effort that the damn thing fits!
Great work John, a nice tight build and this is really turning into a stunner.
3 Likes
Cheers Matt… Need to have a proper plan for this phase … when and what to build, in what order, same for the paint and when to assemble…![]()
Will also have to very very careful with it all as 90 % of the parts are super fragile…
3 Likes
All the tiny bits are looking really good! I find it very rewarding to do the little bitty parts that no one will ever notice, but hey, at least I know. I would also go for the Friuls, I did on both the Cr1 models I did earlier, very happy with them. One set was purchased at a show, the second direct from Friul, and as mentioned, was quick and easy. With shipping the price in USD still beat the average in-store retail from way back when a couple of shops I go to used to stocked them. My packaged arrived in 10 days, about the same as some of the shipping times within the US these days.
3 Likes
Yeah Russ, like the others pointed out, they seem the safest option …there’s no immediate rush rush for them as they will be going on my other Cr1 which will be my Chally ride, 42. That’s at least a few months down the road yet so may see if by some quirk of fate I find a set at the Yeovil show next month… Never say never … well almost …
2 Likes
And you call me an artist. Brother, take a long look in the mirror!!!
2 Likes
That is seriously to kind HG … But don’t stop … Lol… Kidding … It’s a nice thing to say mate… All I’m going to say is B17 Luscious Lady… That’s a Da Vinci right there !!! And you win !!!
1 Like
Cleaned up pretty much most of all the resin.

There were a few issues… Warping and I’m not talking Star Trek either …
When you put the upper part into the main body, the central cross bar has a huuuuge warp in it …
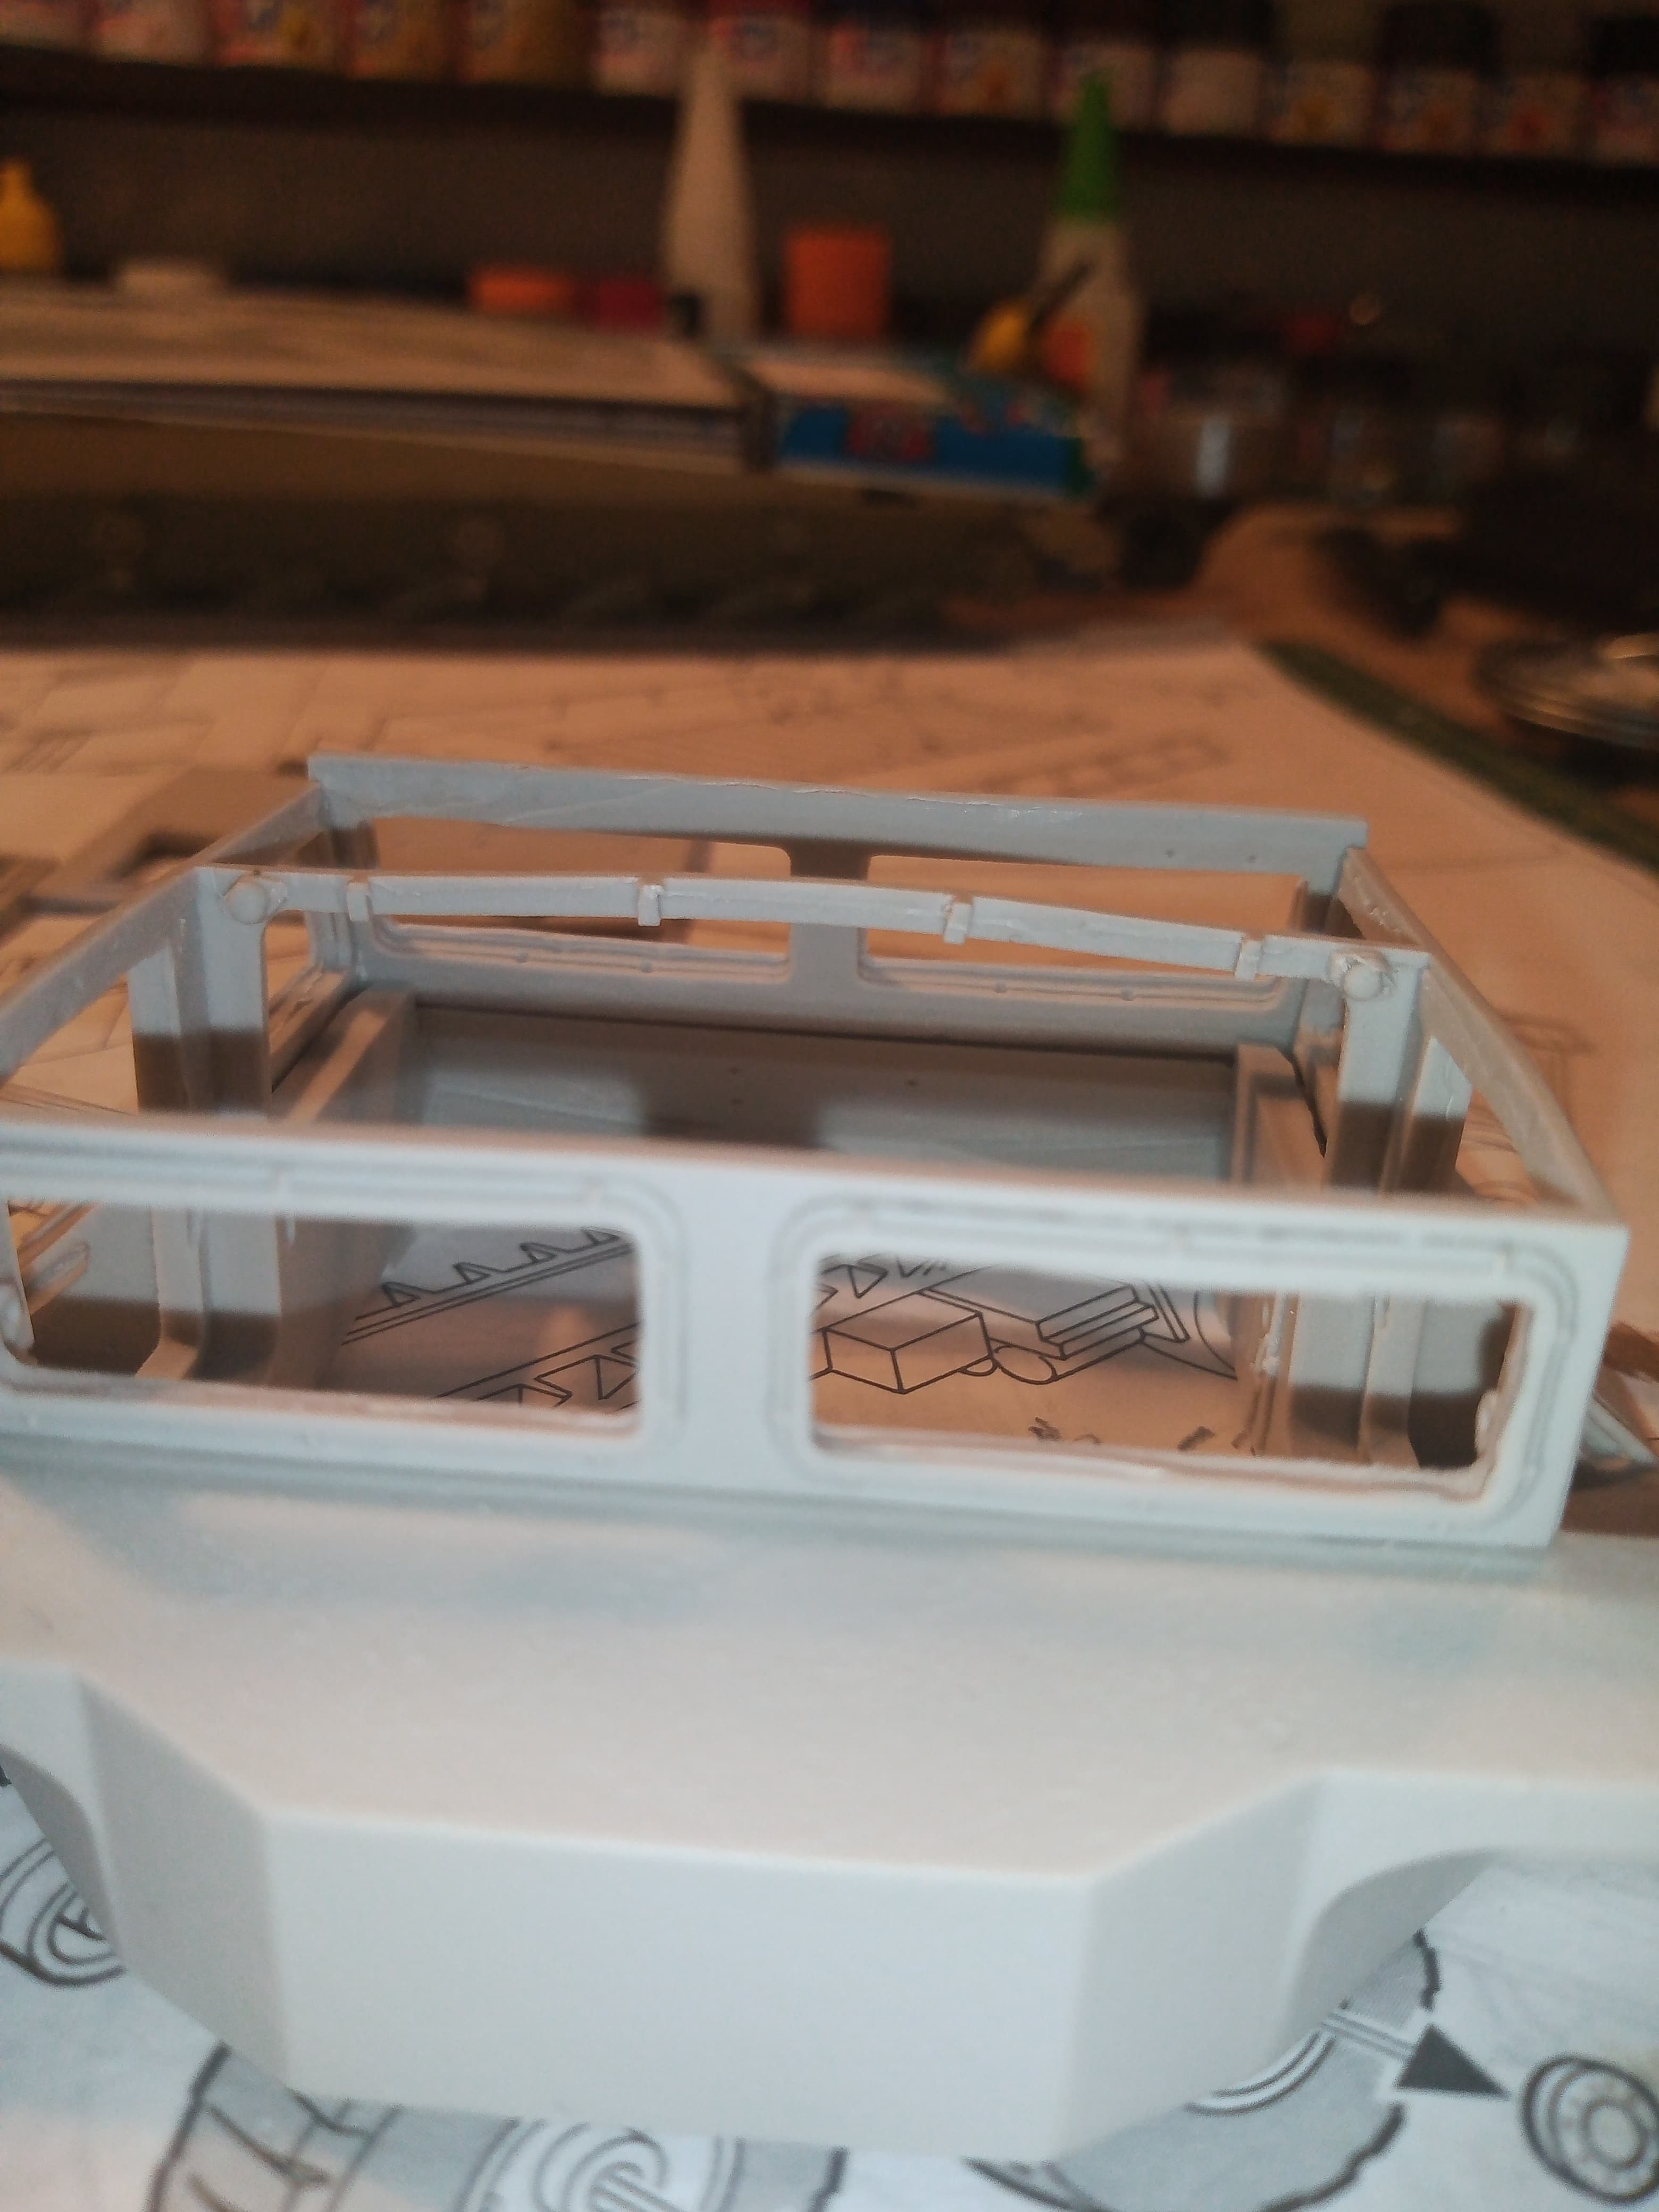
And you can get a better idea how bad it is when you dry fit the roof, which is also really warped…
Will have to figure that out ![]()
![]()
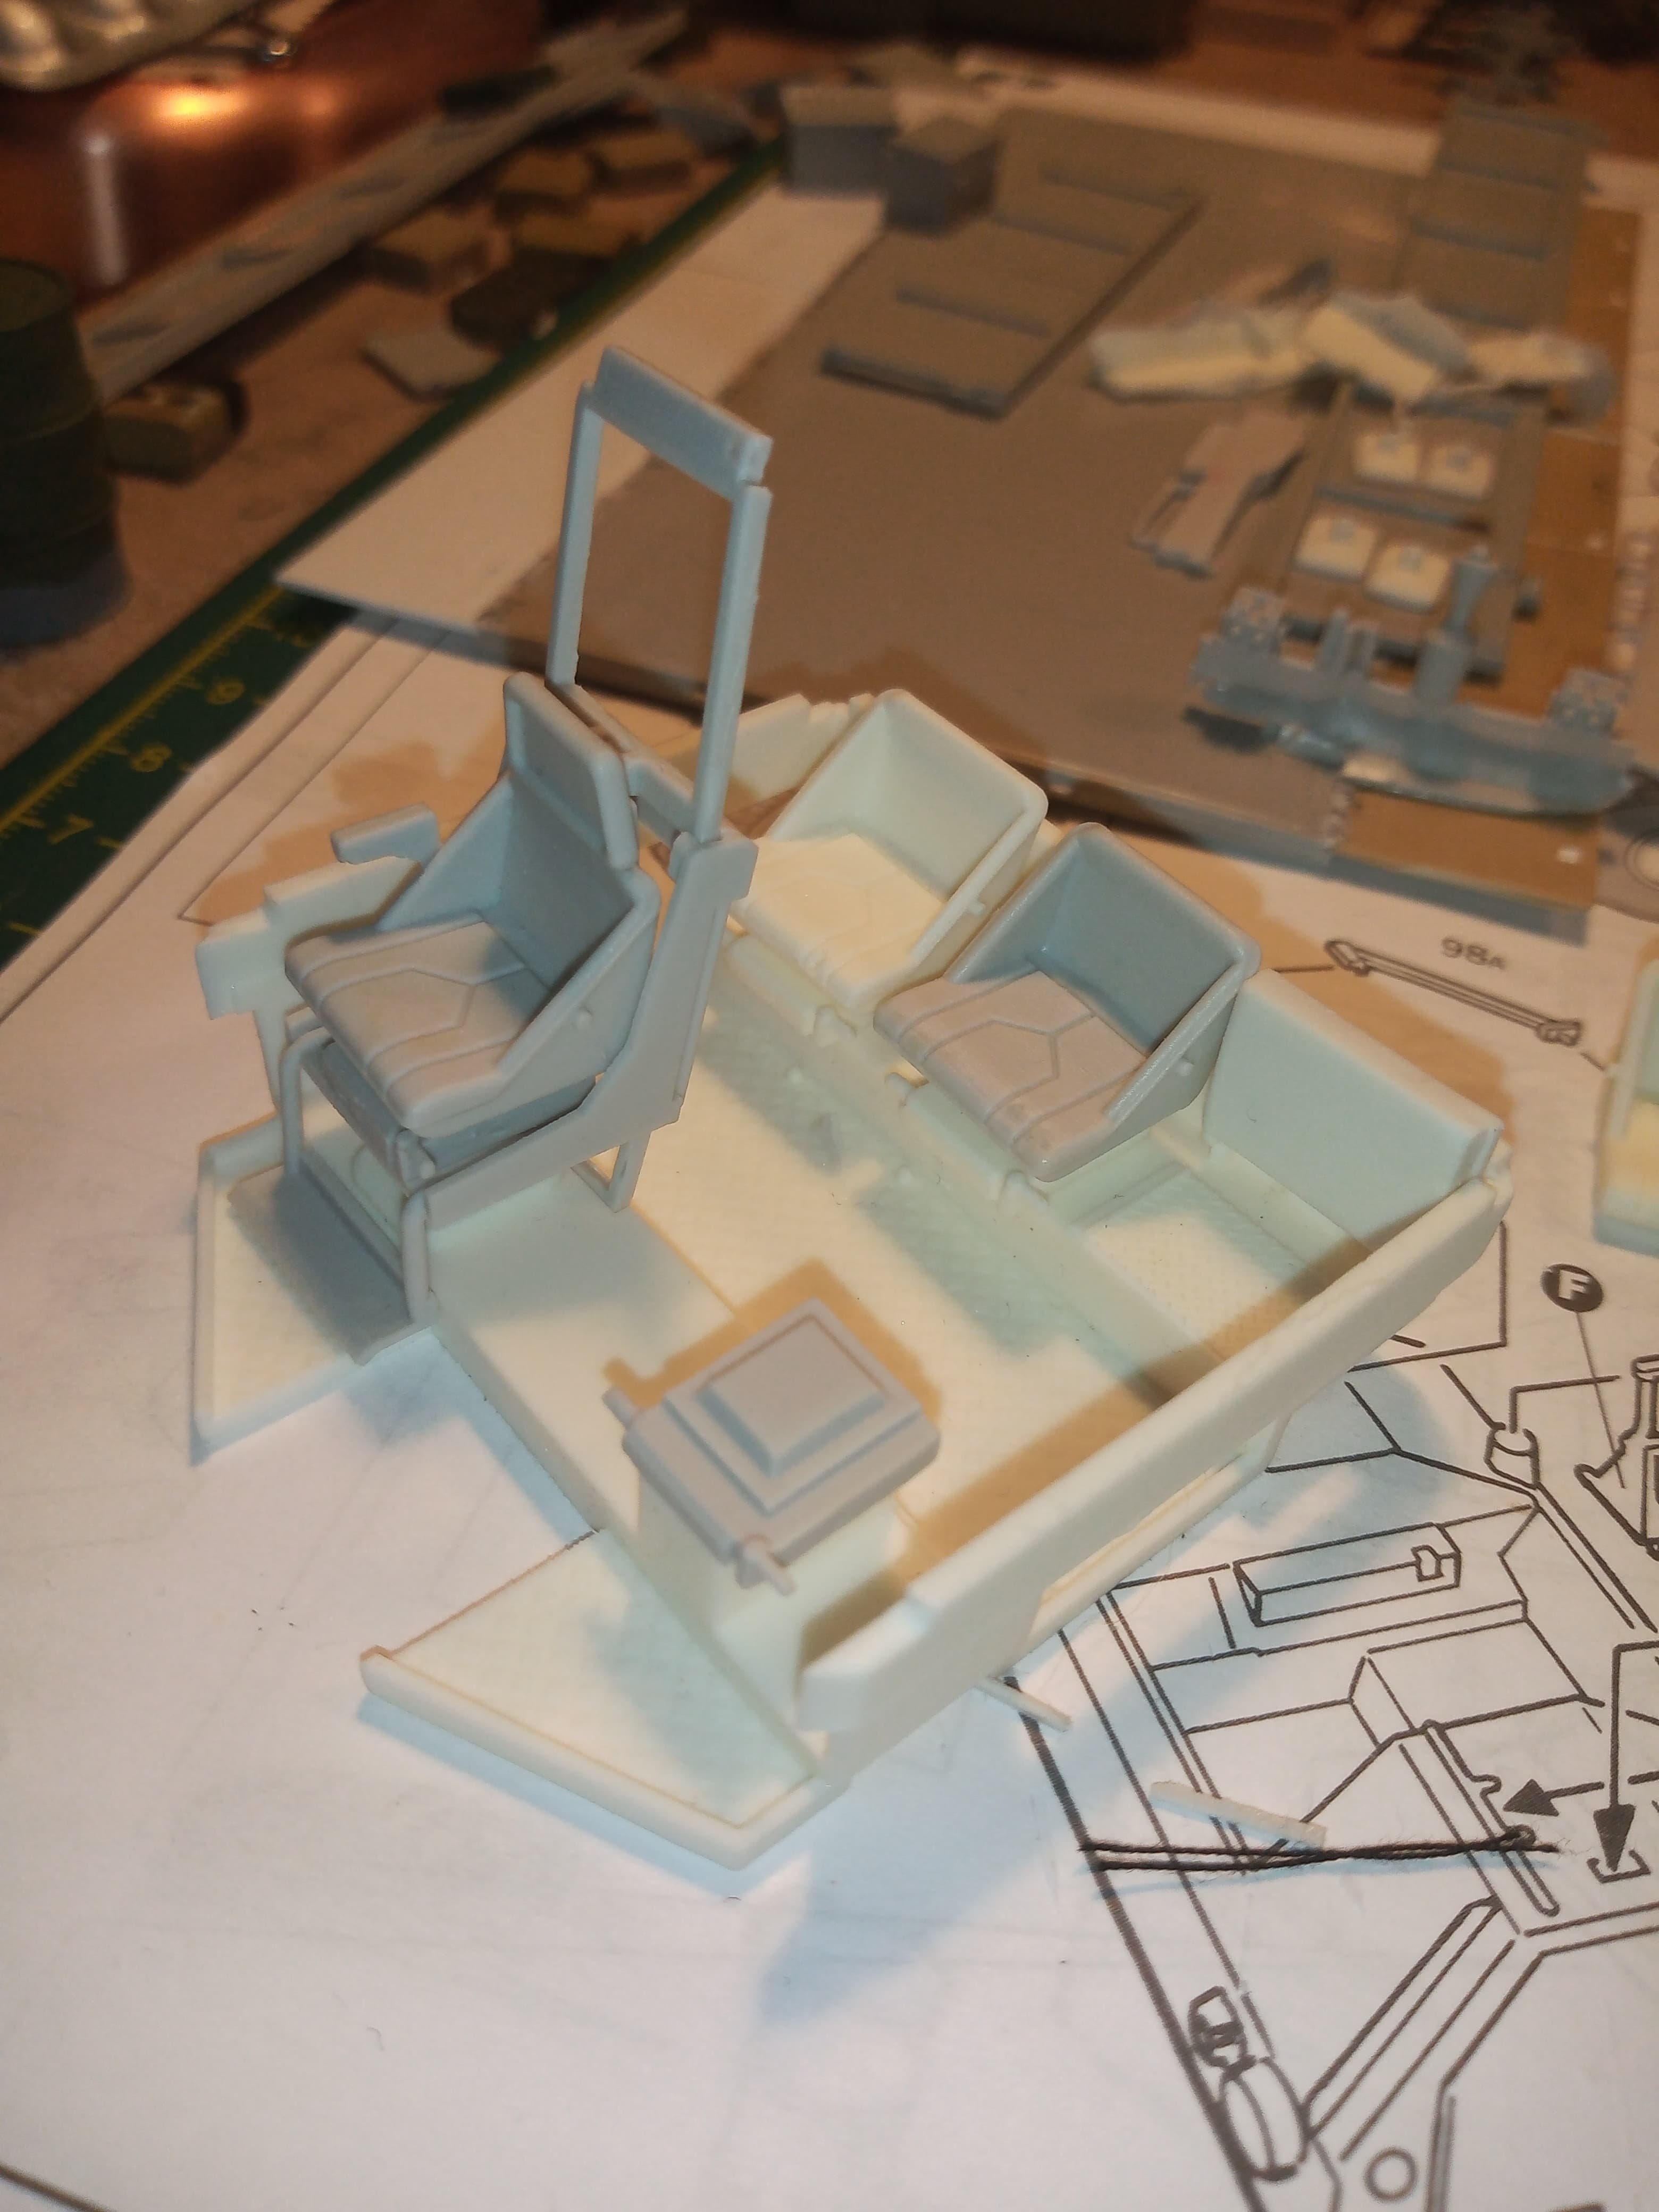
Dry fitted a few other things together…
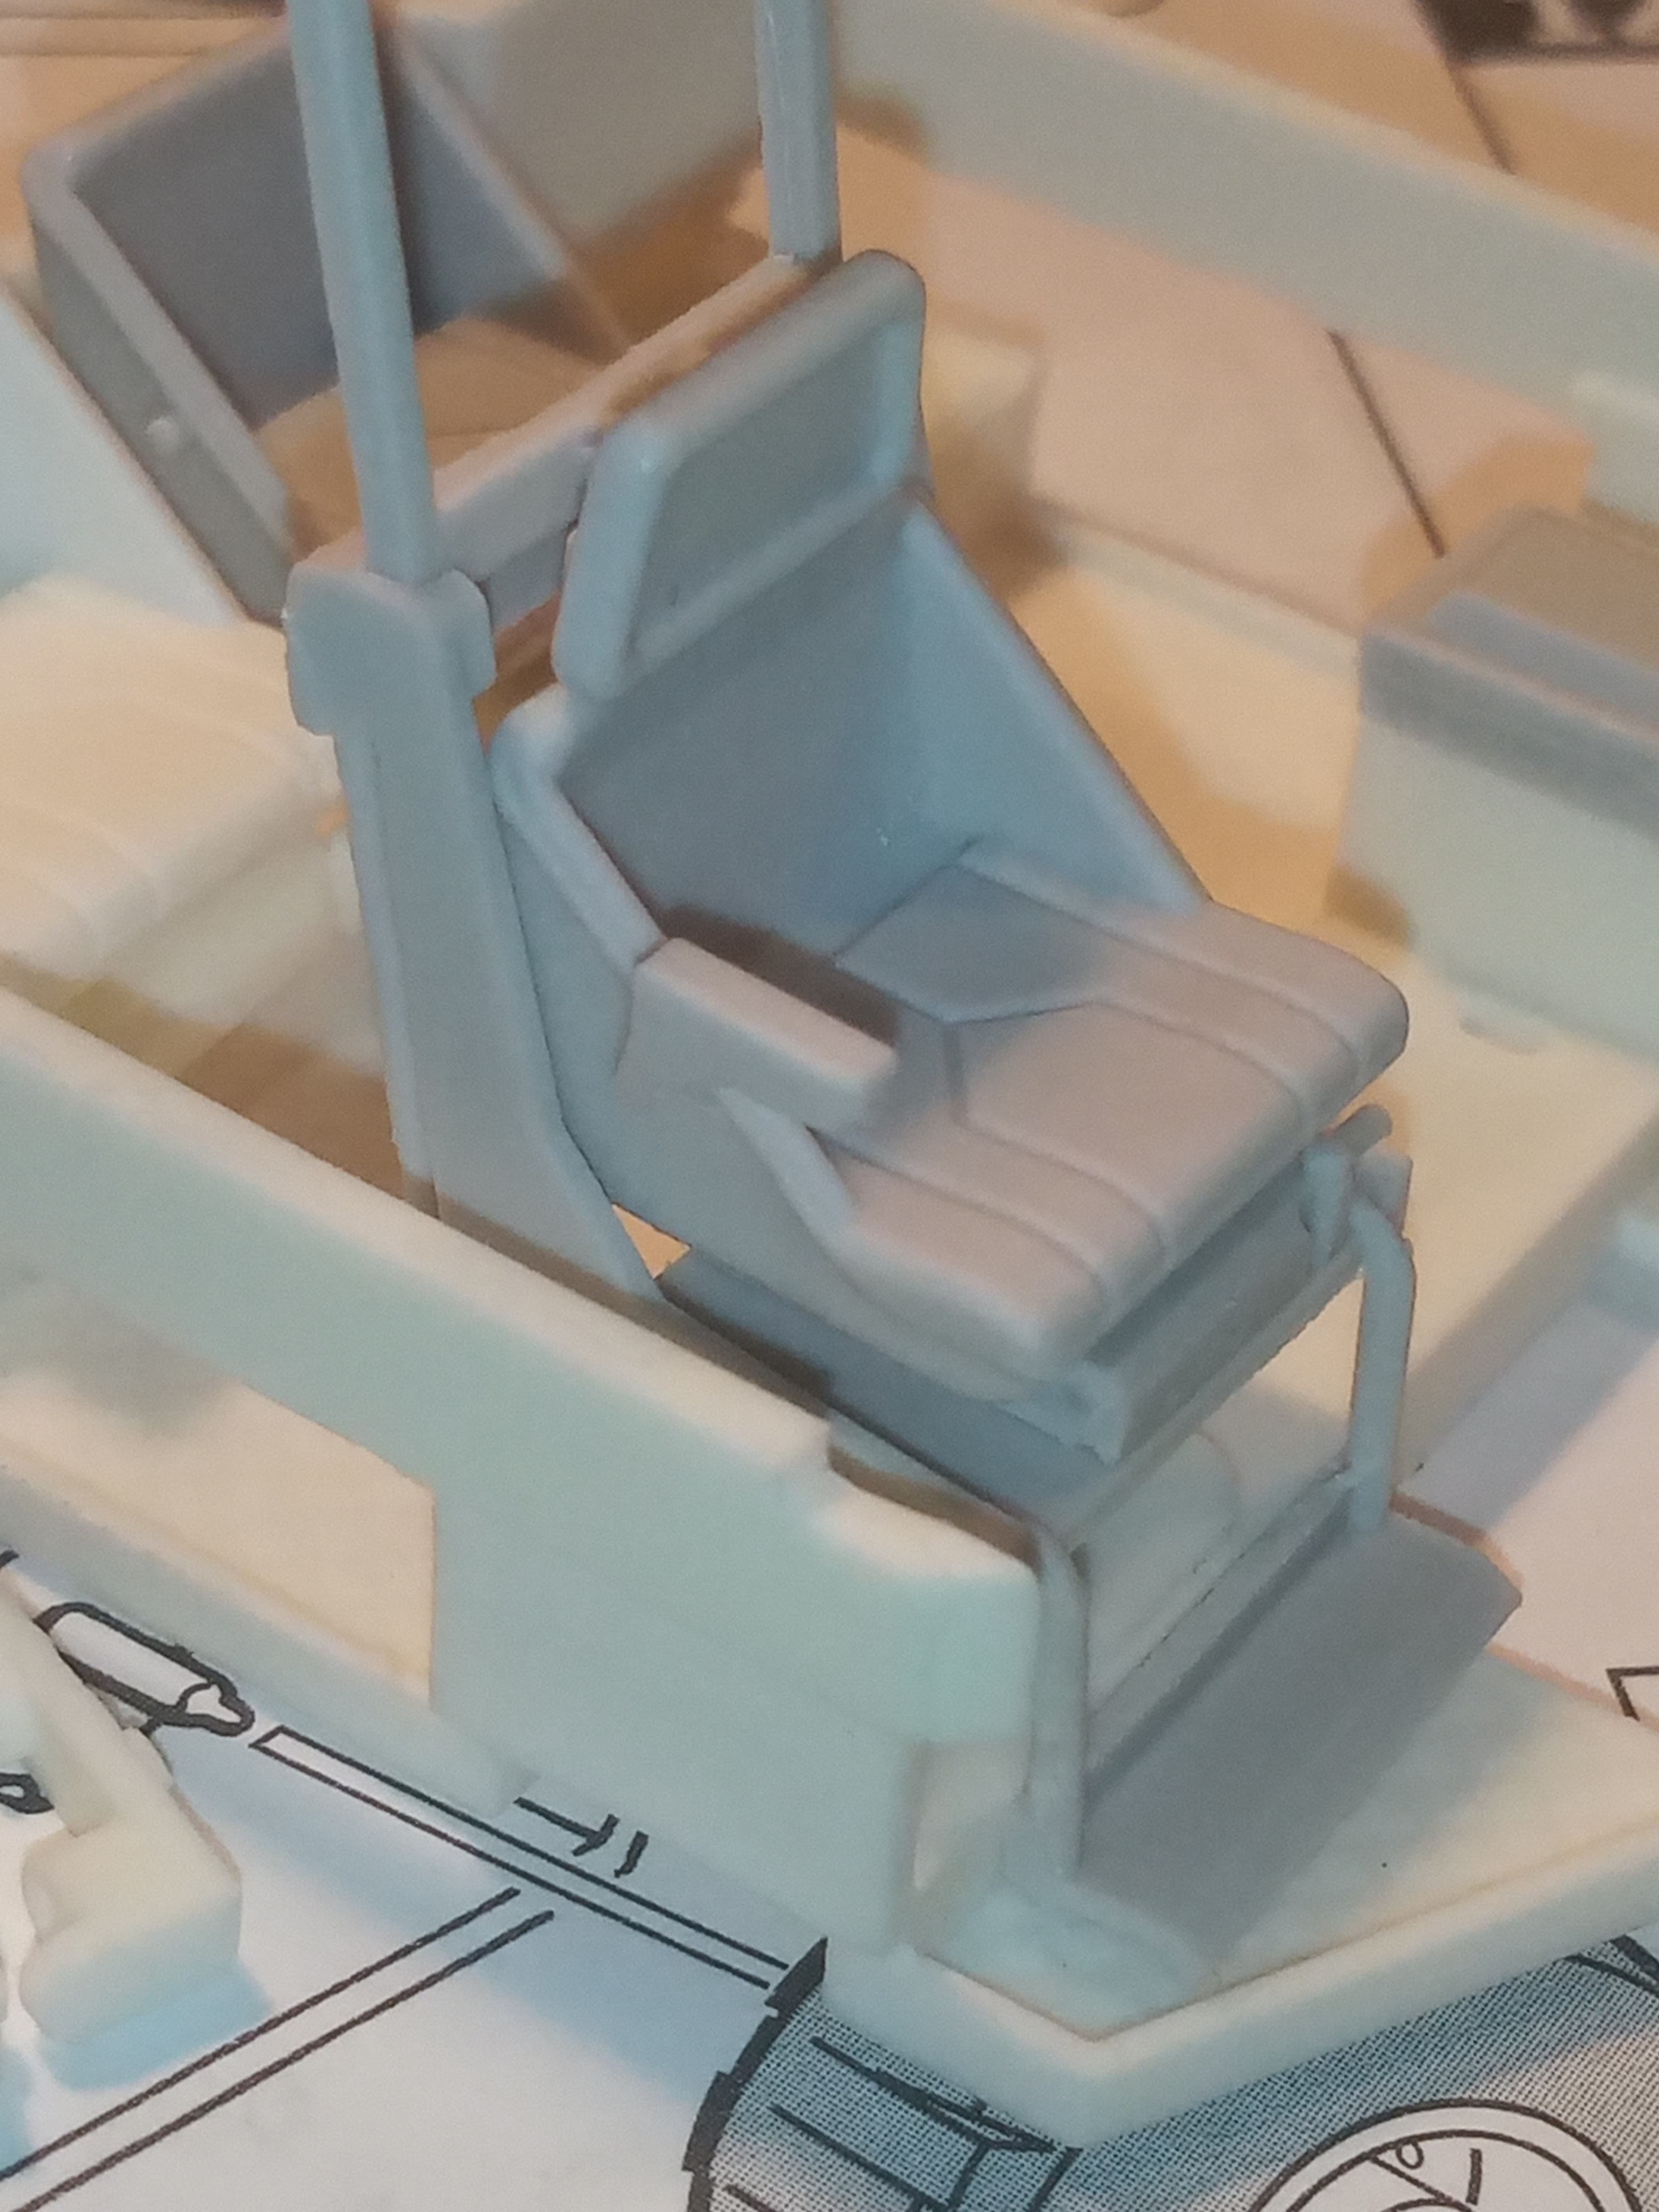
Commanders chair is nice, but also has a little warp on the lifting frame…as does the other front seat …
The instructions are vague in this as well… It’s more like a picture pages with the numbered items in one and then some images with the numbers super imposed over them… I suppose that’s how most others do resin instructions as well ??
I also found 2 parts that were missing or had broken off, don’t know if it was before I got it or after, one of the door handles which is an easy fix, and the other is the side arm rest on the left hand front seat… The arm rest can be seen in an image above, and this is the start of the making one process.
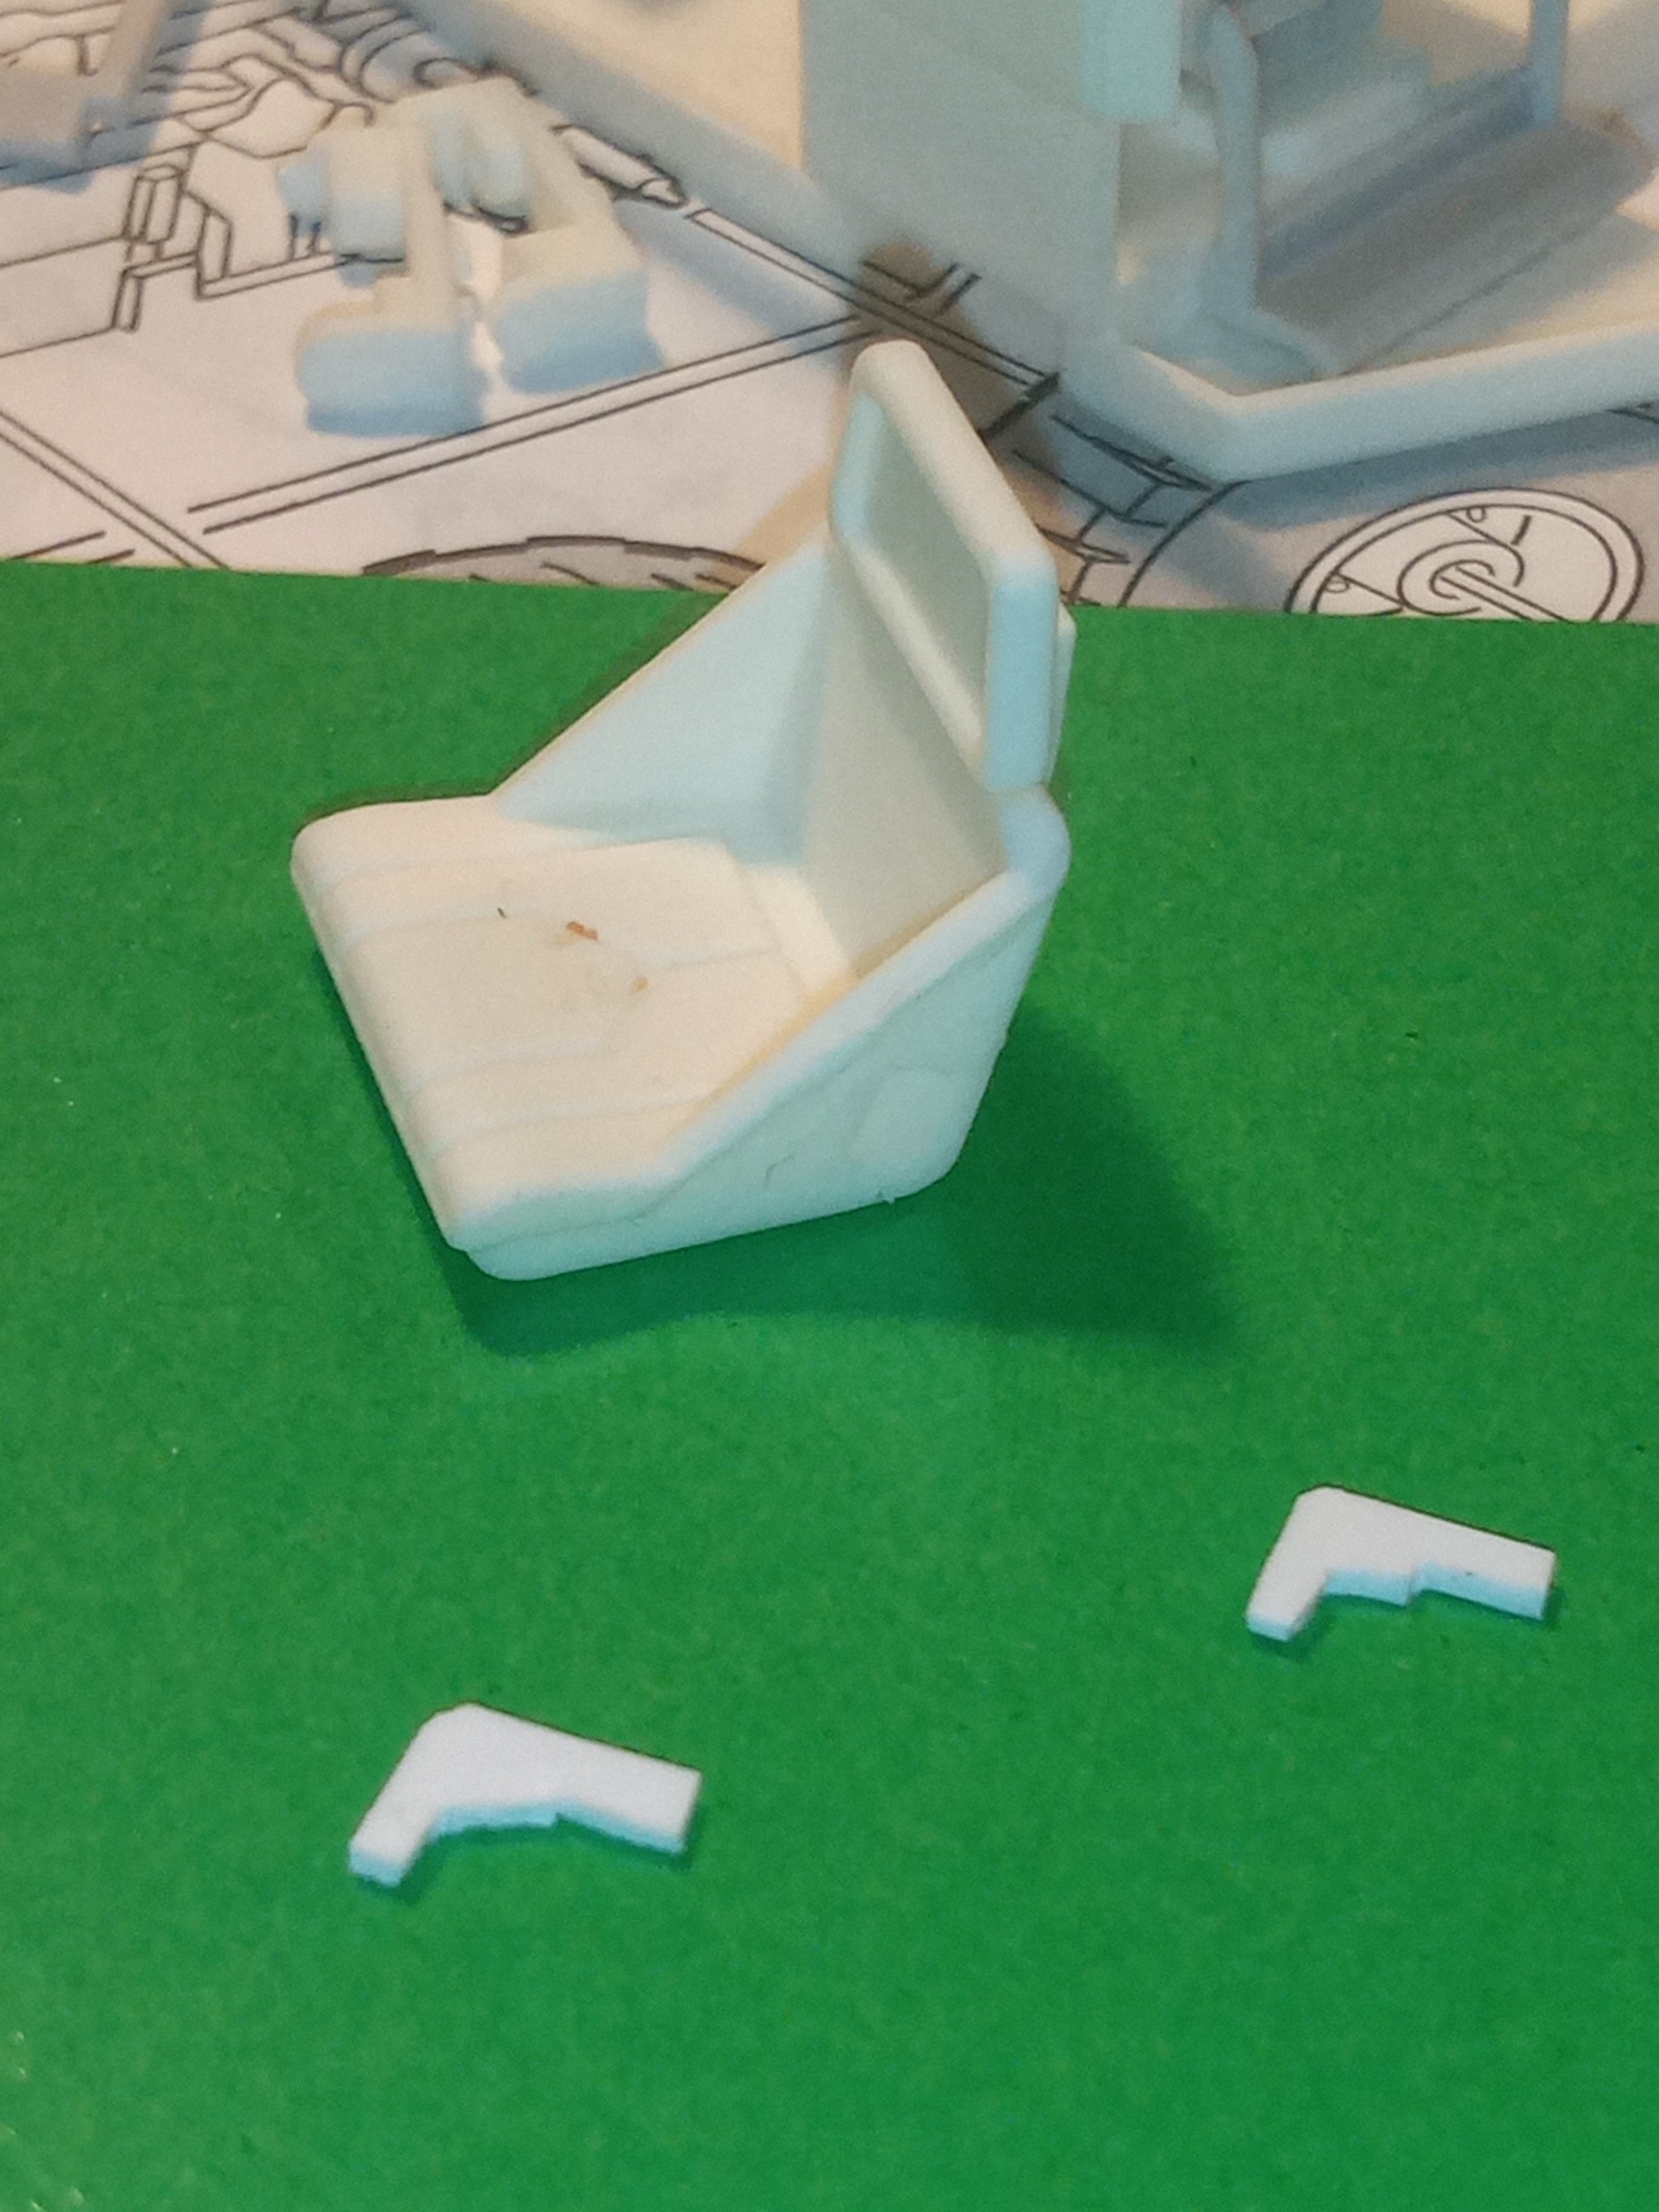
Its nice and easy, and you probably can’t even see much of it when it’s all closed up.
Need to decide how to assemble it and how far to go before I have to start painting … I need to keep handling to a minimum as the fragile parts won’t take a lot … Anyway, we are moving forward… Oh yeah, I still need to find and make the windows ![]()
![]()
![]()
8 Likes
Your detail work on the upper hull looks superb and it’s great to see the cab coming into play now. Looks like some warping challenges as can be the case on some large thin resin parts. I had one huge challenge on my Accurate Armour M41DK conversion with the side skirts. Got it sorted in the end though.
Can’t help noticing the instructions for what looks like a HEMTT cargo variant on your workbench. Is that a recent build?
2 Likes
Hi John,
Looking good so far! Seeing as I designed the CAD for it, if you need any more views of how the parts are meant to fit just drop me a line. I’m keen to see what you think of it, as I had to model it from a limited number of photos and could only wish for actual measurements of the interior!
Pity about the warping - will strategically-placed hot water sort it out?
3 Likes
Thanks Terry and well spotted…
It’s the Italeri HEMTT gun truck that is a WIP for the Convoy (Truck) group build.
I’m going to do it as post apocalyptic gun truck with lots of additions from old PE and the spares box and part of the Pantsir I built a while ago…
As it is at the mo…
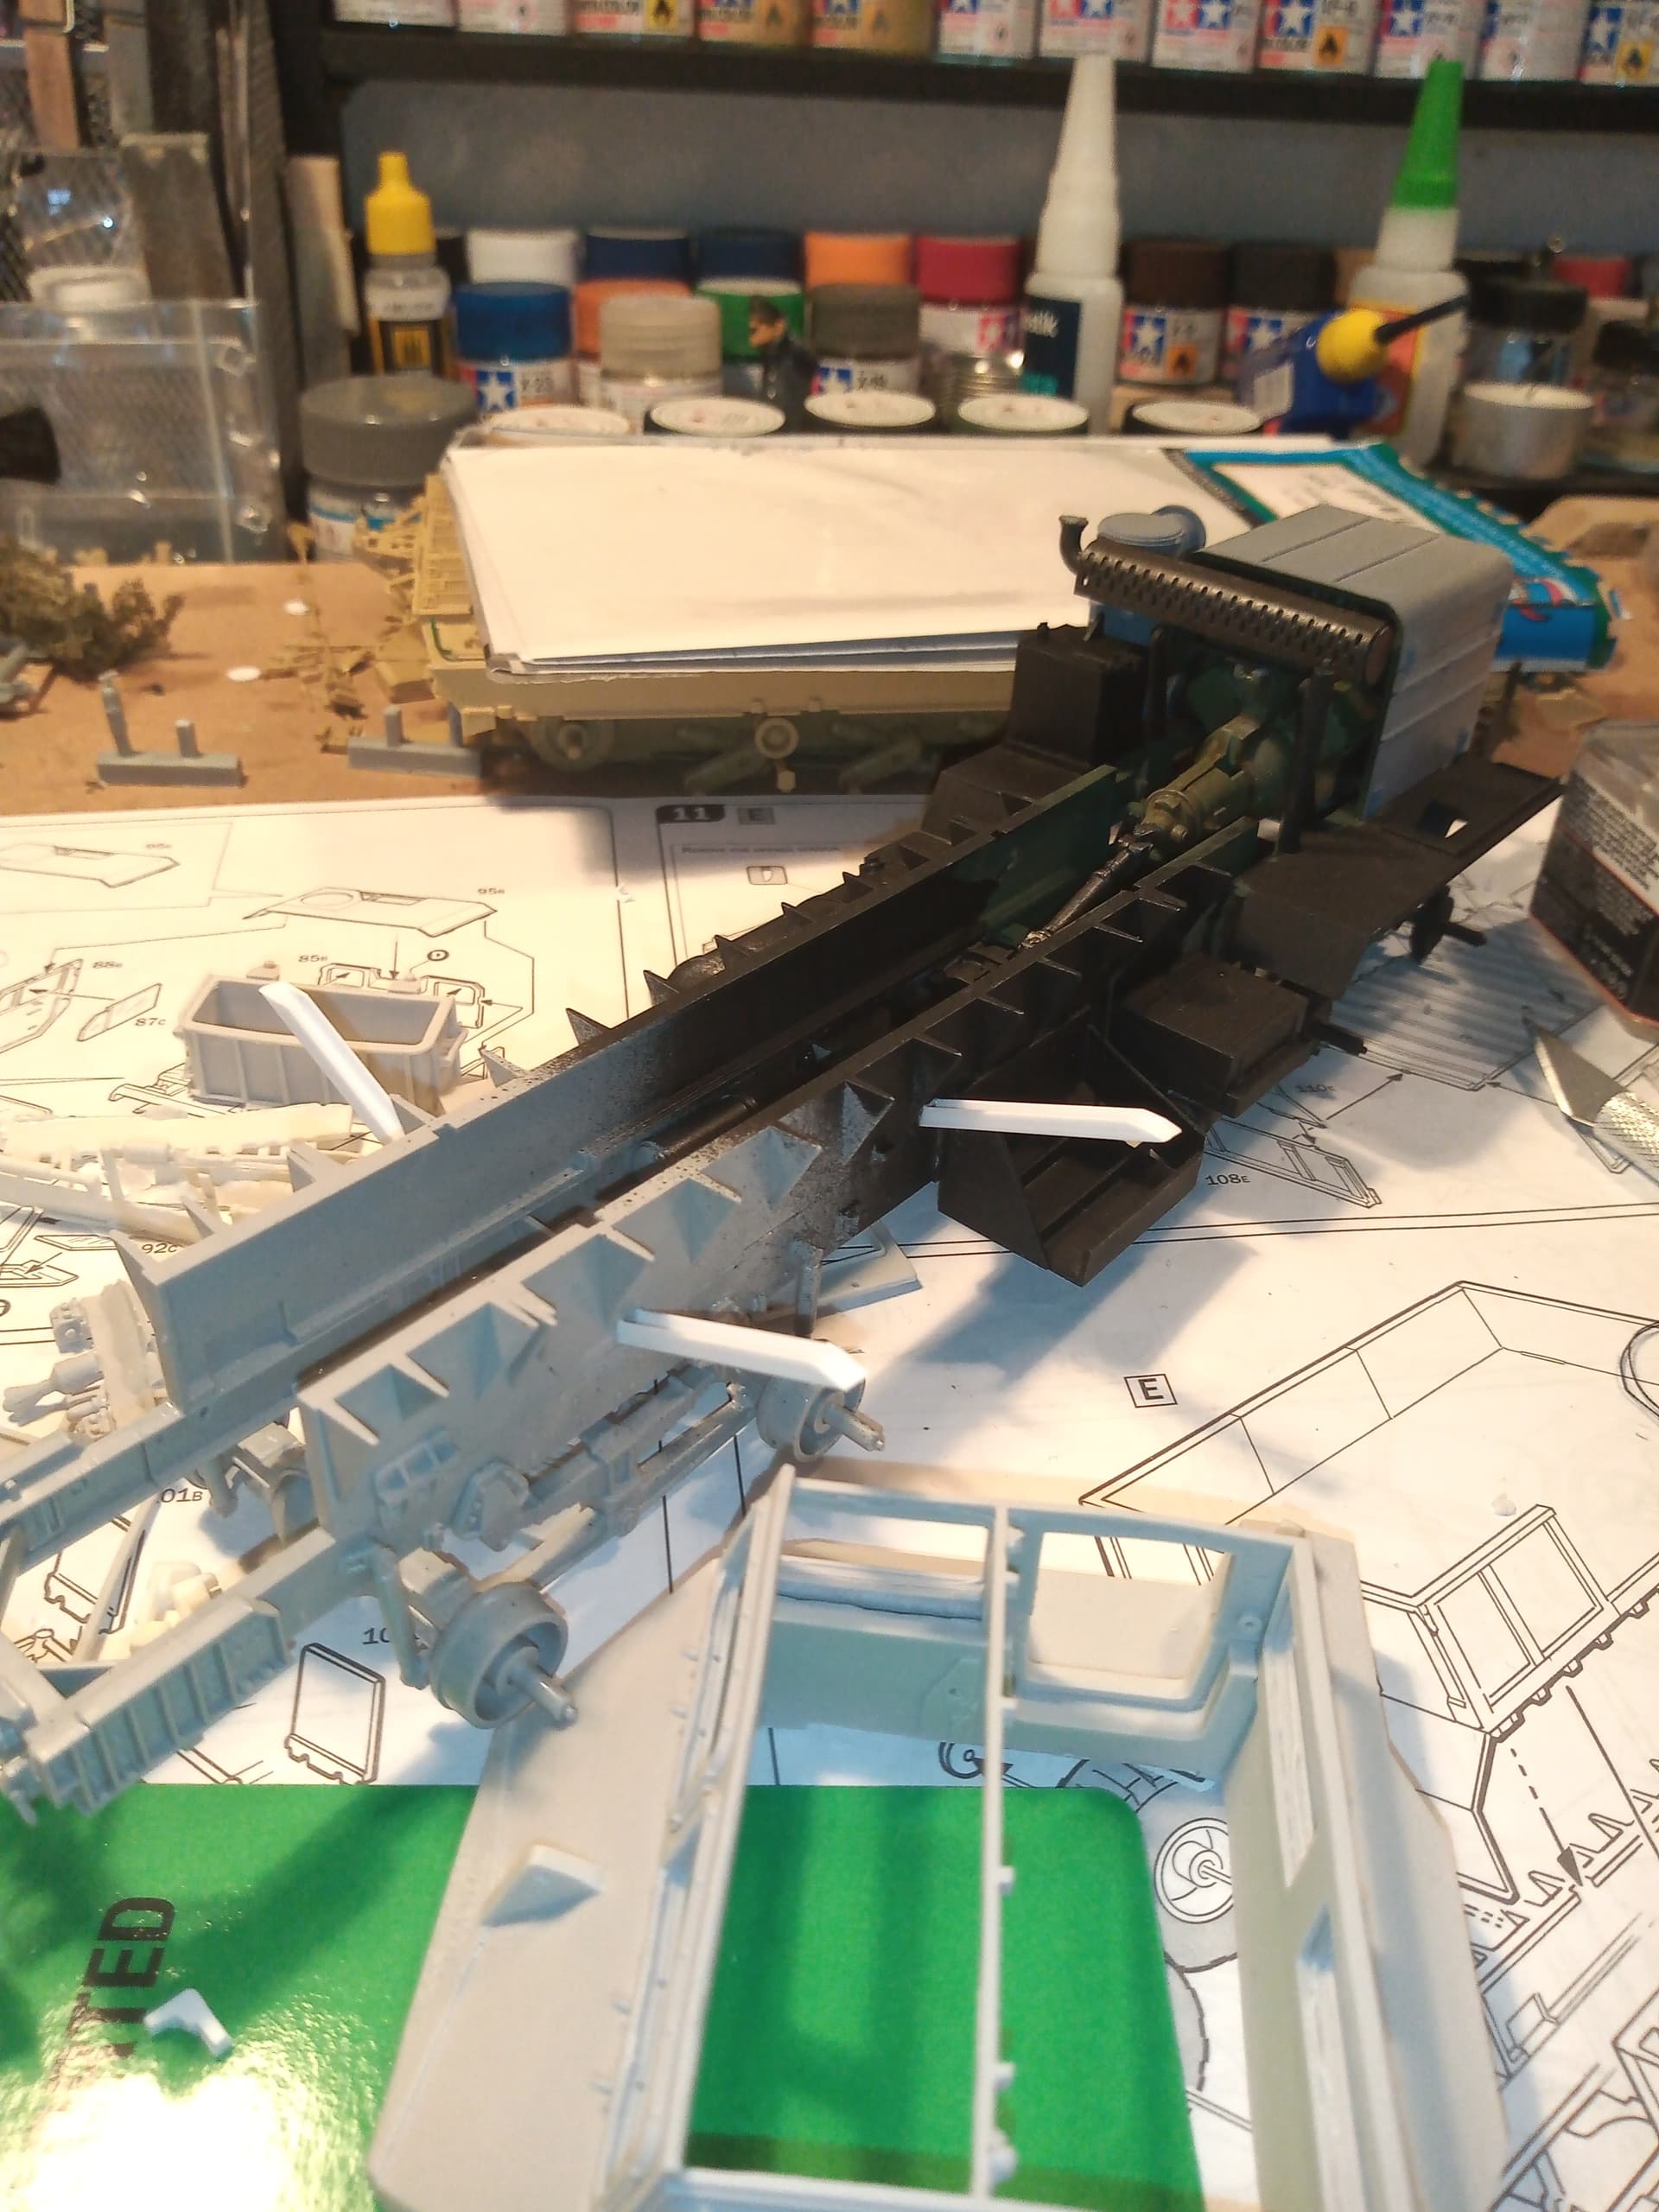
The angled U channel is for supports for the extended cargo bed …
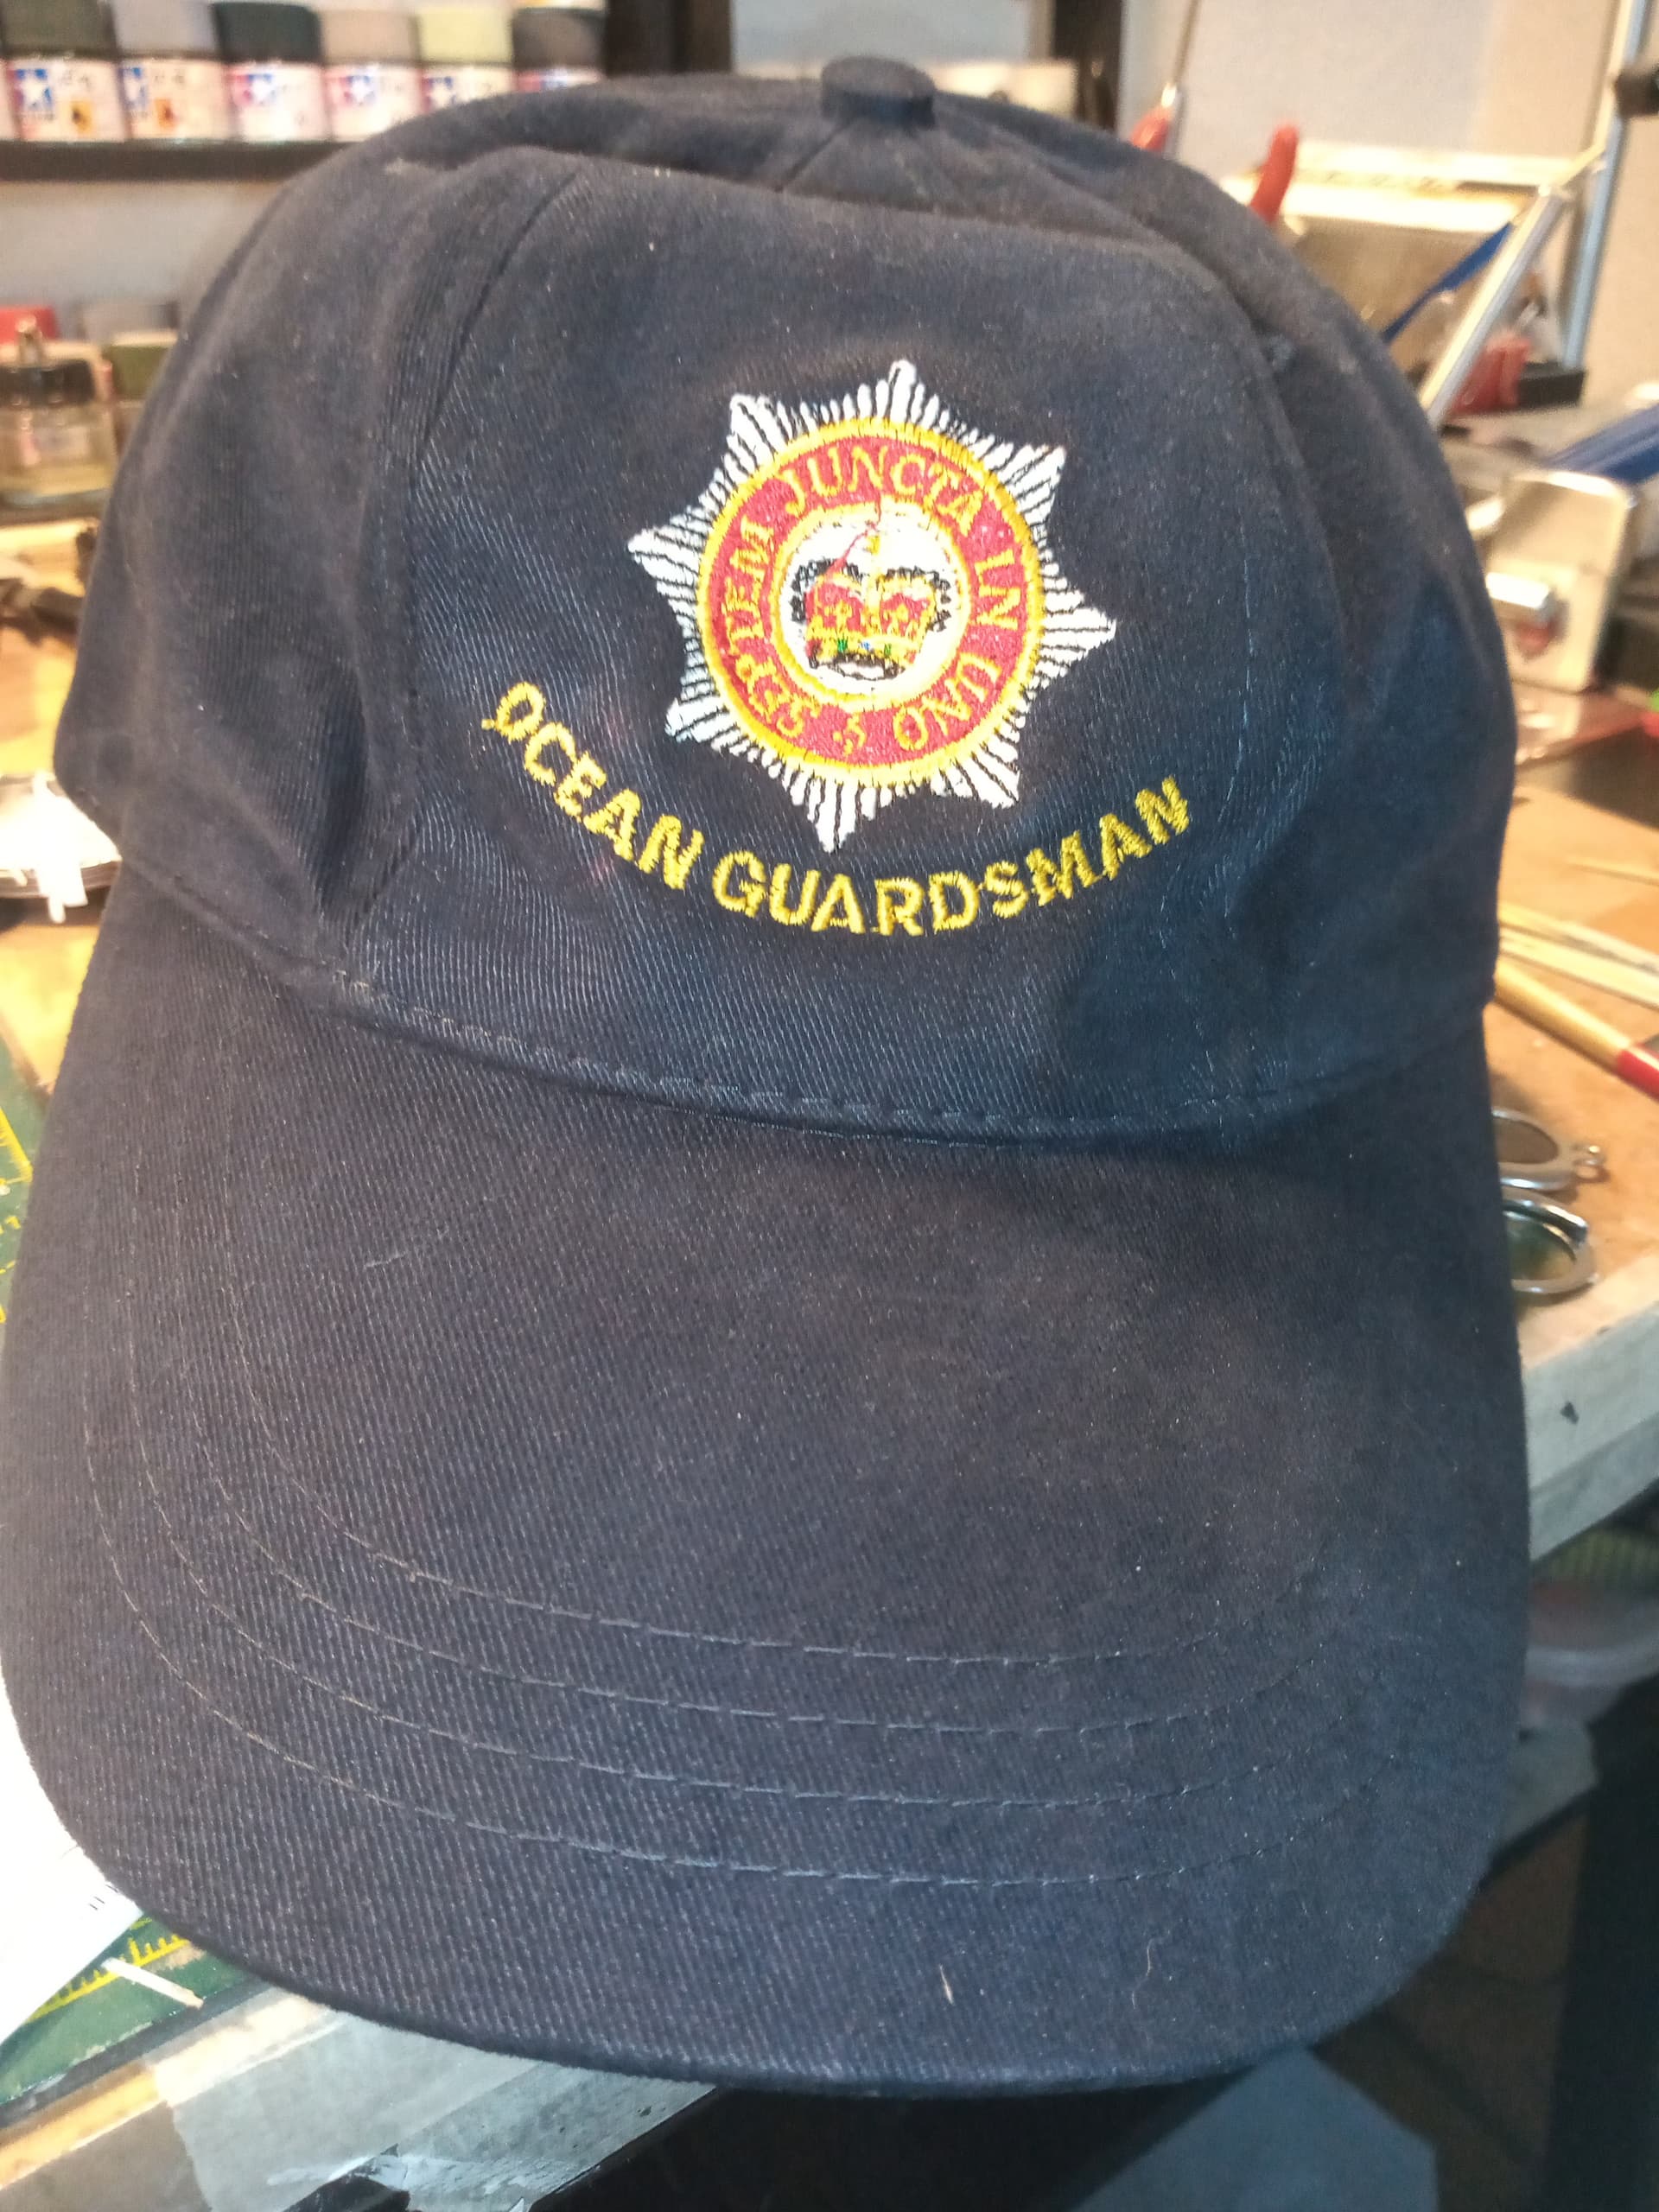
And if you make it to Yeovil, this is the baseball cap I’ll be wearing ok… If not I will find the Dorset table you mentioned.
3 Likes
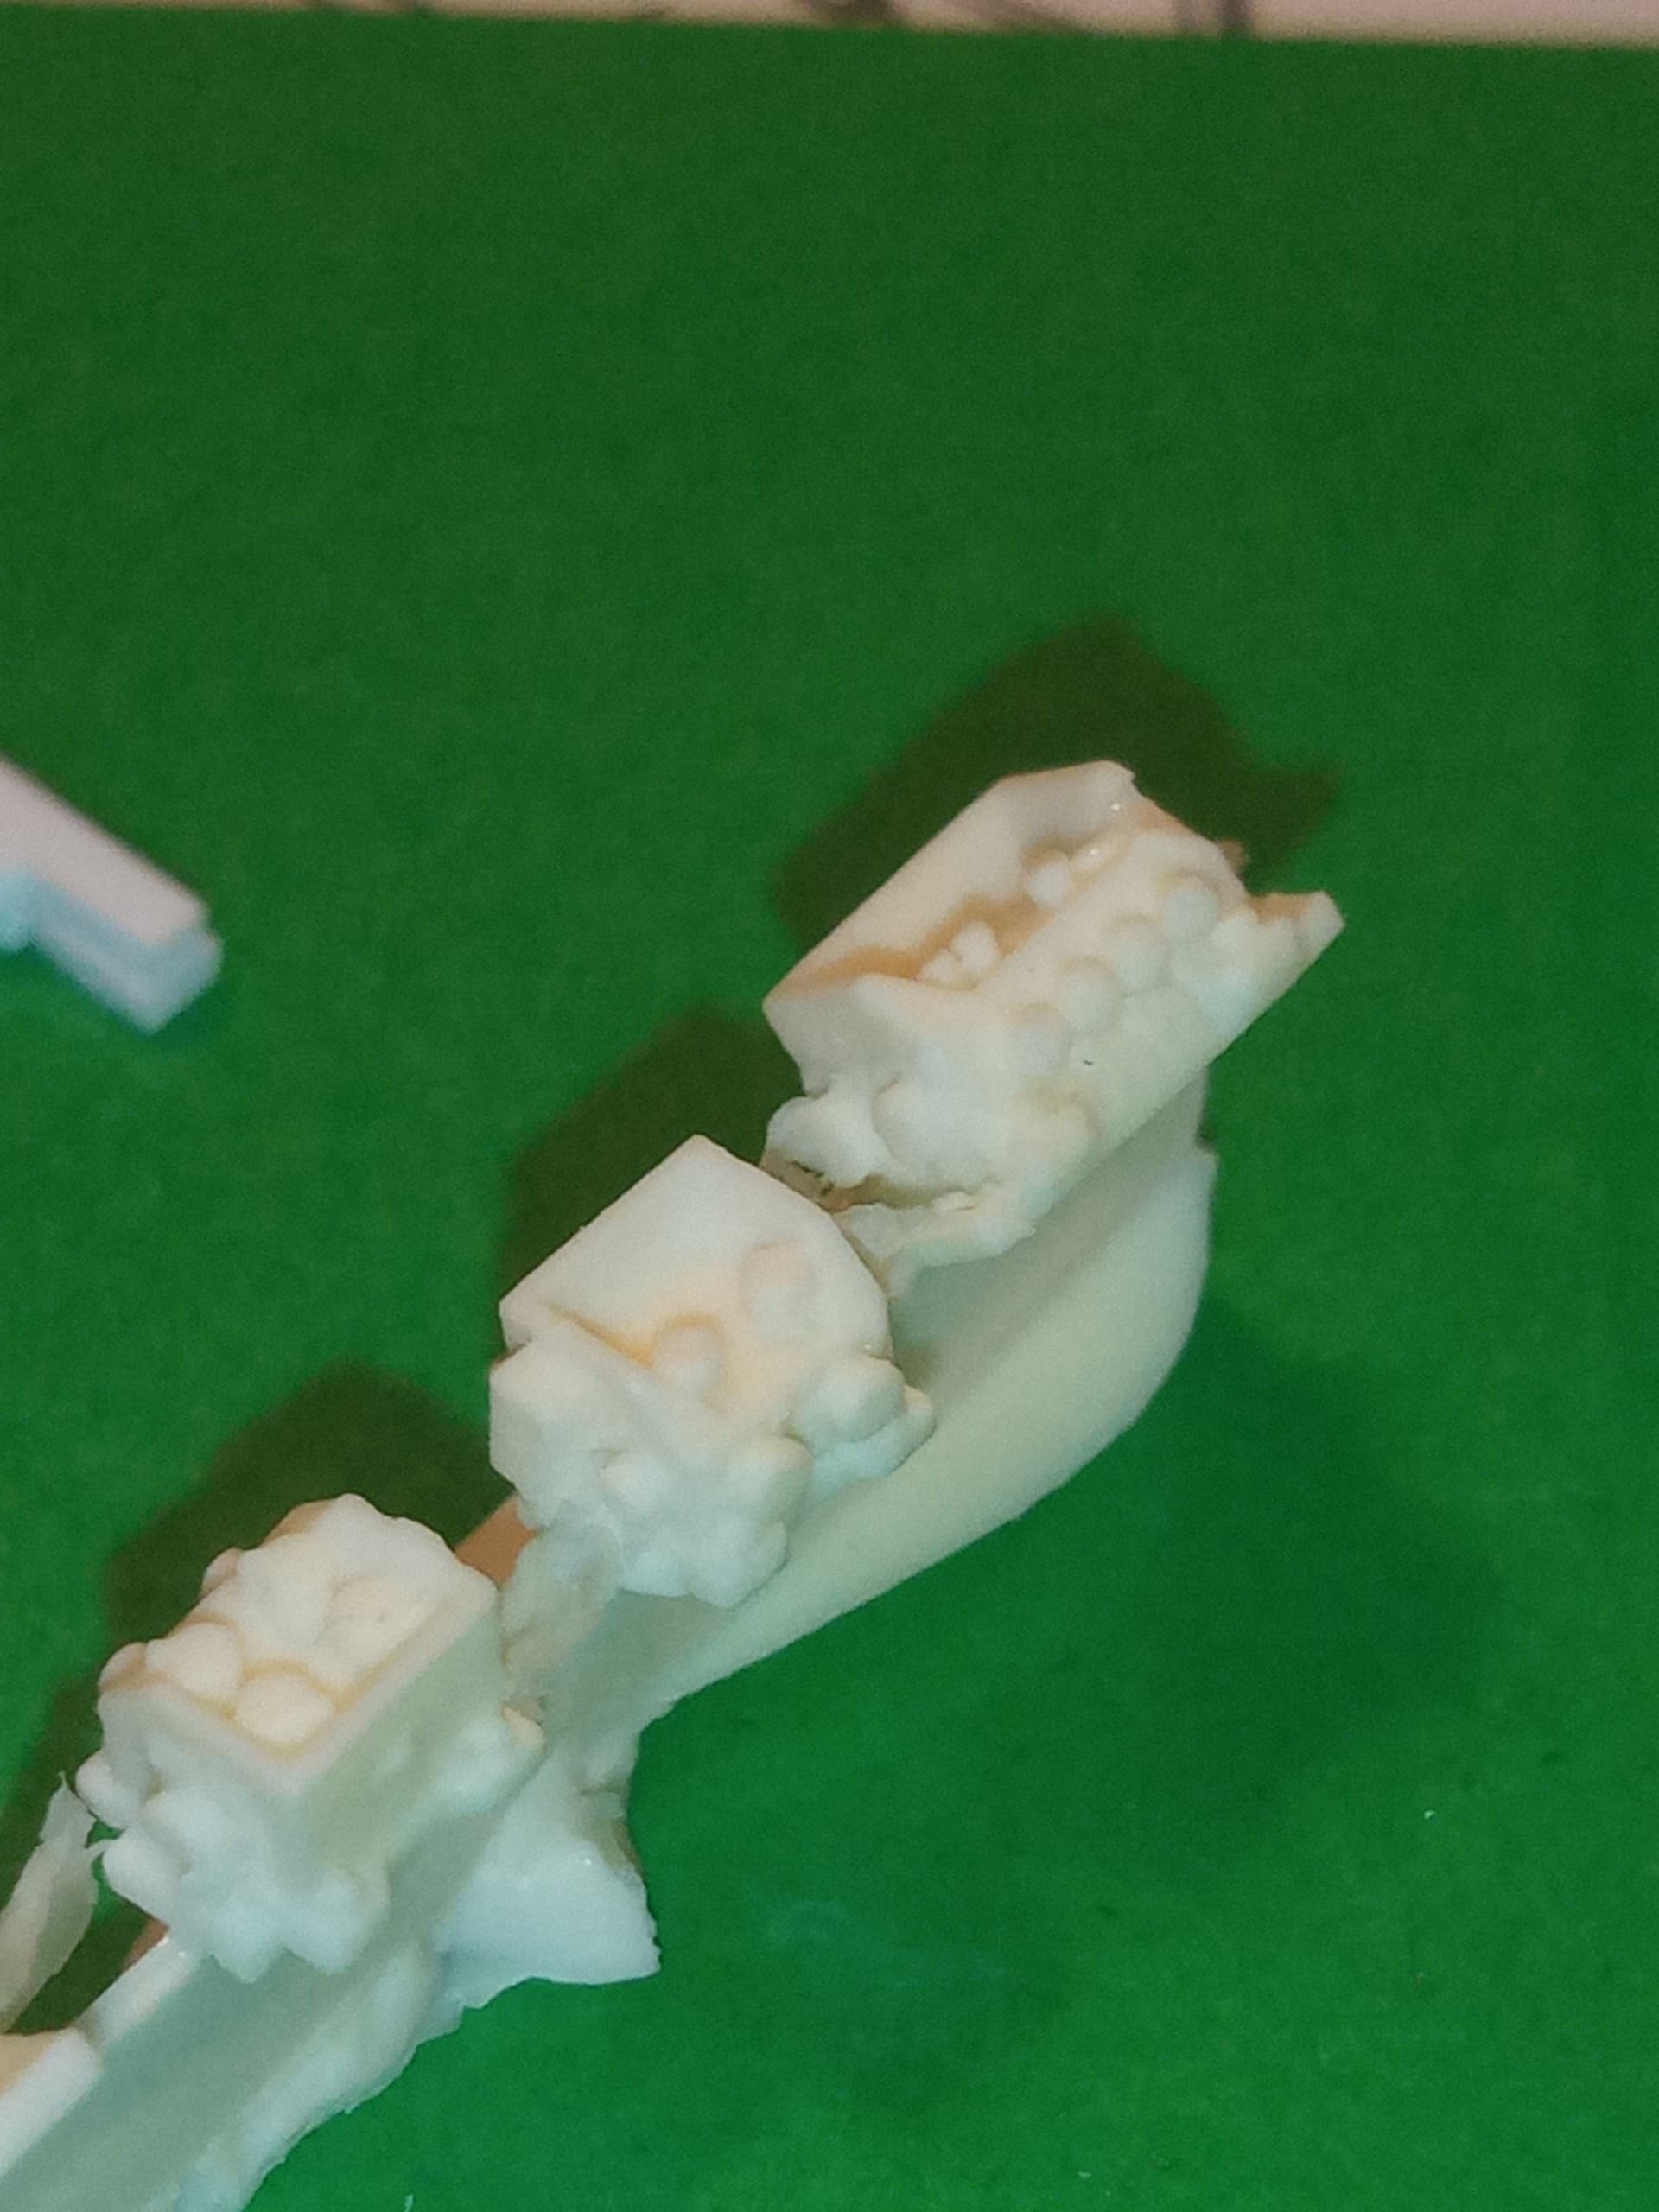
Thanks Tom, and you’re the cause of it all !! Haha…only kidding mate. Your CAD work paid off as the detail is very nice and shows in all the right areas. The commanders control panel and the interconnecting boxes are very well done considering how tiny the details are.

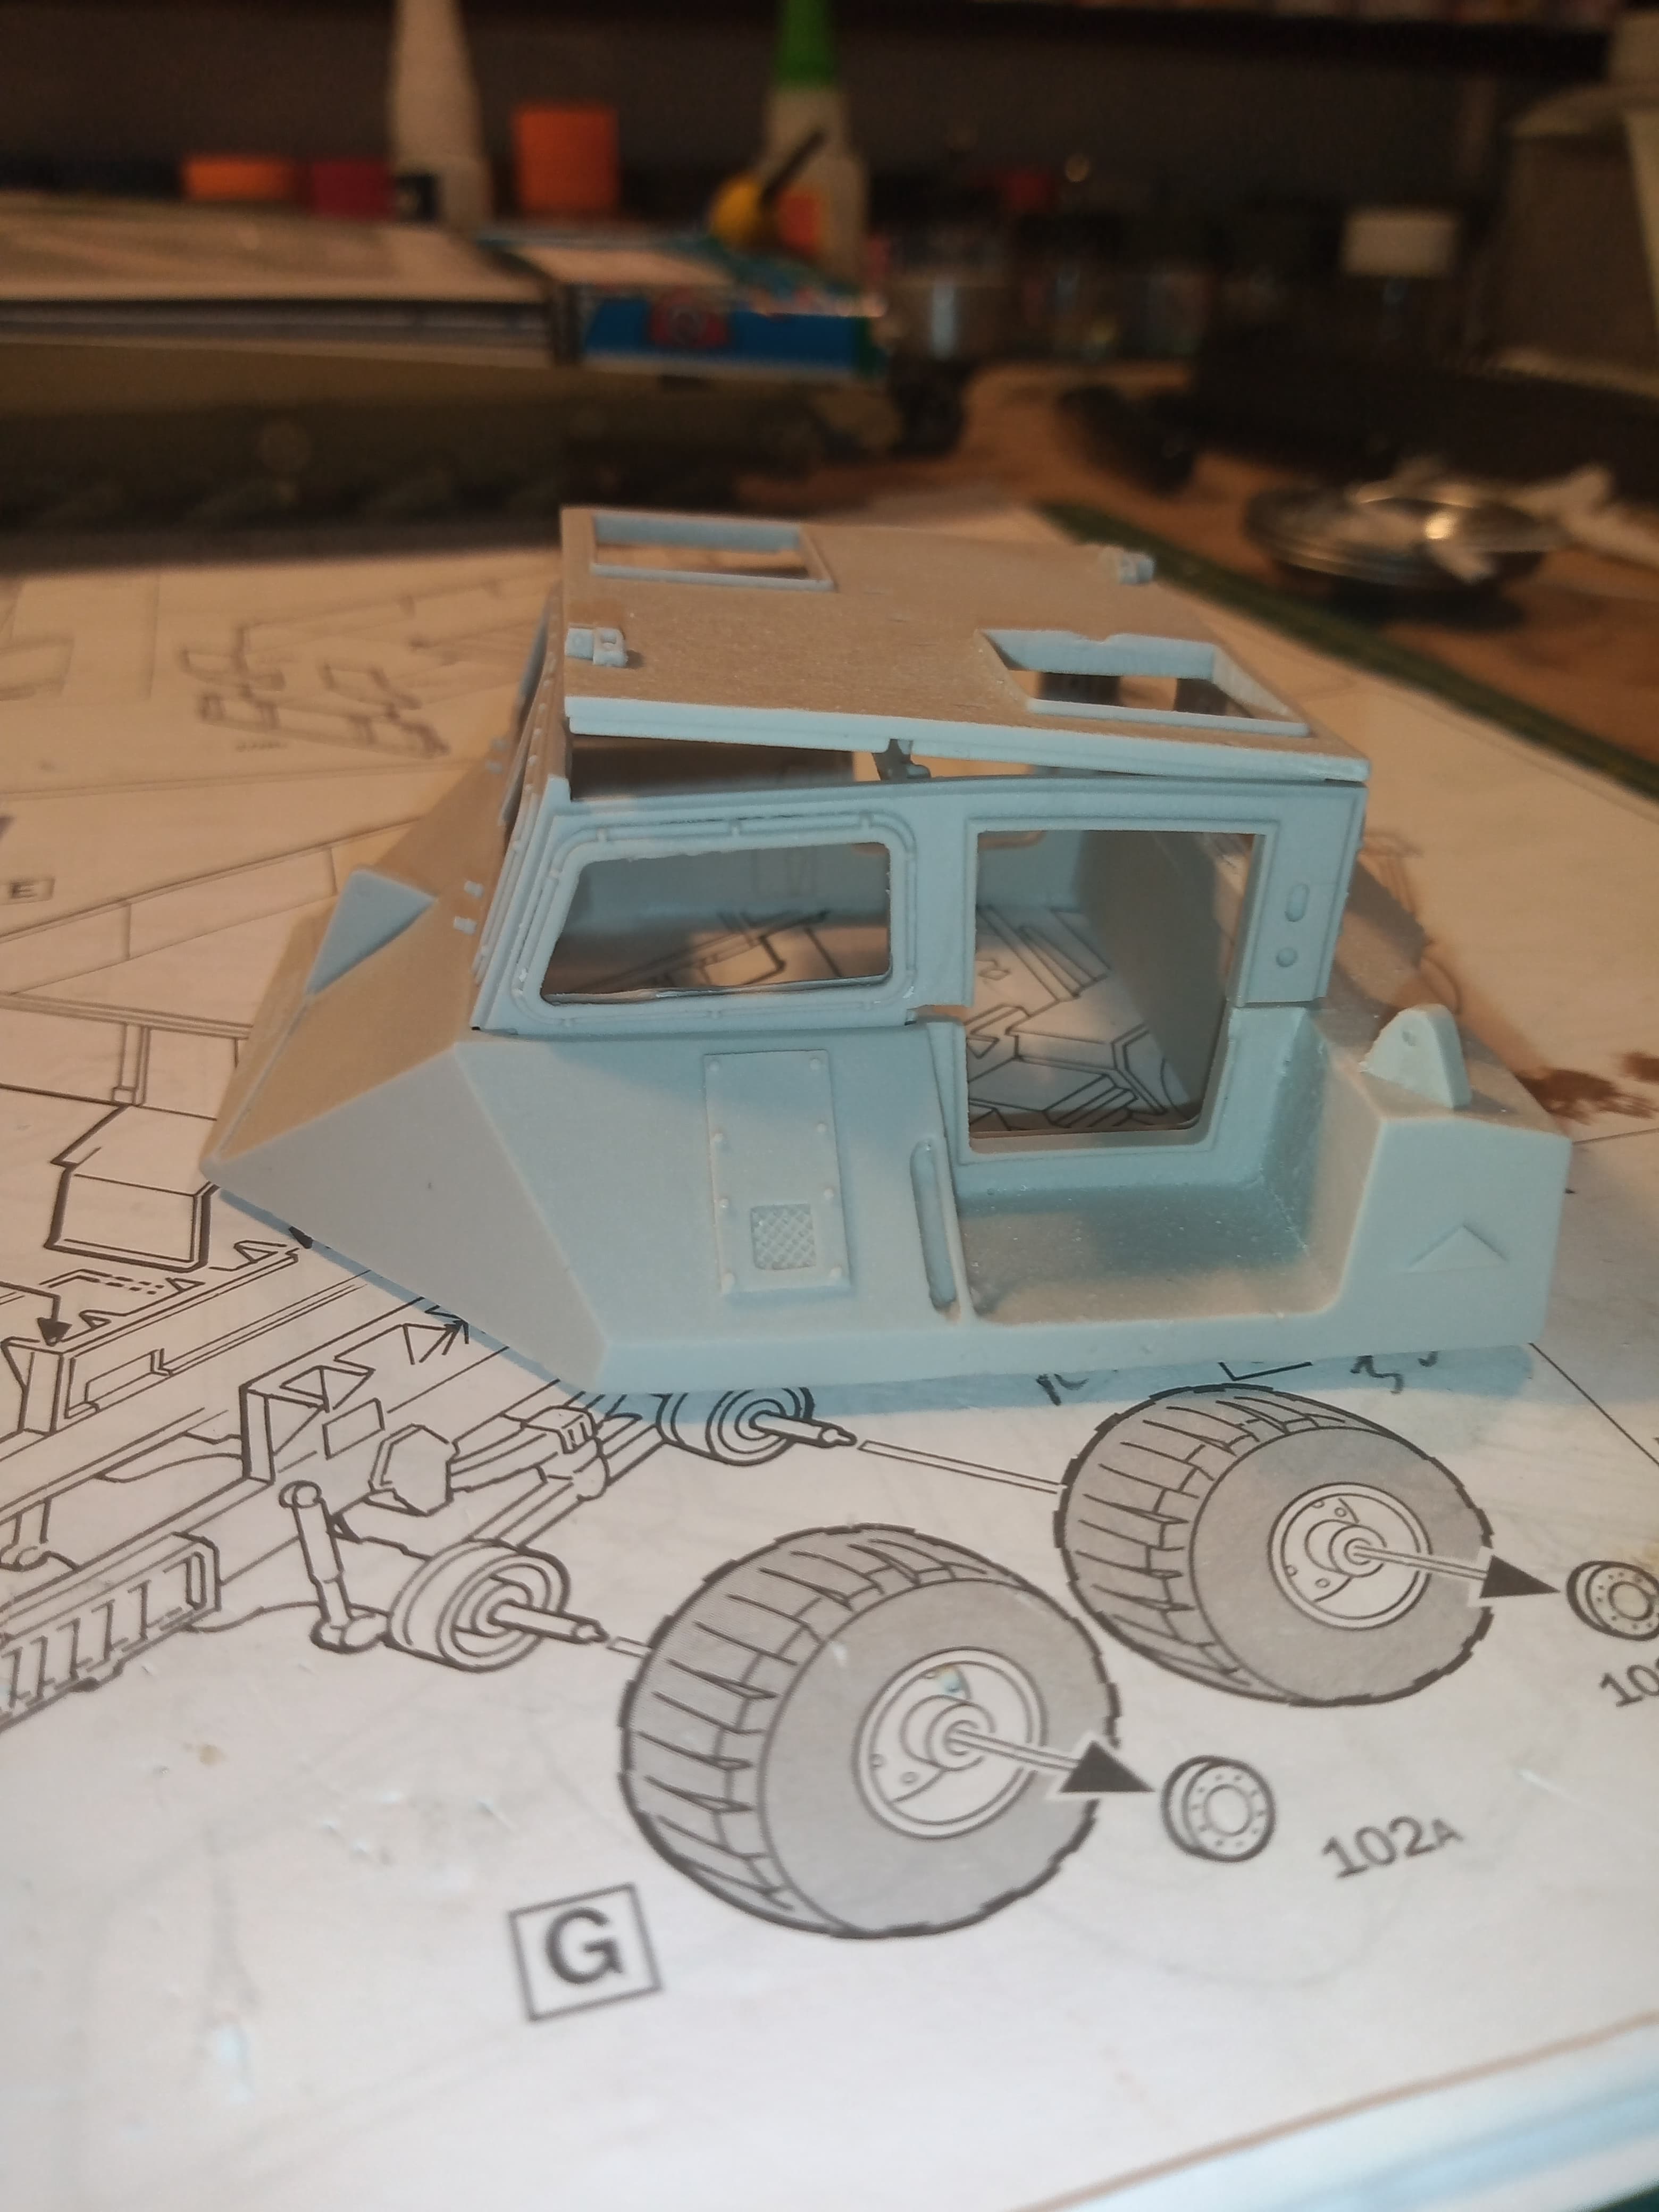
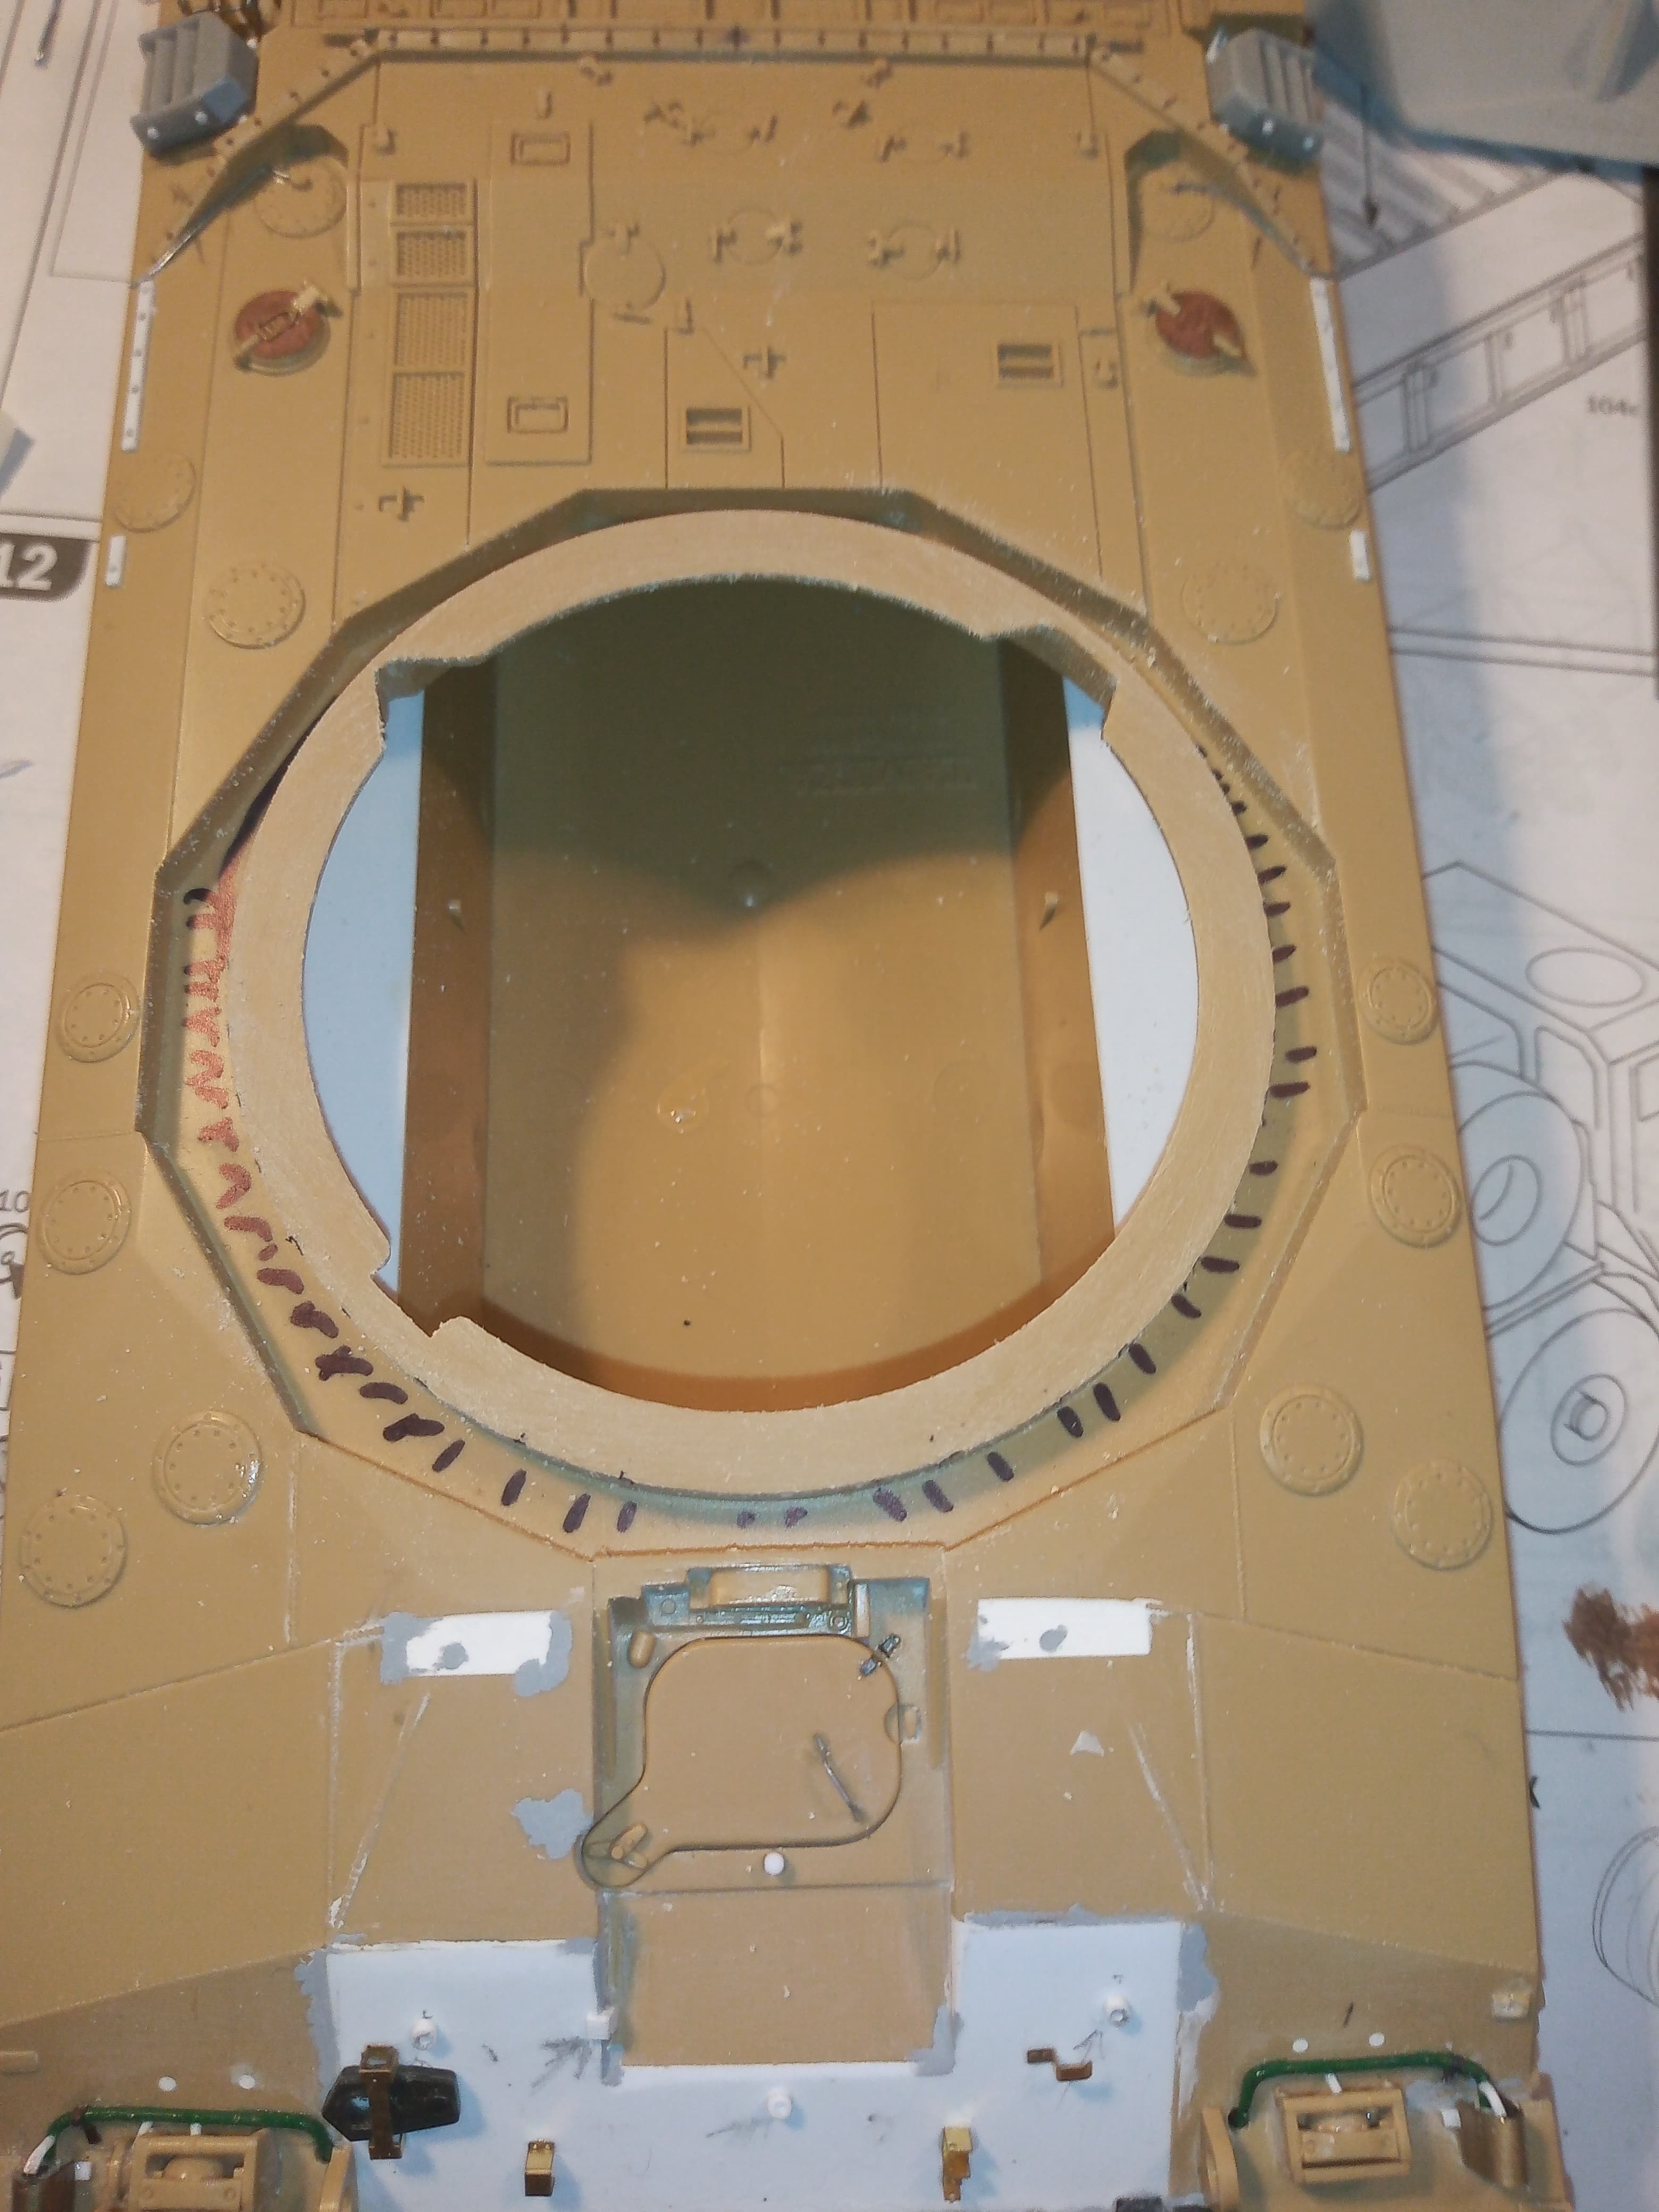
The fit overall is very good. For the main tub of the crew cab (part 1)

I really had to carve out a lot more of the recesses to allow part 4, the upper to even come close to fitting… And it’s still not quiet enough. Part 4 is straight and true on the right hand side, but the left has a slight outwards warp… Not totally visible here…
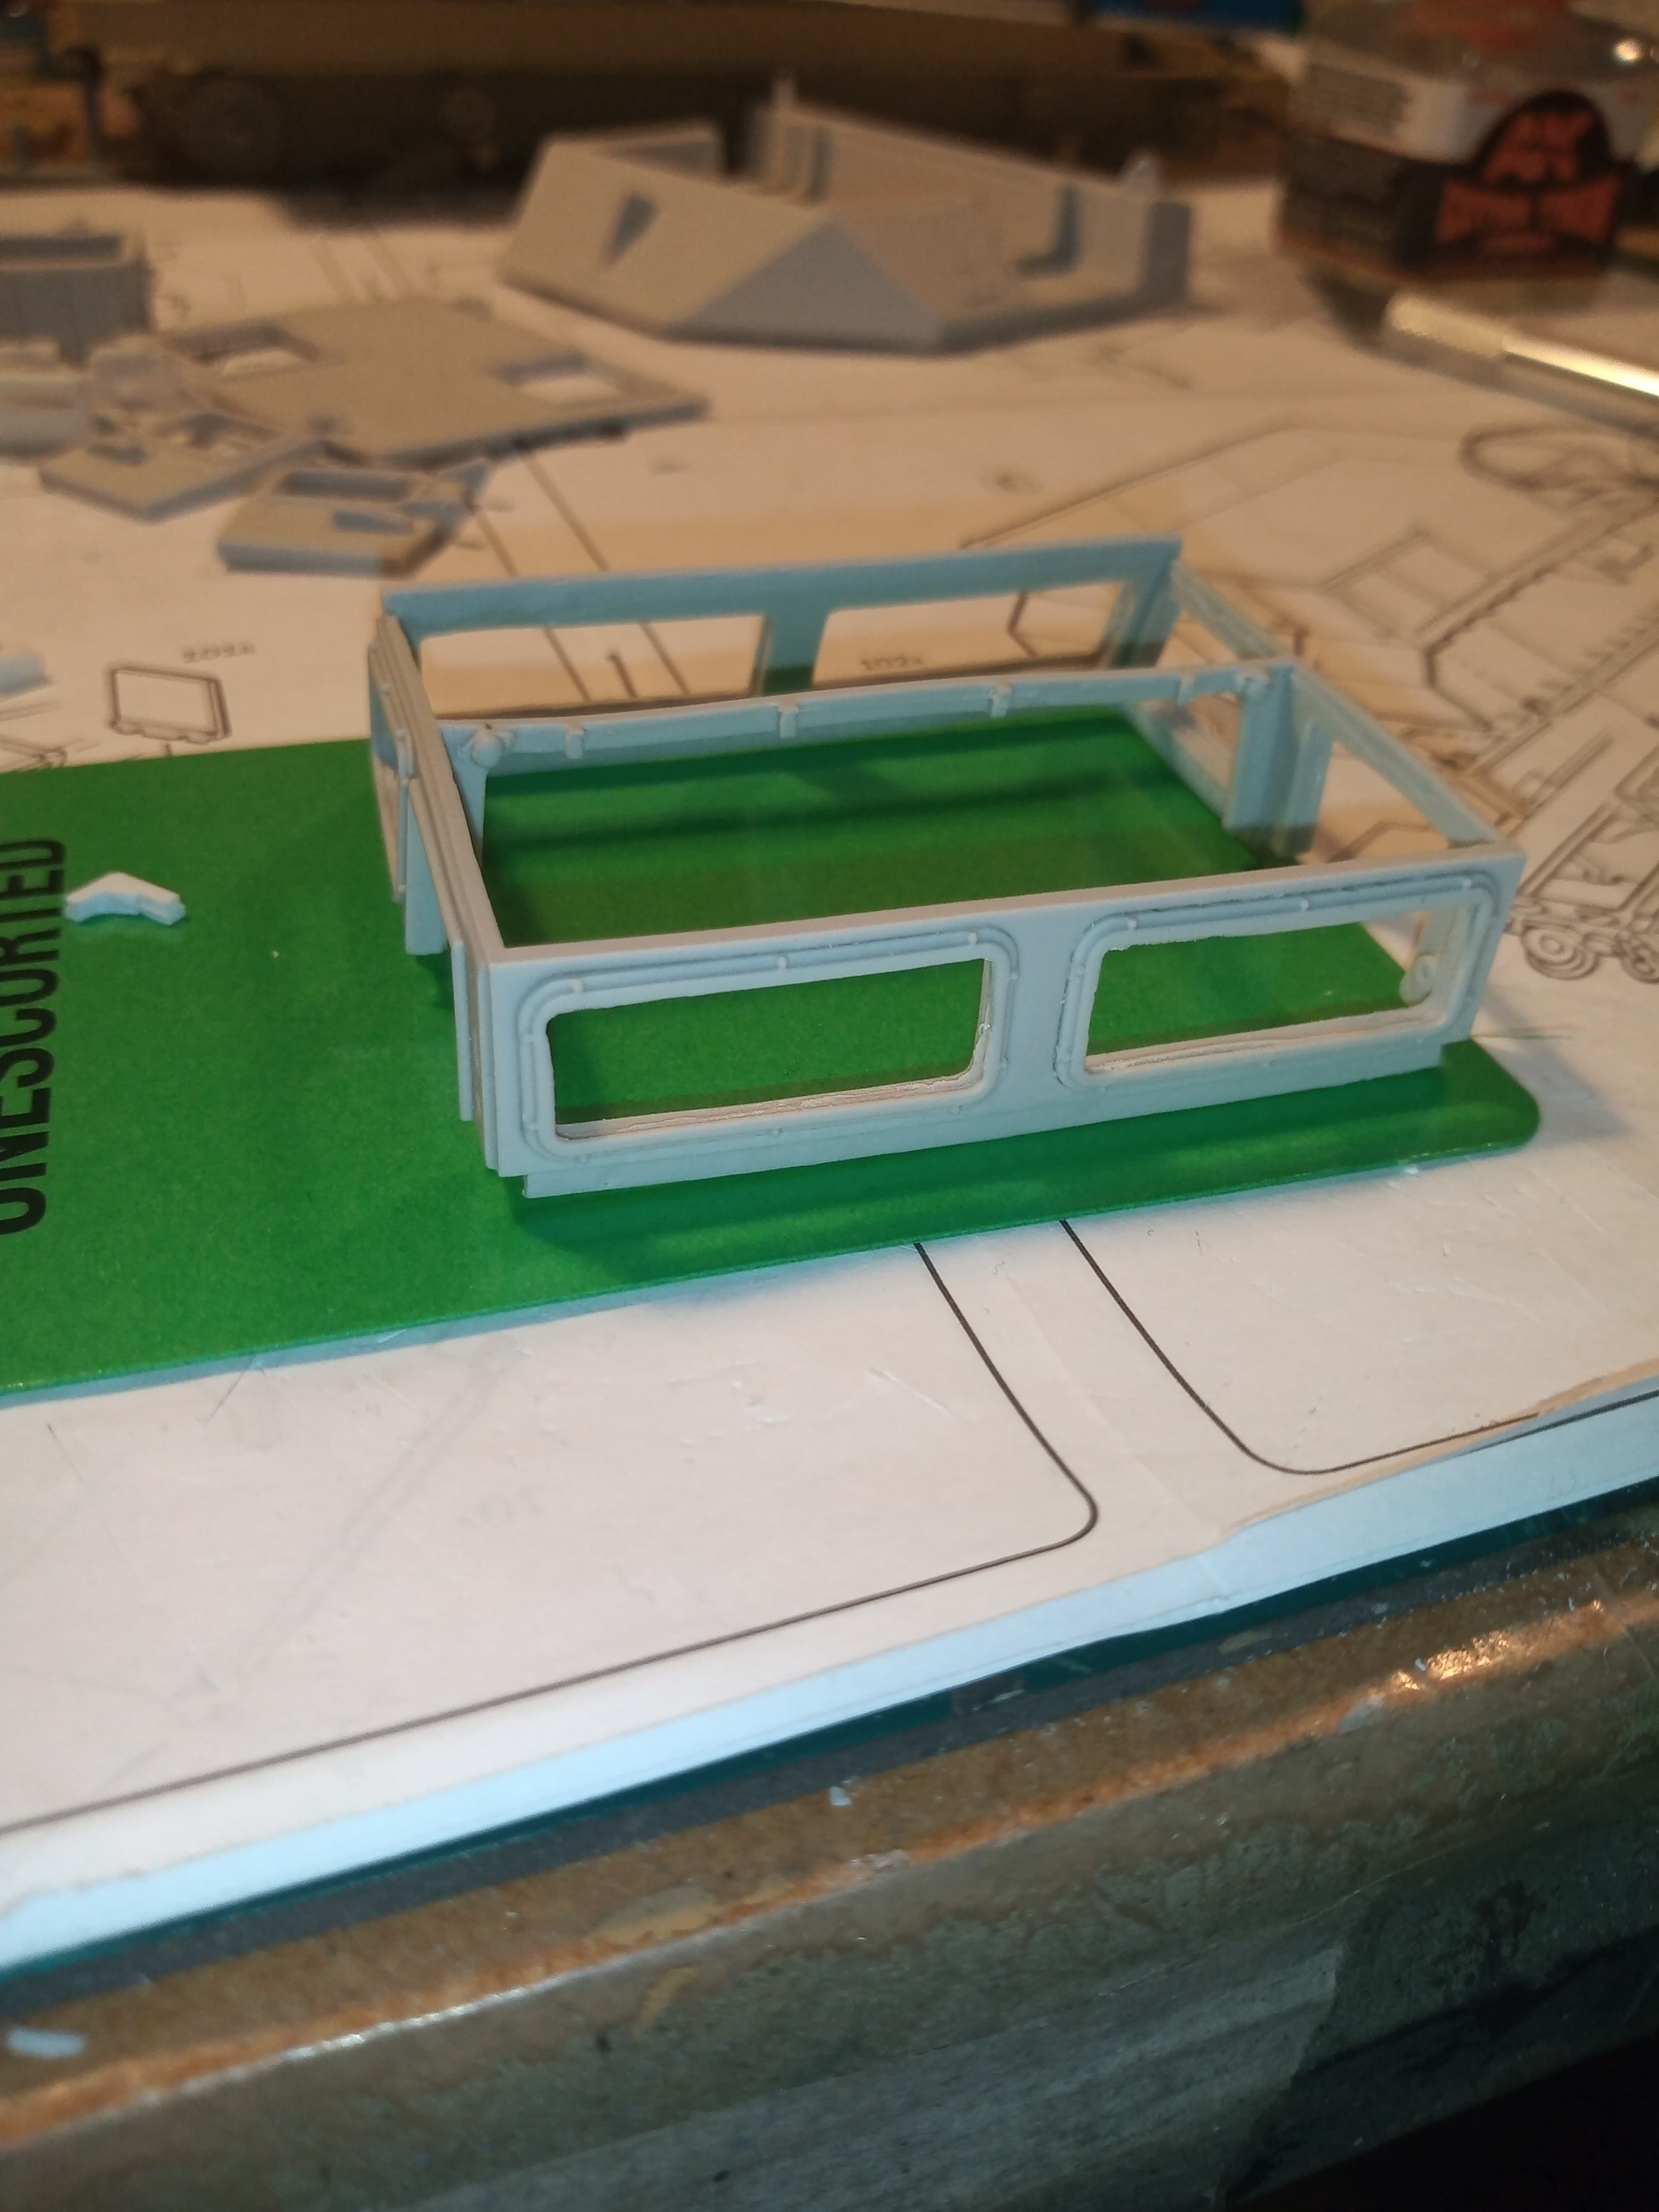
This is both parts dry fitted … both parts forced in…

Part 4 in, but only fully on the RHS…you can see just how much of an issue the LH side is in this images…
So when 4 has been put into 1, that is what induces the big upward warp on the roof cross member on 4…
I’m thinking of fitting 4 into 1, letting that set but before that, cutting the cross member ( in between the tweezers)

Letting 4 fully set and then trimming a little from the cross member to take out the warp… I am pretty sure no amount of strategic hot water will solve this particular warp over 2 areas…
The only other slight gripe I had is I still think the kit should of come with clear plastic for the windows… But I will get over that eventually… Maybe … Lol…
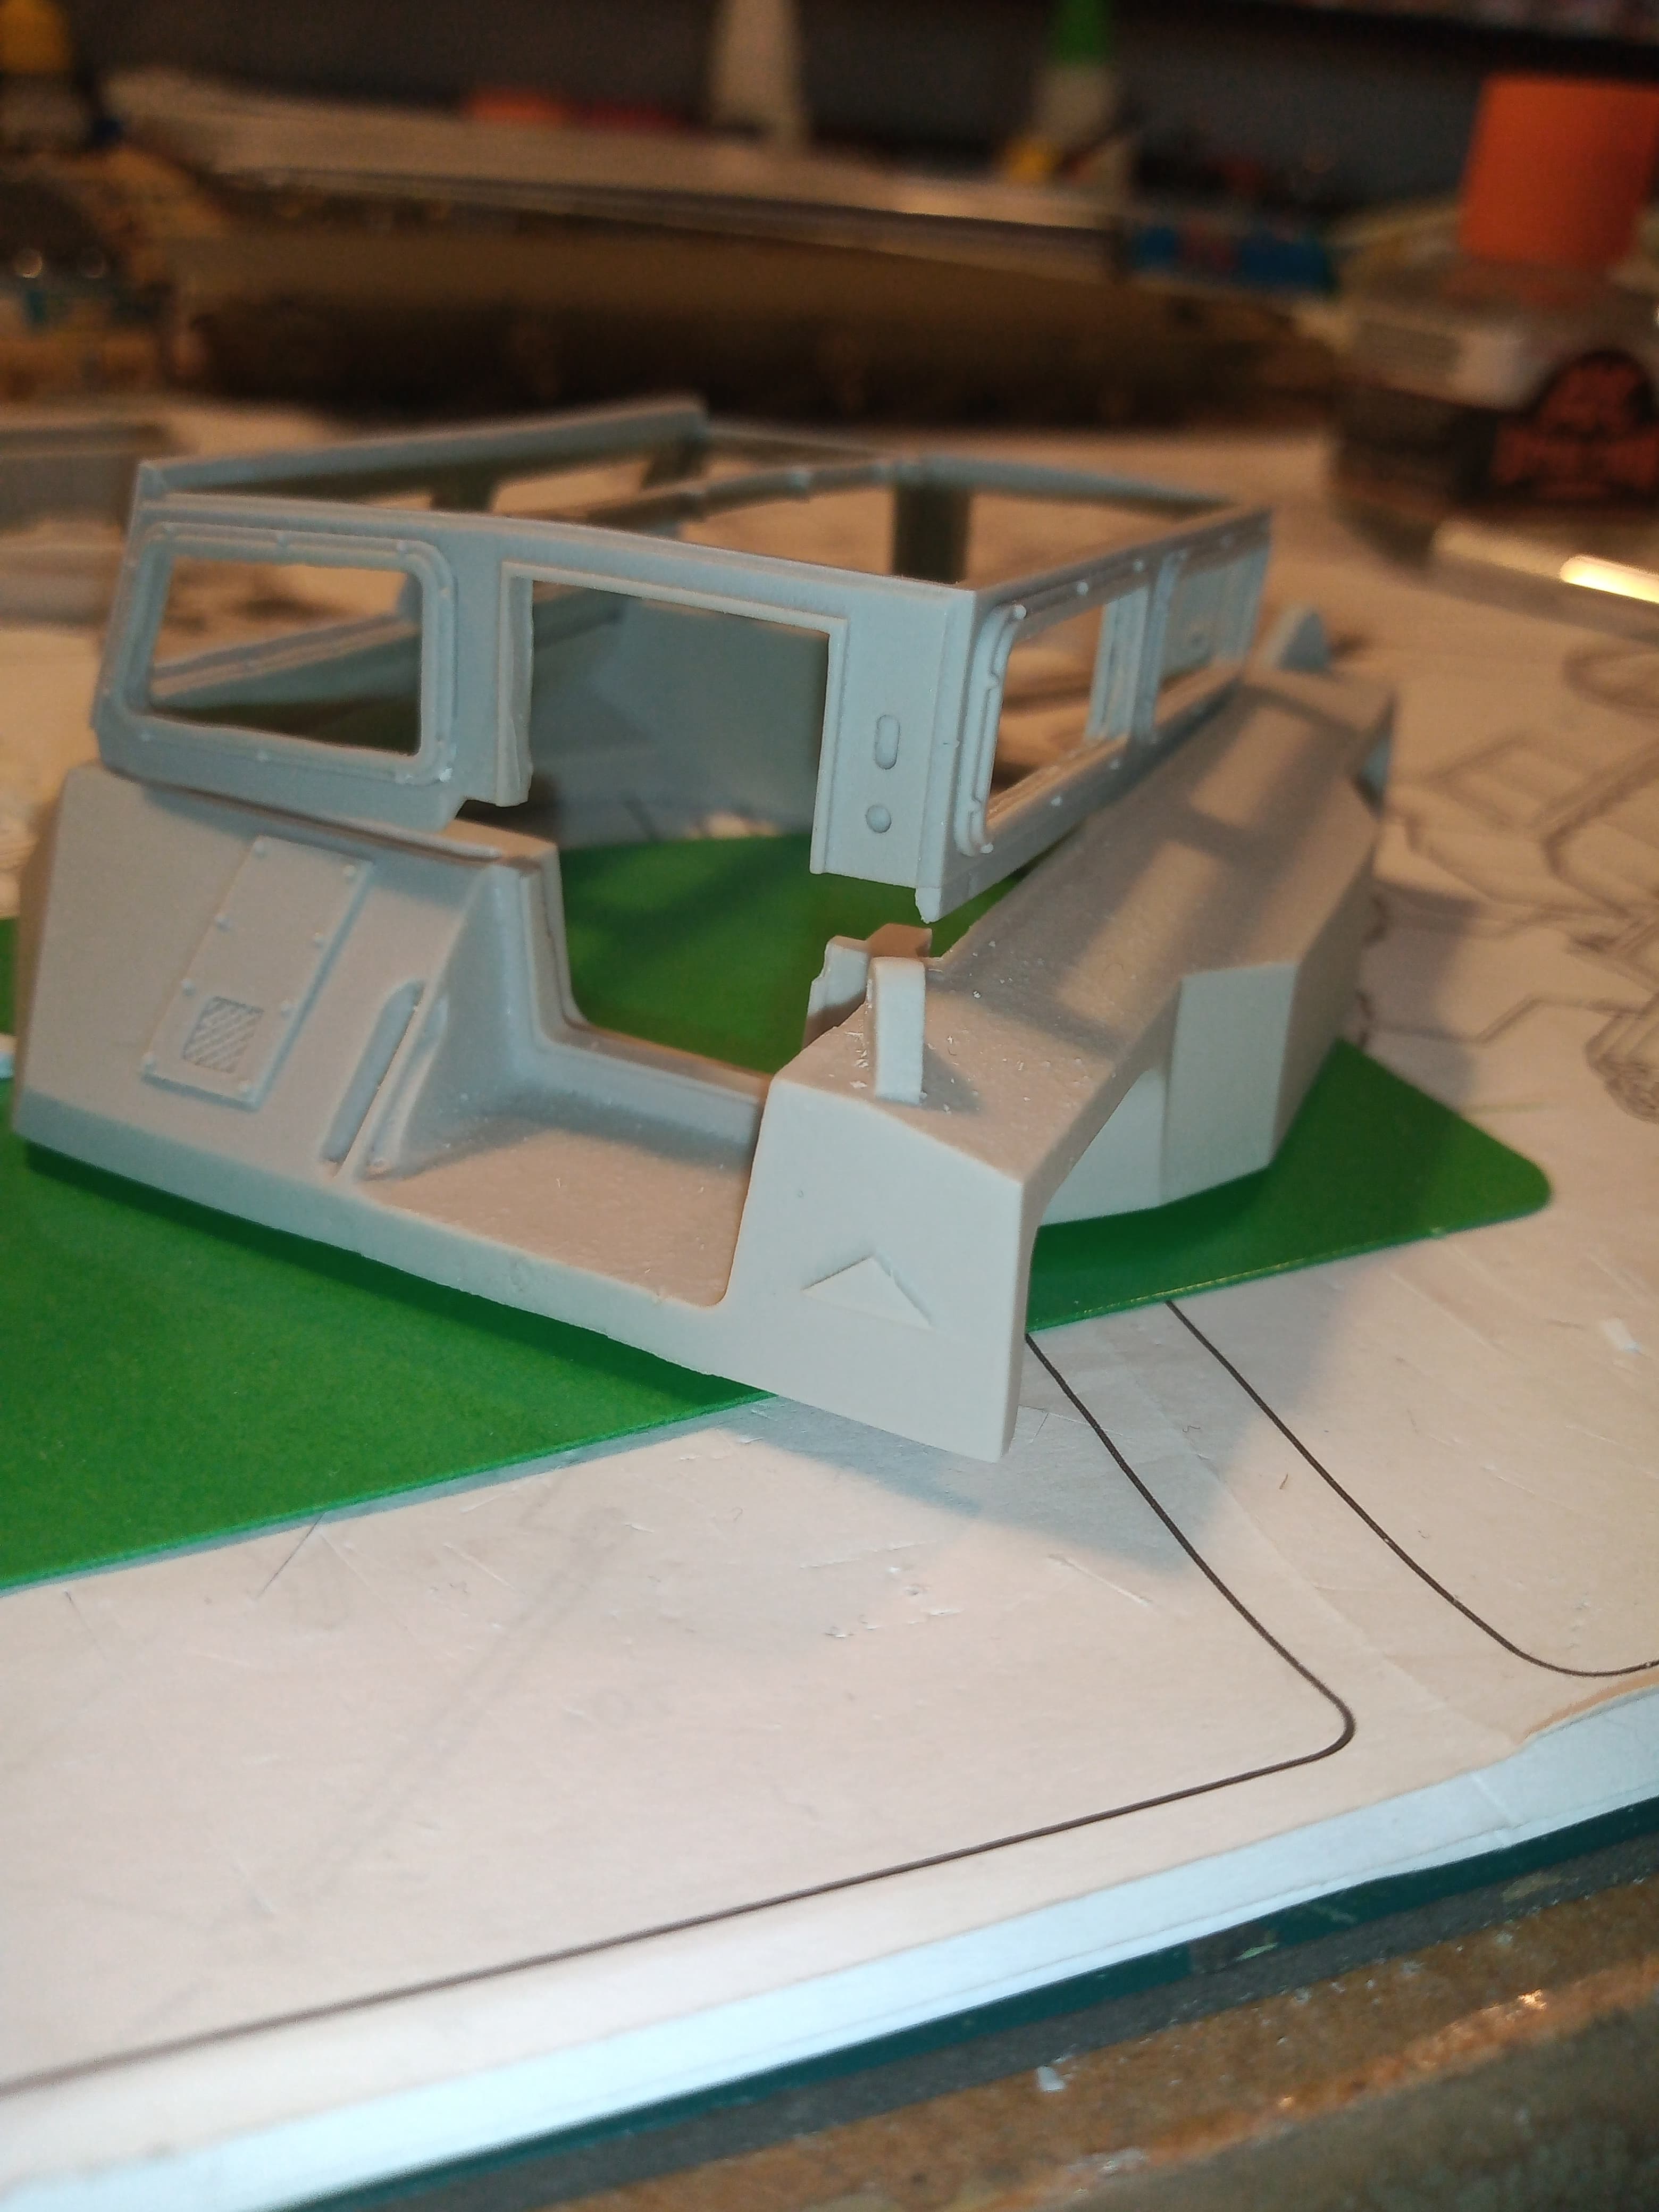
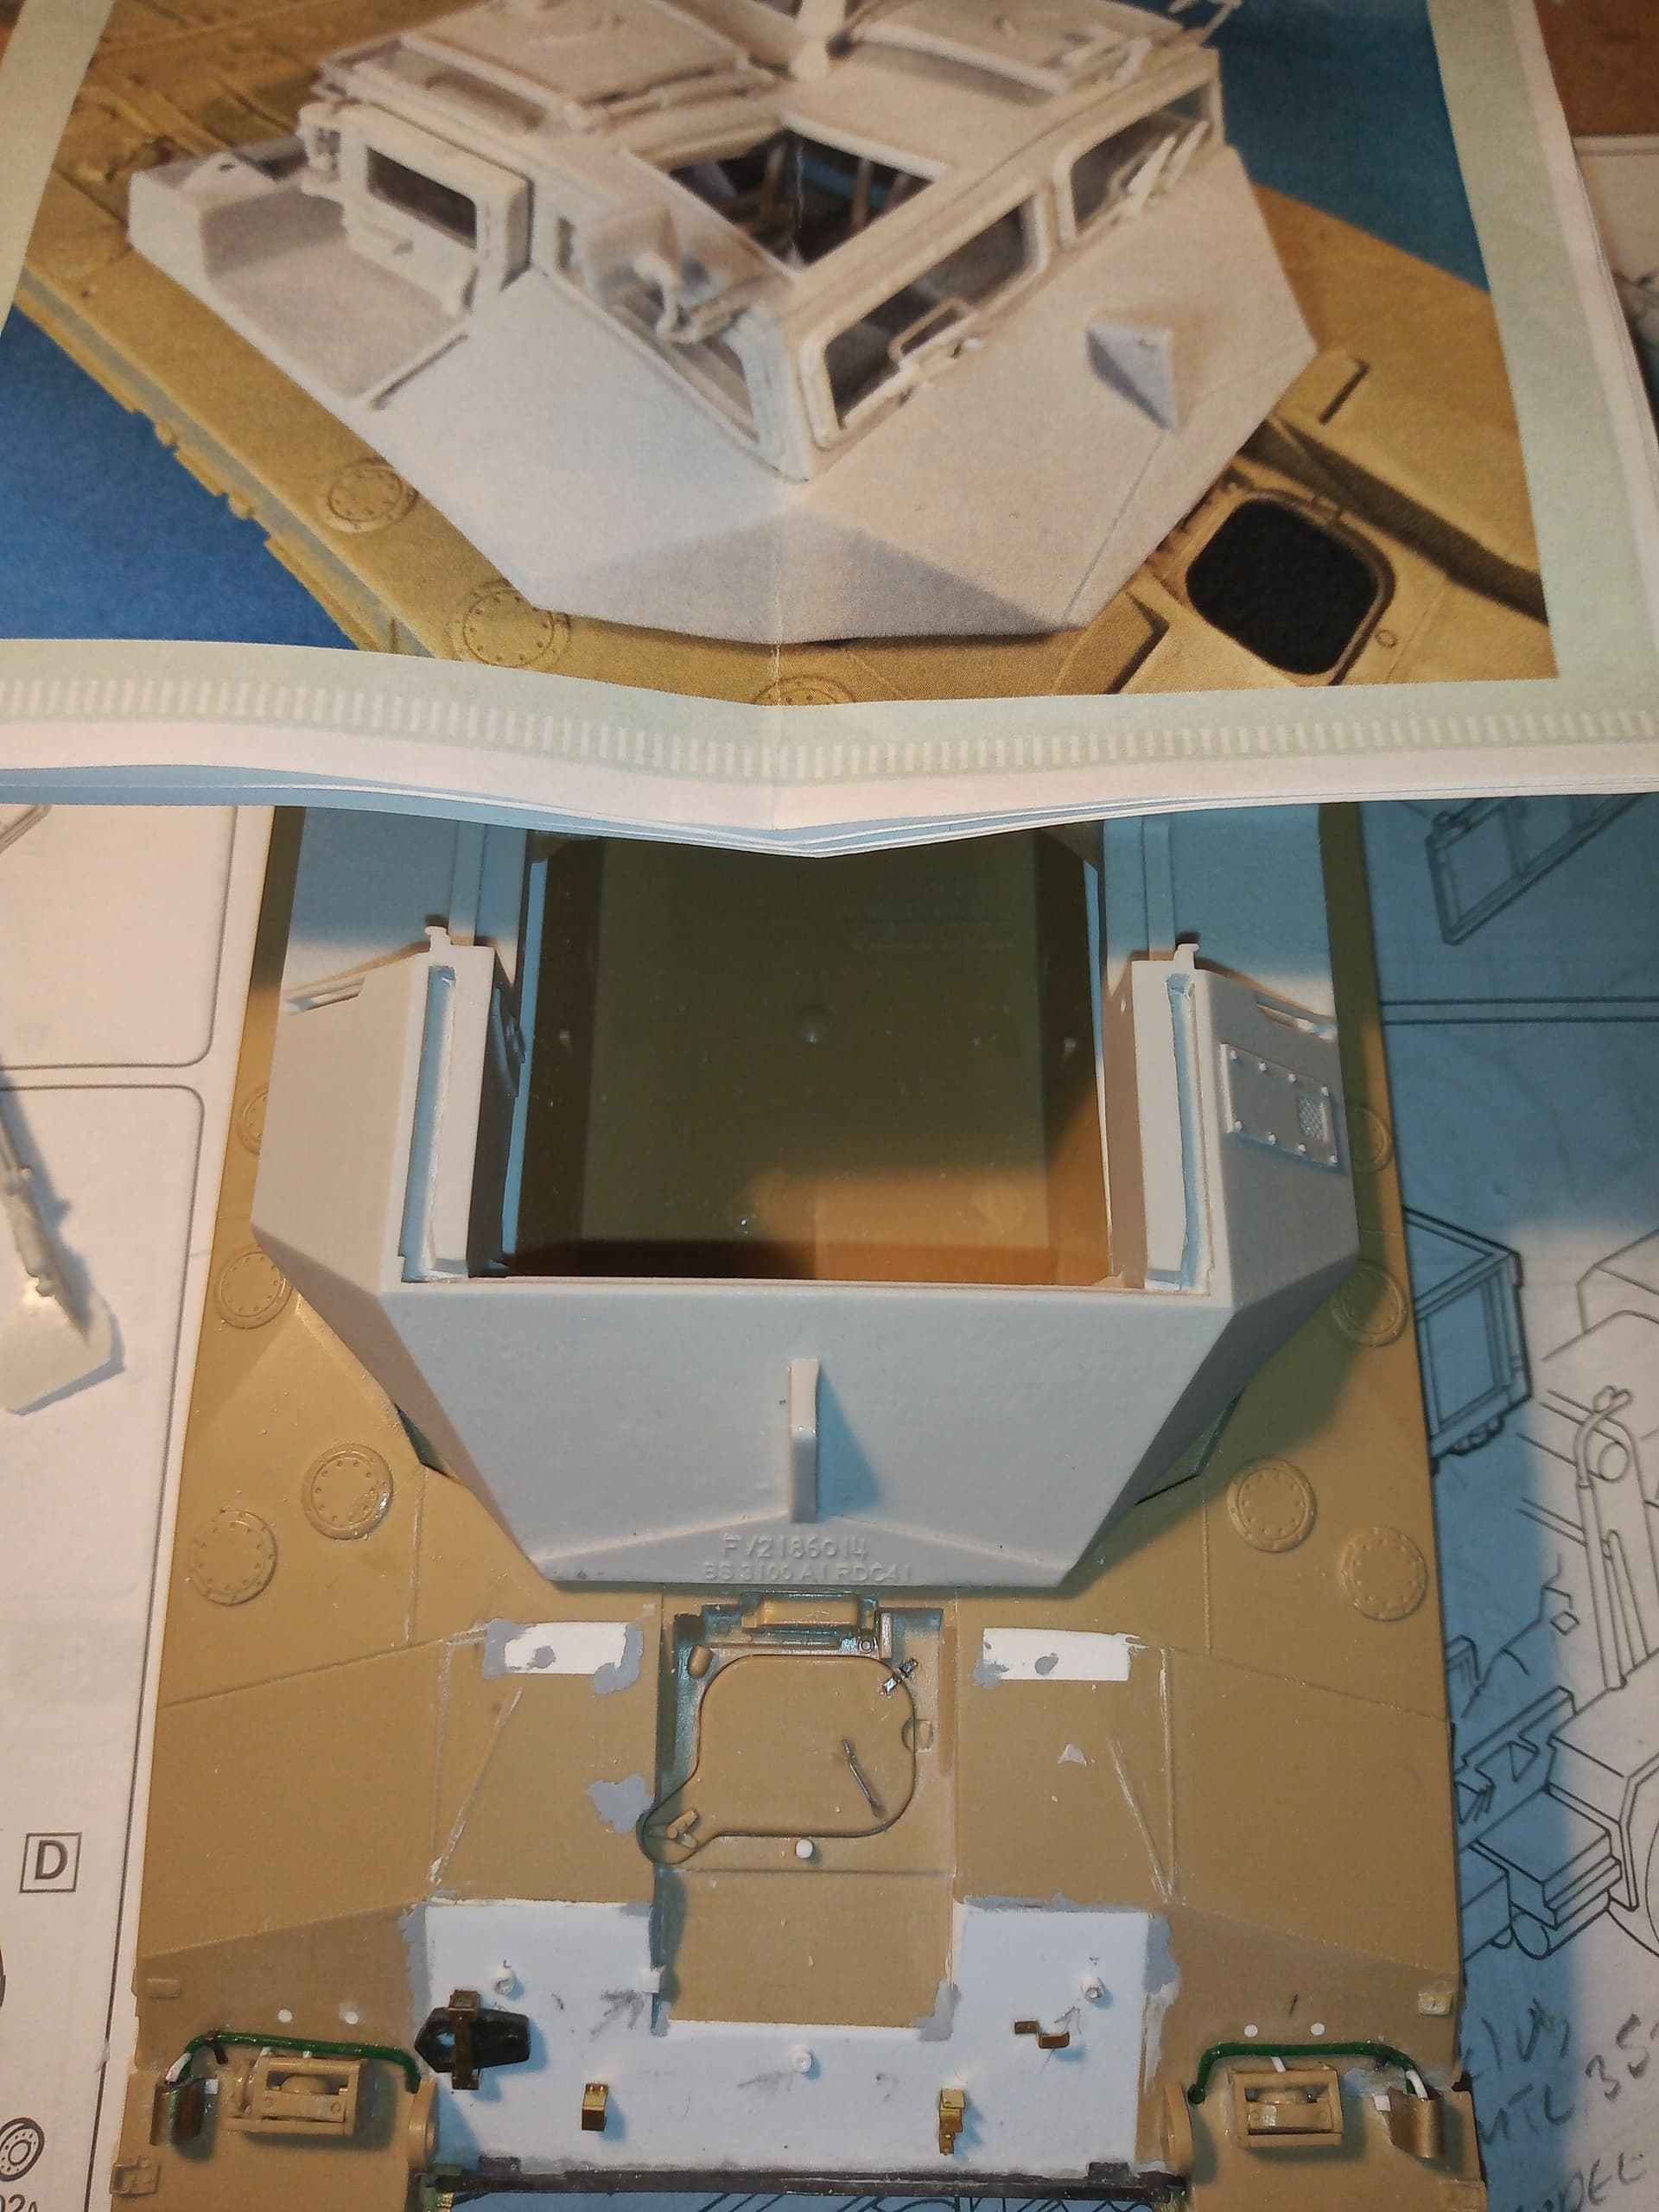
And the only other real fit issue could be the actual finished height of the crew cab when it’s on the kit turret ring …
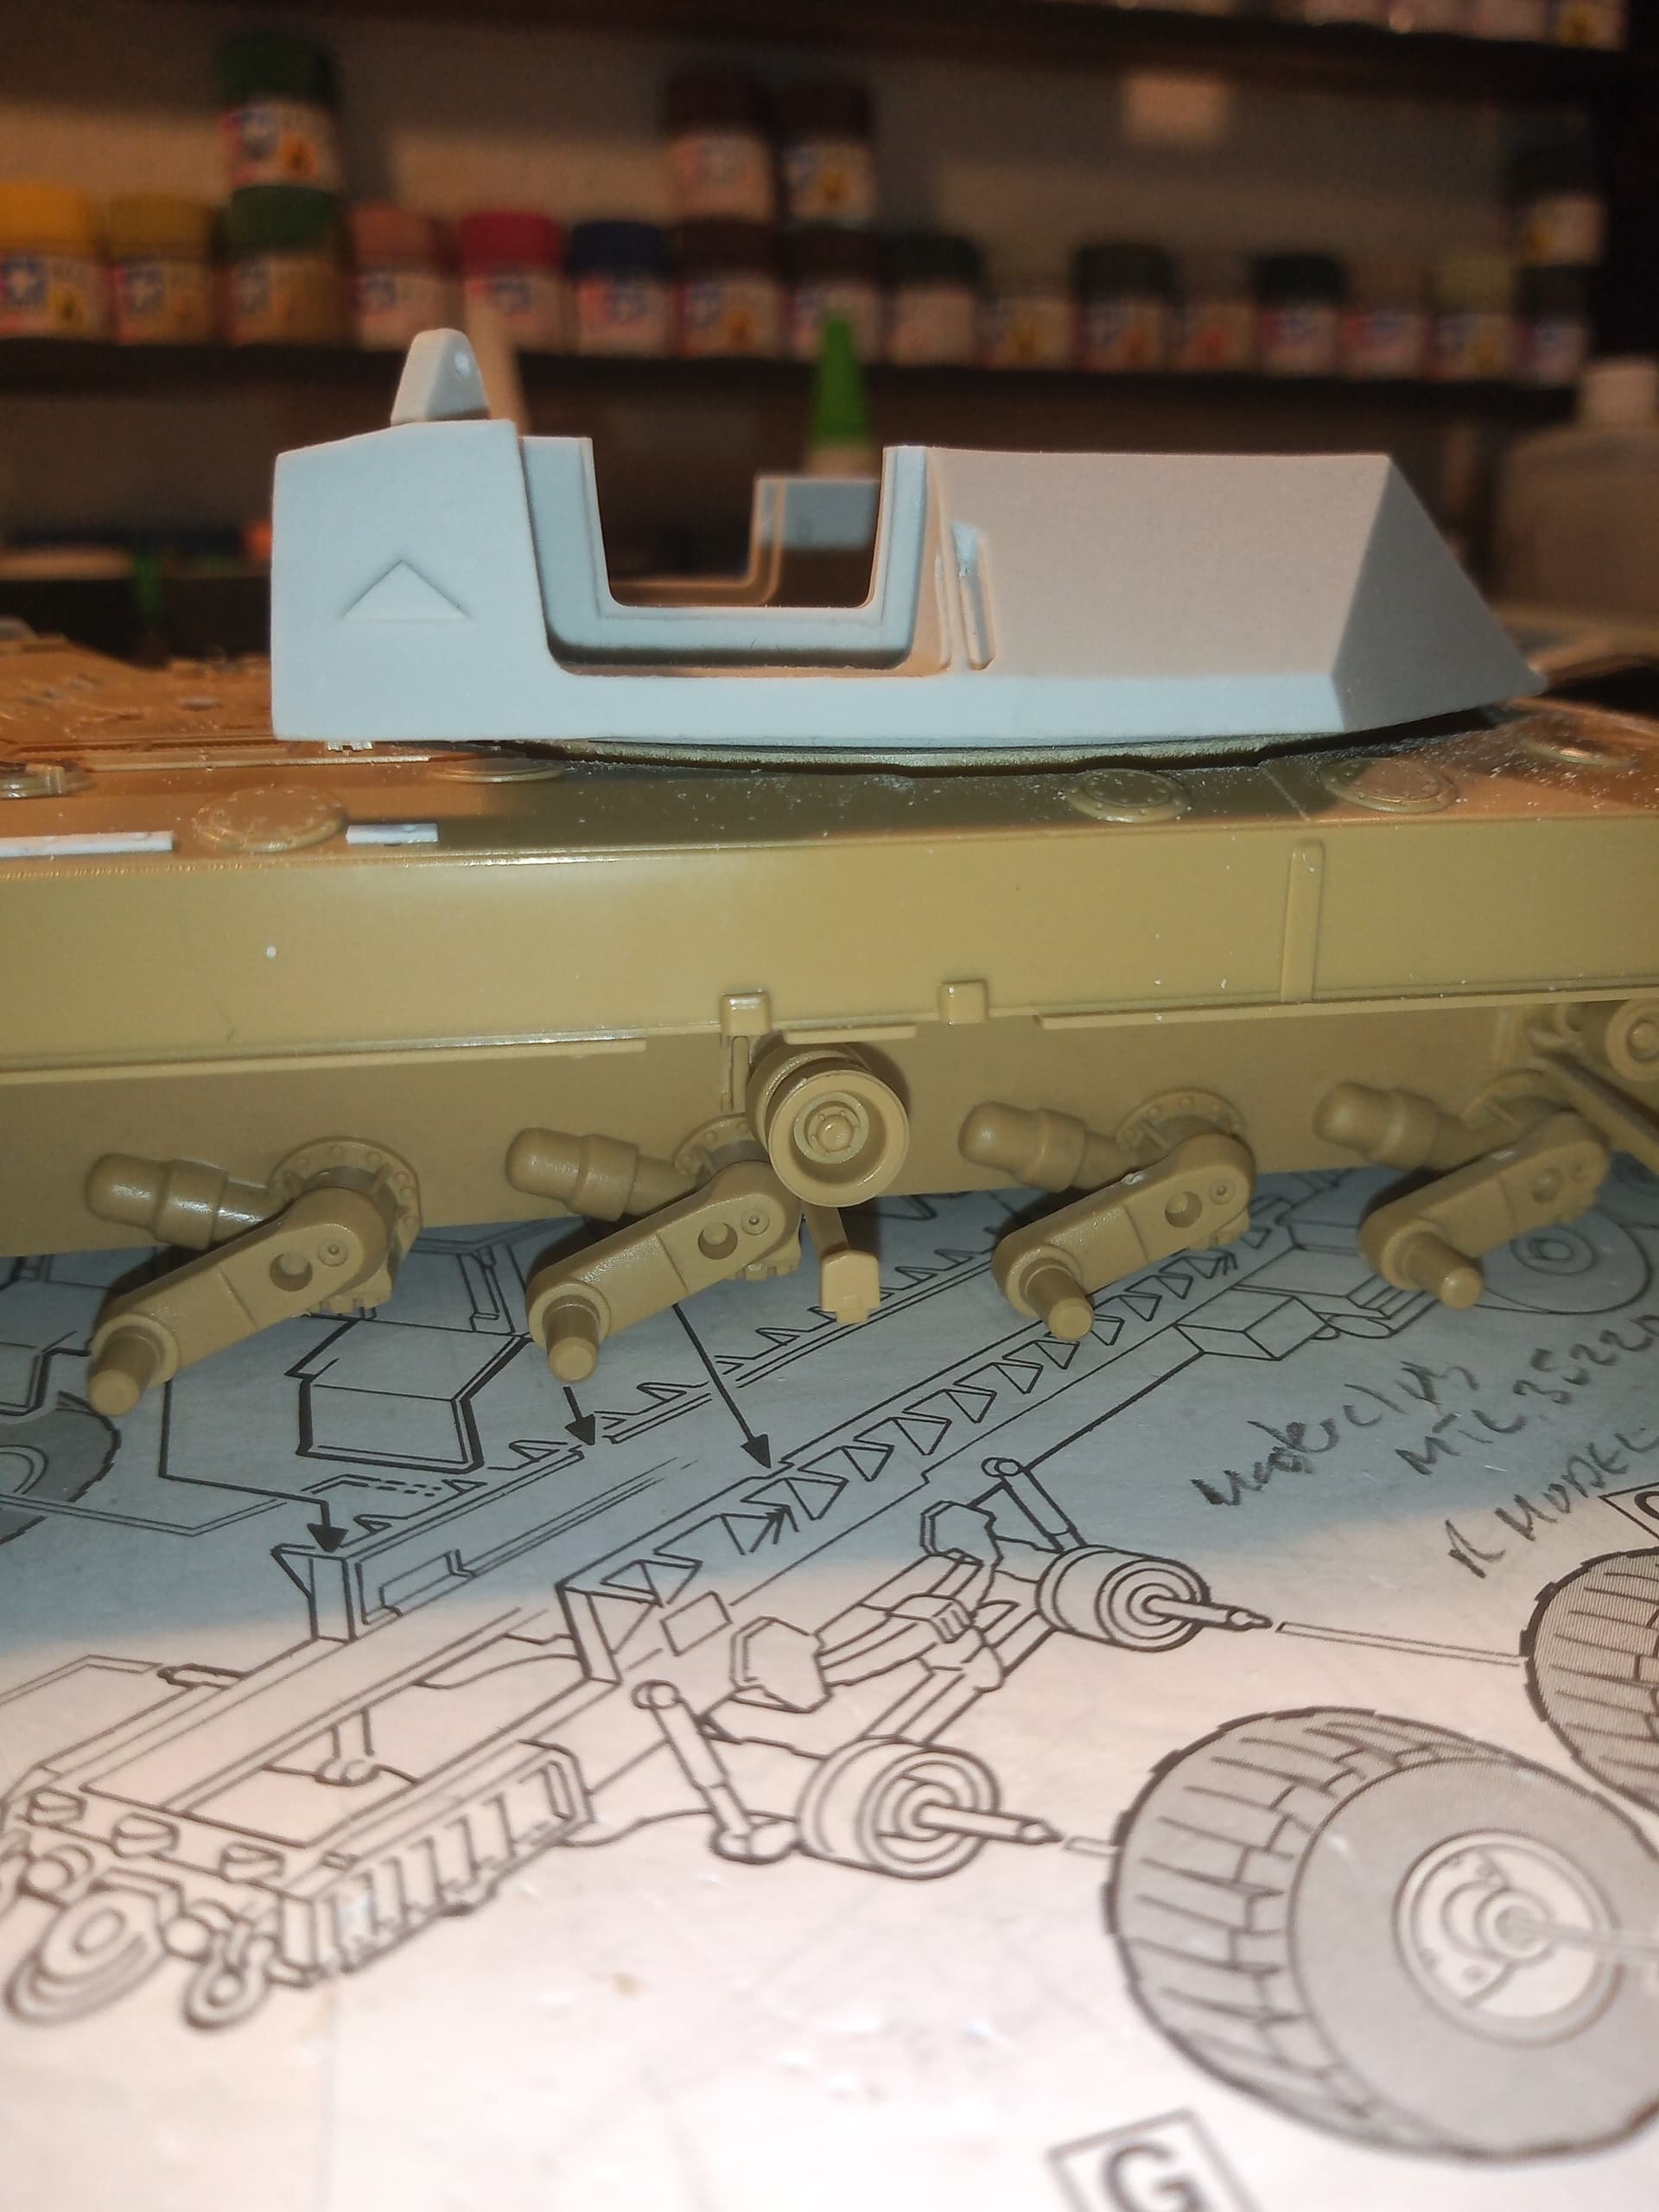
To my eye it looks a tad to high and to much of a gap between top of hull and bottom of crew cab… I have and will be hard sanding the turret ring on hull and bottom of part 1 to see if I can lower it 1mm or so…
6 Likes
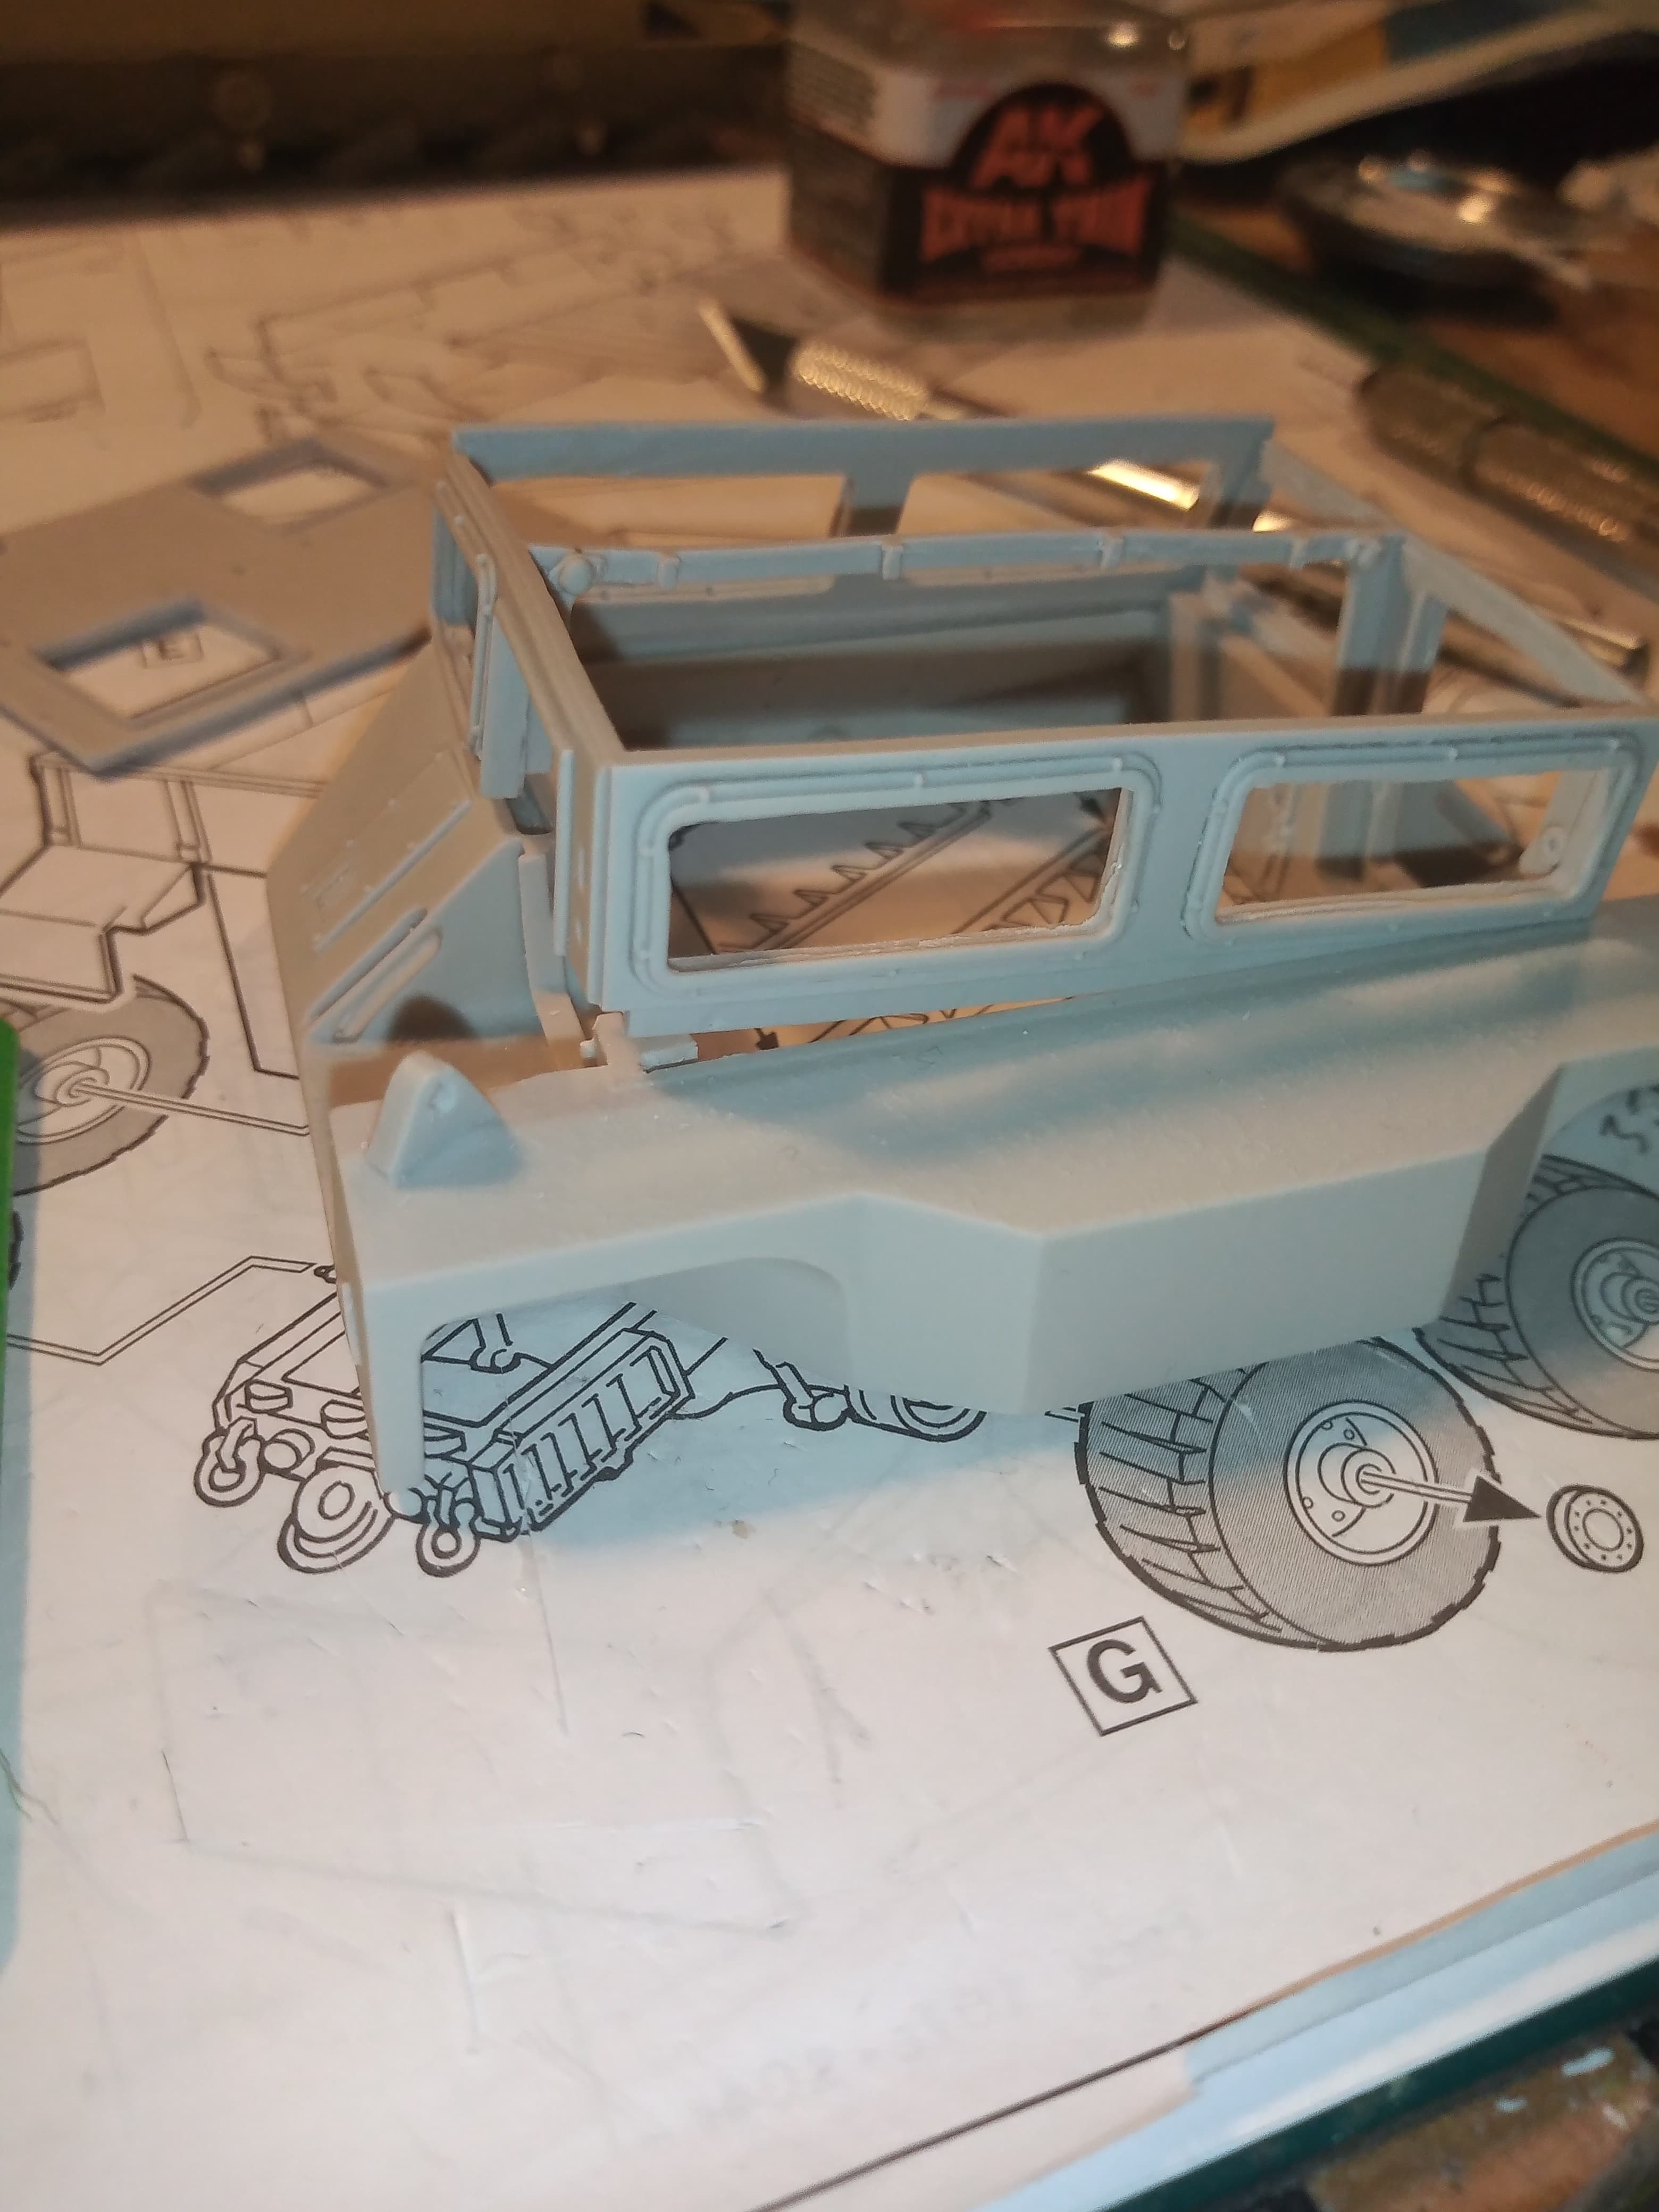
This is another view of the cab base dry fitted showing height gap, and now visible gaps left and right and behind Dvrs cab…
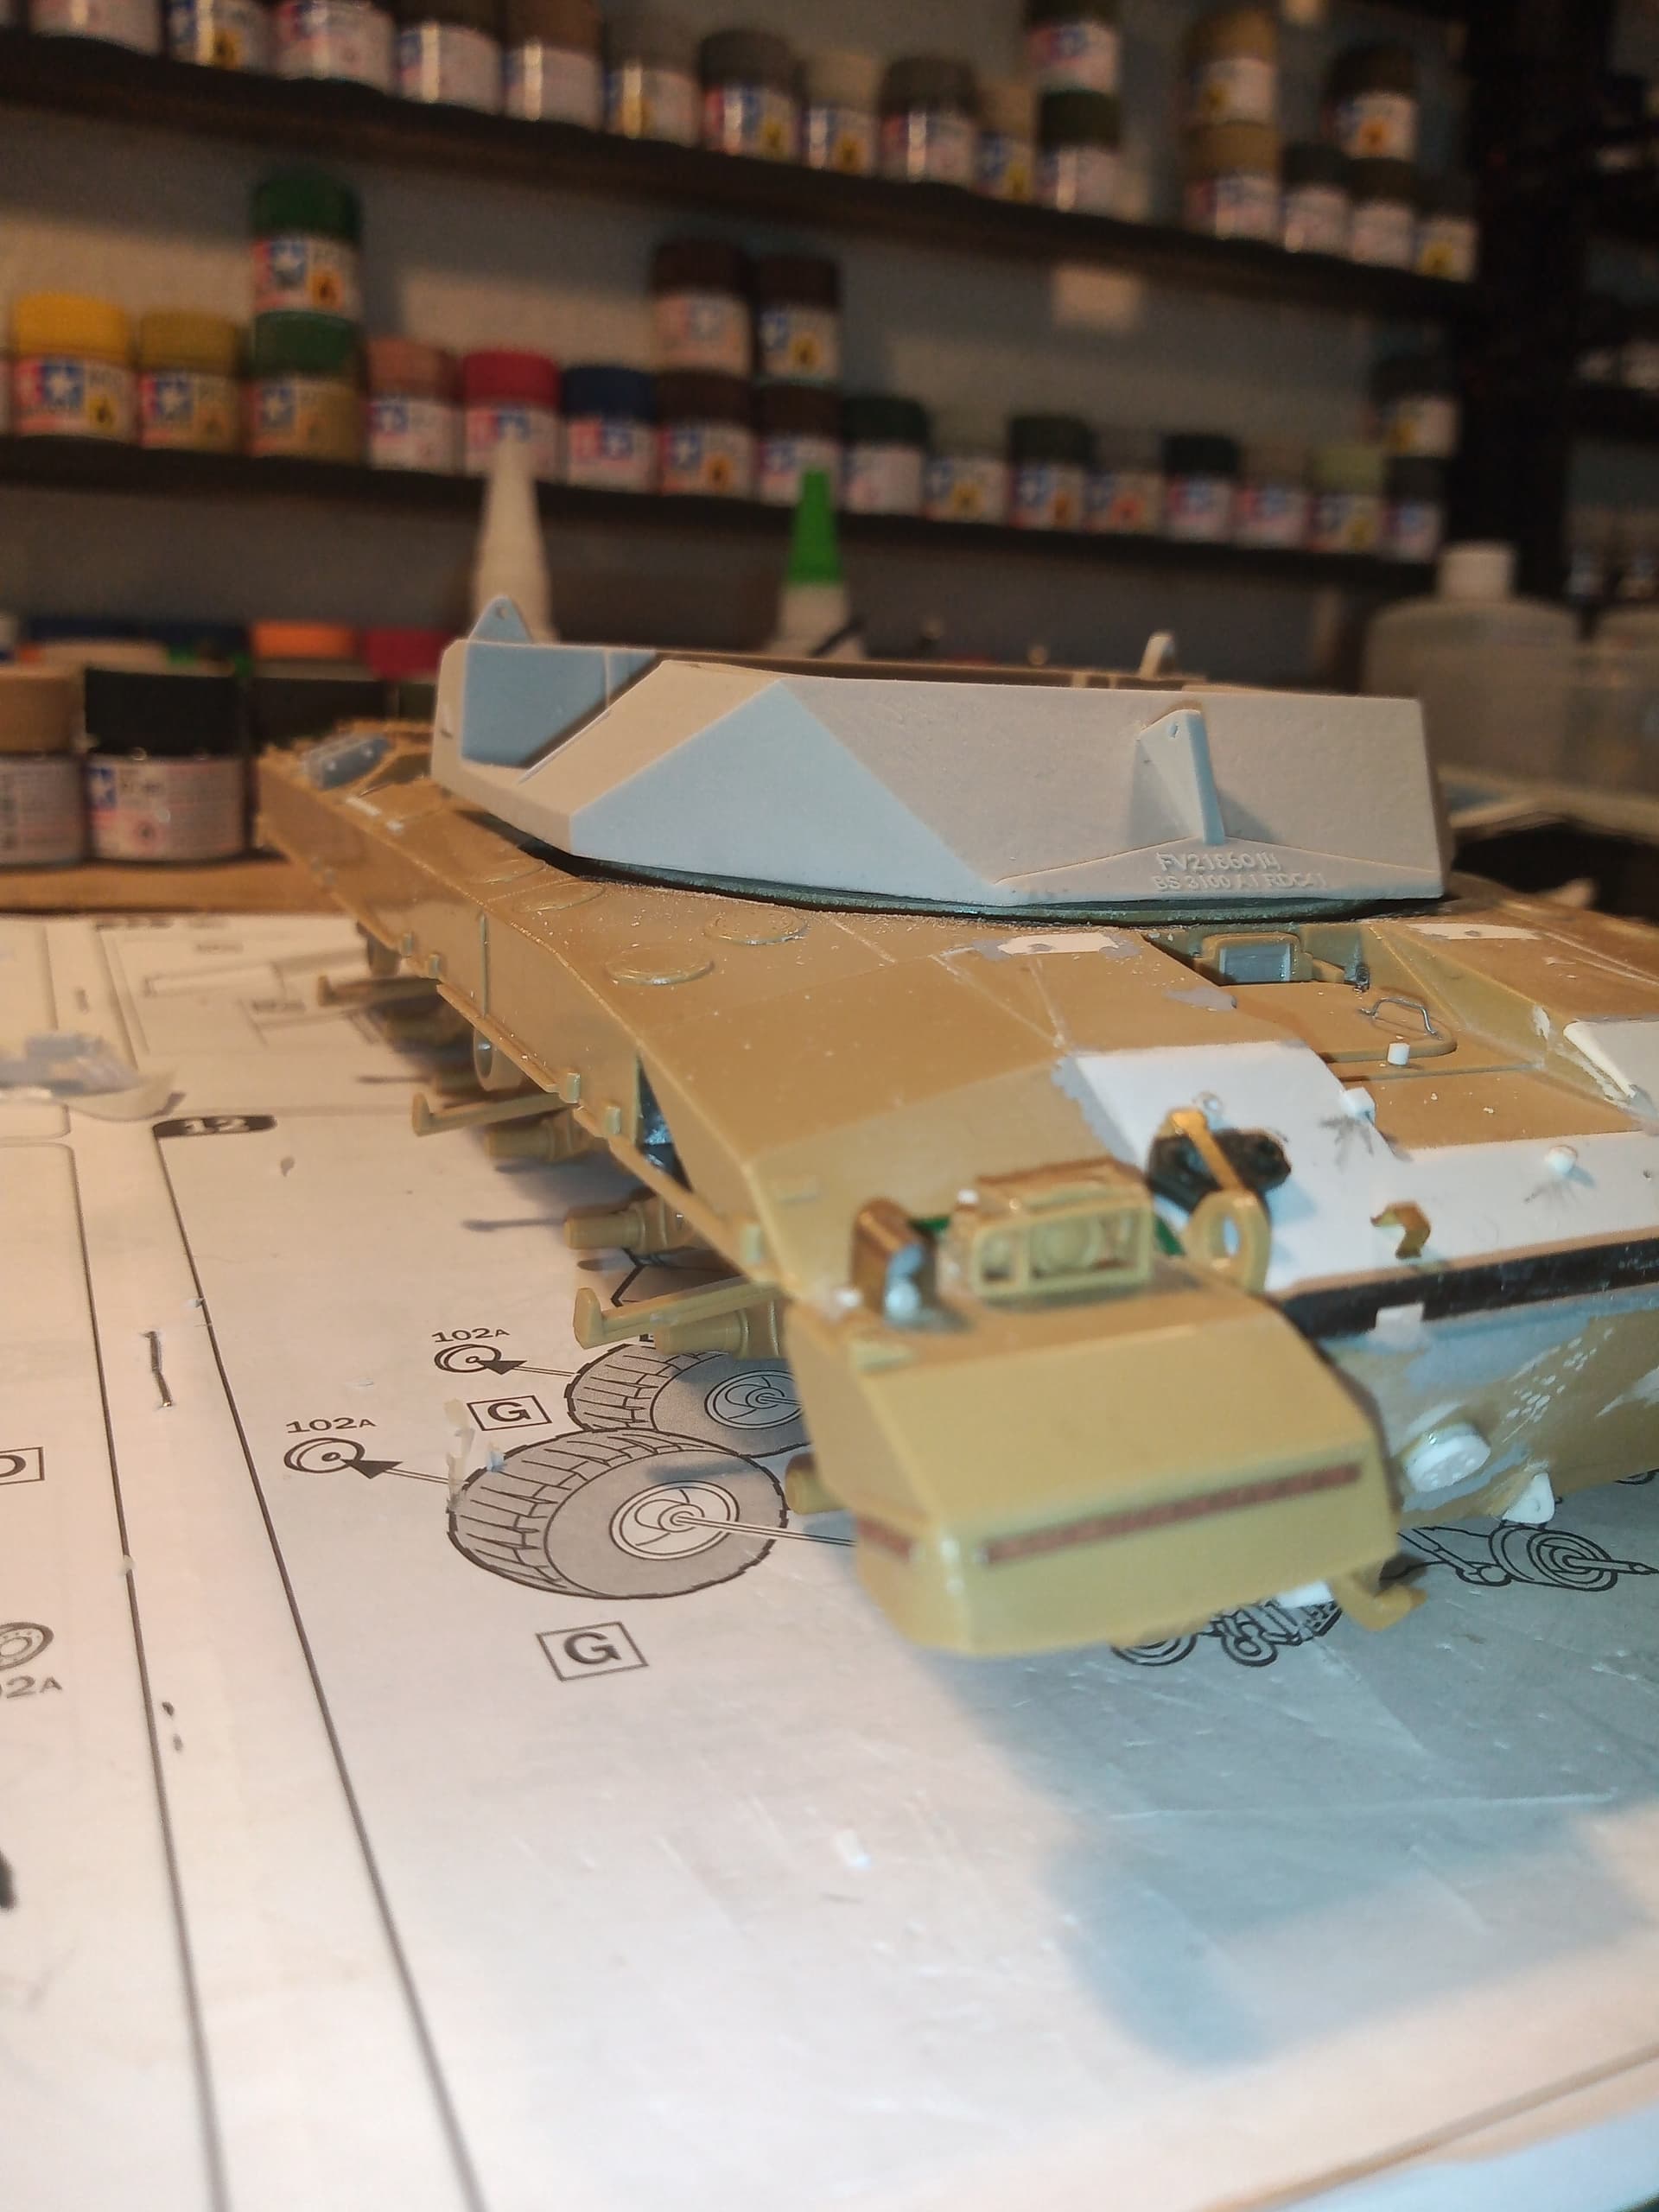
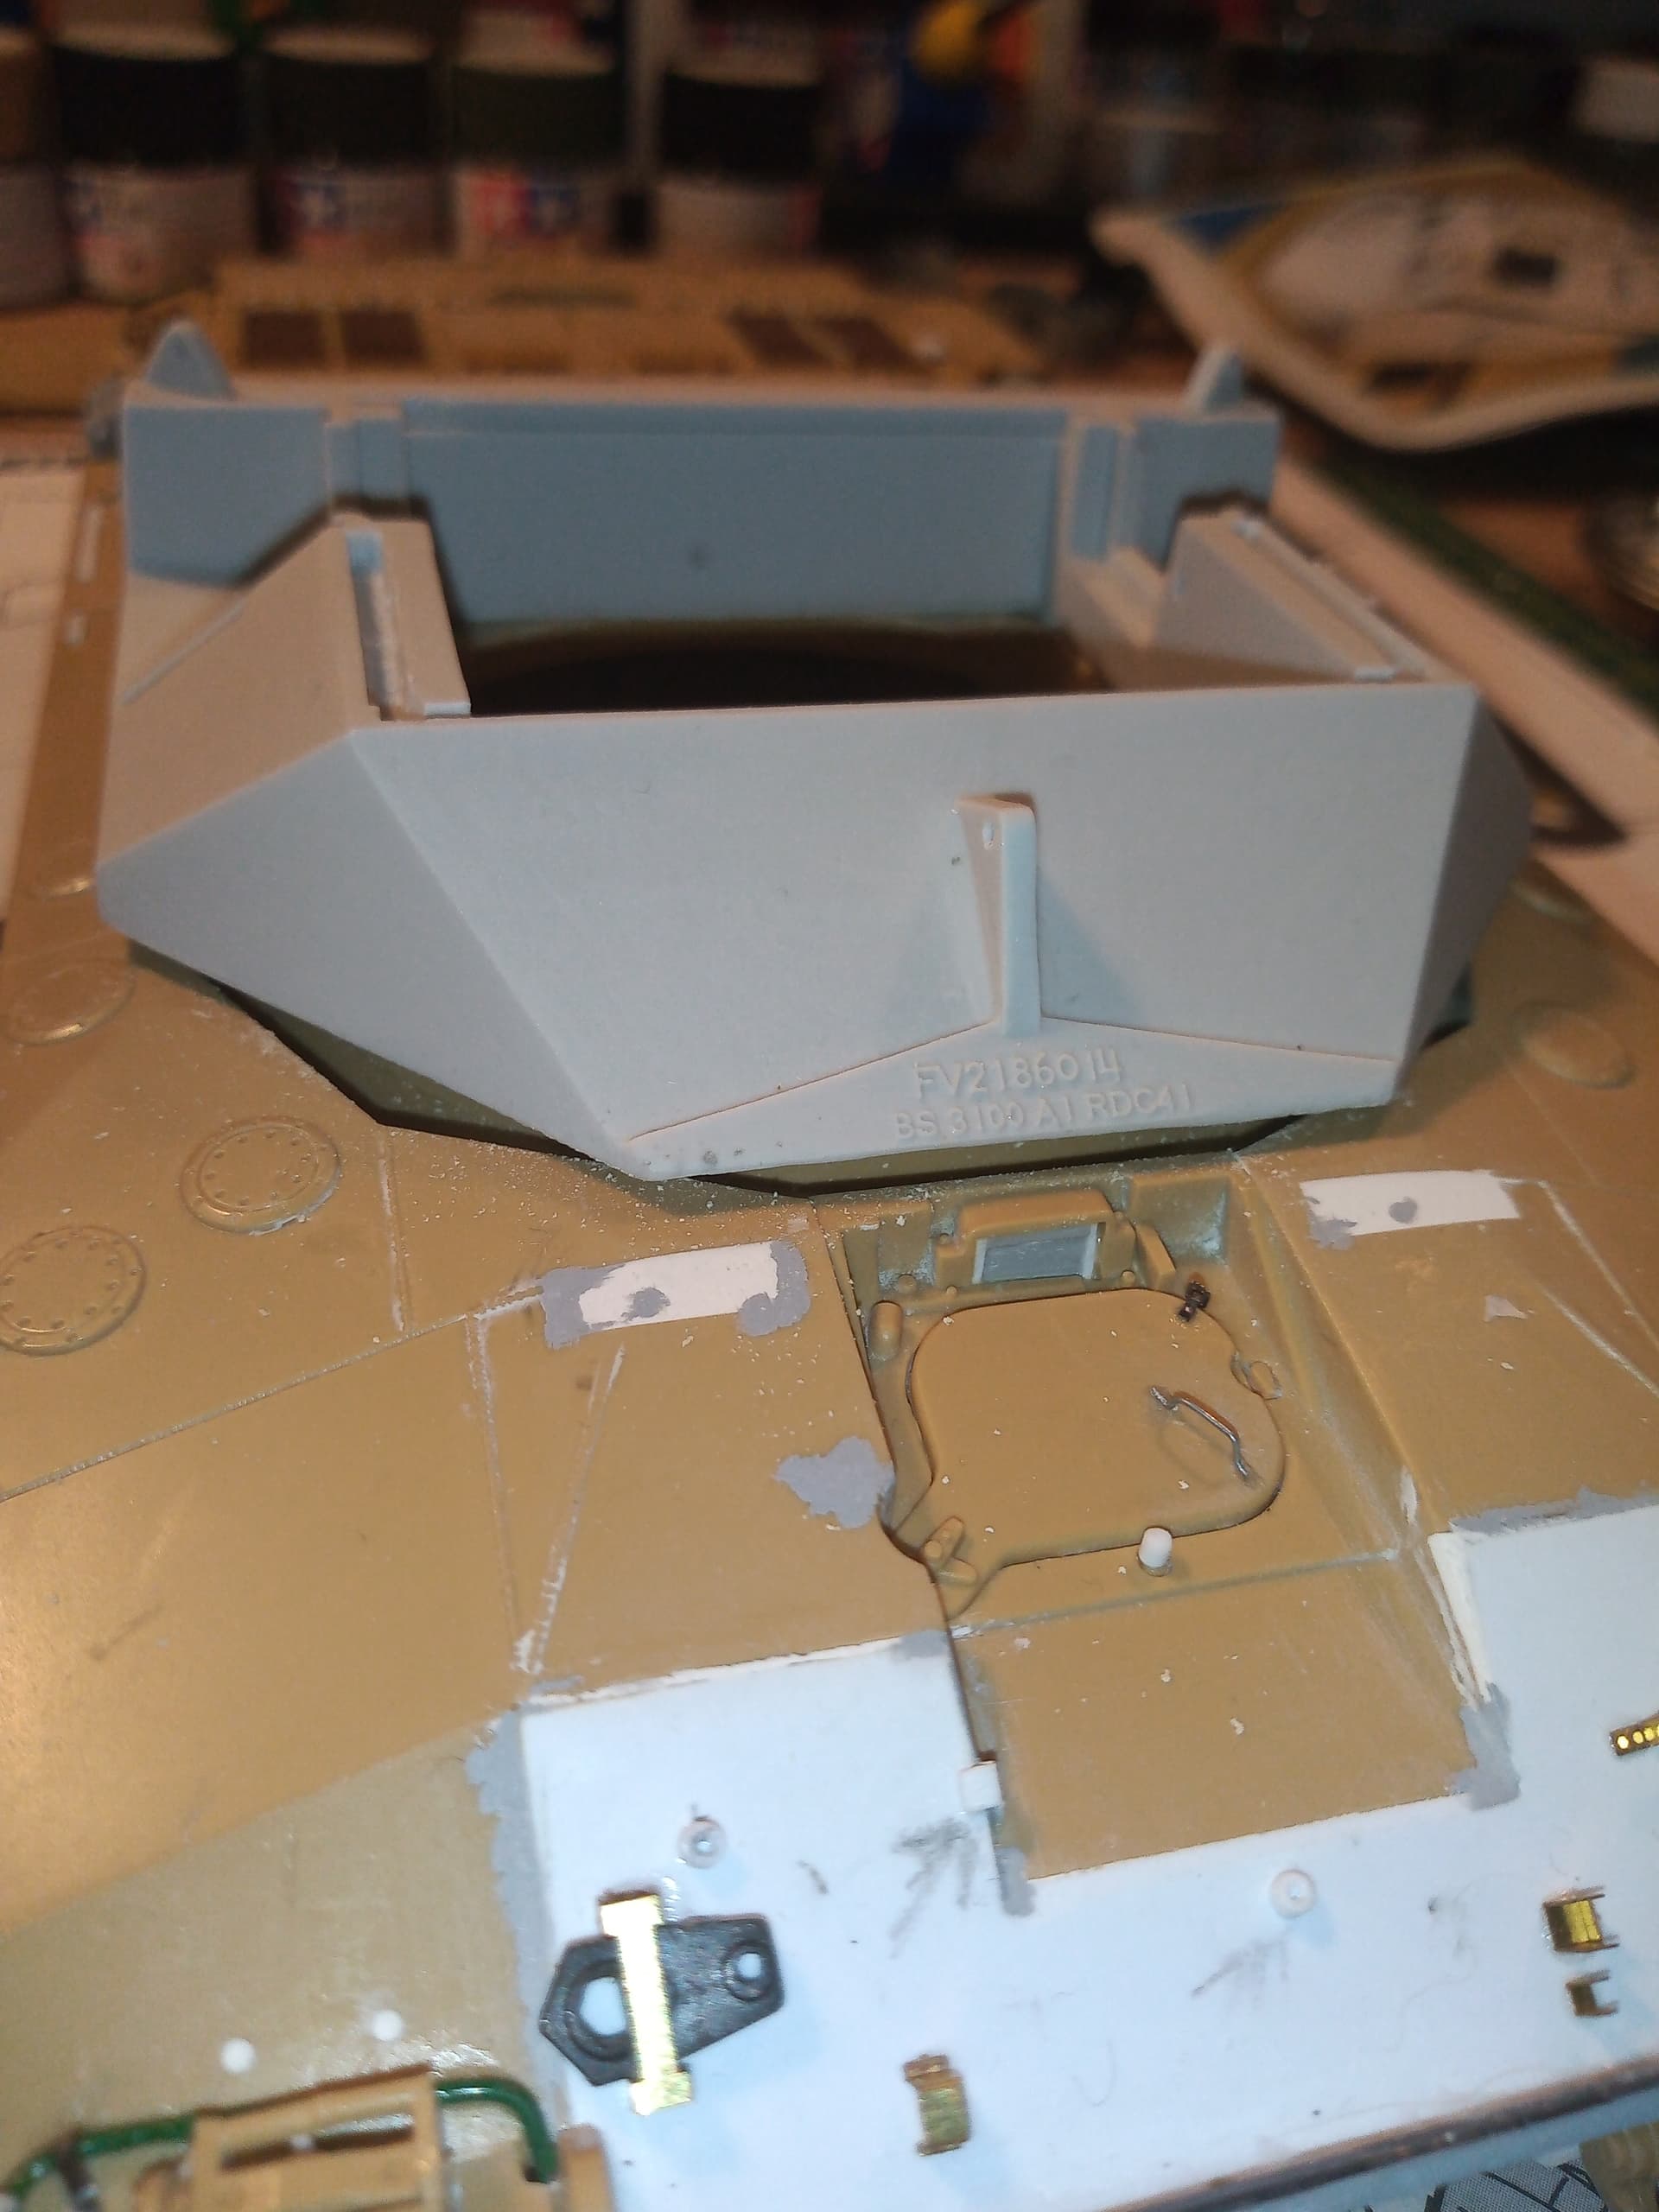
Looking at those gaps at the front, which I am 99.9% sure are not there on a real one… I am going to need to blank off the areas marked in black pen and then level that area off…
I have looked at a few other images of those areas, and I can’t see gaps…
4 Likes
Those gaps are interesting - I don’t think I had any pics that showed the area under the turret front from above. The casting might have filled that area, or it might have been plated over - I couldn’t tell. But the warping is something I can sympathise with - it is a problem with large resin casting and makes builds really tricky. If you dunk the whole thing in a pot of near-boiling water and press it flat on its head, will that sort it out?
As for height above deck, I designed the cab for the Trumpeter/Airfix kit, so the height on the Tamiya may be a little different.
2 Likes
Ocean Guardsman? Ocean Guardsman? Does that mean you’re a closet Bootie?
2 Likes
That’s interesting Tom about the height above deck and designed around the Airfix kit etc … That might also explain the gap issue on the front corners ?? Slightly different sized hulls maybe between Tamiya and the others ?
You can see in this image of where the cab should actually sit… The front edge is just behind the dvrs cab, so you should be able to see a little bit of hull, then the sight… On the instruction picture, the cab is to far forward…
And on this one you I am very confident that no gap can be seen on the front corner area… You would be able to make something out if the gap was there…
Image is from online and for reference discussion only.

It also gives a good view of what the gap should be as well between hull roof and bottom of cab…
I think for the gaps the easiest way is some white plasti card and then levelled off and some filler sanded back…
The warping is a pain… For the cross member I am going to cut it… It does do a lot for supporting and it will be made good again after I cut out a mm or 2 section…
For the roof warp… I may try the near boiling water method… Other than than, it would have to be superglue the front section and hold them flat until dry…
Will be plenty of WIP updates with the resin assembly…
3 Likes
Haha … Definitely not Brian…
In late 2003 until mid 2005, this was what my job was…
2 Scots Guards Captains made a plan for the Household Div to do a round the world sailing trip ( going the wrong way round) with 8 layover points in various countries to last just over 12 months. This would be open to all Household Div troops of any rank, and each leg would also have a crew person from BAE who sponsored the expedition. We were allocated an ex 60foot Global challenge racing yacht " Discovery" from the Joint service yacht club in Gosport, which would be slippered by one of their skippers , again over each leg.
My job was SNCO based out of Windsor, my Col gave his green light for me to do it and be based out of our Bks in Windsor.
My job … Well, pretty much everything… One of the 2 captains who planned it would be on board for the whole thing, the other had to take up the post of Adjt at RMAS, so he was out of it really…
I was responsible for sorting out all UK pre sail training for Household Div personnel and the BAE person, sorting out all their transport to and from Windsor then to Gosport and back, then for each leg arranging flights and visas to each country for up to 10 going and 10 returning and dropping at and collecting from Heathrow. All stores and food provisions in UK and abroad… Setting up and maintaing and managing a Sat link Comms system to run on board and to allow for a back up emergency Comms link and welfare messages between the crew and UK families which I monitored throughout…
I was in charge of a running available budget of £350K ( which BAE kept topping up) This was for food, flights, transport, leg changeover admin requirements abroad and any repairs that Discovery needed while at sea or in port. One nice money transfer I did was for 58k … for a water pump and part of the mast that got damaged and was flown out to the Falklands for them which obviously required RAF liaison for the flight out etc… I was also the nominated casualty informer and liaison for any accidents at sea with the crew, or families in UK who had to get hold of the boat. I also had to brief the Maj Gen Household Div in Horse guards every 2 or 3 weeks (usually face to face as he was an avid yachtsman and it was him who had approved it all initially…
I was pretty busy for a year and a half lol.
2 Likes
Brilliant - just occasionally the Army comes up trumps (though you often have to make your own luck). I used to volunteer for just about everything; sometimes, in accordance with the old soldier’s adage “Never volunteer…etc” it did, indeed bite me in the ar*e, but mostly, it all worked out viz Zimbabwe, Oman and the like.
Was the Major General back then - the late (sadly) Sebastian Roberts? I knew him when he was DPR (Army) when I was in Media Ops at PJHQ. I quite liked him.
3 Likes
Small world, yes, it was Seb Roberts. Very very down to earth chap… On one of the training sails in Gosport I took him down with me and while we were out on the Solent, him and I were down in the galley making brews and cheese and jam butties for the whole crew … Real top bloke… And I used to really enjoy going up to Whitehall to give his briefings …
He also was responsible for 1 of the 2 massive perks I had with the job…
-
He got me a ten day trip to Cape Town on one of the leg changeovers which I will tell you about how it happened when I see you in Yeovil… Funny story…
-
I was literally my own boss for over 18 months … Literally answered to no one … Cut my own detail… Brilliant

3 Likes