Thanks, that makes sense and doesn’t in one way, why remove armour from the front of the tank? However it does line up with photos of the real thing and how the weld lines run. Unfortunately all small scale models have the step, so it’s out with the saw! Should be fun!
1 Like
Maybe it was something just as simple as a design geek worked out that the slab wasn’t needed taking into account it’s a sloped front anyway and it was just unnecessary weight … Probably never know now.
2 Likes
The instructions show it a little high from Scorpion, but that could be a trick of the lighting
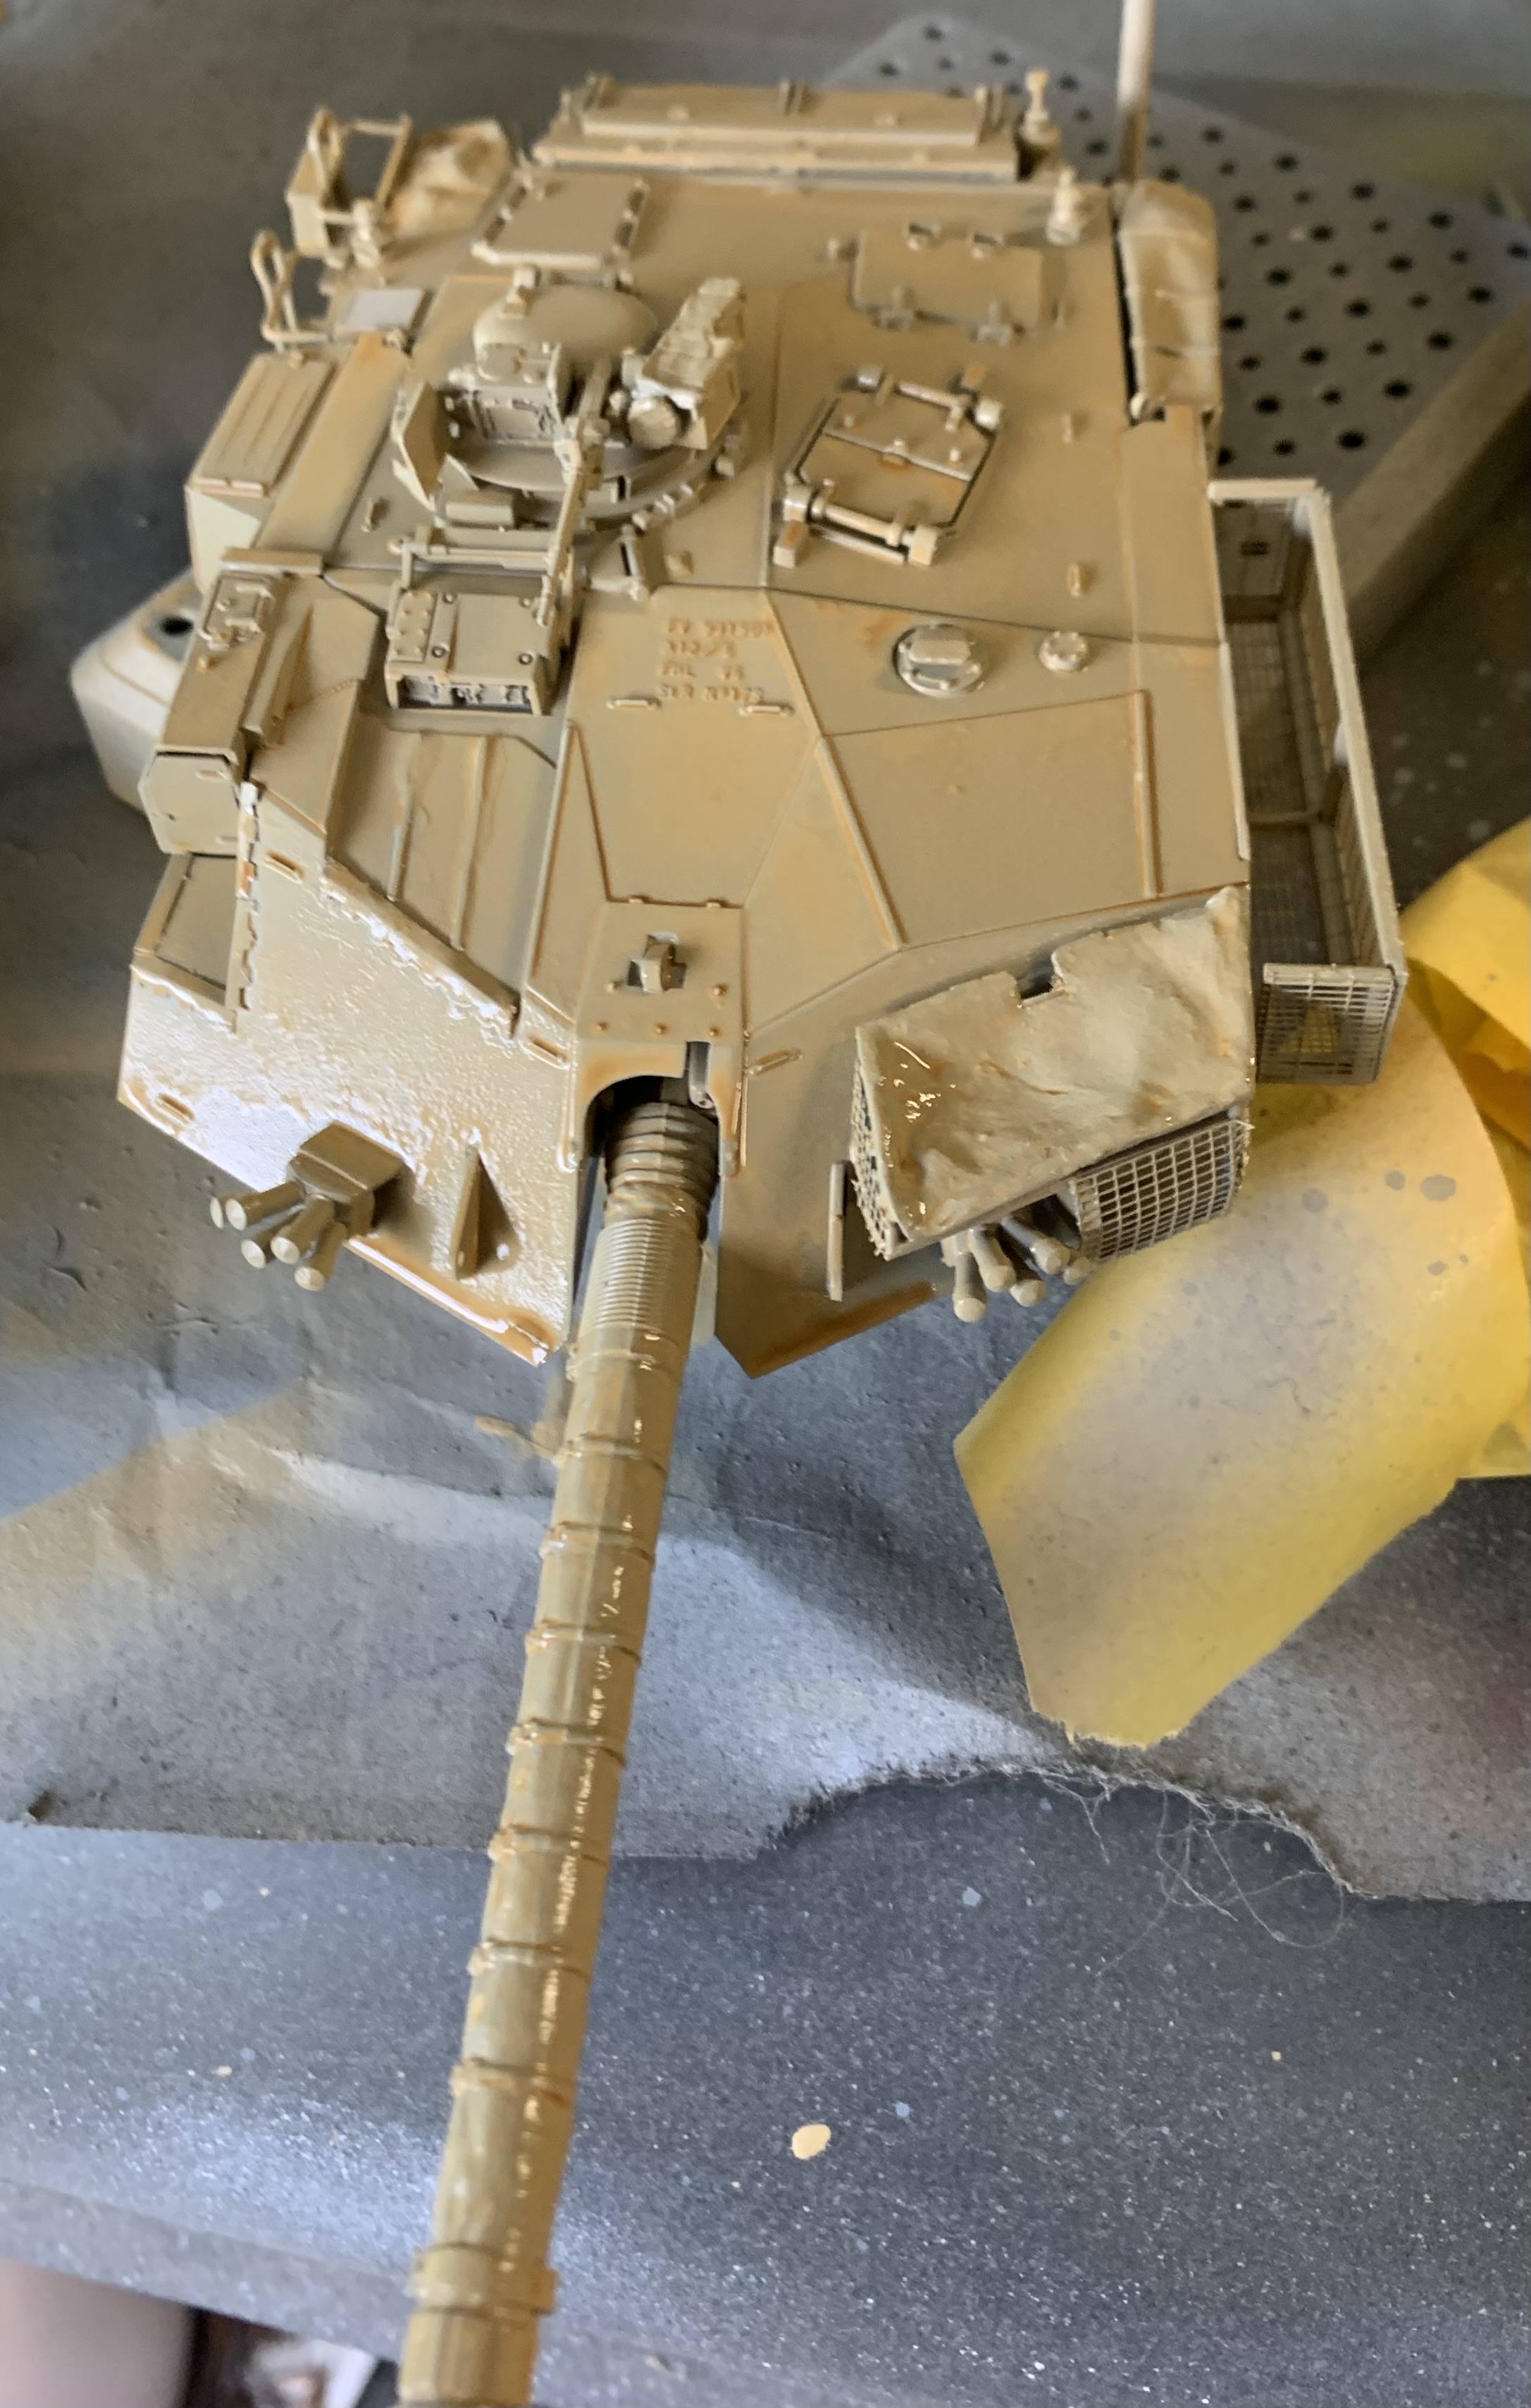
And I fought with that rear bin for an hour to get it that close. By then I said Screw it!
2 Likes
Fair enough, sometimes you have to leave things as they are … ![]()
2 Likes
I made the mixture for the Op granby paint, and this is how it’s turning out. It’s becoming more brown.
I’m not happy with it.
I’ll have to wait until it’s a sunny day cause it’s too damp
4 Likes
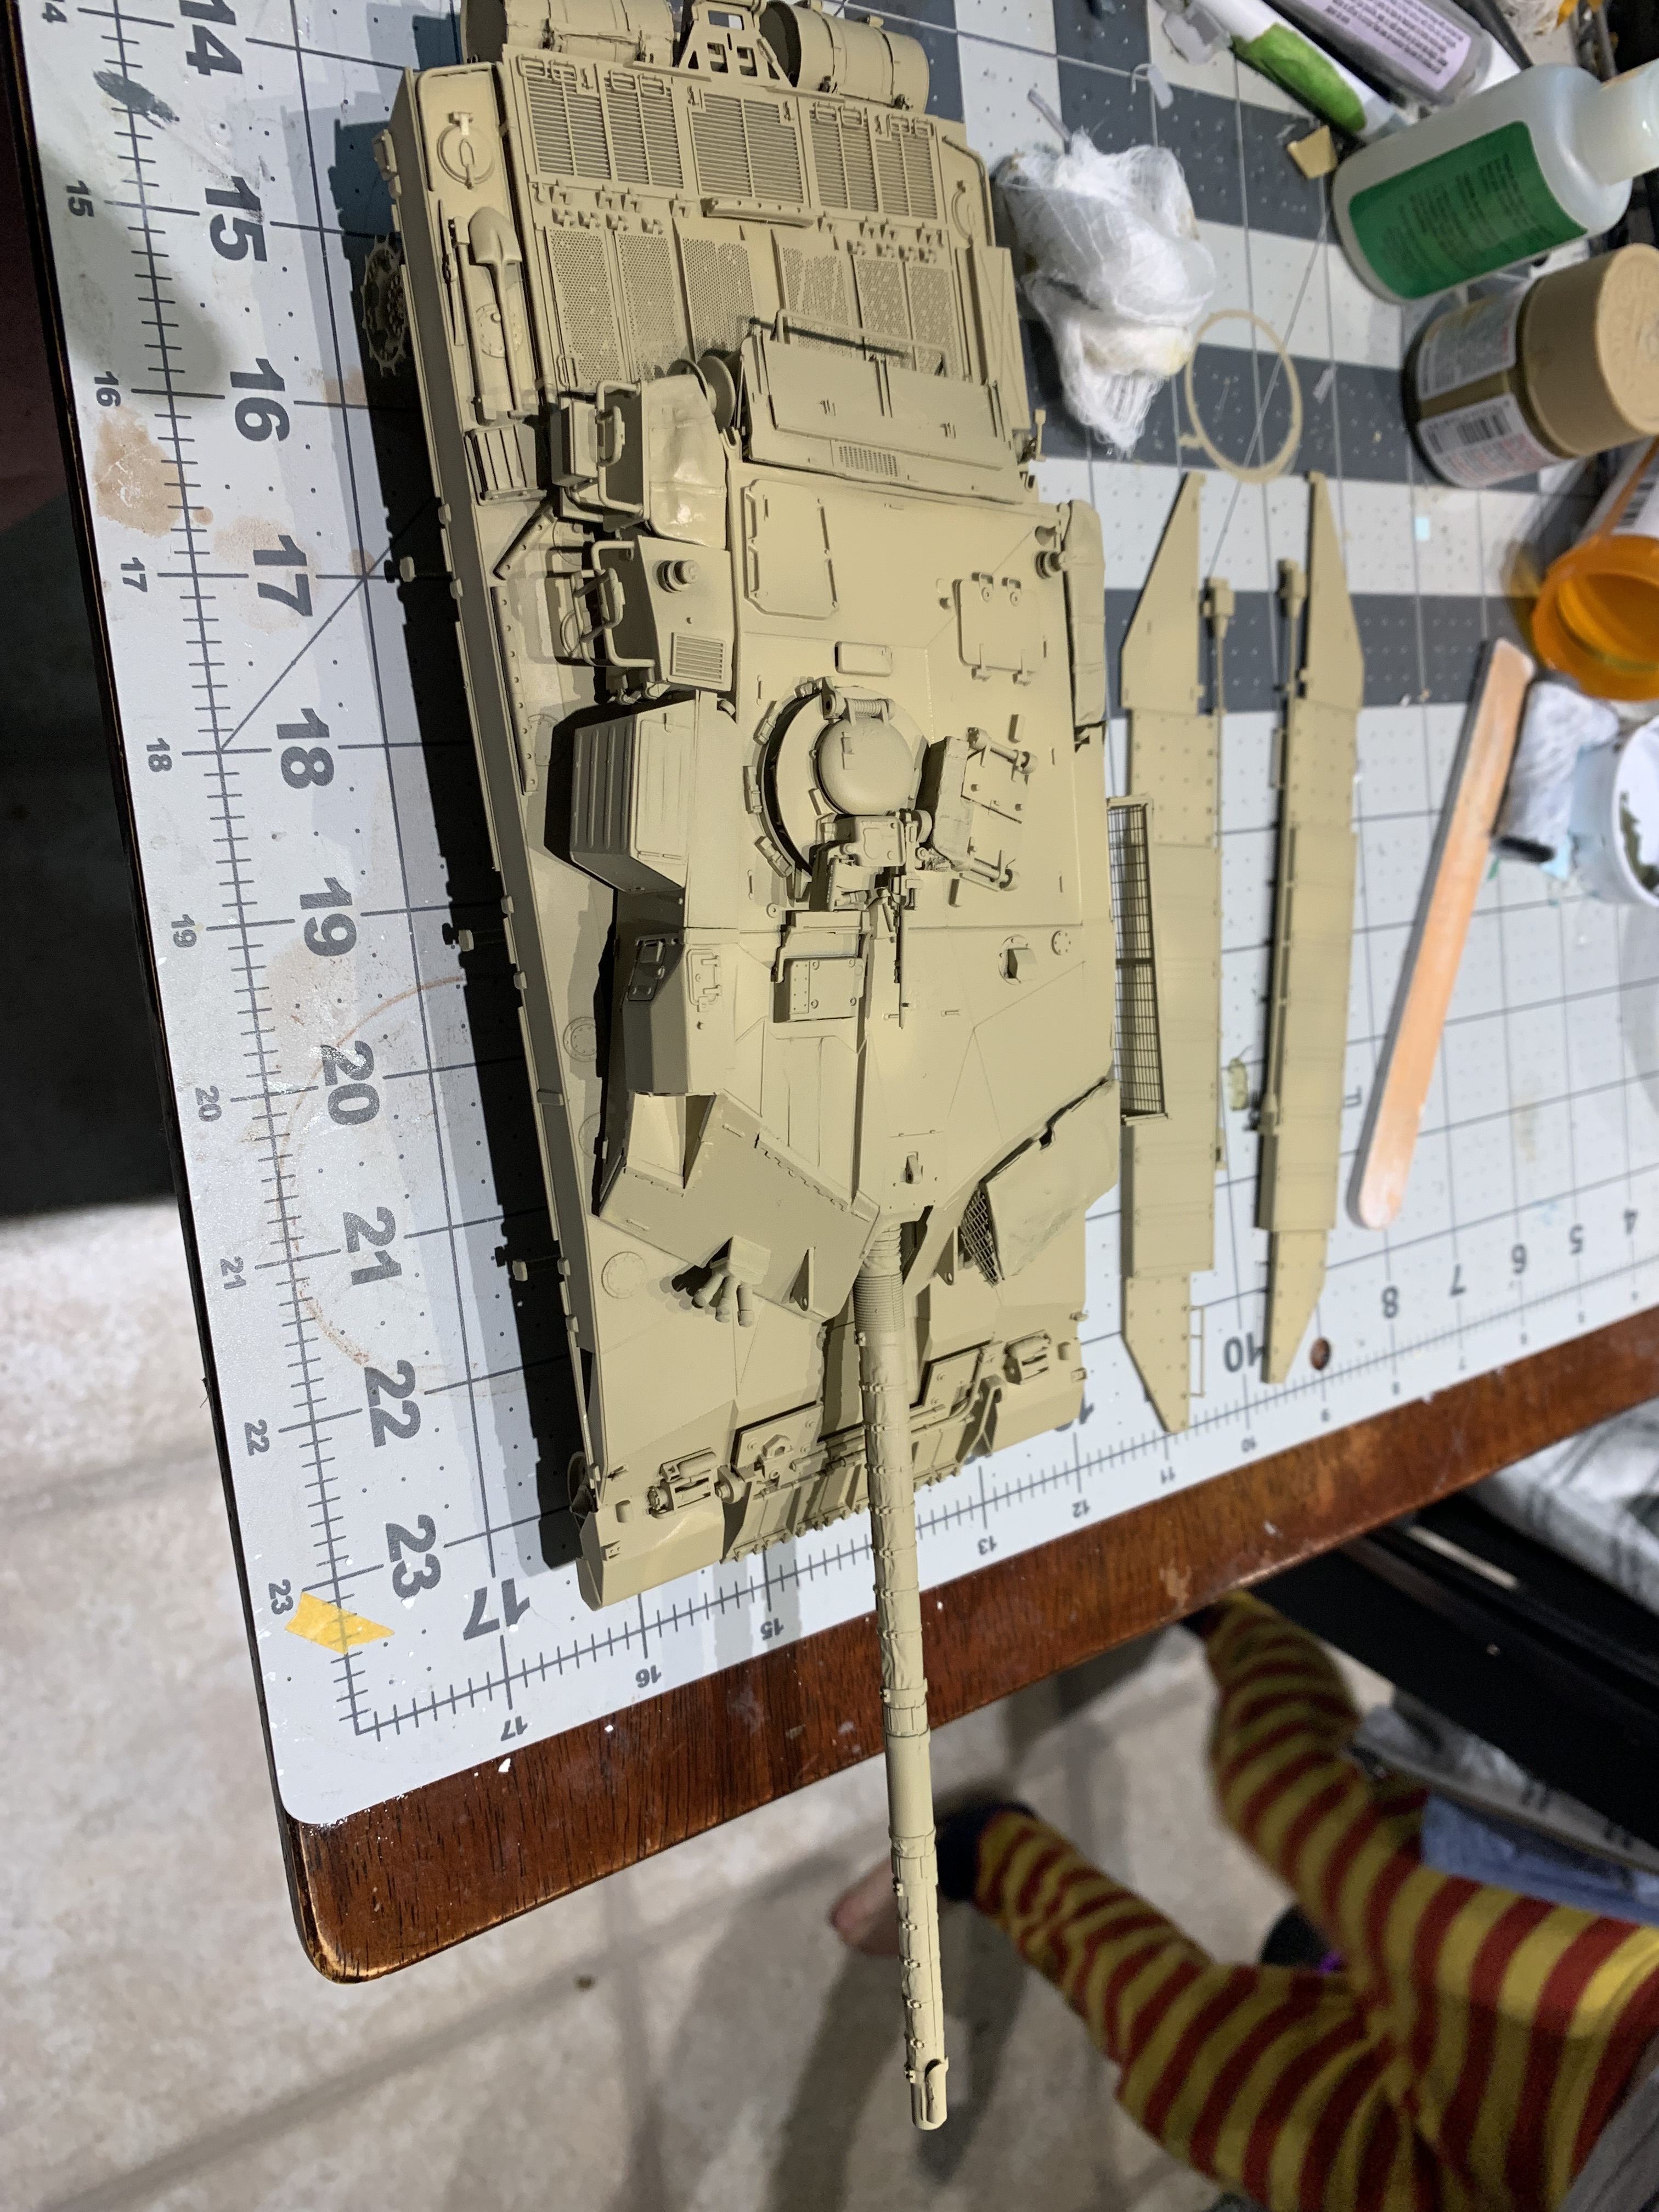
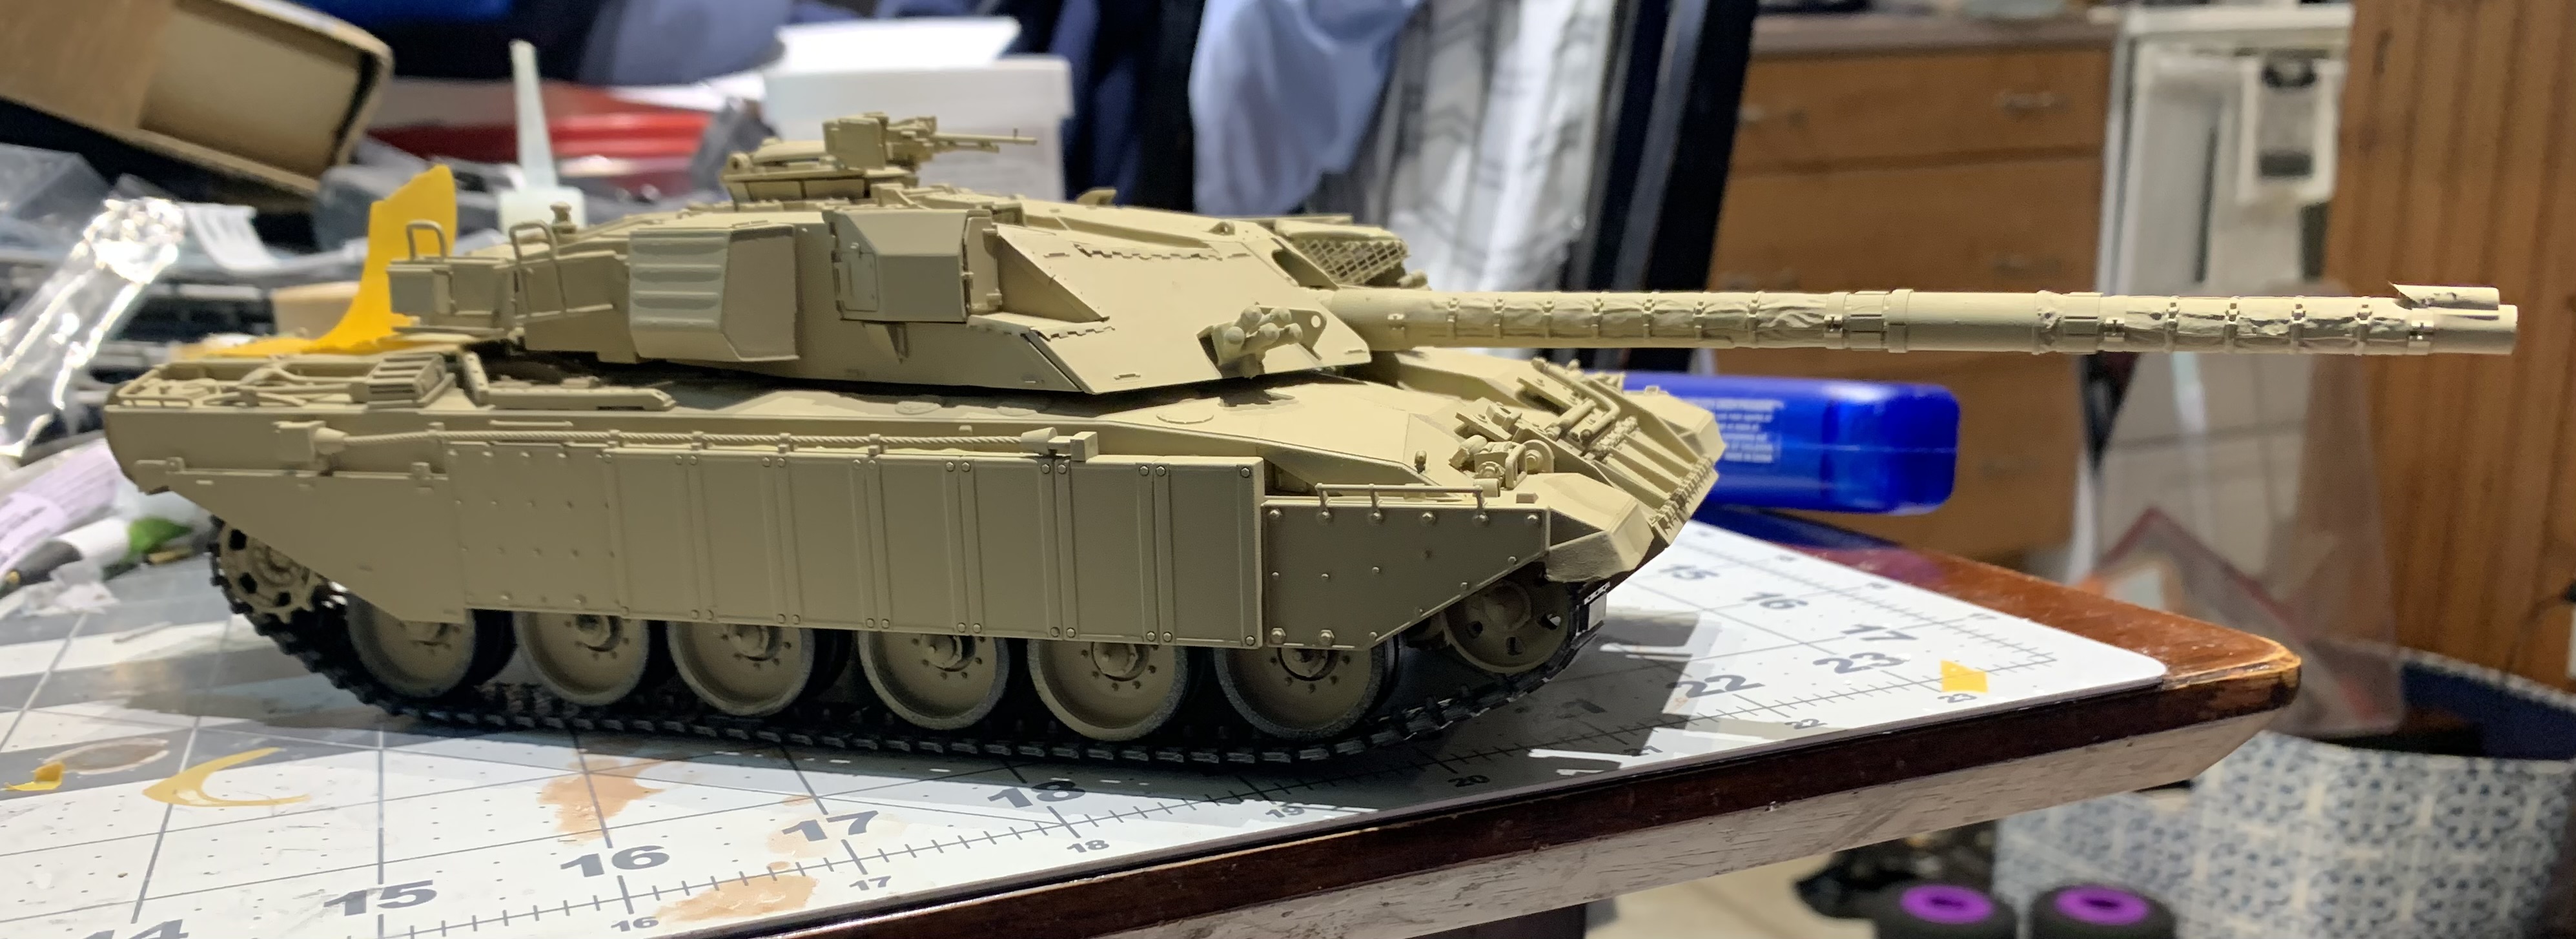
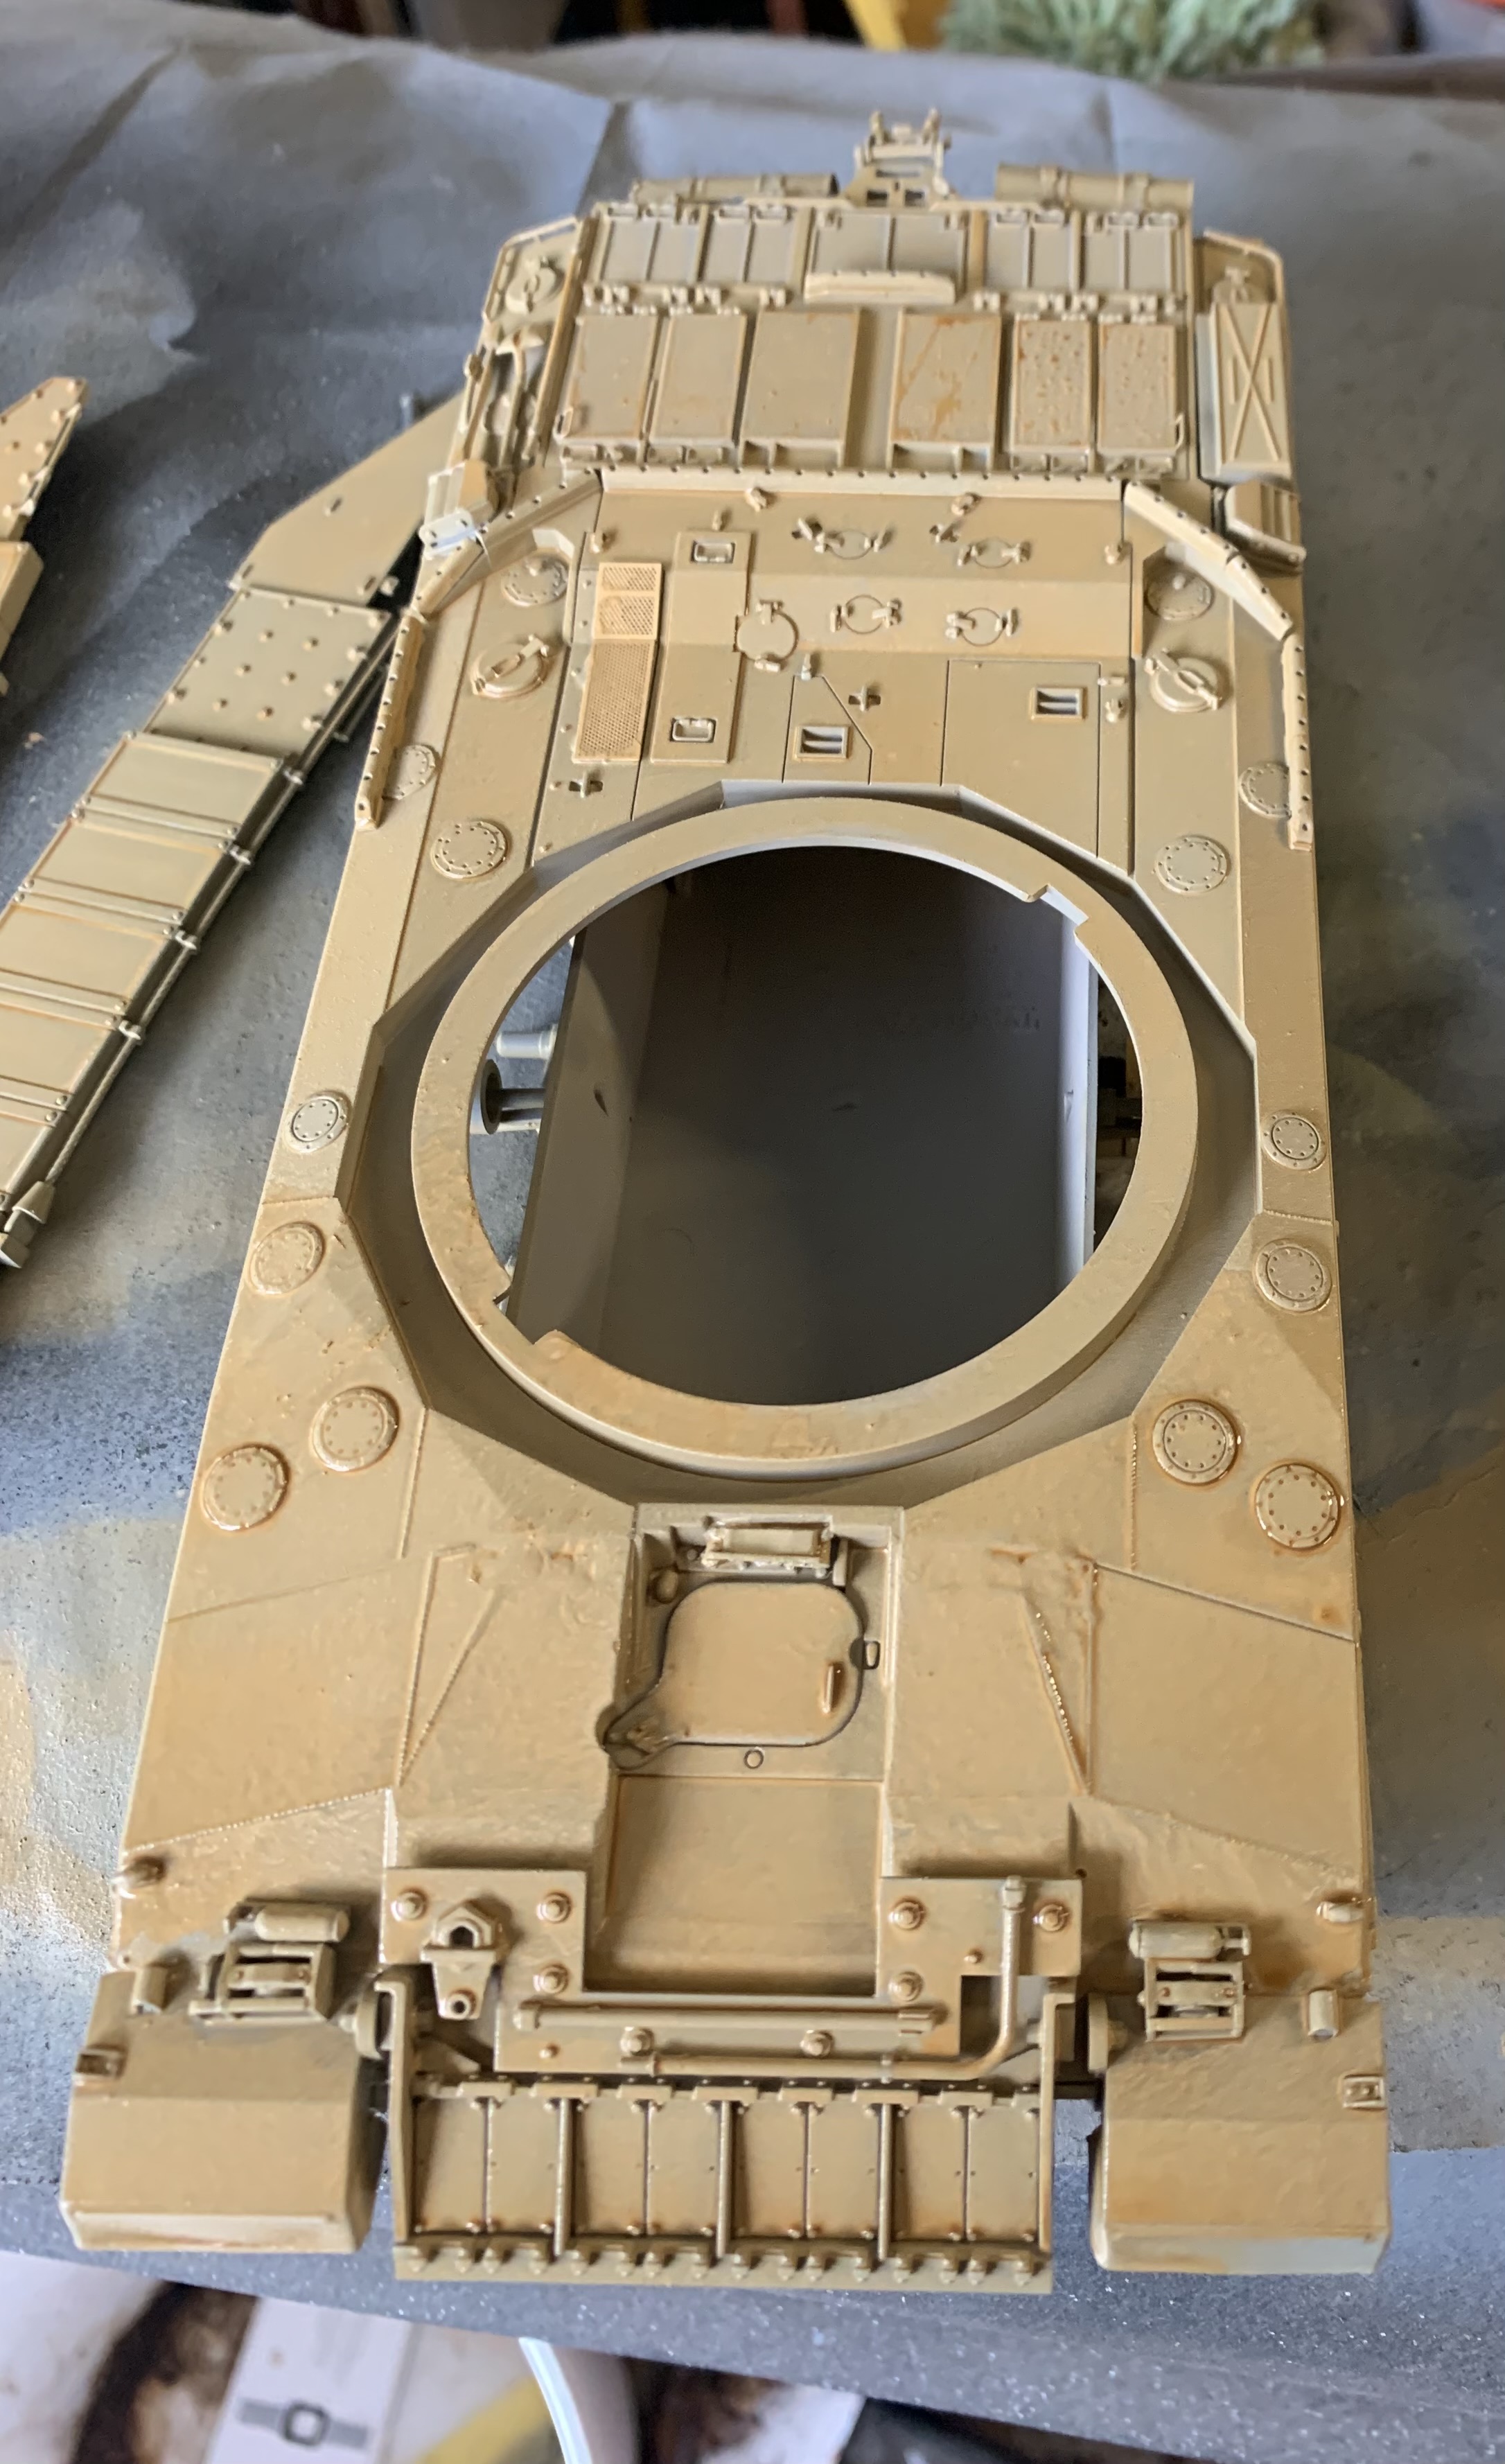
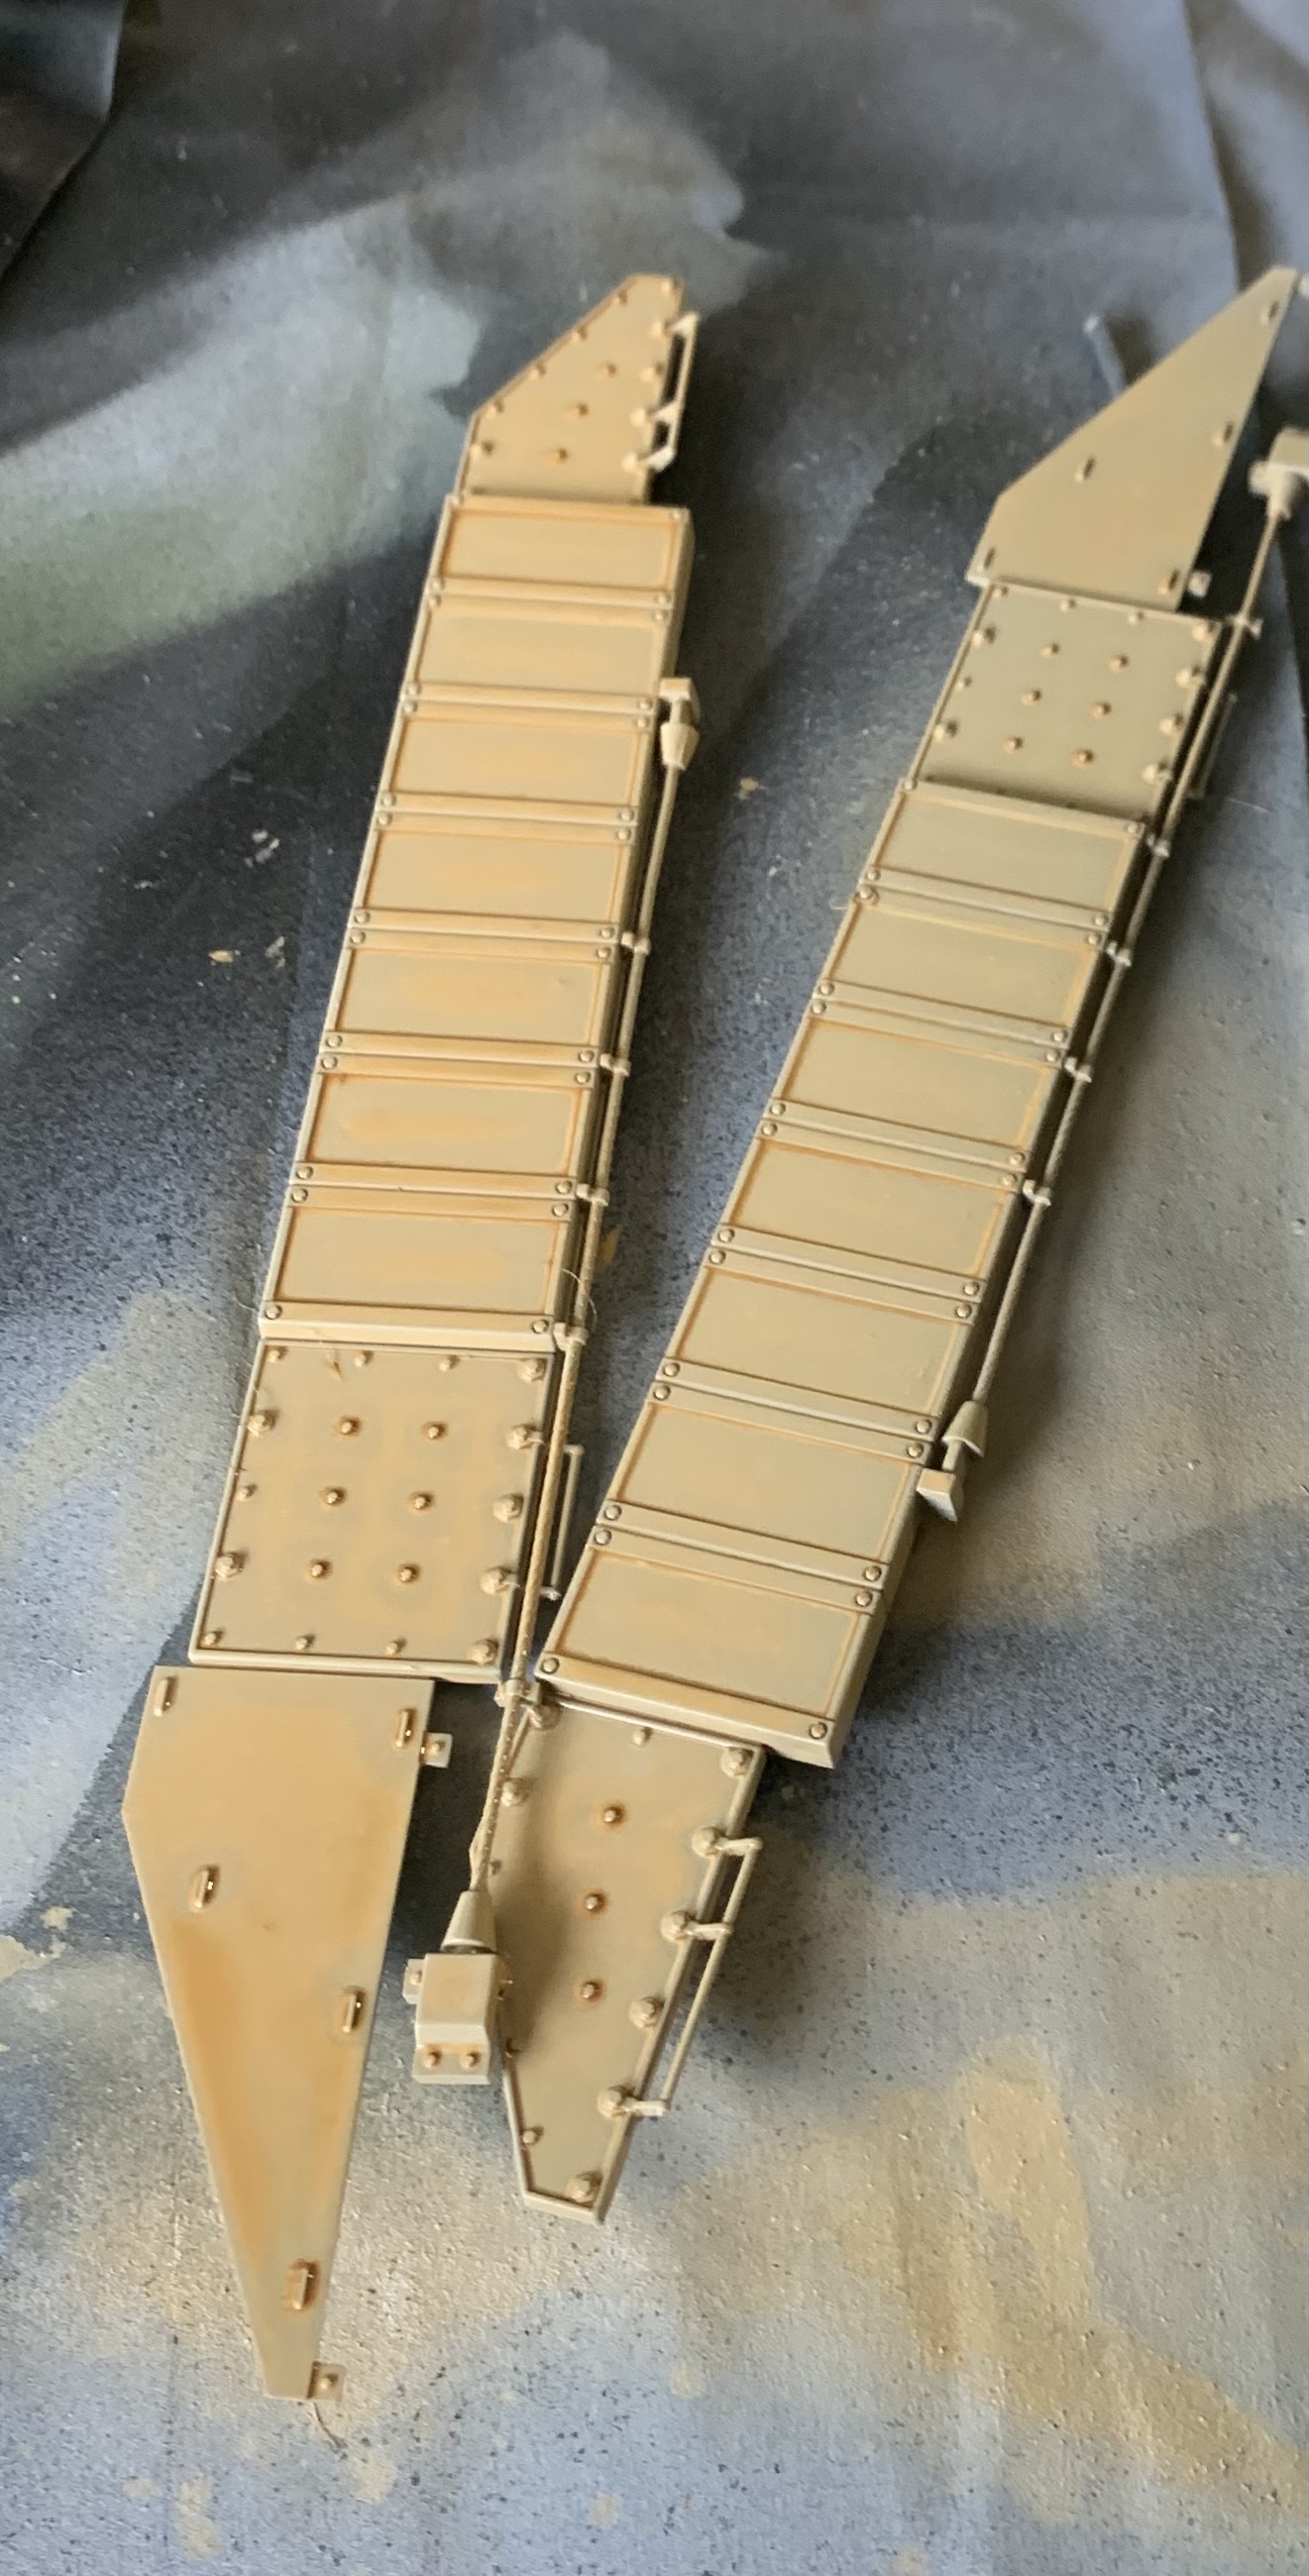
Tracks side skirts added.
I have some stowage here, some cots on the way, and some camo netting from WARP.
Still waiting on the decals.
4 Likes
2nd coat is a massive improvement… Looks nice and even and a good flat uniform finish all-over… ![]()
2 Likes
Last thing tonight I promise!
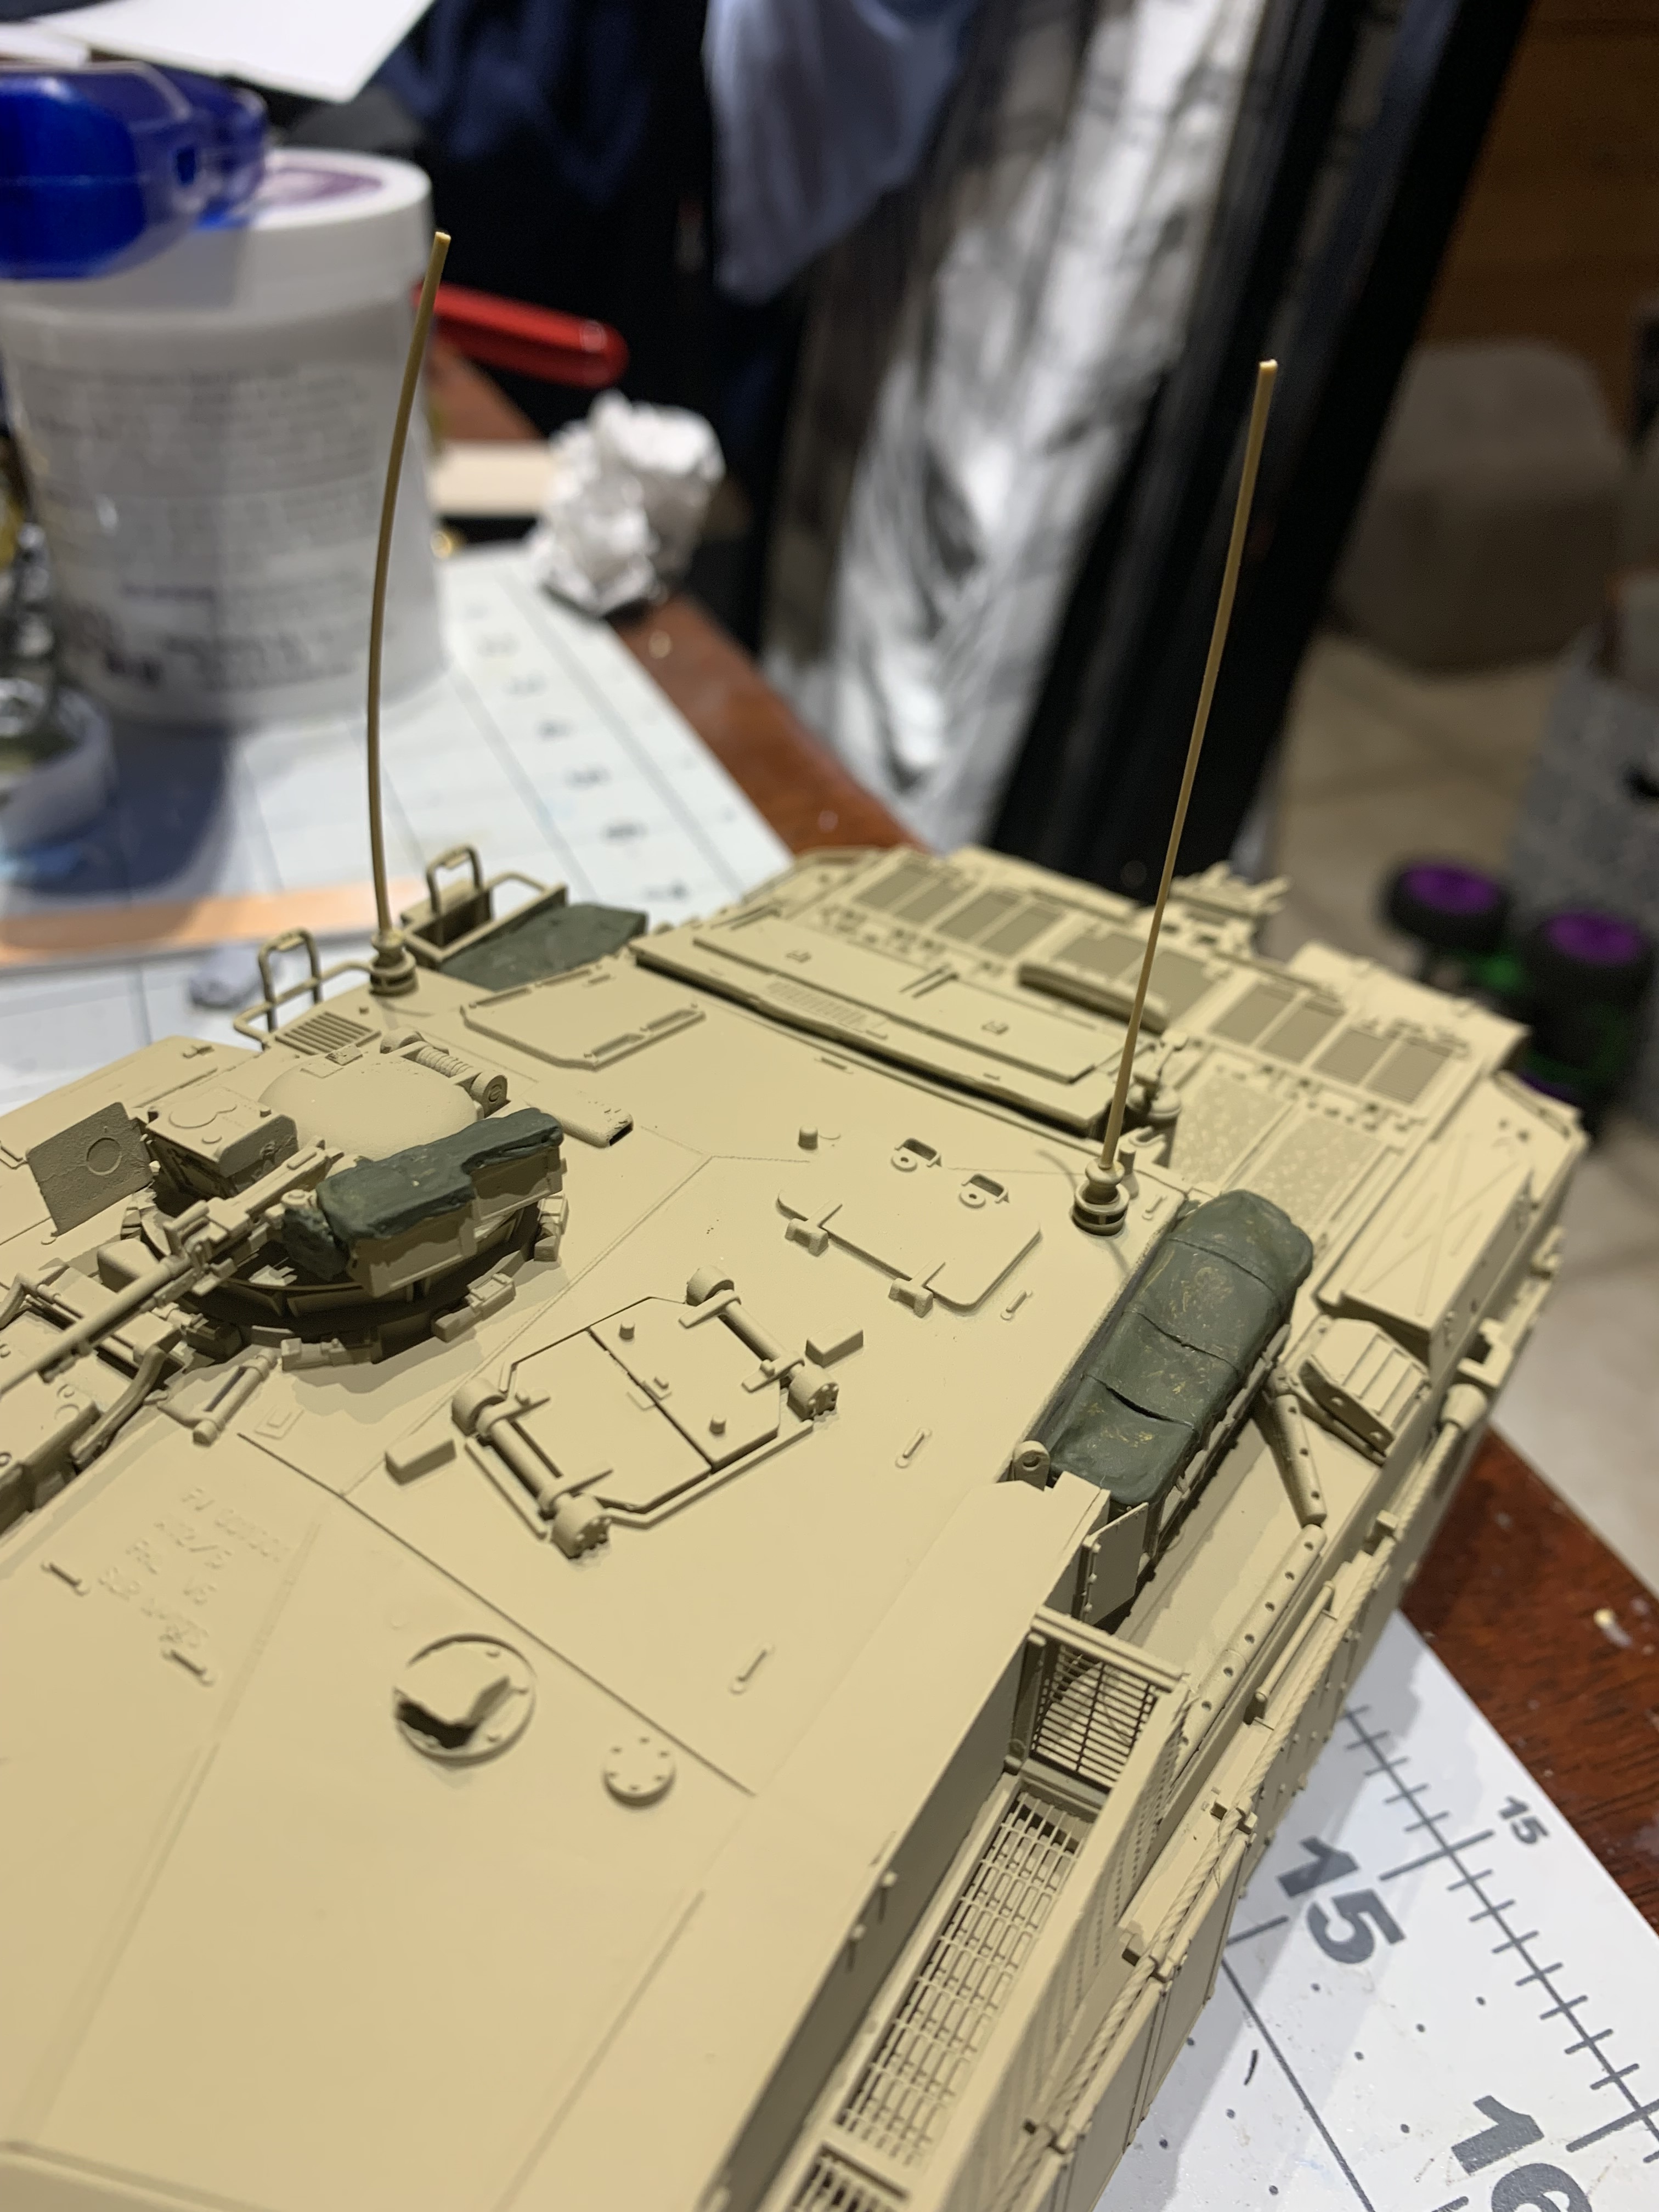
Tried my hand at making the clansman antennas by doing the stretches sprue, which I’ve never done before.
They’re probably too thick, but I think they fit the bill.
The curved antenna will have a Union Jack attached to it.
5 Likes
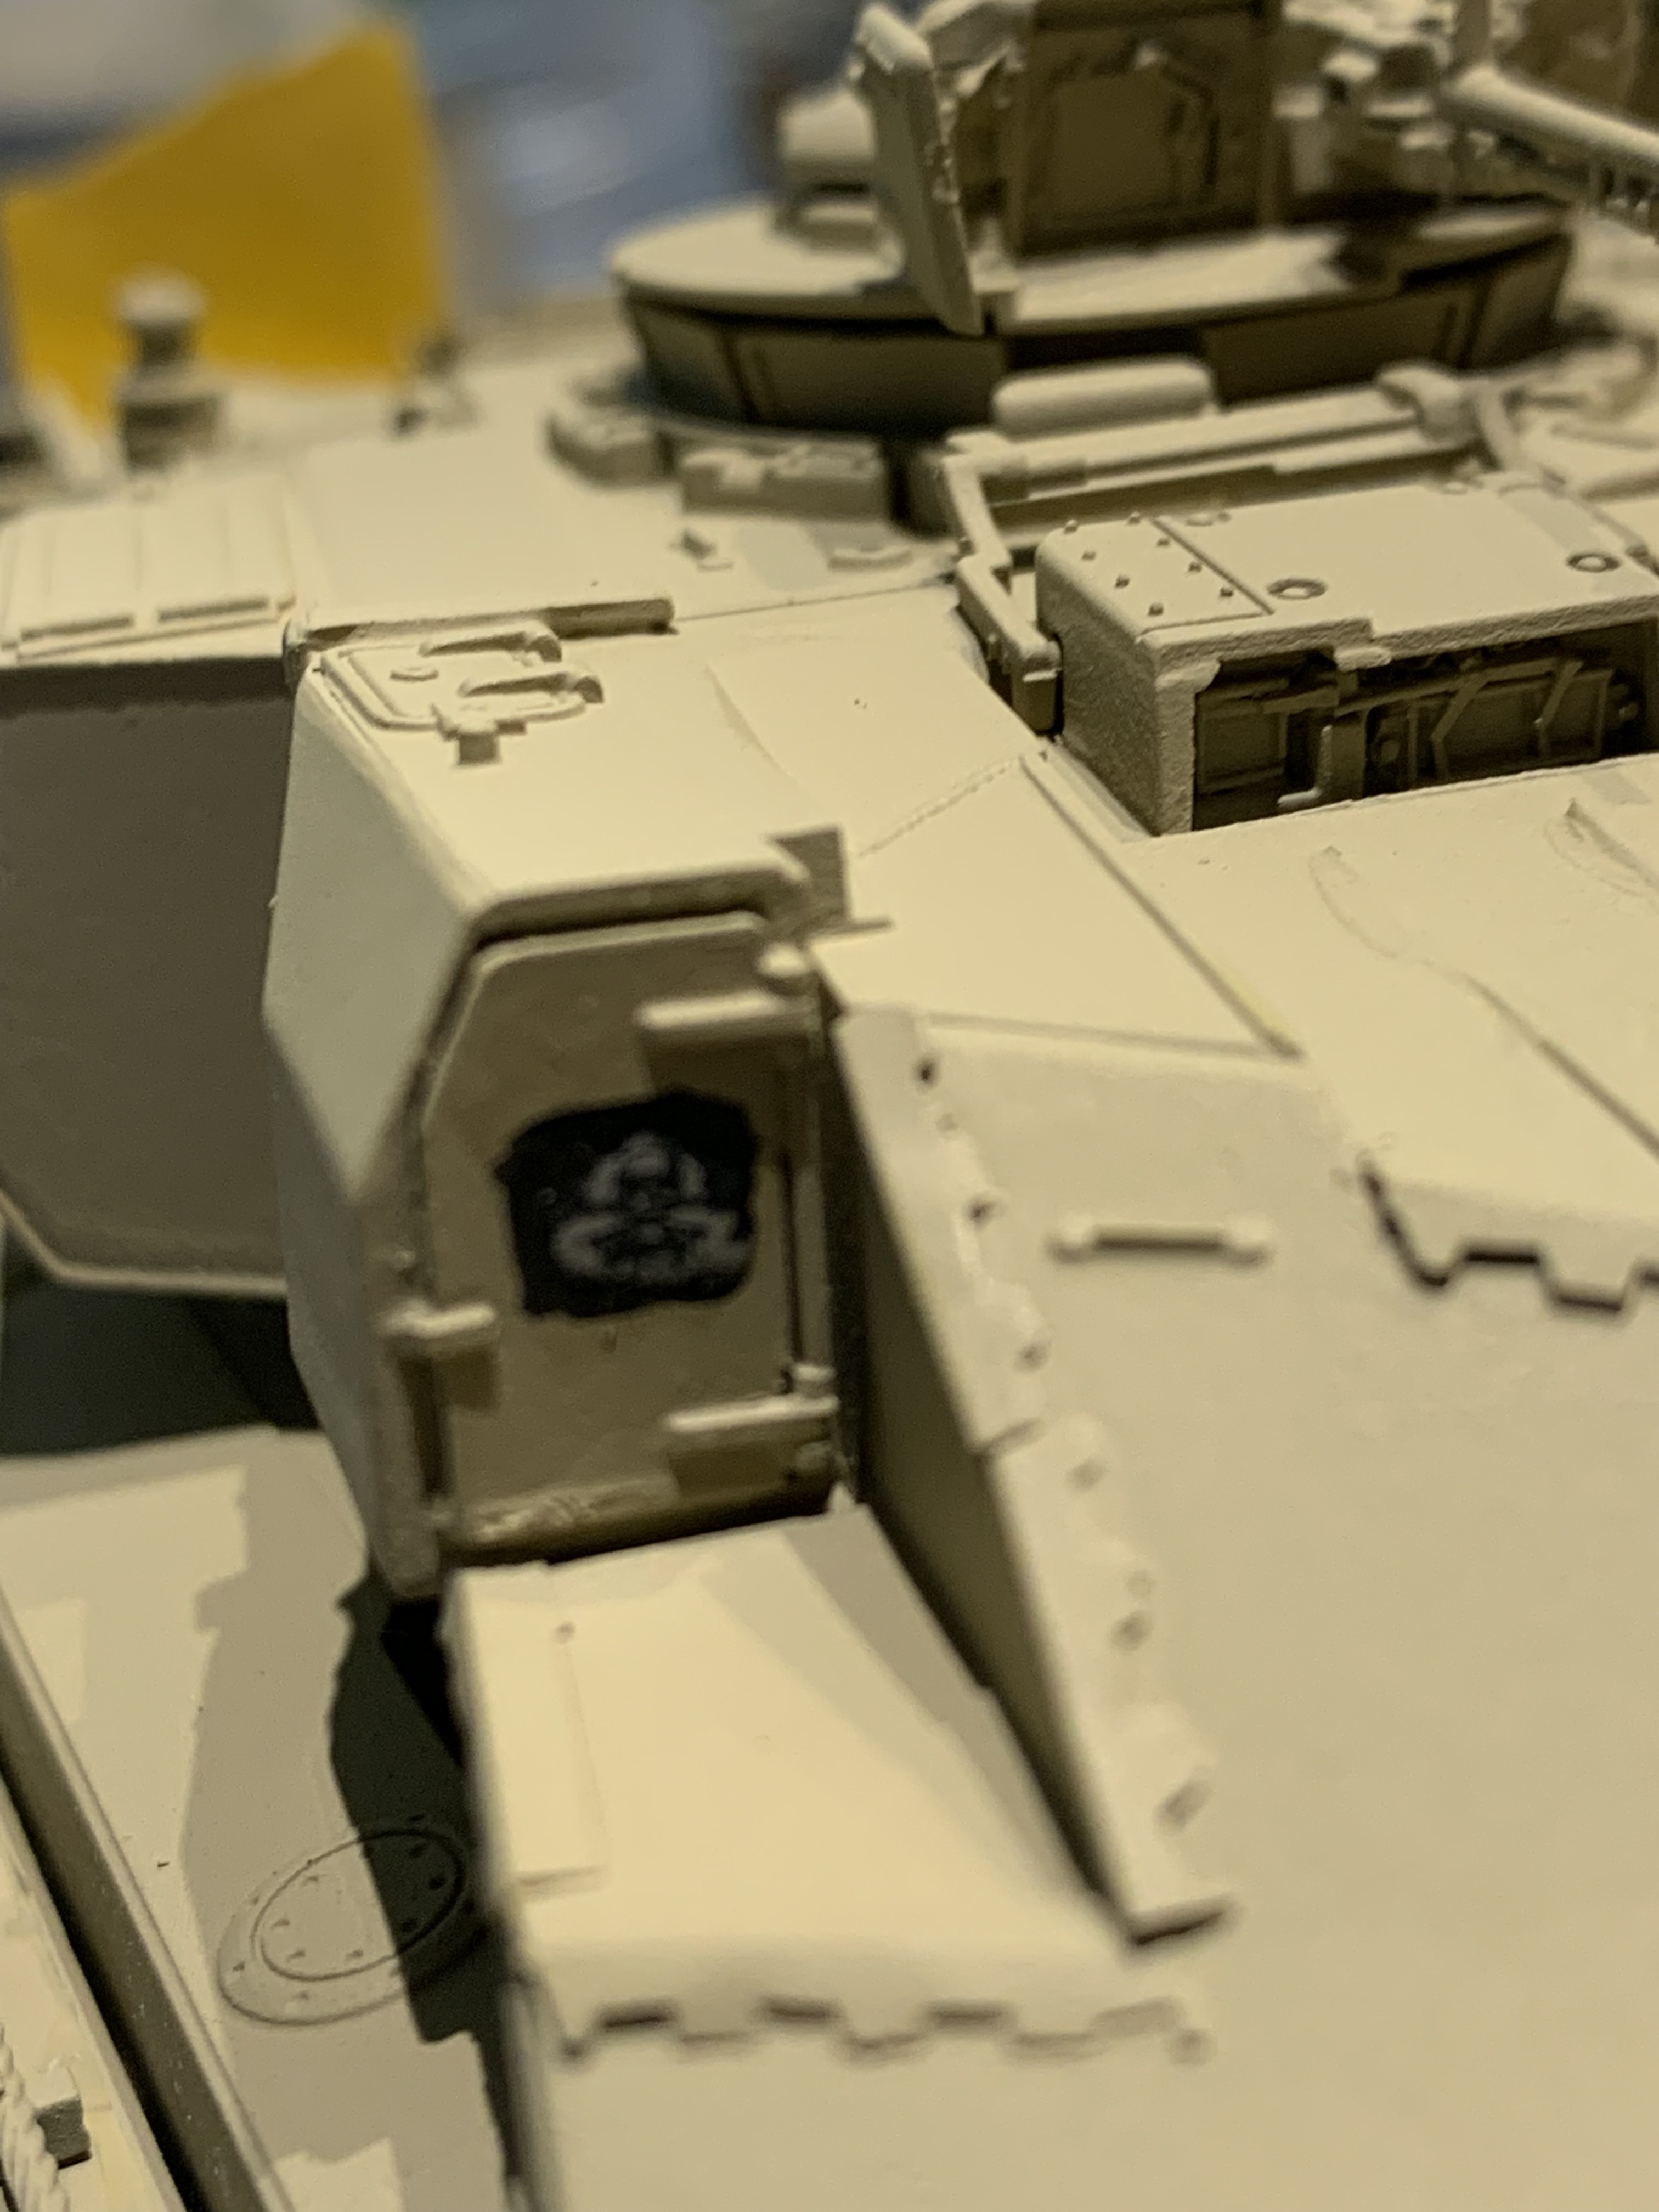
Looking good AJ. Its built up nicely. Depending on how far you are going with keeping it real (ish) theres a few things which could be changed, but really not essential.
Antennas are a bit to thick, but they look ok, and will do the job, and as a bonus, at least you have added them, as a lot dont bother, so well done.
The cam net is the wrong sort and would of been a desert version, not the green type. At that time frame, we were still using the old style cam nets. ( you could probaly get away with it by doing a quick overspray with the main vehicle colour and adding a darker brown wash over it ? )
The mudflaps were most likely over-painted the vehicle colour as well, but the paint chipped off easily showing black underneath.
The turret basket canvas’s would 99% have been sprayed the vehicle cover as they are fitted items and would not have been removed. The inside colour would stay green. You could over spray them, then scrub away some of the sand colour to show some green underneath as the paint comes off quickly on things like the canvas covers.
The Comds GPMG ammo box cover would stay green.
How close are you to finishing this ?
1 Like
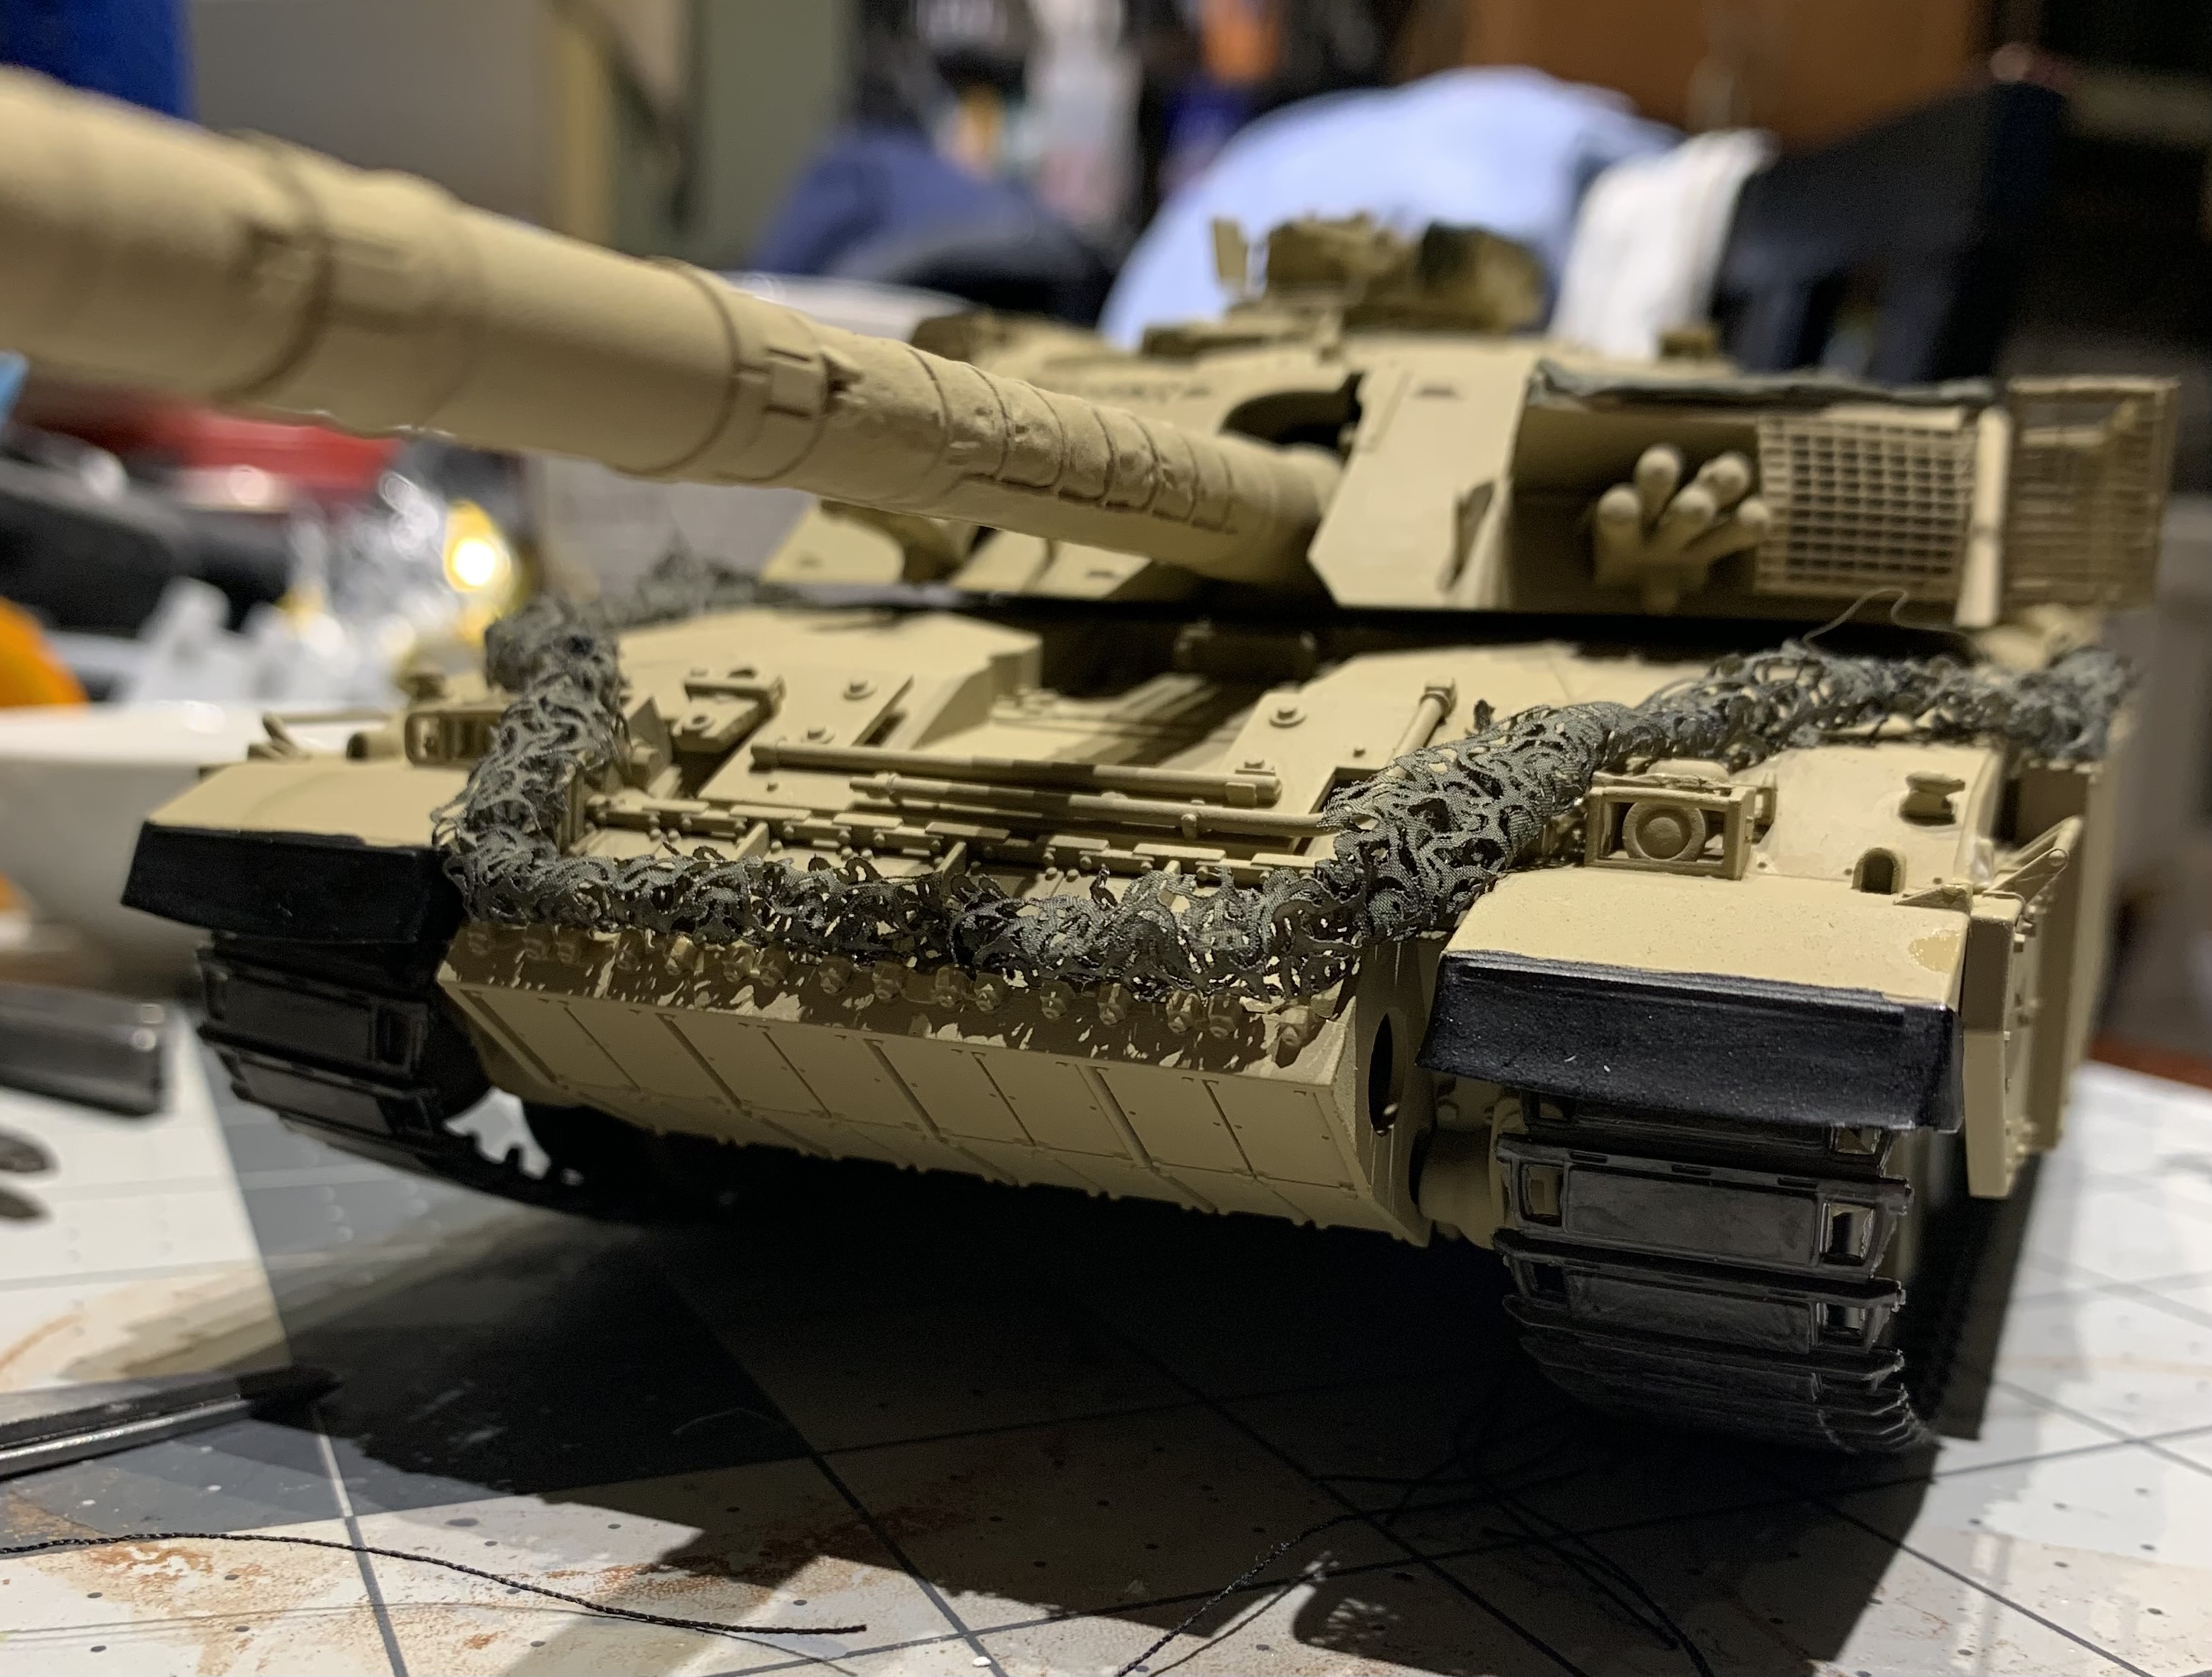
Yeah, the age of the picture gave it a green hue so that’s what I went with for the net.
The turret baskets in the pictures I have of his tank you can definitely see green, ones pic is on the move during the charge, one at the halt at the end of the war. I was planning to heavily weather them anyway with sand color.
I really am at a stand still except to add some stowage. The vehicle decals are still enroute.
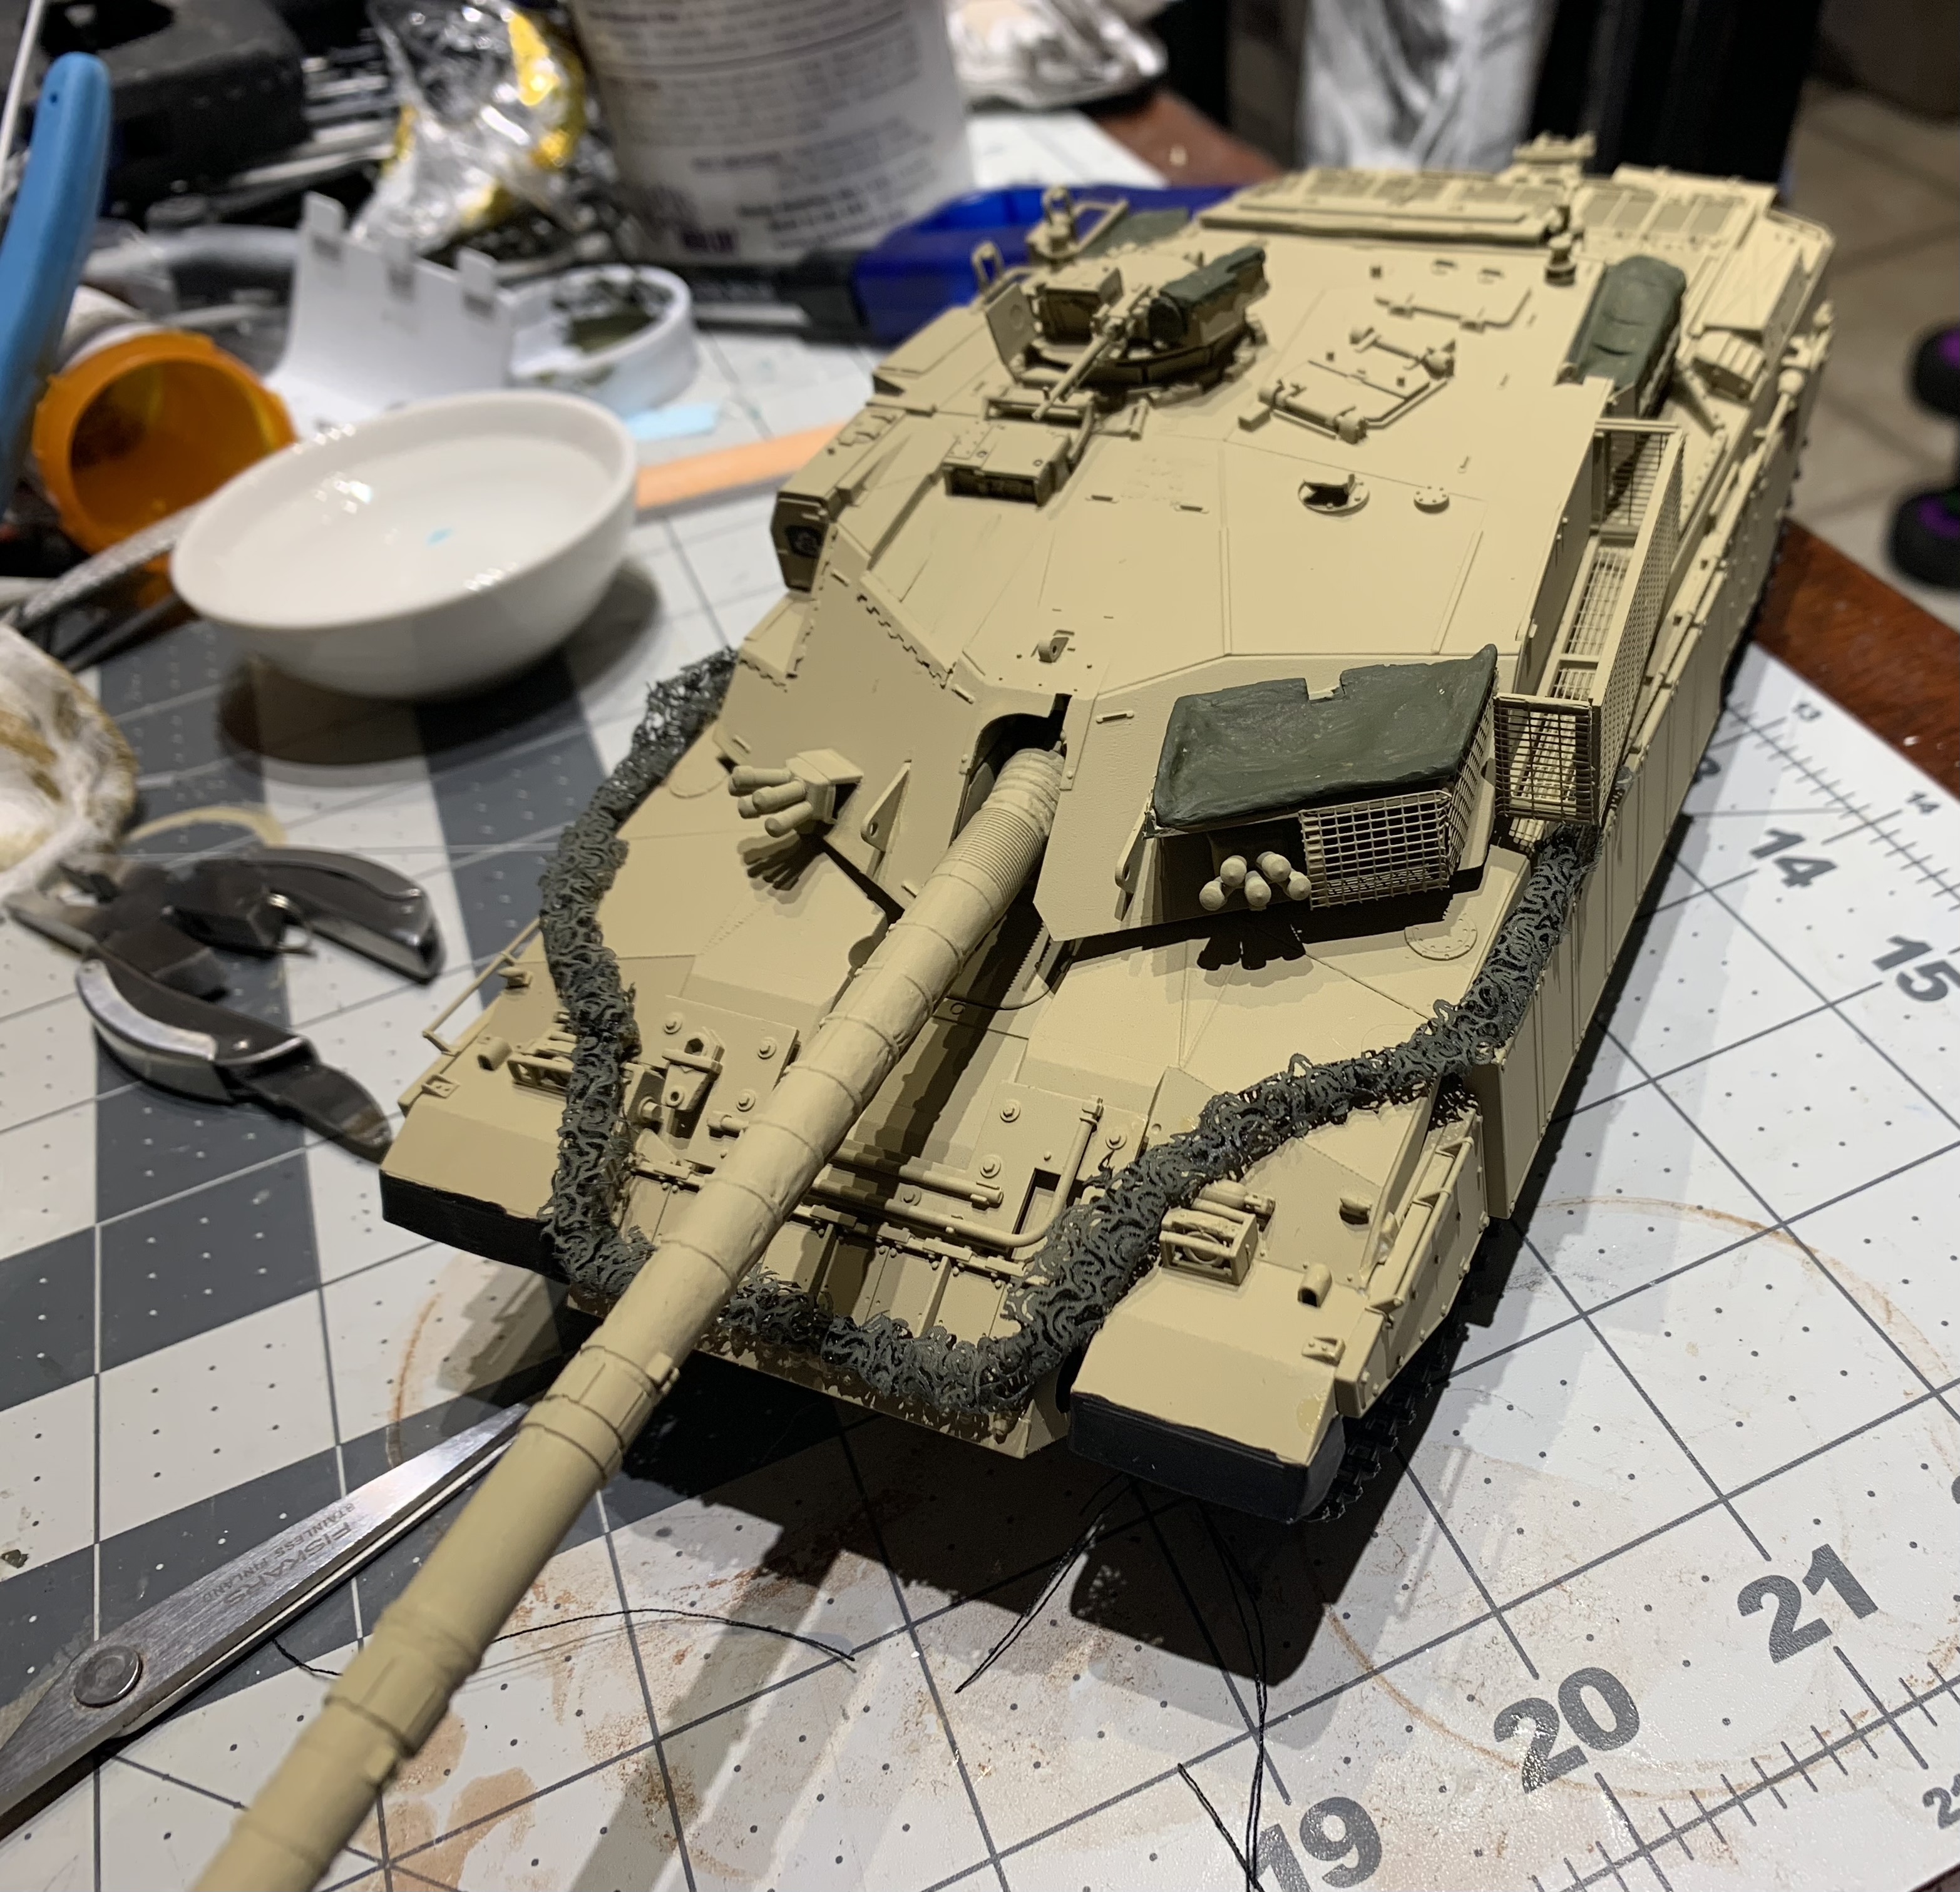
Still looking for ideas on how to do the yellow hi-vis panel.
1 Like
Which Hi-Vis panel ?
1 Like
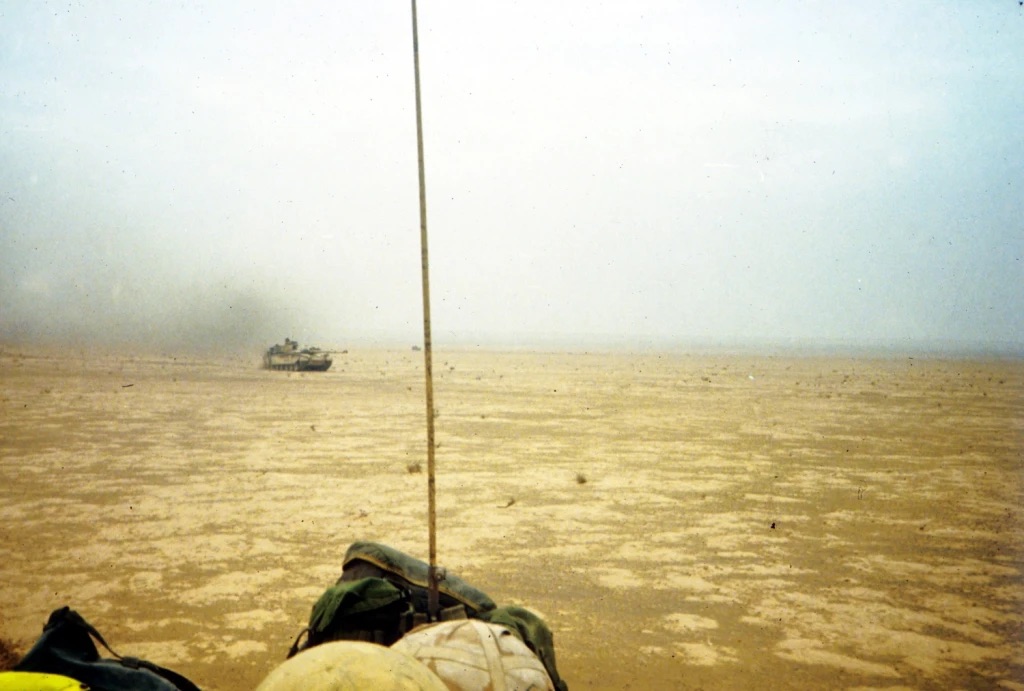
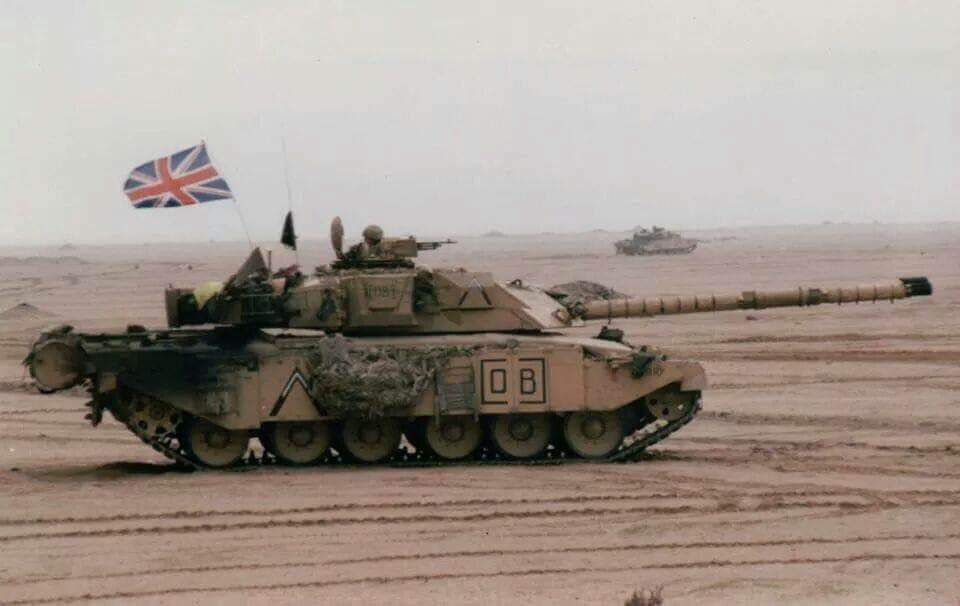
LT Col Purbrick specifically mentioning breaking out a yellow hi vis panel (in the US Army we called the VS-17 panels) and strapping them to the top of the rear turret bin.
One of the reference pictures you can see a corner of it
1 Like
you can see them in a few images on various vehicles during Op DS.
And the 43 ambulance in the background.

I would just cut some plain white tissue paper and then coat it with a 50/50 layering of white PVA glue and water and brush it over until its soaked and let it dry. when its close to fully drying, you can shape it how you want over the rear back bin and then paint it yellow/faded yellow etc.
His in the pic you posted looks very new and full on bight yellow … the ones I posted look a lot older and faded.
3 Likes
Neat job!
1 Like
I have rolled out a very thin layer of milliput and the formed it over the area it will rest. Then once dry you can lift off for painting. The VS 17 panel is pretty durable (read thick) and has 2 layers-1 for each color. Not sure about those yellow ones-a UK Army product?
1 Like
I have never seen yellow ones. Only orange ones. I thought the yellow were U.S ?
And rolled milliput would work as well. I only use the tissue method as it allows you to have a bit of movement in it afterwards if you wanted to reposition it.
1 Like
The US VS-17 panels are fluorescent red on one side and fluorescent orange on the opposite side. Either side will fade will fade rather quickly with prolonged exposure to direct sunlight.
2 Likes