Yes mate👍
2 Likes
Cheers mate, Will try and get hold of some or order some over the weekend ![]()
1 Like
You could try piano wire, comes in various thicknesses.
Only downside is its ability to puncture eyeballs if they get too close
(that means your AFV is Armed & Dangerous - keeping it real)
Mal
4 Likes
Yup. I use “piano wire”, sold at better hardware stores and Amazon. It’s cheap, available in .015", .018" and .020". It’s also what I use for Friuls instead of the soft wire that comes with them.
I found some .020" carbon fiber wire one time and it’s great, comes black and easy to cut but it can break. All I had to do was seal the cut end with a tiny bit of cryo glue so it didn’t fray. I just ordered some more, Amazon to the rescue.
2 Likes


Decals arrived and are in place. Hopefully Star will update the set with the information I provided soon.
So, this below is me being picky:
The pictures I have never show the inverted “V” on the sides of the tanks. Except in ONE photo when tank #42 caught up to them the next day after breaking down going through the berm.
The pictures taken after don’t show evidence of the V stripe being on there.
Tank #41 has the board with the inverted V, but no pictures of #40 showing the board, but I put it on anyway.
I did add a small white inverted V on the side of the turret as it appears in a picture I have. It’s not pictured here.
9 Likes
Looks good AJ. Dont worry to much about the picky things you mentioned. Without a photo to reference it, it cant be proved either way. There are a fair few images with CR1s without the chevrons so I wouldnt worry to much. Nice work and it looks the part ![]()
3 Likes
3 Likes
I didn’t see those but I spent a fair chunk of money on his stuff for this tank!
2 Likes


Looking very nice AJ. Wash is nice and subtle but shows off some nice detail. Another great Cr1 build in the forum !! Well done.
2 Likes
@Johnnych01 I couldn’t have done it without your advice!
2 Likes
You did the build and a lot of research to to get it looking like that. I just helped with a few little pointers…
3 Likes
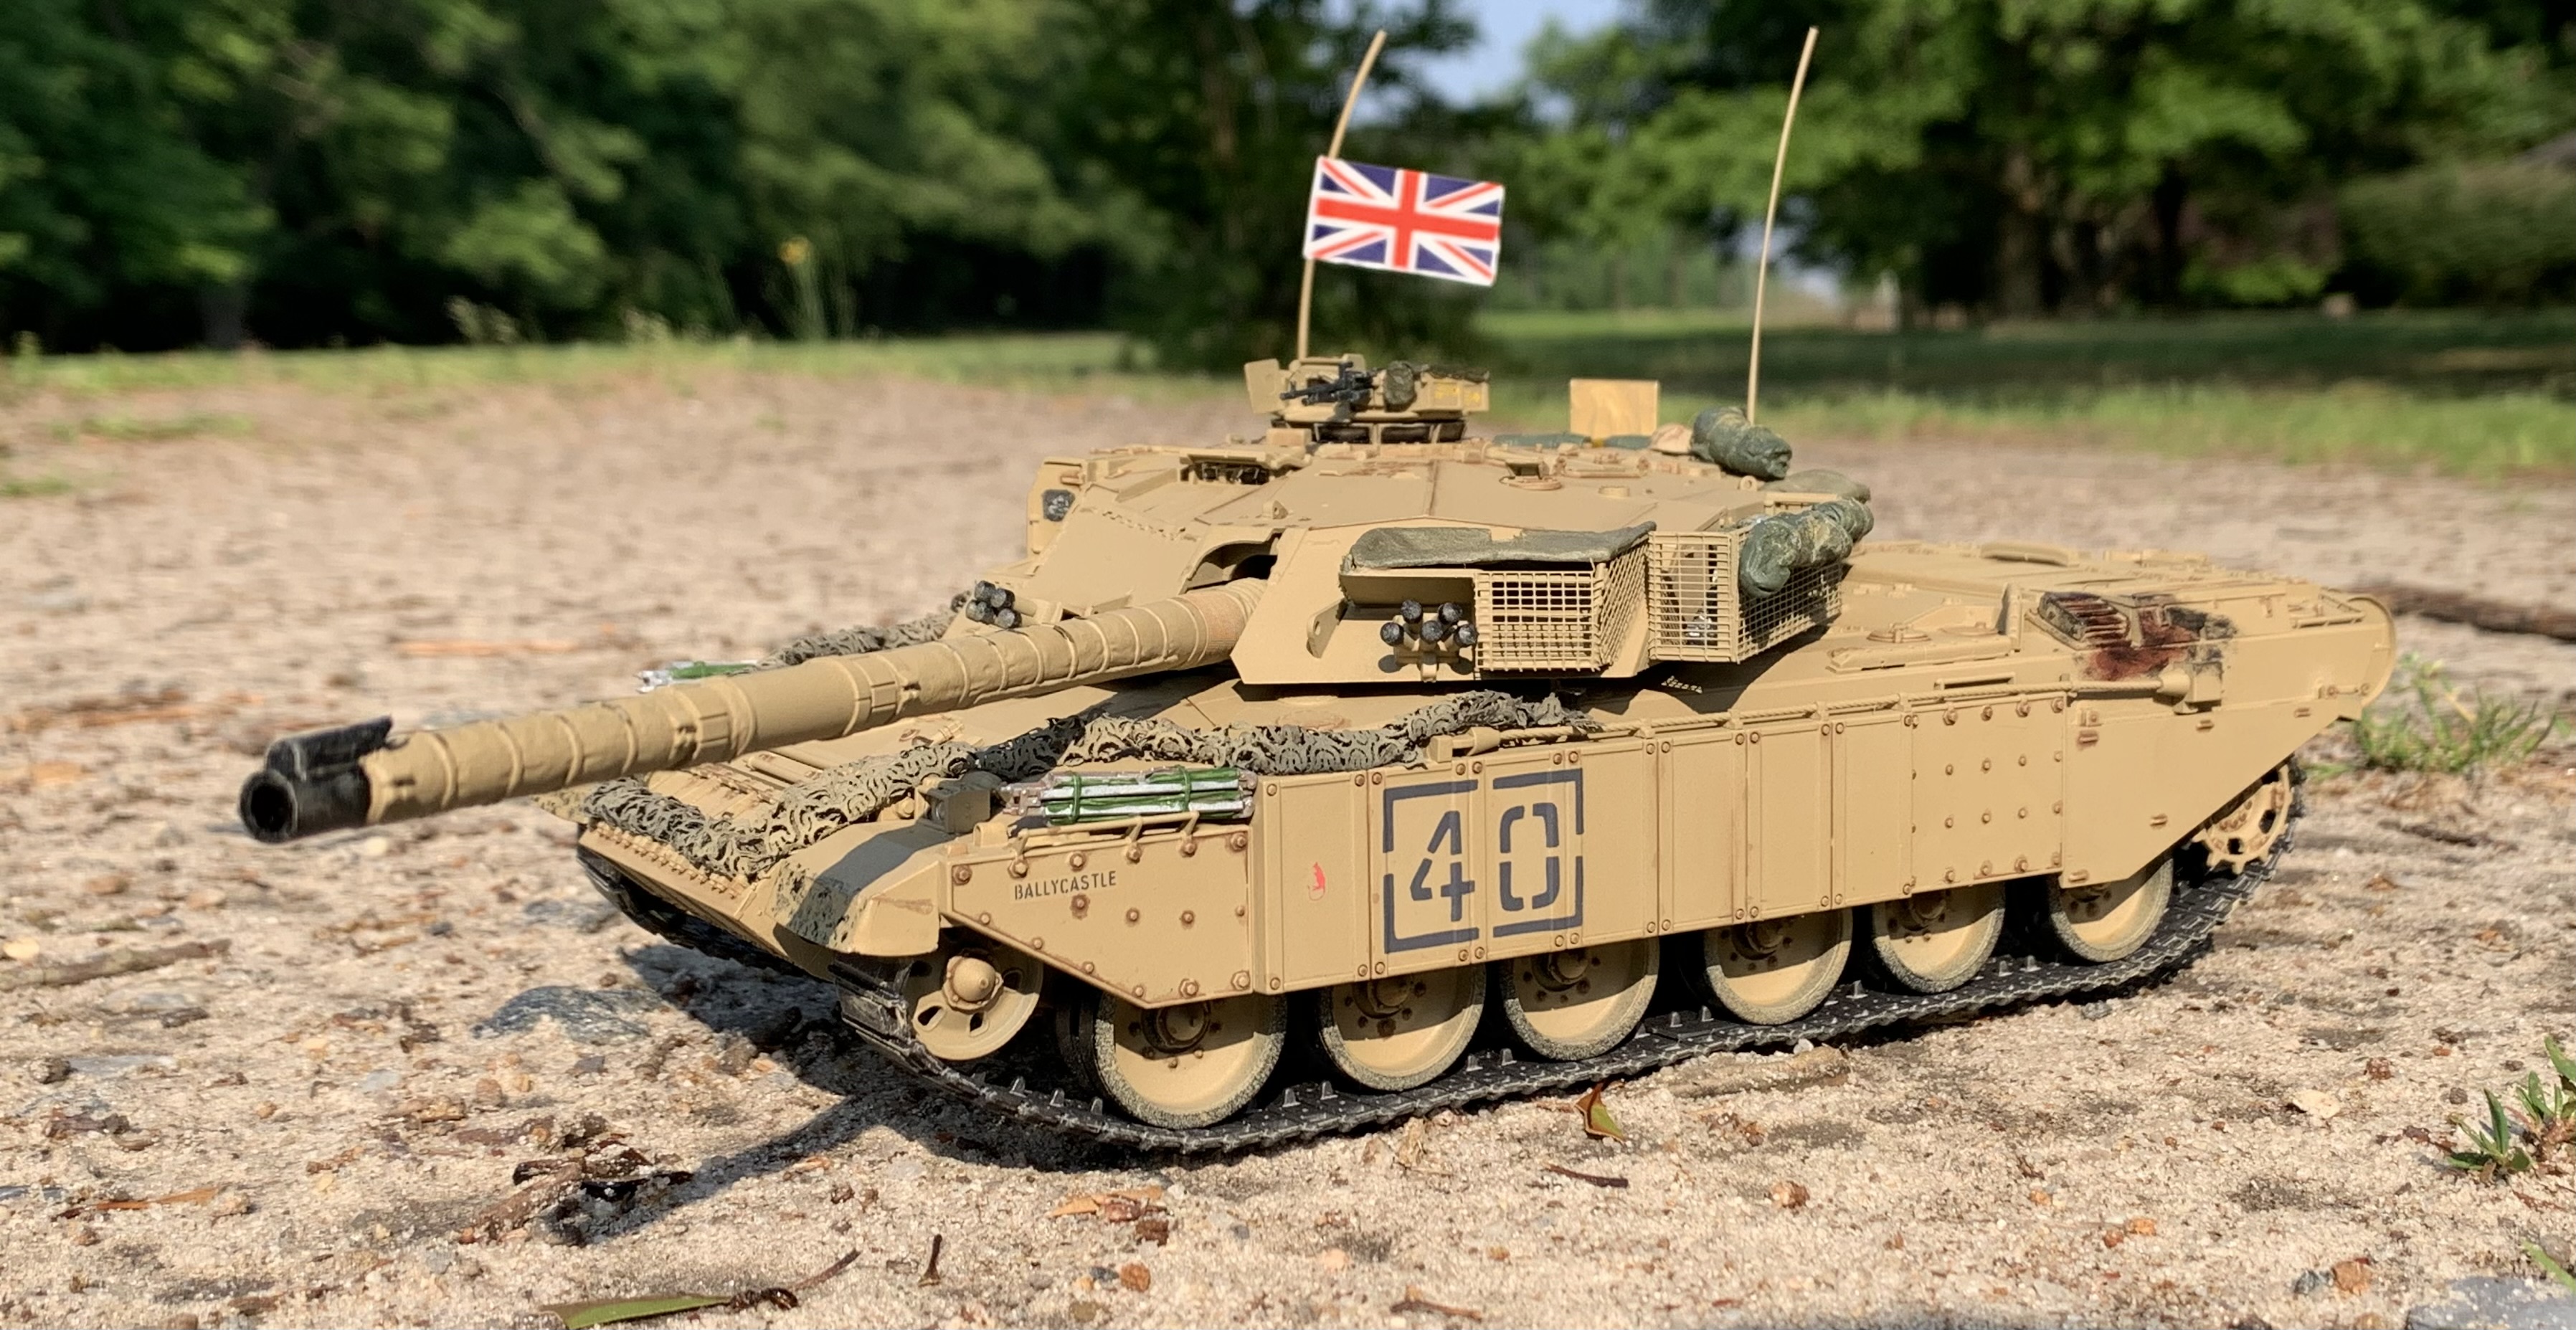
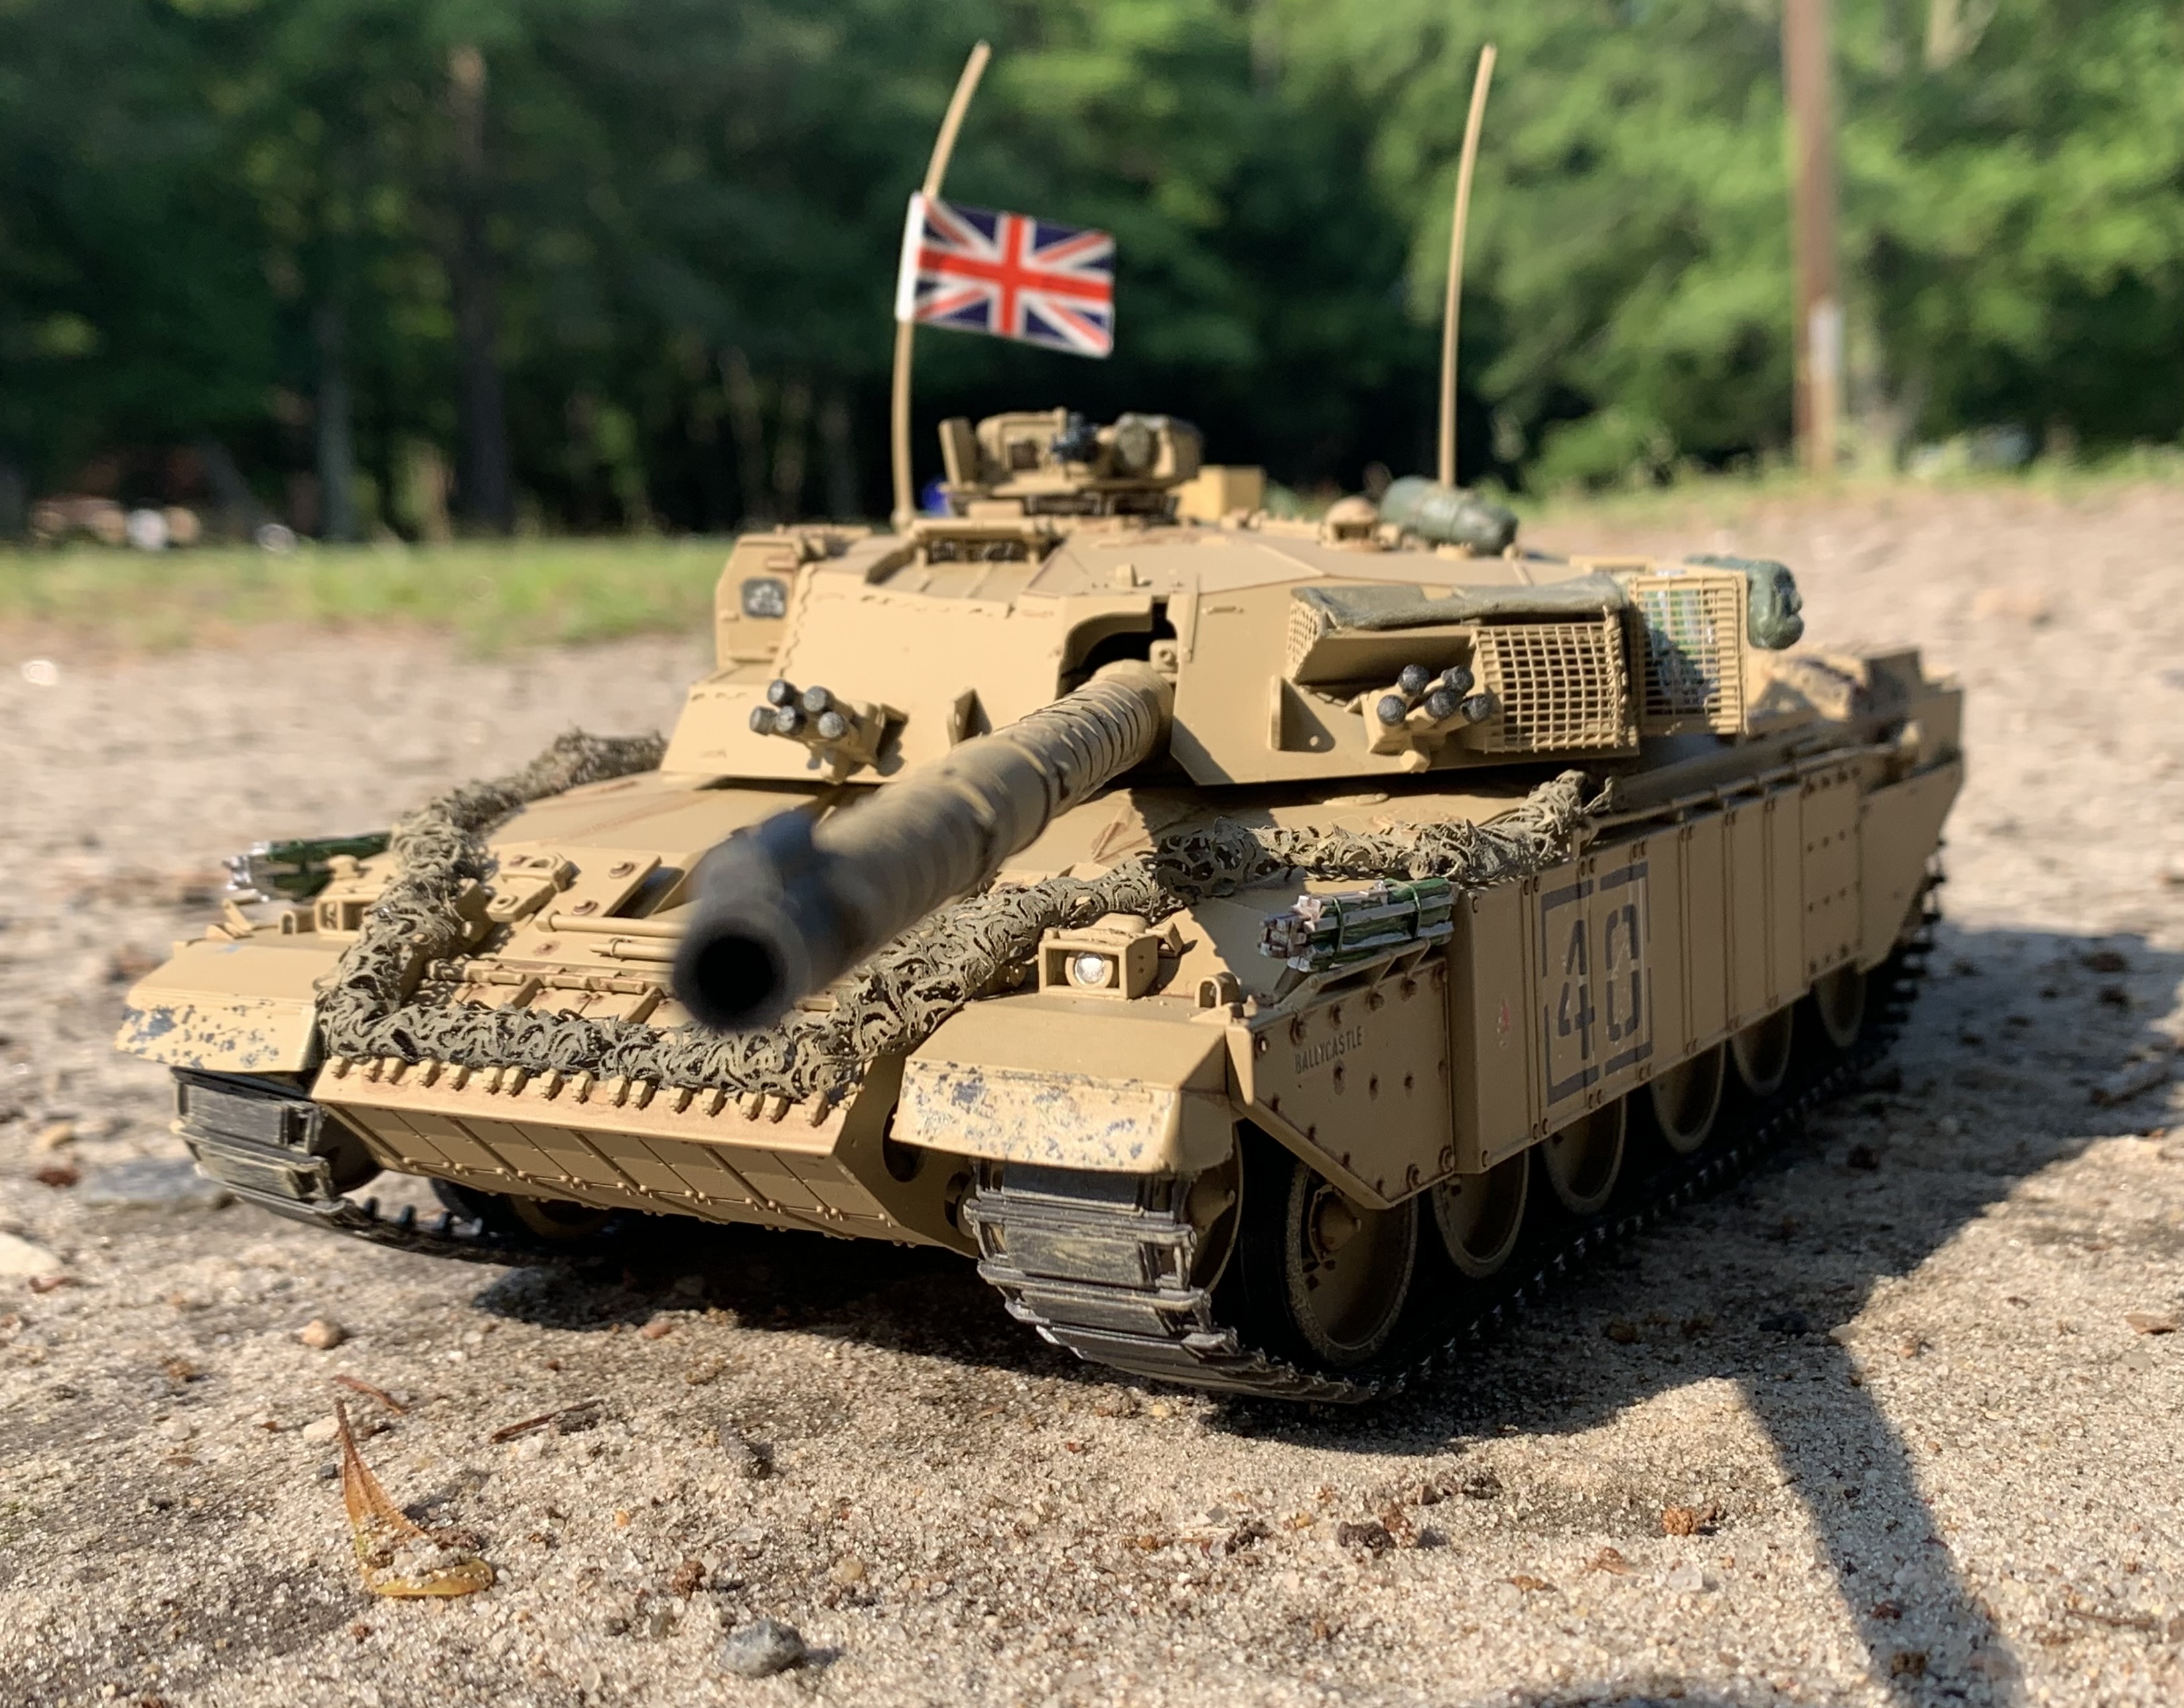

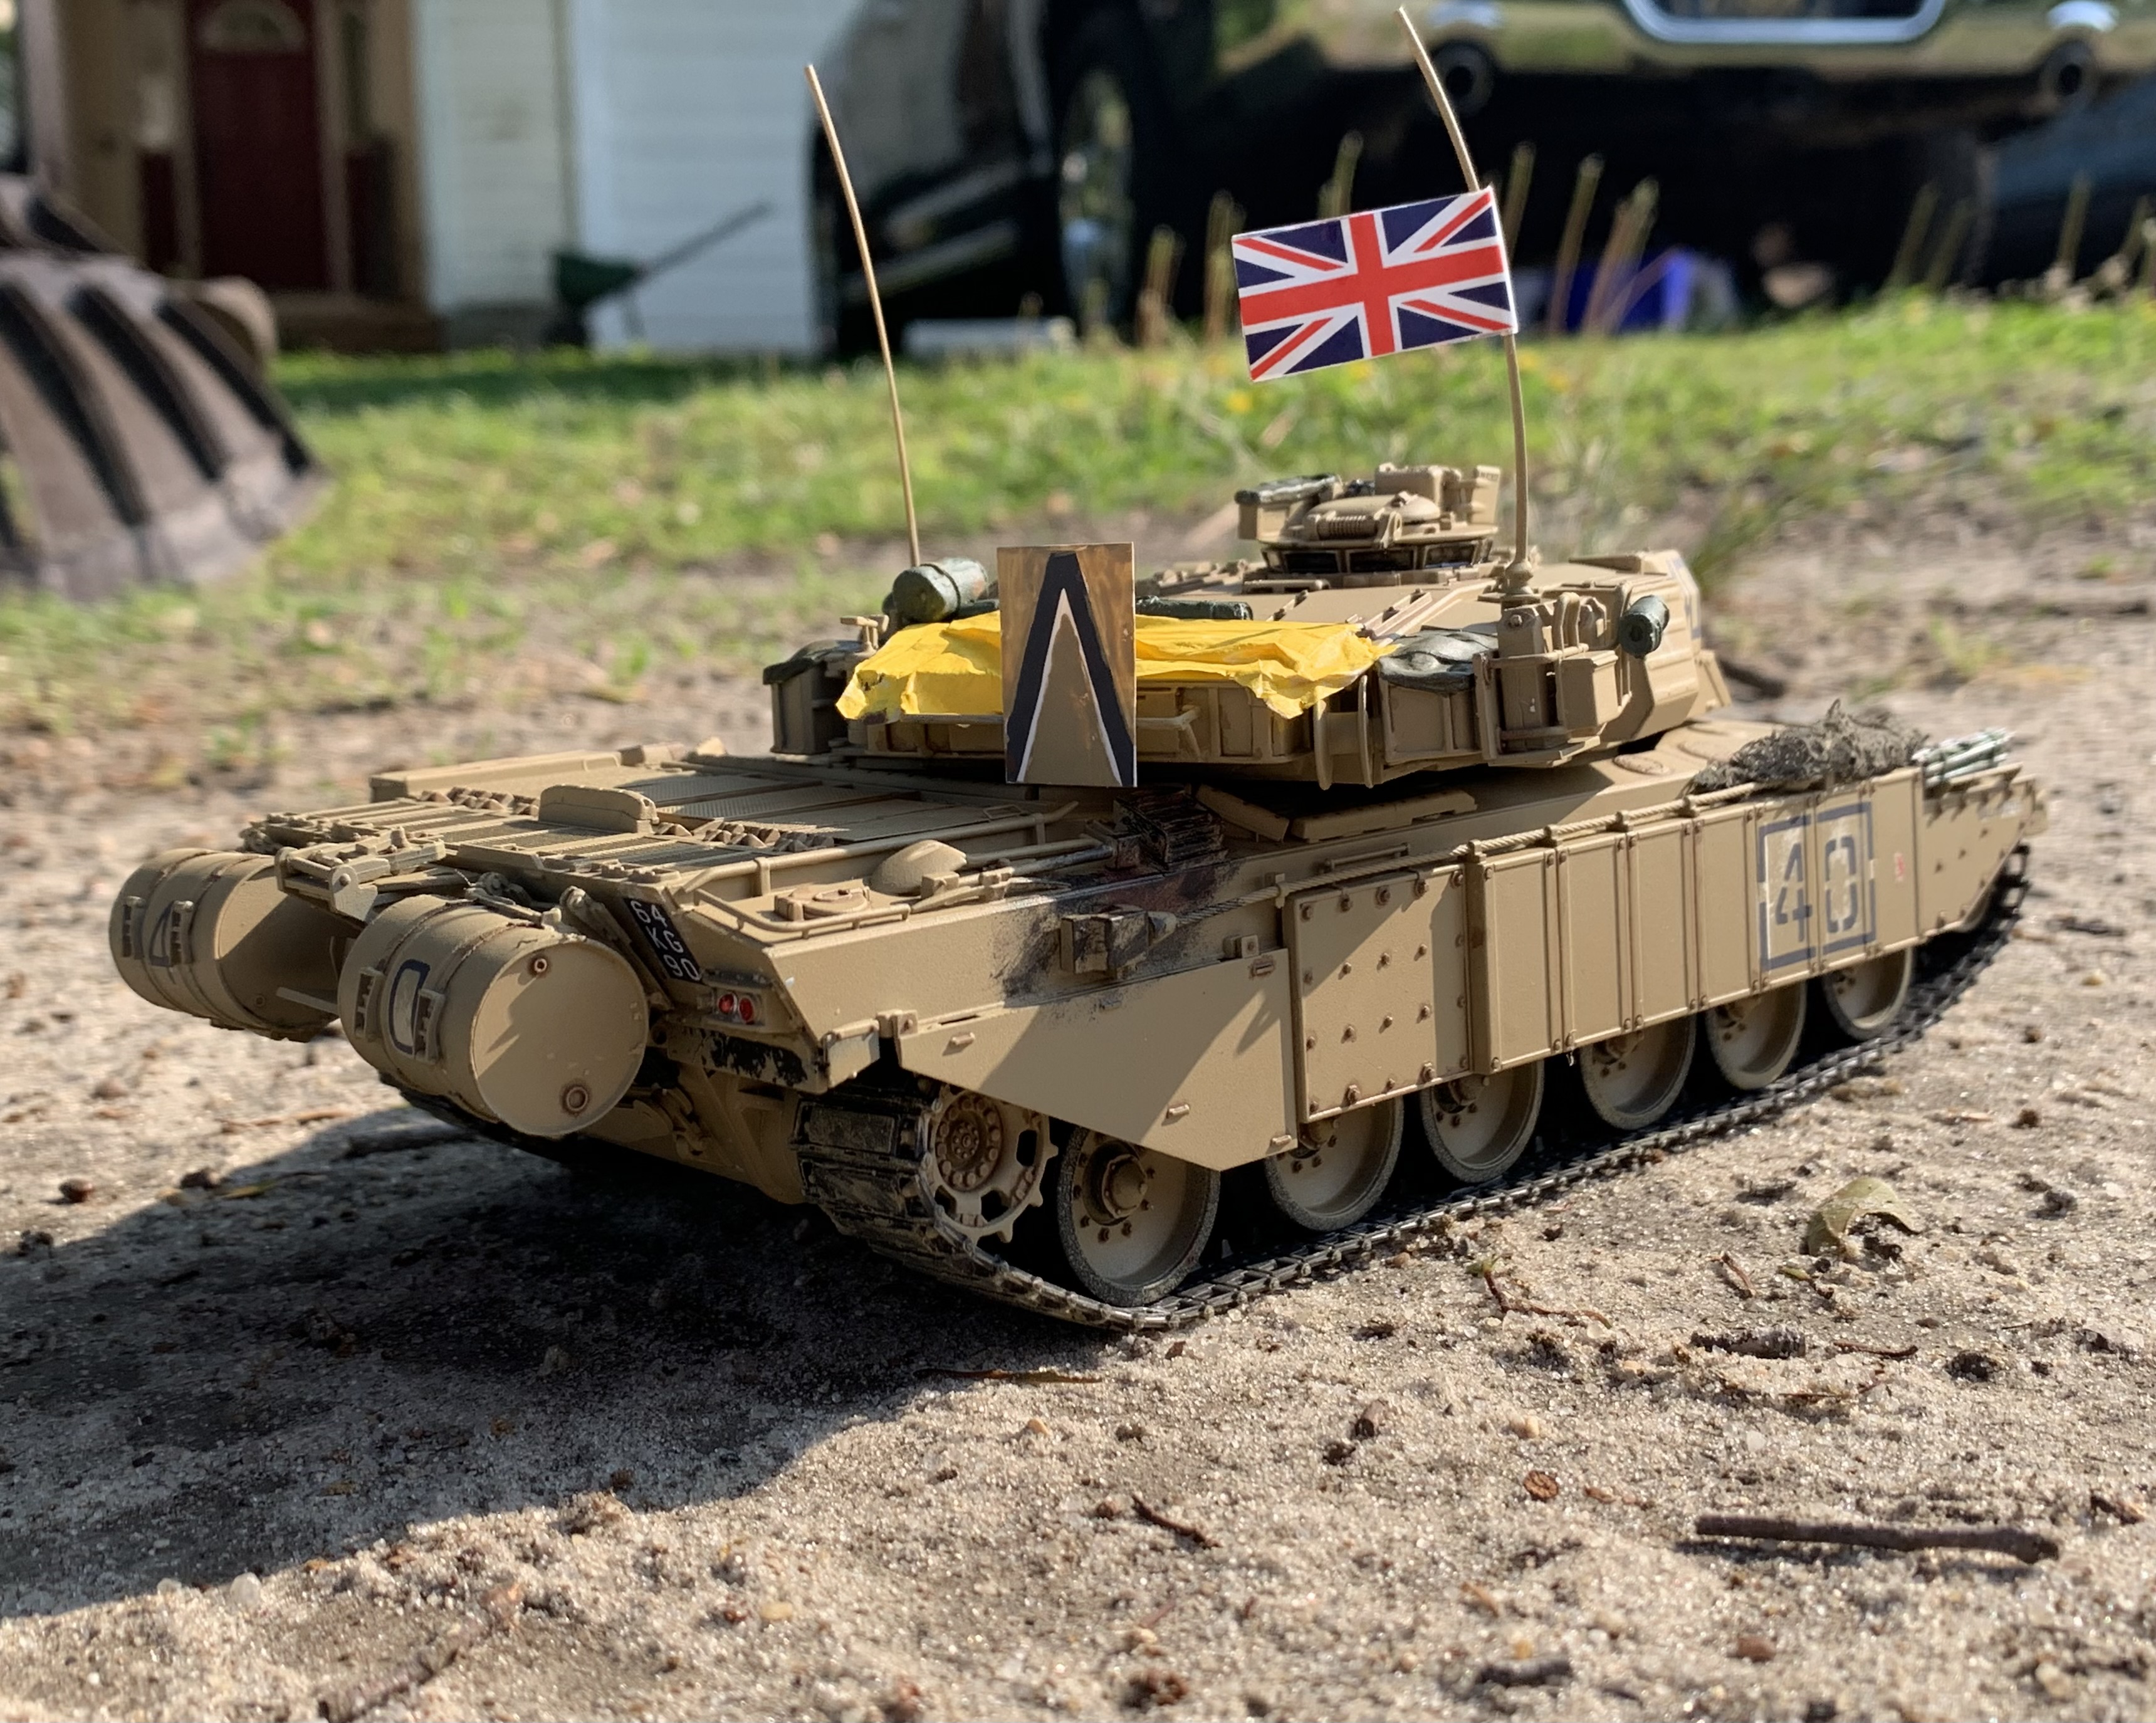
Nicely done. Another one to add to the Regimental collection … ![]()
![]()
1 Like
Nice work and an inspiration. I’ve been following quietly in the background as I’m a Chally 1 fan but no expert so had nothing to add especially as you had Johnny onboard.
However inspired by your build I went and purchased the Tamiya kit but now to find a photo of one to build and get some SMM bits.
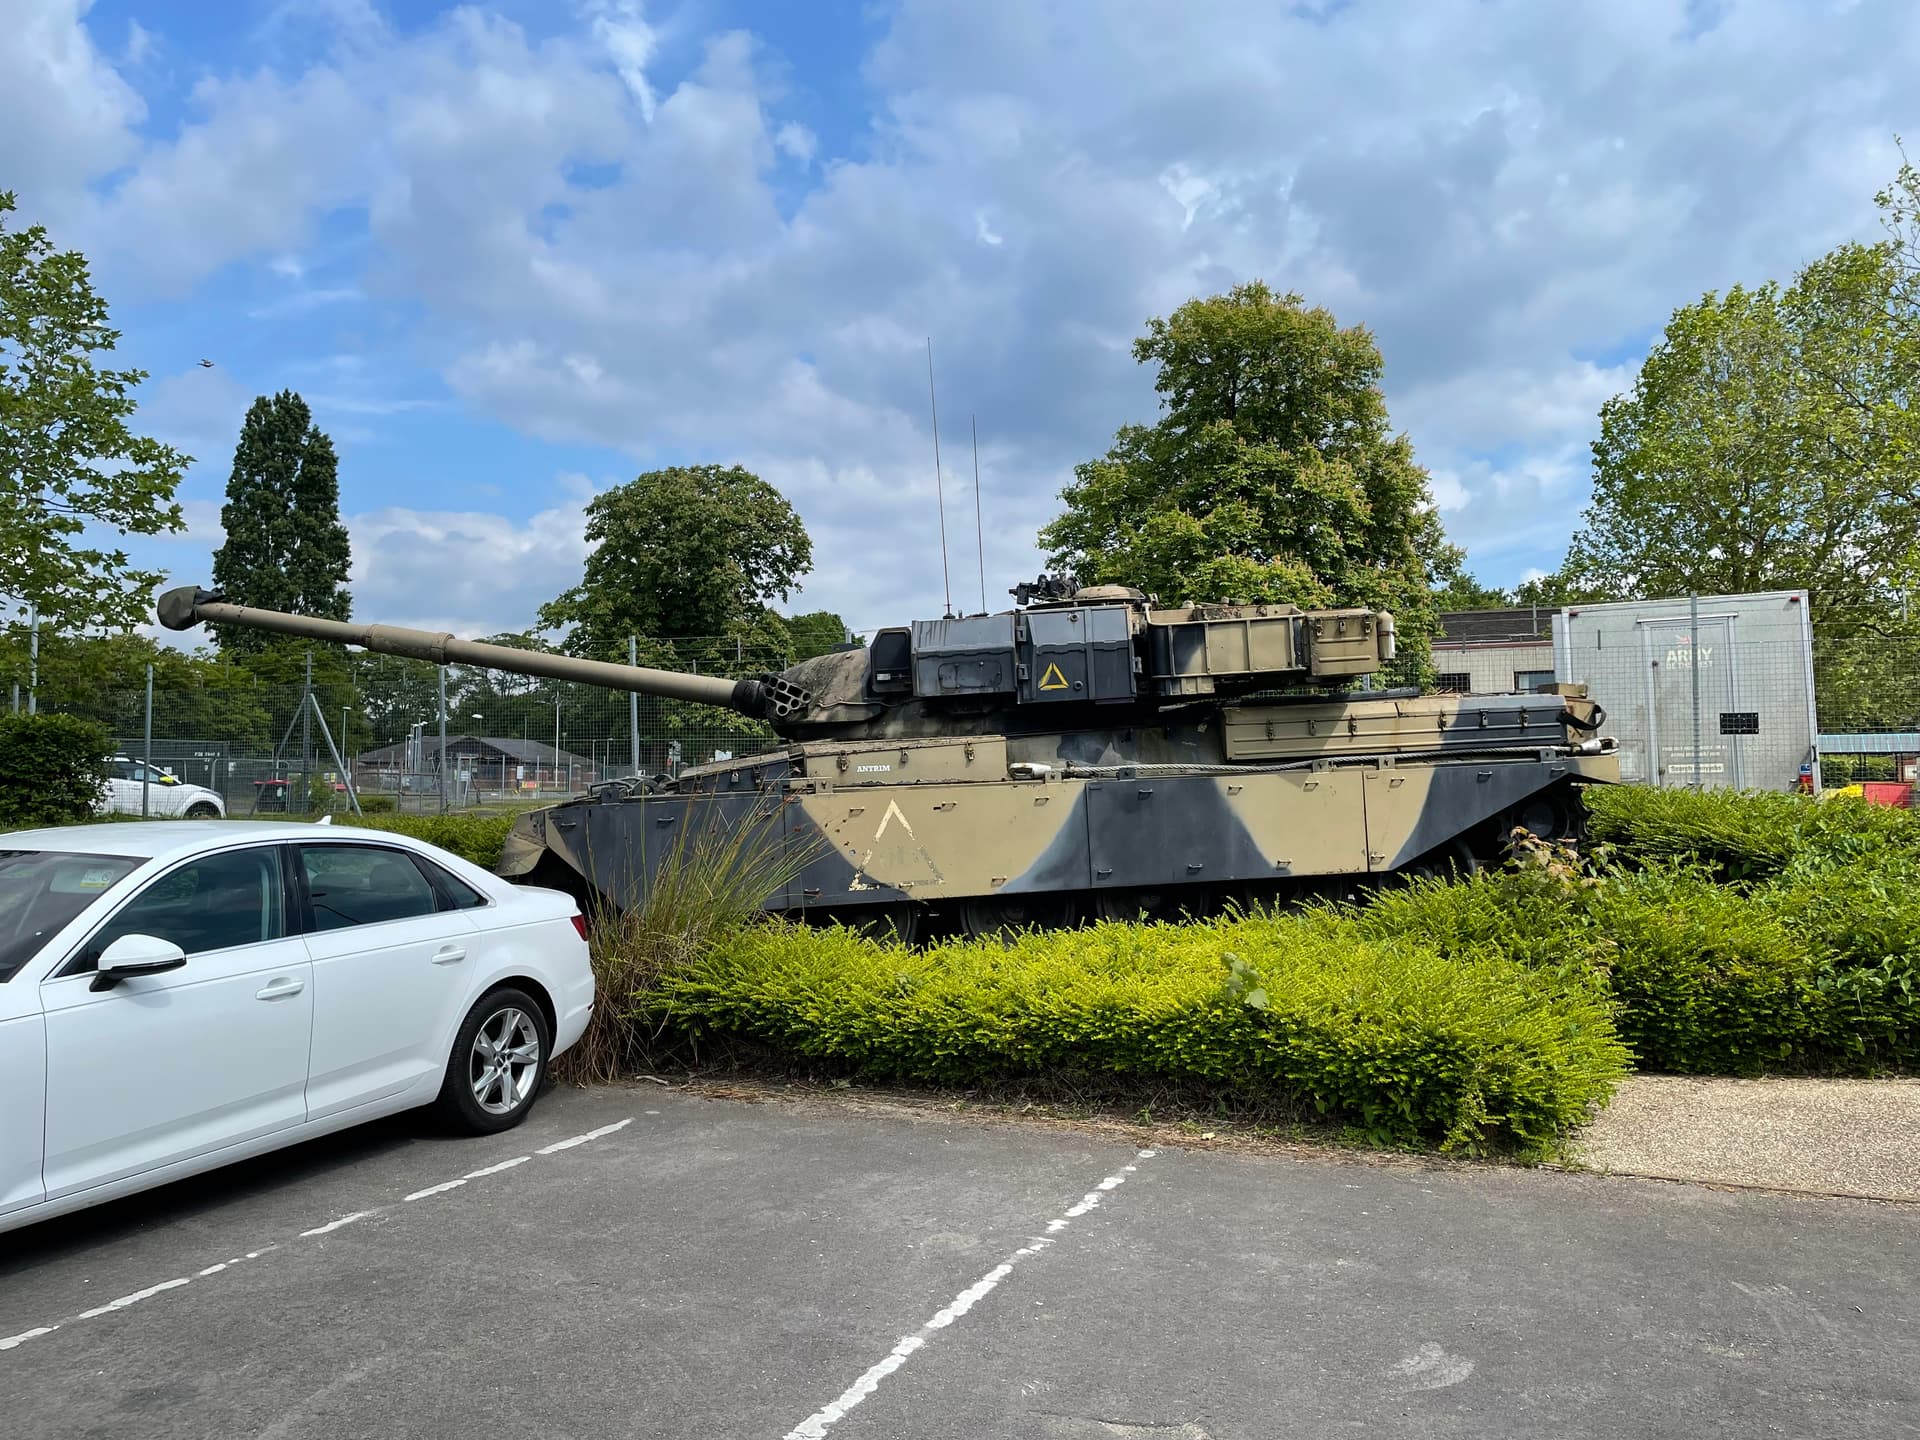
Oh some photos of a very sad looking Chally 1 I took last weekend at the Aldershot Military museum.

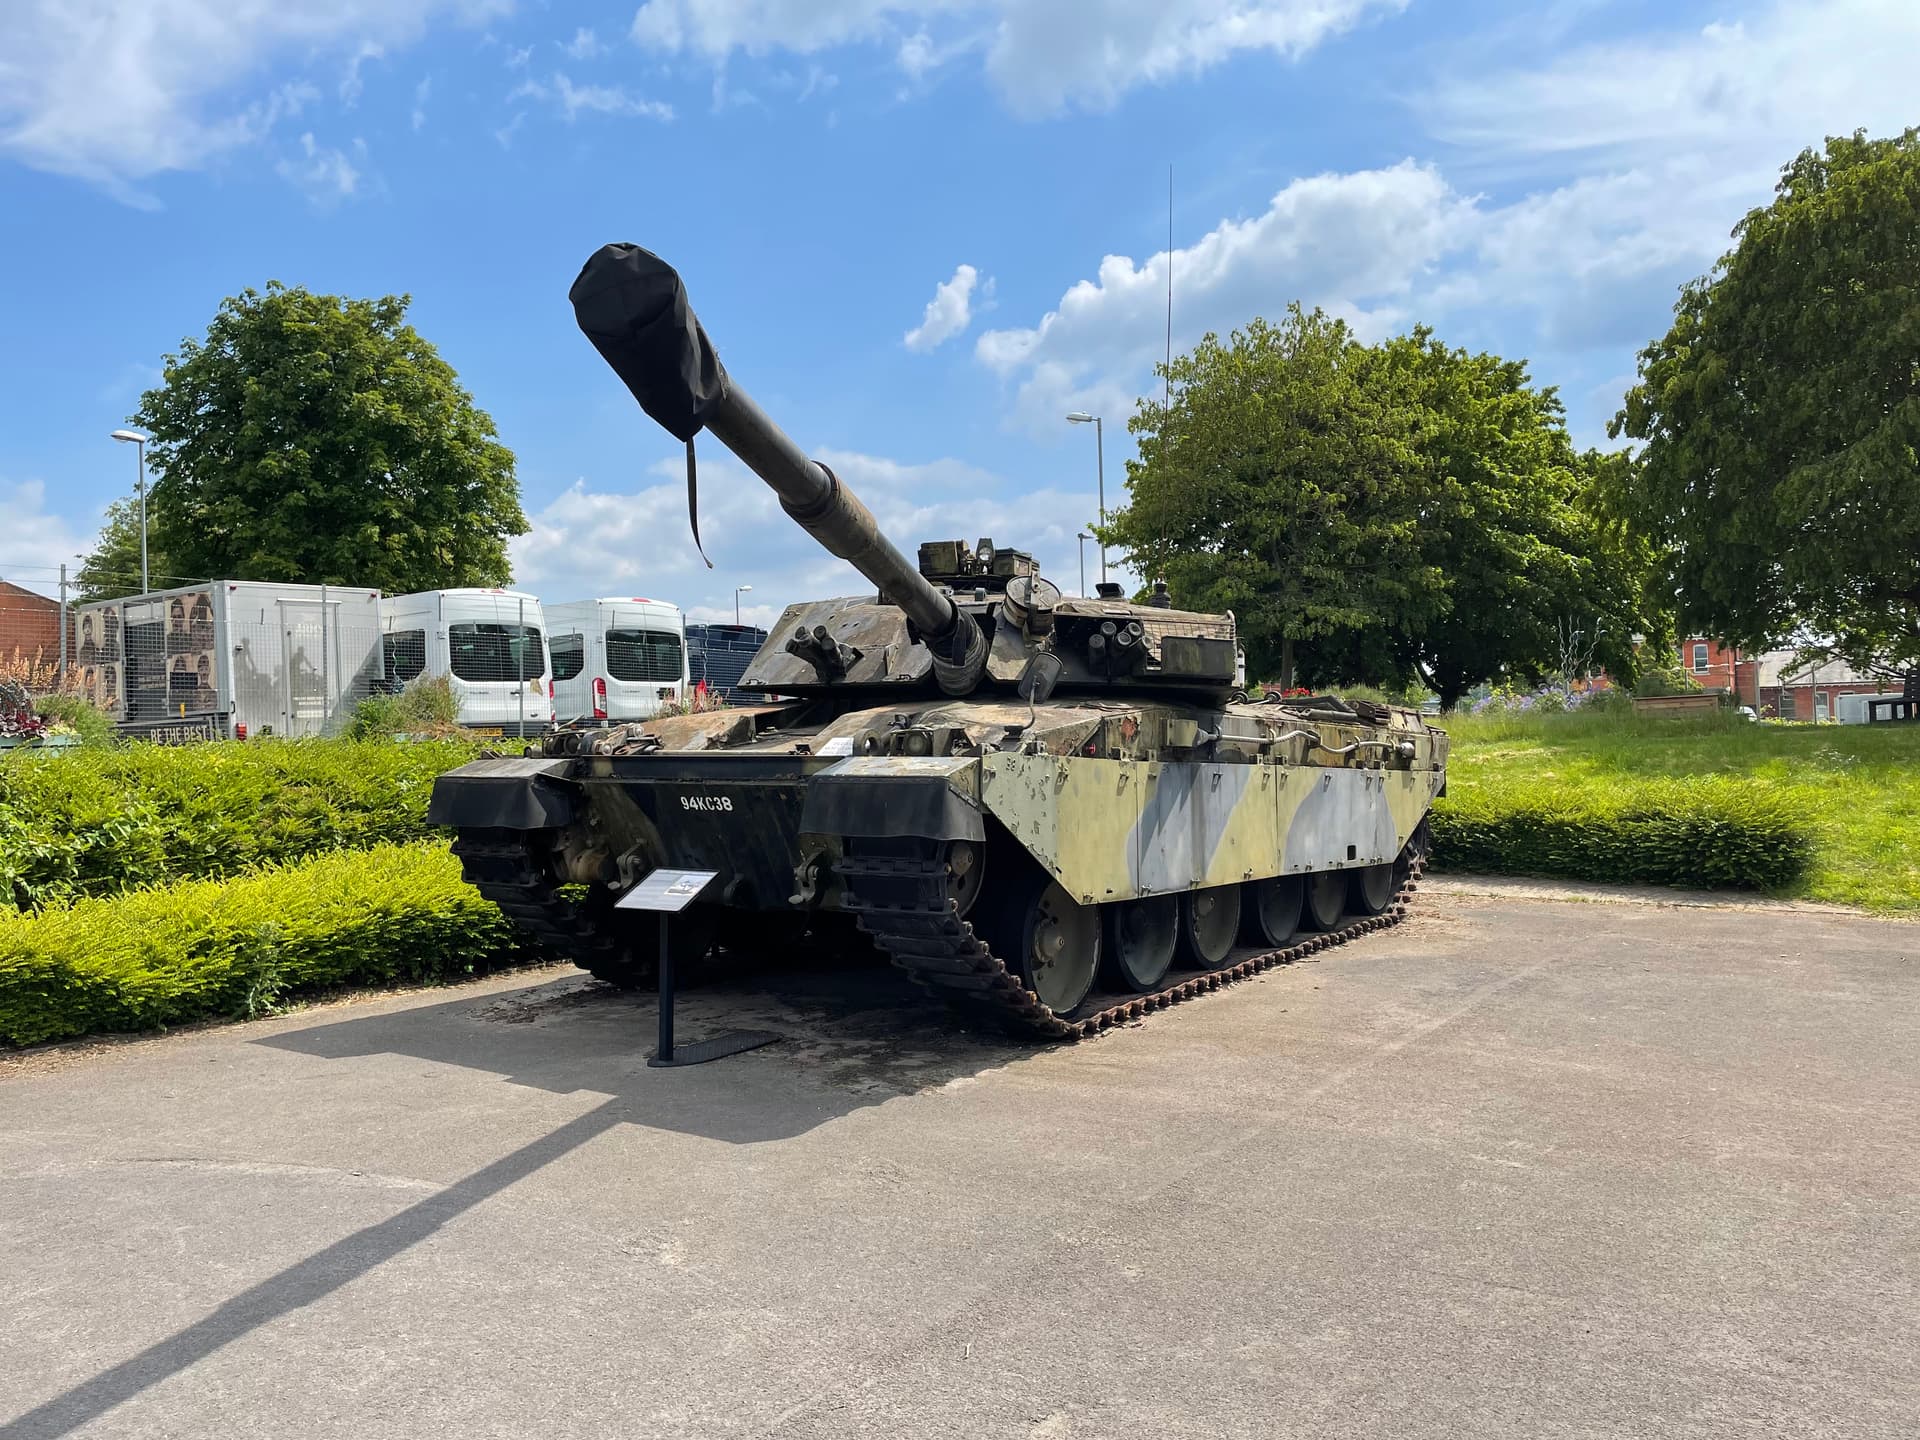

4 Likes
Are you close to there then Luciano ? I must of passed that place a hundred times but never been in it.
It is a bit of a state…lm sure if they contacted a friendly QM dept in one of the local units or an Armoured unit at Tidworth they would throw a few cans of NATO black and green in their direction. And I do find it a bit annoying they just bung a normal red domestic building fire extinguisher on the side of the rear bin … Thermal sleeve would be the tricky part but I would bet money they still have old stock laying around someplace …
2 Likes
No, I was on a round robin, Salisbury model show in the morning, Aldershot MM in the afternoon then Royal Armouries Fort Nelson on the Sunday followed by the 2 1/2 hour drive home.
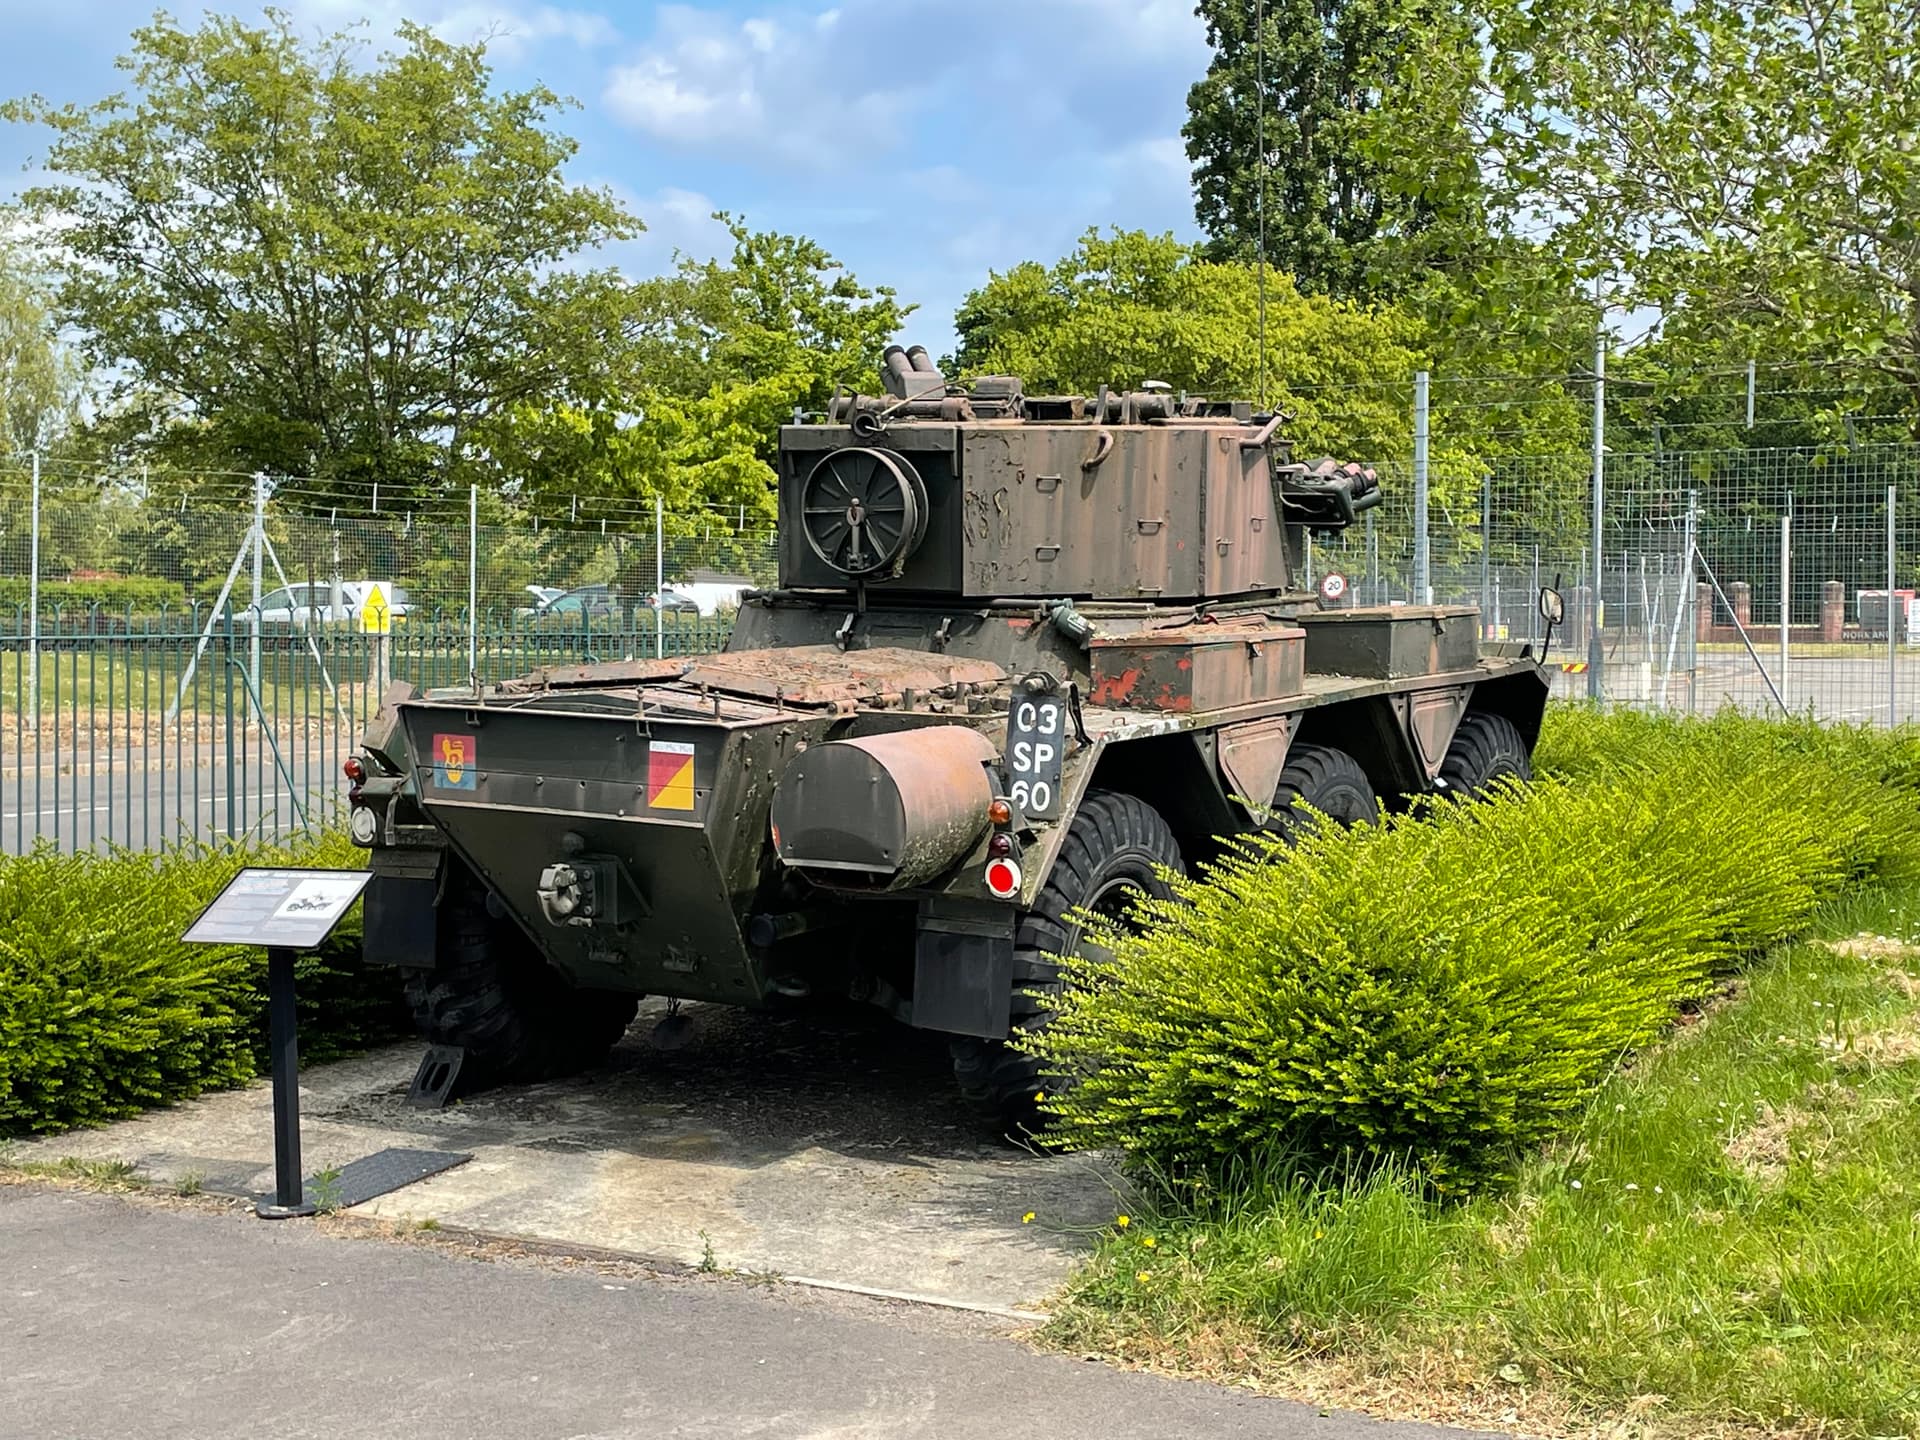
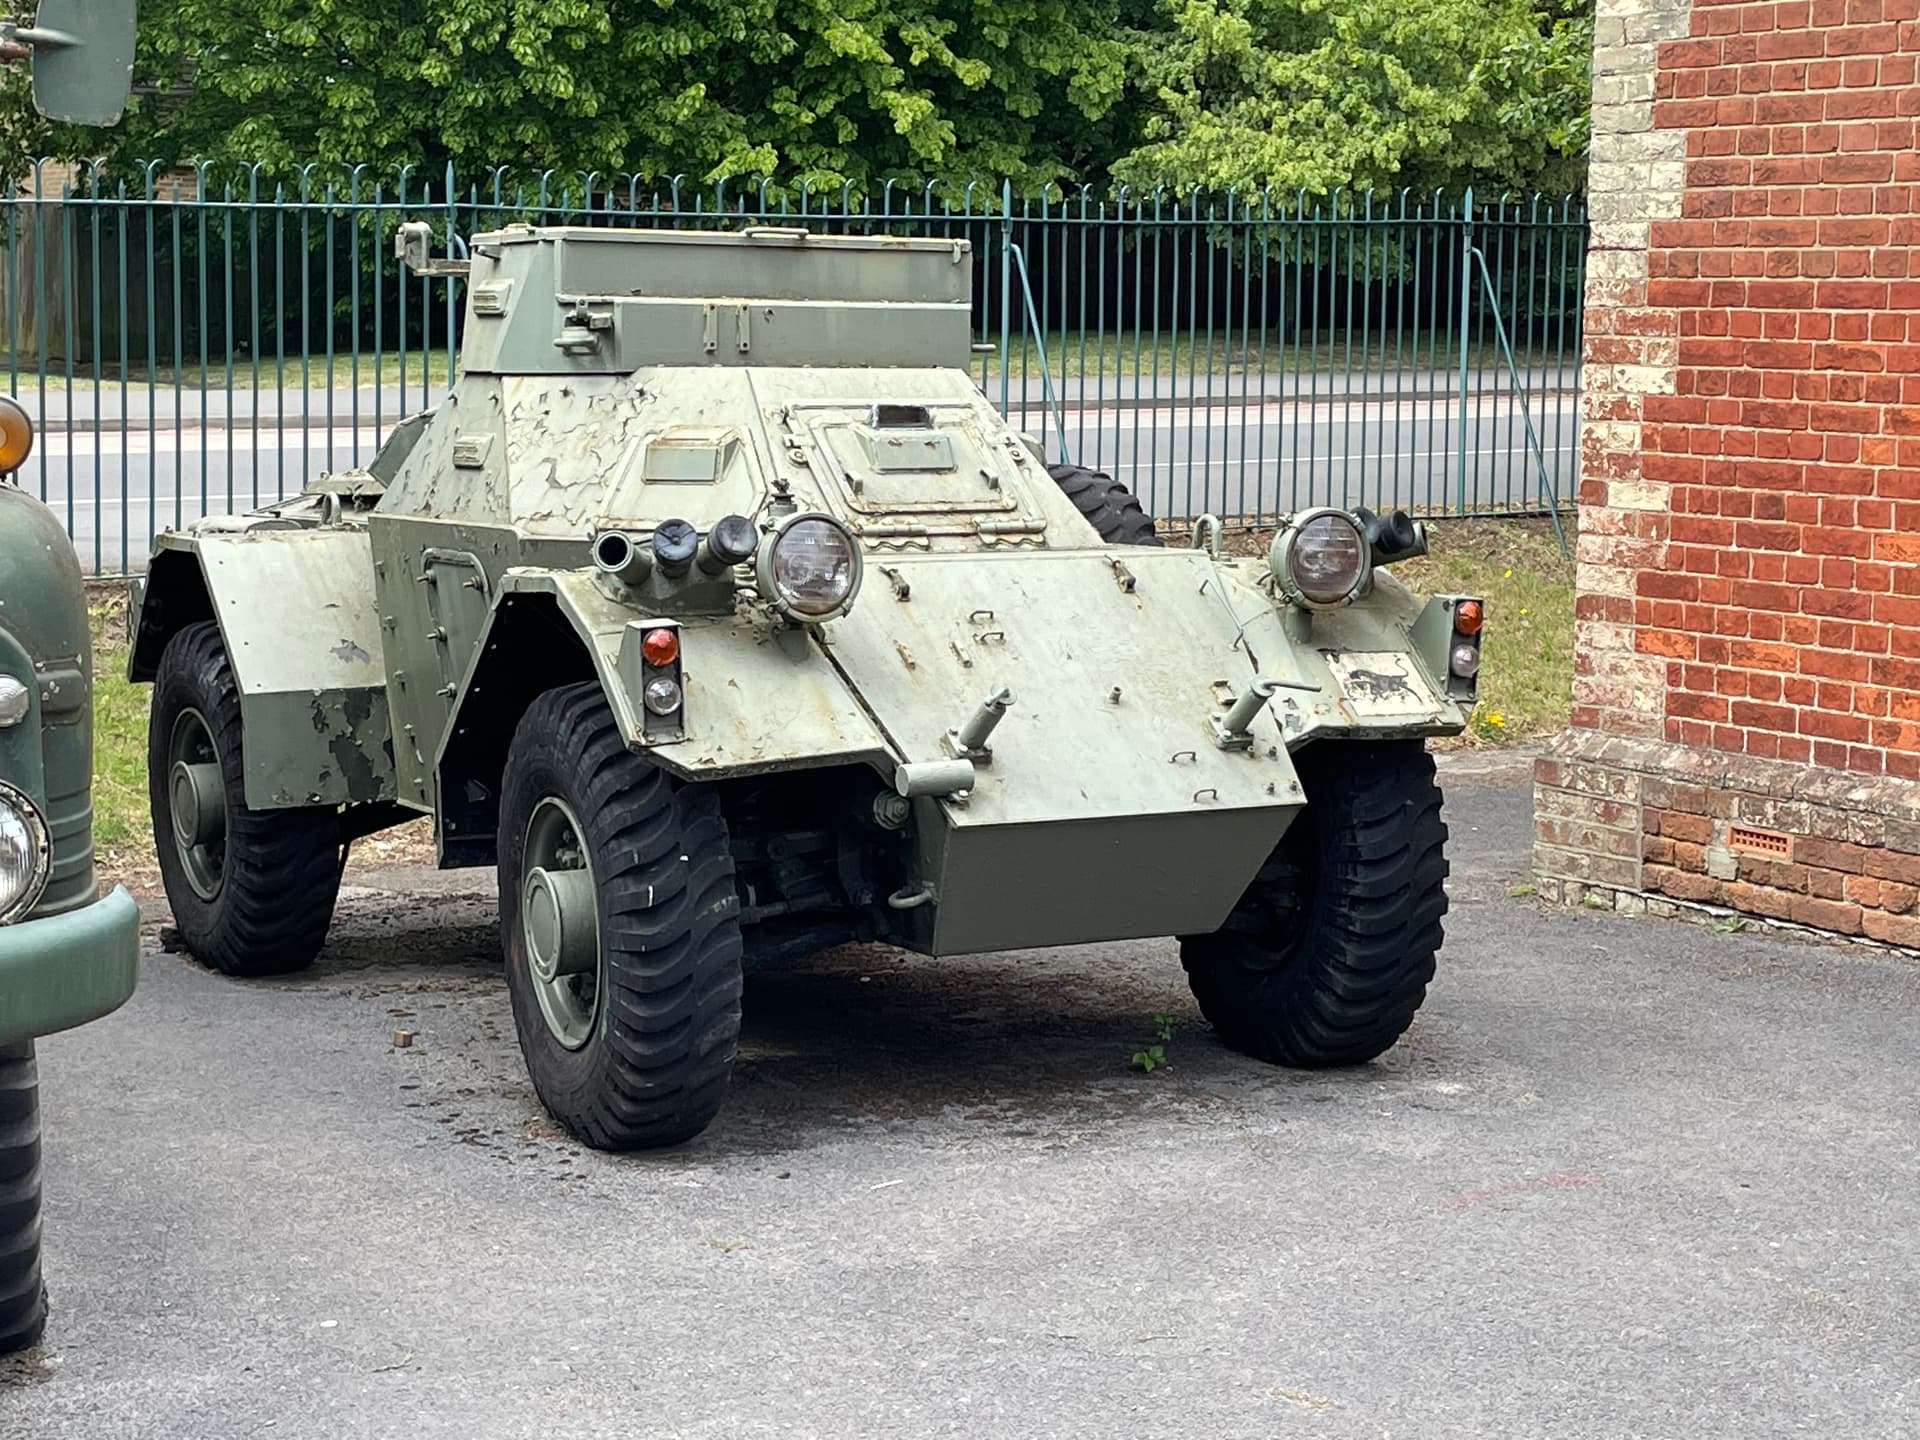
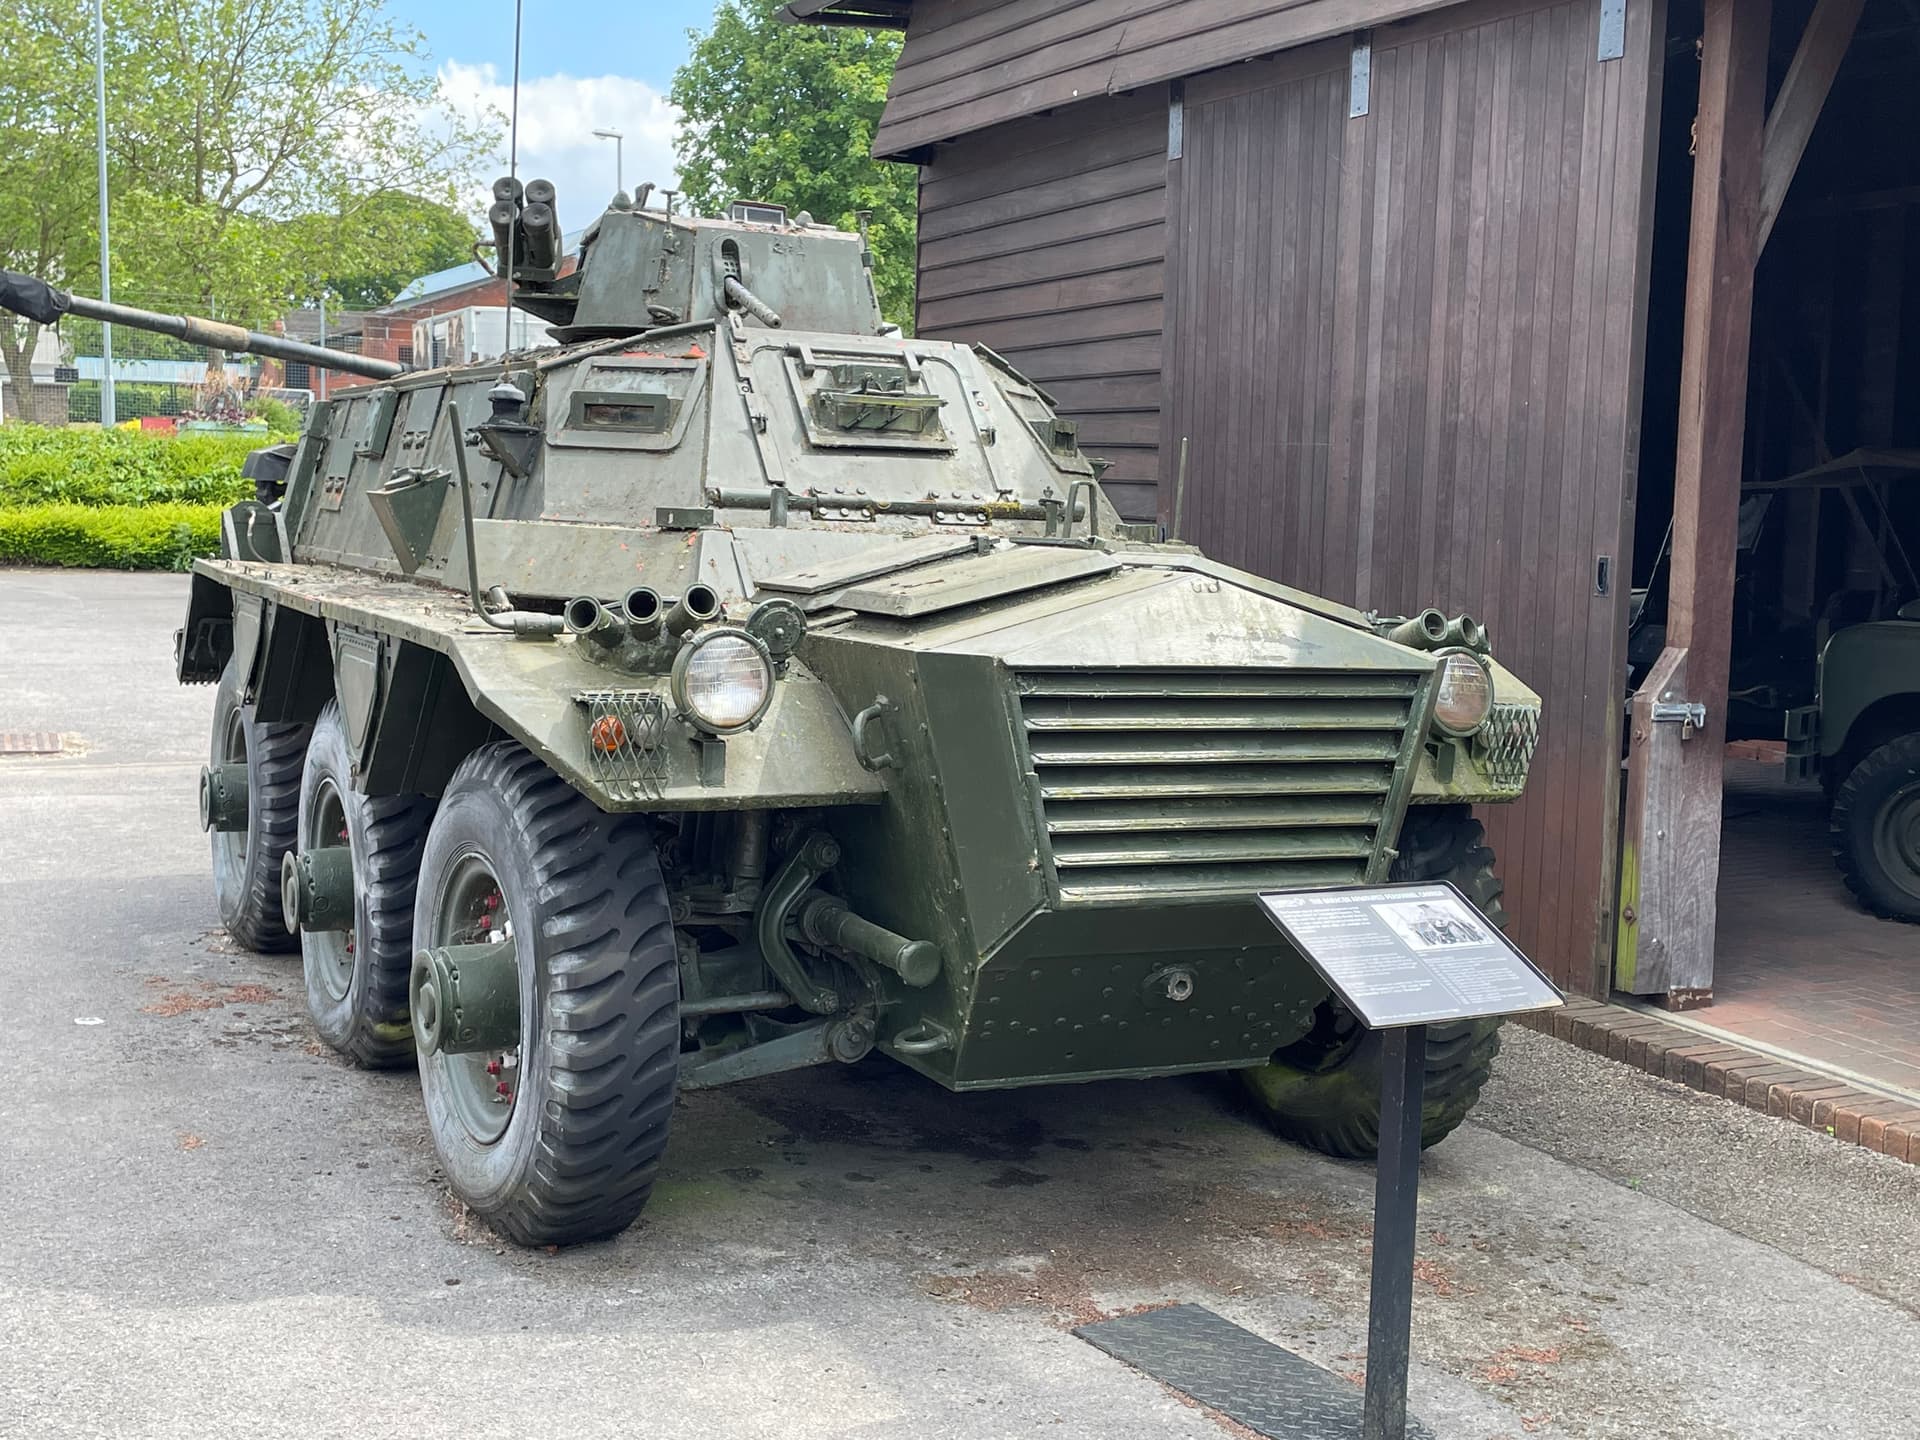
Some more from the museum
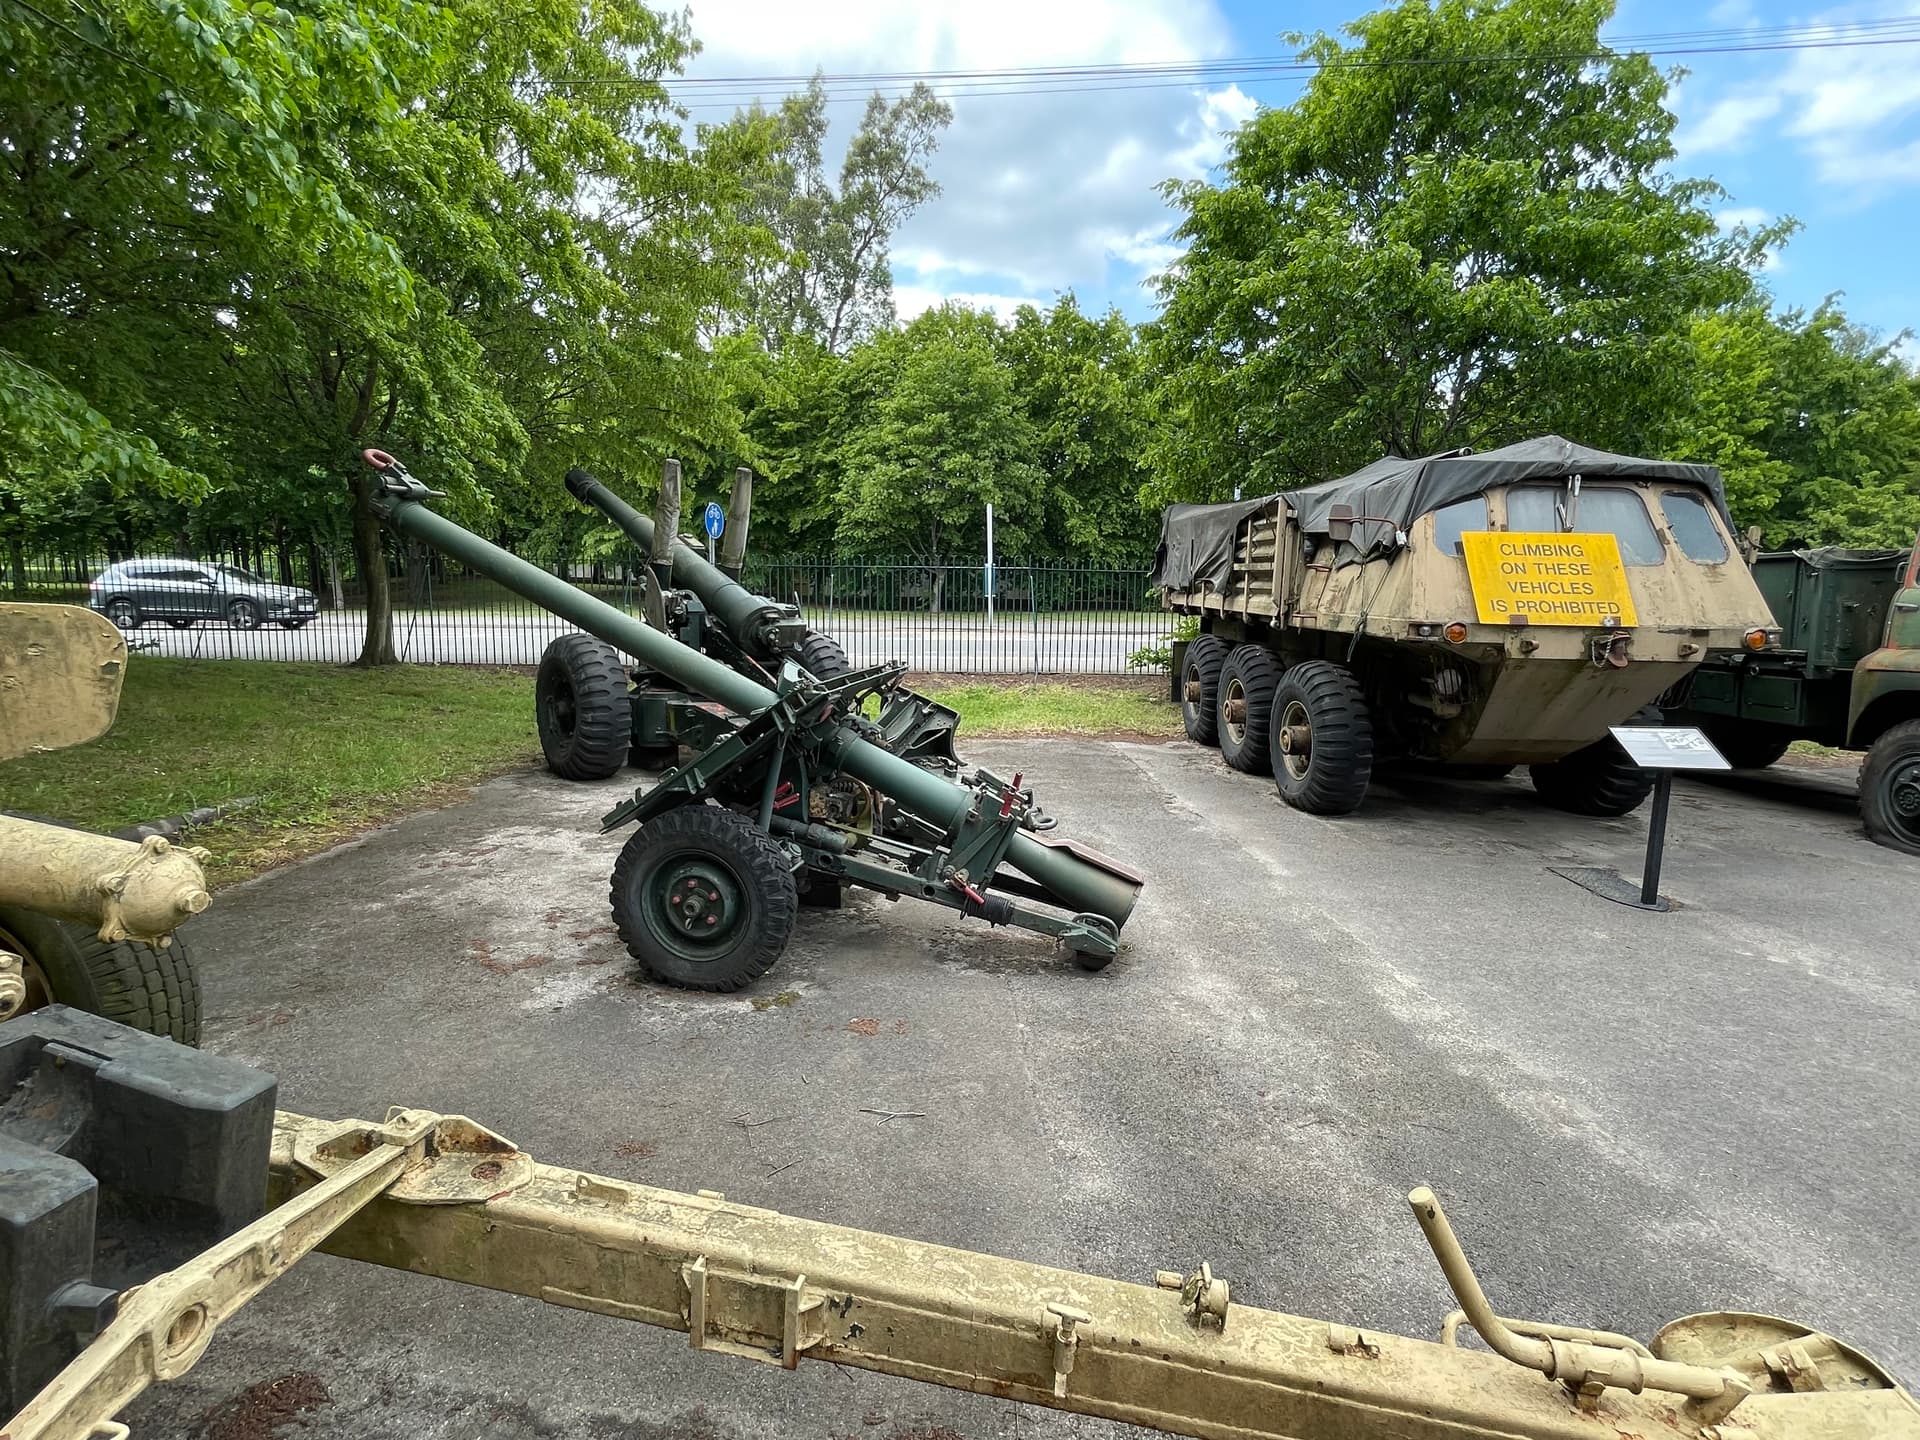

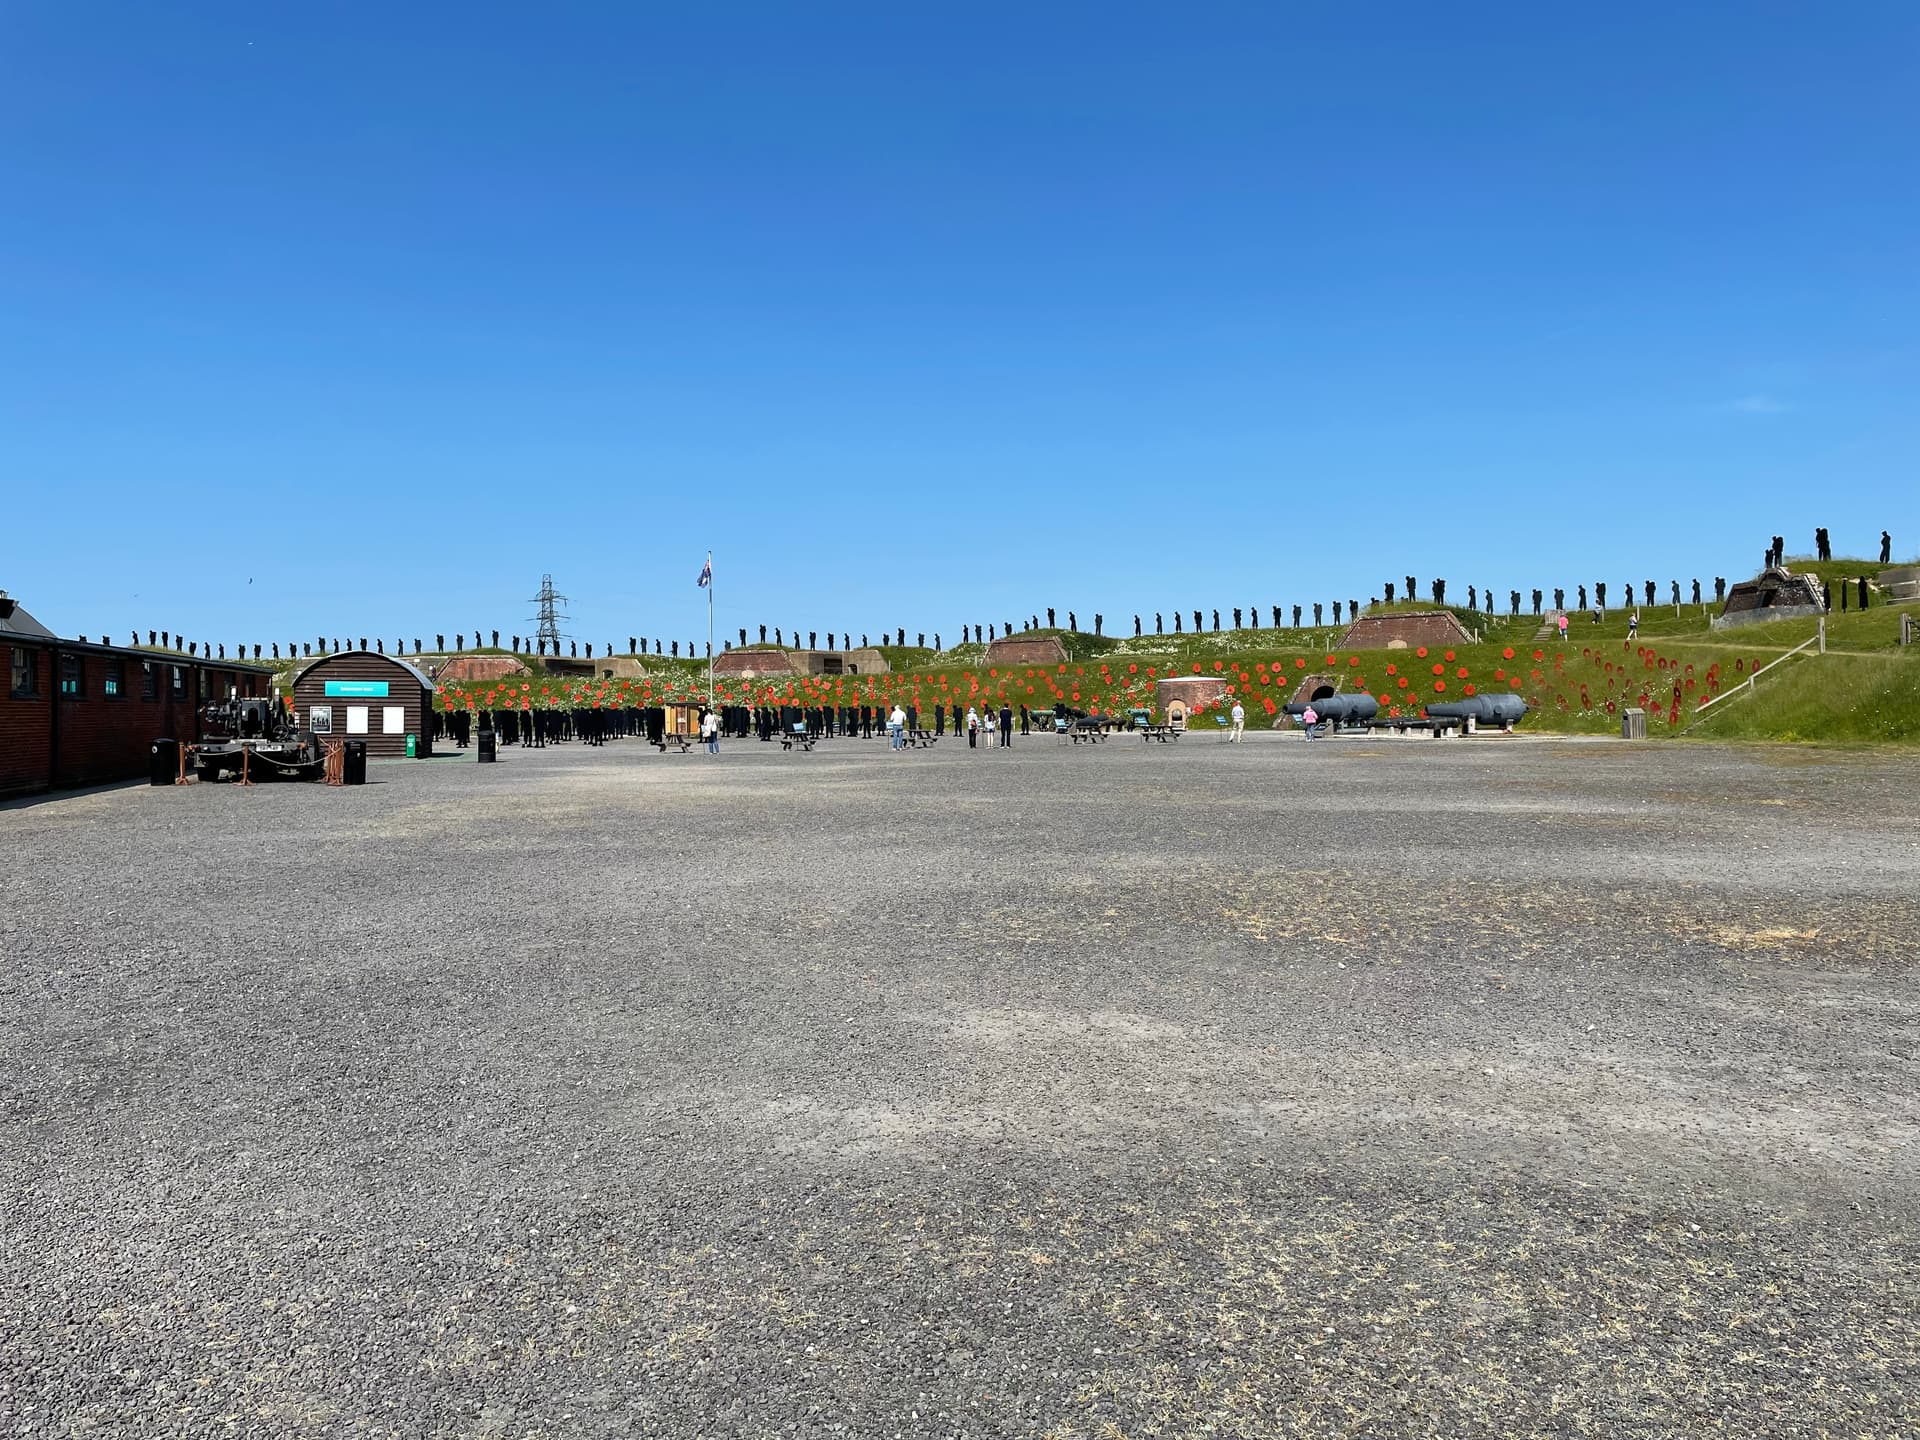
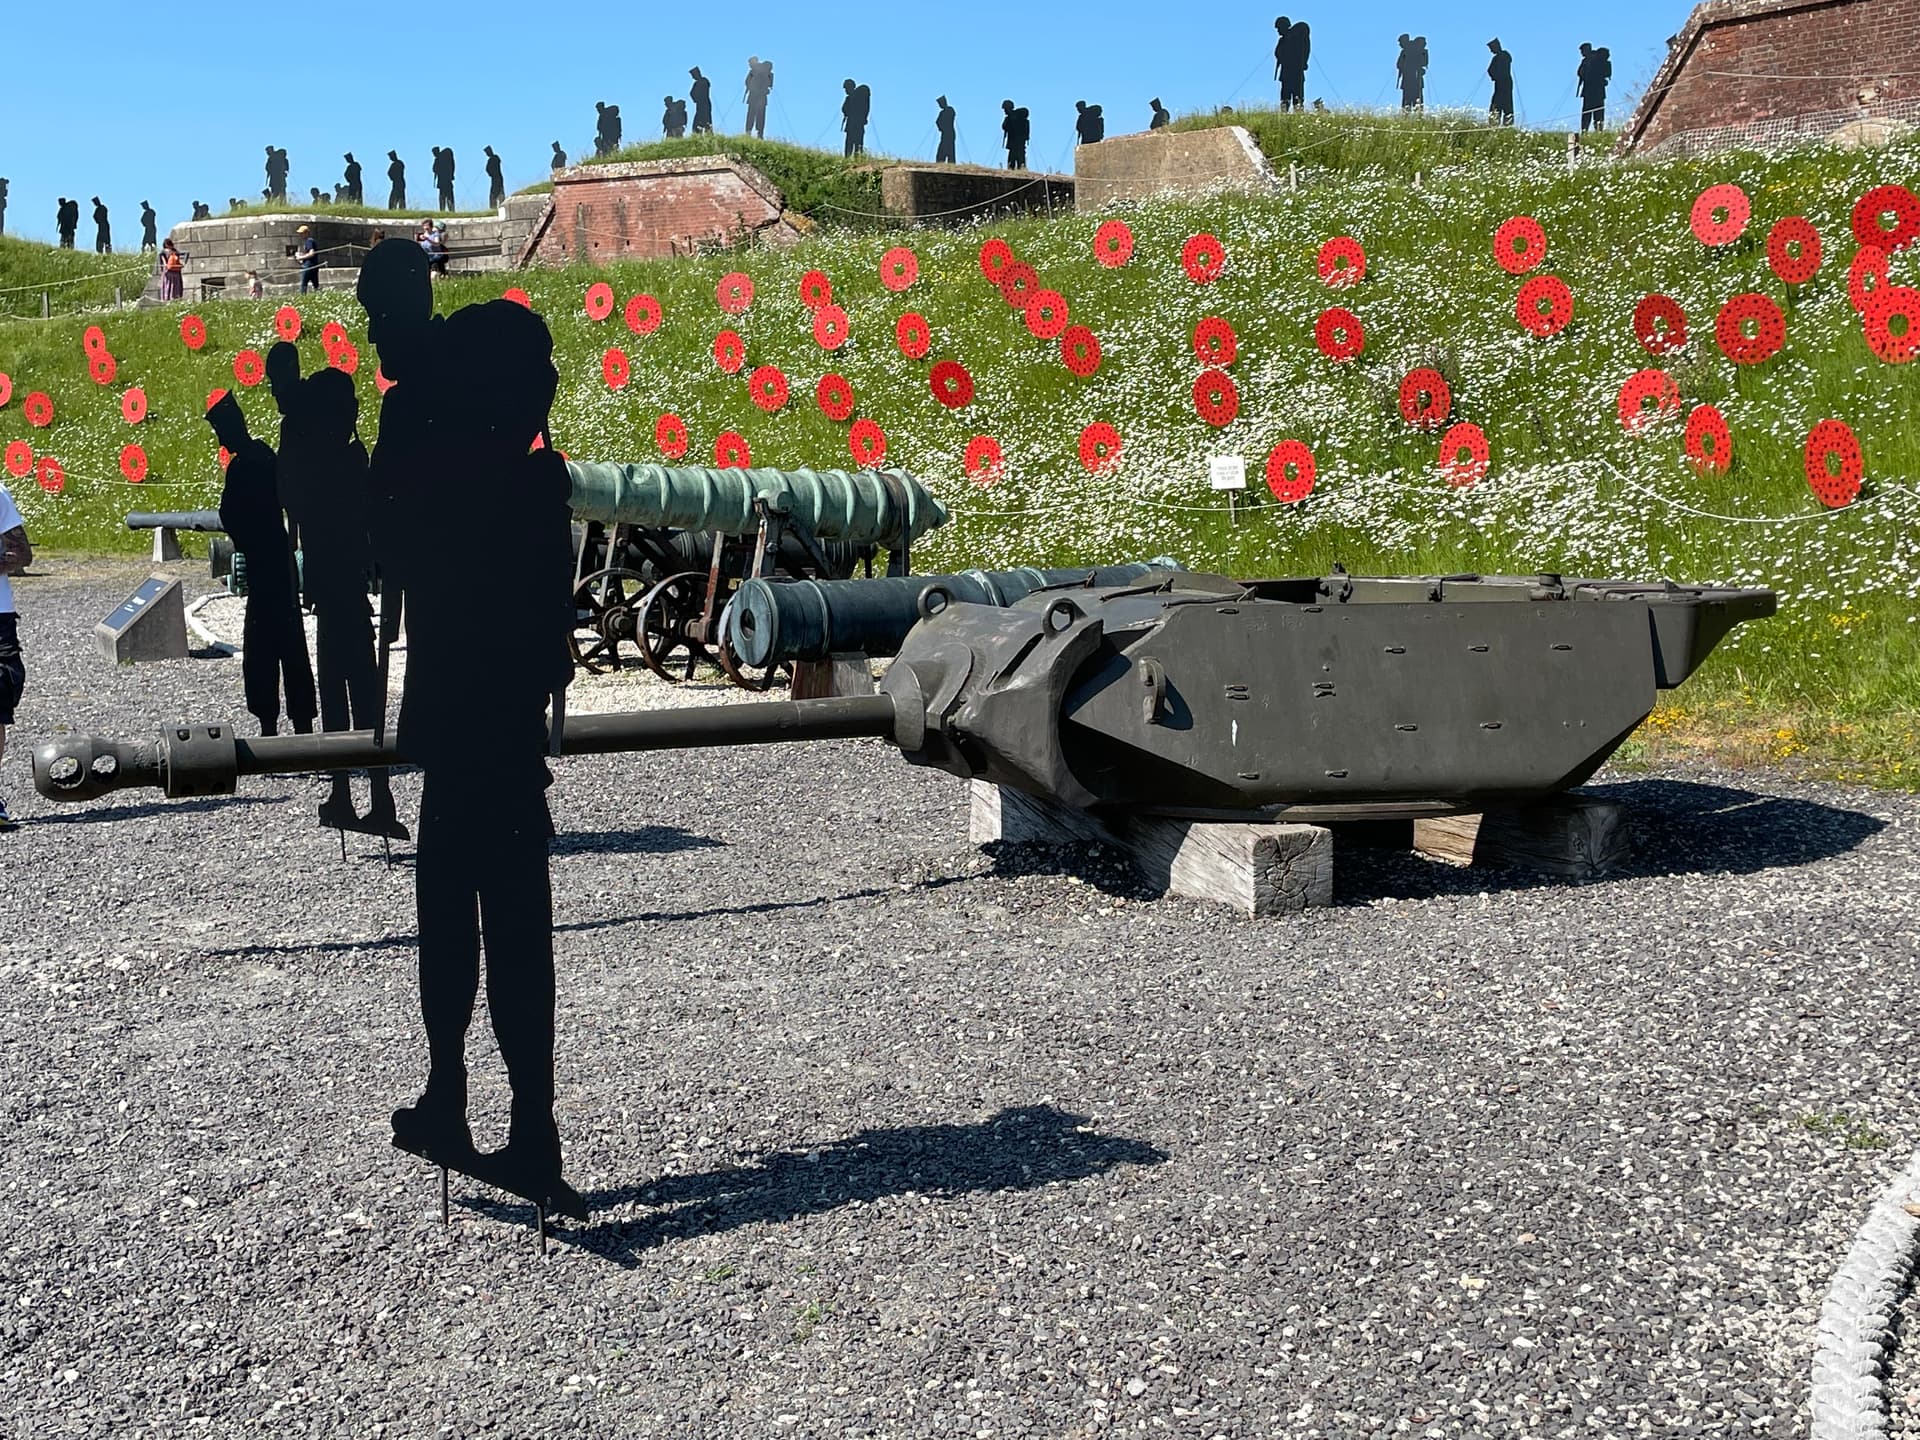
And Fort Nelson - Walking with Giants - The Falklands memorial
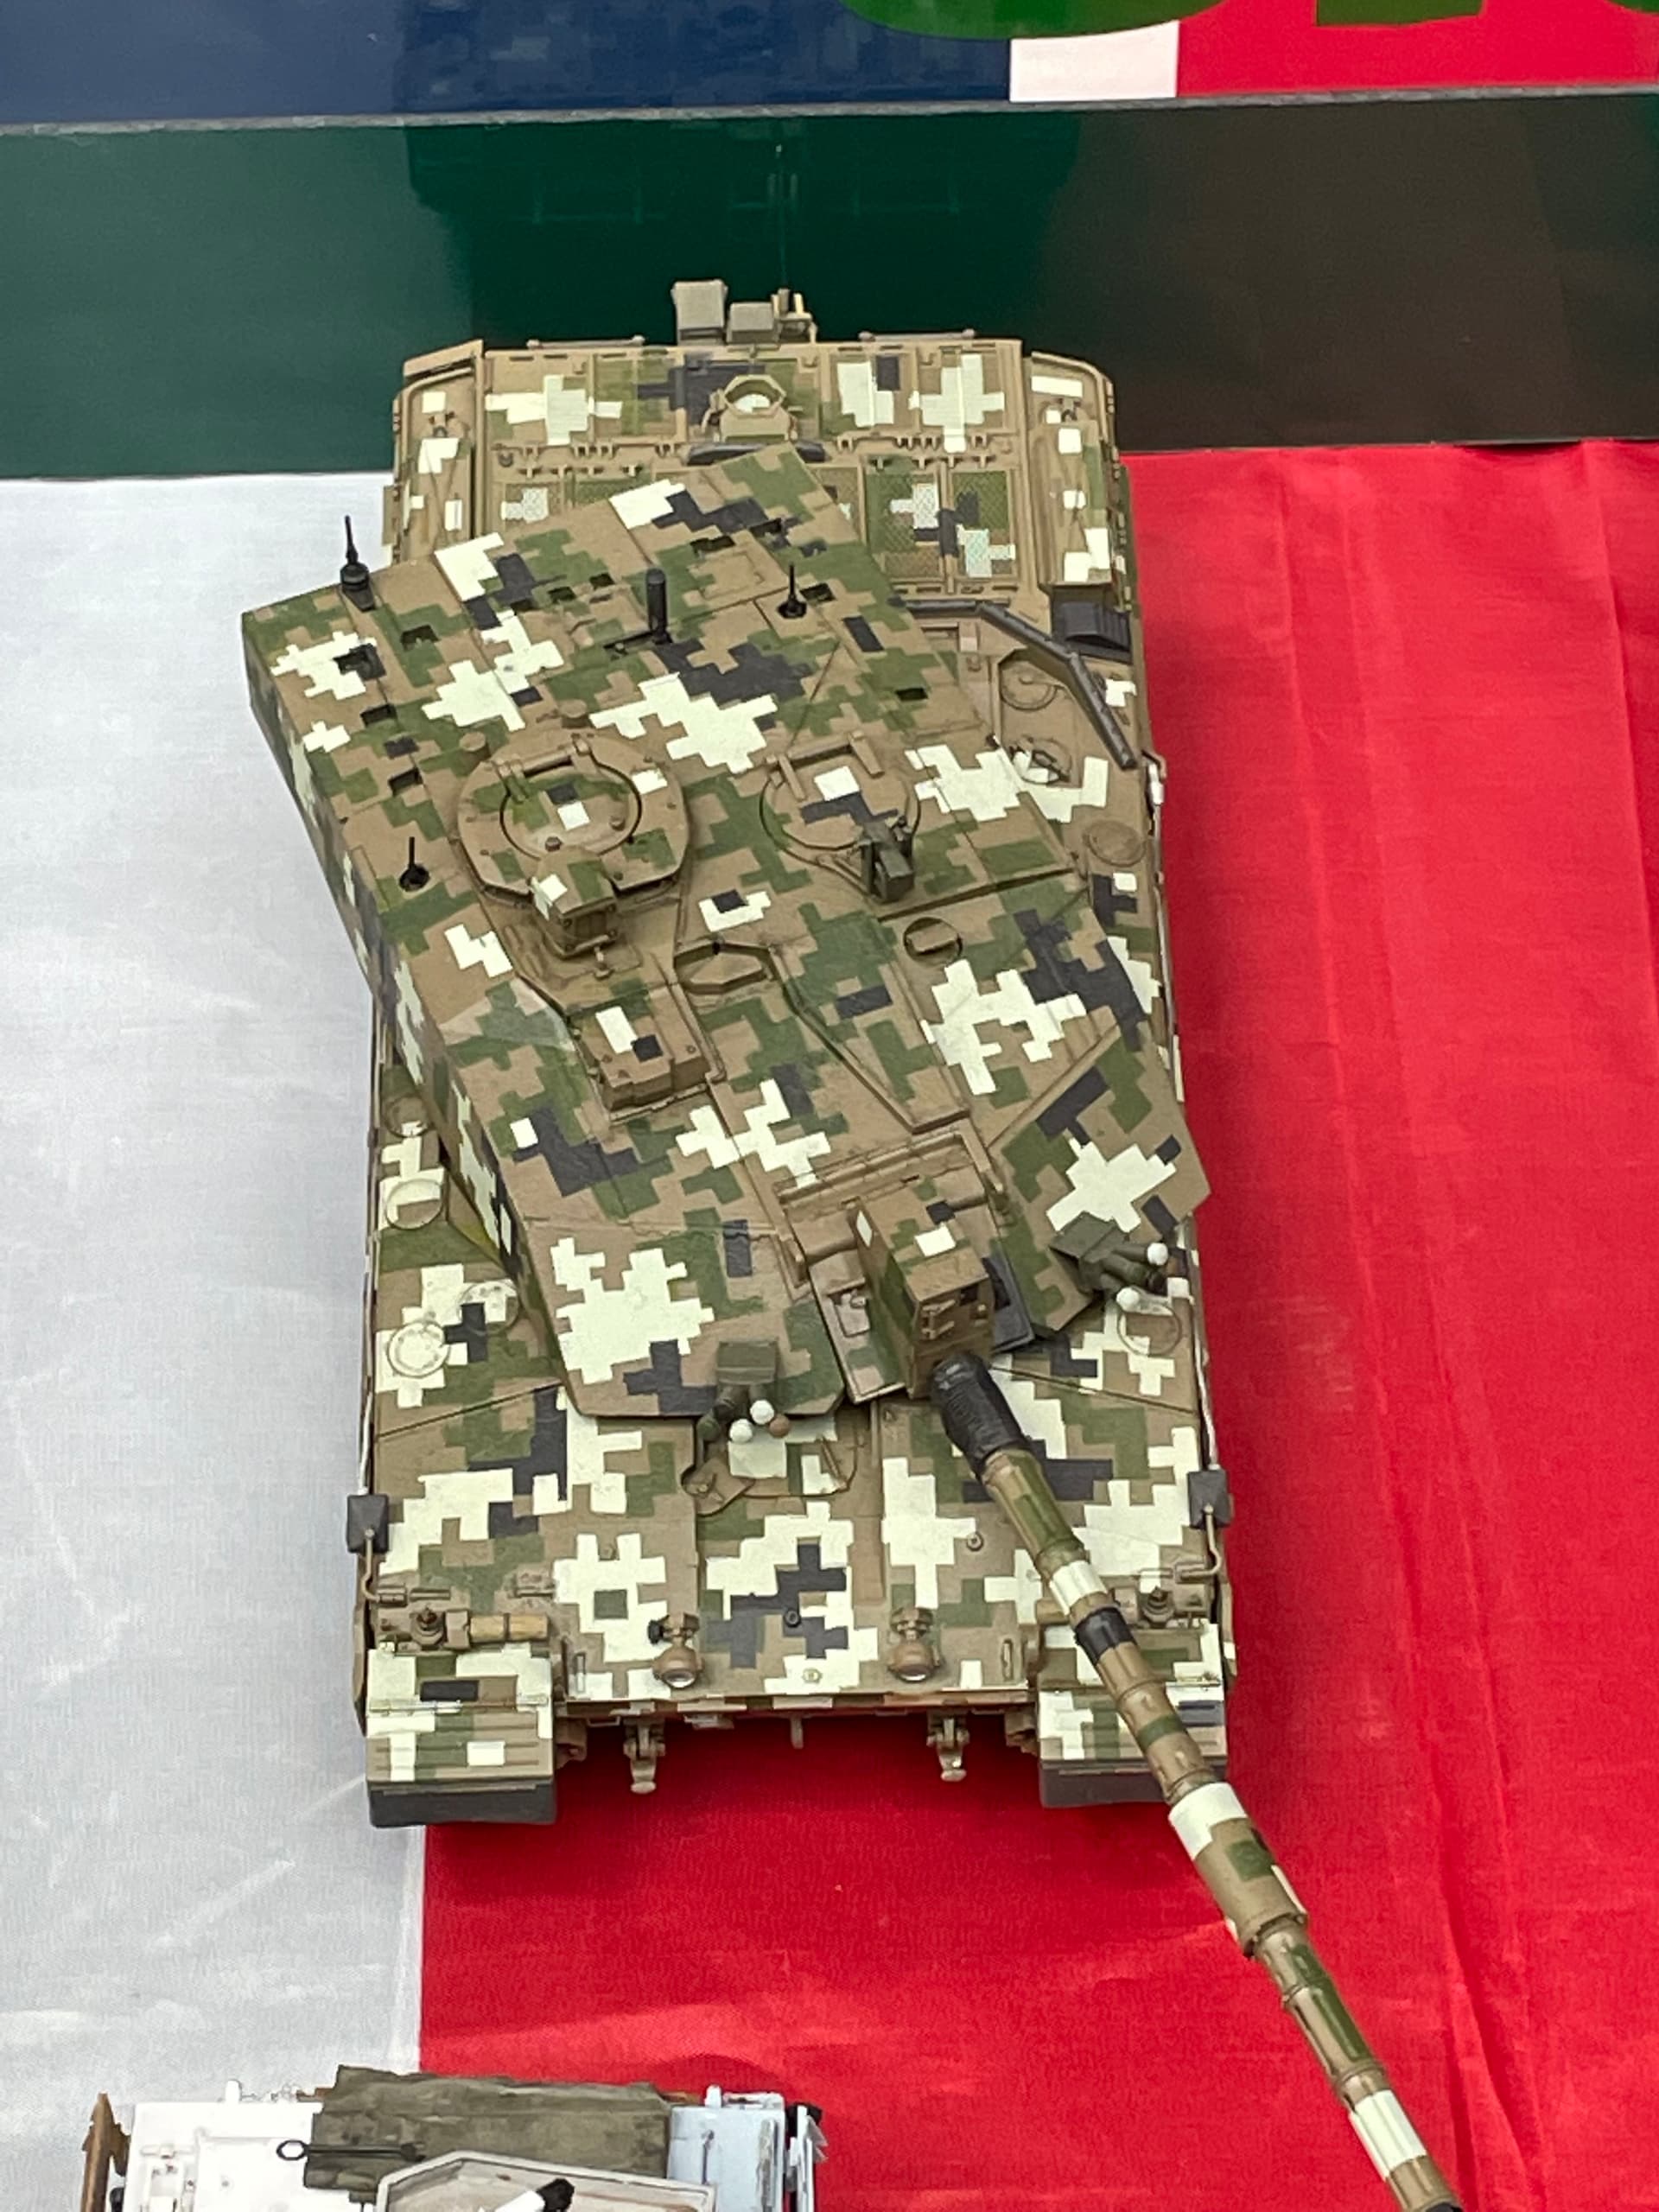
Chally 2 from the model show
5 Likes
A good ‘Tank chat’ on the Chally 1

1 Like
I have also been watching this thread and enjoyed watching your Challenger come together. The final product looks great.
2 Likes