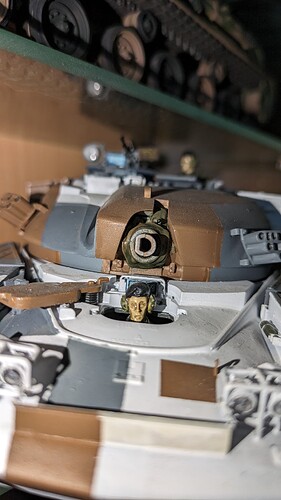
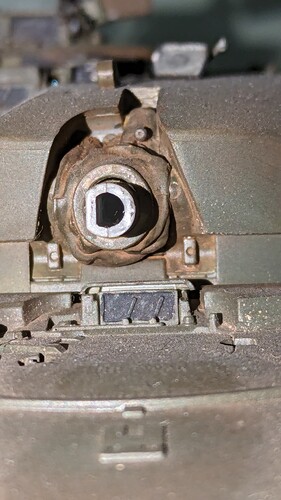
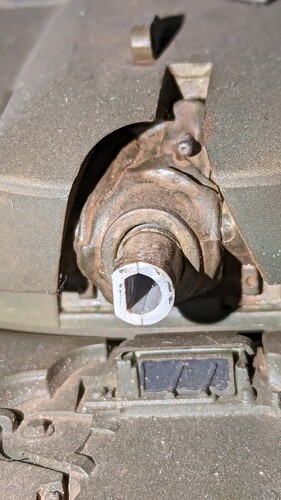
Coming along handsomely John with all that extra detail work, and a good tip on the turret build sequence for when I tackle mine. I’m currently helping a young lad (at the museum) from a local school, build the Tamiya Chieftain. What’s great is we can keep wandering round to see either one of the two we have on display. It really helps to show them the detail on the real thing as they build.
To lazy ![]()
Yeah, it would be brilliant having a 1 to 1 you can just wander over to and check something … very lucky ![]()
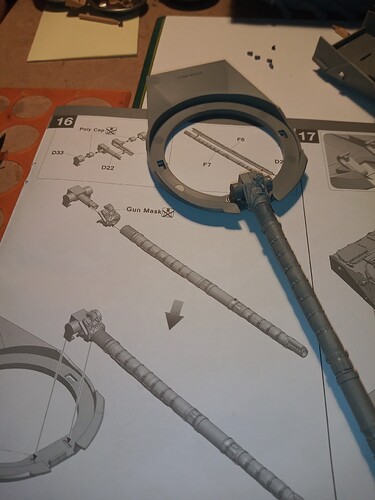
So, I’ve hit upon the first real hiccup on the build … The turret assembly and it’s order and the mantlet parts…
Instructions have you start from section 16 assembling the gun mount and mantlet plus barrel then joining that to the turret base.
Which is ok, and no issues thus far…
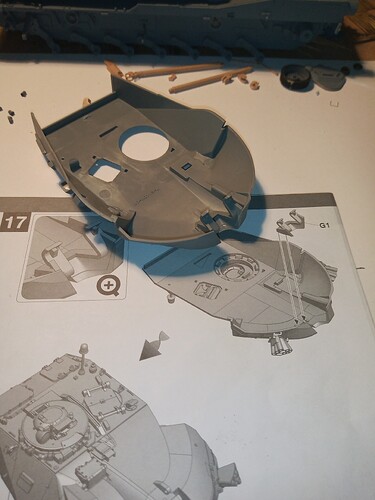
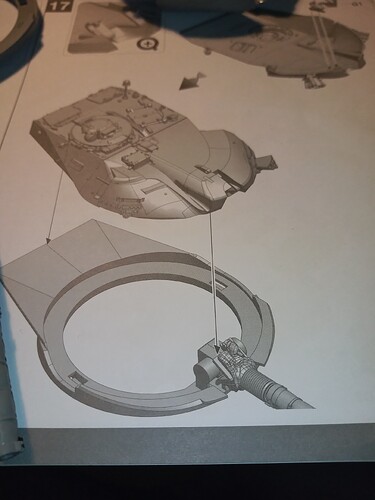
Section 17 has you add G1 to the upper hull and then simply join upper to lower …
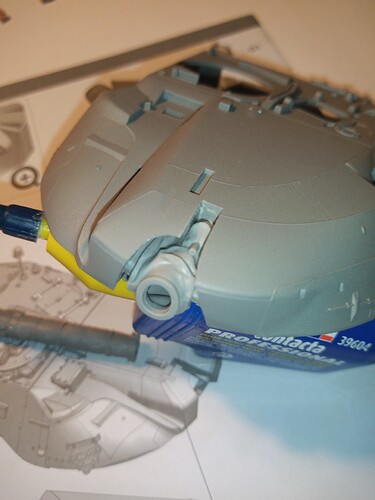
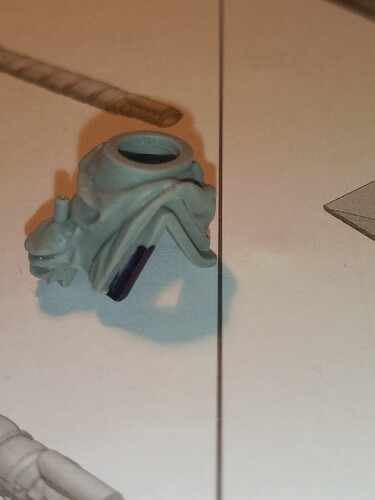
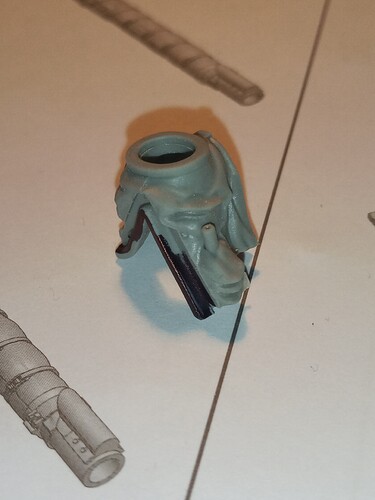
Nah… That is not going to happen in this lifetime… And this is the culprit…
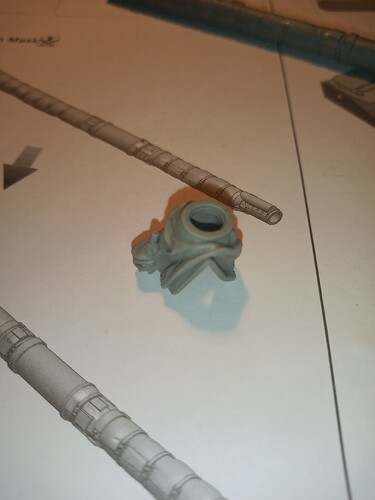
The Flexi mantlet cover. And before anyone thinks it, it made no difference whatsoever by me building up the upper turret prior to all this.
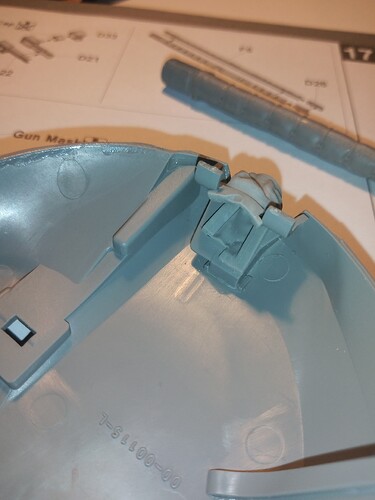
The G1 part is meant (by the instructions) to simply slide over the mantlet cover already in place and then the upper and lower mate up ,… Nope !!
The flexi mantlet has a V grove on the inside that has to sit either side of a V shape on G1… And this just seems impossible to achieve
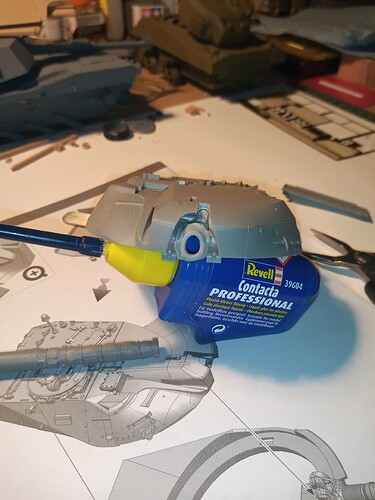
Even roughly fitted on its own in the upper hull on G1 the mantlet distorts badly out of shape and doesn’t mate up with any where it’s meant to and the barrel opening is also distorted…
This is a real pain … Terry @Terry1954 beware…
Have been thinking about how to remedy this and it’s stumped me apart from one option…
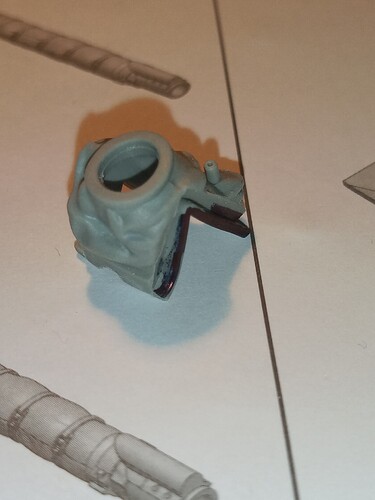
Cutting away the inner section off the V on the flexi mantlet which I’ve coloured black here…
Idea being that I can assemble the turret minus the mantlet then add that last and push it into the recess and onto the G1 V… But it means cutting that inner V section… Worrying … ![]() ??
??
Also, I strongly recommend building the turret shell before adding any of the external turret parts… So many parts would be broken off as you man handle it …
Looking good. And never mind the instructions. They are only other people´s opinion on how the kit should be built…
I shaved mine down so that it wasn’t all gone and still had something to grip once the adhesive was added. Still it was a case of needing 6 hands to try and keep everything from popping out.
Am going to be doing that tonight … its a pretty bad design to be fair
I just read back my notes when I built mine and didn’t notice this issue. That doesn’t mean I didn’t face it.
So I can’t help find the proper solution.
Olivier
Cheers Olivier … I think it should be ok when I trim/shave the inner V lip (which is hidden anyway) …
Don’t think I had any issues with the 4, I have in that area.
But I did build them as a shell without any parts fitted to it.
It is hard to place, the barrel at a good though., without felling you may be bending it .
I think looking at yours Frank, I may have a shizzer mantlet that’s warped or scrunched up as it looks a lot different to your fitted ones … hopefully the plan I have will sort it later.
Yours looks pretty much like mine did Johnny. It’s just very difficult to get it in.
Have sliced the inner V lip off and its now connected into the upper turret … have test fitted the turret bottom and everything seems to fit … so a bit more trimming and it should be ok … fingers crossed.
Will also be sculpting in some plastic putty to blend in the mantlet edges.
Did a bit more on the Mk11 after some background work on the Sherman base…
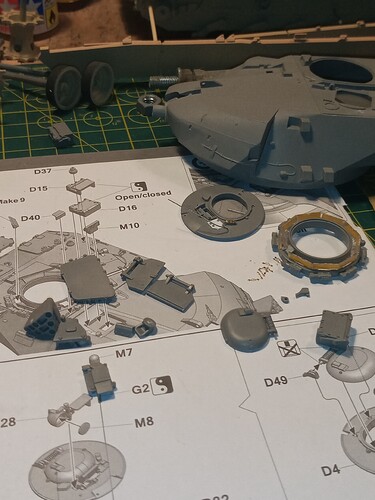
Got everything removed from the upper turret that will be PE replaced or scratch added… Also got the Flexi mantlet cover fitted with some plastic putty added on the edges and blended to the general shape.
Want to add a bit more detail to the hood and front/sides of the gunners sight casing as it’s a bit bland.
Masked up the cupola vision blocks and got most of the parts ready to fit.
Need to prep the P E for all the wiper motors and wiper blades…
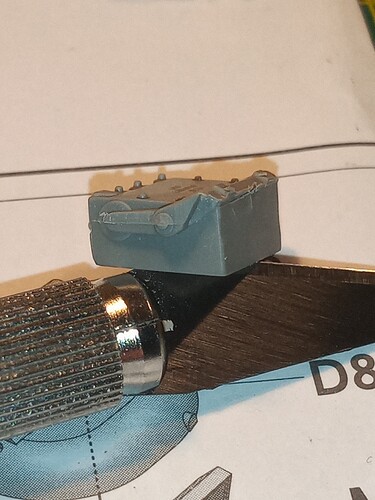
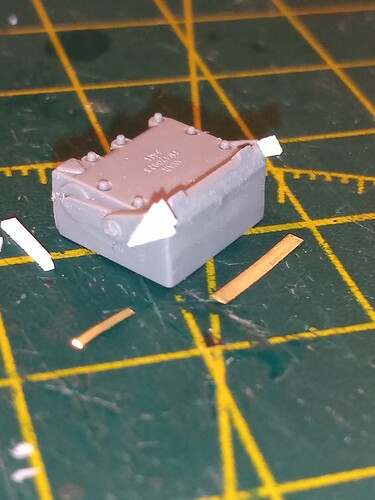
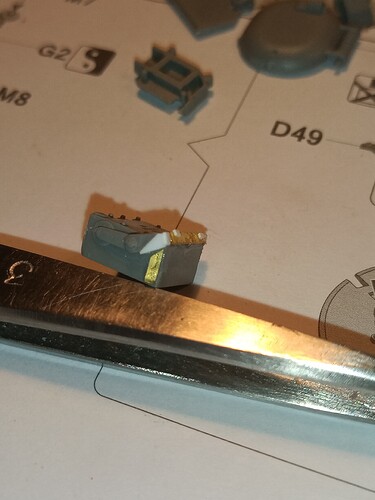
As you can see in the picture above of the sight housing, you can see it’s pretty block and undetailed on the pivoting cover.
Plan is to build up the side arms first as they needed some work.
The PE piece at the front will eventually be the front of the cover pivot arm, the smaller PE bit on the side will hopefully end up representing the side of the sight hood door.
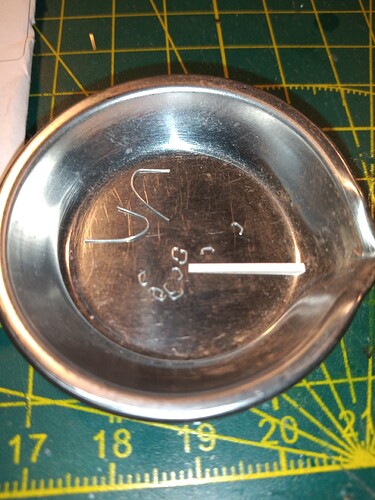
Have also made up the 7 turret tie downs with florist wire. The white strip will be cut down micro small to show the squashed tie down feet, and the long it’s of wire are for the underside of the MBSGD when they get fitted.
Won’t fit the tie downs until painting as they are to delicate.
Ref the turret tie downs, I did go to the trouble of making up the PE ones, but to be honest, they were just flat 2 dimensional and didnt cut it … hence the shift to the wire ones being made up.
Bit more detailing.
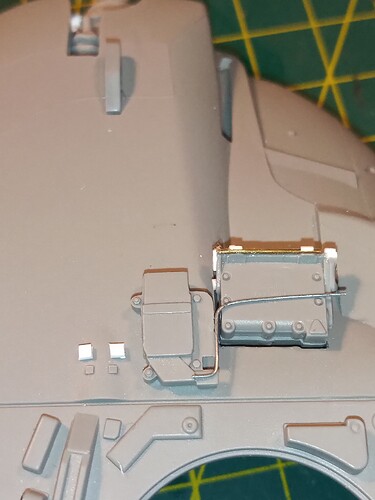
Trimmed some areas on the MRS light source box and will add the electrical cable between that and the gunners sight which you can see mocked up below.
Will also remove the 2 grey blocks to the left of the light source box as they are to small, and replace them with the larger pieces of white strip I’ve cut.
Also finished adding some detail to the front of the gunners sight cover.
Once it’s primed, it should all blend in.
John, the detail work you’re doing on this kit is remarkable. Keep at it!
Cheers mate … Glad you are keeping tabs on me ![]()
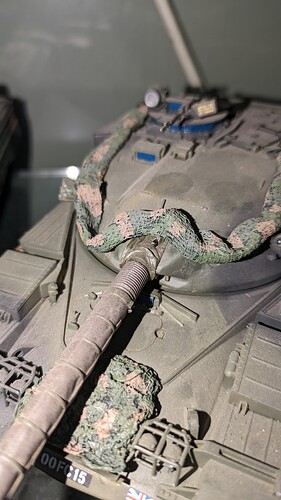
This is why, whenever I do Chieftains (not as often as I should), I tend to opt for cam nets and mud(!)
Good work John - cathartic or a PITA?
