This will be the 5th time I’ve made this kit, but this time I want to build it as something different. There are plenty of images on the net showing Target hulks on the ranges, so plenty of research material.
the build omits much of the exterior, bins and other salvaged parts prior to the decommisioned hulk going onto the range.
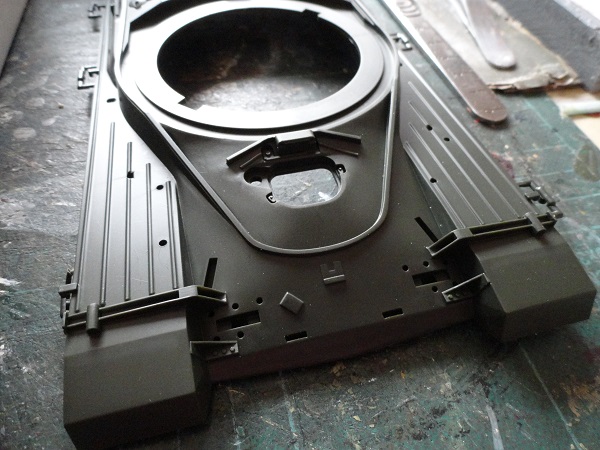
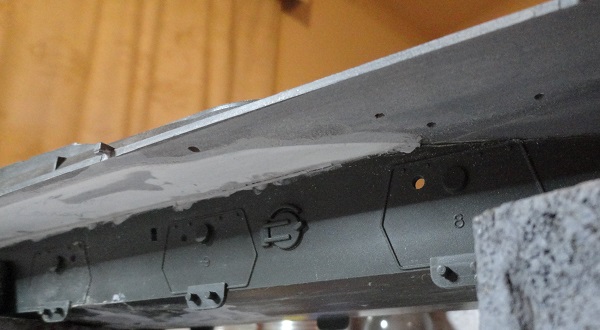
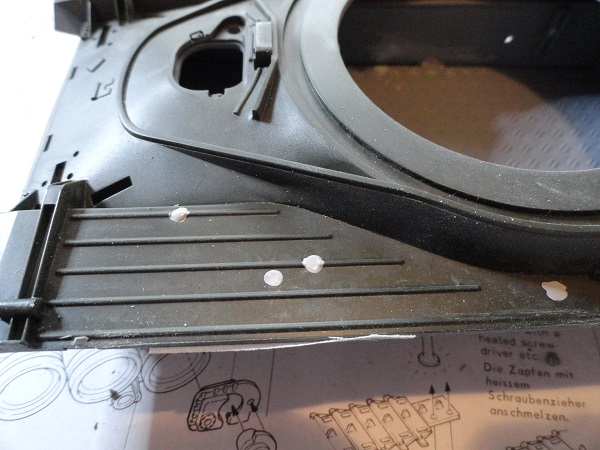
but the first work was what was not included in Tamiya’s old old kit, sponson plates.
1 Like
the rather unrealistic plate brackets were also cut and sanded off
further basic preparations were filling location holes for missing external bins
3 Likes
A unique modelling subject. I’ll be checking in here during progress if you don’t mind.
2 Likes
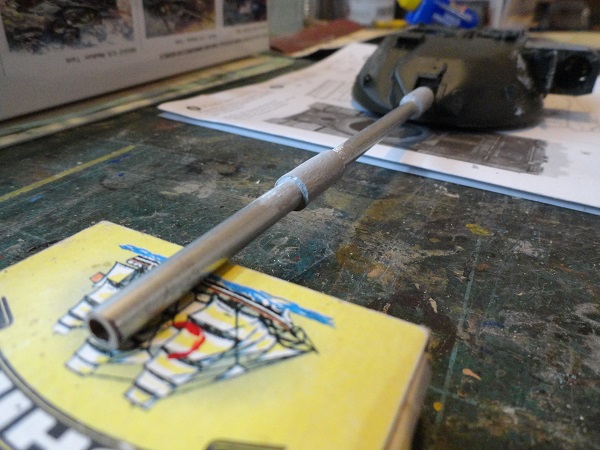
the thermal sleeve is molded integral with the gun, so a new barrel was made using aluminum tube of the right scale
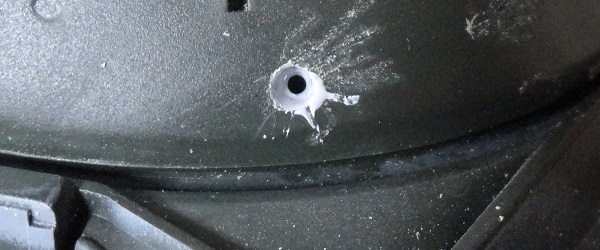
shell hits were copied from close up images, so a hole was drilled and filled, re drilled and broken off to look like the real thing.
4 Likes
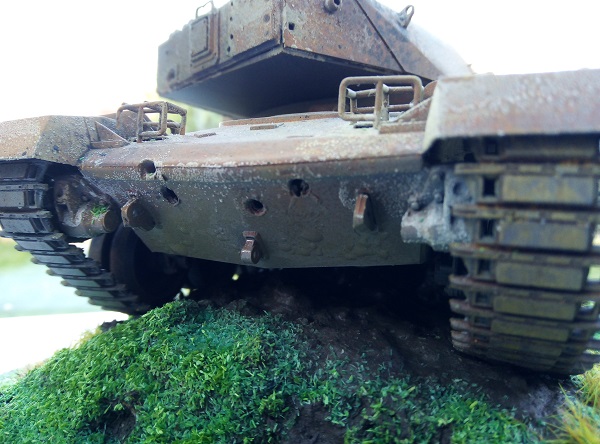
the hits on the front of the hull were also copied from images of range wrecks, drilled filled and re drilled out. The most important thing for me was getting the grouping as close to the original picture as I could.

4 Likes
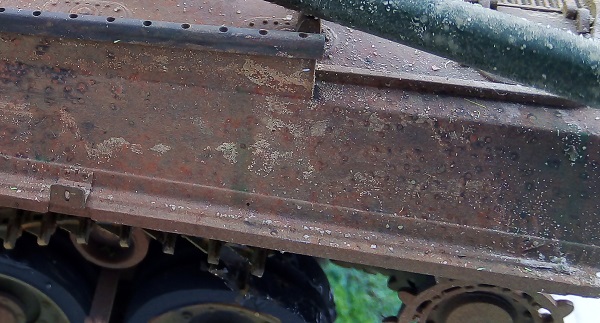
using this image taken of shell impact damage on a Chieftain, I was able to get a similar effect.
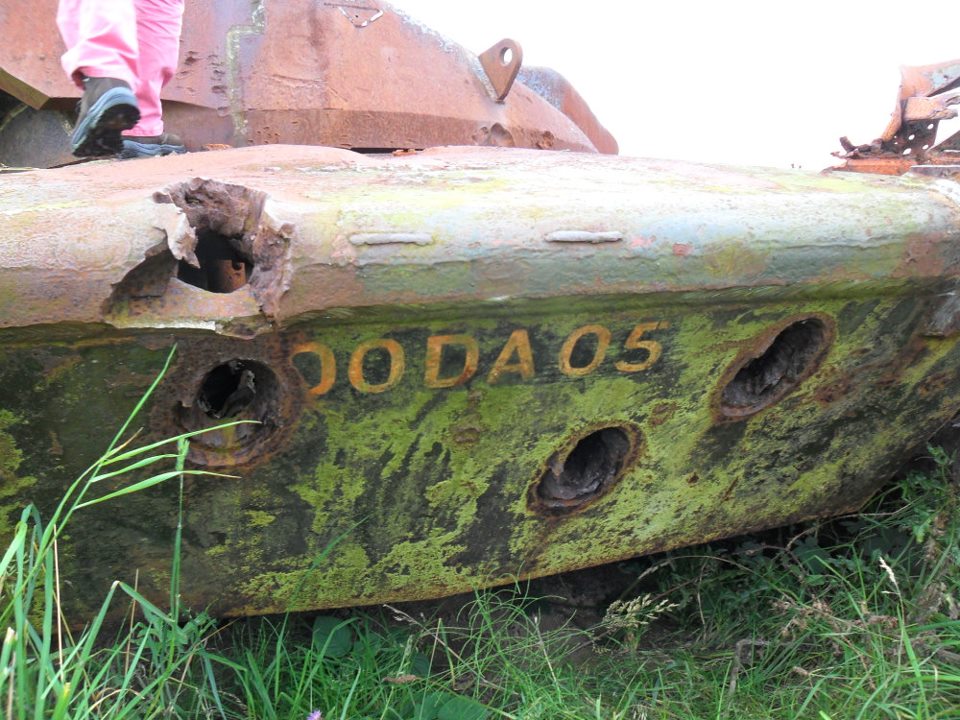
later on in the build progress I was able to replicate the shell damage.
2 Likes
thank you very much, you are most welcome, hope you find this interesting.
Looks great and a very interesting subject… We used to fire on a yellow one at Otterburn Swingfire range with our Strikers.
1 Like
A unique build! Looking forward to more.
1 Like
Oooh kinda sad seeing a wrecked Chieftain, but I agree it is a great idea for a bit of modeling fun. I shall be watching!
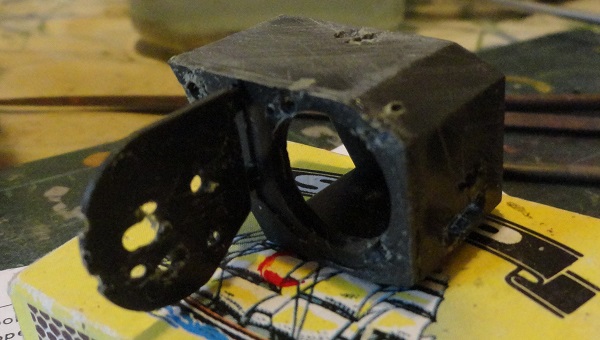
the searchlight box on the left side of the turret exterior needs to have shell fragment damage from the shell hit on the forward left side of the turret,The problems present themselves when you produce damage, knowing the thickness of real materials. The searchlight is partly armoured .
1 Like
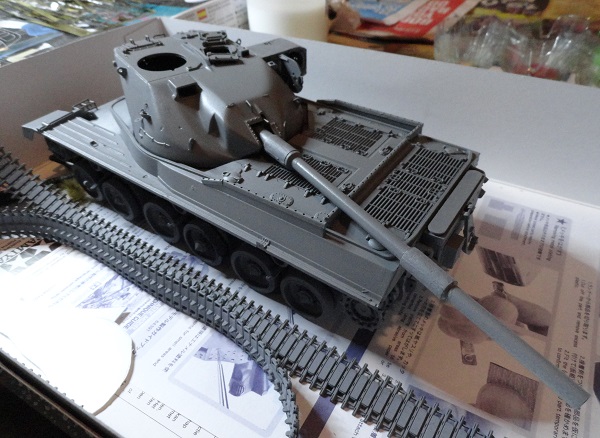
the model sprayed in grey primer.
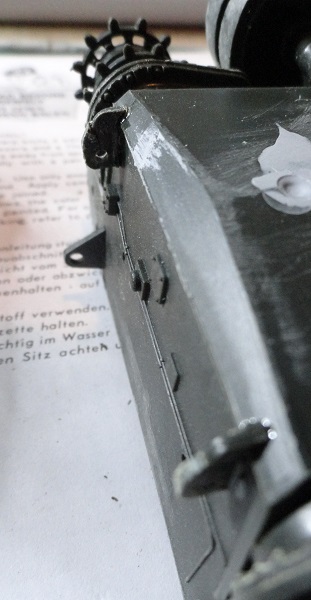
the tracks were the next issue, being the old style one piece, they need to lay a specific way on the running gear.

2 Likes
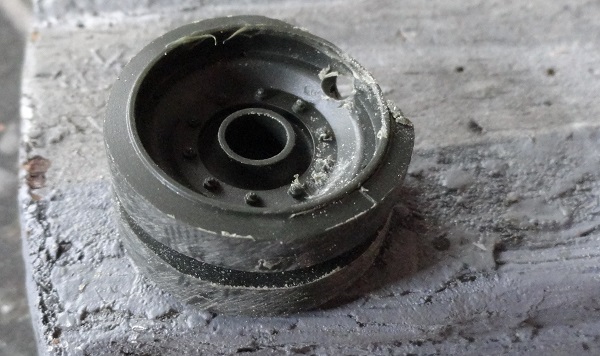
damage made to a wheel to show the passing through of a shell
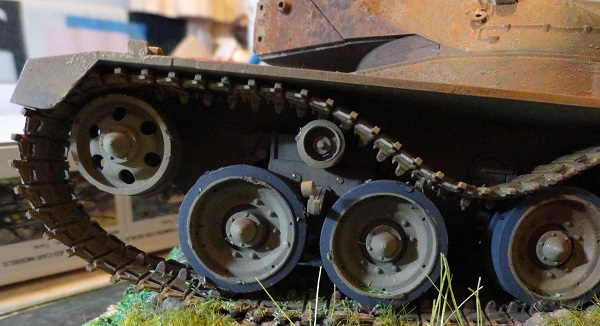
the track hangs over the TA wheel at the front
3 Likes
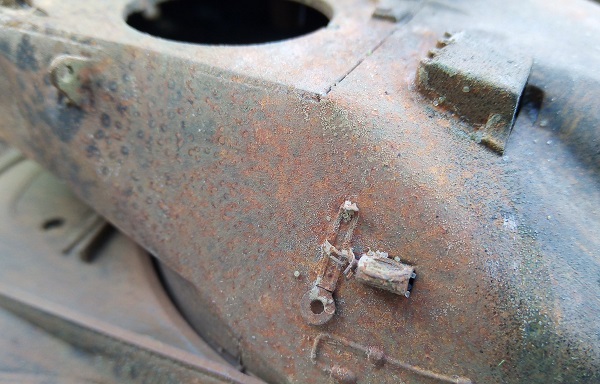
using layered paint effects to show the rust formed on the side of the turret.
tissue was used to form track curves for the broken track side.
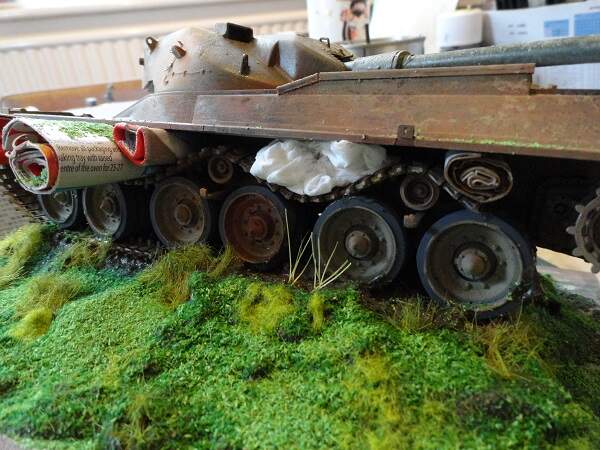
once the tissue is removed over an extended drying time, the glue holds the track in place

3 Likes
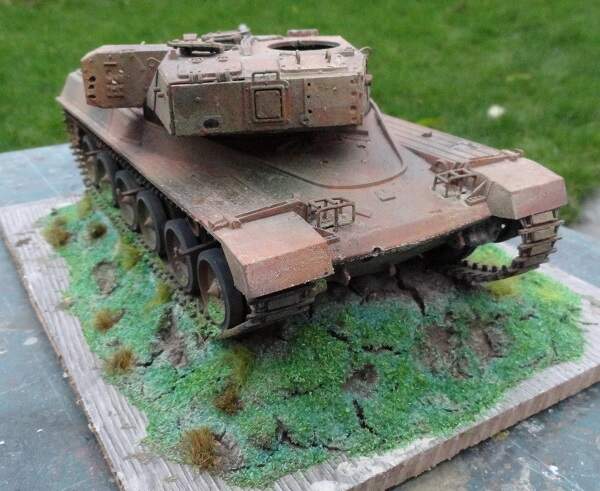
solid shot shell hits in the soft soil to the left side of the hull.

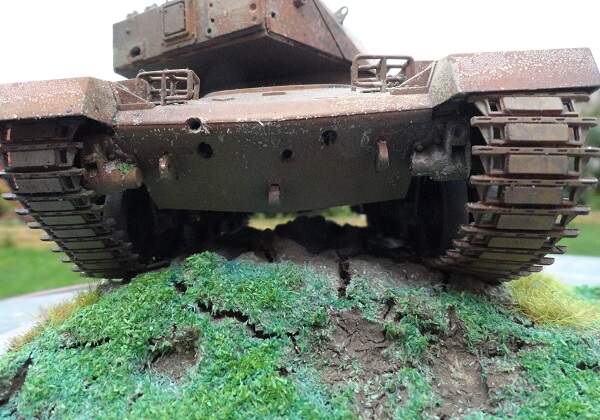
the tail end of the tank has been stripped of usual Chieftain features leaving the rust on the bare hull plates
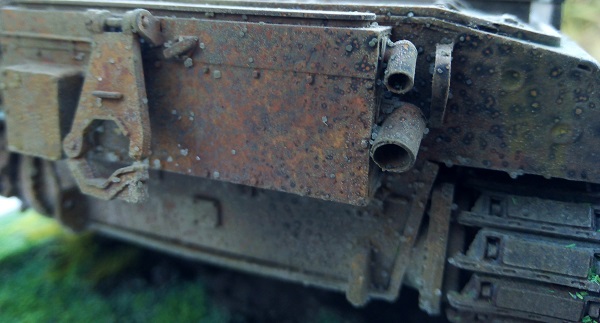
1 Like
the hull side rust effect
3 Likes
the right side of the tank, the track remains joined in position.
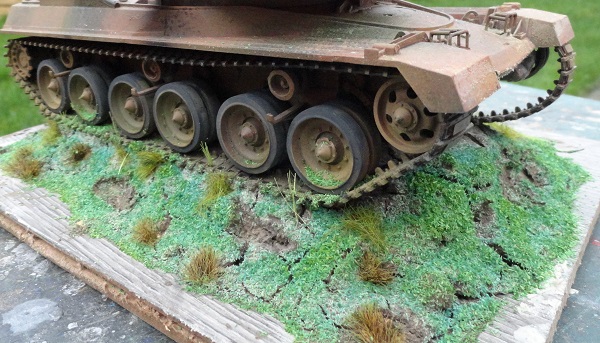
compared to the broken track on the left side.
4 Likes
the curve of the track over the front was arrived at with consideration to photo references,
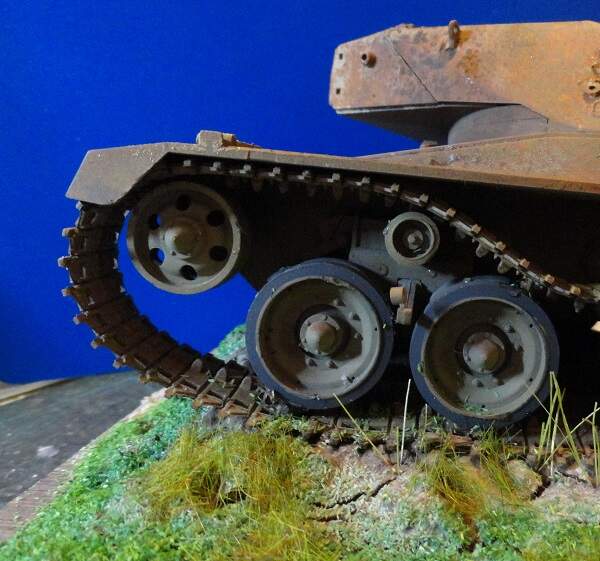
this picture of a Centurion hulk, used for recovery practice at 16 tanks in Fallingbostel, taken in 1981 *, shows the track hanging over the TA wheel in a similar way, even though the track isn’t broken, it’s slack enough to sag the same way
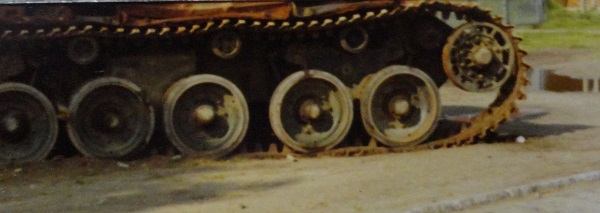
(*16 tank transporter Sqn RCT)
3 Likes
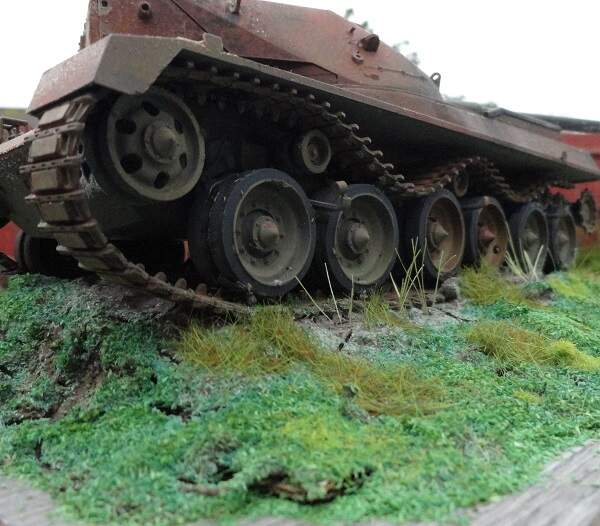
some general views of the assembled and painted model, just needs it’s glass case to keep the dust out.
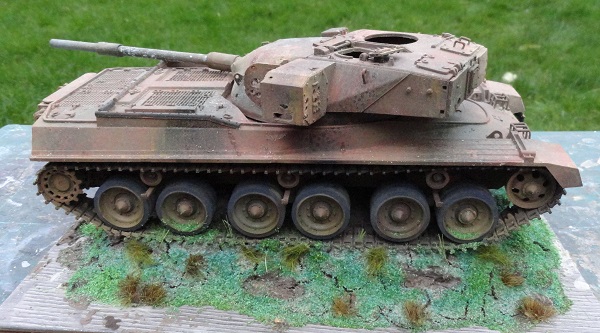
8 Likes
That looks really good!
1 Like