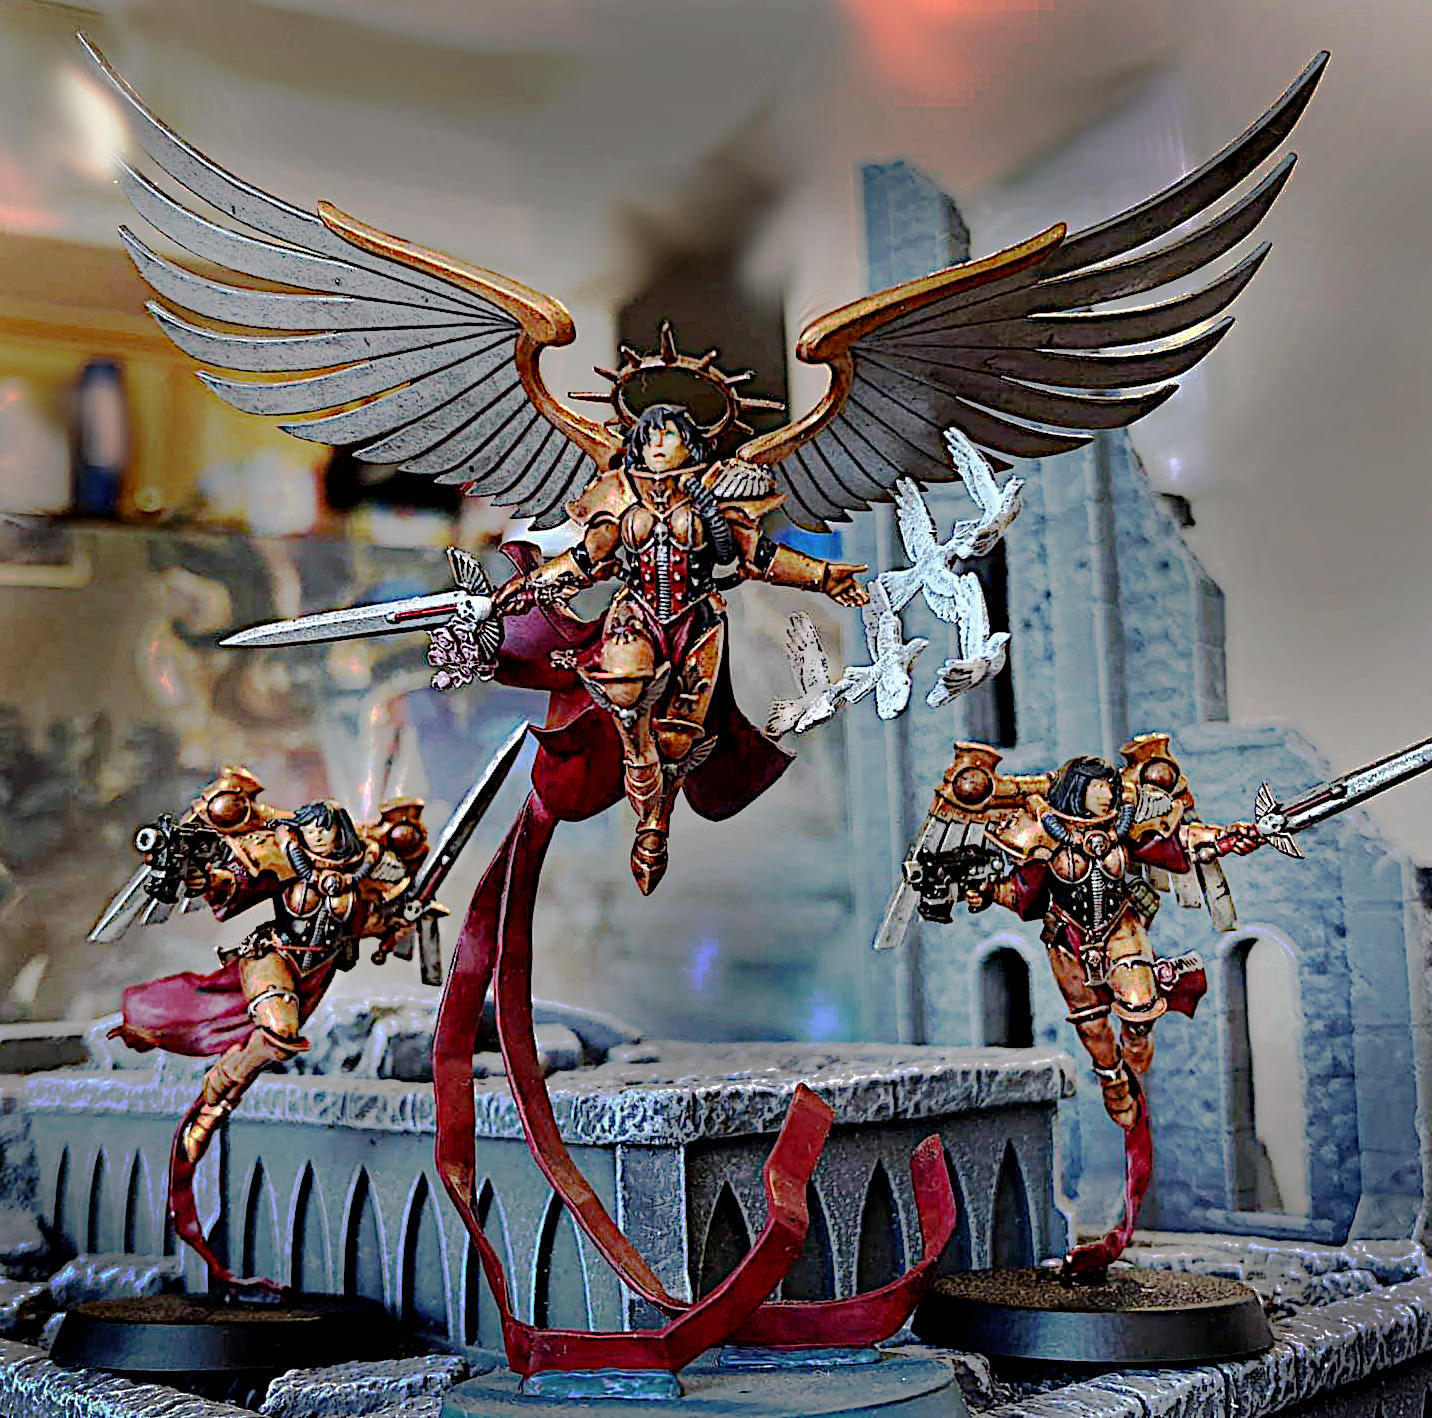
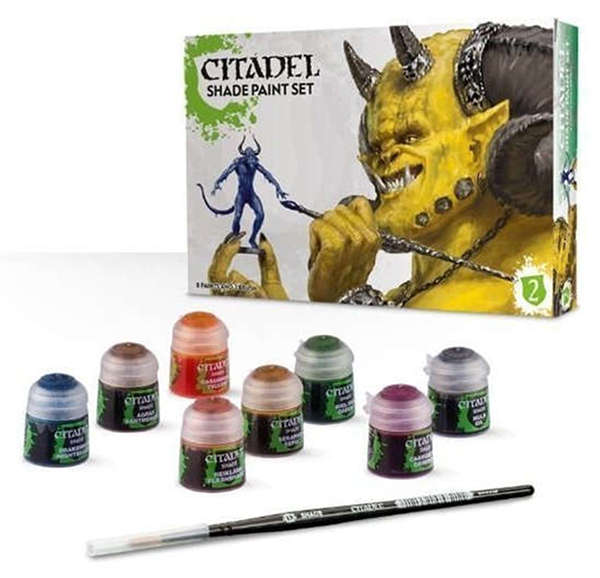
*NEW Weathering Shaders, Washes and Paints from CITADEL (These products are new to me anyway)
I got this tip from my middle son who is the big *Warhammer" and 40 K figure painter.
He and his fellow modelers call these products "Experience in a Bottle!"
To find these products you will have to go to the “Warhammer, Rusty Scabbard, Dragon Fire” type hobby stores but I promise you your trip will be well worth it!
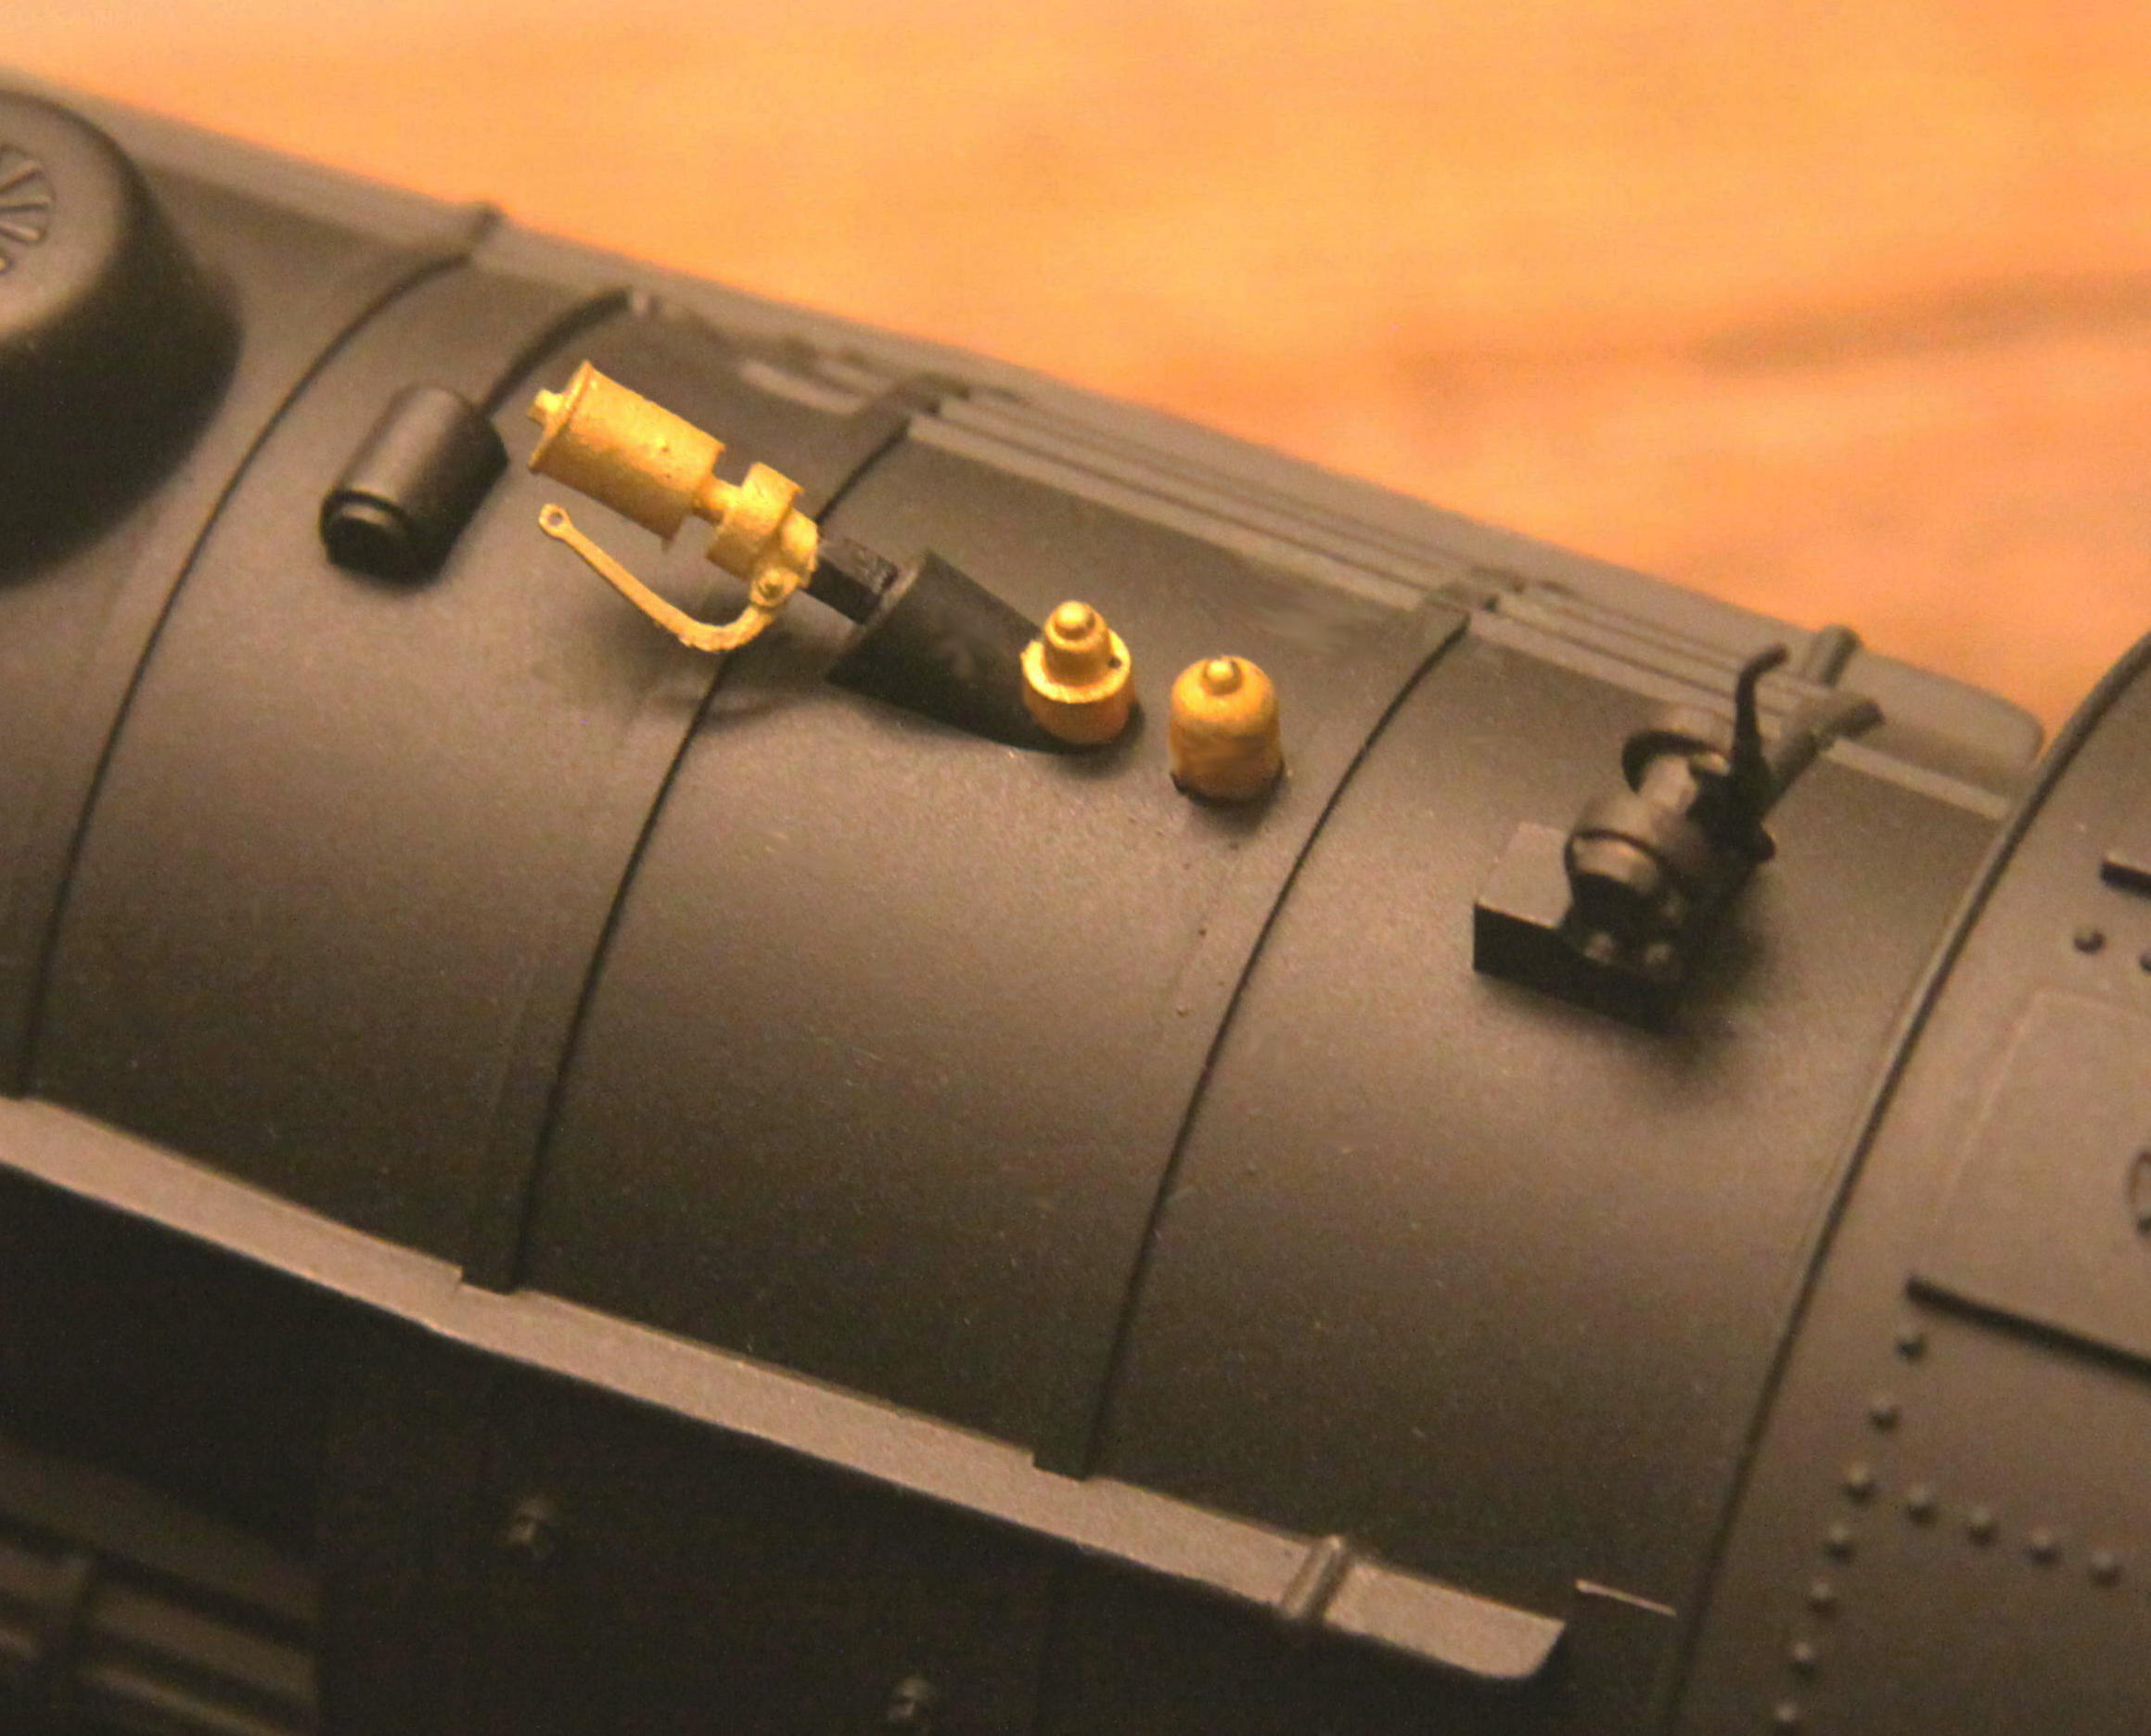
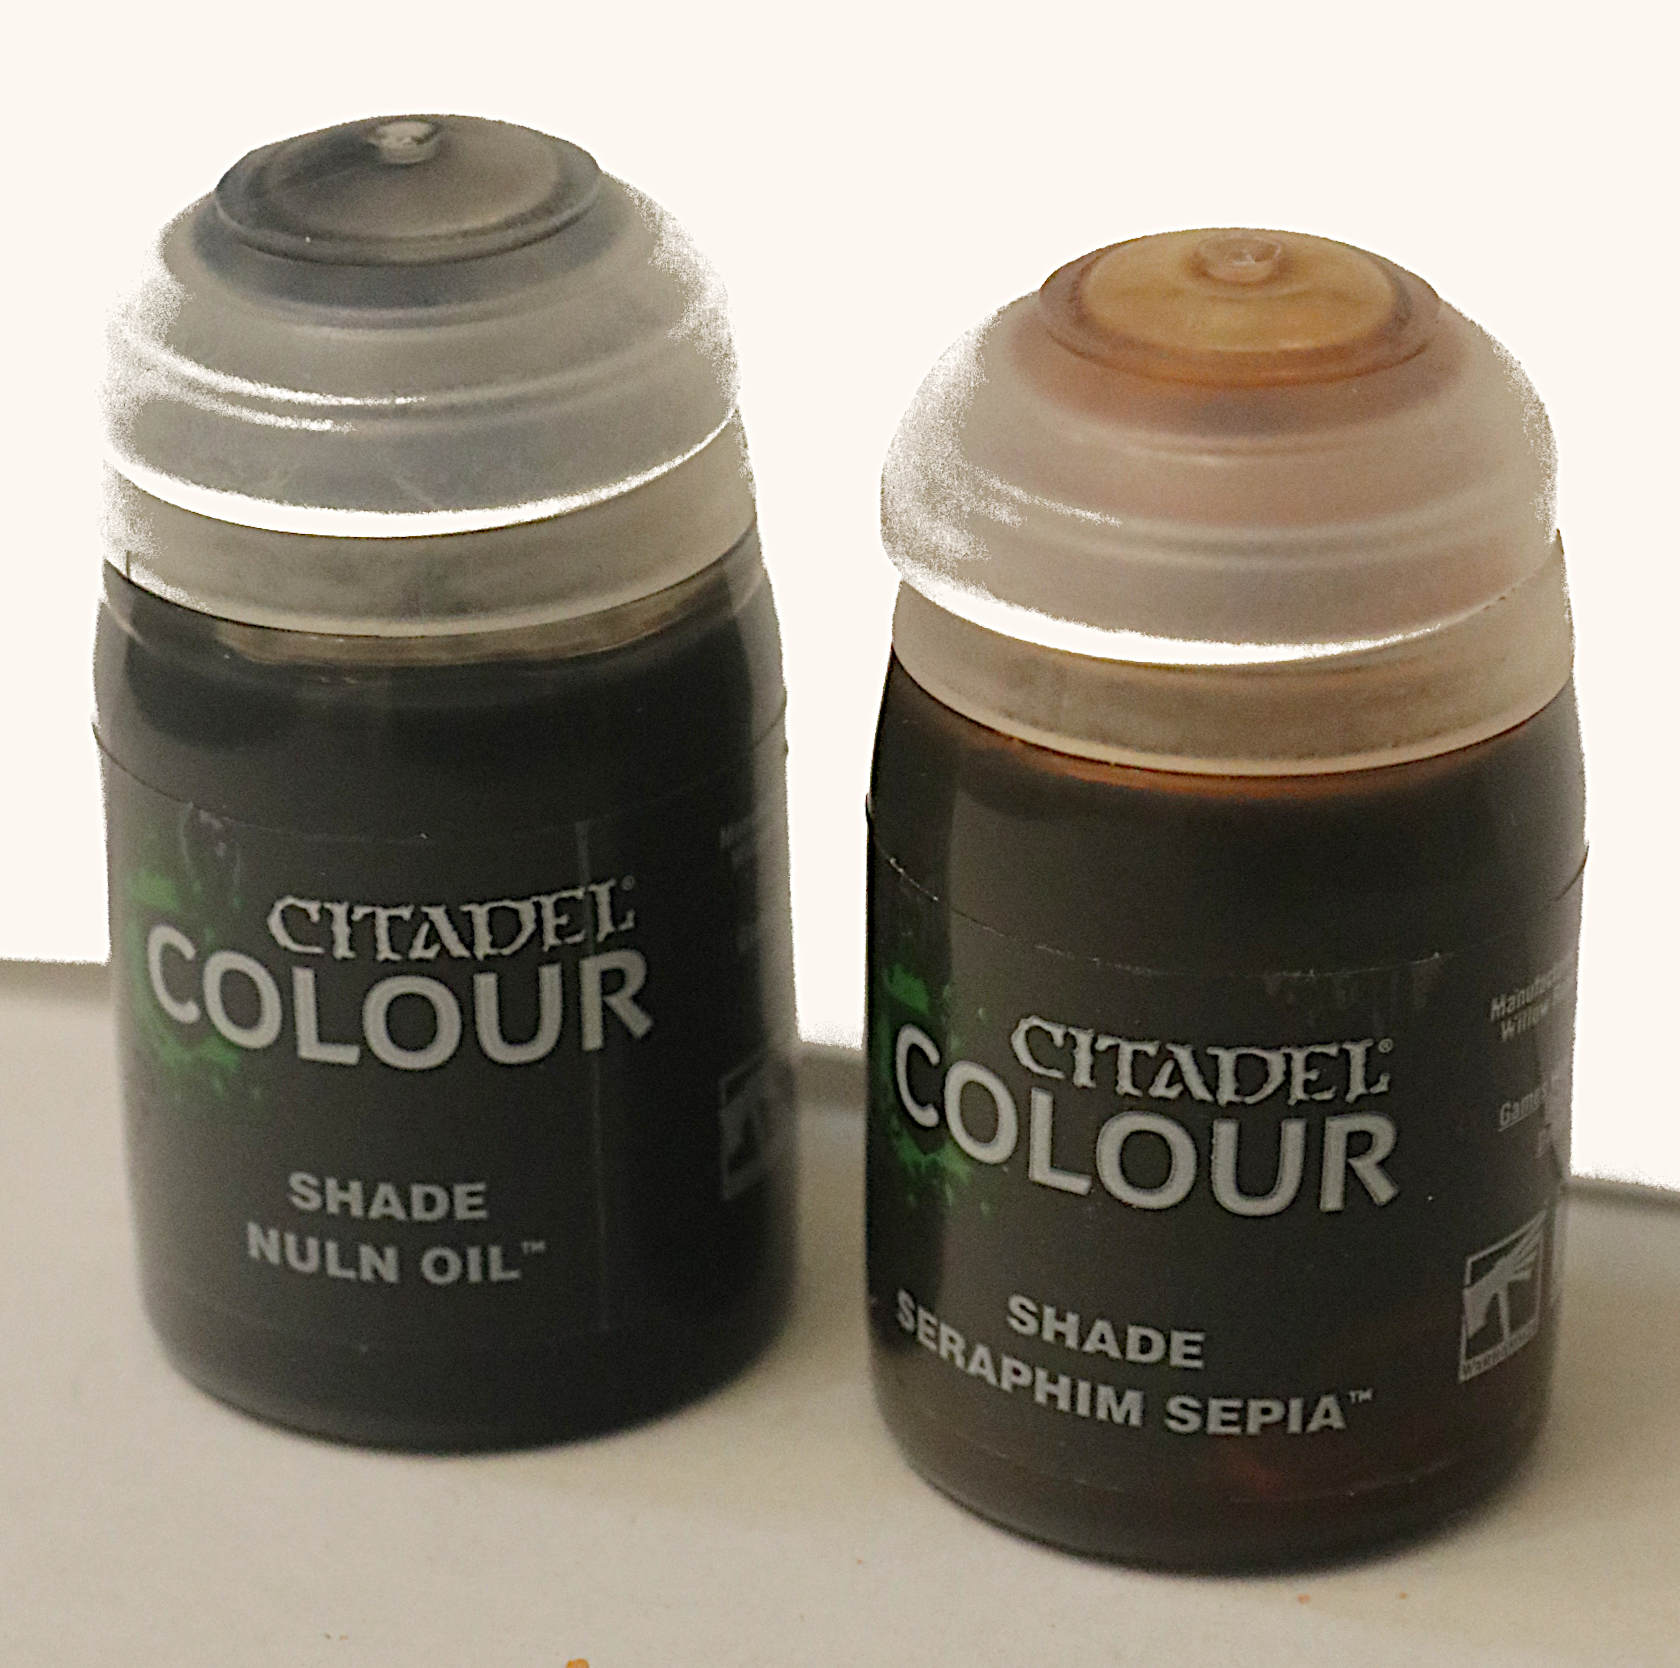
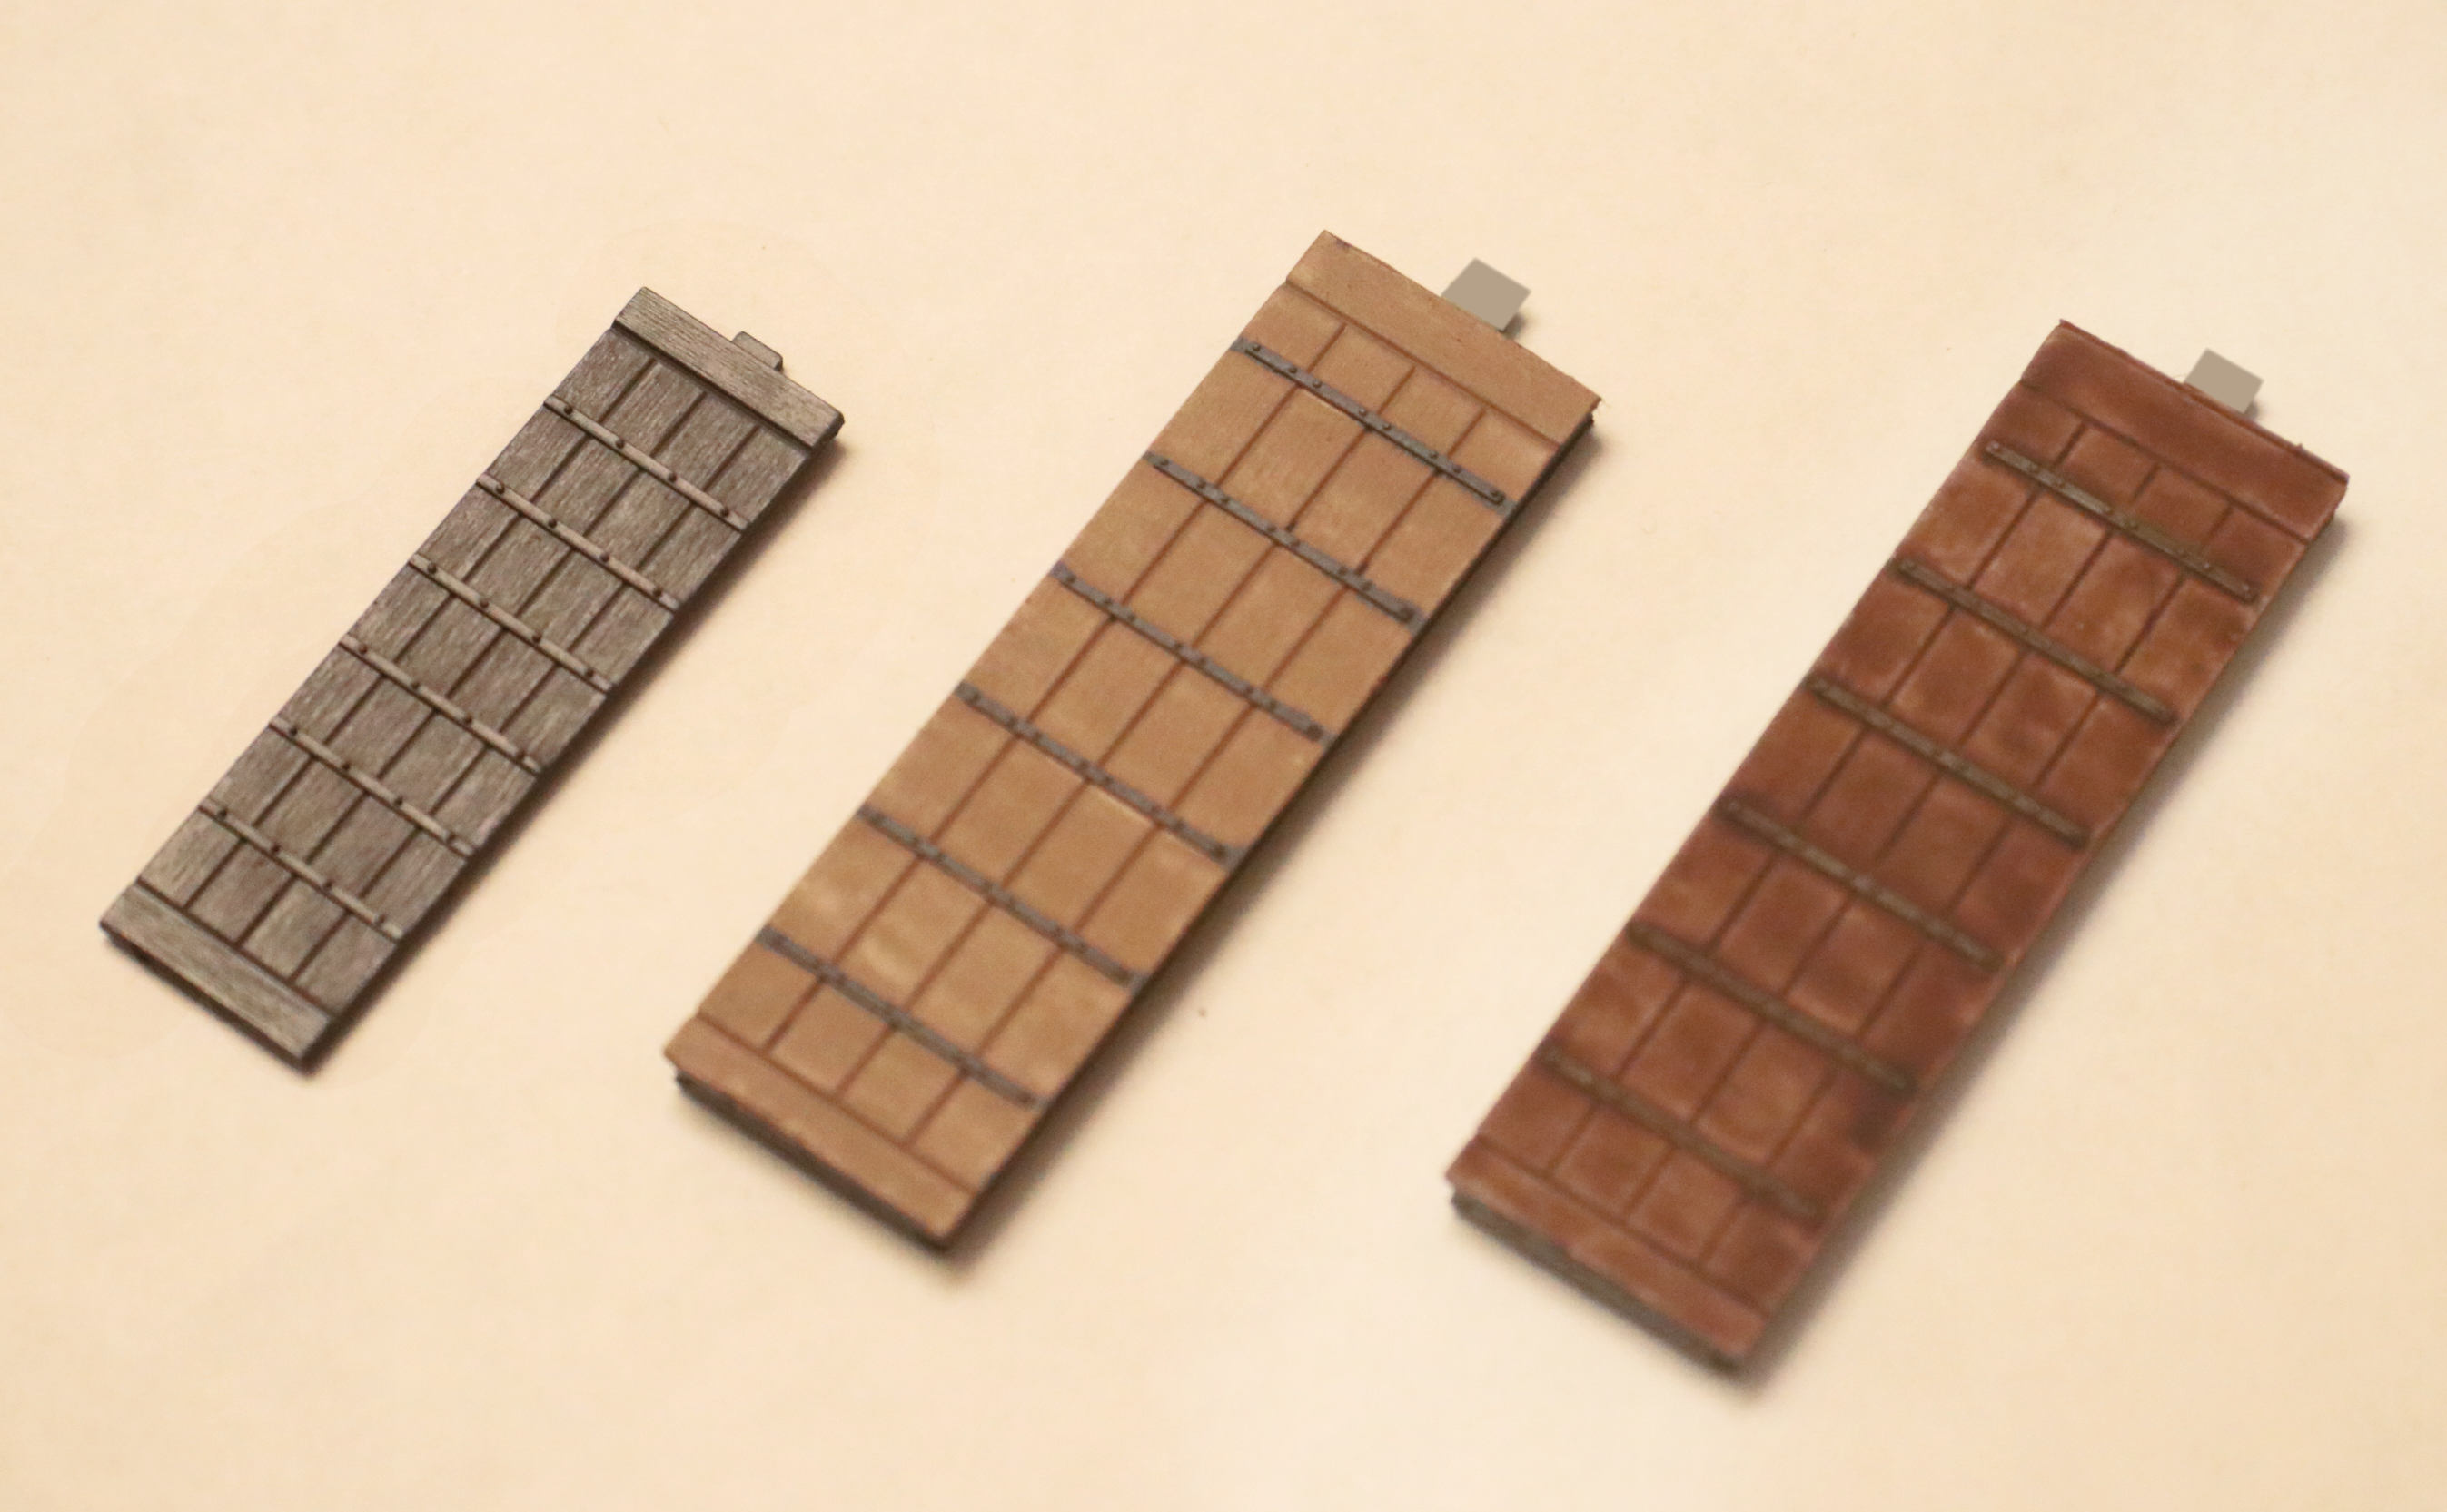
Left to Right: That is Panzer Gray with a Nuln Oil top coat. Then the same treatment but with a brushed on coat of Buff “wood” color and a single application of the Sepia Wash. And finally multiple coats of the Citadel Sepia Shader on top of the Buff and the Gray.
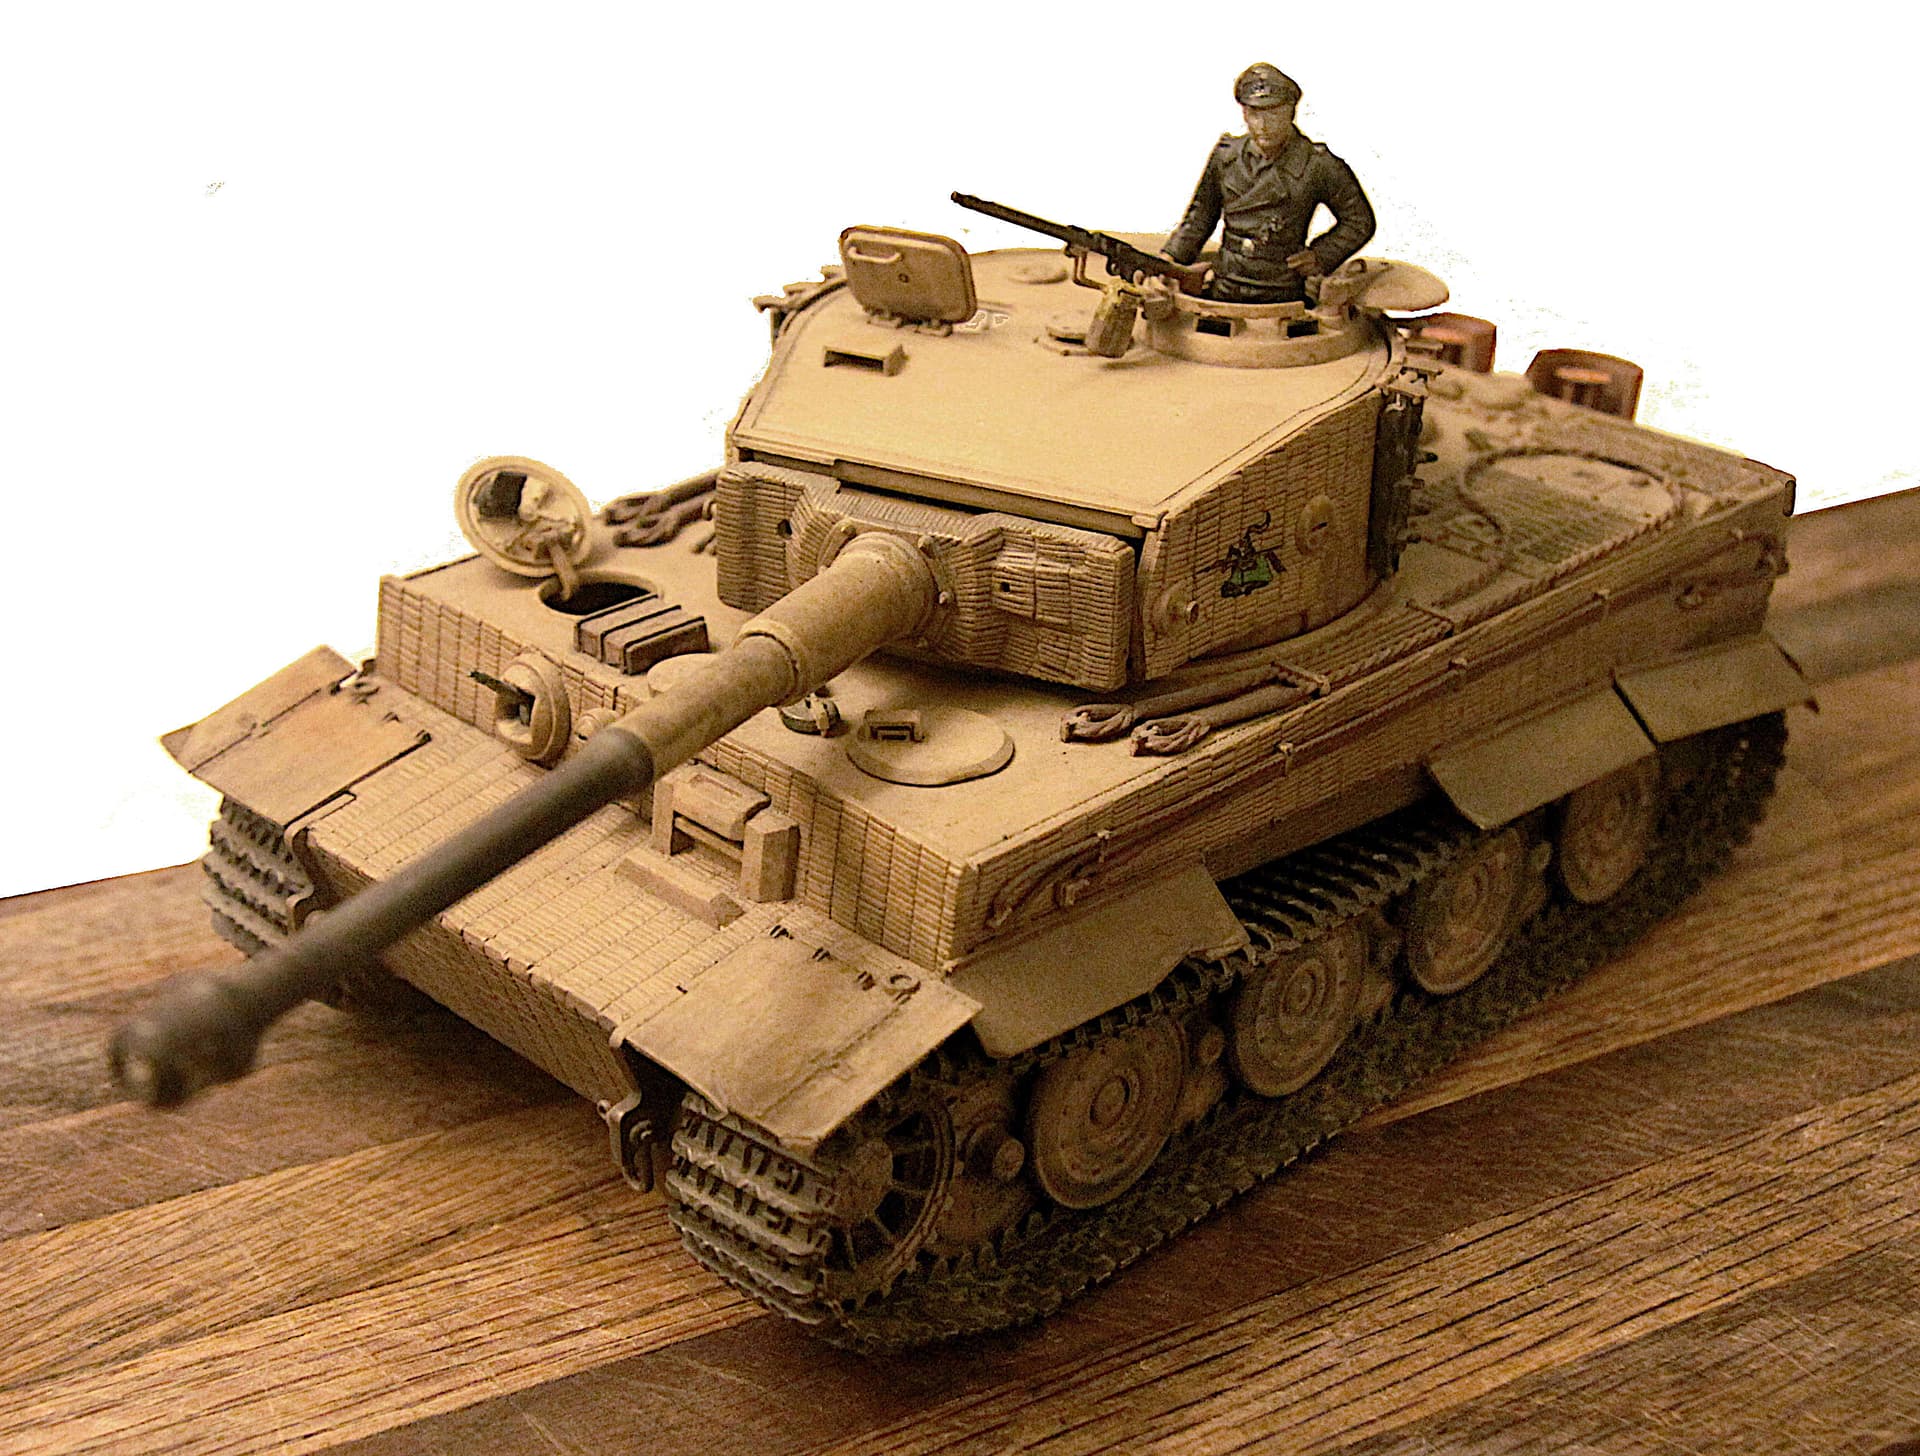
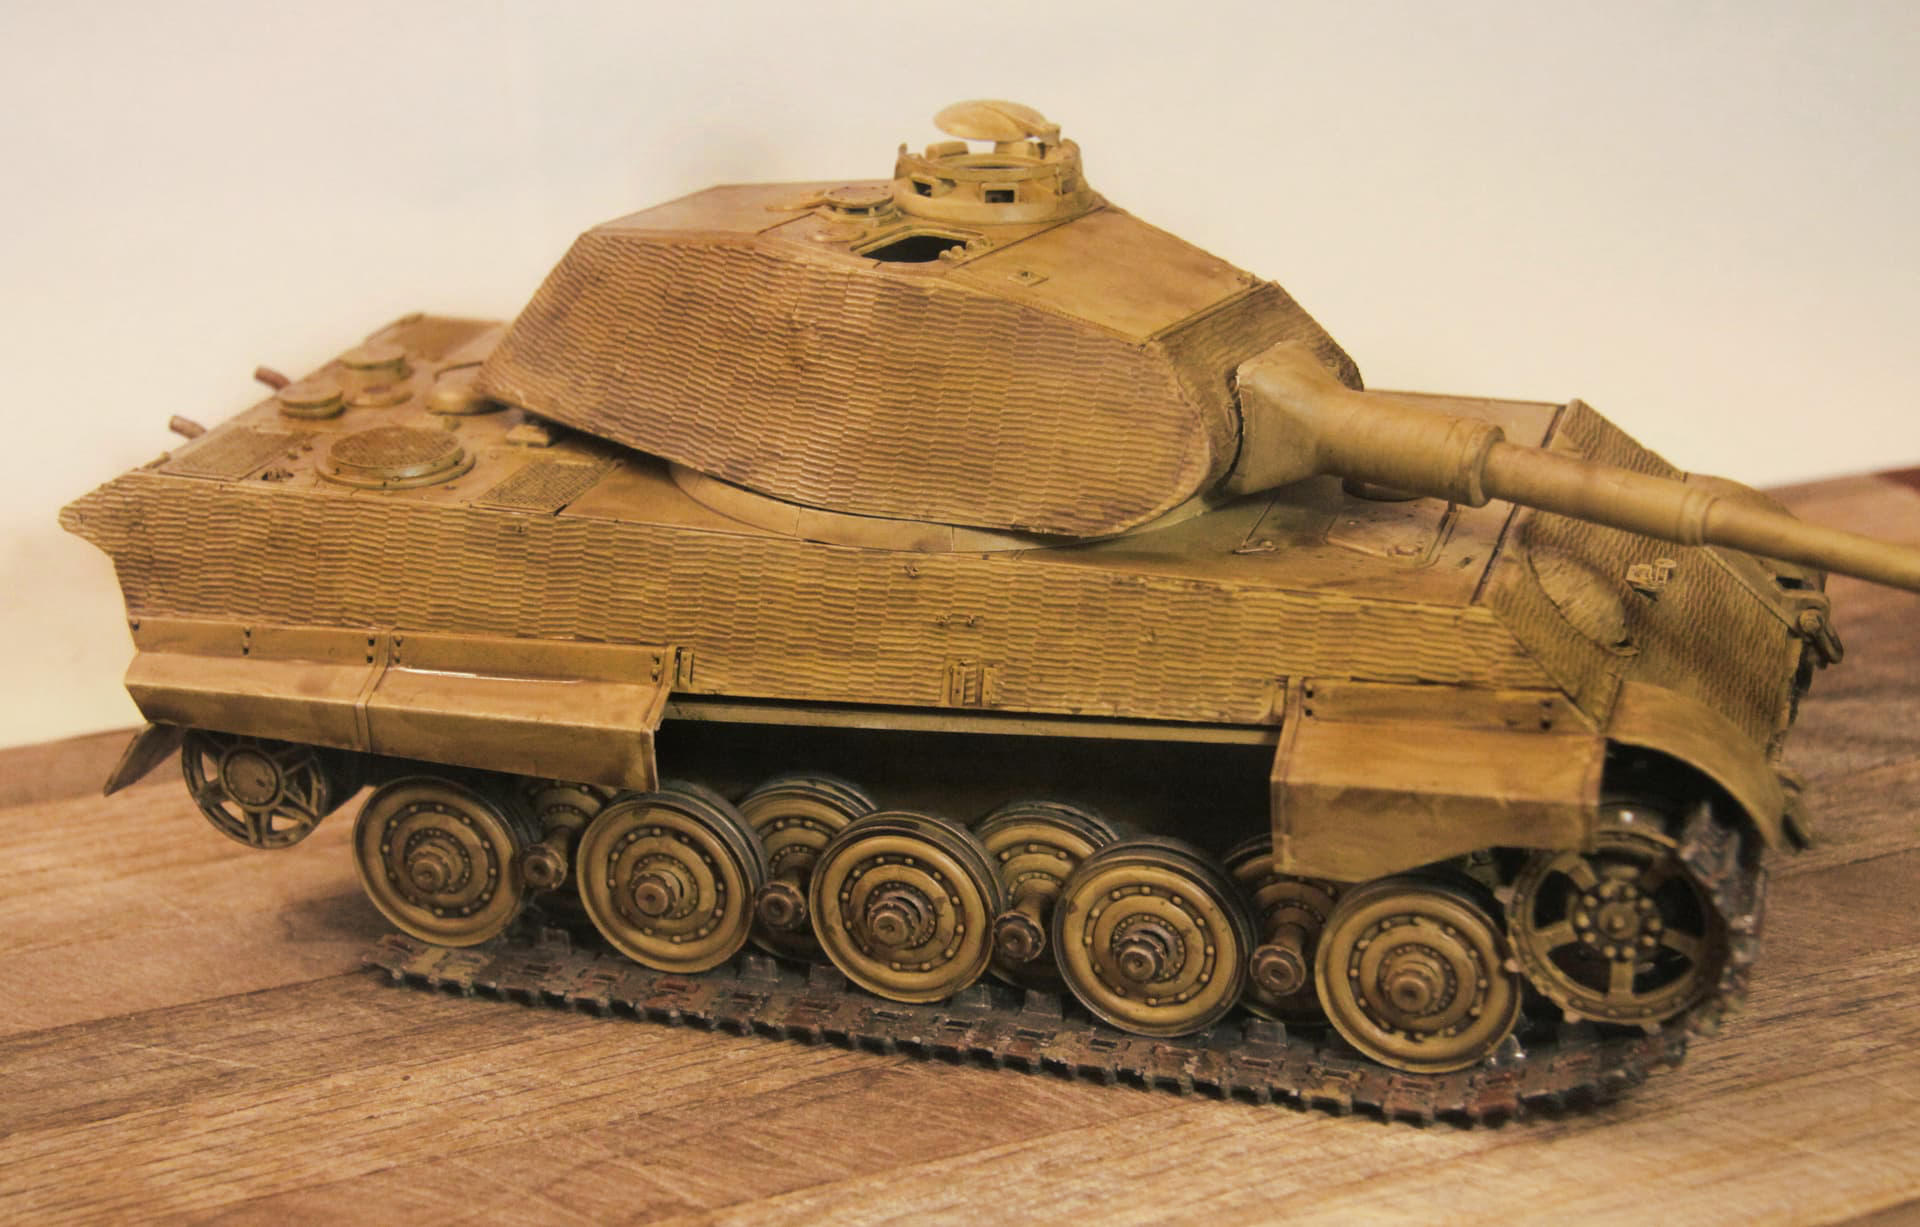
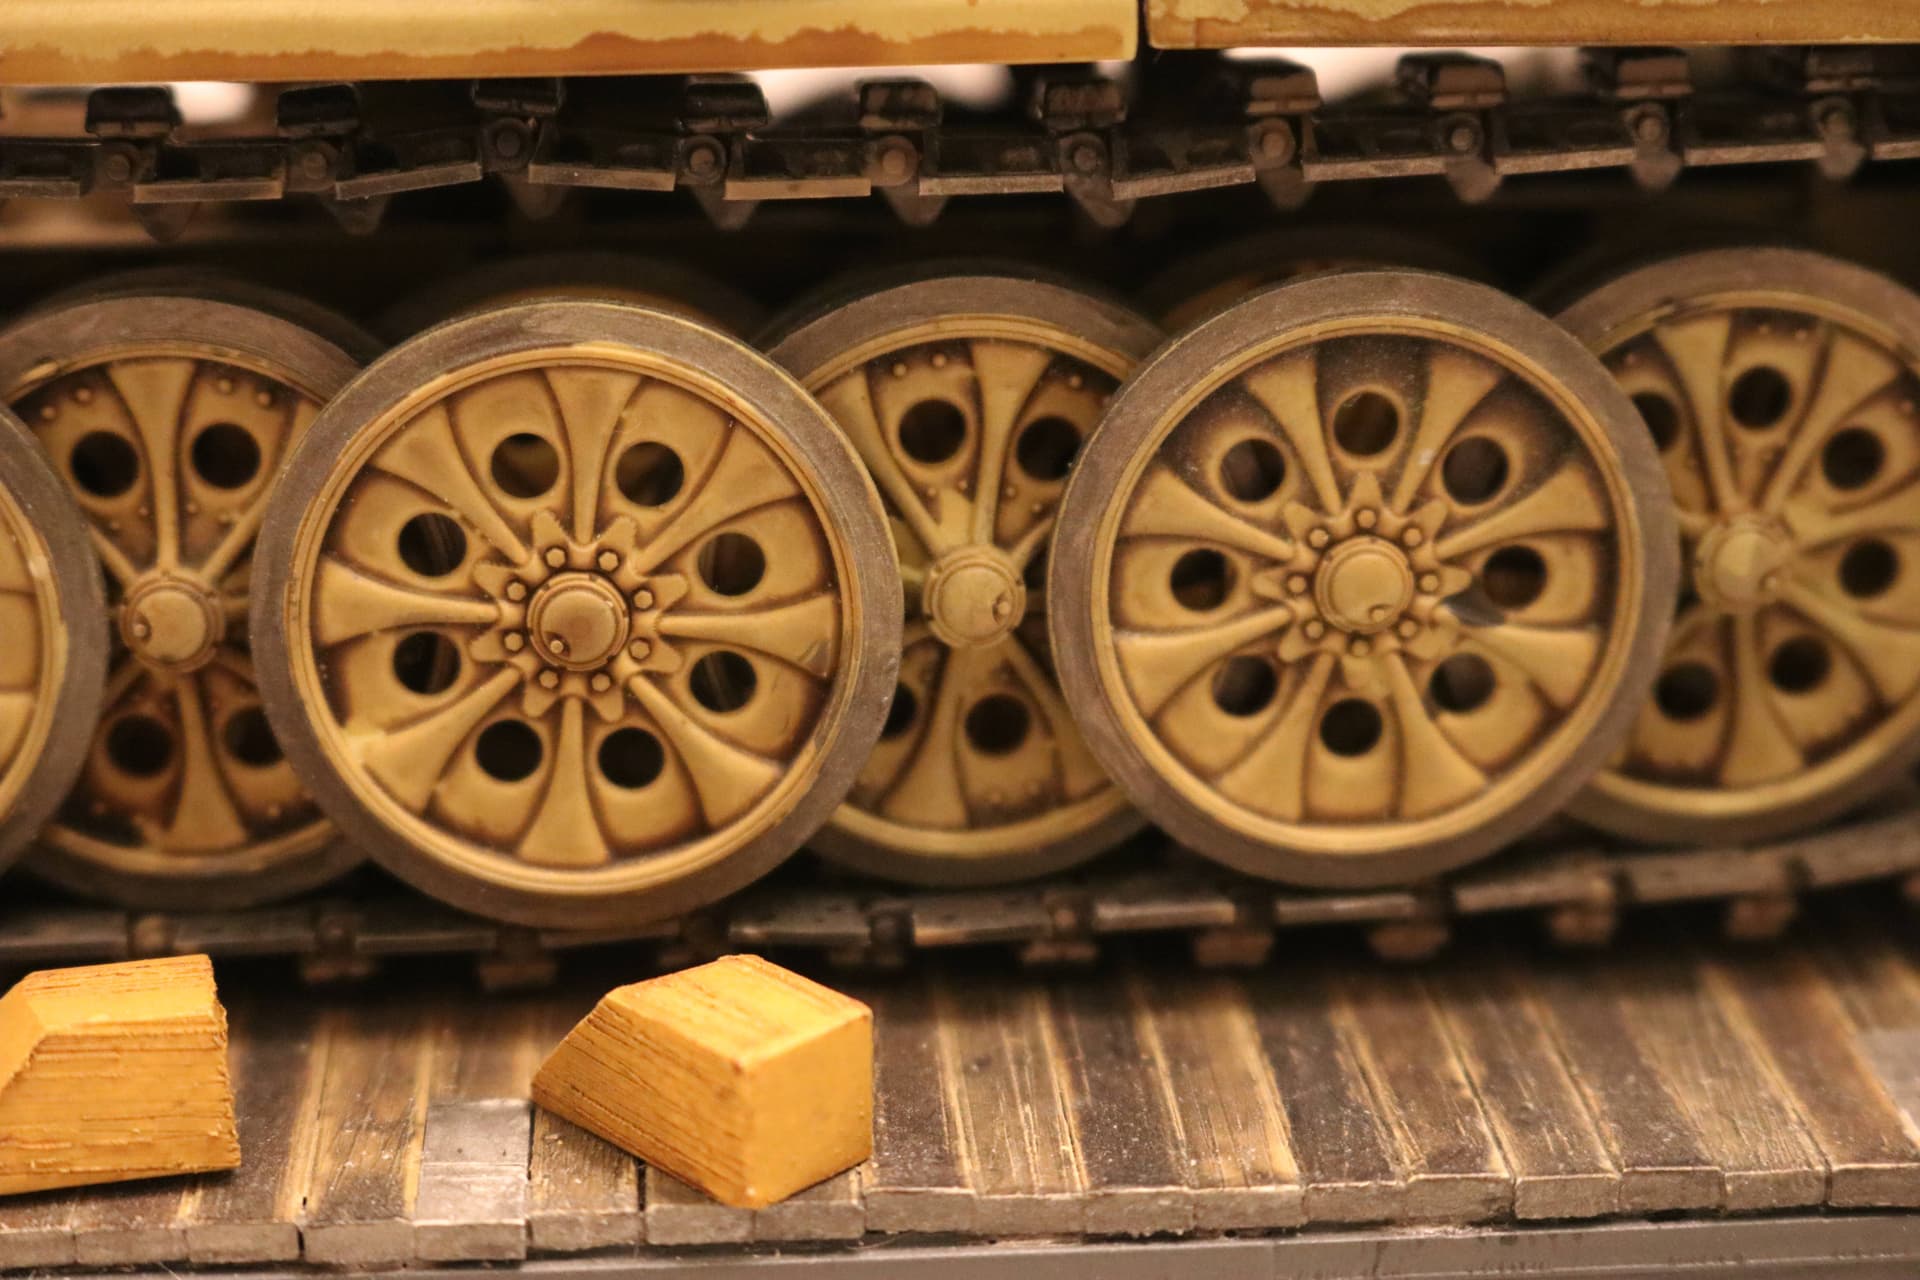
Königs Tiger (Under Construction): Upper body is all Nuln Oil over Dark Yellow.
Road wheels are Nuln Oil plus Sepia over dark yellow.
Tracks are a combo of paints, shaders and touches of rust & silver.
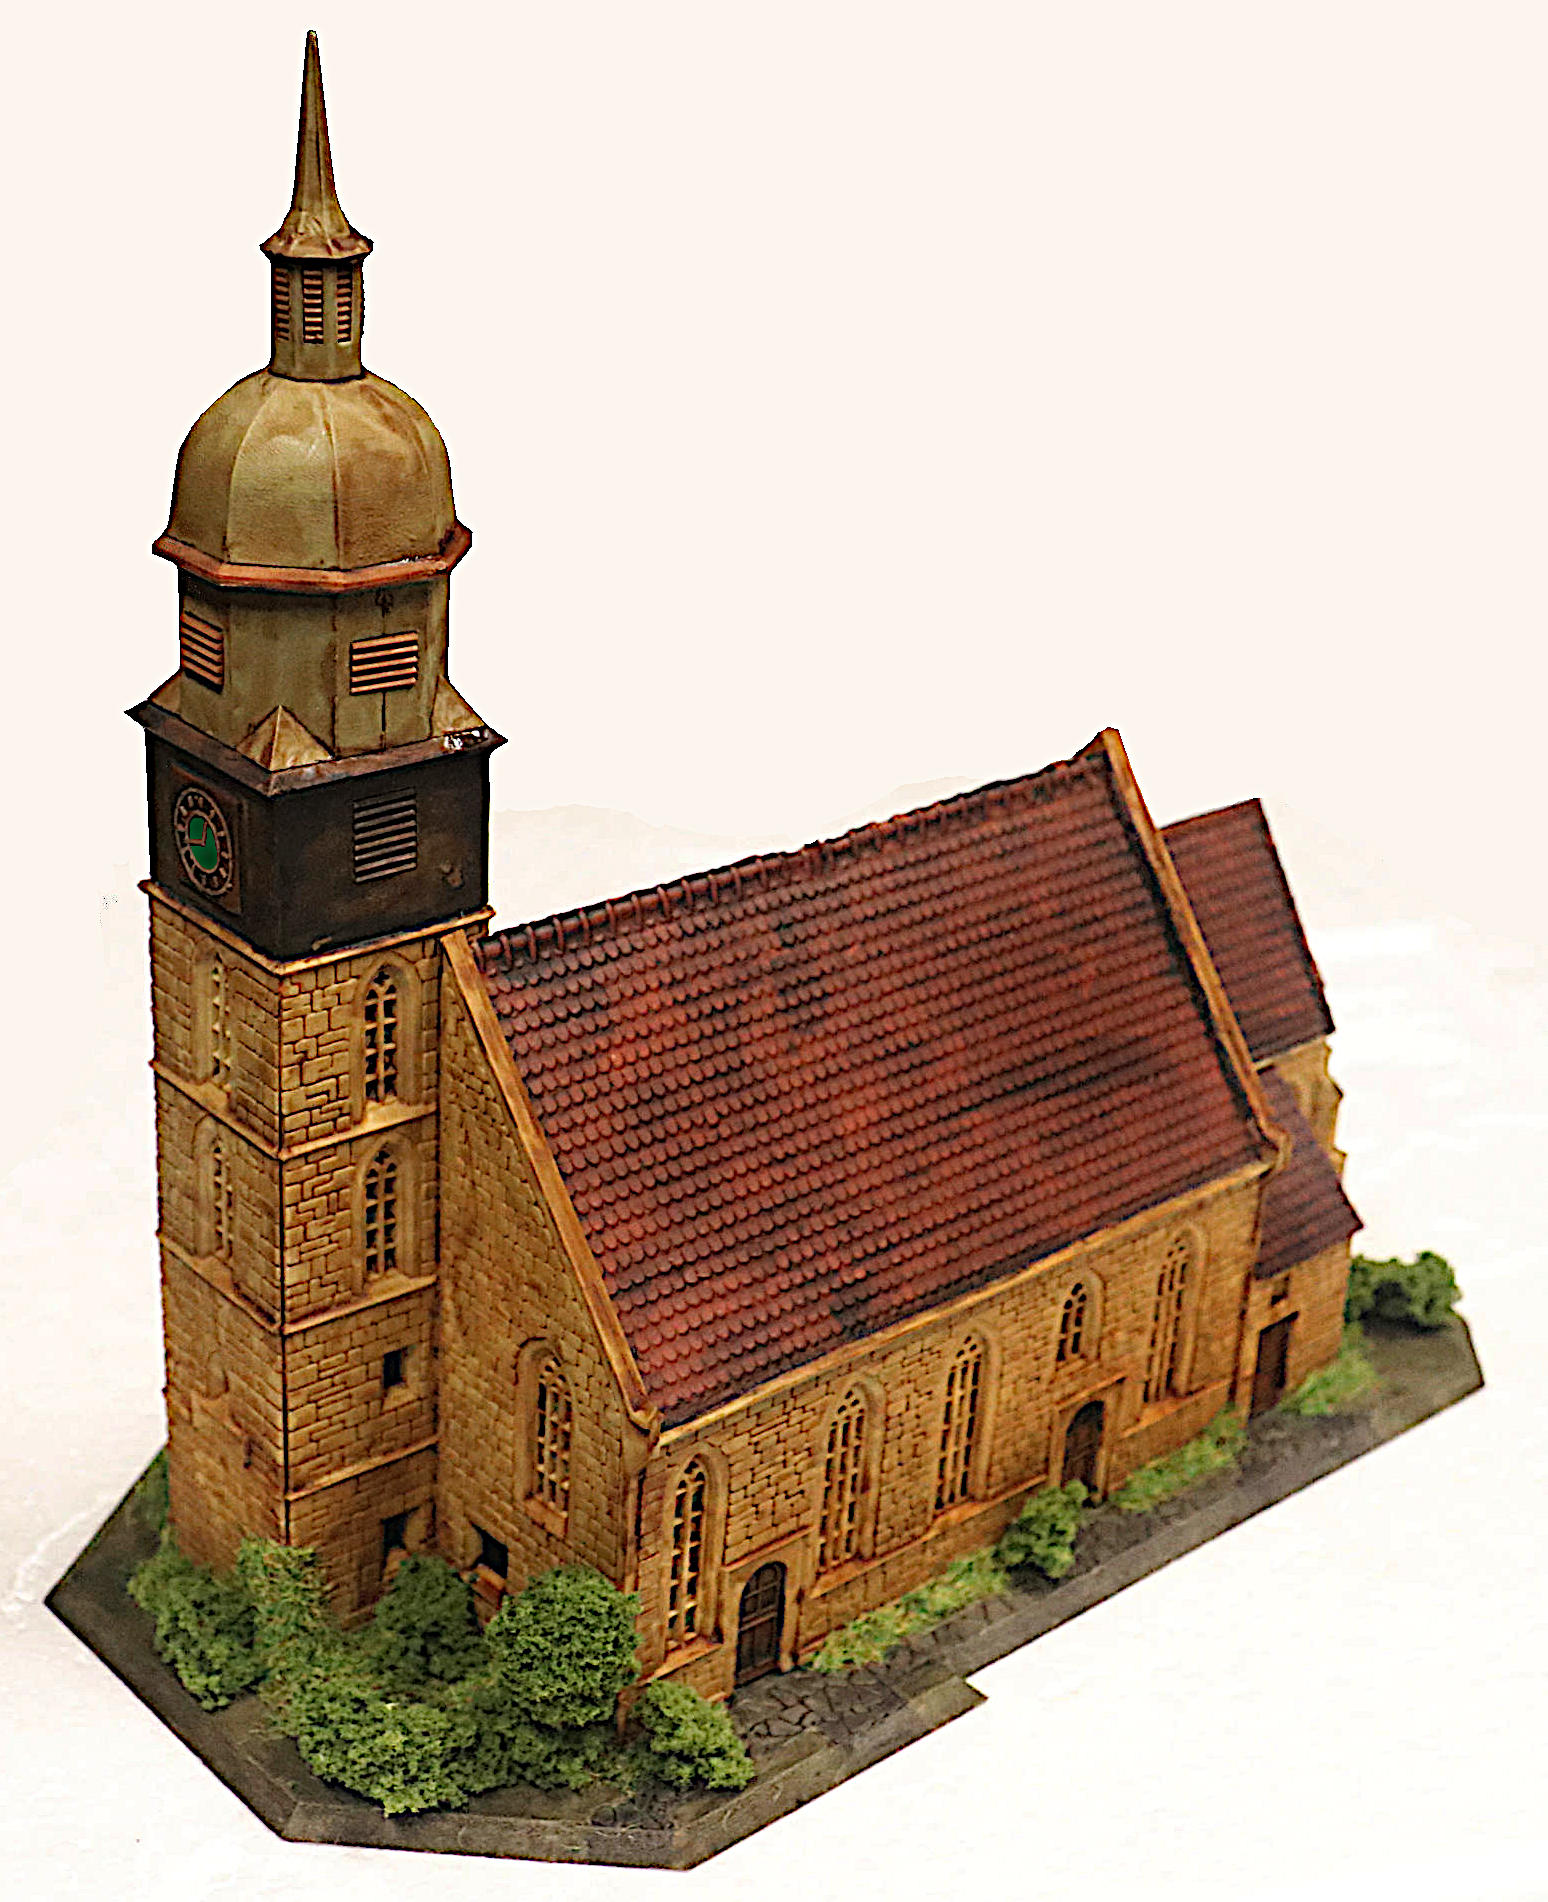
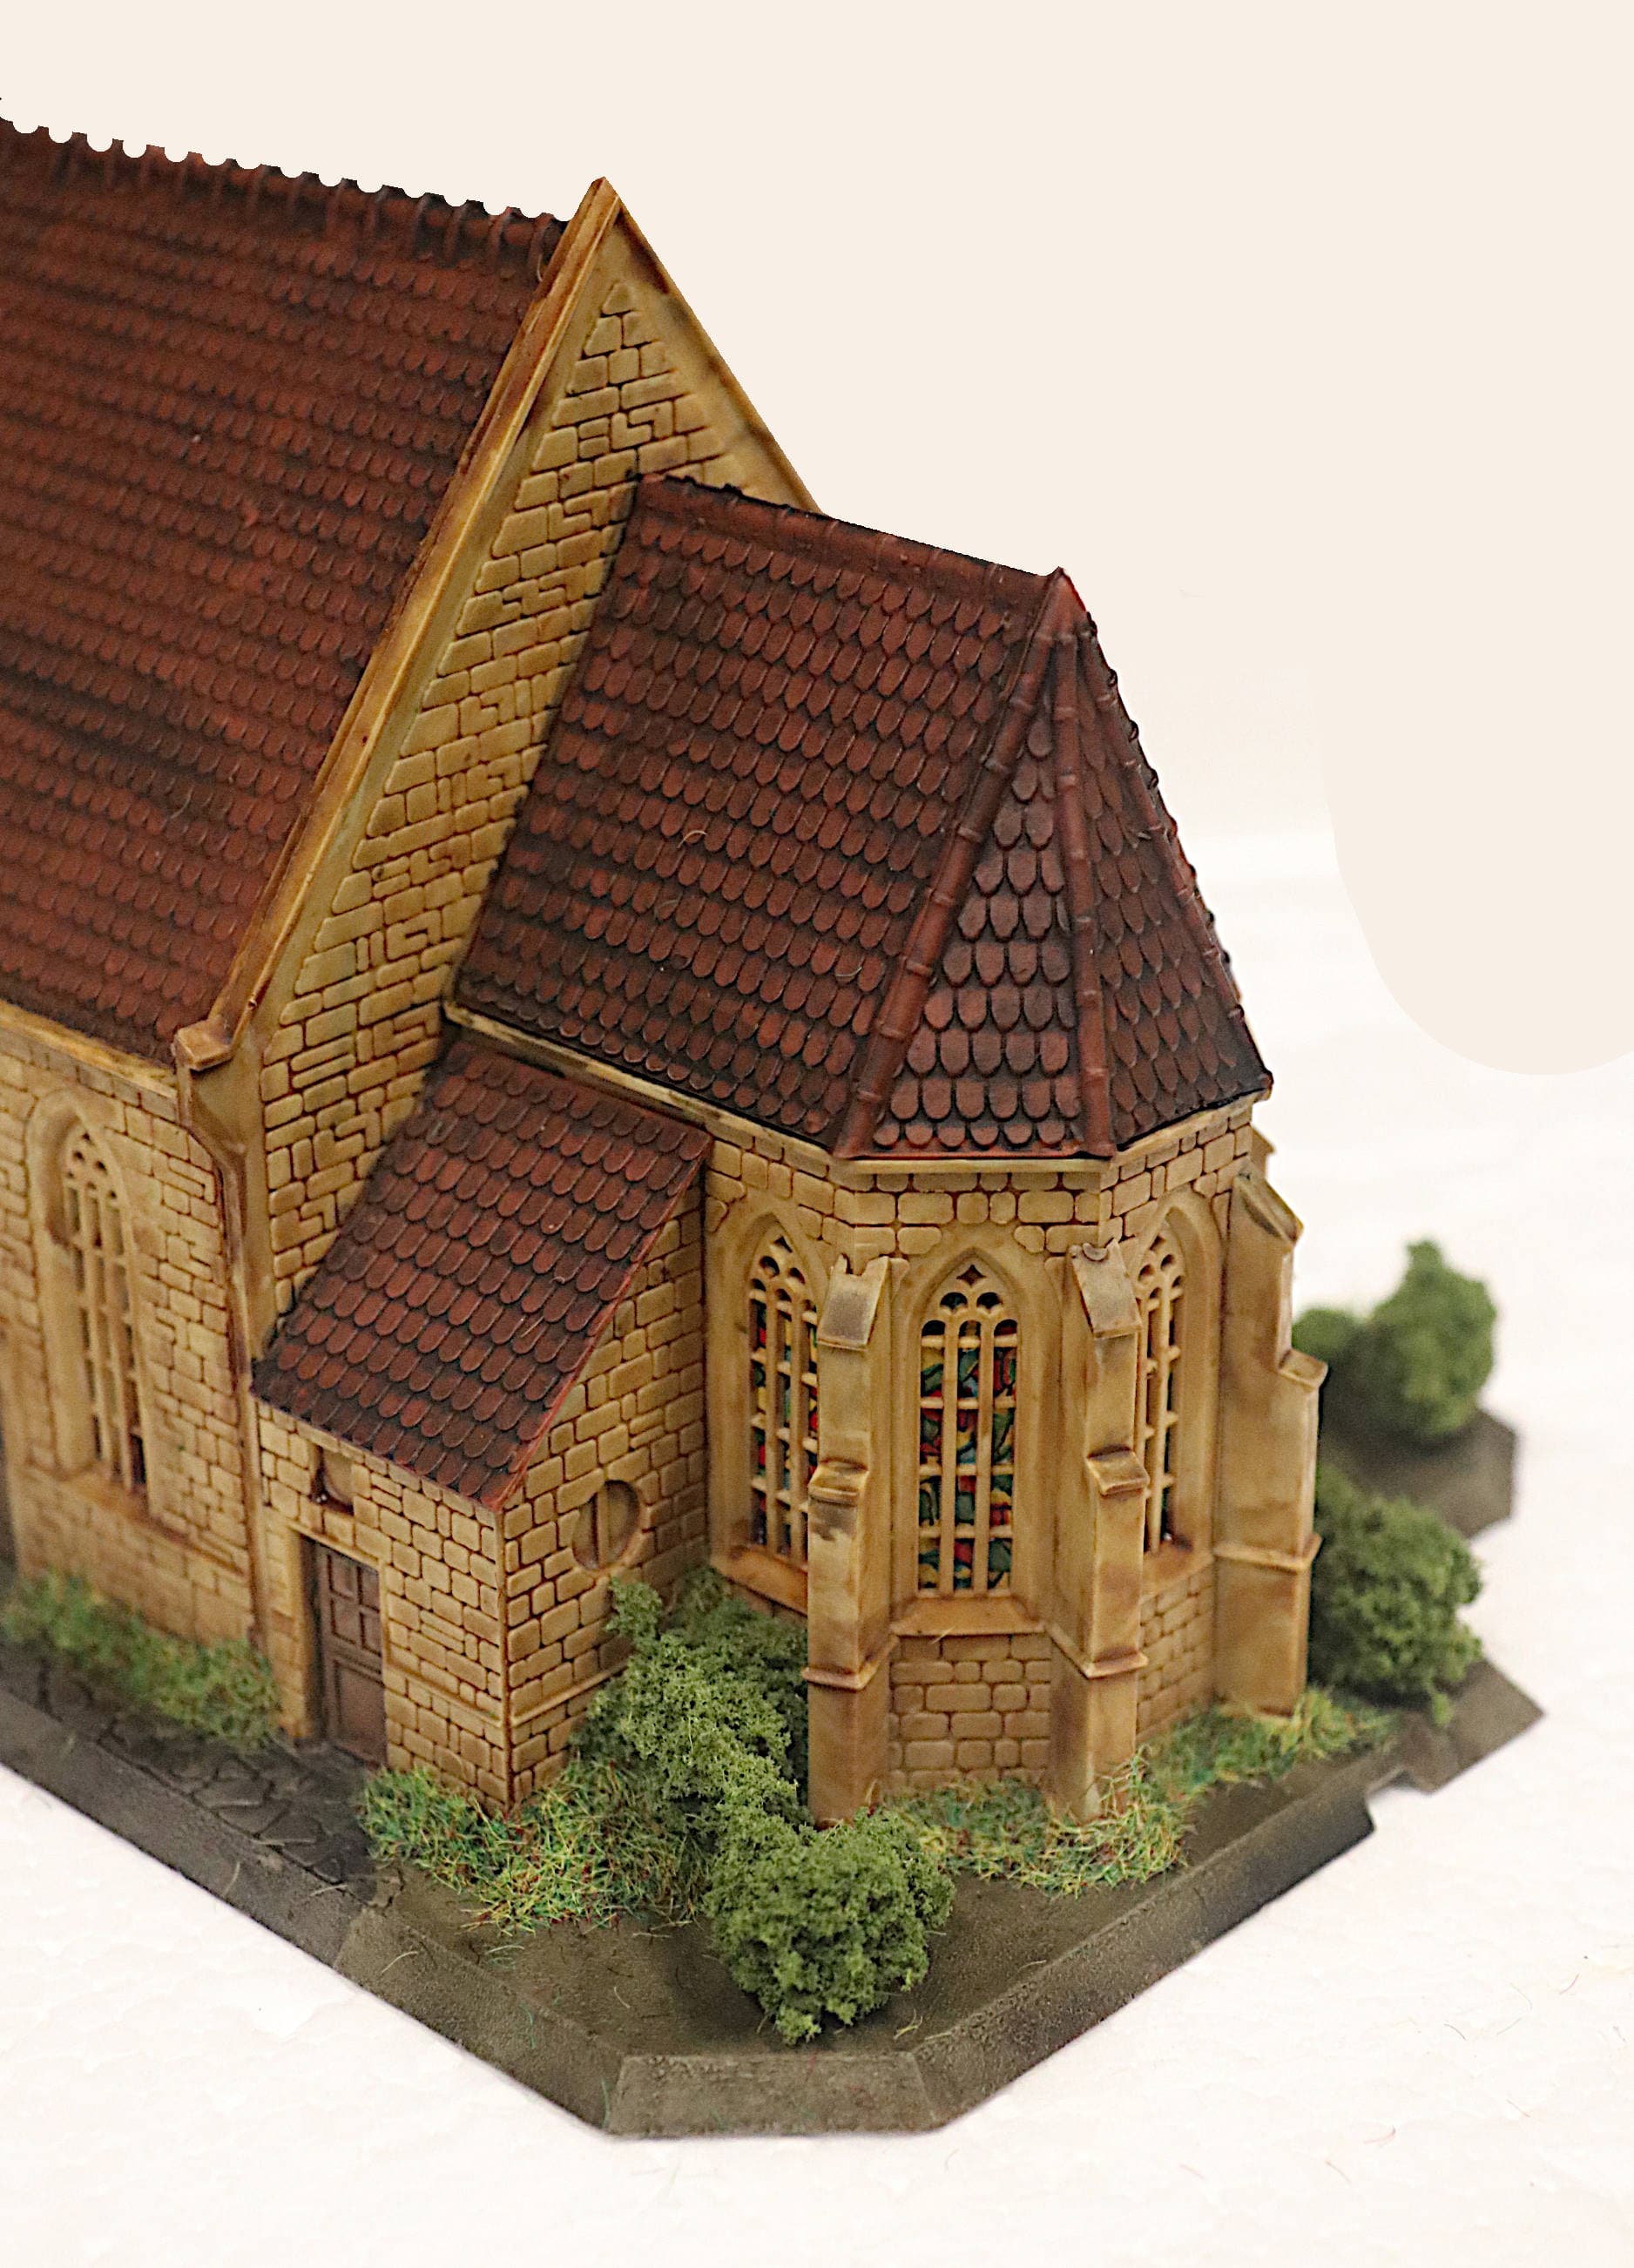
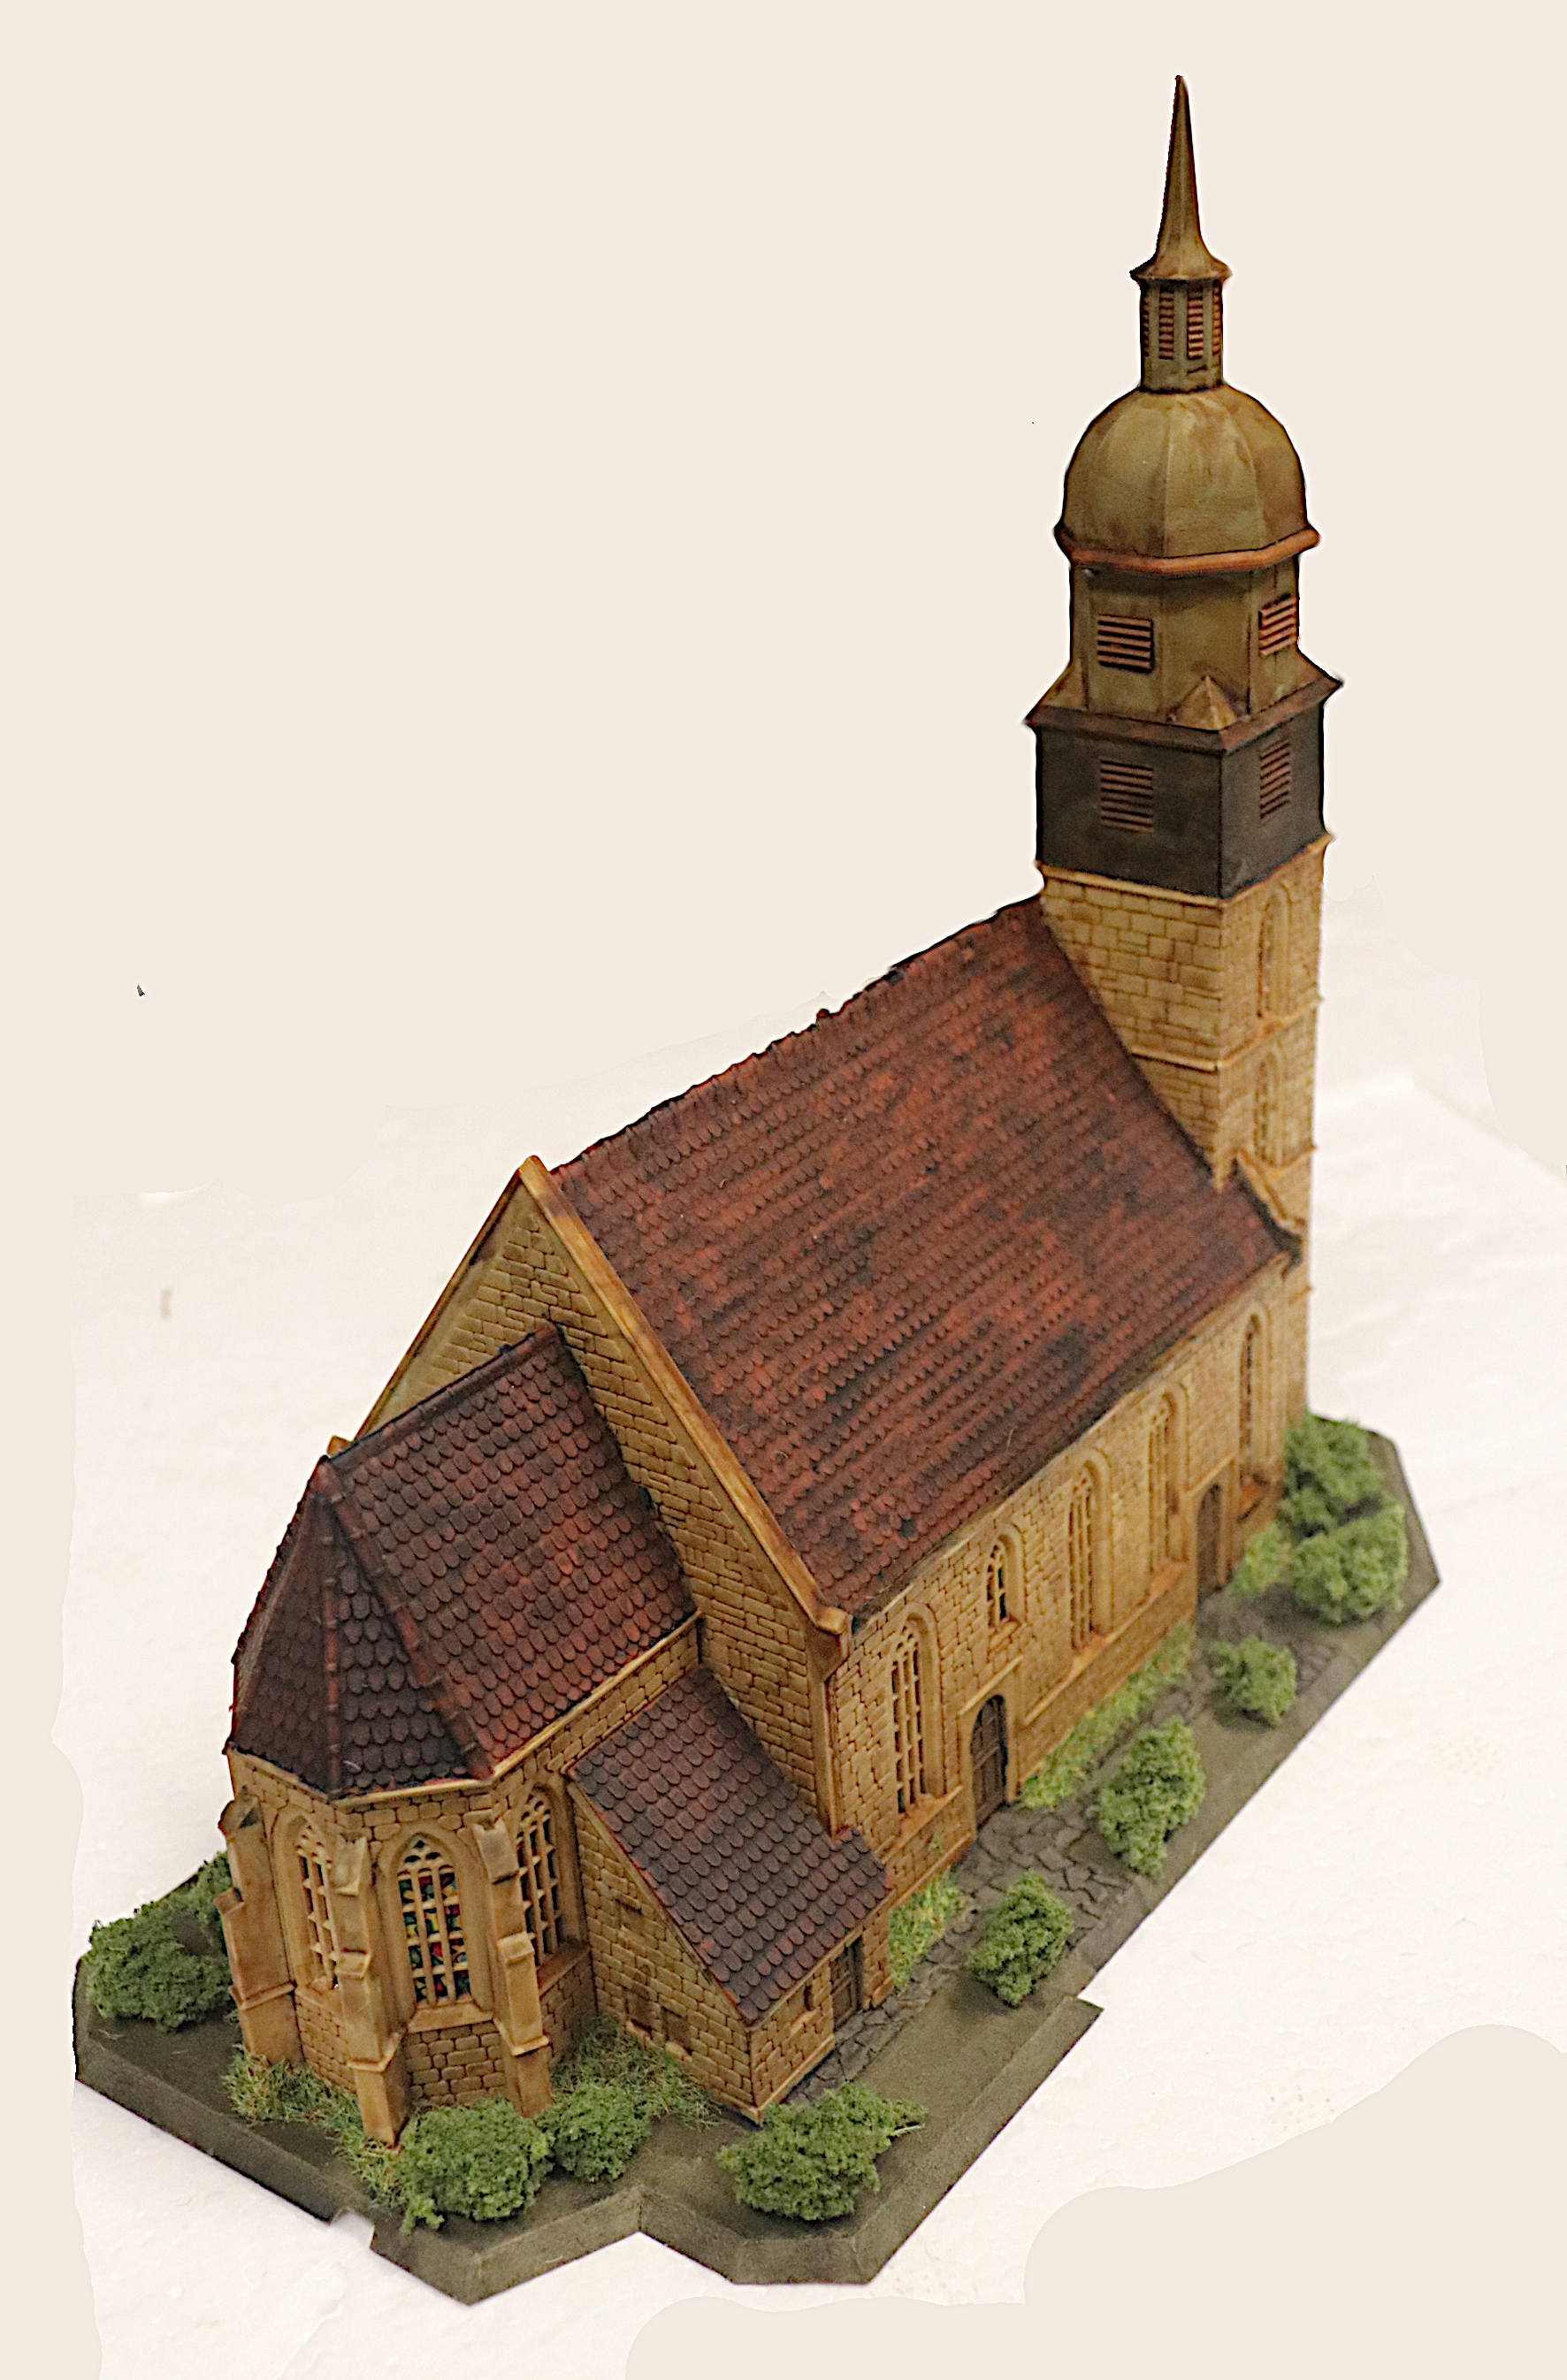
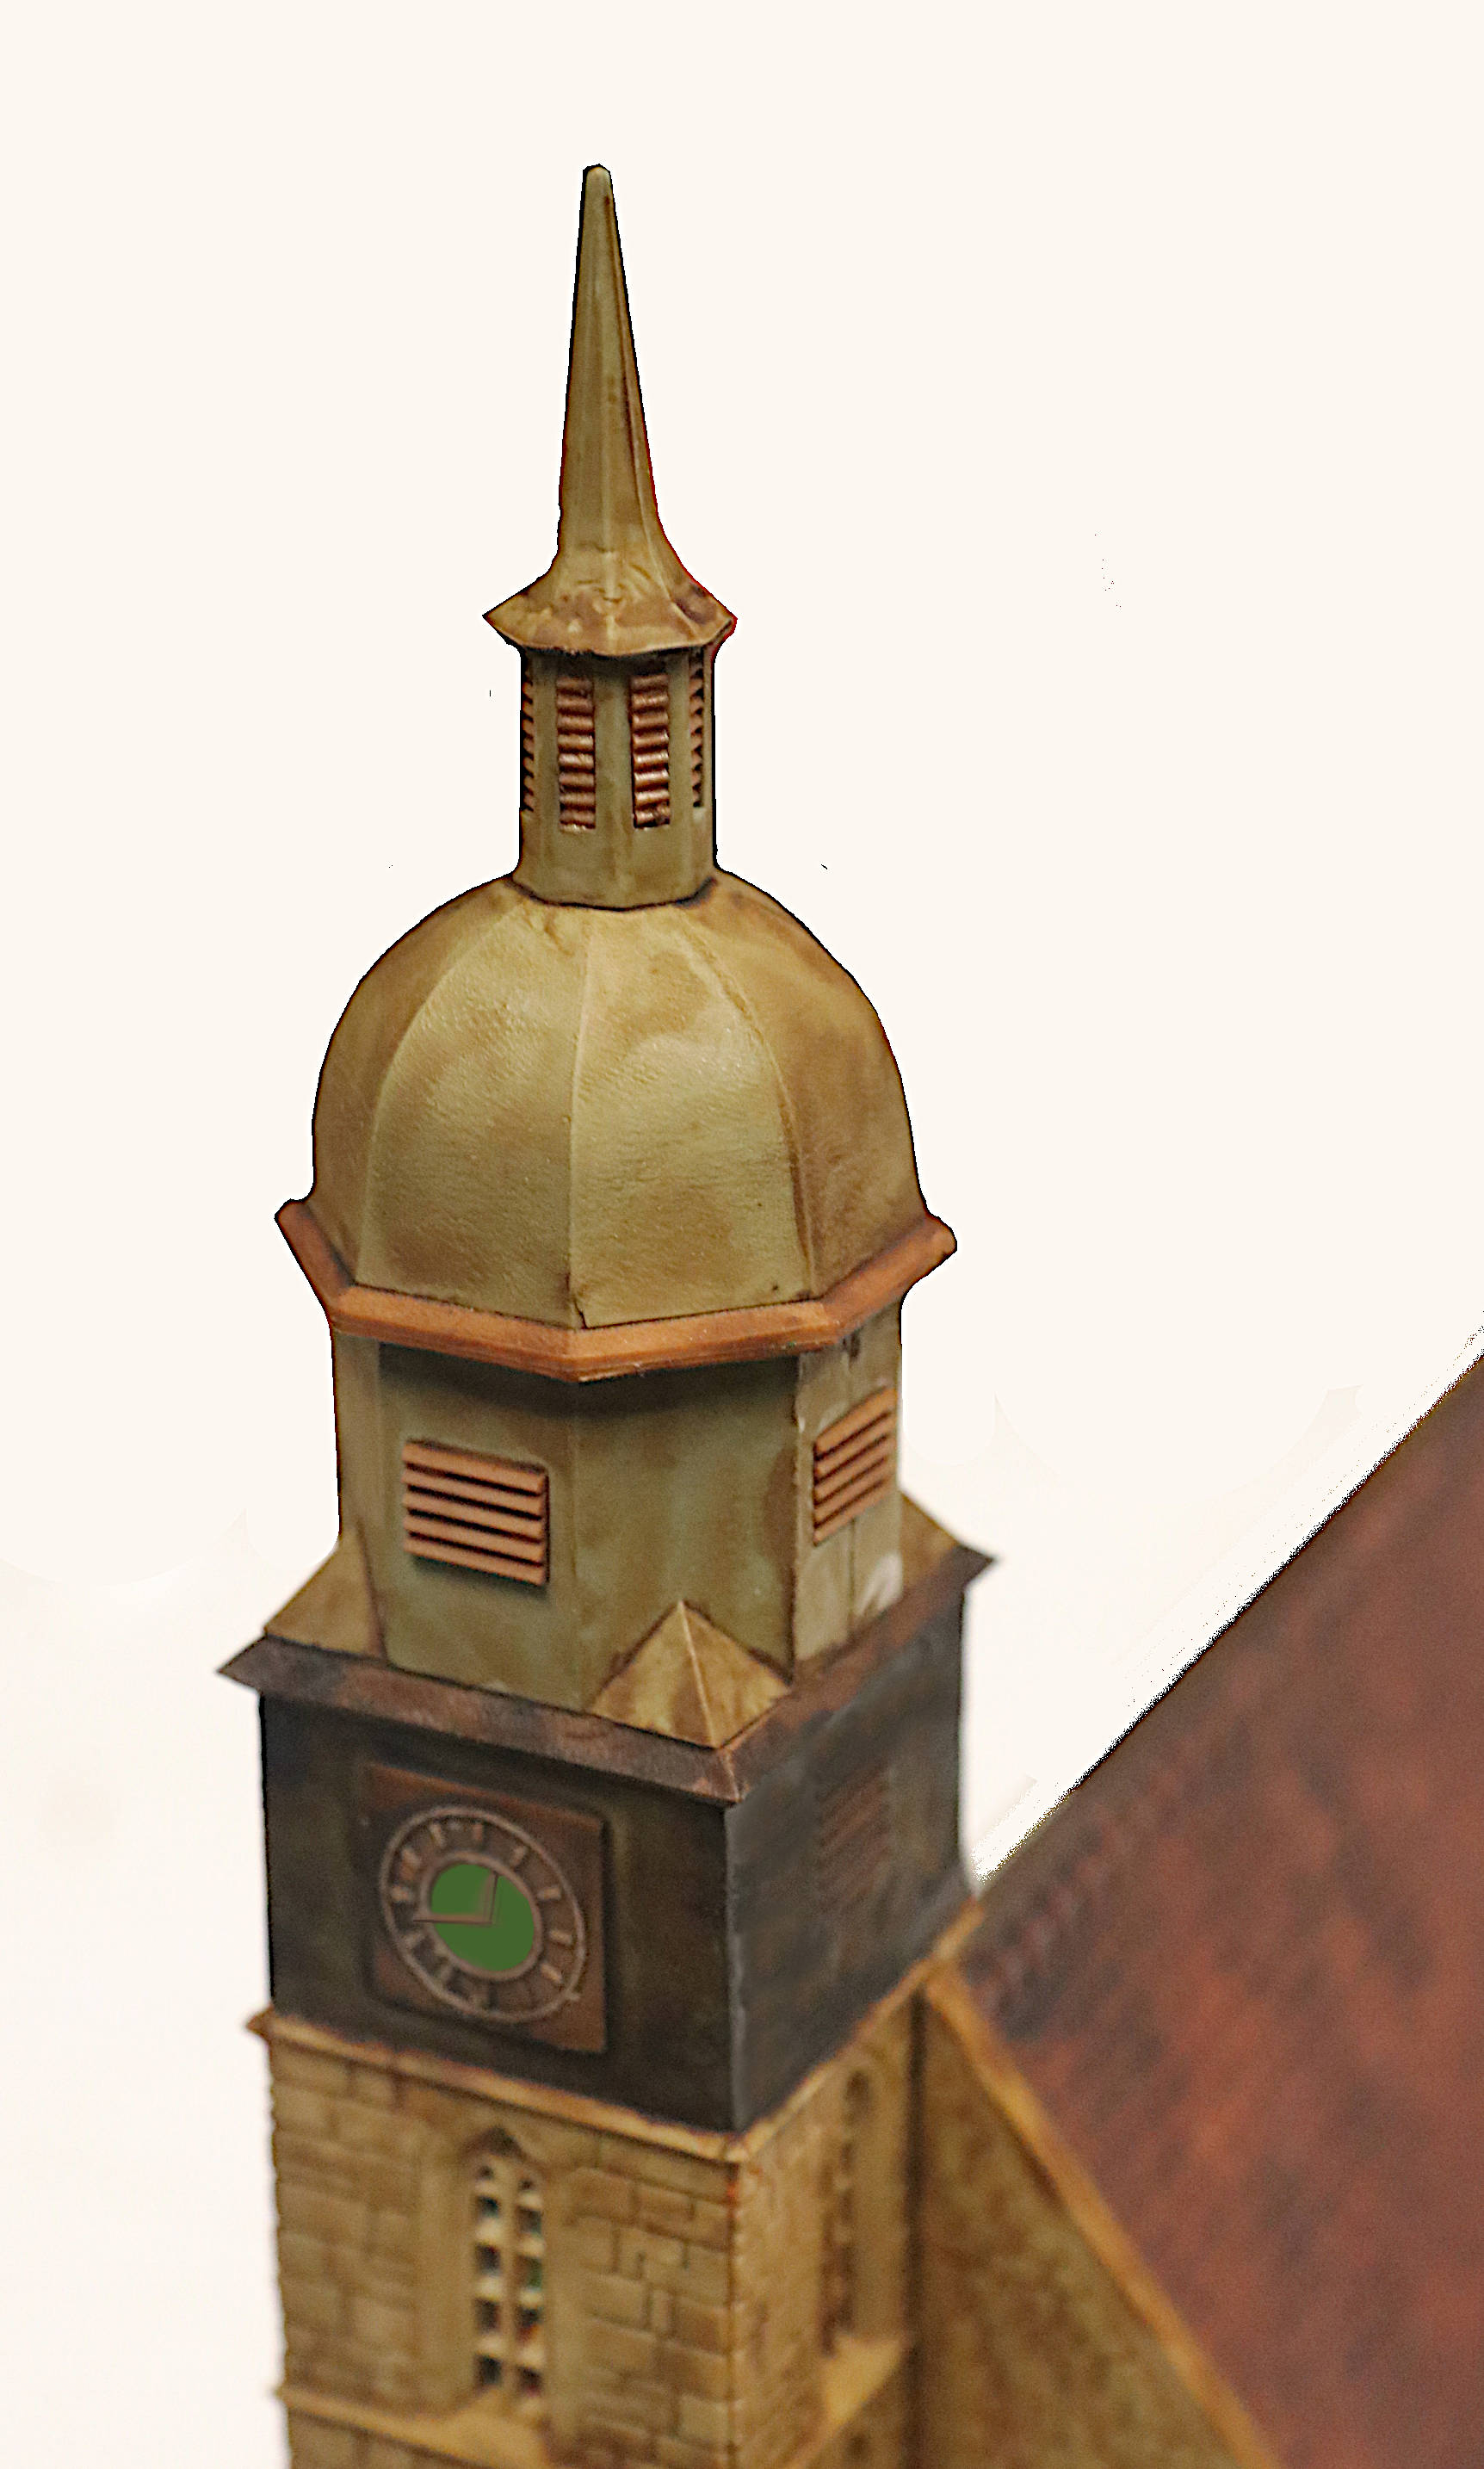
Many have already seen my Kibri “Gothic Church” elsewhere on this site:"
*Just the Nuln Oil for the roof and the Sepia for the stonework; brushed on over the raw plastic:
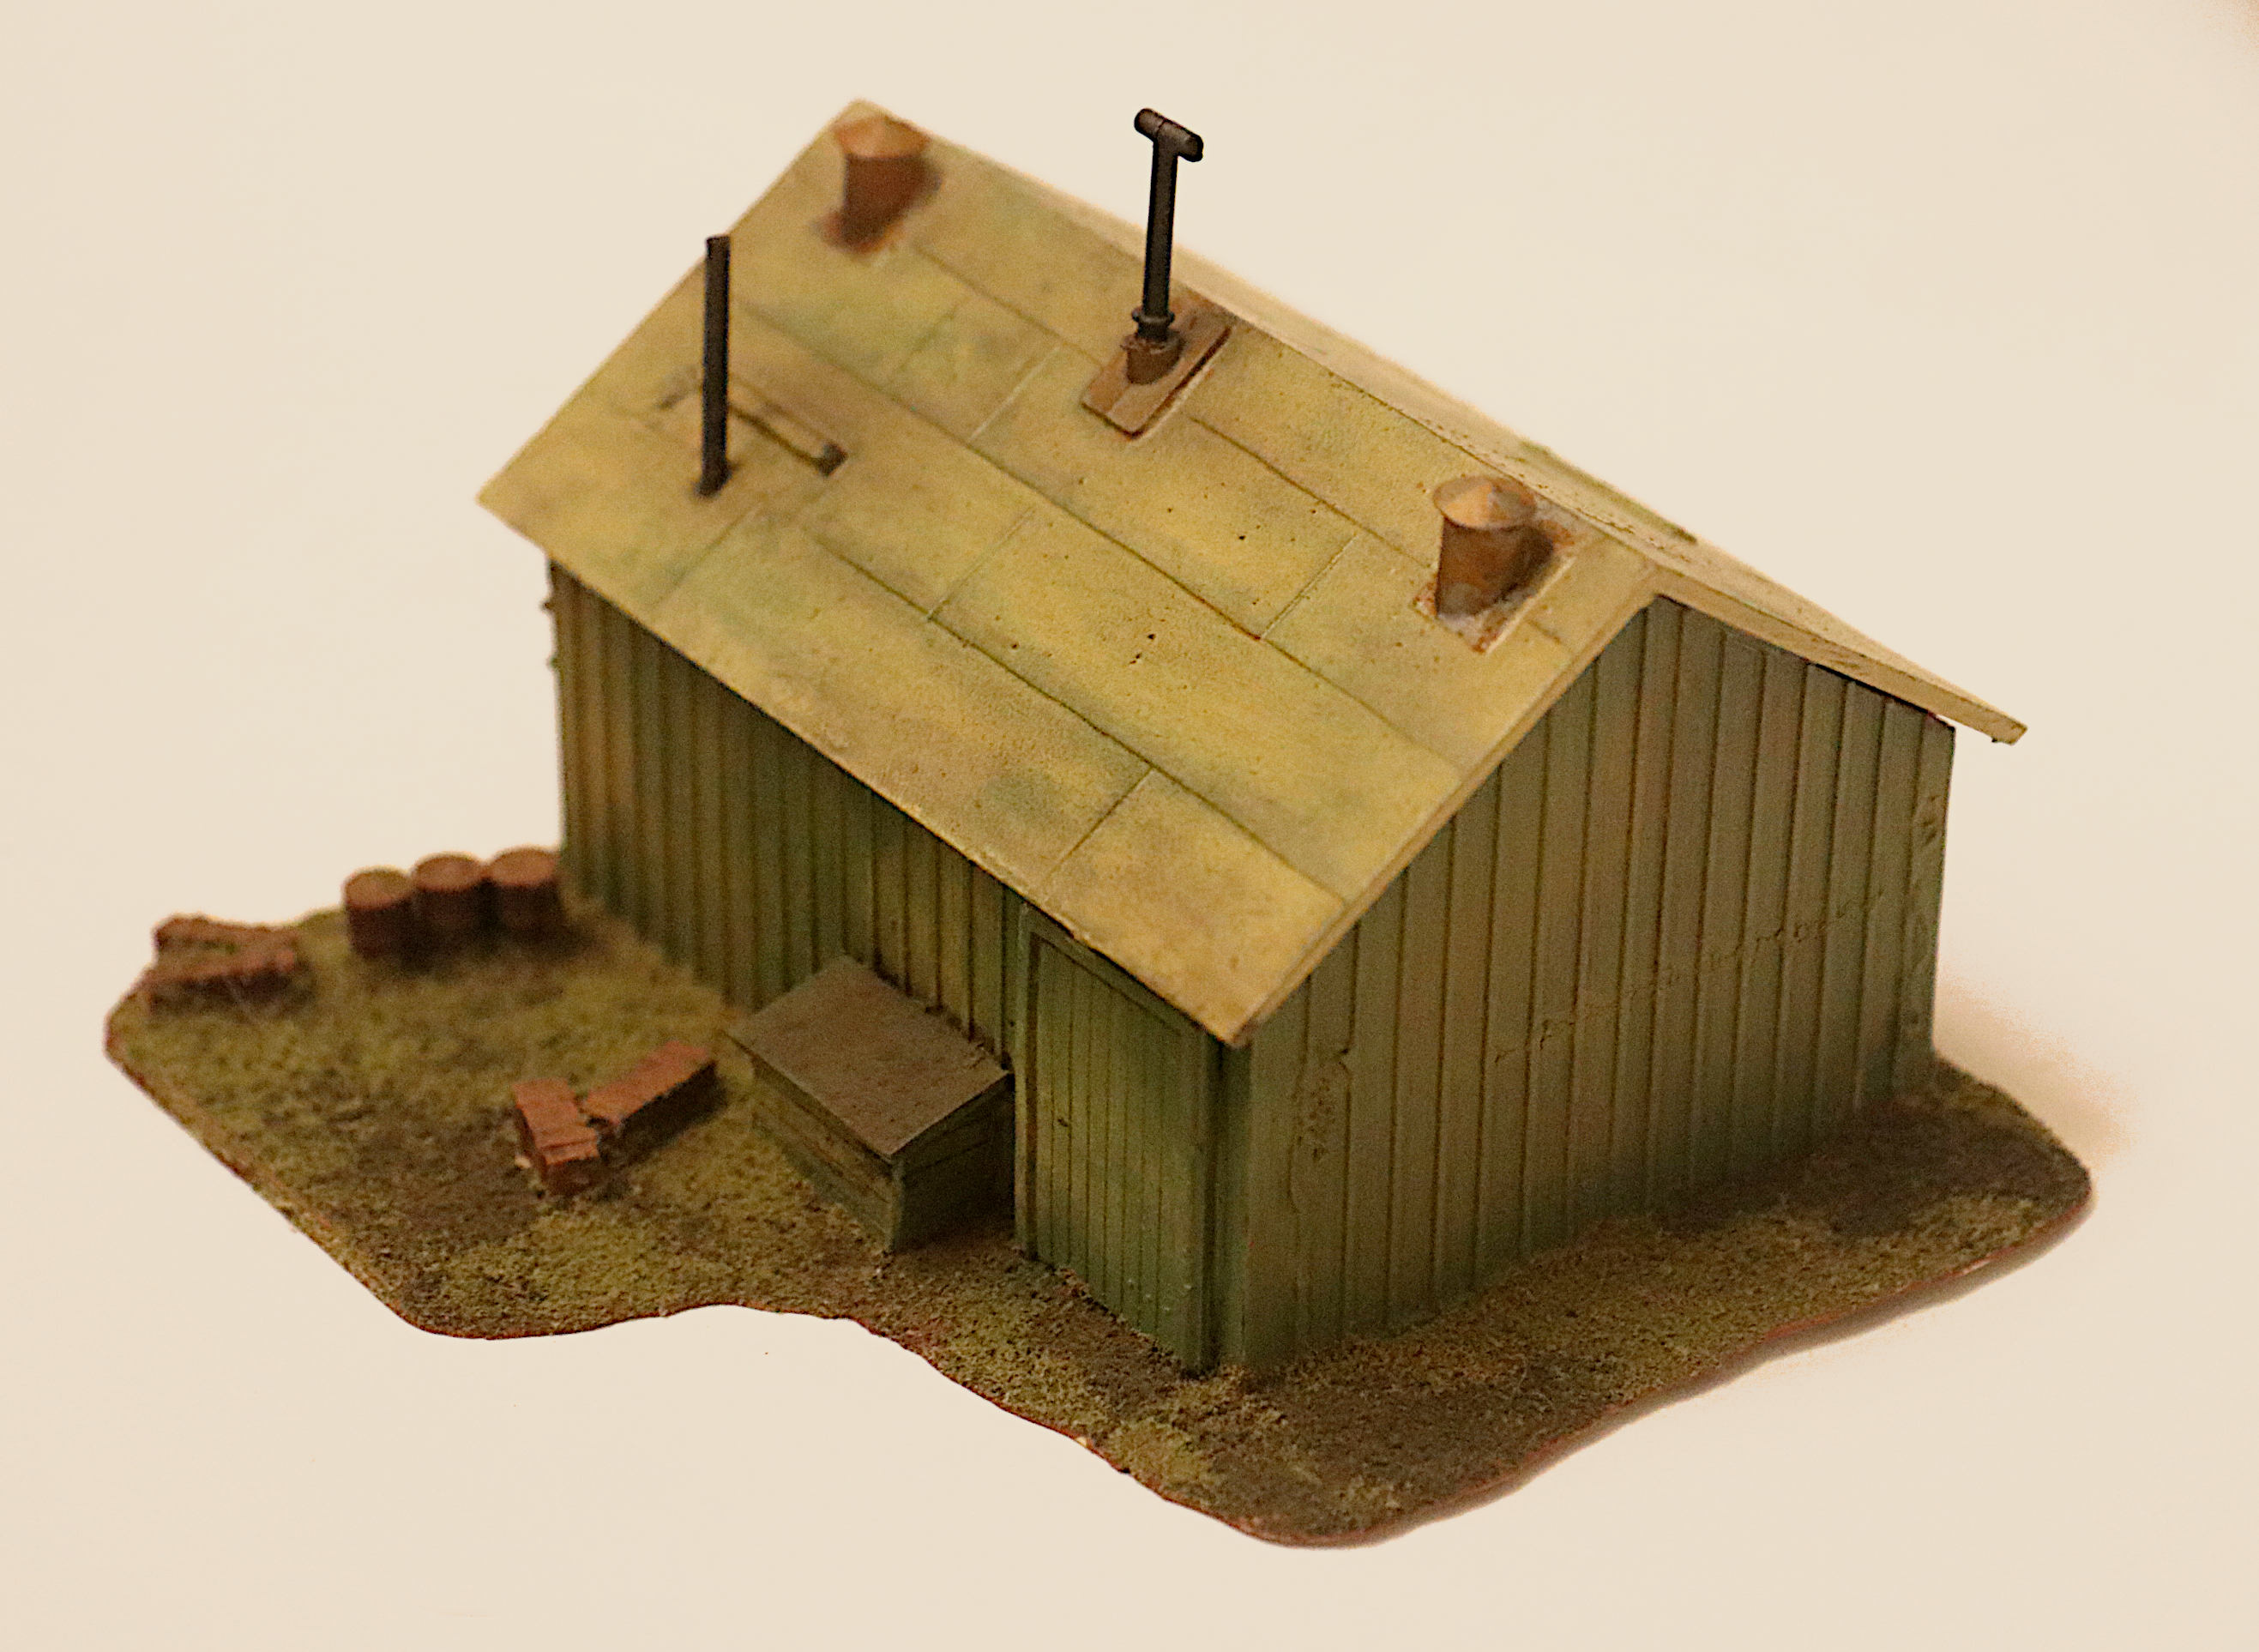
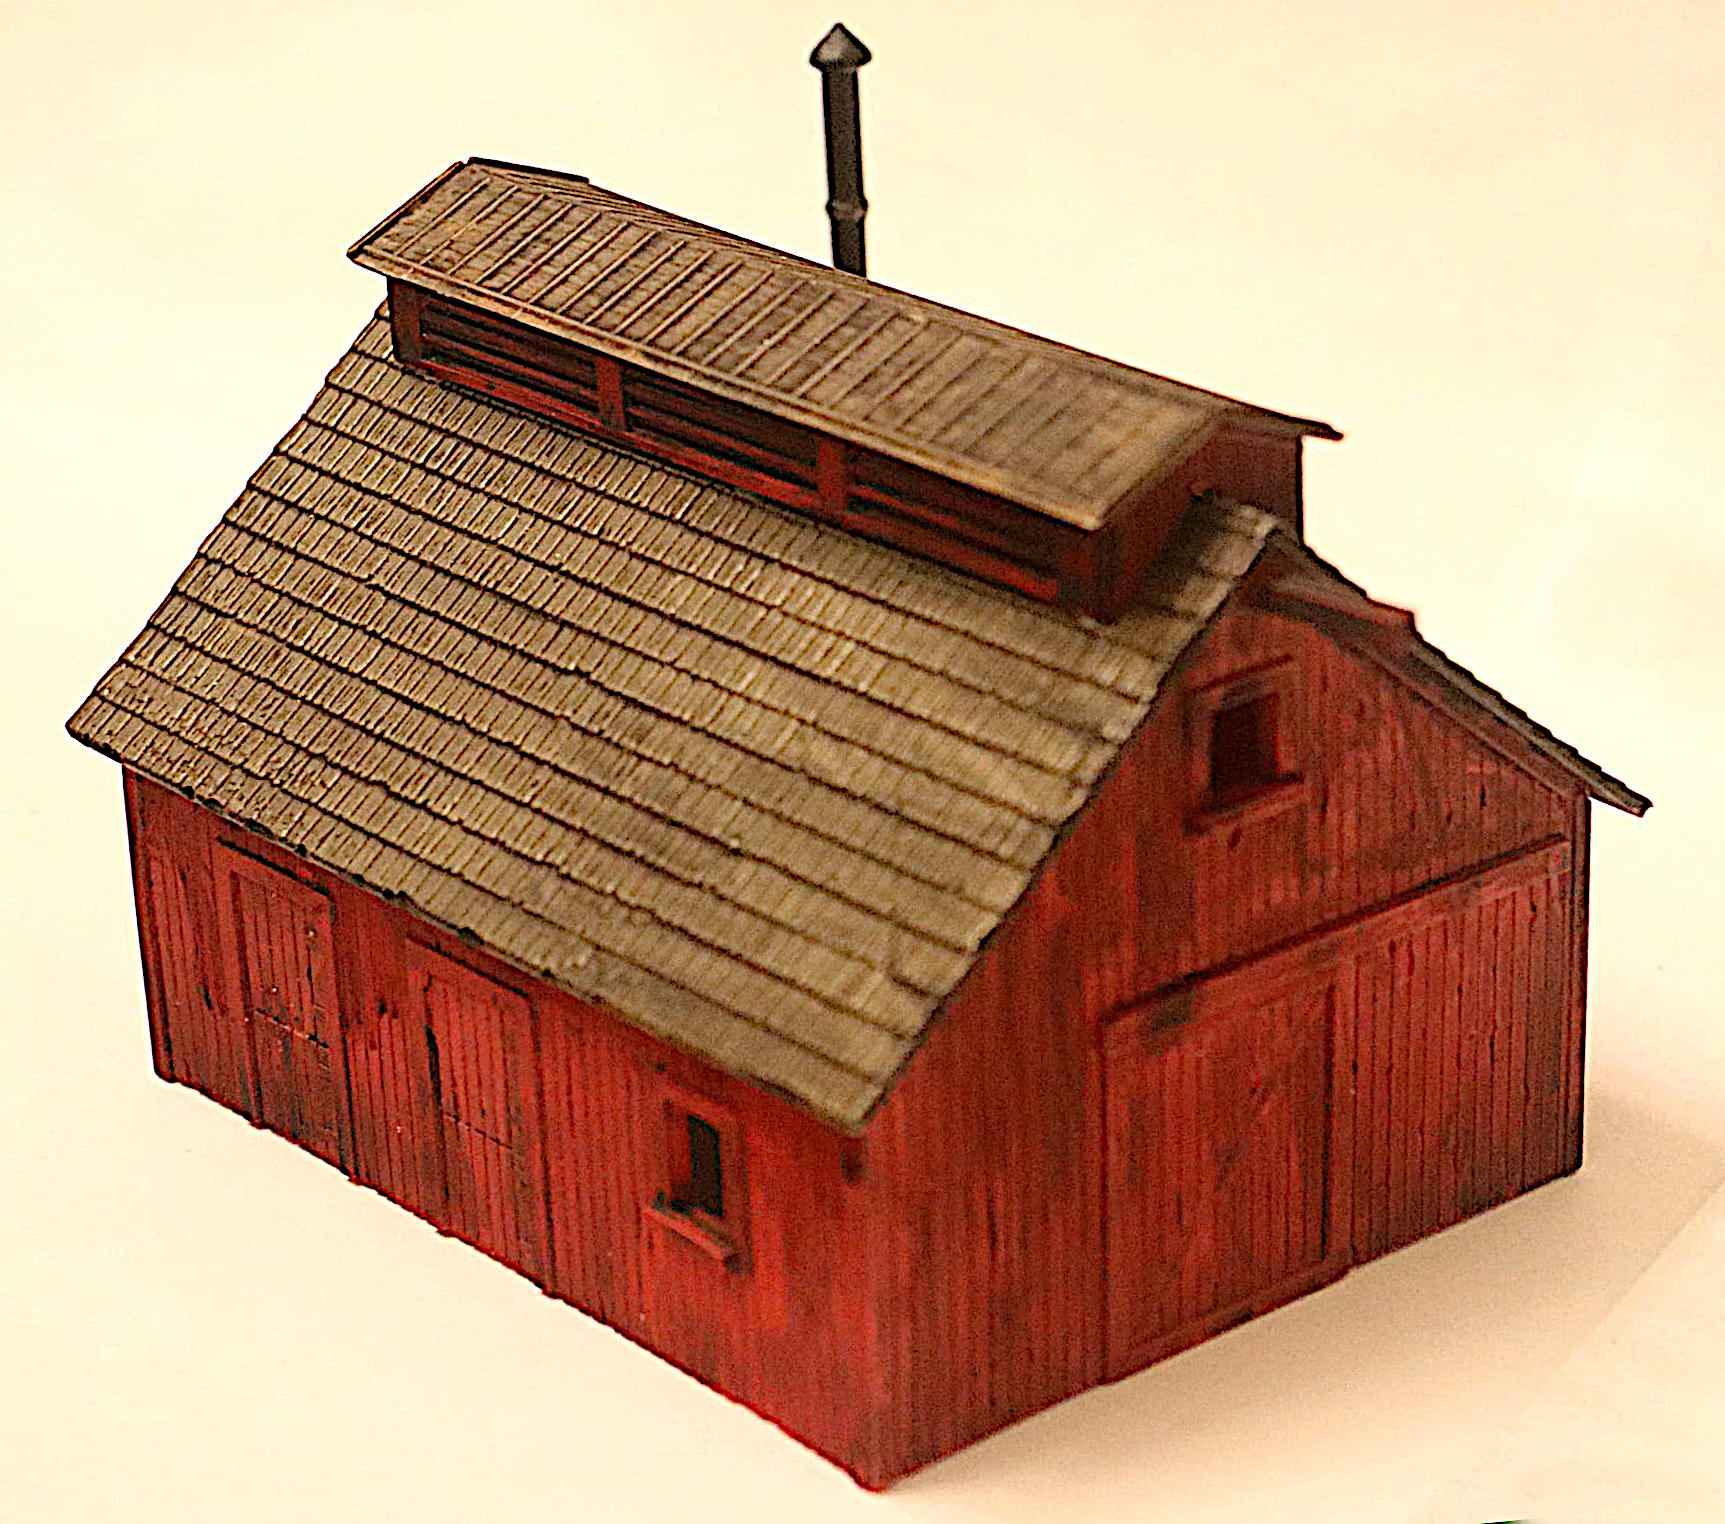
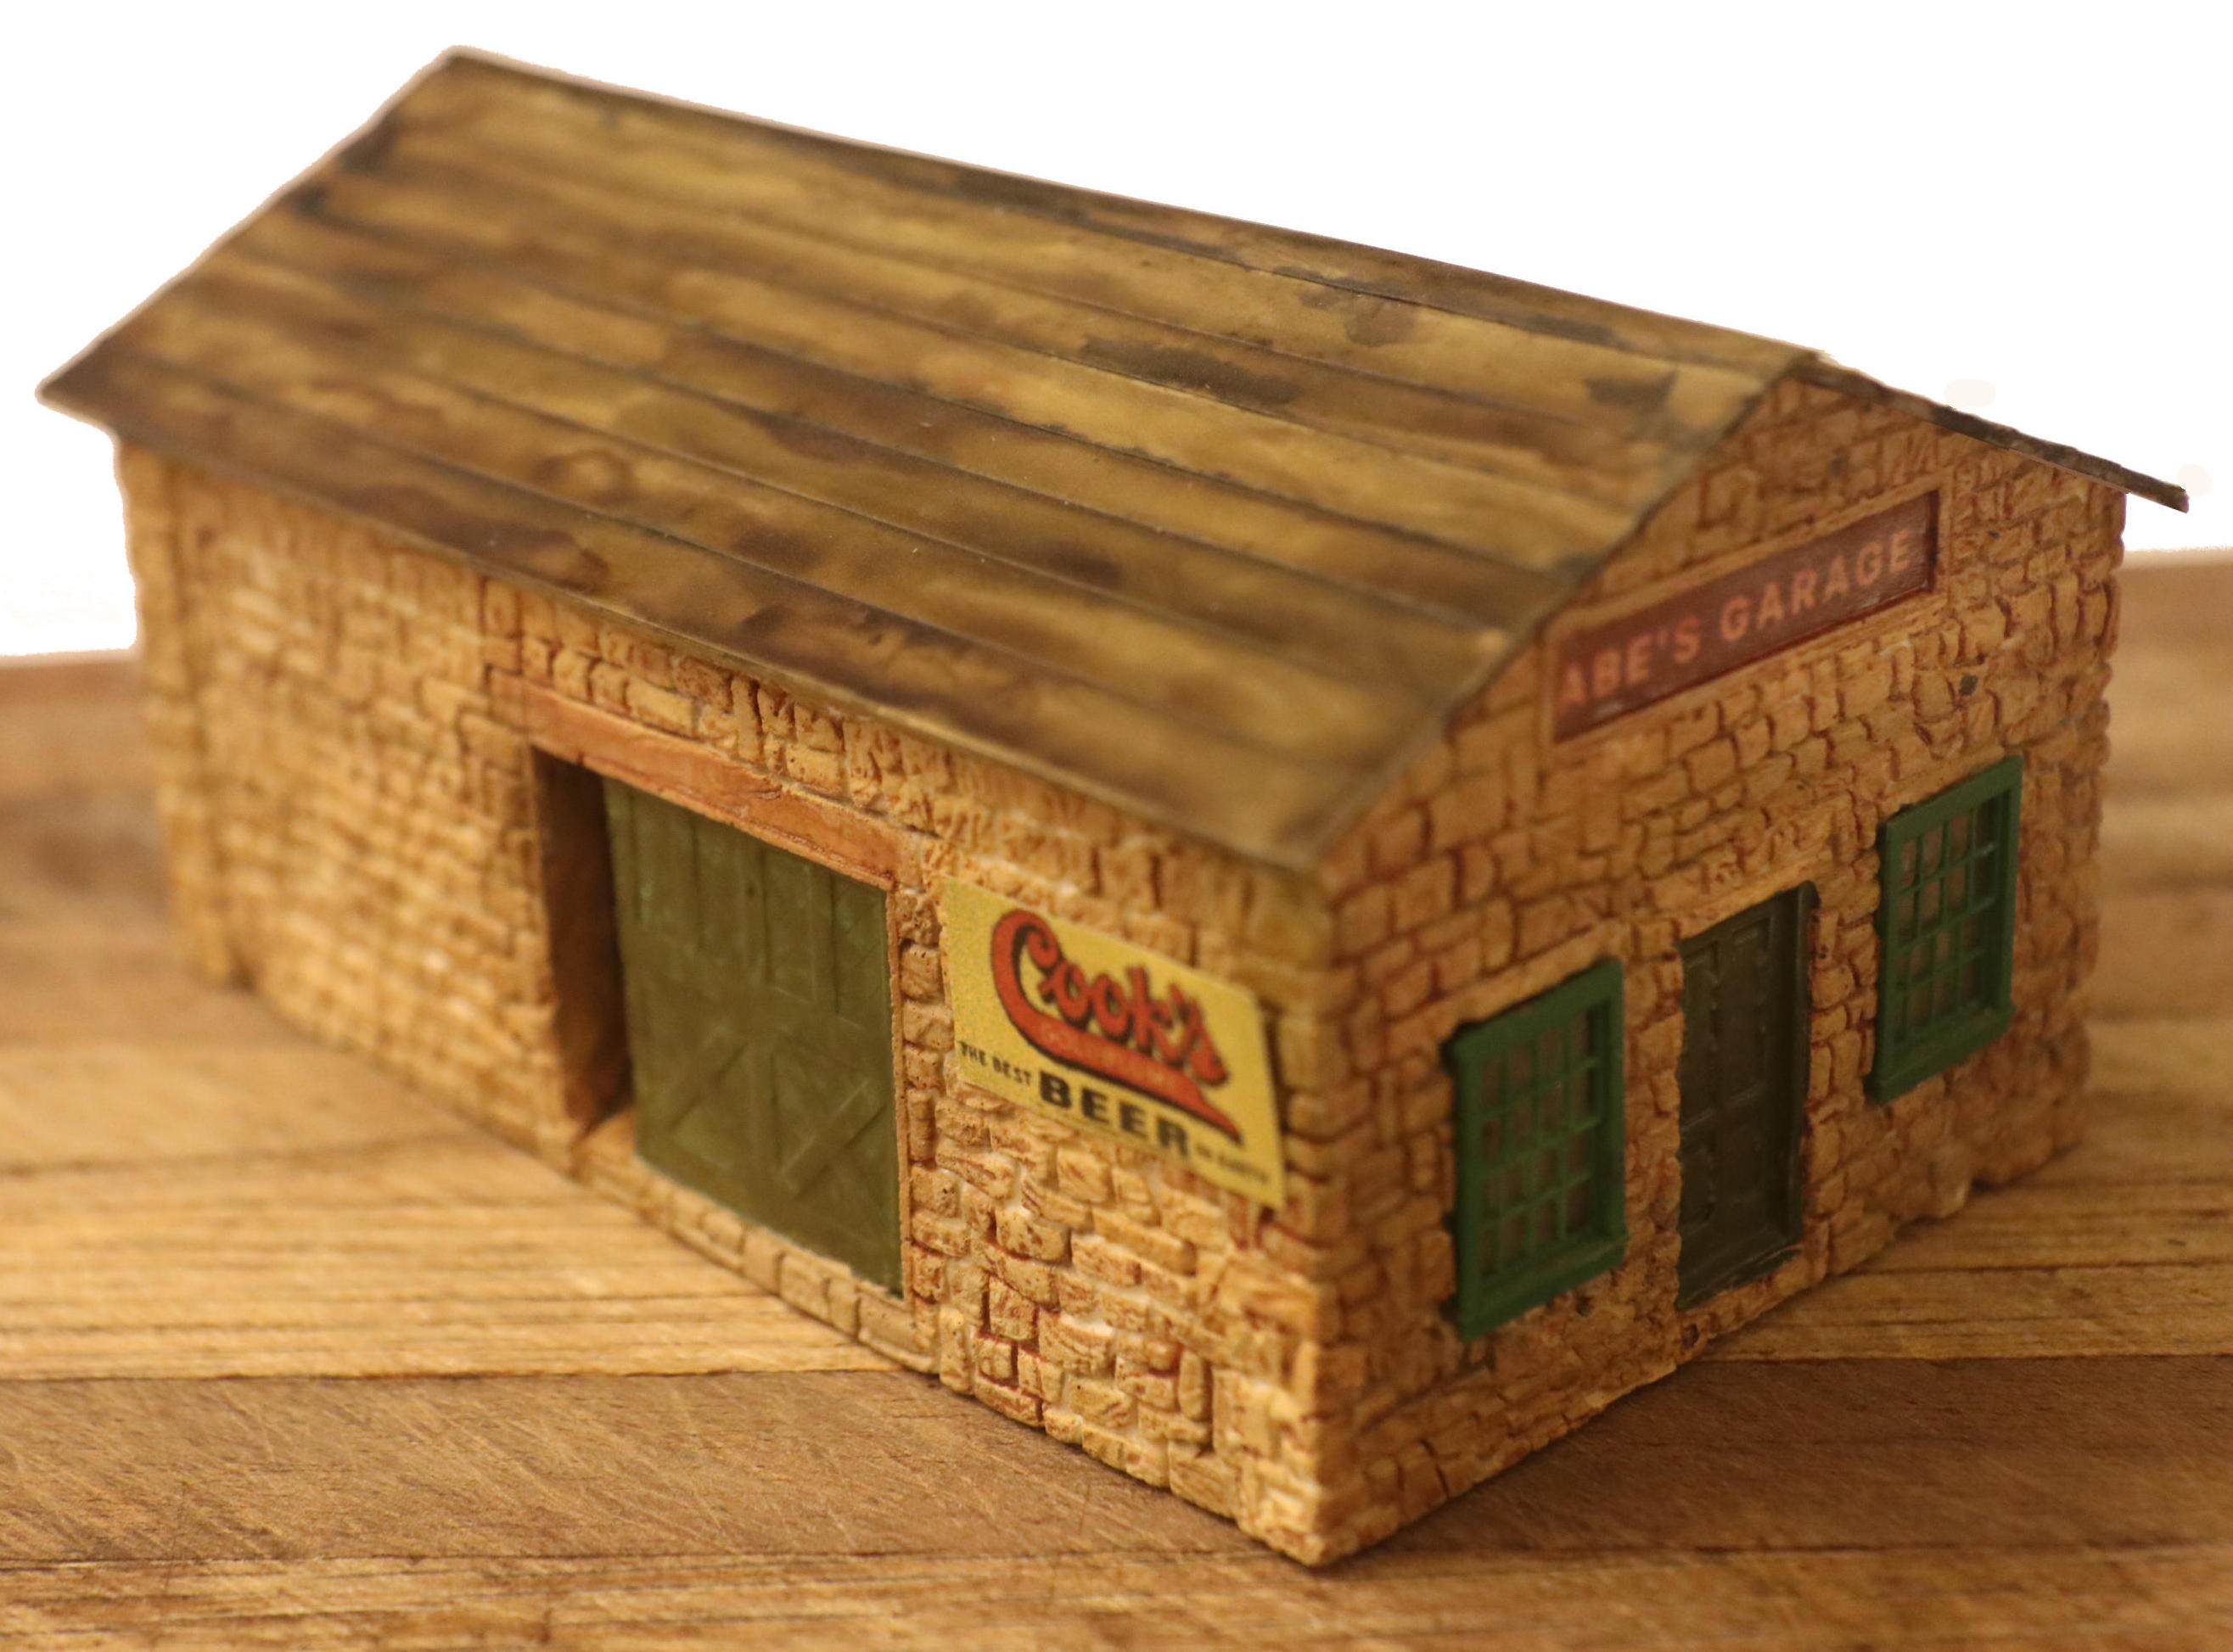
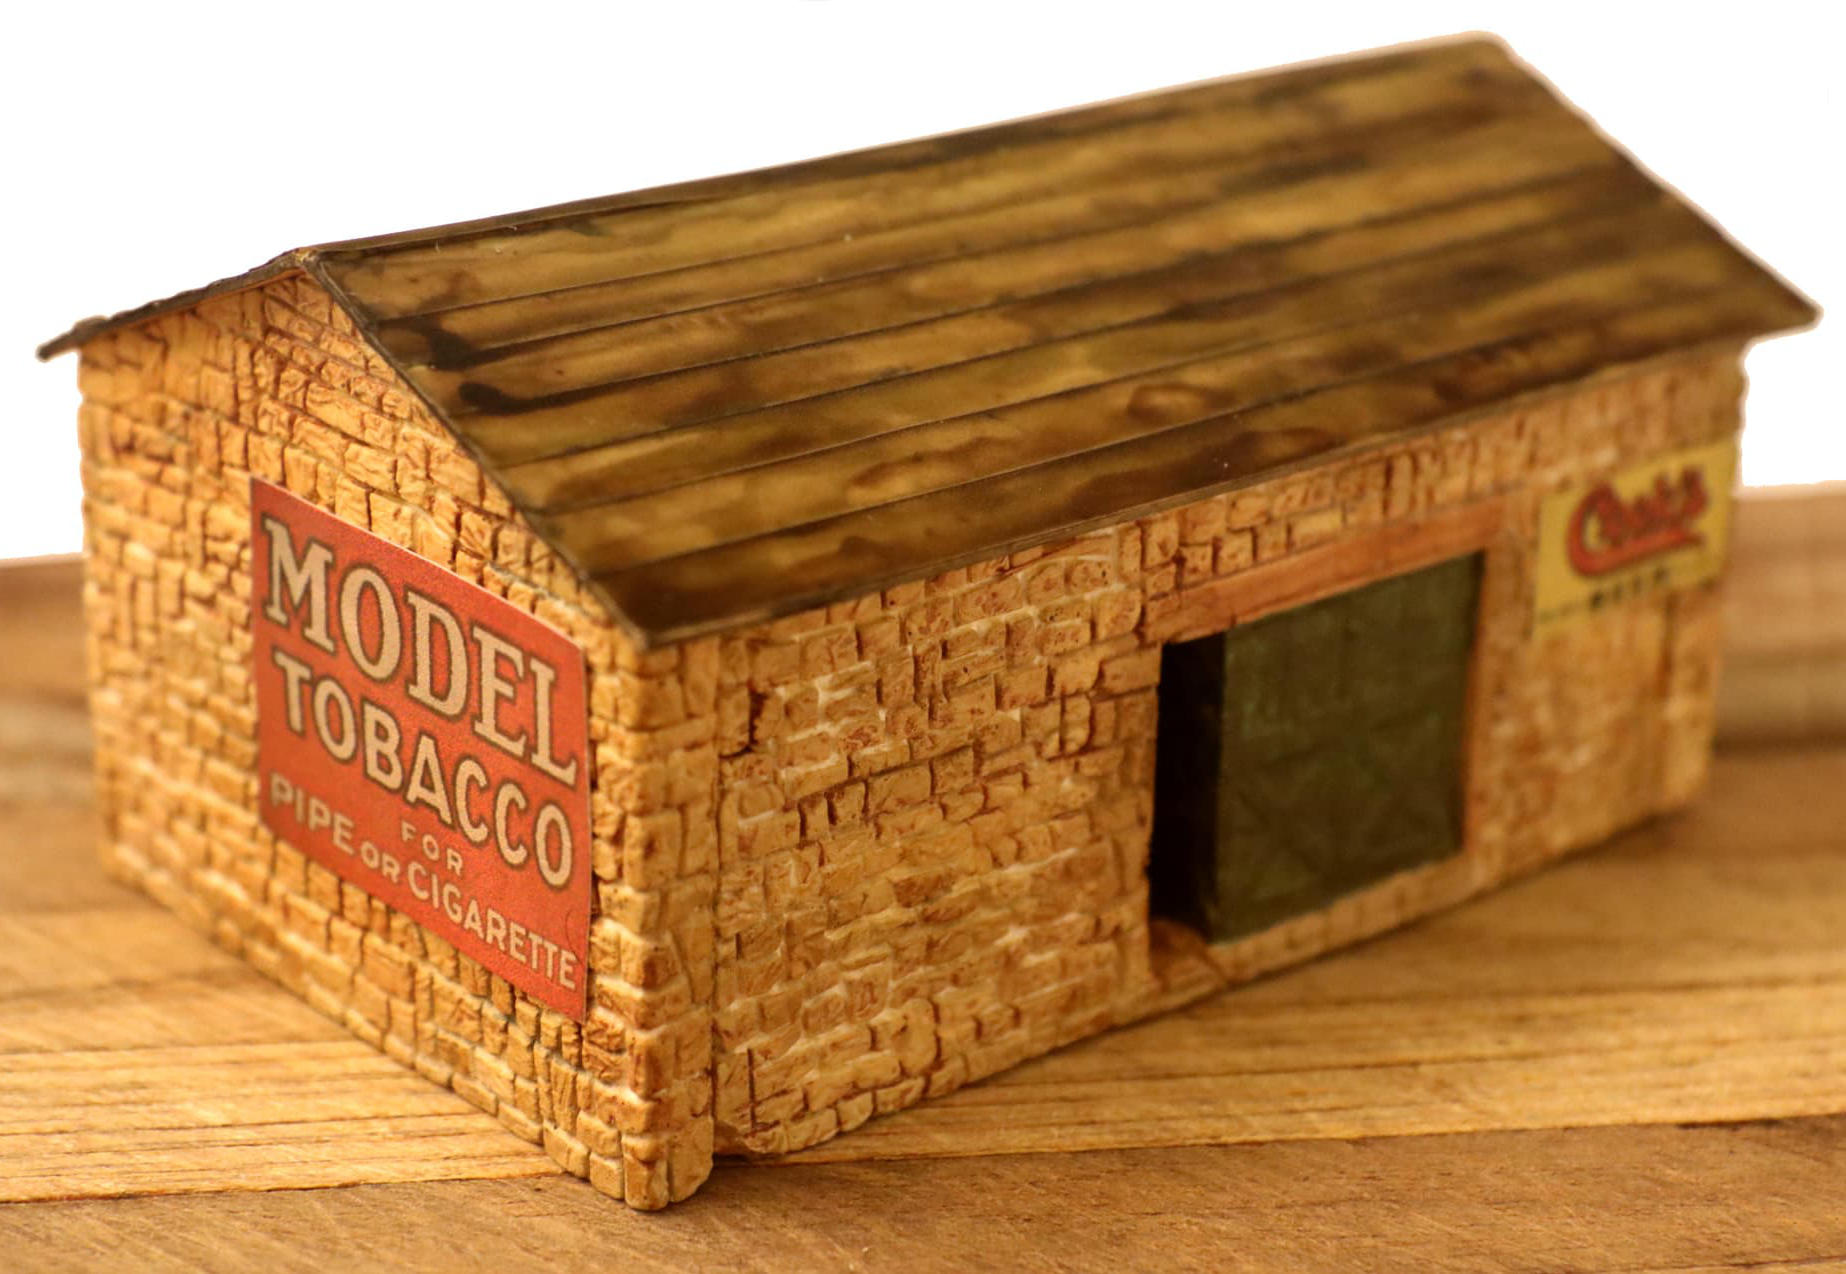
And a Well Aged Barn: The Nuln Oil here, slathered on over pretty much everything!
Note: I did first paint over the glossy red plastic with a matte red (Testors) paint darkened with just a touch of black and then multiple coats of the Nuln Oil. The roofs however are the Nuln Oil brushed right onto the raw plastic.
I know I do and I’m no good at it ~ but here is a way to quickly and easily, . . . do, if not a great job, then at least a respectable one.
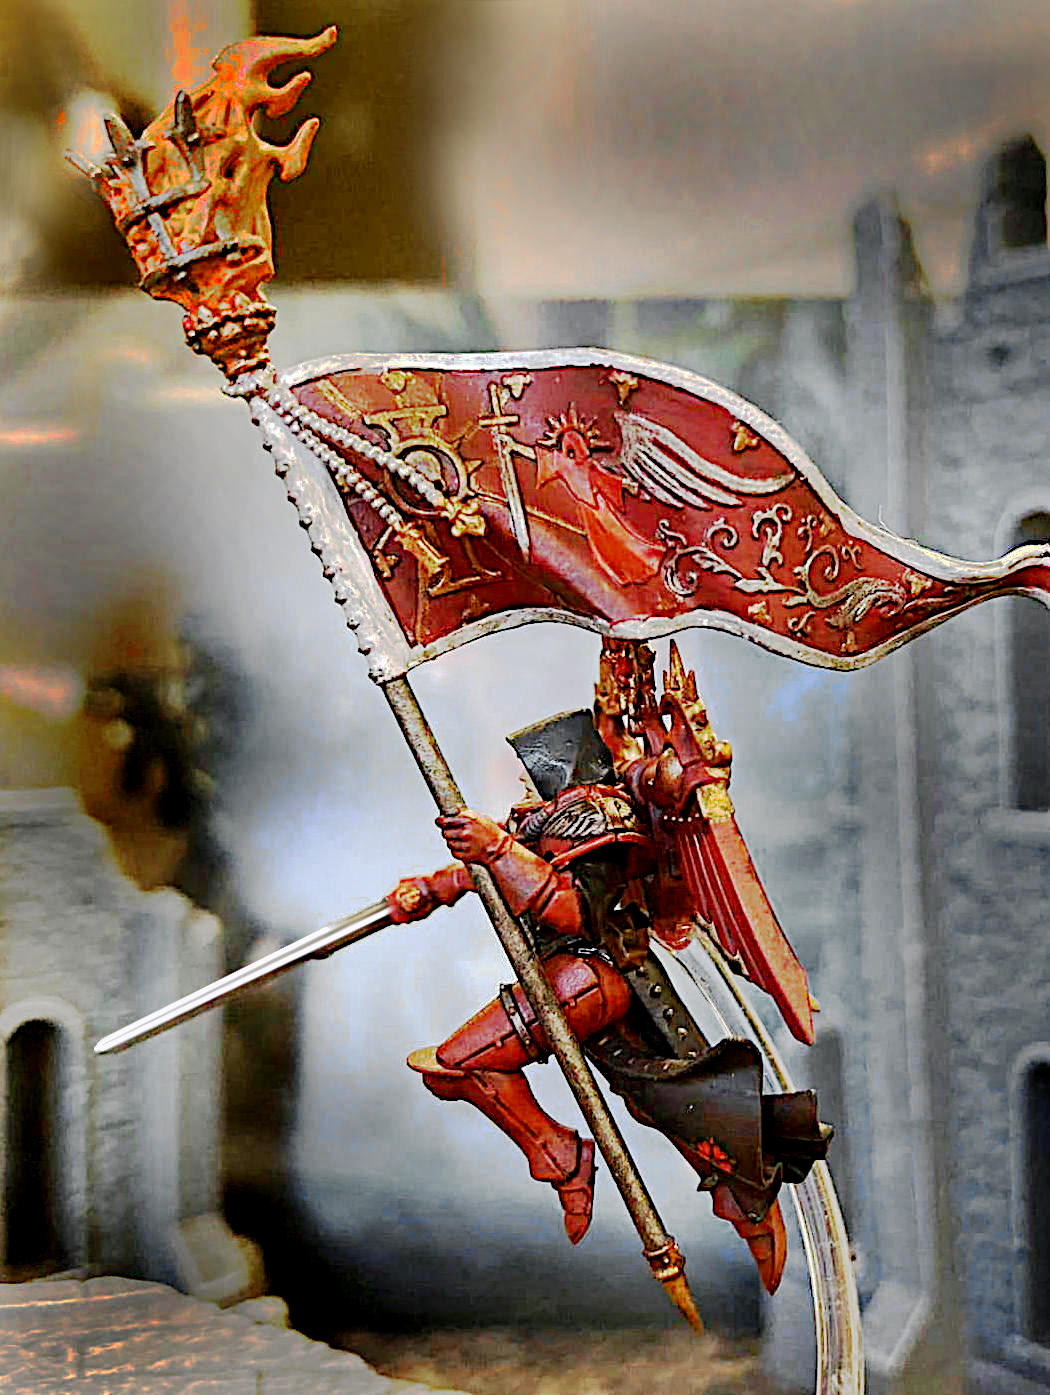
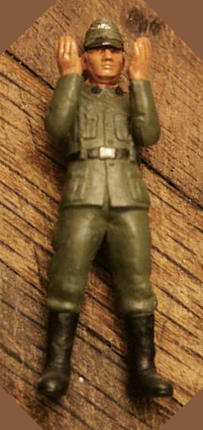
Just apply some decent shade of skin tone paint to the face and hands then go to work with the Sepia. If the figure has at least some facial detail (as most do these days) the shaders will hunker down into the cracks, folds and lines of the face. Pool in the shallows and deliver you a job you no longer have to be ashamed of.
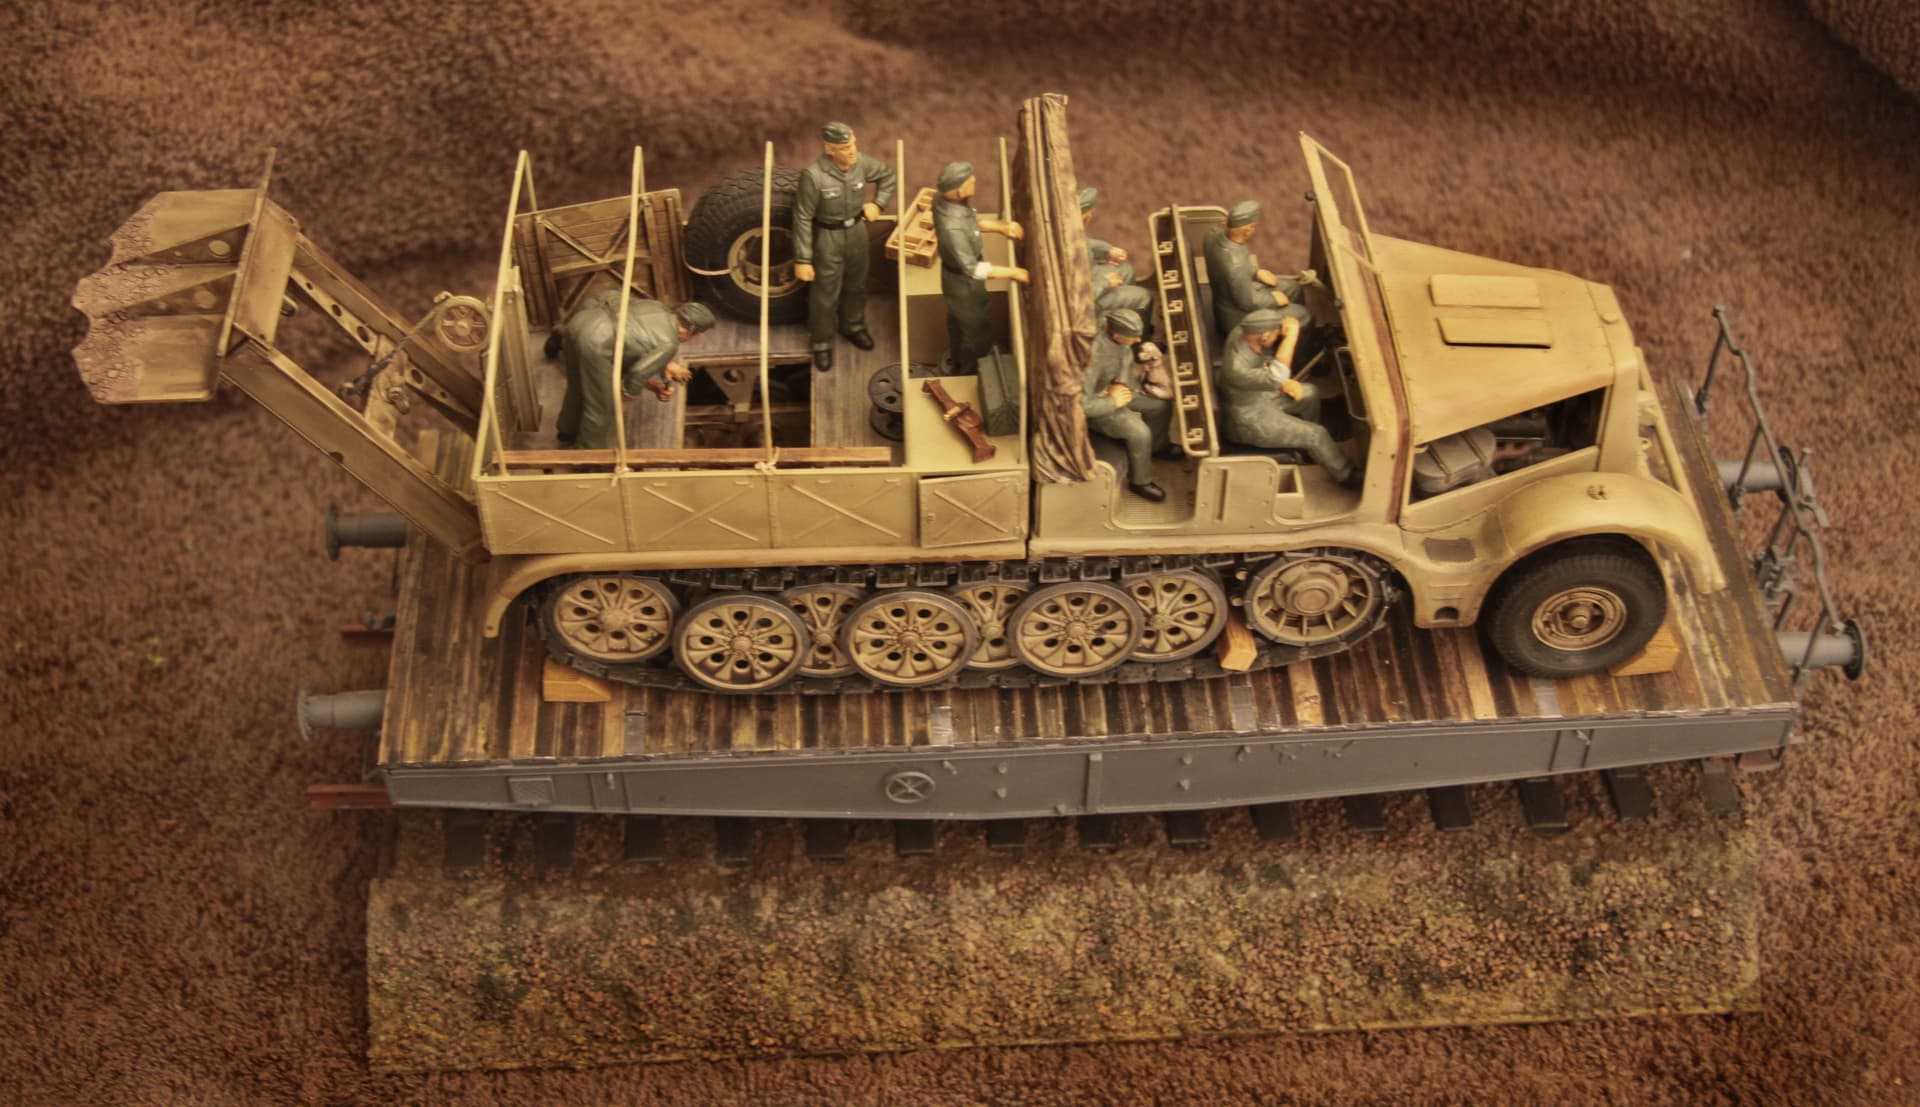
Fritz here, is my ground guide / load safety officer but in a past life he was the “Range Finder” dude out of the old, OLD Tamiya towed 88 kit and is 35+ years old. But even these low res early figures do fairly well with just the Buff face paint and Sepia Shader treatment.
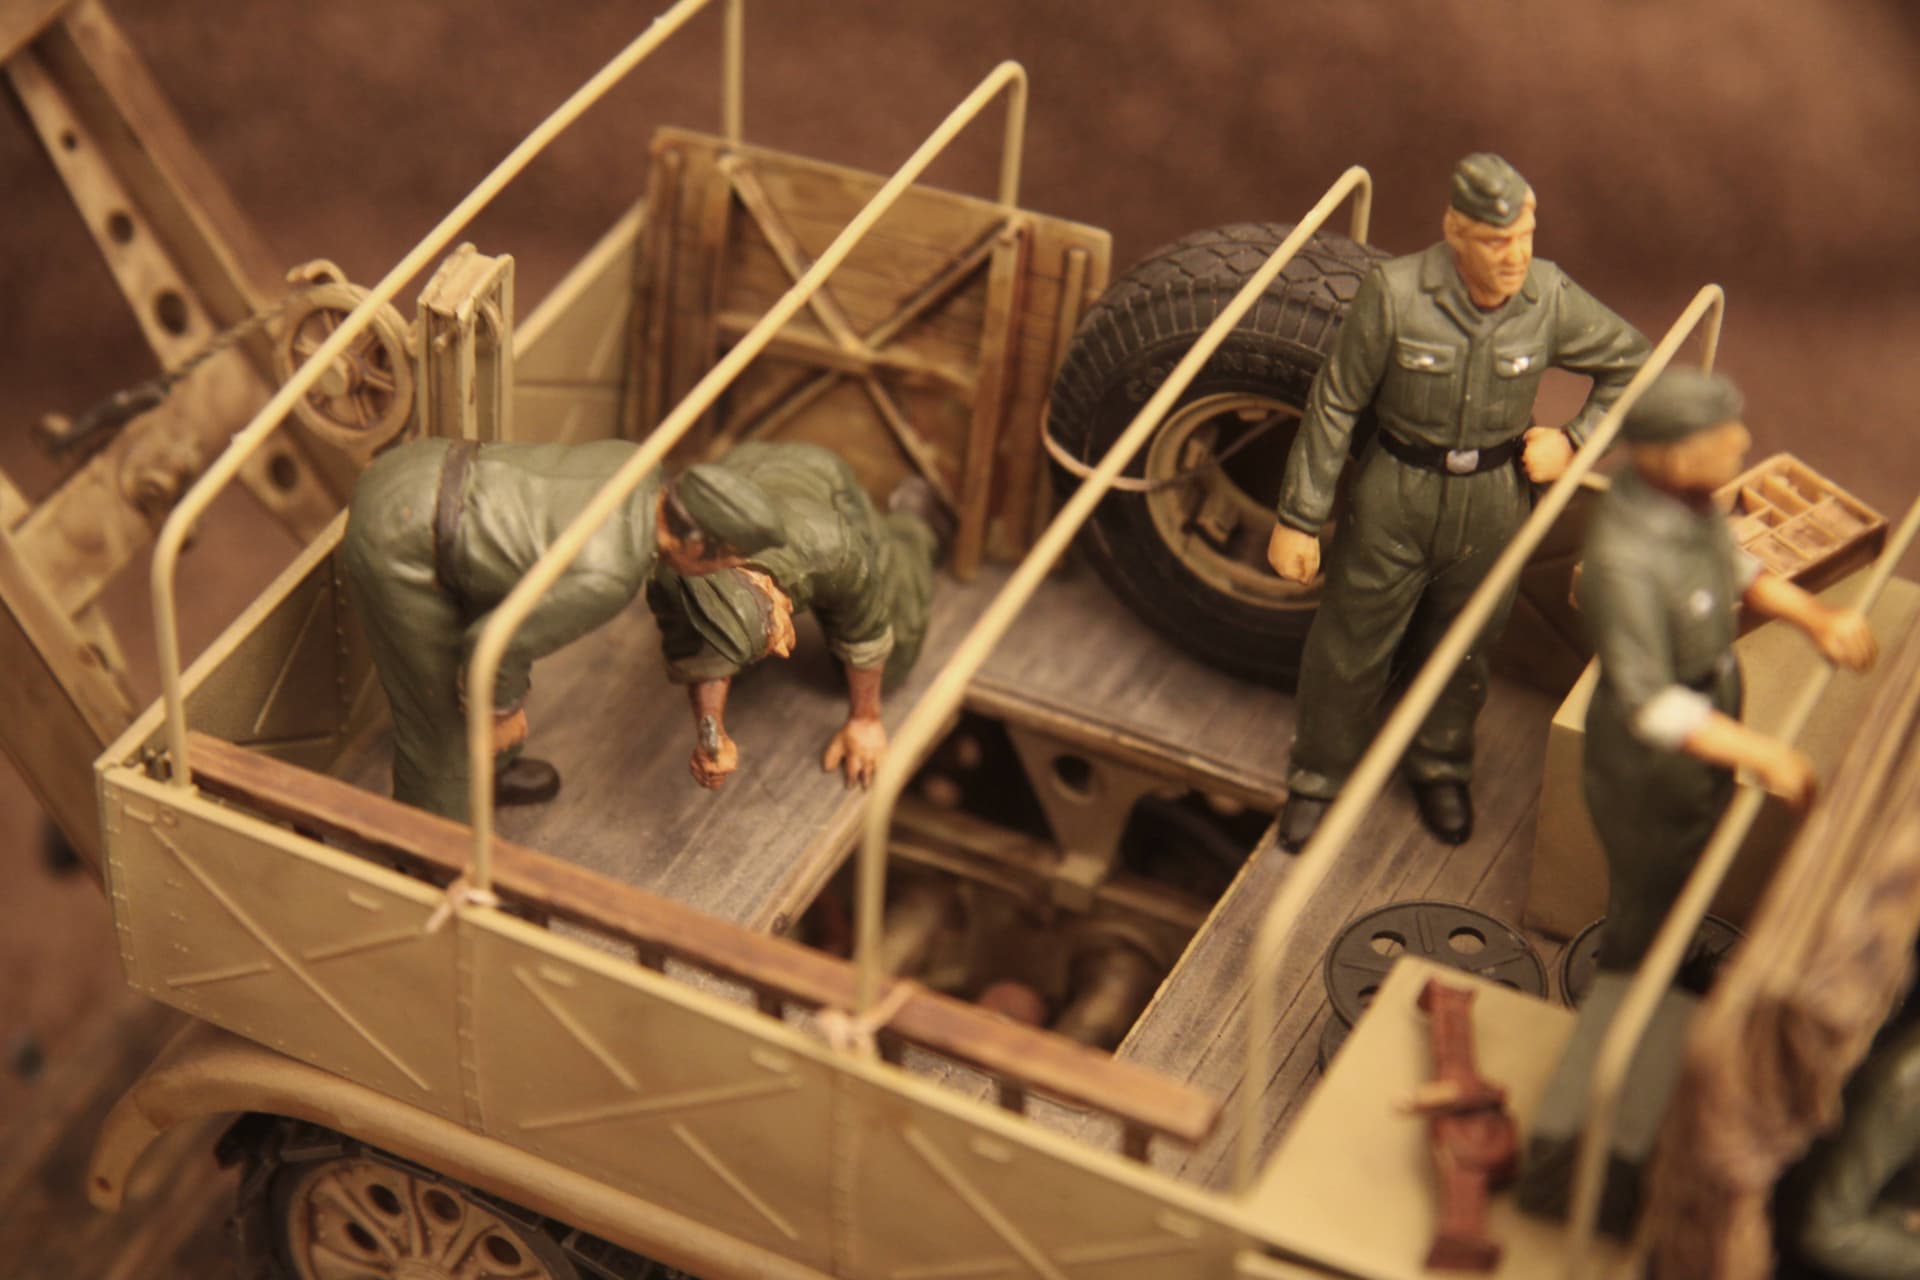
Note: the canvas top (resin AM) on the Famo was done with a mix of base paint and Citadel shaders as was the little dog.
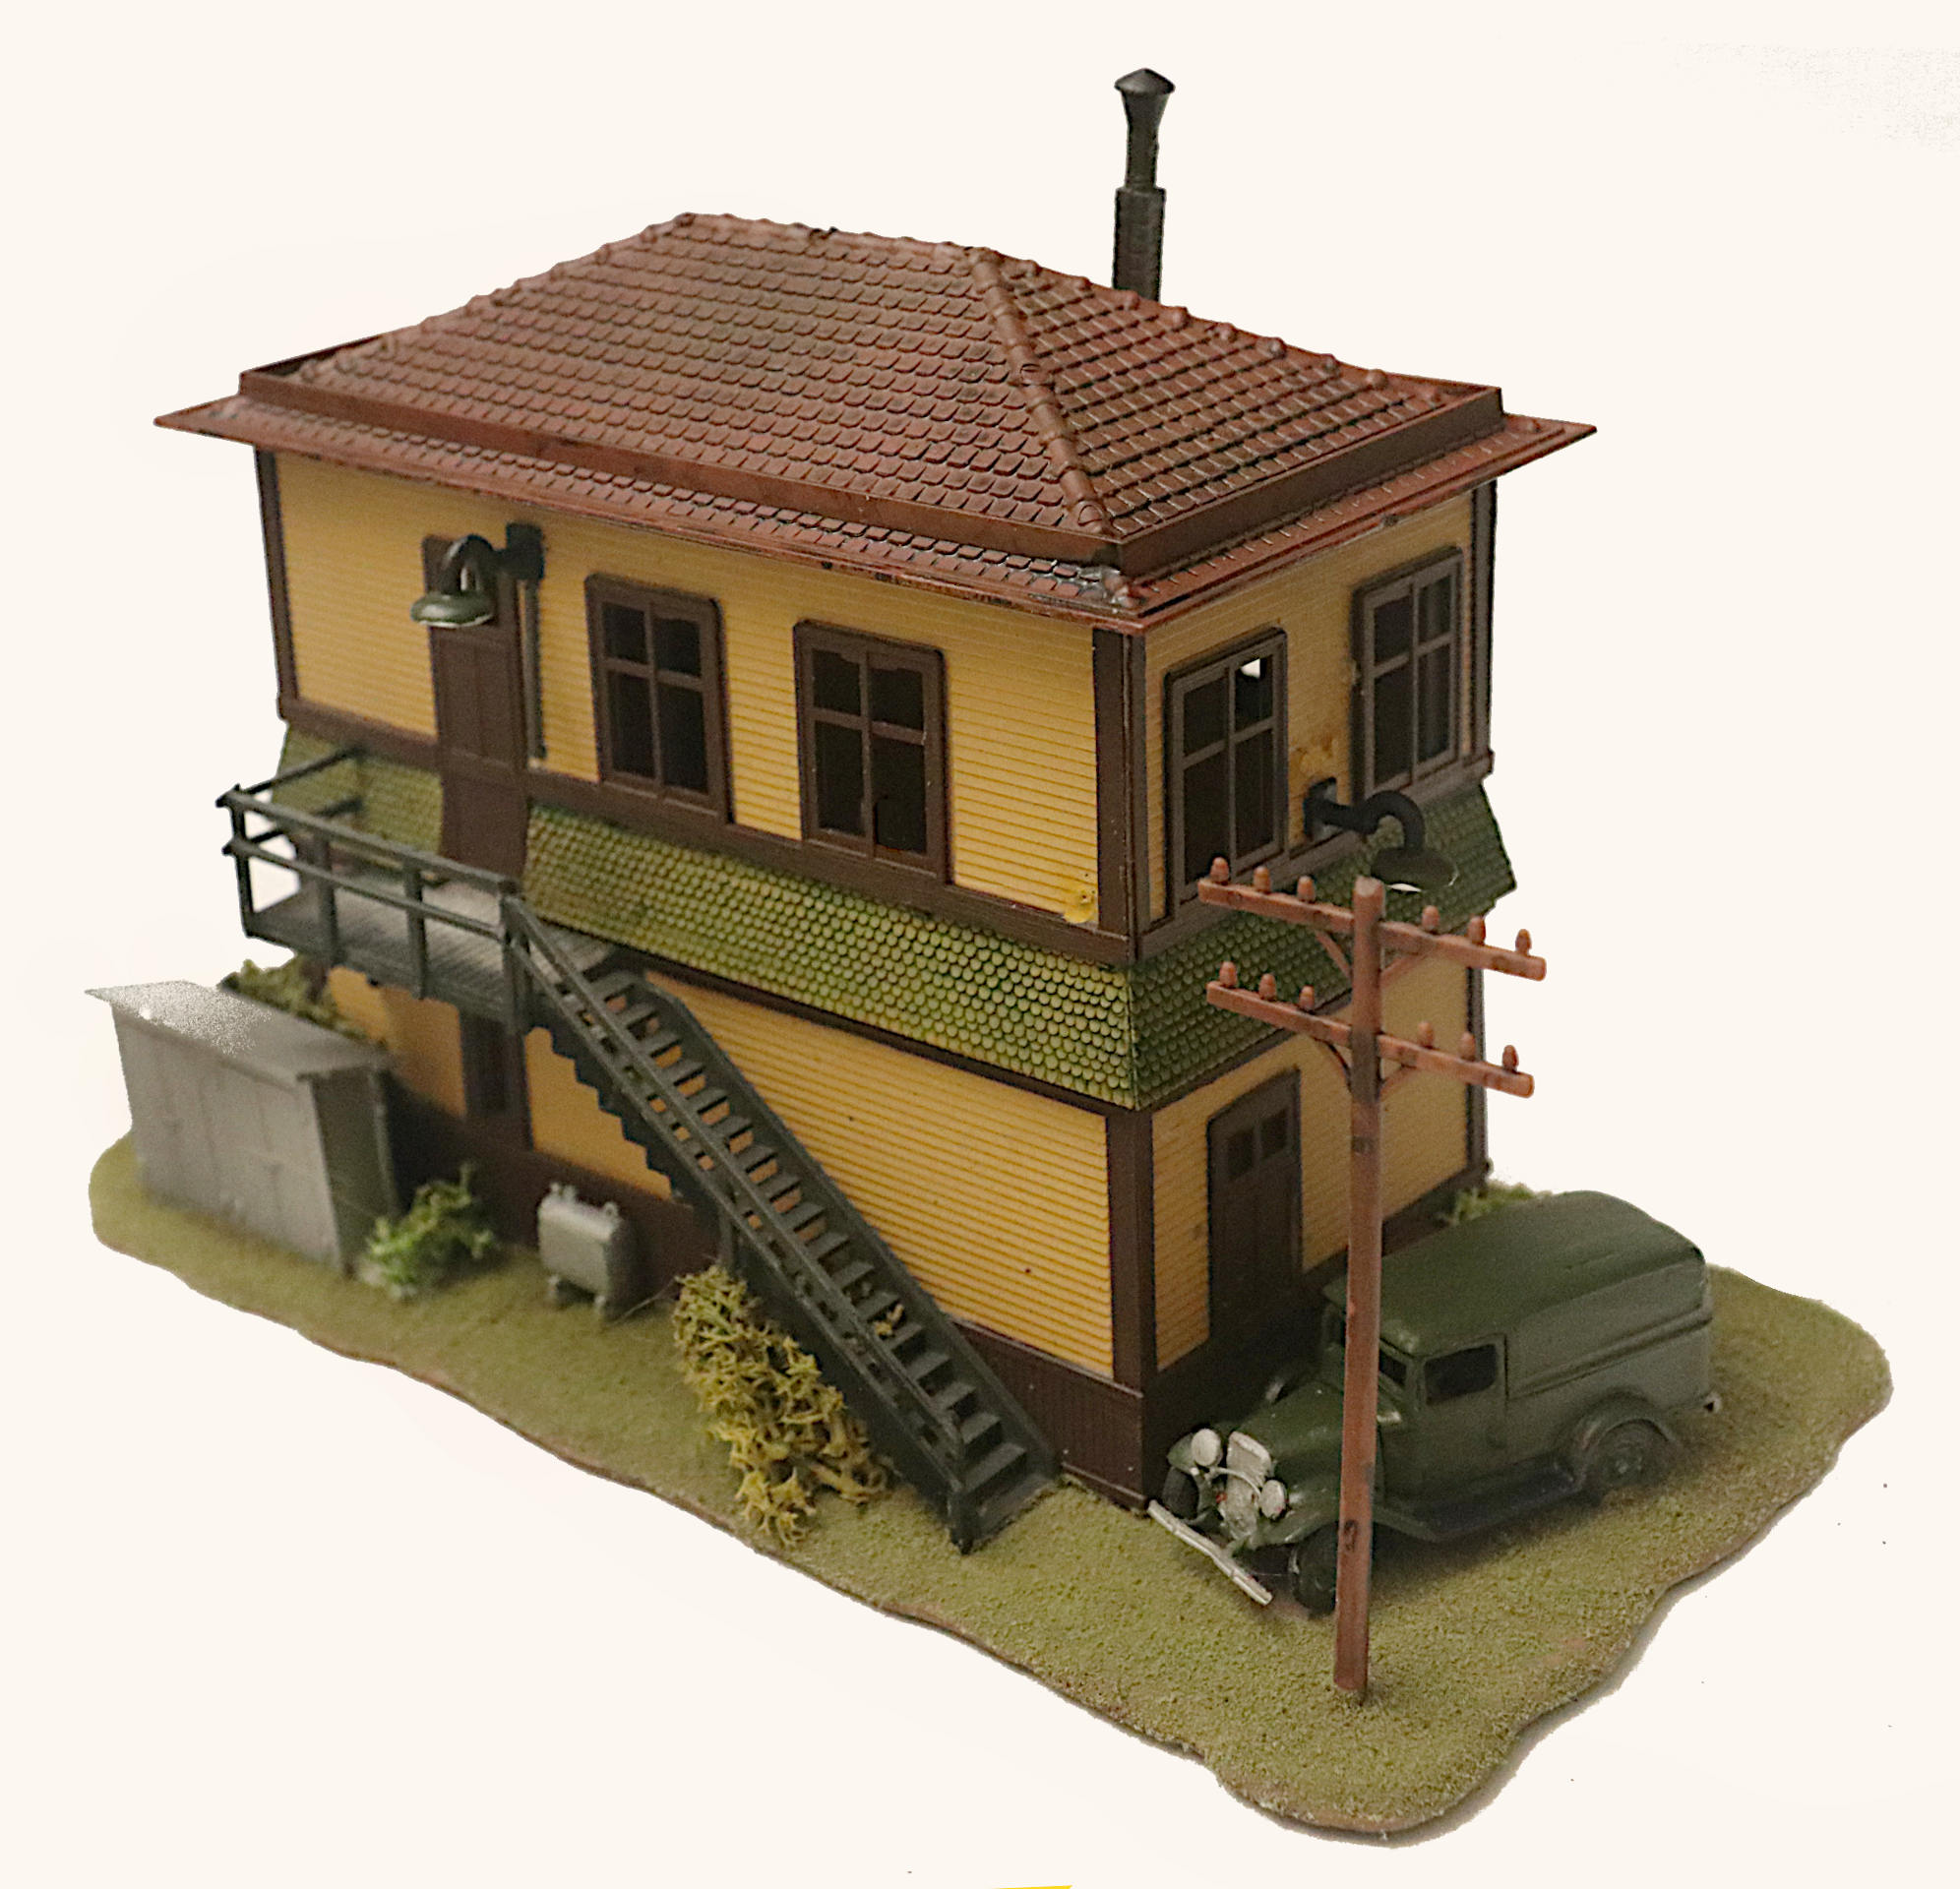
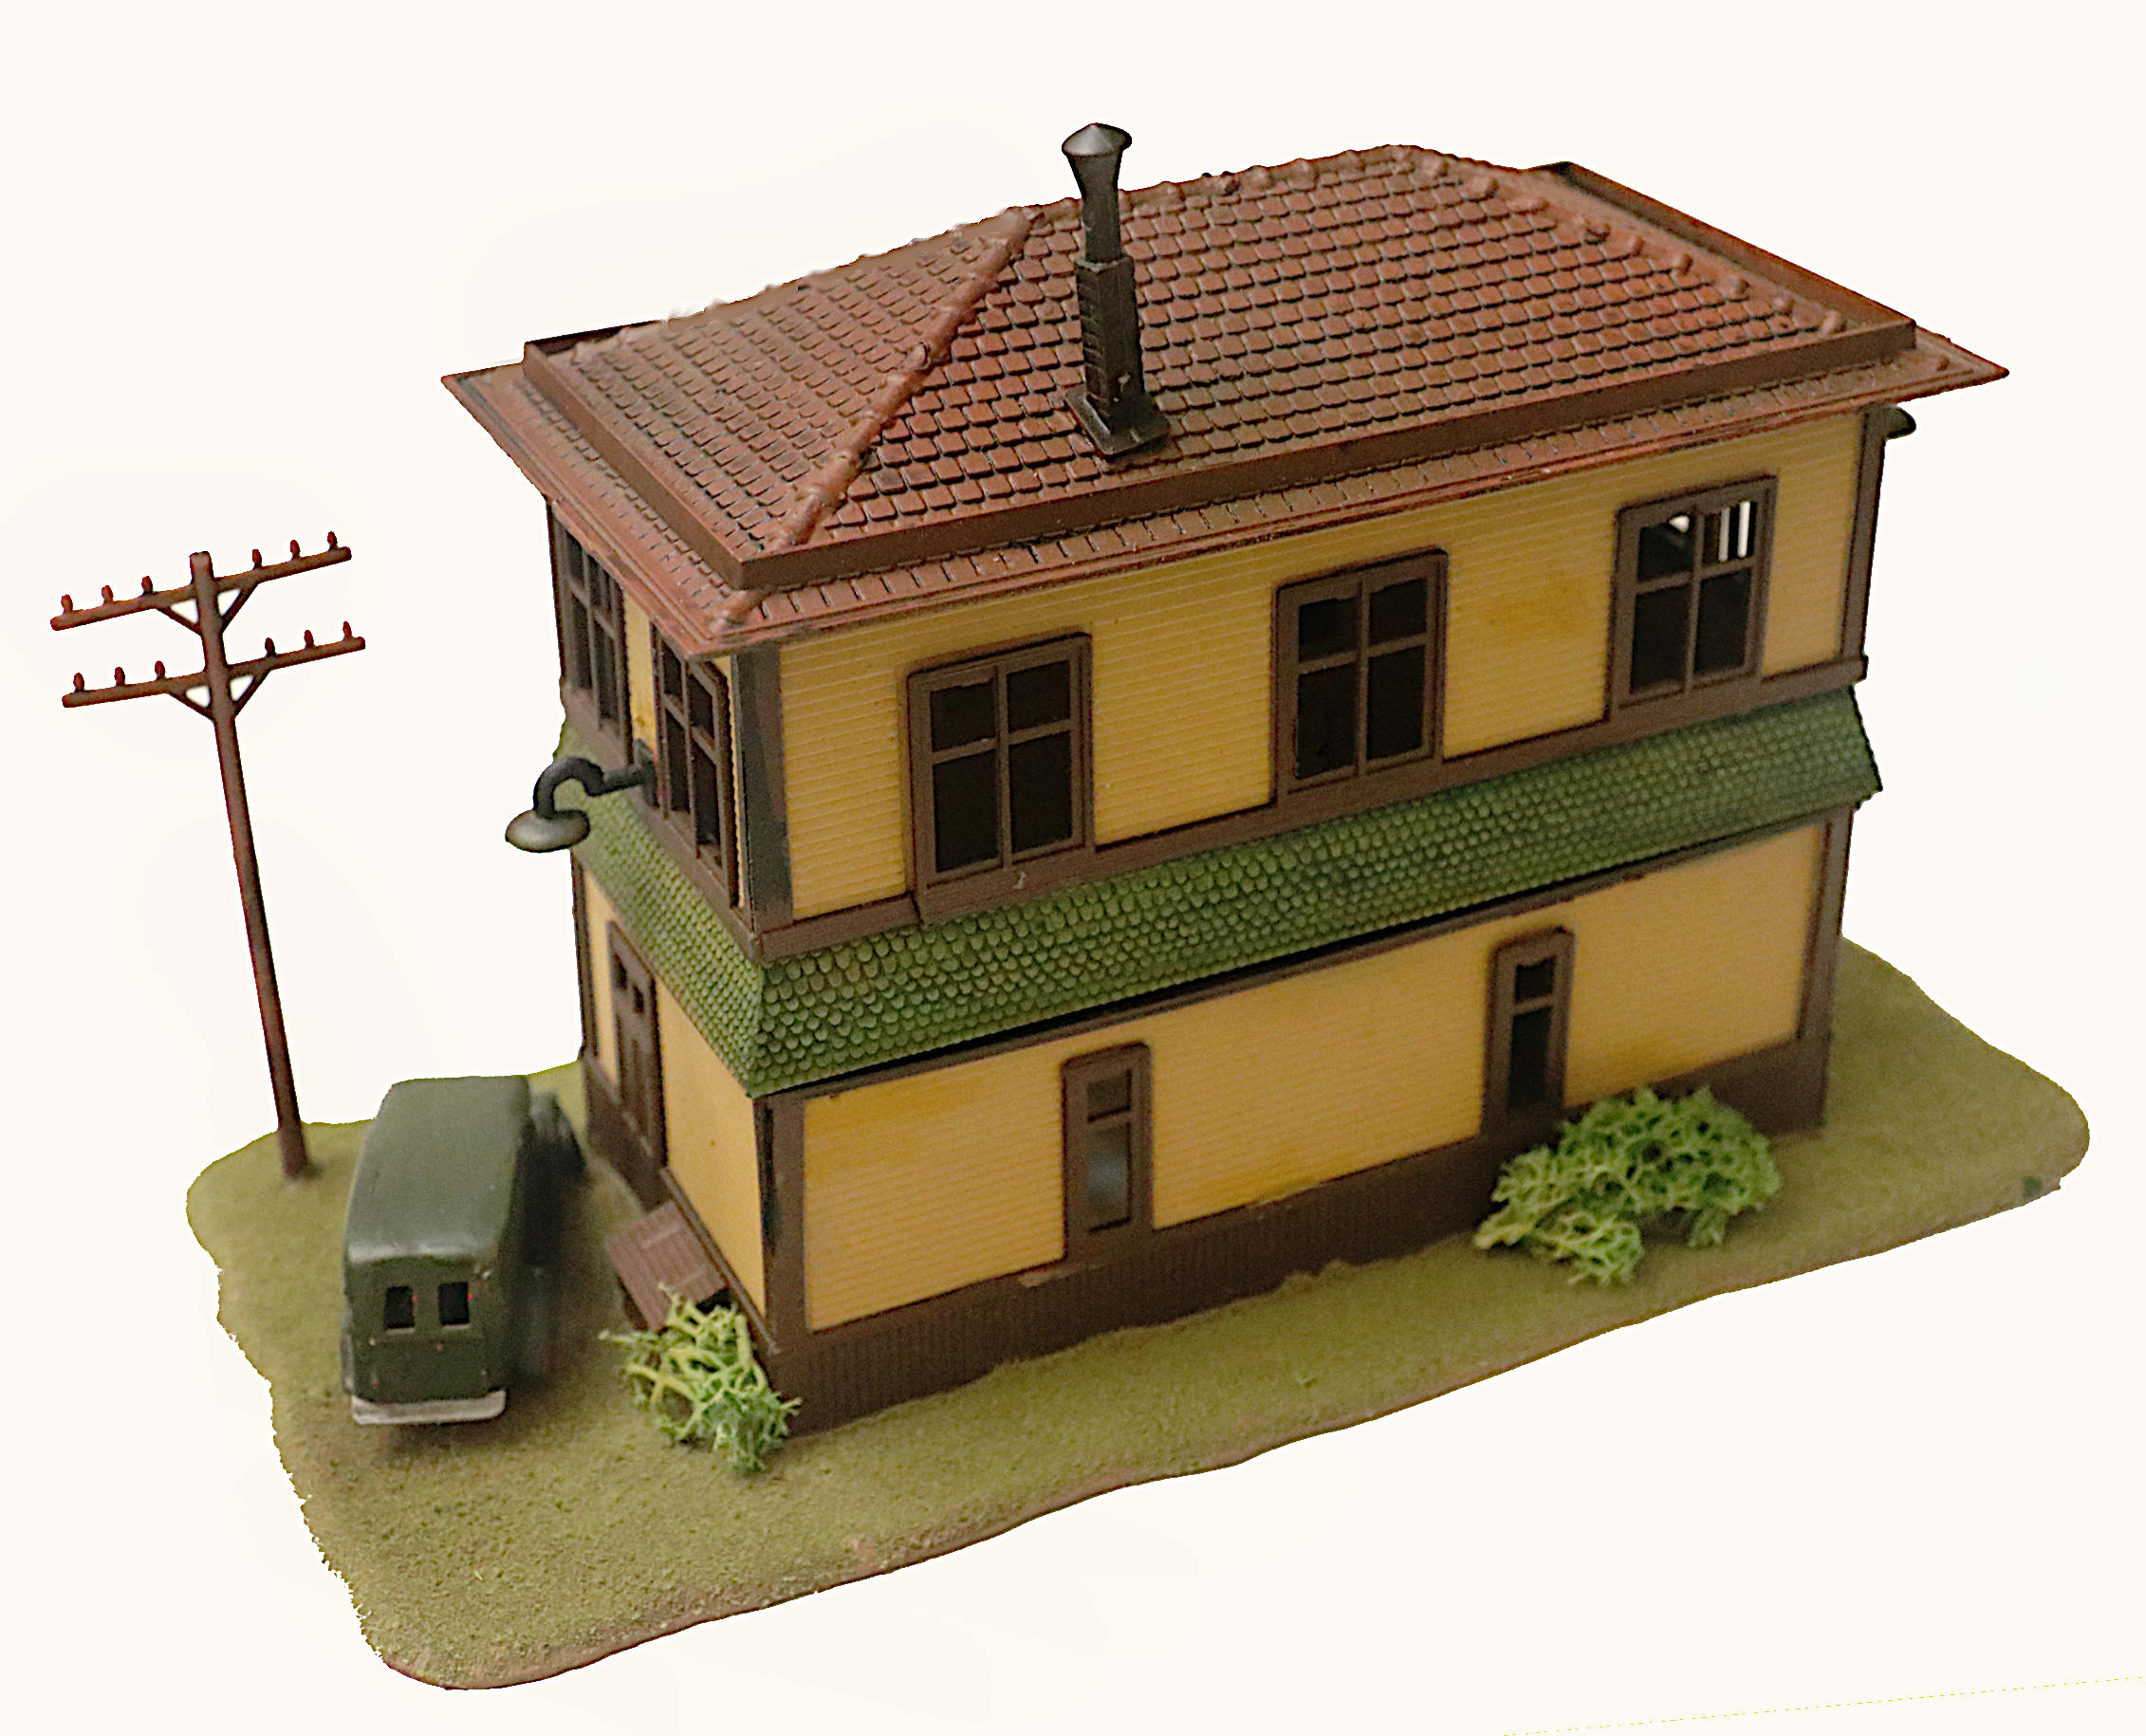
A nice little Interlocking Tower and Yard Office:
The brown and the yellow are the base colors of the kit plastic just with a Matte overspray. The roof has been sprayed with Tamiya Red Oxide Primer and then gone over with the Citadel Nuln Oil, producing a very nice Tera-Cotta (very So Cal) look. The skirted and shingled green wainscoting was produced using a green Citadel shader applied over the base yellow plastic.
To my eyes, those colors look like Burnt Umber and Burnt Sienna. Humans began using Ochre, Sienna, and Umber, all commonly occurring minerals, during ancient times for producing cave paintings. It is likely they also used them as clothing dyes and for body painting. When the first civilizations appear, those colors form the basis of most artistic works precisely because of their ready availability.
By the time World War II rolls around, all three of those colors become crucial to the manufacture of camouflage paints. If I recall correctly, Yellow Ochre and Carbon Black make Olive Drab used by the United States. Yellow Ochre is the basis of Panzer Dark Yellow. Burnt Umber is the basis of Panzer Chocolate Brown. Many other earth tone camouflage colors use varying degrees of those minerals as pigment.
Anyway, yeah, those are great colors for simulating earth tone colored things like wood. The use of colors over other colors really took off during the Renaissance, when artists worked out Color Theory and began using it to produce color gradients that mimics nature.
Anyone who really enjoys painting should purchase a color wheel and a good variety of earth tone paints. A color wheel allows the user to mix his or her own colors and shows how color transitions occur when placing a colored tint over a different colored base. Painting really comes to life when you learn how to form gradients in that manner. Also, a color wheel will save you money. If you know how to mix colors, you no longer need to purchase the correct shade of this or that. You can mix most shades yourself using a few basic colors. Just make sure to keep a log of what you did. That way, if you produce a color you really like, you can easily make it again.
Any decent paint range will include basic earth tones so you need not weld yourself to one particular brand. You just need to learn how to thin whatever you use into a tint so you can put one color over another without pulling up the underlying layers.
For example, I am in the process of switching to Vallejo paints and experimenting on all sorts of miscellaneous junk just to see what happens and work out best practices. They have a product called Flow Medium that gives any of their paints the correct consistency for shading and tinting. Have a look at the mediums associated with whatever paints you enjoy and experiment.
I’ve been using Citadel paints for years. Even though they’ve got weird Fantasy/D&D names for their colors, they’re really good quality acrylics and mix well with all Vallejo colors.
Well my intent here in sharing is that these washes and shaders are ready to rock and roll - no experimenting necessary.
These products will produce rather striking affects (such as the Gothic Church) right out of the bottle and might just make the novice modeler look like the experienced old hand.
As my son, the Fantasy Figure Painter, told to me; they are "Experience in a Bottle".
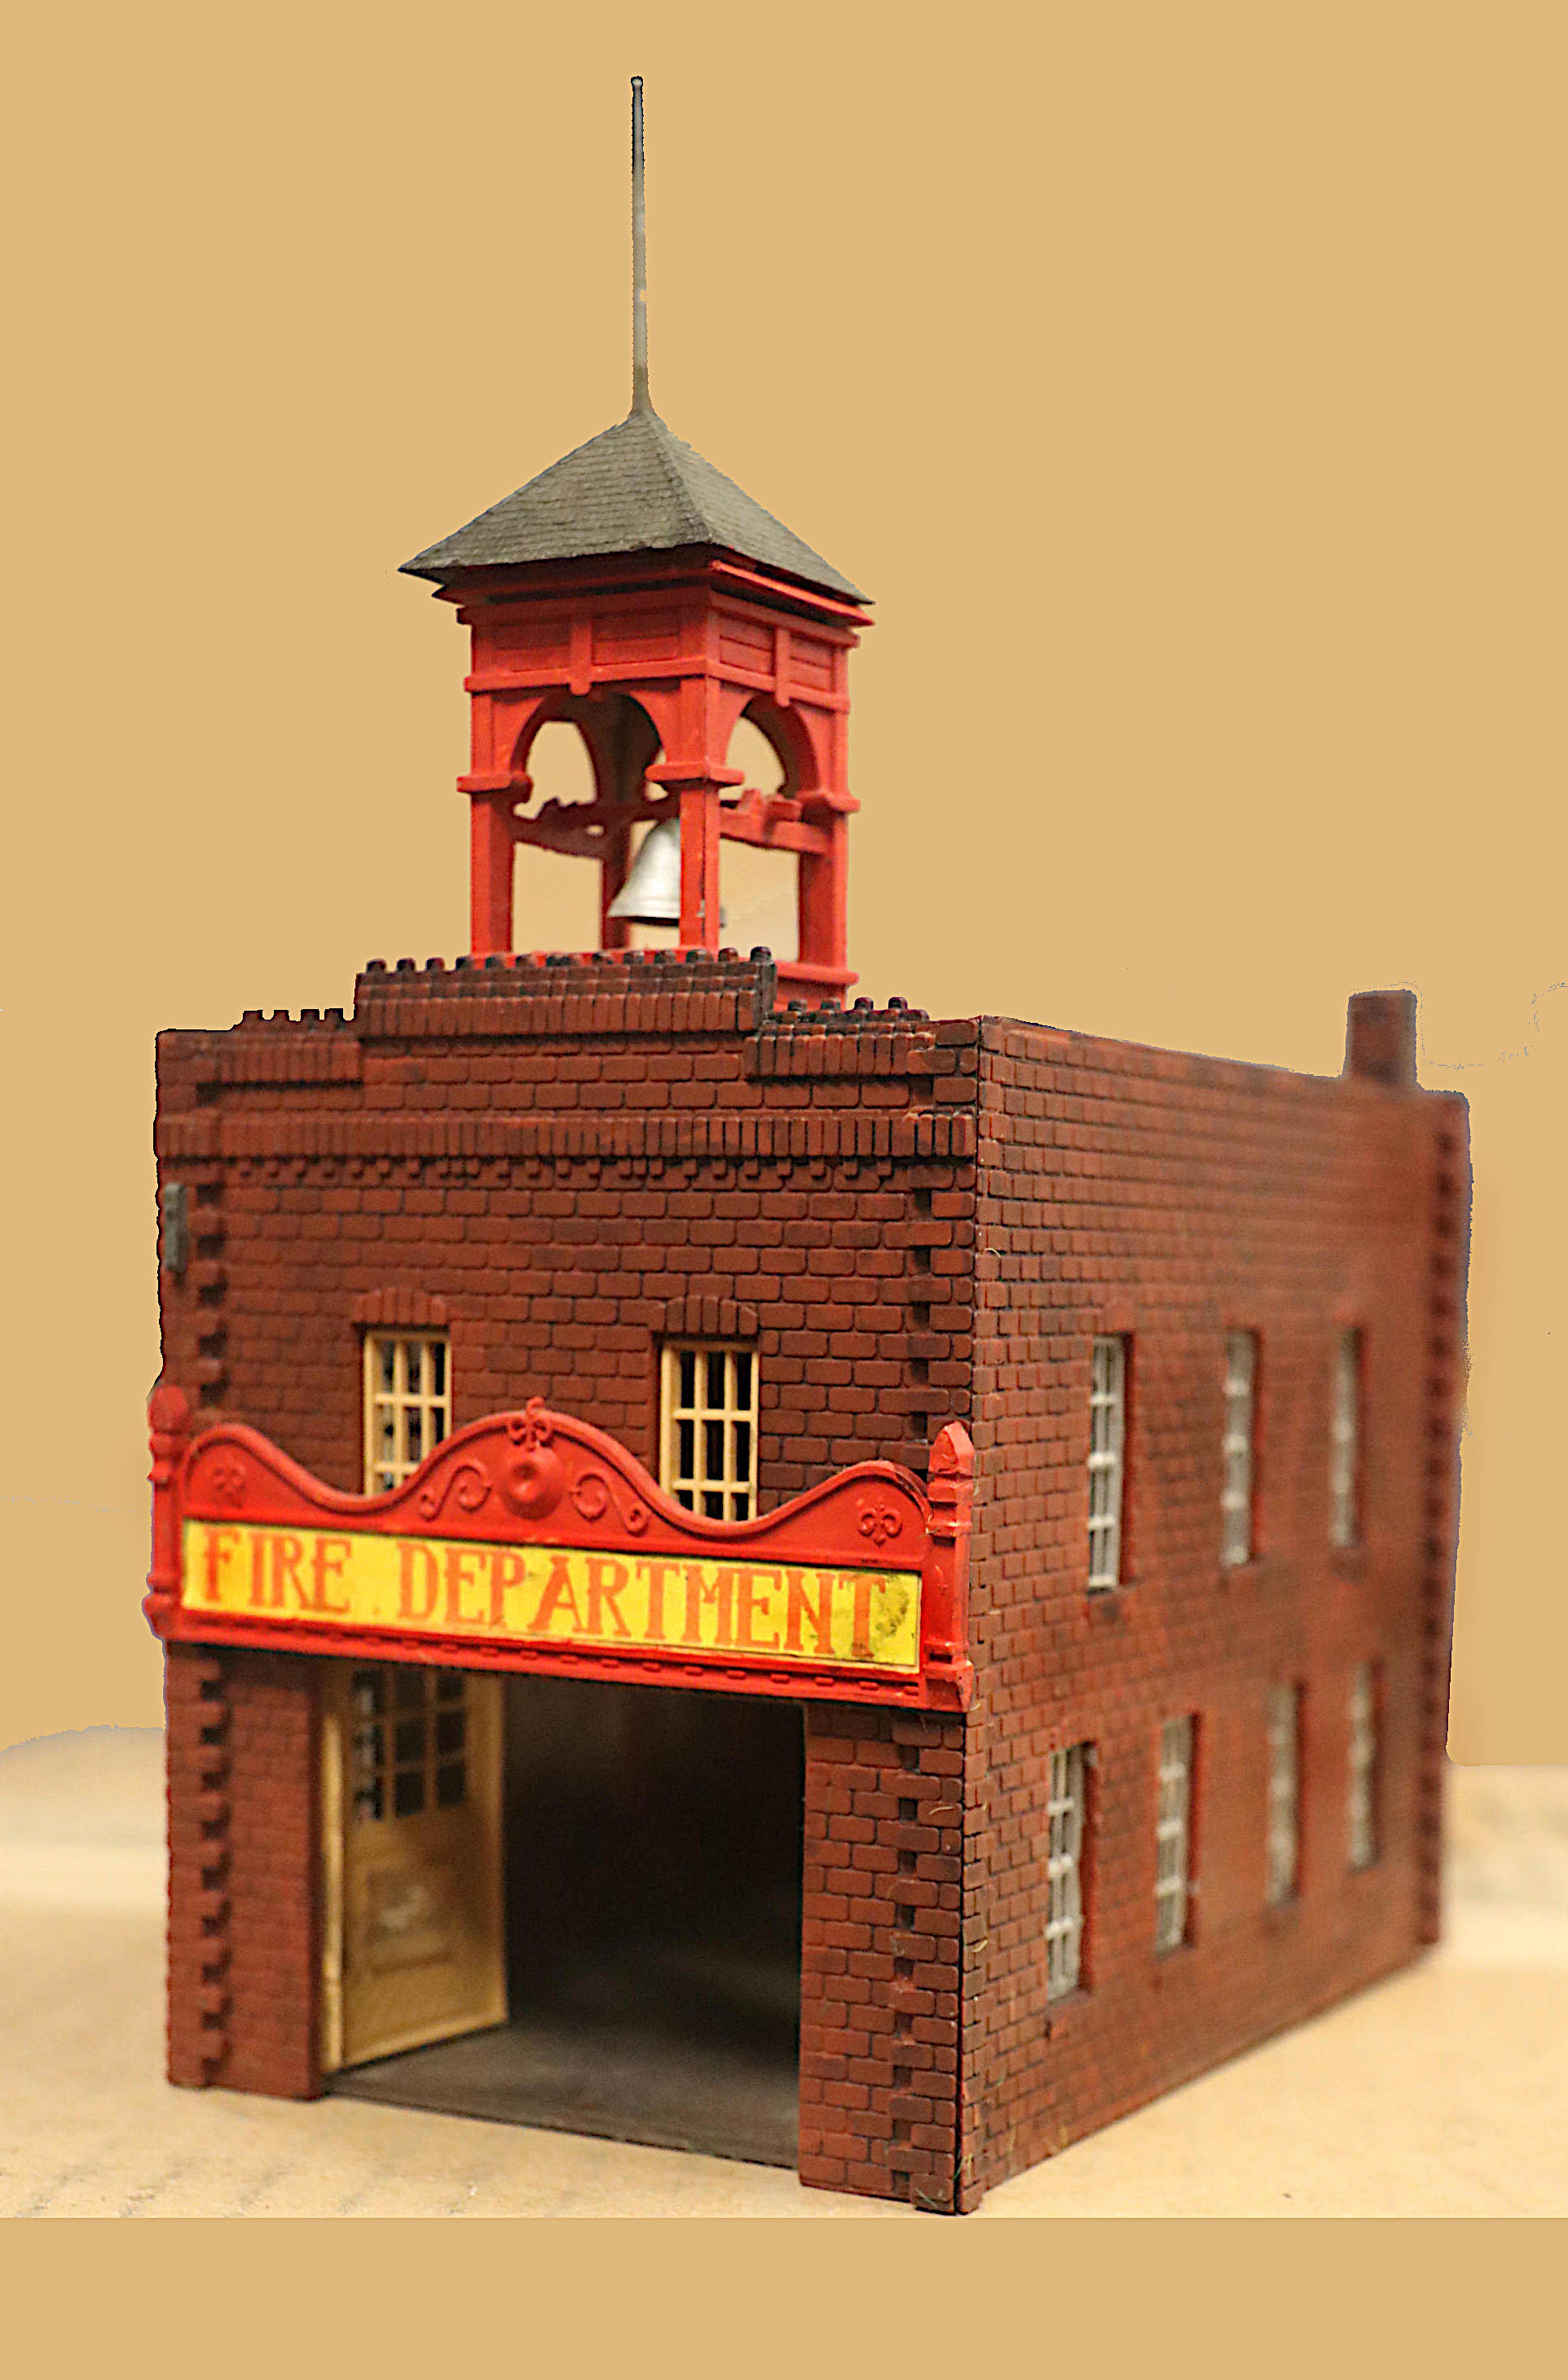
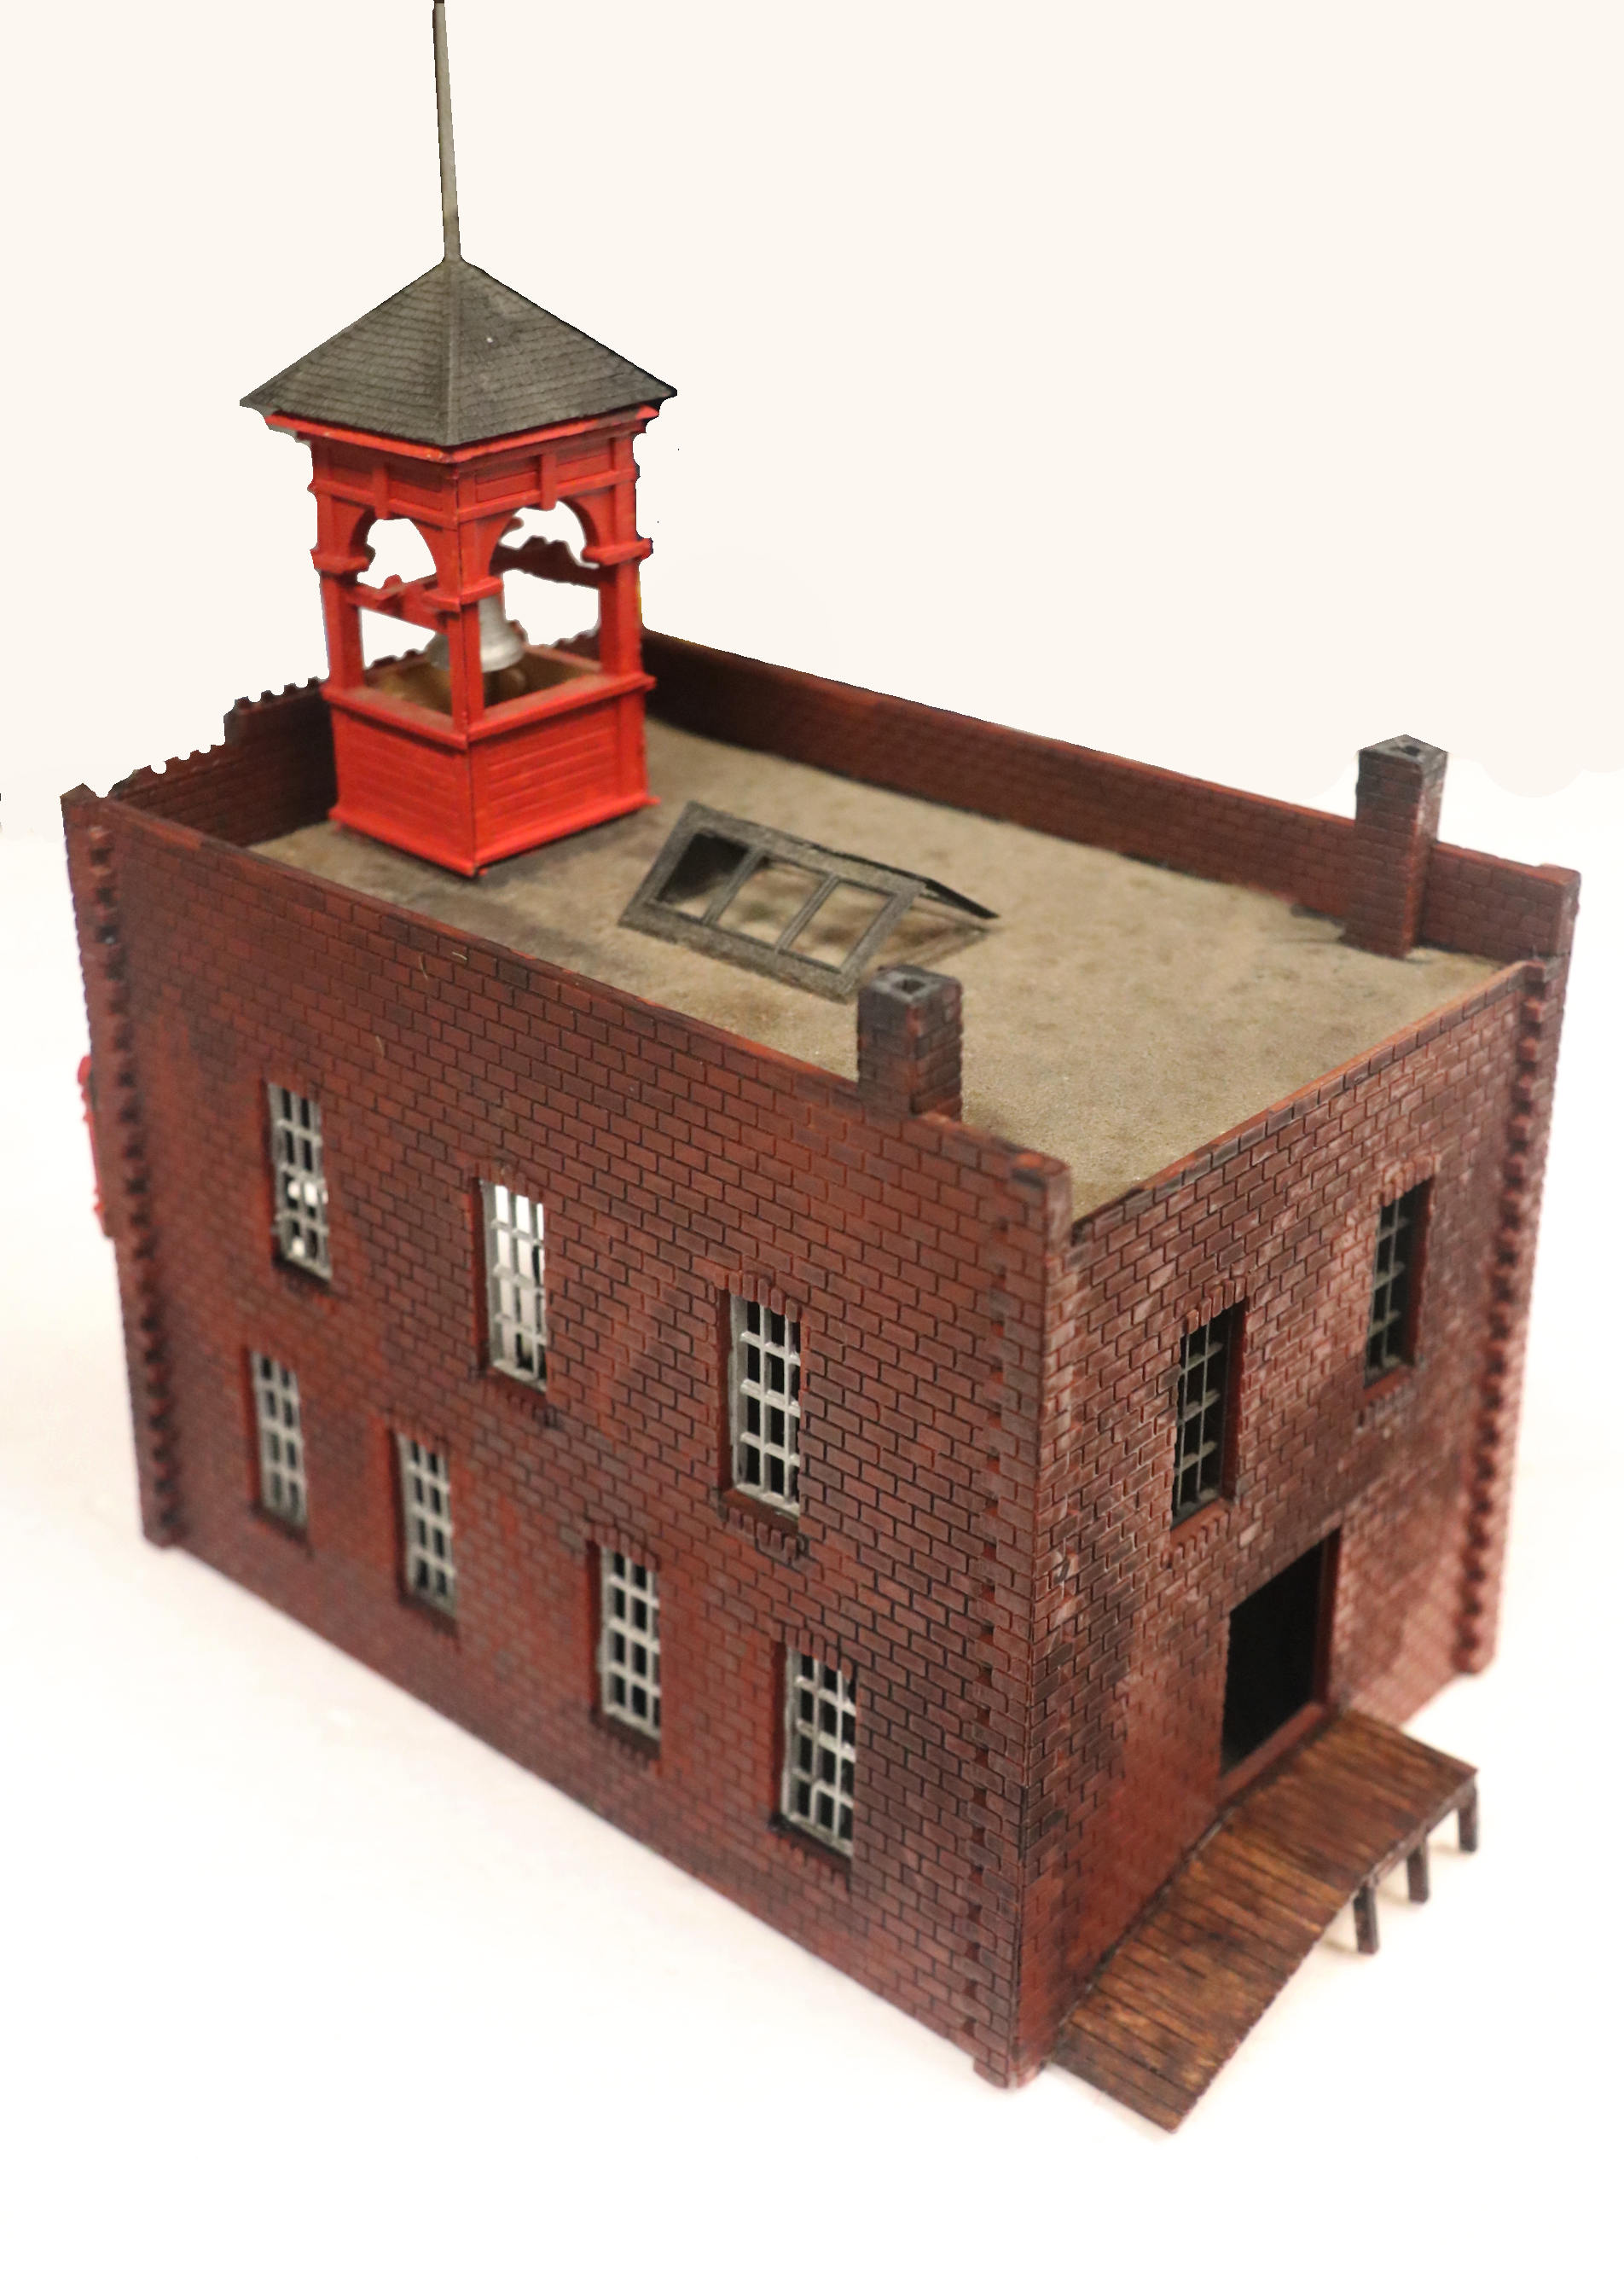
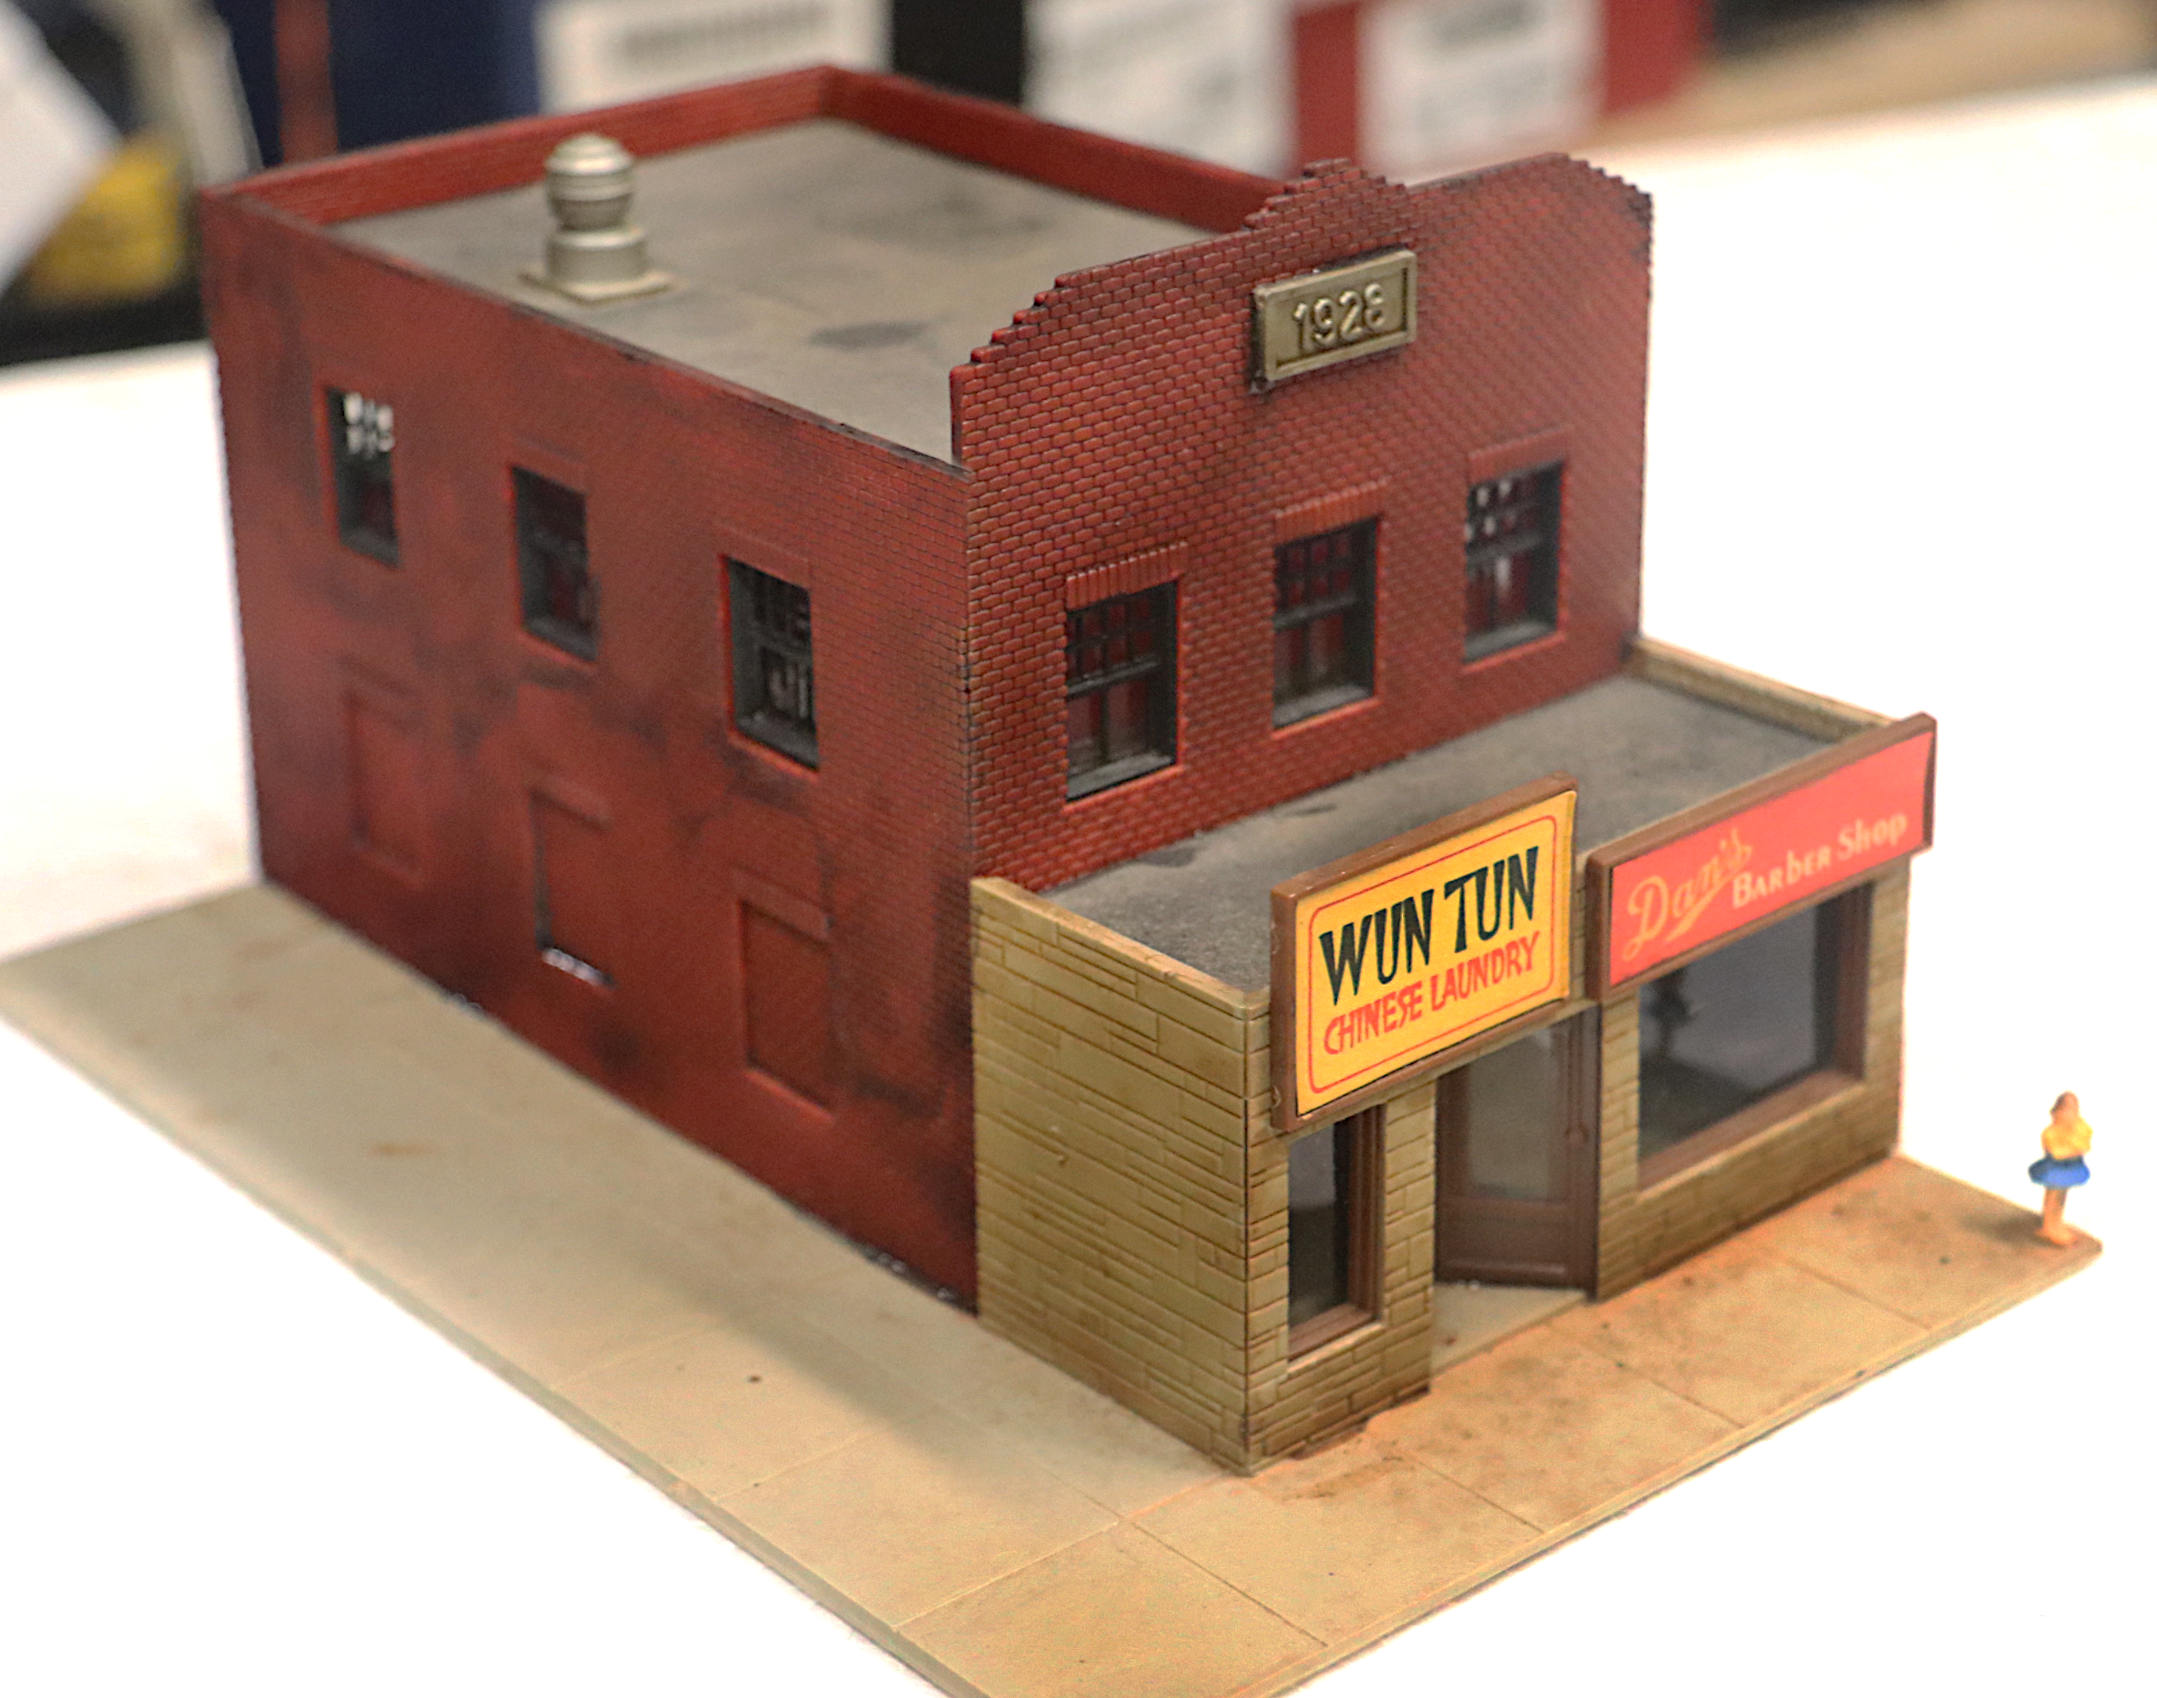
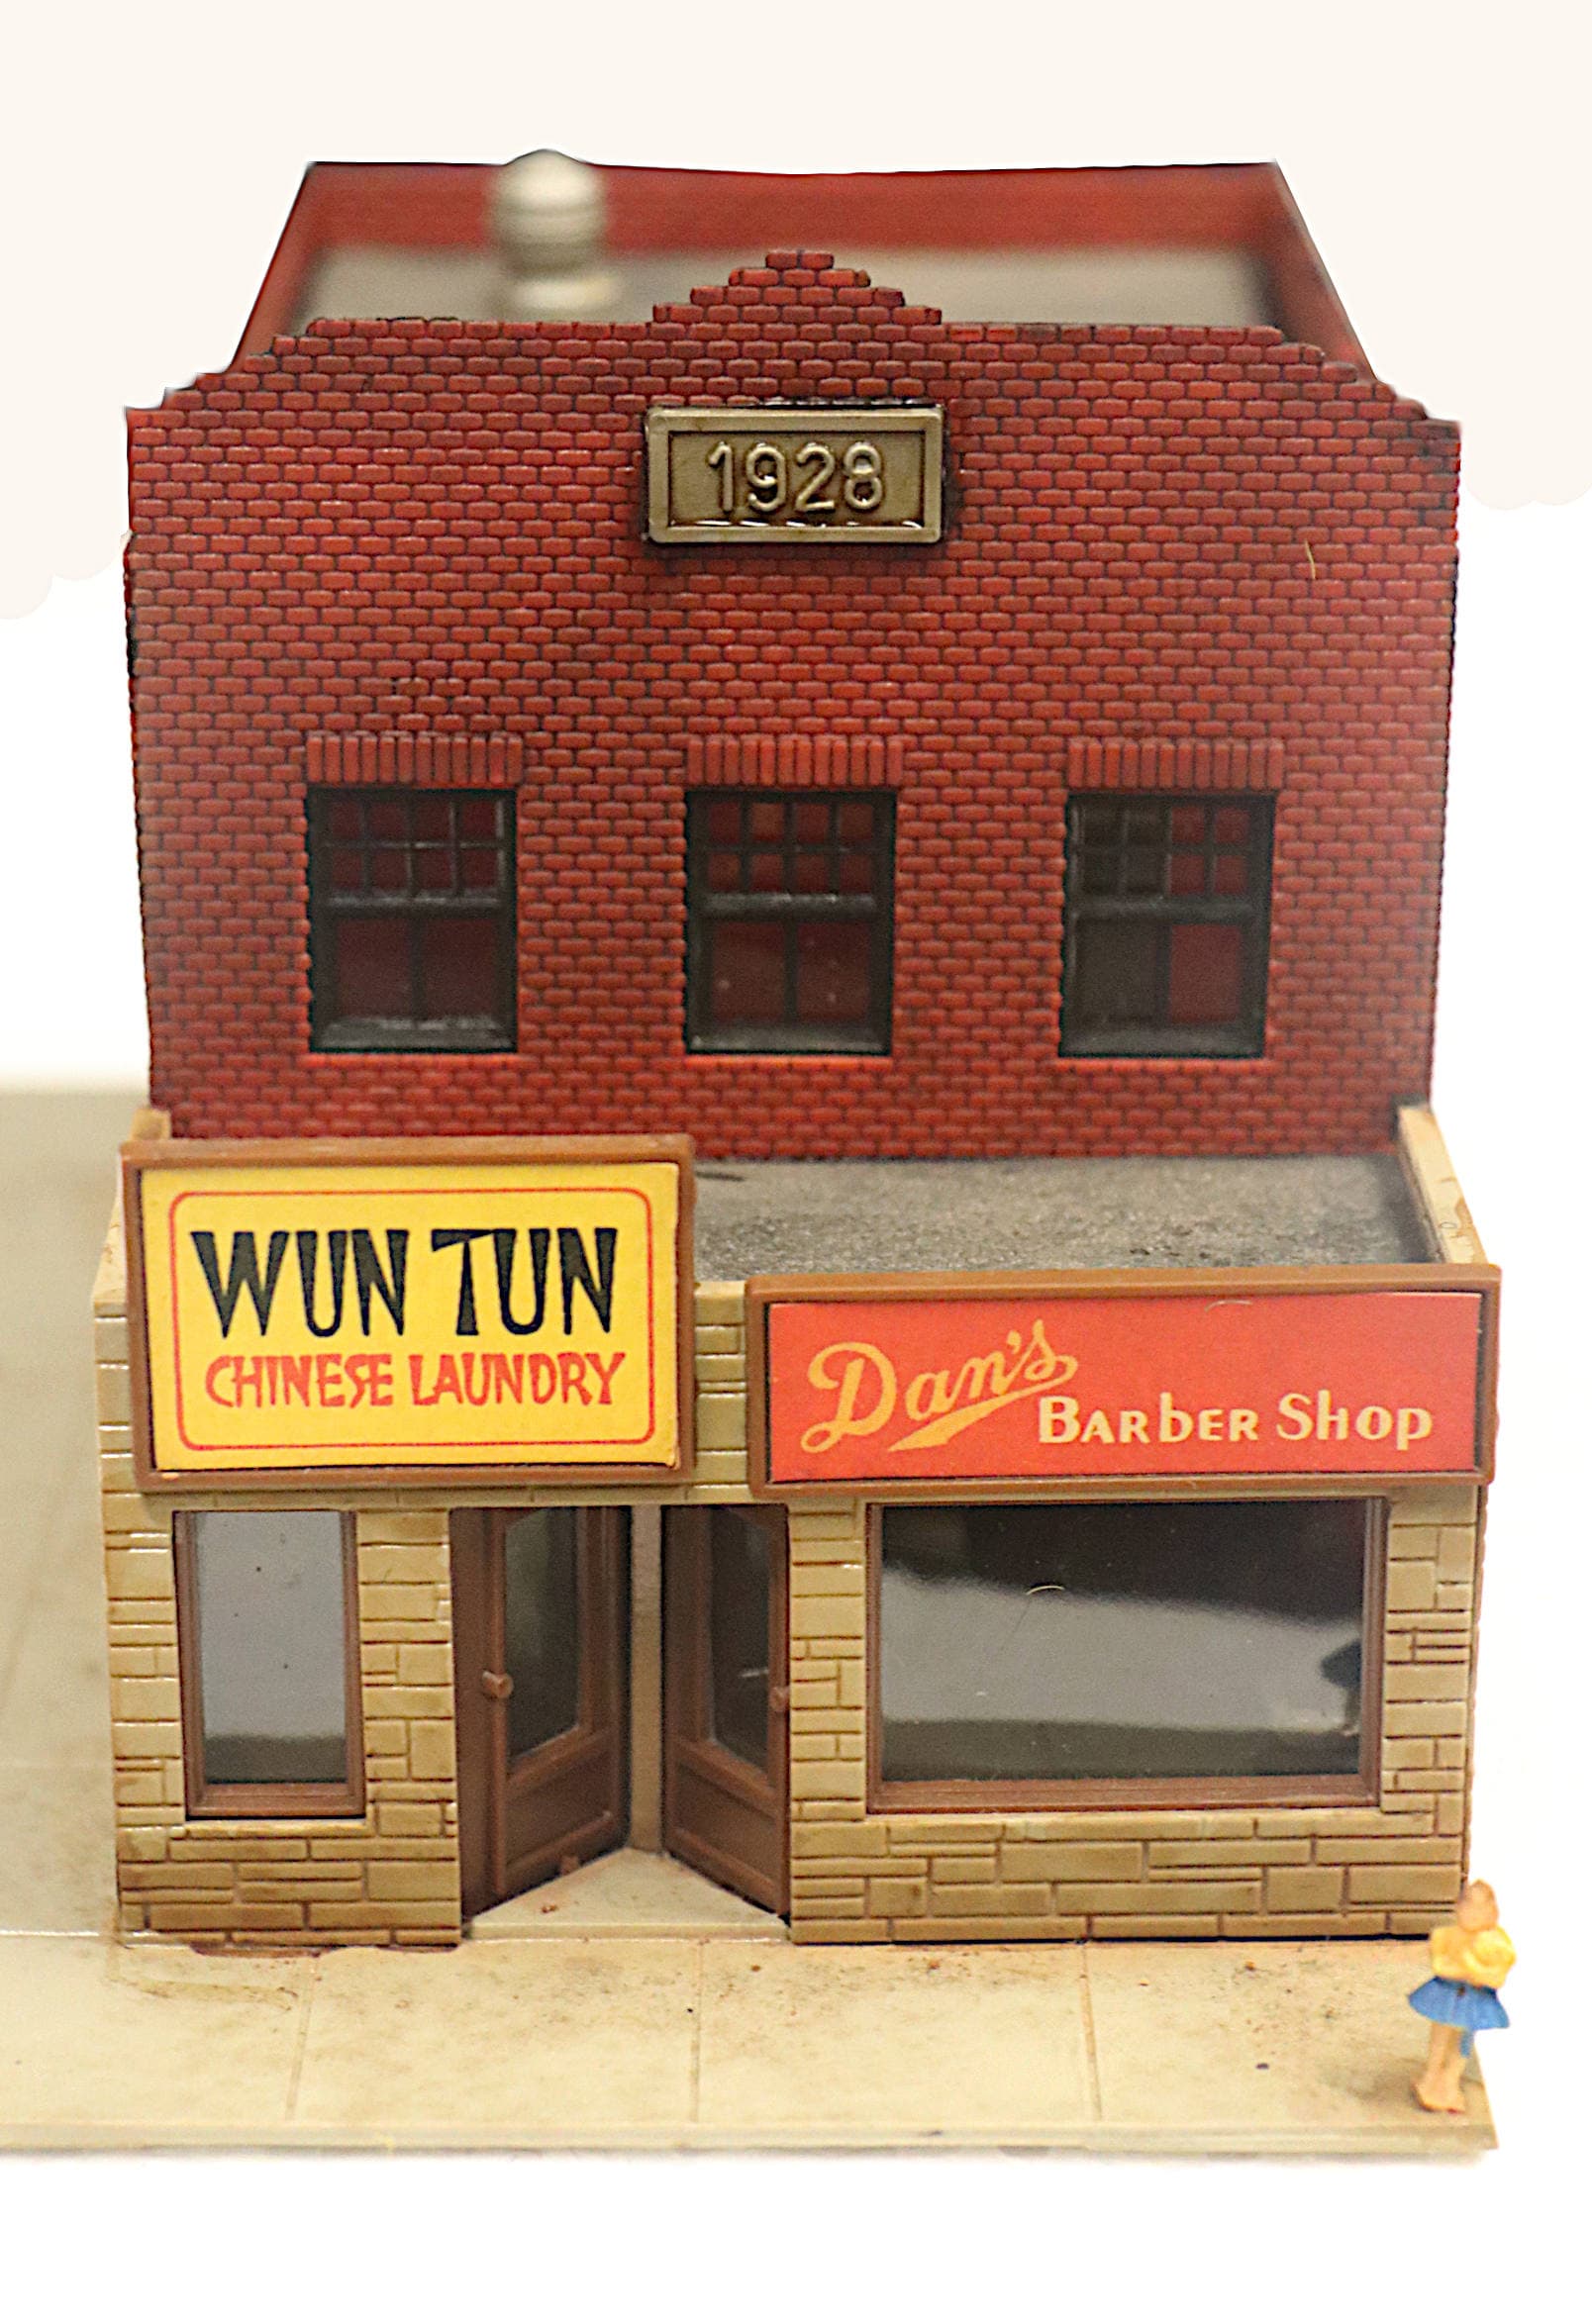
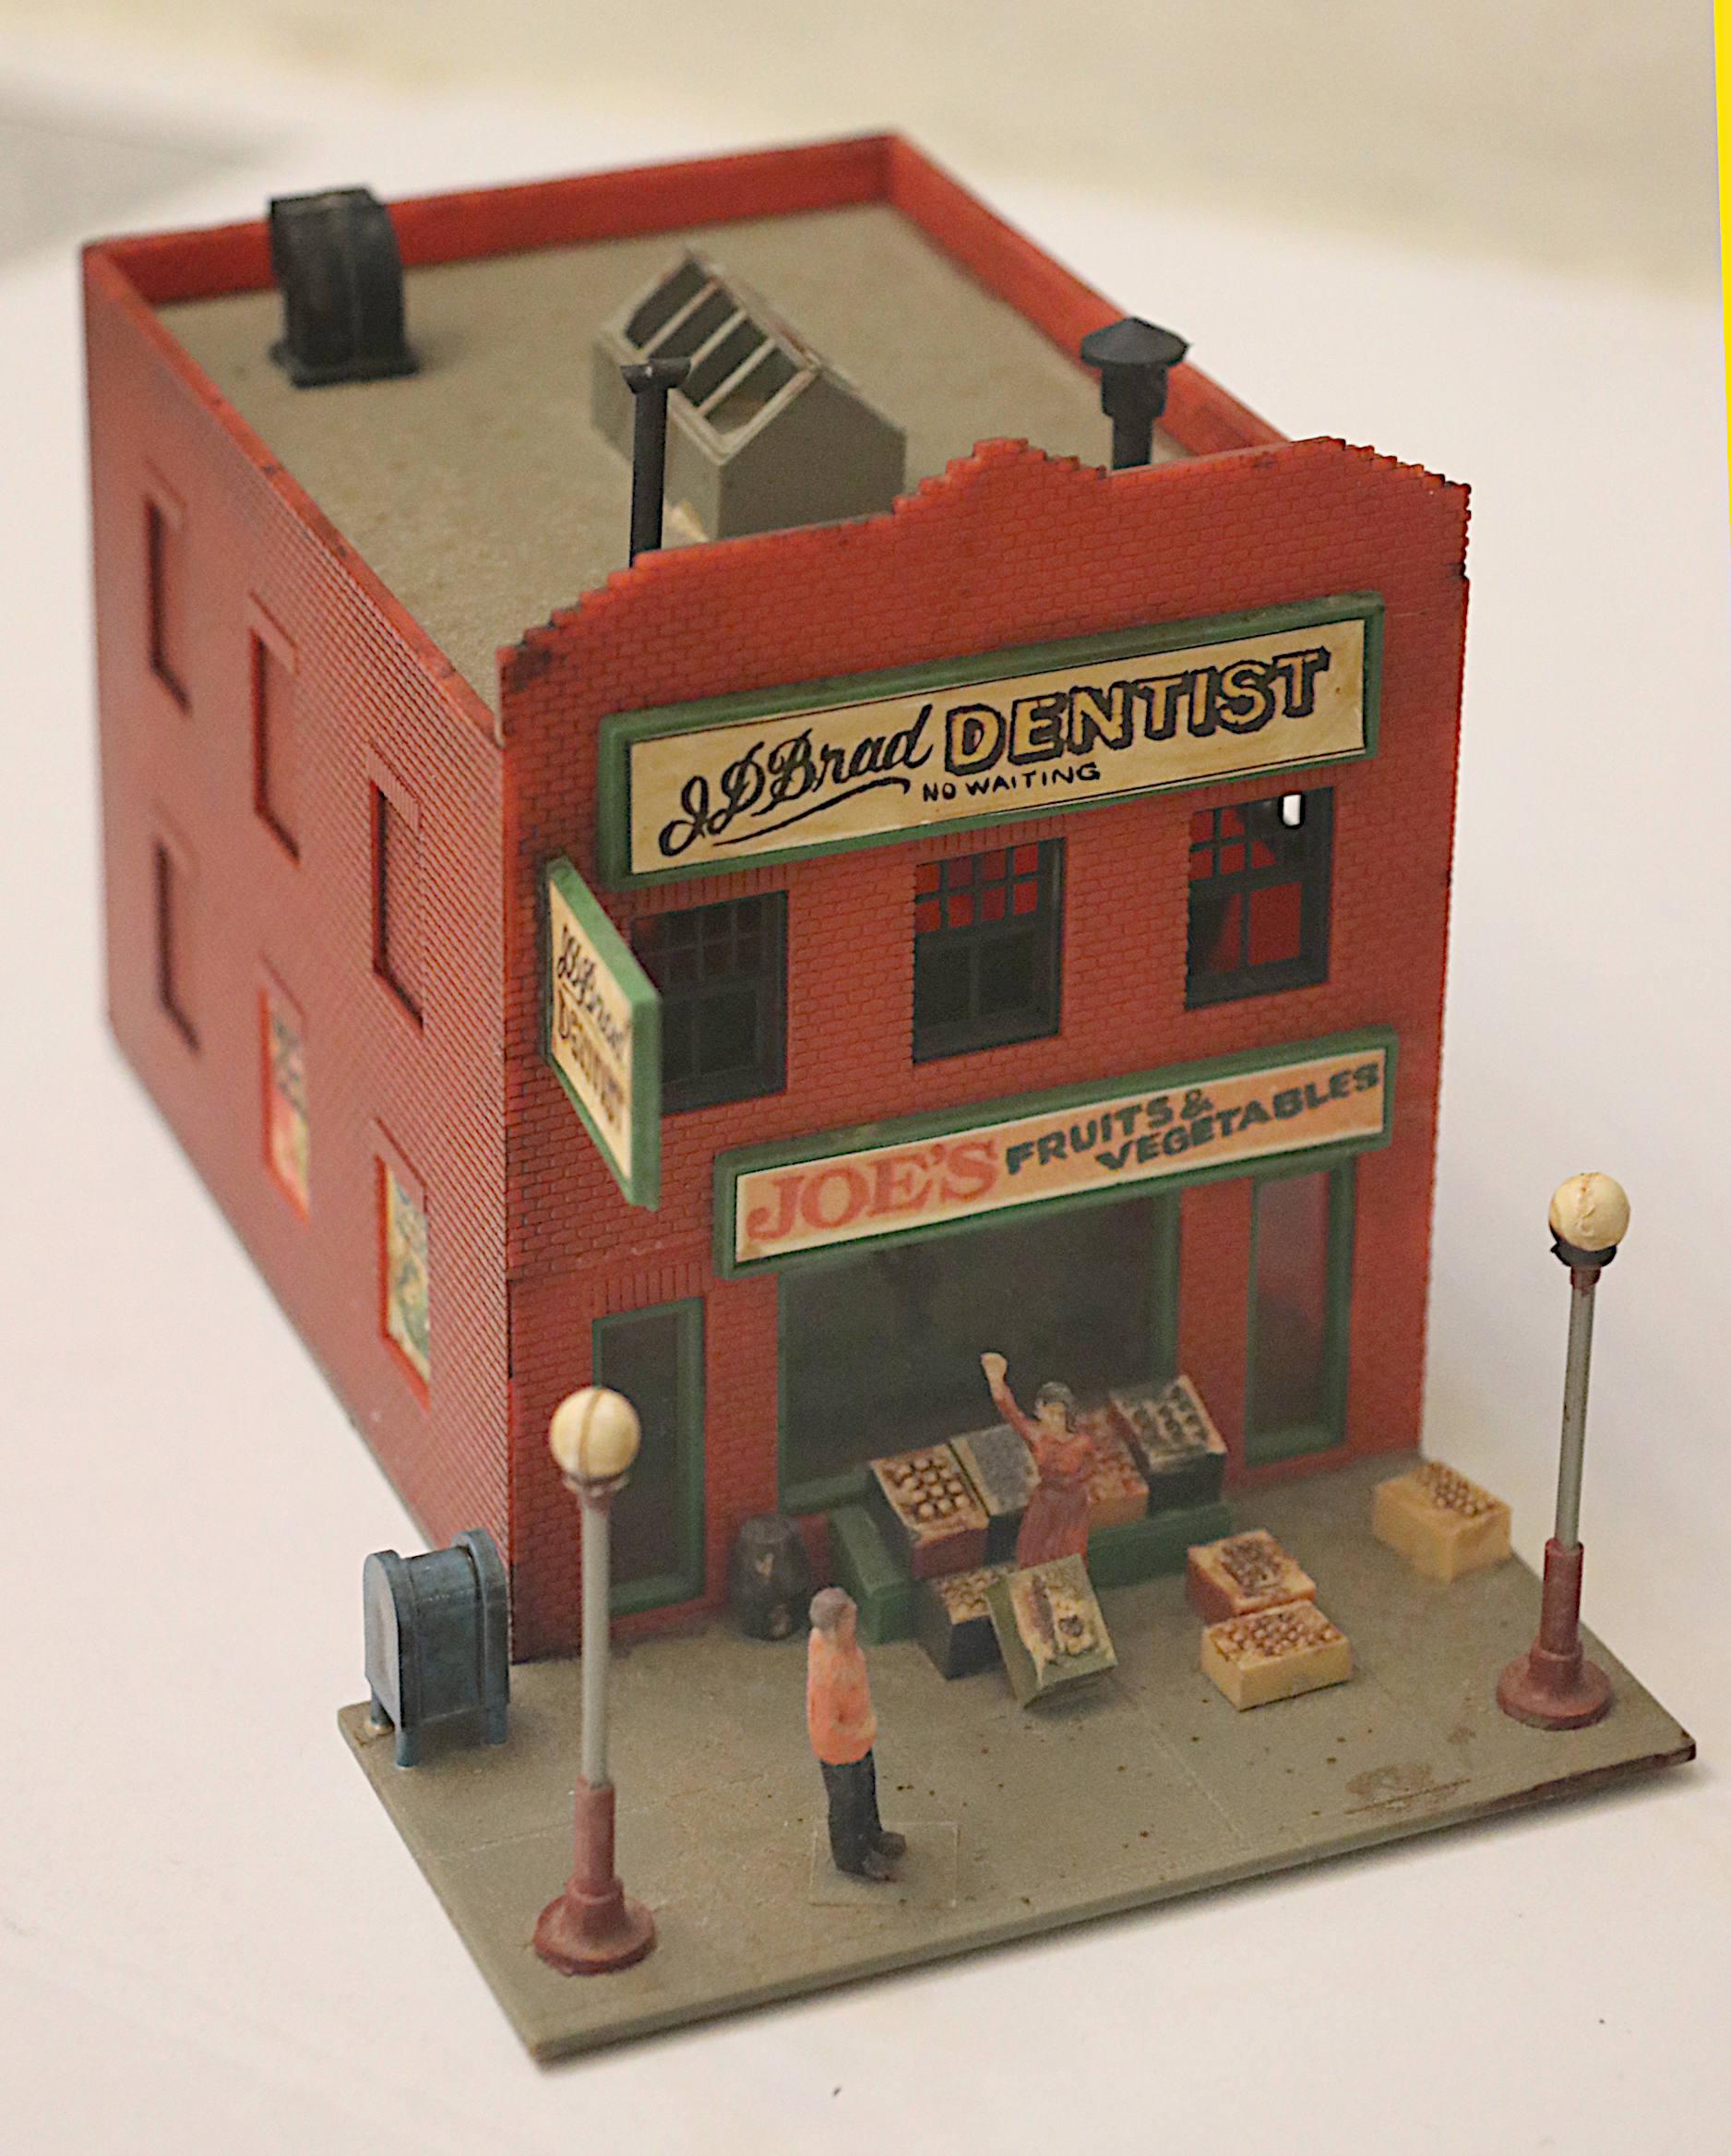
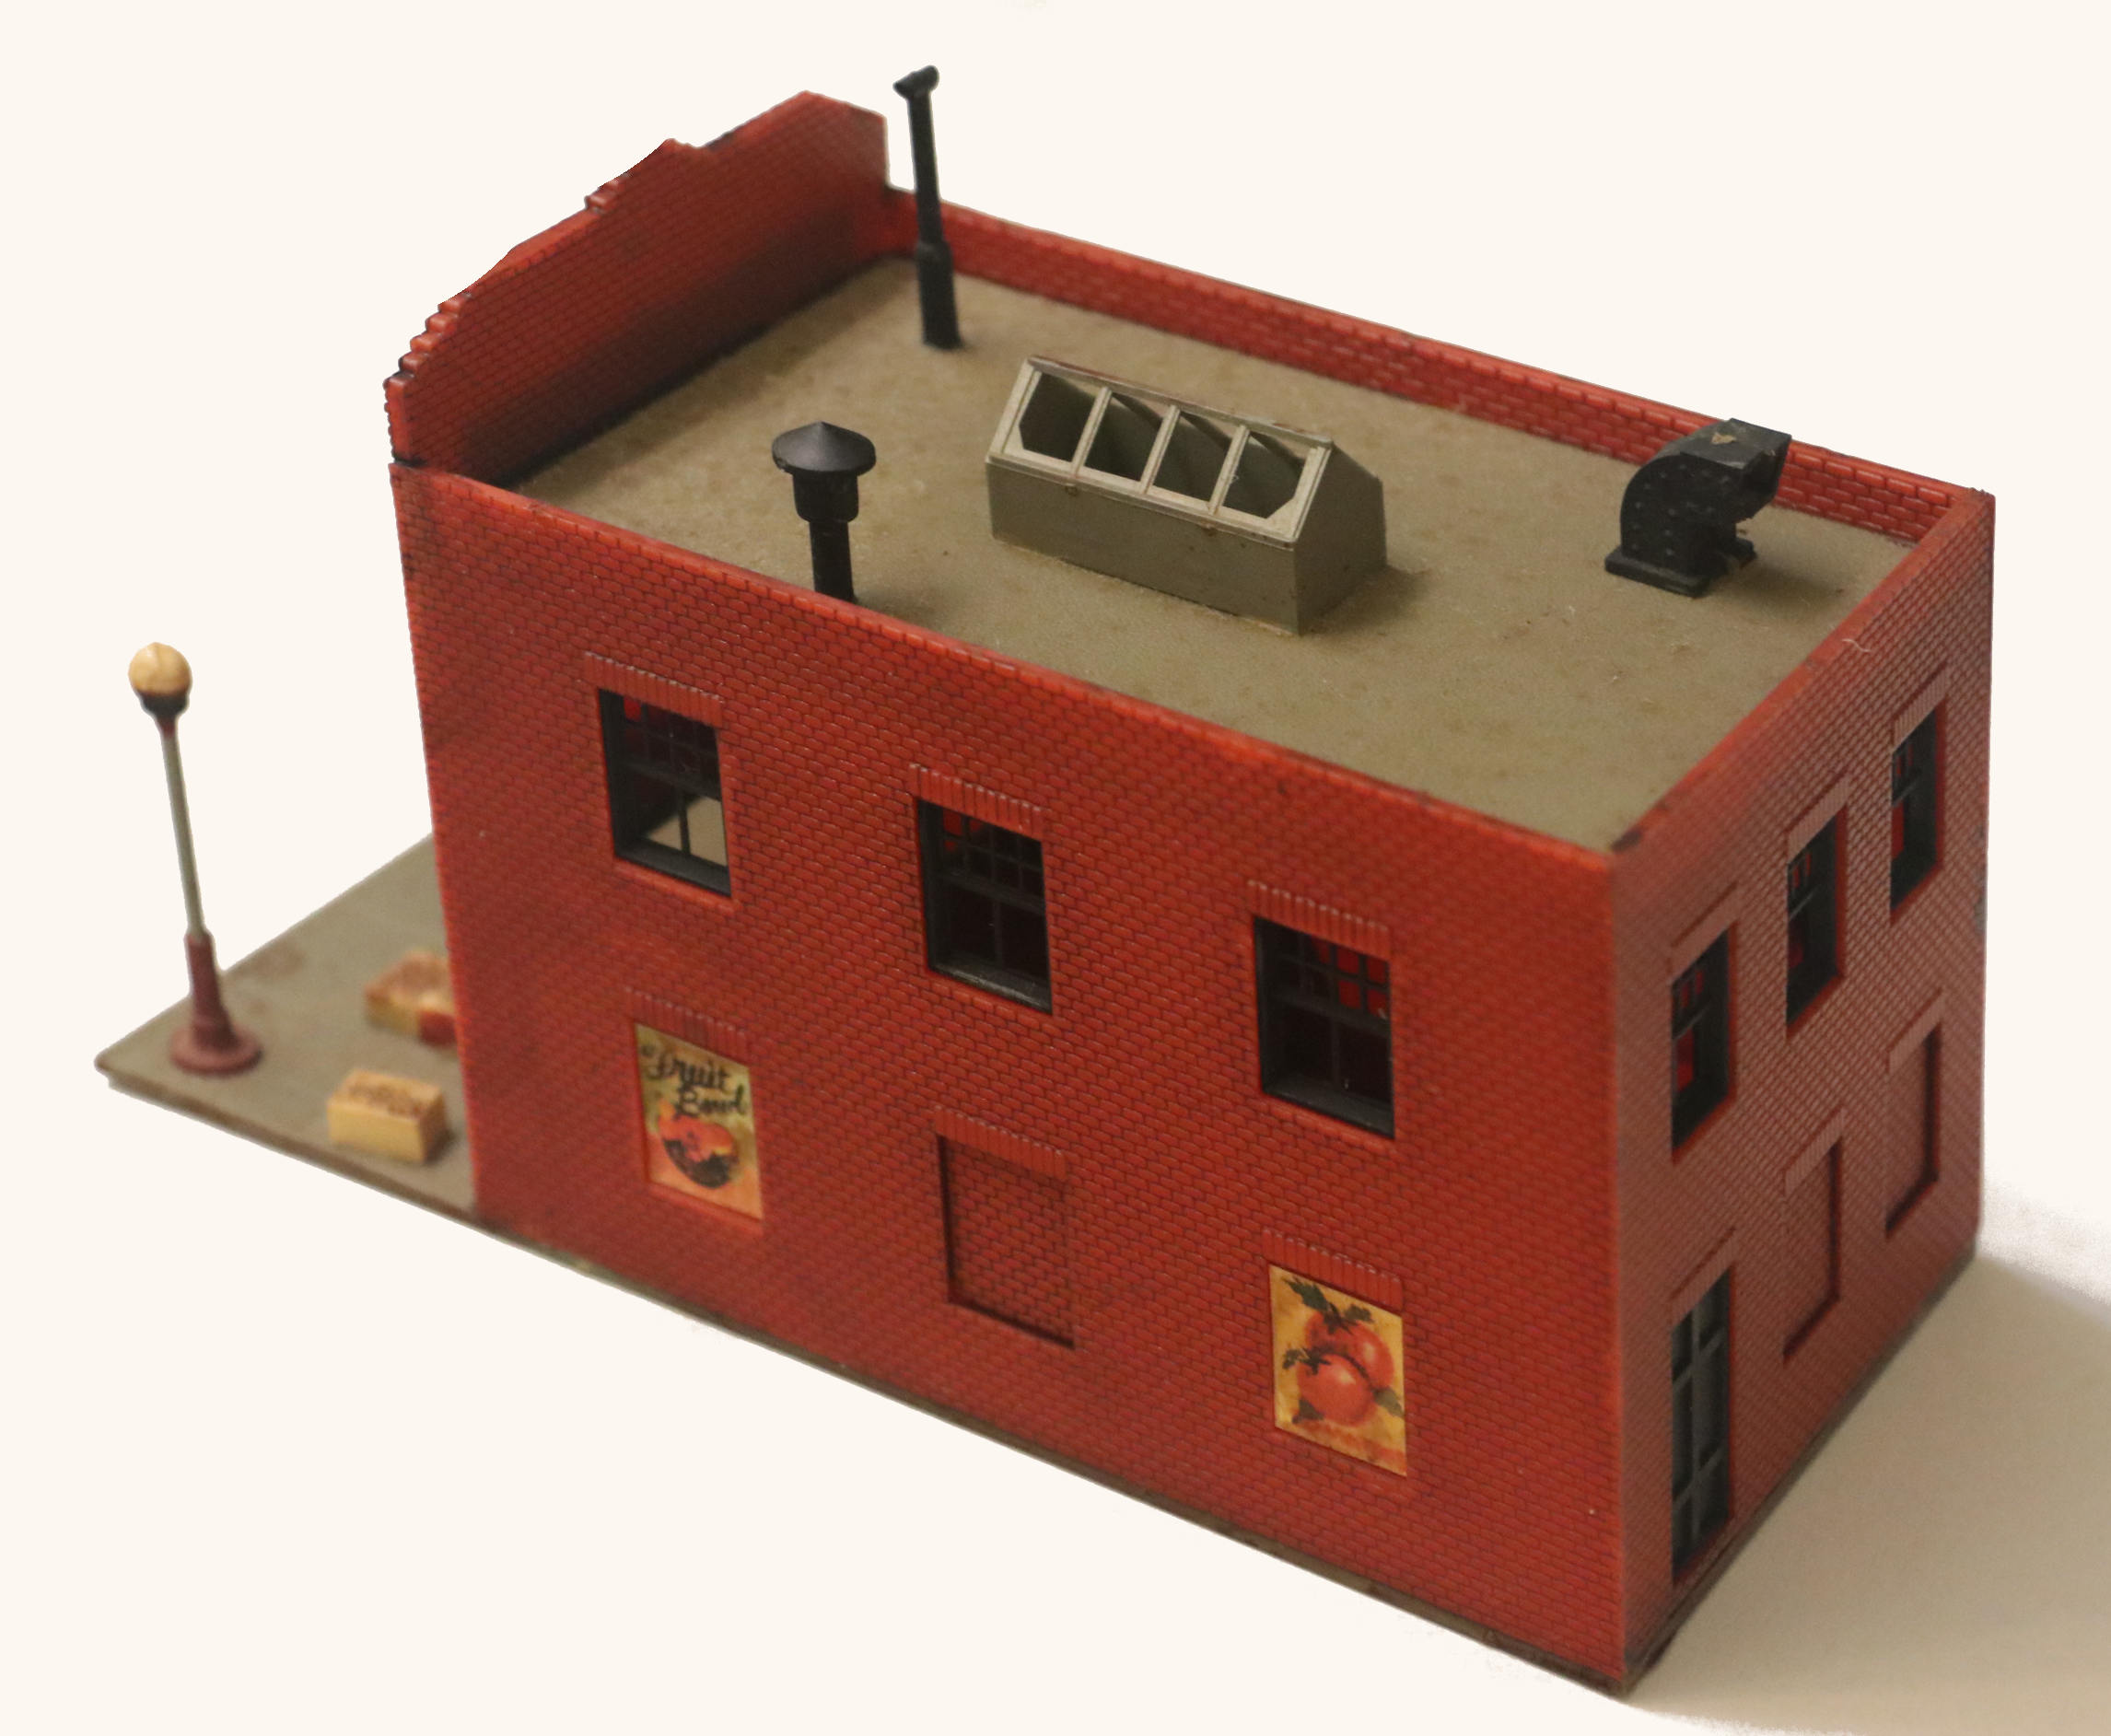
A Serious Aged, Dirty Brick Affect: Using Just the “Nuln Oil” ~ (Please click on the photo to enlarge it and look more closely. There’s a lot of texture created here with just the addition of the brushed on black Nuln Oil.)
A light coat of black Nuln Oil used again here on all the brick and just a touch of the Sepia on those pure white lamp post globes to tone them down and make them look more realistic.
I am not posting these because I am some kind of expert. I am as blown away as anyone by the great affects, easily created here.
I am sharing this info simply because these products are not sold in your more “straight laced” traditional hobbyshops! I didn’t know anything about them until my son the Fantasy Figure painter put me on to them.
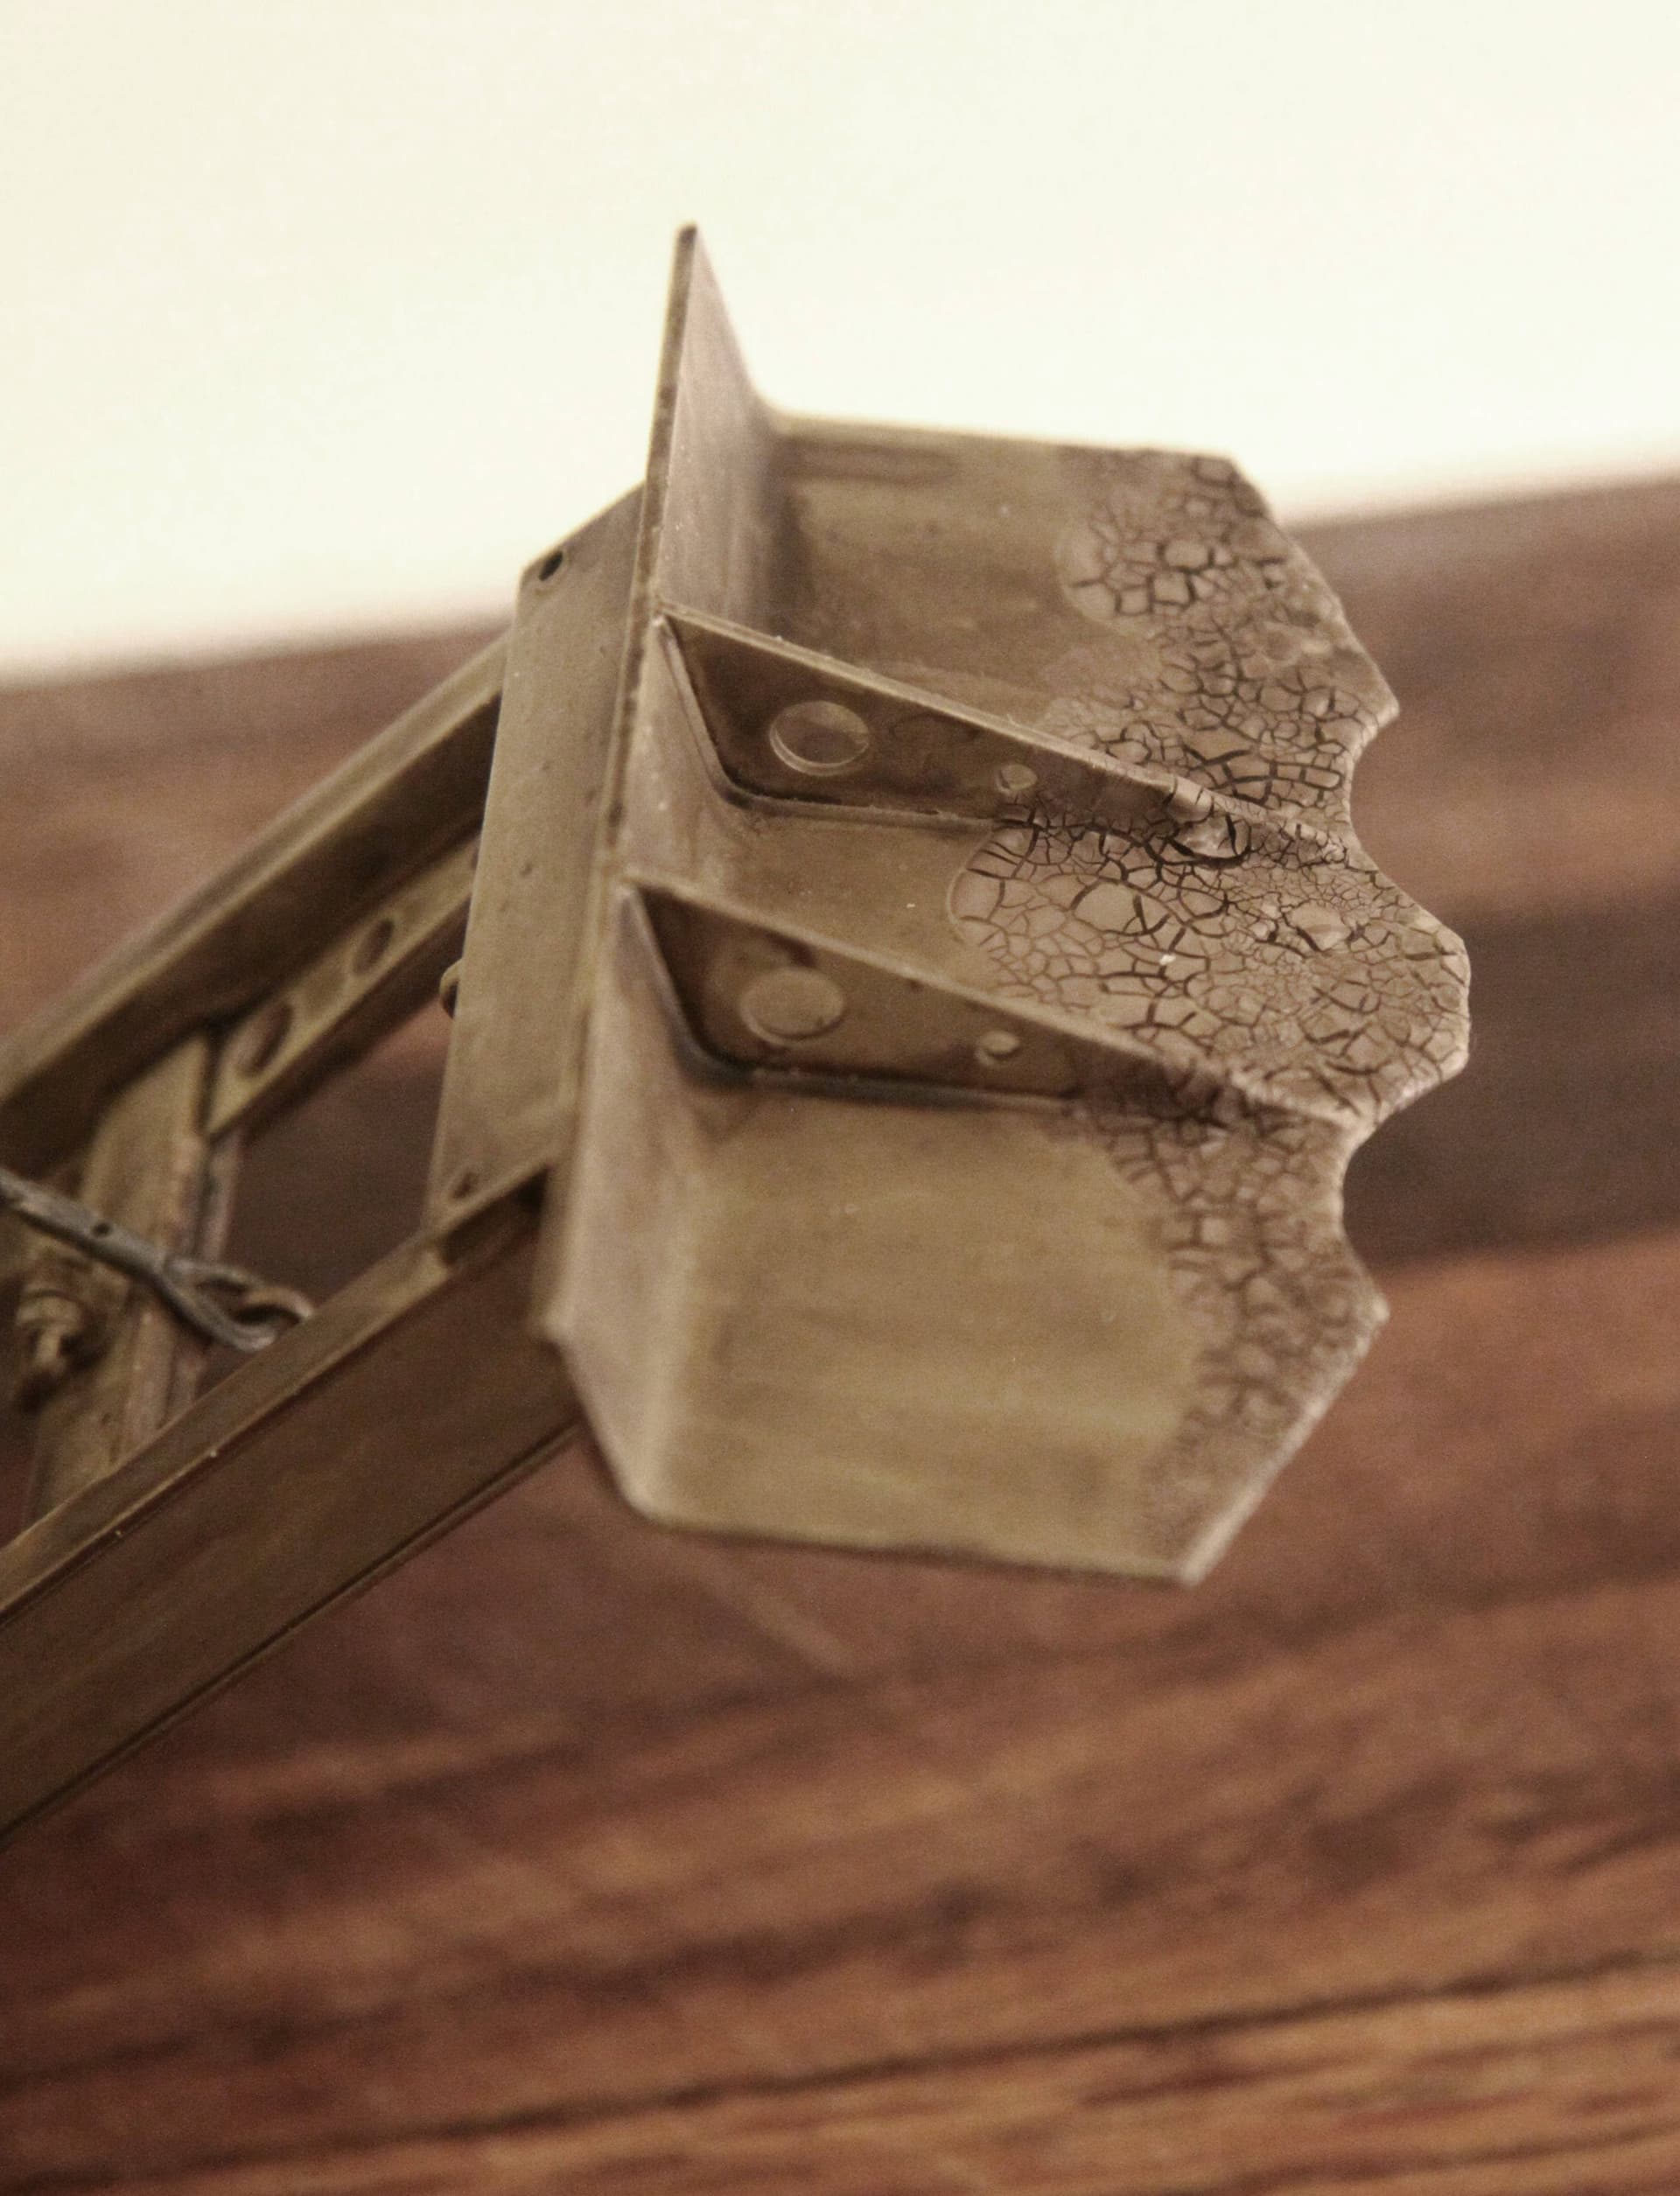
CITADEL has “Texture” Paints as well! They have several products designed to create caked-on mud or super dried cracked lake bed mud.
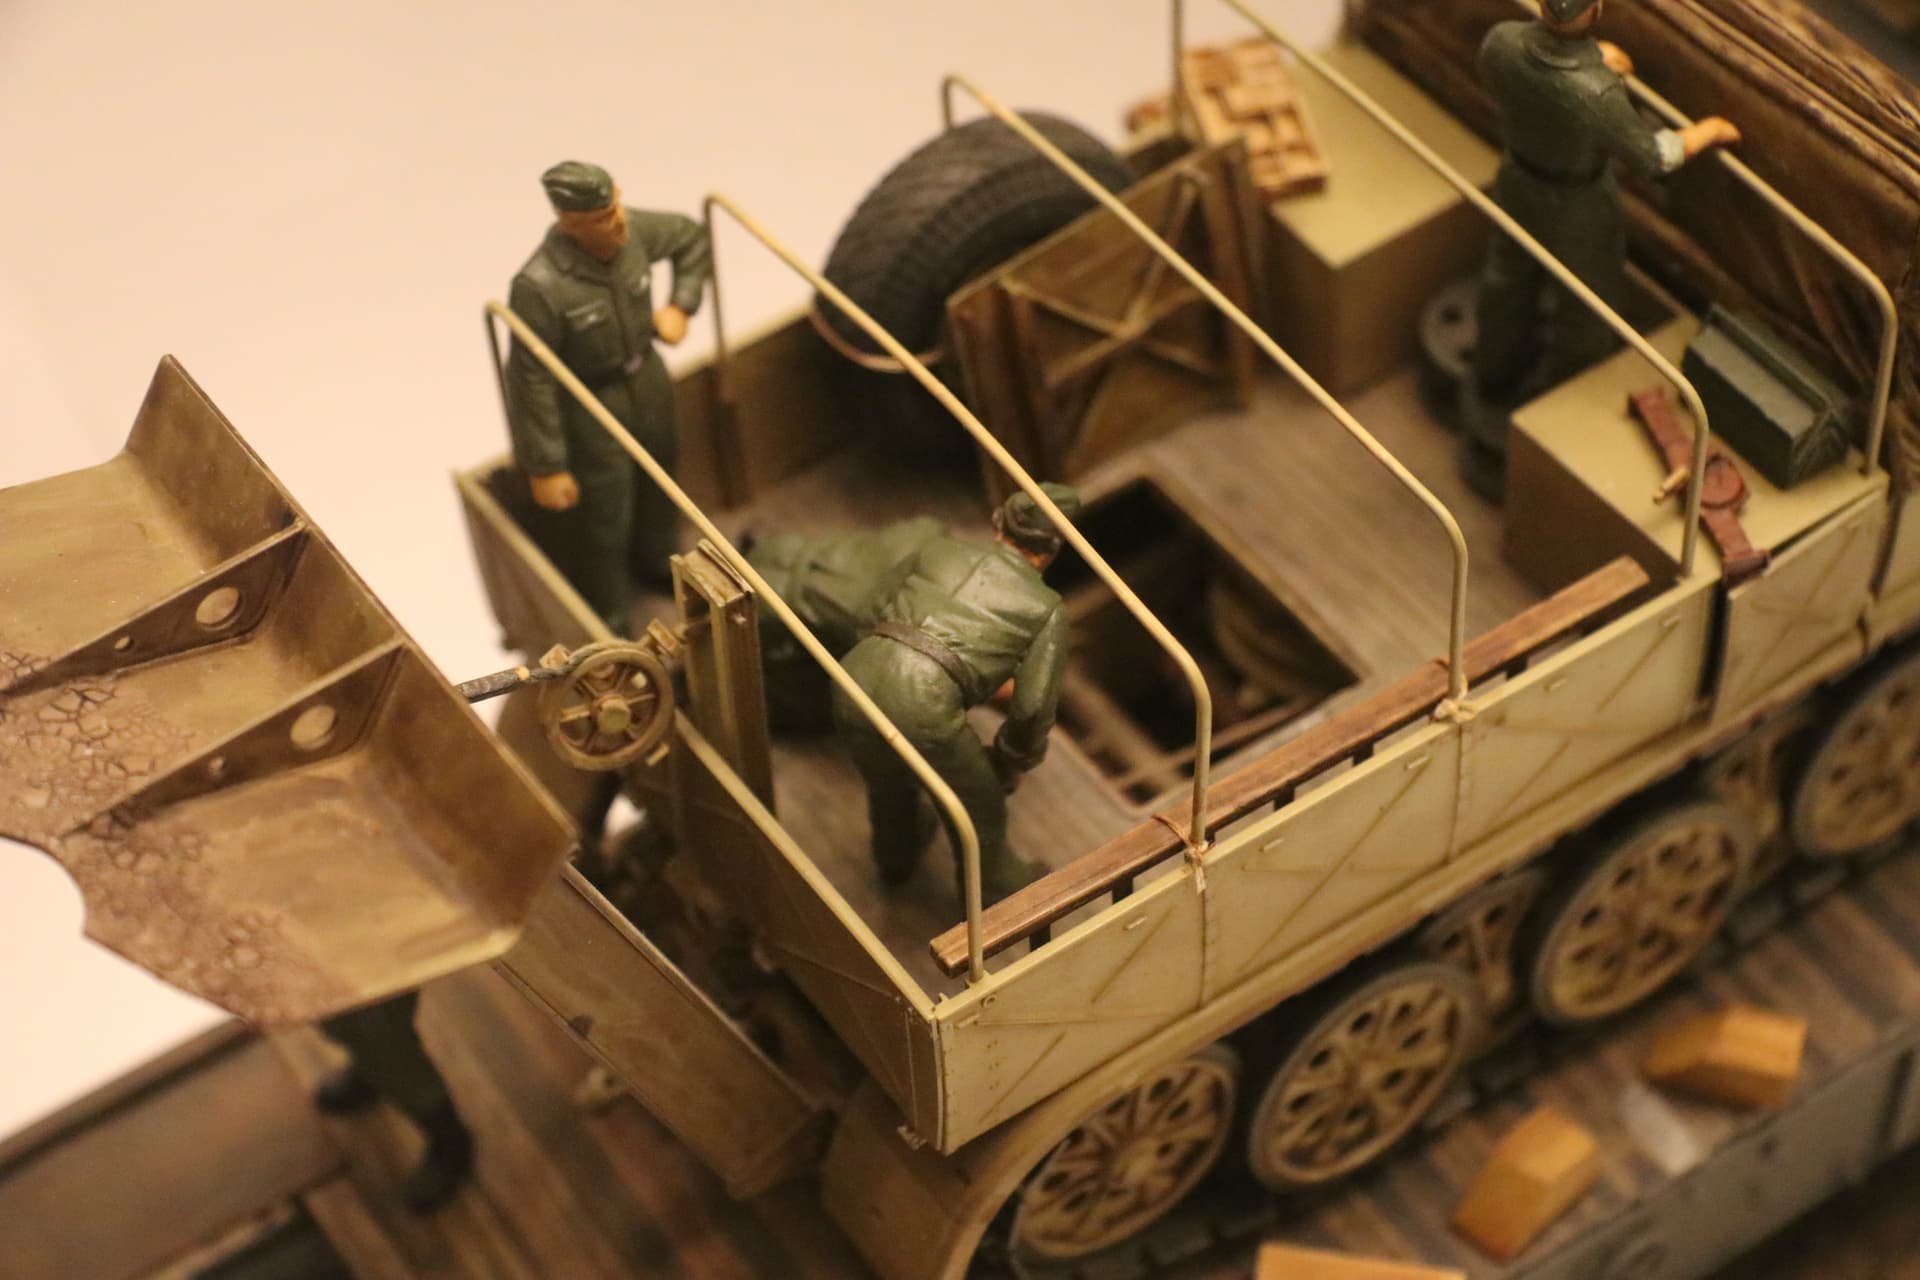
I used one product called “Alien Skin” to create the caked-on mud effect seen on this Famo recovery blade. I first created the texture but then pained over the Green Skin with a thinned dirt color and then more applications of Sepia Wash to blend it all together.
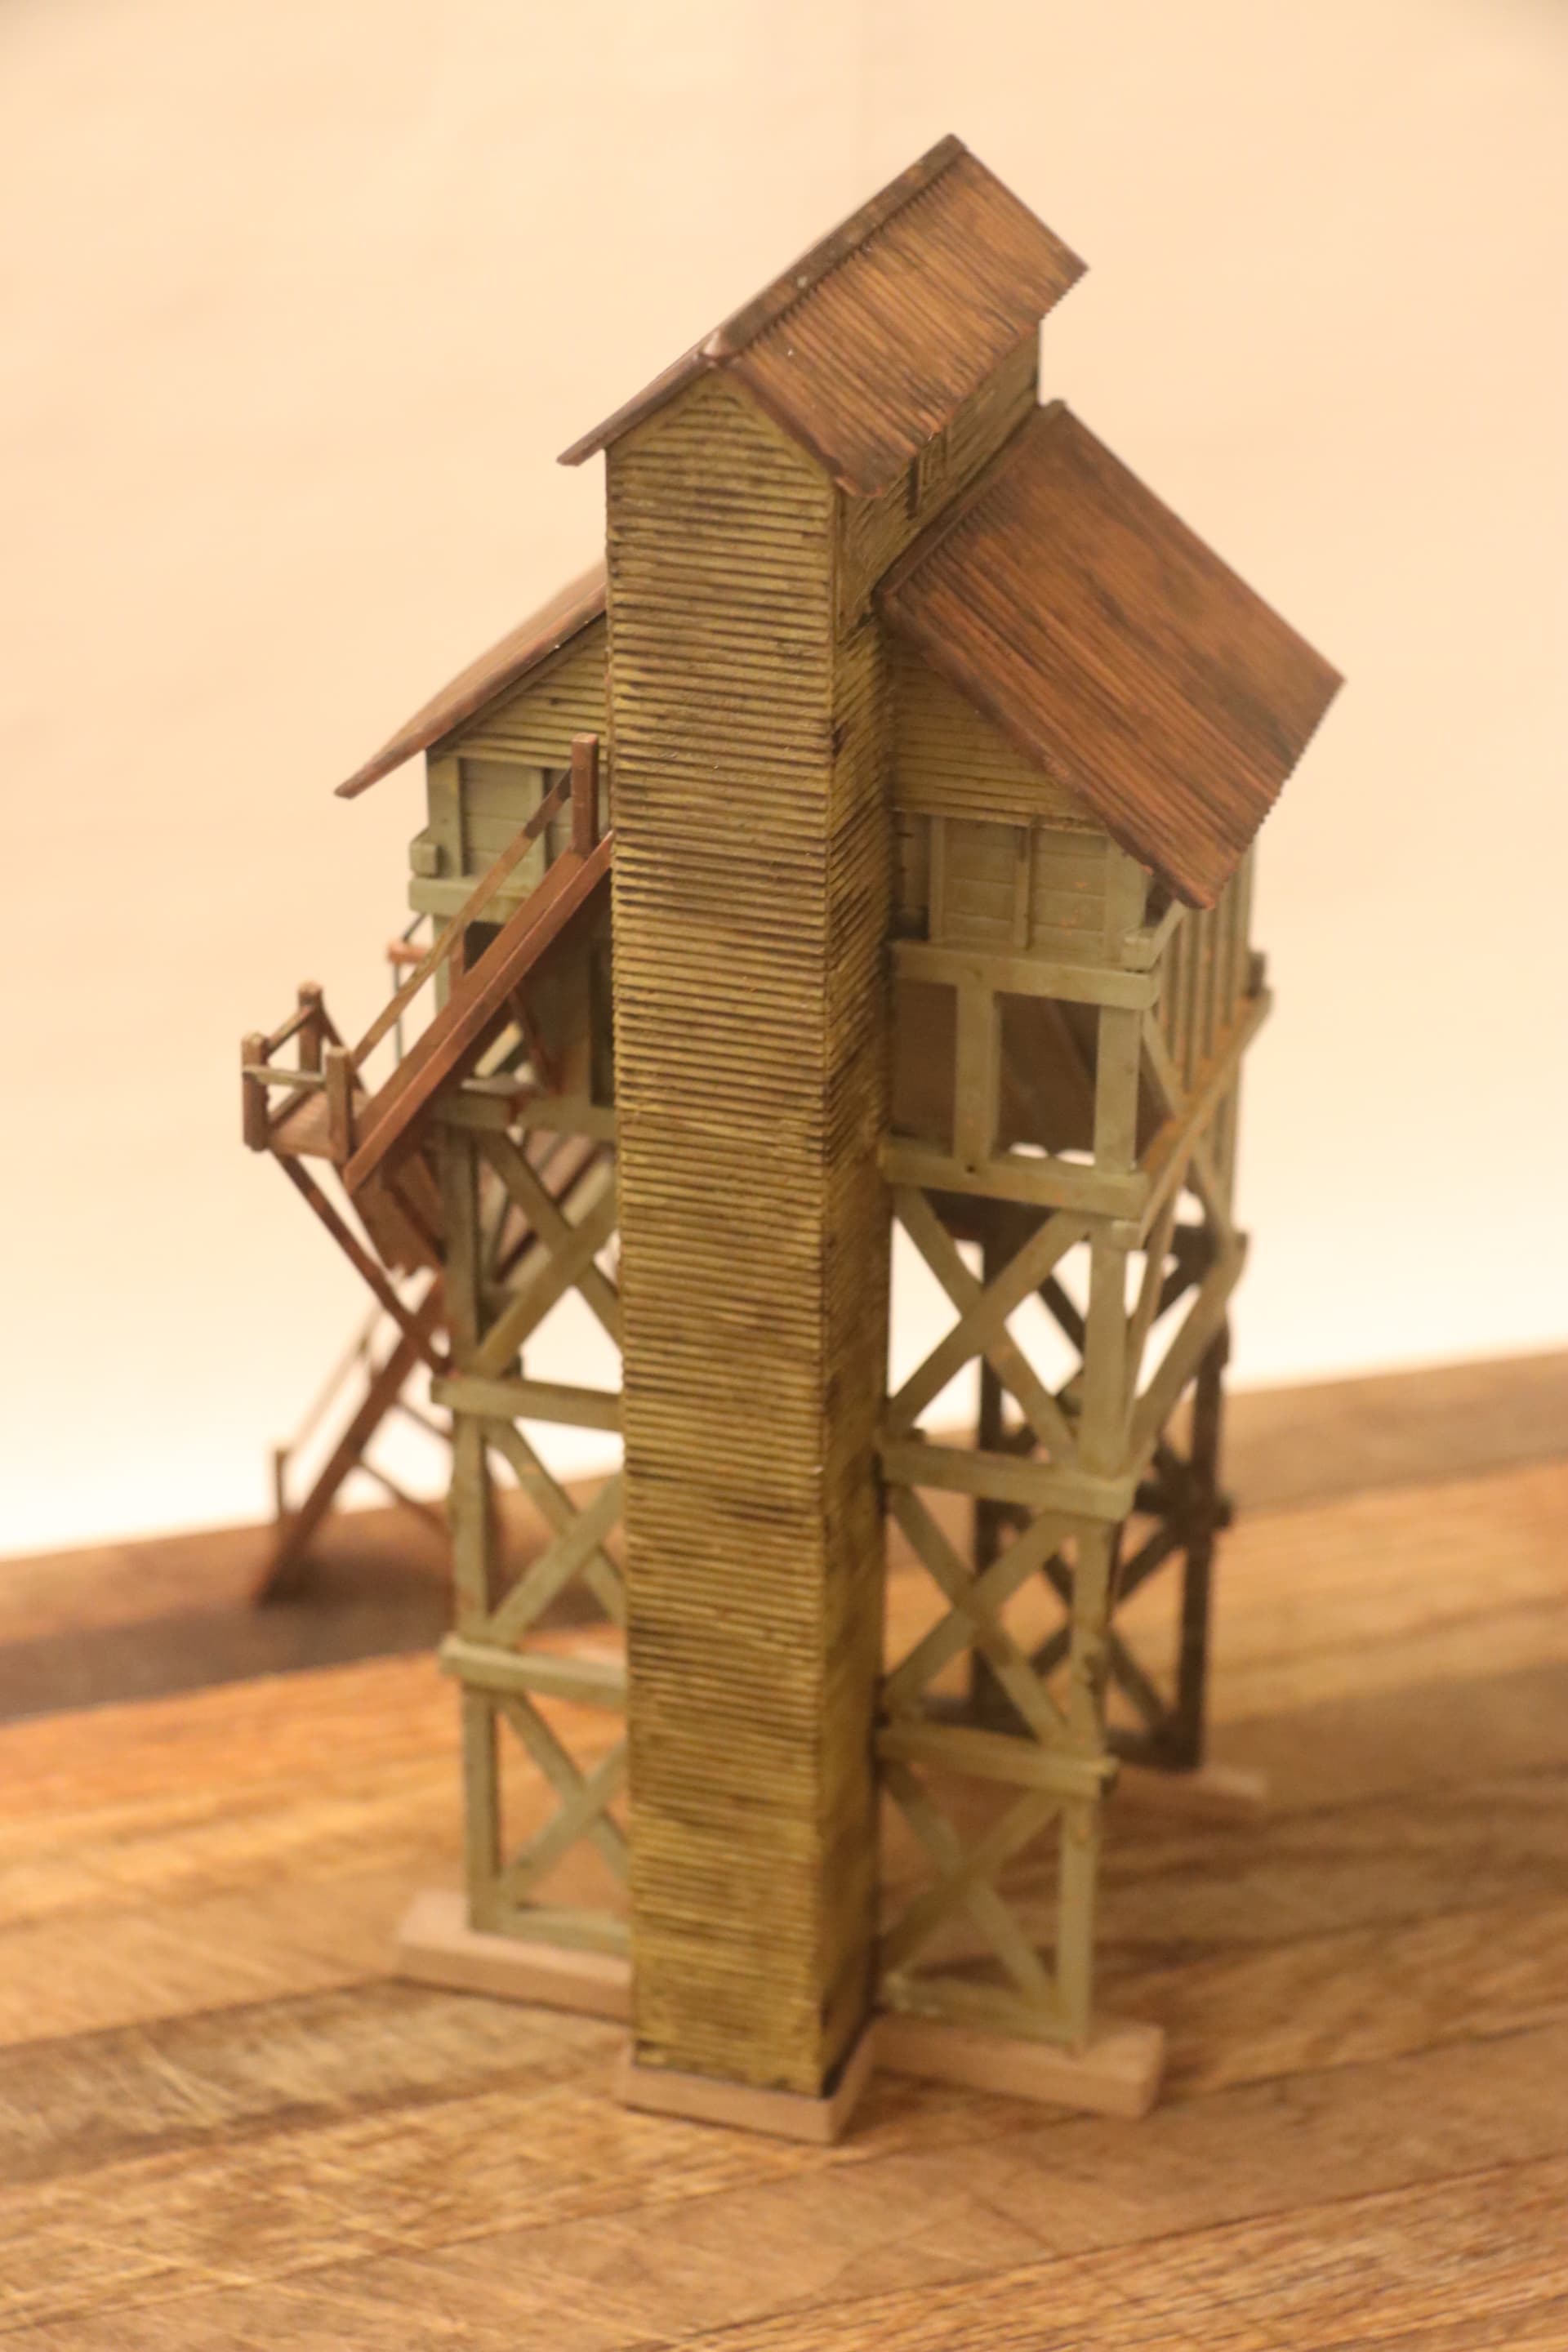
For Concrete Foundations:
*Citadel makes a texture paint called “Agrellia Earth”.
It is a thick, sloppy buff color. Brush it on smoothly and you get sort of a fine rough pebbly surface. Brush it on heavily and you will get a caked-on mud effect.
(I know it is hard to see in the Coaling Tower photo.
Sorry ~ it is the best photo I have showing the concrete.)
ADENDUM:
I also use this thick goopy Earth product as a ground cover adhesive to cover over model bases and then sprinkle Woodland Scenics grass over that that. (See base on RR Interlocking Tower above as well as the sample shown here.)
Some model plastics are SO smooth, SO shiny, SO slick, that these acrylic based shaders may tend to puddle up (due to the water’s natural surface tension) and not want to spread out uniformity on a given surface.
If you are working on a grossly smooth and slippery plastic surface I suggest you first spray the model with a Matte Clear base coat.
(I recommend Tamiya Matte Clear ~ TS-80 ~ rattle can. The best and the flatest matte clear in the industry! ~ FYI: Expensive yes, but you get what you pay for!)
As my Father the car painter would say "hold the gun (the can) back 24 -30 inches from the work so the Matte Paint falls onto the surface already almost dry. This creates a rough but very fine “tooth” to the surface that the other water based Paints and Shaders can then adhere to. *
~
*If you spray the Matte on too heavy you will create a very smooth paint surface that will be almost as hard to adhere to as the original plastic.
In the spray paint industry this is called “going on Dry”. This is to be totally avoided in the auto industry unless you are specifically looking for a flatter more matte surface coating.
Lots of very good effects here and I’ll have to try some more of these.
I’ve used the Matt Nuln Oil on jet exhaust nozzles a few times and like the effect. Very effective on the older and sootier jets.
I think they do a gloss oil as well?
YesCitadel does make a Gloss Nuln Oil. I have used it and the advantage is that it is a slightly thicker mix and seems to spread out more uniformly than the Matte product.
BUT . . . It is SO glossy that I have trouble killing that shine even when using the Tamiya Matte Spray.
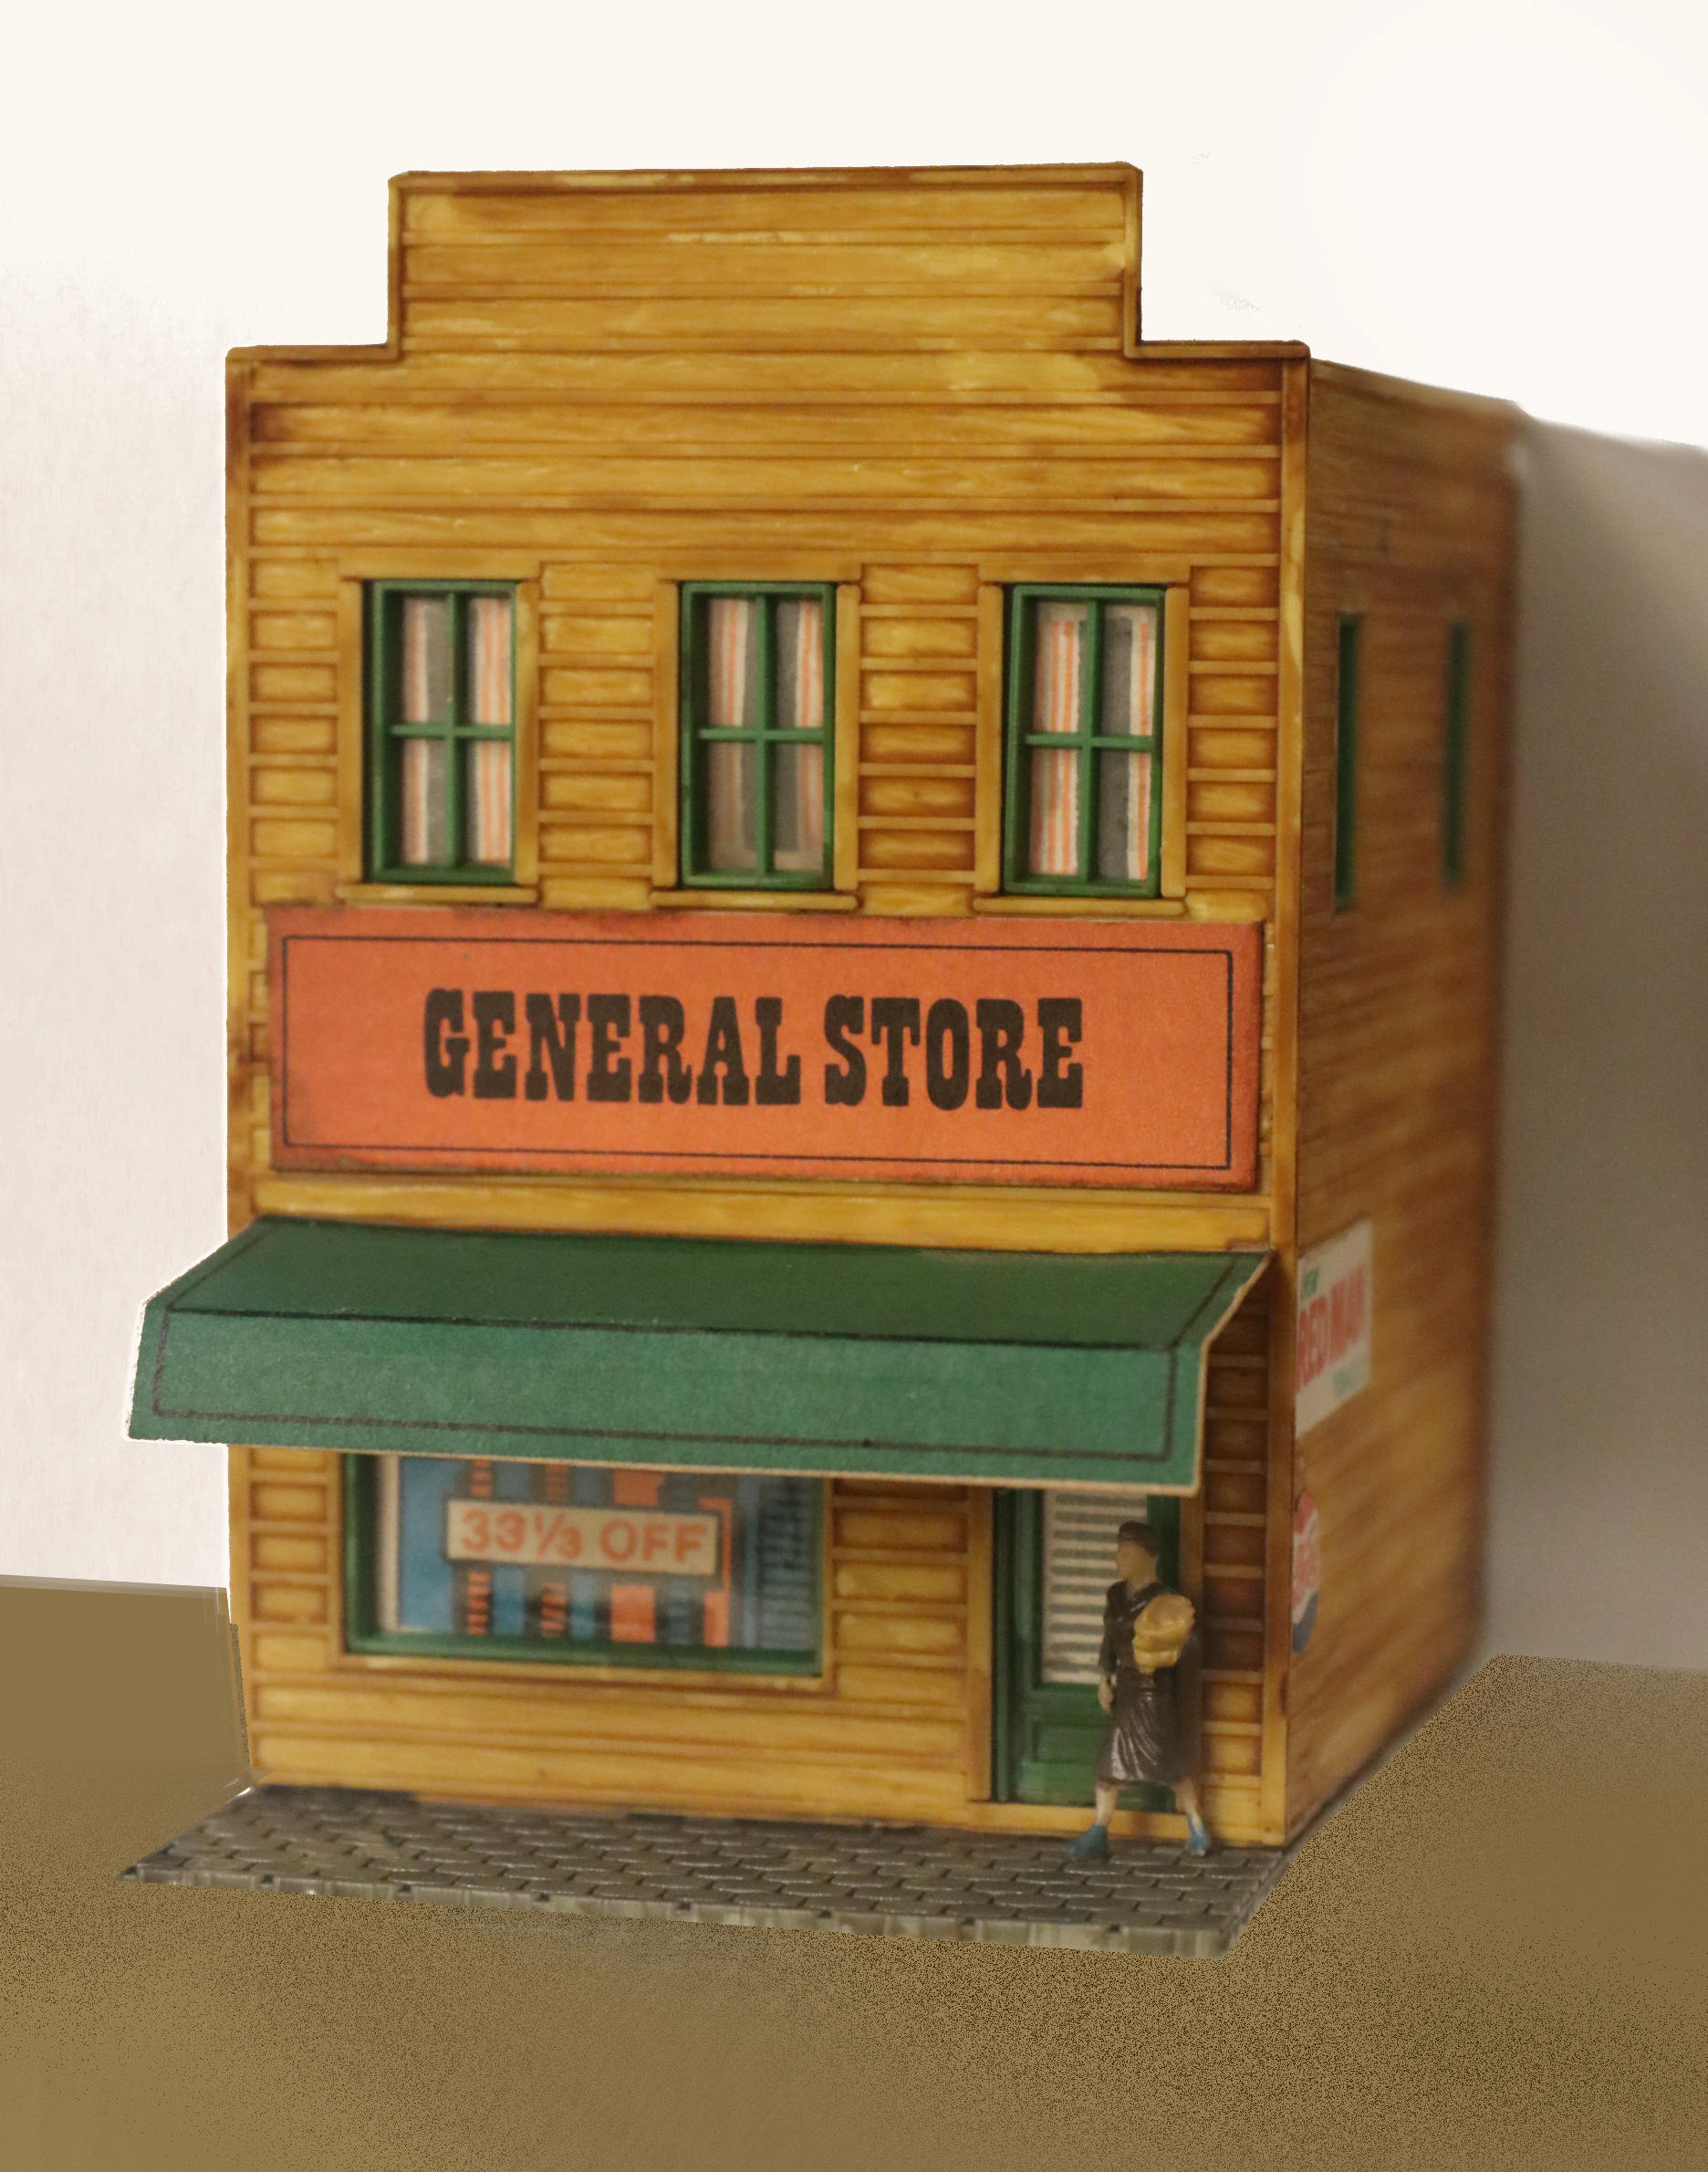
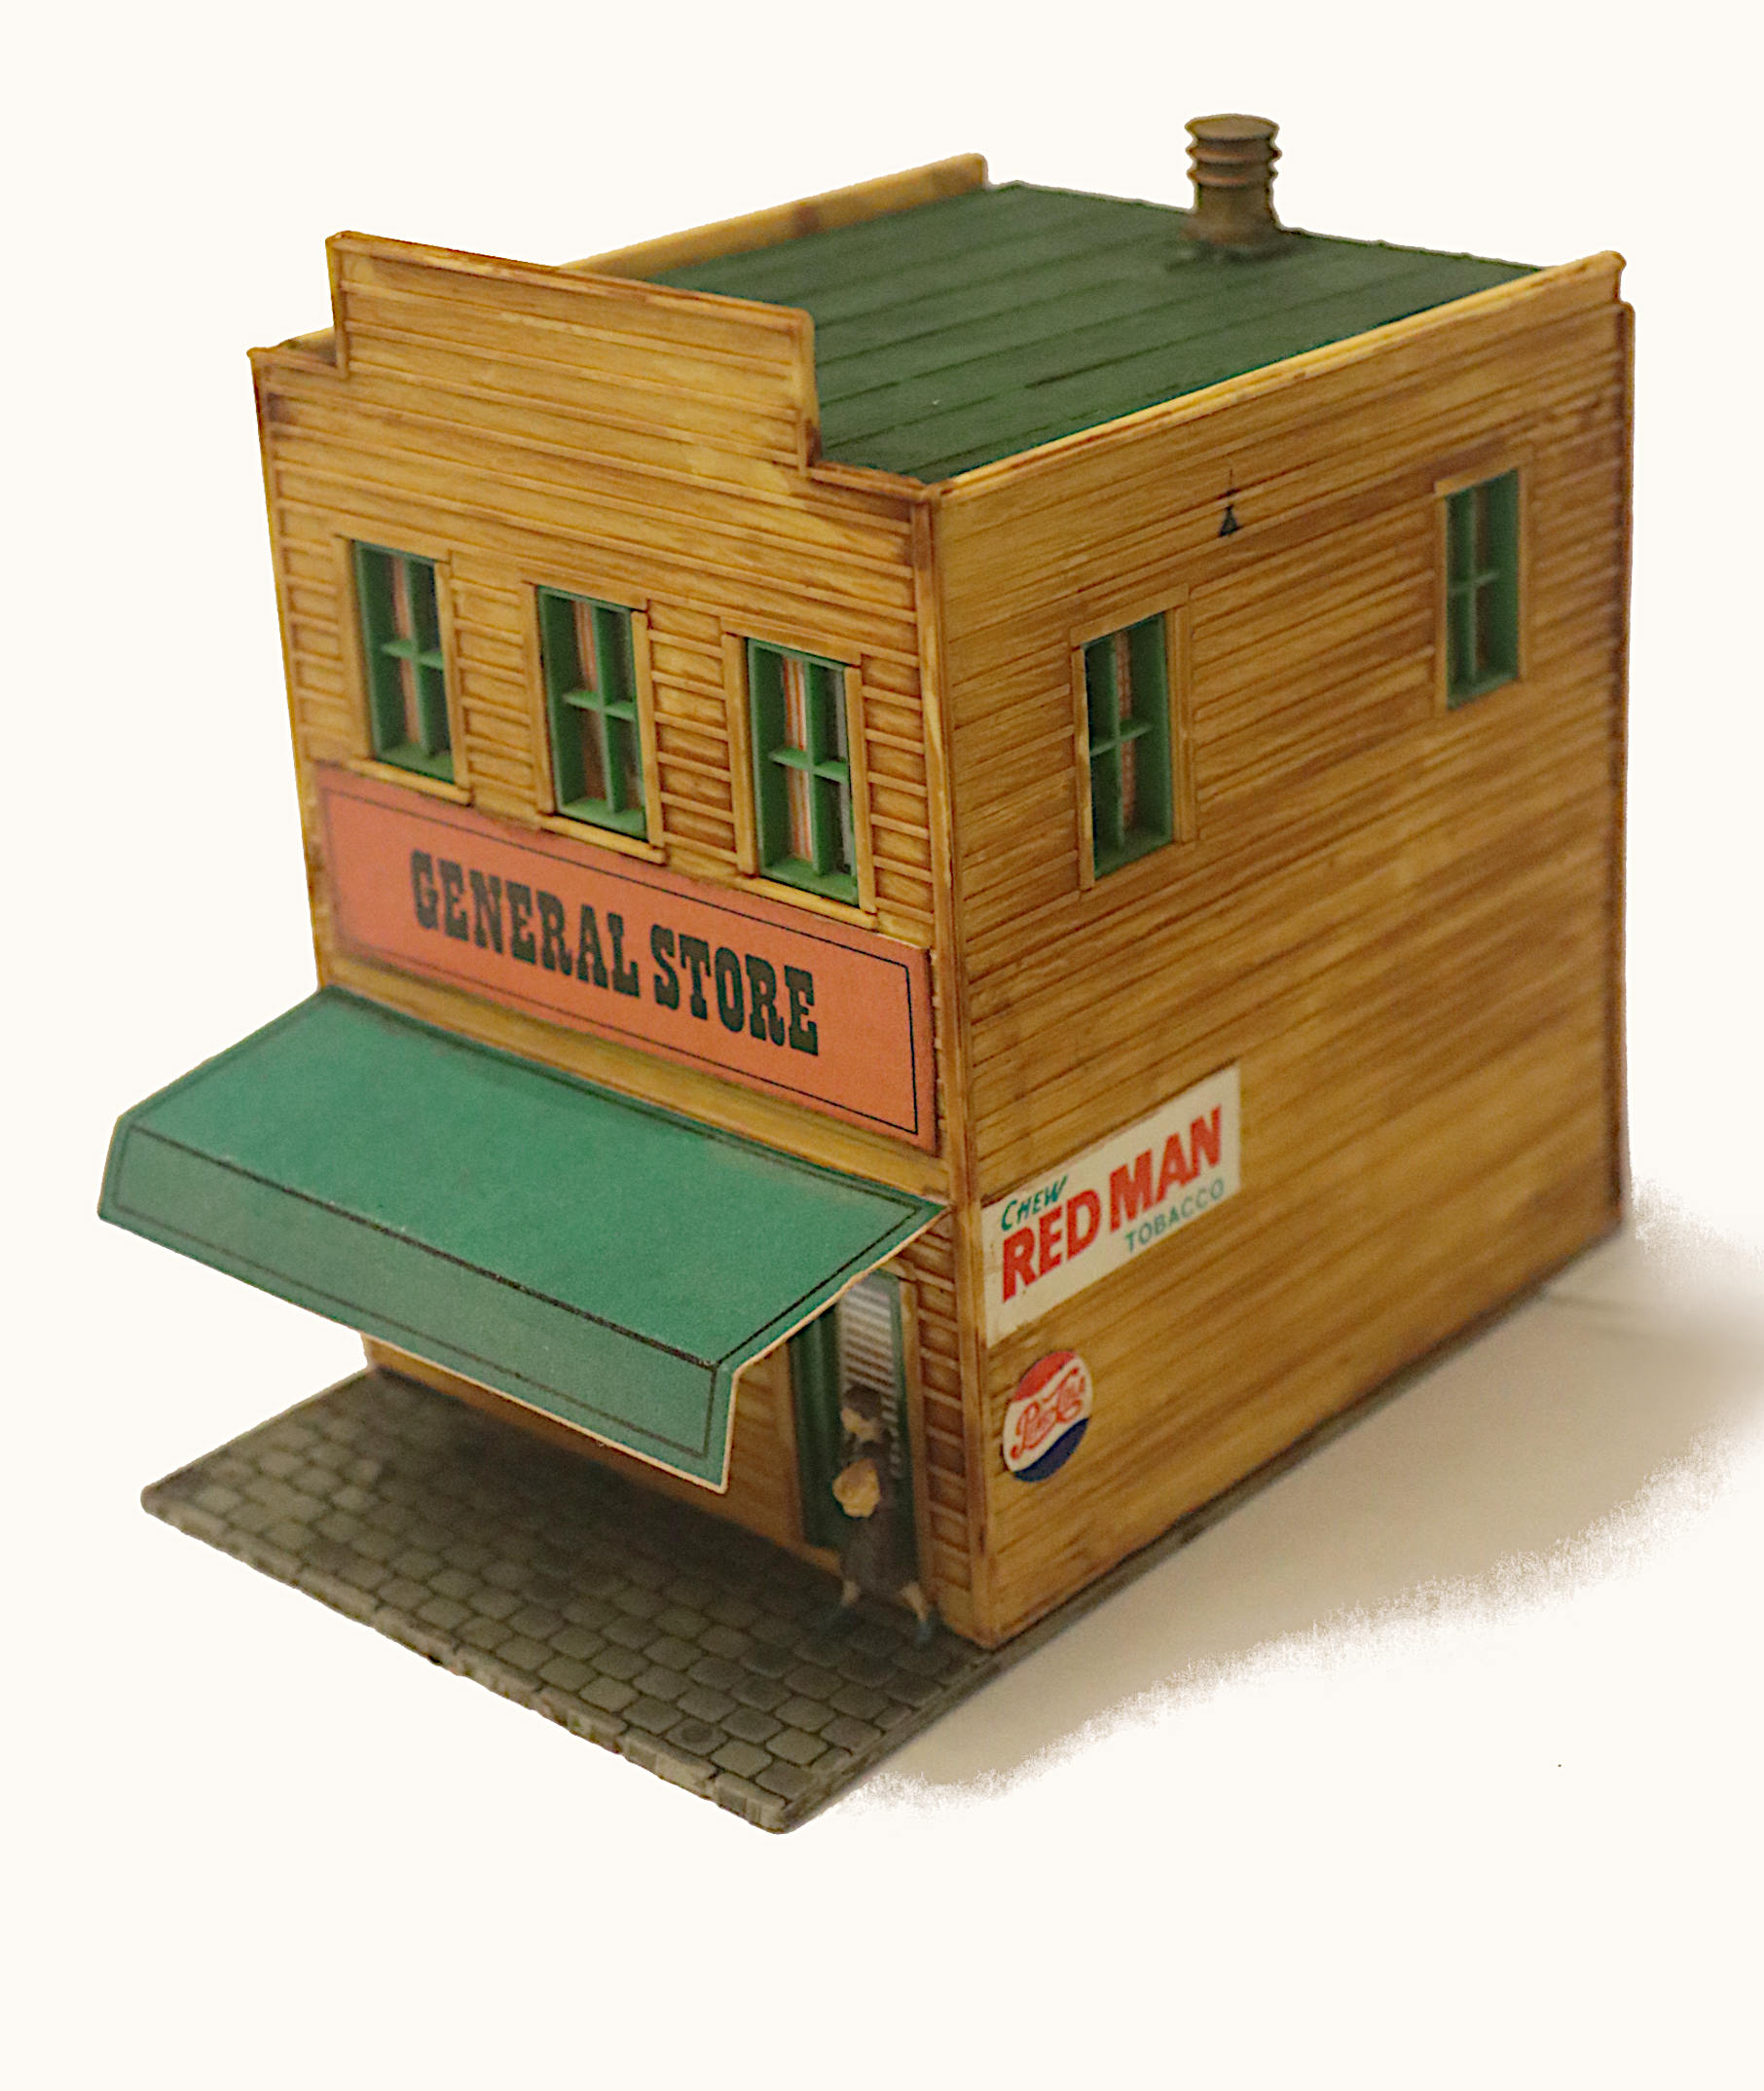
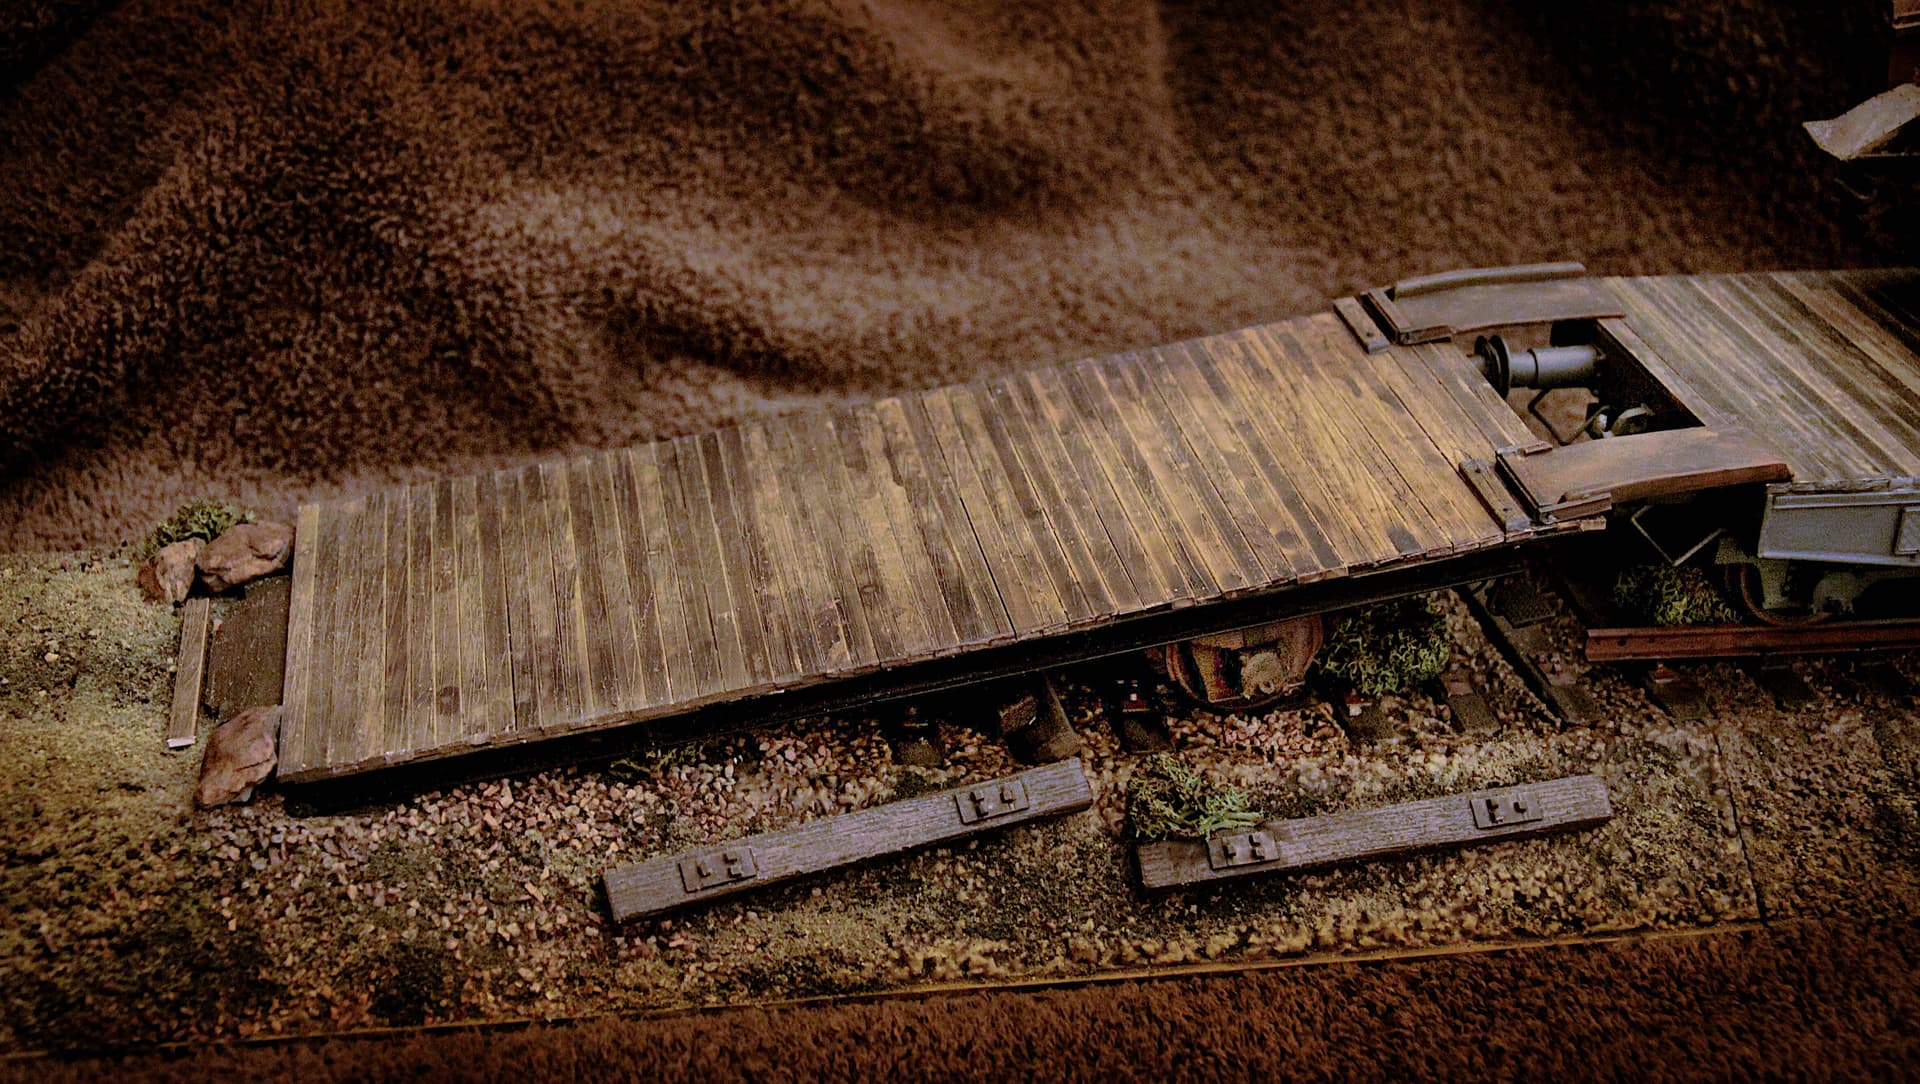
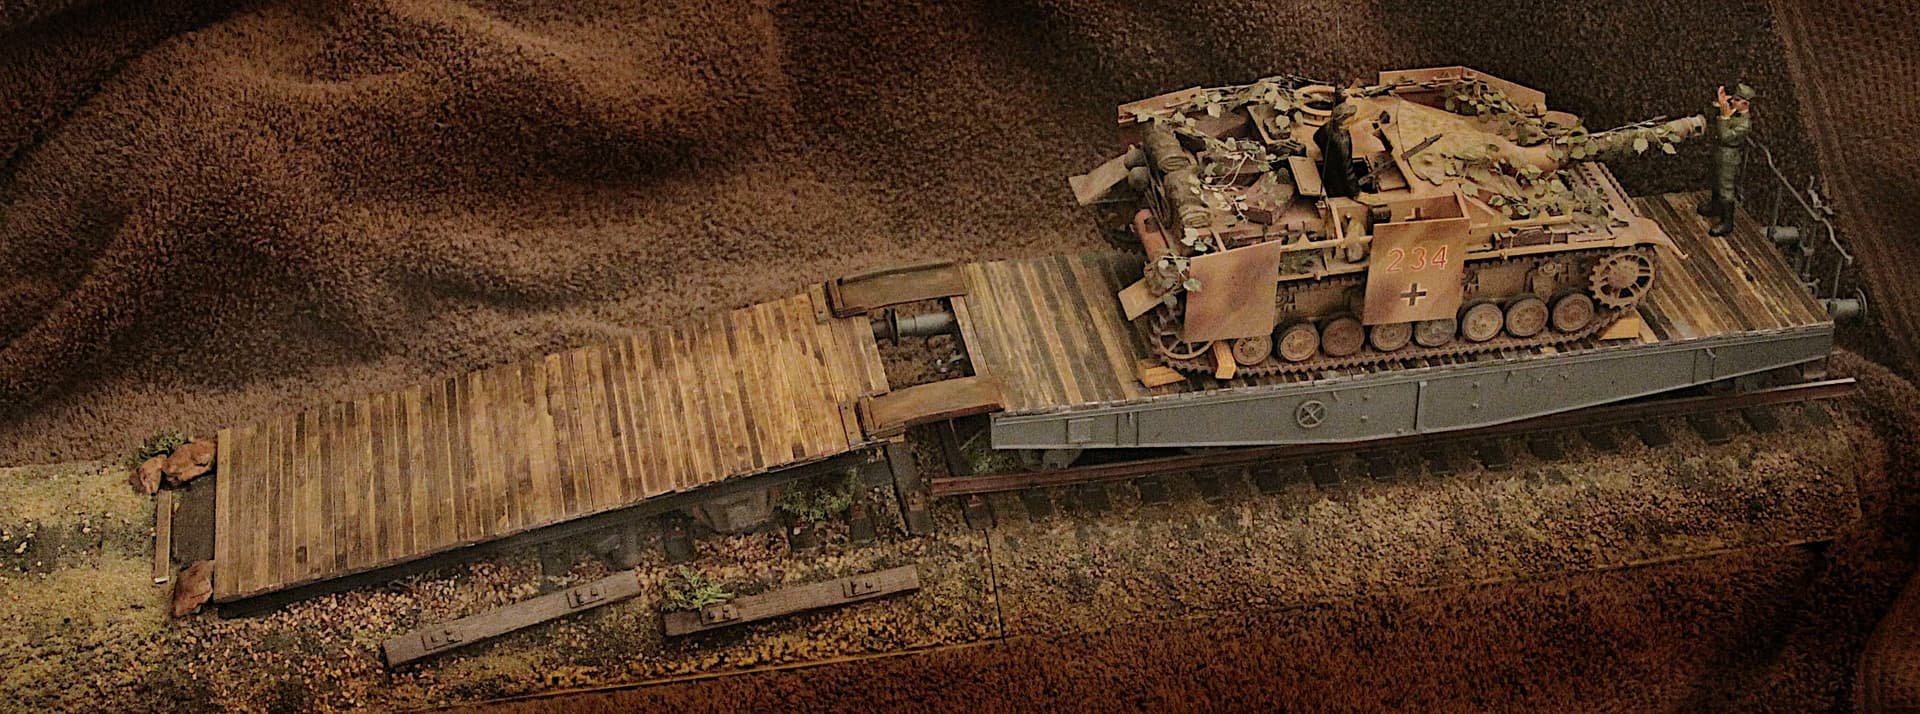
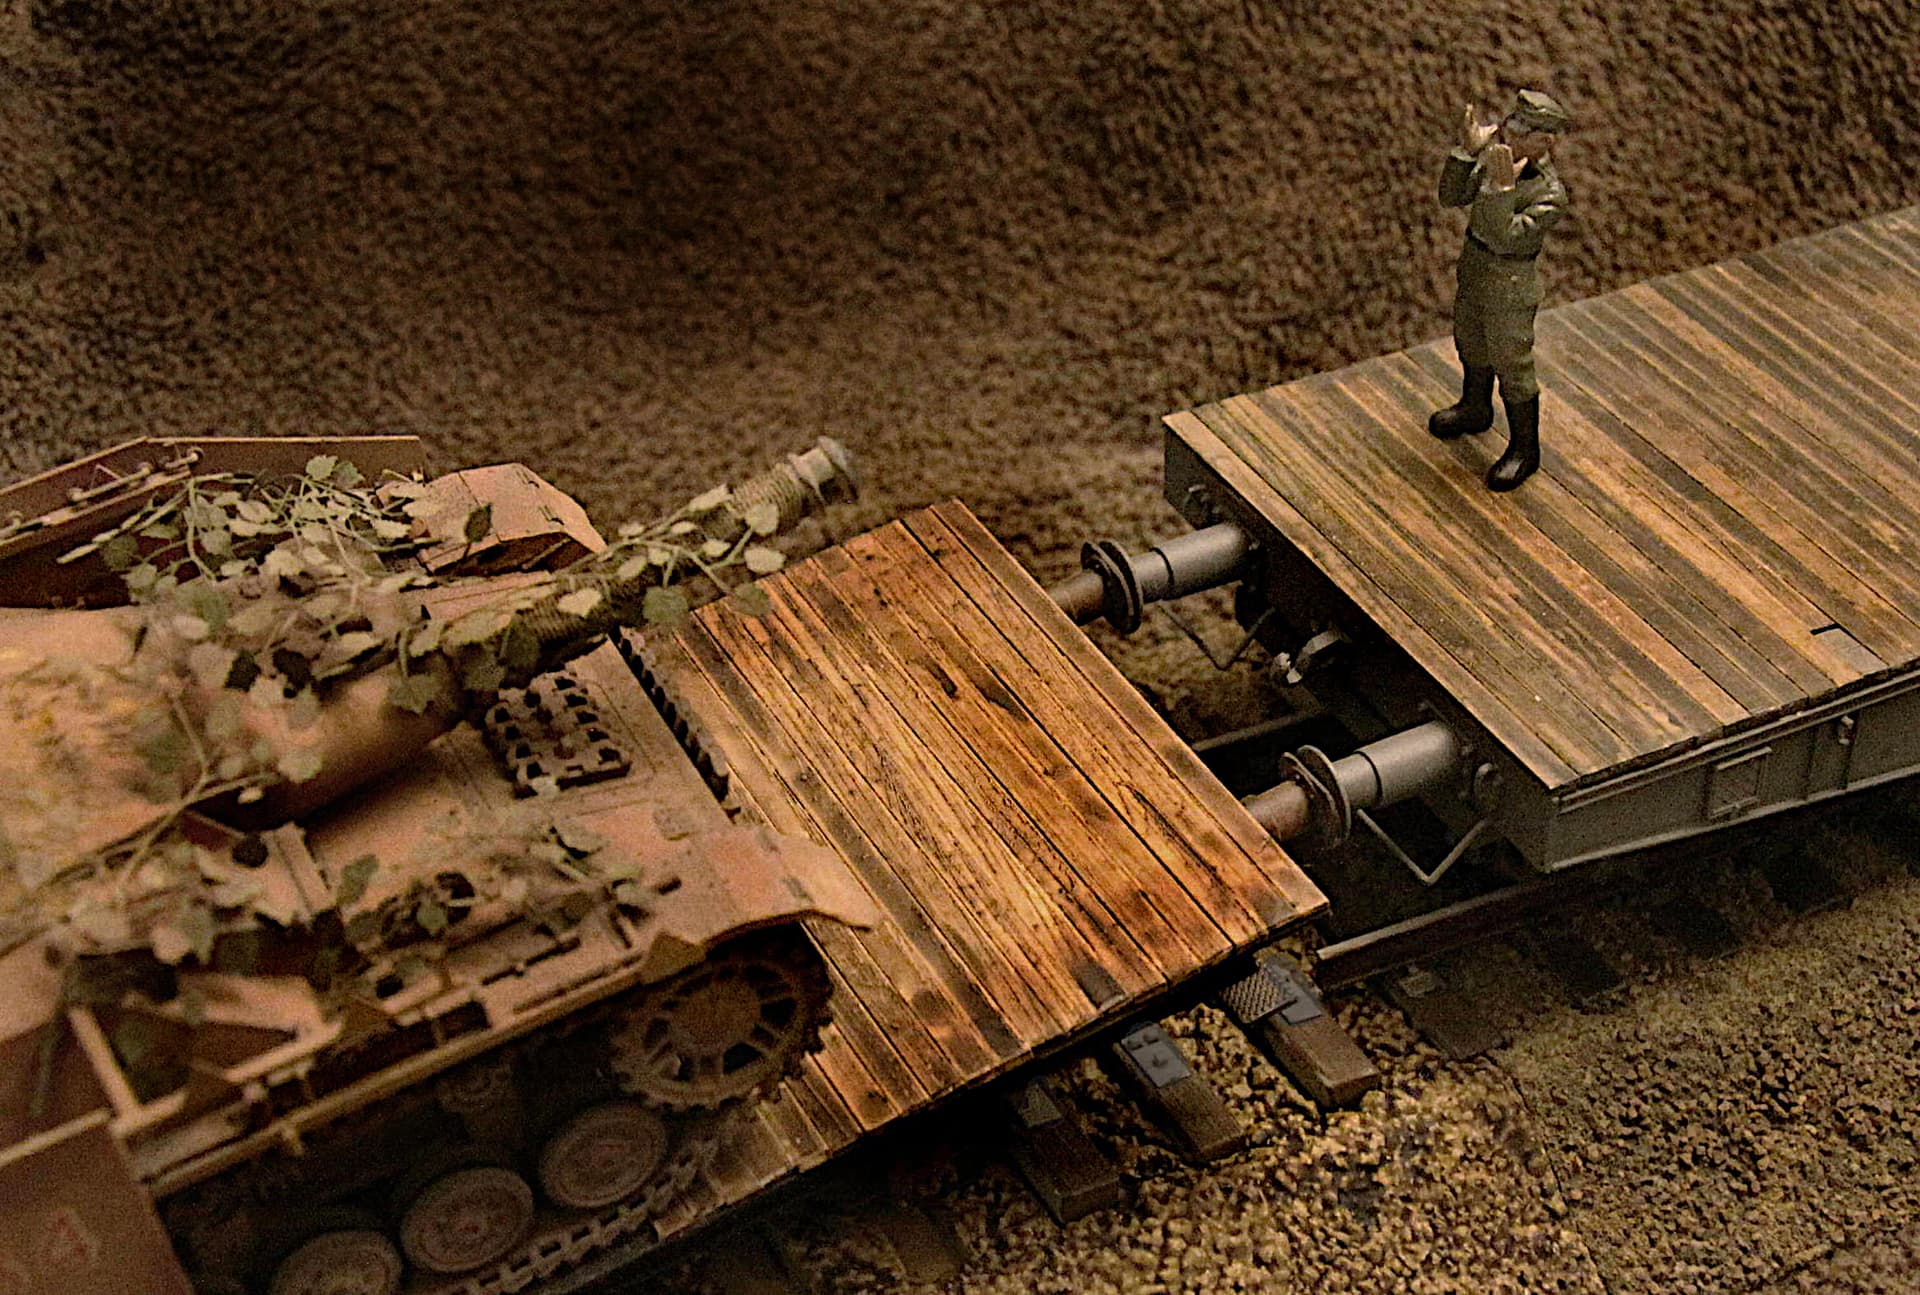
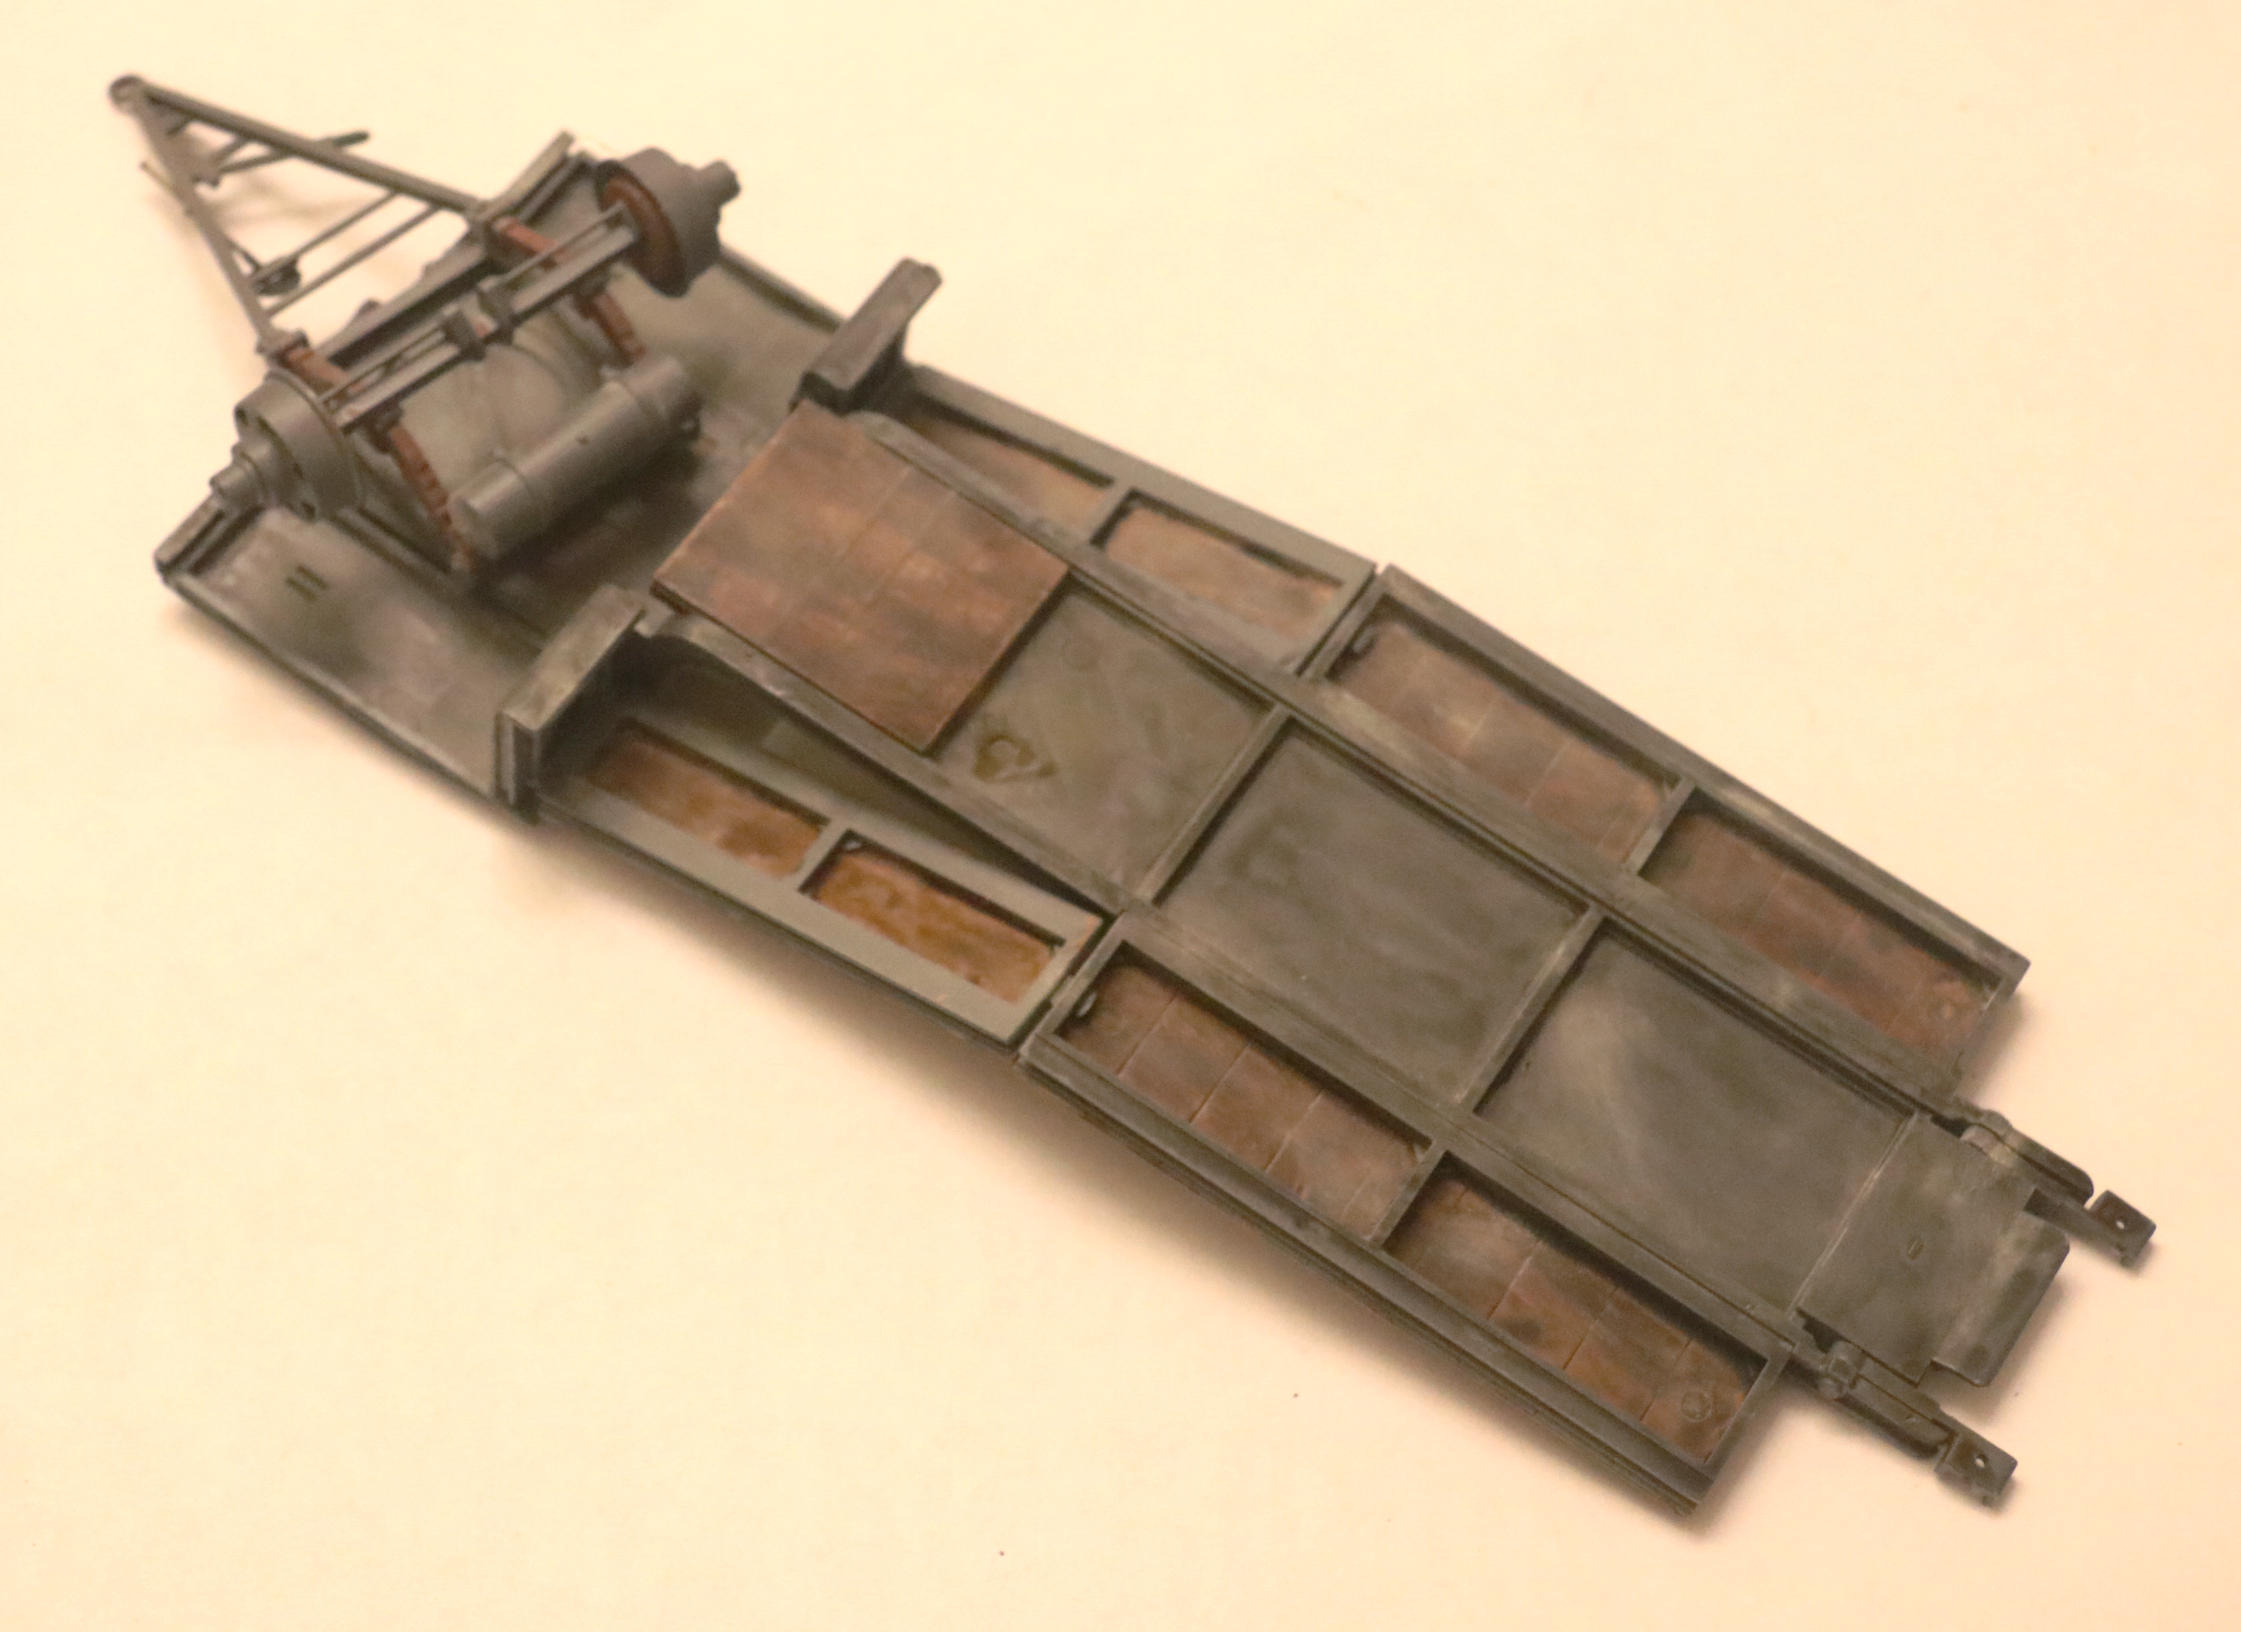
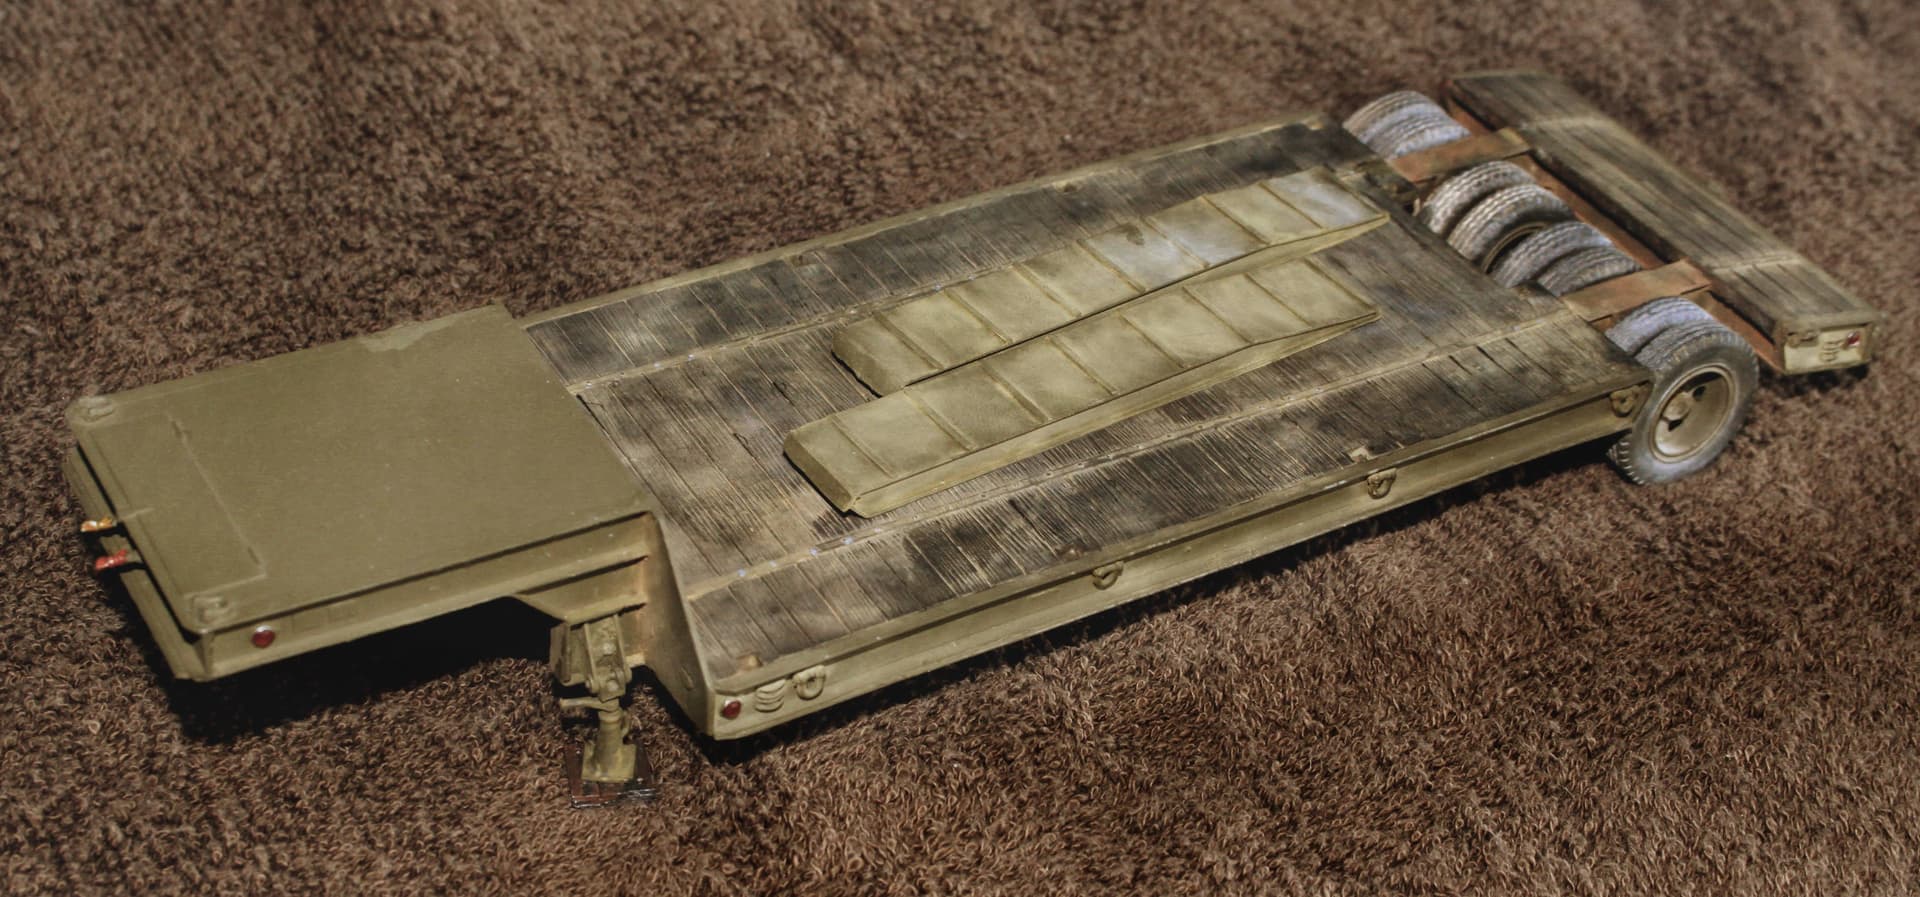
As I said at the very start; These products are GREAT for Wood Decking:
Derelict flatcar used as railroad end loading ramp. (I have seen this done in the US so I am guessing the Europeans thought of it first.)
To take an aging flatcar that is otherwise to be considered scrap. Remove the truck at one end and bury that end into the ground. Thus forming both an end-of-track bumper as well as an end-on loading ramp. Add some hinged “bridging ramps” * and you have it!
*Of course the AFV’s don’t need the bridging ramps but the soft skins do. (or at the very least add a couple of wide planks to help the softskins to “mind the gap”.)
On both car and ramp I replaced the model provided plastic, one piece, “wood” decking with individually distressed and stained Evergreen “boards”. I then used either the Citadel Black (Nuln Oil) or Sepia stain on each individual board - on some boards I used both stains while varying the intensity of the stains. When the boards were dry I mixed them all up in a big box and started “decking” the cars with a random selection of whatever color stained board came out of the box next.


 Also, a color wheel will save you money. If you know how to mix colors, you no longer need to purchase the correct shade of this or that. You can mix most shades yourself using a few basic colors. Just make sure to keep a log of what you did. That way, if you produce a color you really like, you can easily make it again.