Cleaning up sprues and supports are part of the model building game …
I’ll be very honest with you. We talked about it last year when I wanted an alternative to the Monogram one. I’m sure your programming skills are first rate, but the quality of the 3D printed parts was not at a level that I would even pay a $10.00 for. Based upon photos from then, it would still take a lot of work. And yes I know that better printers might yield better results, but I’ve purchased quite a few other 3D printed kits since, and they don’t suffer the same problems. I’m happy to pay good money if I’m getting something I don’t have to fool with much. Or try to print myself.
I’d be thrilled if your version has gotten better since then.
For anyone not wanting to wait, and can manage to find one of the Monogram ones in the B-24 kits (there were several of the correct variant the came with the Cletrac at the IPMS USA Nationals a few weeks ago) there is a semi build log showing how to upgrade it in the following thread. It doesn’t require much skill at all, just a little patience.
Fred Boucher (JPTRR) just recenlty sent me this one:
1 Like
That is entirely your choice. I did not prepare the model for general distribution for several reasons, although its fidelity wasn’t one of them. My SketchUp skills continue to evolve and if I were to design it today, I’m sure it would have been more elegant, but I’m not going to do that. I have two major commission jobs that are on the top of the list, plus I have some plastic kits that I’m itching to build. When I designed the tractor it was as a favor for my local hobby shop owner. We talked about commercializing it, but I couldn’t see how the volume would generate any appreciable income comensurate with the effort.
I dont think $80-90-100$ is out of line for the cleaned up print but the remarks regarding print quality raised above do concern me.
The small parts I have gotten from Shapeways all show a lot of stair stepping but the items I gotten recently from MS Productions (MikeyBugs) have been amazing and I know he just recently upgraded his printer.
Layering generally isn’t a problem in my work since I regularly print at 40 microns. My propblem with the Cletrac was printing an acceptable brush guard for the headlights. Also there are fragile details around the bar guards at the air compressor in the rear. I’ve learned a lot since I did the drawings and printing for this model. I may try and clean it up a bit. Not now though…I’ve got a ton of work.
2 Likes
Any decisions whether this will be a kit or a 3D piece?
Funny you should ask…
I have a new 4th gen Elegoo Saturn 4 Ultra. It’s capacity, speed and resolution are significantly beyond what I was using when I first developed the Cletrac. That product was not good enough for any commercial use. That said, this machine can produce parts of much finer structure and it would greatly benefit the Cletrac. Let me think about it. To print it on my 1st gen machine I had to oversize a lot of parts to get them to print at all.
I’d be interested in seeing the results.
2 Likes
What @18bravo wrote.
Me too.
1 Like
You will have to be patient. I’ve just started work on the #3 Engine Room for the Battleship New Jersey Museum. If you not following this insane !:48 project, you can follow it here…
This project will take more than a year to create. I may get the opportunity to build stuff in between, but that will be lower on the todo list.
1 Like
No worries.
We have PLENTY of other things to do as well.
![]()
This project has come alive again. Brian Bunger (of SRI in Louisville) was contacted by a fellow who owns a real Cletrac and wants me to make a model in 1:32 for him. With the new Saturn 4 Ultra and the success I’ve been having building the Big J Engine Room #3, I changed the drawings ot refine some of the coarser details. Here’s the refined drawing and some of the enhanced details. I also changed the drive and idler wheel designs based on pictures sent by the client. There are still some minor differences, but they wouldn’t have print well with them included. In the few years between the first design and this version, my SketchUp skills also improved letting me enhance the project.
Rendered in V-Ray

Screen Print out of SketchUp.

I was thinking about individual track links, but the 1:1 track is a rubber belt with cleats bolted to it. Individual links, therefore, would be untrue. I was able to draw (and will print) tracks with some corect sag in them.
I drew and was rewarded by the printer reproducing the fan and double v-belt. I didn’t know it that would work since the fan blades are really thin.

Here’s the print;

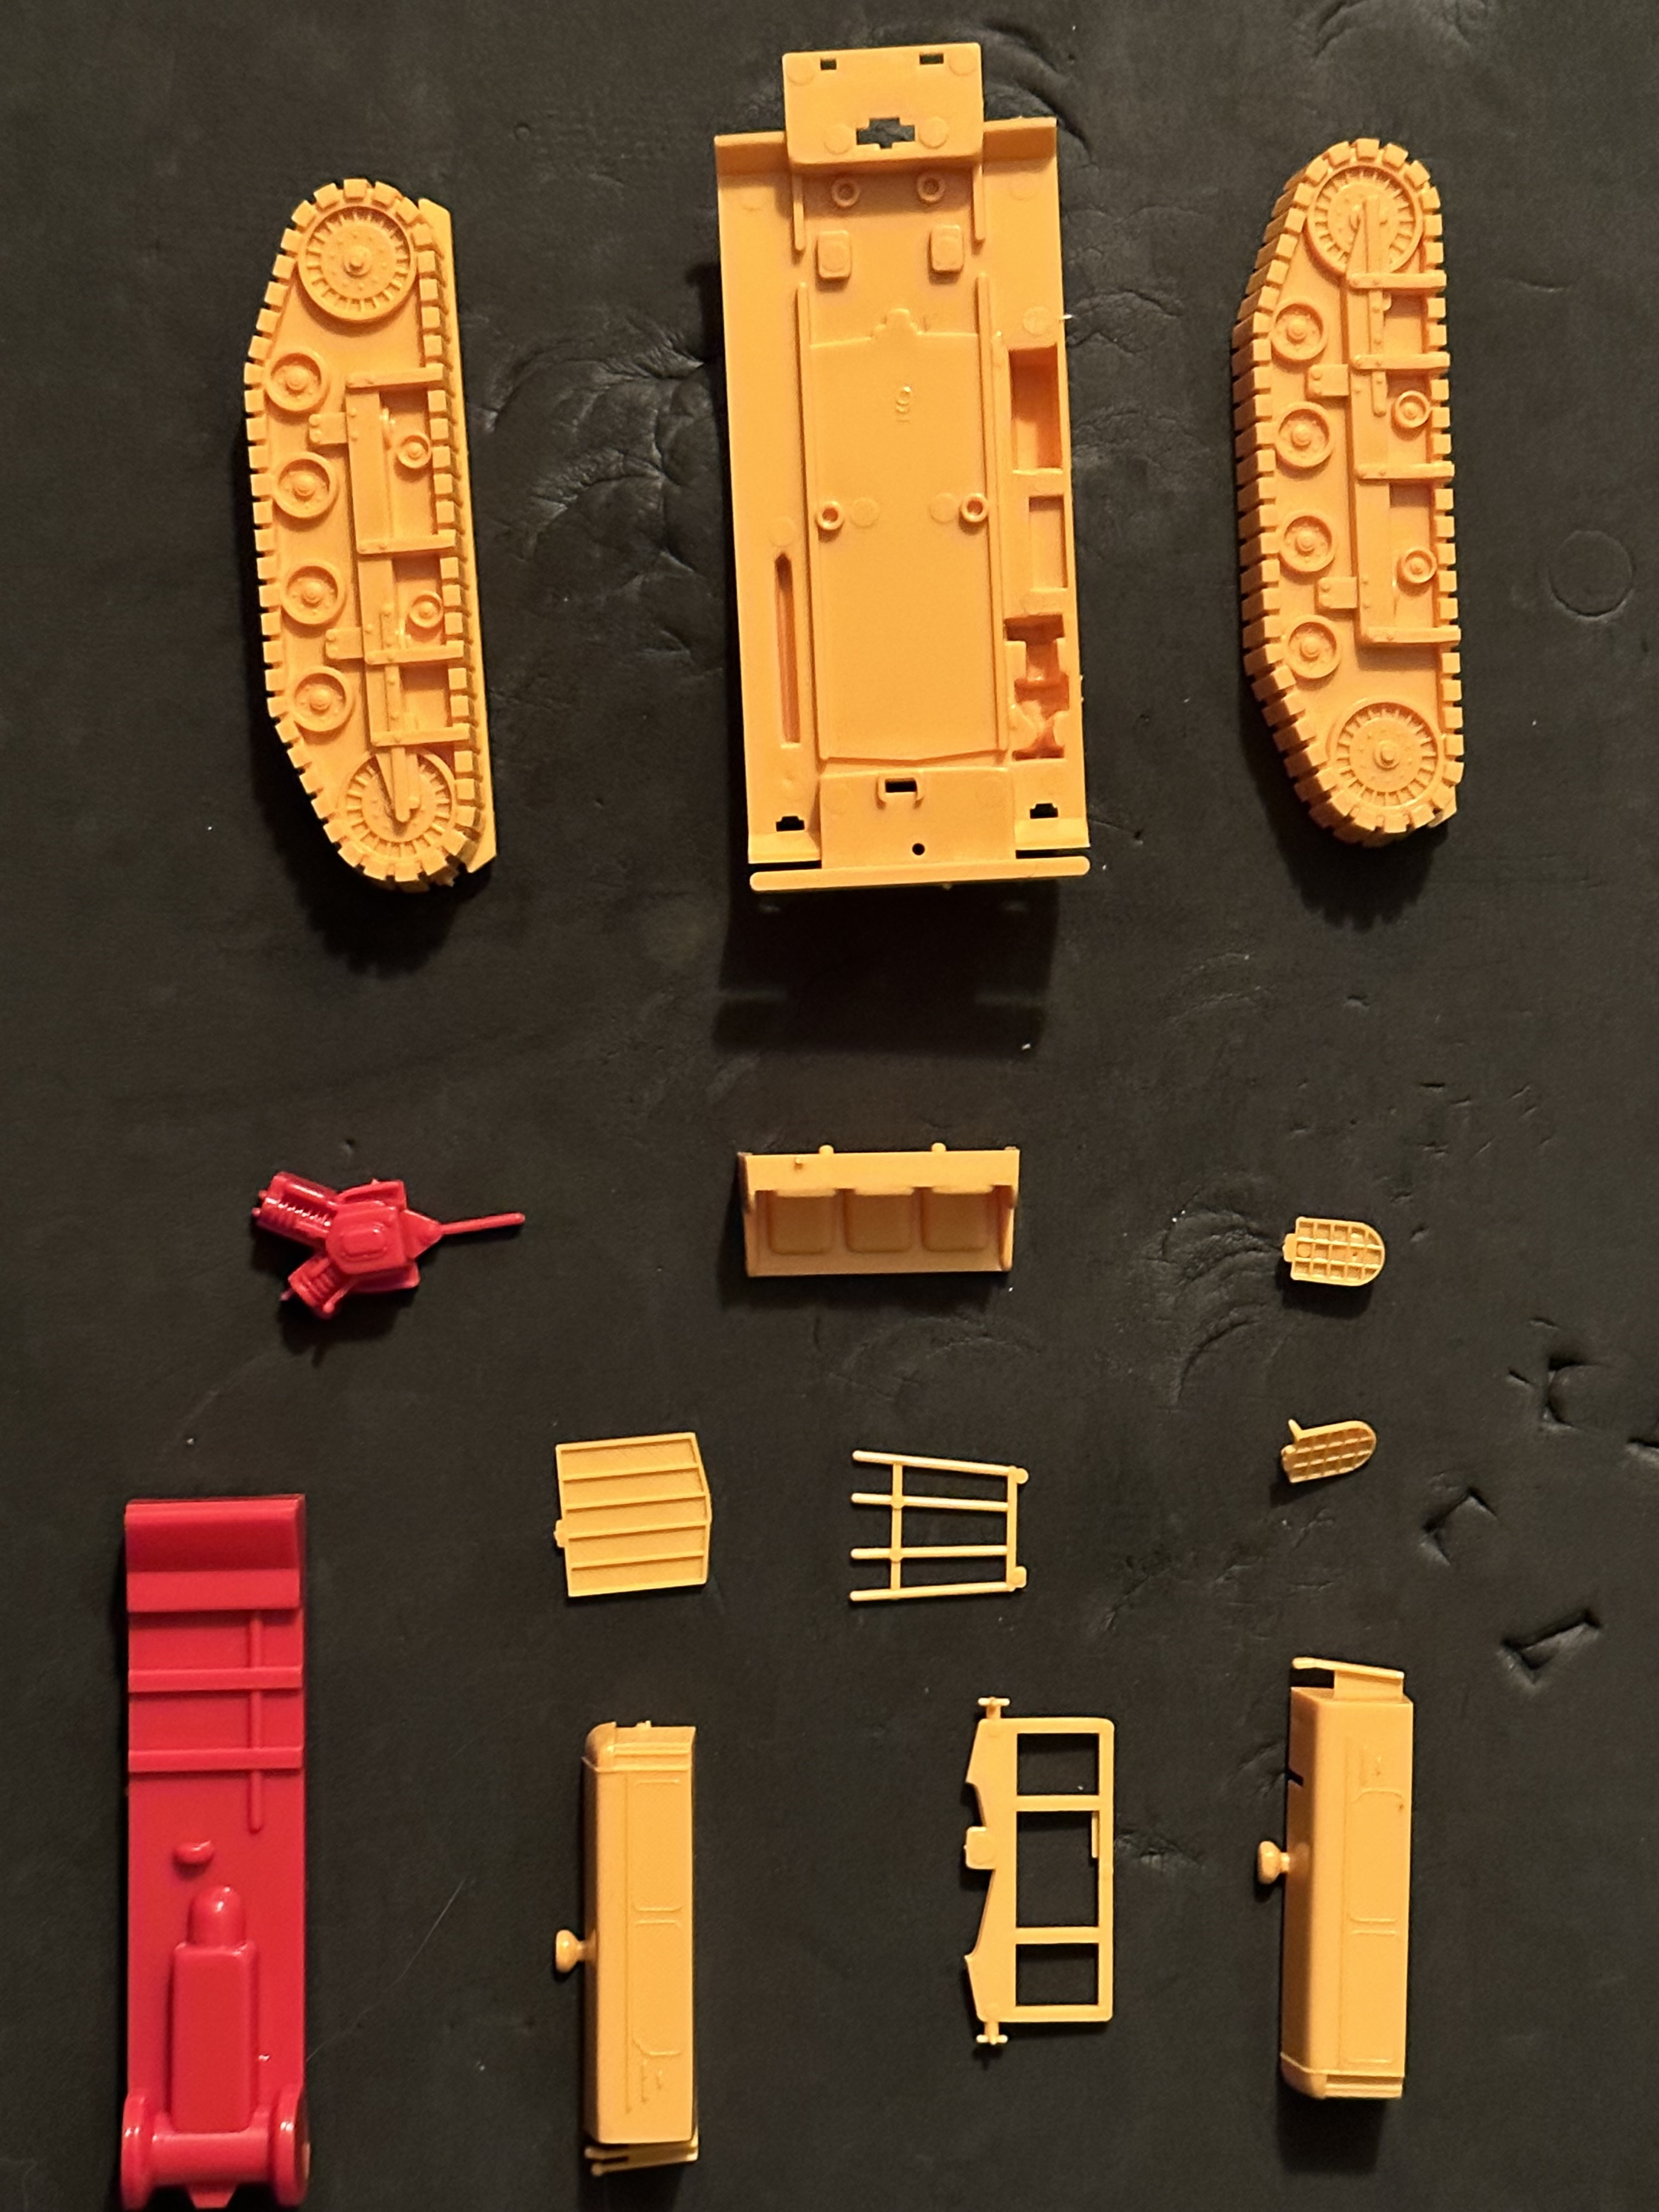
Last night I printed the entire frame with the grill guard in place and the driver’s compartment. It’s not cleaned up yet. Next up with be the entire running gear. The gear will fit the frame with integral alignment pins. All of the accessory parts will be printed in the next couple of days.
The refined brush guards as drawn:

And as printed:

Painting the headlight lens will be tricky behind the grill.
The hardest parts about printing some fine details are getting supports that are small enough (and strong enough) to help in forming the part without destroying it in the process, and trimming those supports from the part without cutting the part. That’s why for these tiny things I make a lot more than I need.
I also thinned the air hose rack tips from the 1:48 version.

With the refiinements I’ve made it should go together as a kit pretty nicely. The last iteration was not engineered as well. I will post further developments going forward. Not a lot of parts count, but that’s the 3D printing effect.

12 Likes
i’ll keep an eye in here,
1 Like
More parts done. In fact, with what’s hanging on the machine dripping excess resin, is all the parts are now printed. The running gear came out better than expected and showed that I can print good looking tracks with some droop built in. There are still some minor supports to be removed. I left these on until after post-curing along with some support nub sanding.


I had couple of minor breakouts when doing the support removal which I fixed with Bondic UV filler. First the bumper.

And another spot on the rear of the driver’s seat.


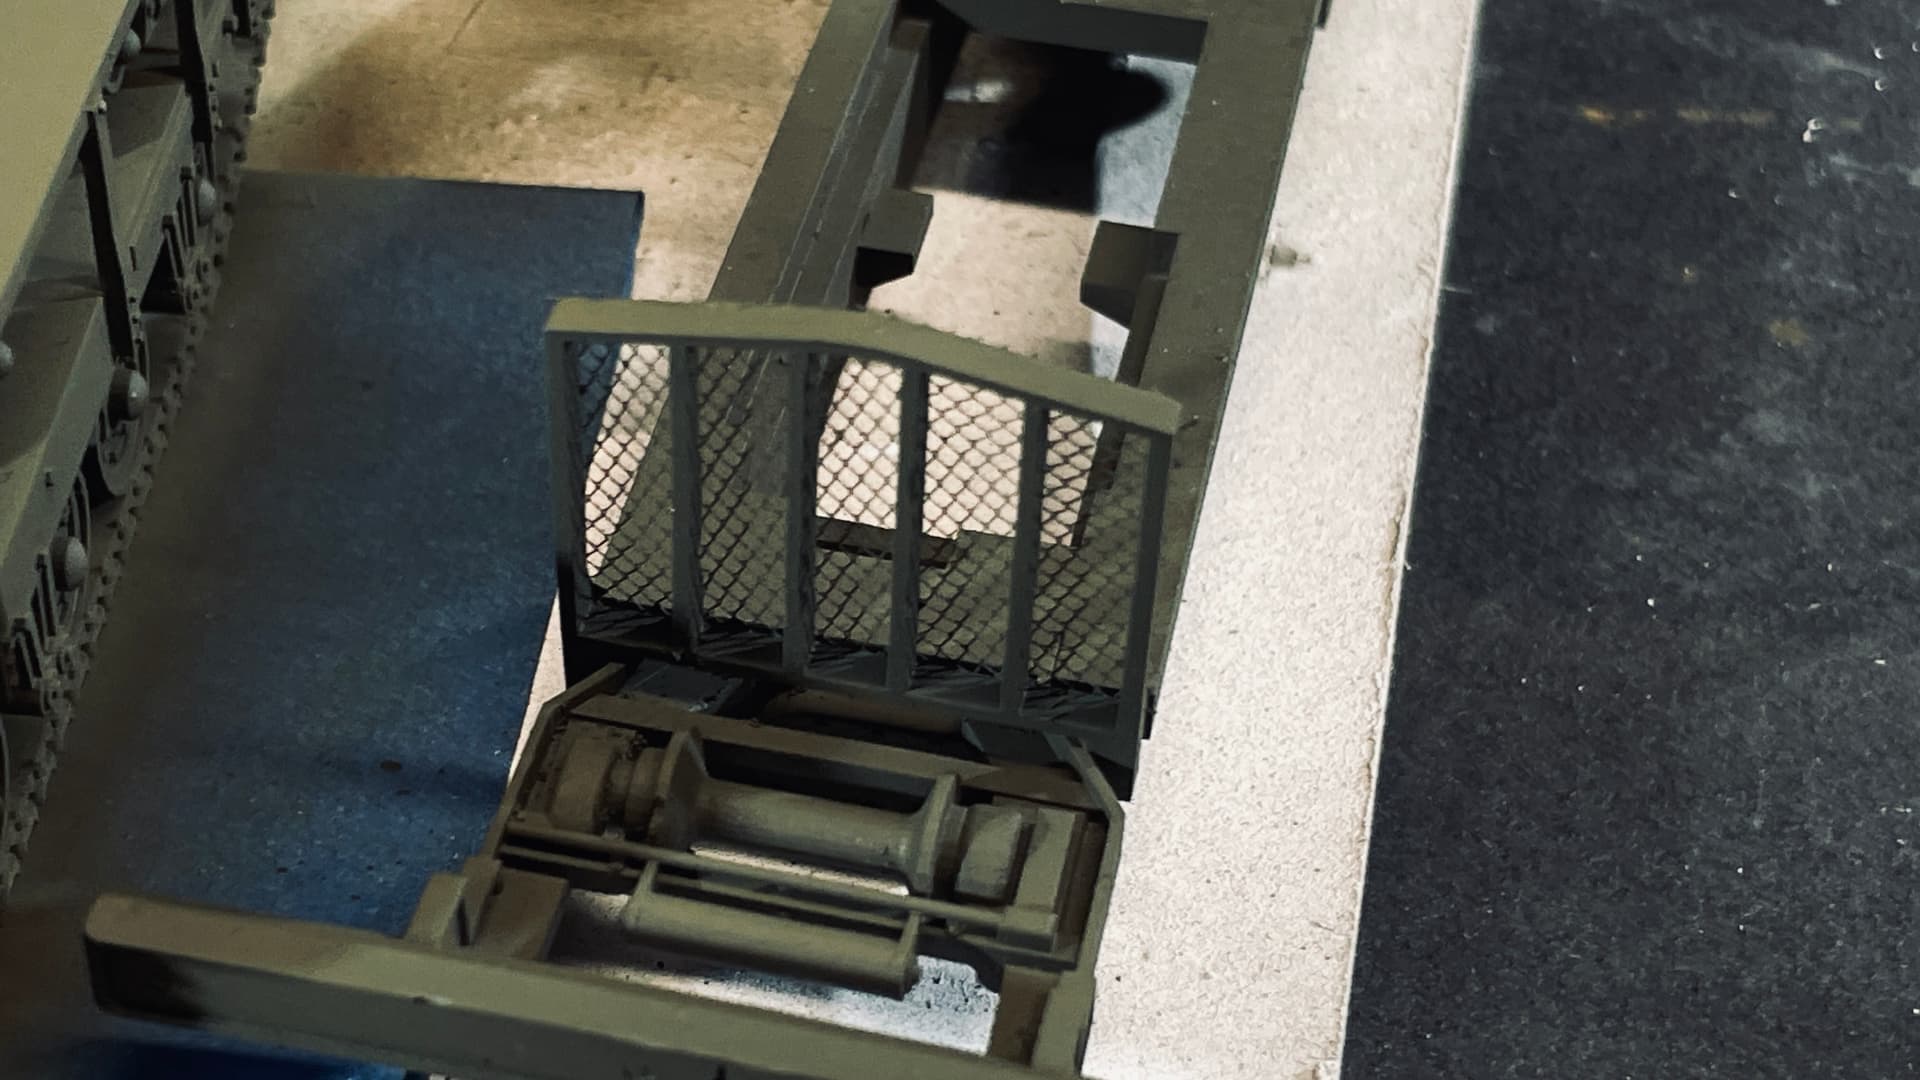
The frame with the integral grill guard worked as planned.

And the operator’s levers also worked nicely.

When I post this, I’m going downstairs and clean up the rest of the parts. Assembly, paint and decal making are left to complete.
6 Likes
Everything is printed except the windshield. That’s on the Machine right now. I’m also reprinting the compressor and the air deck. A couple of tiny aspects didn’t print well and since I’m doing a windshield print, adding more doesn’t add any time. Tomorrow assembly will begin along with painting. Decals are the last thing since I need to match the background color to the paint. I print white decals on white background decal paper. If I don’t match the background, I would have carefully trim around everything with a razor knife and it’s terrible to do. That’s especially true when doing stenciled lettering. Matching inkjet color isn’t easy. It usually takes about 10 samples to zero in, mostly due to the screen color and print color being so different. Also inkjet output varies a lot with the viewing lighting.

7 Likes
Everything is successfully printed. I mounted the windshield. BTW: Broke one end of the thin frame separators on it, but I print 2. The second one was perfect. The re-printed air deck and compressor were also very fine. I added some tulle to create the screen that sits on the radiator grill guard, and painted everything. I airbrushed straight Tamiya O.D., then lightened it up with some Khaki Tan and sprayed the upper surfaces. I will go back and do some minor weathering when the paint is fully dry tomorrow and pick out the details on the running gear, engine and other apparatus.
Bridal Tulle is probably the cheapest modeling material you can ever buy. Less than $1.00 for enough to do a lot of models.

I coated the grill with accelerator then applied the tulle, pulled it tight working around it and tacked it with CA with Rubber (my new favorite CA). It cured quickly. After curing I used a brand new #11 blade and trimmed it close.

All the painting took very little time. What took all the time was cleaning out the bottles of dried paint and the airbrush suction cap.


The grill after painting looks just like I wanted it to.
I painted a large test patch of the two shades and will scan them into my computer to start the decal making process. I’ll have to match the OD in the inkjet as close as possible. I’ve had mixed results with this, but it can work.
8 Likes
Congrats Myles on this work. It looks beautiful.
Thanks guys! I’m still wrestling with getting the OD background color correct for the white decal sheet. I thought I had it with the north window lighting upstairs in the room where the inkject printer lies, but it was not correct when I took it to the shop under the different lighting. Went back and made more changes, but then the printer ran out of cyan and yellow ink. I’ve got another cartridge coming on Monday from Amazon. OD is a tough color to match. What the scanner sees and what the printer prints IS NOT the color of the paint. I wish there was a way to fine tune the scanner at the get go so it would be closer.

Did detail painting today. The tracks look really nice and that’s without any dust weathering. I used a gray black to paint the rubber portion of the track and Tamiya Dark Iron with some added red for the metal track shoes.

I painted the seat and the details on the air deck.

I looked at some reference pics more closely and noticed that the headlight brush guards protrude forward of the fender. Then I realized that the intergral light/guard print I made would be very difficult to paint the headlight reflector surface. I separated them and reprinted. Then I tried using Molotow chrome decanted from a 2mm pen. The reflector looks terrific. I’m toying with either making a round, clear piece of styrene for a lens cover, or filling it with Bondic. Bondic is pretty clear. I made a separate test piece to try both ideas.

I had dropped the engine. I didn’t think it suffered any damage until I was starting to paint the details and saw one fan blade missing, the fan belt damaged and the power-take-off pulley was broken free of its shaft, only held by part of a fan belt. I might have let it go since seeing it will be difficult. But then I also realized that I never drew or printed the engine with a distributor. This bugged me since I printed beautiful little spark plugs. I redrew the engine with a distributor and reprinted three of them. They’re fragile. You never know what I might break next.
Everyone have a nice rest of Valentines Day and I be back on Monday.
9 Likes
Ill keep an eye in here, as i have a 3D resin one in 1/35th to build
[!!!]![]()
1 Like
Ah, the nemesis of all model builders,
something or other always breaks …
Impressive work on that tractor!
![]()
2 Likes