We’d start with the lowest and many seasons just have one or two plus the headsails. When we felt more ambitious we’d bend on all four.

1 Like
Well, ya gotta admit, Danie, with all the sails out, it looks impressive!
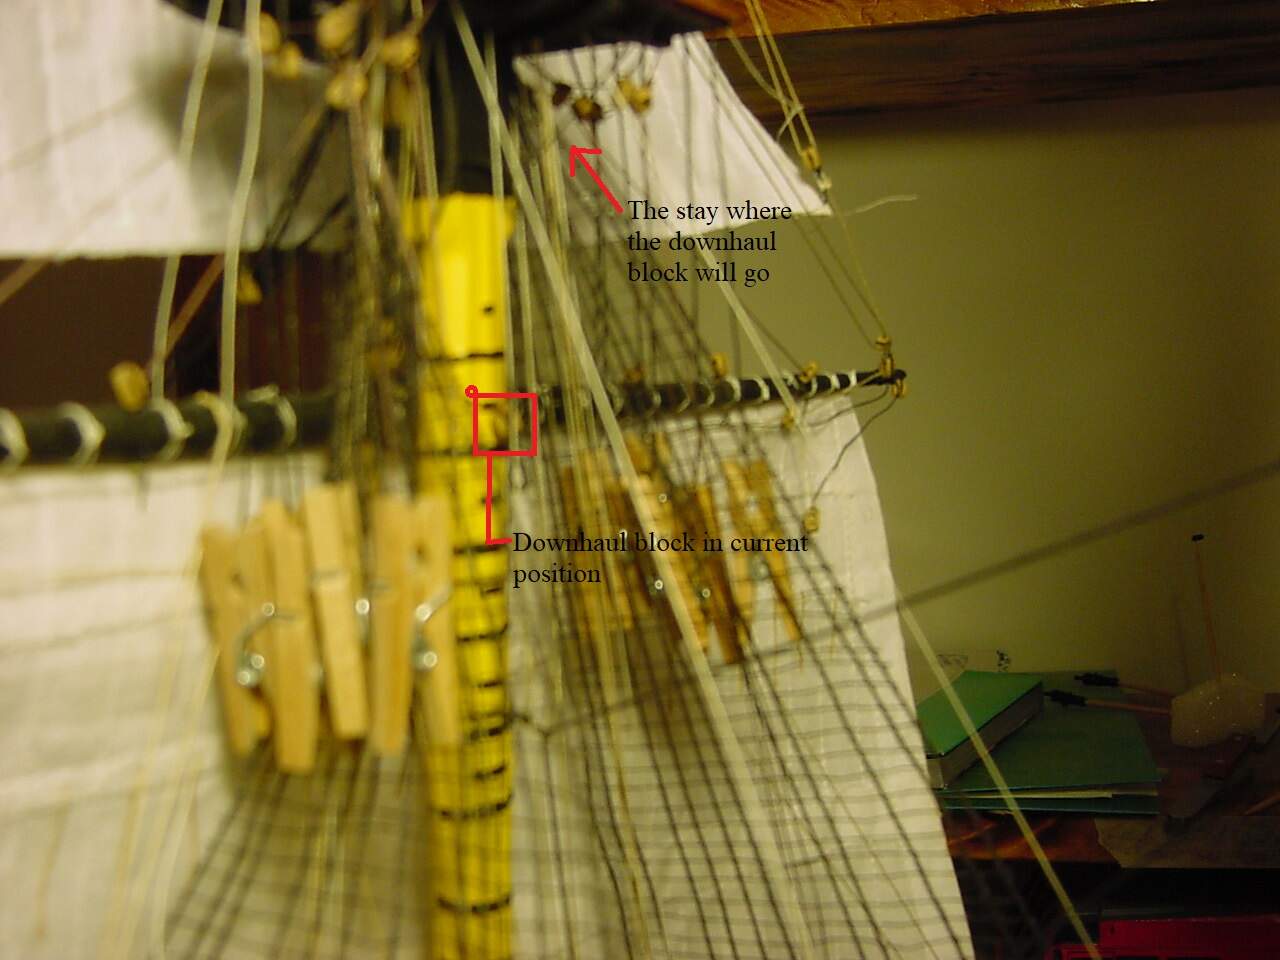
As for Victory, I was getting ready to install the various blocks for the staysails. However, I ran into a bit of a problem (primarily cosmetic) with where the downhaul blocks get attached. The instructions show that the downhaul blocks are attached to the mast, snug up to the respective stay. Well, I got myself in the right frame of mind, and started to get a block wrapped around the mast, even with all the rigging previously installed. Once I got the block around the mast (but not secured), I didn’t like the look of where the block, in relation to where the stay is, and how the downhaul would “cut across” the sail, instead of running parallel to the edge. So I’ve decided just to attach the downhaul block to the stay, much like the halyard block.
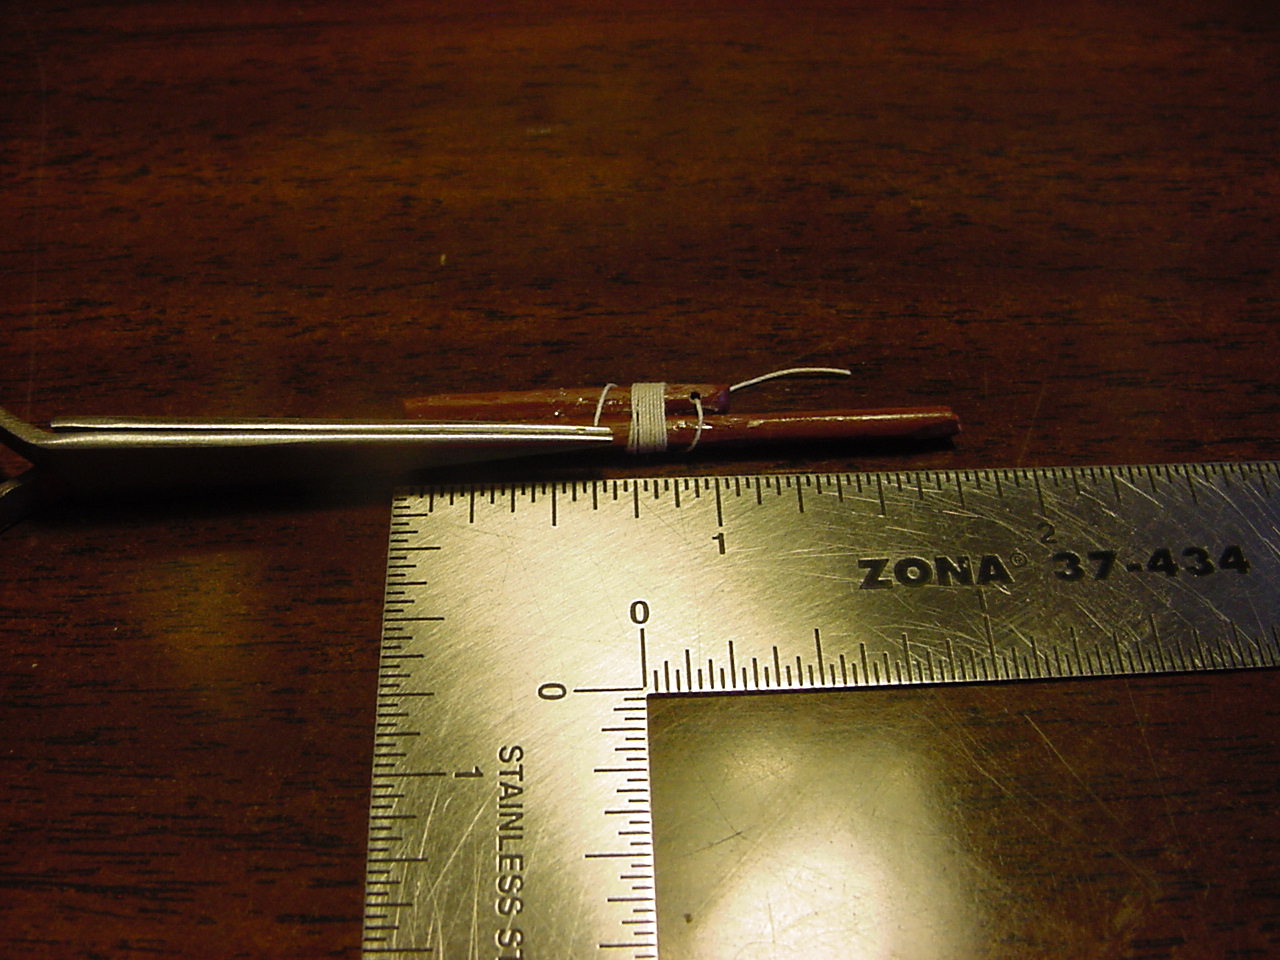
Here’s some blurred photos, the first one showing the thread that holds the downhaul block to the mast - I made the thread extra long, in the belief that I’d be needing all the excess to tie it around the mast. The second photo shows the downhaul block, and where the stay is located relative to the block.

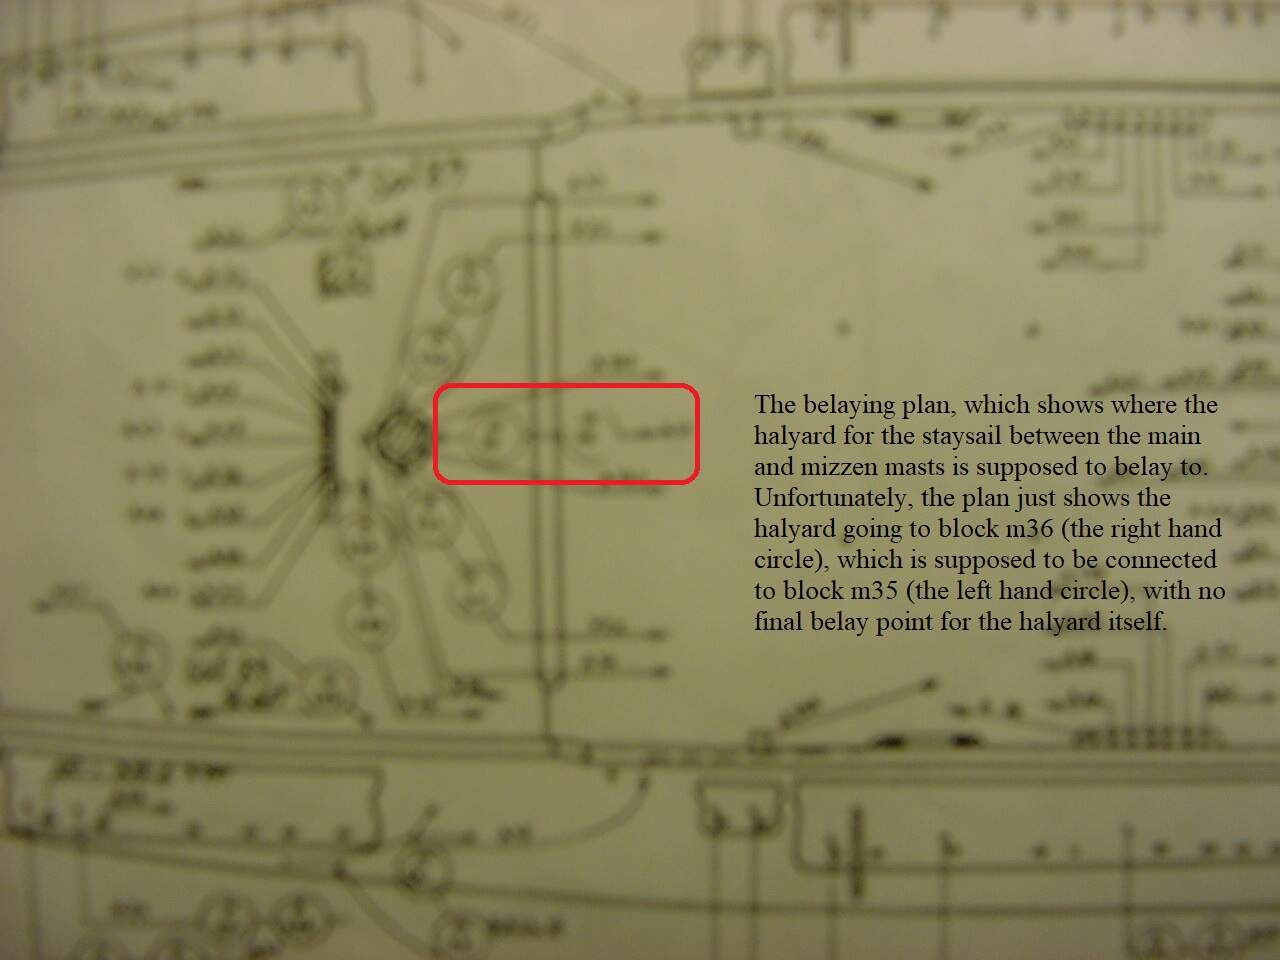
This last (blurry) photo shows the belaying plan. According to it, the halyard is supposed to go to block m36, but the belaying plan doesn’t show a belaying point for it. Also, it shows that block m36 is connected to m35, but doesn’t show how the halyard might get roved through them. I guess, if I take another “m” block, put beckets on both ends, it would justify having the 2 blocks…but I still don’t have a belaying point!
Sorry for the blurry photos.
Thanks for reading!
1 Like
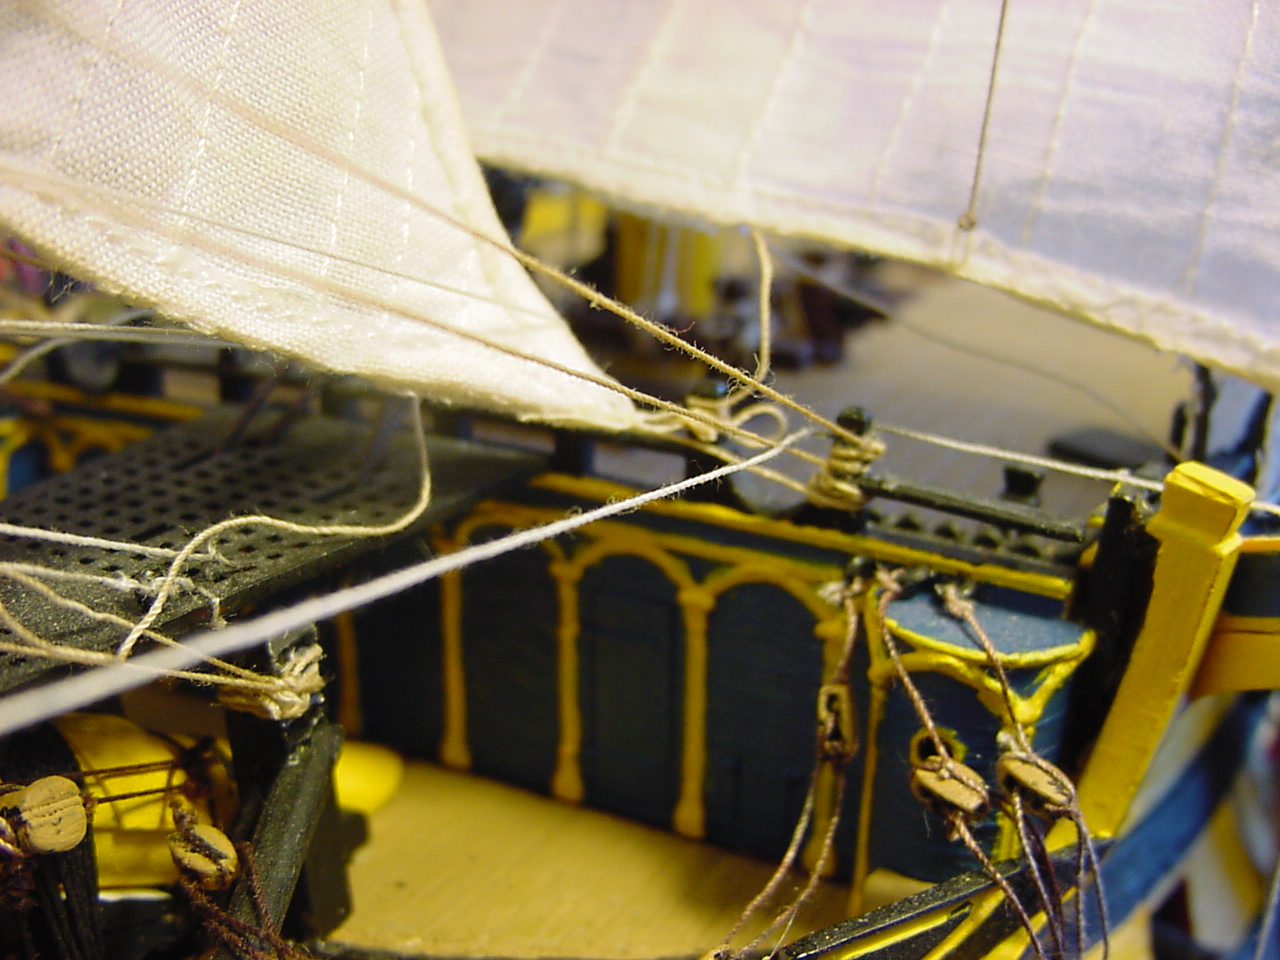
Big progress! I got both of the staysails installed (but not completely rigged). I managed to tie a block to the ringbolt on the deck for one of the sheet lines on the main staysail (this is the staysail between main and mizzen masts). It wasn’t as hard as I thought it would be to get installed, since there’s plenty of other rigging to get in the way. The (blurry) picture shows the block, it’s the left-hand block in the picture:

And here’s a pic of the main staysail attached:
This picture is of the block & downhaul line on the same staysail:

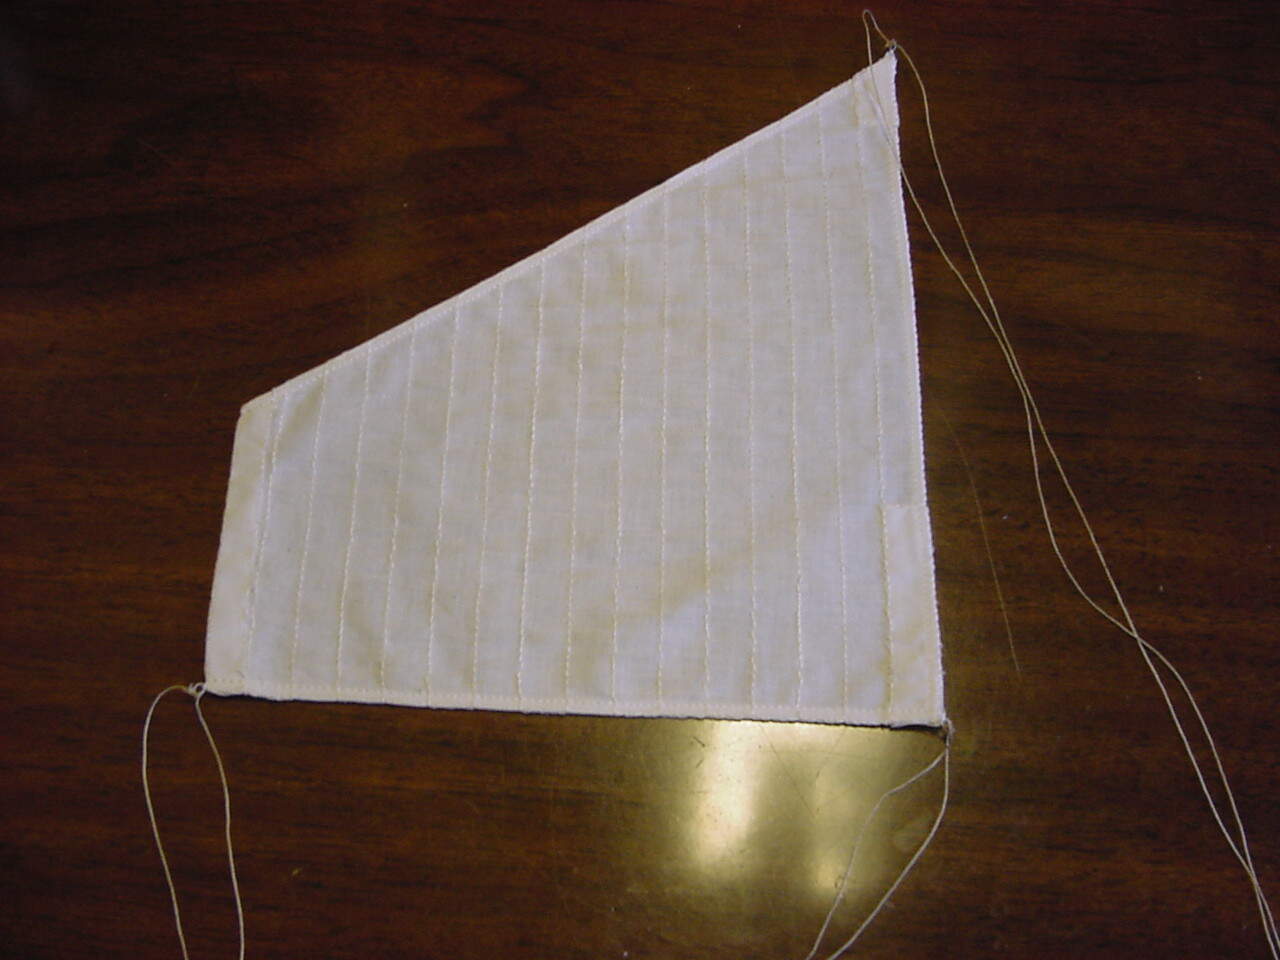
In trying to get ahead of the “this damned thing’s a nightmare” curve, before installing each staysail, I added 3 cringles to each staysail, and then added the lines to the cringles:
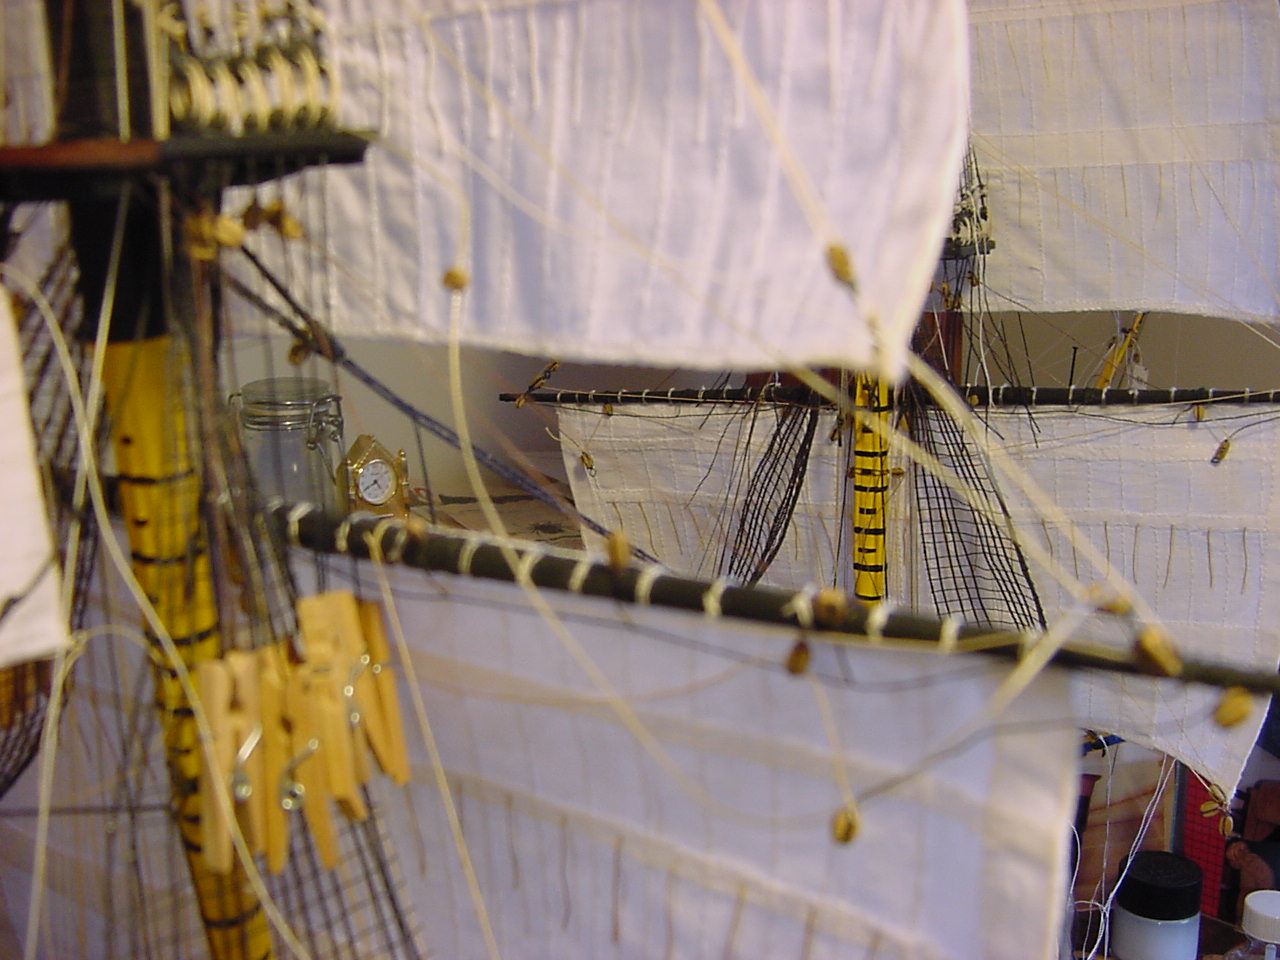
This next blurry photo is trying to show that one of the mainsail yardarm lift blocks came undone, and now the lift line isn’t taut like the others. This particular block is supposed to be tied around the mast, just above the mast cap. Not sure how it came undone, unless it was me bashing into the yard while trying to install the main staysail. The block in question is the one that is centered in the pic.
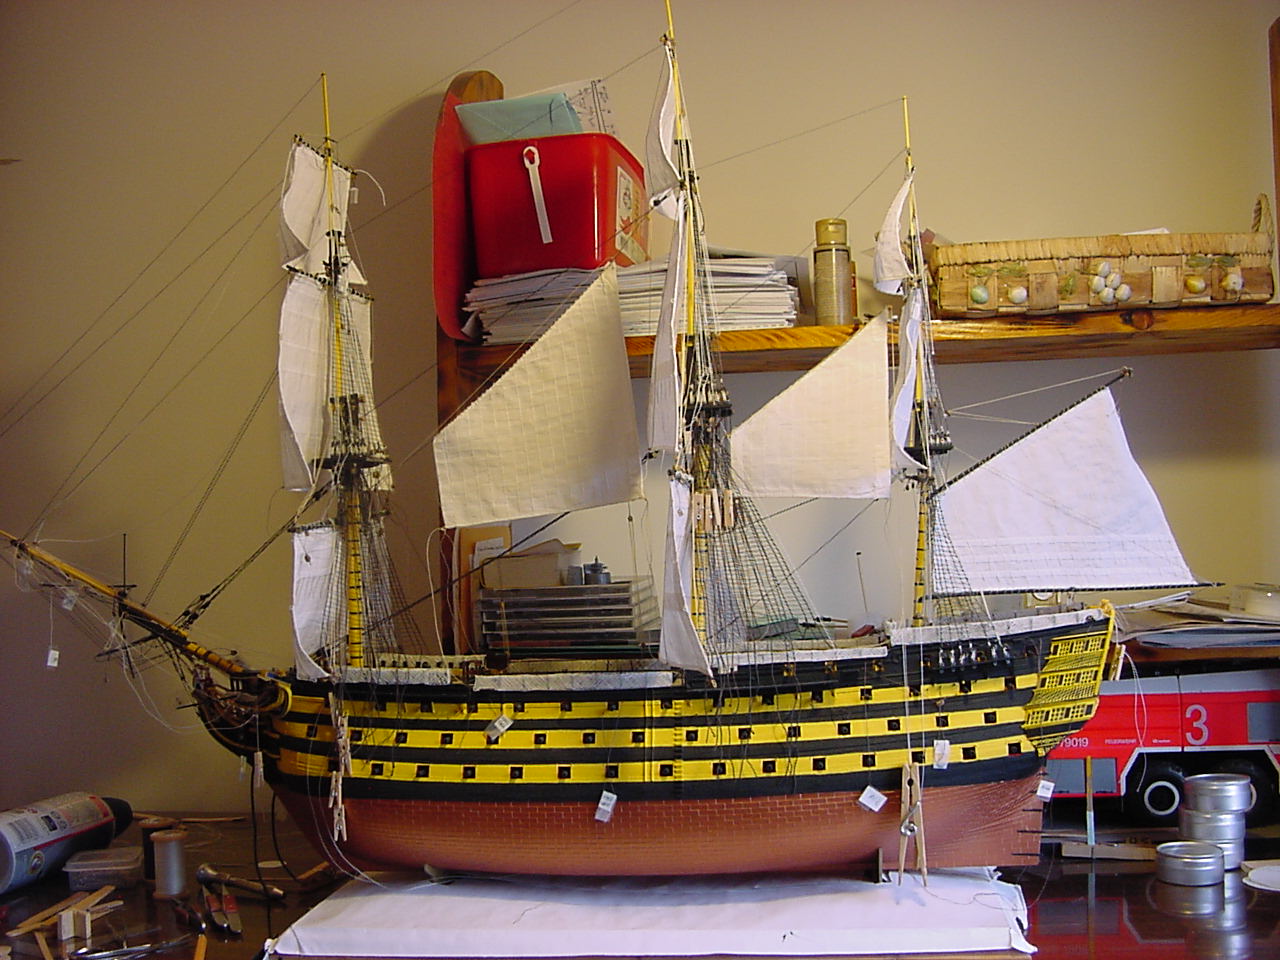
And finally, a pic of the whole thing:
Thanks for stopping by and checking things out, and I hope you all have a wonderful St. Patrick’s Day!
5 Likes
She looks Beautiful, Tim! ![]()
1 Like
Ditto!
Mark ![]()
1 Like
Thanks guys! I’m really beginning to see some light at the end of the tunnel on this build!
1 Like
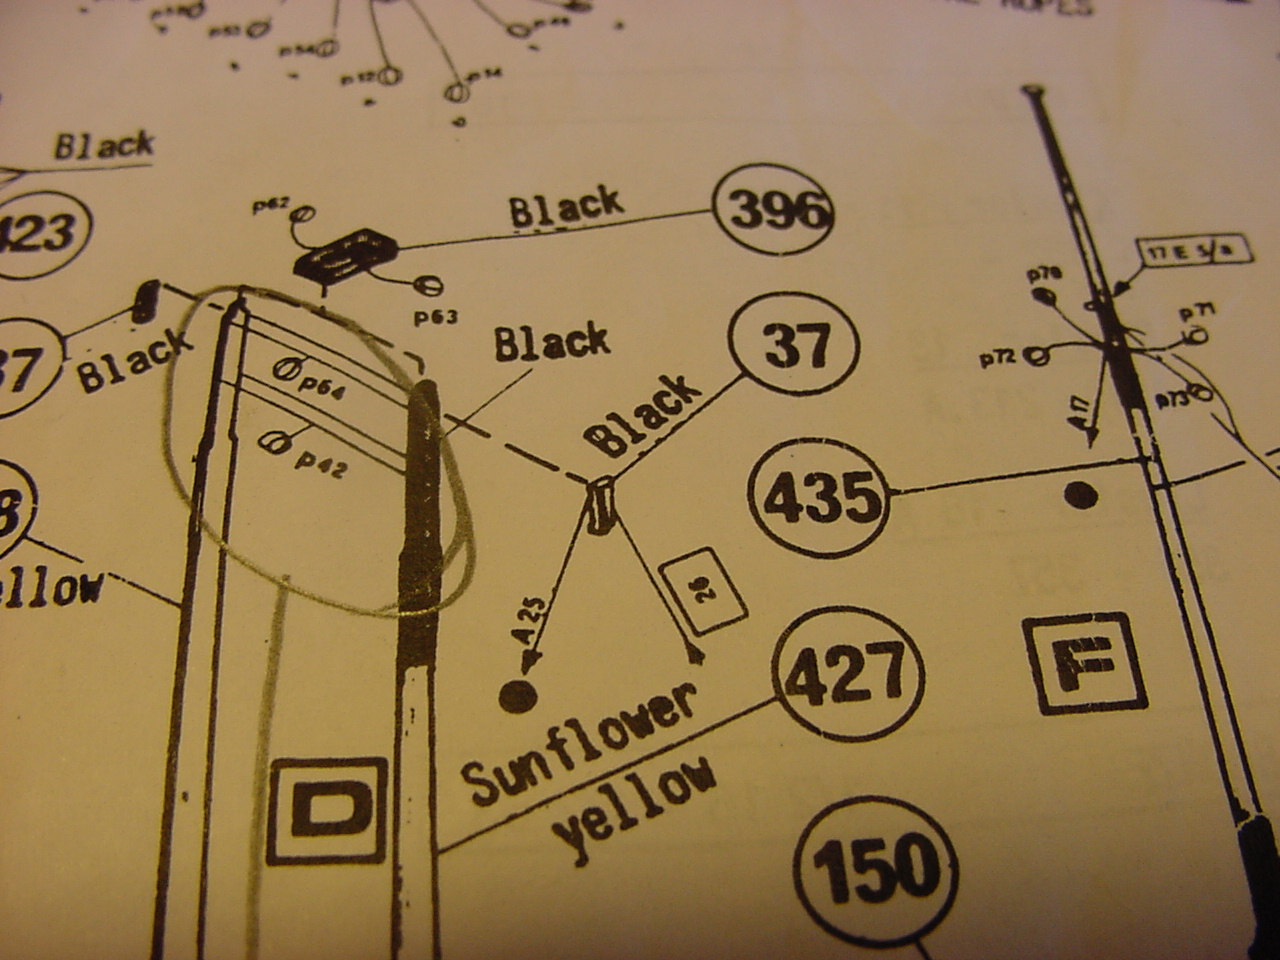
The story so far: I was trying to figure out where and how the haulyard (line A25) for sail B5 (?) was rigged. In the instructions, it just shows line A25 going up to the trestletree, and then down to its belaying point:
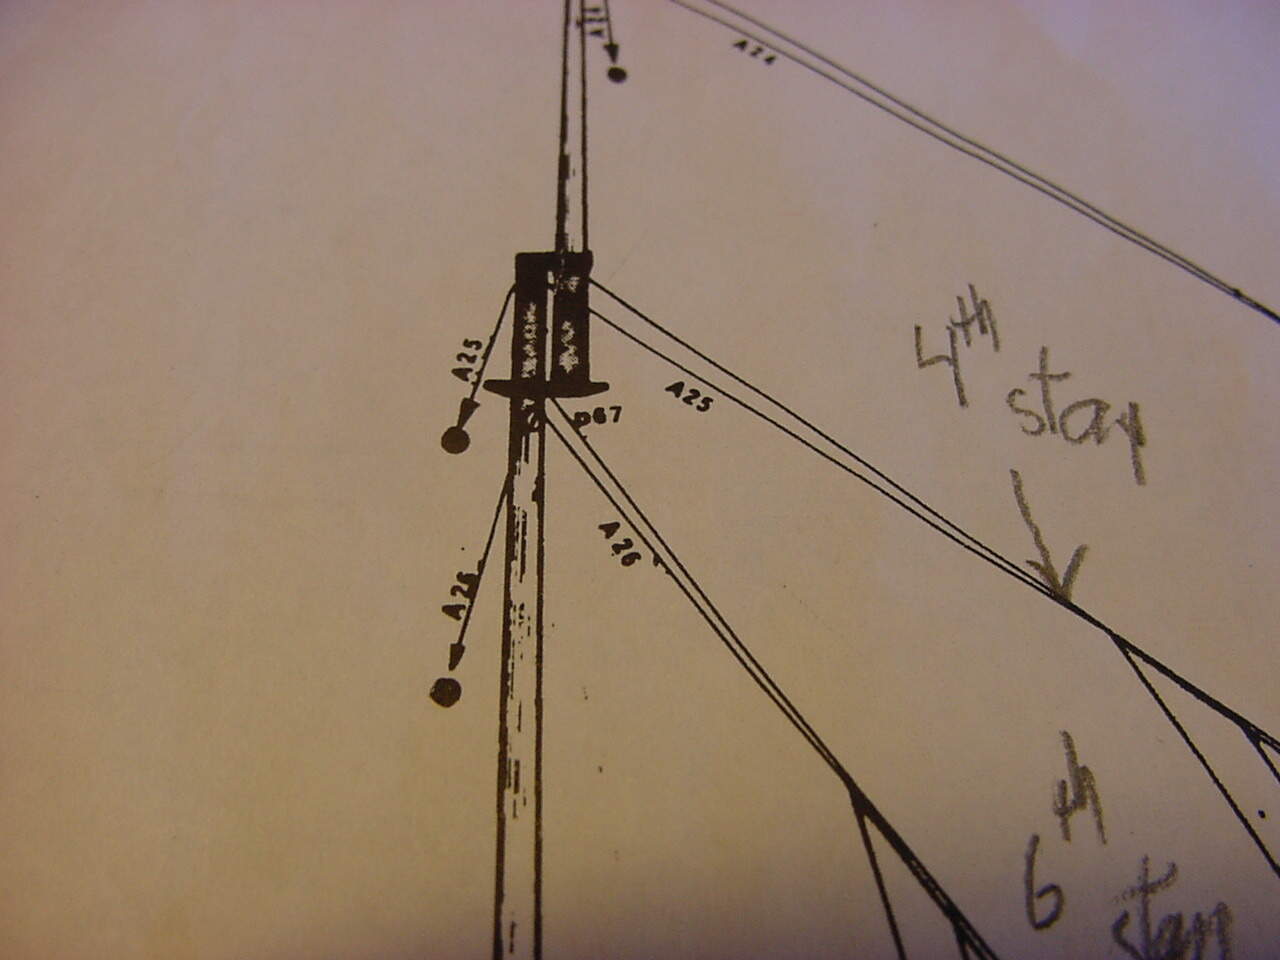
This was confusing, as most other haulyards show them going through a block. Doing some research, I found back in instruction 20 (composition of the foremast) that line A25 goes through part 37:
So it was a eureka moment!
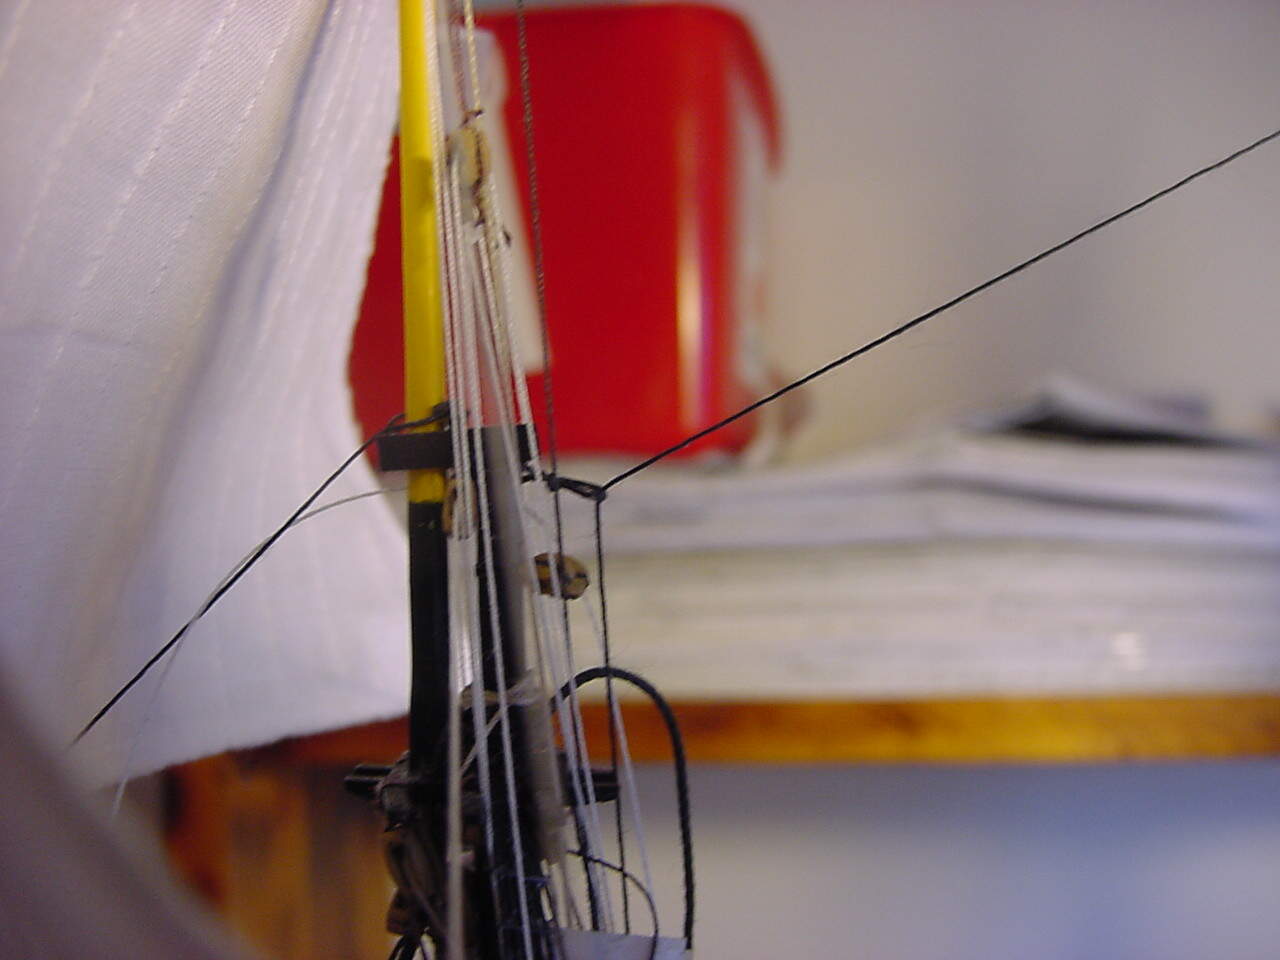
These next two photos (one from the aft side, the other from the fore side) show how I’ve inserted a helper line through the hole on part 37 (I had to drill it out to make it a bit larger). The helper line is the light colored, non-taught thread:

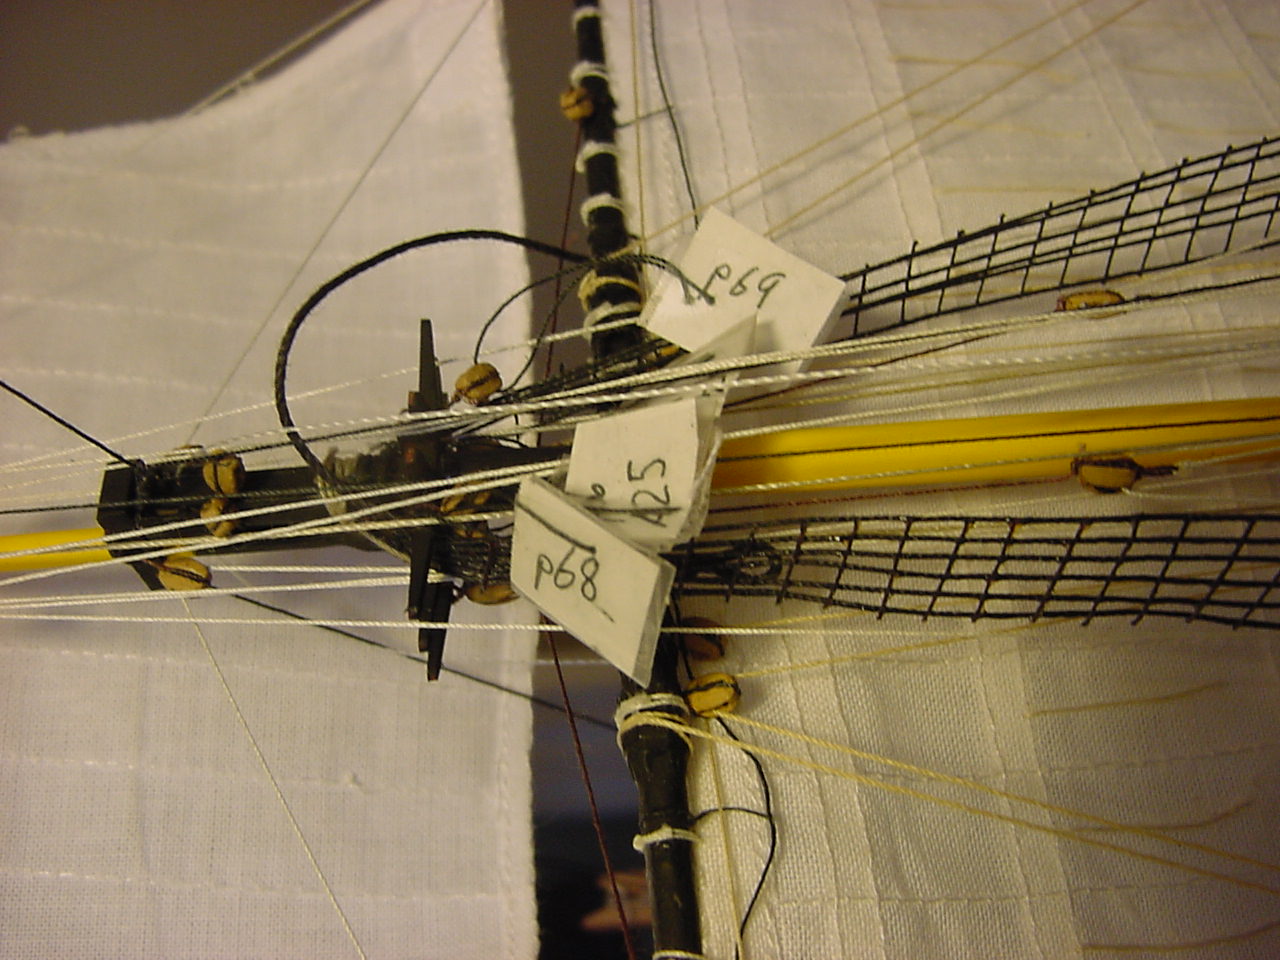
And lastly, a pic of a bunch of blocks that were installed around the trestletree way back when. I’m glad I put tags on all those blocks, because otherwise, I wouldn’t know what each one was for!
So now with some details worked out, completion of the rigging of the staysails is all but imminent!
Thanks for reading, and of course, if there are any questions or anything, fire away!
Cheers!!
3 Likes
You are doing great! Even on a real ship sorting out where all the blocks go can be aggravating. At least you don’t have to find the right size shackles for each one or deal with missing shacklebolts. ![]()
1 Like
Thanks Danie.
In today’s episode, I finished belaying all the lines for the staysails between the masts (yay!!) I then turned my attention to attaching one of the bow staysails to its stay. Everything was going pretty good, until I got towards the bottom of the sail, when I realized that I was attaching the wrong edge of the sail to the stay. So out came all the loops of thread, and off came the sail. I guess it’s a blessing in disguise, because I hadn’t attached the various handling lines to the sail, so with the sail off the ship, I attached the handling lines, and tomorrow will be another attempt at attaching the sail.
Cheers!
2 Likes
Psst. Don’t tell anyone, but only the innermost one is called a staysail; the Foretopmast Staysail… the rest are Jibs or Jibsails. Collectively they are headsails. But that’s just our secret. [giggle]
1 Like
Don’t worry, Danie, my lips are sealed!
2 Likes
Success! I finally got the last sail attached, and got it done before the end of the month! Not sure what exactly my next steps will be, but they include fixing some of the stuff I’ve broken, complete the rigging on the staysails, install the ship’s boats, and figure out if I want to do the bowlines first, or the braces. All that should keep me busy until the end of summer. ![]()
4 Likes
Steady as she goes!
1 Like
So with the last sail attached, I’ve been working on finishing the rigging for those sails. The first pic shows lines V18 and V20 (which are the downhaul lines for the 2 innermost sails) attached to the timberhead that is underneath the gangplank:

And this pic shows some of the lines that are tied off on the port side uprights (I’m not sure what to call those parts, so I’m just calling them “uprights”):
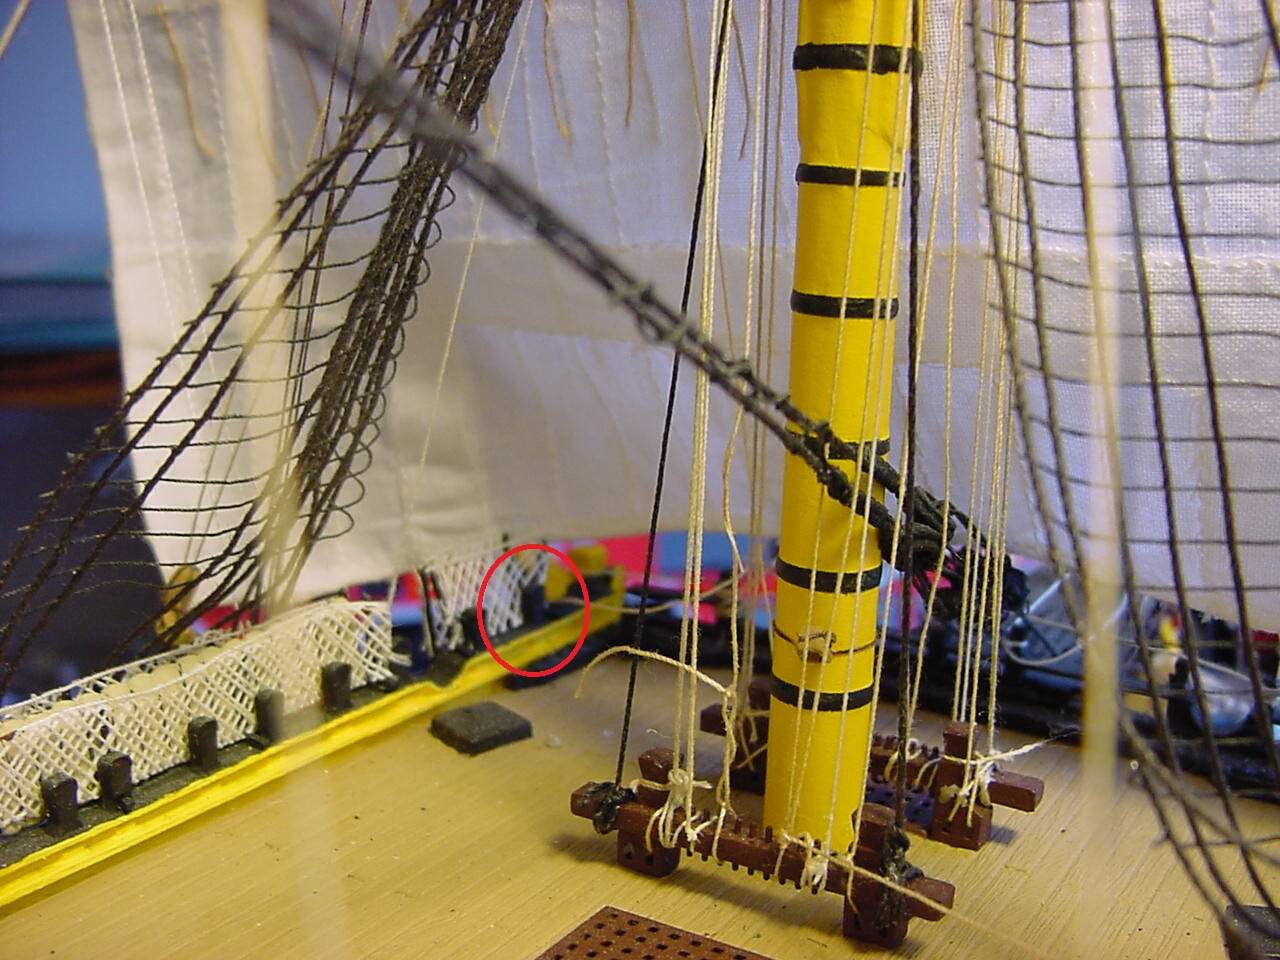
The next two photos show where lines A22 (port side) and A23 (starboard side) are supposed to be tied off (areas circled in red) (I believe these are the sheets lines for the outermost sail, but you can’t tell it by Heller’s instructions!). Unfortunately, I was unable to slide the lines in and around those uprights, mostly due to the tight fit between the upright and the upright of the hammock bracket, so I just tied these lines off on the uprights of the…of the…of the part that’s painted blue & yellow.

The last pic, and I’m sure I’ve posted one like it before, shows the bowspirit yardarm just hanging in space, because I always bump into it and knock if off. The only thing supporting it is the rigging. I took some measurements of the yardarm & bowspirit, thinking I might look at some small screws (well, a small screw) to more permanently attach the yard. I could glue it again, but I have no doubt that I will bump into it again in the future and knock it off (but then, if I screw the parts together, and bump into the yardarm again, what’s not to say that I’ll just crack the yardarm in half, and then I’ll have a bigger problem to contend with). Decisions, decisions!
Hope everyone is doing well.
Tim
5 Likes
Well if we didn’t knock things off we wouldn’t be ship modelers…LOL. Nice progress, looking forward to the commissioning.
Mark ![]()
1 Like
The number of lines is just mind boggling, Tim! ![]()
Great work! ![]()
1 Like
As Russ says…mind boggling!
Tim,
great to see an update and some pics of your Victory, good to see work is continuing! You are getting there! Great work!
Cheers
Jan
1 Like
Jan, Russ, & Mark - thanks, guys! Things are moving forward - I spent some time today fixing things that are starting to fall apart. I’ll try to post some photos either later today or tomorrow.
Thanks again!
1 Like
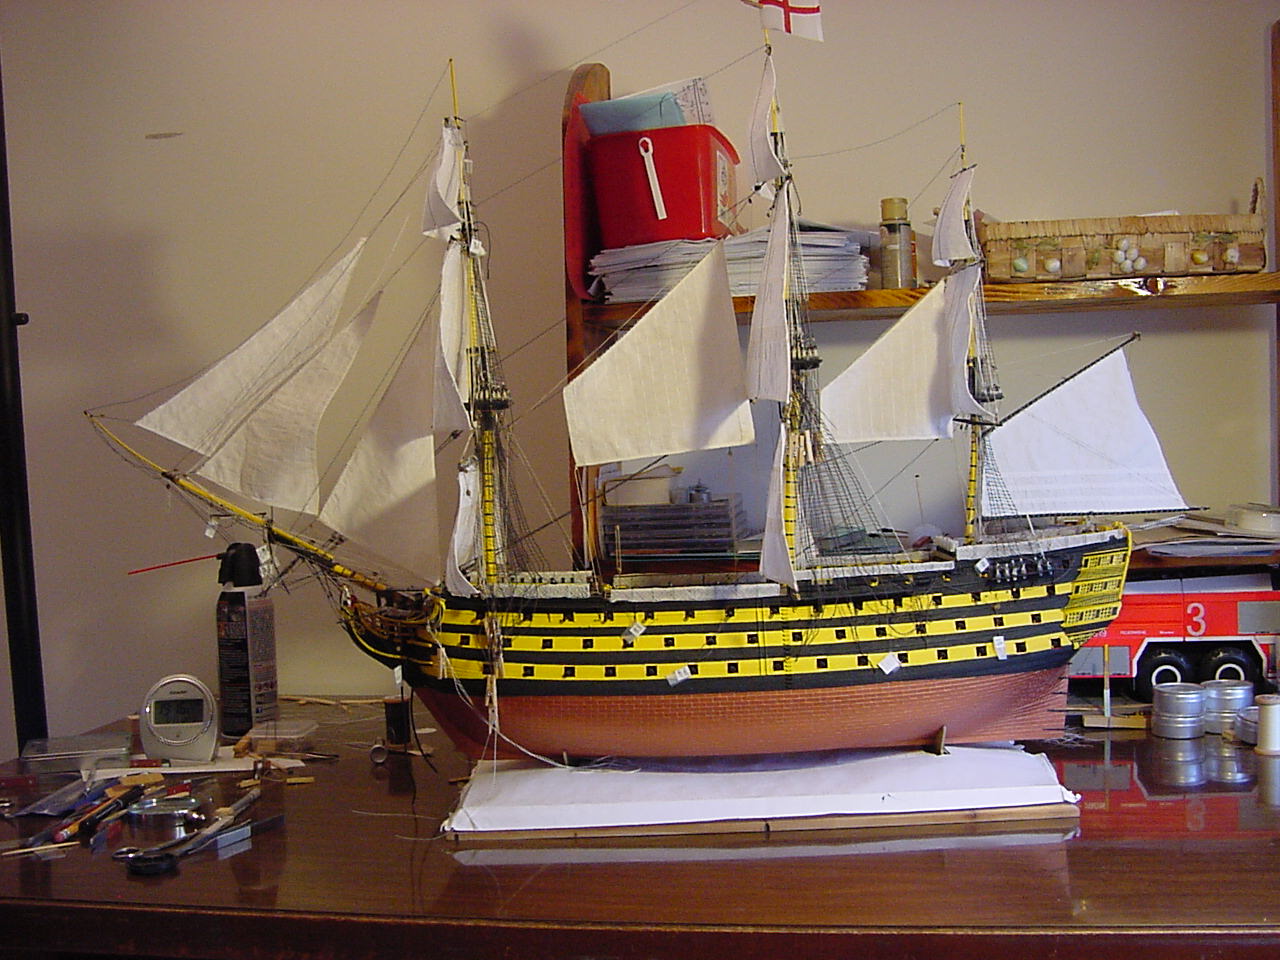
So, feeling a bit motivated, I took some pictures tonight. The first one is of the whole ship, with all the sails attached. Just to sort of give you an idea how big this boat is, I had to move back 6 - 8 feet to get the whole ship within the viewfinder.
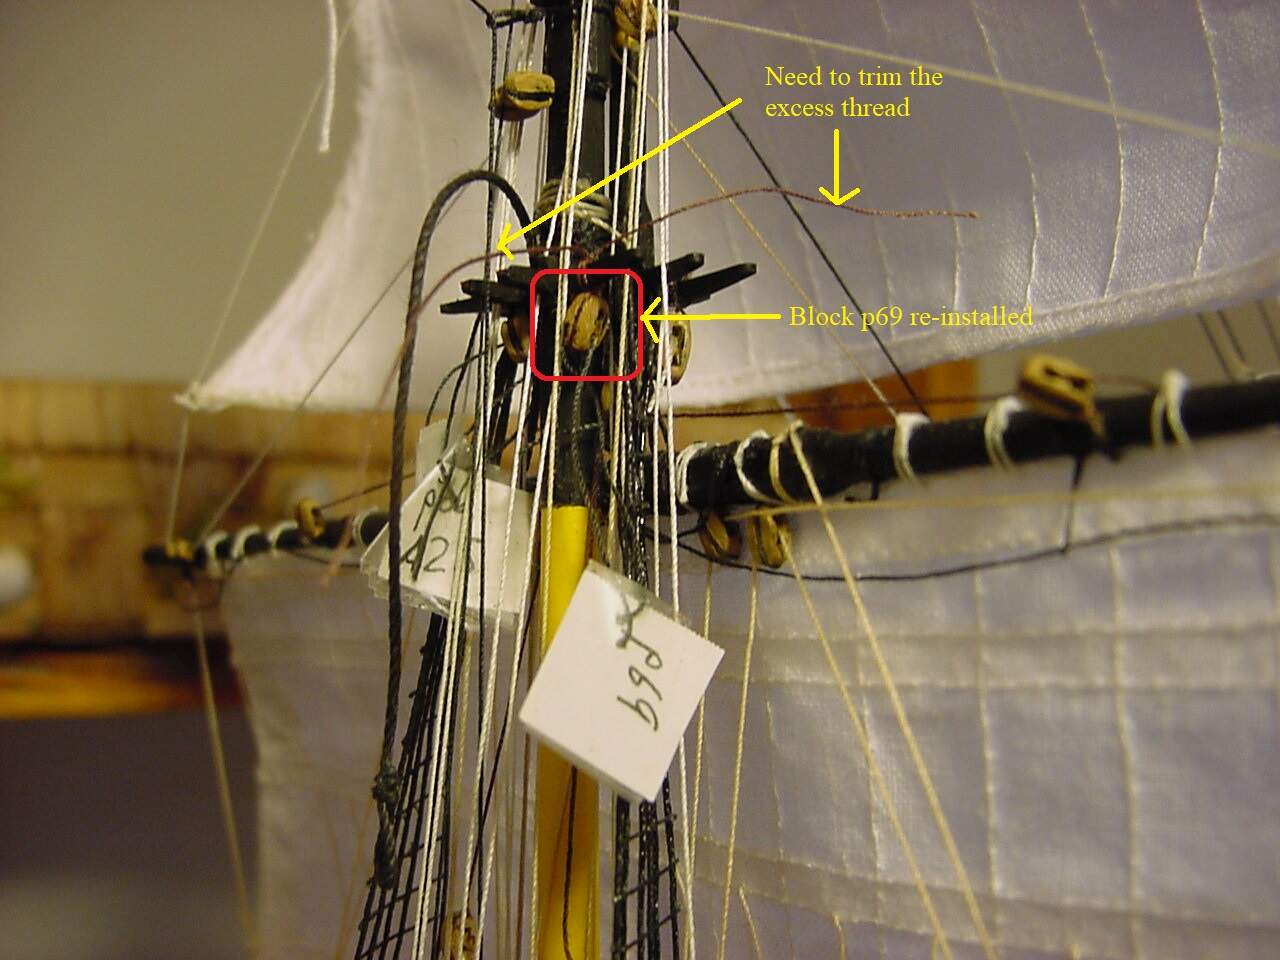
With regards to my immediate previous post, here’s a pic of one of the blocks that came off, probably because the liquid cement I used didn’t hold the knot securely. This block is on the foremast trestletree.
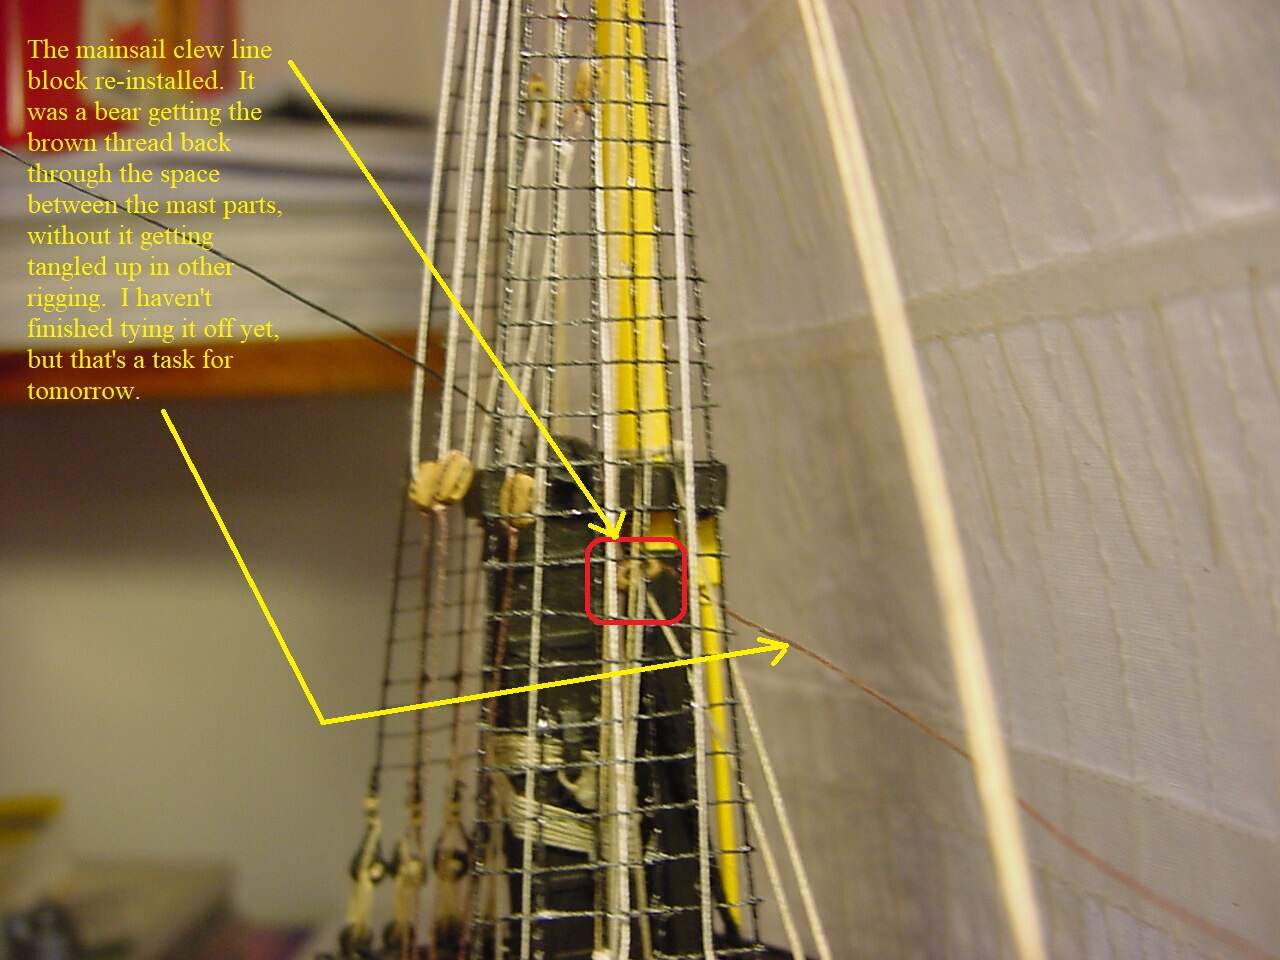
This next photo is of the mainsail clewline block, which is attached to the mainmast cap. Like it says in the photo, it was a bear getting the brown thread looped around the mast cap without it getting wrapped any the other rigging.
And lastly, a photo of a little jig I made to make small coils of rope, which I plan on hanging off the fife rails and such, to indicate excess line.
So, I hope you enjoy the photos, and get an idea of what the heck I’m talking about! I’ll be so glad when I’m done with this thing - I’m just itching to slap some glue on some styrene, and stop tying tiny little threaded knots!
Cheers!
Tim
5 Likes
Yep I still remember that feeling from 1974 trying to finish Heller’s Royal Louis & I’ve been permanently scarred from the experience for the past nearly 50 years! So I just wanted to say your build is friggin’ ossum, you’re a better man than I. ![]()
![]()
1 Like