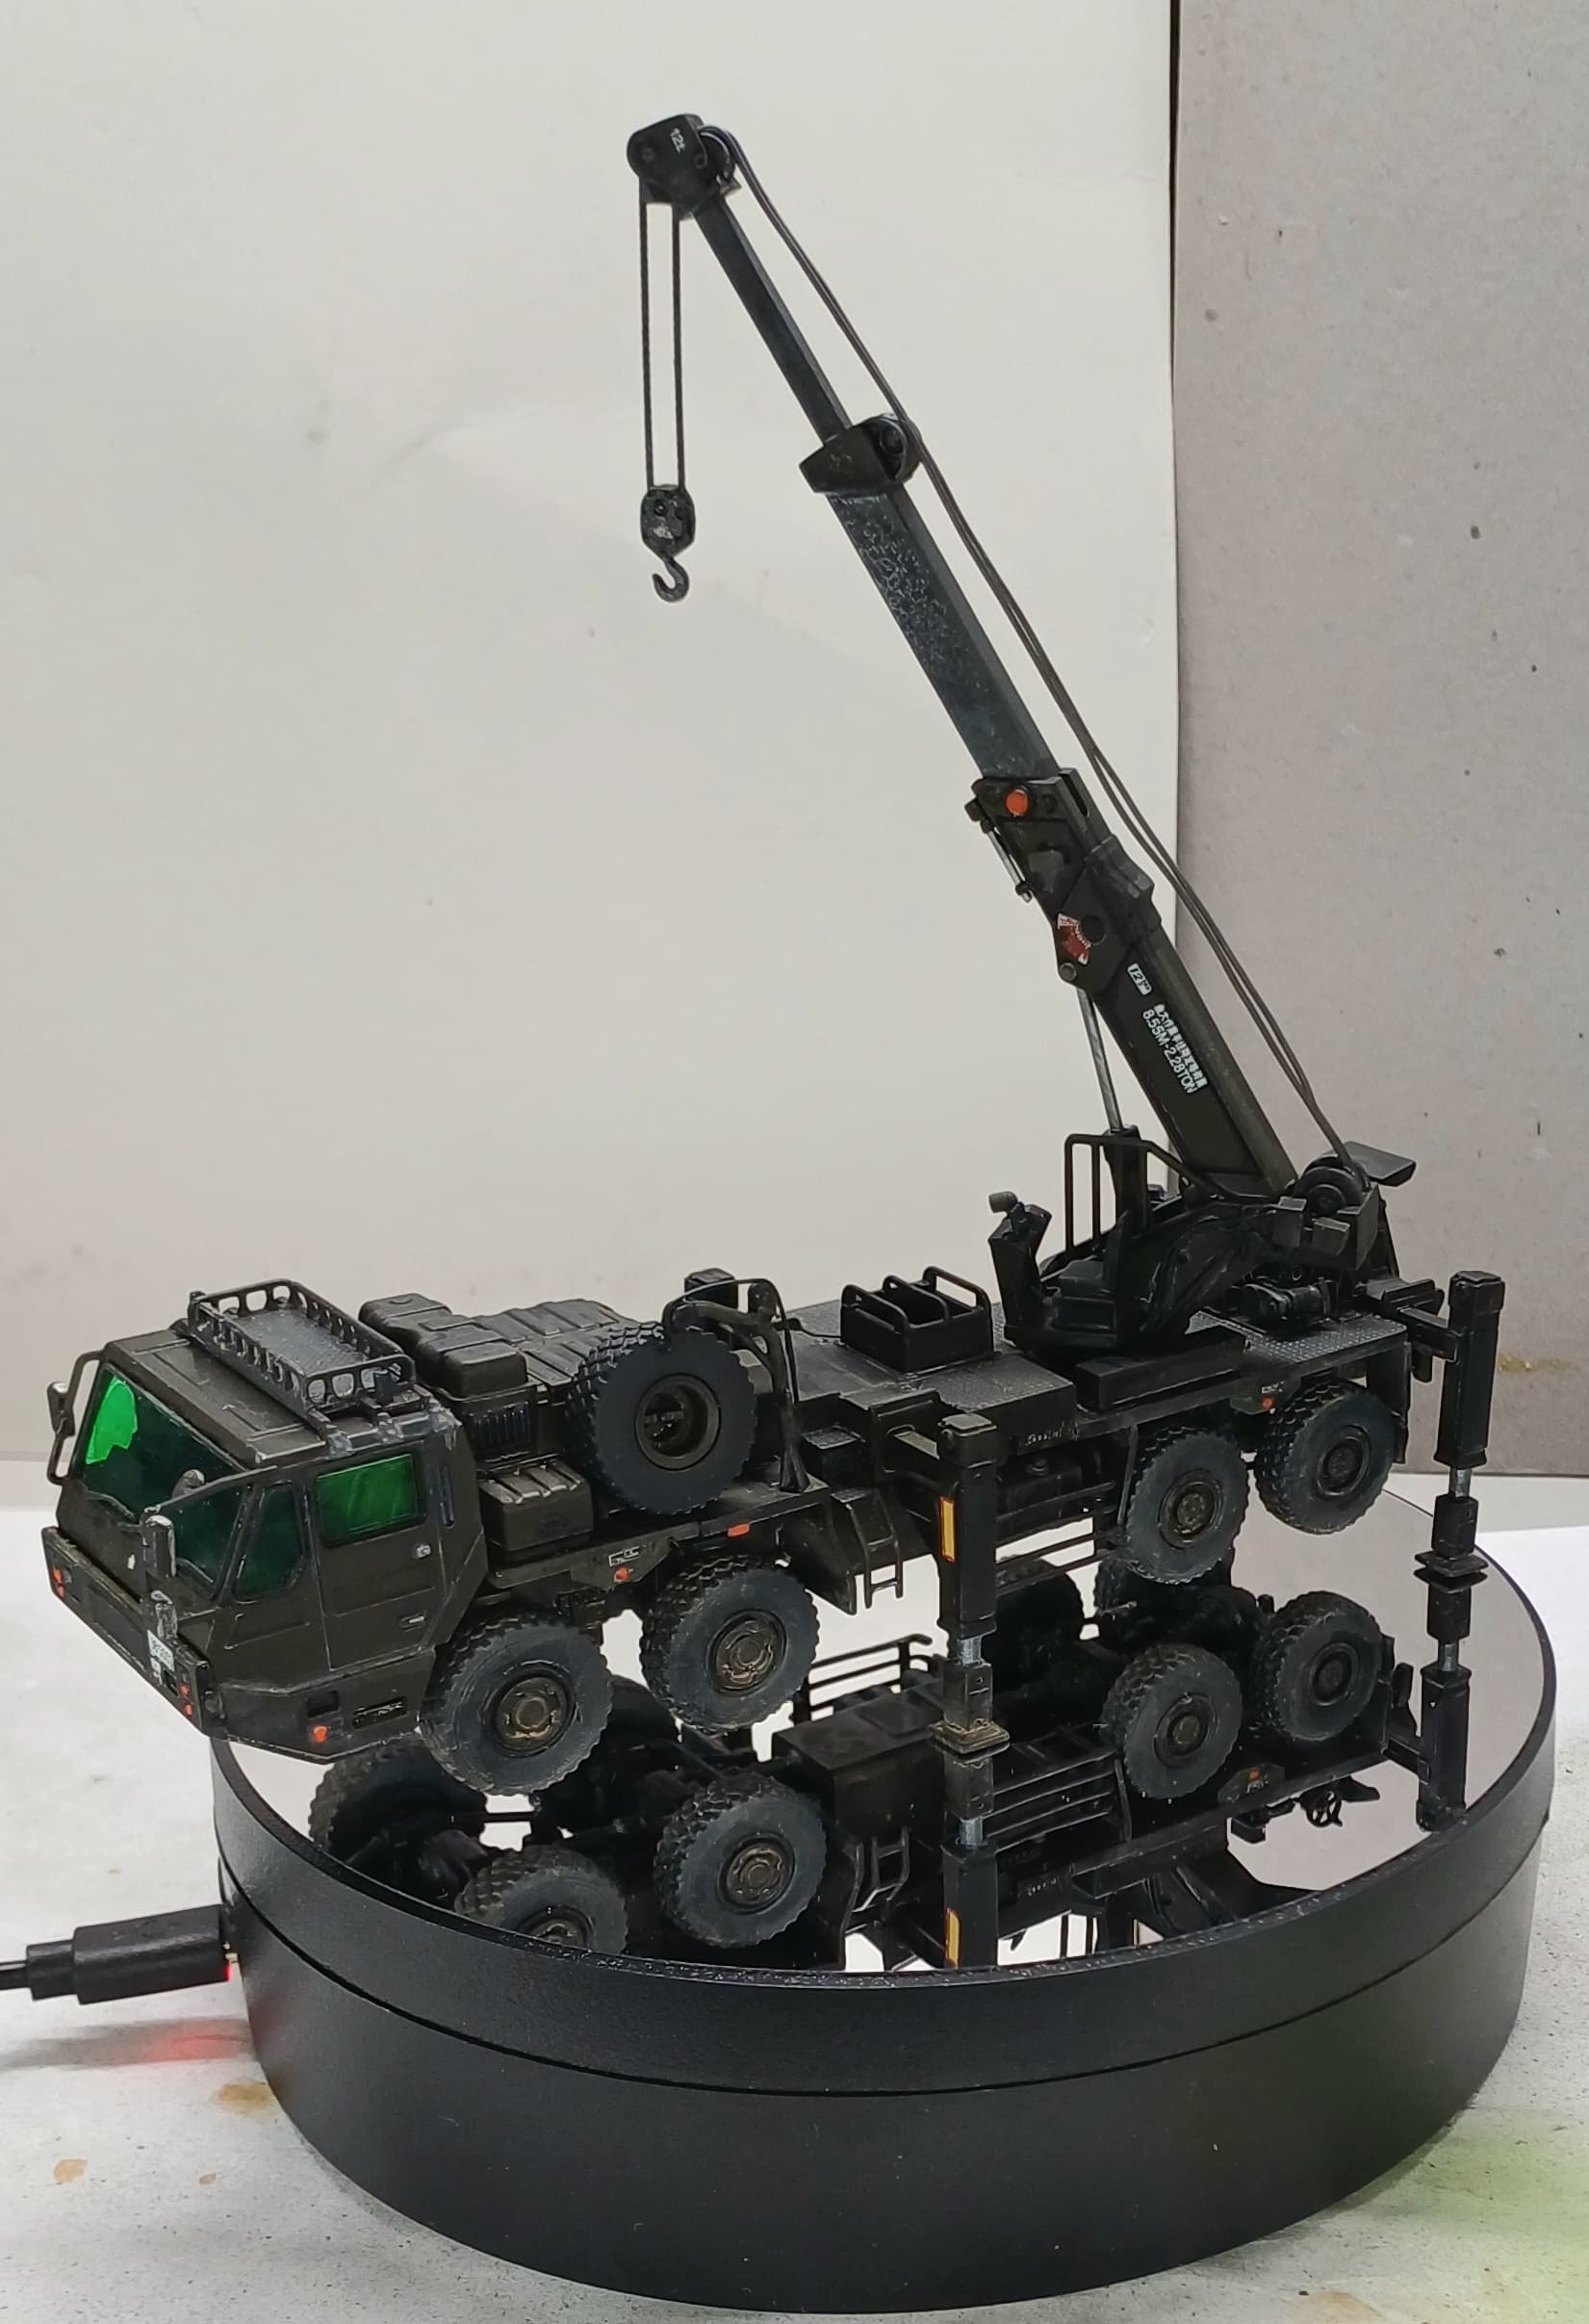
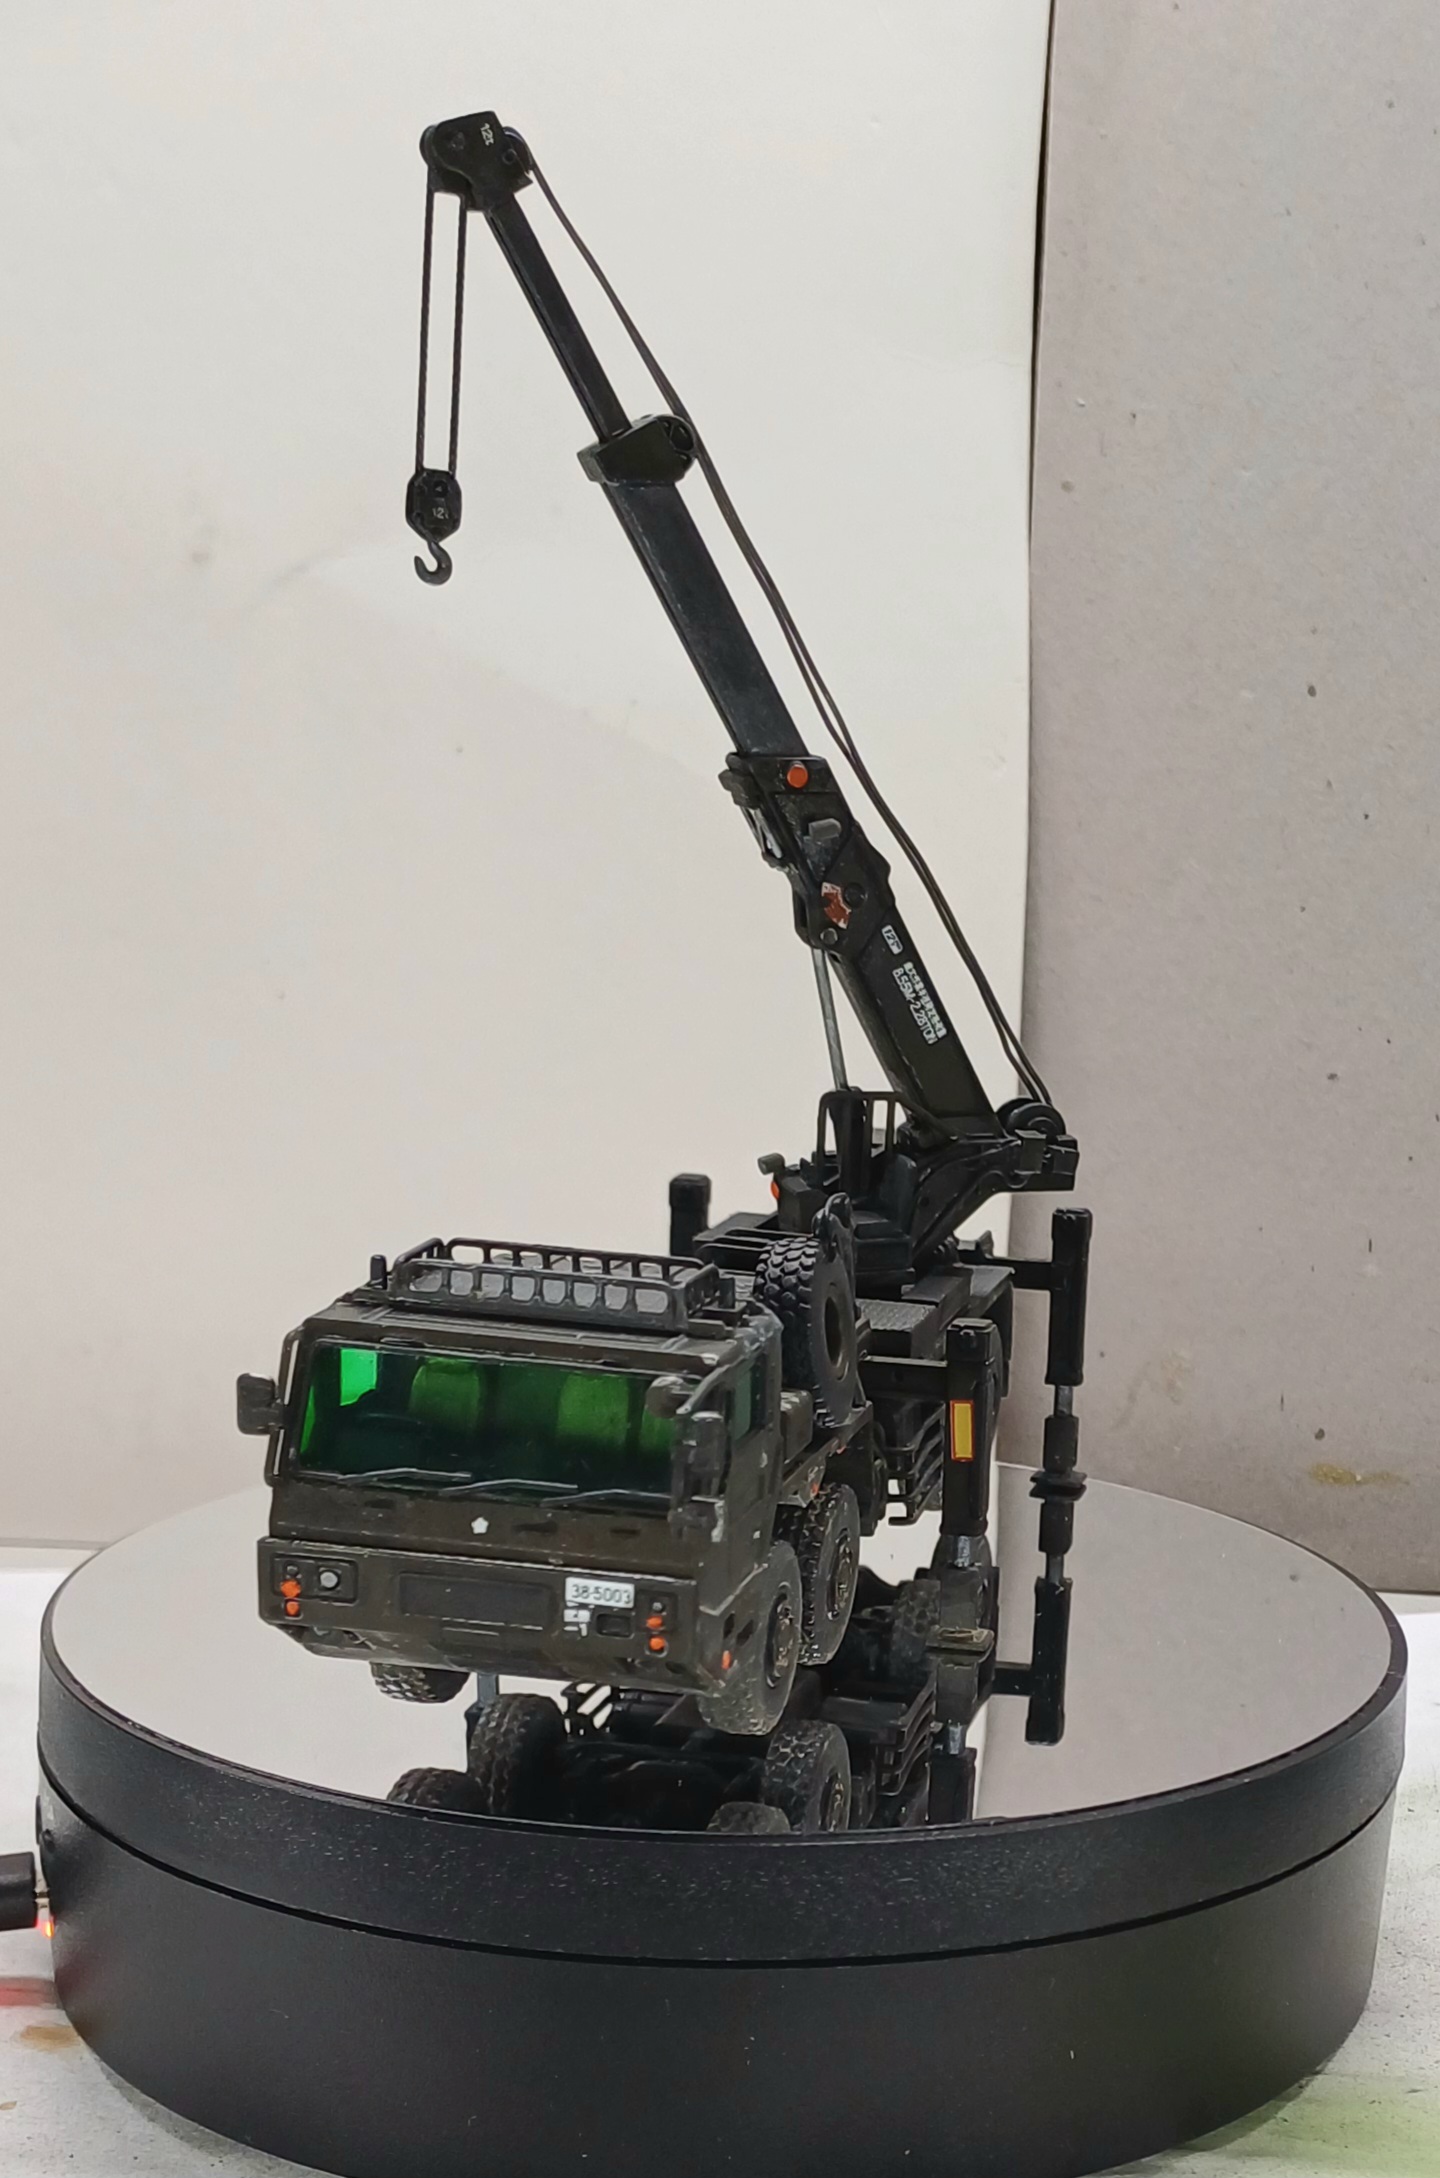
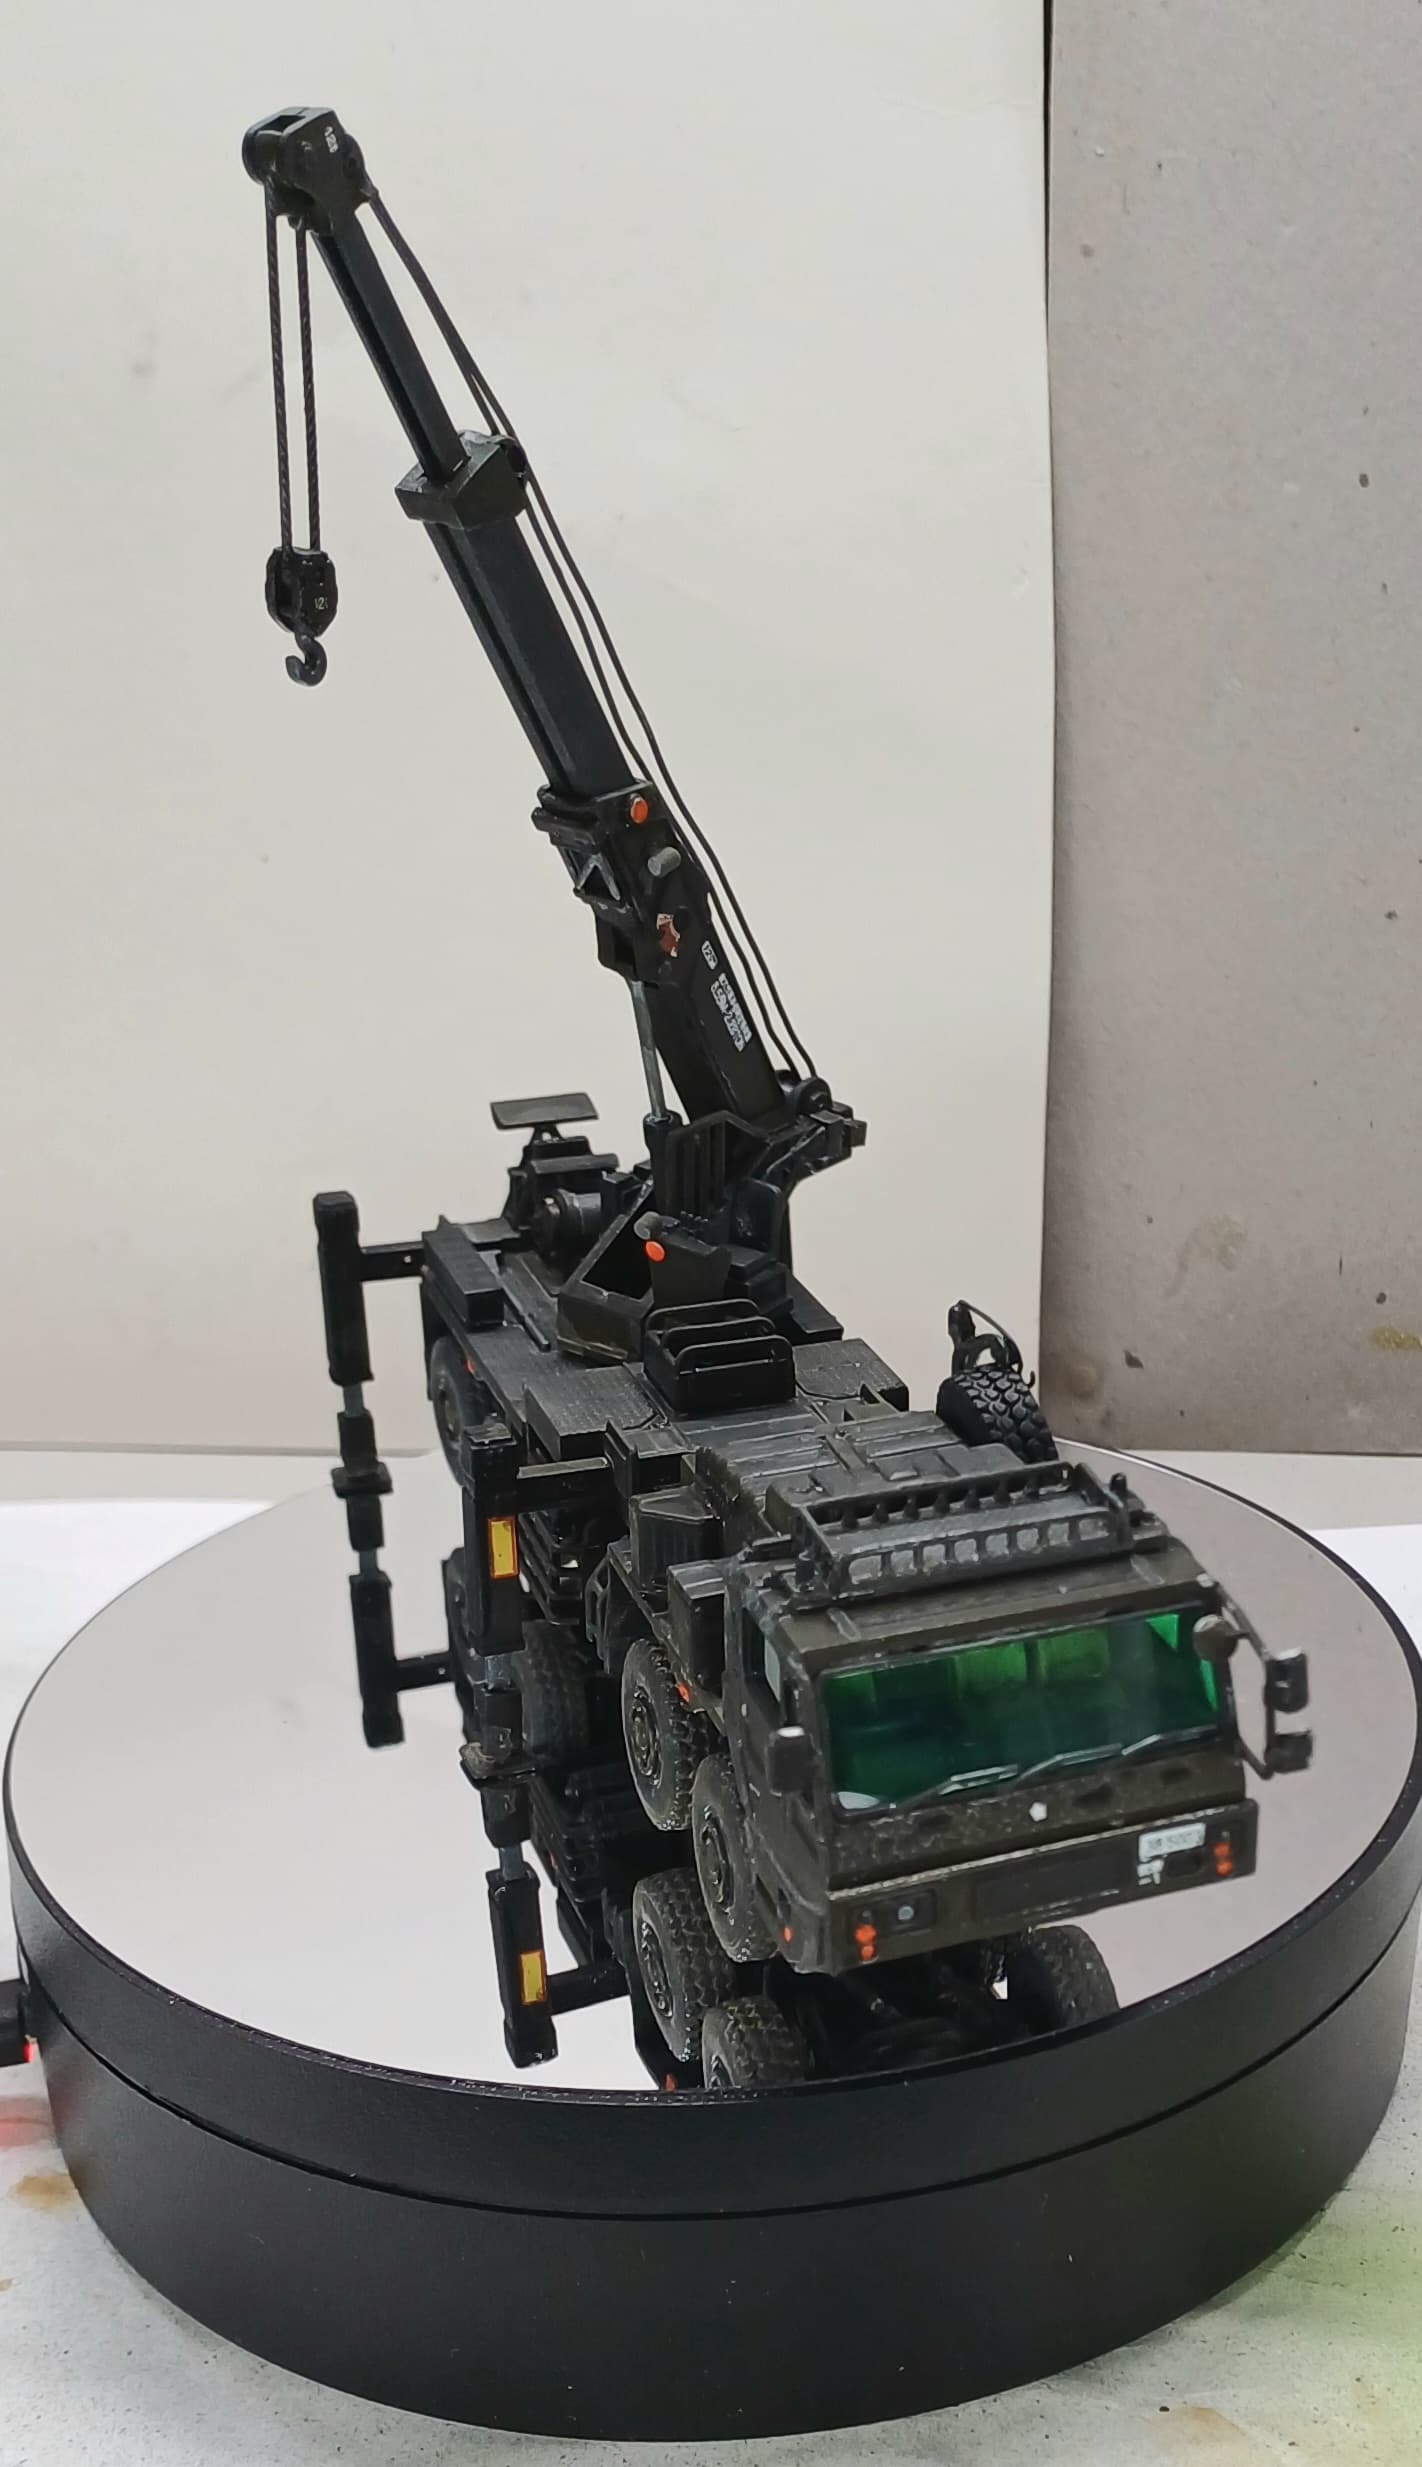
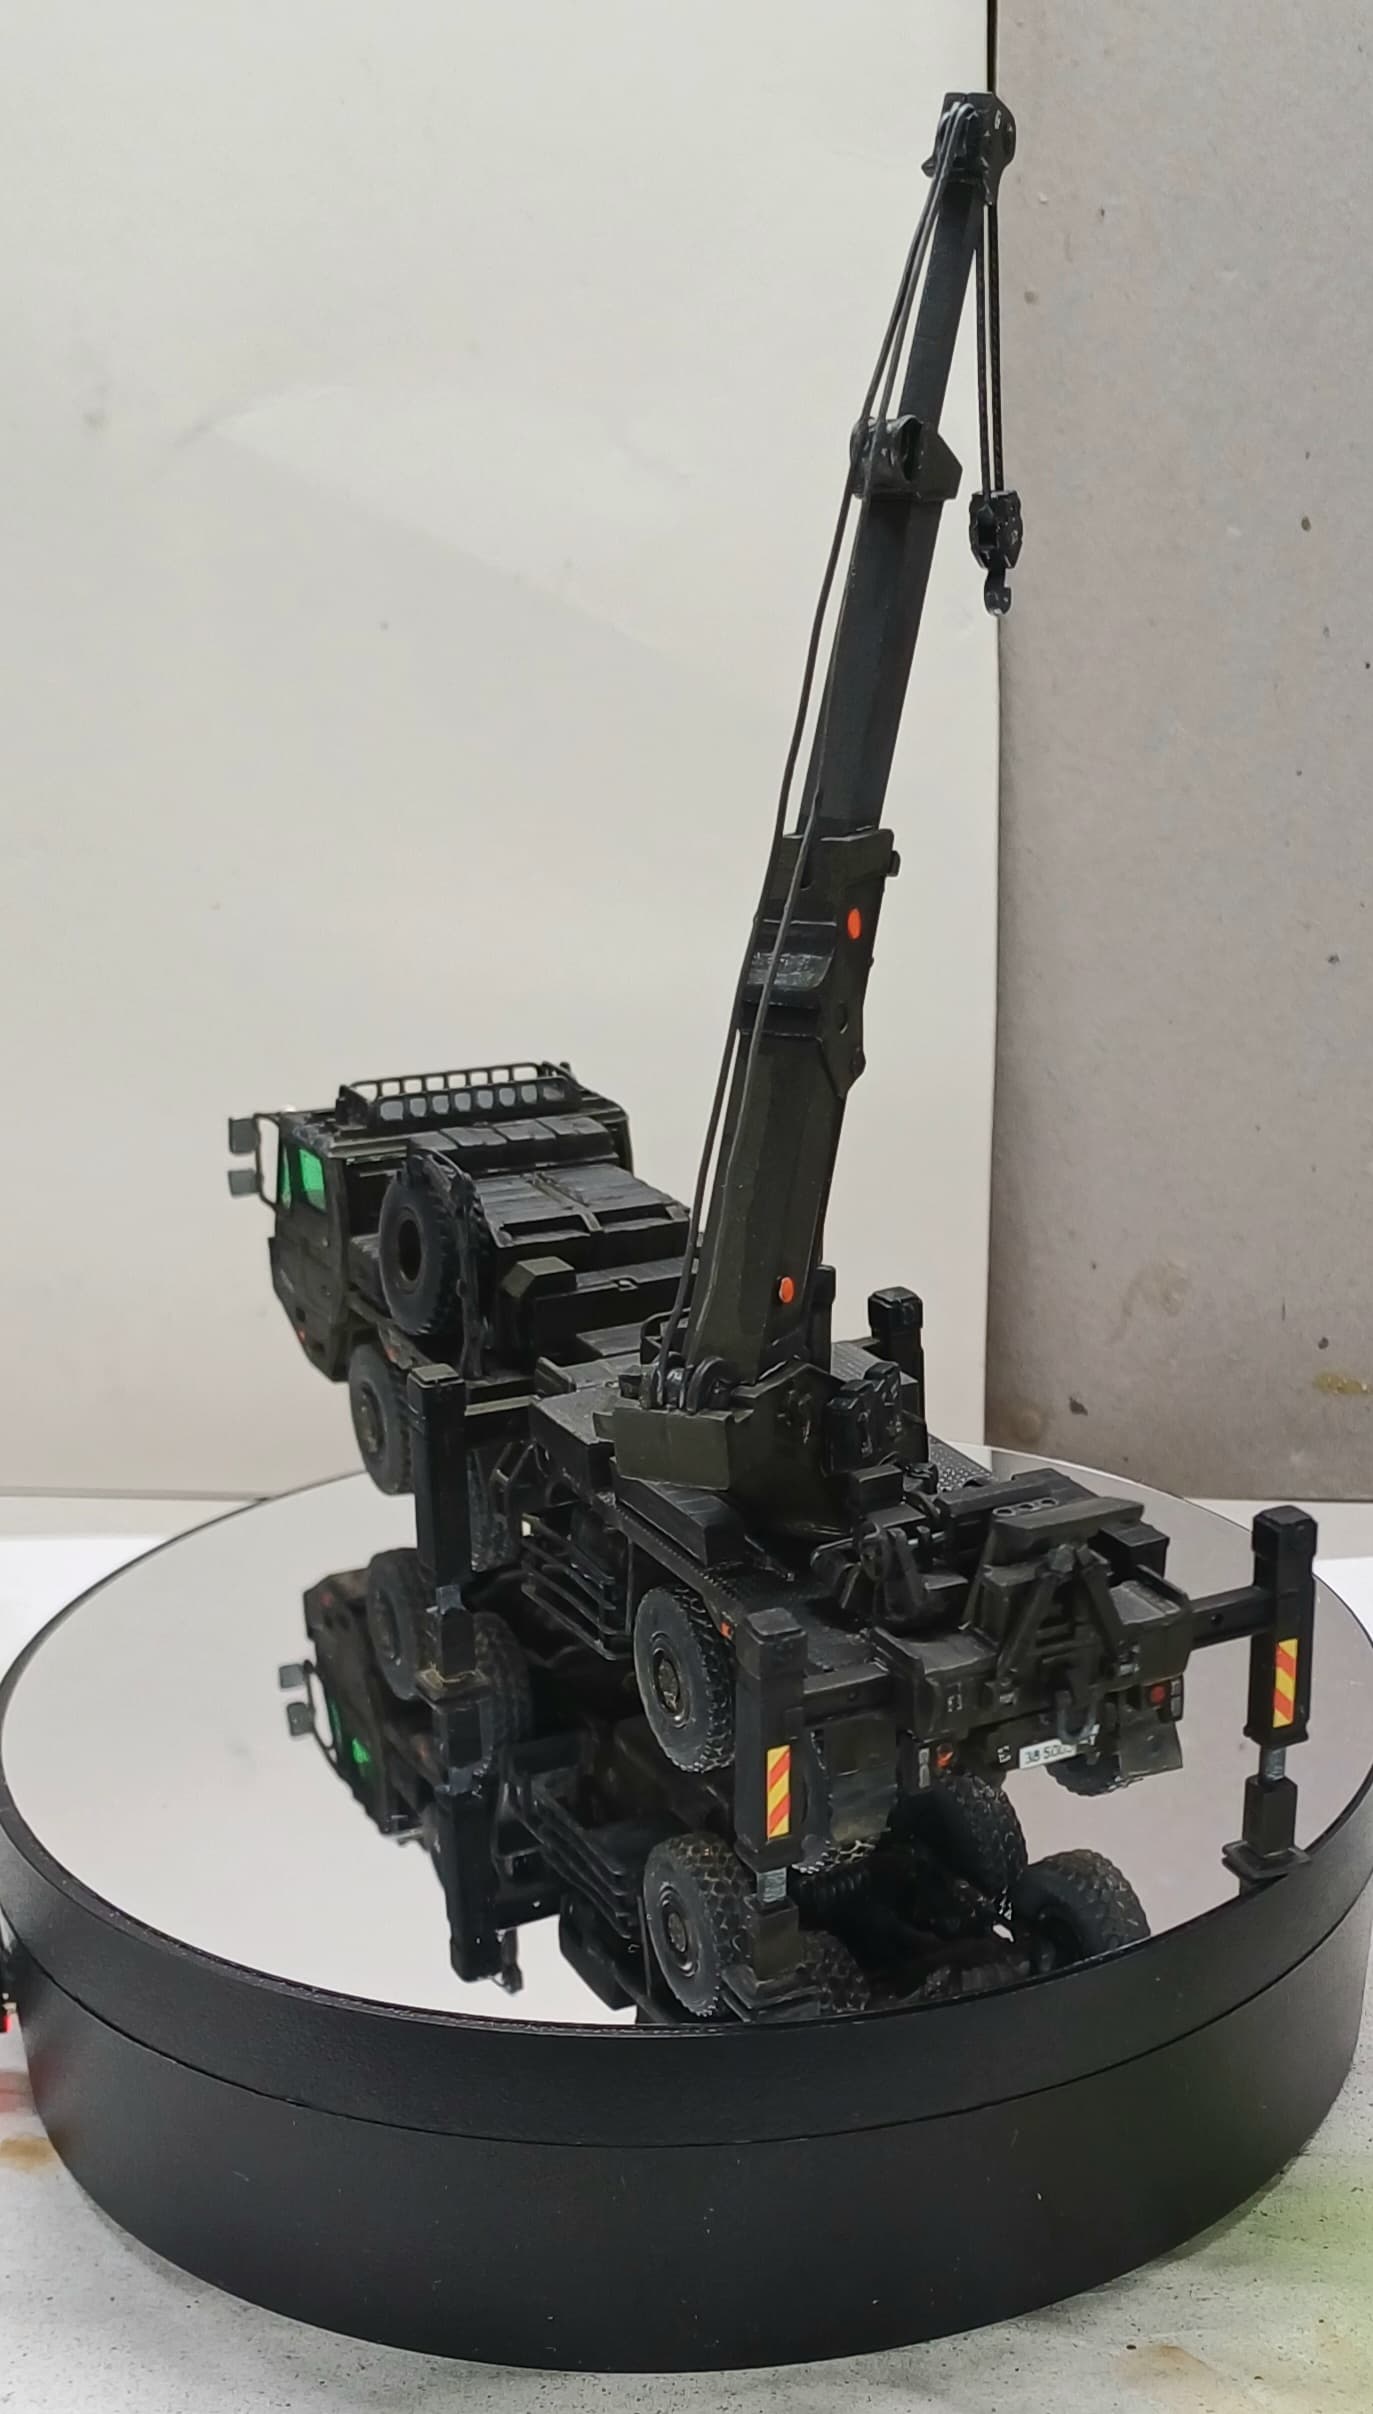
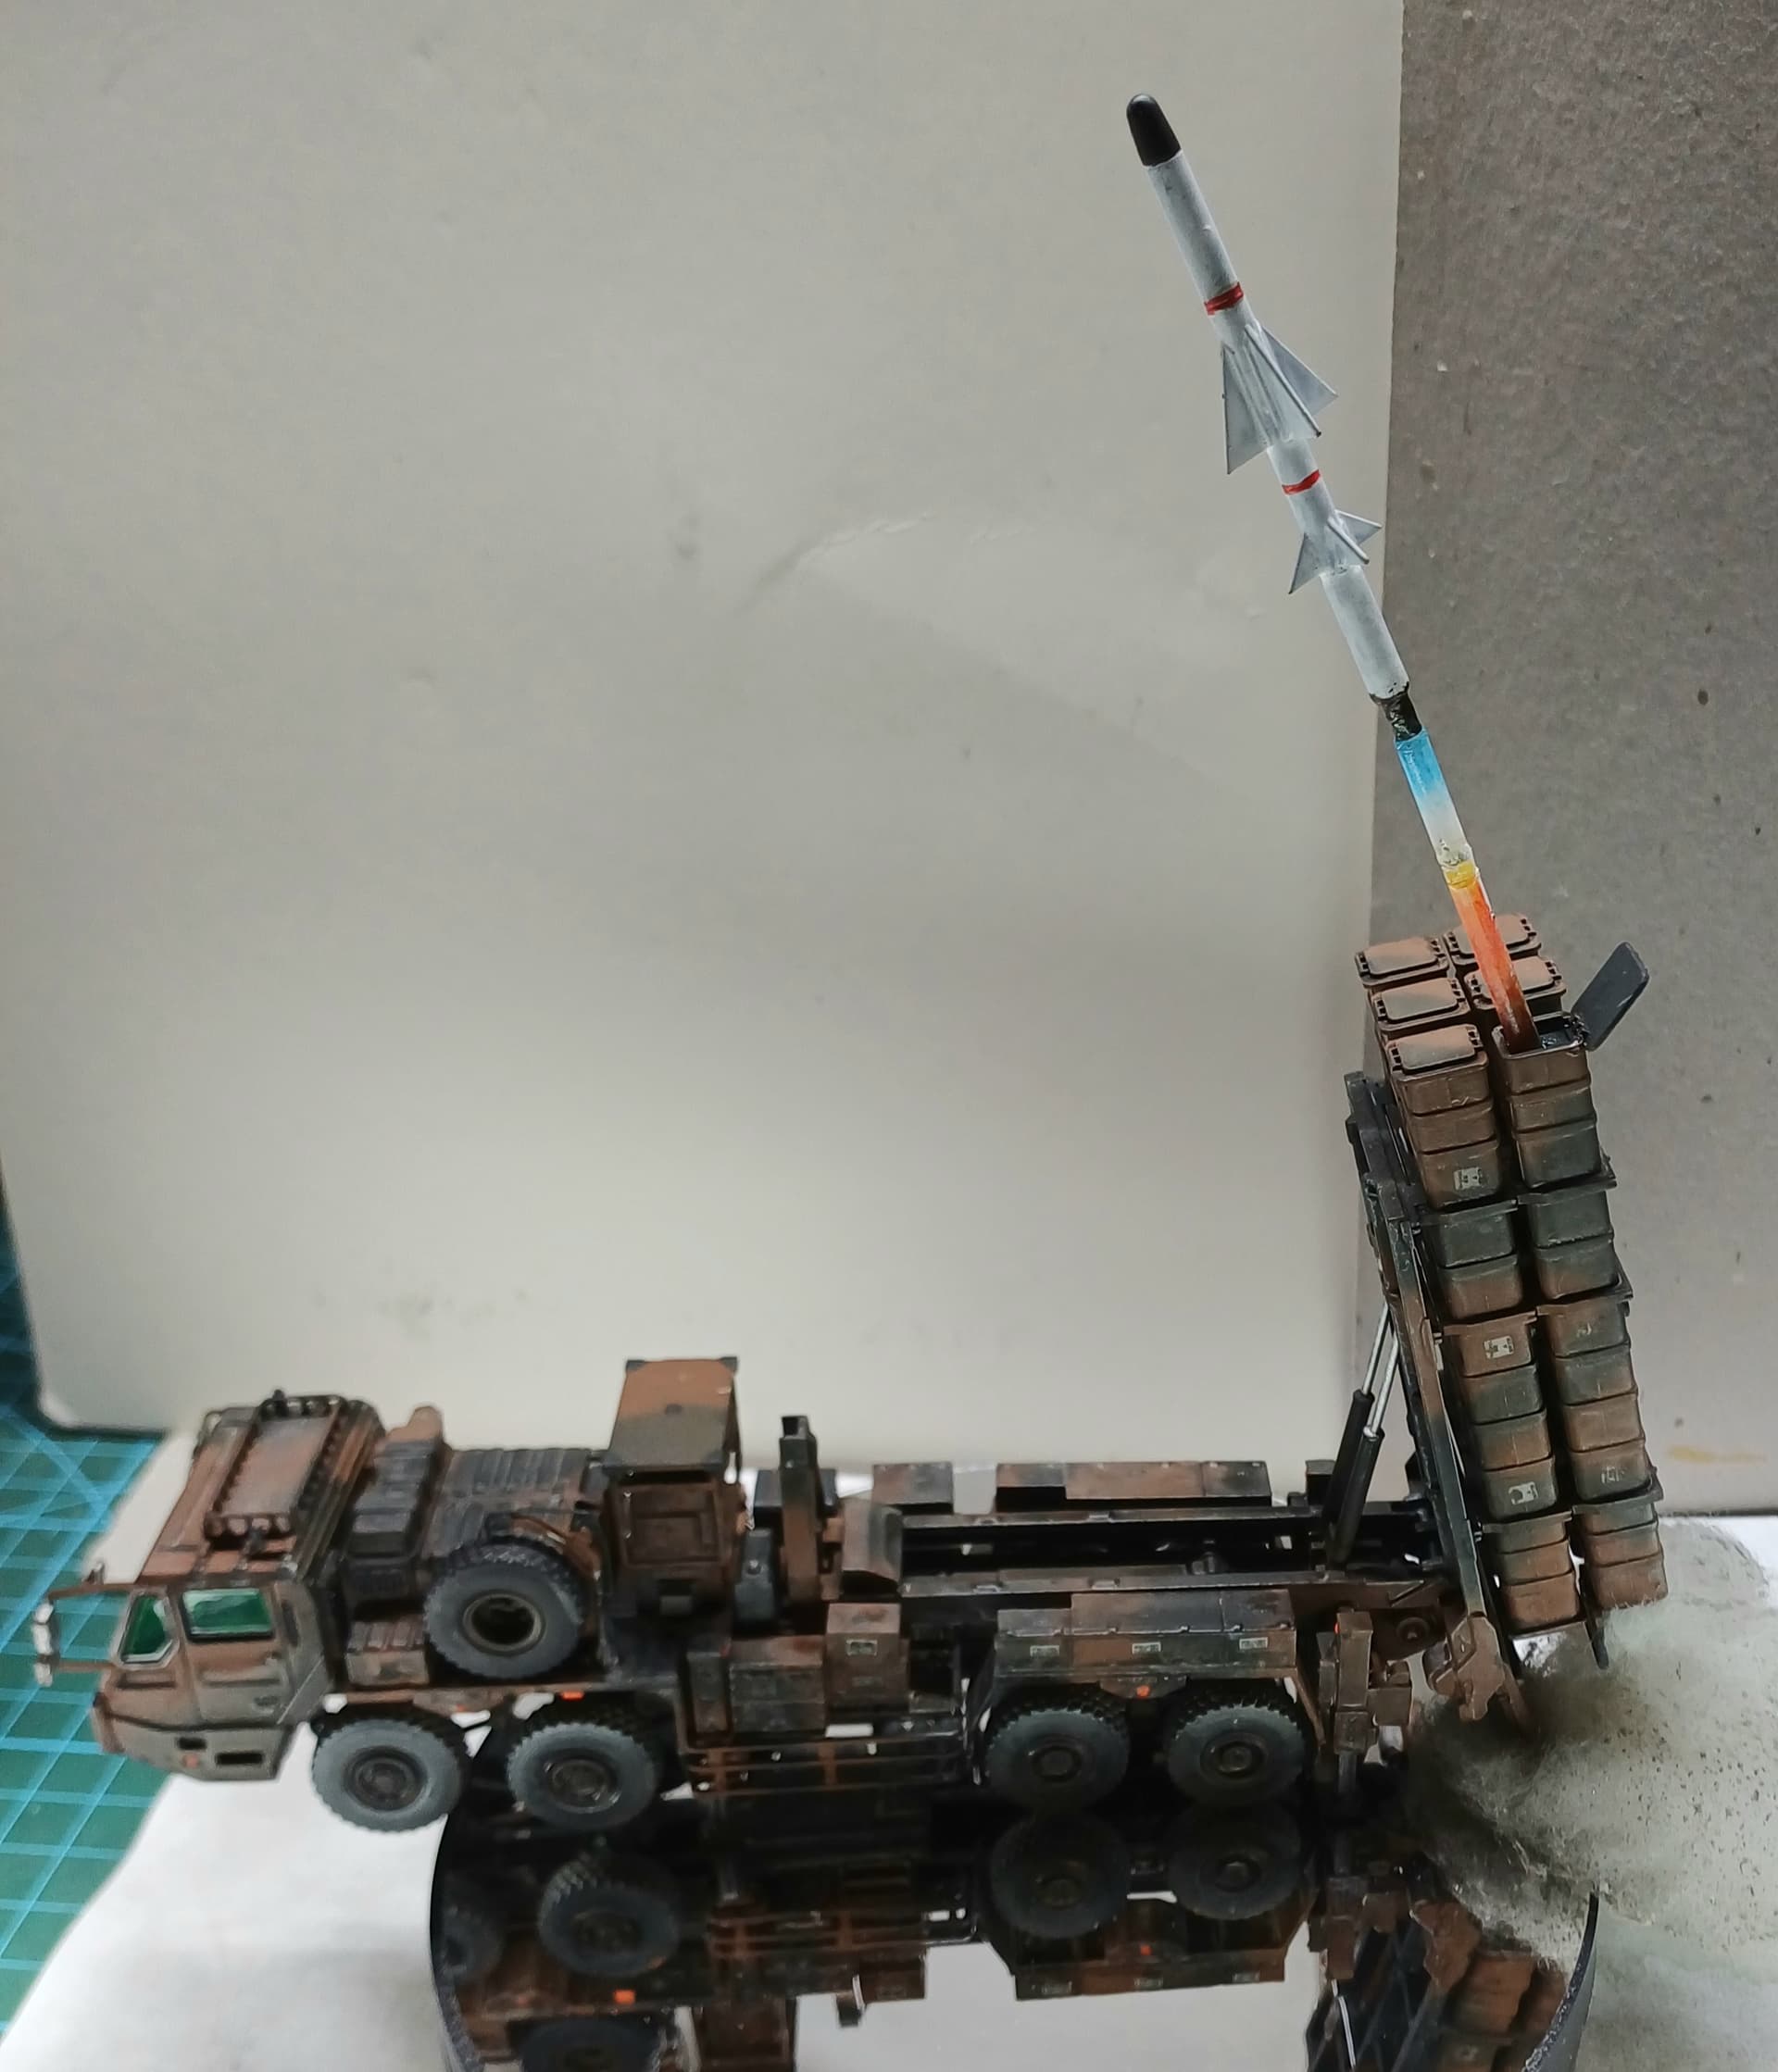
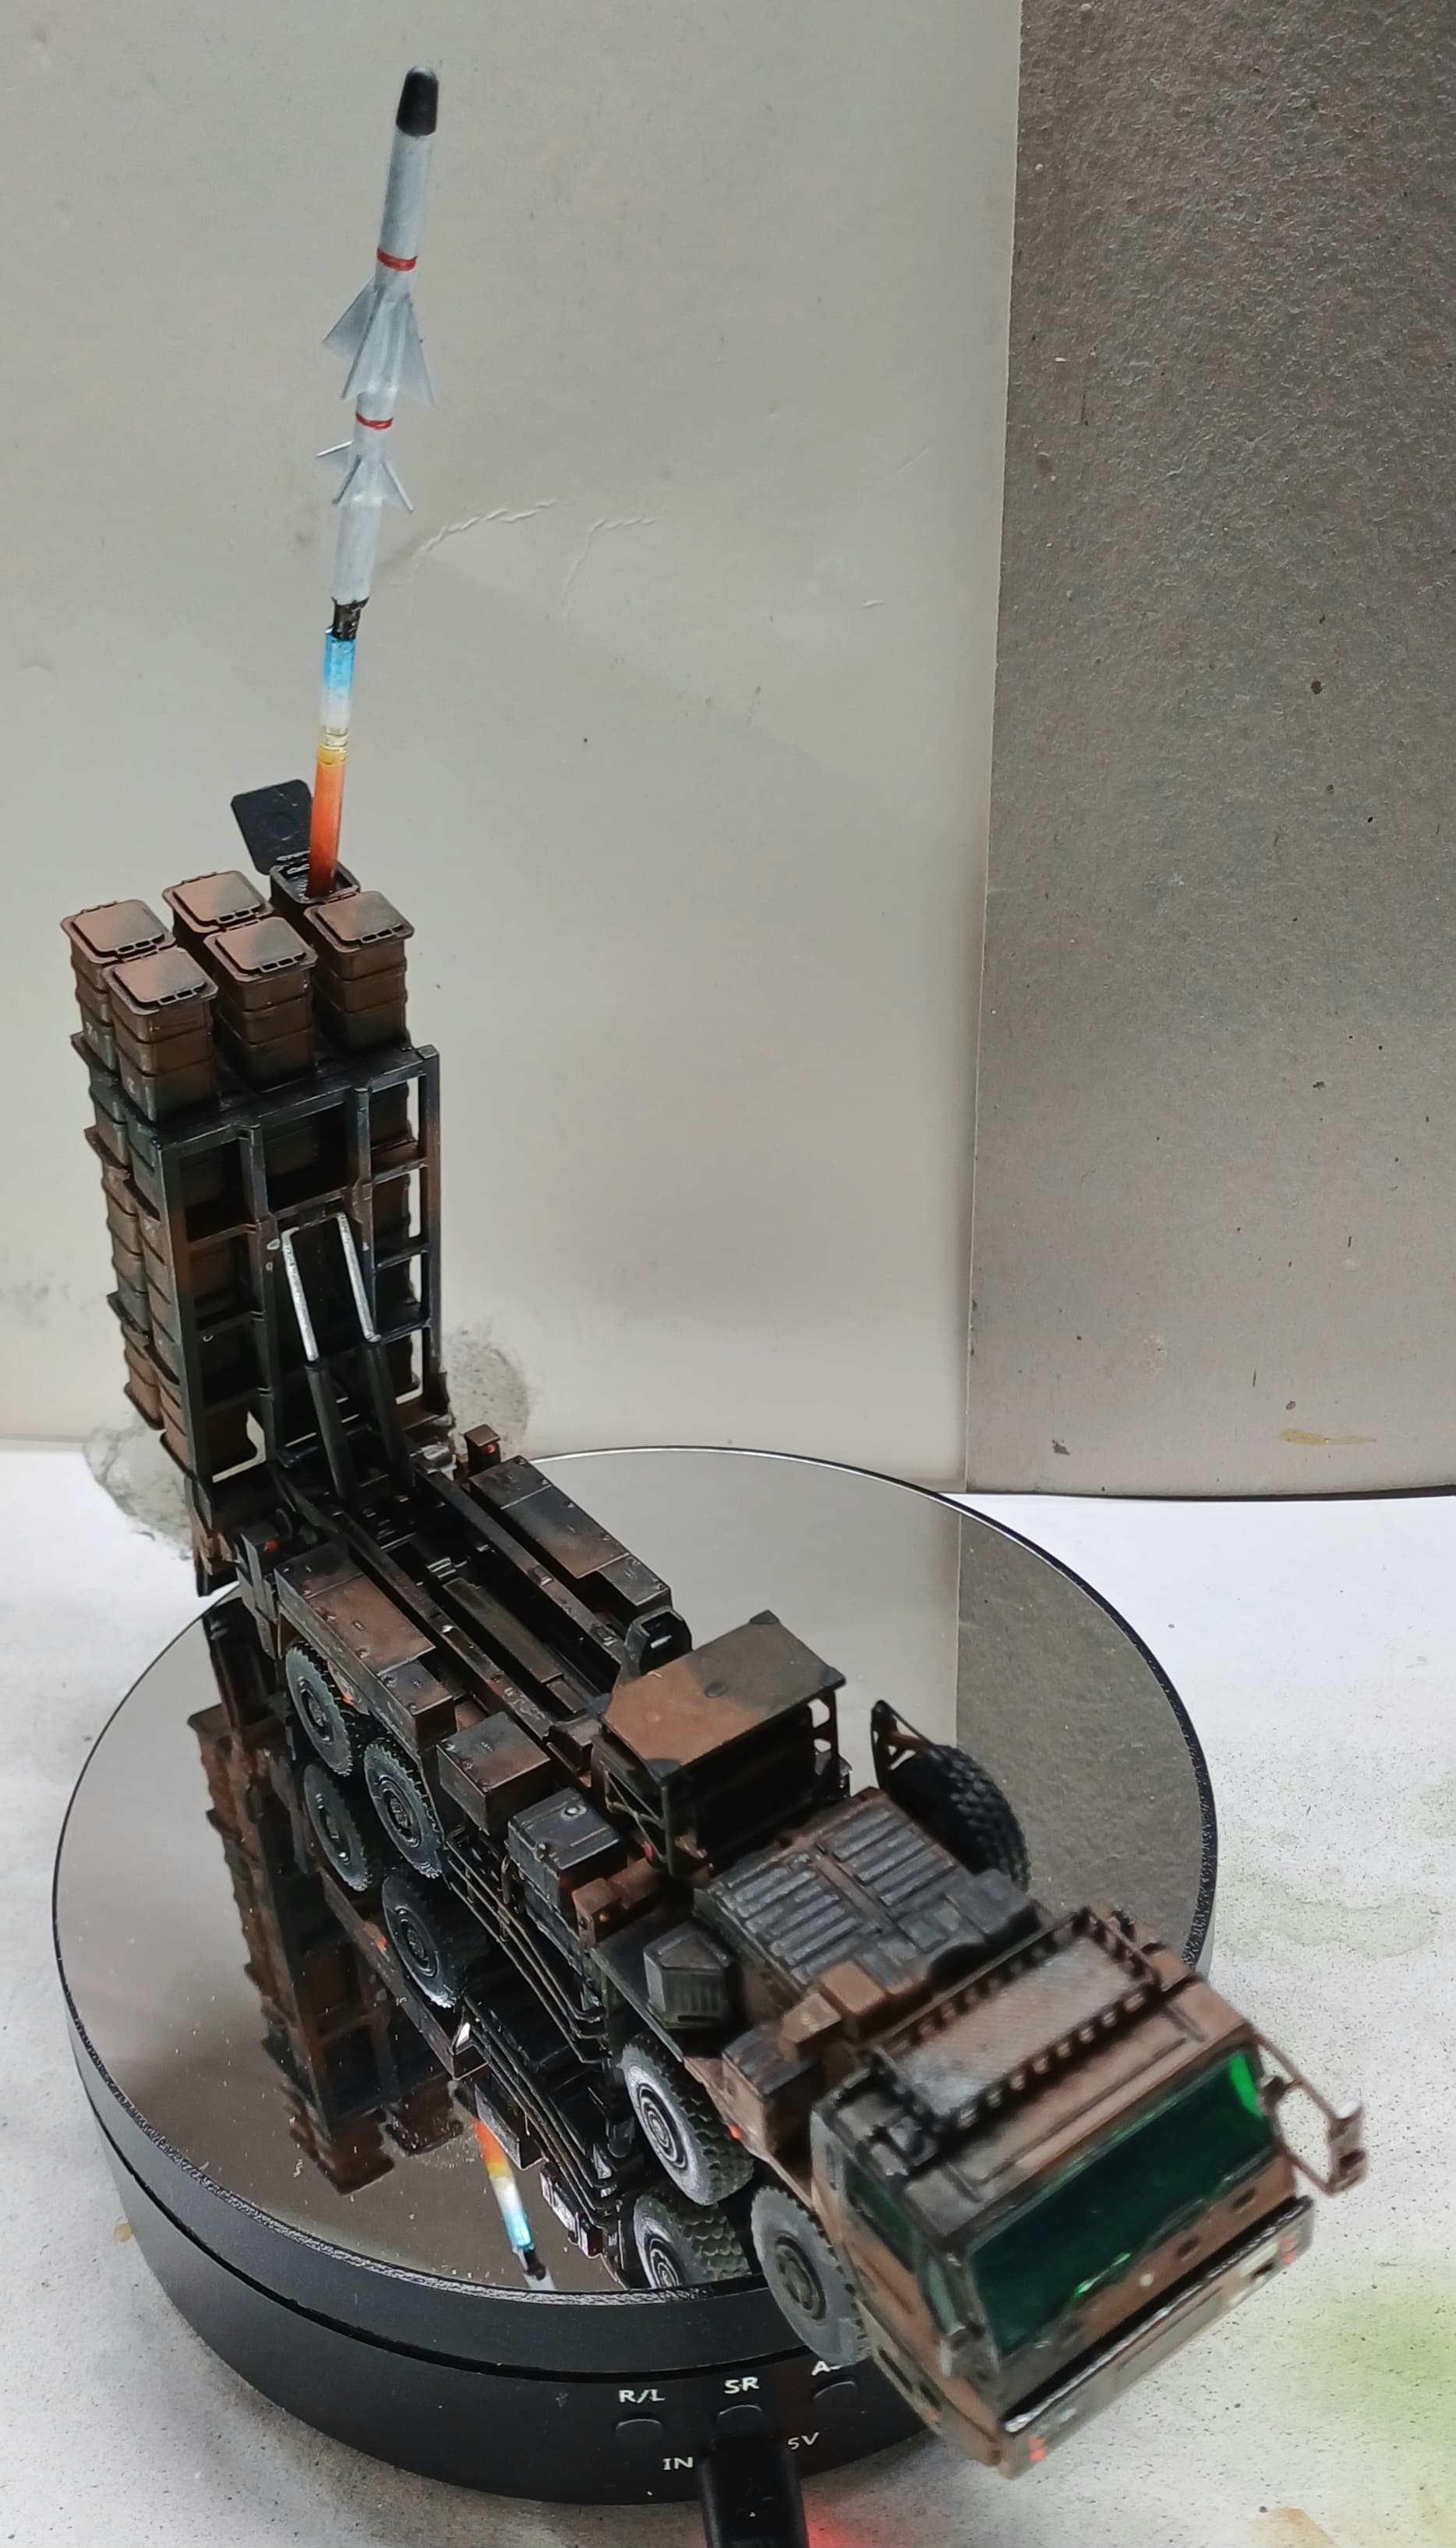
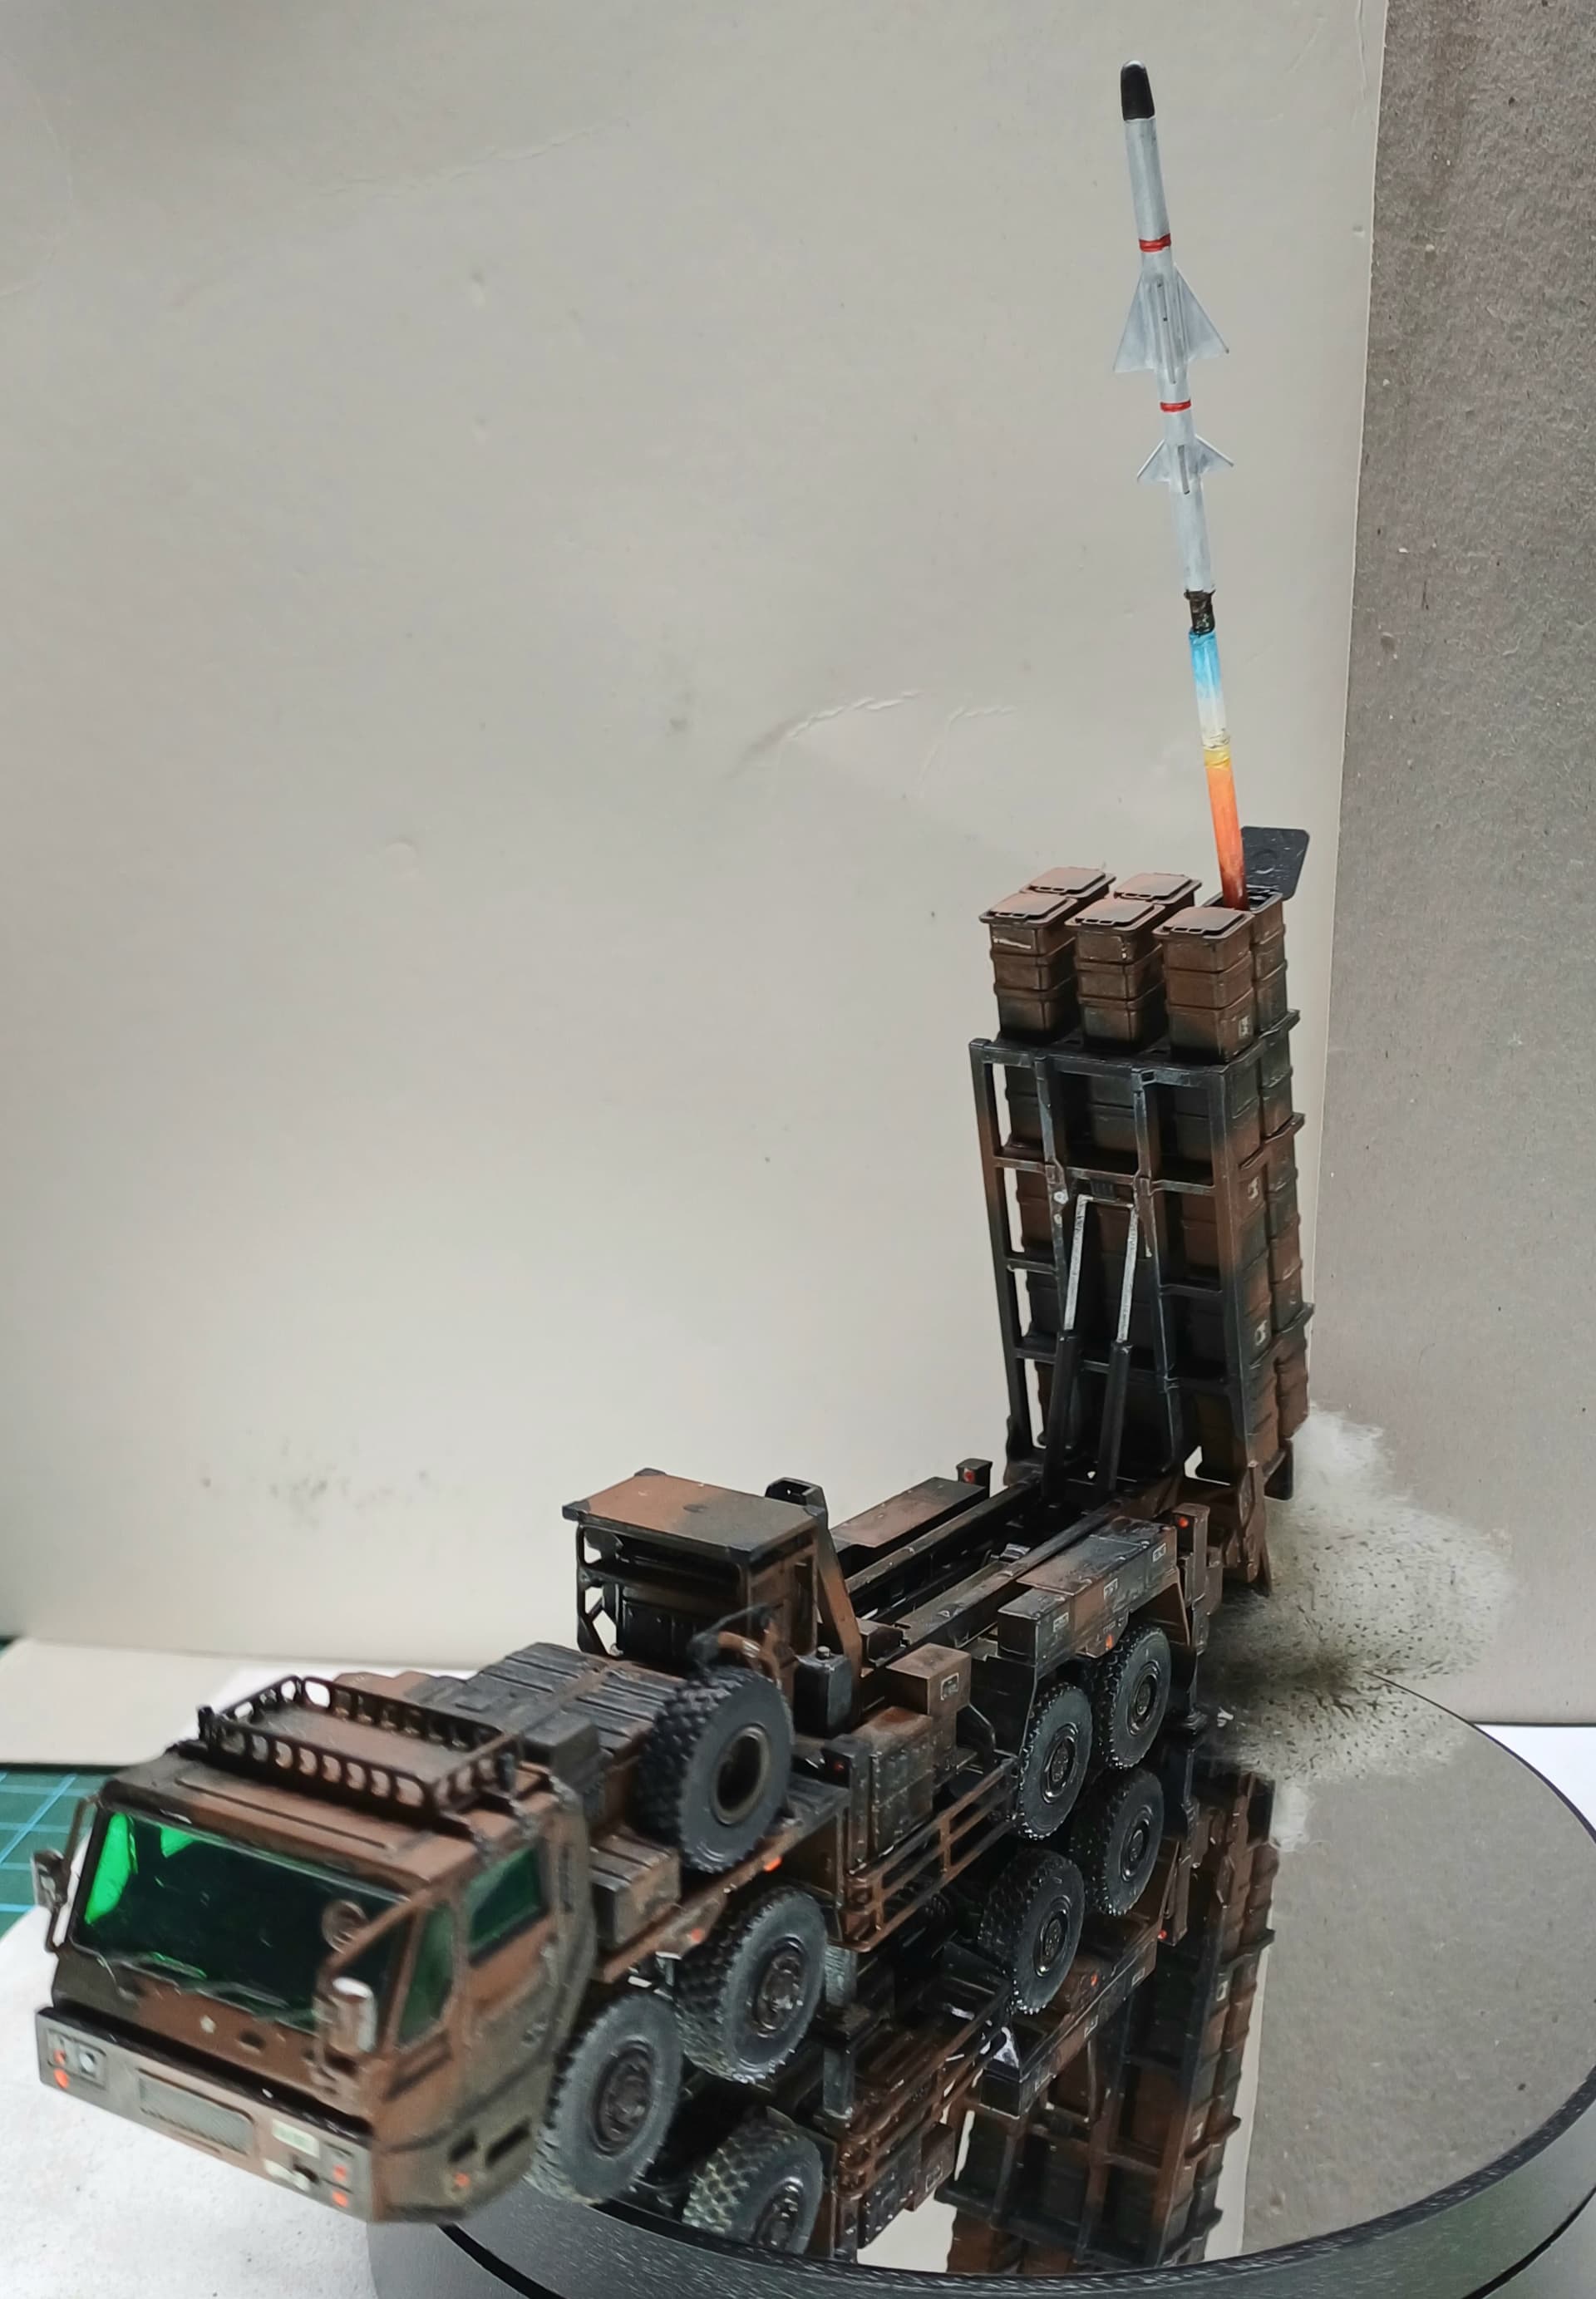
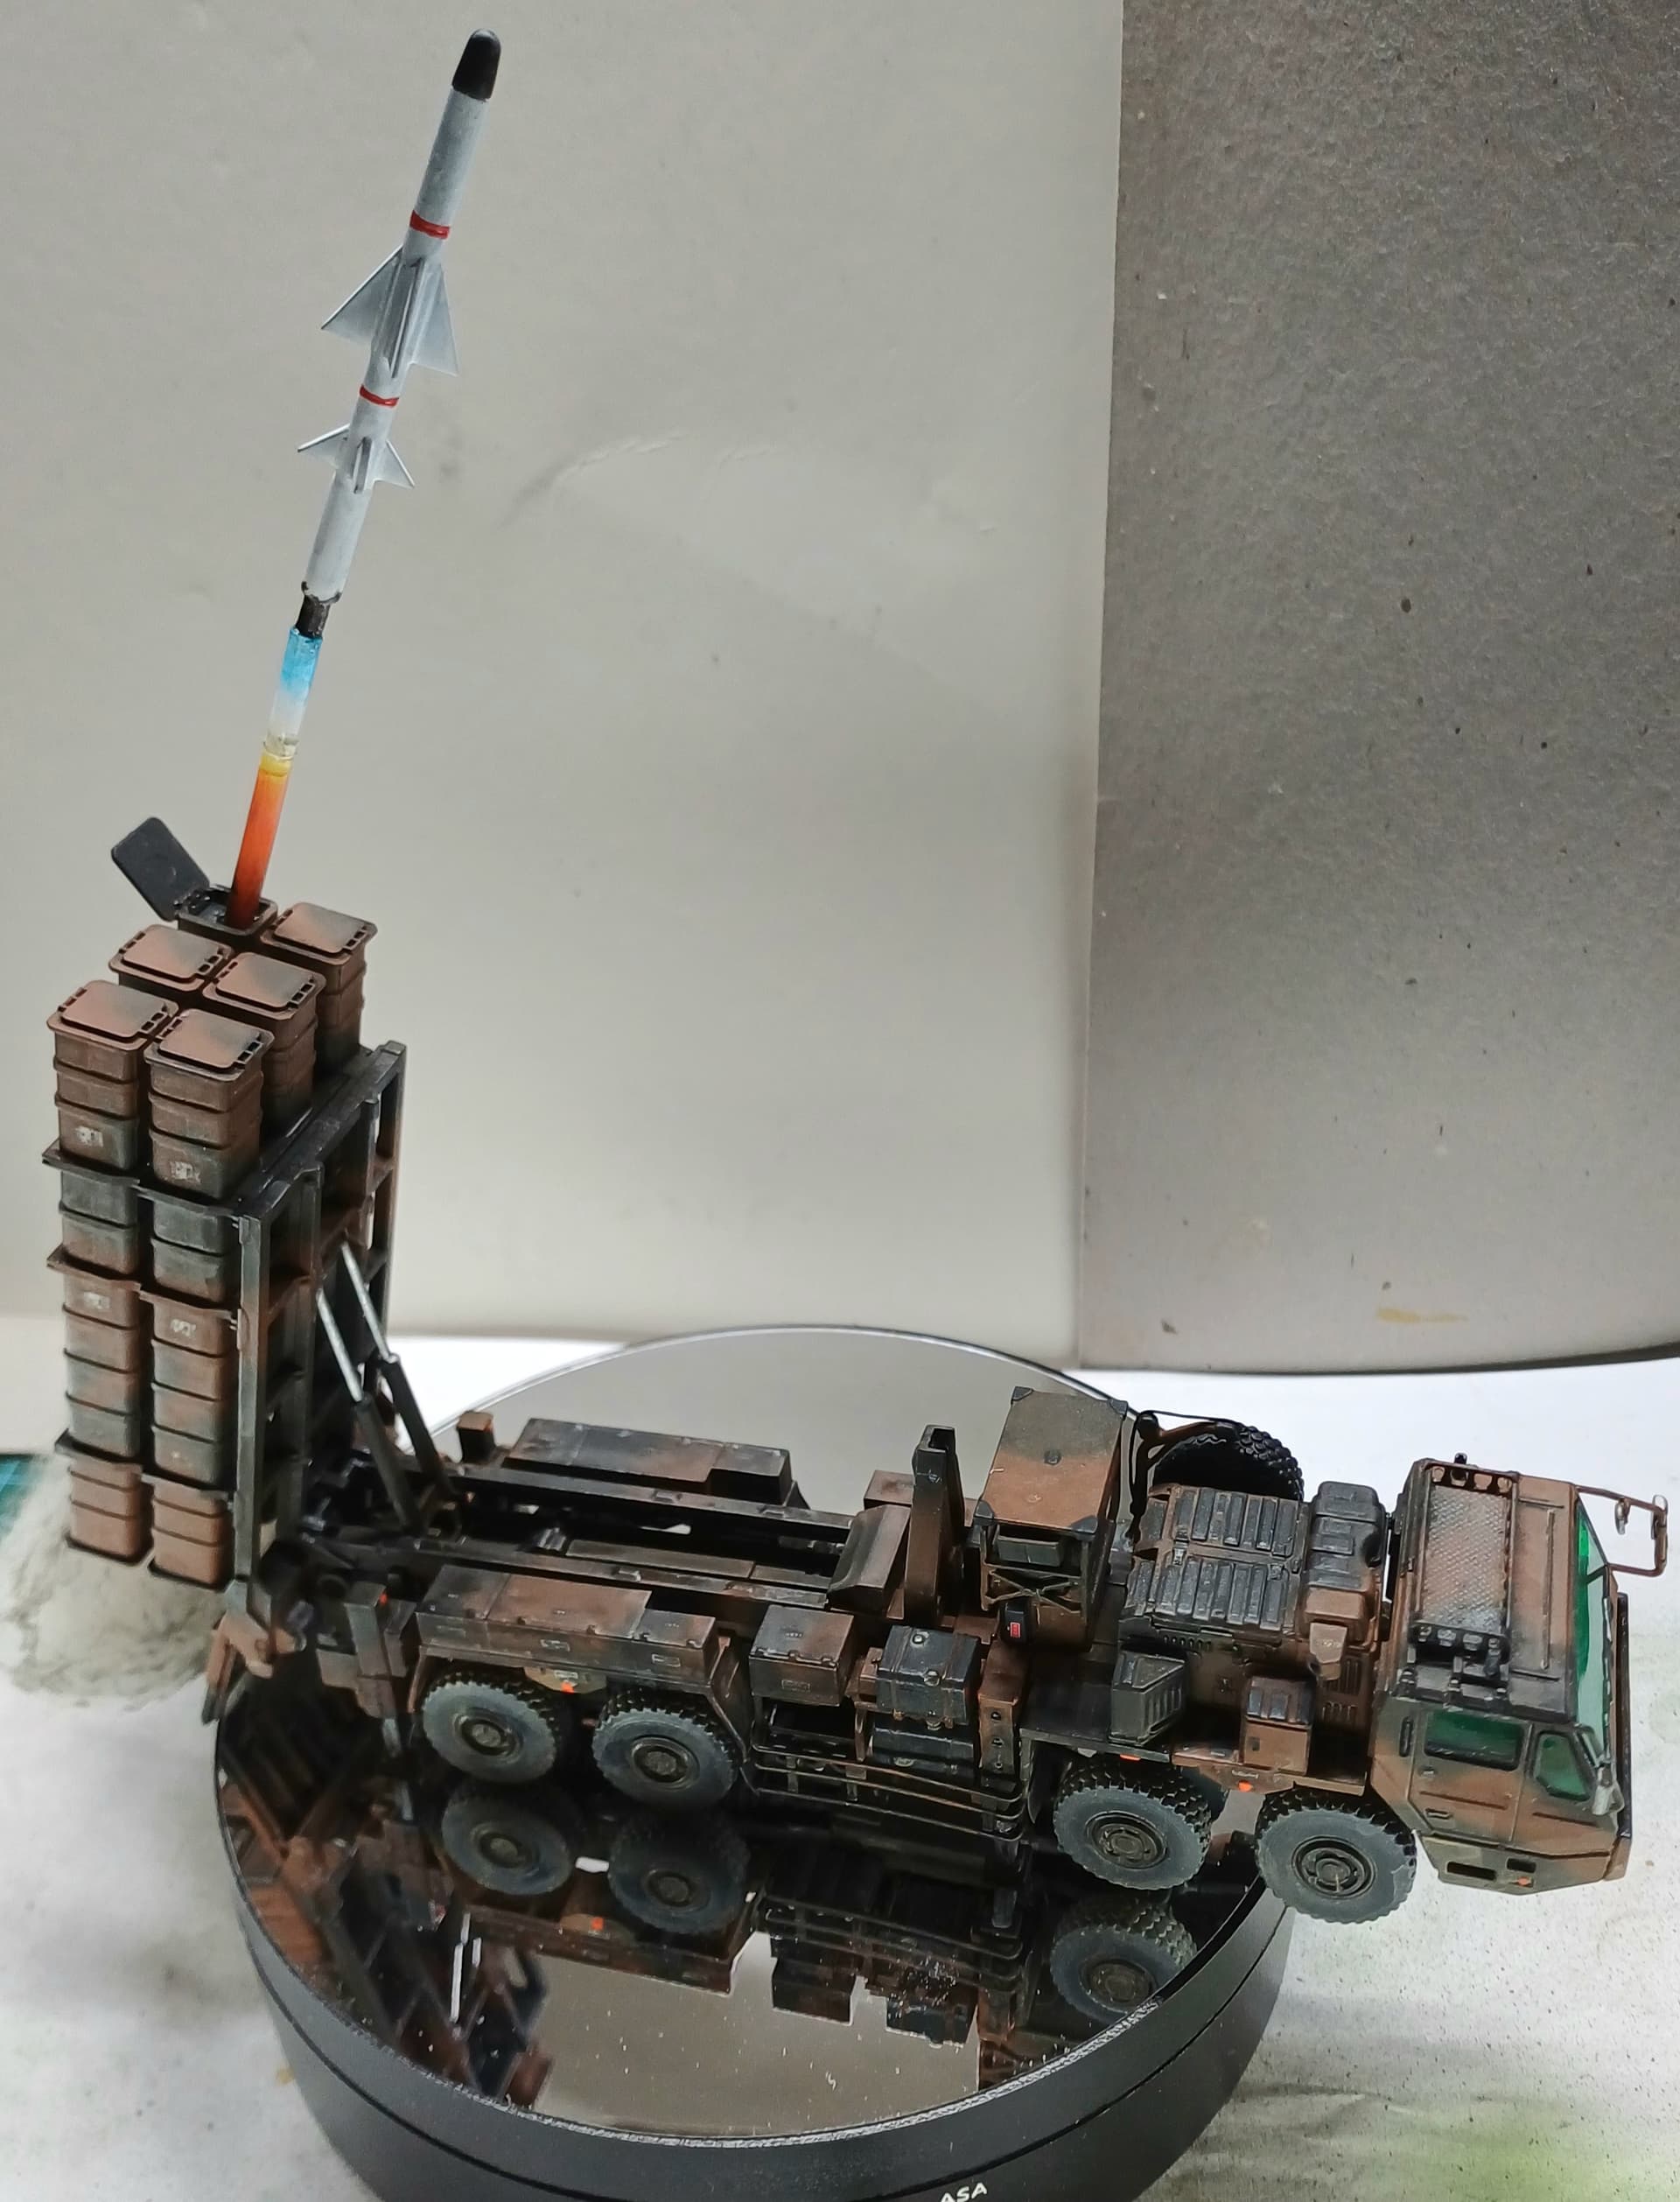
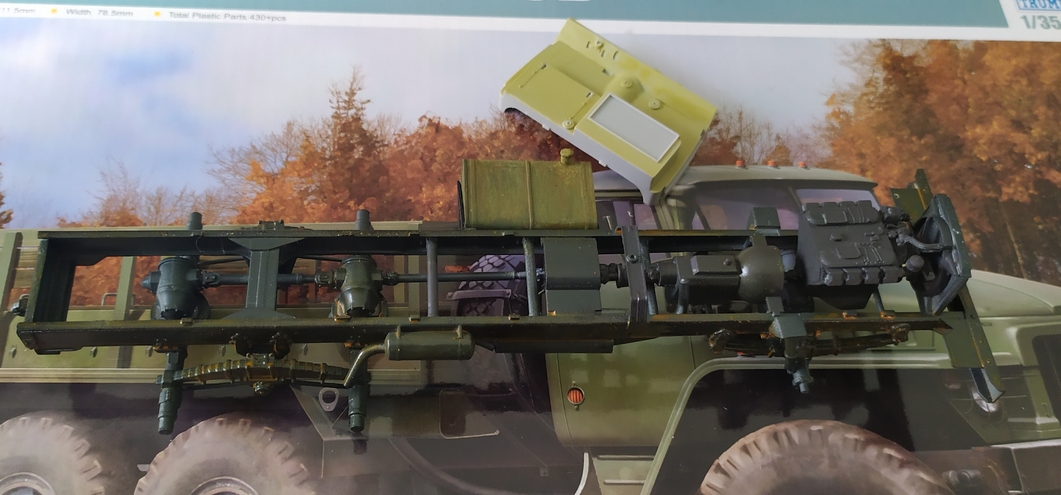
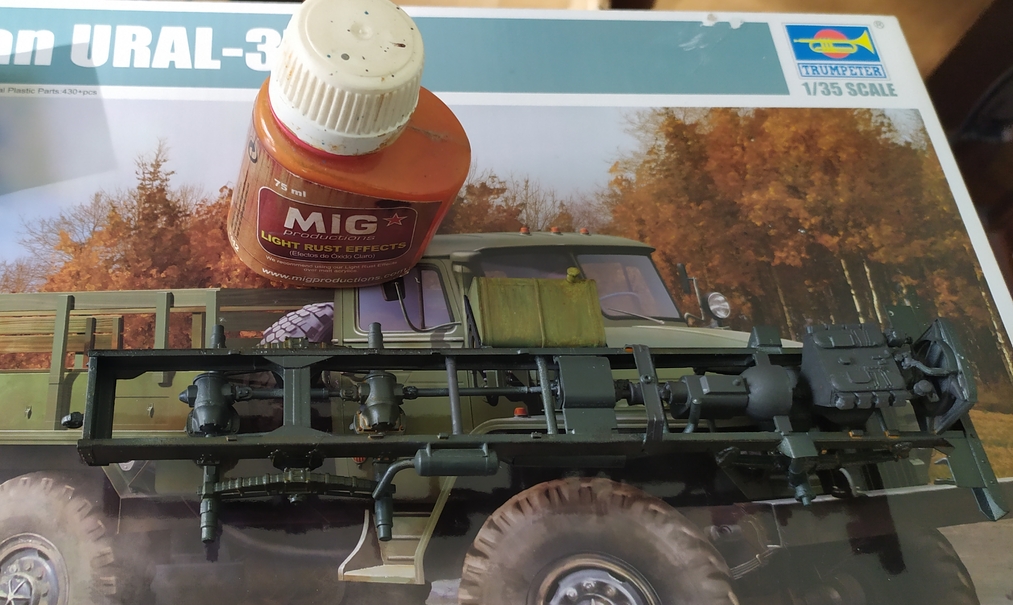
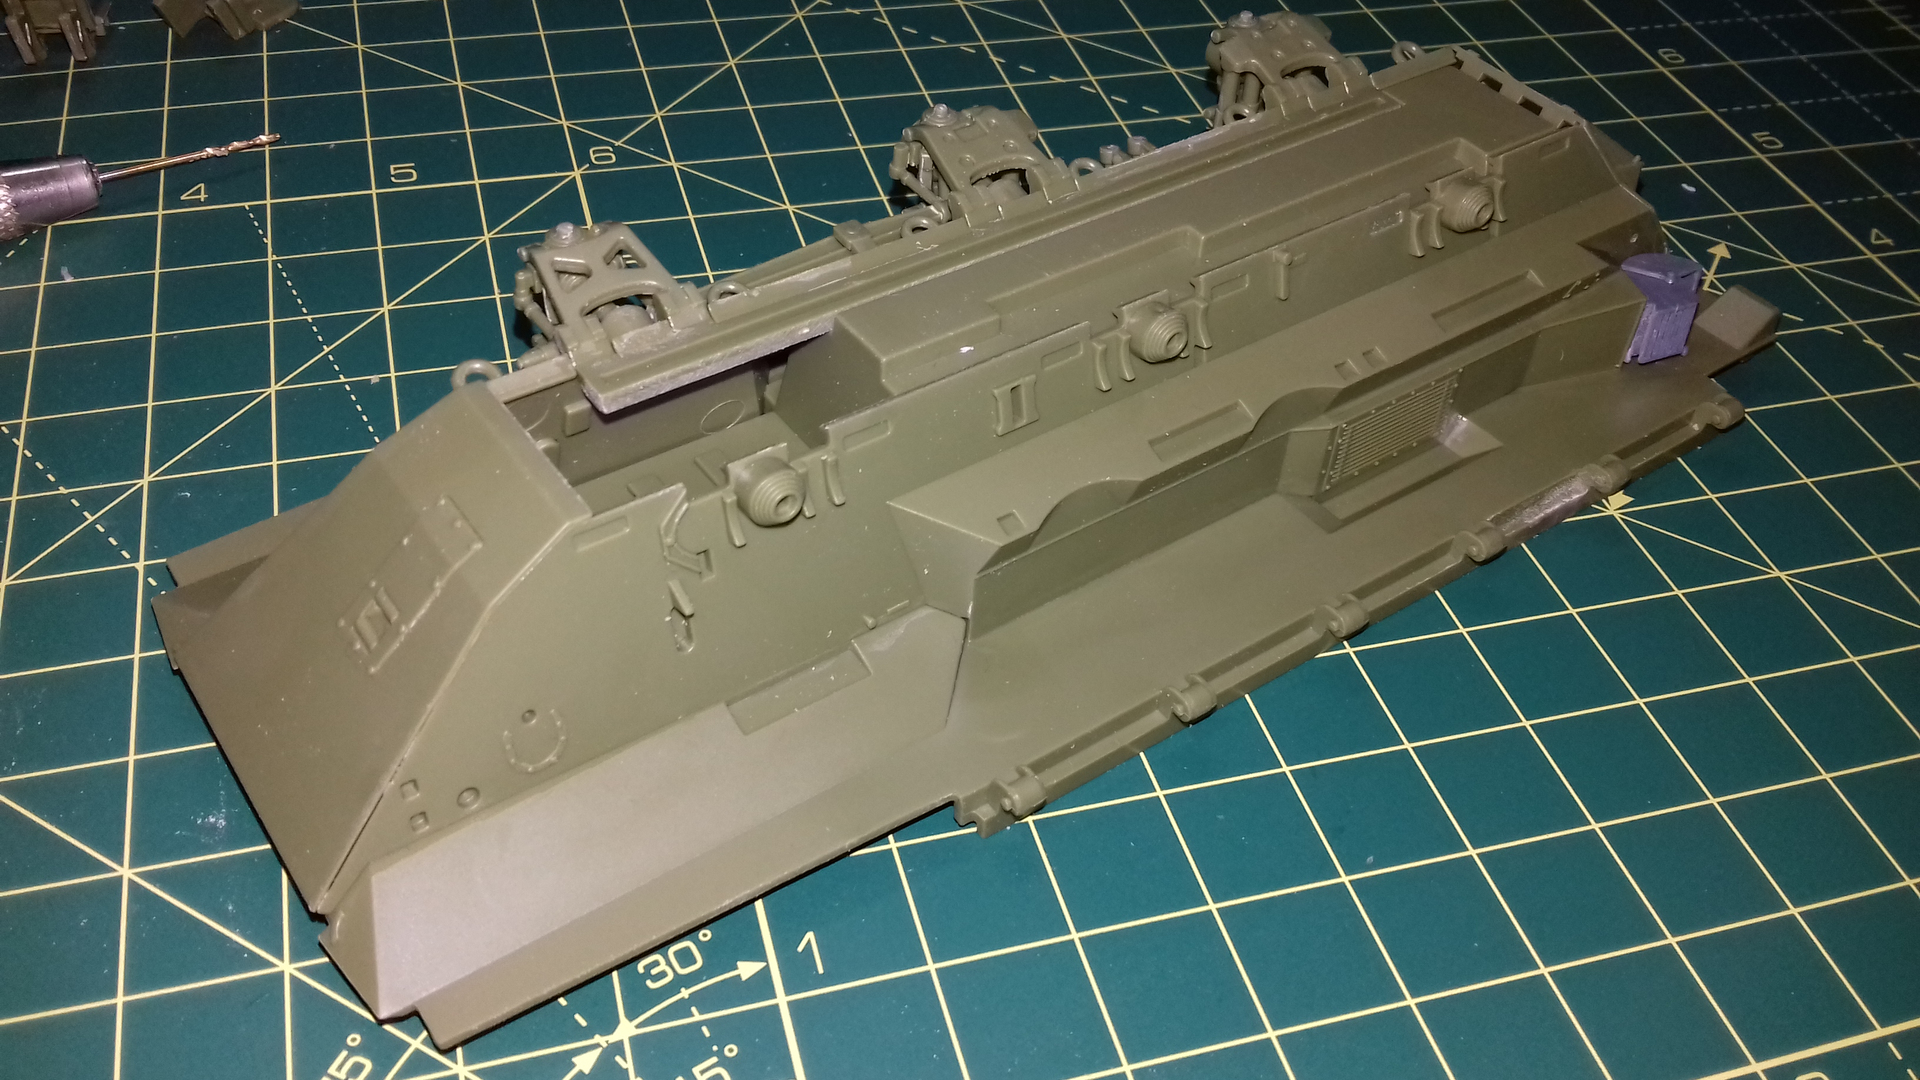
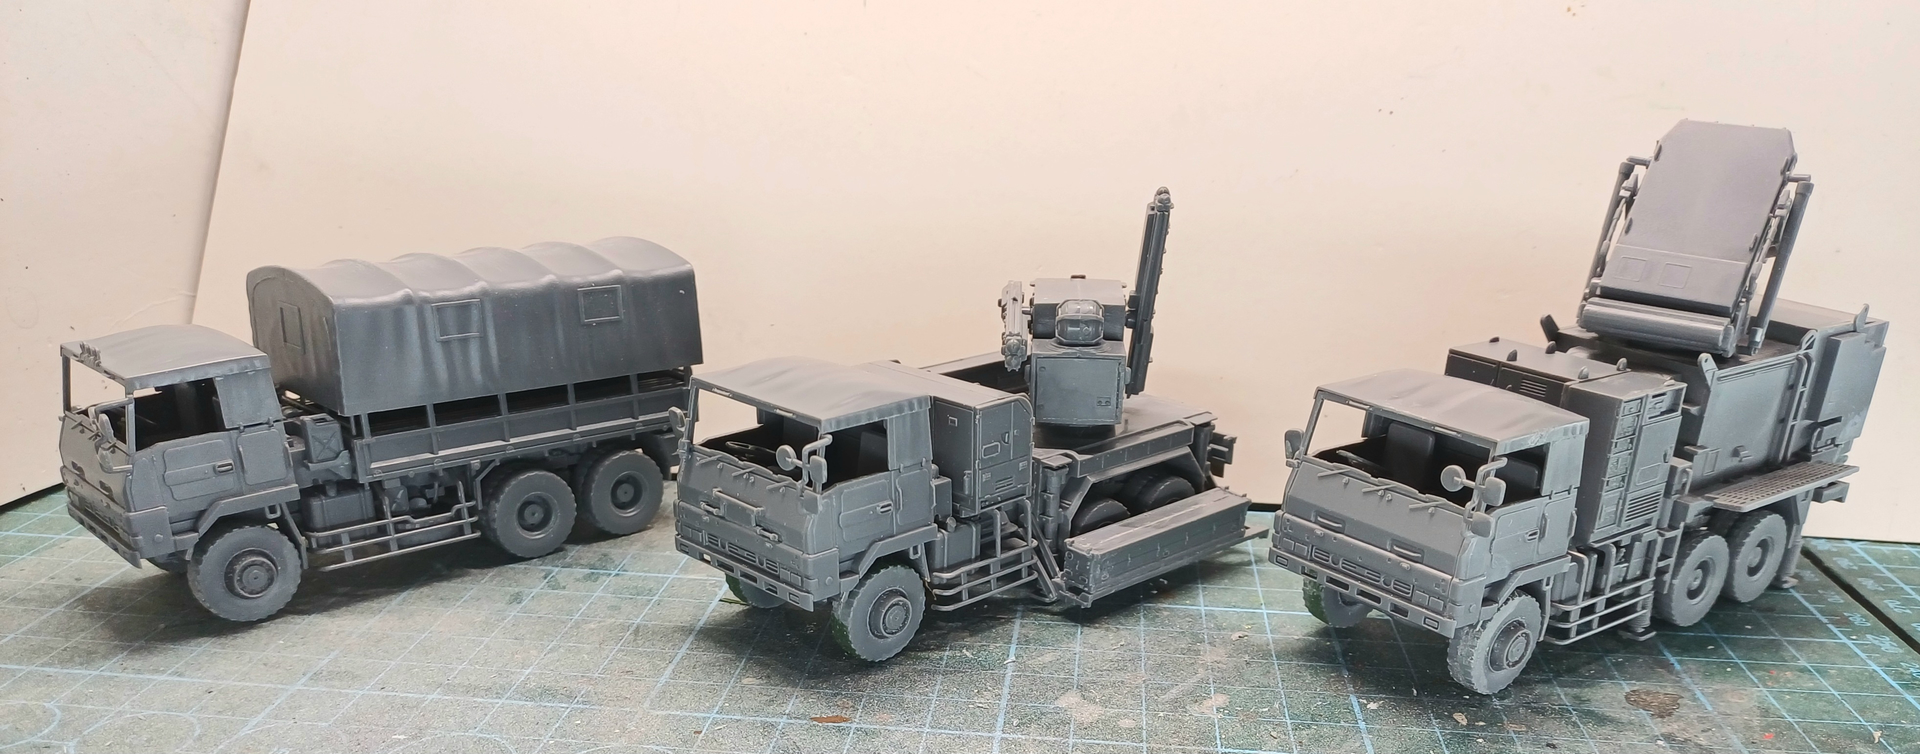
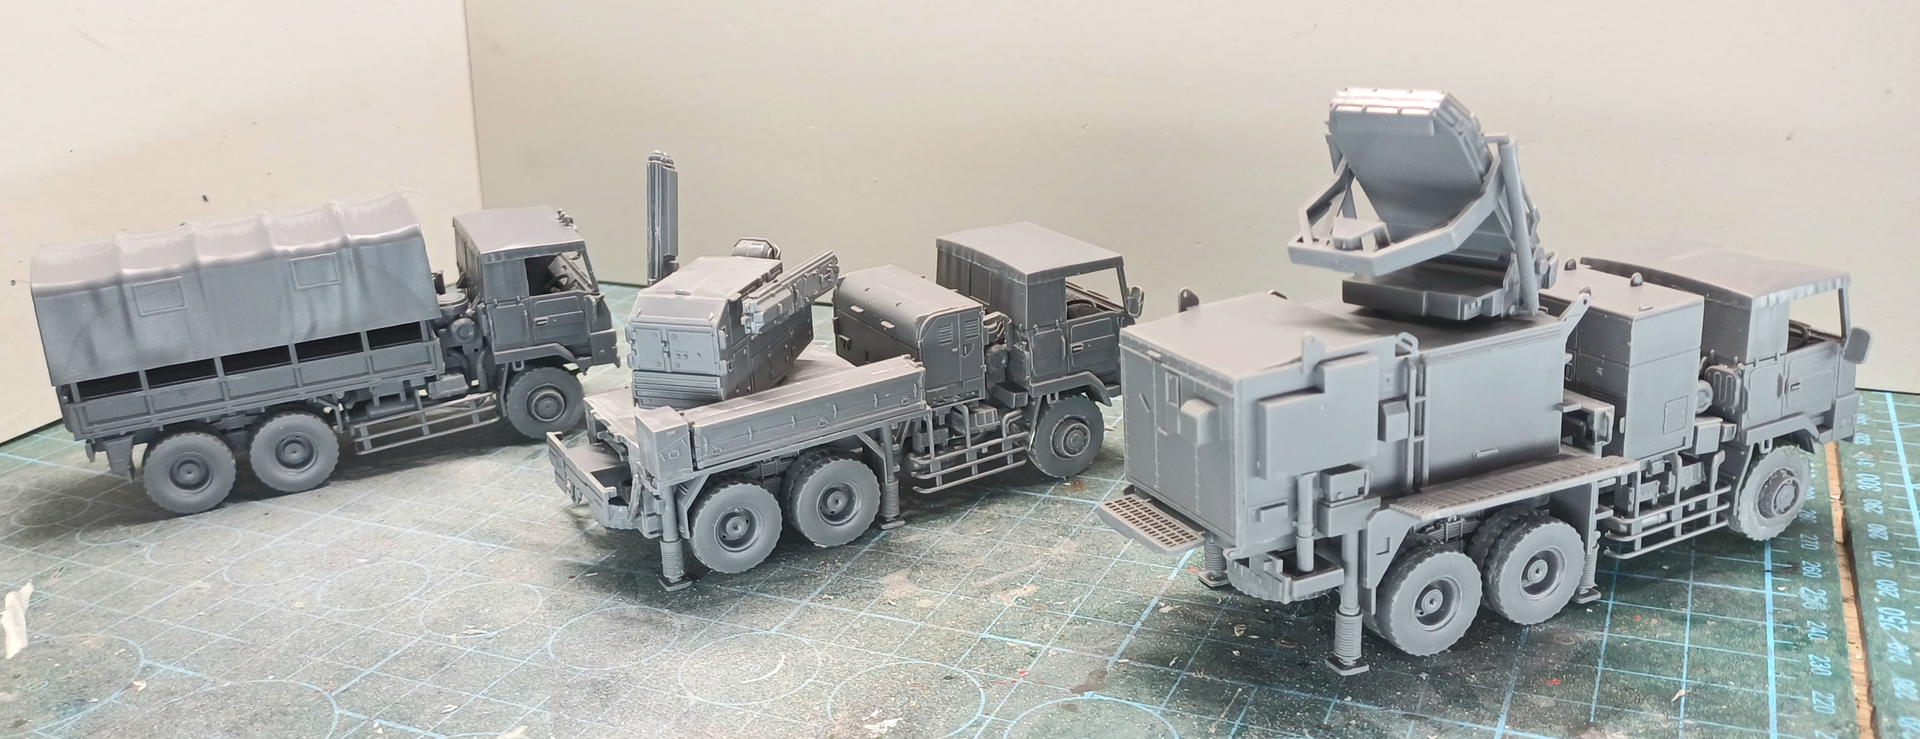
And after detailpainting both trucks they look like this, still final assembling, decals, filters, wash and windows to do..
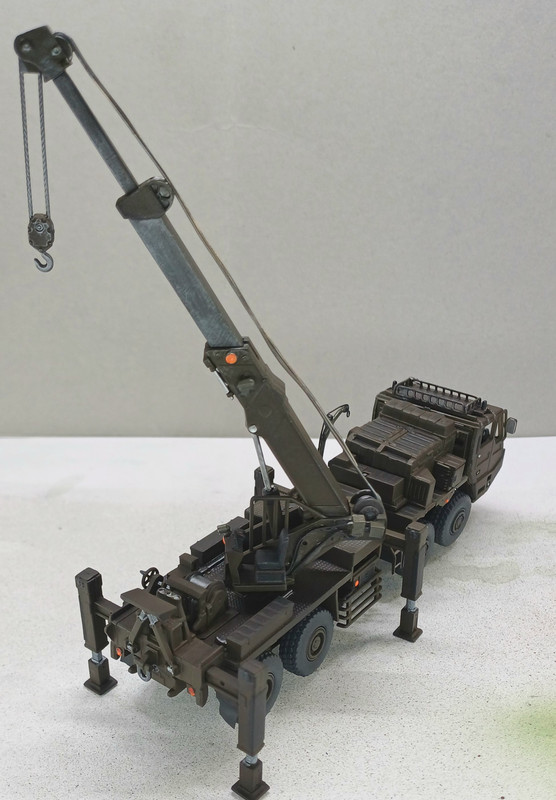
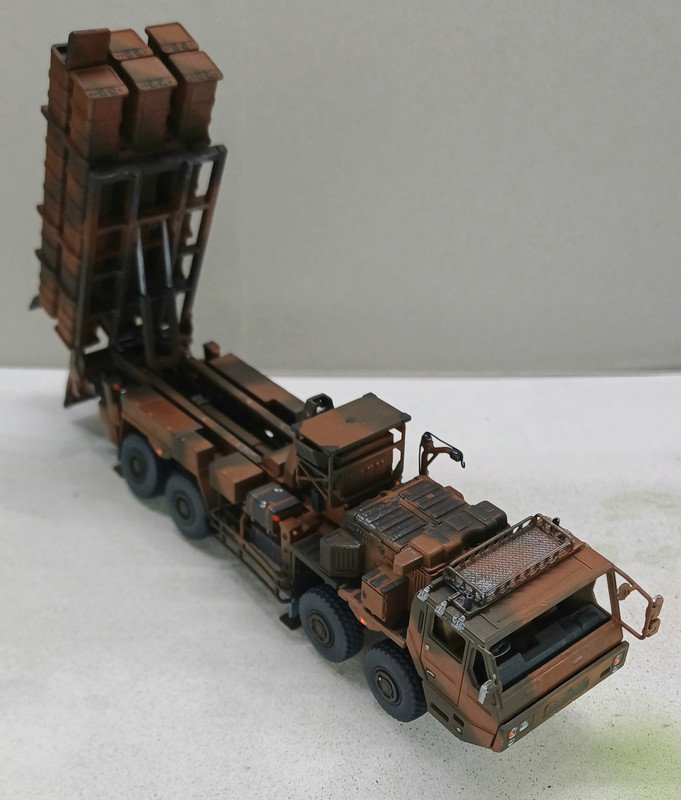
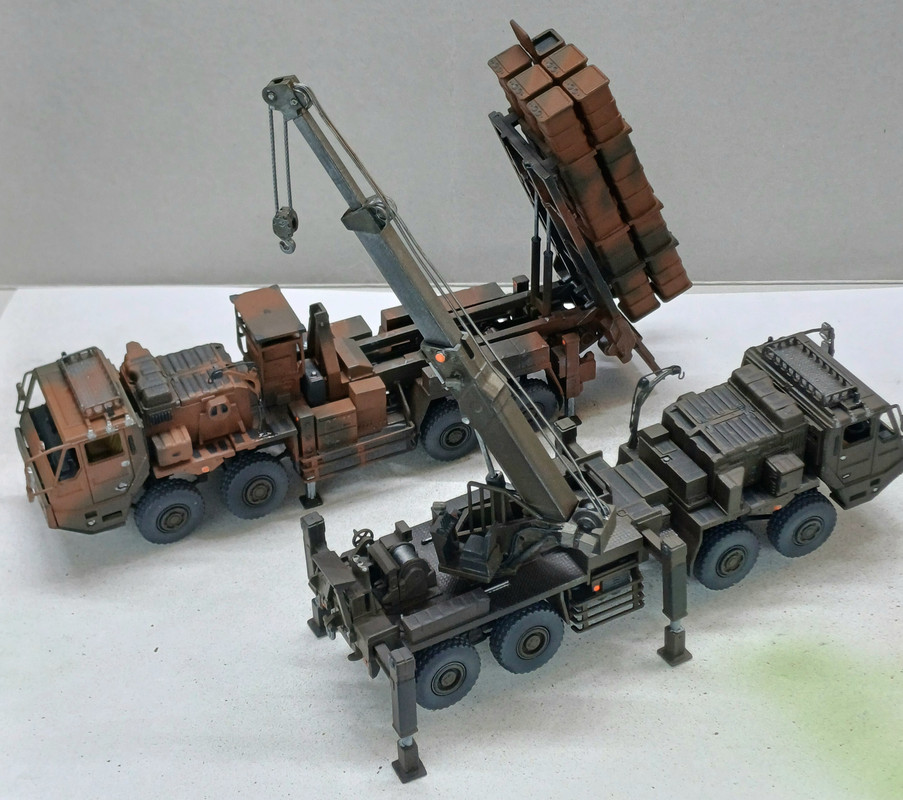
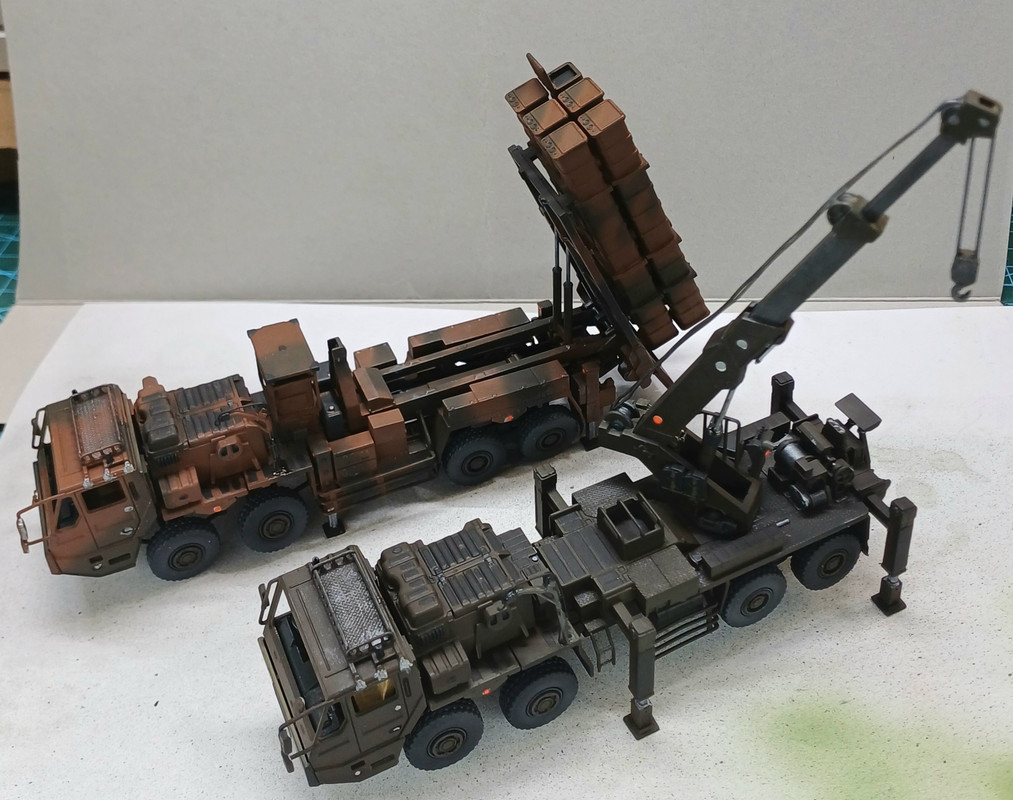
And after detailpainting both trucks they look like this, still final assembling, decals, filters, wash and windows to do..
Superb work Bert !!
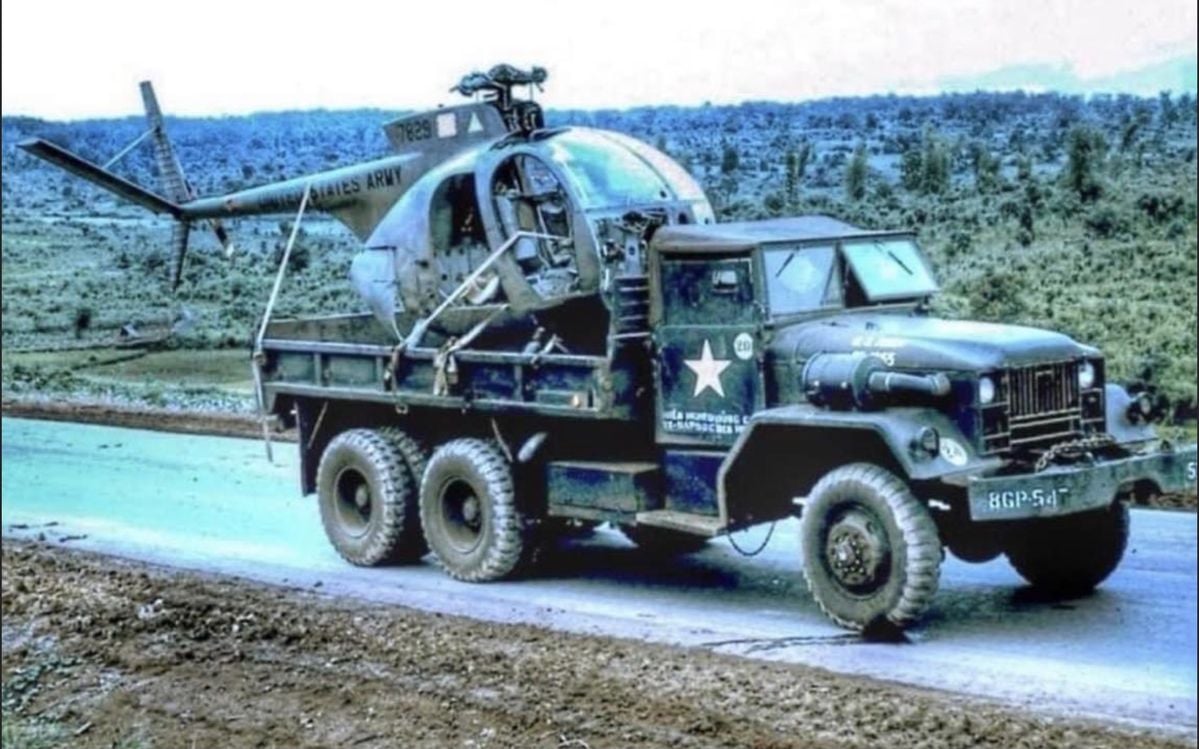
I will be entering this campaign in early 2026, but for truck folks out there, here’s an interesting pic. Apologies for the thread drift.
I haven’t seen an M54 with a side-exiting exhaust before. (Say like the M34 compared to the M35) Is it an early version, pre-dating the conventional vertical stack, or converted to keep exhaust fume, particles away from loads like the OH6 on the back?
ETA The OH6 only entered service in ‘66 so……..
Just saying.
Beautiful work, how did you do the trail from the missile launching, if you dont mind sharing?
Thanks! I used a piece of clear plastic sprue, painted with various Tamiya clear paints, and some cotton wool sprayed lightly with a few grey tones.
Hey gang,
There’s some great modelling going on here! I’ve been absent lately due to a spell of fieldwork that has taken me away from home and filled every waking hour, but today I finally got round to starting my own build. I’ve chose the new Alvis Stalwart kit by Airfix, which has been in my possession for half a year now. Up to now I’ve concentrated on CAD-ing 3D-printed parts for Scorpion Miniatures that are being released along with other traditional cast resin parts to upgrade and modify the base kit - I’ll probably use a few of these myself. But mainly I plan an OOB build of this iconic six-wheel amphibious truck. My plan of attack is to build the entire underbody/suspension before tackling any of the bodywork, despite the order of the instructions - this makes it less fragile to handle. And I’m still making my mind up about options that will be seen on the topside…
I missed these ones Bert !
They look great.
3 tone camo ?
Thanks, and yes, I think so 
Bert those look good! I saw the grey and thought at first it was CAD renderings rather than plastic… 
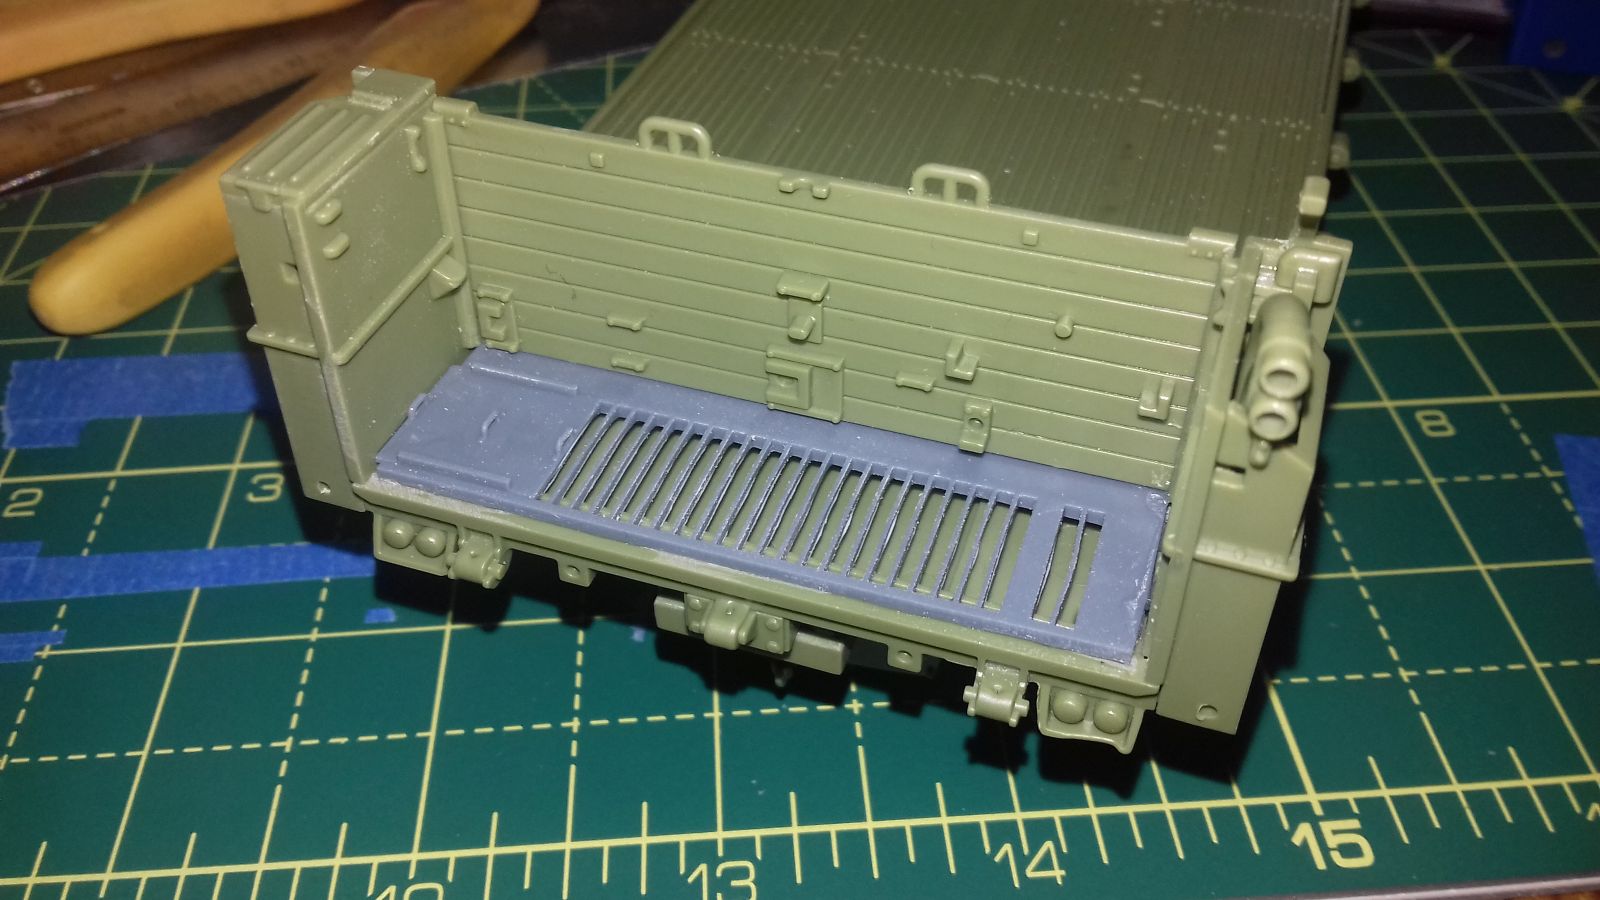
Brief update on my Stolly. I’ve been designing some parts for Scorpion Miniature Models and have incorporated some in the build, like an open rear vent for the cooling fans.
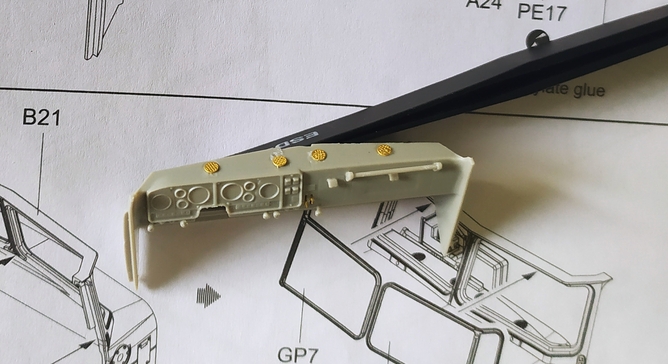
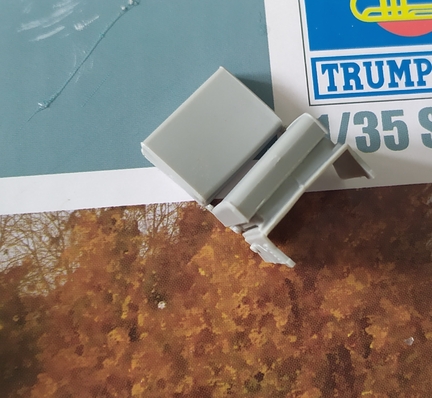
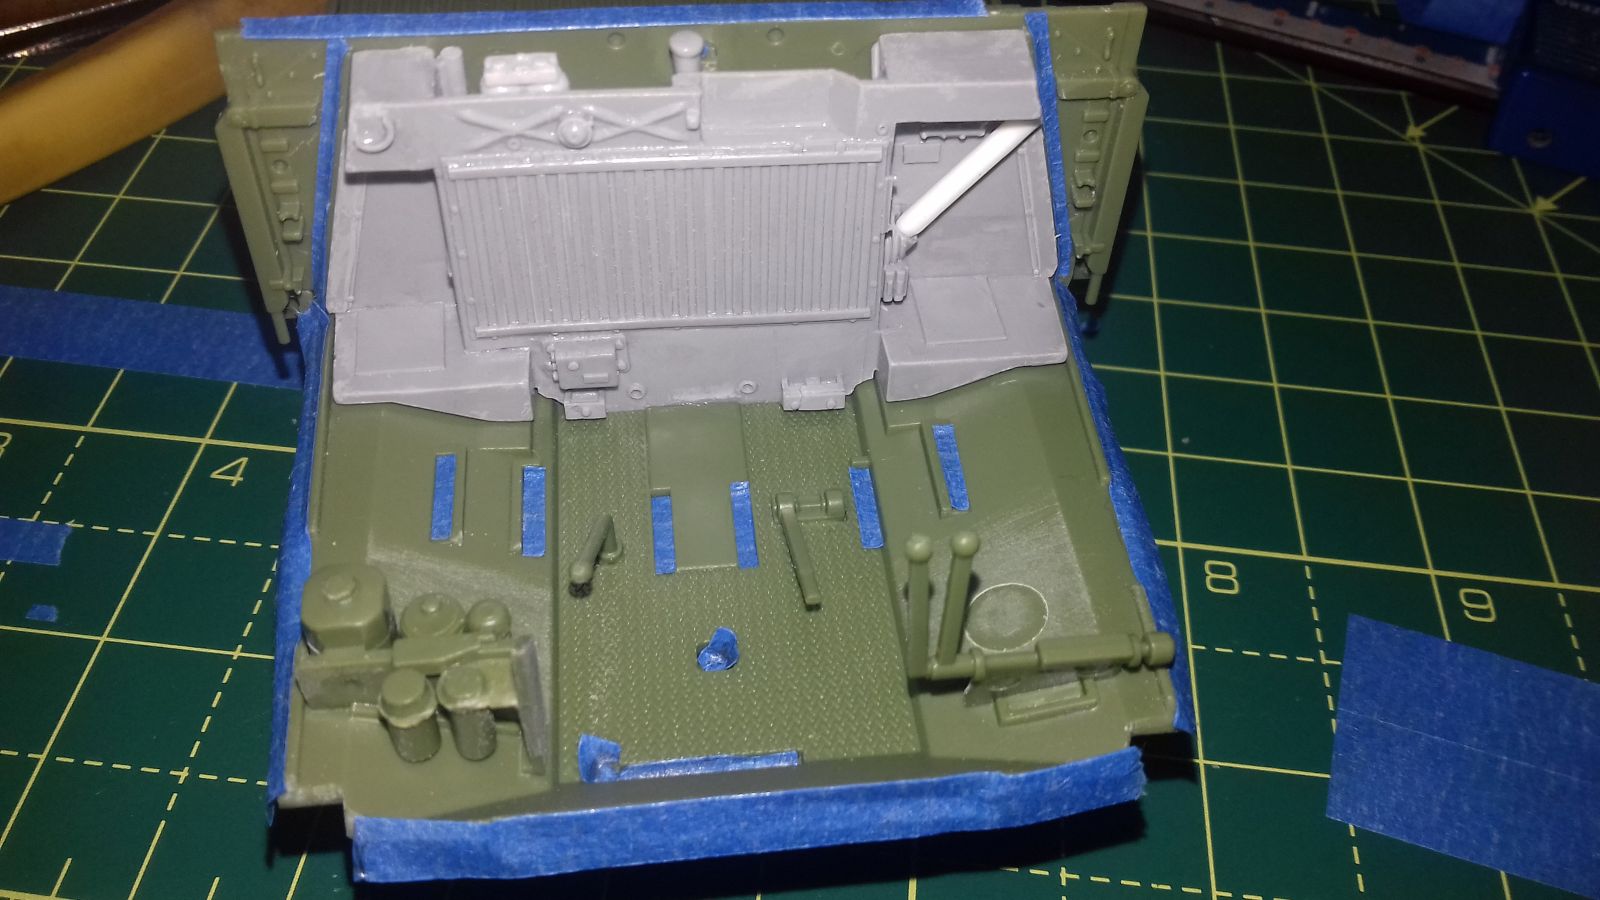
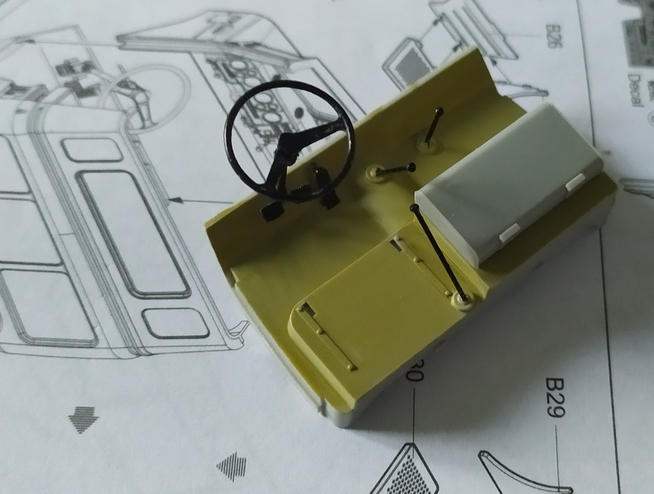
I had to start painting the cab so I can close it up. That meant a lot of masking after I’d added a few details. I used a resin back wall sent me as a test shot from SMM, but chose not to use the resin cab that came with it - that might wait for another project. But it offered a pattern to copy for my own plastic surgery.
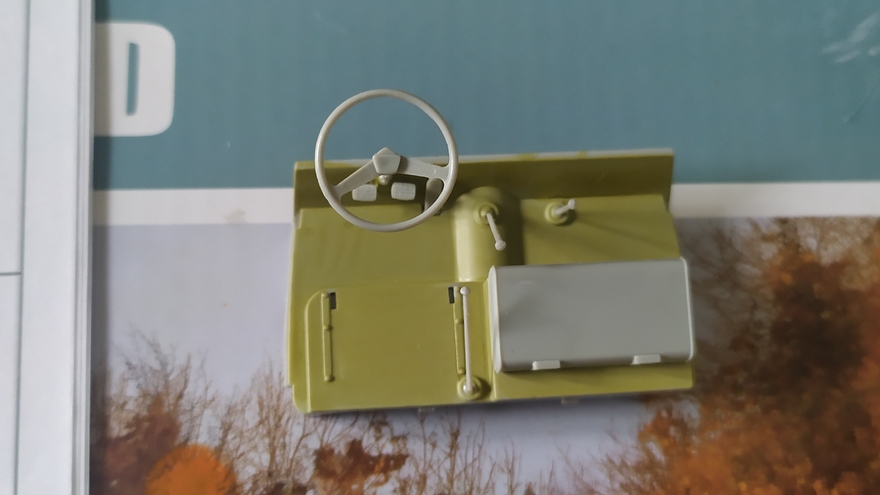
The interior was primed in Halfords rattle-can grey, then sprayed with Tamiya NATO Green - a ton of detail painting is to come! (The exterior will use the slightly less gaudy Tamiya Field Grey as the base green, but I wanted something a tad brighter on the inside…)
Certainly makes a big difference Tom. I am loving what you are doing here.
That has the makings of an ambitious build! Can’t wait to see you cutting plastic…