Thanks Angel. I was debating about wire it up and very slowly doing research while sanding.
2 Likes
I have a bit for my variable speed Dremel that I use to remove raised detail. It is perfect for removing raised discs as it removes plastic using the side, not tip, of the bit for cutting.
It is small enough to get into most places and also to overcome melting, etc.
I start by sliding into and through the tip of the outer circumference using the main unraised part as a guide to keep from removing too much. Work small areas at a time, from different angles and it will be fairly flush and level. Then a little sanding for any residual.
3 Likes
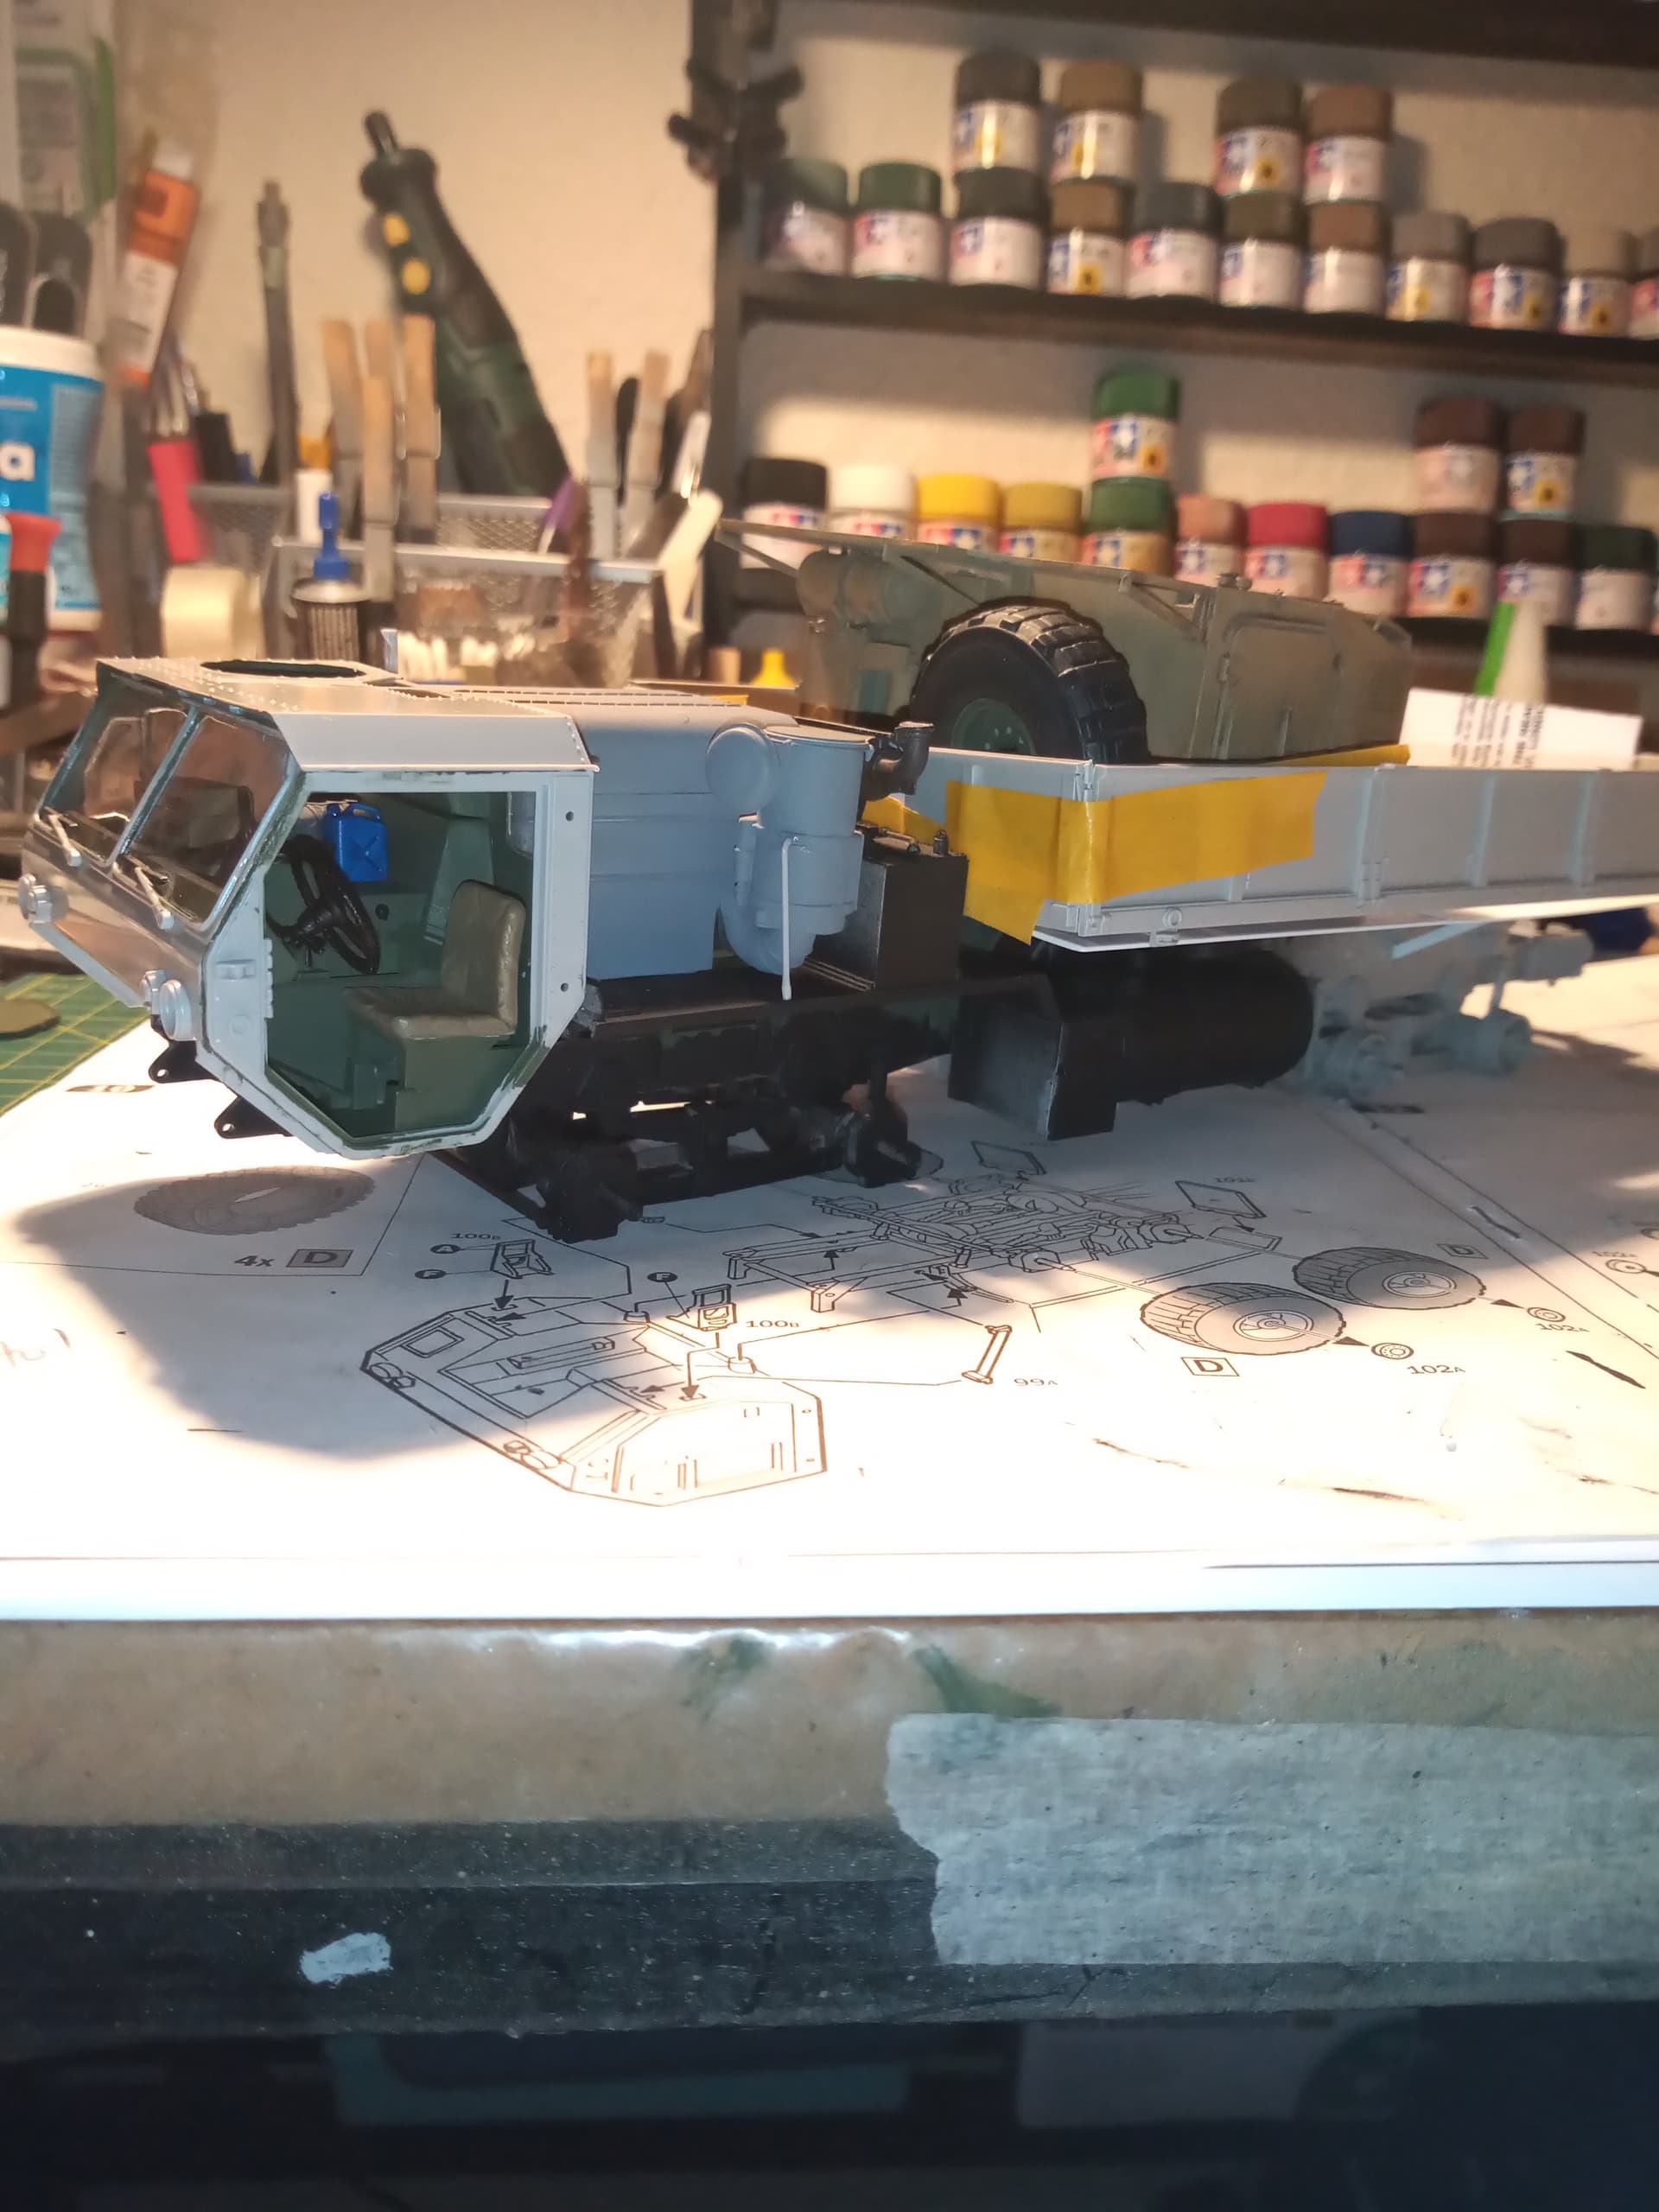
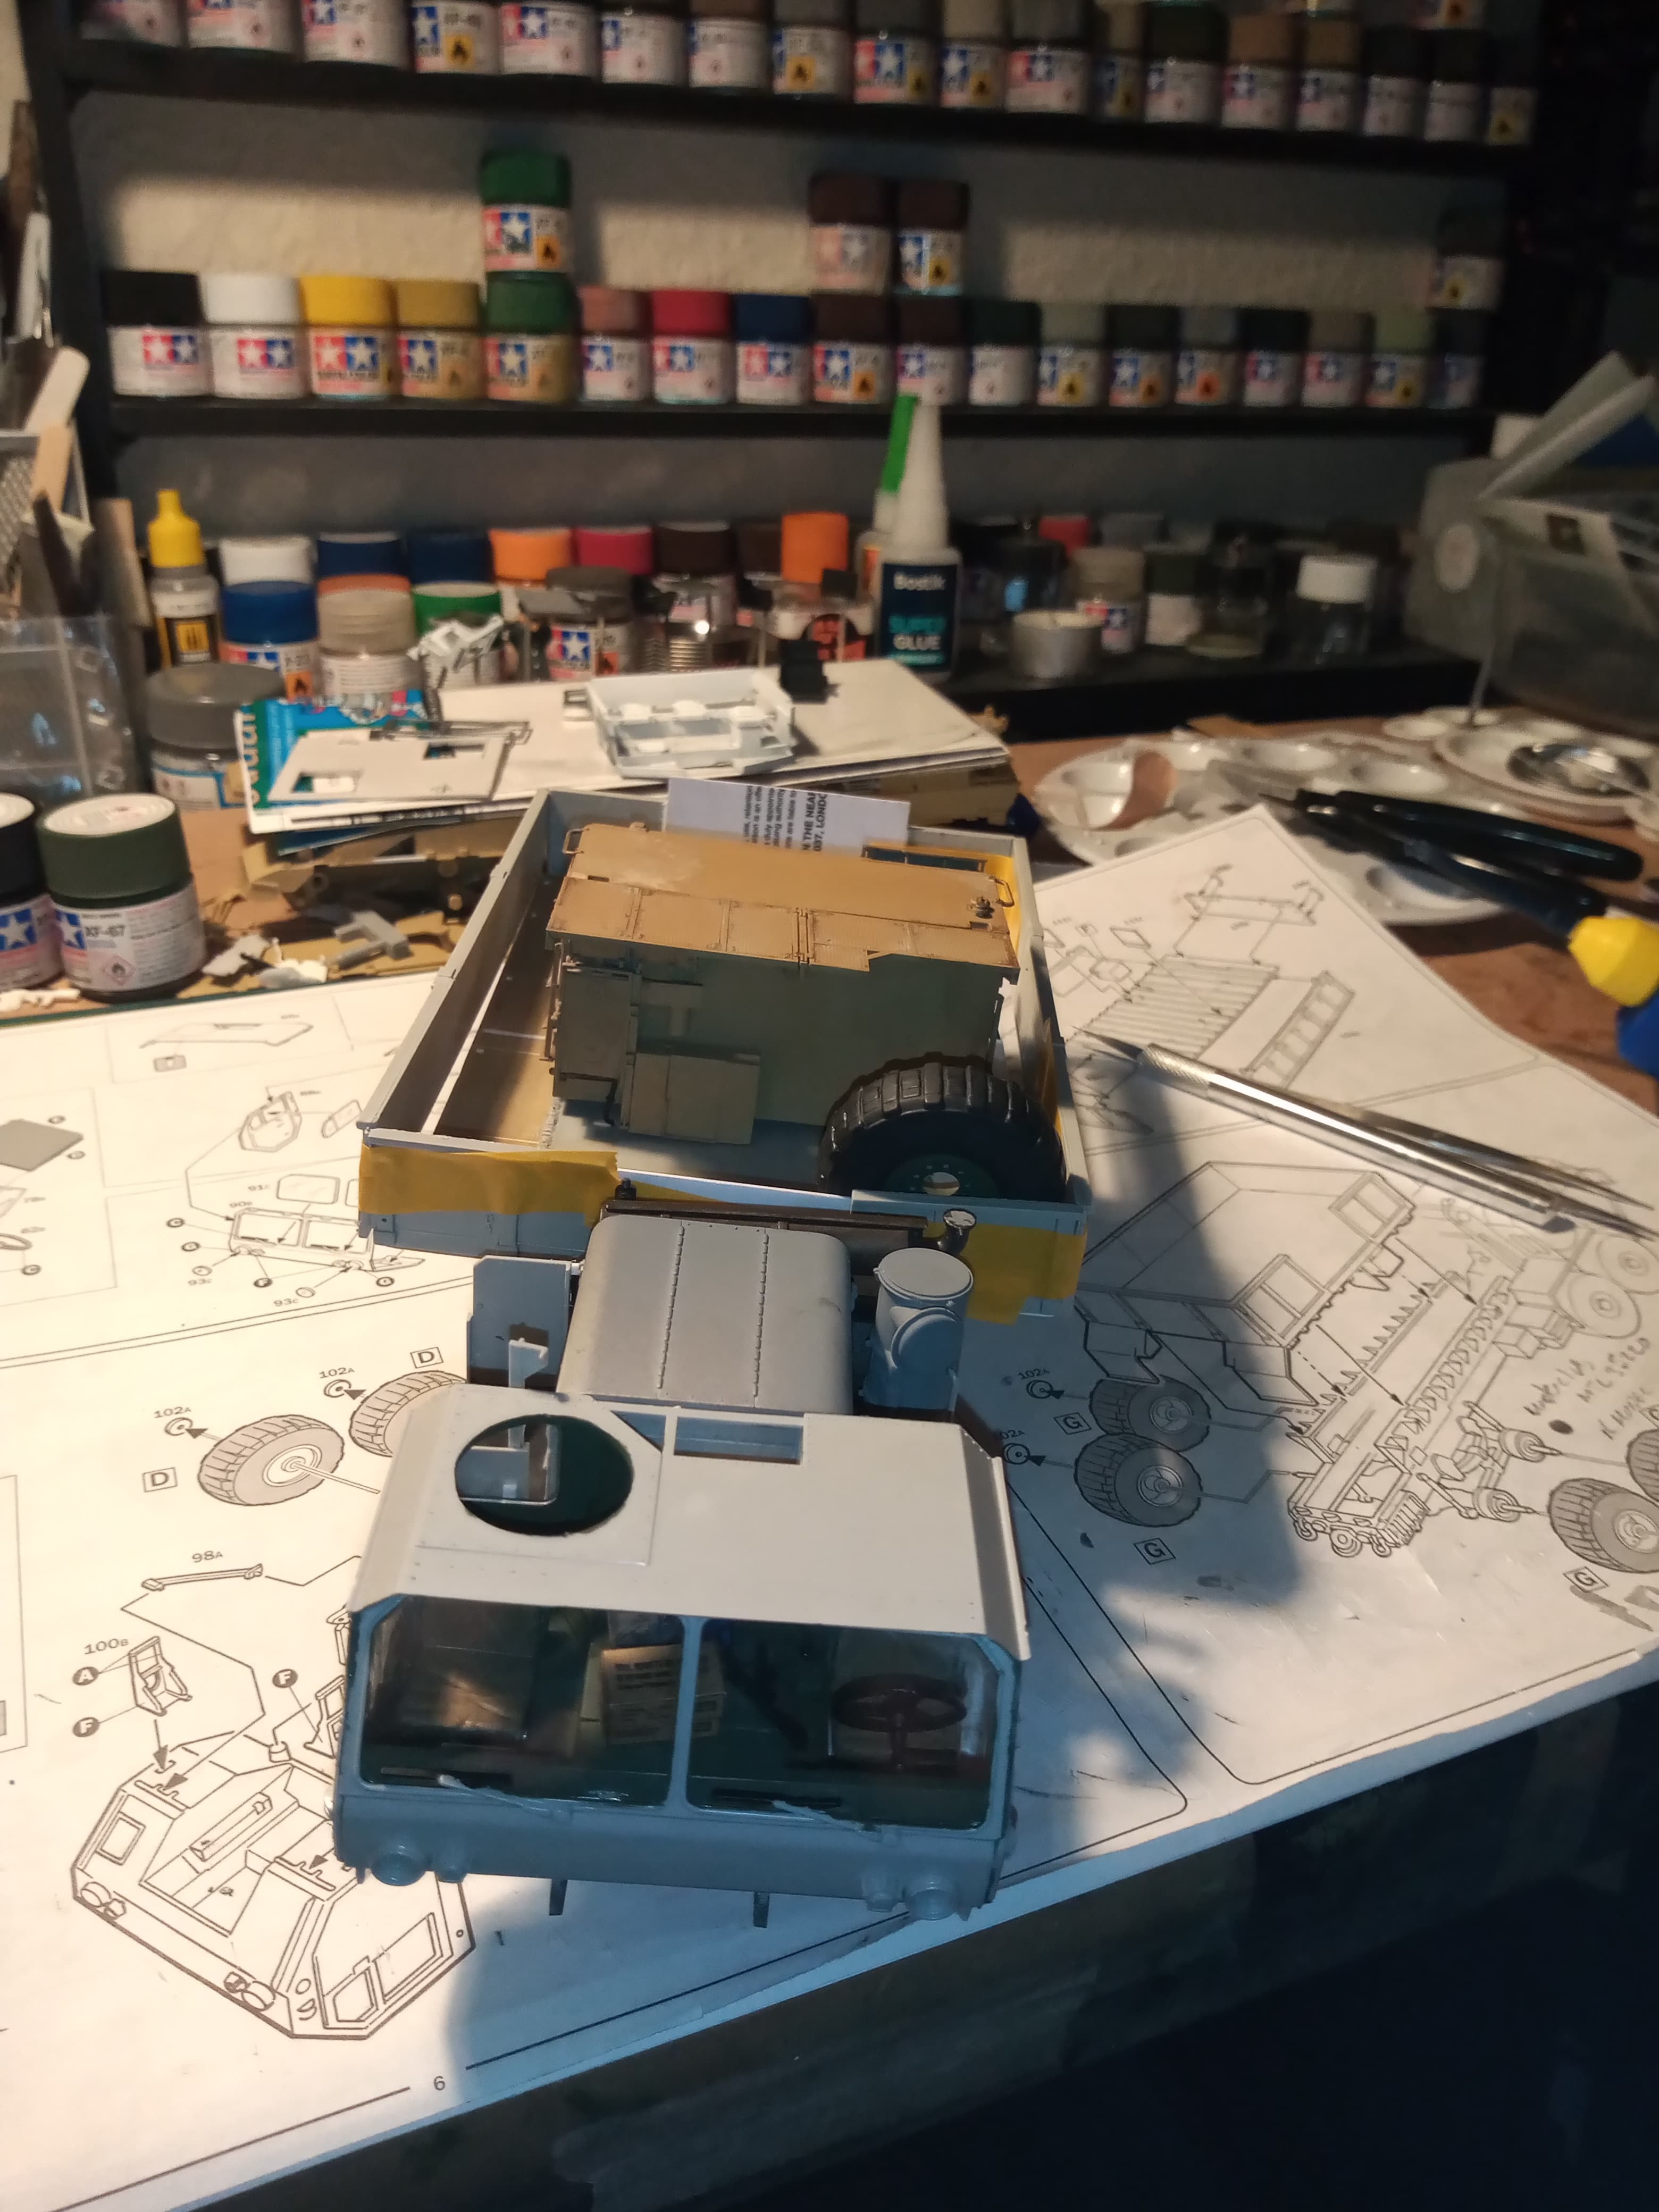
Made a slow start on the cab … I wanted to add a few things into an otherwise pretty barren space. I will also be adding either an SA80A2 or SMG next to the doss bag, and maybe an un-holstered pistol if I can find one.

7 Likes
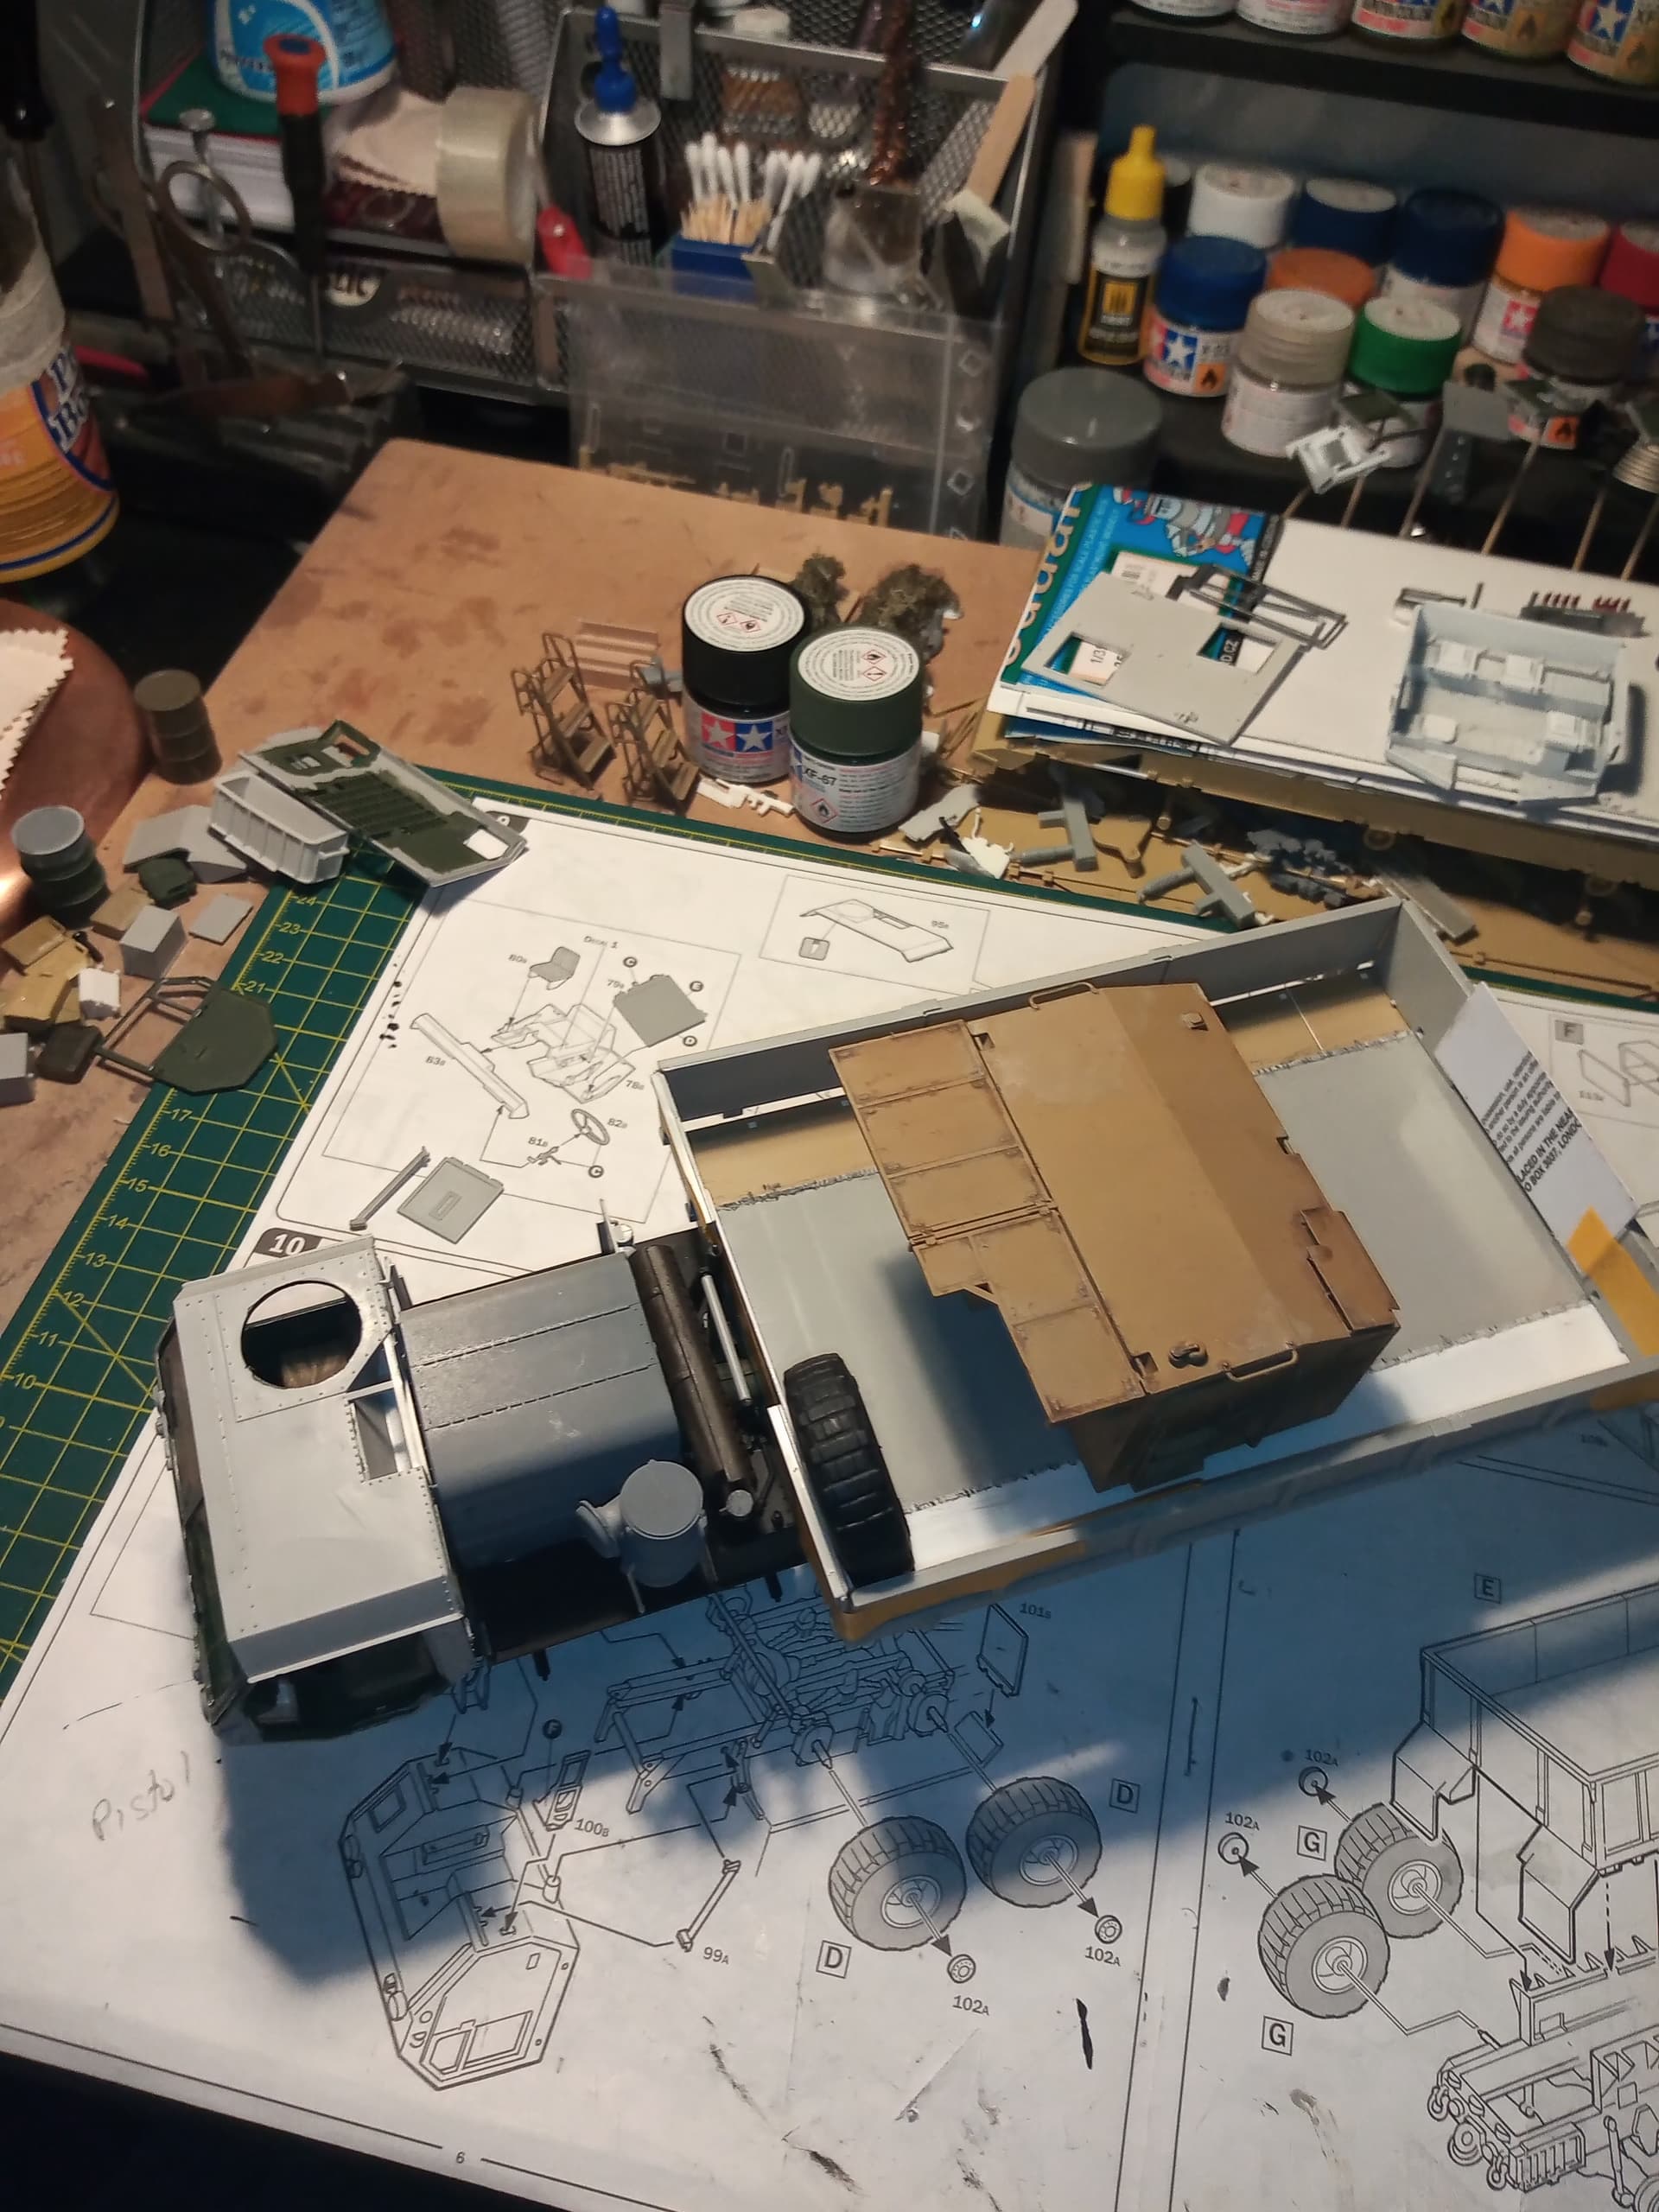
Cabs together…
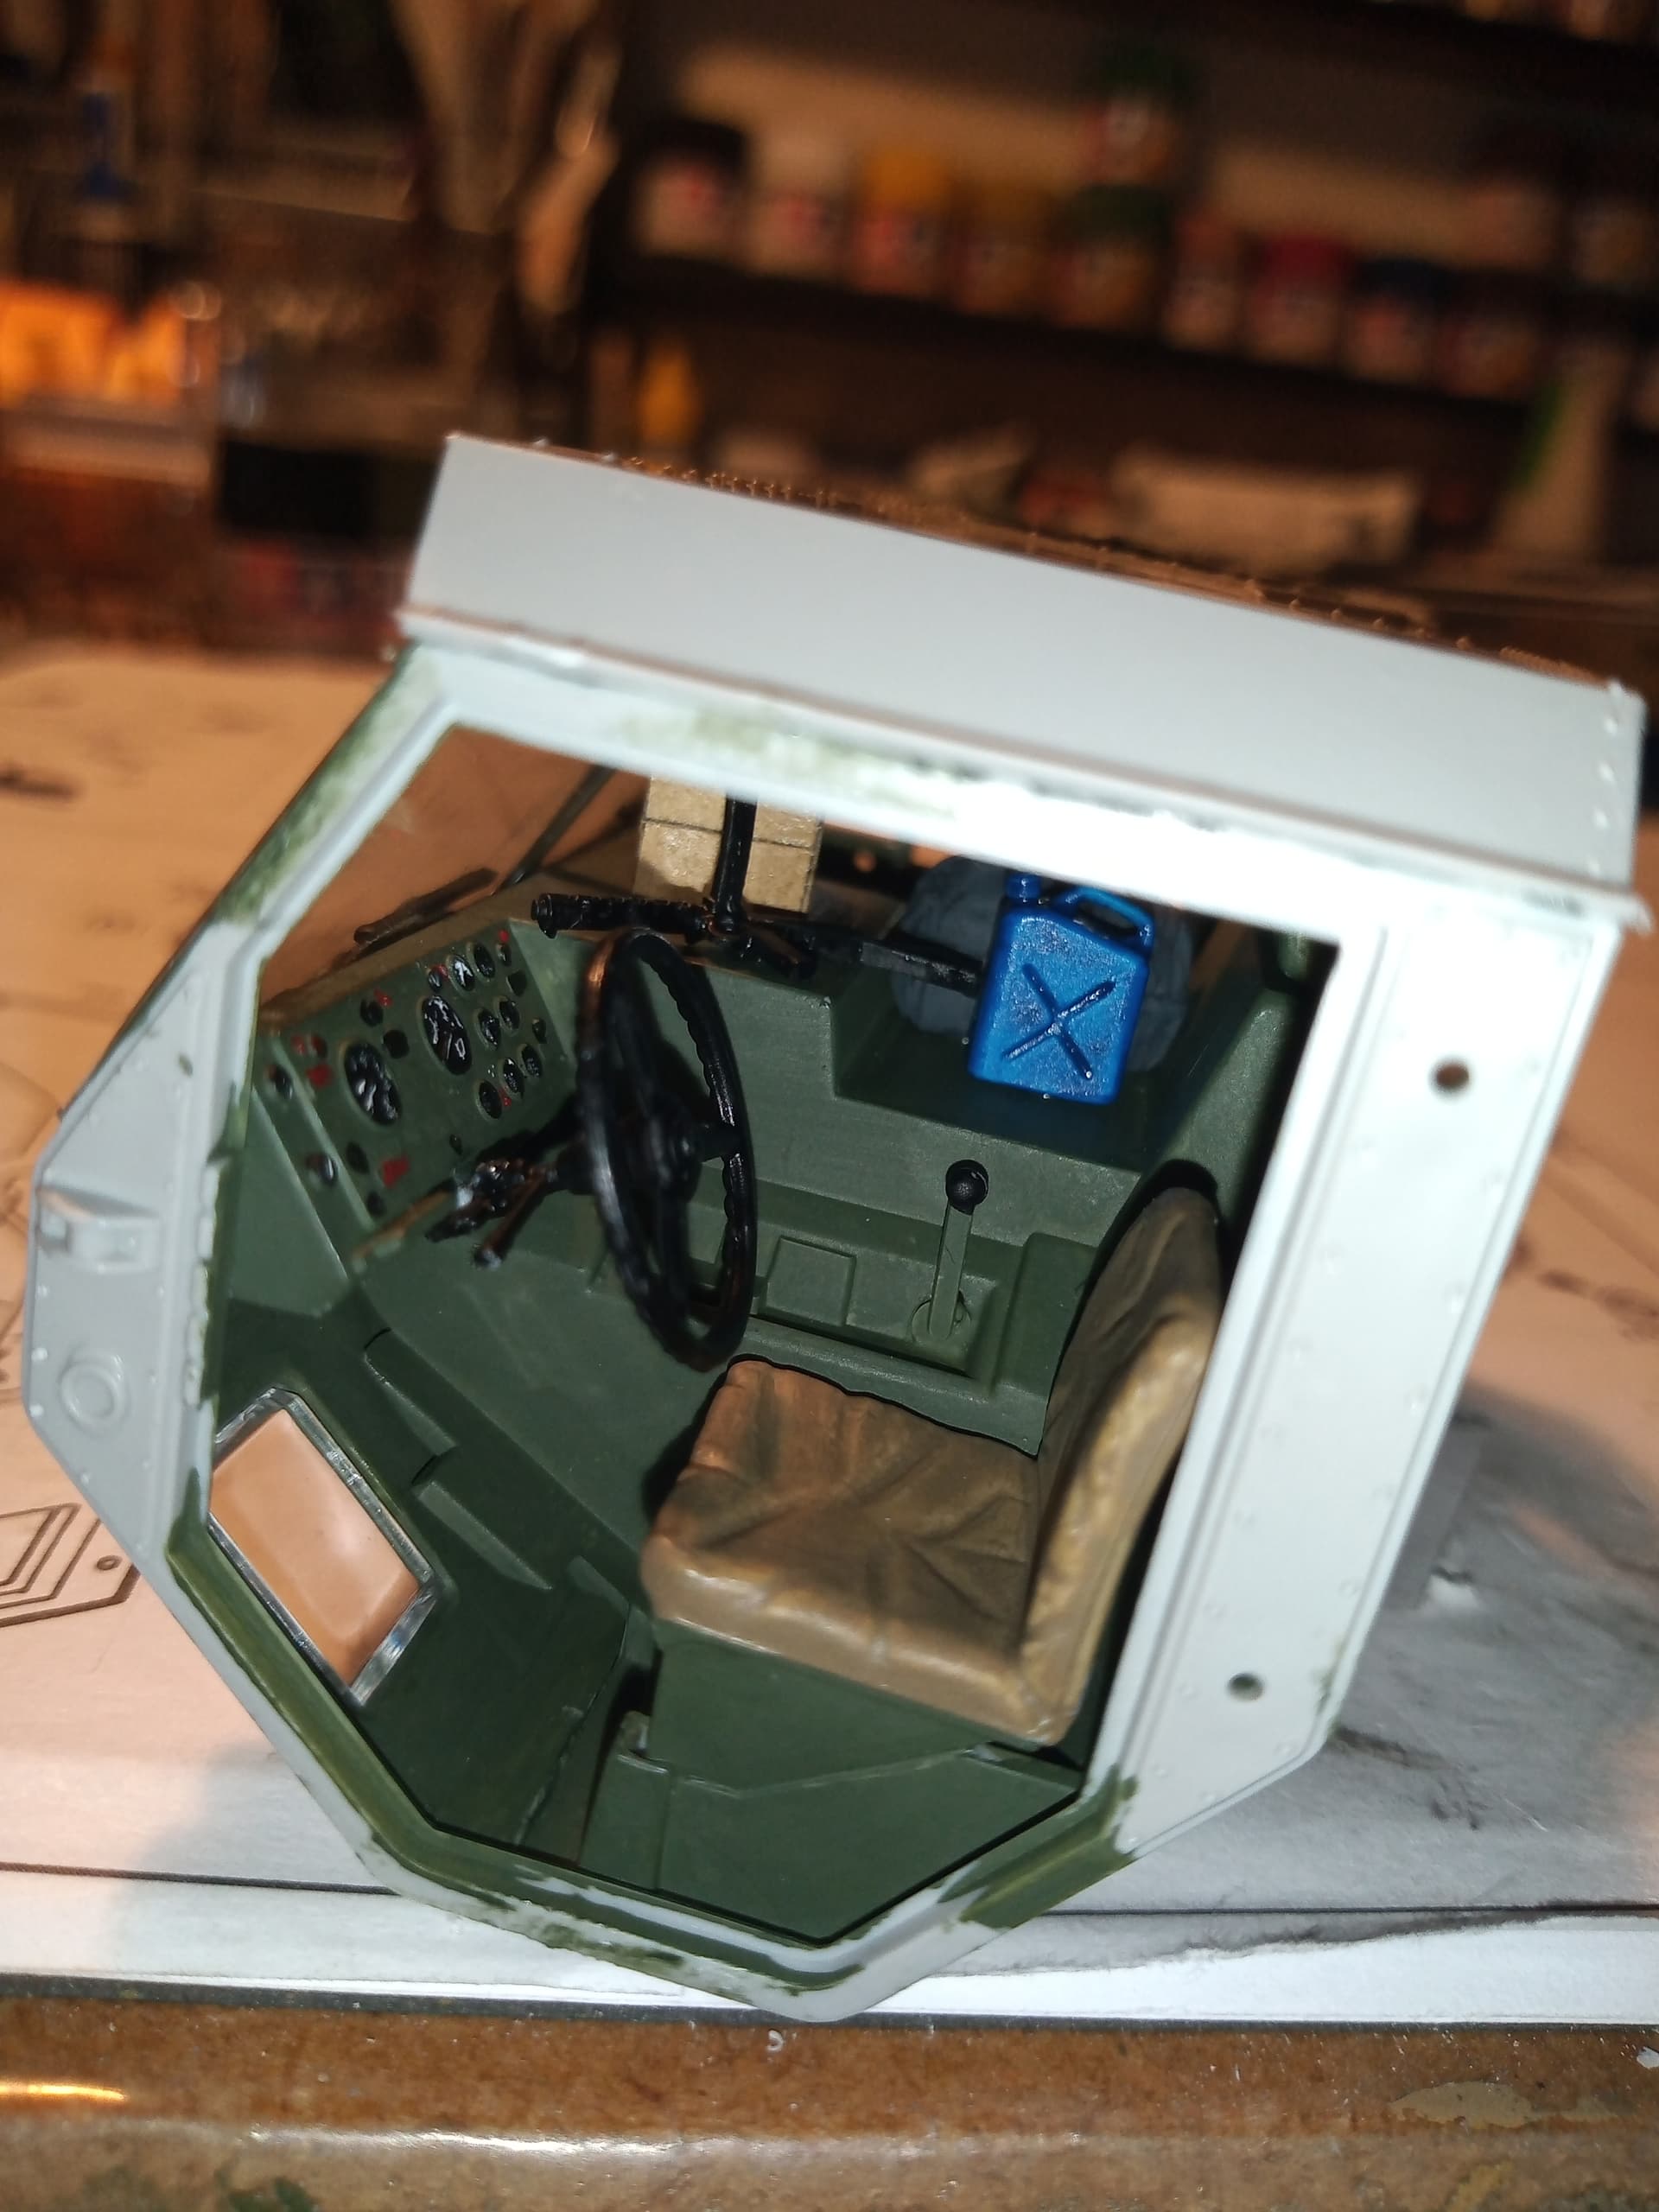
Added a blue liquid container for a bit of colour…
And that is a UK SMG you can see through the windscreen

Need to try and find a modern small arms set… Either US or mixed nations …
6 Likes
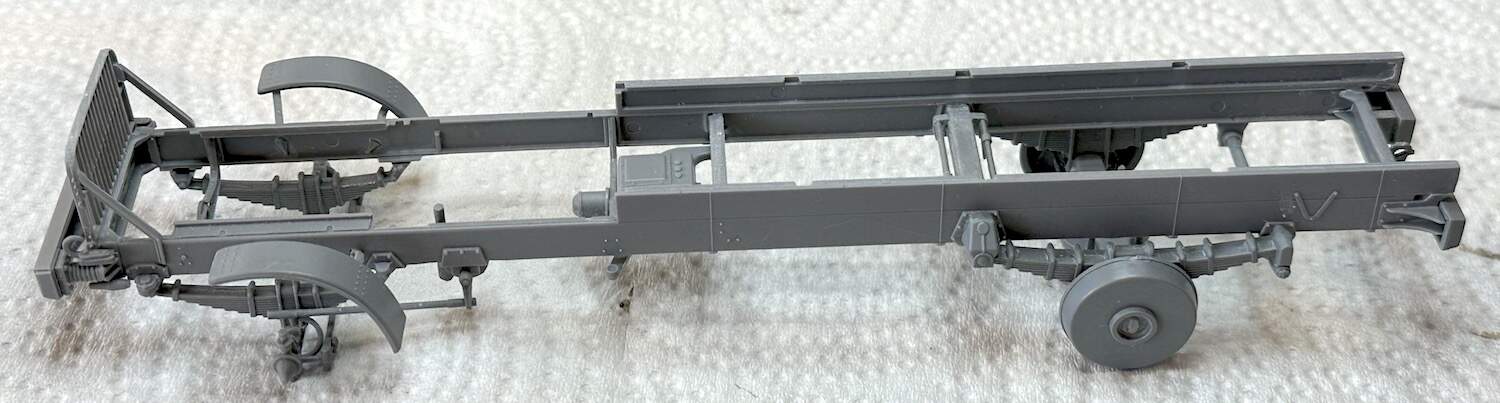
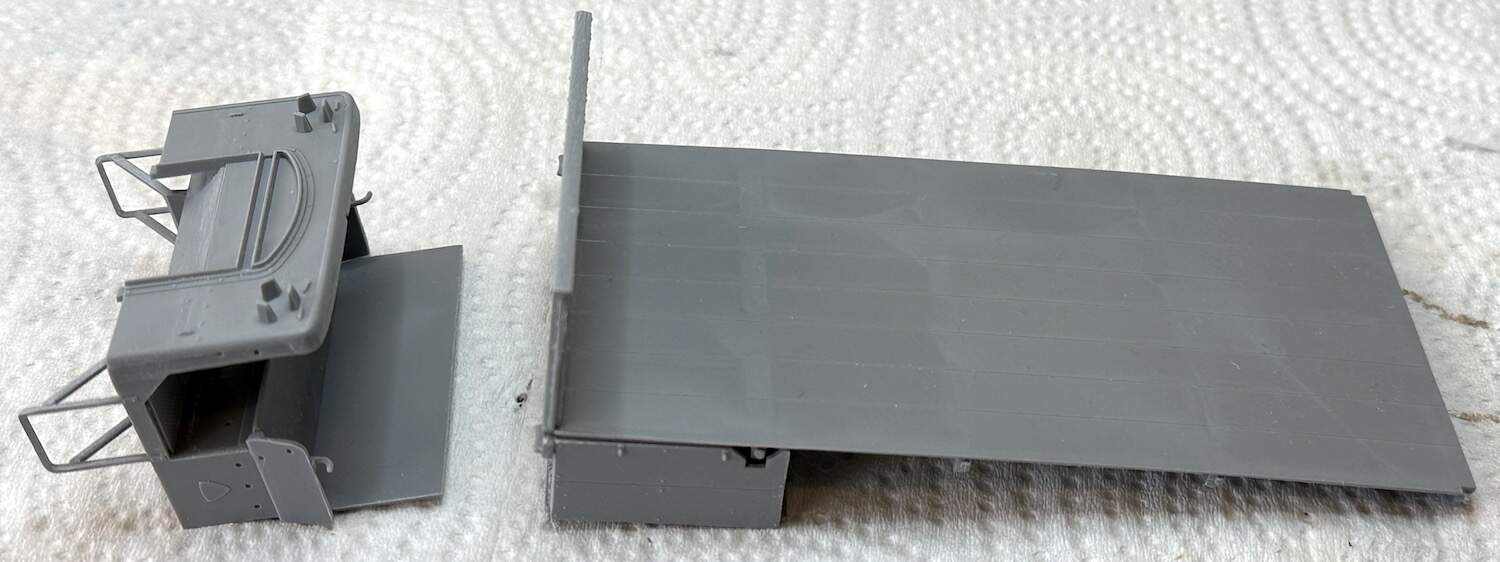
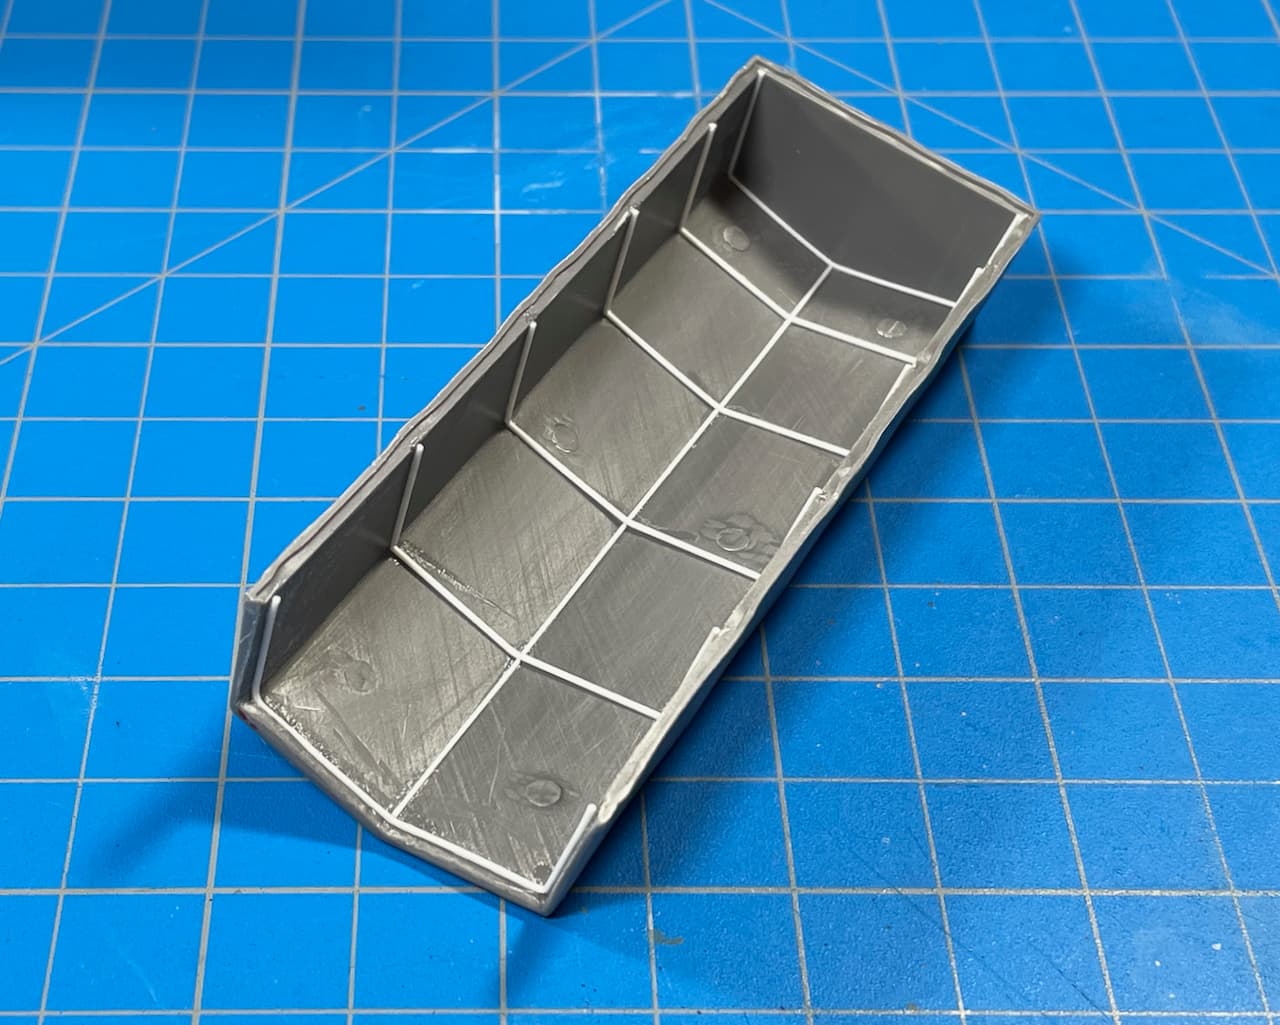
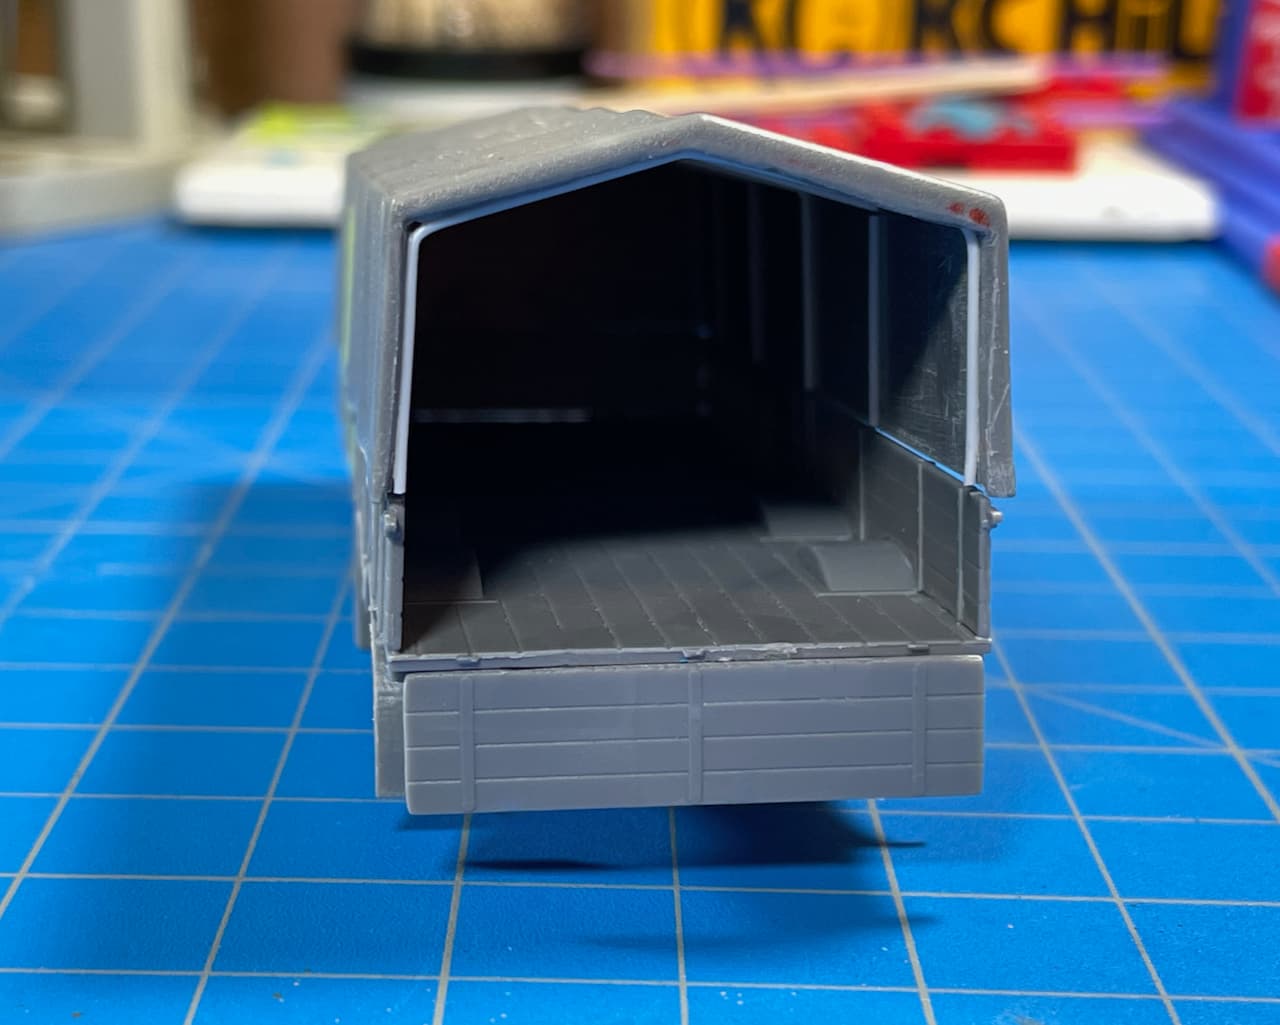
A bit more work done on the Liberty Truck. The chassis is mostly done and the trough on the top of the radiator is filled. The “cab” is also assembled along with the bed.
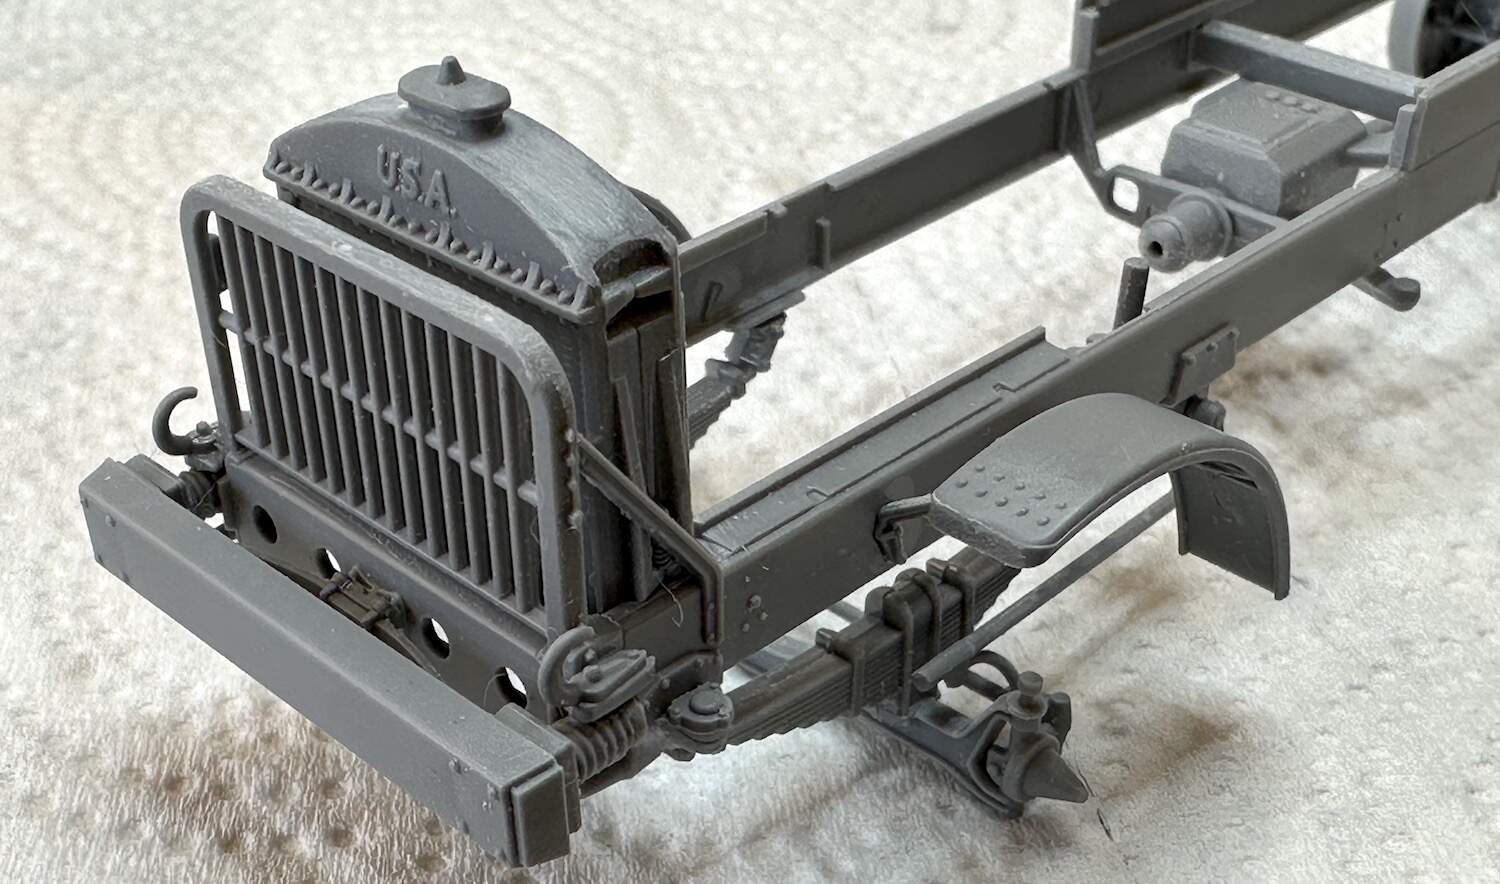
Paul
9 Likes
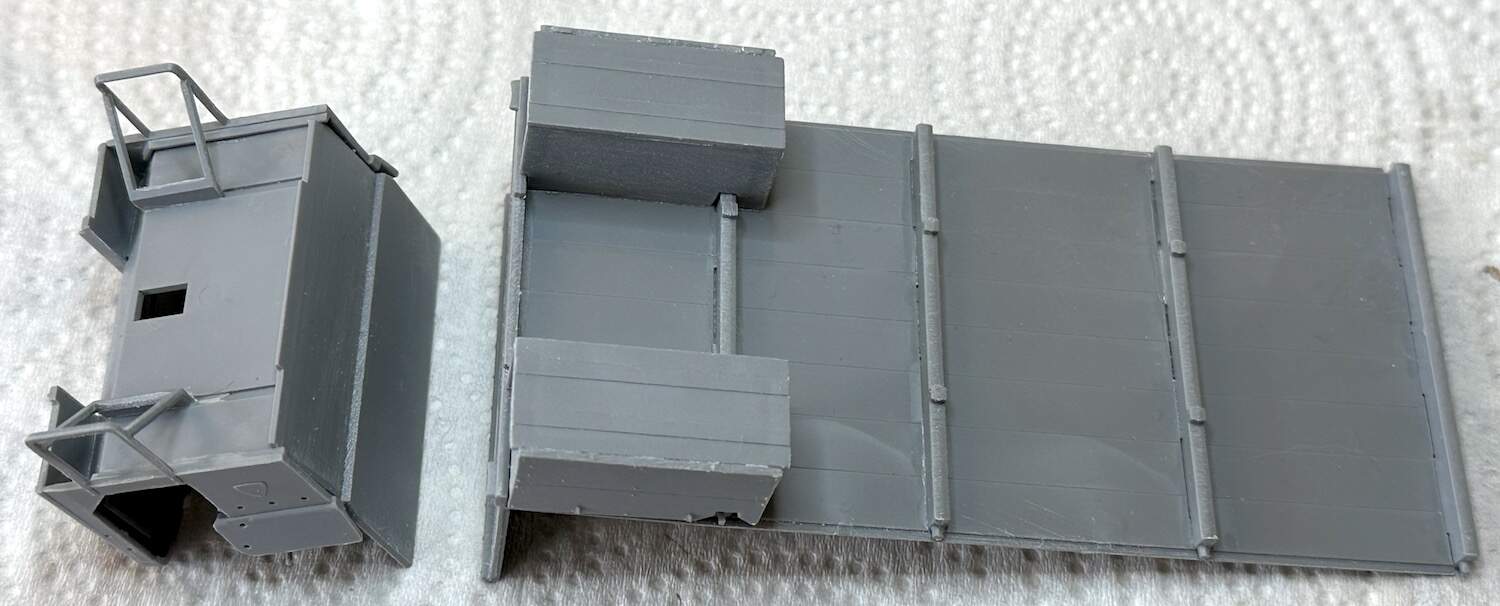
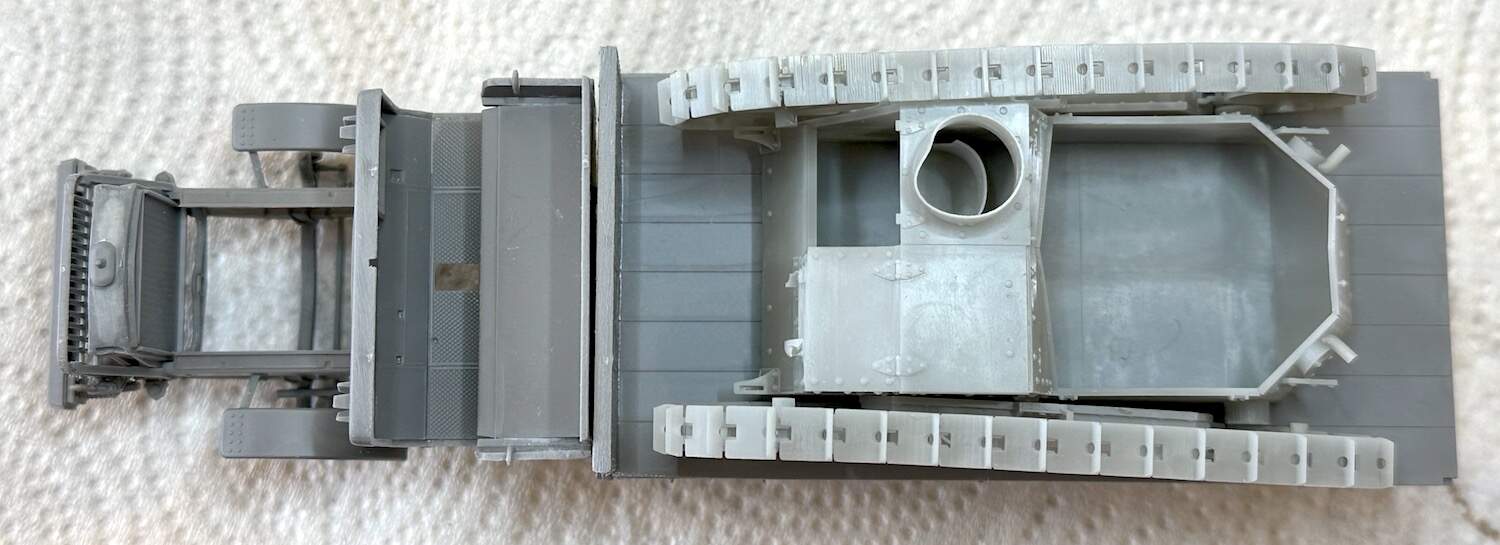
With this done, its time to decide about the load. A truck needs a load. I had in mind having it tow a heavy mortar with a load of packing crates in the bed. The mortar kit was late arriving and I thought about other loads. The Ford 3 Ton Tractor/Tank kit was on the shelf and if it fit, would make a great load, just about the right weight for the Liberty truck. It would also maximize precious shelf display spece, two models in the space of one.
If I use the little Ford I would want to leave off the bed sides, tailgate, bed top & crew top to be able to see the little it better. Just to make sure, the bits of the truck were placed together and the Ford parts stacked on the bed. They fit!
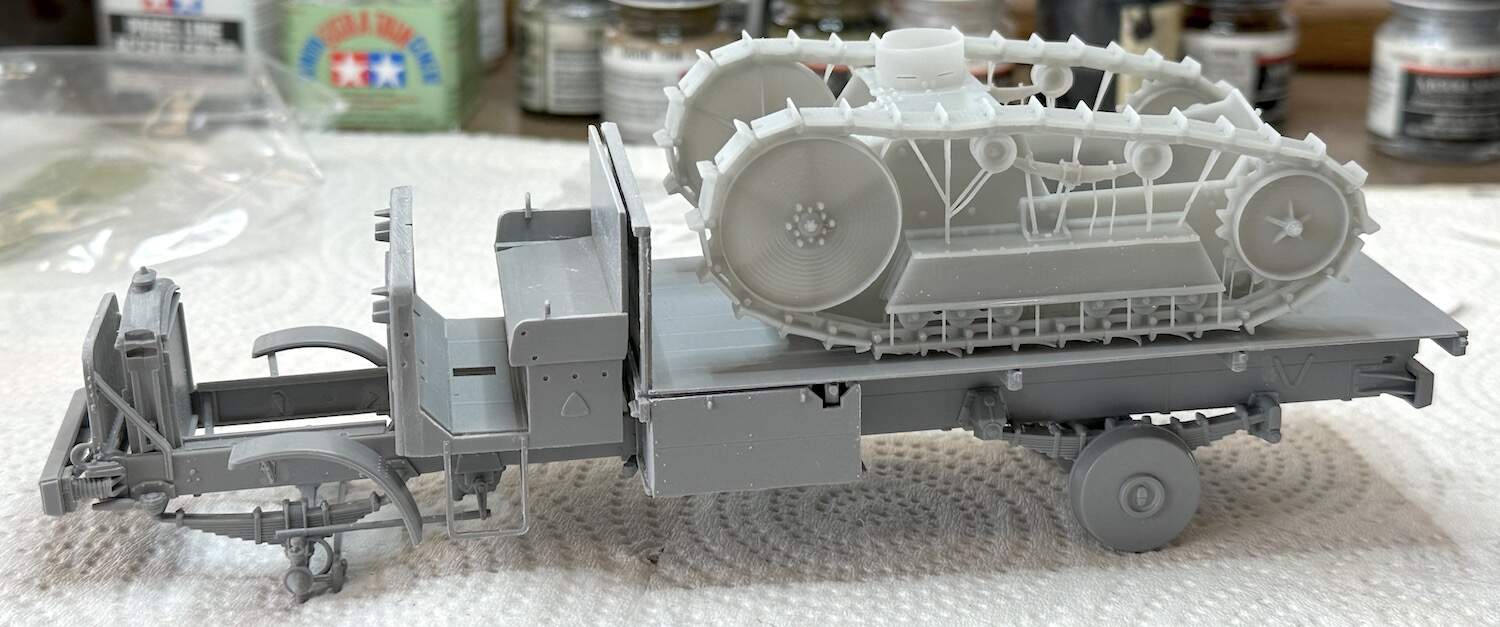
Paul
8 Likes
Tried a dry test fit to get an idea of size and where to place gun mounts.
Now in the cab roof hatch, once that’s built up, I will put an M19. I figured that would be suited best there in case the wagon came up against a road block etc, and could blast it’s way through… I might also have a dismantled .50 up there, or an M240 or variant?
Now on the roof of the Pantsir compartment, I am thinking of .50 on a pedestal mount and an M82 on a scratch built pedestal mount ?
On each rear corner I’m thinking another M19 on one, and the other will have another .50 or M240 or a combo of both …
9 Likes
@ Both Paul and John. Nice! Loading up those cargo beds to the max! ![]()
—mike
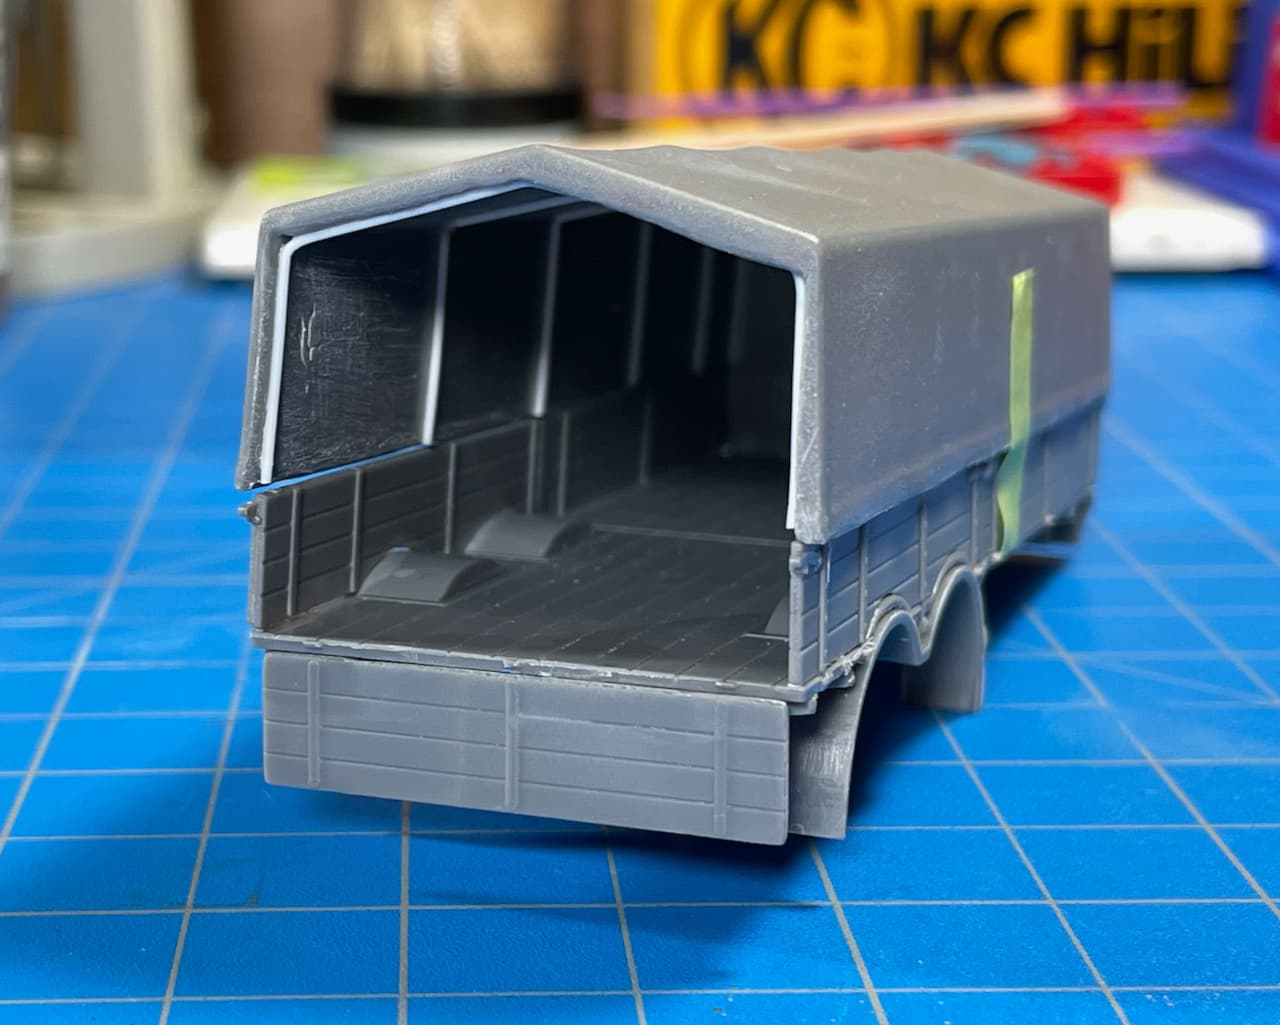
Speaking of cargo beds… ![]()
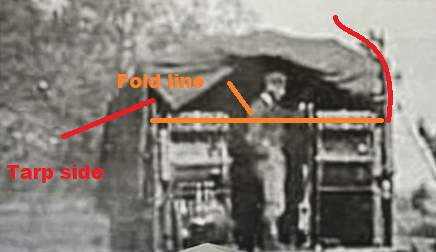
You may recall a bunch of work I did on the VOMAG’s tarp a few weeks ago (March 5th post).
Now take a gander at the support hoops vs the vertical braces in the cargo bed. They don’t line up because I hastily chopped the wrong end of the tarp! ![]()
![]() D’OH!
D’OH!
Shortly thereafter, I began the fix. Once again, slicing and grinding at the tarp’s opposite end. ![]()
![]()
And today, I got out the needle and thread along with some kinda’ wrapping paper, diluted white glue and began sewing-up the gaping mistake. ![]()
![]()
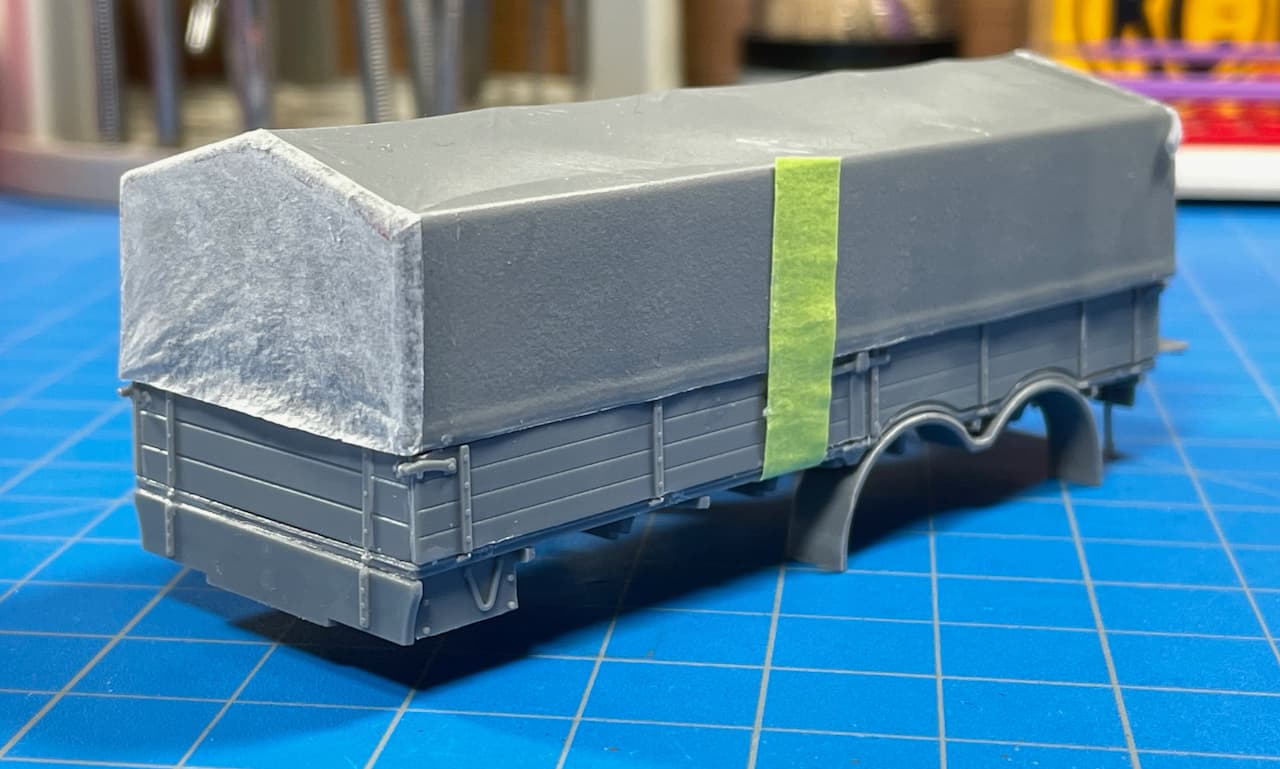
While I was at it, I continued onto the other end and raised the skirt’s hemline to kinda’ resemble the reference image. ![]()
![]()
![]()
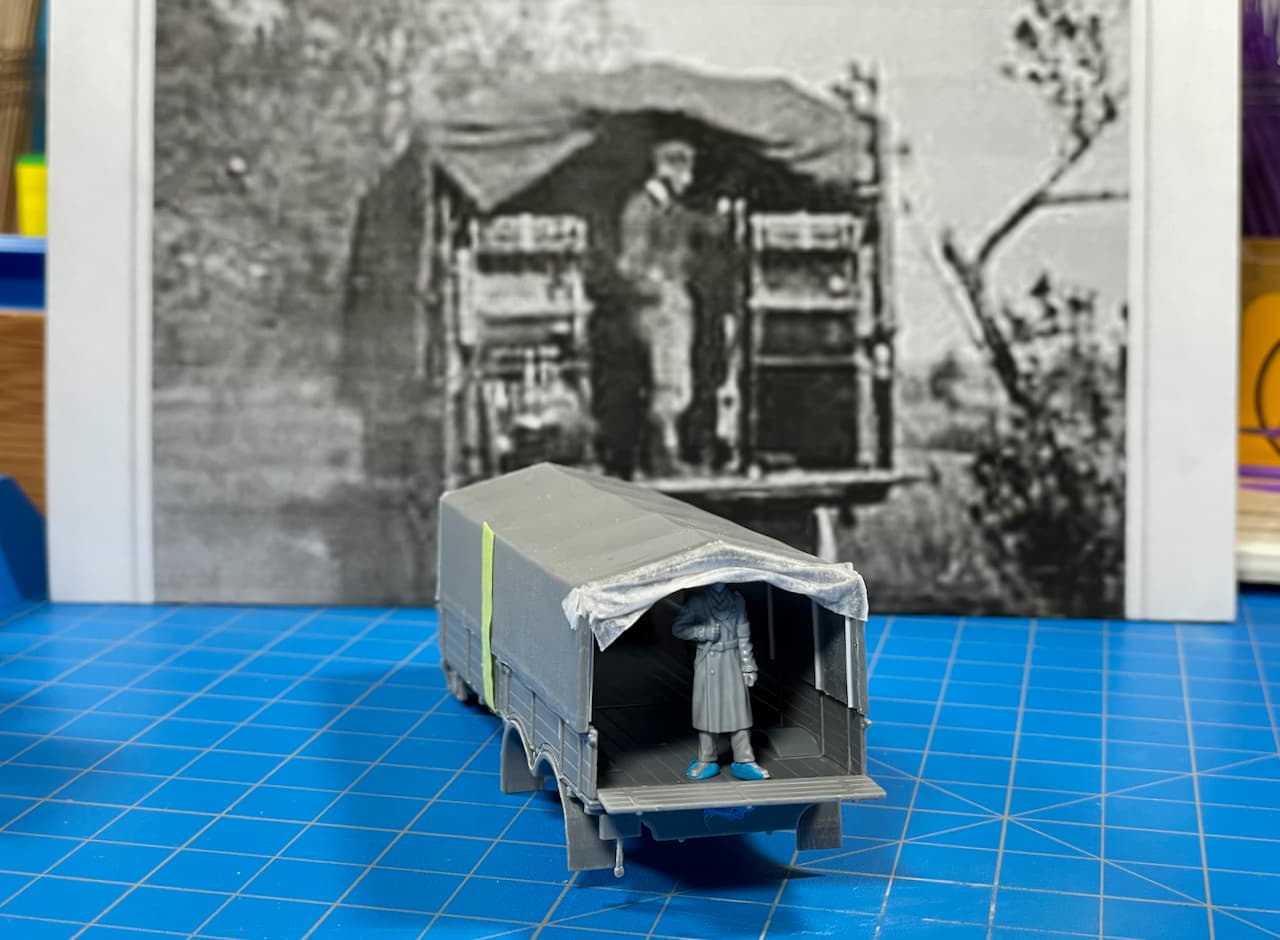
Works for me. What do you guys think?
—mike …![]()
![]()
8 Likes
Nice recovery. Looks fine to me. Just wondering how it is staying up in the pic, as there does not seem to be any ties, etc. It may actually be flipped right over the top, and what looks like the end of the tarp, hanging down on the left of the pic, is actually the fold.
4 Likes
Thank’s. Still WIP, not trimmed or finished-off yet. Could be, but to me, it looks like the tarp is rolled-up and tied-off to the inside. That’s my story and I’m sticking to it. … for now anyway. ![]()
—mike ![]()
1 Like
I’ve cut it twice, but it’s still too short… ![]()
4 Likes
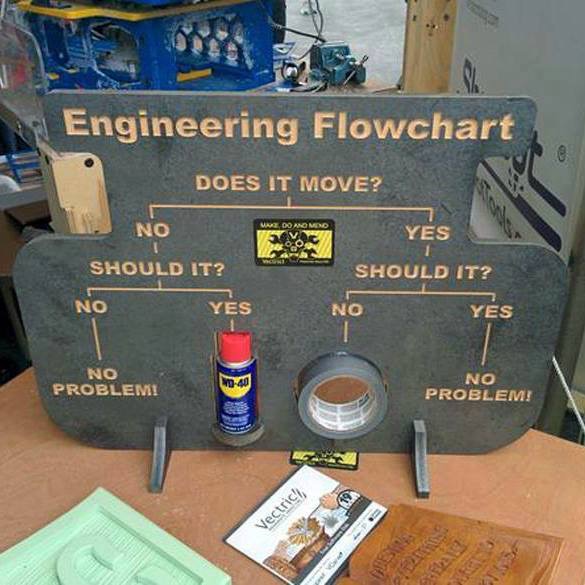
Solution Tom - it fixes everything:
2 Likes
Yep - the two tools of all good engineering! Duct tape for when it moves when it shouldn’t, and WD-40 for when it doesn’t move but it should…
5 Likes
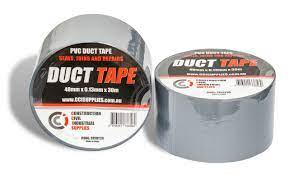
And then stick it to the wall with this… sticks like crazy! ![]()

2 Likes
Ooh - never seen that before! Looks like a handy tape to have.
1 Like
I use it to make airbrushing ‘Sticky Bombs’ and for general parts holding. Just wish it had a little less tack for that purpose.
—mike
Can you detack it like regular tape by applying it to your jeans once or twice?
1 Like
Yeah, but then you need to flip it over and you wind-up with a dirty slab-O-lint! The tape has kind of a gummy mesh to it. It works fine as long as you don’t press parts down too hard. … But then again, if you want it to really hold tight… WOW!
Example: The assembly is hardly pressed onto the ‘Sticky Bomb’ tape. I could easily airbrush at this angle — even fully inverted if needed.

Also, what I really like is the 4" width. HTH.
—mike
3 Likes
@barkingdigger , spot on Tom!
10 Likes