Now THAT’S how it’s done right there!! All the work and careful time that you put into this build really shows in the finished product. Just beautiful D.
Thanks for the kind words Joseph, very much appreciated! Trying new things and improving a bit with each build, steady as we go!
Cheers, D
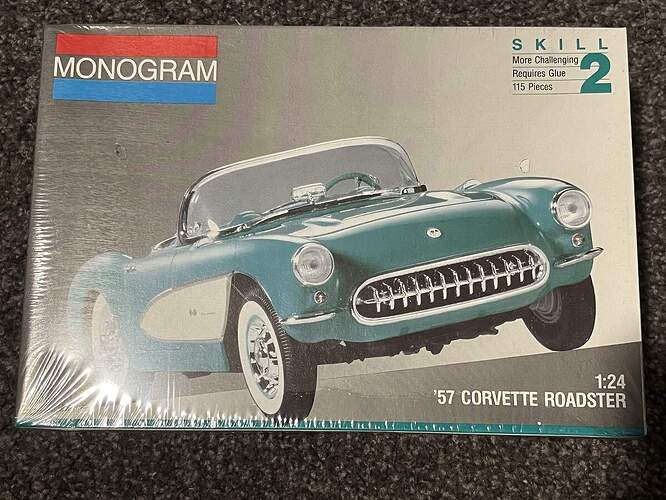
Jump forward 3 months and I’ve finally got hold of a second 1/24 Monogram '57 Corvette Roadster kit to build #5 in this series, still factory sealed as well!
Not jumping in to the build just yet, but getting myself prepared while I finish off a couple of other projects (2 x 1/48 P-47 Razorbacks and the '57 Chevy El Camino).
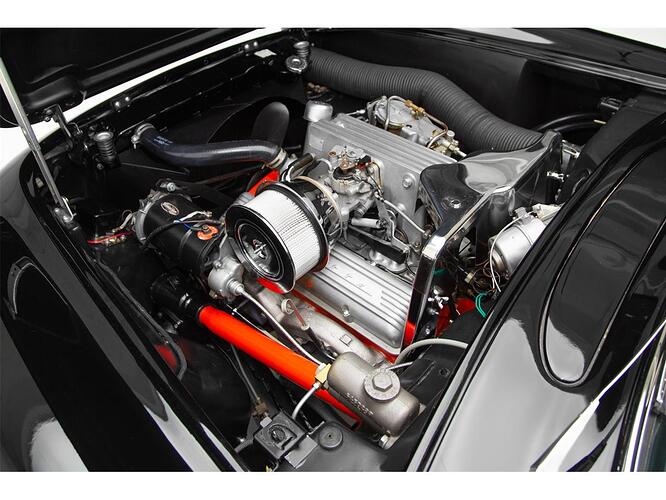
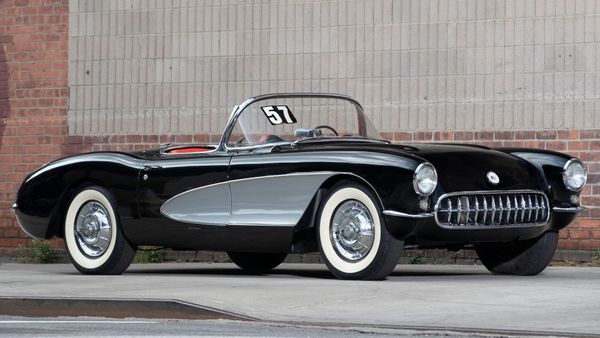
I’ve settled on a colour scheme and engine configuration for the '57 Corvette.
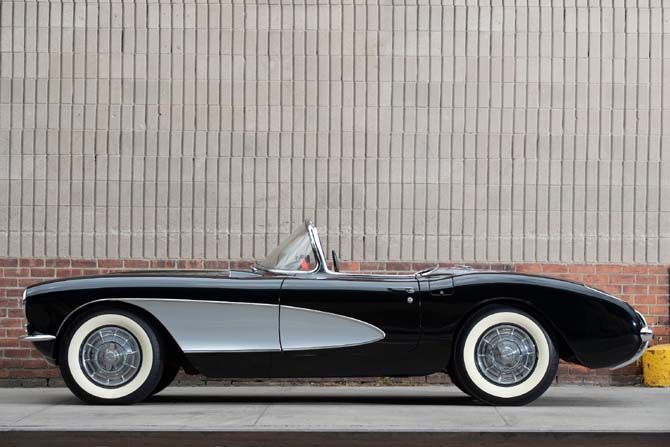
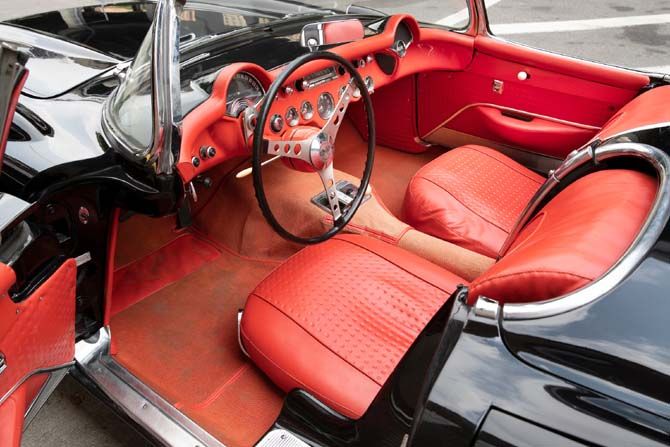
Cheers, D
If this one is a fraction as nice as the others then WHOA!
Hopefully a tad more than a fraction as nice HG, and if I hold true to form and desire then maybe even a bit nicer ![]()
Thanks for checking in on my rambling and shenanigans here mate, much appreciated!
Cheers, D ![]()
That looks mega promising. ![]()
Can’t wait for the master class to begin.![]()
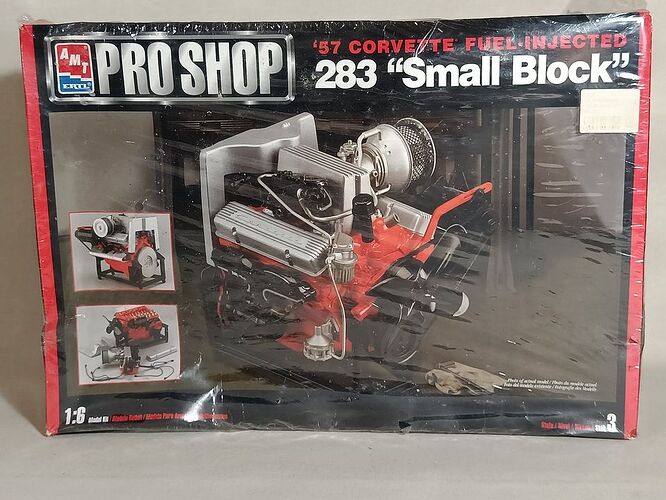
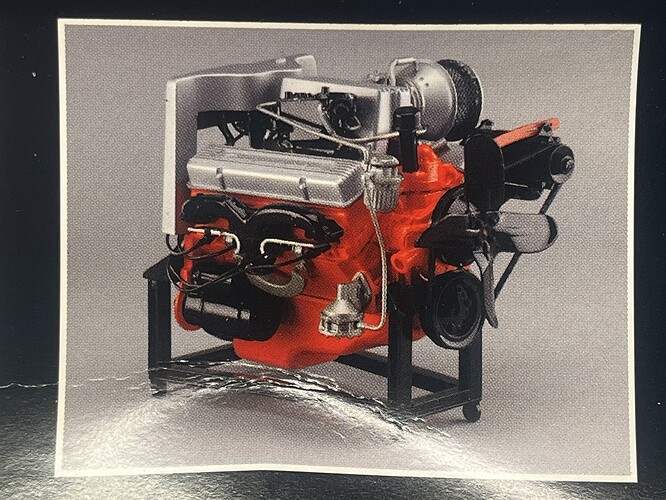
Well sometimes the gods of styrene conspire to bring you something unexpected! With the '57 Corvette inching it’s way closer to the bench in an attempt to go under the blade, this kit popped up in my Facebook Buy/Swap/Sell feed ![]()
Not a kit I even knew existed, of course I jumped all over it ![]()
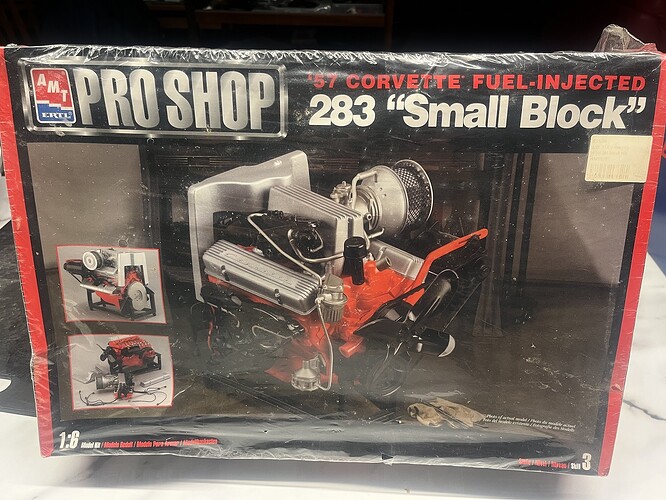
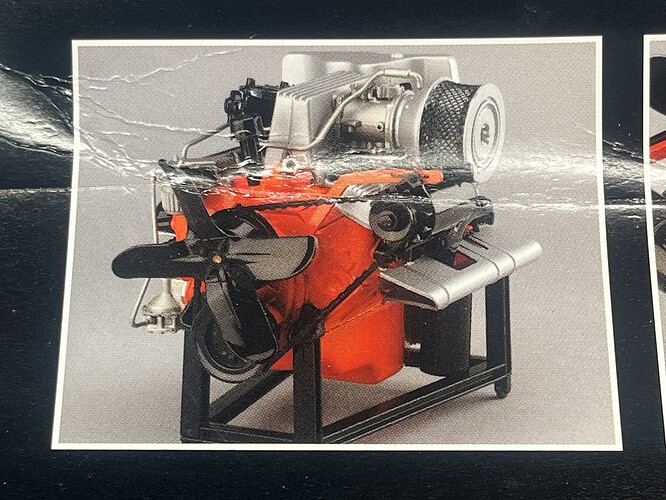
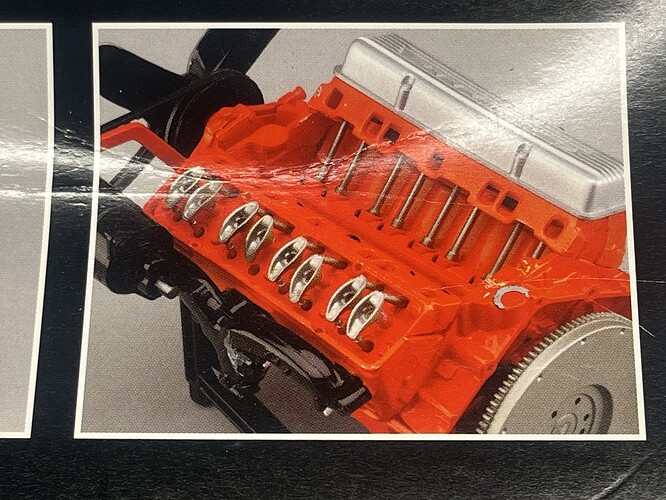
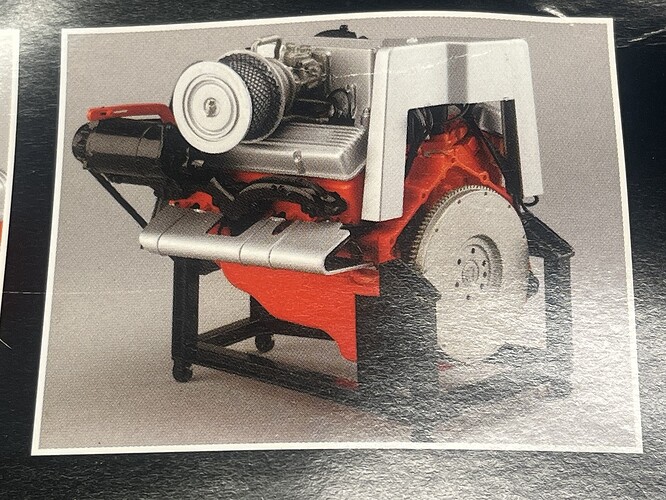
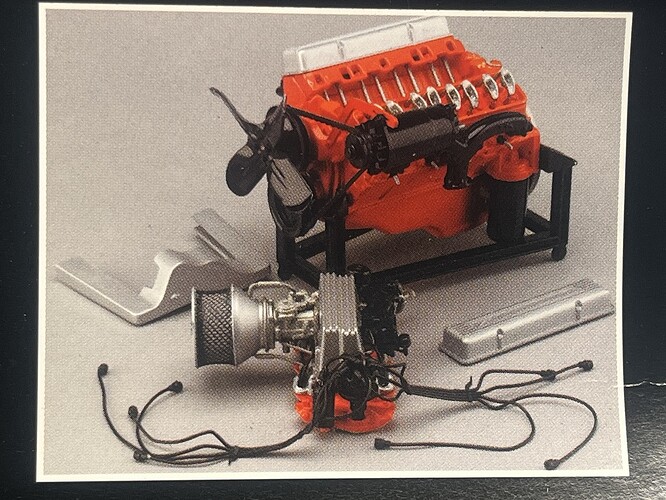
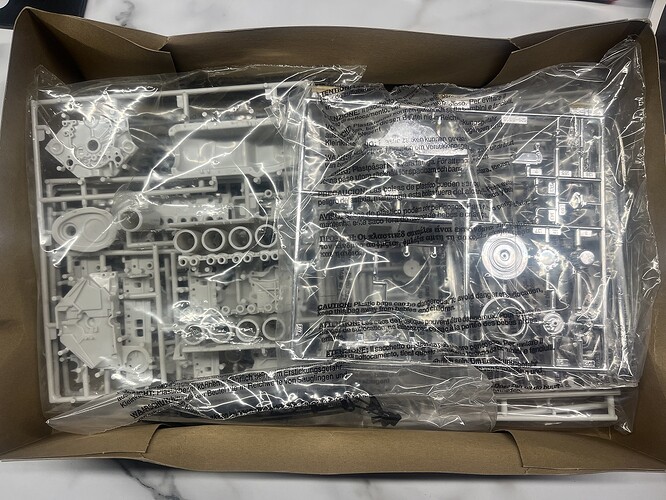
Factory sealed (a bit worse for wear), 300 parts, flywheel turns and operates the internals, this will be a bunch of fun to work on and display beside the Corvette line-up.
I will post a bunch of pics once it turns up at Chateau Reggie!
Cheers, D
Picked it up from the Post Office today!
Box top and side images
Contents
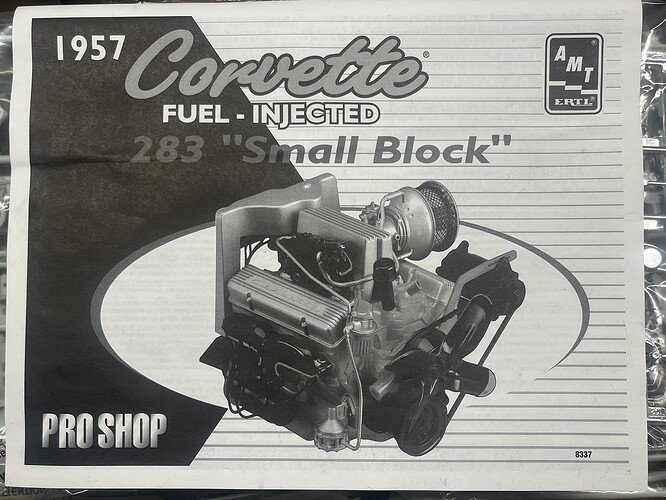
Instruction book front cover
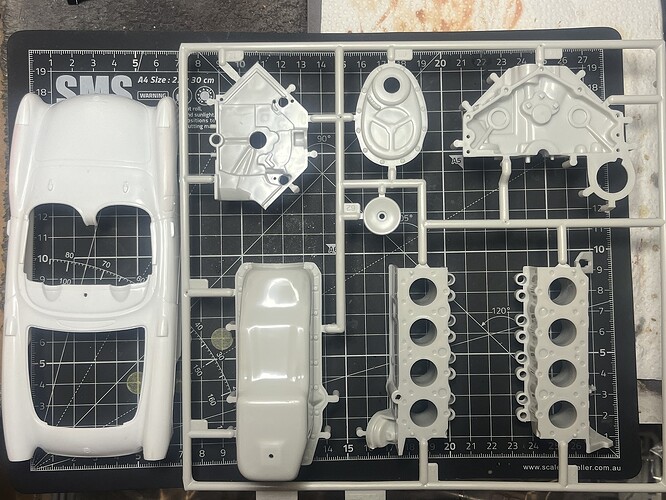
And to give a sense of scale, here’s the sump and cylinder heads beside a 1/24 '57 Corvette body.
I will definitely be building this alongside the '57 when I get it started. Itchy trigger finger now, need to hold myself back while I finish a couple of other builds. Must resist ![]()
![]()
![]()
Cheers, D
You knew someone would say it …
Resistance is futile …
D,
I’ve seen a few model engine builds and all really do impress. Can’t wait to see this super rare kit come to life.
joel
Looking forward to this one D . Indeed something different. Does the valve train operate ?
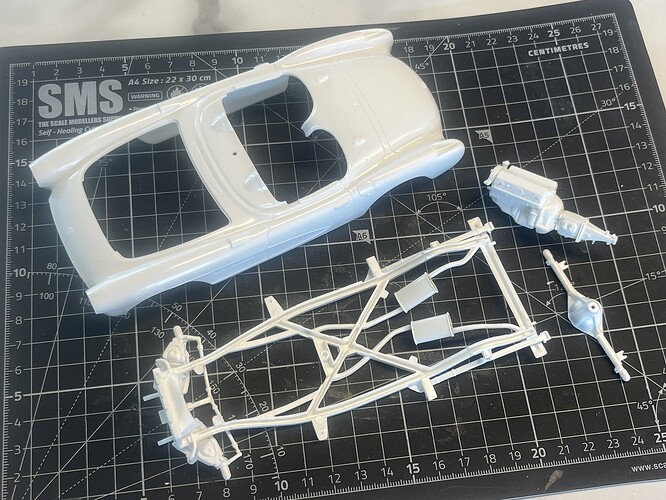
I’m back on the C1 mission folks! With the '57 Ragtop in the display cabinet and the '59 El Camino not far from joining it, time to crack open the '57 Corvette and get moving.
While the glue was drying on the nose chrome work of the '59 I dragged this kit out and made a bit of a start. Nothing earth-shattering here, just some engine, chassis and drive train sub assembly and body clean-up to get the juices flowing.
Once I finish up the '65 Foose Impala I will also make a start on the 1/6 engine kit here.
Cheers, D
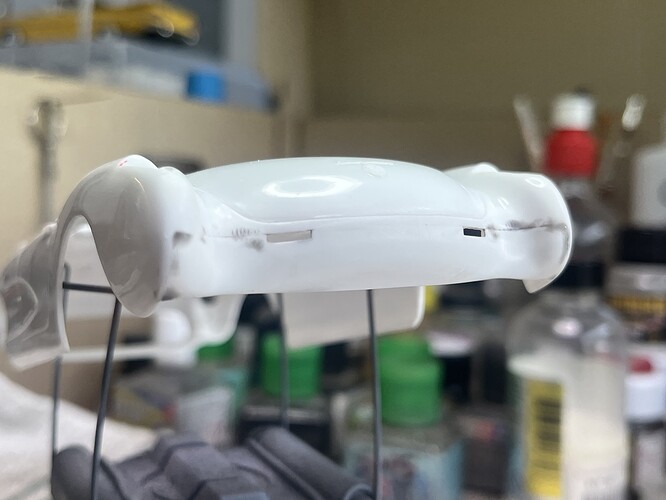
Some time spent this week on fitting the front and rear lower clips. Sprue goo used to fill the seams. I also cleaned up a couple of mould lines, the body is almost ready for primer now to see what else is needed to prep for paint.
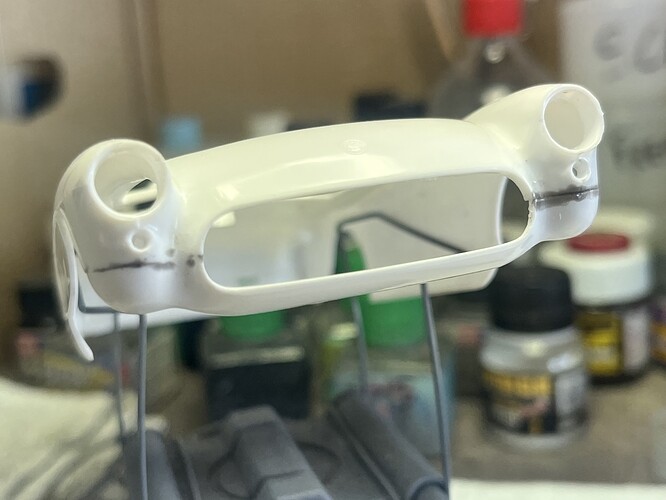
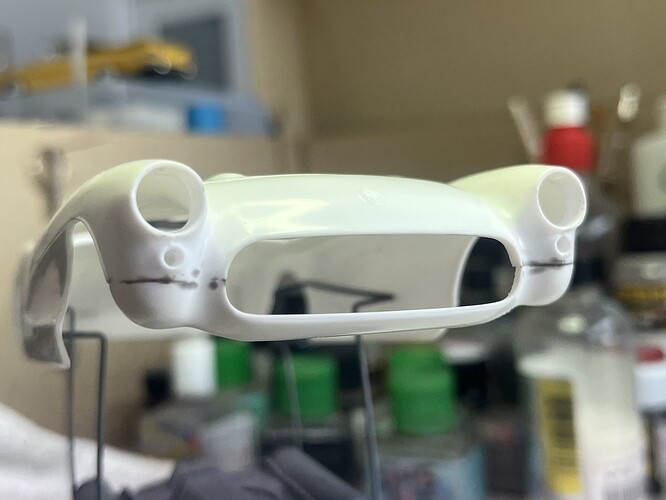
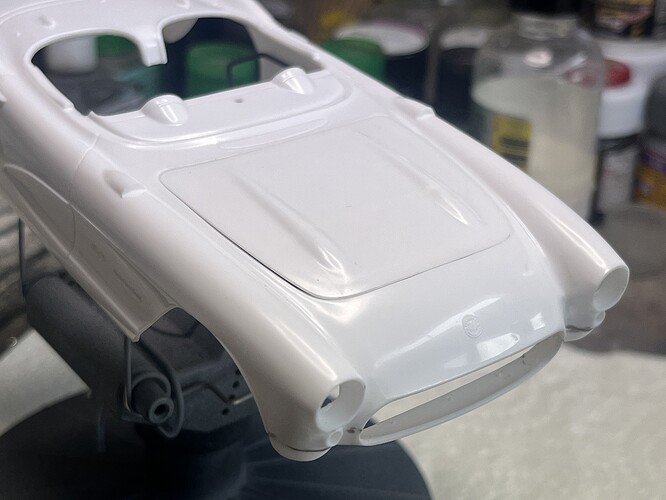
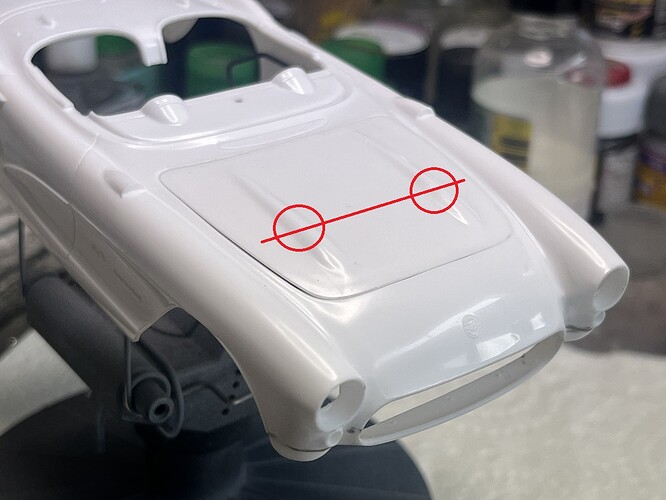
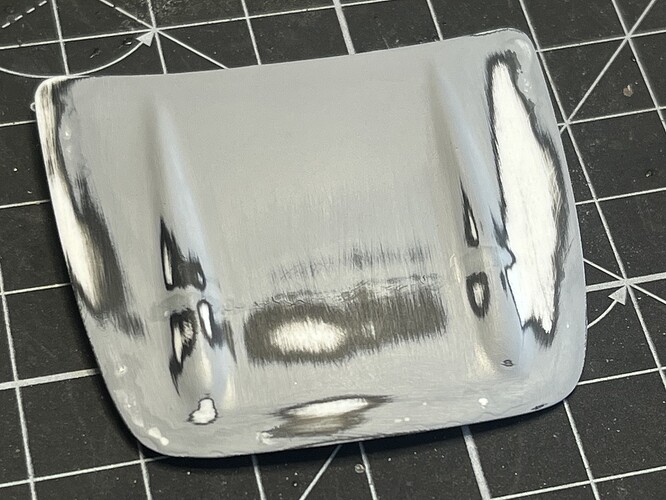
While I was cleaning up the hood I spotted a faint sink line across the width and distortion of both of the ridges which lines up with one of the underside frame details. Some work to do here to get them filled and smoothed off.
Cheers, D
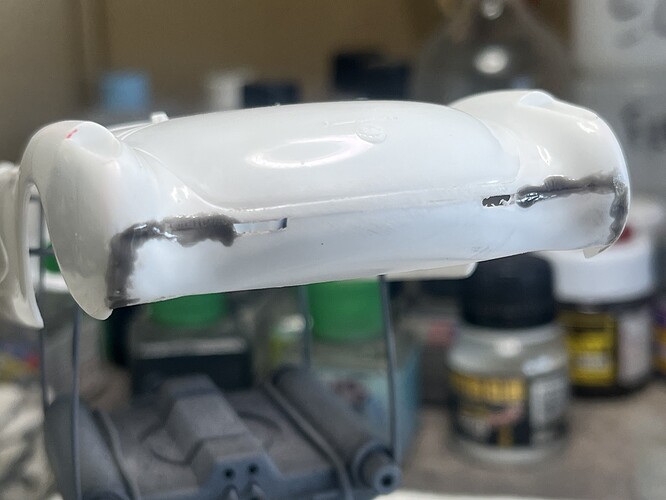
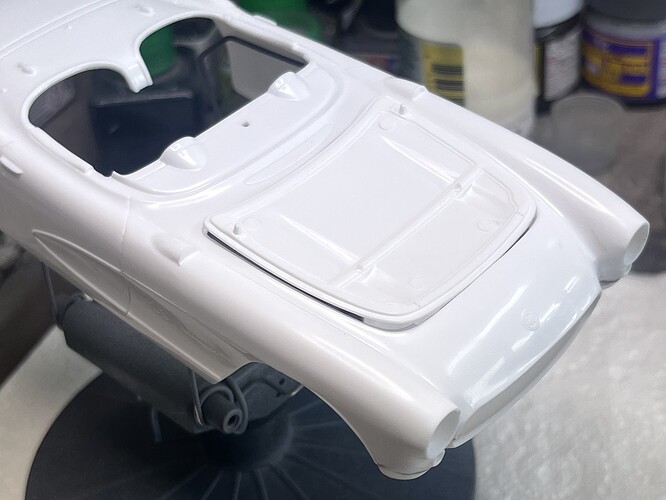
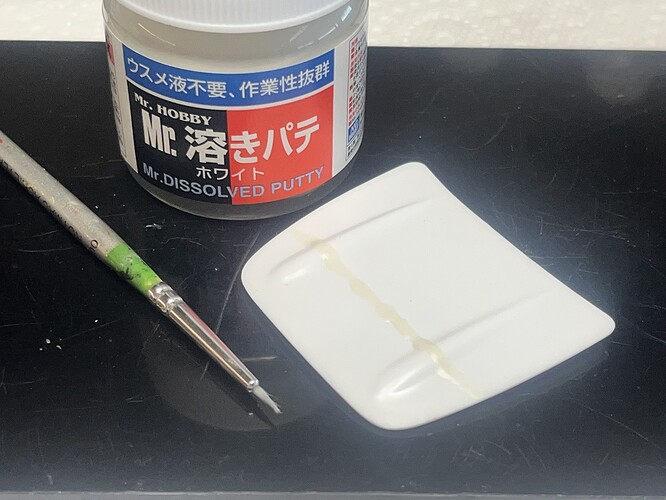
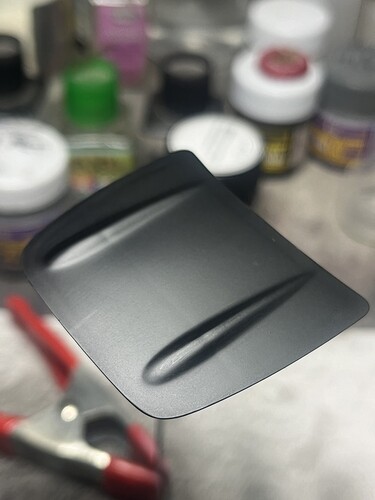
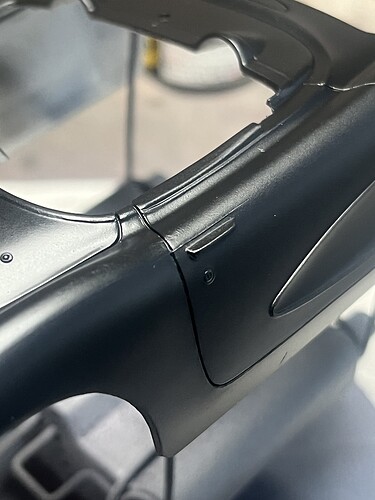
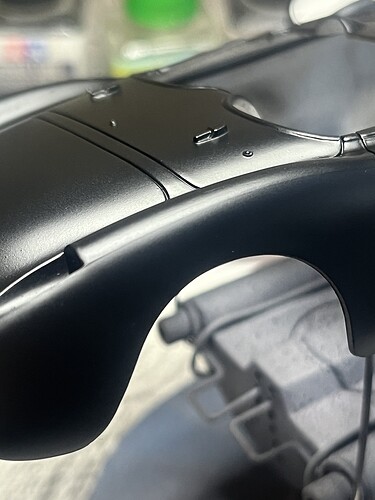
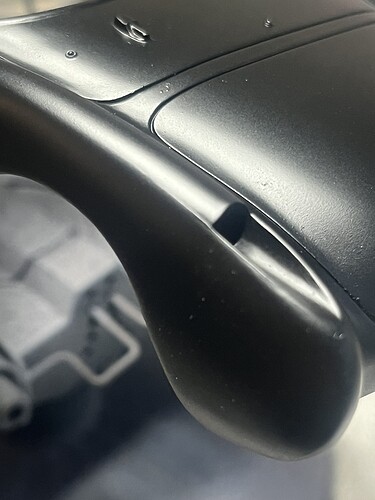
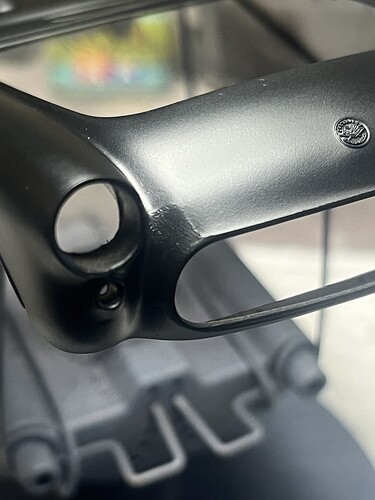
I brushed on some Mr Dissolved Putty on the line across the hood, after a day it was wet sanded back and shot with Black MS 1500. At different angles the line is still quite visible, along with a line around the perimeter of the hood ![]()
I will shoot the top with some coarser primer (Grey MS 1000) and go a bit heavier along those lines to see if I can get them to vanish. ![]()
Also, my body prep skills need some work ![]()
![]()
![]()
I just love the way primer can slap you in the face and tell you to get back to work ![]()
Cheers, D
That line…I can see how it would drive you nuts…I have seen others use putty successfully at solving problems like this, but I rarely eliminate the dip - despite layers of putty/sanding etc.
Would it be possible to scrape out the putty you added, and make something of uniform shape in the low spot, then glue a narrow sheet of .005" or .010" styrene over the full length of the low area (the flat hood and the styling hills on each side), then when dry, sand it flush and use putty to clean up edged and fine sand? ![]() I’ve used this approach with some luck on irregular surfaces on scratch builds.
I’ve used this approach with some luck on irregular surfaces on scratch builds.
Looking forward to seeing more!
Cheers
Nick
The hood may take a few sessions of putty/sanding.
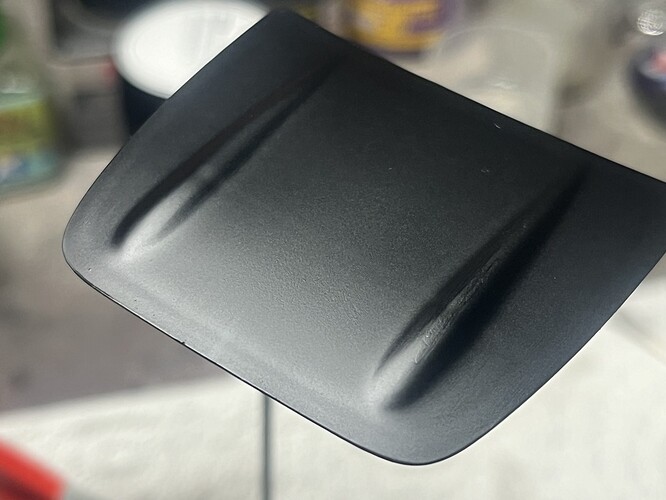
Highly likely KSO! I gave it a couple of good shots of MS1000 and once that was cured I painted on some more of the Mr Dissolved Putty for good measure. Overnight cure then hit with sanding sticks and water. Looks much better now ![]()
![]()
![]()
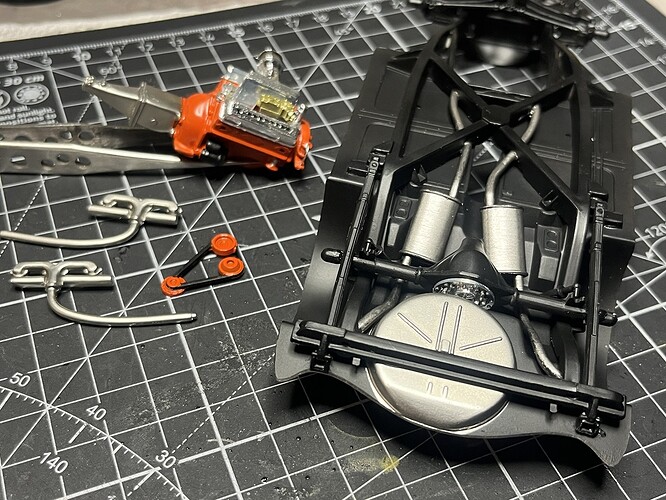
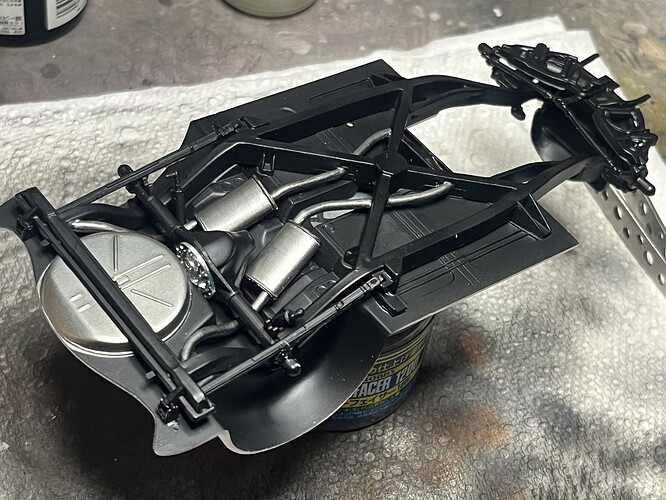
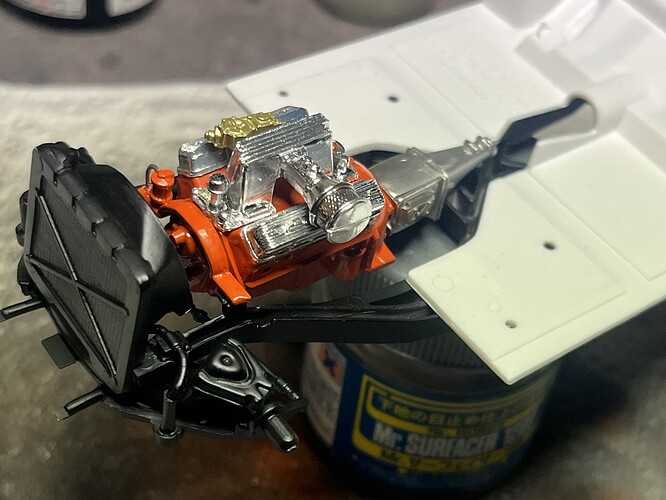
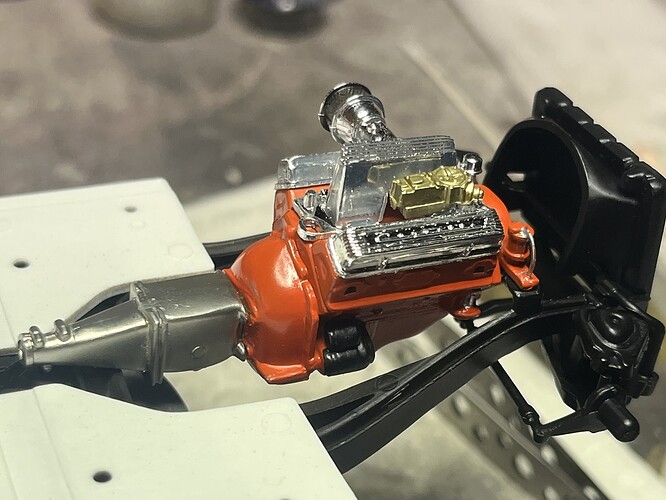
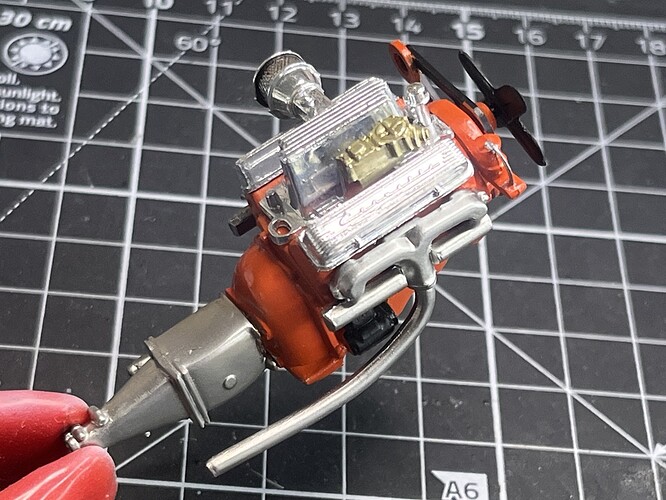
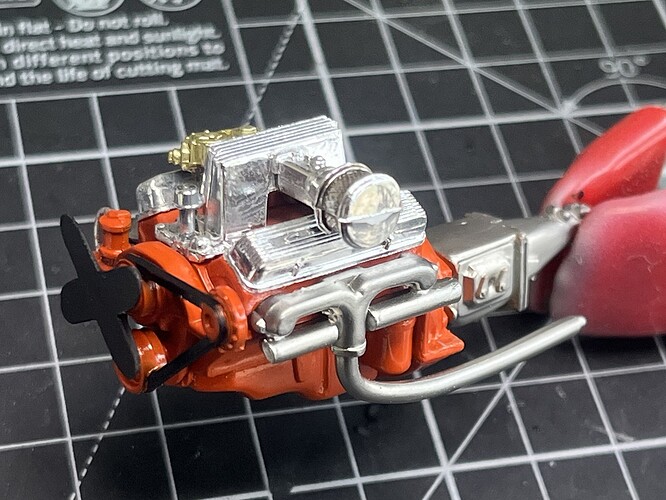
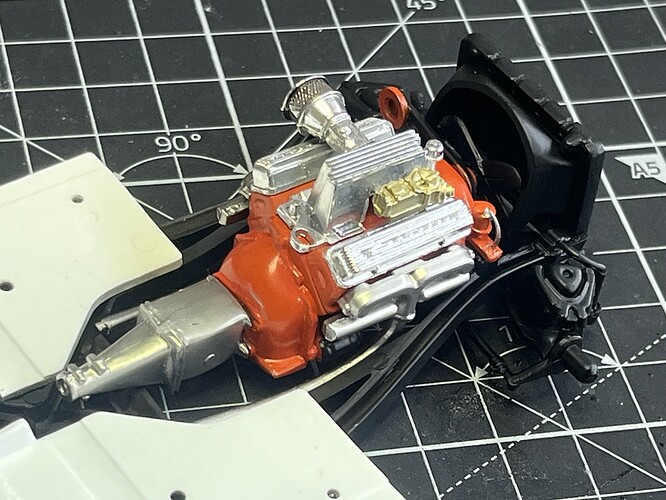
I also spent some time getting detail painting and more sub assemblies sorted. The chassis and floor pan are mated up now and the engine 90% done.
Cheers, D
nice fix on the bonnet … and the whole build is and sub assemblies are now looking like a Vette … Nice ![]()
![]()
Nice Save, D - and the rest looks great too! I wish I had that luck with putty. It seems I always leave a seam of sort, despite efforts to avoid that! ![]()
Cheers
Nick
Hi folks. Update time!
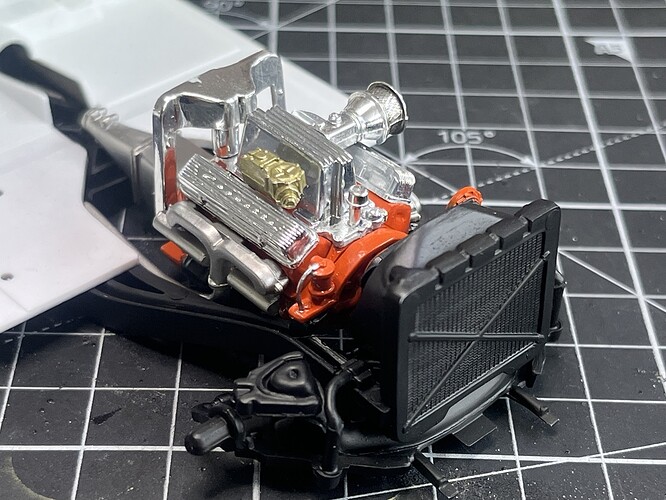
Some progress on the noisy end, exhausts fitted and with dry assembly on the chassis all seems ok ![]()
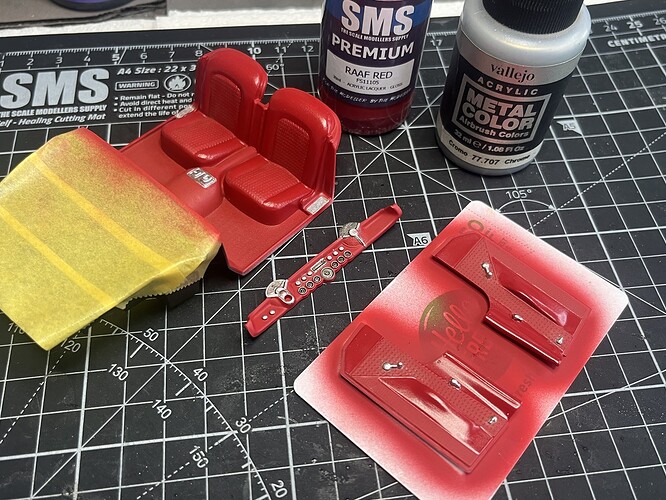
Interior tub, dashboard and doors painted SMS RAAF Red, then I gave the smooth surfaces a light brush of Alclad Aqua Gloss to pick them up a bit. Handles, dash details and gear shift mount were brush painted. Dials have a drop of Tamiya Black PLW, still more required there.
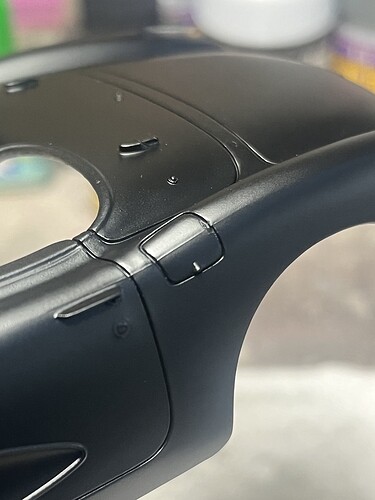
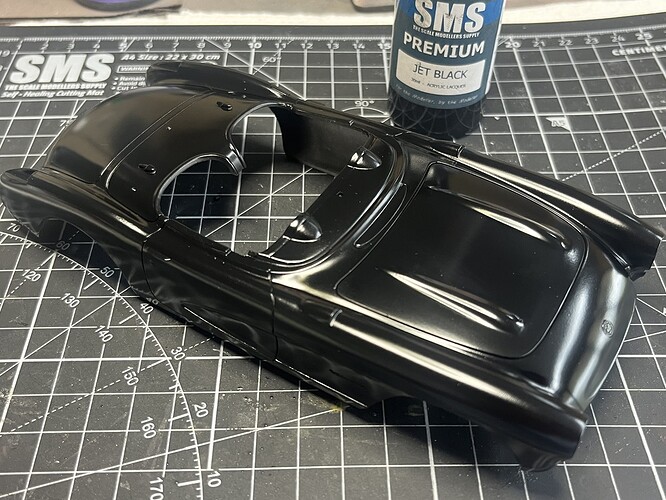
And after several rounds of putty/sand/prime/sand I got the hood sorted and now the shell is ready for a final light wet sand and clear gloss. Paint is SMS Jet Black.
Cheers, D
