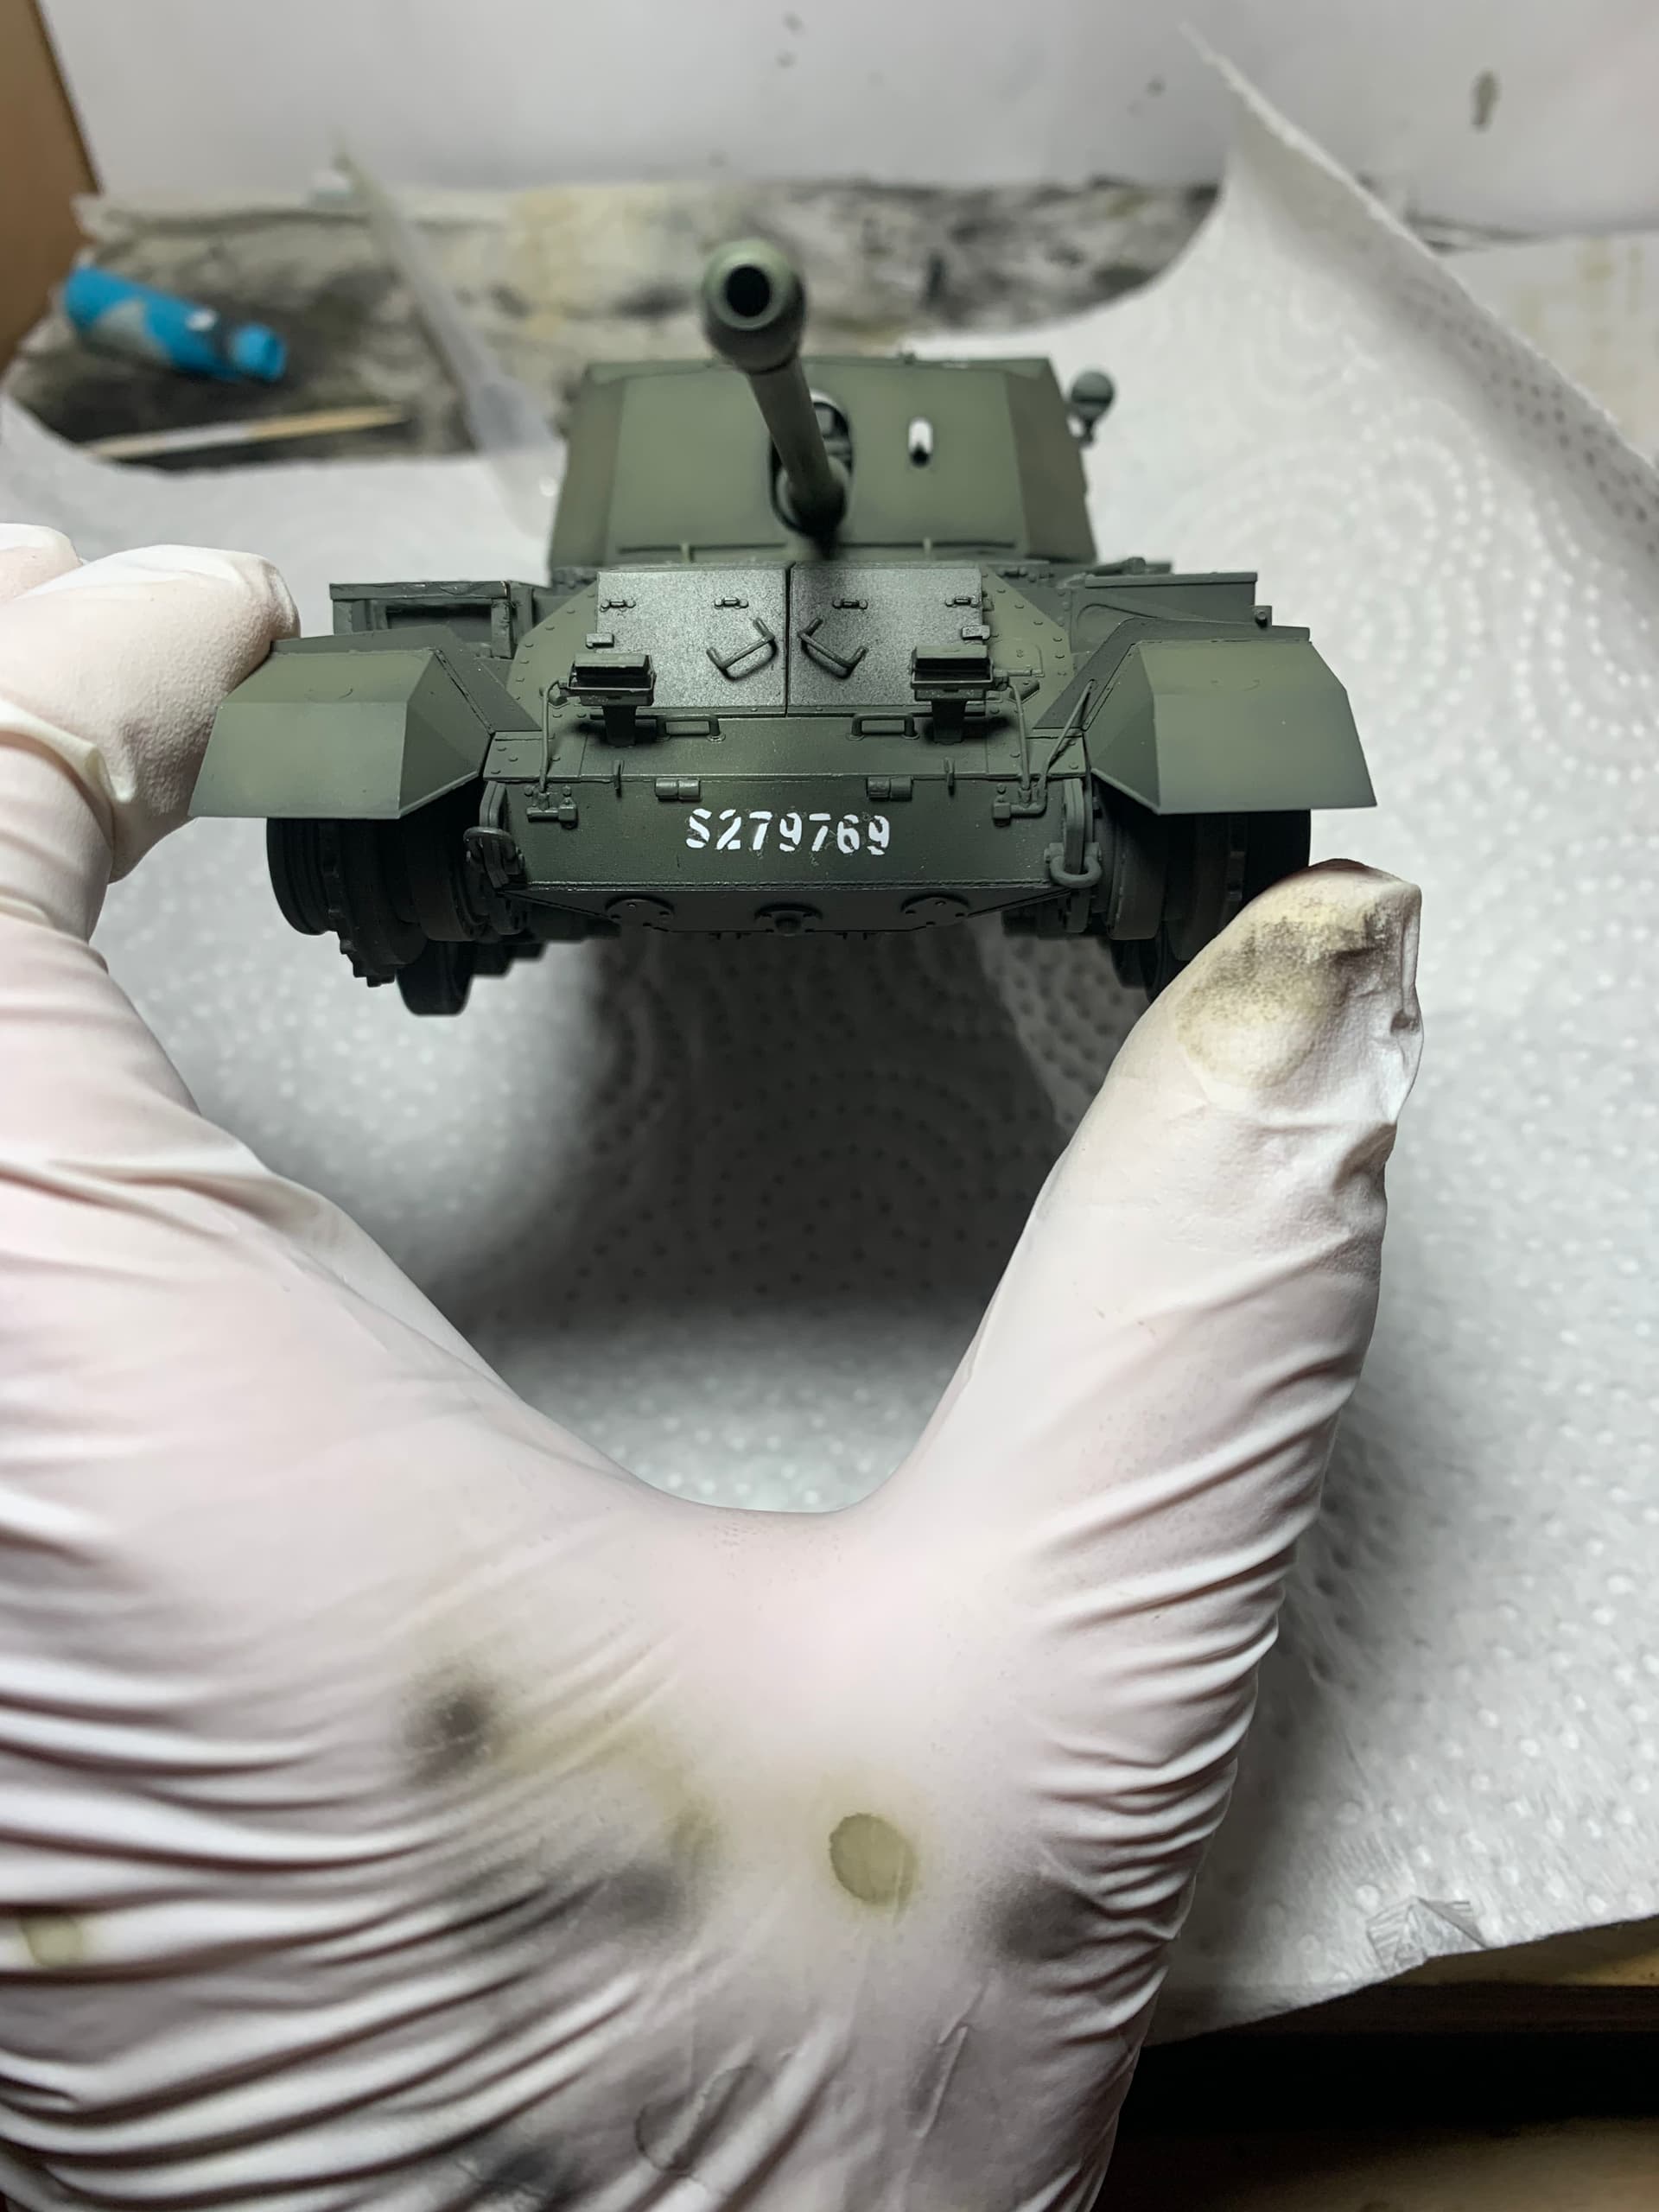
And on the archer. The front serial is slightly crooked, probably gonna redo it. The star is very crooked, but it’s meant to be.

4 Likes
Leave the serial alone. That was sprayed by some poor squaddy who was assigned extras by a very exasperated CSM.
1 Like
Yeah I think I might. Obviously kits show perfect aligned decals but I’m sure completely level serial numbers was the norm. Especially if they were sprayed in theatre
Stryker. Better luck will be Michaels since Hobby Lobby discontinued their coupons and typical exclude Cricuts from their sales (kind of like w Ottlites). Shop Michaels and also JoAnn’s fabrics, they wife needed some yarn and I noticed they have quite a selection of them.
1 Like
The Michaels around me are great for cricut stuff, they have all of the machines, and accessories. And more or less have weekly coupons for 30% off one item
1 Like
I was unable to apply the coupon at Michael’s. After a very long wait, I was finally able to chat with an agent who informed me “the coupon is not available on this item.” A complete waste of time. … I ordered one from Amazon instead. It should be here on Saturday… unless it’s parked on I-95. 


 …….
…….
1 Like
I was wondering if they’d let you use it on higher priced items
Well, that was quick! I received my Cricut in two days… a day earlier than expected! 
Setting up the BlueTooth connection was a bit stubborn, but quitting and restarting the software seemed to do the trick. After a quick firmware update, the Cricut was ready to go. I ran one of the test images using the sample vinyl stock which went very well. However, uploading one of my own images to test was a bit weird, as the learning curve took some getting used to. Ultimately, I think this new tool will work once I get over some of the software bumps.
Thank’s again for the heads-up, Mead93!
—mike
The software took me a bit of time to figure out, but once I did it was quite easy to use
1 Like
I was interested until I saw the price. A$349.00. (A$288.00 discount at one store). I couldn’t justify that for just a few jobs.
But thanks for the information.
The cricut joys tend to be cheaper, and they often go on sale
I think mine in Black Friday was around $175 Canadian which is close in value to AUD. If made more sense too because my wife can use it for crafting. I can see them being pricey for only a few jobs though
Well @mead93, My Cricut joy showed up yesterday. Got mine off ebay for $106. Almost got one for a flat 100 but someone beat me to it. I blame your post. Anyways I also put you in for Salesman of the year at Cricut (kidding). Luckily my son is a computer graphic designer so I will let him play with it then show me how to us it. He uses small words so I can understand (and I been in IT for 40+ years - go figure).
Cheers


1 Like
I’m gonna have to start charging cricut commission!
1 Like
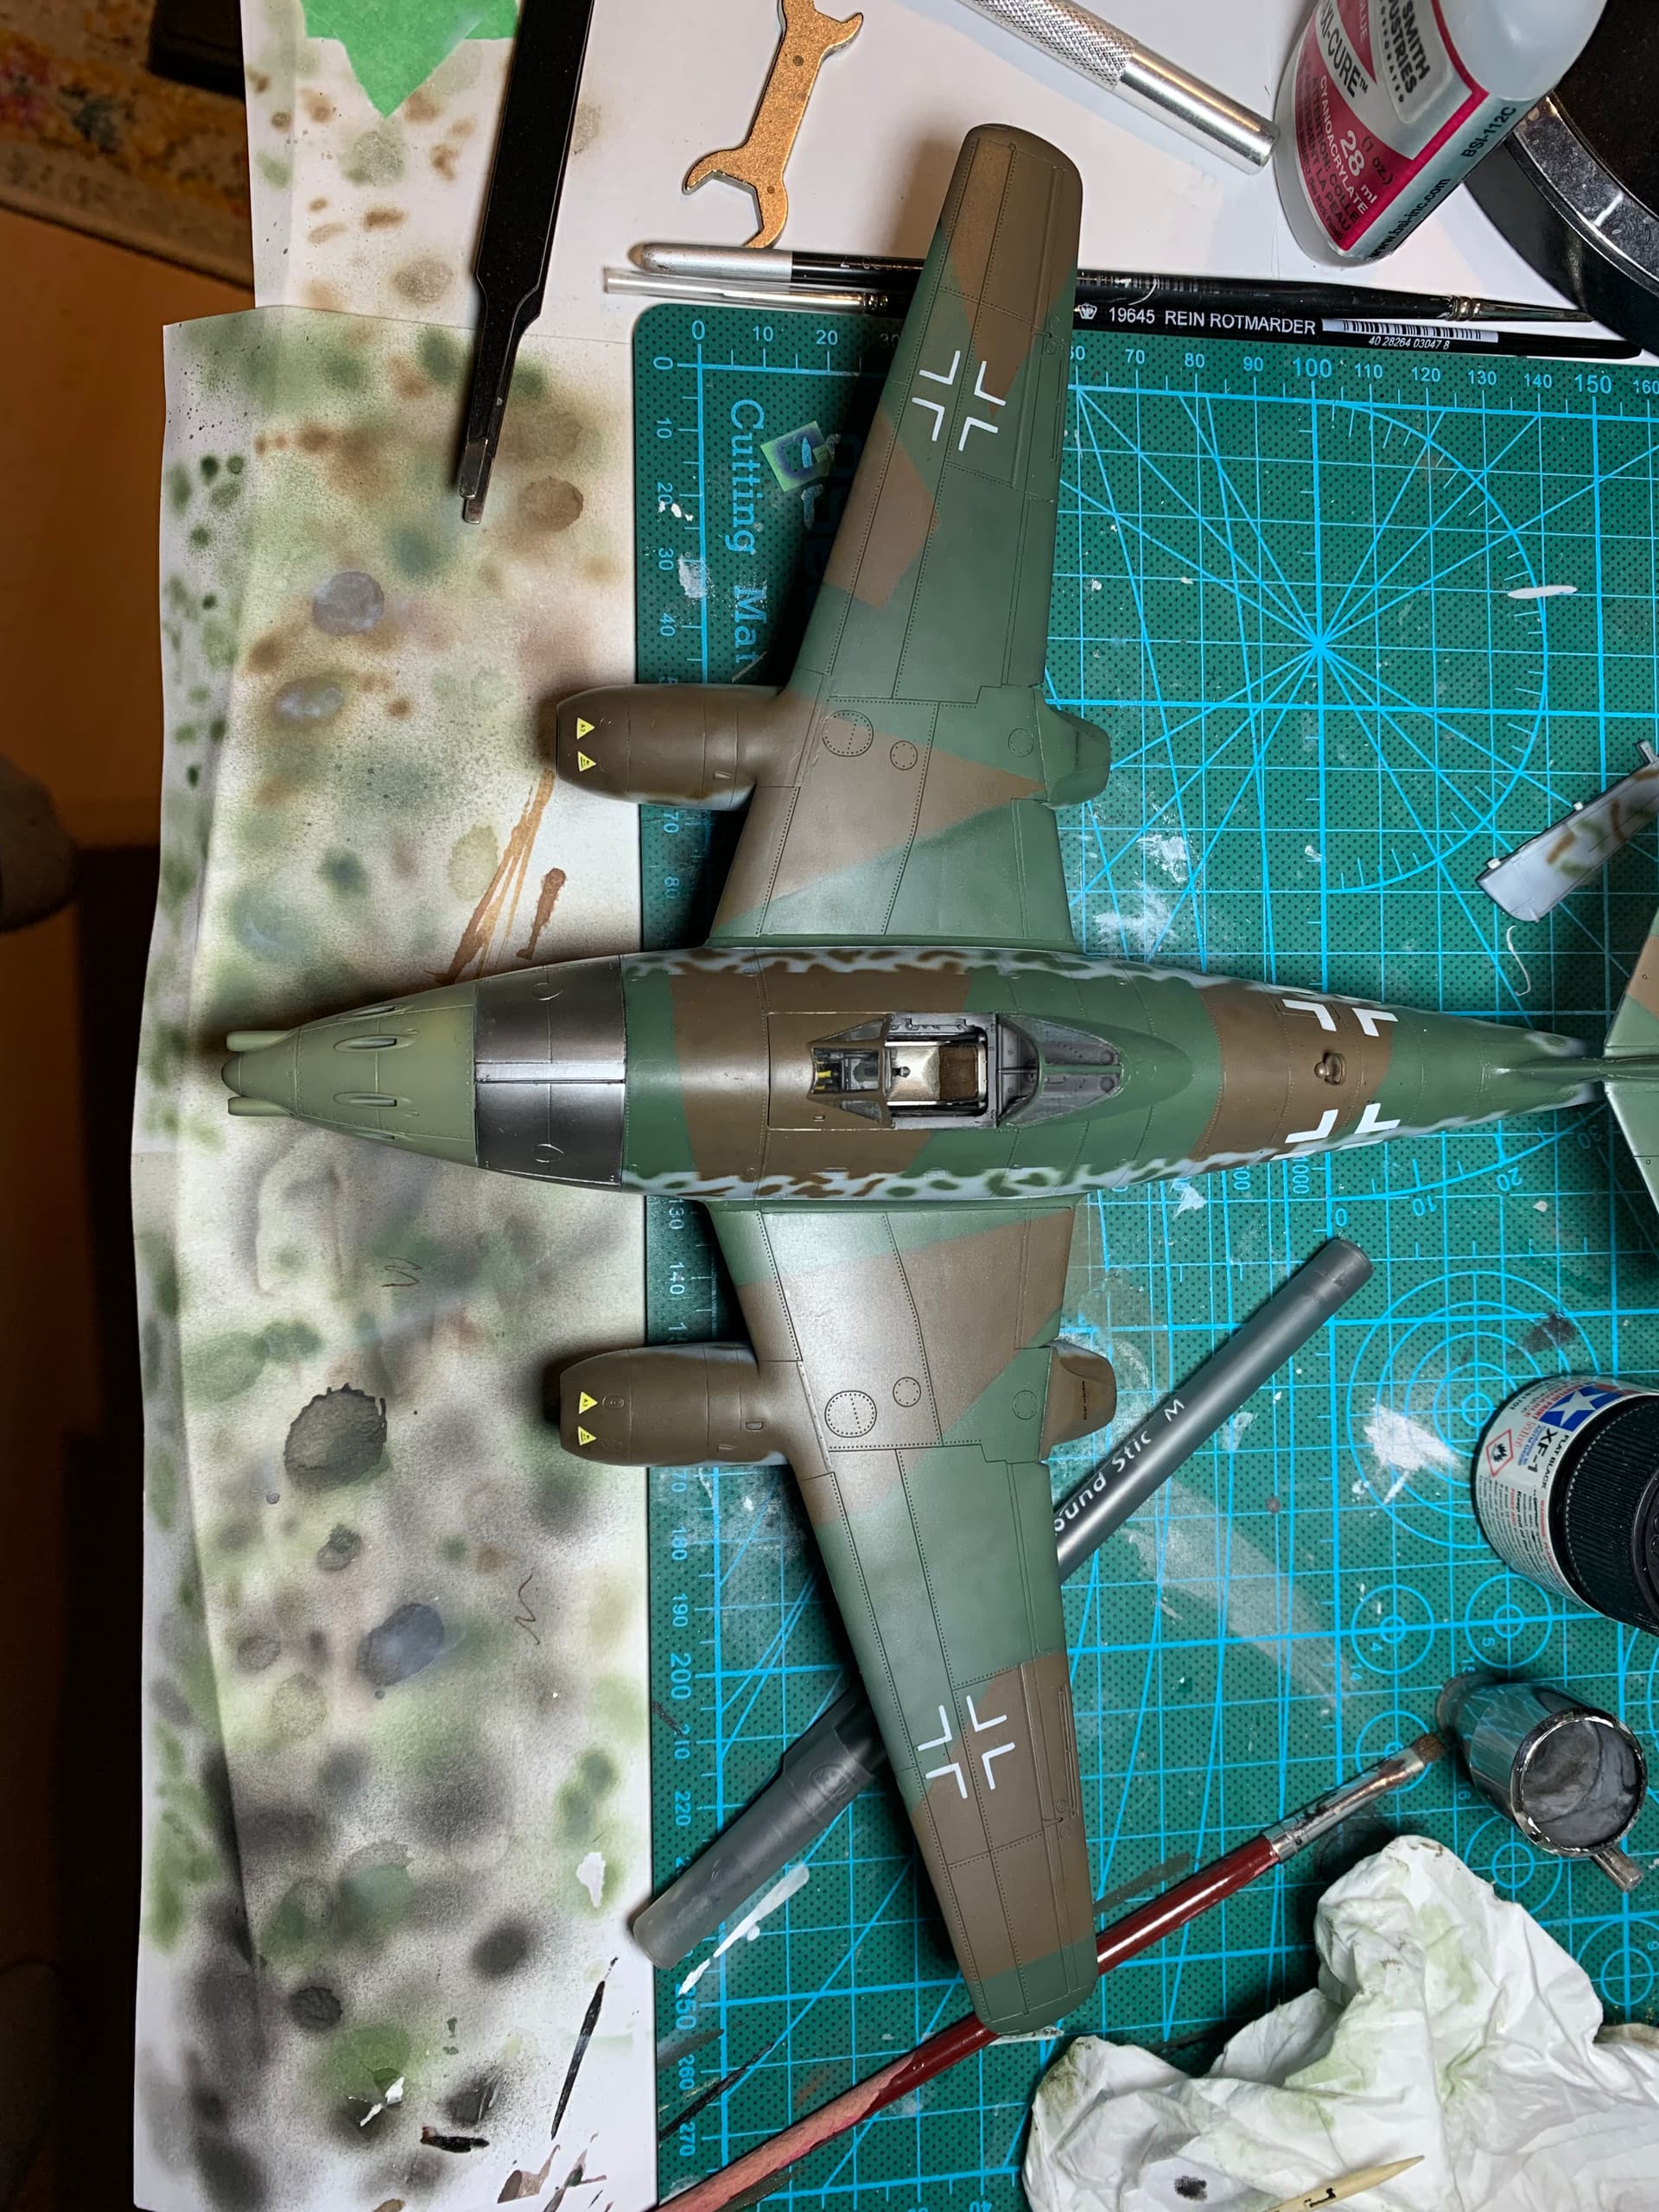
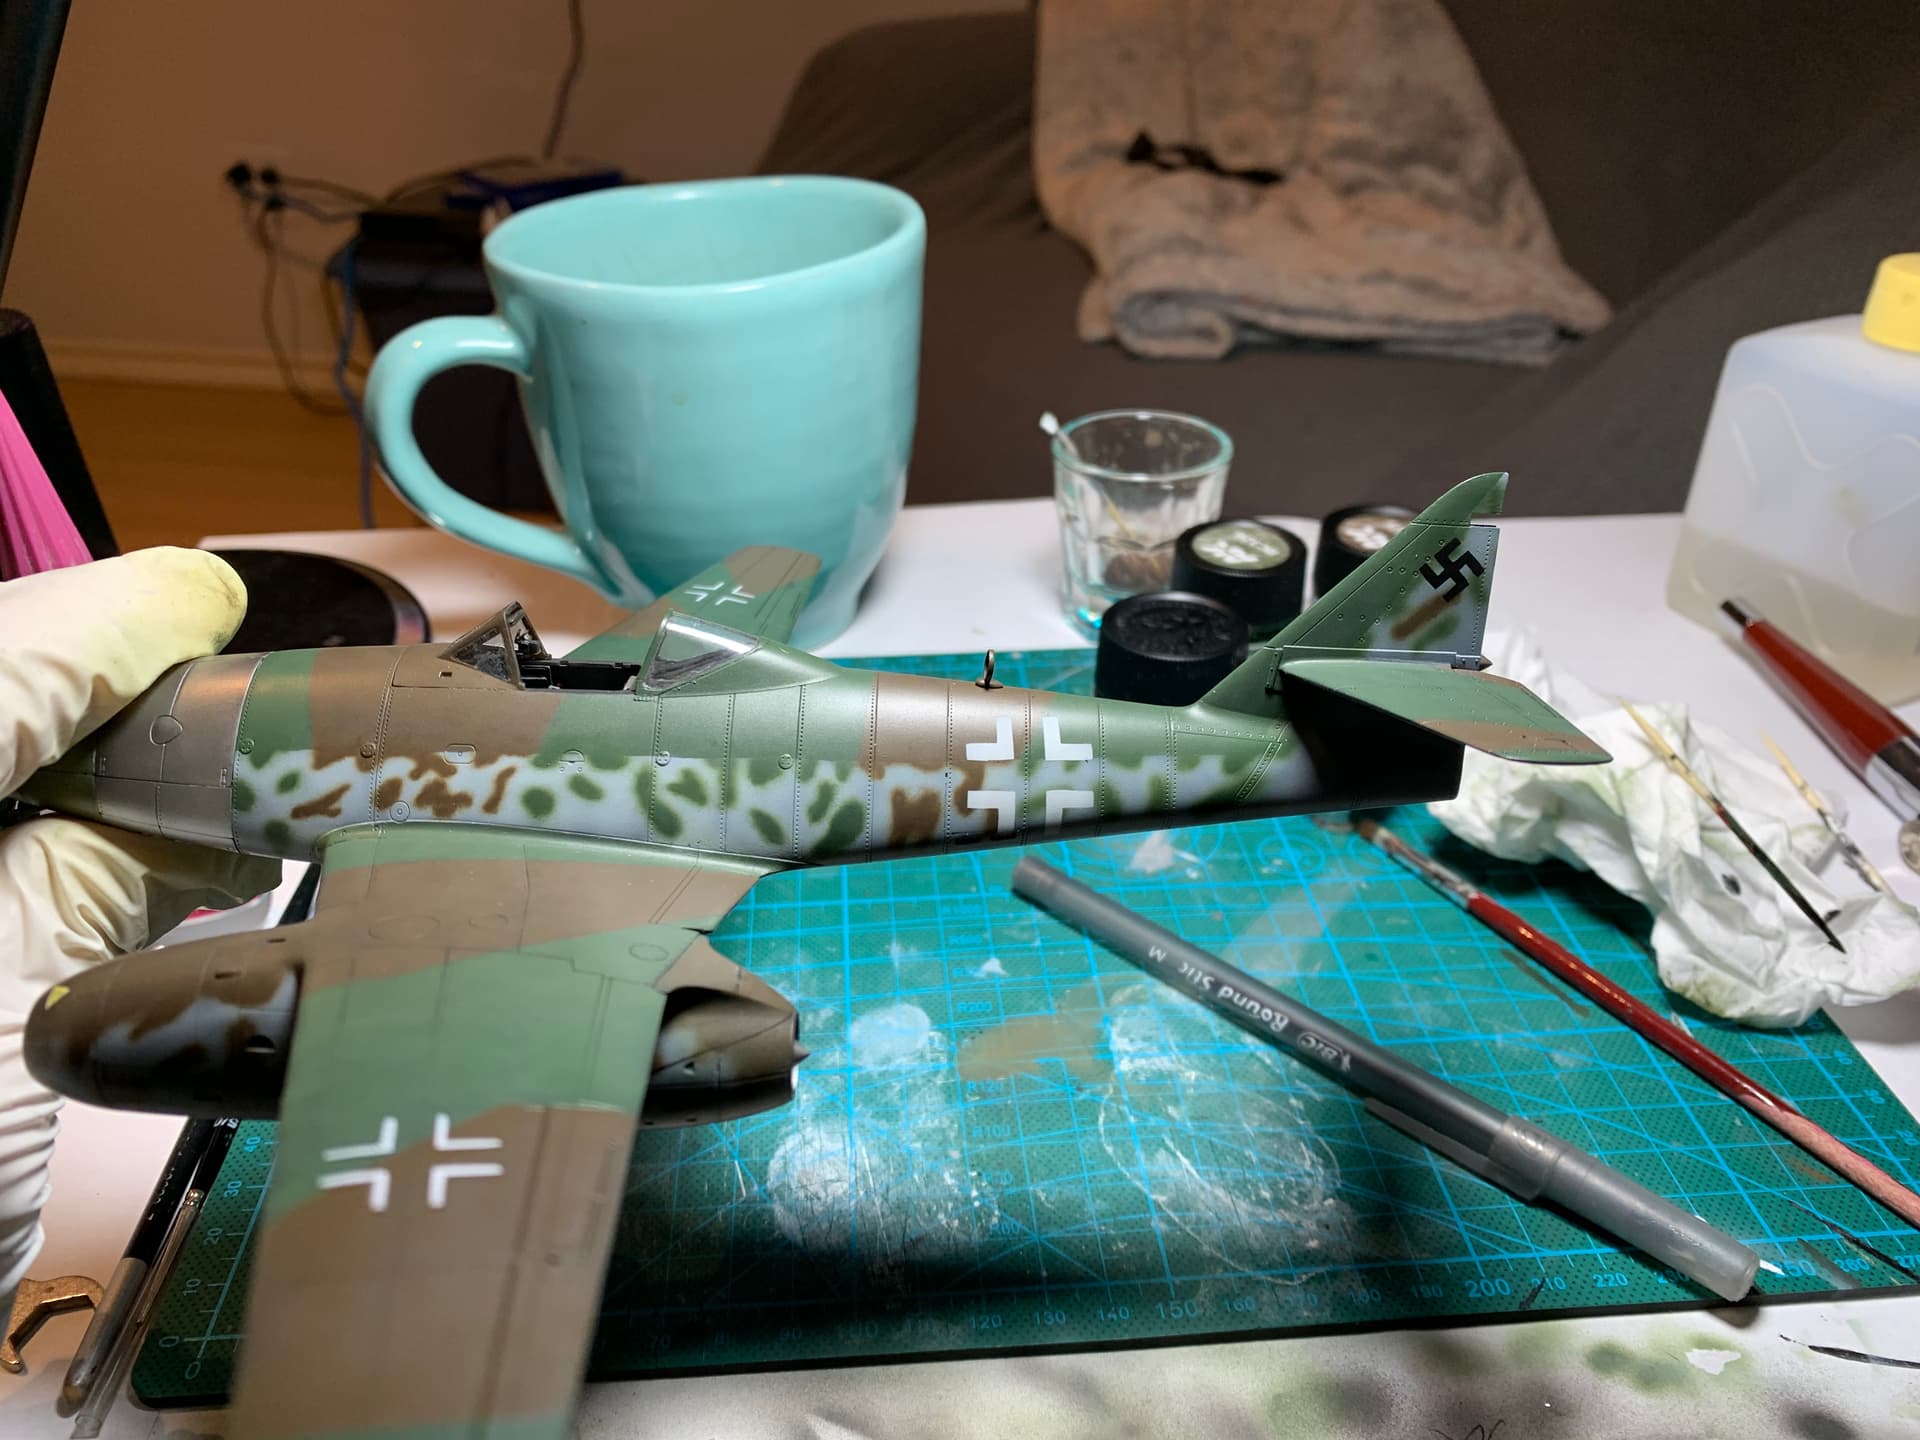
More reason to buy a cricut. Ruined the decals on me-262. Cut masks and all was saved. A new set of decals was $30+. Also saved from having to use a silly 2 part swastika decals
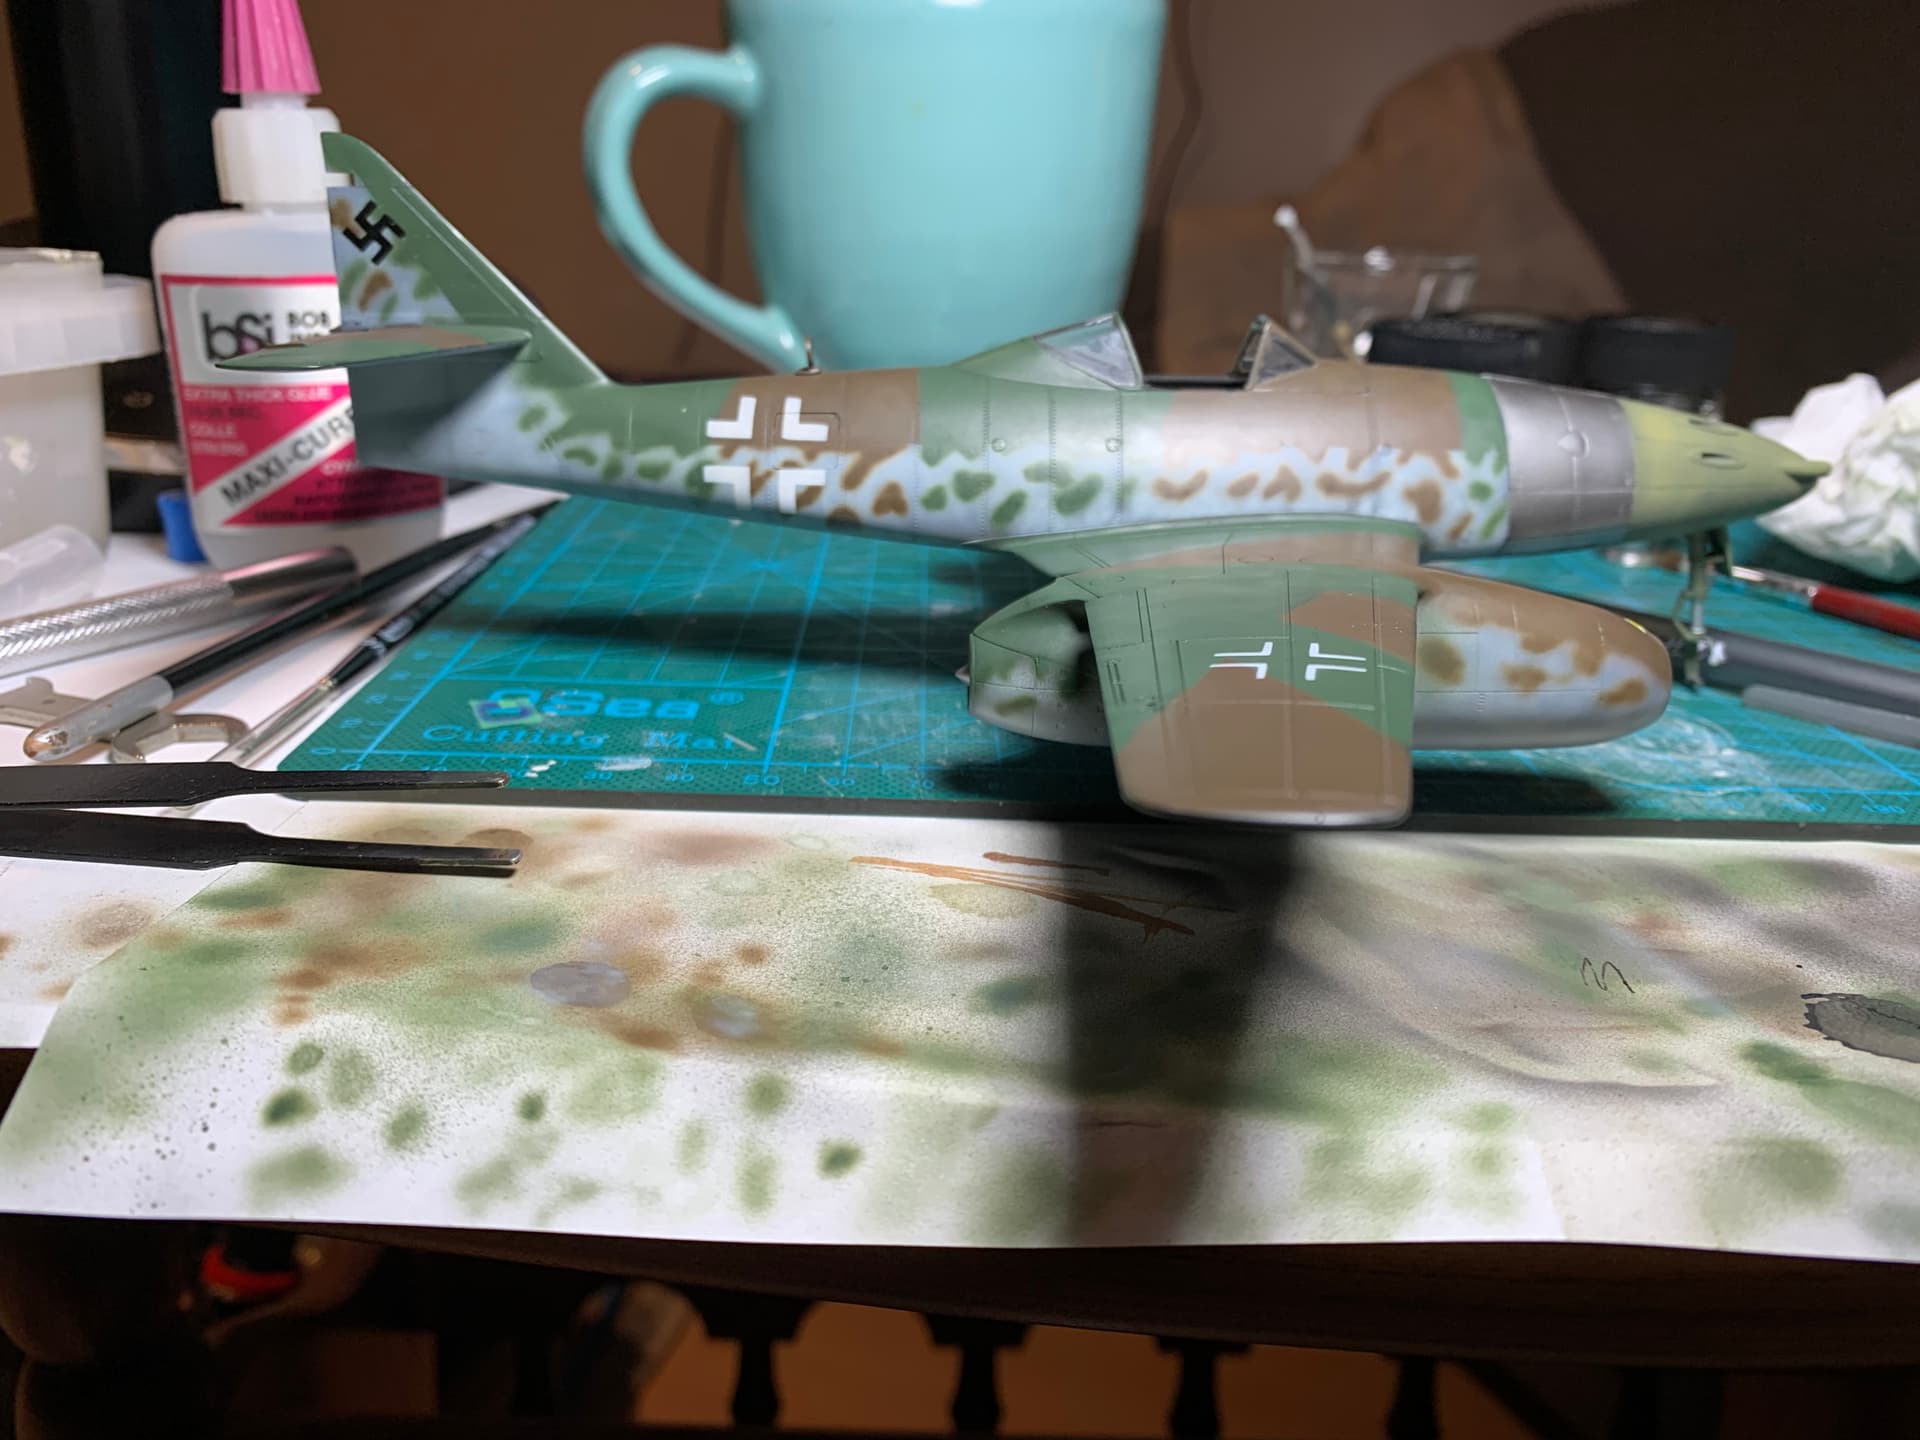
4 Likes
Just found this
1 Like
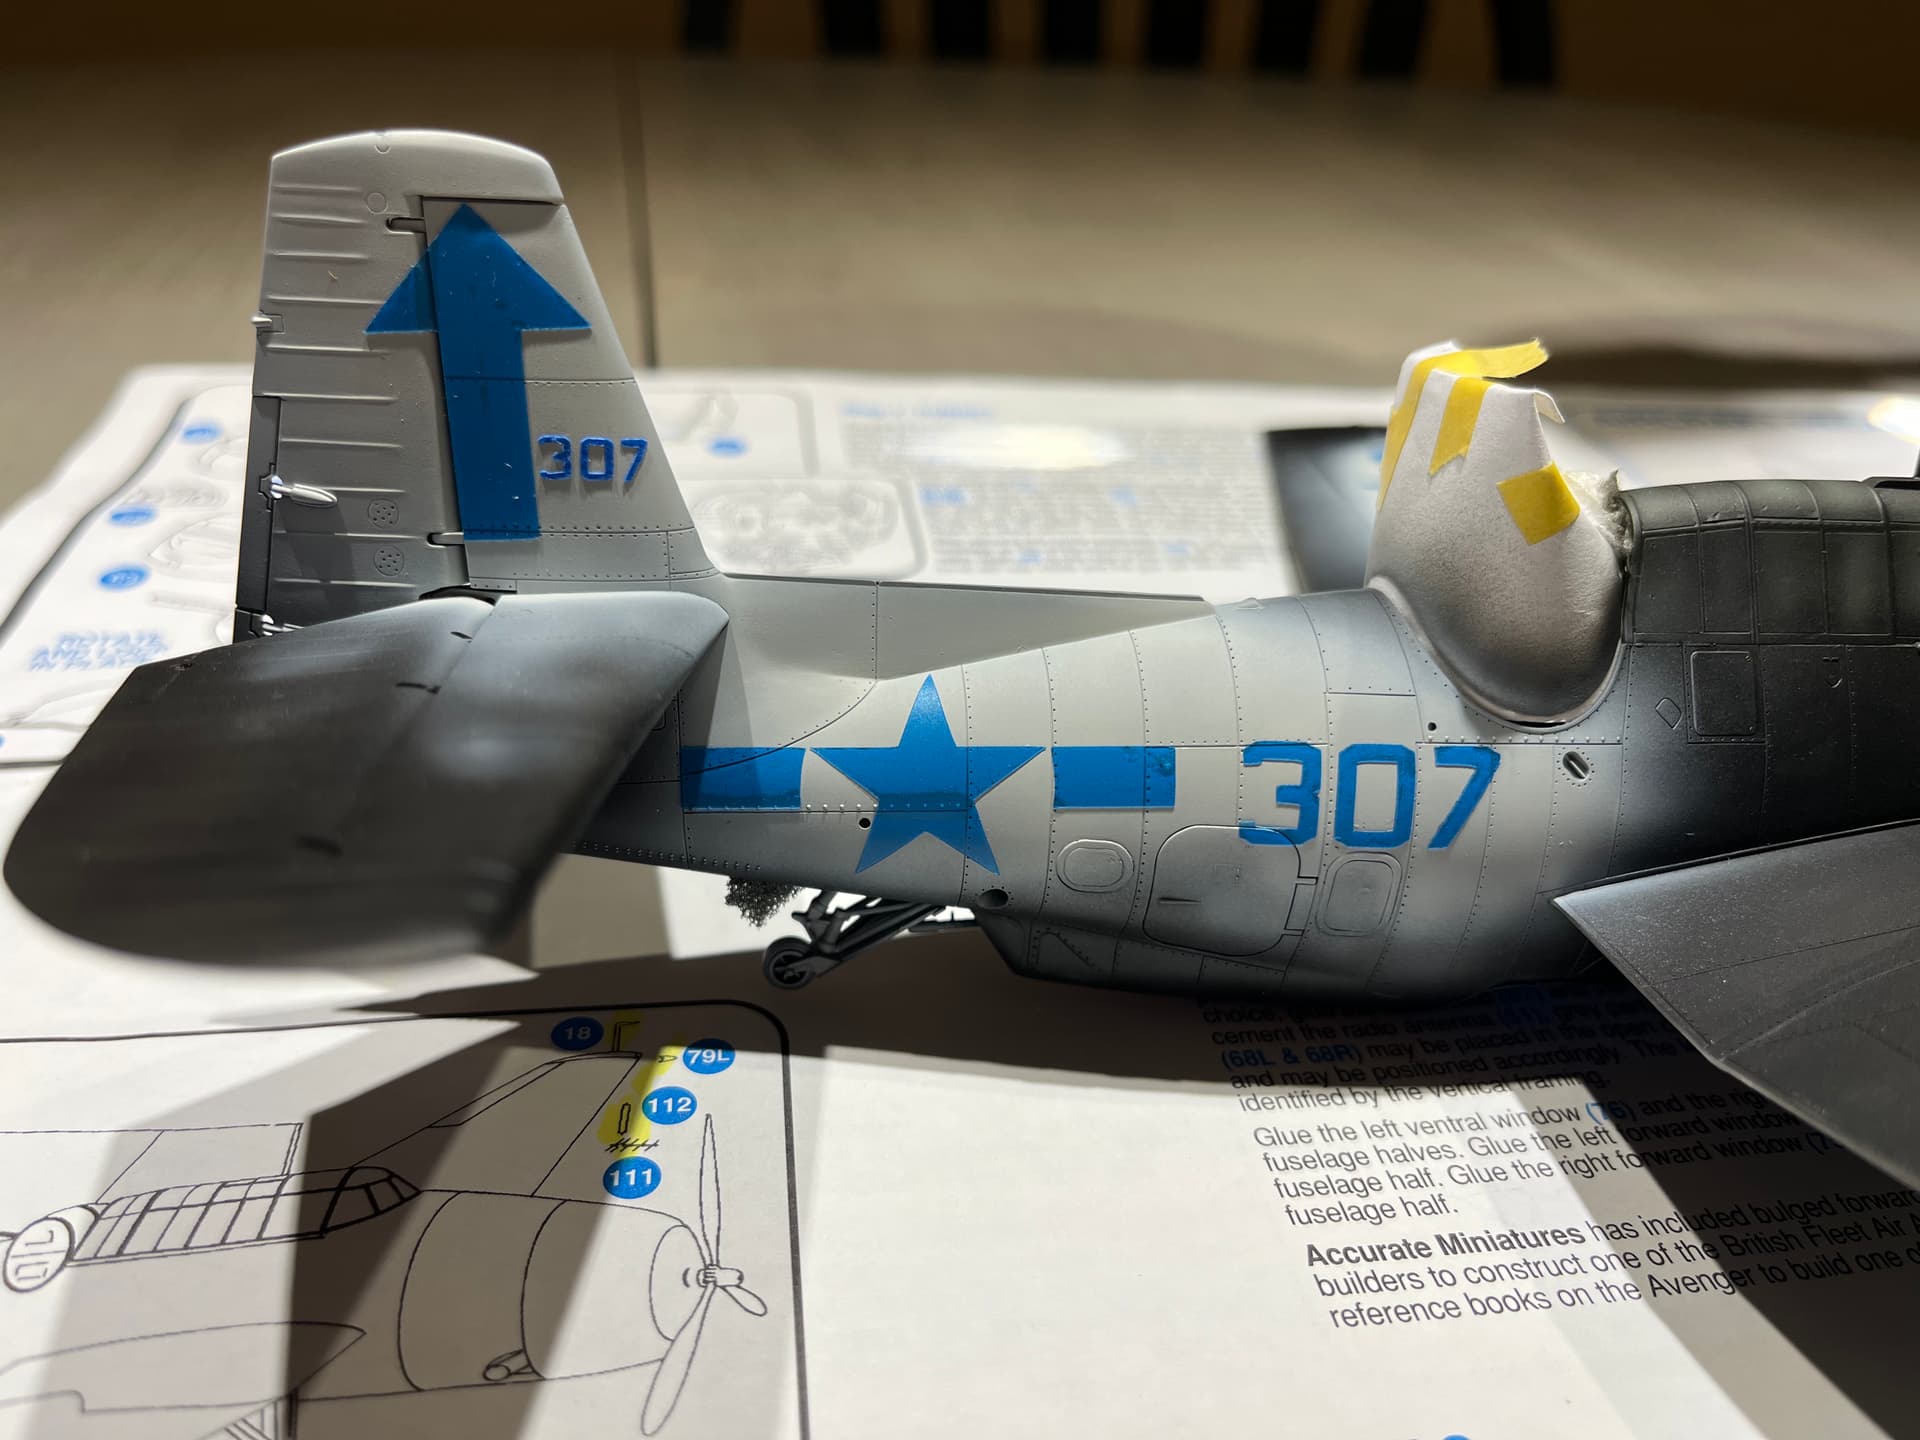
Discovered a new method the other day. I had to make composite (a stencil made of two separate masks) stencils. The marking in question USN stars and bars. The issue I was having was the outer mask for the blue was way too thin and my usual method of using blue painters tape for the masks was fruitless. The thin tape was to hard to position without distorting. After some googling I came across Oracal stencil vinyl which is a low tack semi rigid stencil vinyl for the cricut. I also came across transfer tape which is the real secret sauce here.
Step 1 I cut the sentcils as normal on the vinyl
Step 2 put transfer tape over the stencil and peel off, this removes the vinyl from its backing, but keeps the it as one marking
Step 3 overlay the marking on the kit where you want it.
Step 4 slowly peel the transfer tape off and coax the marking pieces you want off the tape.
At this step you have the marking on the kit, for example this fueslage stars and bars
Now I will spray the blue for the outer marking. The outer marking is till on the transfer tape at this point
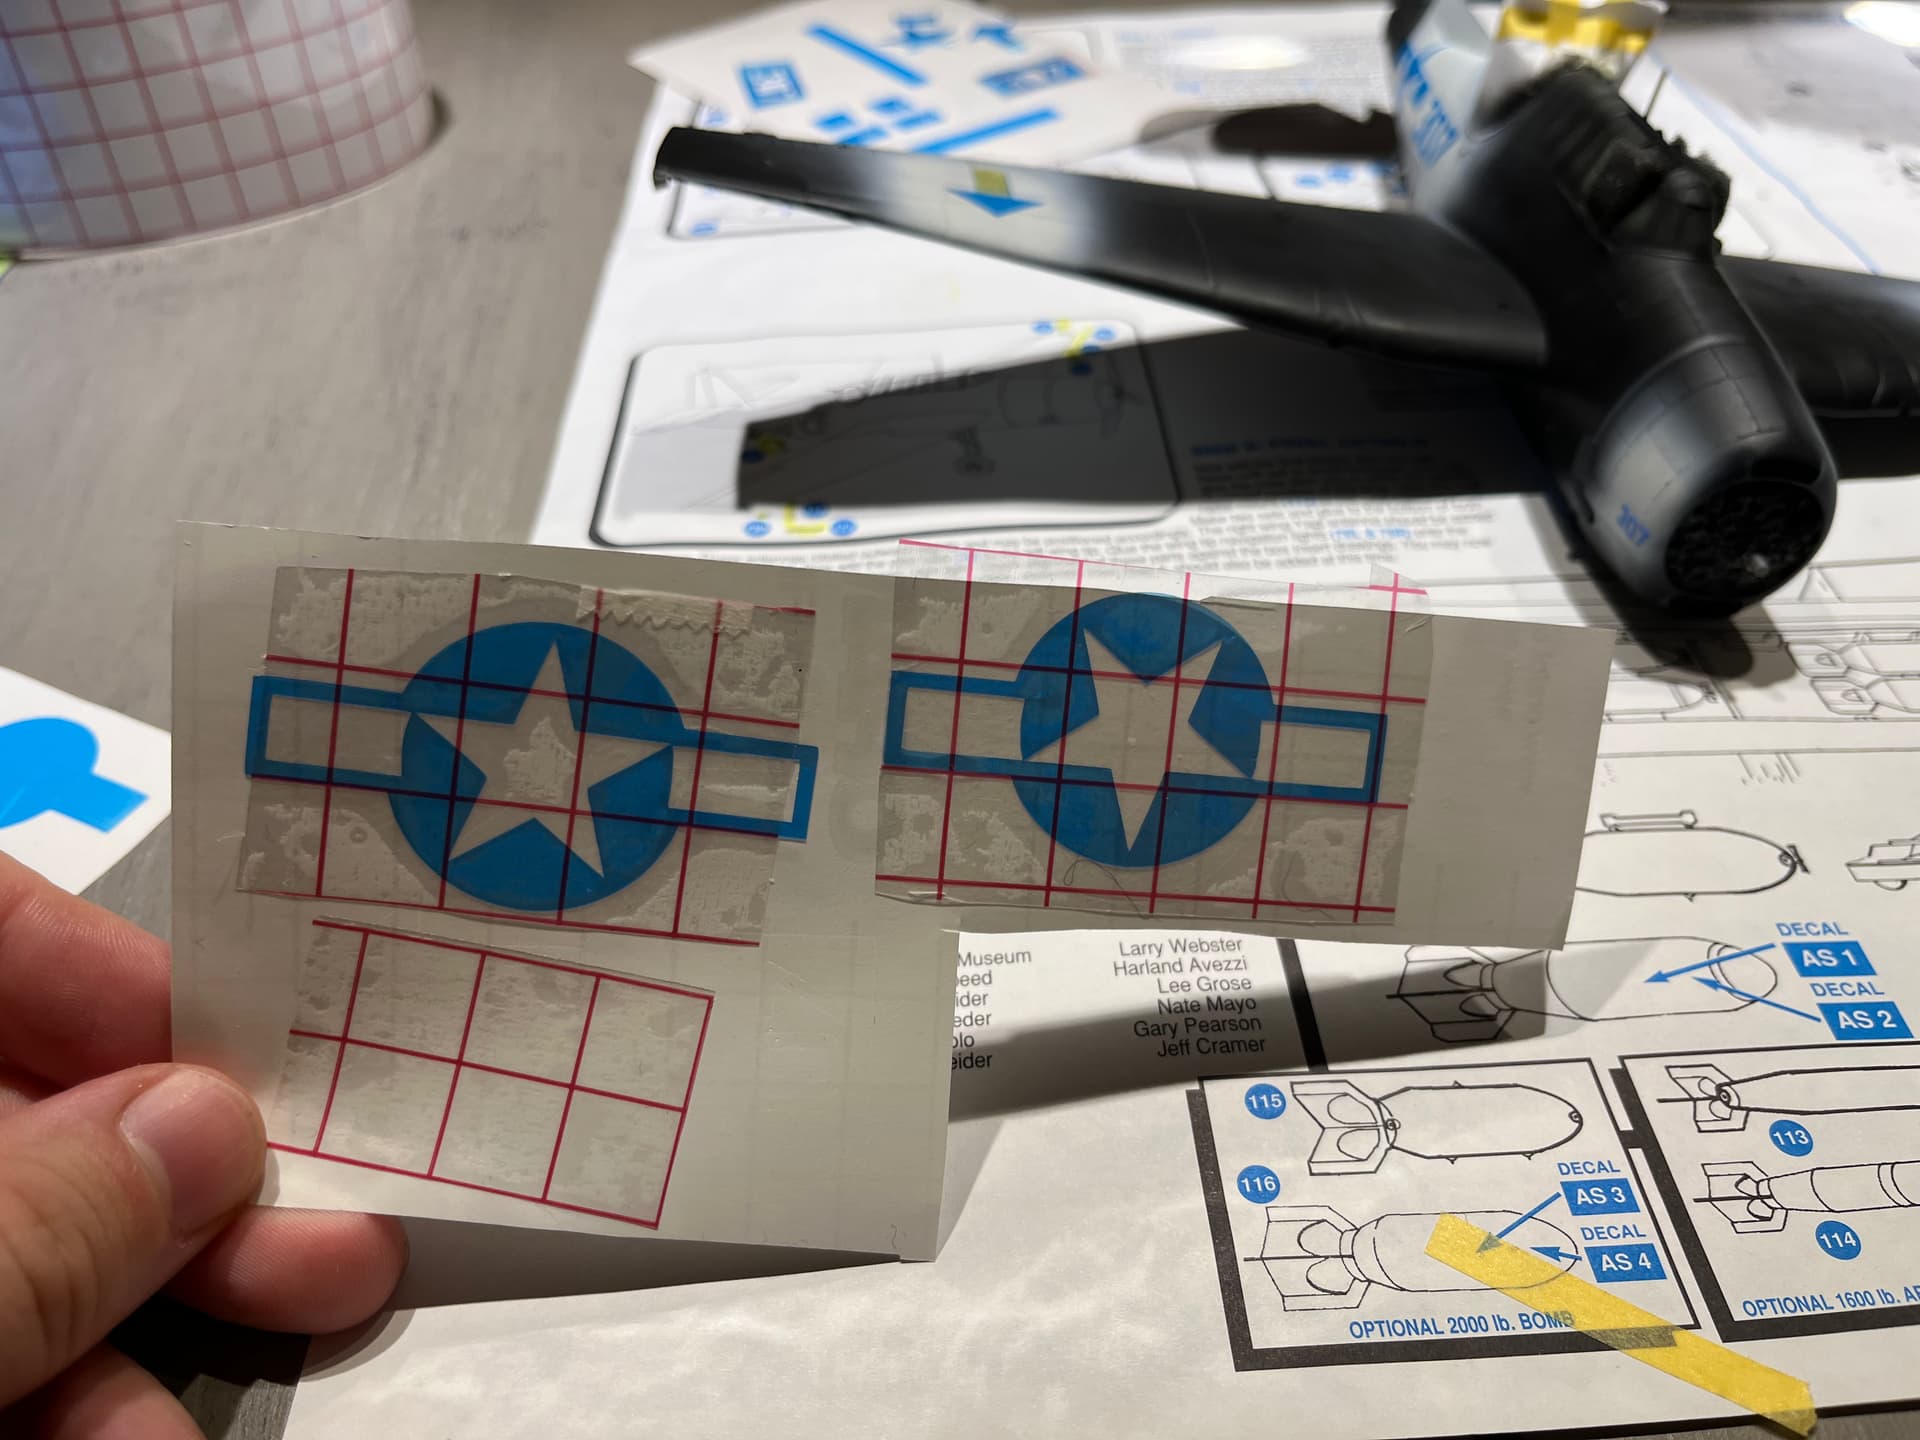
The beauty here is that the transfer tape keep the outer marking undistorted. Once I spray the blue I can seamless overlay the marking on the transfer tape so it is aligned with the stars and bars and then peel the transfer tape away leaving the outer portion of the marking behind
2 Likes
So, I would like to paint some 1/48 world war one rfc roundels with masks (the new eduard decals … leave something to be desired). I’m confident I could do this … EXCEPT … for that outer white ring which is sooooo thin. Do you have any thoughts about this?
Could you post a picture? How thick are we talking?
I suppose you could upload the camo patterns from kit instructions, make them the proper size, and print camo masks?