Looks awesome man! Im working on the same kit and my one suggestion is maybe to add some more armor texture to smoothen out the kits texture
well done! I prefer the Tamiya set though… 
Thanks guys!
@Panzer_modeler, Ezra, I’m keeping this pretty much as is to keep the mojo flowing. The cast texture is OK, but could use some help.
@PiotrK, I haven’t seen the Tamiya kit recently, but I doubt that it would have the shortcomings that this one has.
1 Like
There are no errors, only the tracks need to be replaced because there are rubber straps … 
I hear ya loud and clear there Piotr. I do not have good luck with those new gluable single length soft Tamiya tracks. They tend to break within a short time after I complete the build in my experience. No matter what type of paints I use to pint them. I’d probably get some AFV Club tracks as replacements.
AFV tracks only !! I know because I have! 
1 Like
Assuming you are using T80 as per the links on the turret, there is a lot of work on AFV Club T80 tracks. The ejection marks on the backs are bad and my set had sink marks on the faces, which meant the chevrons were distorted on a lot. The sprue gates are huge and you have to saw through them, as any attempt to cut with nippers will result in the centre pins breaking.
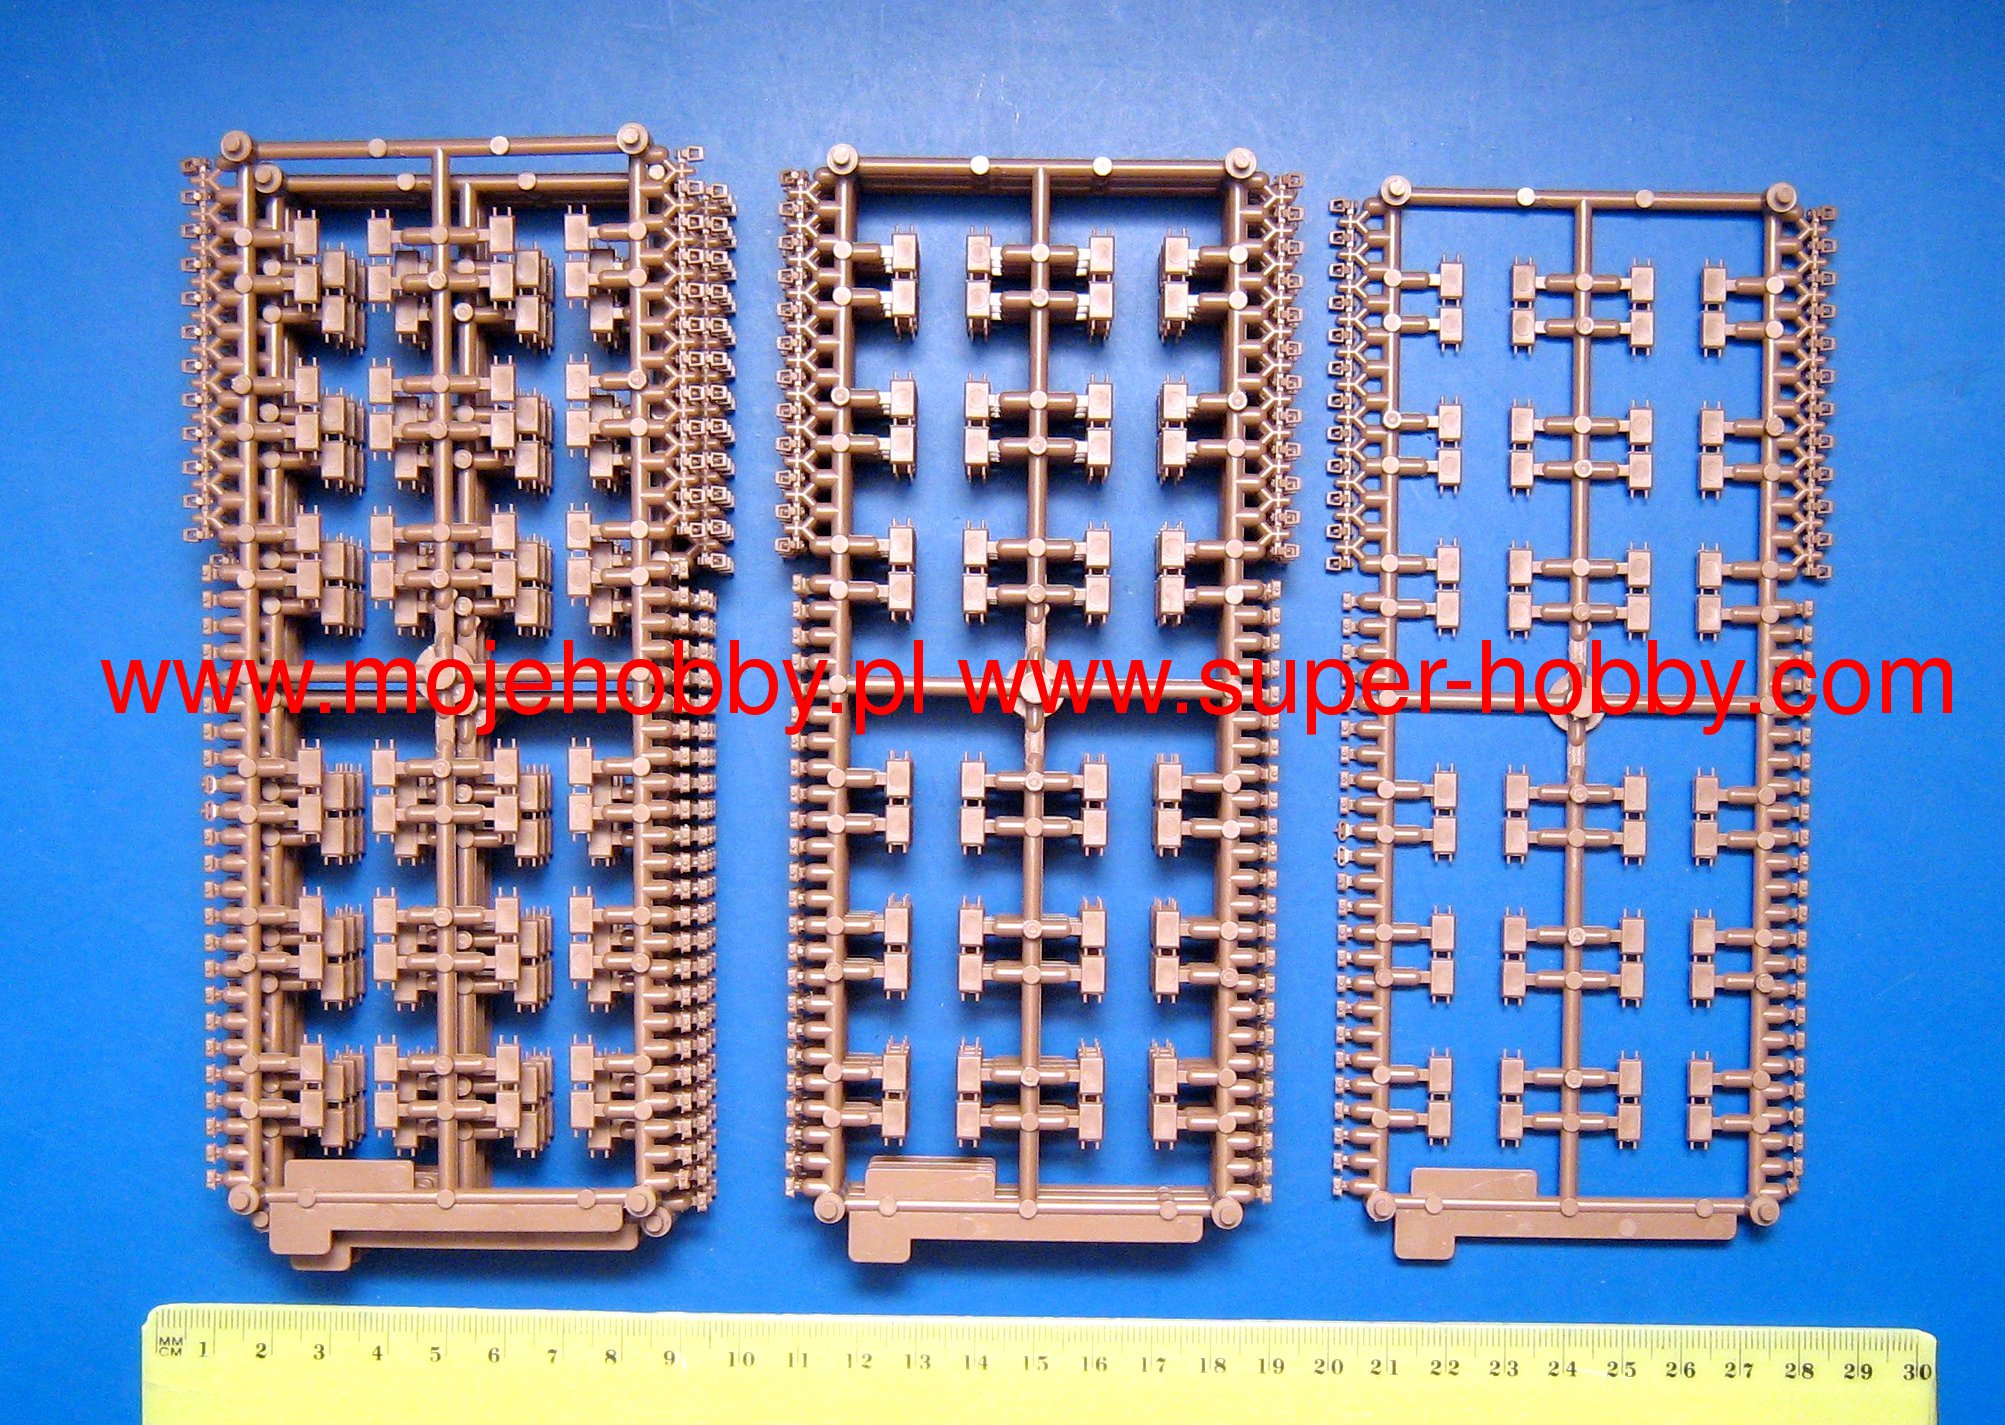
If you want a lower cost, non-metal replacement, consider RFM’s set. Yes more parts, but the detail is much better and more robust and the extra time to make them is less than the time you will take to fill and sand all the ejection marks in the AFV Club set.

2 Likes
I second Pete’s recommendation of the RFM set! Do them as runs of seven at a time (see how the bars are grouped on the sprue) and do only a few runs each modelling session, and you’ll be surprised how quickly they go together. Glue the guide-cubes on first, then assemble the pads and bars using only half of the jig.
Looking at those RFM tracks brings back bad memories of changing tracks for real in the motor pool once upon a time… 
1 Like

Any progress??
I’ve added the last few little bits, and I’m ready to get the primer coat on.But we have company for the weekend, so no more bench time until that’s all over.
So after a week of things going on here of prepping the house for company, then all the associated time spent with said company, plus other assorted happenings, I had to set this project aside. Yesterday I started priming it with Mig Ammo One Shot Primer (oxide brown because Andy’s HHQ was out of black) when partway thru I realized that I had not yet added the planned stowage. I let the stuff dry overnight, then this morning selected, test fitted, and epoxied on some stowage items from my spares collection. Tomorrow I’ll finish up the priming, then get ready for actual painting…
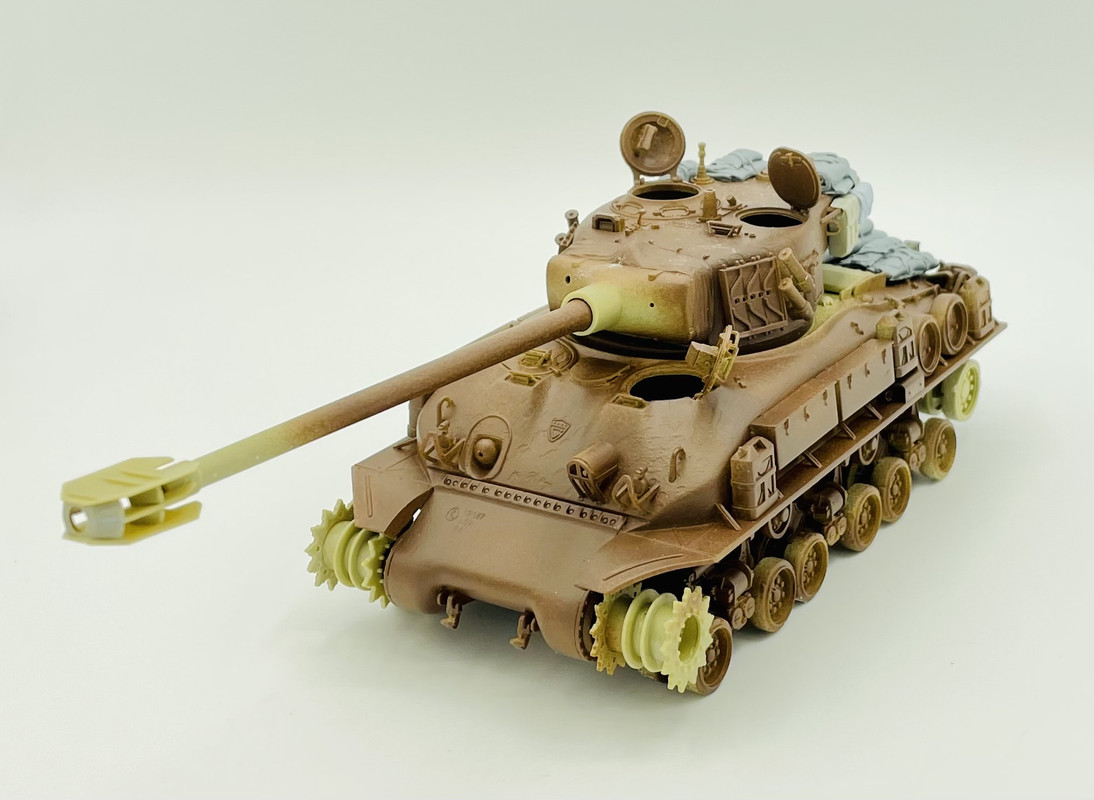

more in a couple of days….
6 Likes
Now that all the stowage had dried in place I was ready to finish the primer work. But before I did that, I added some brass mesh screen to where the kit supplied nylon mesh, since I did not like the way that stuff looked. Anyways, here it is in Mig Ammo One Shot Oxide Brown
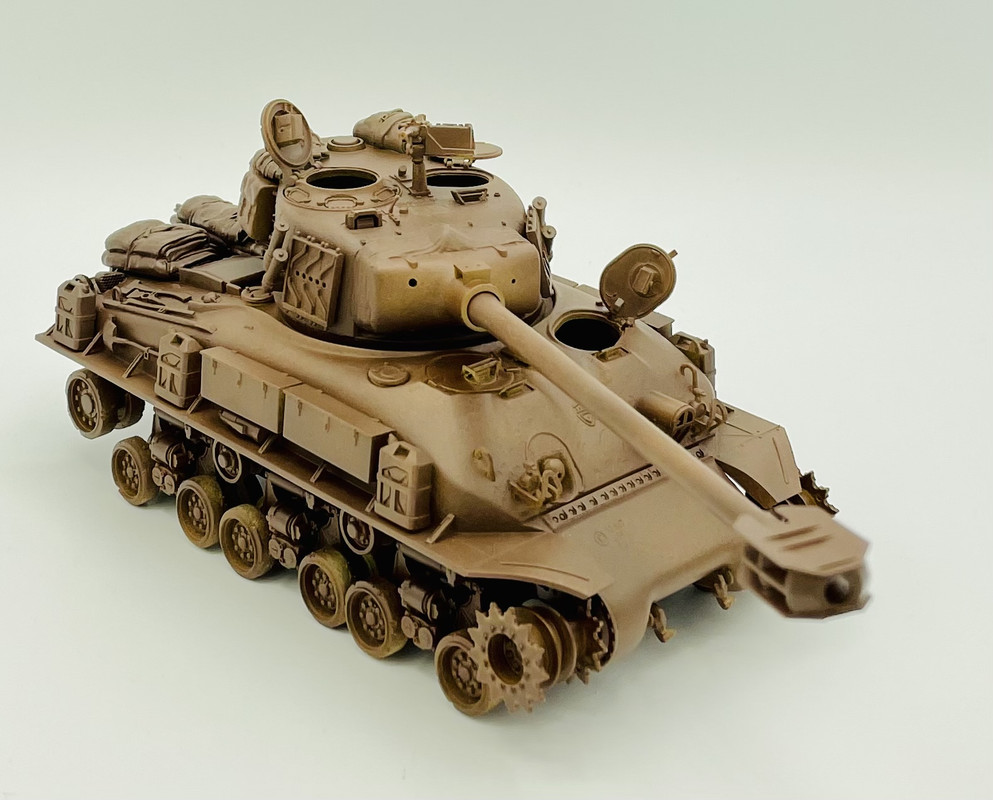
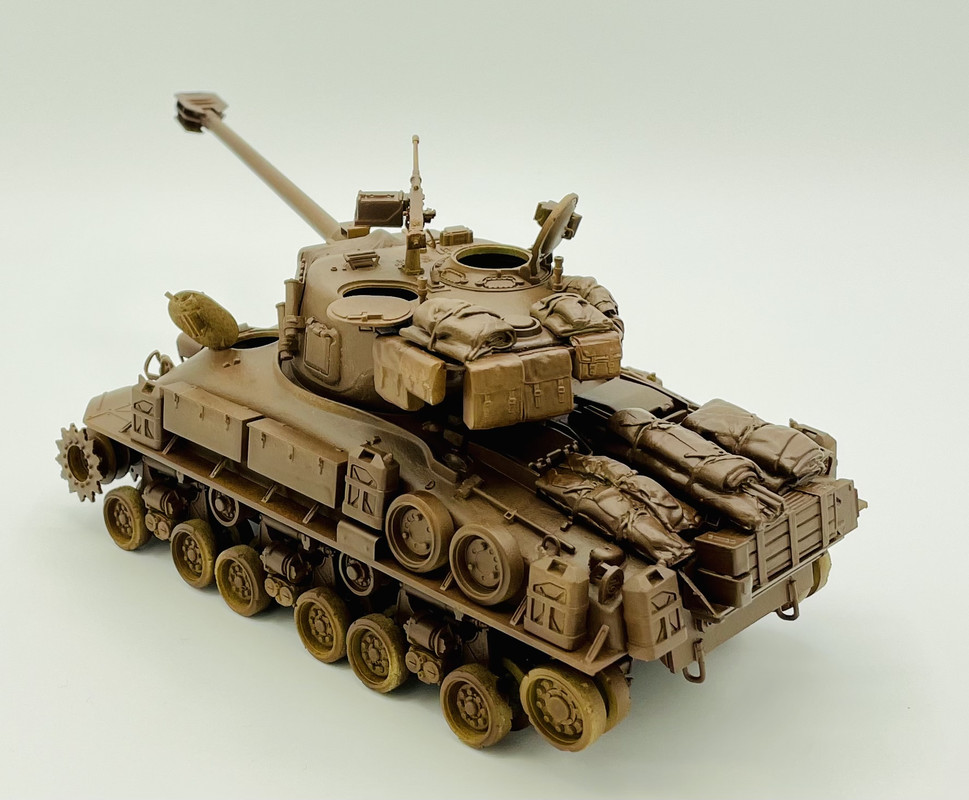
I do like how the Mig primer is tough as nails once it has cured…
6 Likes
So today I started slinging paint. I did a heavier highlights coat of Model Master Acrylic IDF Sand
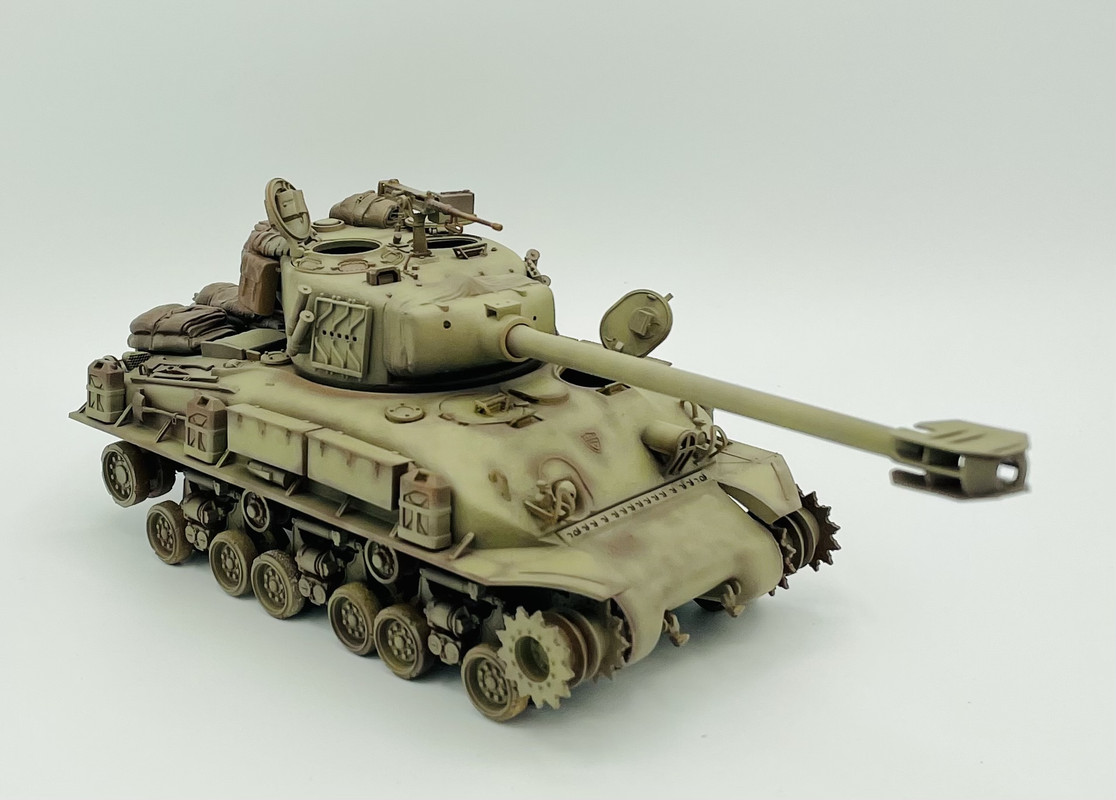
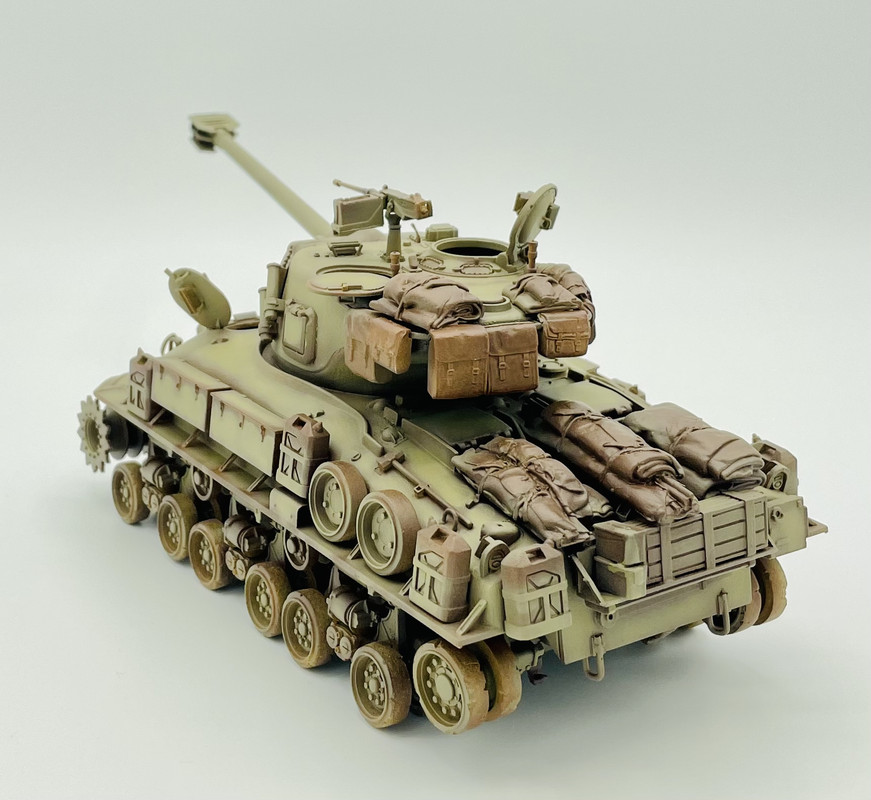
I’ll let it dry overnite then do a thinner coat of the same color in the areas not covered yet. It should give a nice look…
7 Likes
I’m for yes! 
Thanks Piotr! So far, so good 
Very nice coloring, very nice how the brown shines through at some patches, like the top paint has really faded and is worn away, they really match very well! And nicely loaded up!
Thanks Bert. I’m planning to put a thinner, more translucent coat of paint over the brown areas to make the effect more subtle. From what I’ve read these tanks were taken out of war reserves stocks and sent into combat in 1973, so that is the look that I want to reflect, like they’ve been sitting around in the desert sun for awhile.
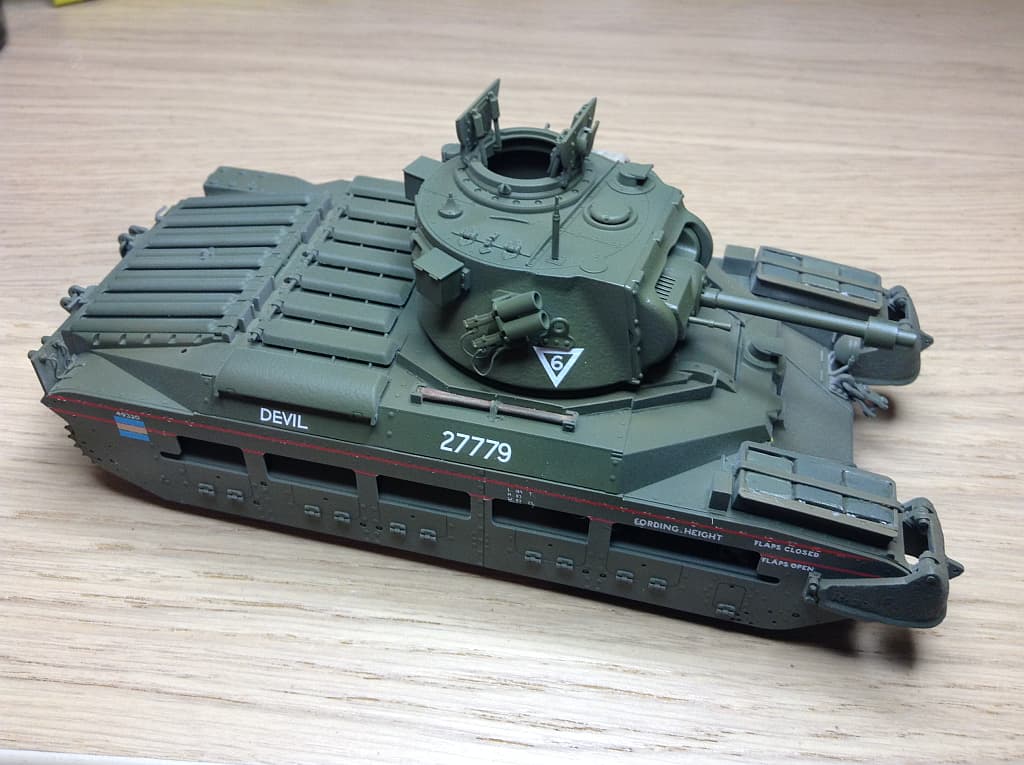
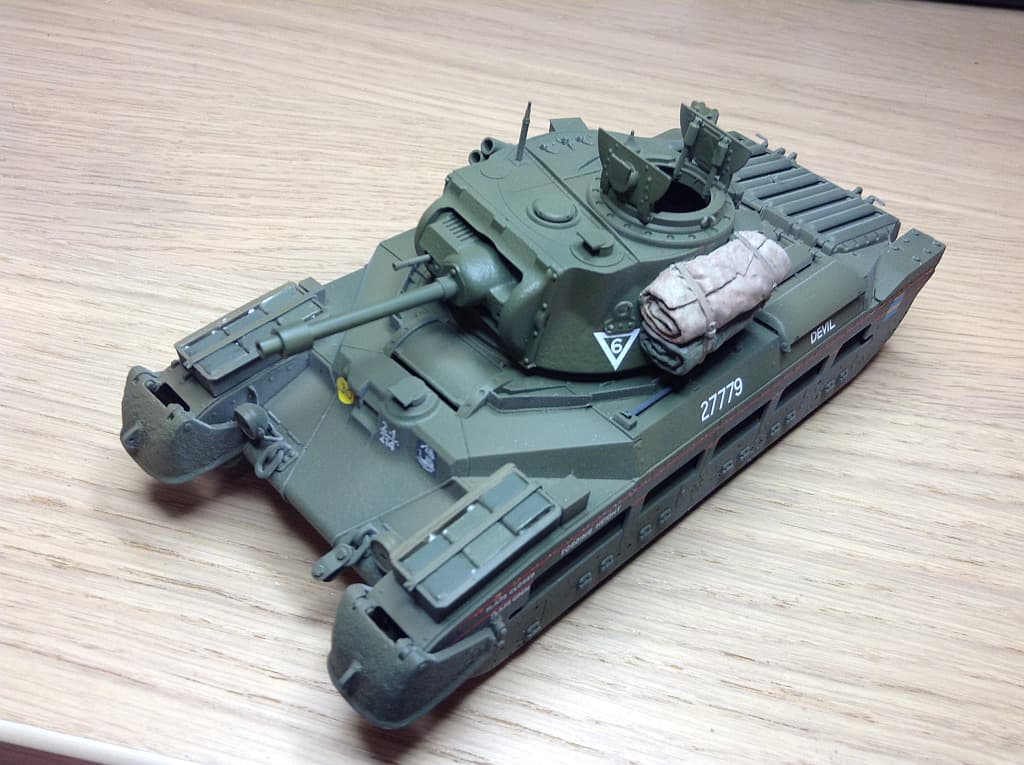
Where I am on the Matilda Frog. Base paint, decals and flat coat down. Ready for tracks and some weathering.
Not too noticeable in the pics is the slight variation in green tones. I am not a fan of modulation where hatch covers etc are fifty shades lighter than the rest of the vehicle… besides, there will be a huge mesh piece and stowage on the rear to take away the green - and Borneo mud of course…
4 Likes