No white metal at all in my kit; everything in resin including some wheels which look consistent and in good order to me. Even the Gimpy is in resin and looks quite decent. There is a comprehensive etch fret primarily for the engine grills and mesh stowage bins on the rear. I suspect that Accurate Armour realised the shortcomings in white metal and revised the product but when, I have no idea. So I’m quite lucky I suspect.
'Look forward to your build in black and green; you know, for a purported Brit armour modeller (within my self-imposed stricture of Comd war stuff) I’ve precious little in black and green: my Land Rover, an M109 and an ancient Chieftain - and the latter is covered in mud and dust. Hmmm. Must try harder.
The current product description says ‘all resin’ + PE
“This 1/35th scale all resin model kit by Tim Babb includes two part hull with opening doors and all opening hatches and rotating cupola. An extensive etched brass set contains all fine items, exhaust mesh covers, mesh deck screens and fine mesh rear stowage bin, even the mud flaps and reflectors are included. (Note some of the Gulf stowage items and markings(decals)shown are not included).”
I’m admiring your attention to detail and determination to combine the best elements from the different sources irrespective of the complexity of the challenges that course presents you with…outstanding work, .
I have also enjoyed all the advice provided from the various contributors as to the ways of applying CA glue, thanks, .
Thanks Olivier and G. TBH the reason I am paying so much attention to it is that it’s going to my old C/S. If it was just going to be a “Striker” I probably would of done it OOB apart from tracks.
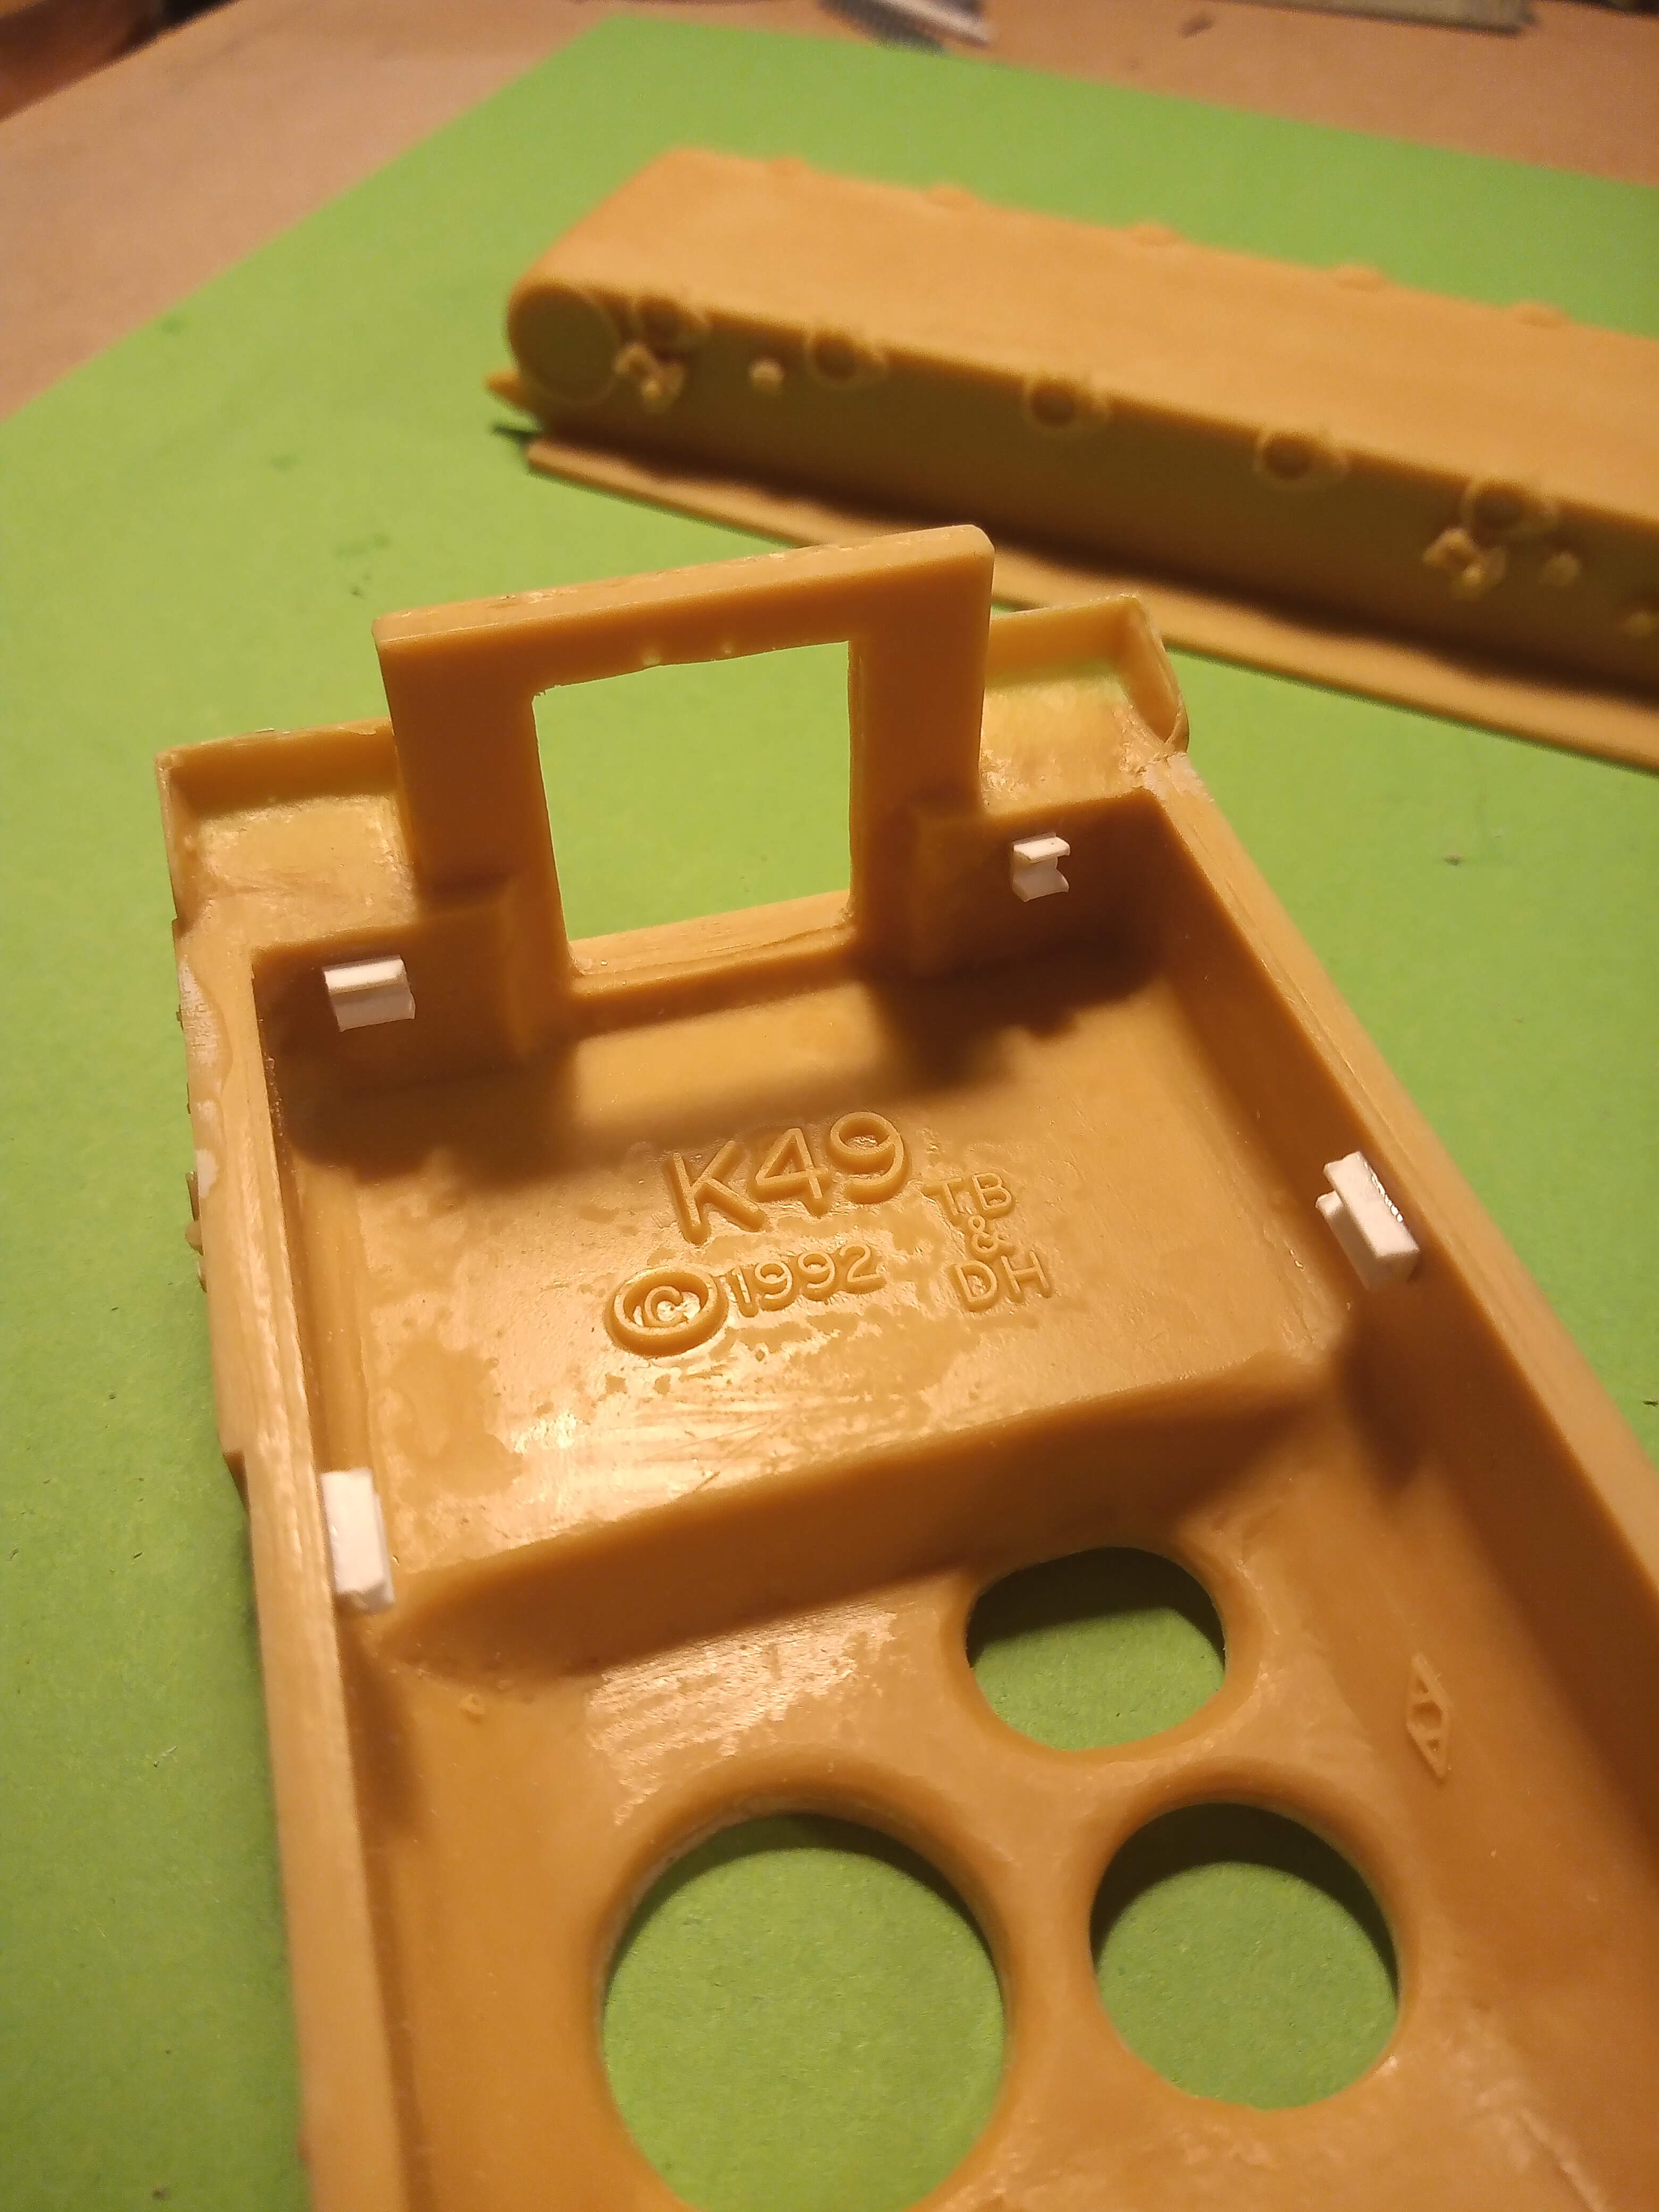
Olivier, I was going to try that and if the drop arms had been resin, I probably would of. Problem is the mounts are moulded and shaped different to the AFV club ones as per the pics above and the AFV lower hull is more crispy than the AA one which also has some damage. I should of also mentioned earlier that the AA hull and it’s moulded suspension parts are of the older early type CVRT and not the newer updated version.
Good work sofa, have you spoken to Derick at AA, if you have problem parts and had purchased it directly from him he normally sends replacement parts free, old kits and new. if not there will be a small charge, it would be better then trying to frankinstine them.
Hi John! Don’t know how I missed this thus far. This is quite the ambitious undertaking! I’ll be following from now on with interest. Looks like you’re off to a good start. Be very careful though - resin parts have a way of turning into not-fitting junk very quickly. Go lightly and pre-plan each move.
Frank, Hi, and I have indeed spoken to Derrick at AA and he was very helpful. He would of done the few bits I needed, for a very reasonable amount, but I decided to just use the donor bits I had on hand. I will be getting a few extra accessories from him such as Fire extinguishers and the black UK decal sheet. Thanks for dropping in.
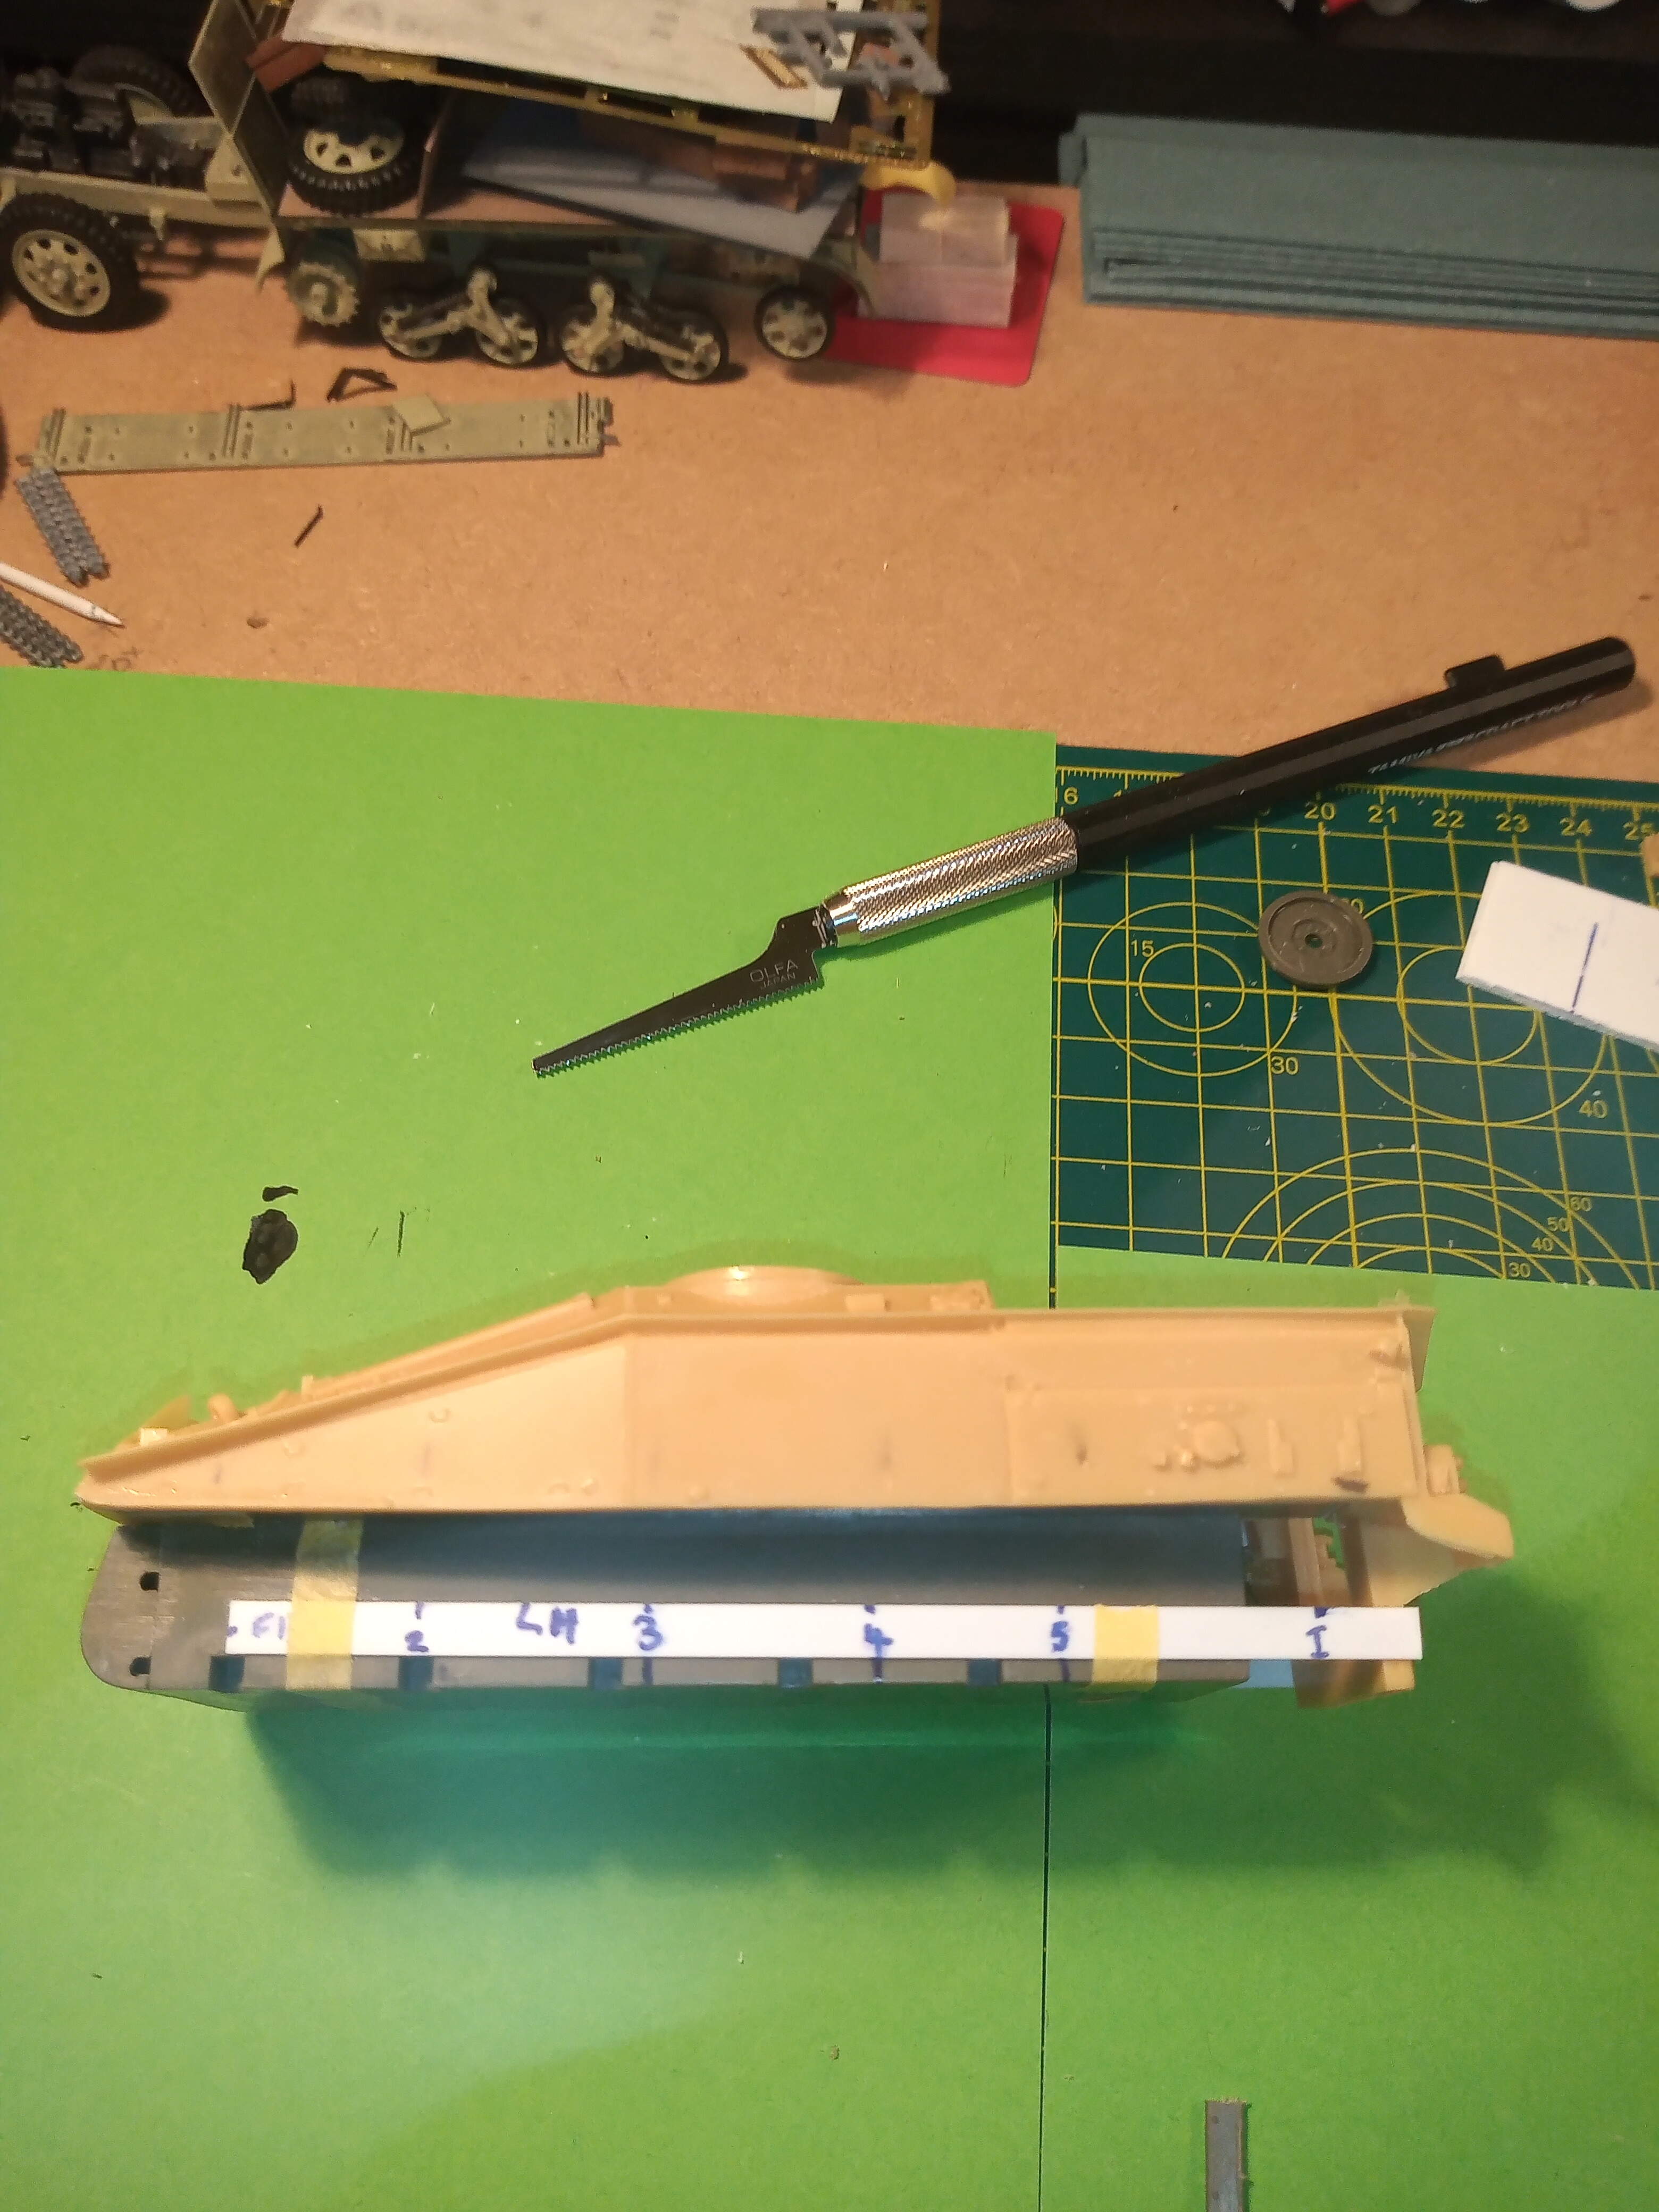
Thanks Matt, and you can be sure I will be taking it very very slowly…I got my new tamiya saw in the post earlier so it will be measure 10 times and (hopefully) cut once …and thanks for the advice ref that masking putty on Jim’s KTiger thread.
No problem John, you’re welcome. I lost all the photo etch off the back plate of a Tiger I Initial because of that stuff and had to tear off the exhaust armor. Had to replace all the PE. My pain is your gain.
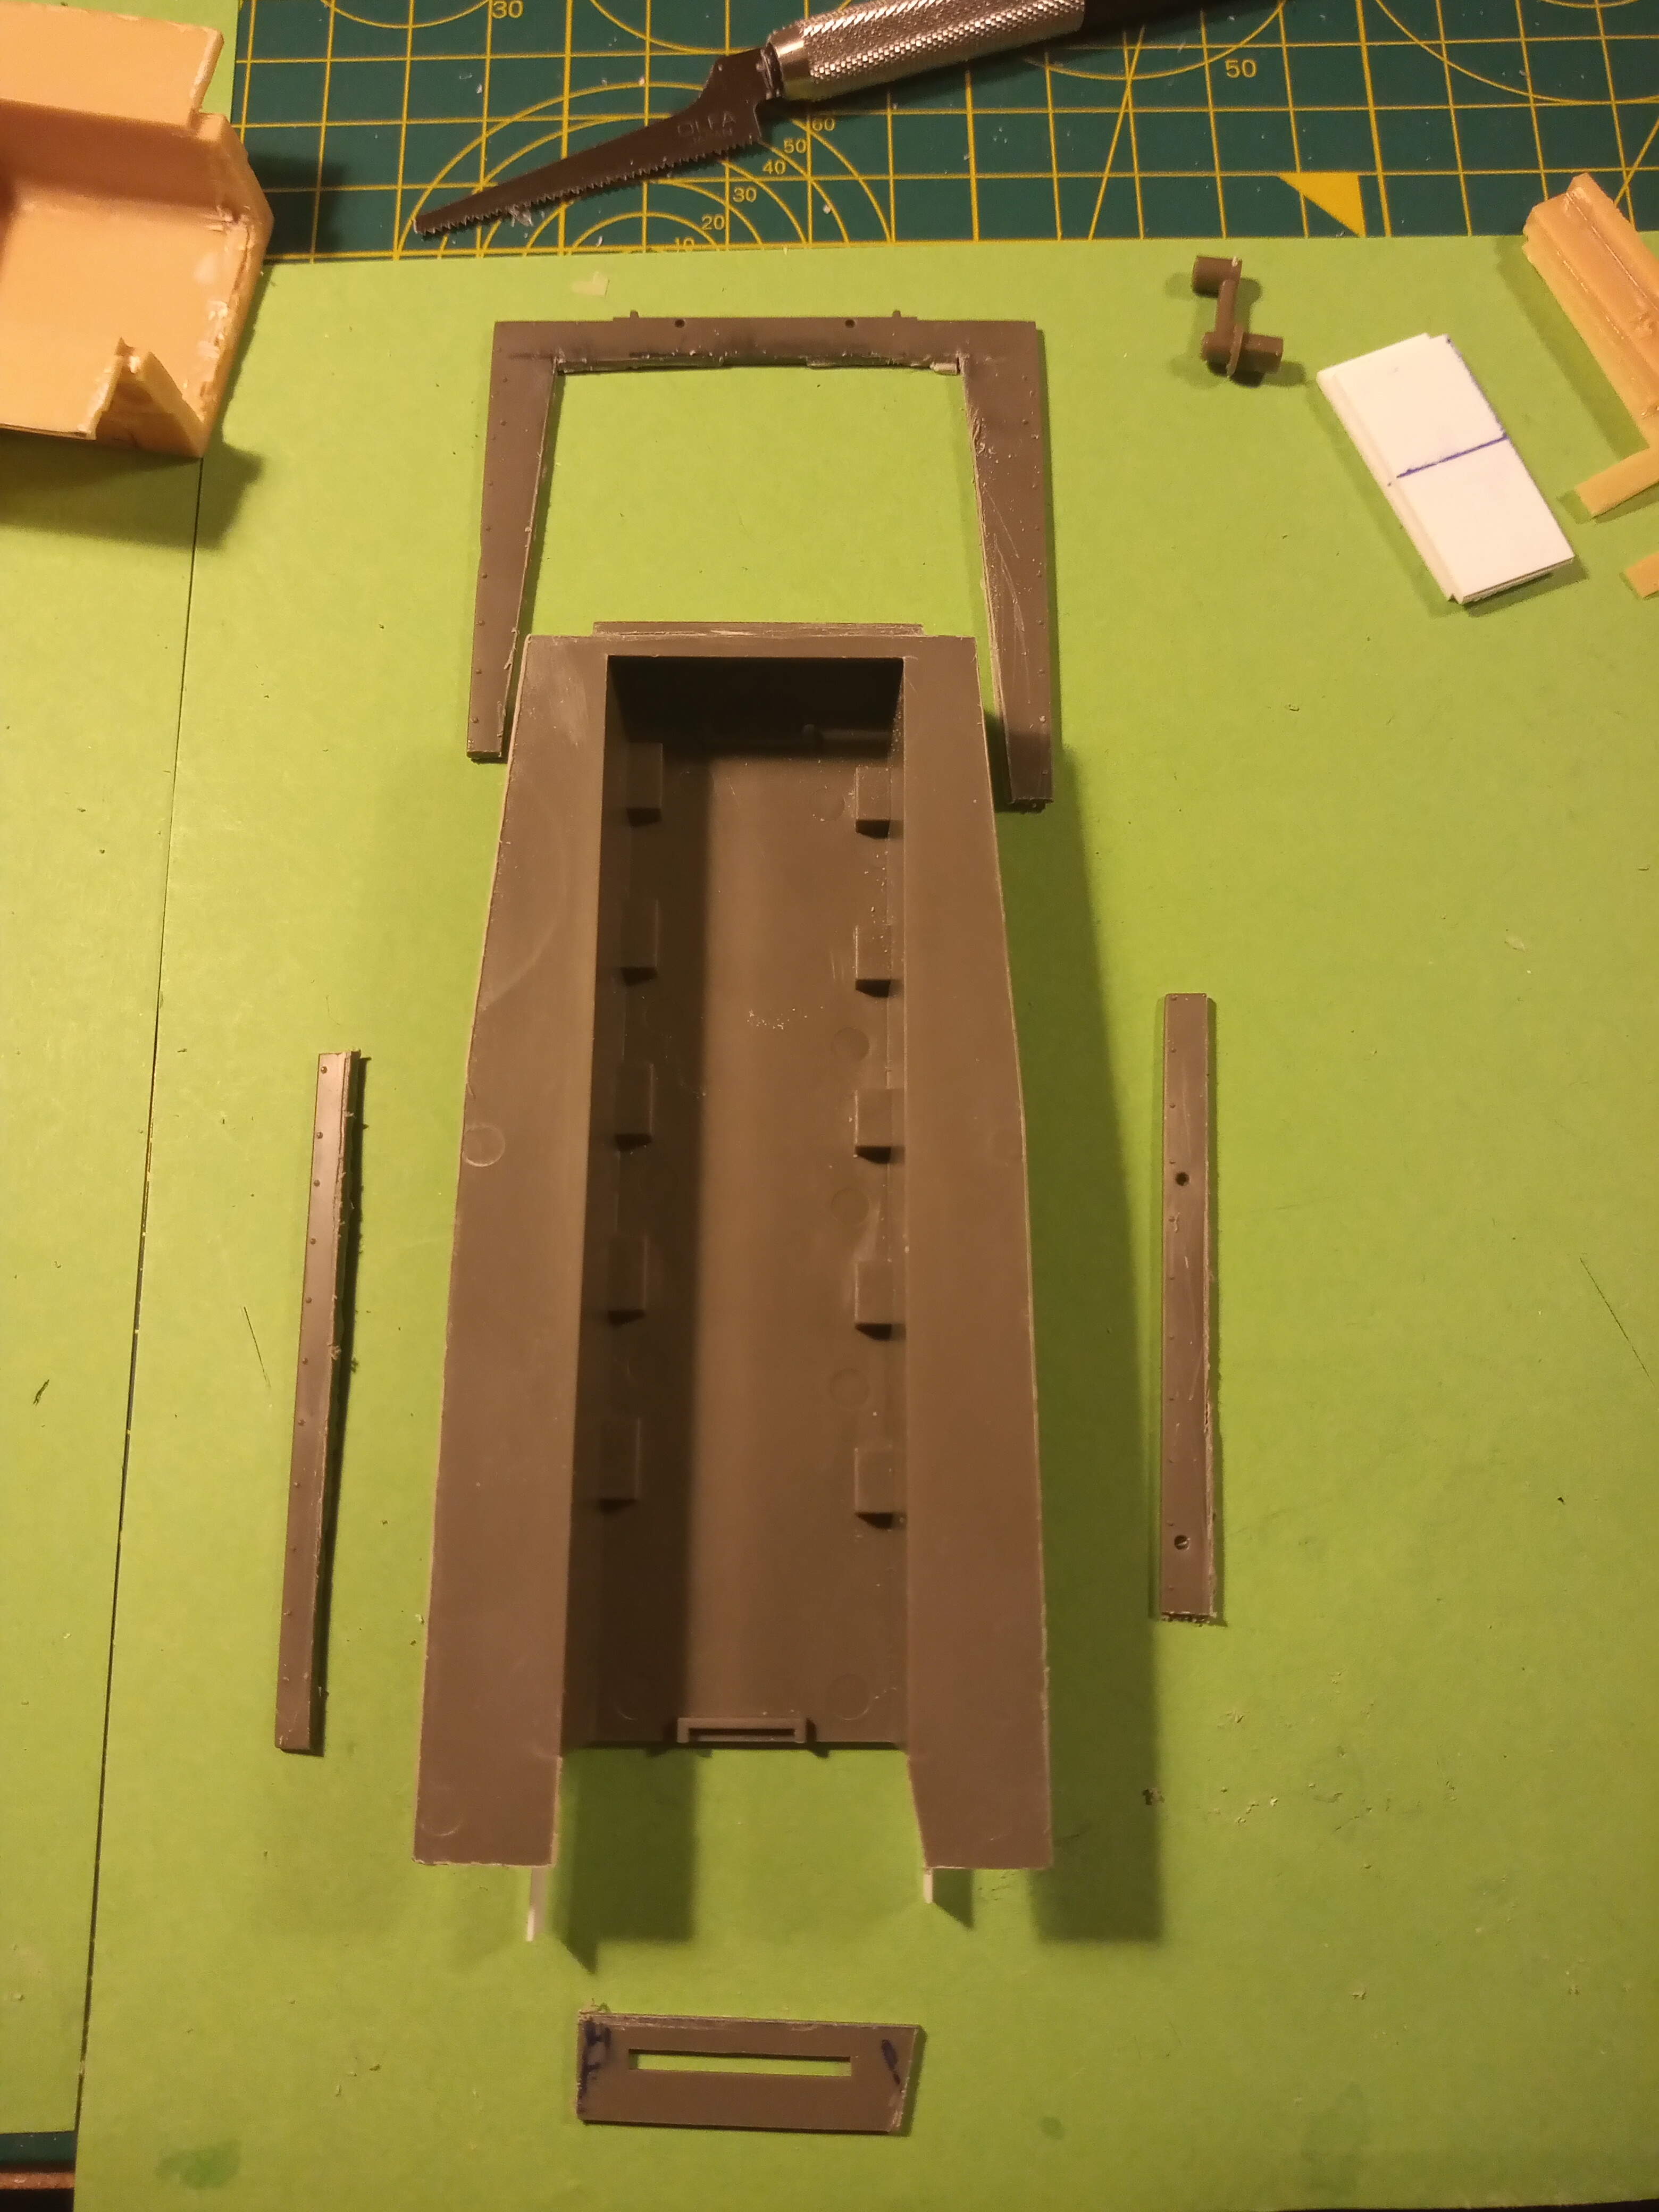
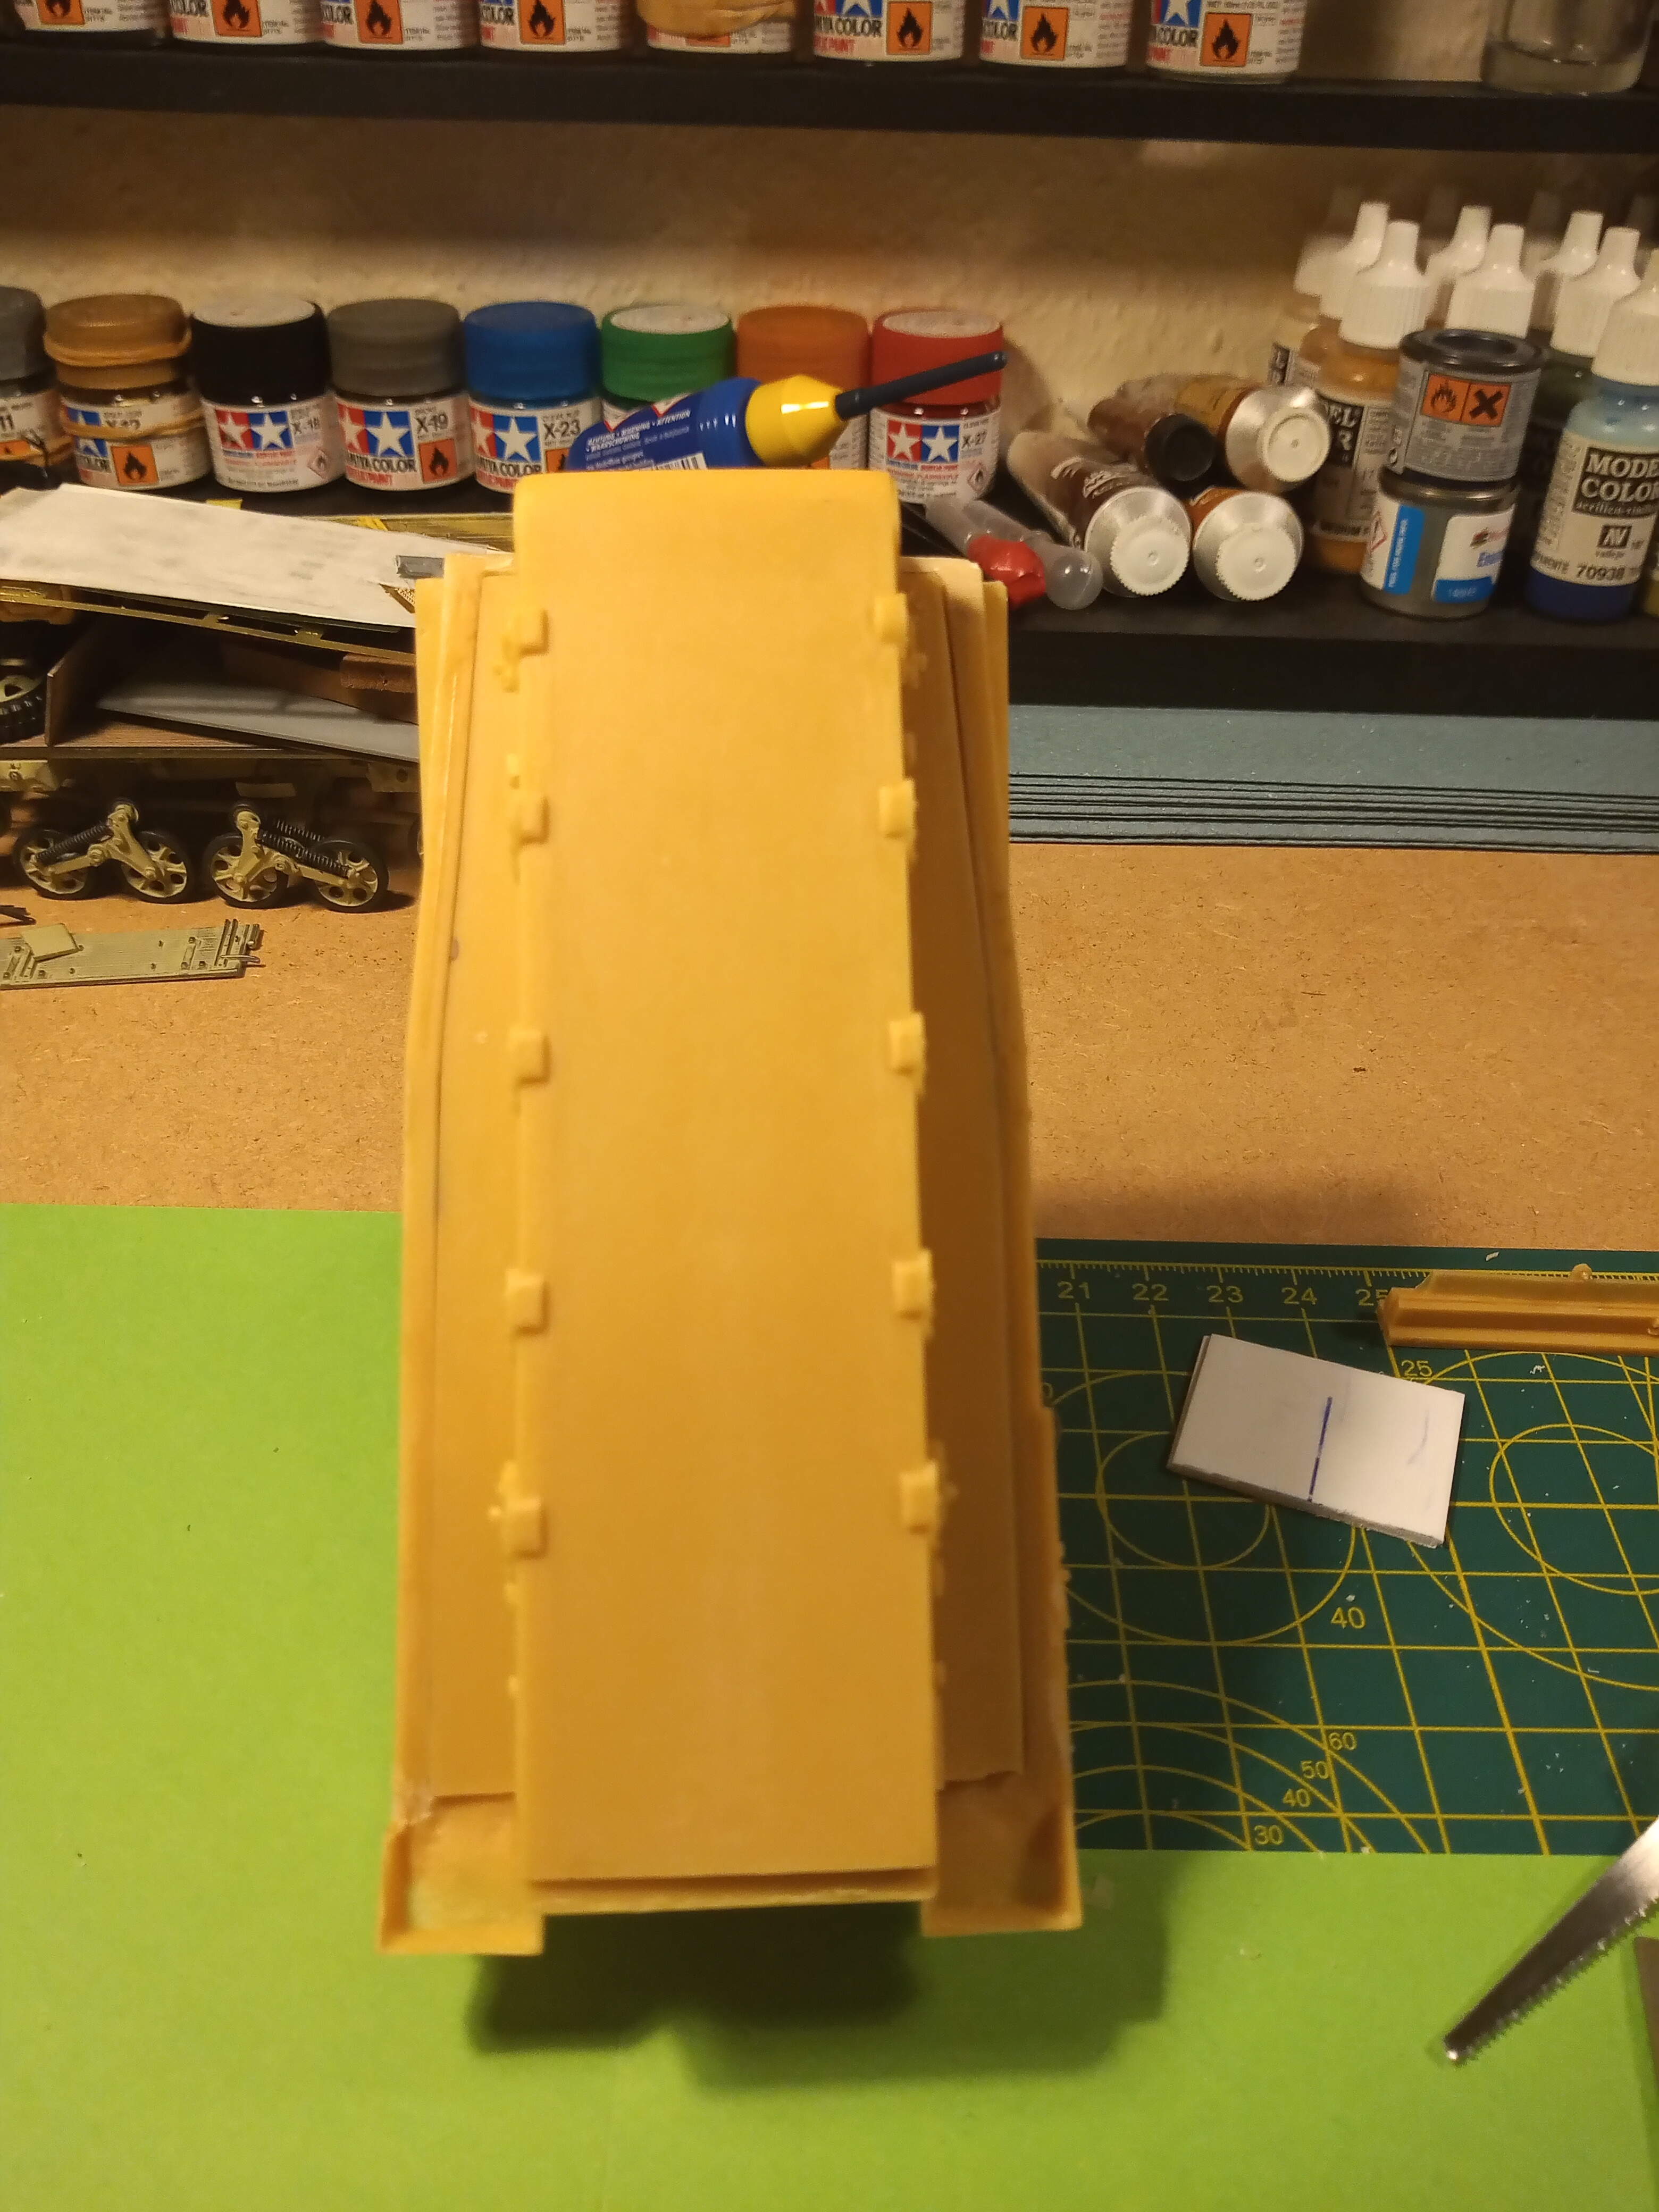
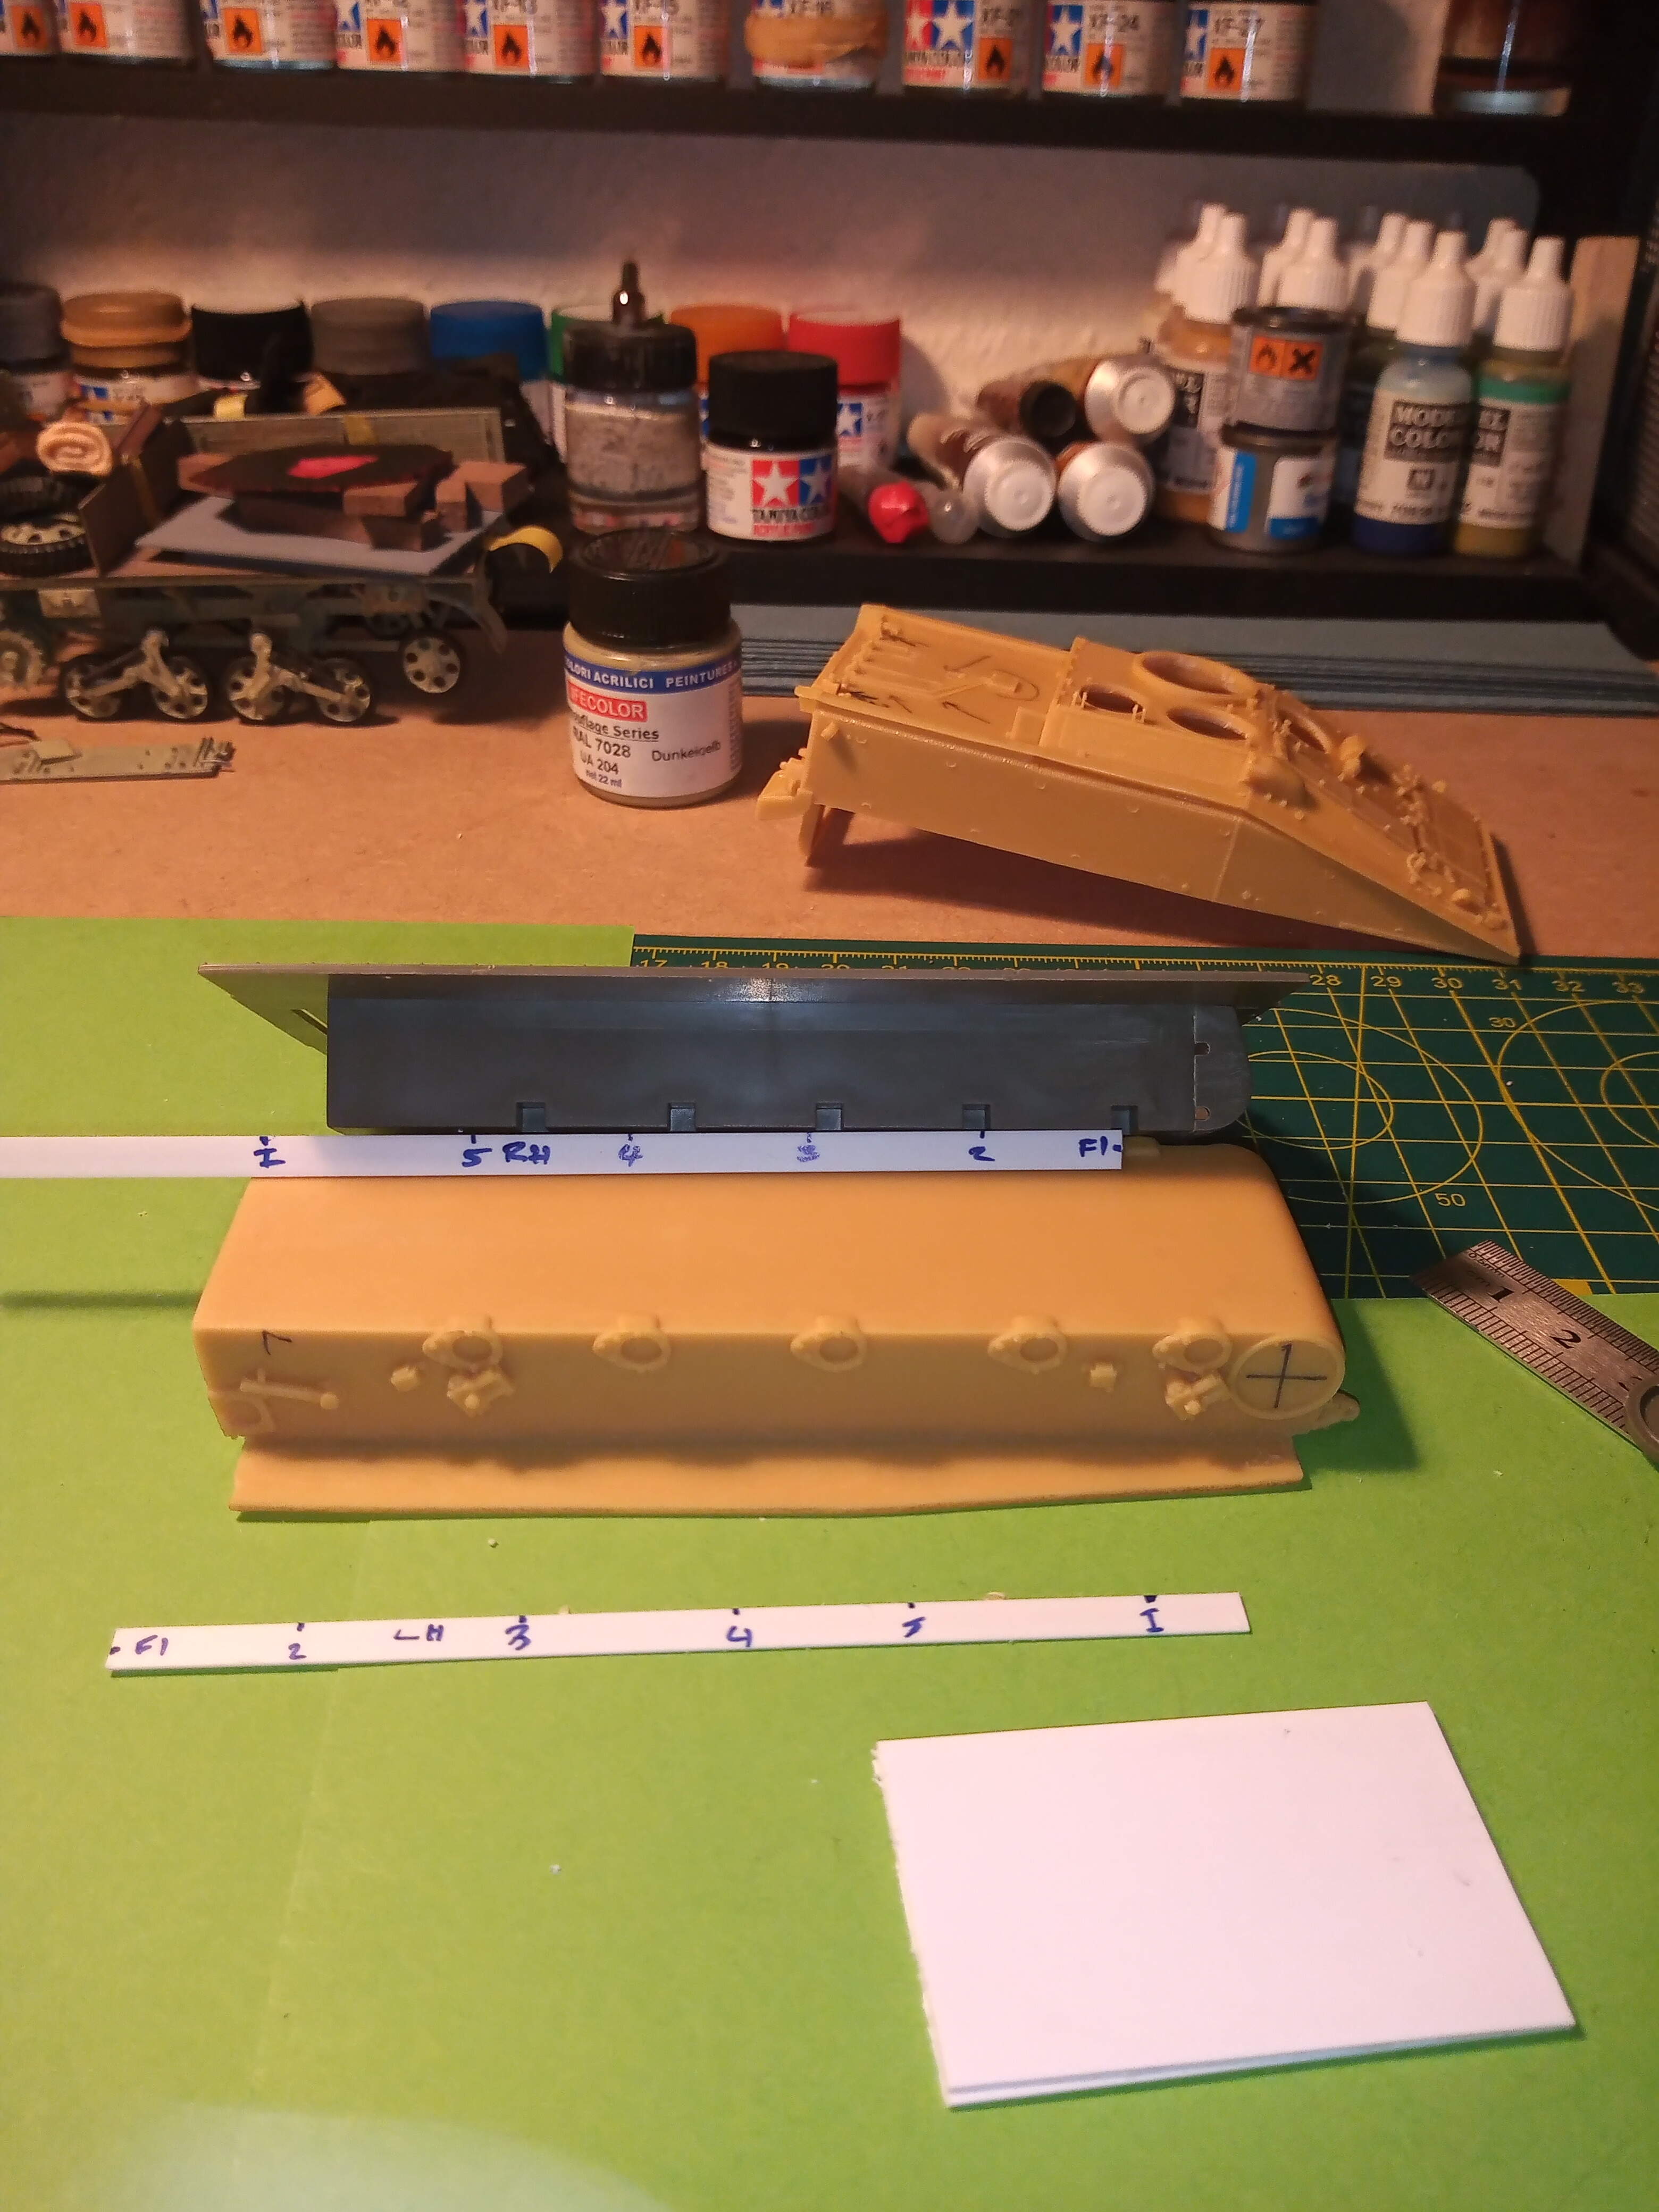
Just a bit of plastic strip taped to the side and then the center of each AA mounting position marked and you can see then how much AFV mounts will need to be repositioned. Basic, but it works.
The large square bit of white plastic is 2 parts glued together to make it thicker and that will be enough for the extra 15mm of hull required each side.
Each line represents the center where the mount will need to be.
Thankfully when I rechecked the AA measurements against the AFVClub ones torsion bar mounts, 1 is spot on & 2 is only a few microns out on the L & R sides of the hull. So only 3, 4 & 5 will require major cutting. From the new centerlines, it will need to go 1.5mm either side giving you an equivalent 3mm square for the mount to slot into.
Doing it this way also will hopefully allow for a more rigid and and totally level final running gear position.
So, with a deep breath and a steady hand, the cutting began…
I want to buy the bloke who invented these modelling mini saws a drink !!
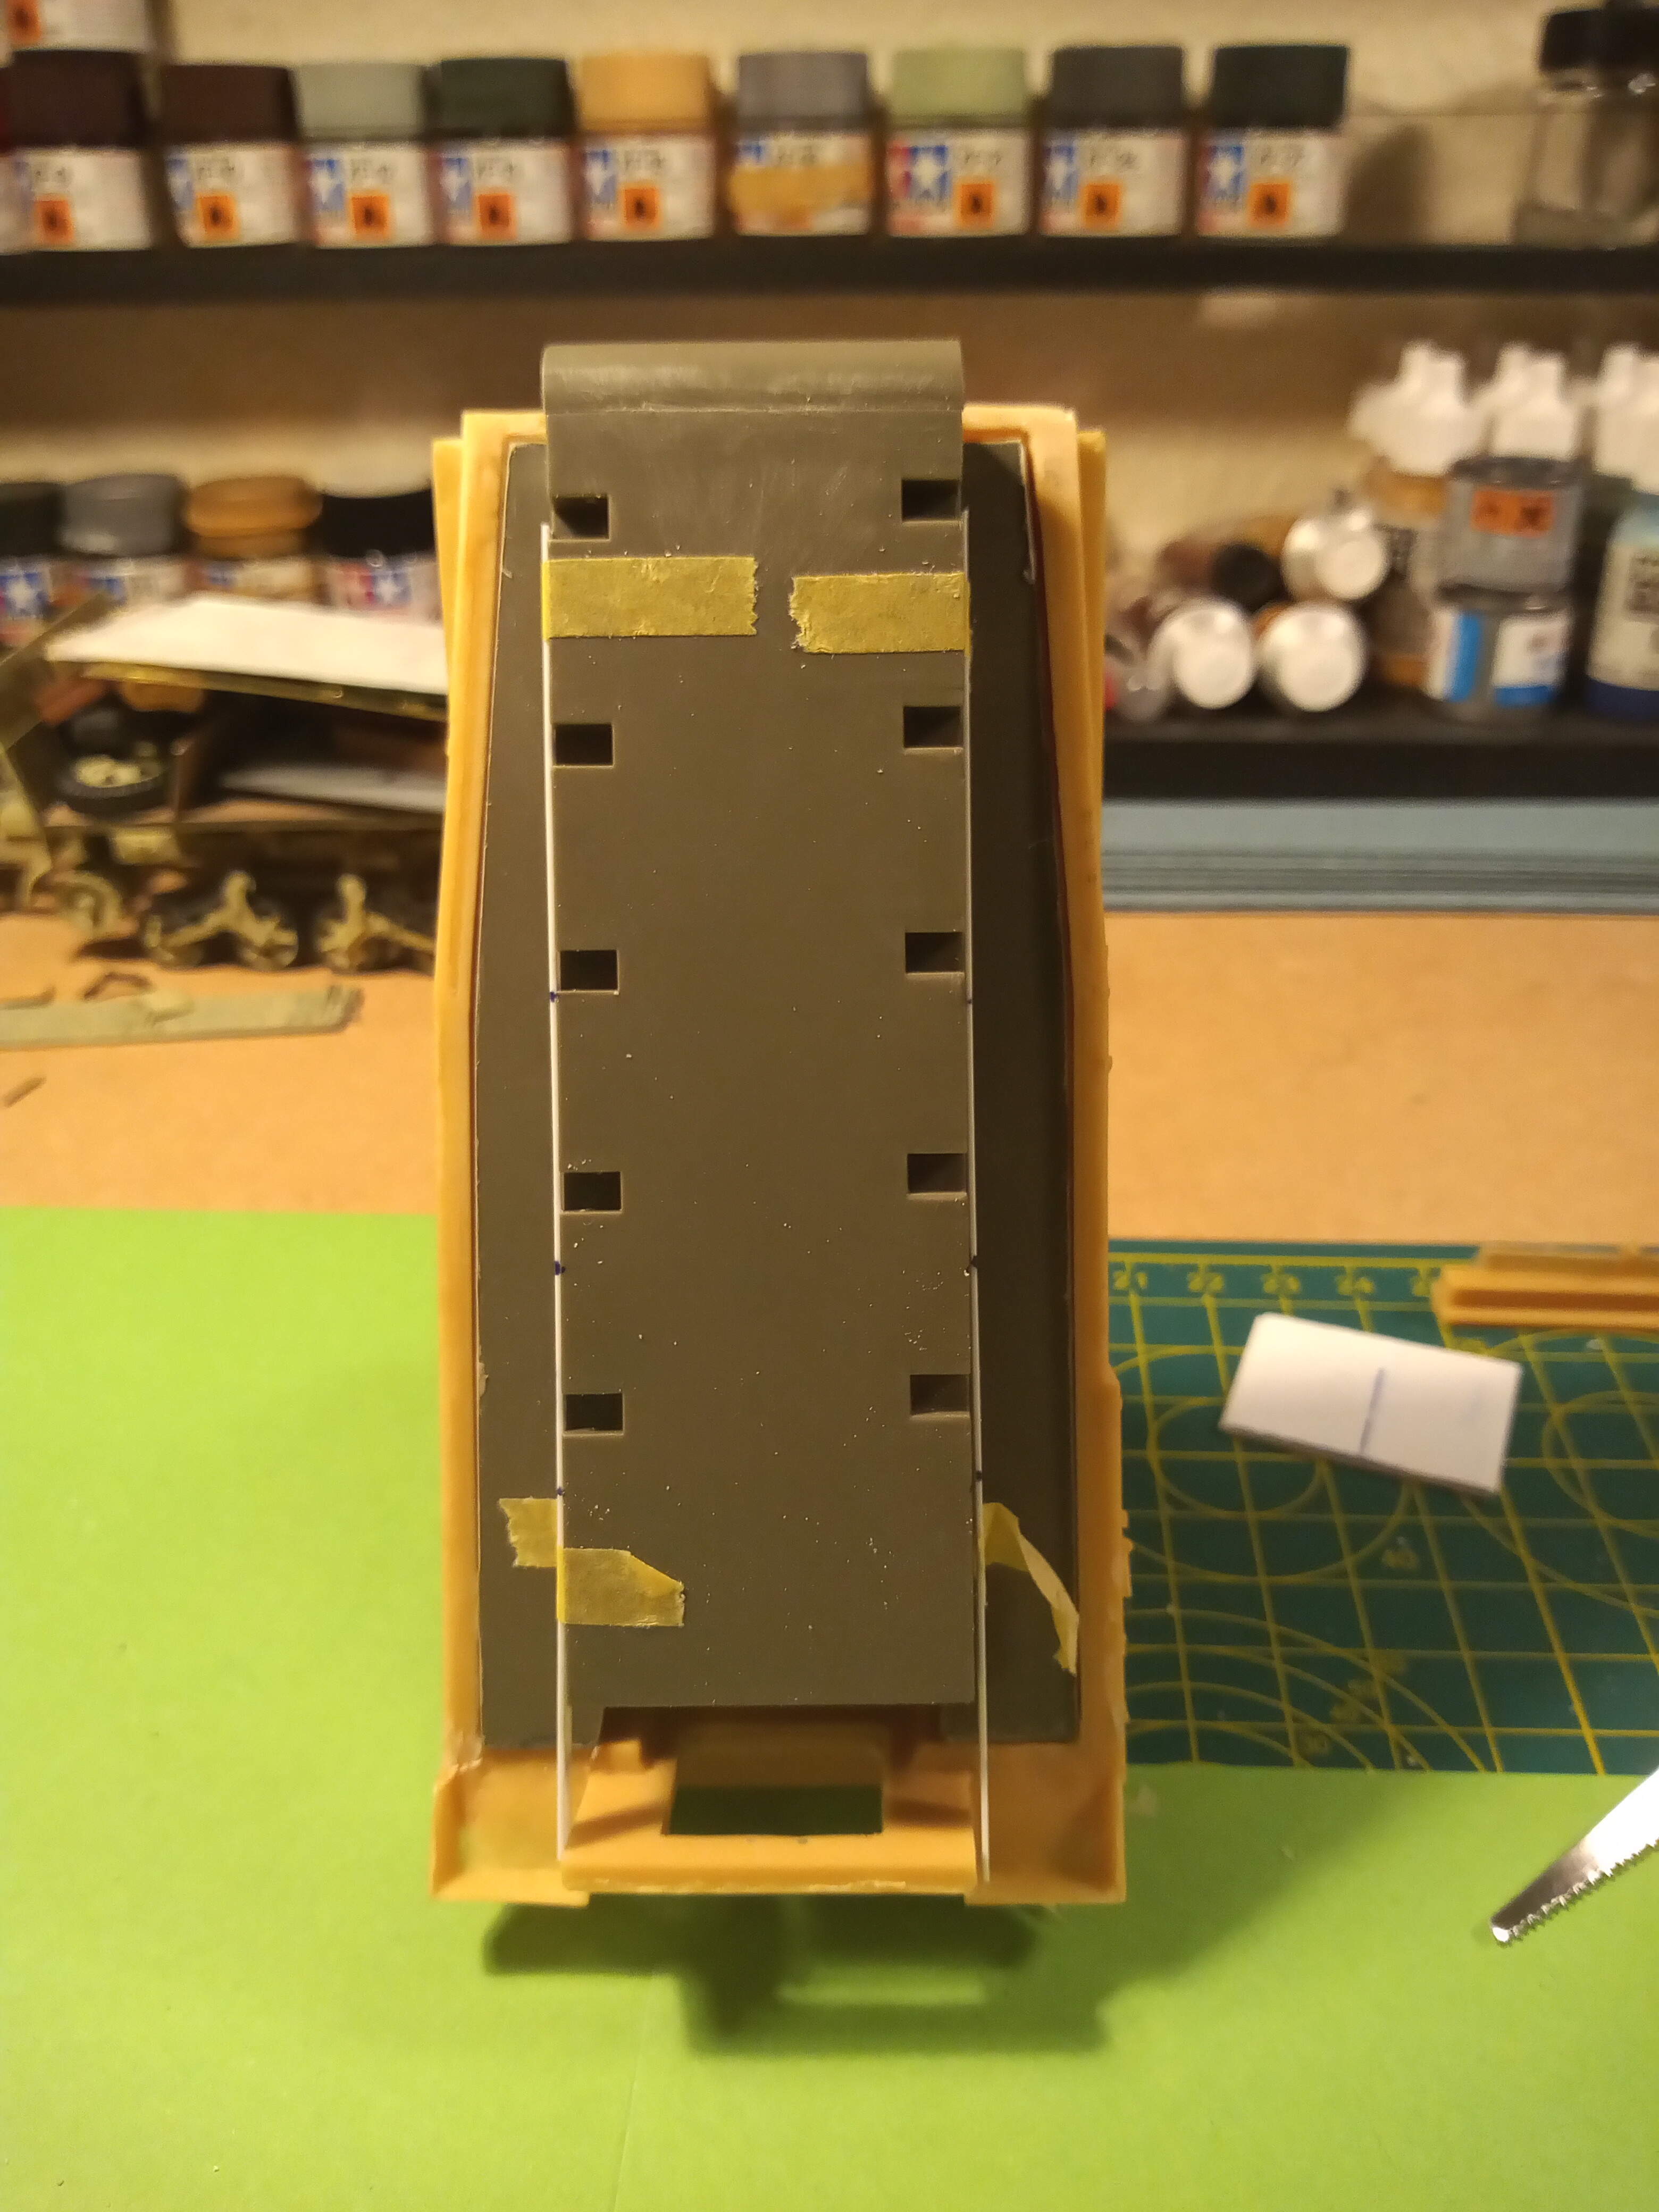
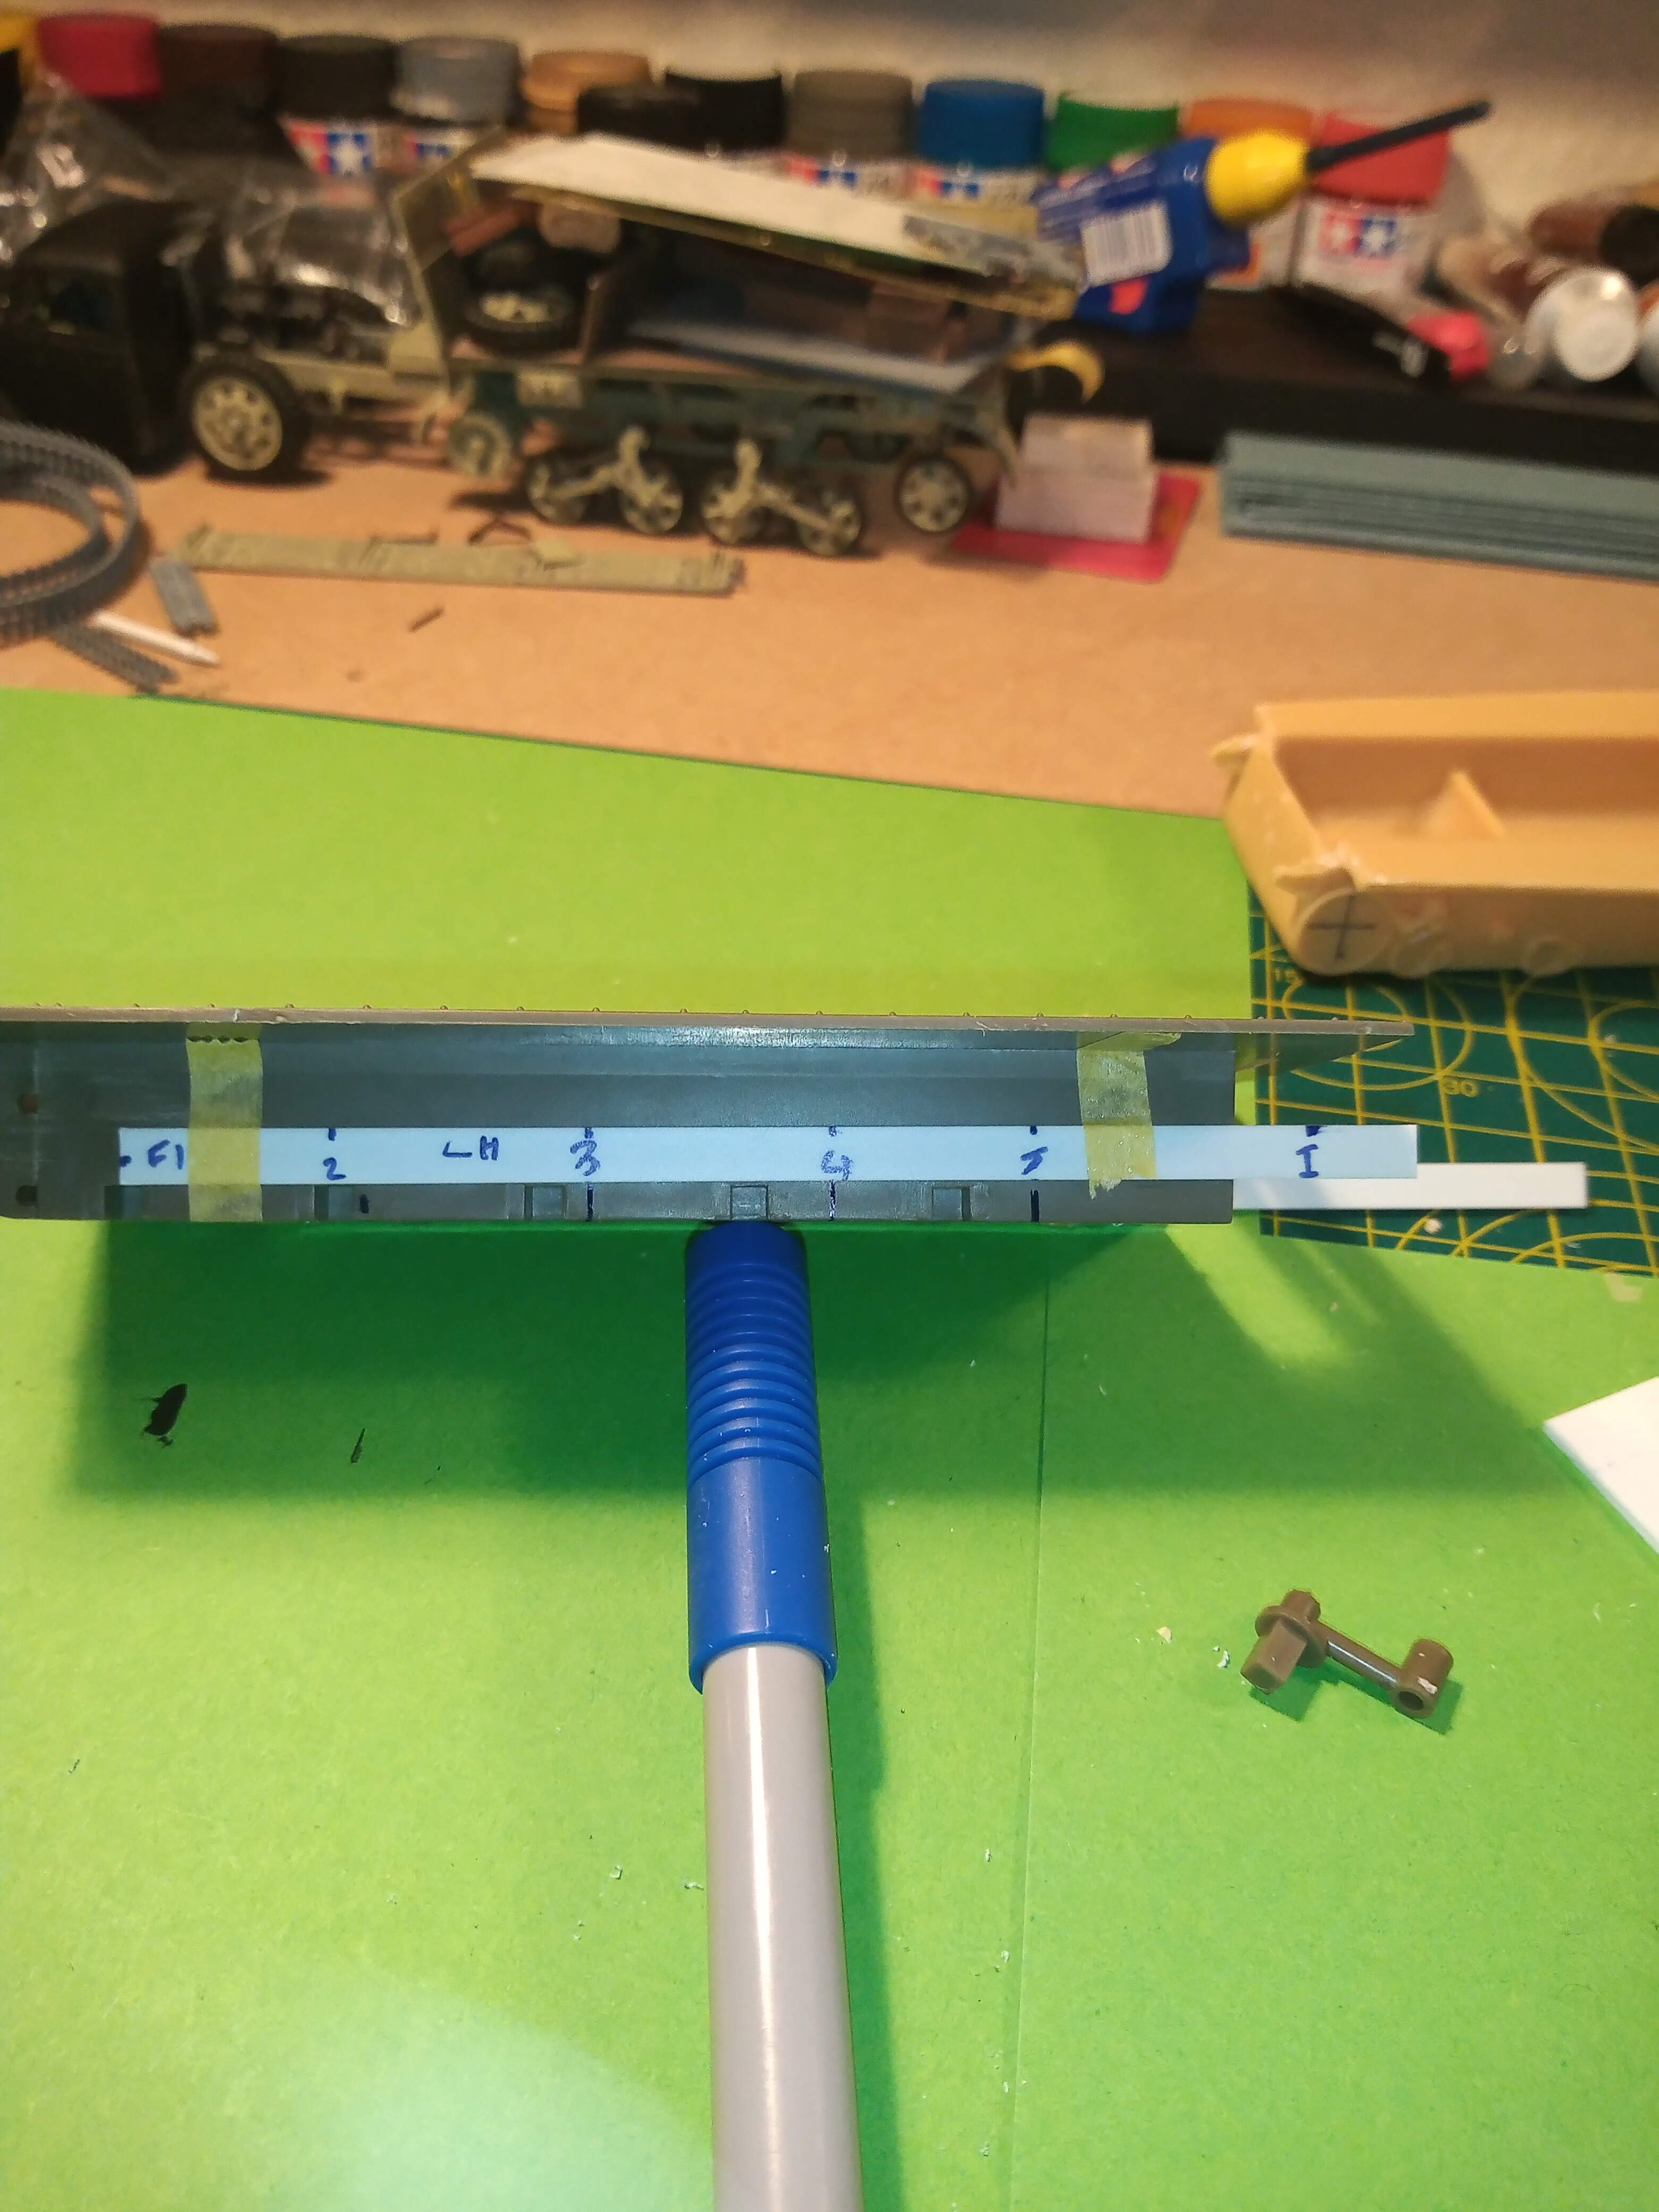
Below is the area of the AFV club sponson that was removed. Nice and so easy with that saw.
Next is the AFV lower hull after its surgery. I am really pleased with the fit. I under cut to start as I wanted to sand it down by hand to get a nice snug fit.
Last 2 just to show the front and a nice clean fit, which will need a minimum amount of work. And a view from the side. Shows where the new torsion bar mounts have to go and the section of the rear lower hull that still needs to be extended.
All in all I am very pleased with how this first major bit went. The saw made it so much easier. Also very happy that the AFV lower hull, although for a Scimitar it marries up exactly for width and depth with the AA lower hull… All this took about 60min so not to bad…stay safe.
Hey John nice straight cut lines there! You really did an impeccable job mating the AFV lower with the AA upper. This could have been a disaster but you’re doing a top job on it! Incredible work and planning!
Thanks @SSGToms & @Armorsmith. I’m glad that part is now out the way. I feel better about the whole build now I know I can crack on and be able to use the AFV running gear complete with the updated shock absorber units.
Thanks @ayovtshev & @Bison126. To be honest this is the first time I have attempted major surgery on a kit, I’m usually a straight OOB guy with maybe some easy PE or a metal barrel. I’m quite chuffed it turned out as well as it did. I think I do need some of this Mr Surfacer, as there are a few little places that could benefit from a very minor filling. Thanks for your support guys.
 .
.
 ,
,
 !!
!!