Ok, I would suggest just keep trying with that … you’ll get the right cut sooner than you think.
3 Likes
What type of glue are you using? Something like Gator’s Grip should clean up easy when still “wet”, and dries clear. Avoid superglue and liquid poly as these will fog the glass…
1 Like
It’s superglue. The really cheap version too. I just need to bite the bullet and get some of the good stuff
2 Likes
Maybe try this stuff.
2 Likes
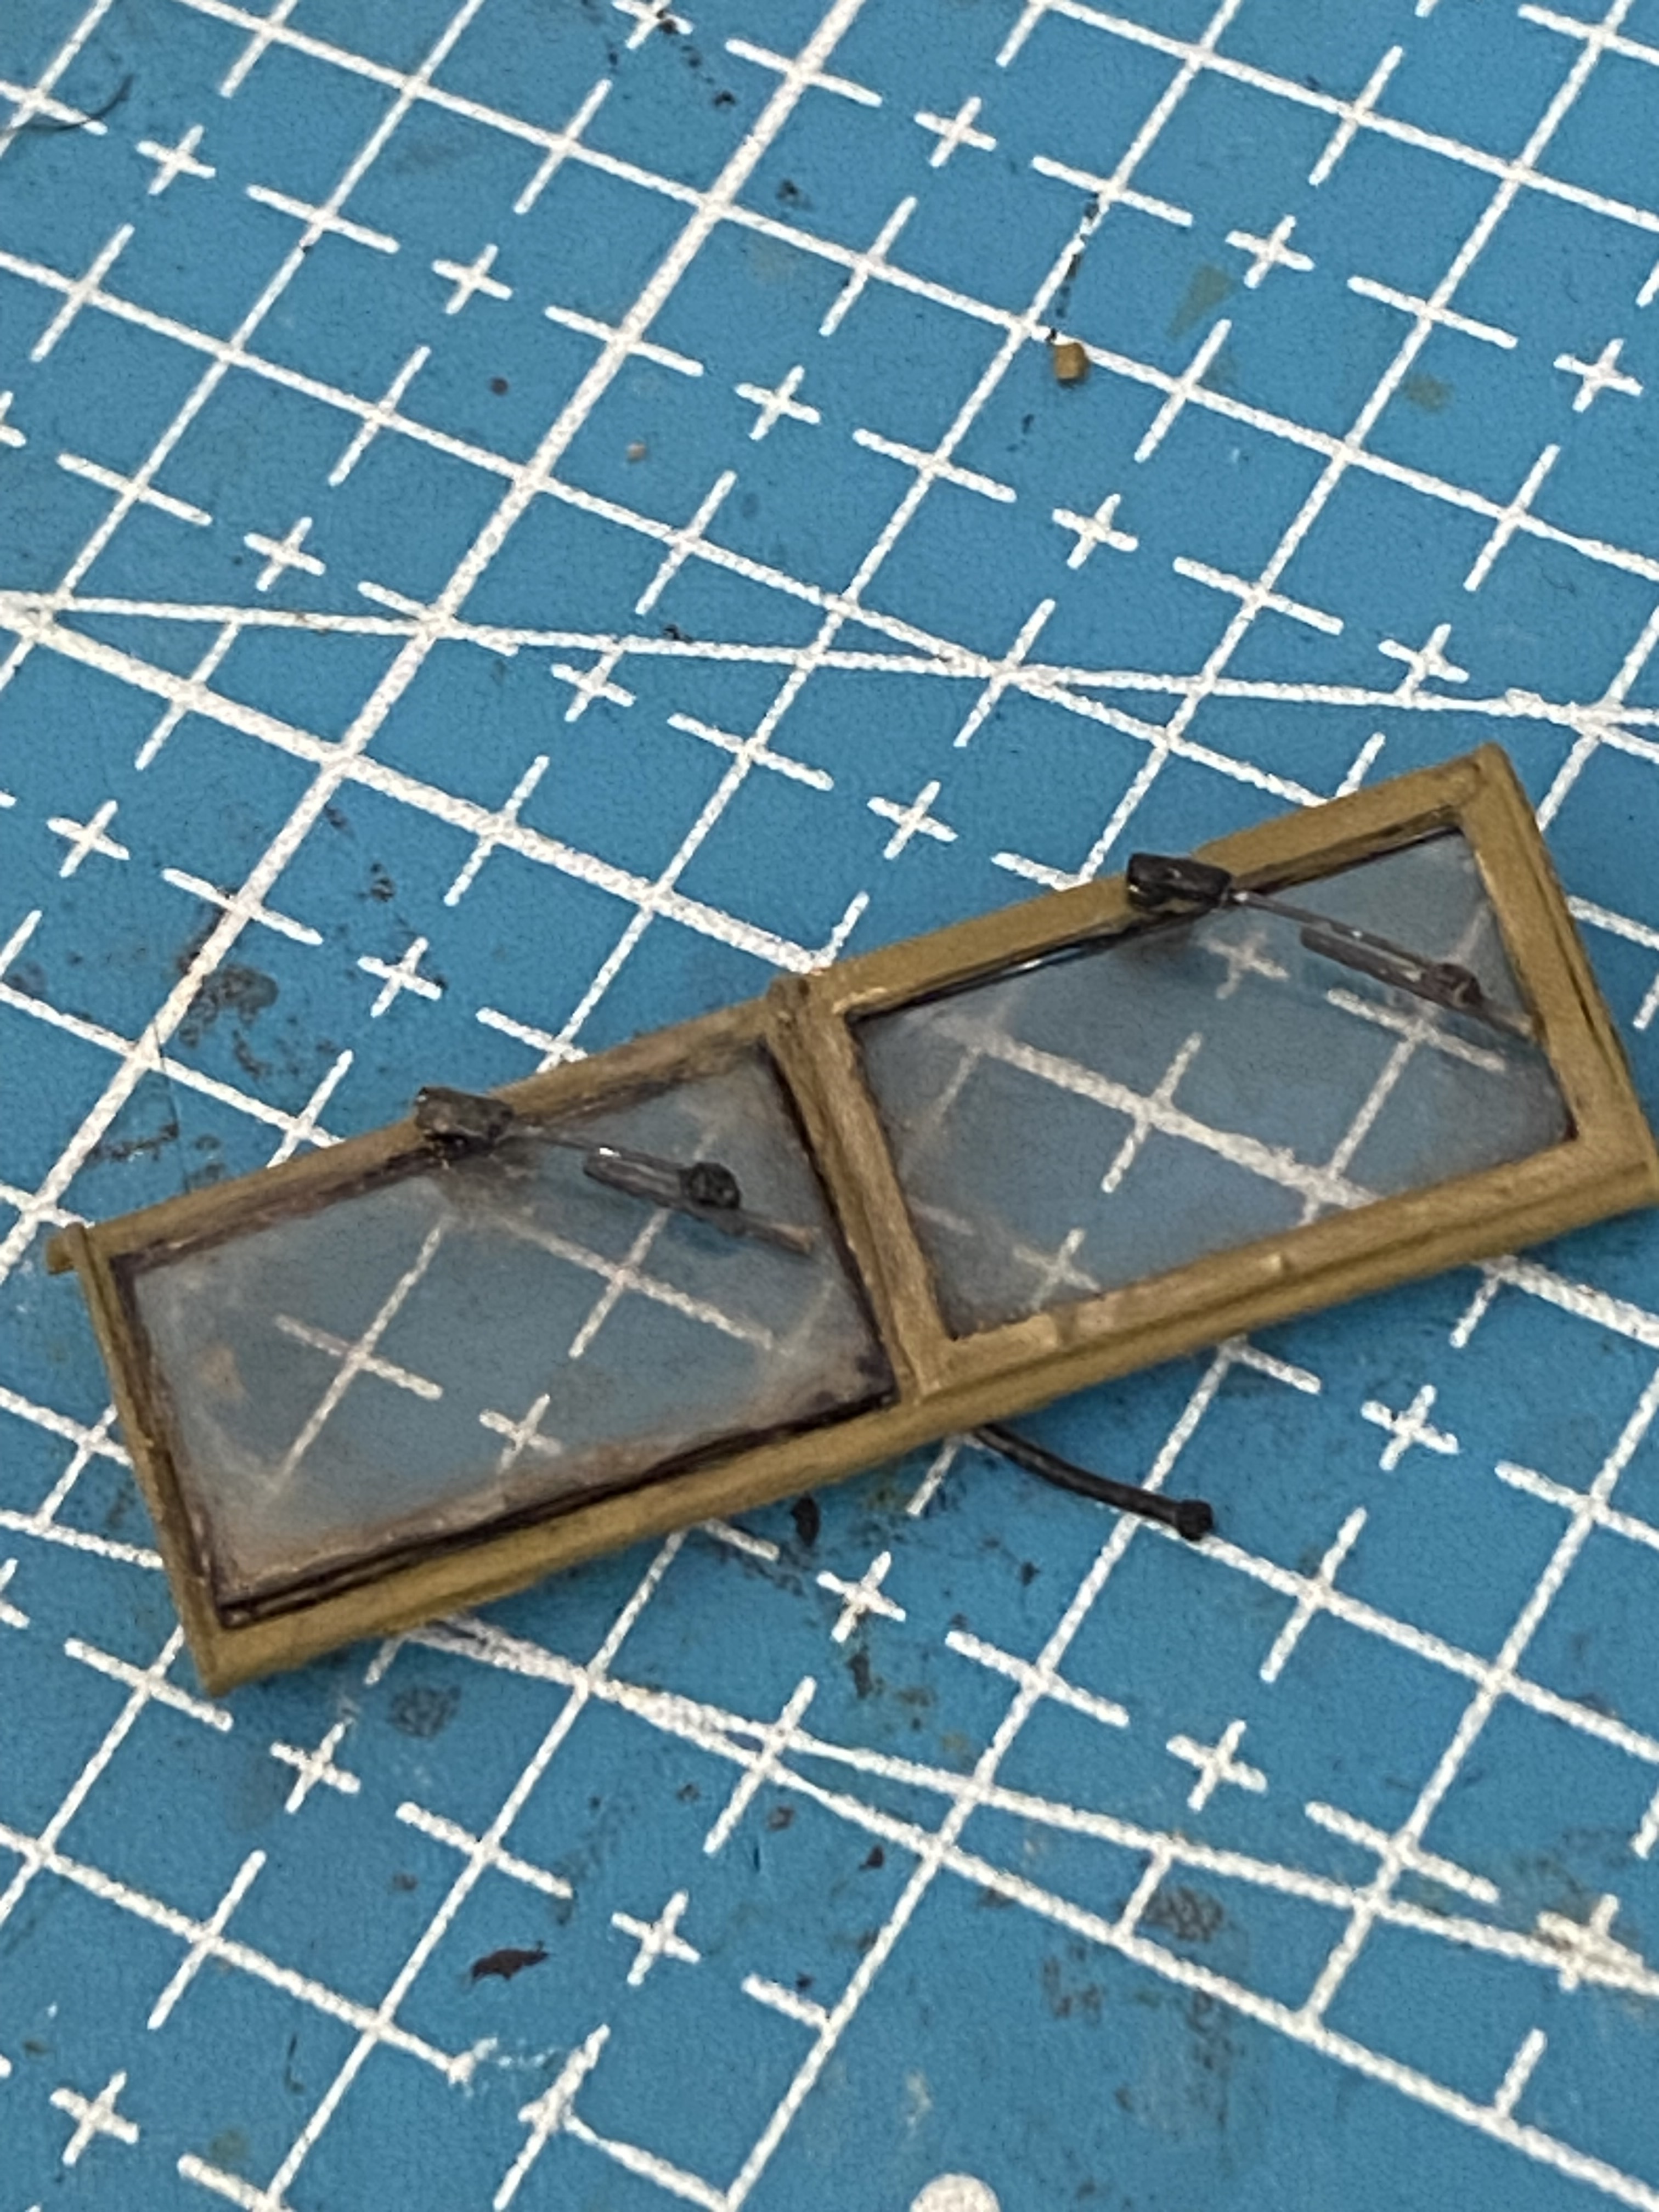
I built a resin Steyer ambulance conversion several years ago that provided no windshield, no clear plastic, and no template.

This was windshield #28. Seriously. It took the better part of a week to get the one that fit all the way around. I used Evergreen .005 clear. So keep at it, and don’t feel alone. It is a major undertaking to get scratchbuilt clear parts to fit.
And get some Ammo Ultra Glue. It works wonders.
7 Likes
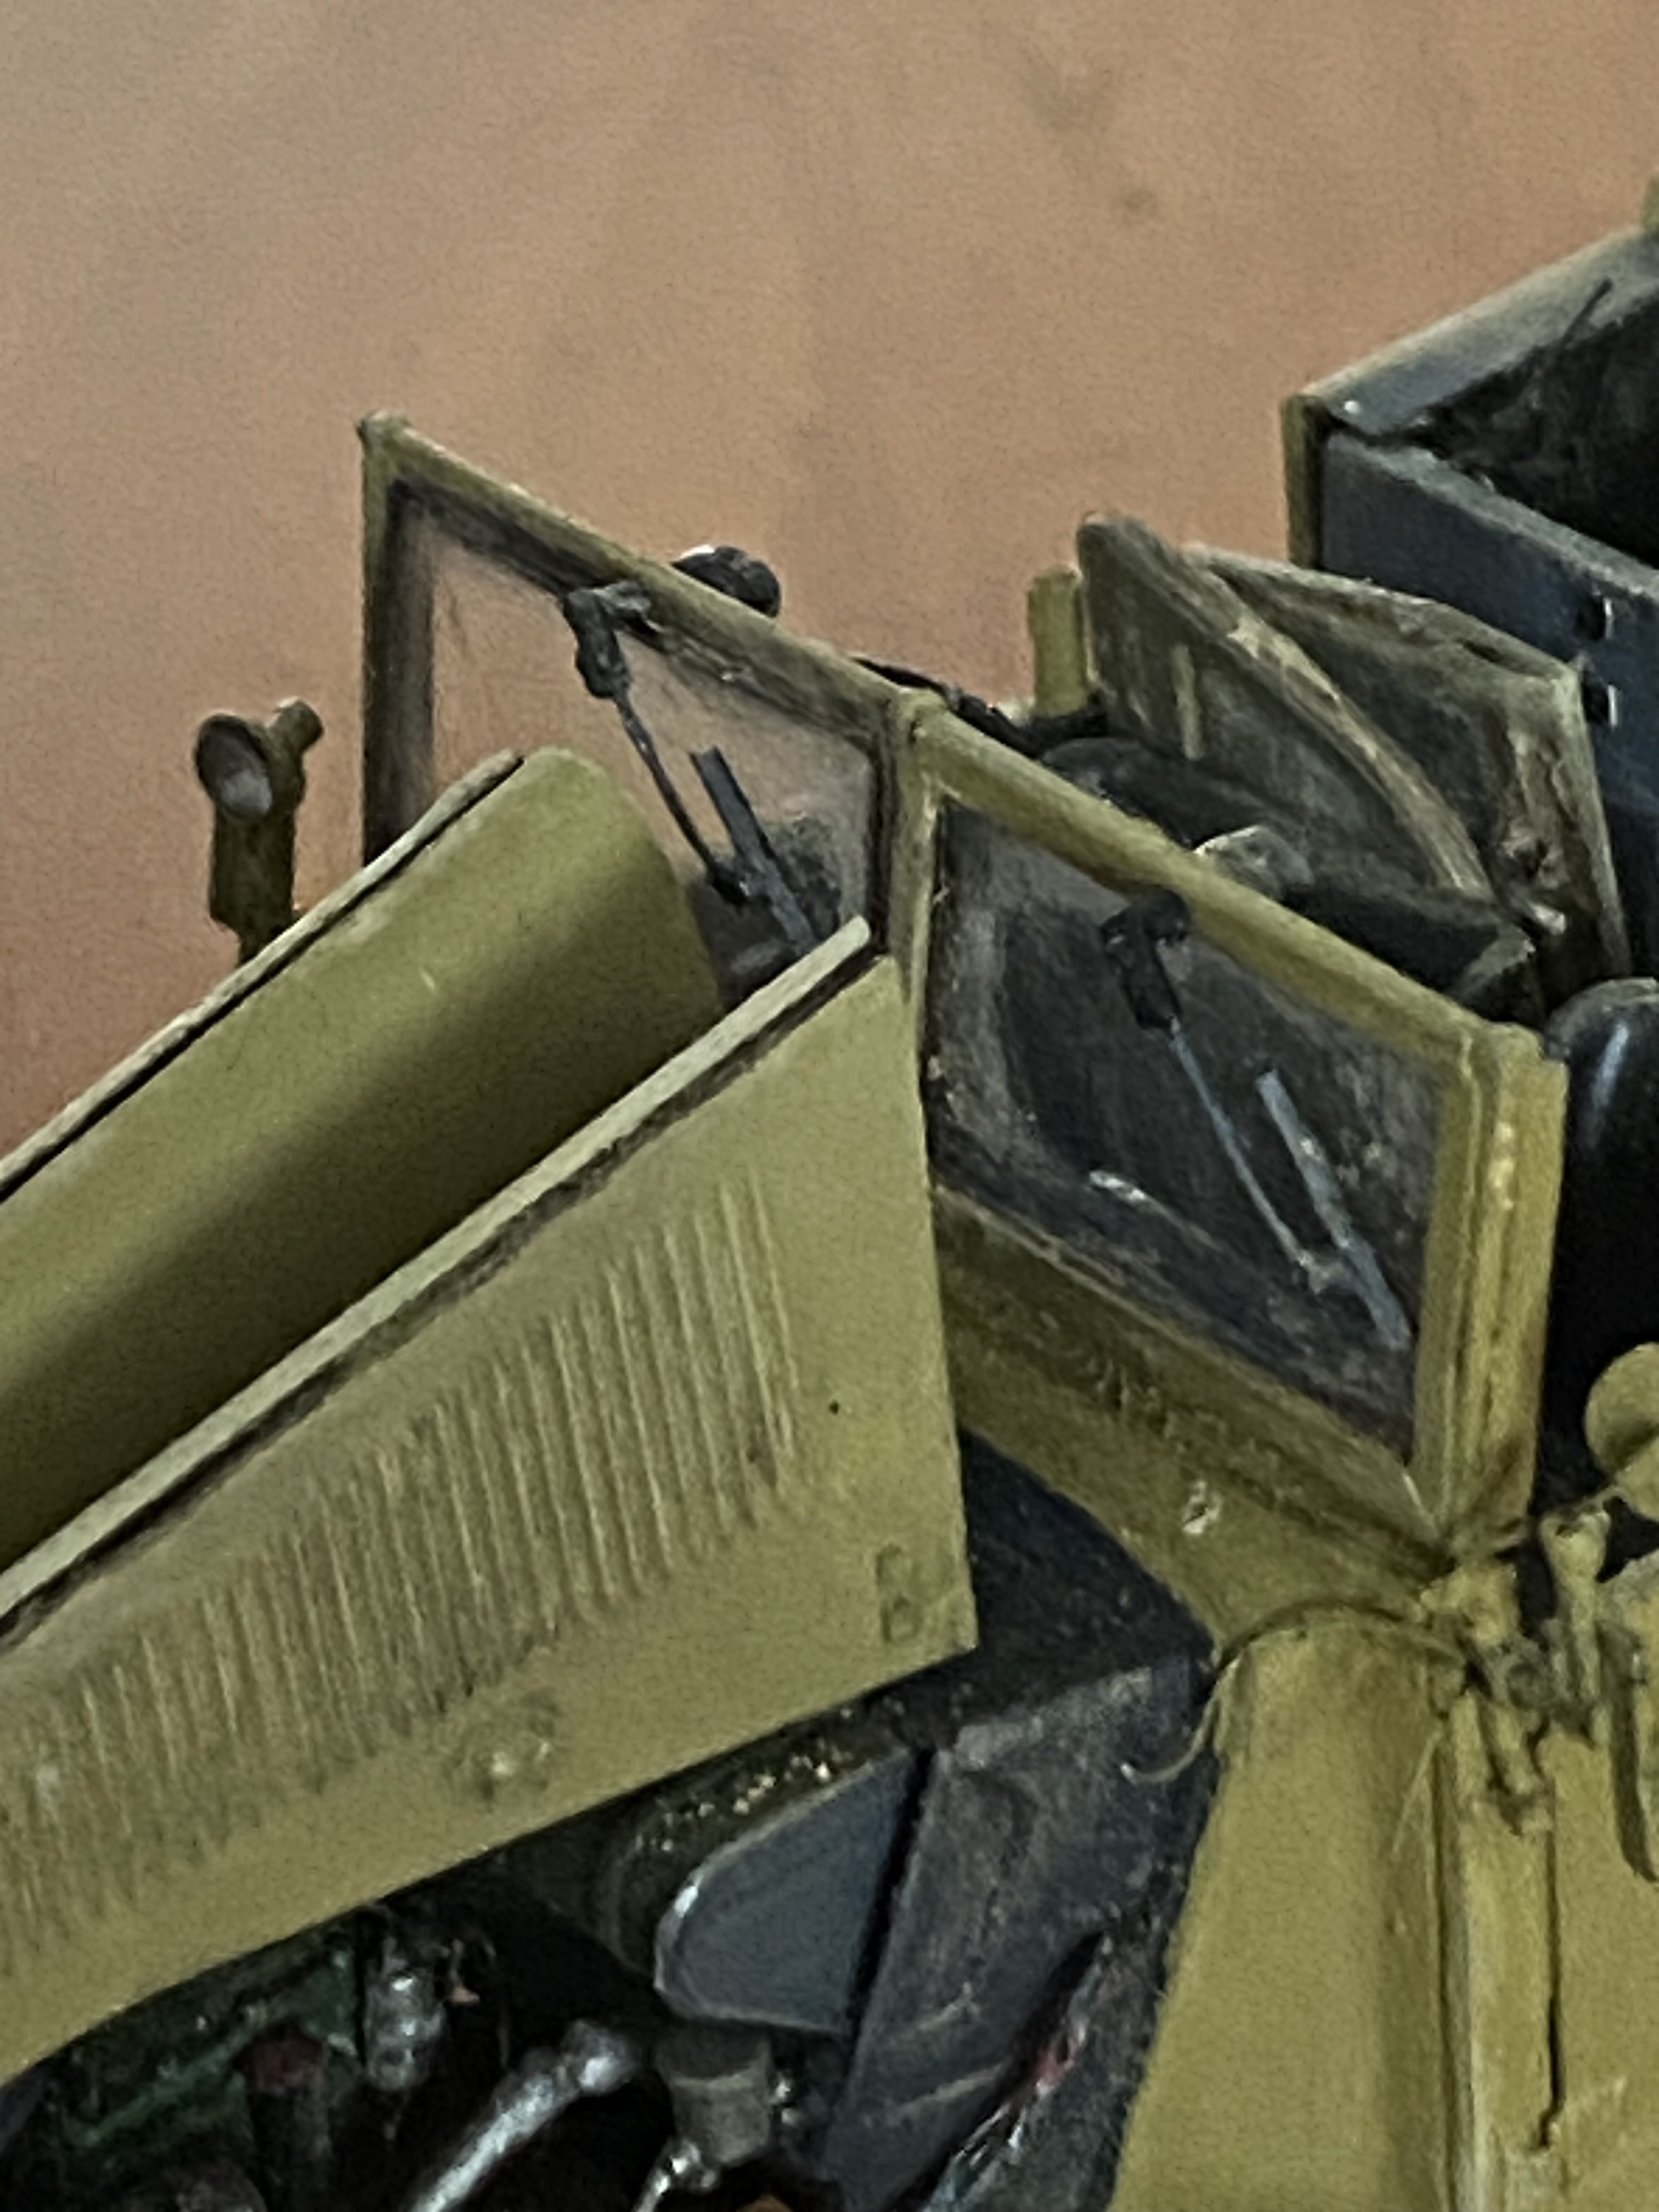
Windshield wipers look a bit better than kit issued. I’ll cut the wiper blades down a tad then colour them.
Comparison with kit issued ones;

10 Likes
Nice work on the wipers Sam, very fine detailing, ![]()
![]() .
.
G, ![]()
1 Like
Hi all,
As there’s only 3 months left until the end of this campaign I thought I’d best get started working on the build, especially given that I’m a slow worker,![]()
![]() . Again, as usual, it’s going to be 1/72nd scale diorama constructed on an A4 (8.3x11.7" or 210x297mm) baseboard.
. Again, as usual, it’s going to be 1/72nd scale diorama constructed on an A4 (8.3x11.7" or 210x297mm) baseboard.
I started by hacking up bits of old cardboard packaging to roughly form the topography of the beach…
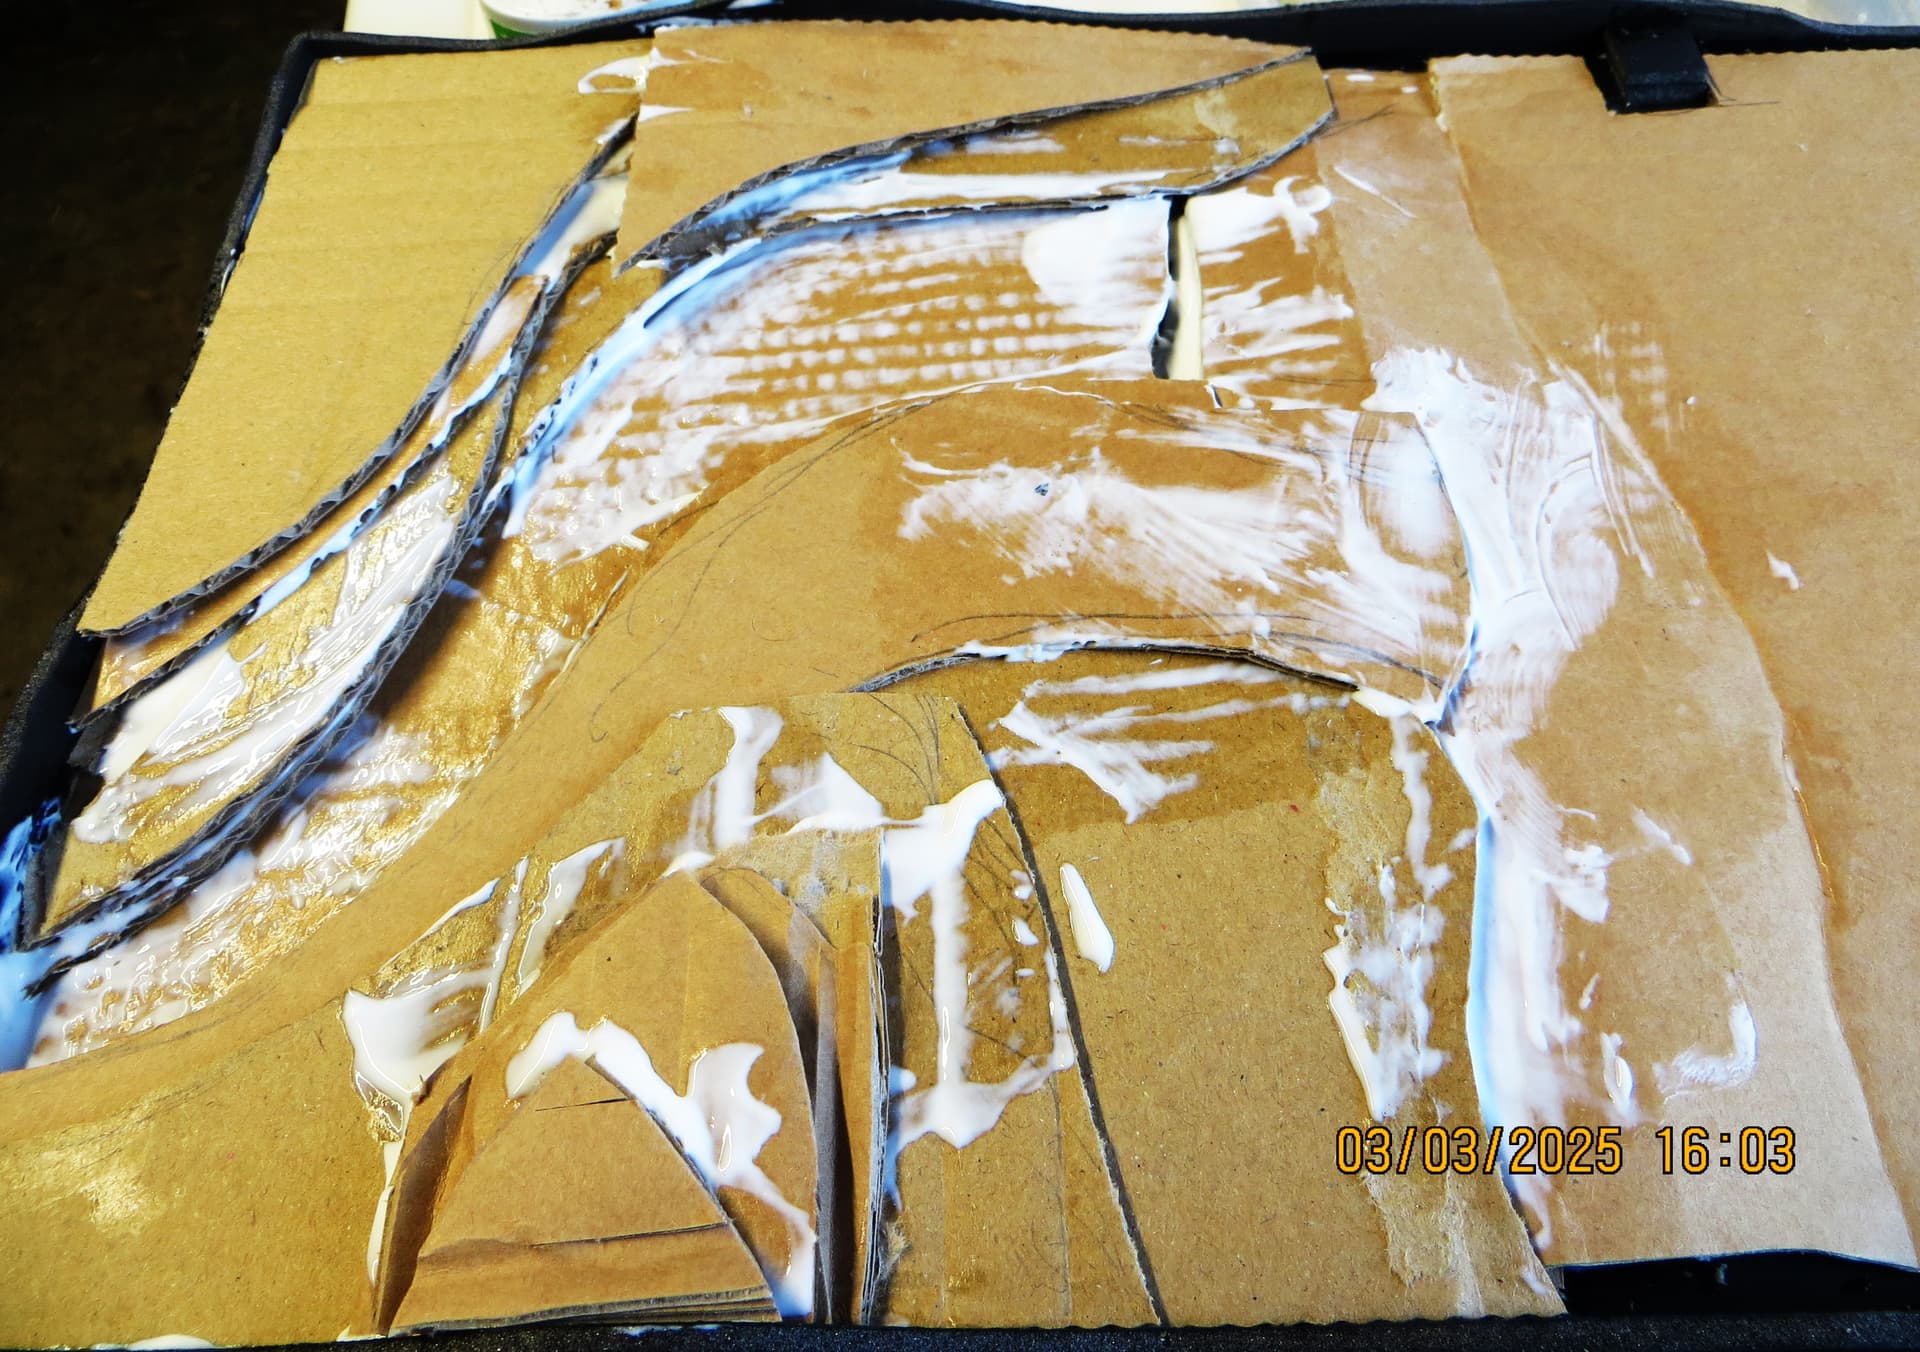
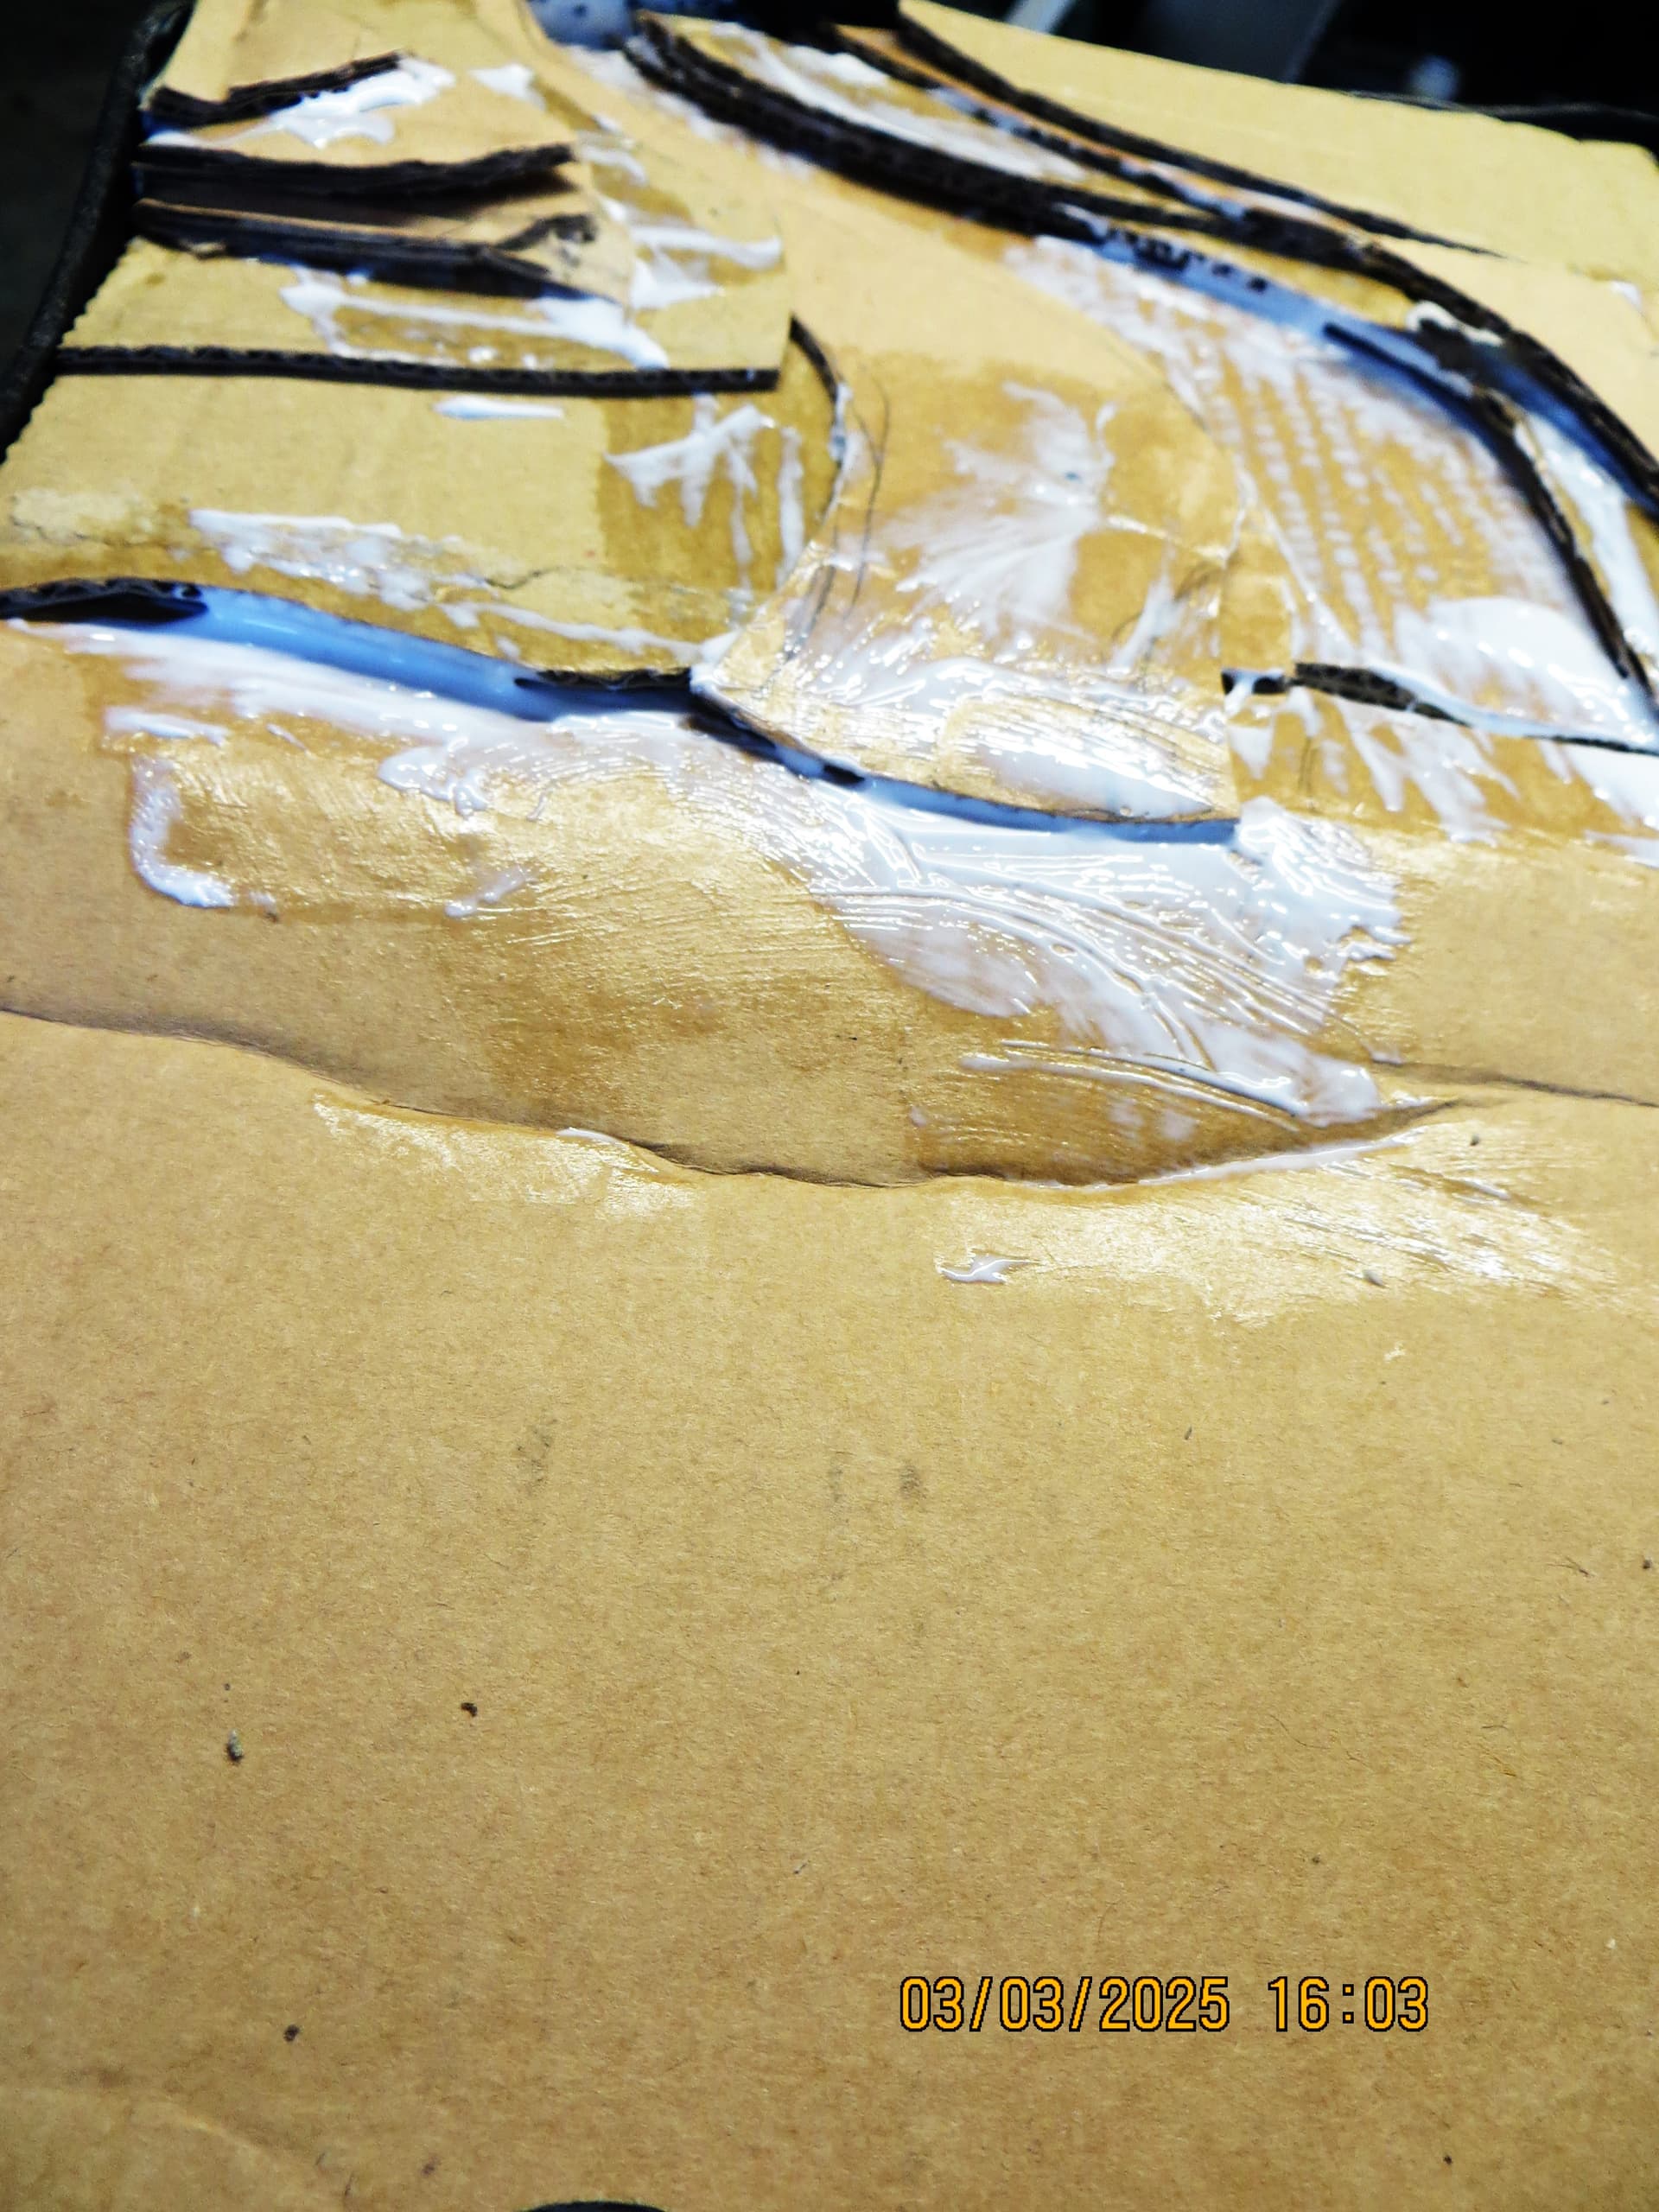
Followed by a covering of packaging paper and lashings of diluted white glue to soften the contours…
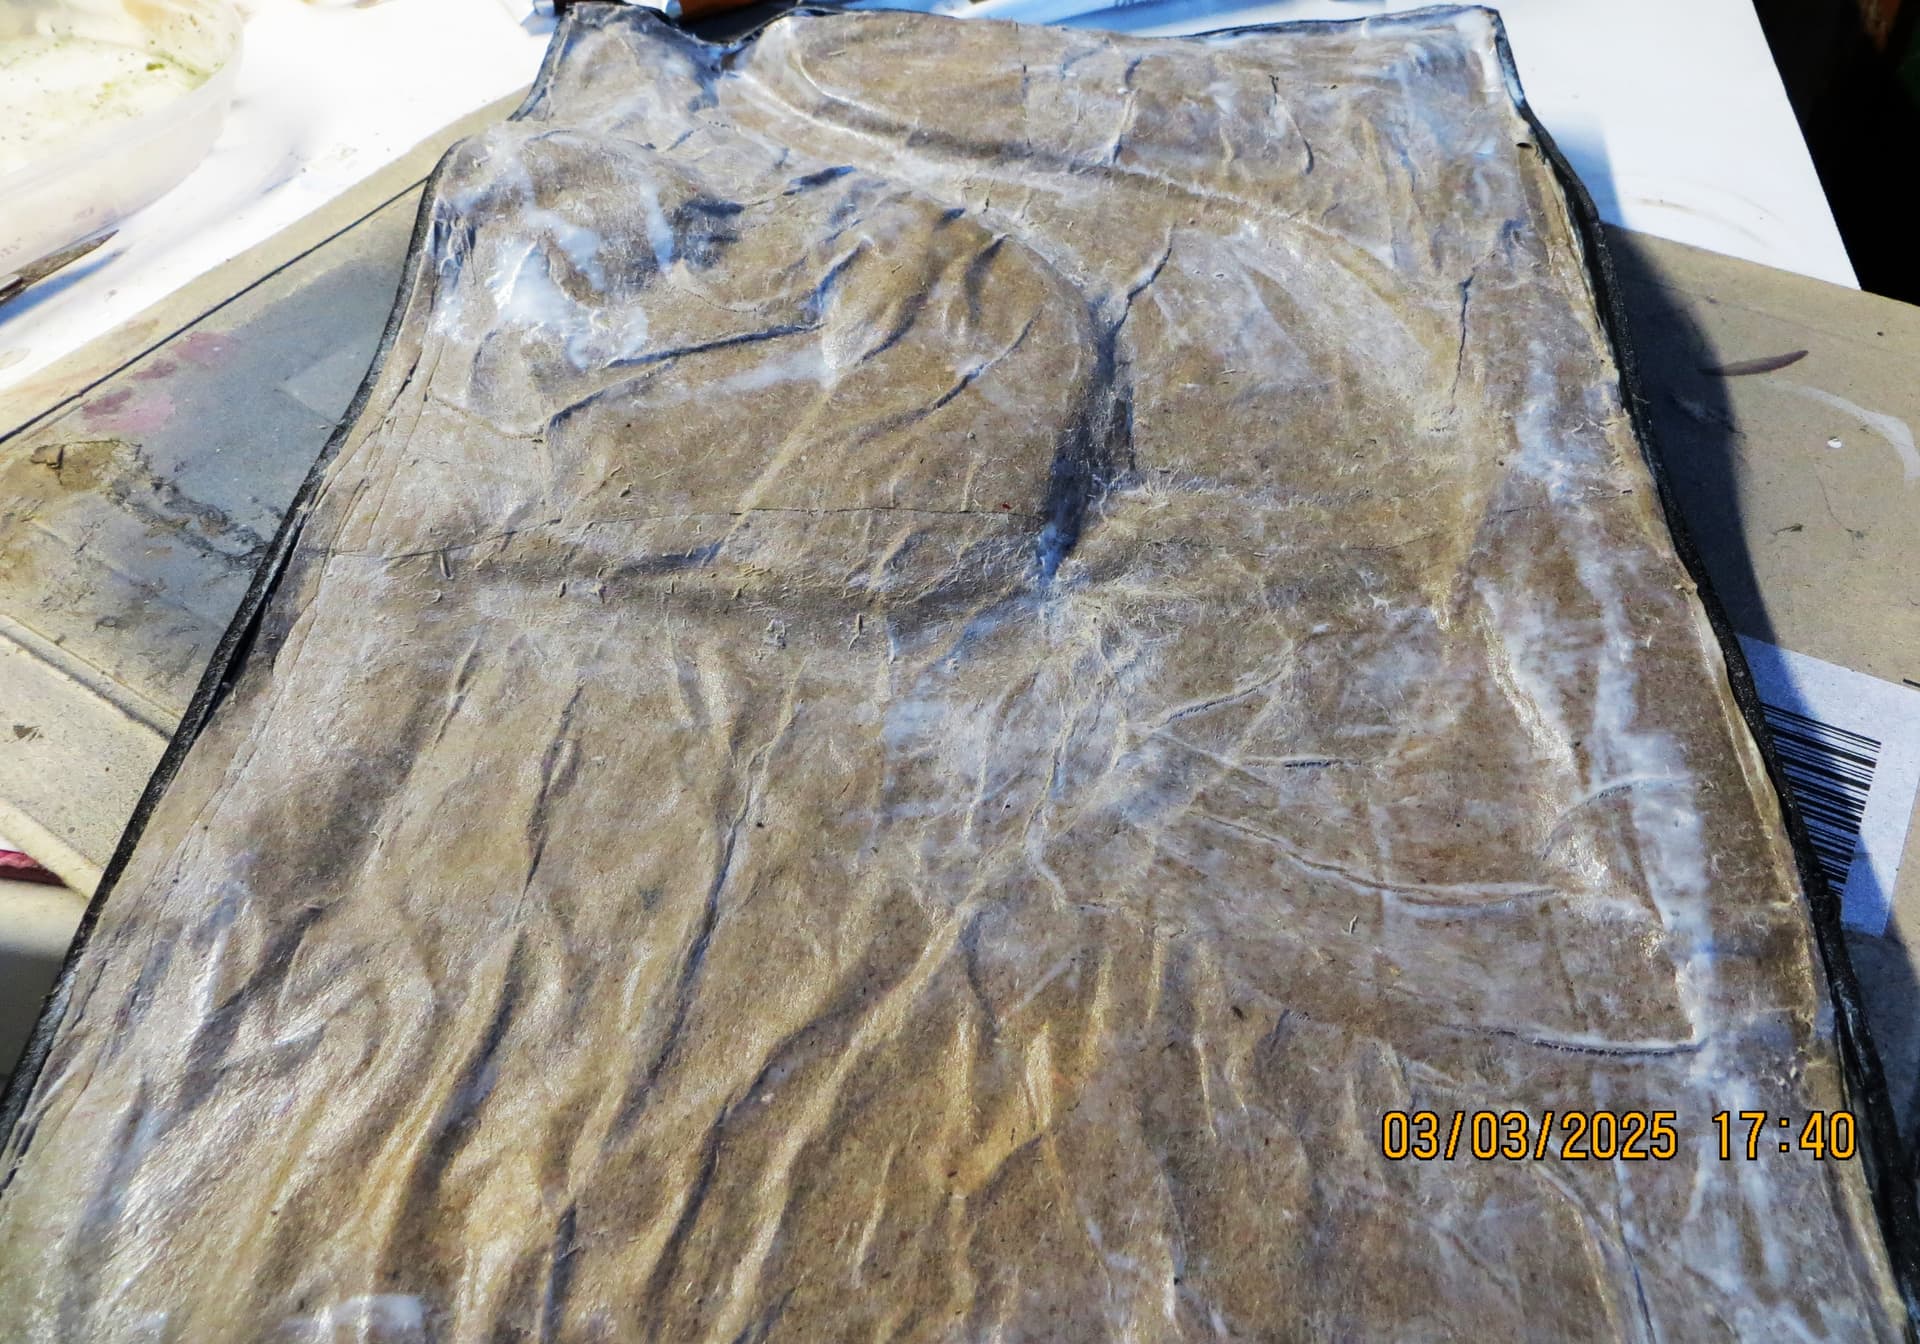
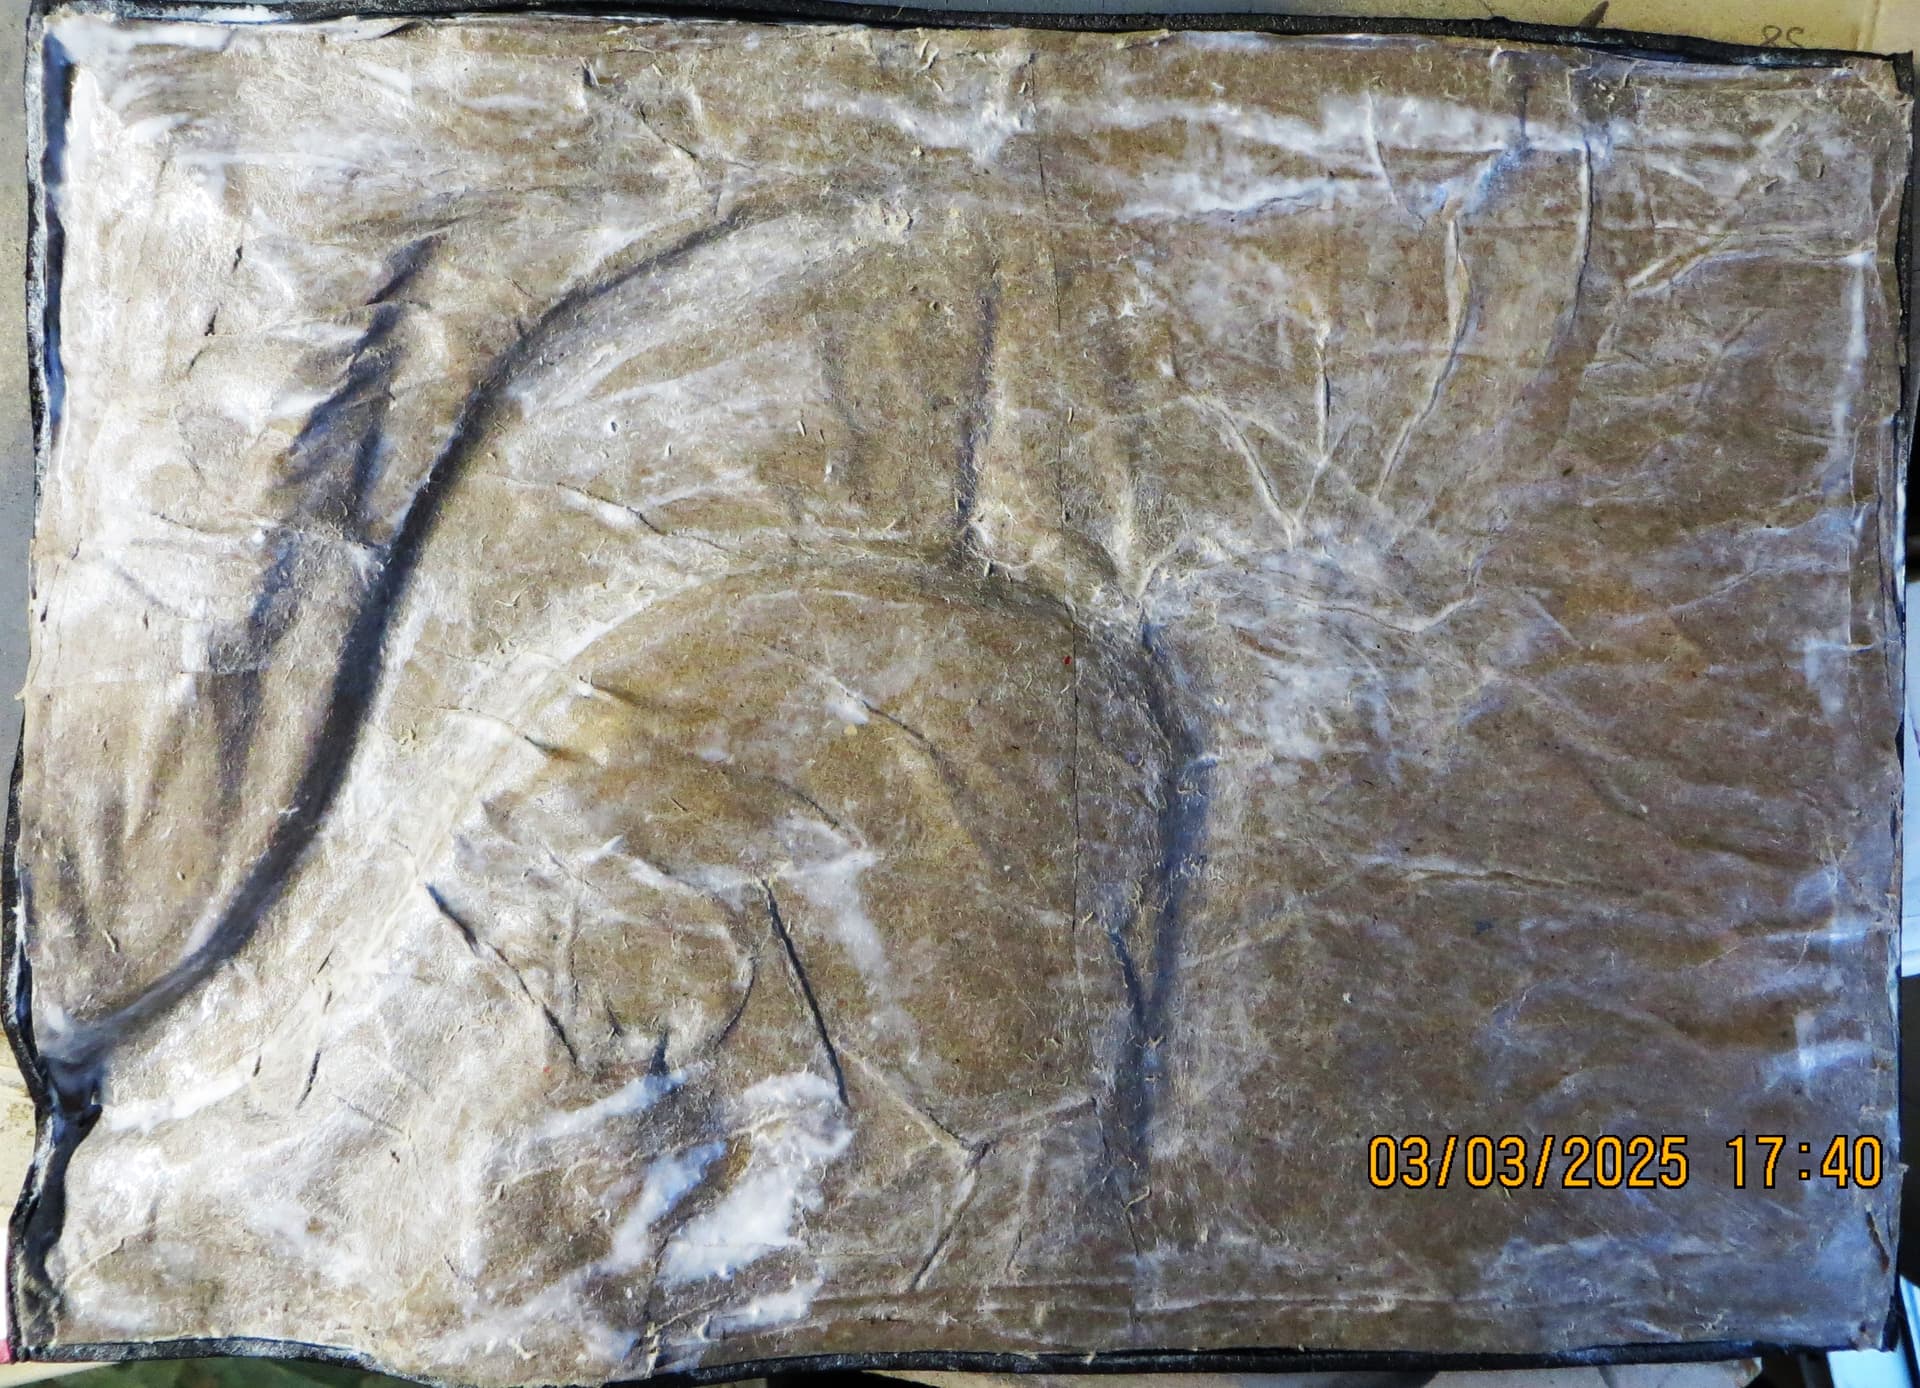
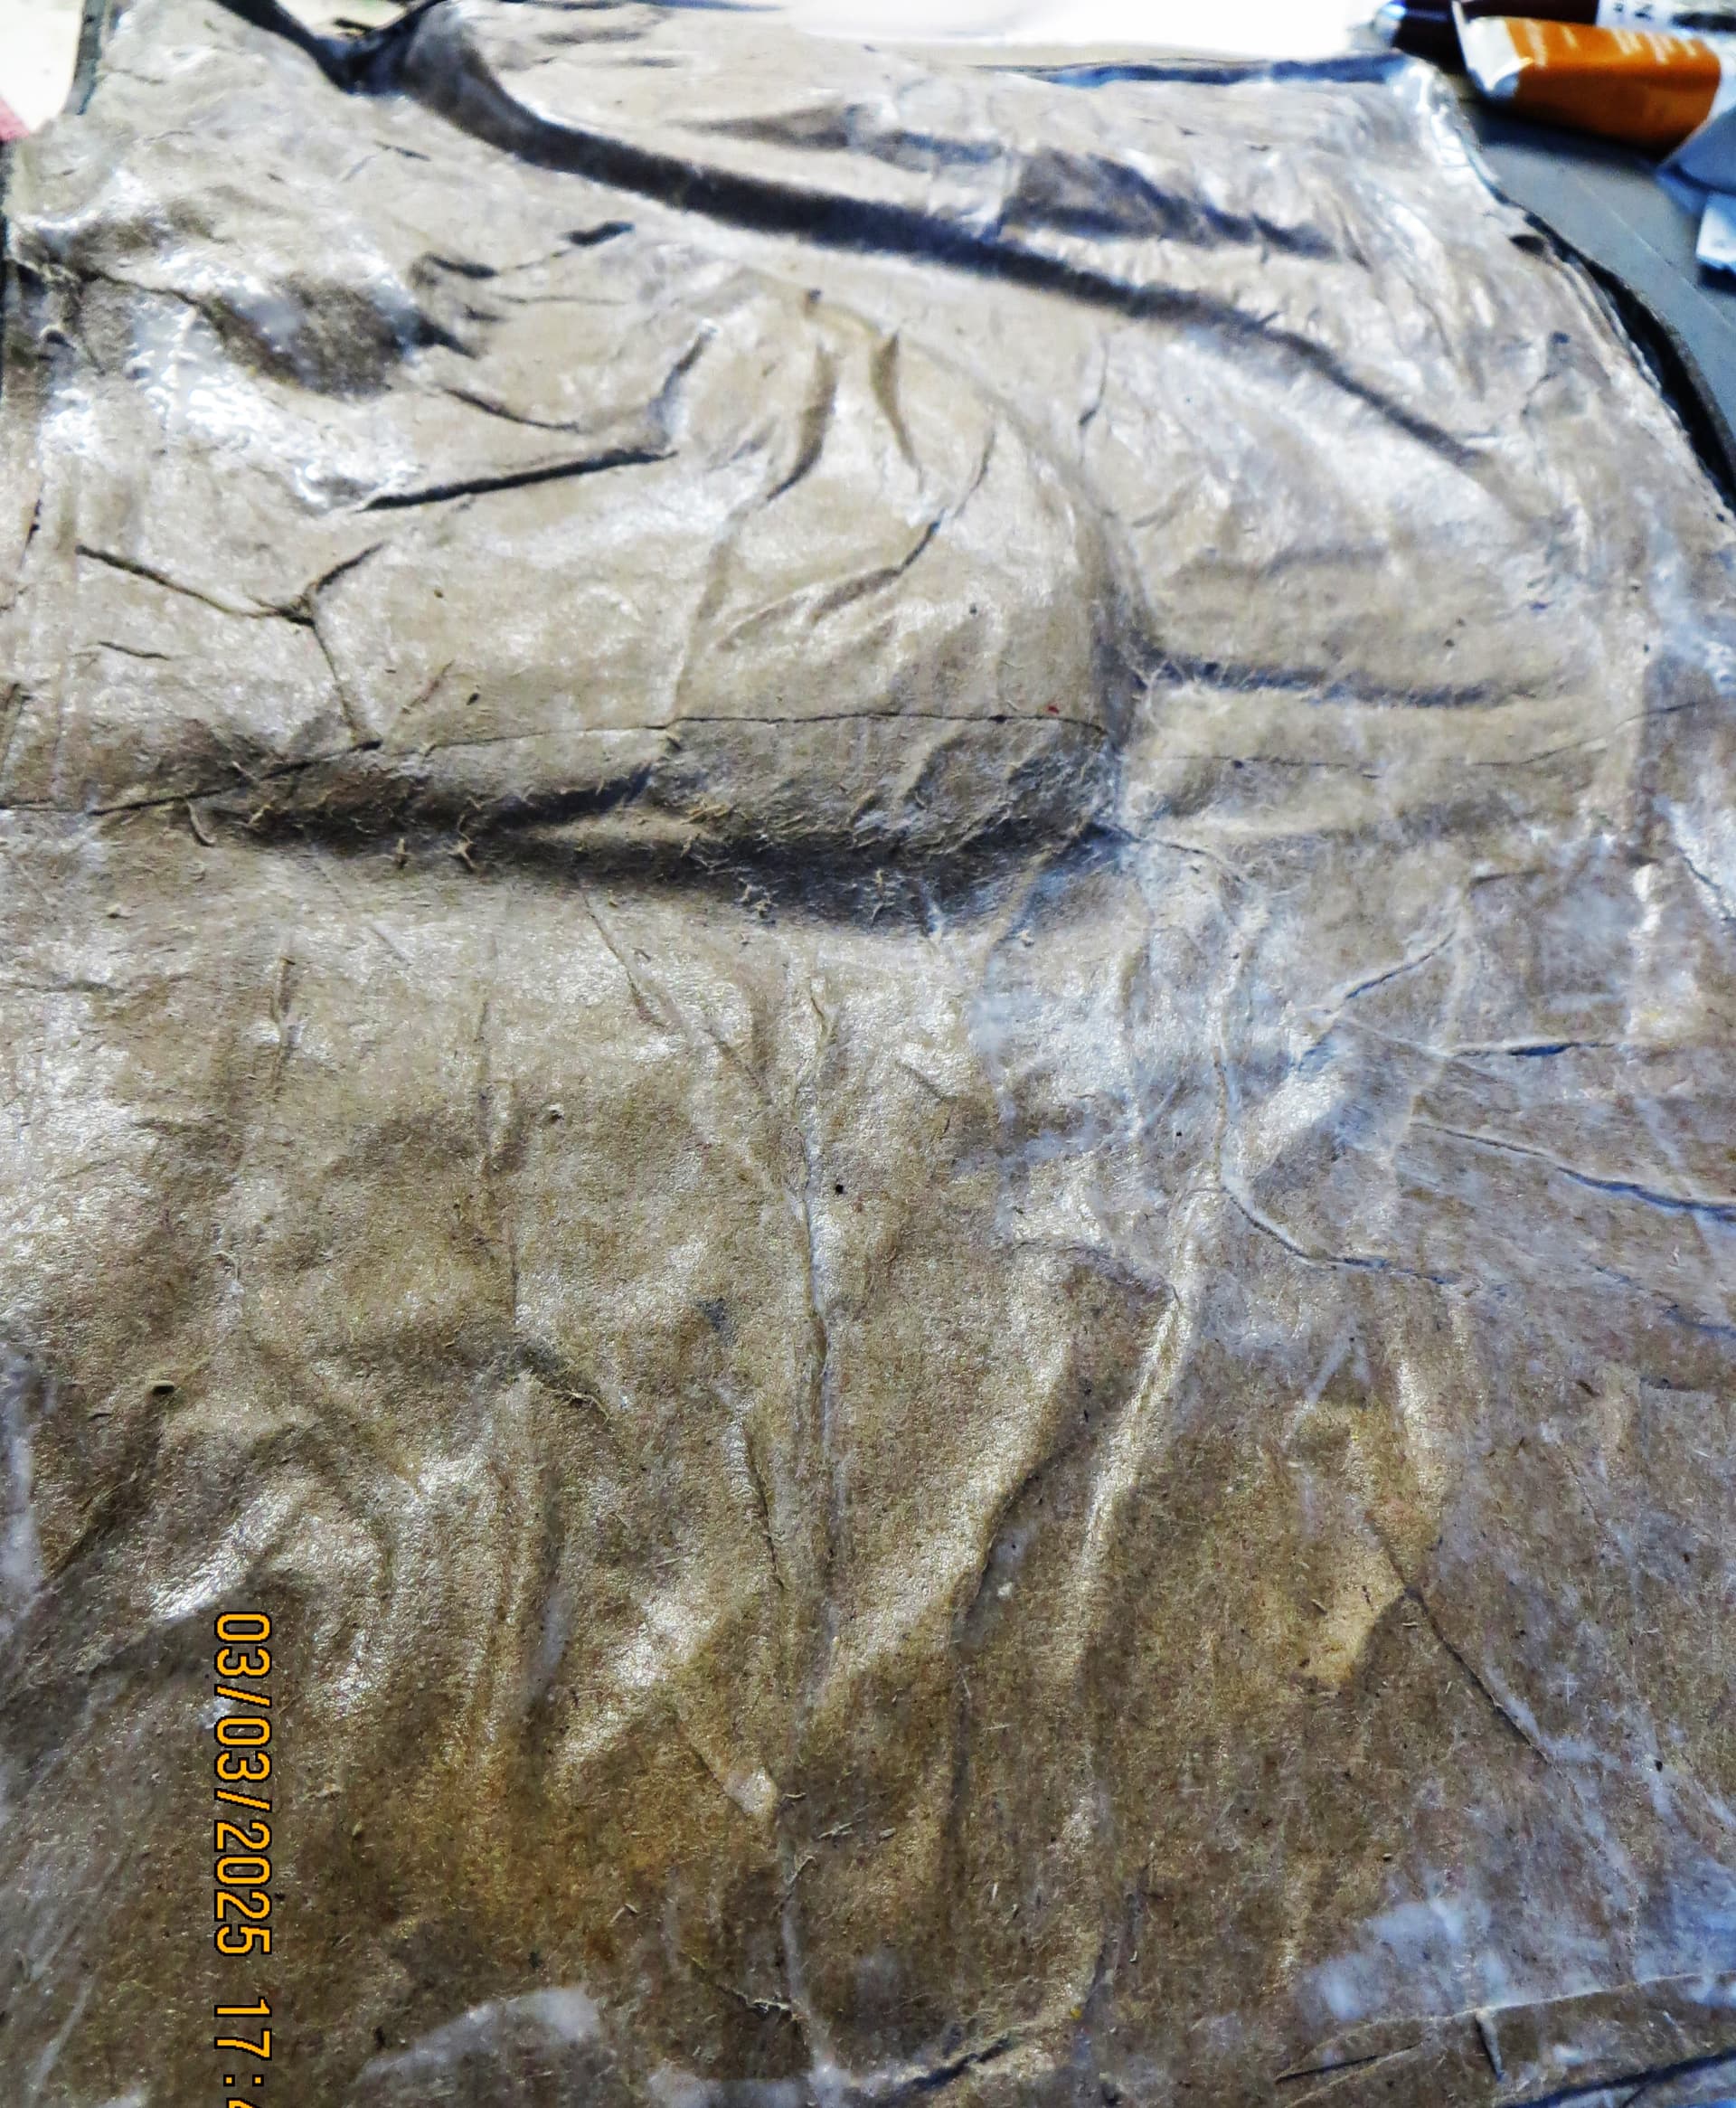
Then, using DAS, I started forming the first layer of groundwork…
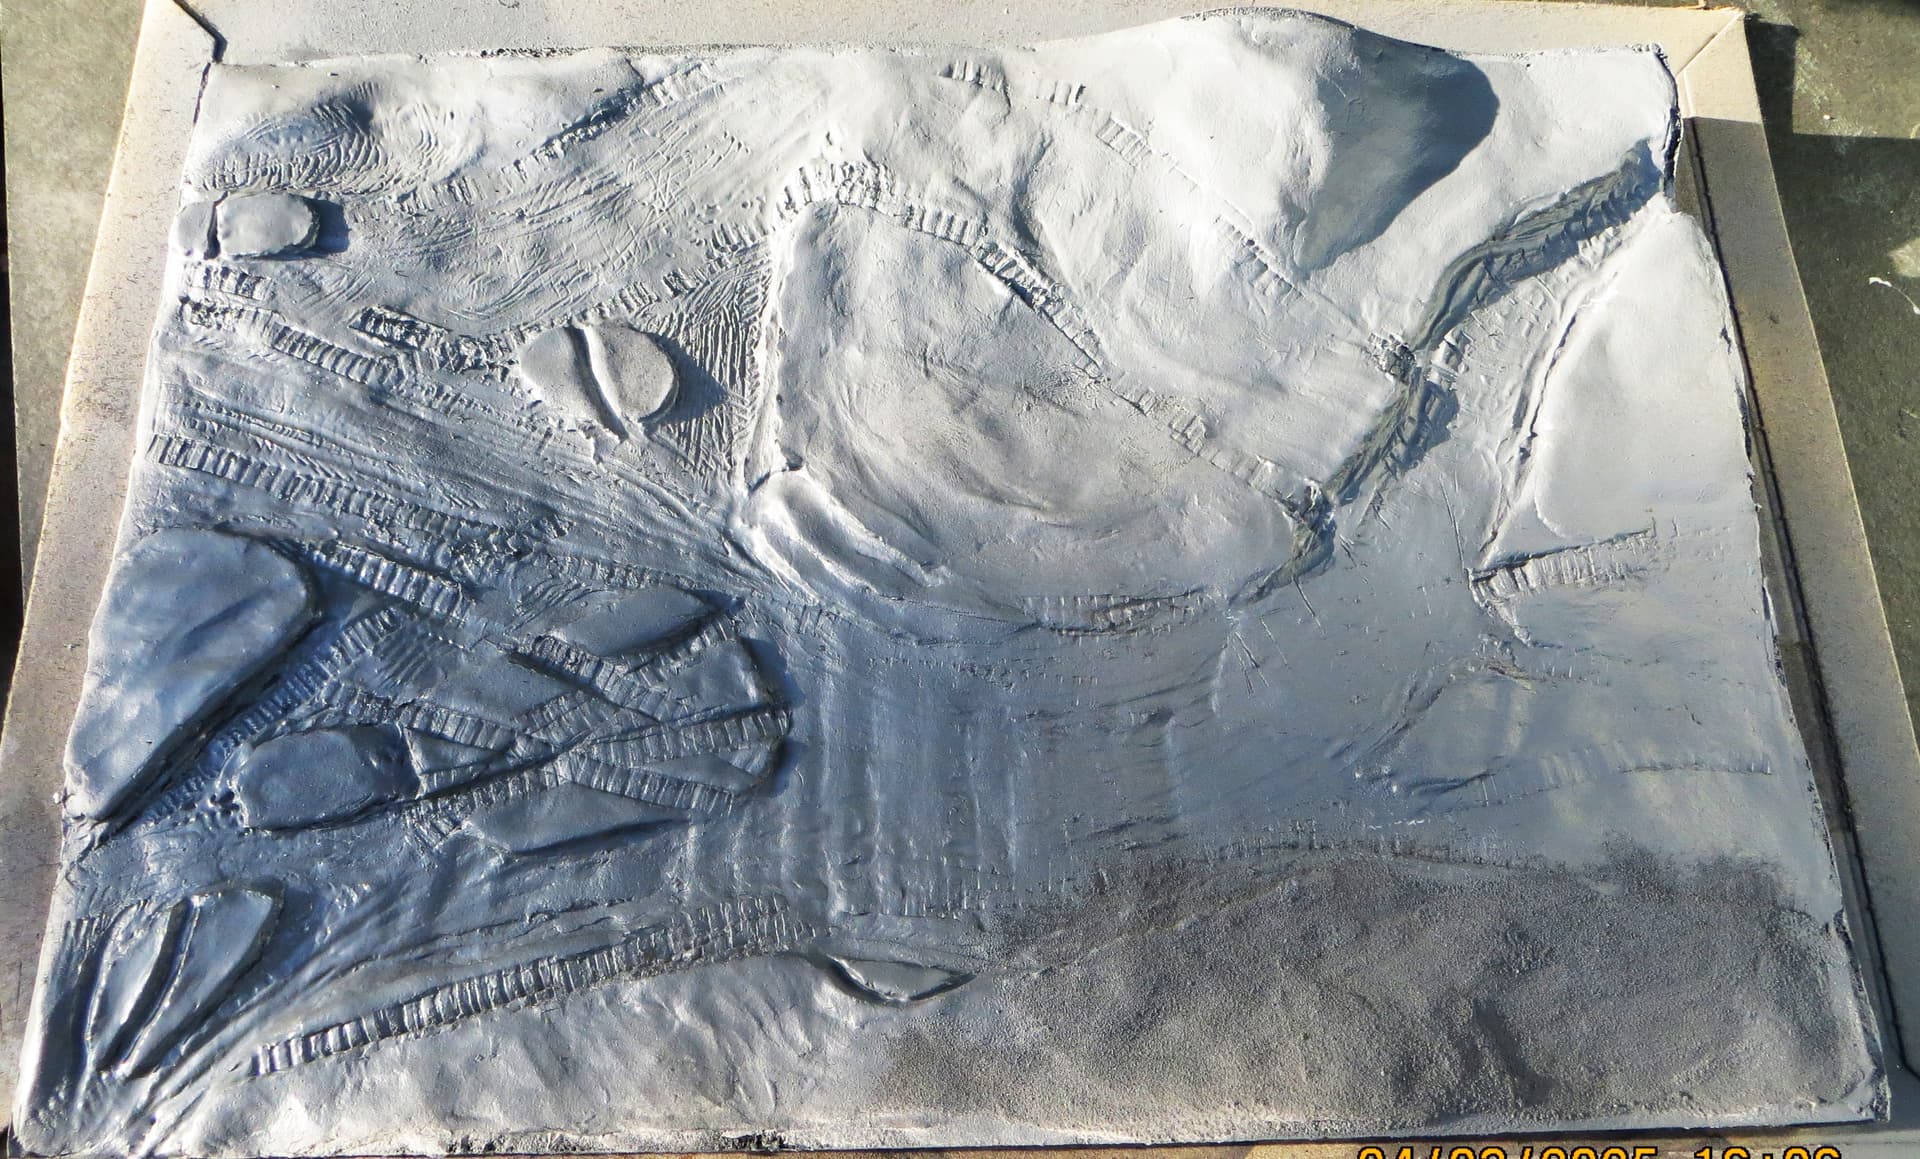

Once dry I’ll carve and sand until I’m happy, then I’ll add more shape until the basic form is achieved.
It’s meant to represent an element of beach near the high tide mark, but with the tide at a lower point. It will have a small stream cutting its way through dry sand until it starts to disperse across wetter sand…hoe that makes sense, ![]()
![]() .
.
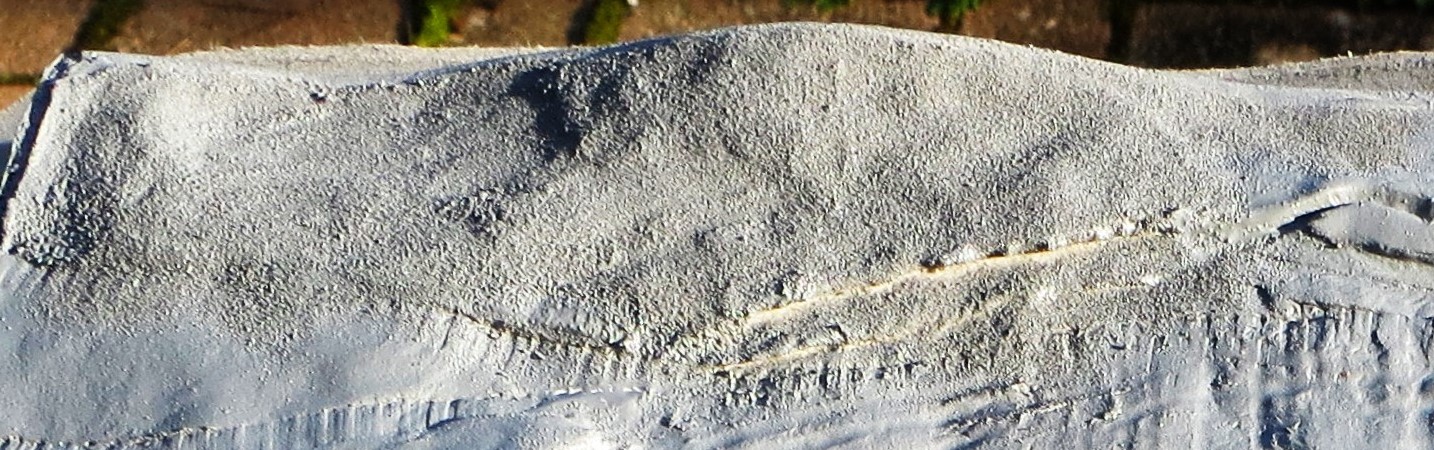
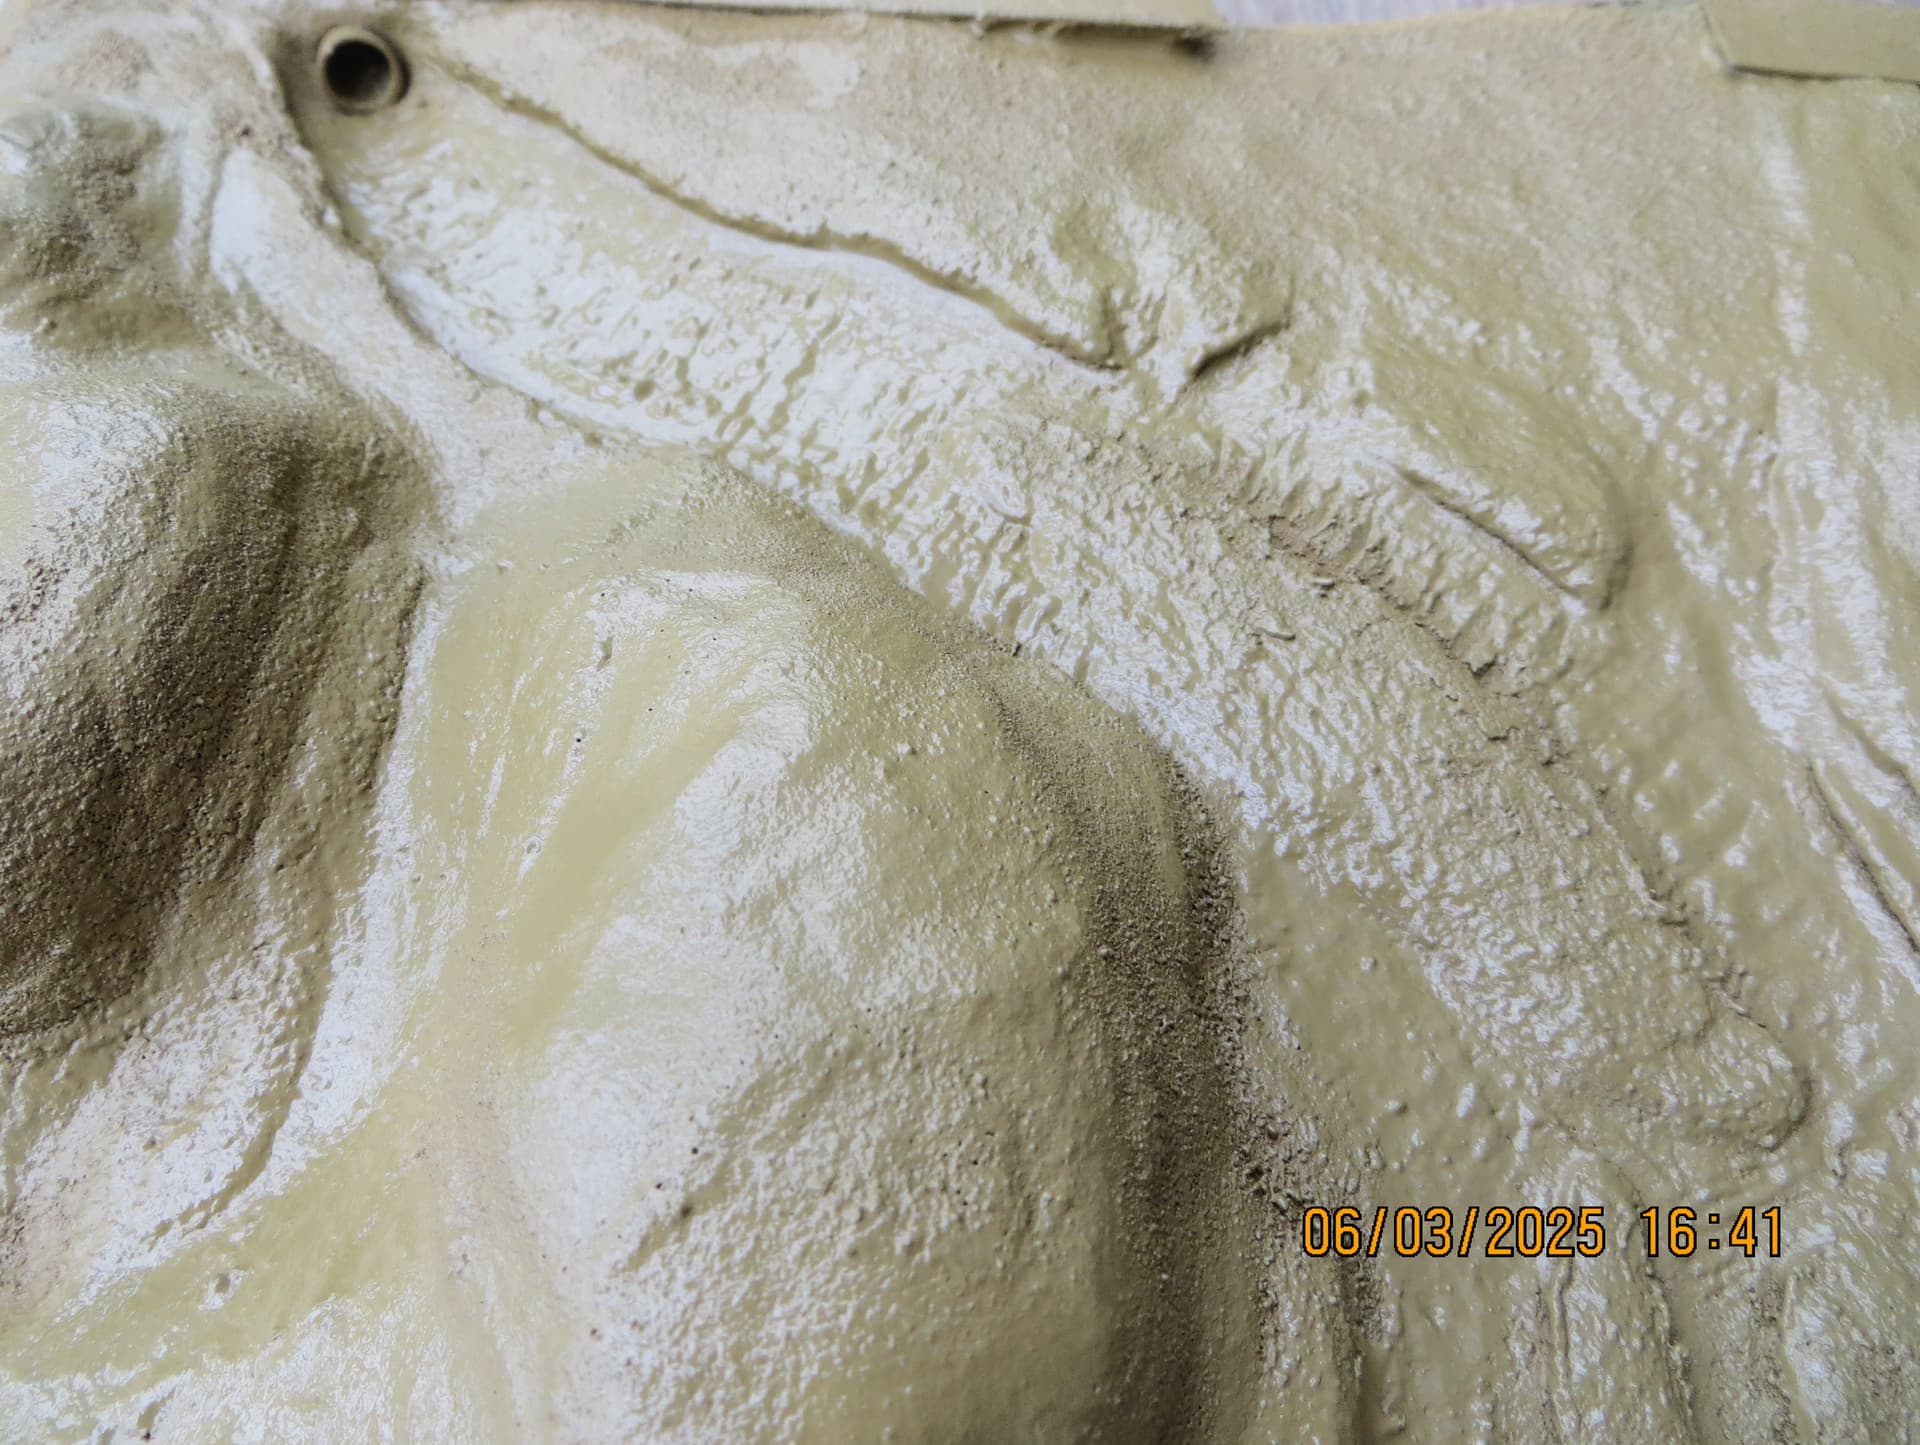
It’s not yet ready for sand to be applied but I wanted to see what a small area might look like with sand applied. The idea of using ‘chinchilla dust’ for sand was suggested by SSGToms…thanks Matthew, ![]()
![]() , so below is a close-up of the chosen area…
, so below is a close-up of the chosen area…
Cheers, ![]() ,
,
G
14 Likes
Thats looking good mate and a nice quick build up to get the basic ground set up … The sand effect looks very good.
2 Likes
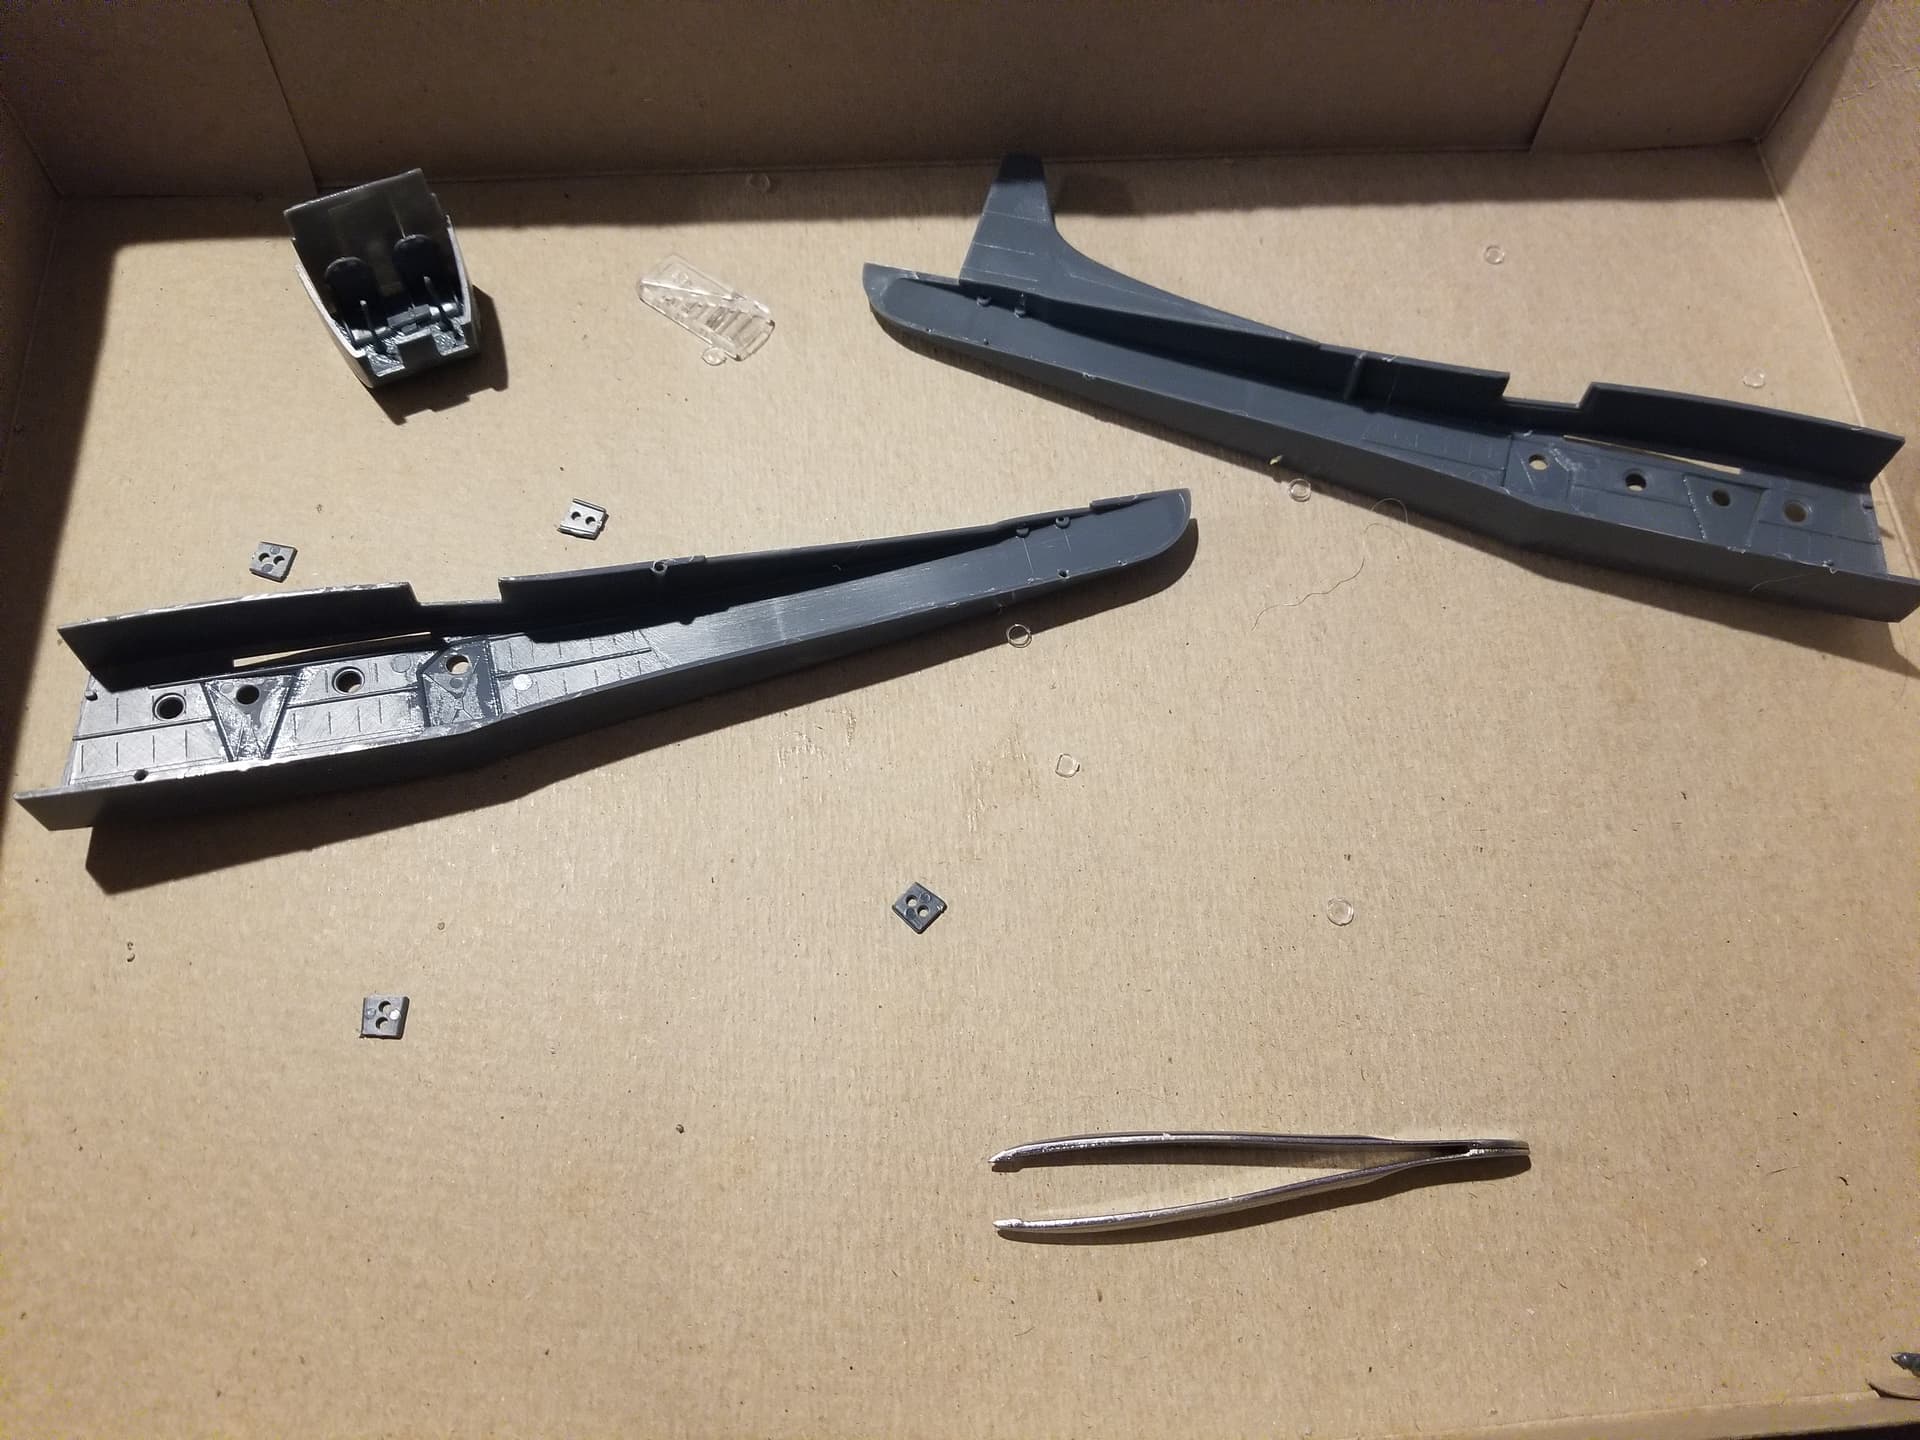
So, it’s been a bit since I have had the chance to get in any work, but I have managed to get started again this evening, finished cockpit and working on the windows of the fuselage.
TinyDog01
7 Likes
Looks good Sam and the effort paid off. The wipers have made a big difference as well to the overall appearance.
6 Likes
Hi all,
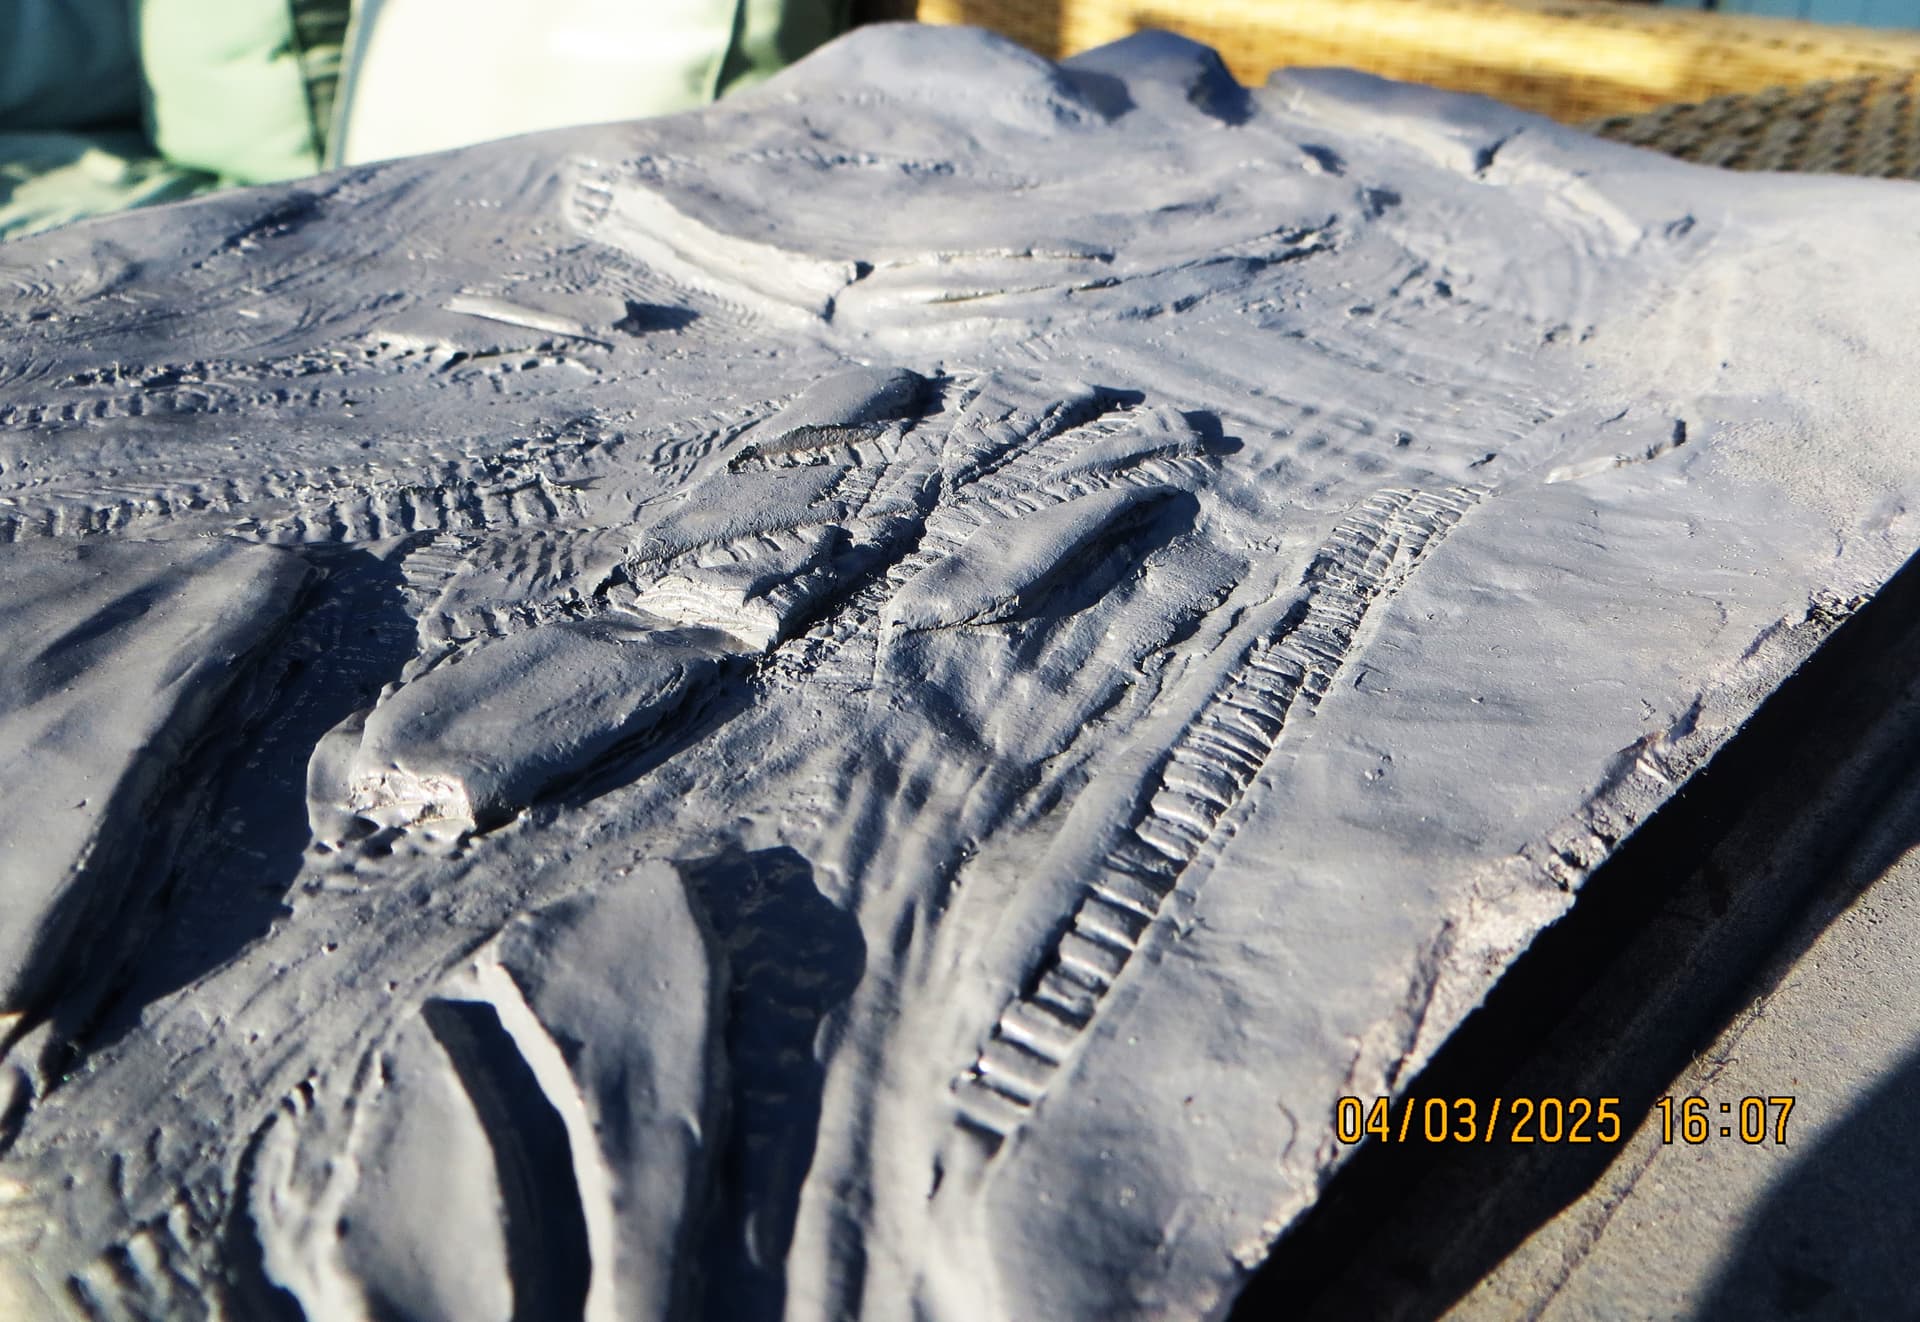
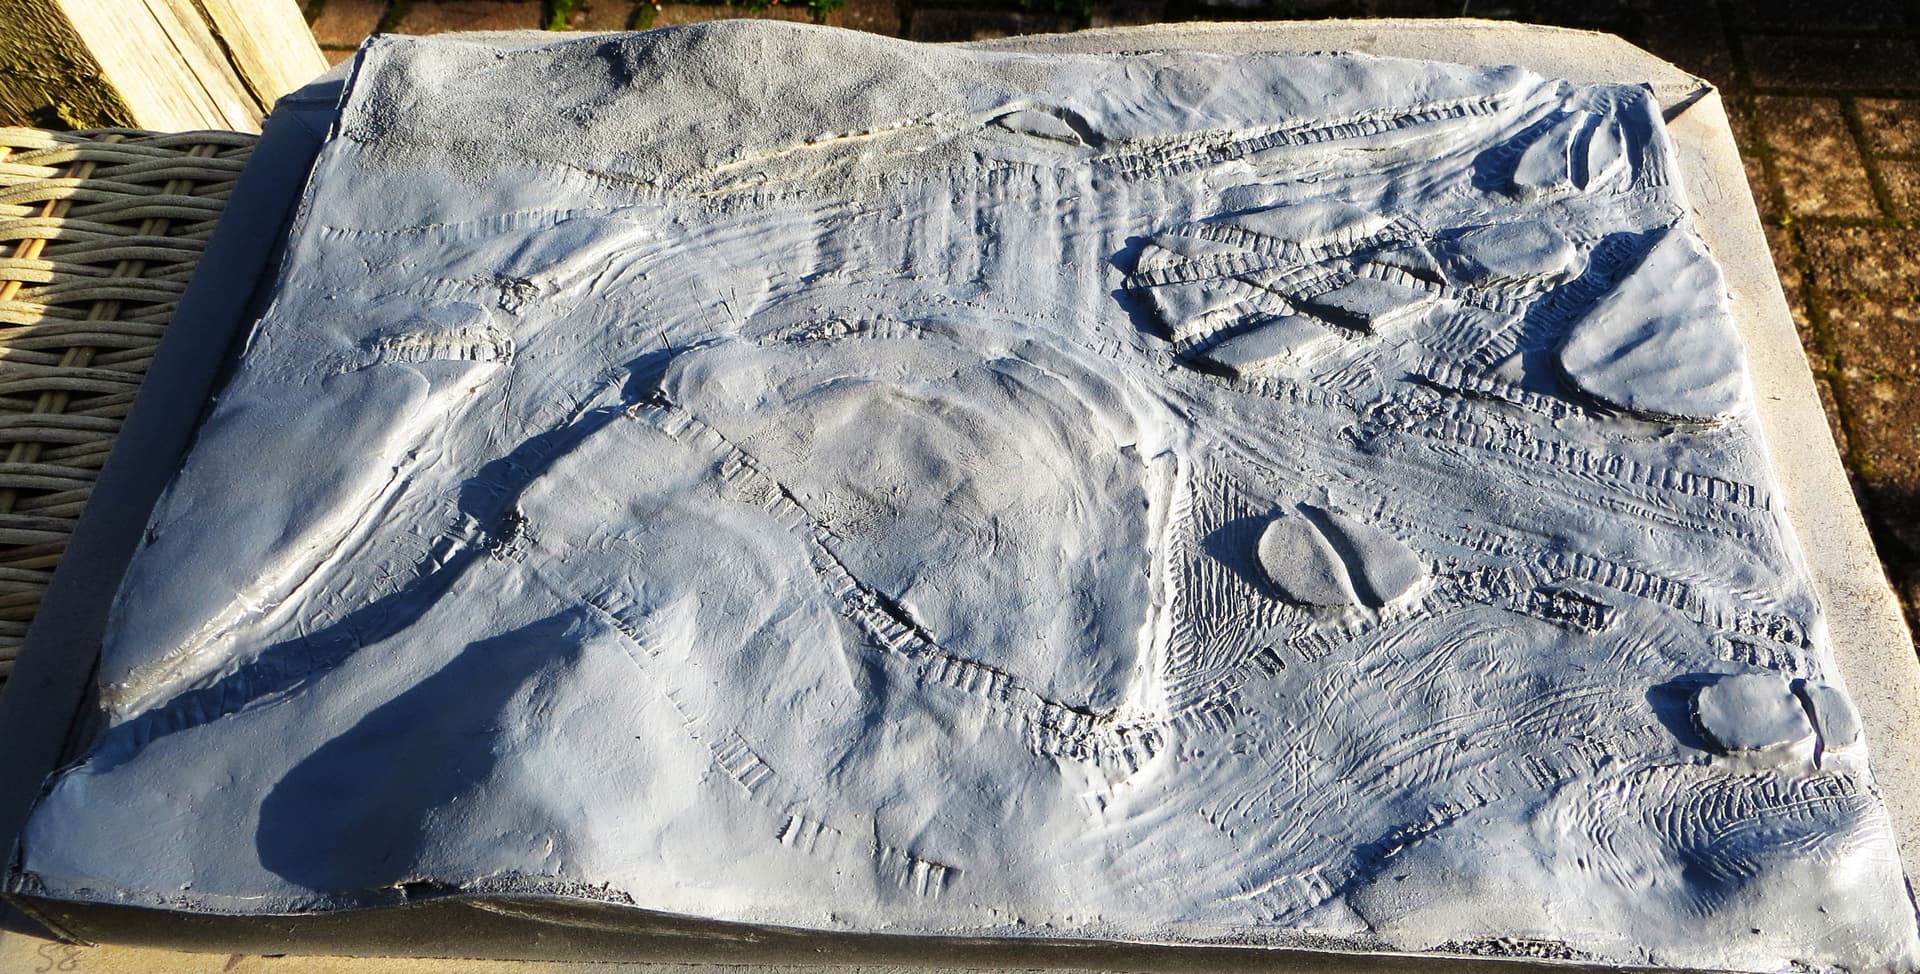
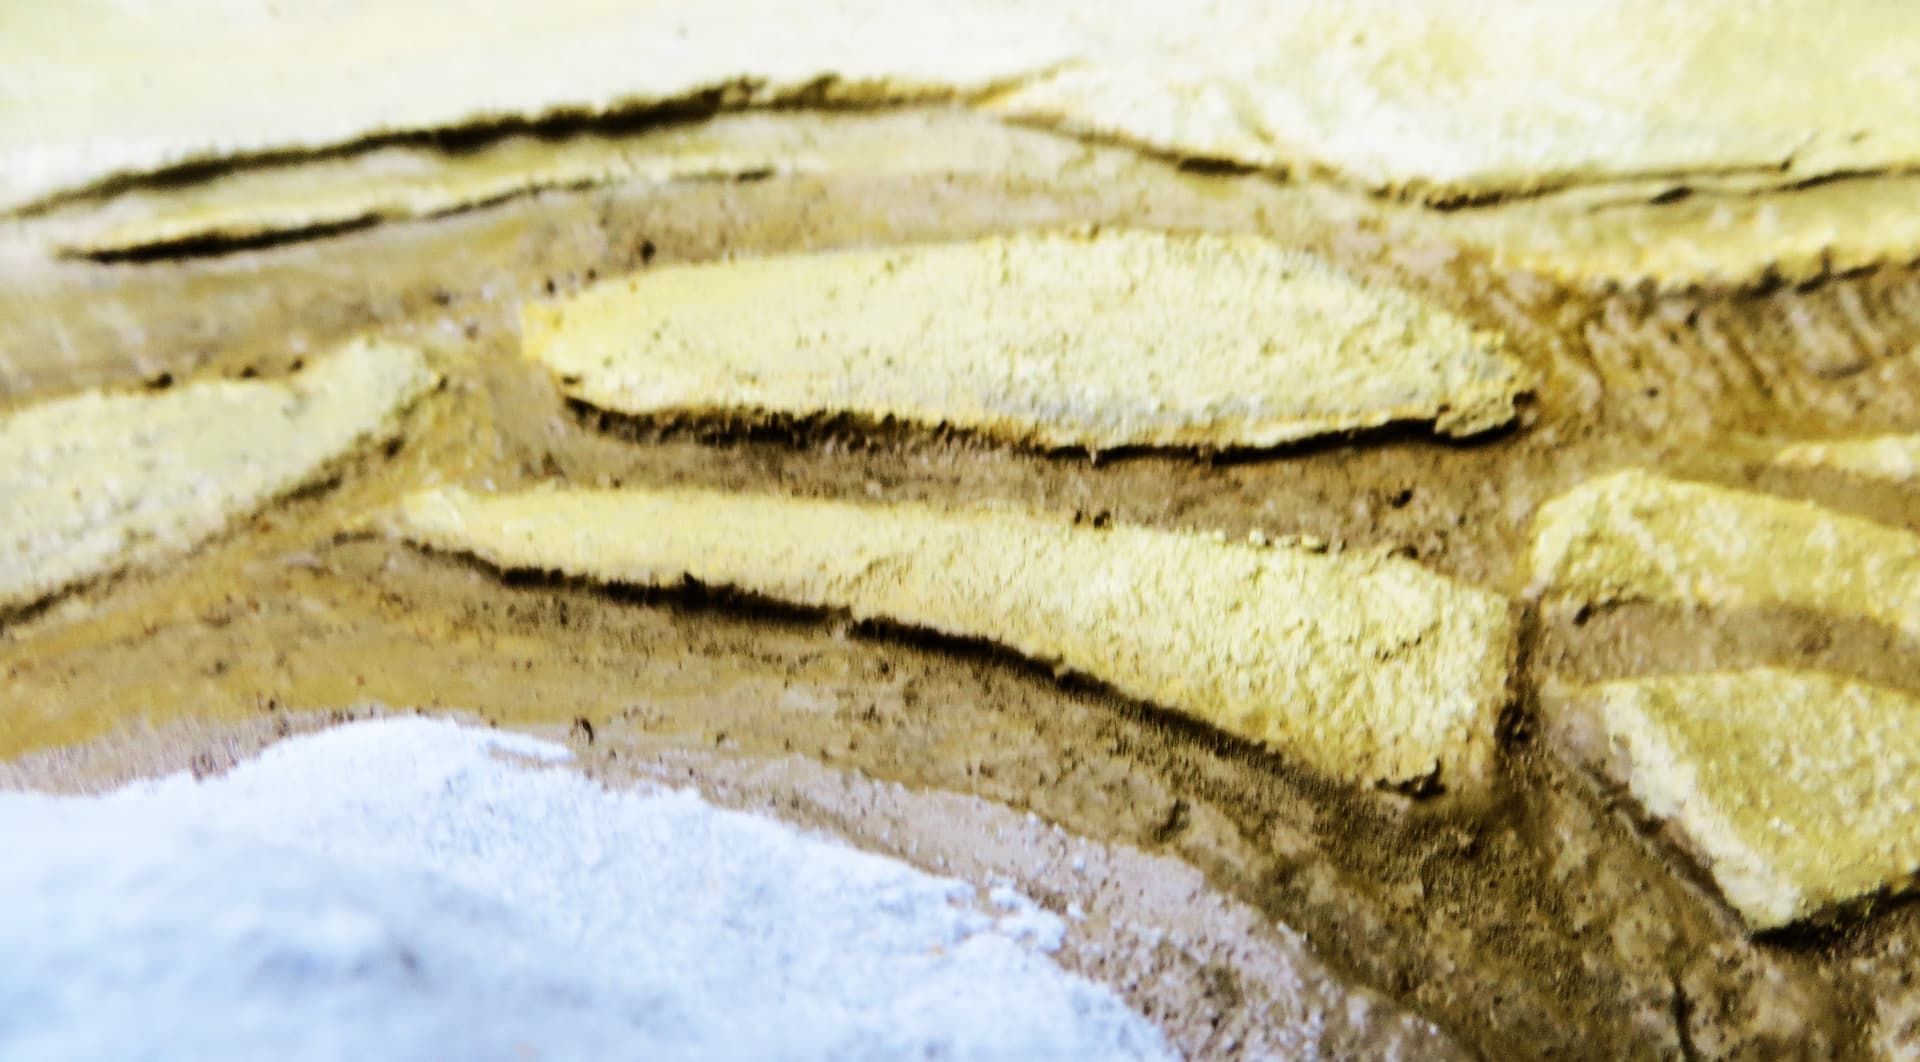
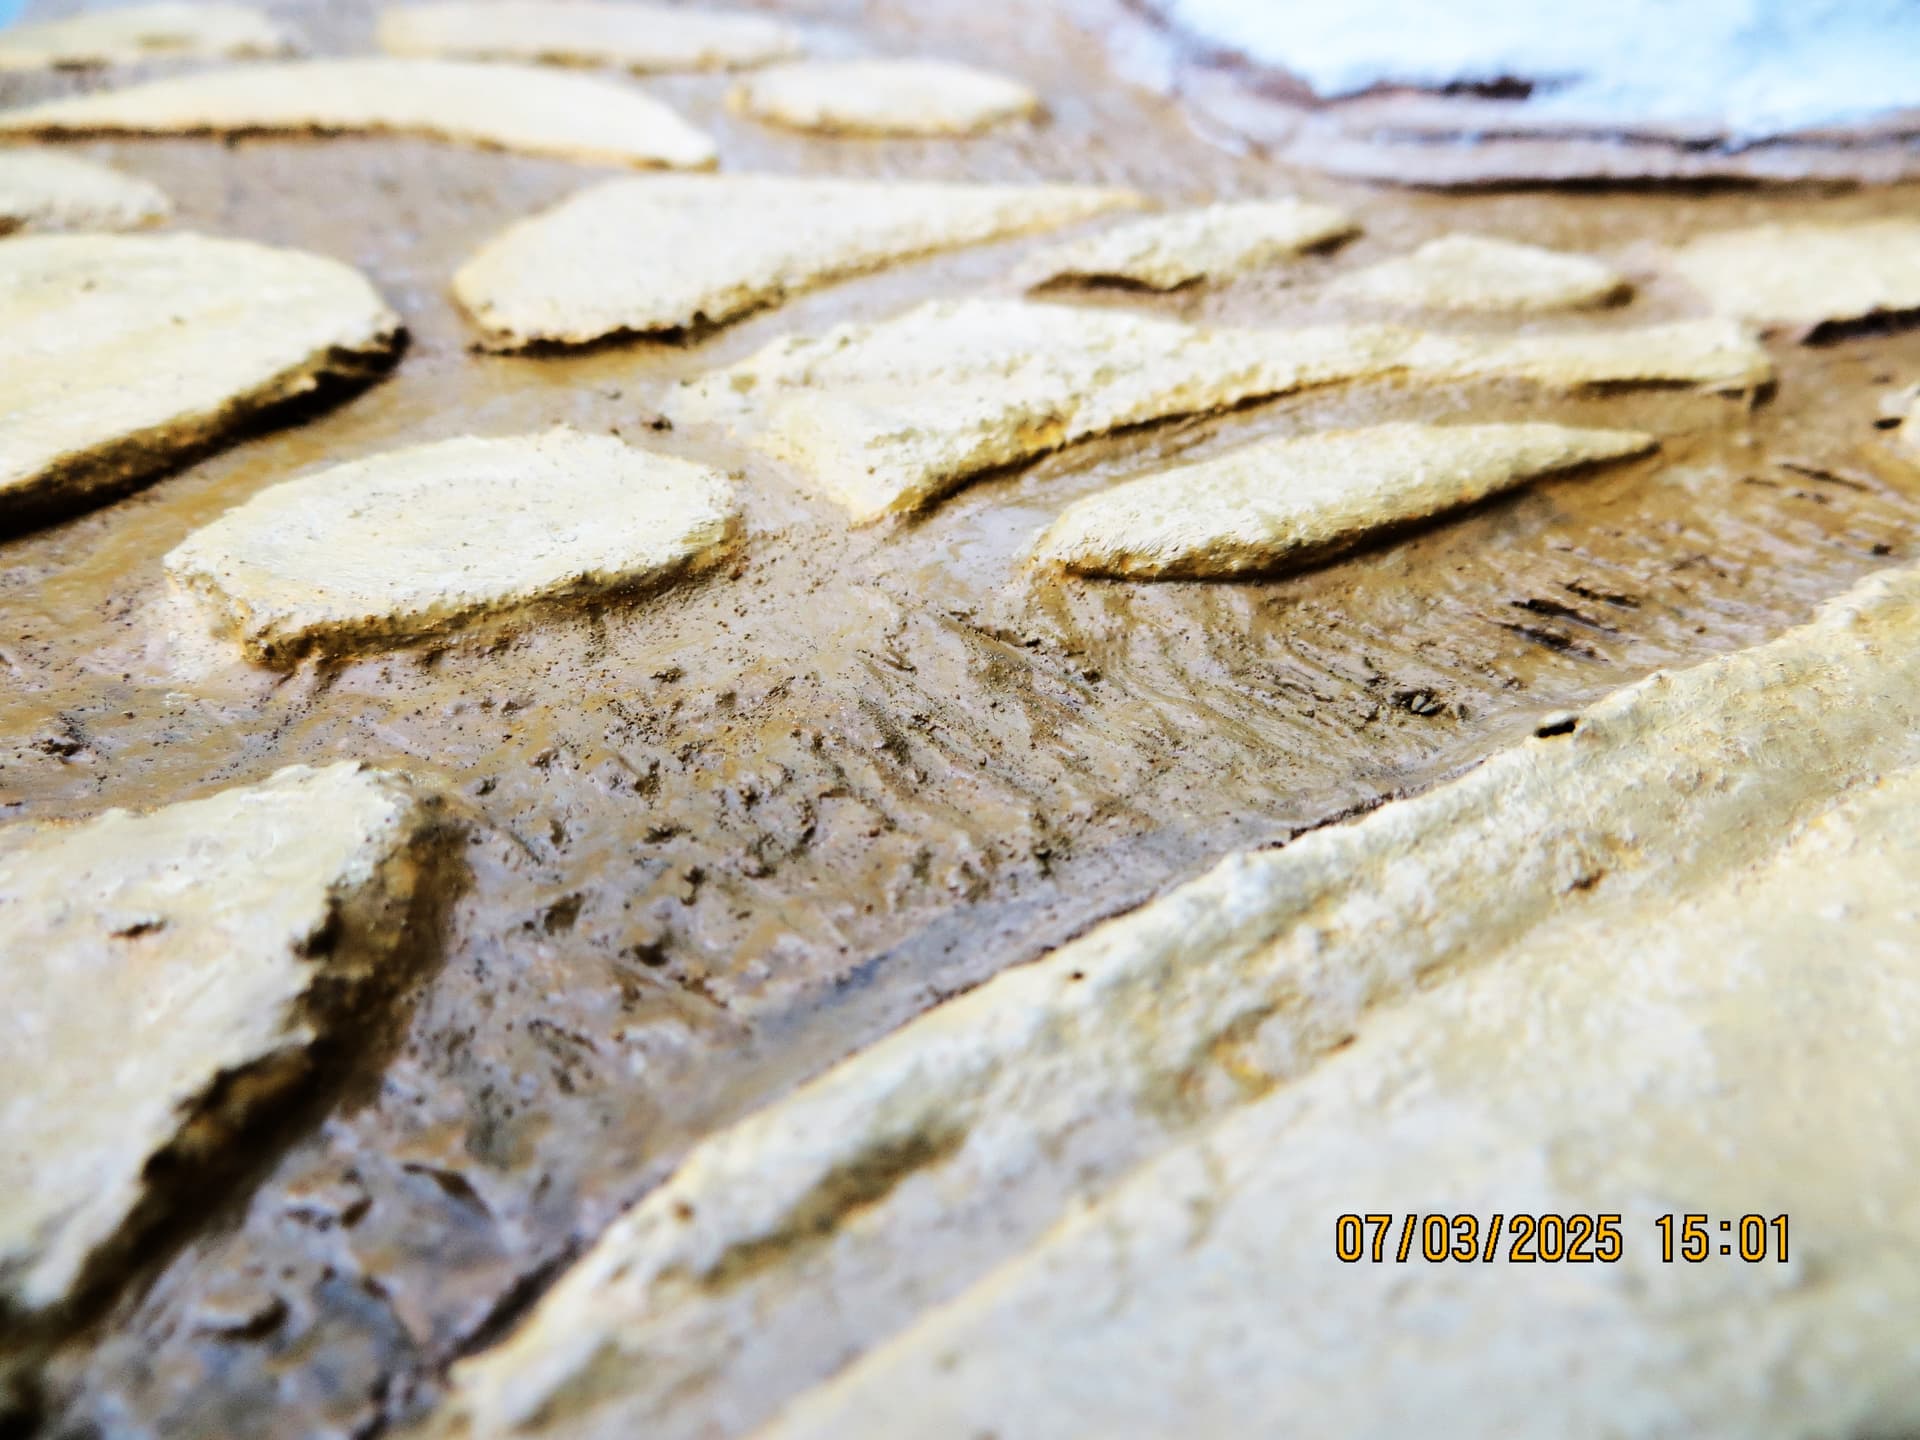
Have added some more texture to the ‘beach’, this includes getting rid of the overdone tank tracks, enlarged dunes on one side, outlet pipe for the watercourse, a few more sand ‘islands’, and I’ve had a go at trying to create the slightly rippled sand appearance you get when a shallow stream runs across a sandy beach, ![]()
![]() .
.
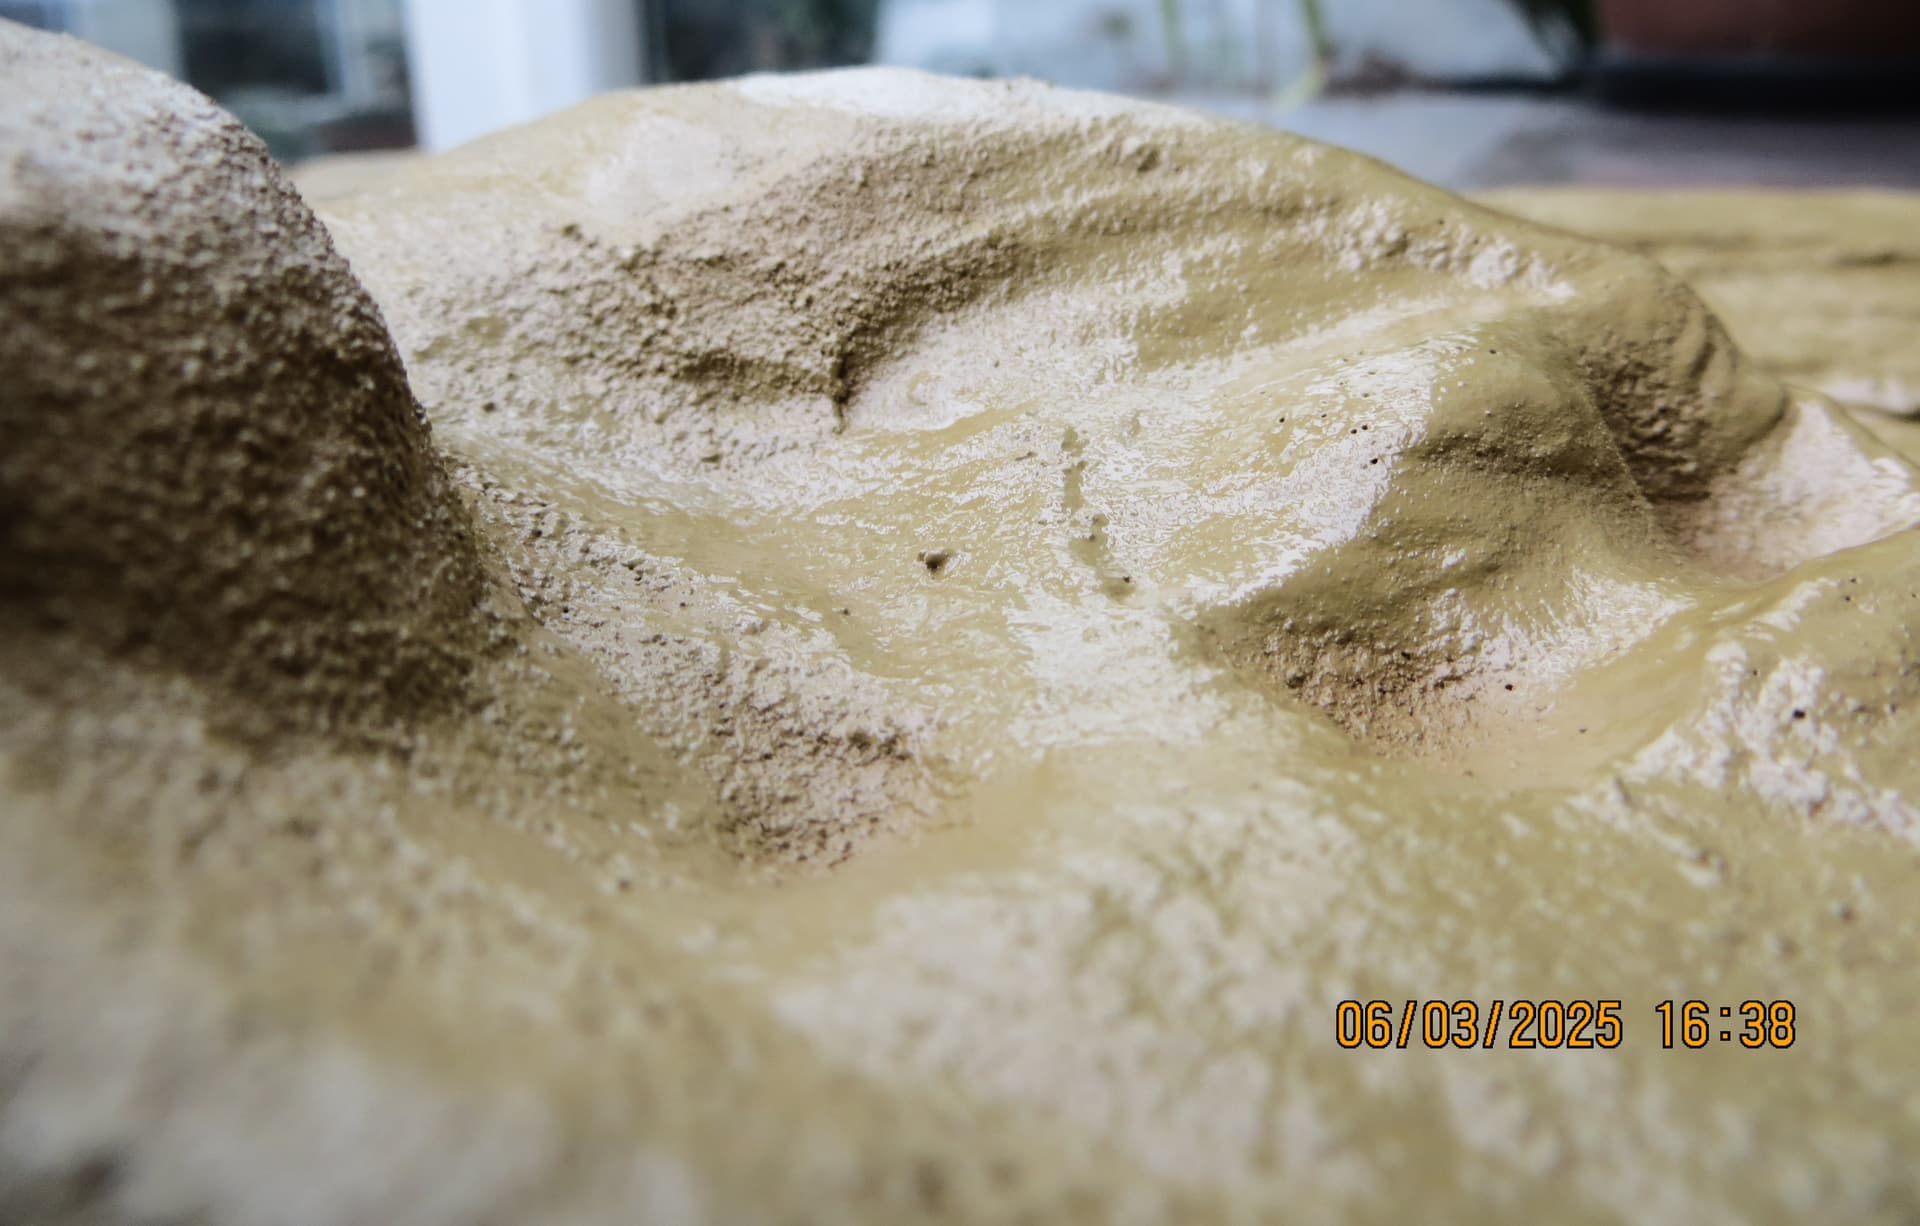
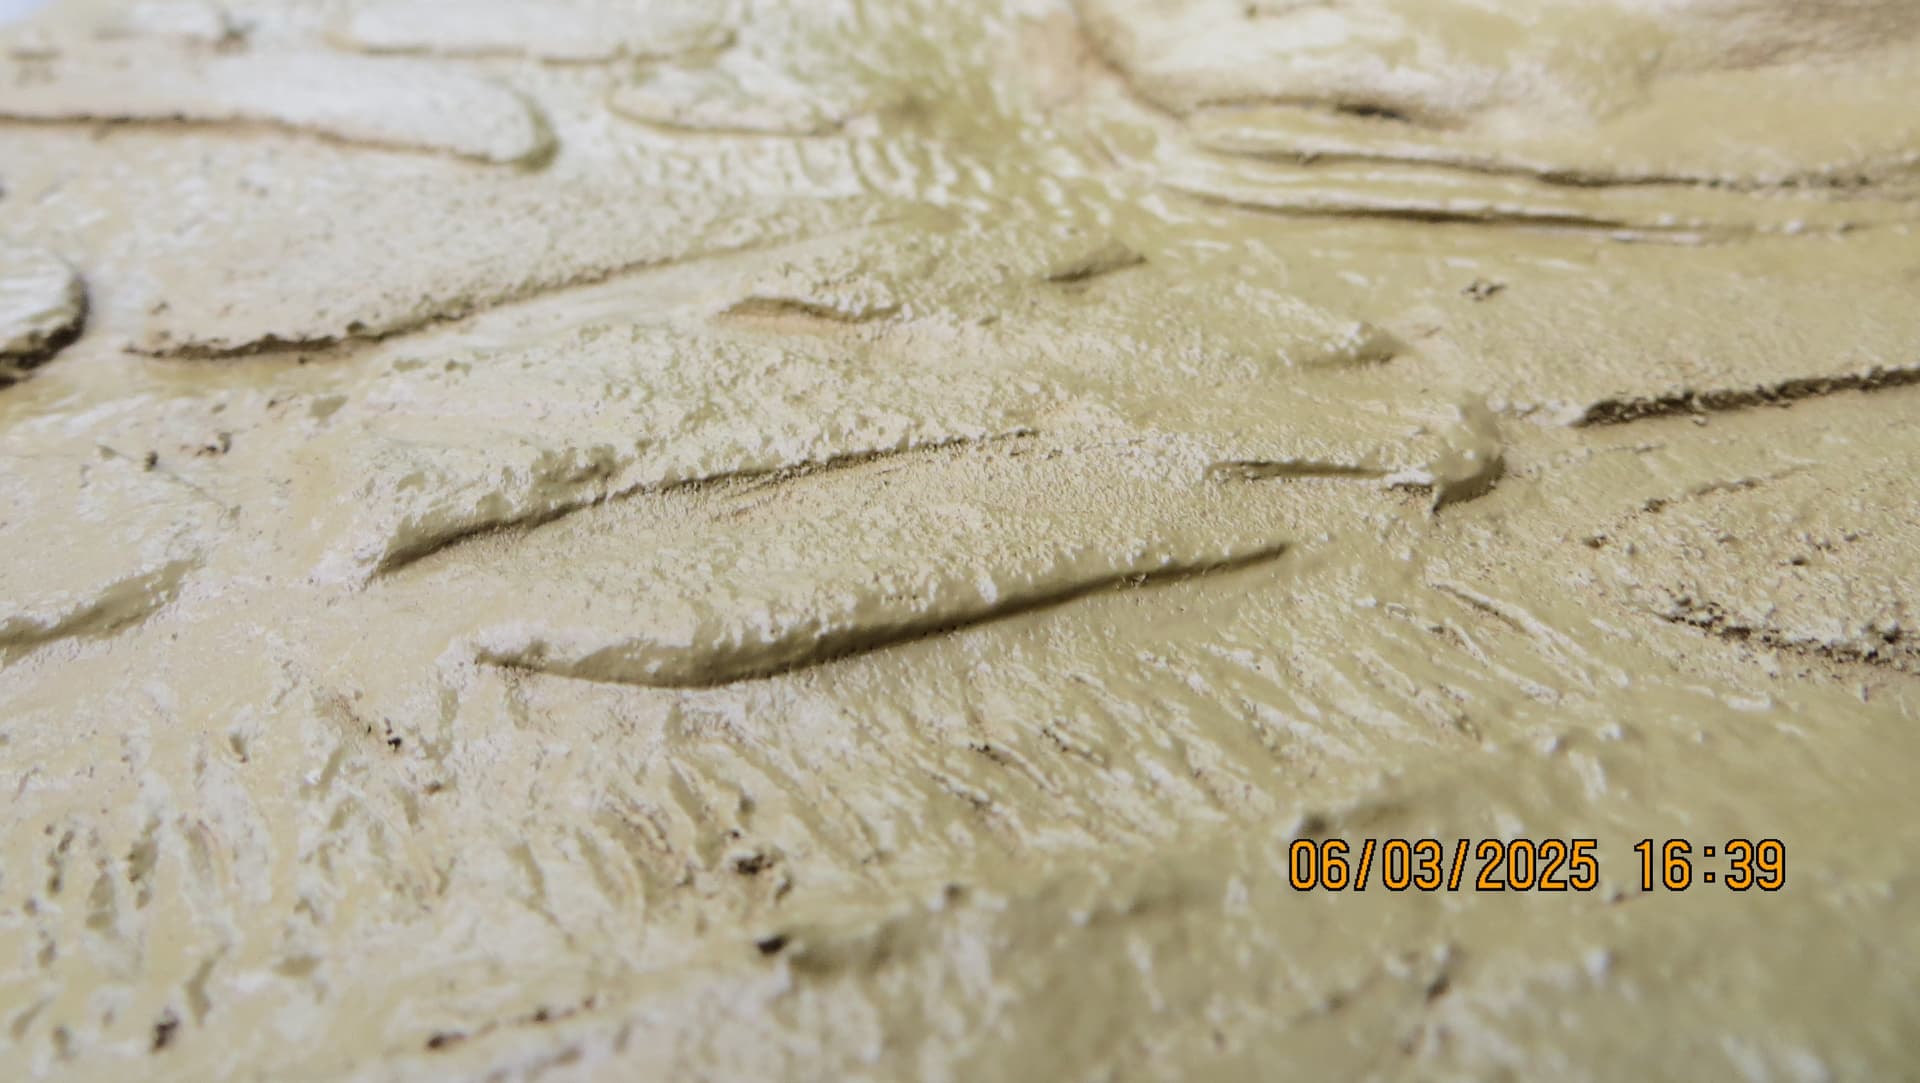
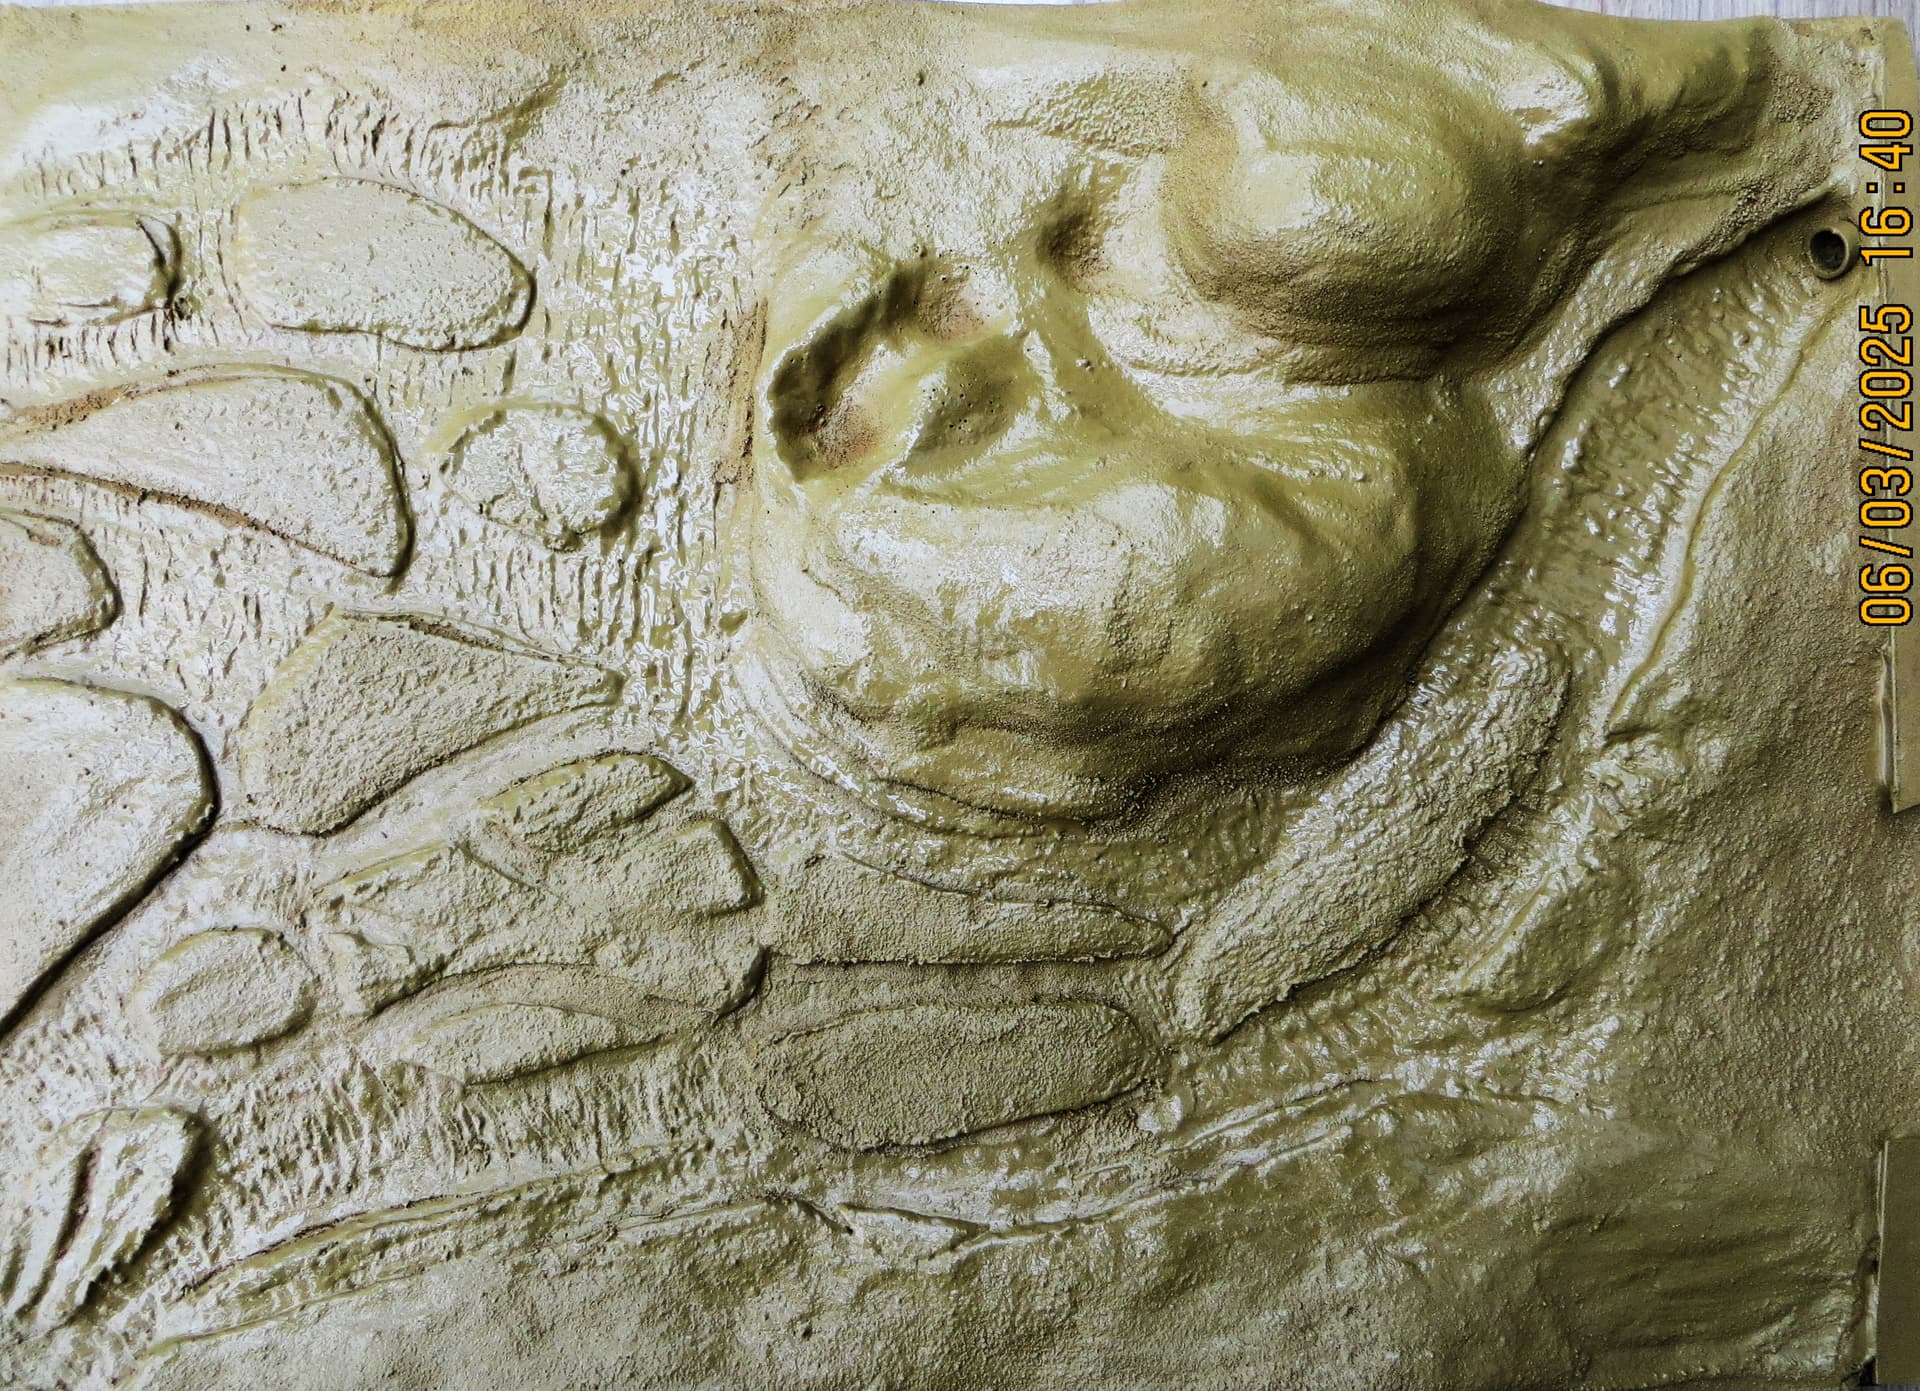
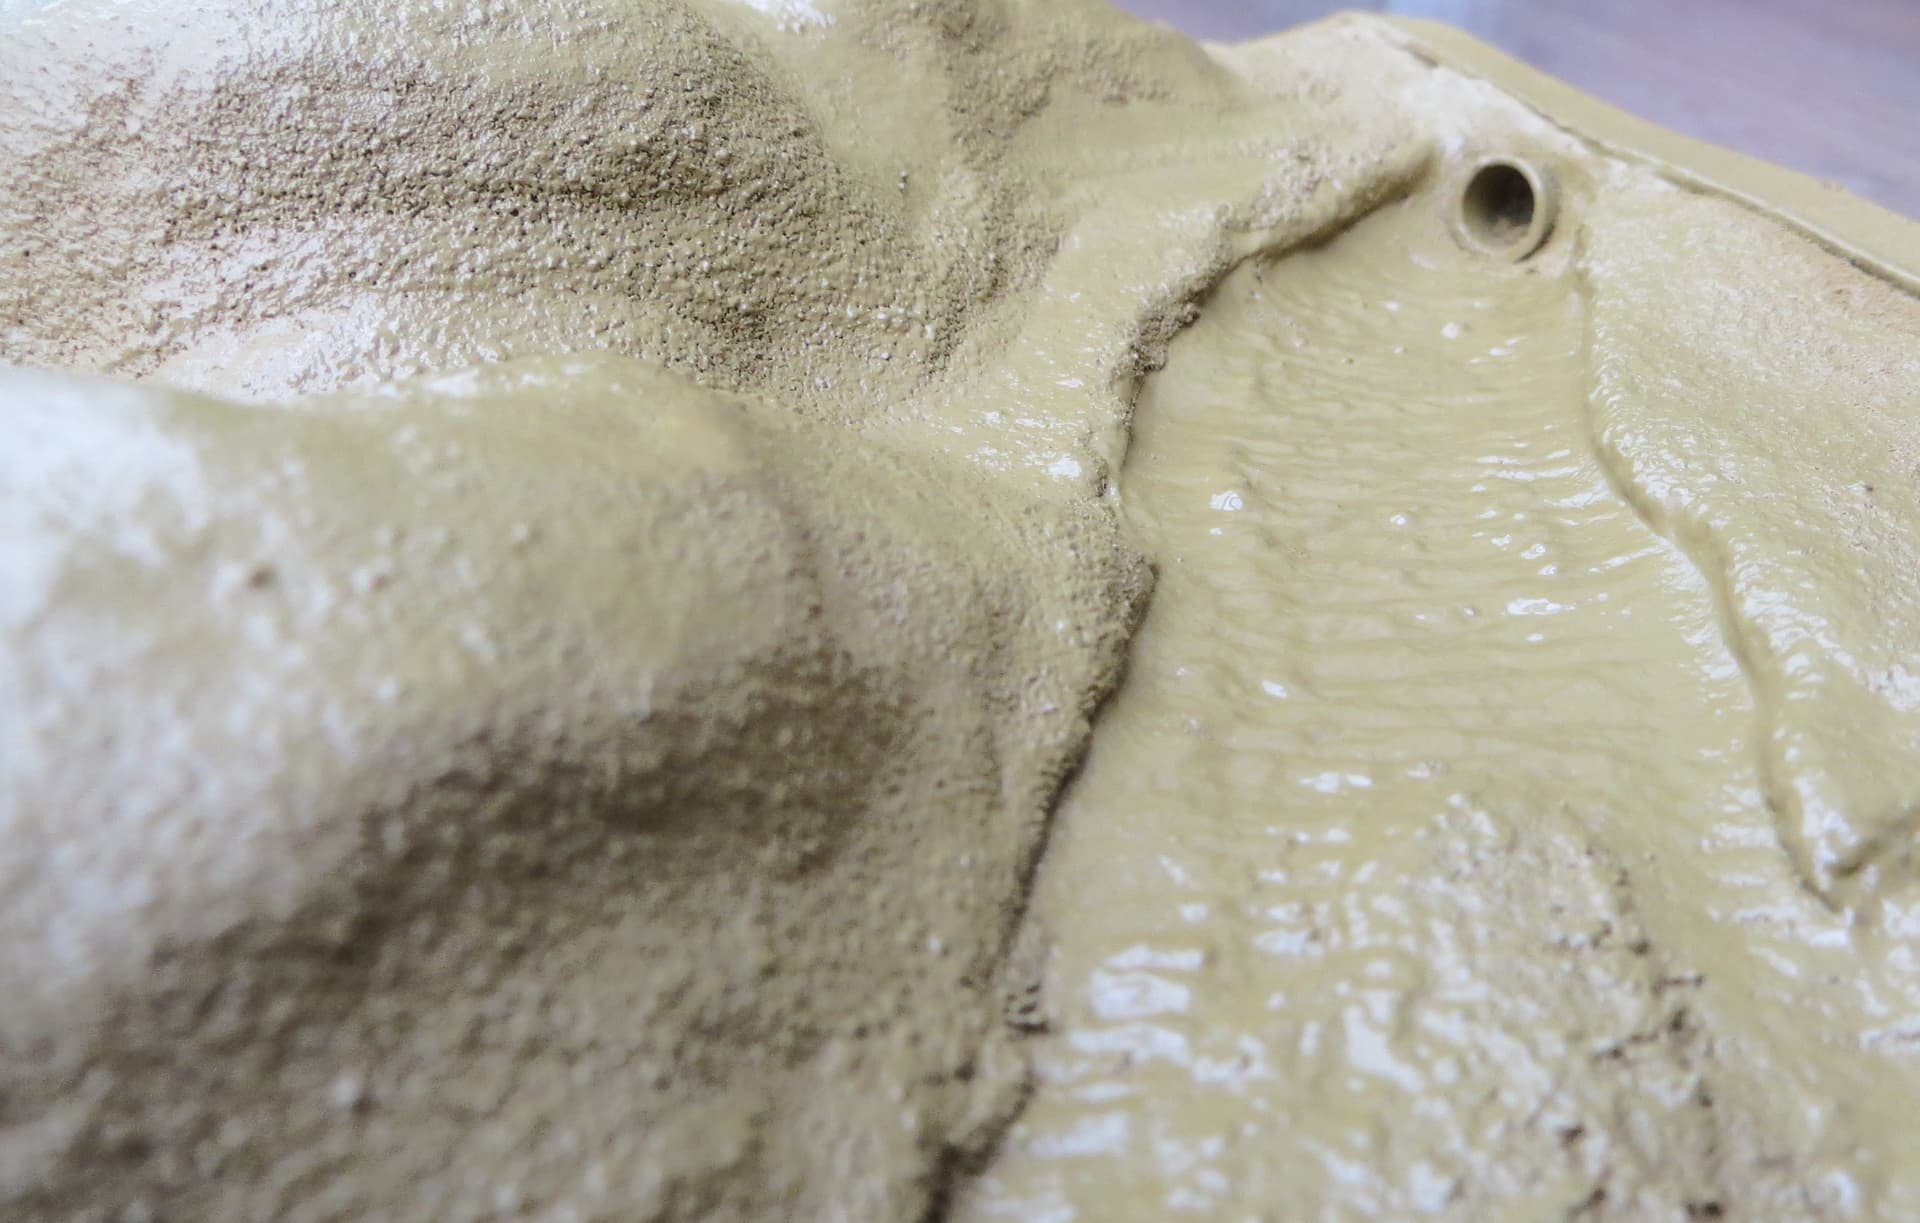

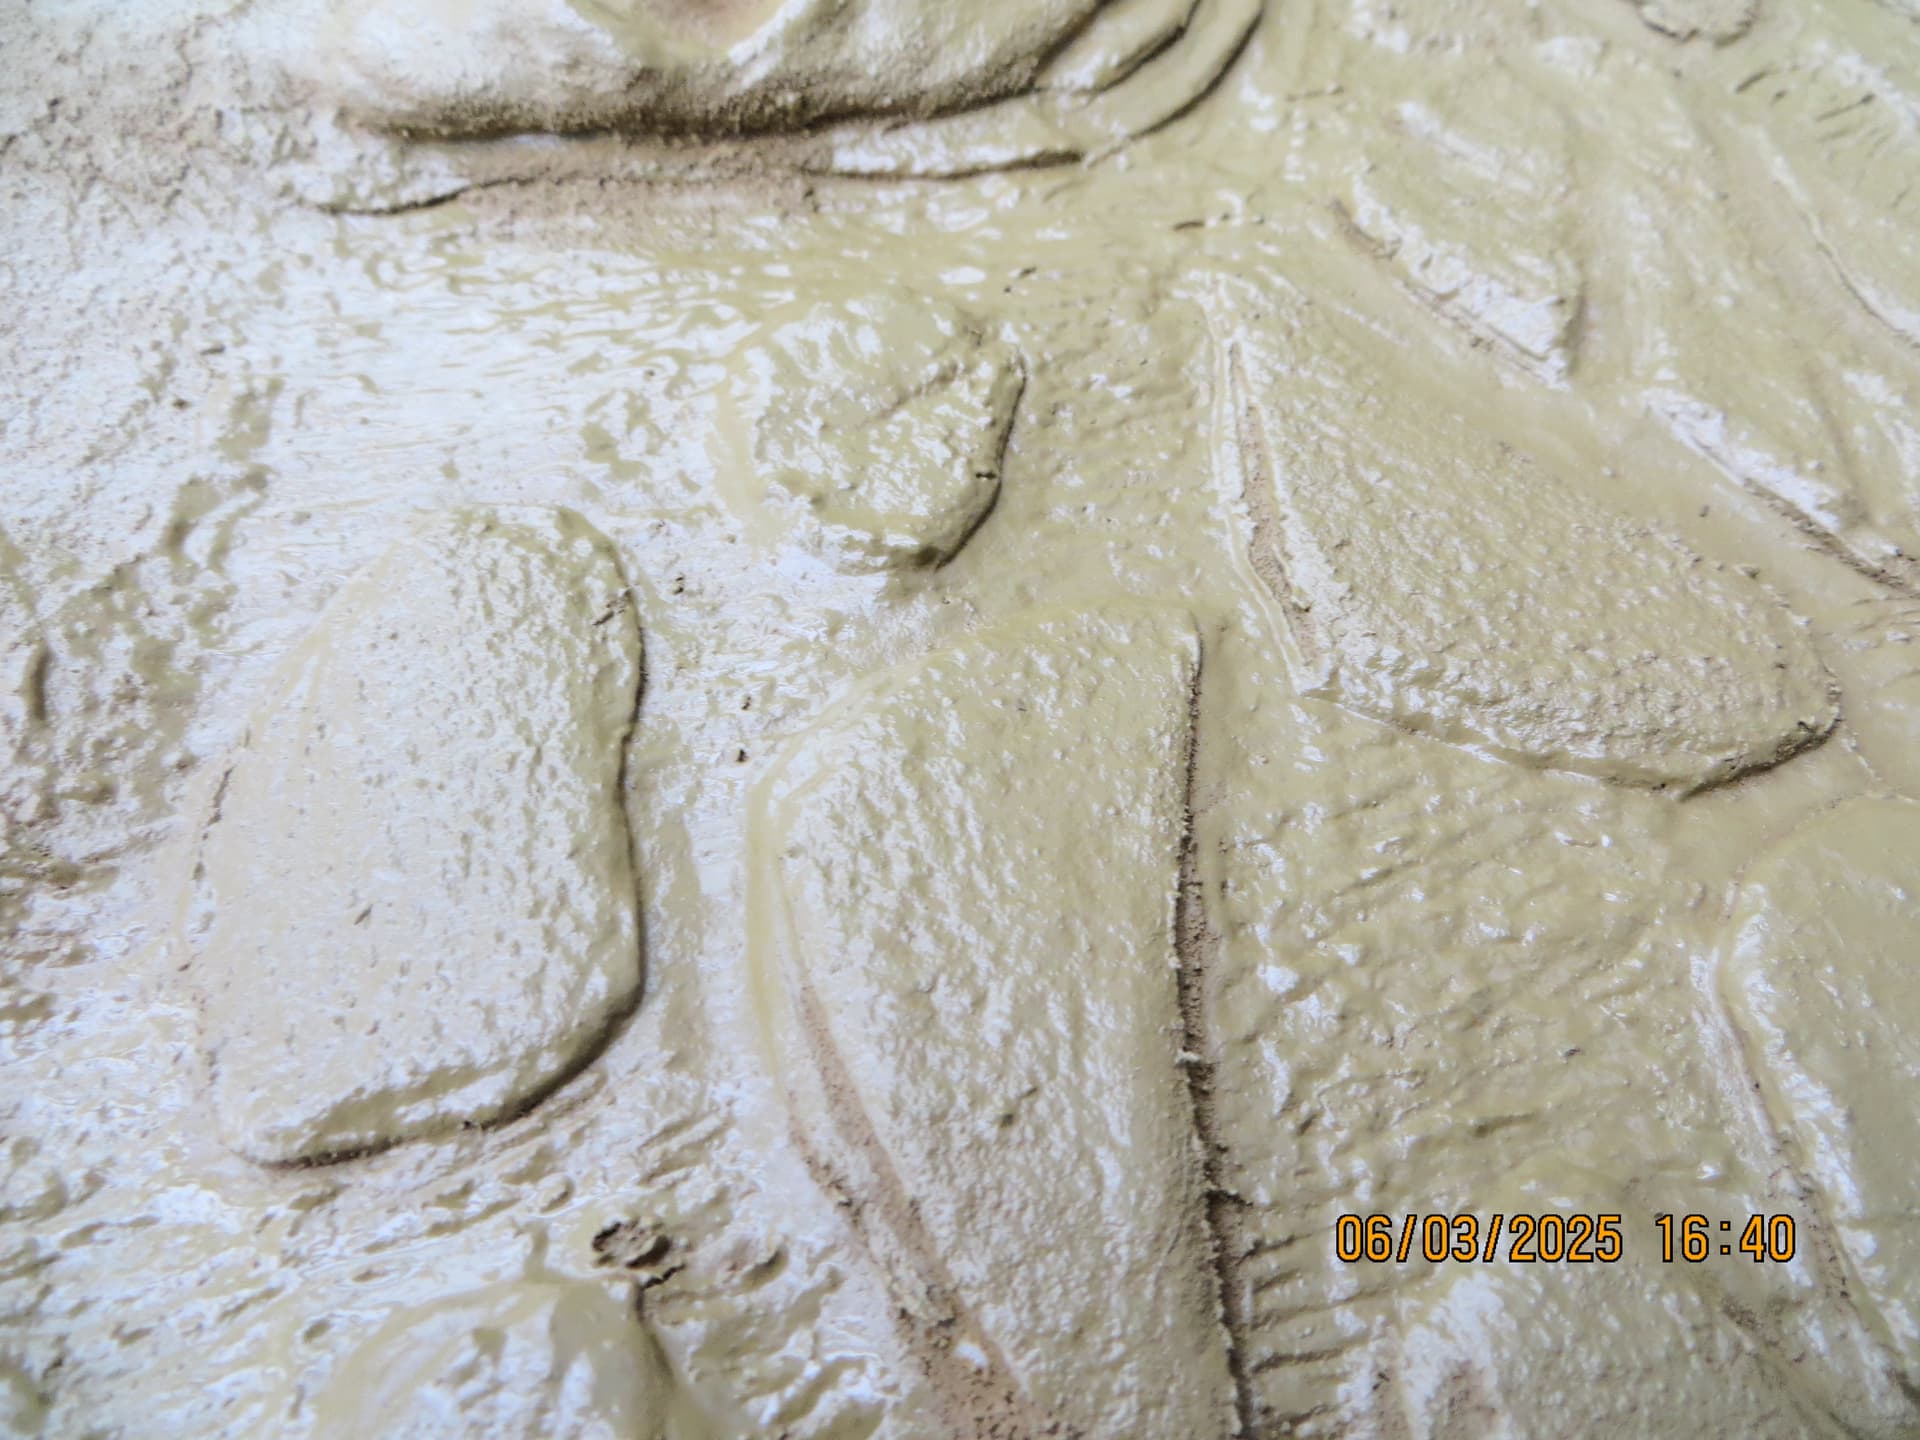

It doesn’t show up overly well at the moment, but hopefully that’ll change when a I start adding some colour, ![]()
![]() .
.
Cheers, ![]() ,
,
G
14 Likes
That looks great, very natural flow of water and the islands it leaves behind.
2 Likes
That new groundwork is super G. Lovely realistic water flow around the islands, which are also very well done and look exactly like the ones I was wandering around earlier today while dog walking on the beach. Brilliant ![]()
![]()
2 Likes
Thanks to Steve and John for their positive feedback, it’s always appreciated, ![]()
![]() .
.
G, ![]()
1 Like
Hi all,
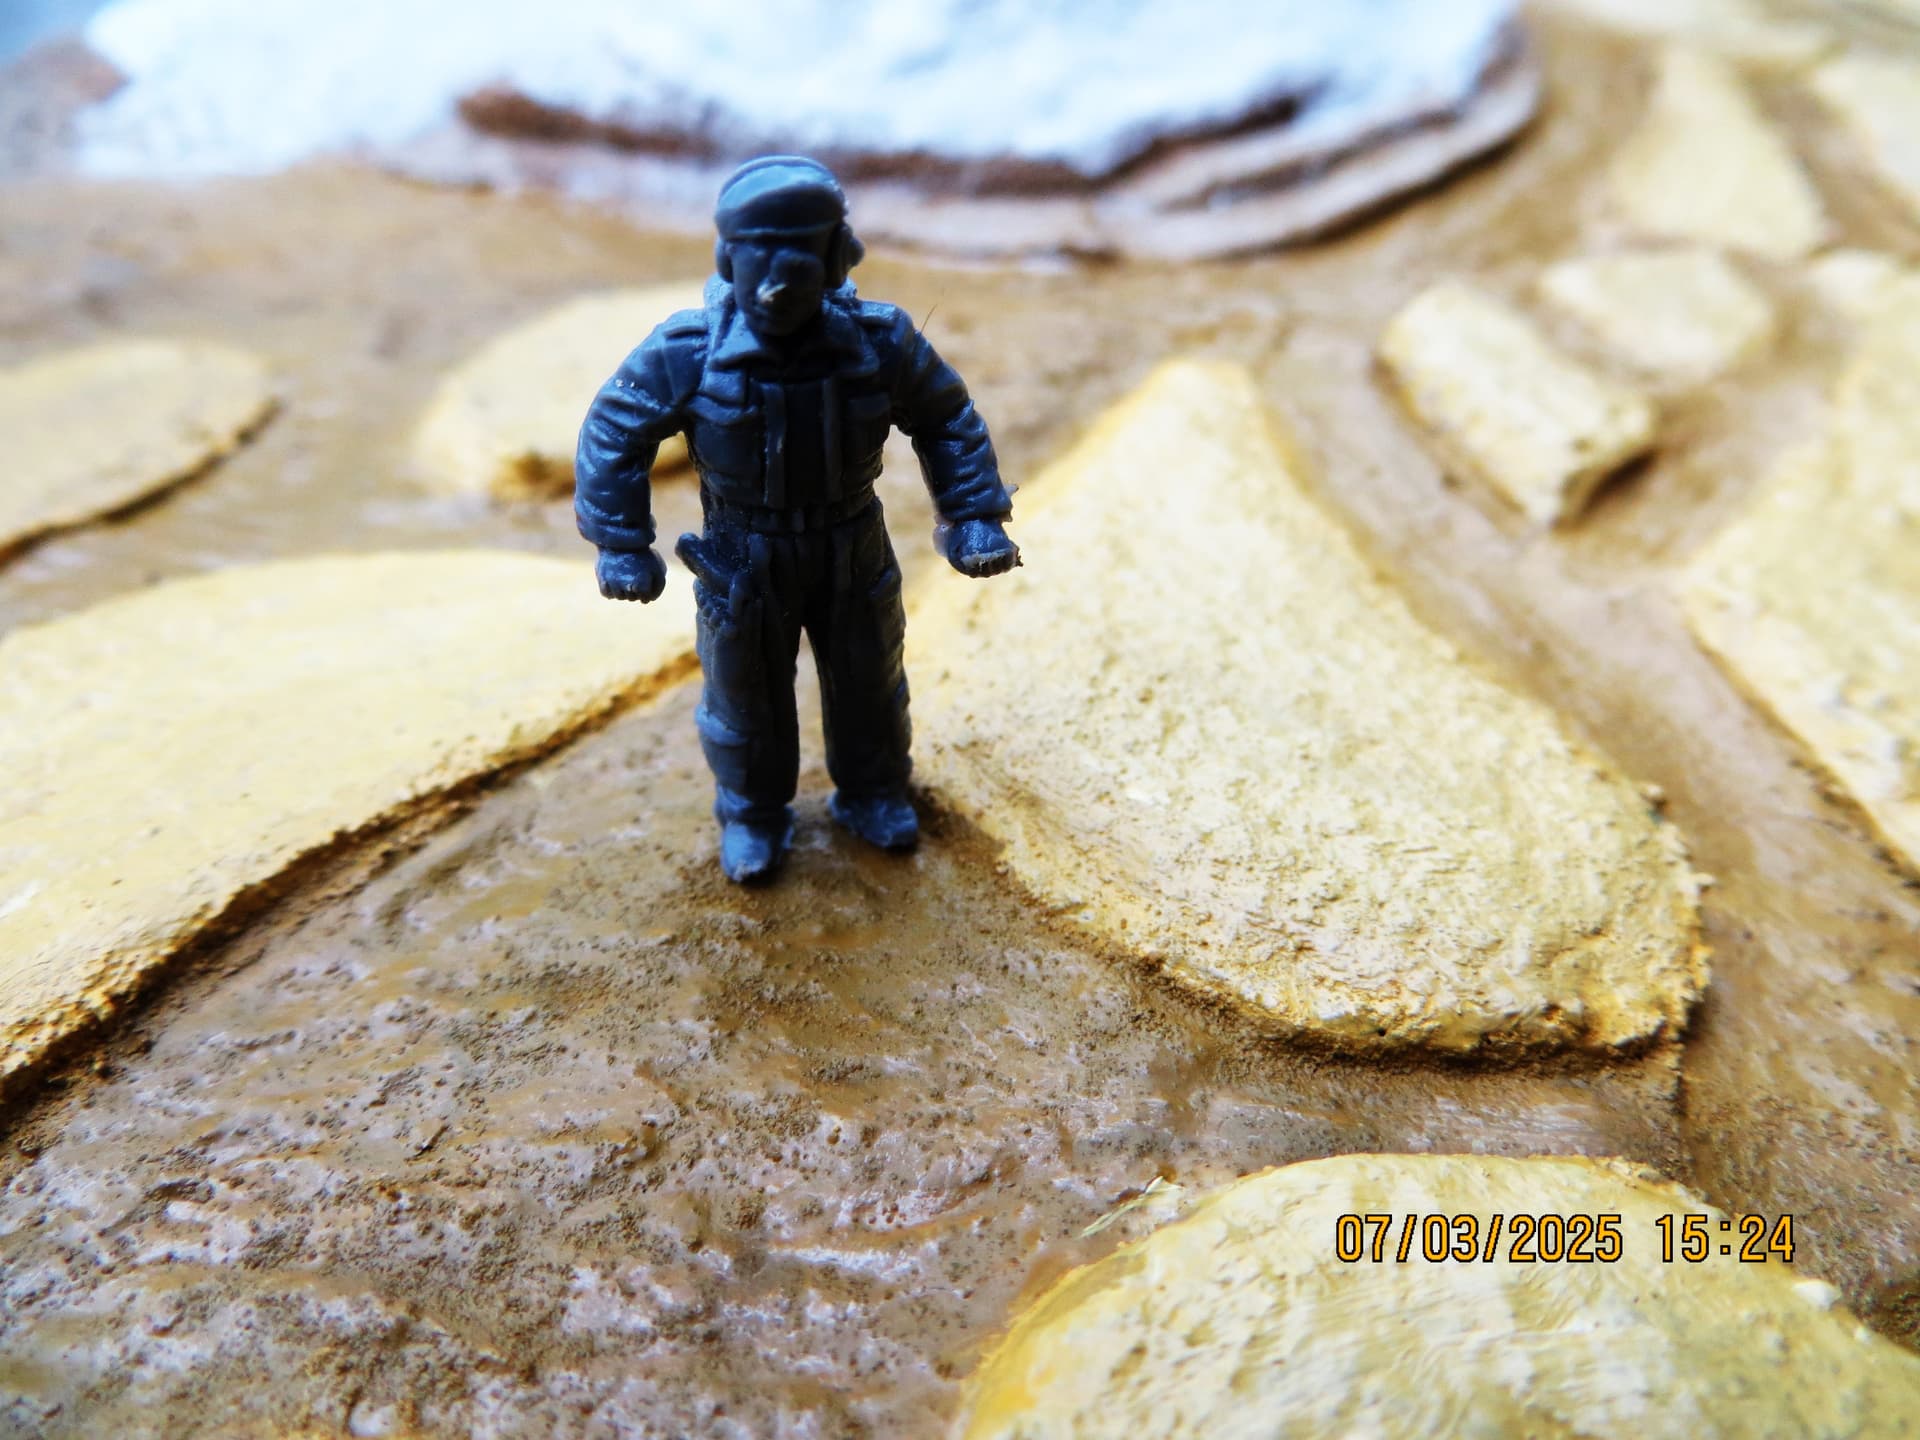
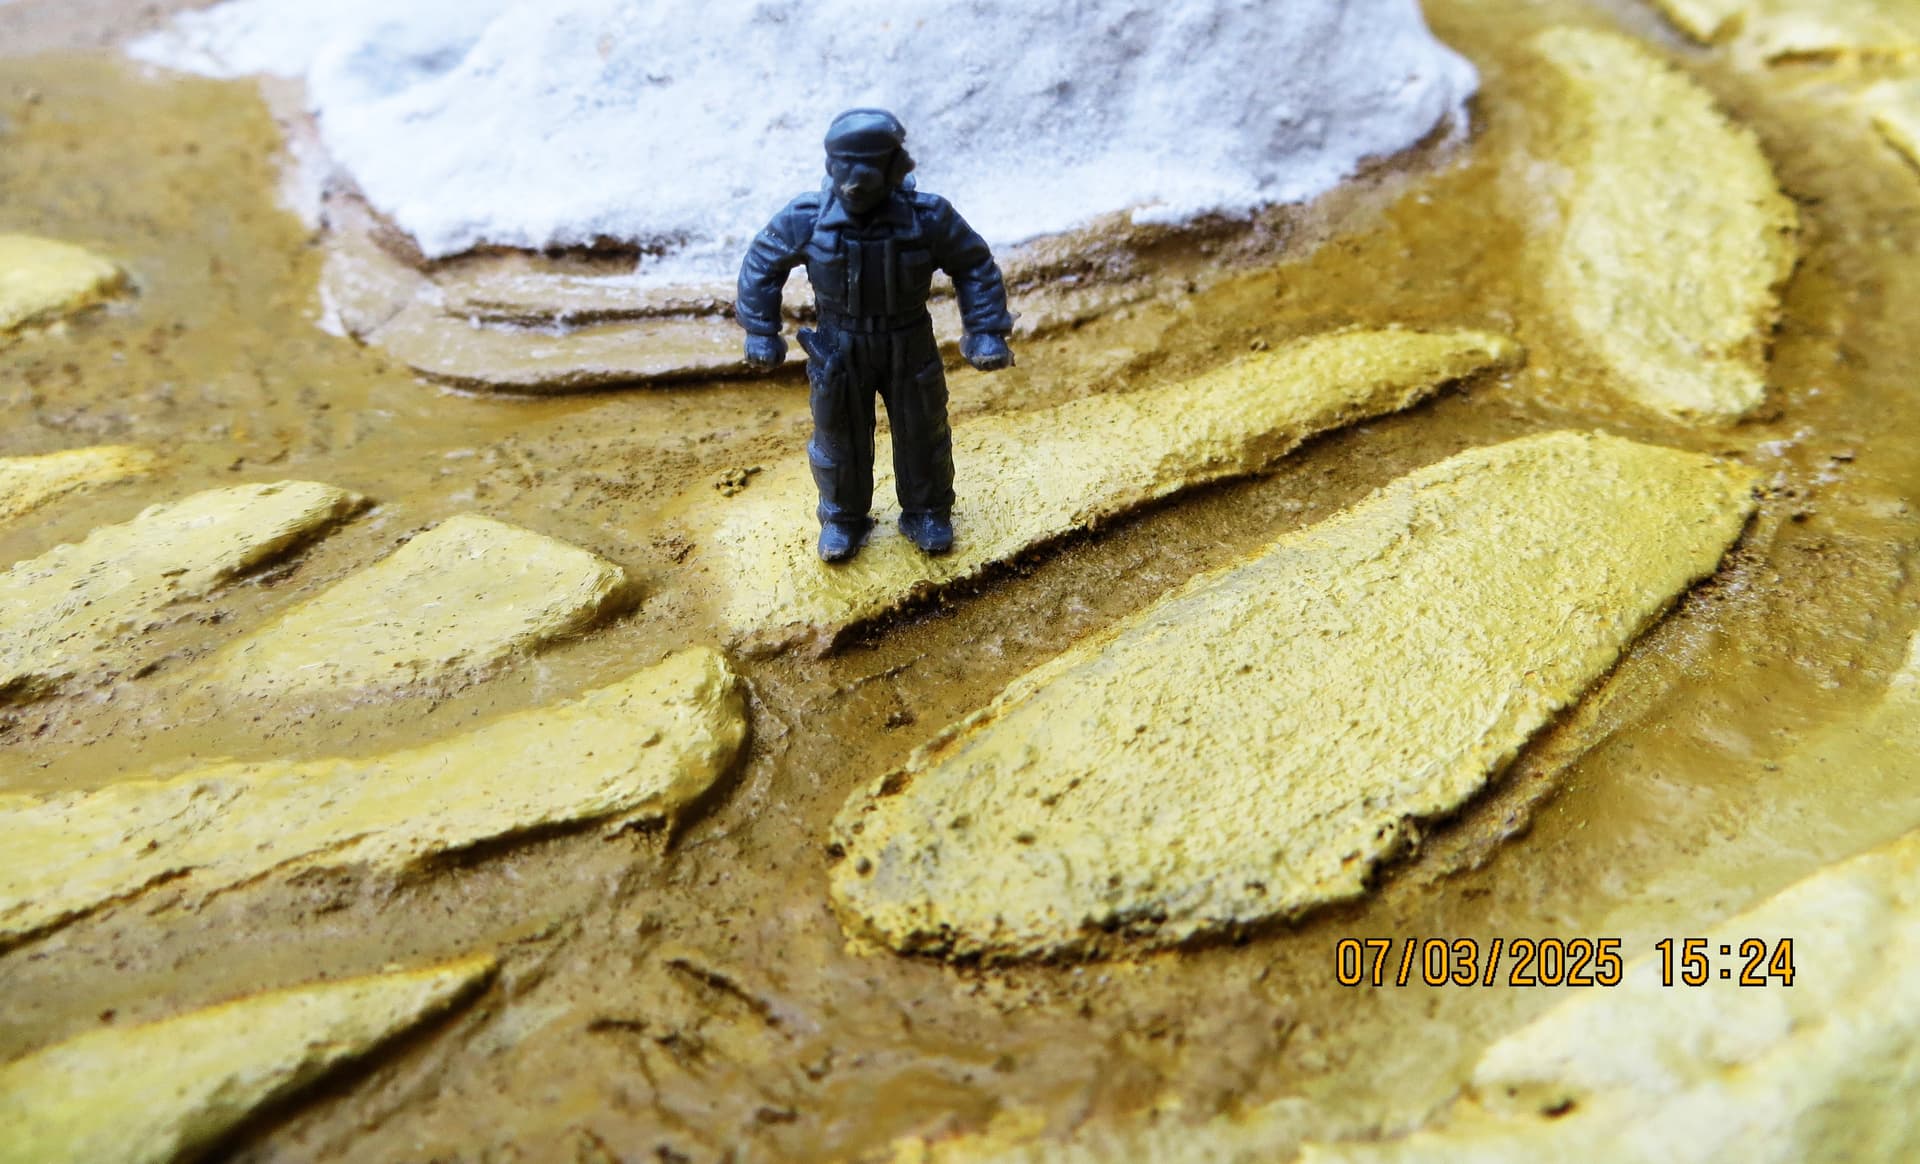
Started to block out some colour, it’s a bit garish, and too yellow, but it’s early days and I’ll be toning it down to a more cementish colour, so hopefully it’ll end up looking right, ![]()
![]() .
.


And just for John (Johnnych01), his favourite 1/72nd British tank commander to give a sense of scale, ![]()
![]() .
.
Does anyone have any suggestions on how to make 1/72 barbed wire?
Cheers, ![]() ,
,
G
10 Likes
Maybe fishing wire or stretched sprue. I won’t worry about adding the barbs as they wouldn’t be seen at scale. If you make it with three strands most people would think it’s bard wire anyway.
3 Likes
Very nice work Sam
3 Likes