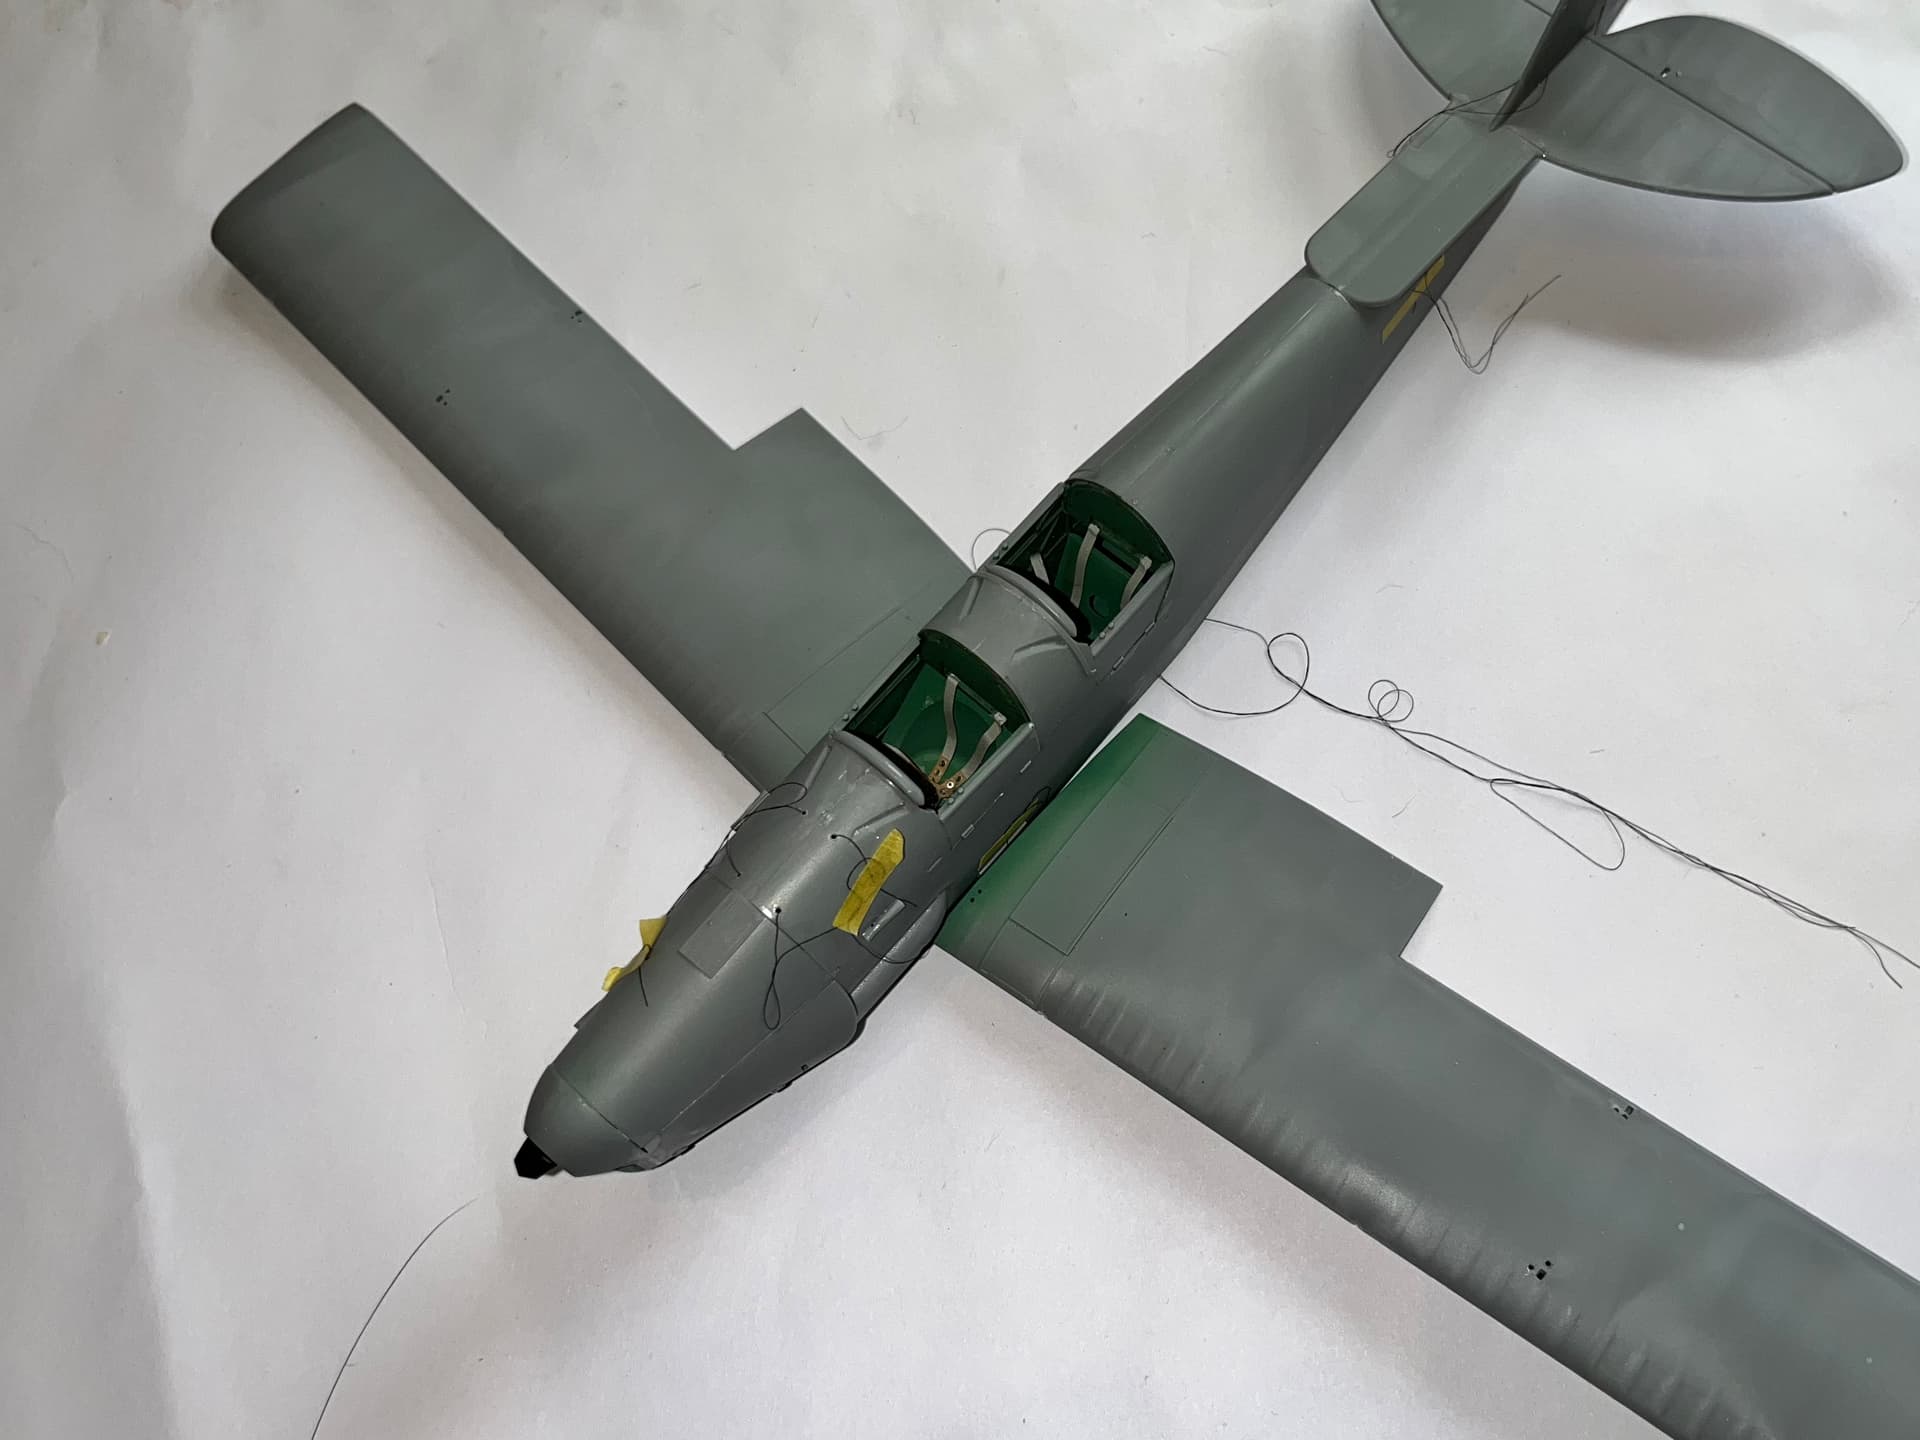
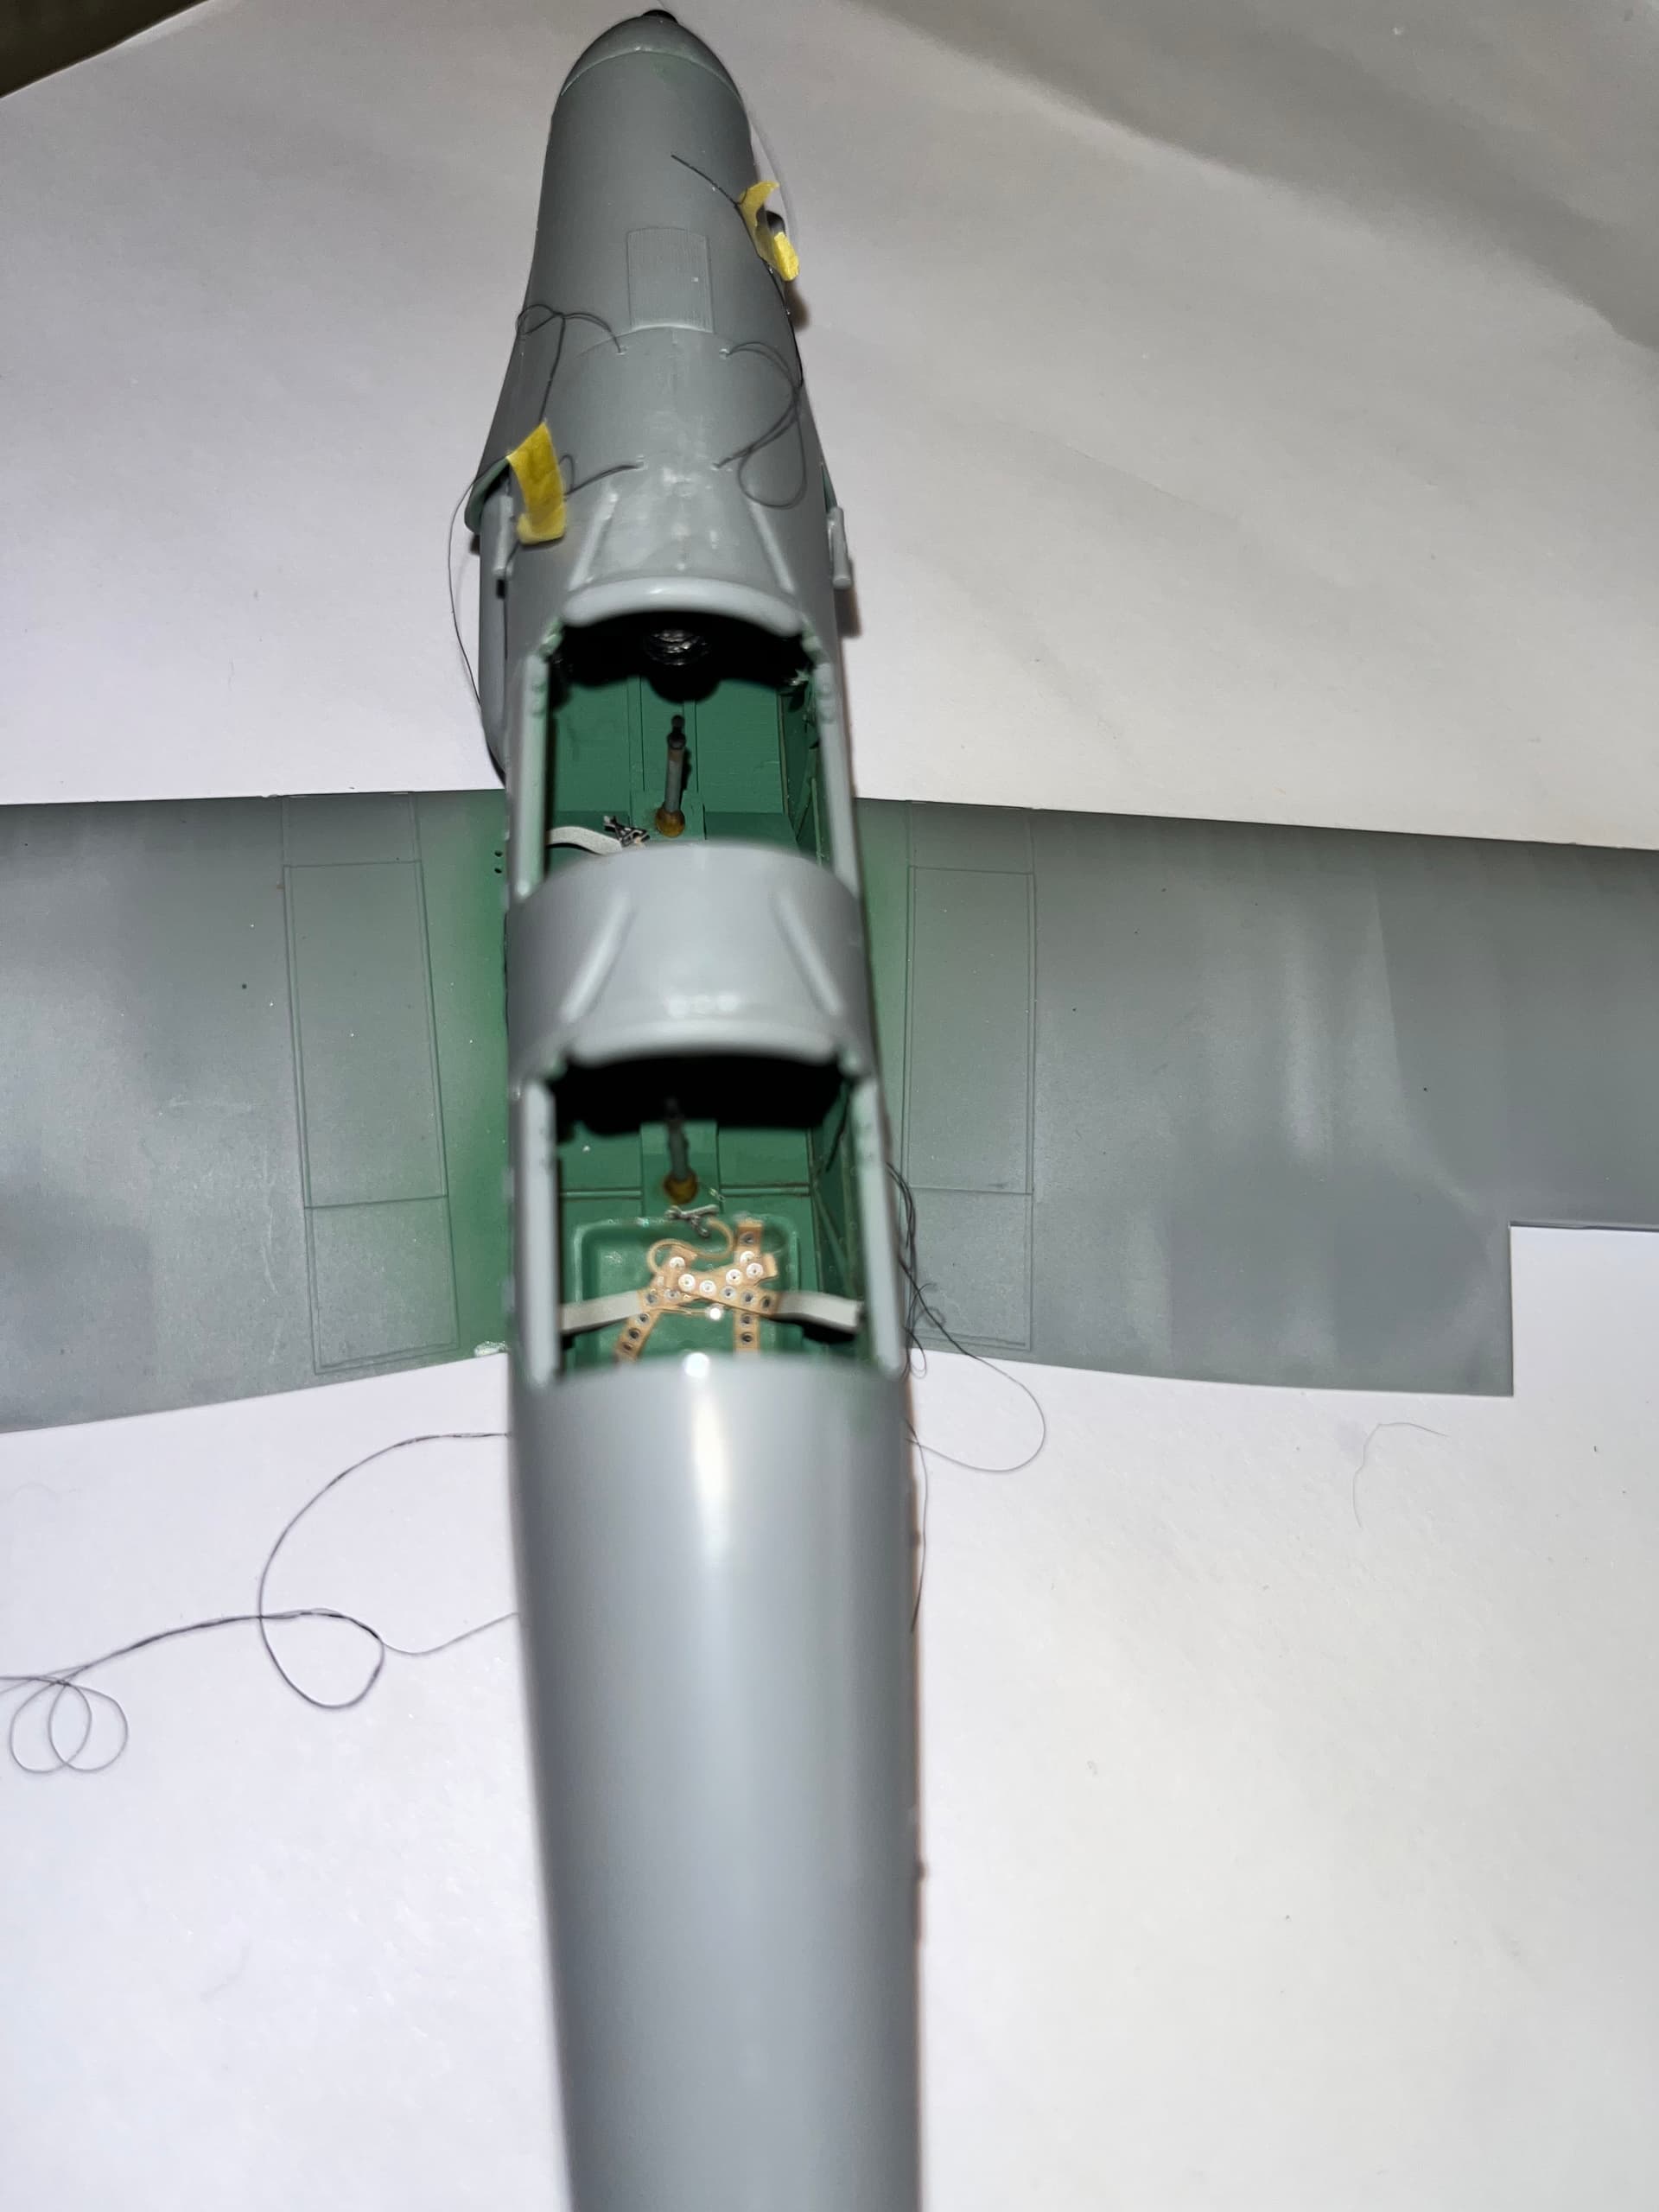
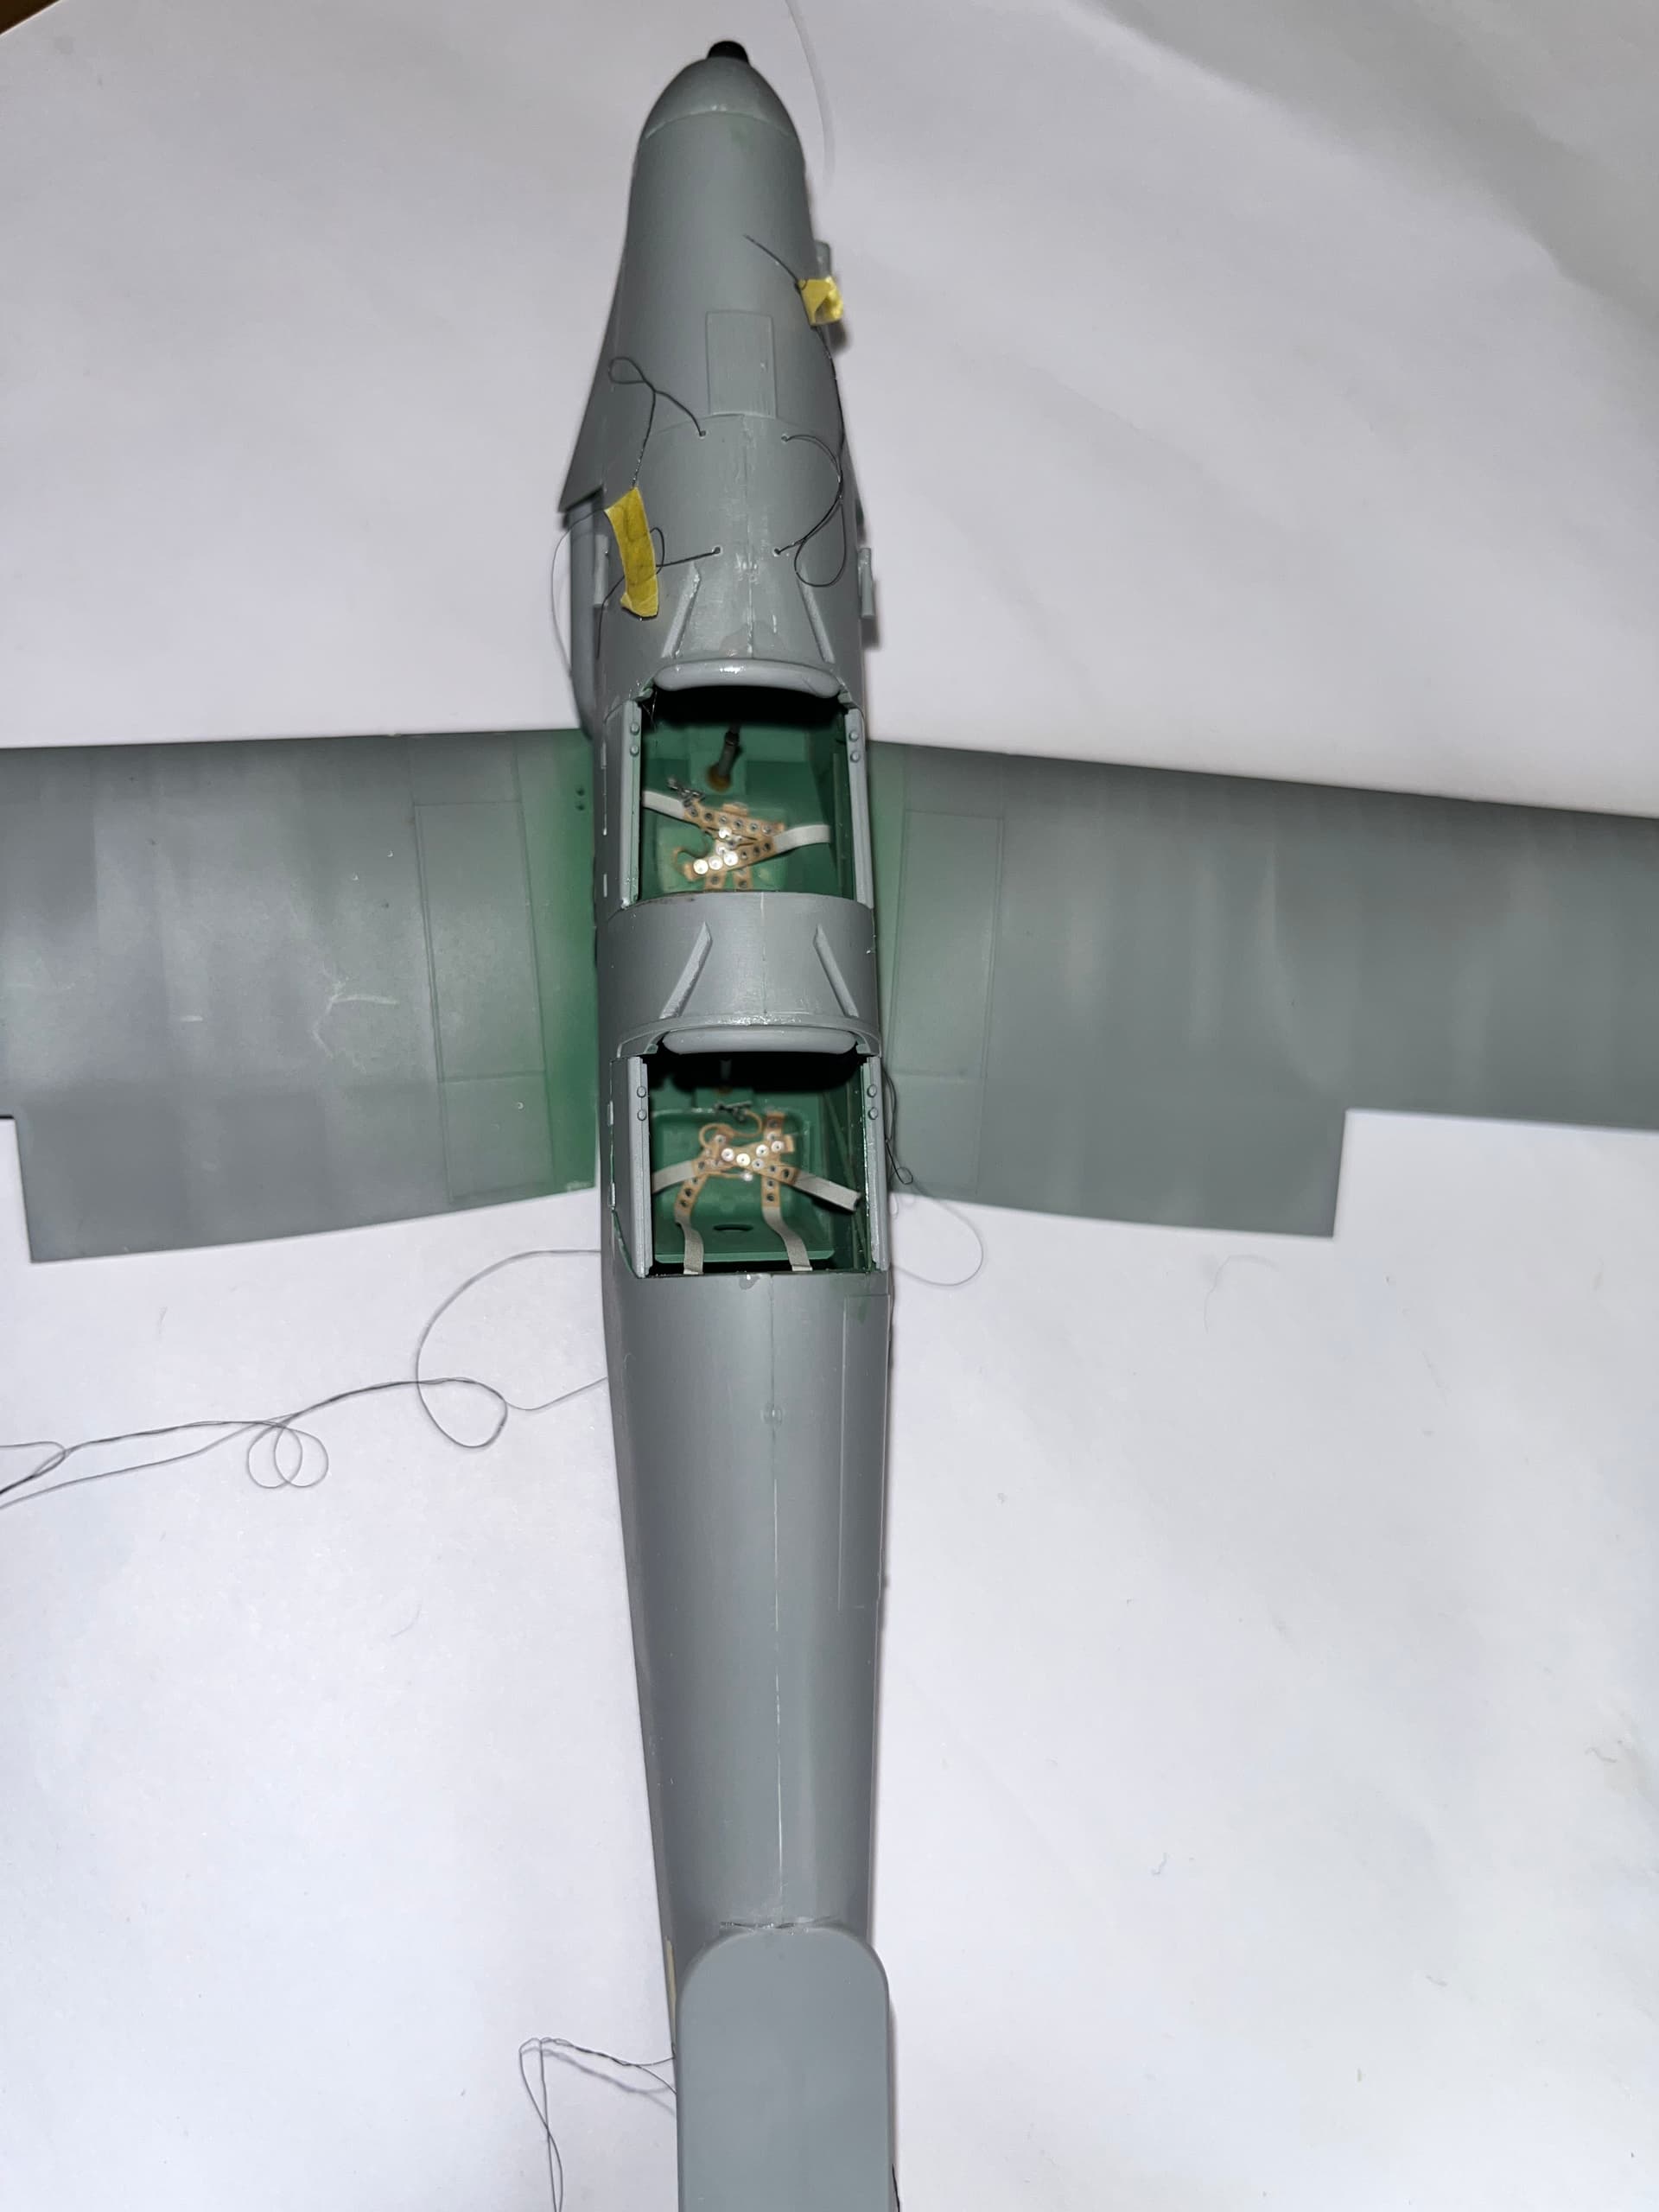
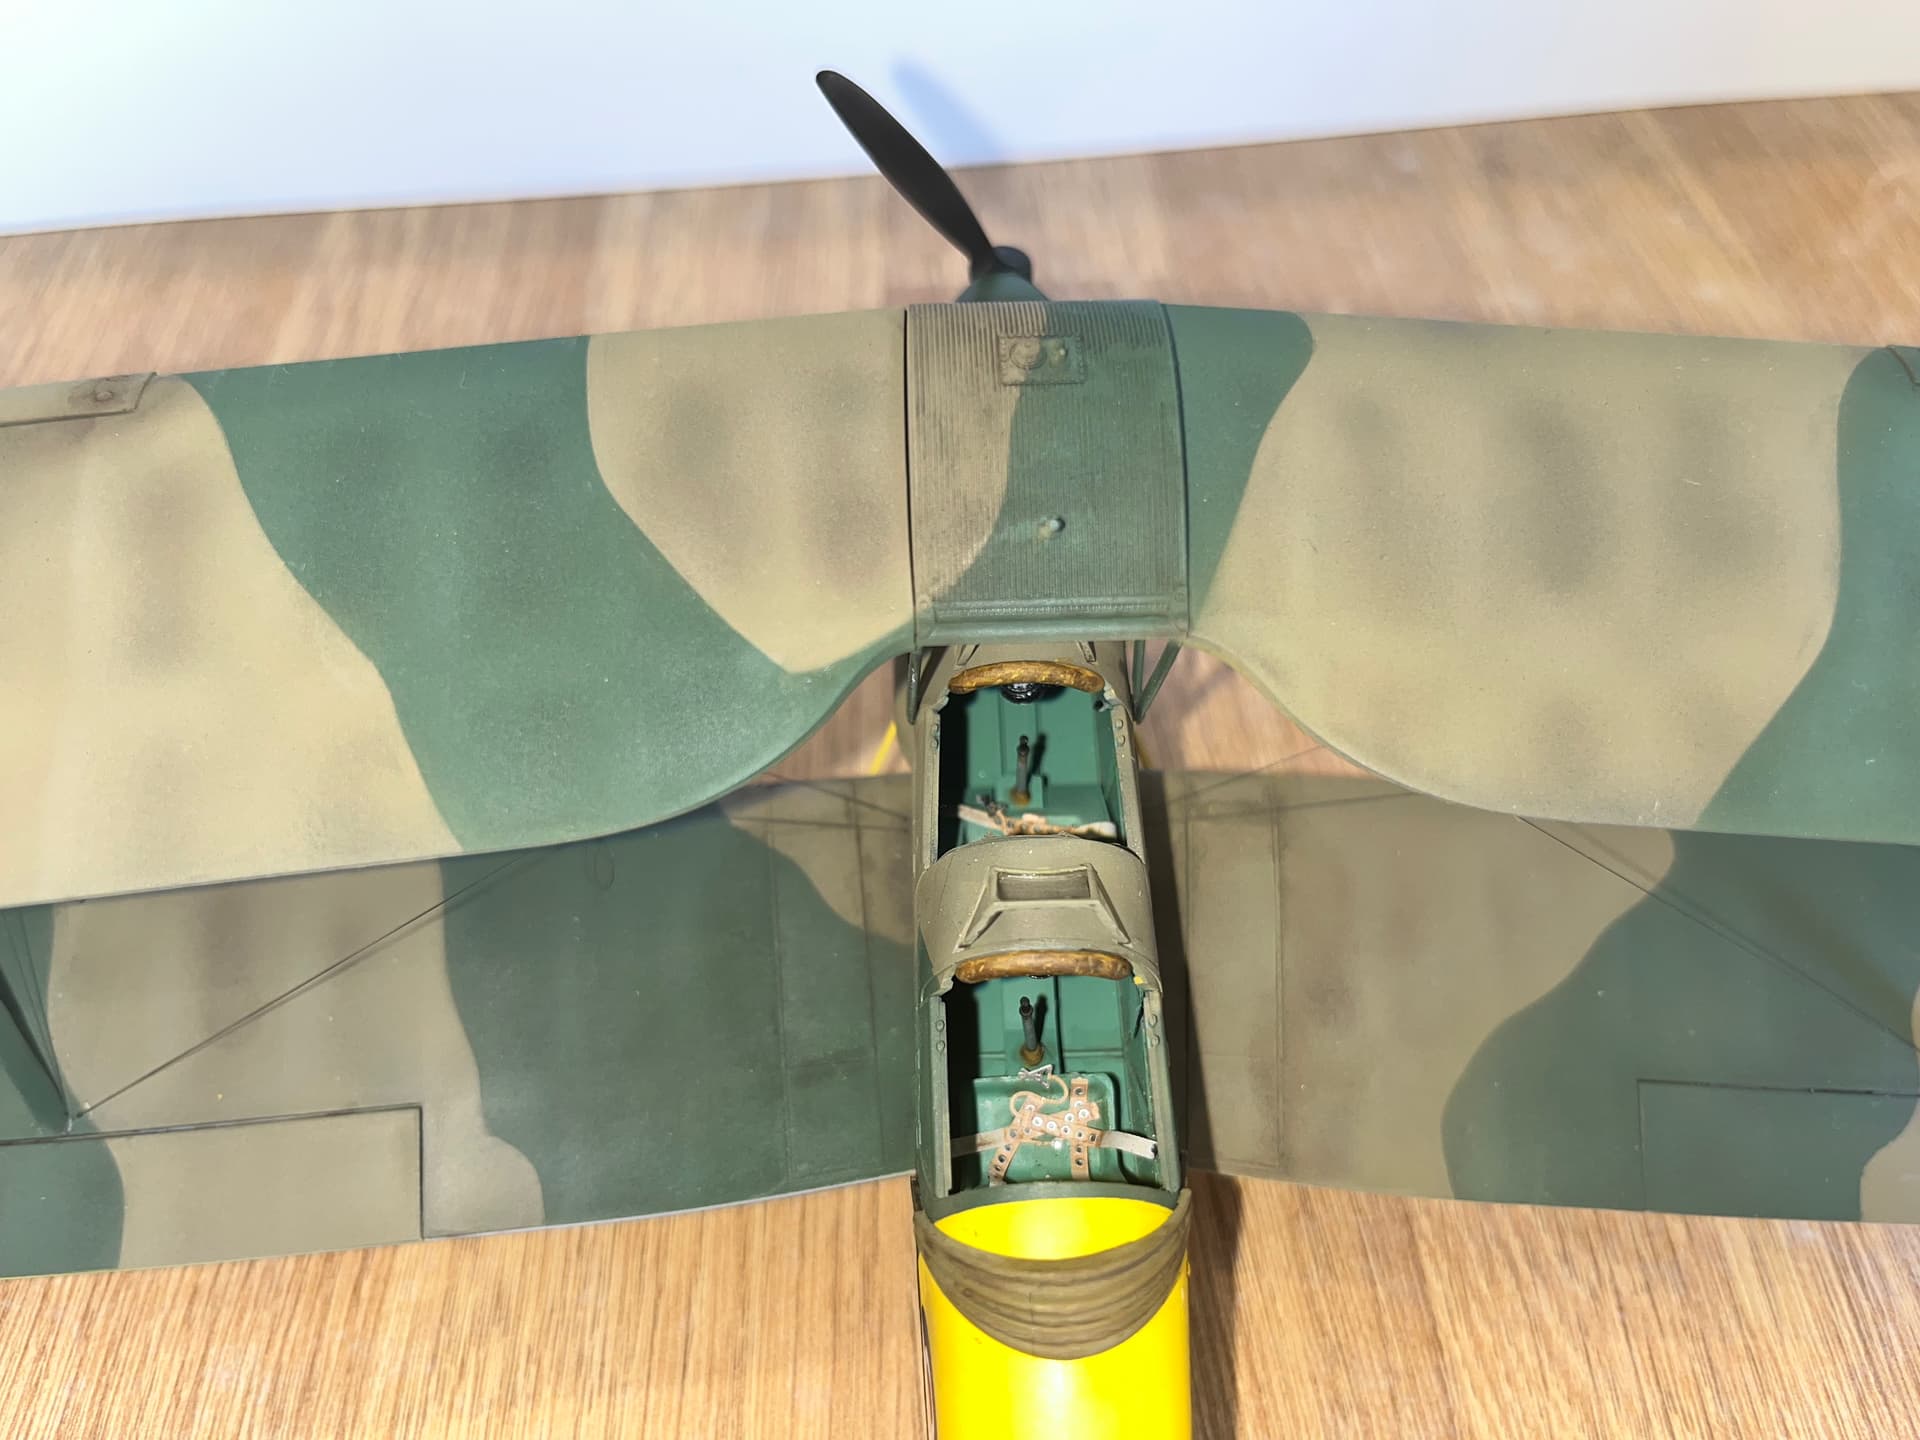
Bit more progress finished the cockpit and mated the cockpit floor and lower wings to the fuselage. First time I’ve used PE seatbelts and don’t know if it’s me, but feel they might look a little washed out. May put a light oil wash over them but not yet decided.
Got a decision on how to proceed next. Part of me feels that I should make the upper wings as a sub assembly and paint before finishing the build as the rigging threads through the wings and fuselage as the kit progresses rather than at the end. On the other hand fear I the potential I might run into minor fit issues mating the wing halves after painting resulting in filling, sanding and repainting anyway.
3 Likes
Looks really good this far @D1GG3r321 , ref the seatbelts, in the images, the whole cockpit bucket area and seatbelts just look to new to my eye, I think with a subtle wash that should tone it back ?
And the top wing… Personally I would paint first and fit as wouldn’t selective repairs and touch up painting be easier than painting it whole with the rigging getting in the way ? ( This is advice from a bona fide non wingy model builder lol so others will definitely know better  )
)
Thanks @Johnnych01 I was concerned, as primarily an armour modeller, it’d be easy to slap too much dirt and grime on for an aircraft, but agree needs a wash.
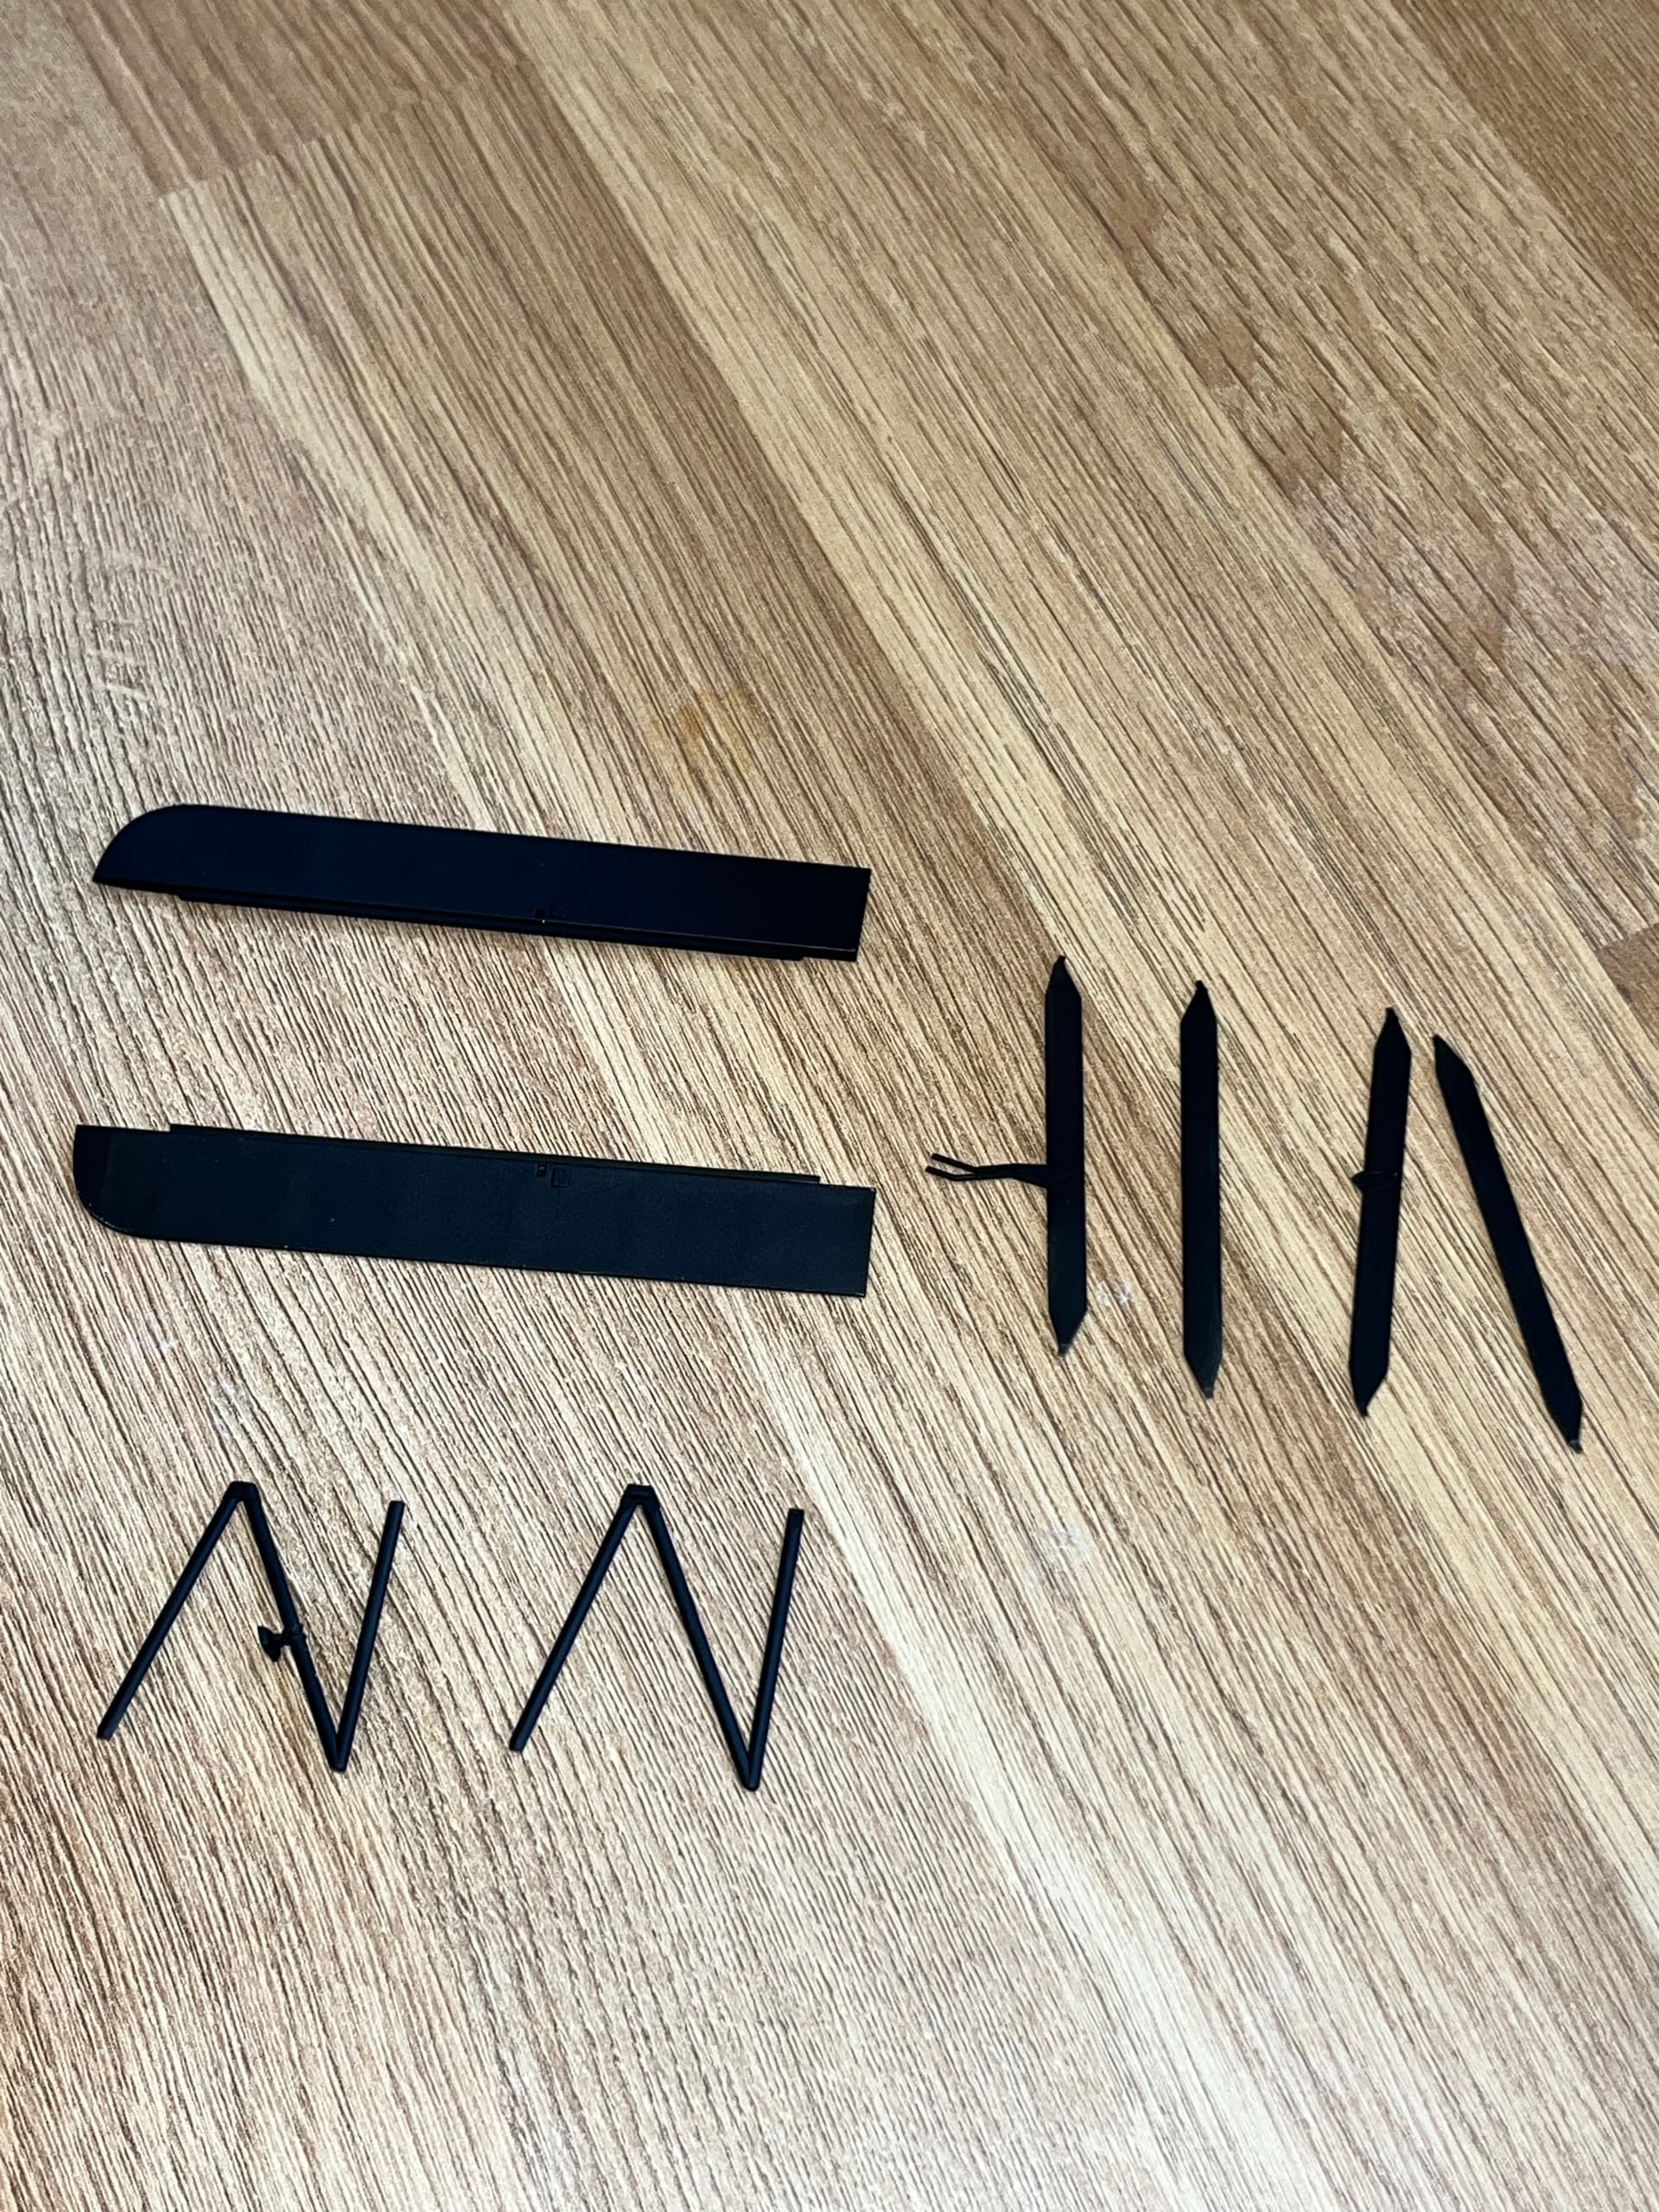
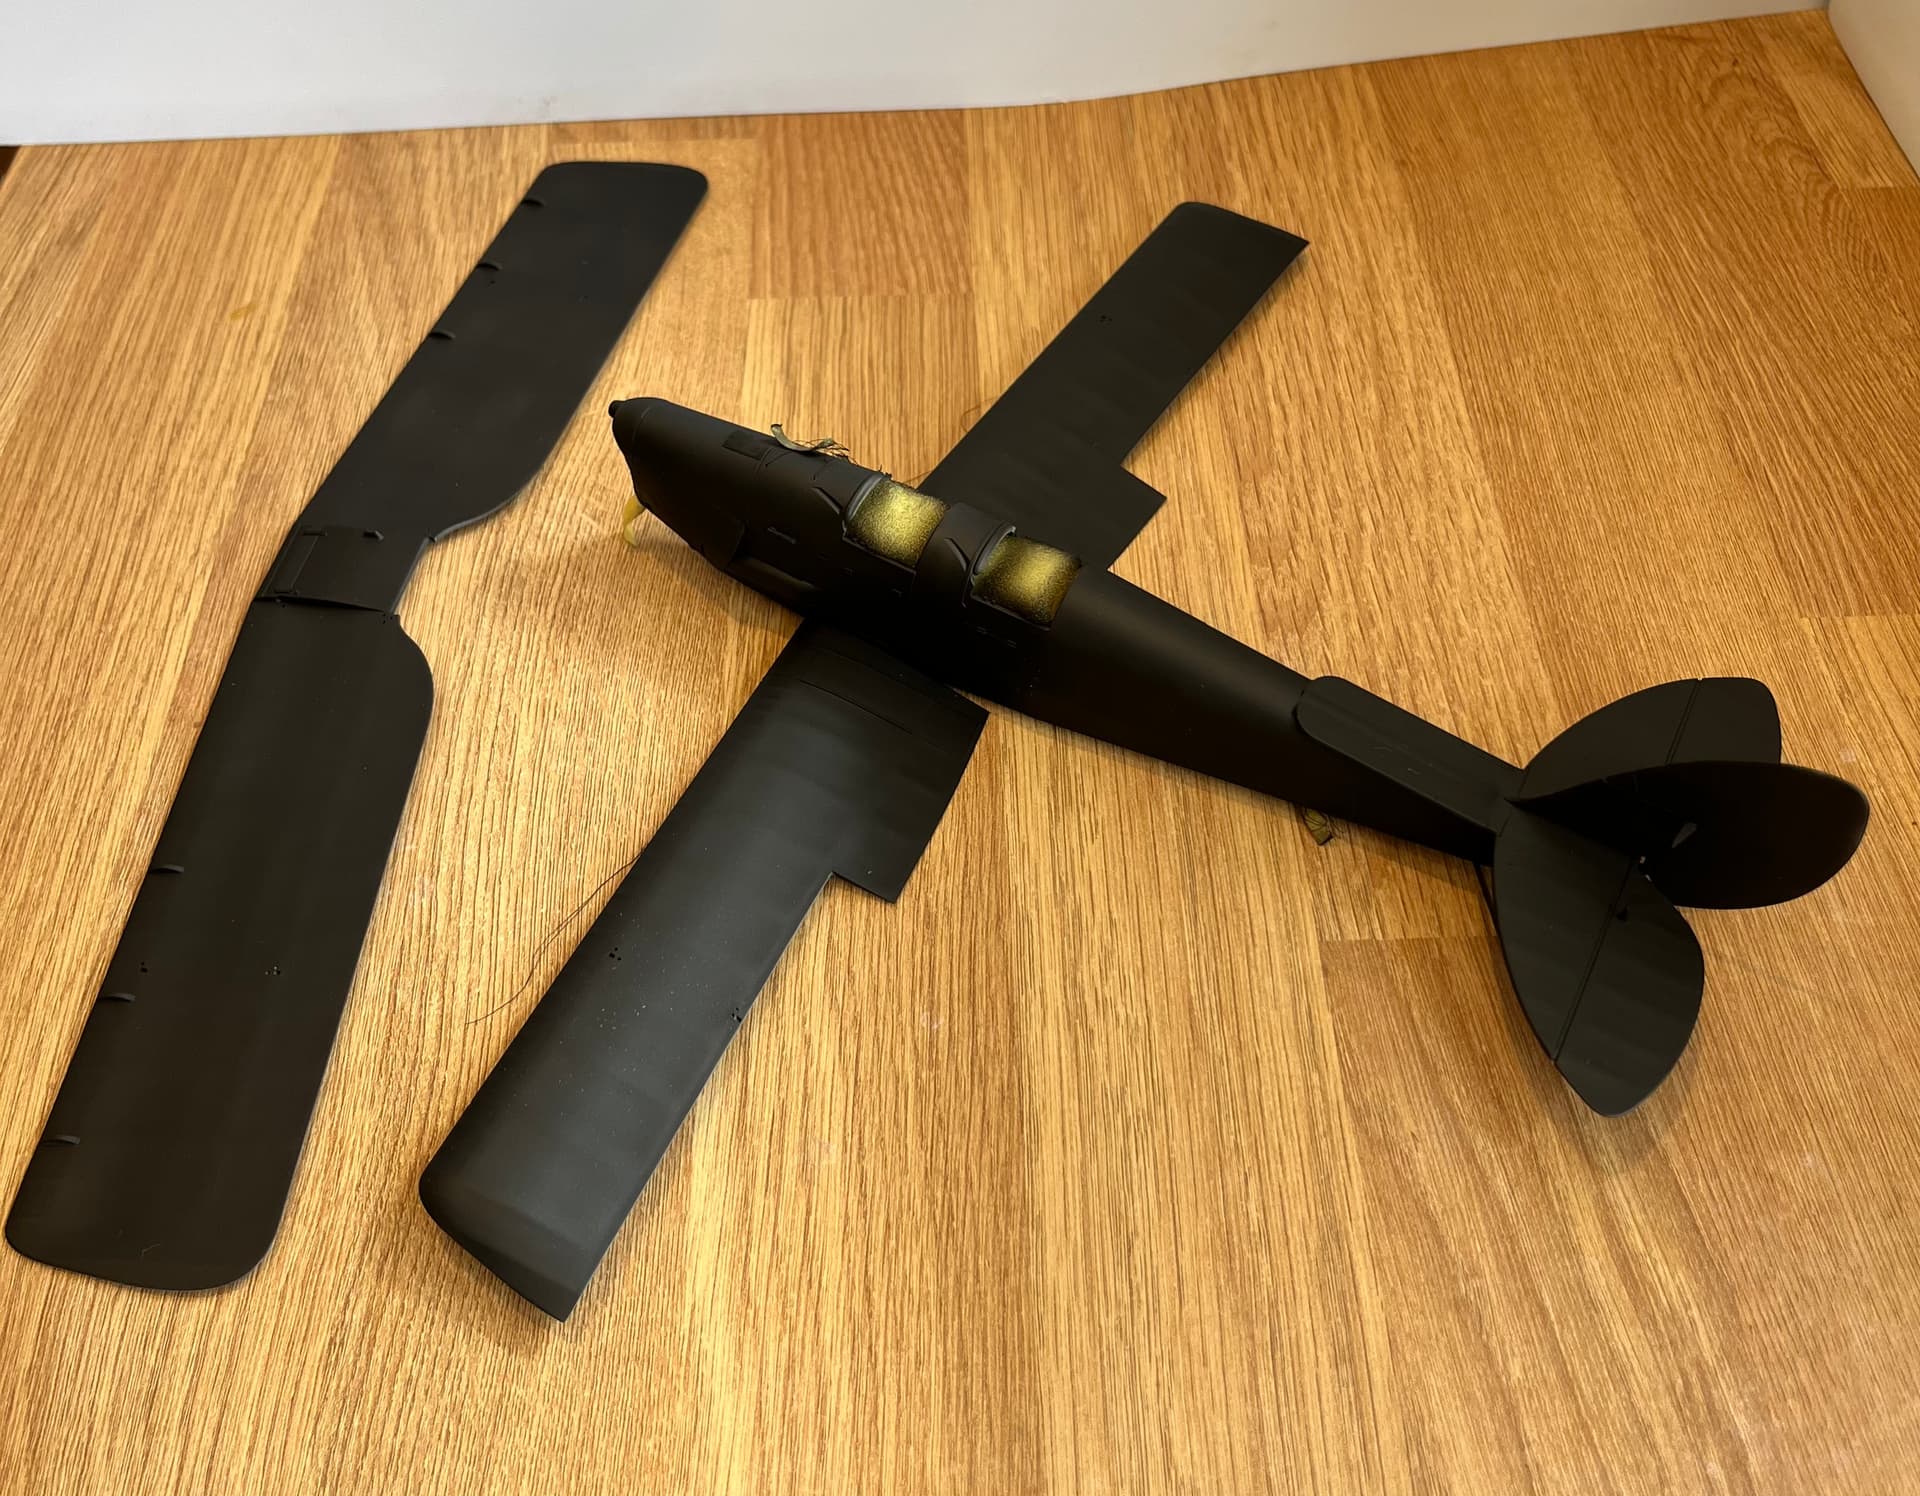
After a bit of determination I decided was best to part build and paint as I go. Primed the fuselage and the upper wings. I’ll then paint the fuselage and the upper surfaces of the lower wing and the underside of the top wing before construction. The remaining surfaces can be painted after construction as easily accessible from above and below with an airbrush.
Lost one tiny piece to the carpet monster, so had to scratch build. Simple enough fortunately and after a coat of primer, difference is negligible.
5 Likes
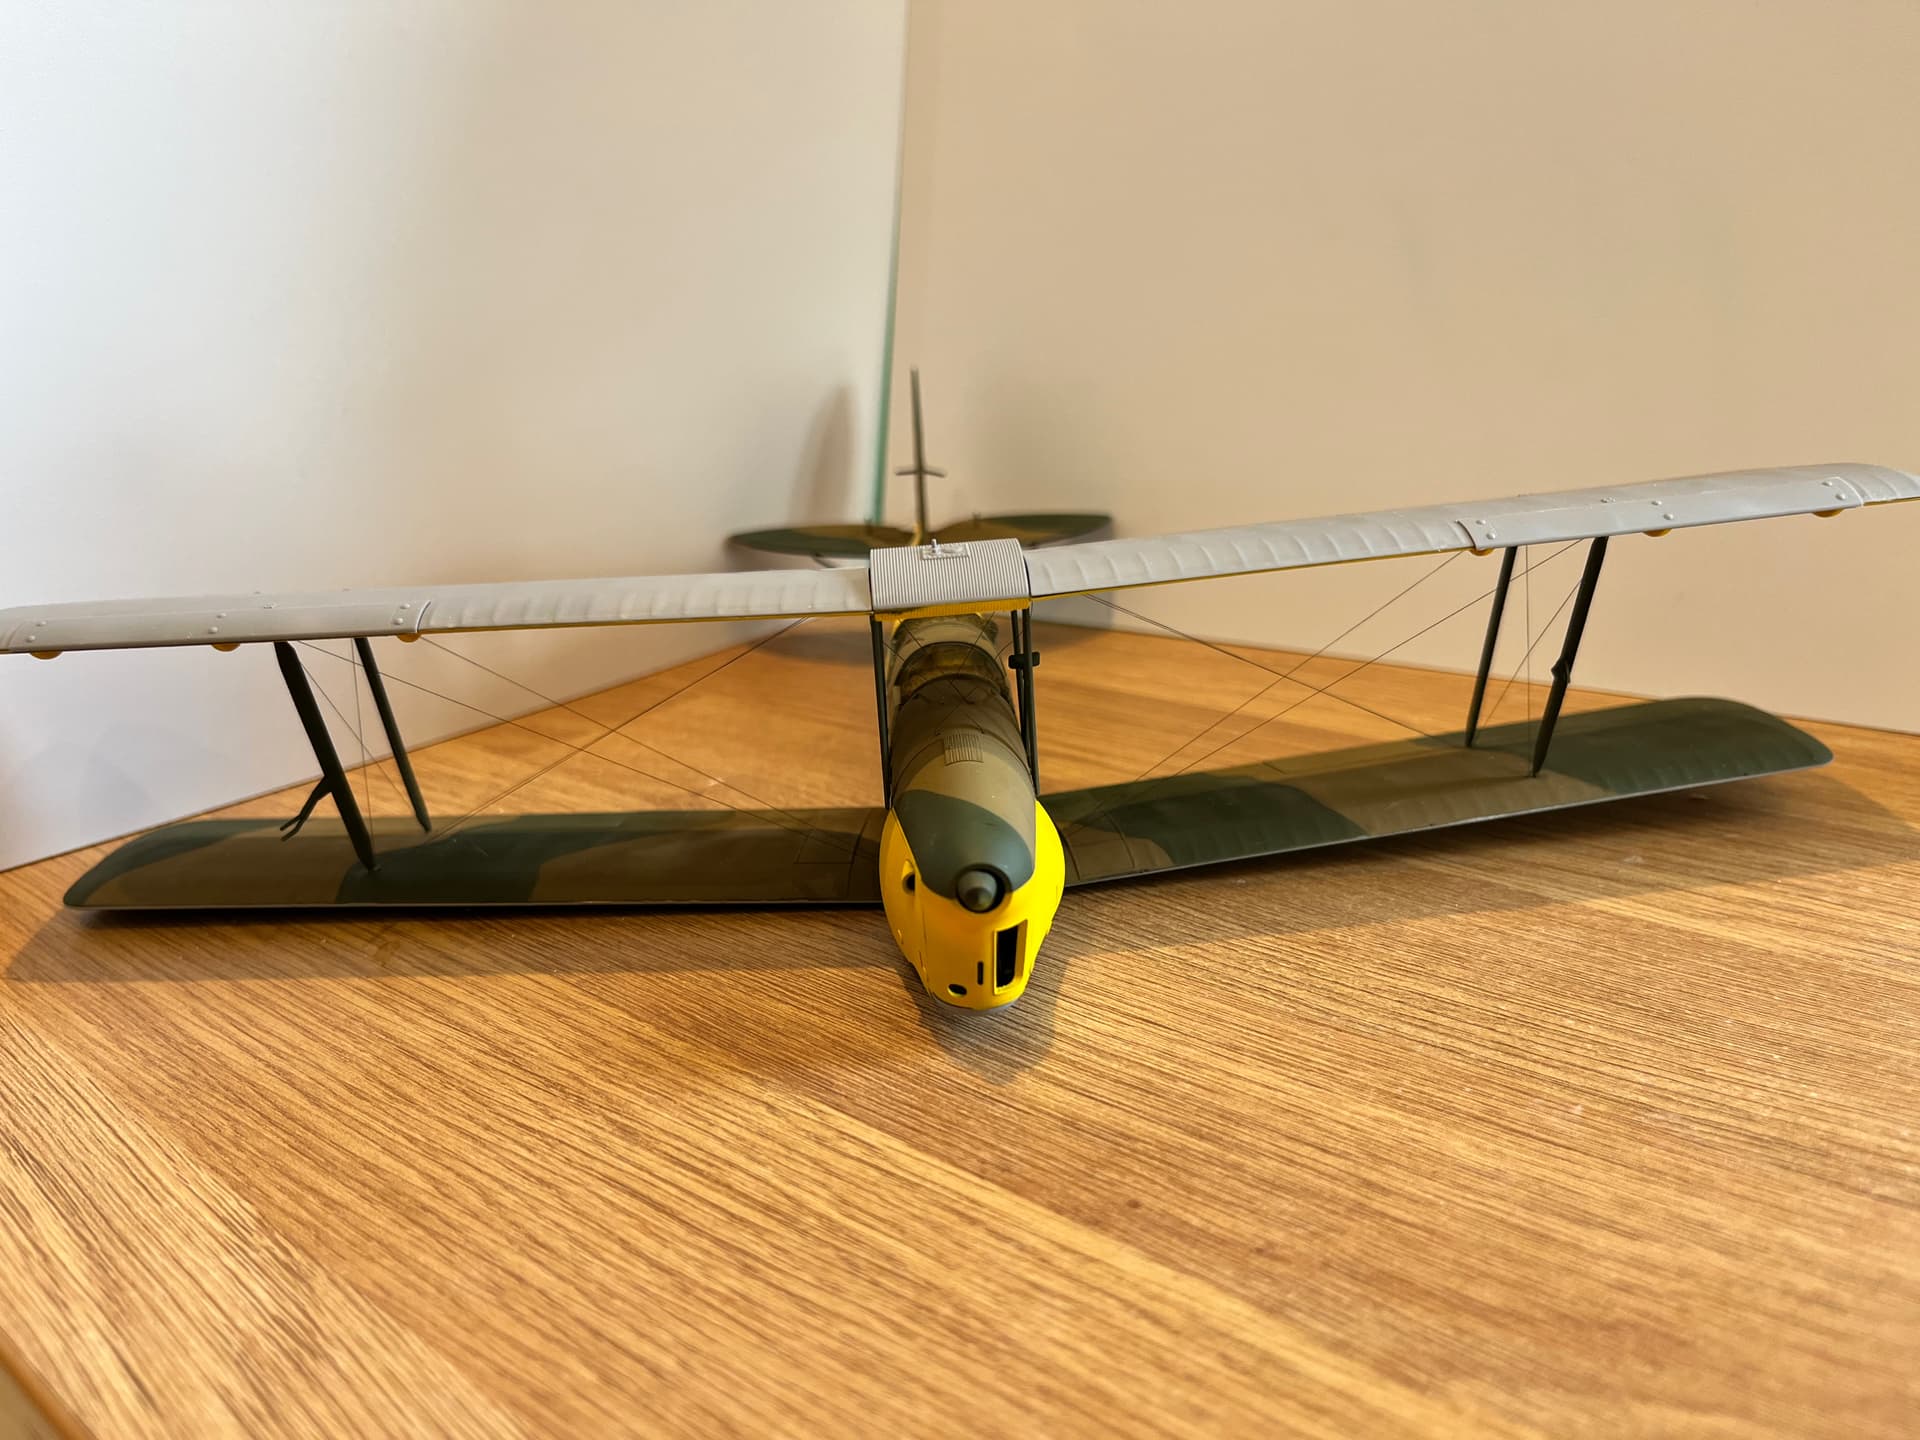
It’s been a bit of time since my last post. In the main work, unusually good weather and other commitments have got in the way. However had a day to catch up a bit.
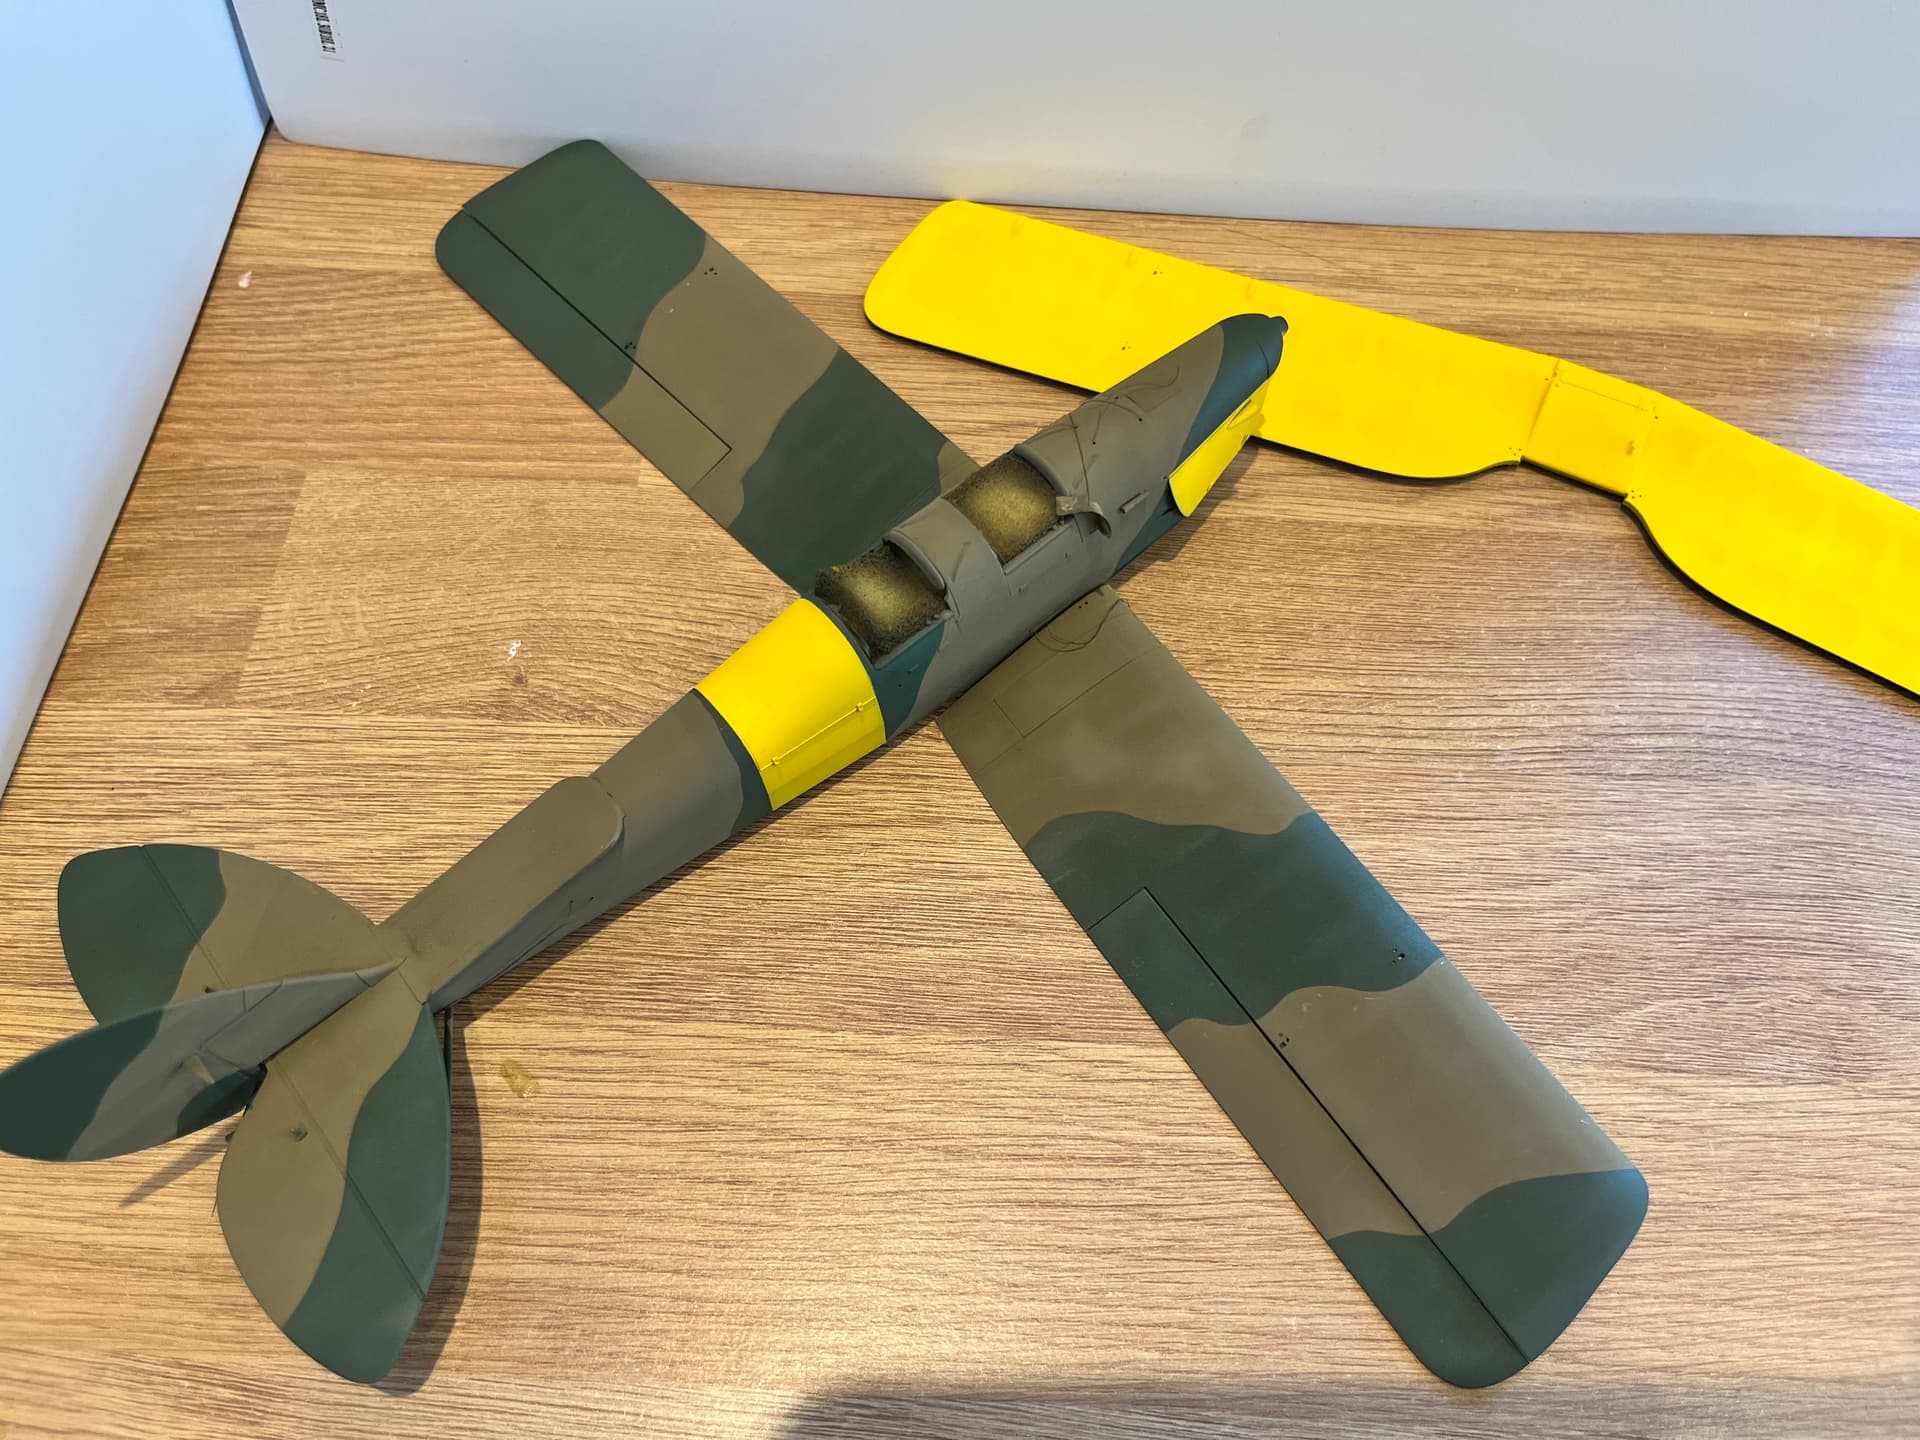
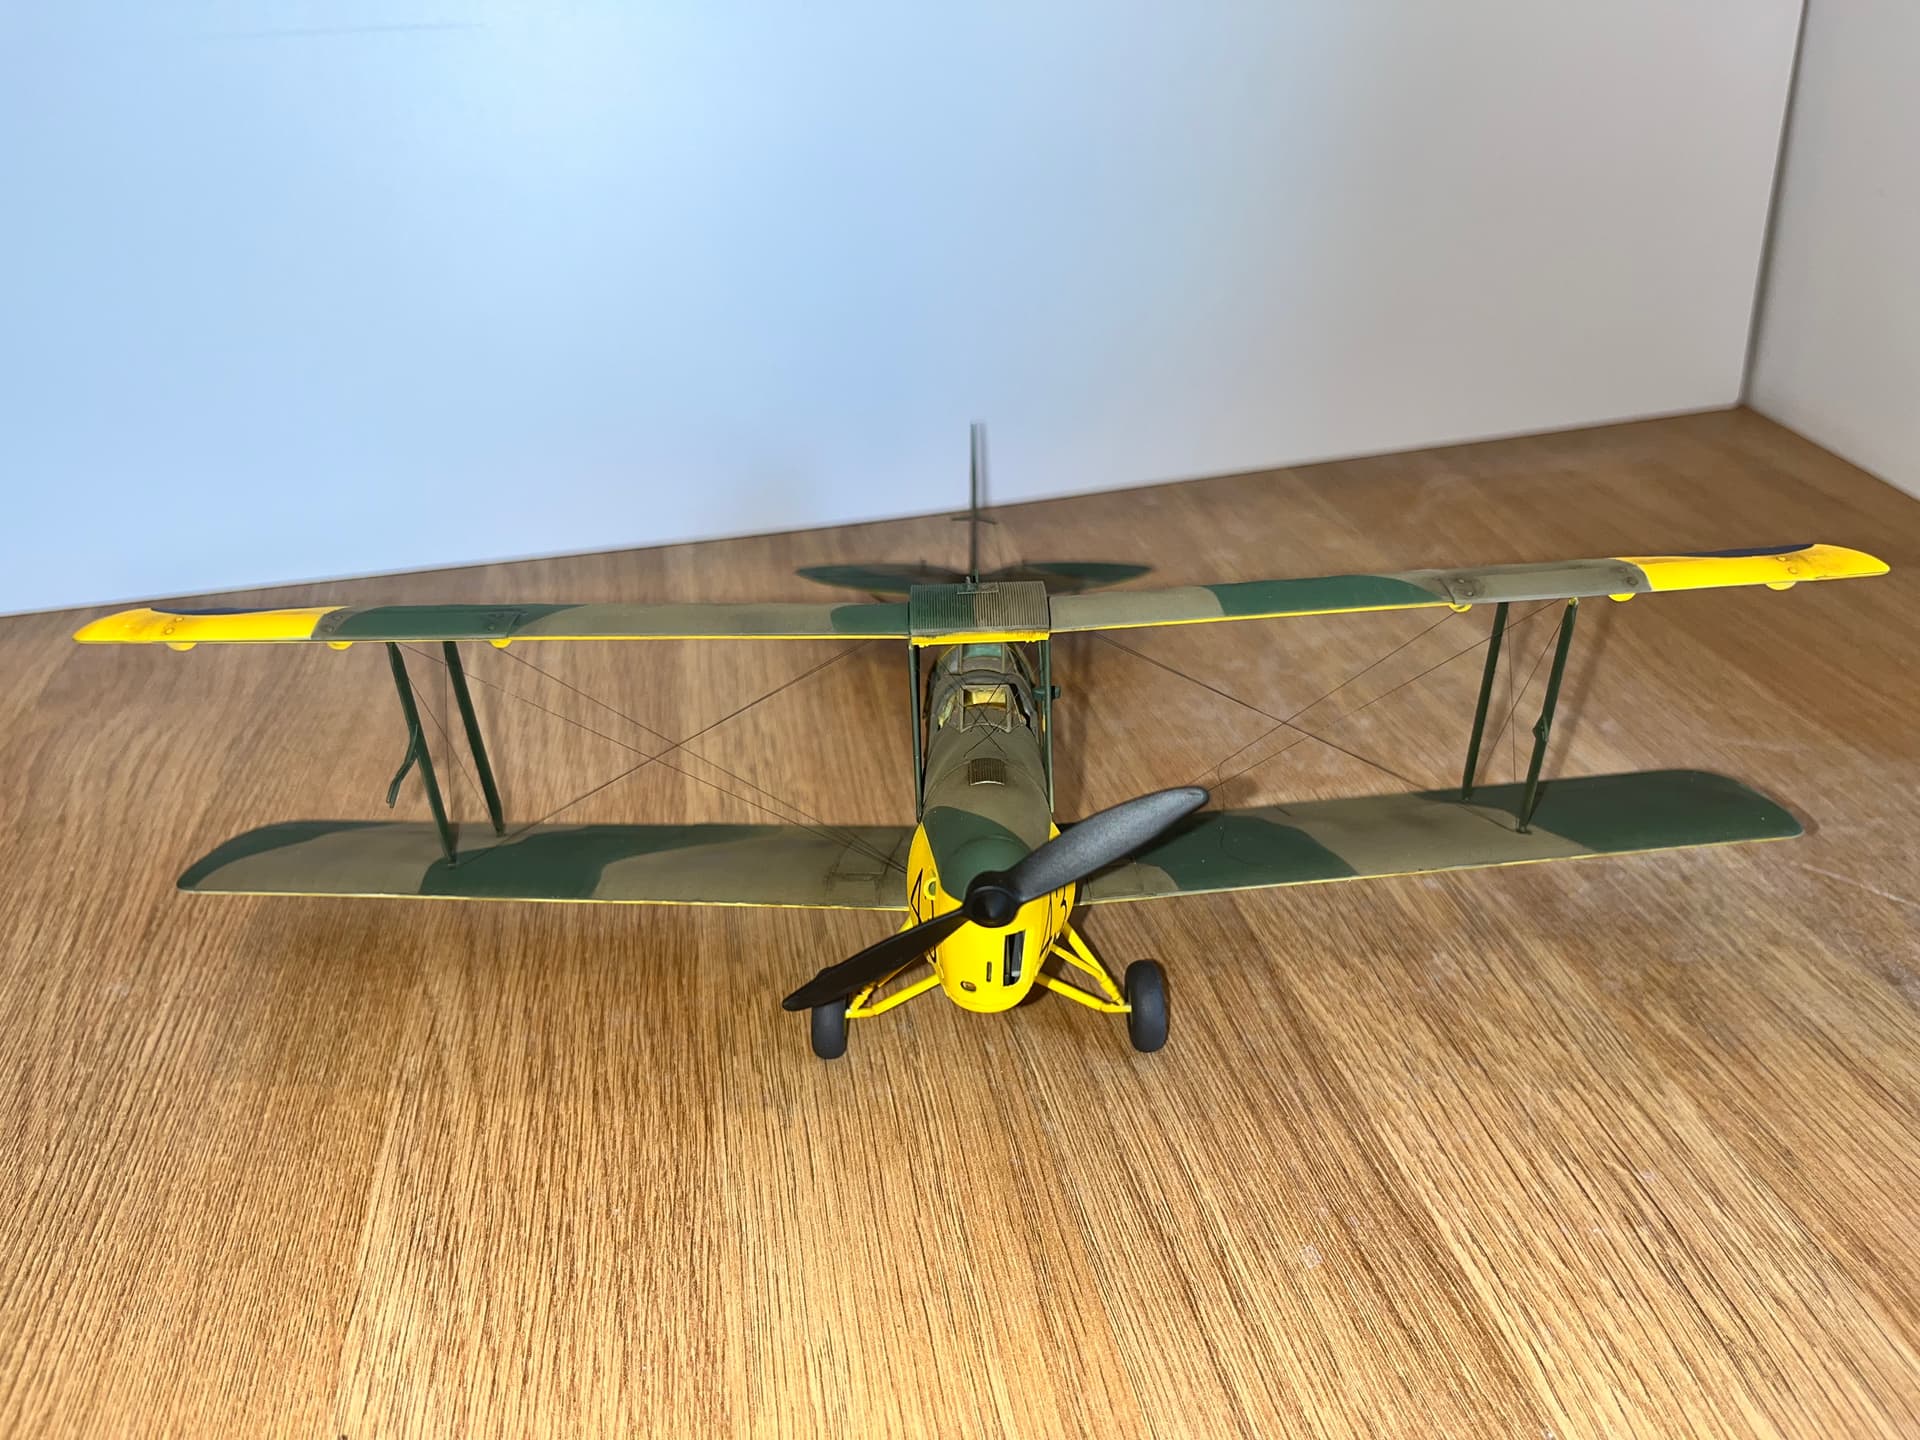
First time doing hard edge camo and pretty happy with it, although had to correct a bit of overspray due to stingy masking. Went for a mix of Tamiya XF49 and XF 52 in a 6:1 ratio for RAF dark earth. The mix for RAF dark green from the same source came out very brown. I therefore modified the mix a bit to Tamiya XF49, XF81 and XF5 in a ratio of 1:6:1.
The yellow was a pain due to poor coverage, which seems common for yellow paint, but helped with and undercoat of white first.
5 Likes
Nice scheme and the yellow looks very nice in those pics 
Thanks @Johnnych01. It’s the first time I’ve ever airbrushed bright yellow (not many yellow tanks about!).
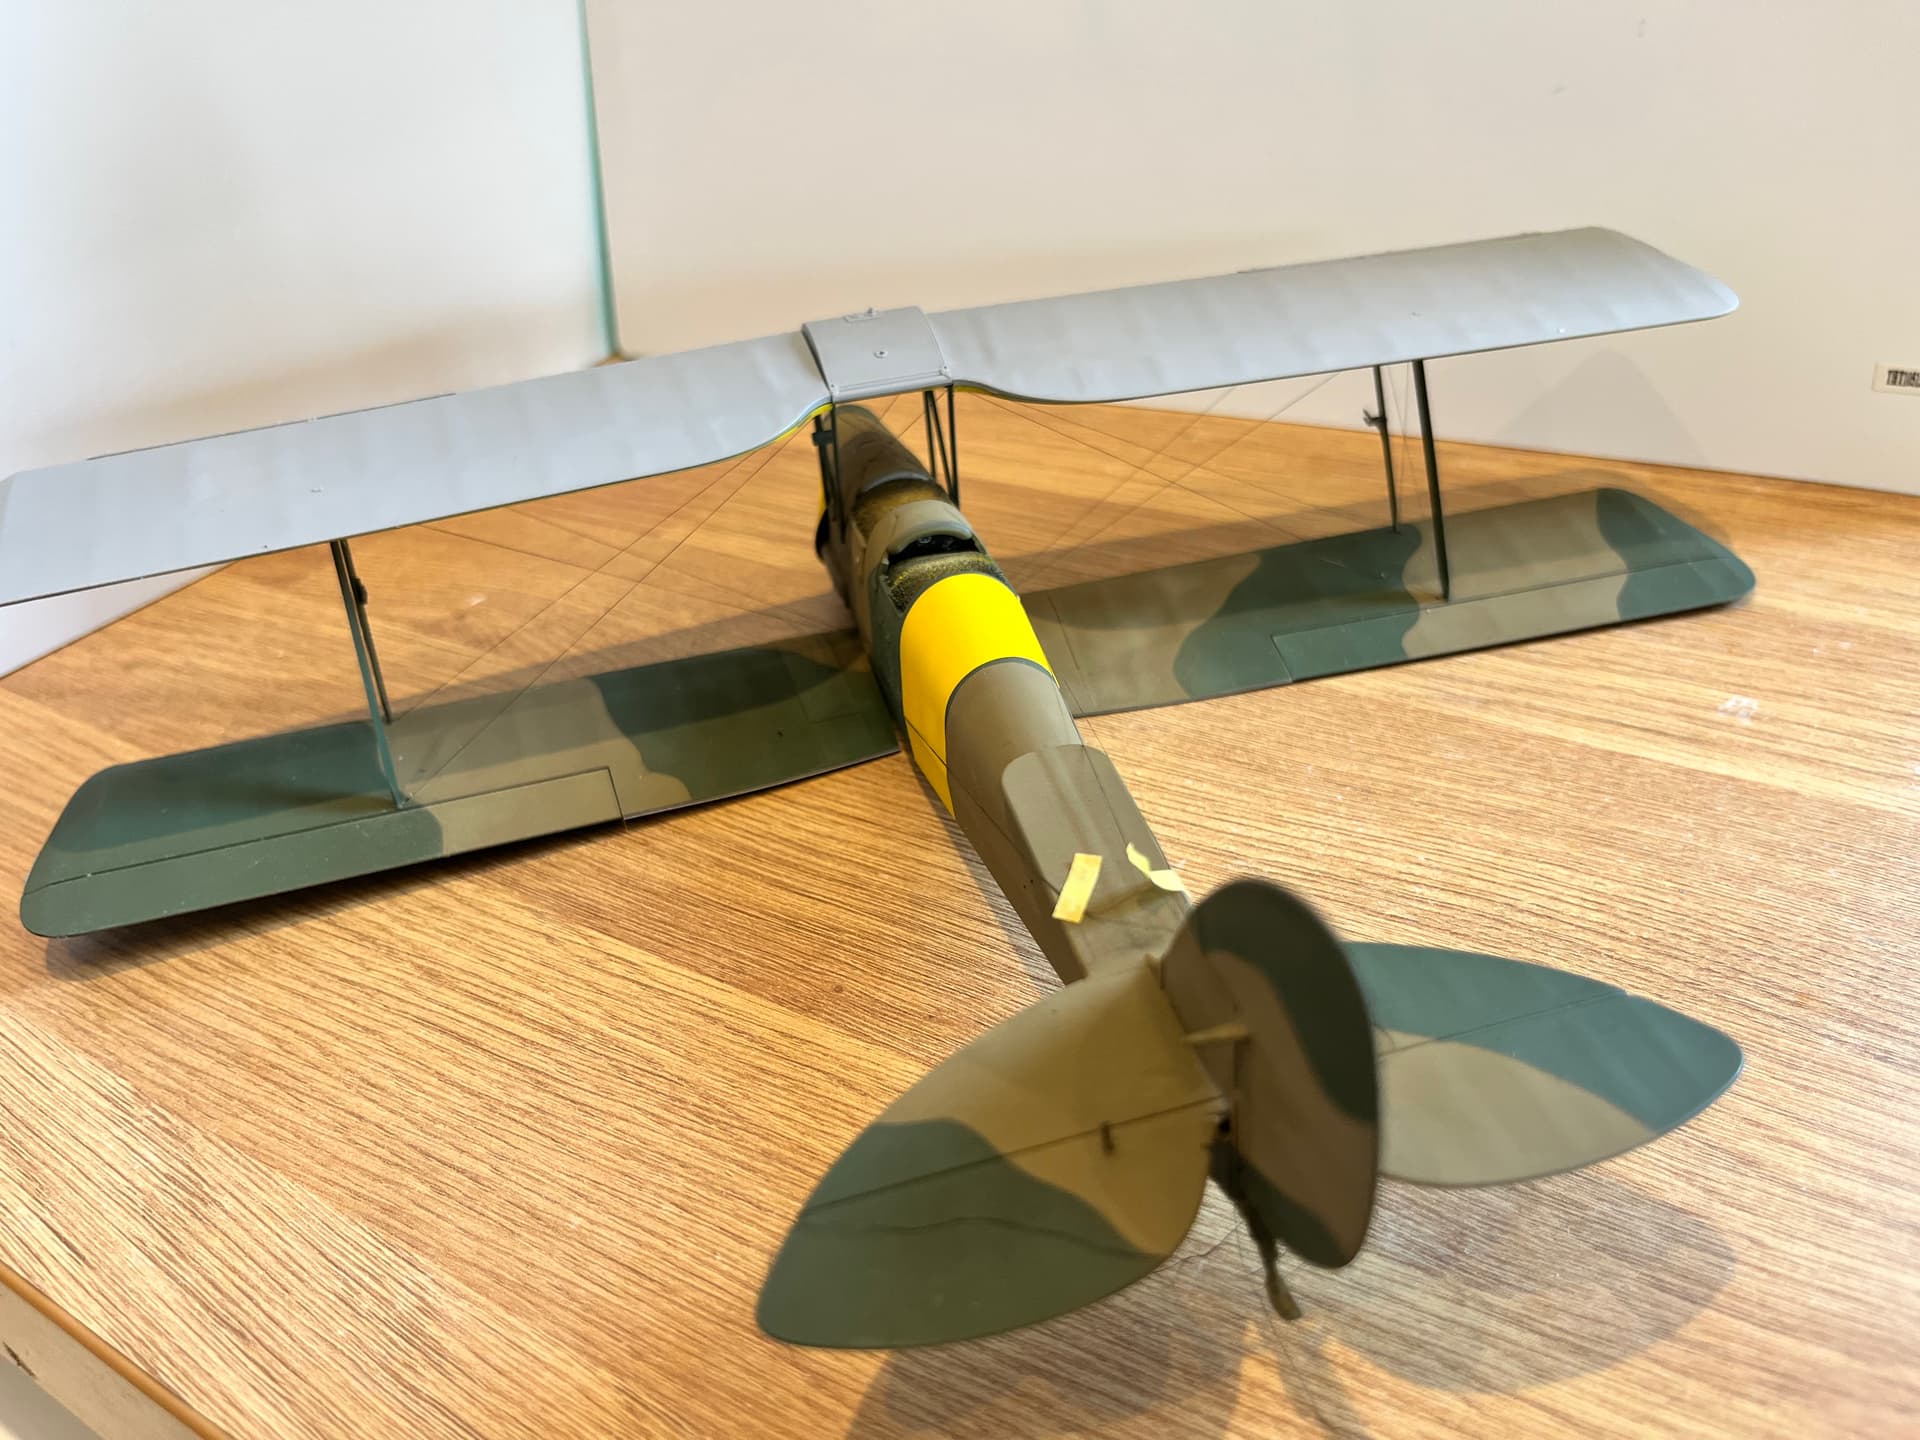
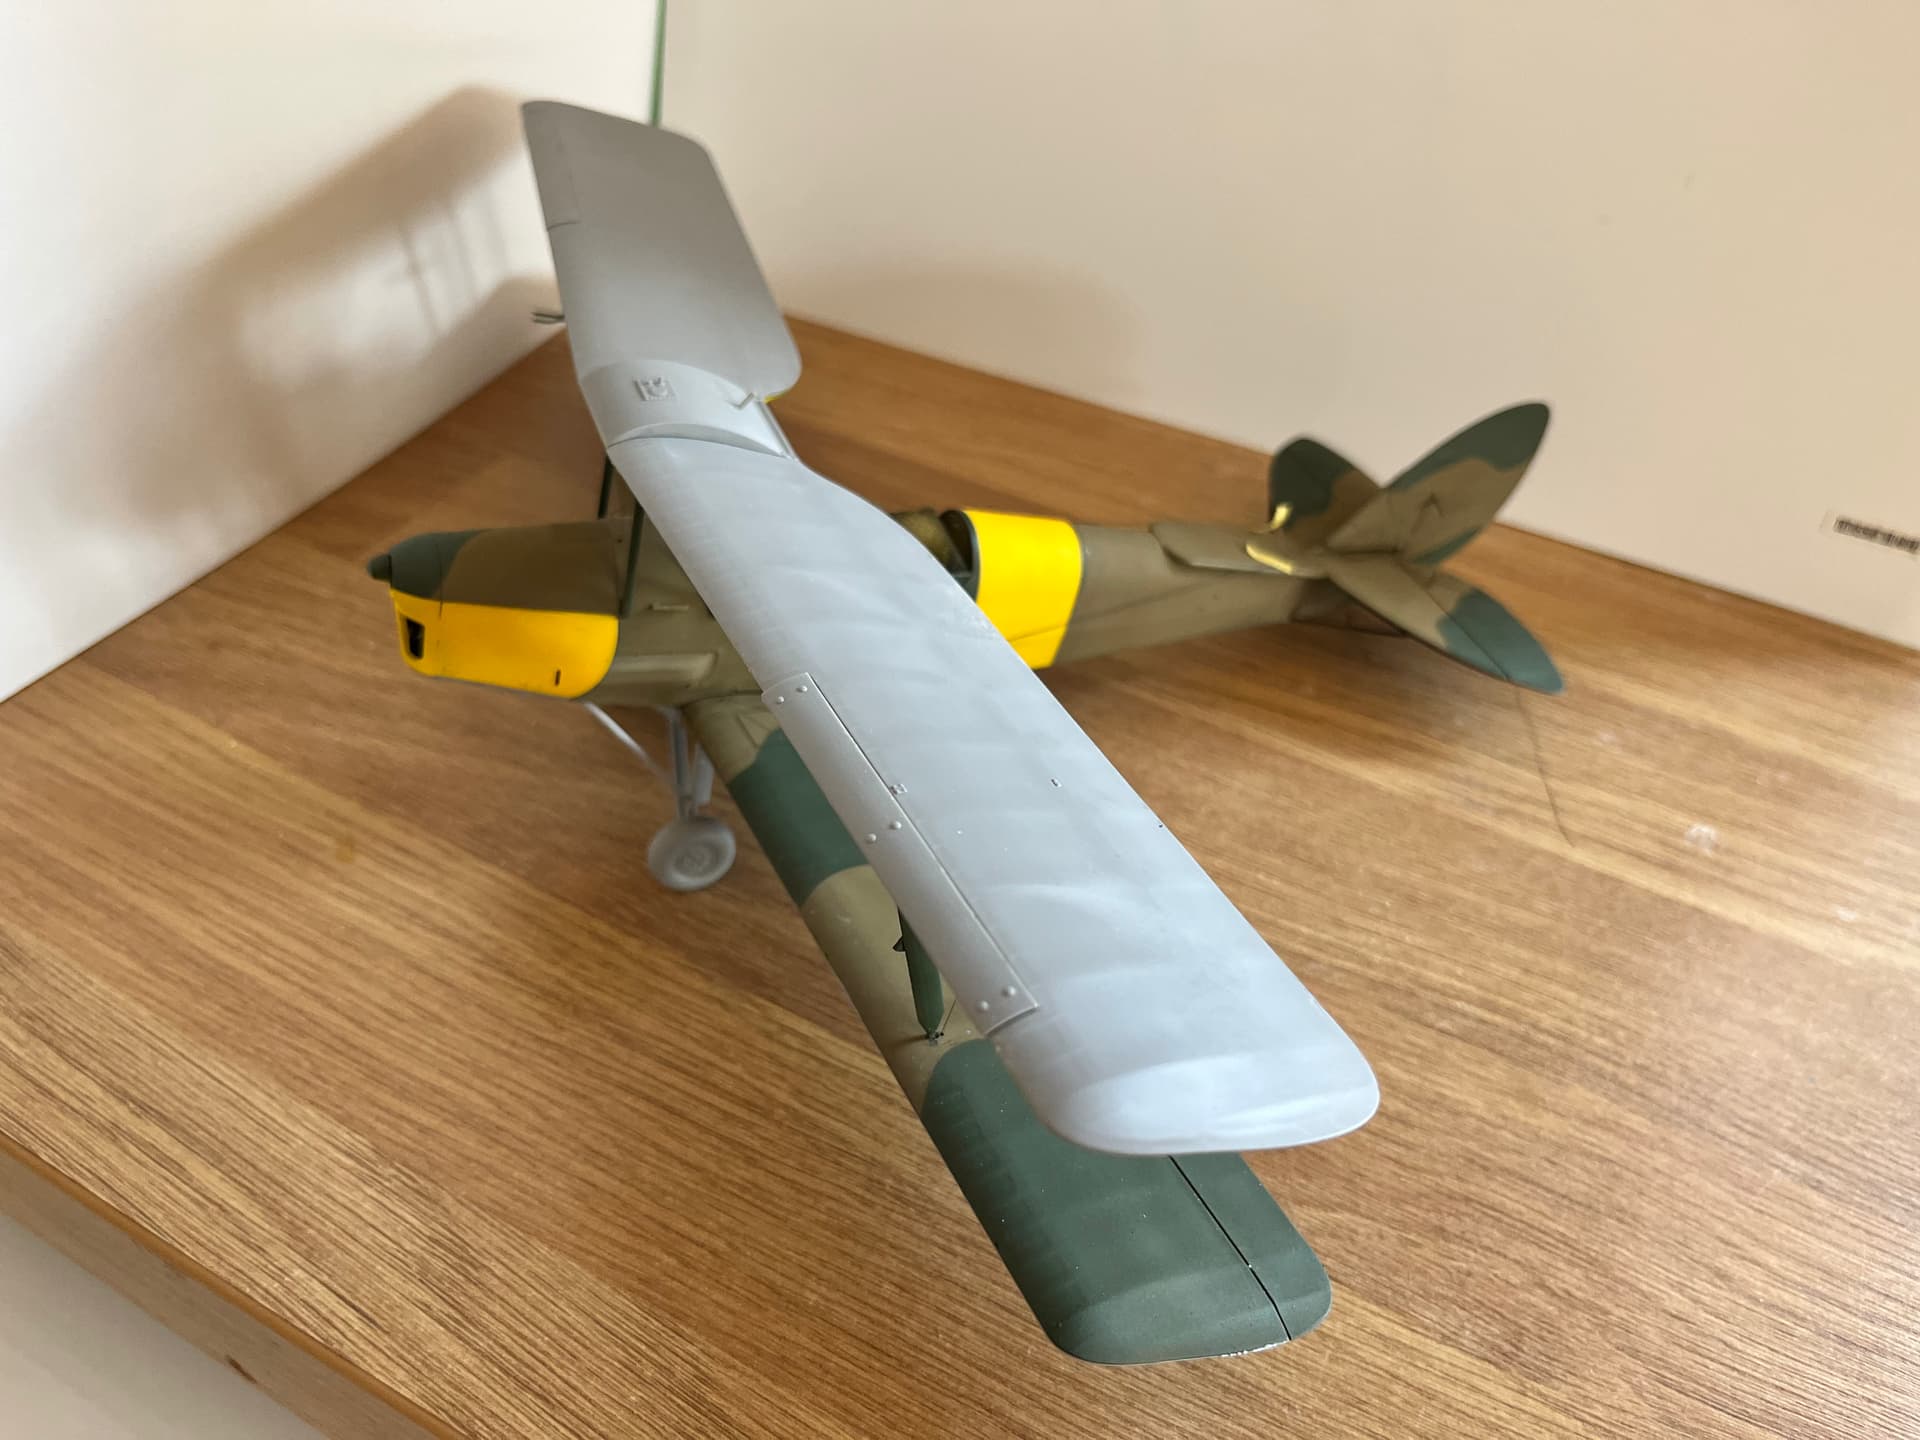
Coverage is a pain and the first attempt at the underside of the upper wings wasn’t great. In fact the poor coverage distracted me a bit and resulted in bad airbrushing technique and a grainy texture.
However sometimes a weakness has a silver lining. After sanding back and applying a white coat I found that the thin coverage had some advantages if treated like a deliberately thinned mix of paint. With patience I found it could be built up with nice tonal variations giving an approximation of a canvas like illusion (to my eye at least). Unfortunately it doesn’t come out to well in the photos.
1 Like
Well … There was a yellow Sherman hard target at 3800m at Otterburn… On the Swingfire range…
Now there’s a left field idea for a build campaign practice range targets!
1 Like
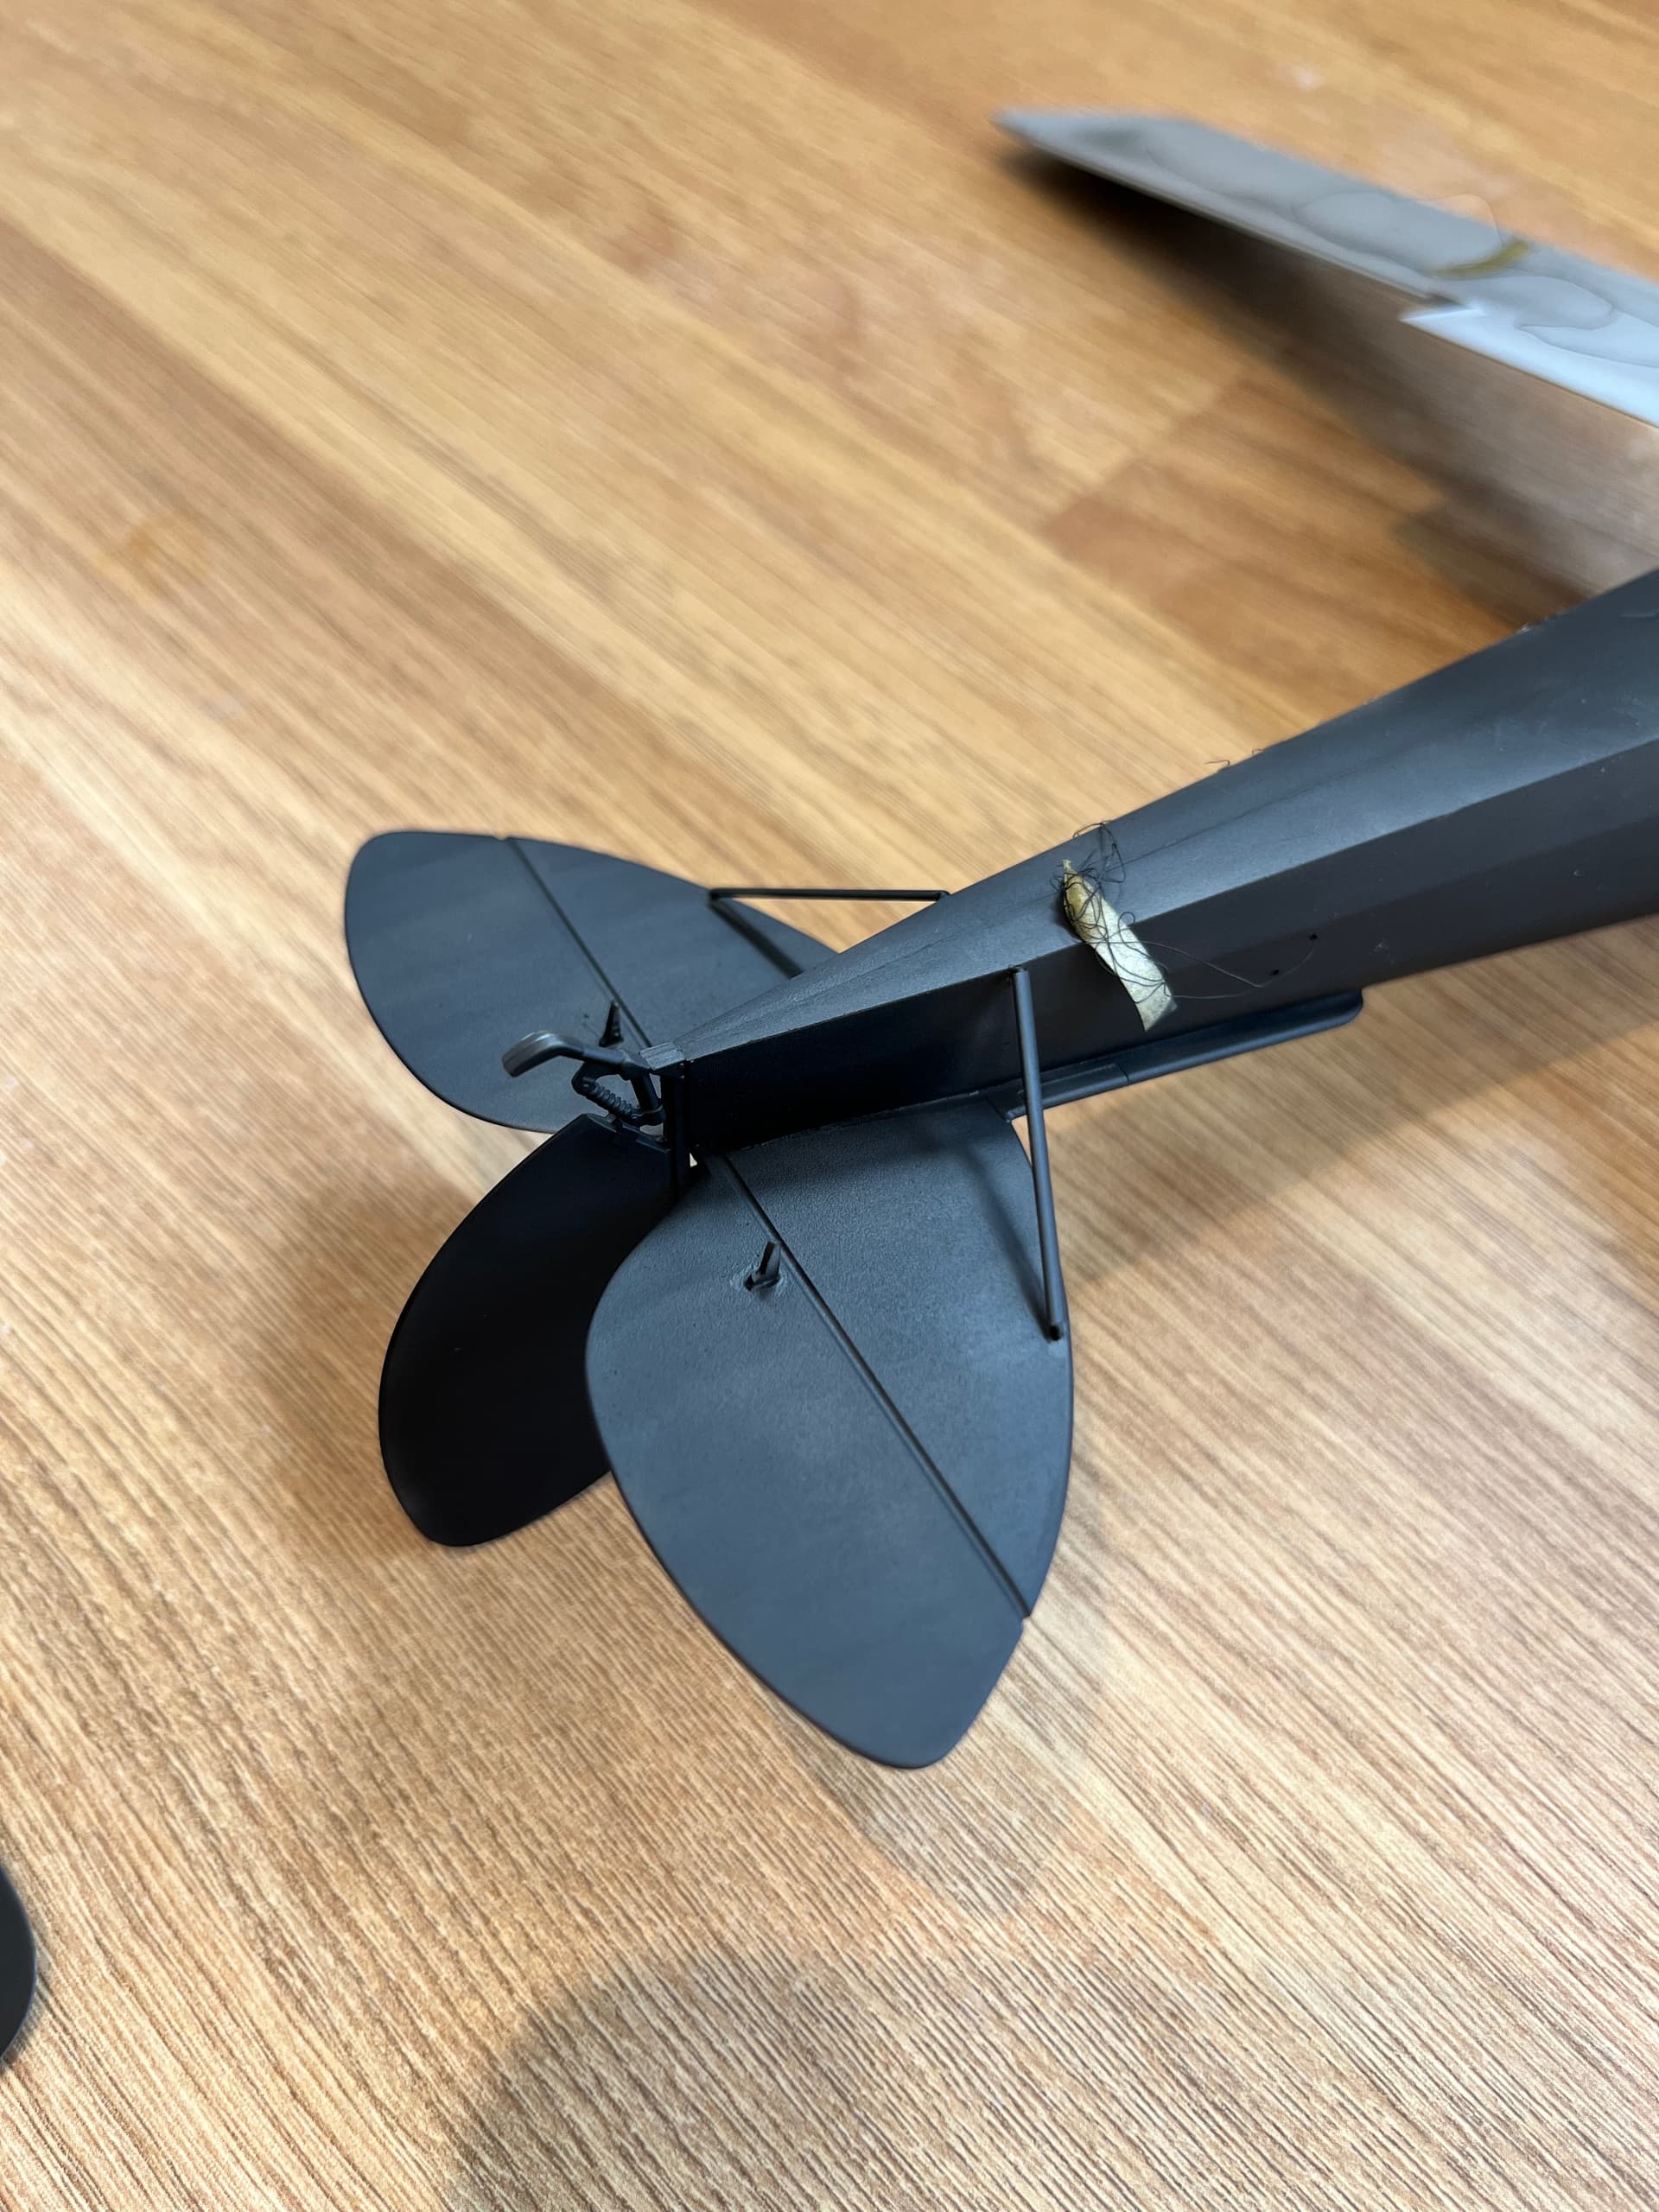
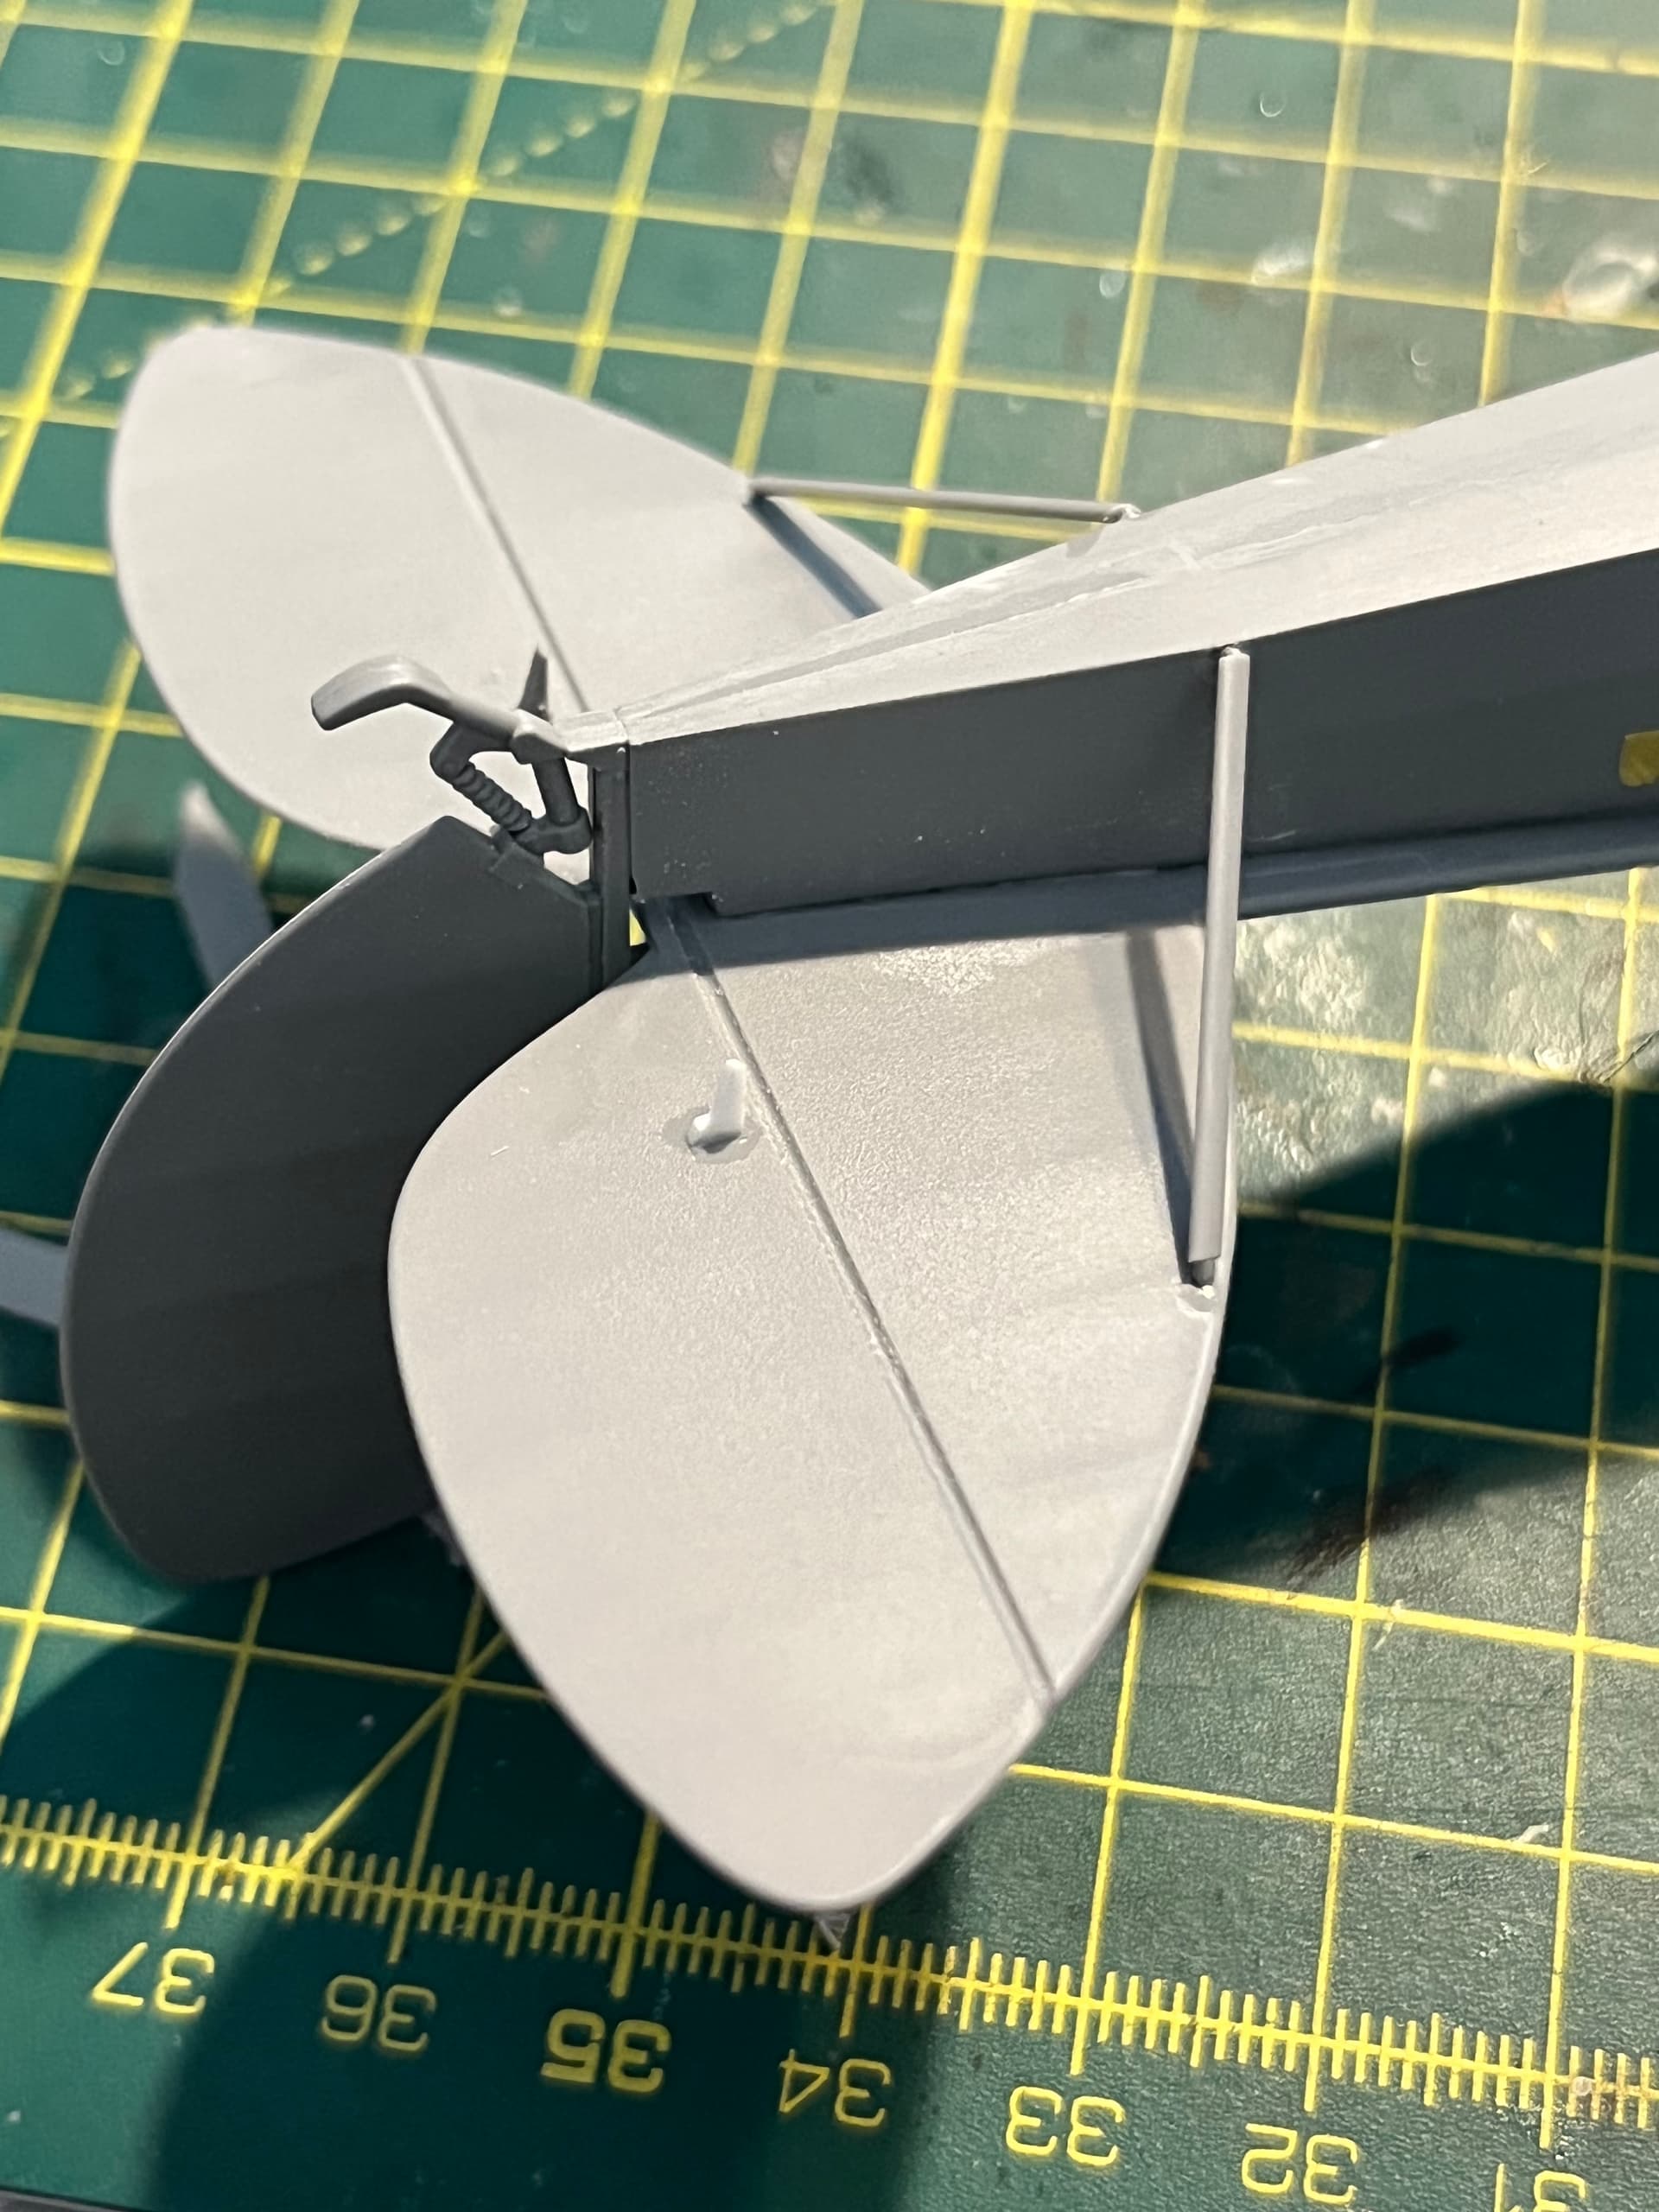
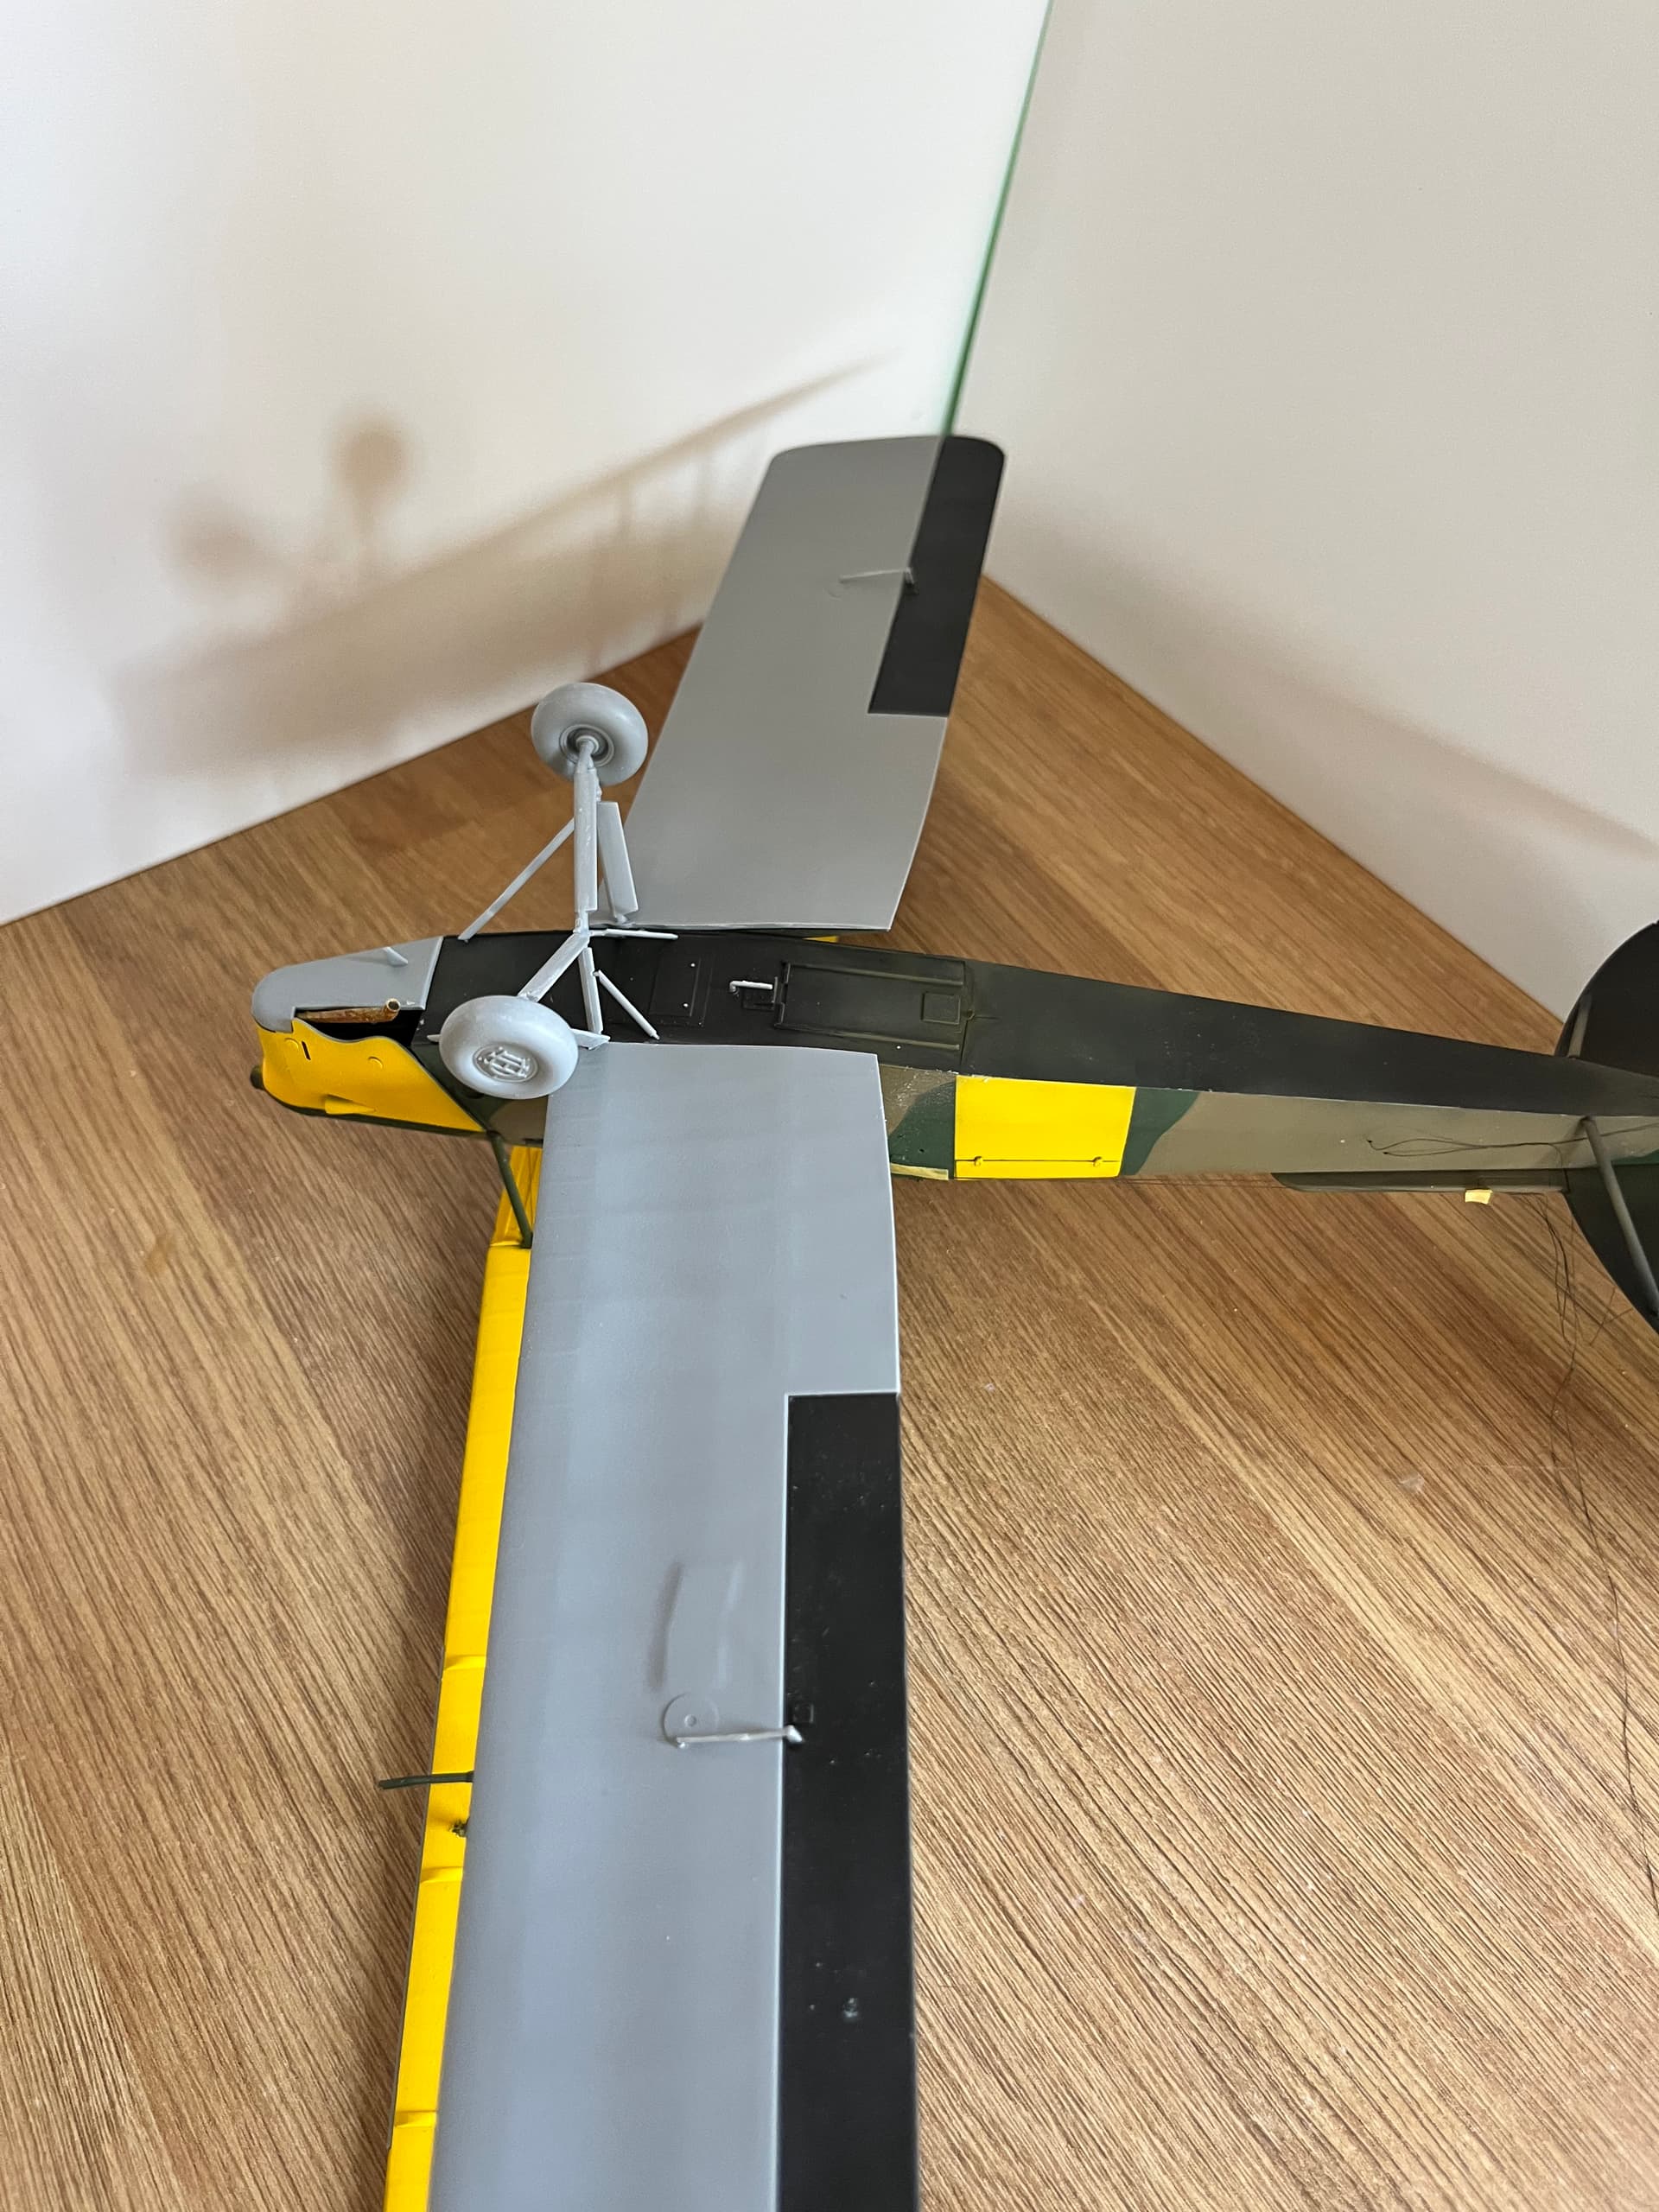
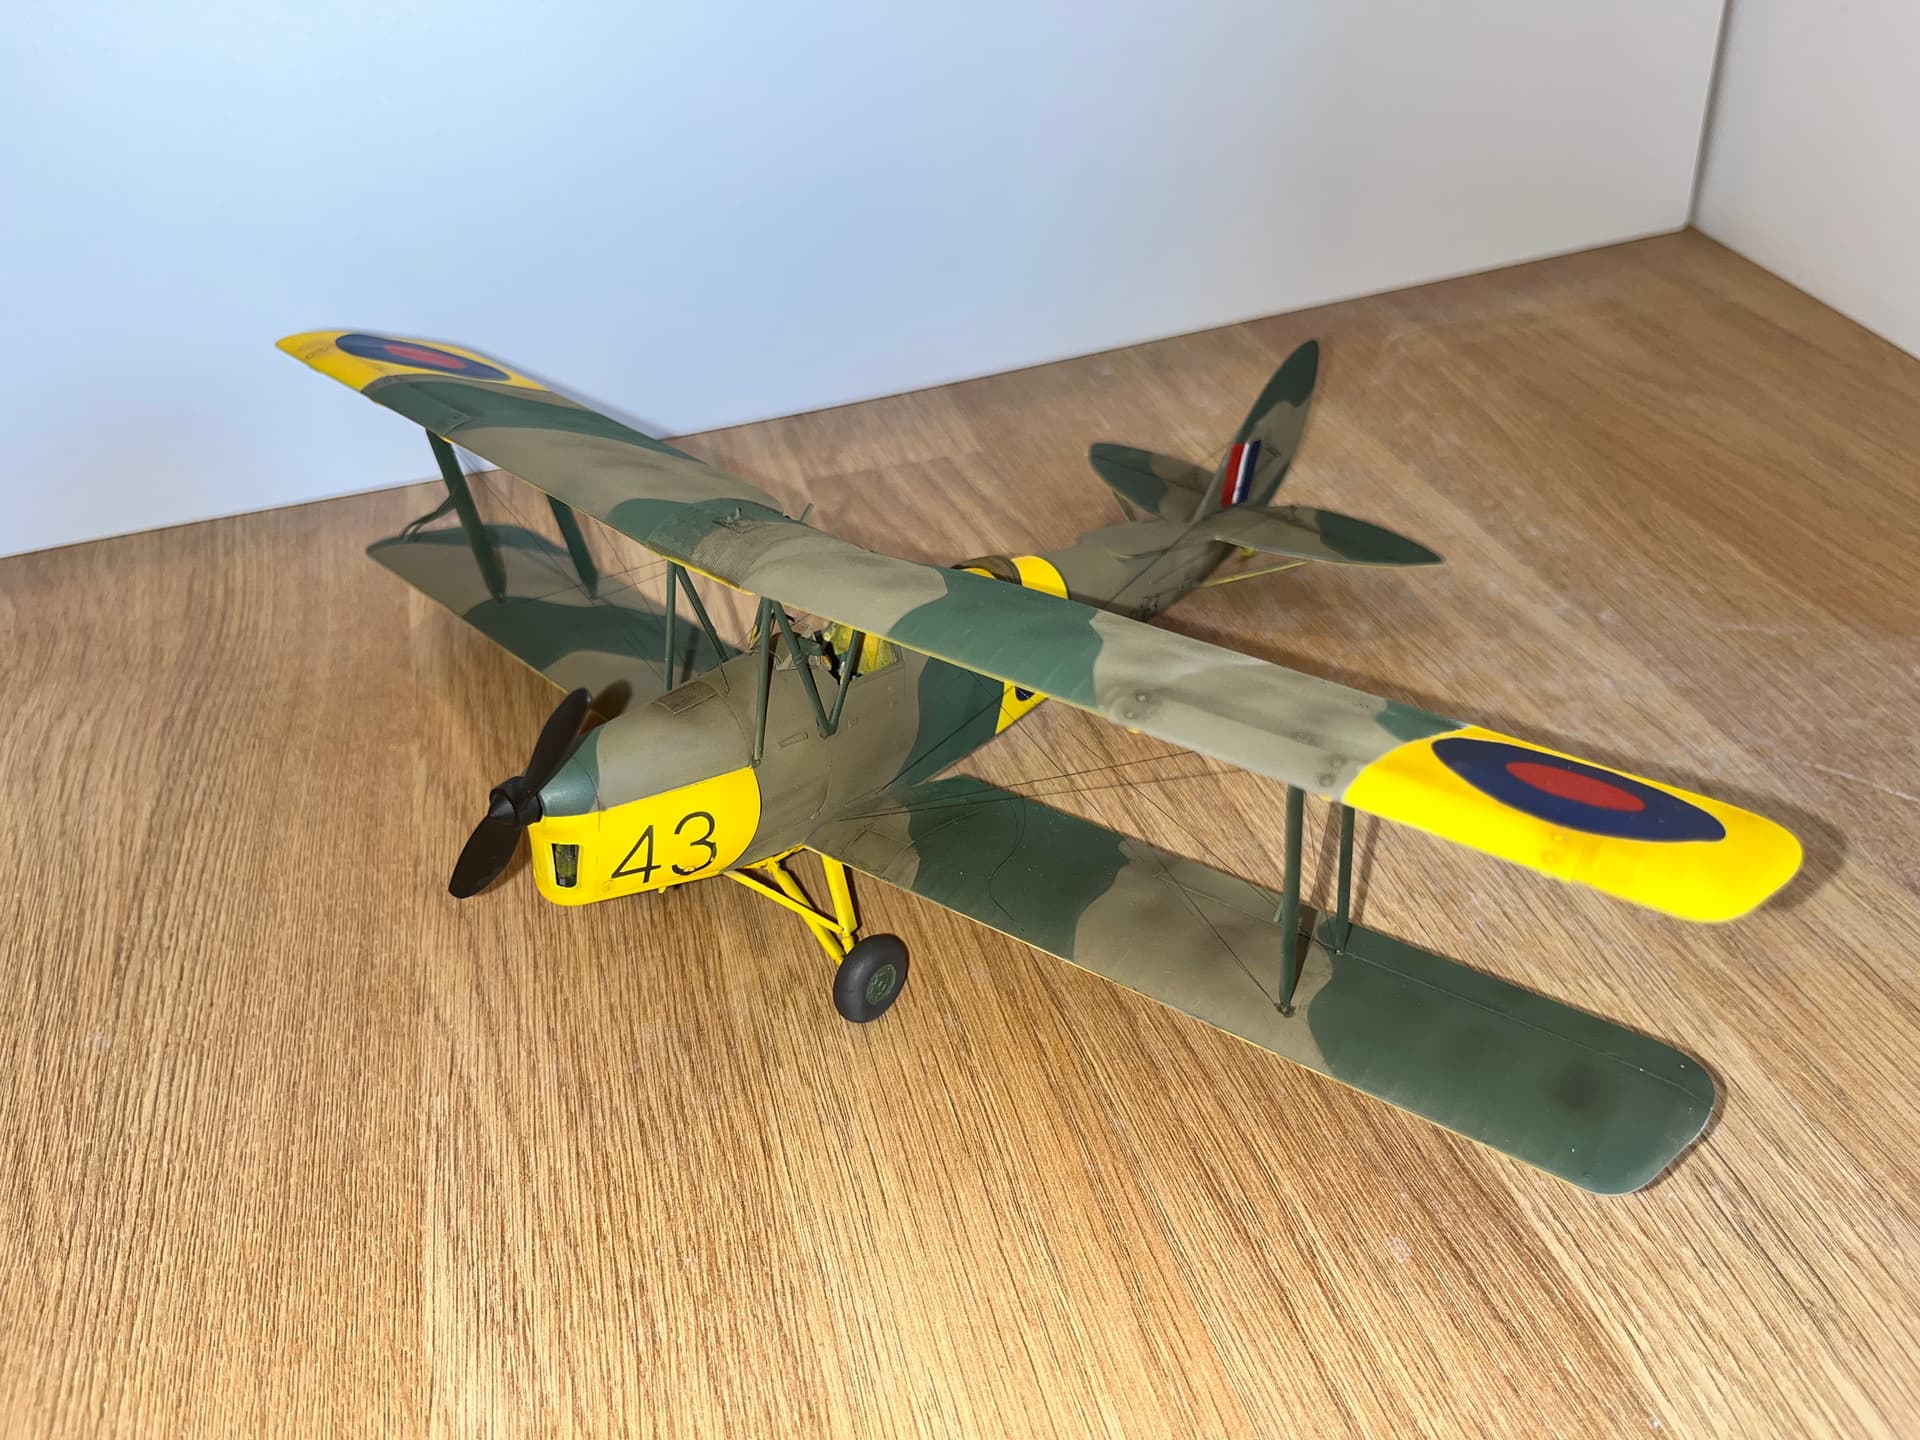
So rigging all done, on the wings at least. Pretty fiddly process, but because of that particularly satisfying once done.
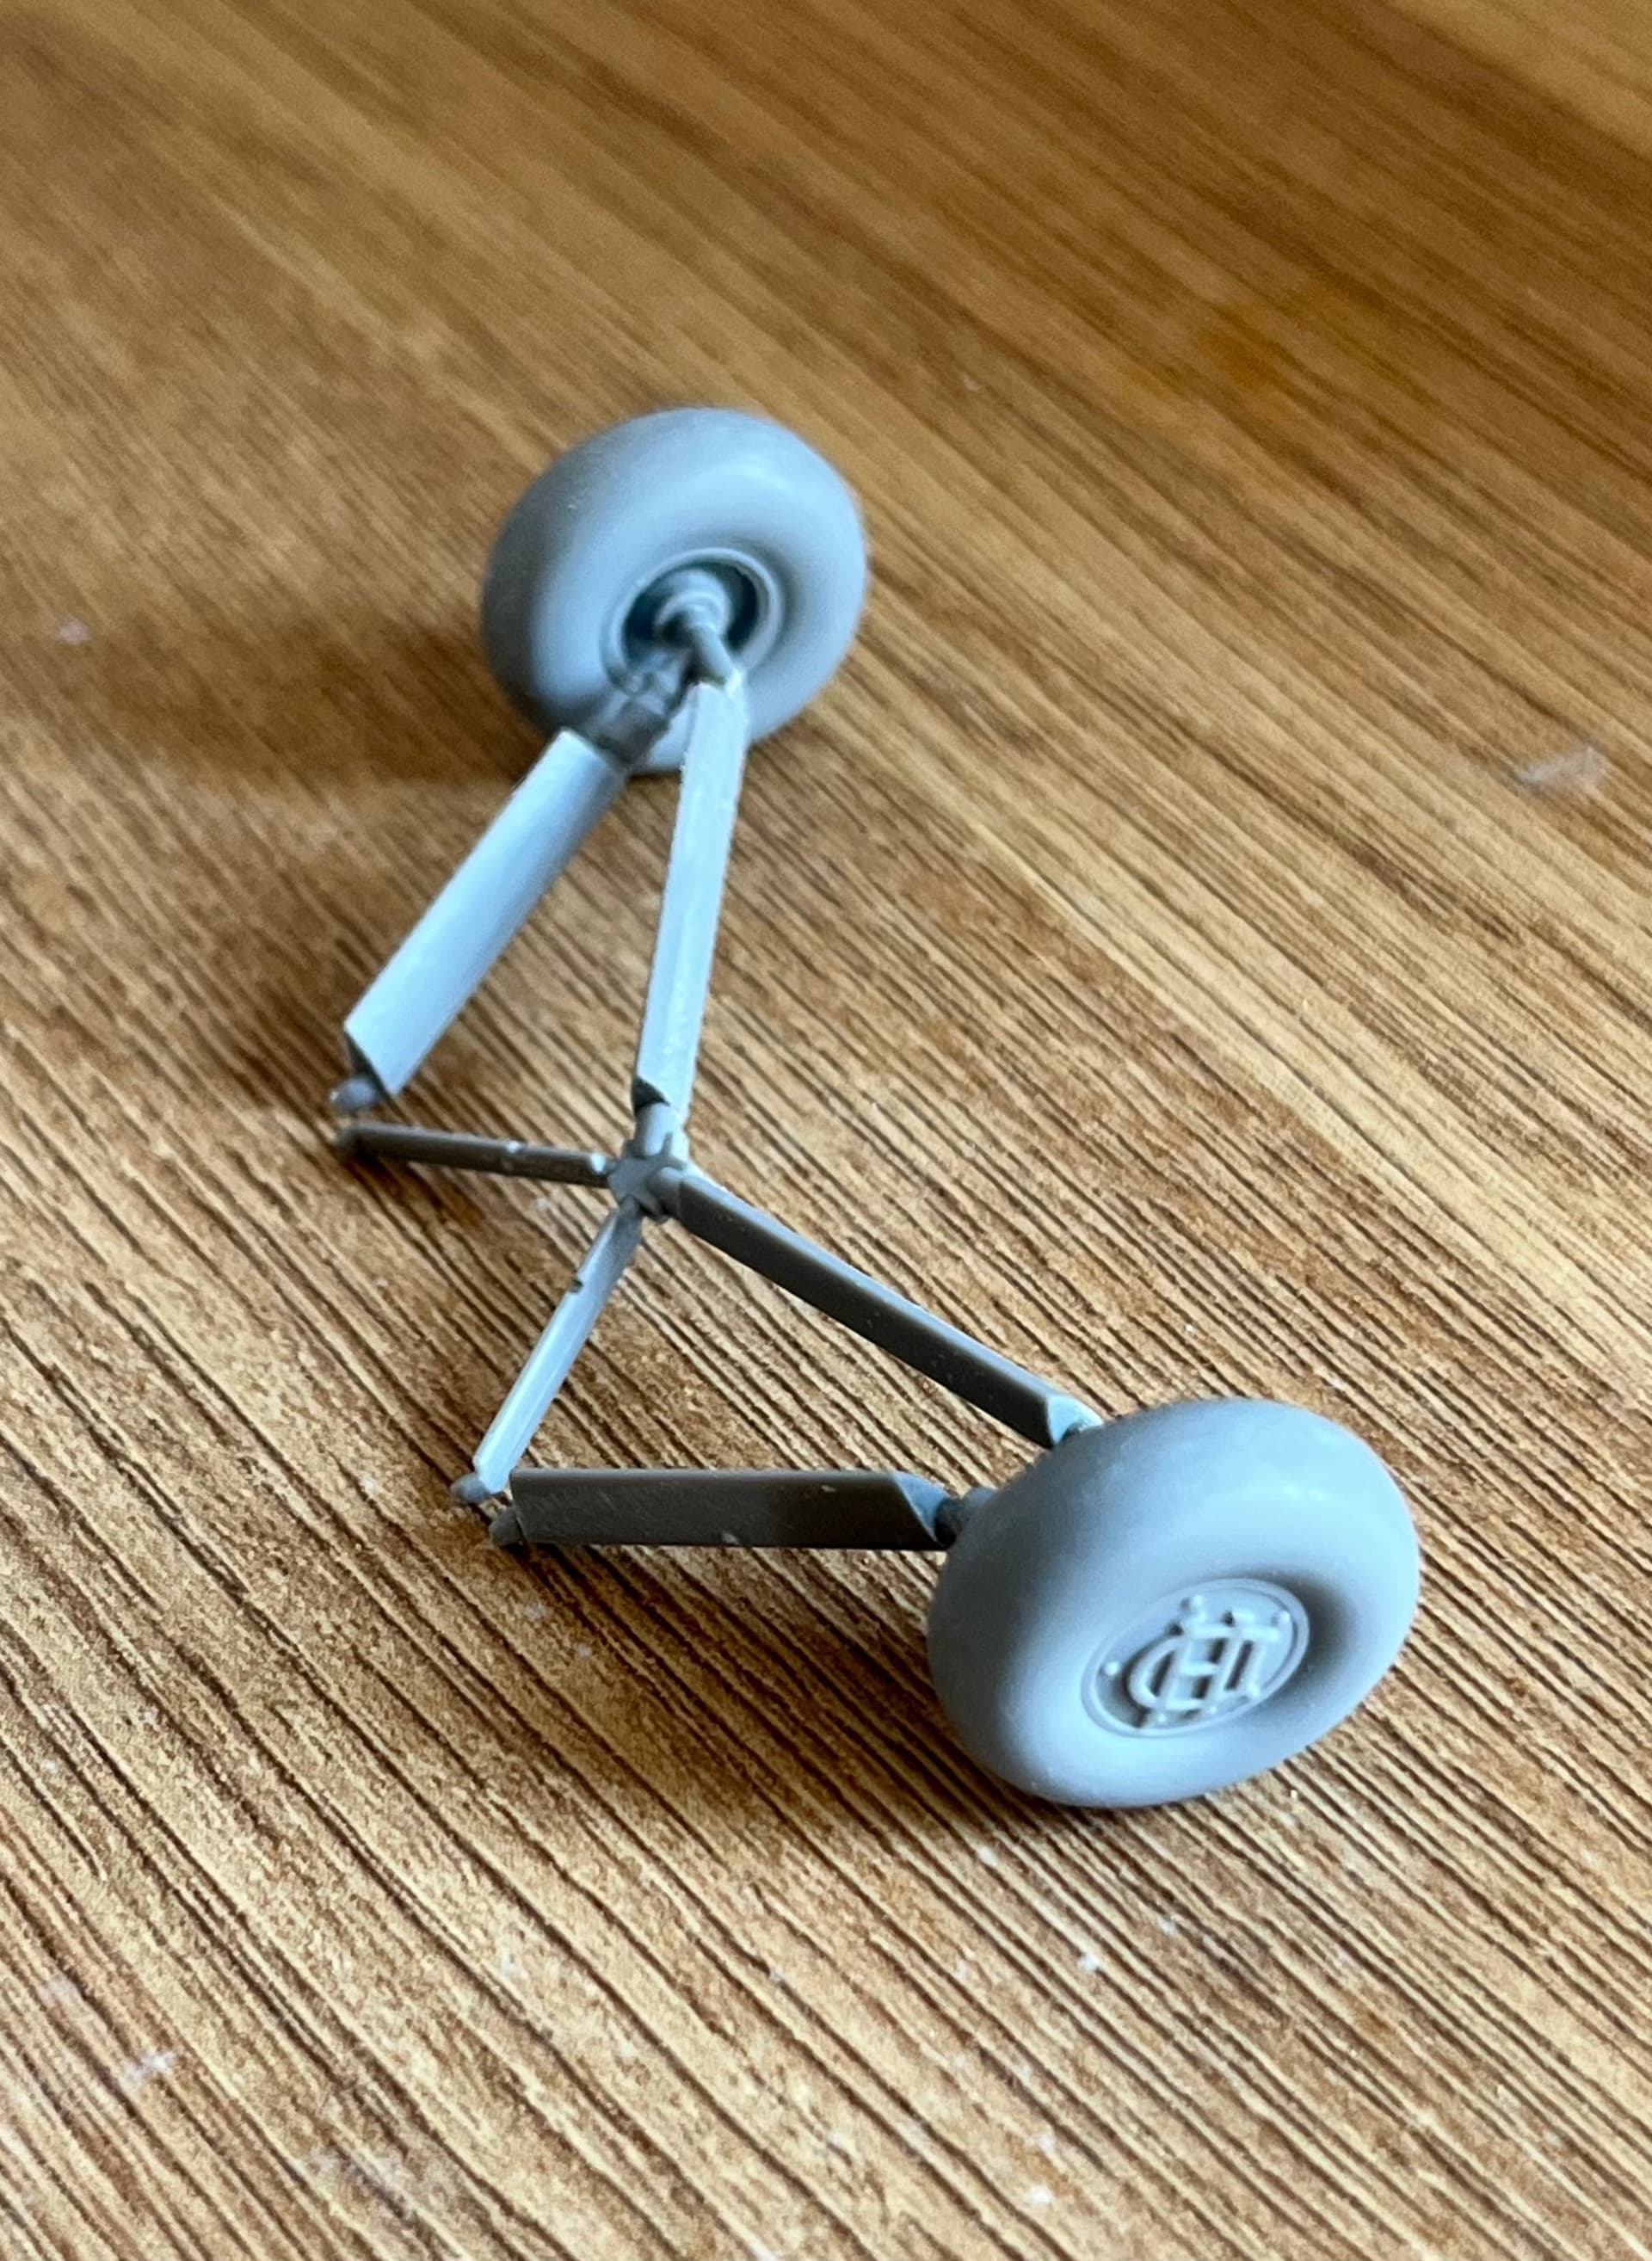
Bit of filling to do as some gaps around the underside of the engine cowling. Think that’s down to me rather than the kit, as fit elsewhere has been really good. The wheels required the least cleanup for any kit I’ve done where wheels come in two half’s.
And landing gear added to finish off the construction element of the build, windshields aside.
5 Likes
Coming along great and that rigging looks very nice and neat … I would never have the patience to do that … Hats off to you
I have found that without exception, airbrushing with yellow needs patience. The only way I found to do it is to spray very light thin coats, let it dry, then repeat until the coverage is as you need it.
Wonder why yellow is such hard work.
1 Like
Apparently all the good yellow pigments have poor opacity withe the exception of cadmium sulphate. Although toxic it clearly is ok for paint, but maybe cost is the reason it’s not always used?
White undercoat definitely helps. I wonder how an orange undercoat would work. Will keep the white undercoat for the remaining yellow areas on this kit for consistency’s sake, but will do a test to see out of curiosity.
I had some luck recently by first undercoating with a dessert tan yellow, then bright yellow over the top. Came out quite well. Yellow is a pain to do!
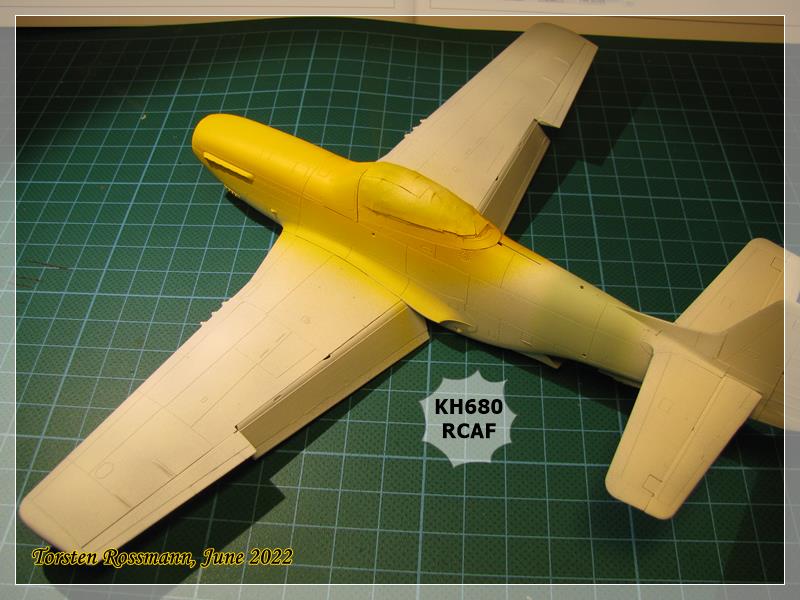
Yellow paint usually has not a white base but colourless. That makes this tone such a problem to paint. But airbrushing is far better than brush painting. I always use a white undercoat like on my latest Mustang. Red has usually the same problem, also some Light Greens and Light Blues. Here’s my Mustang, I always use a white primer, except for metallics. Yellow ist Revell Aqua No. 310 …

2 Likes
Revells is one of the best acrylic yellows I’ve found. Seems to be a bit more opaque than Vallejo’s, which was practically translucent.
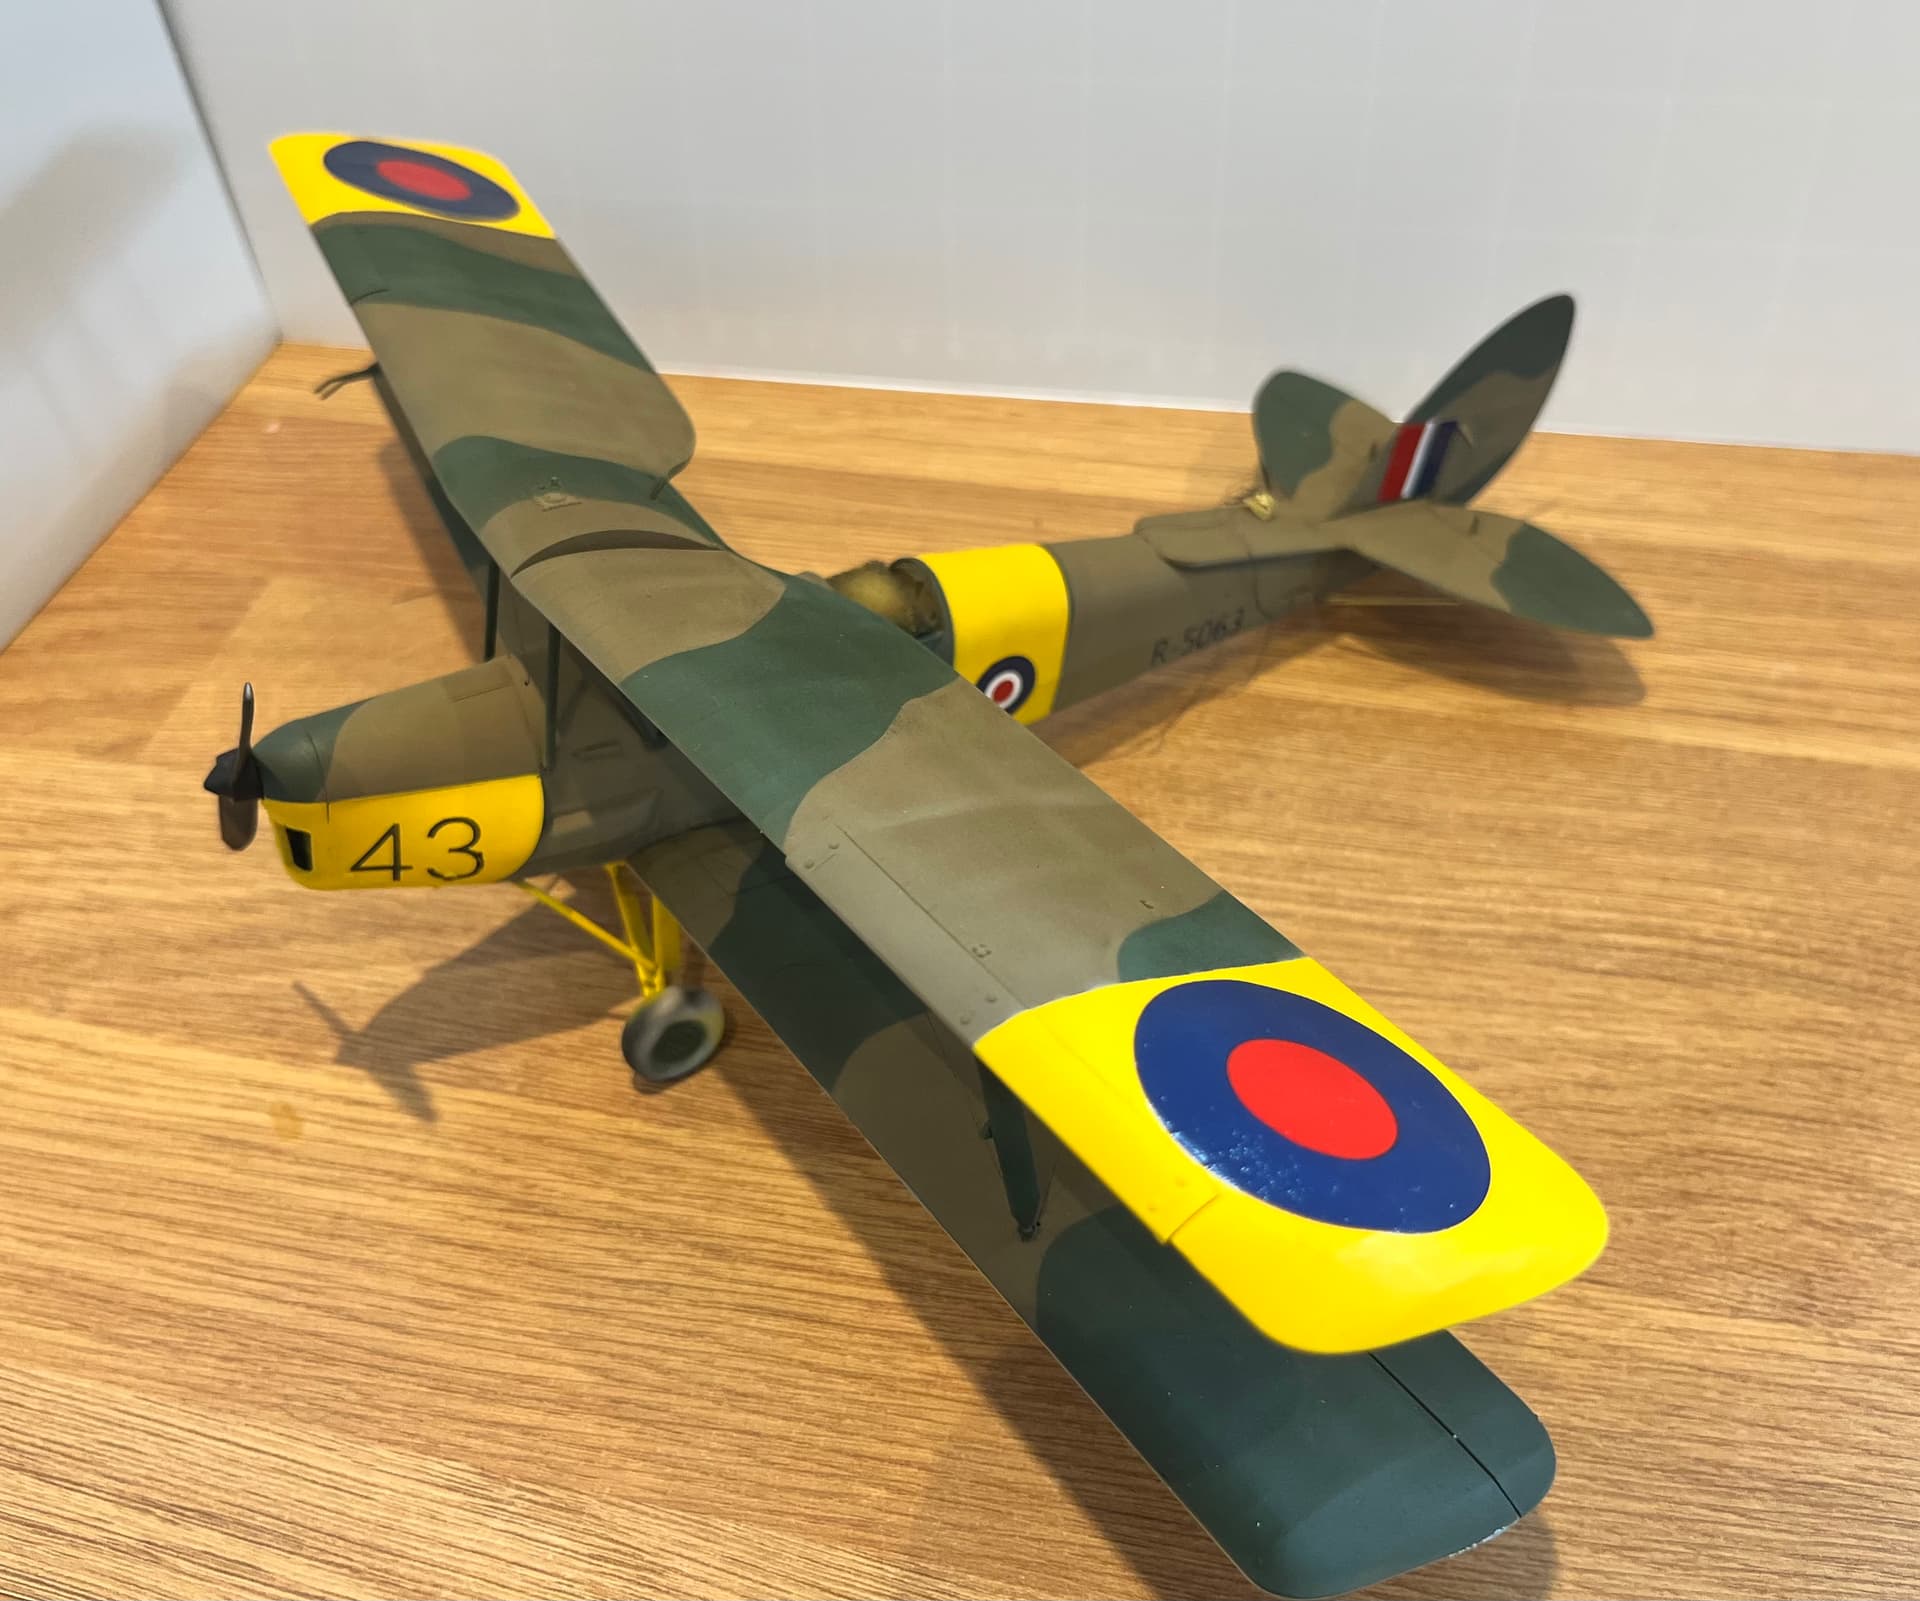
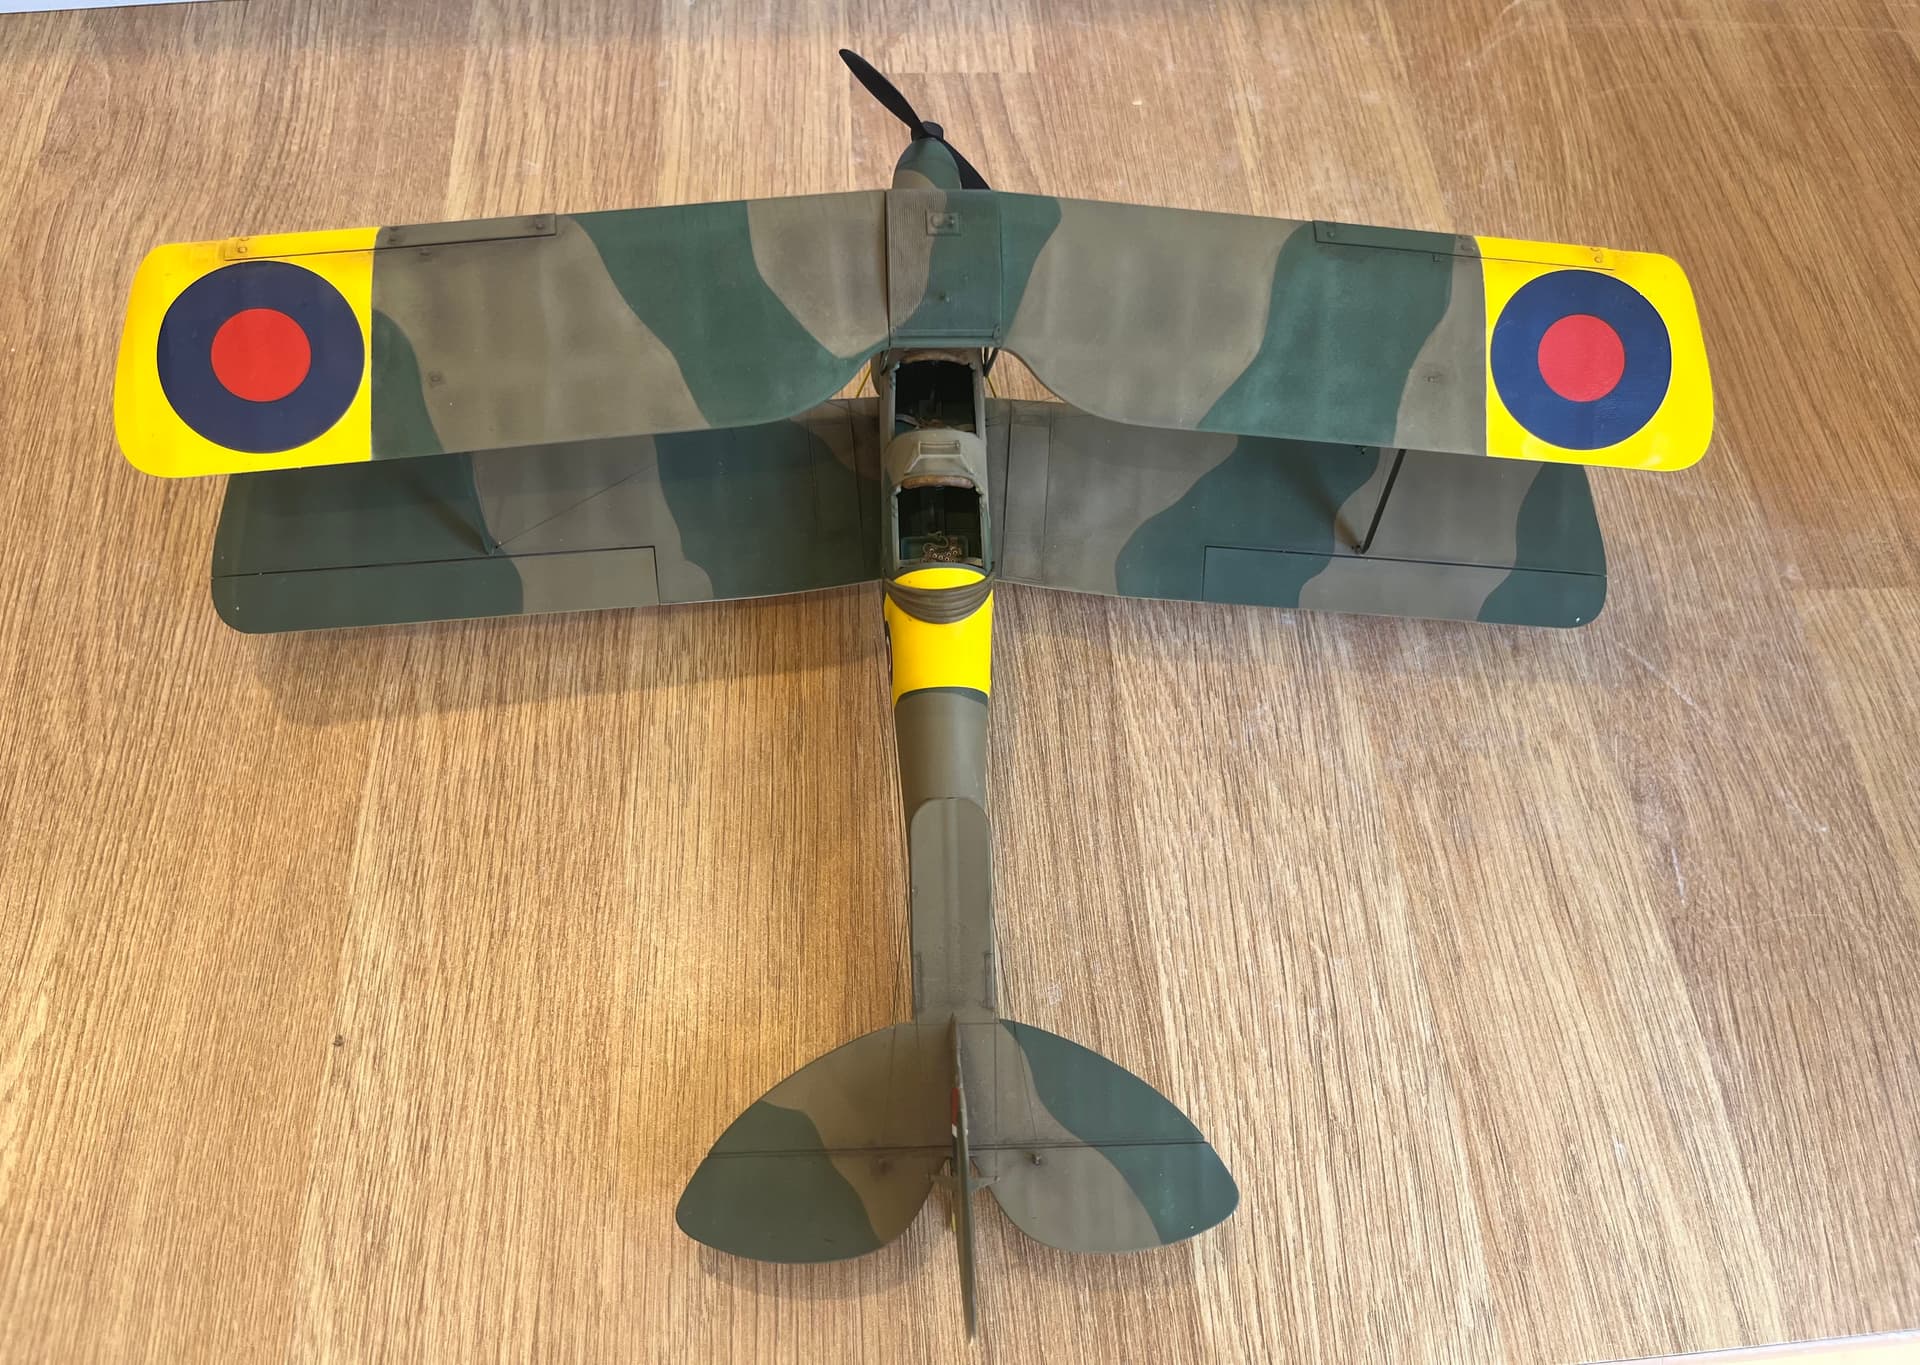
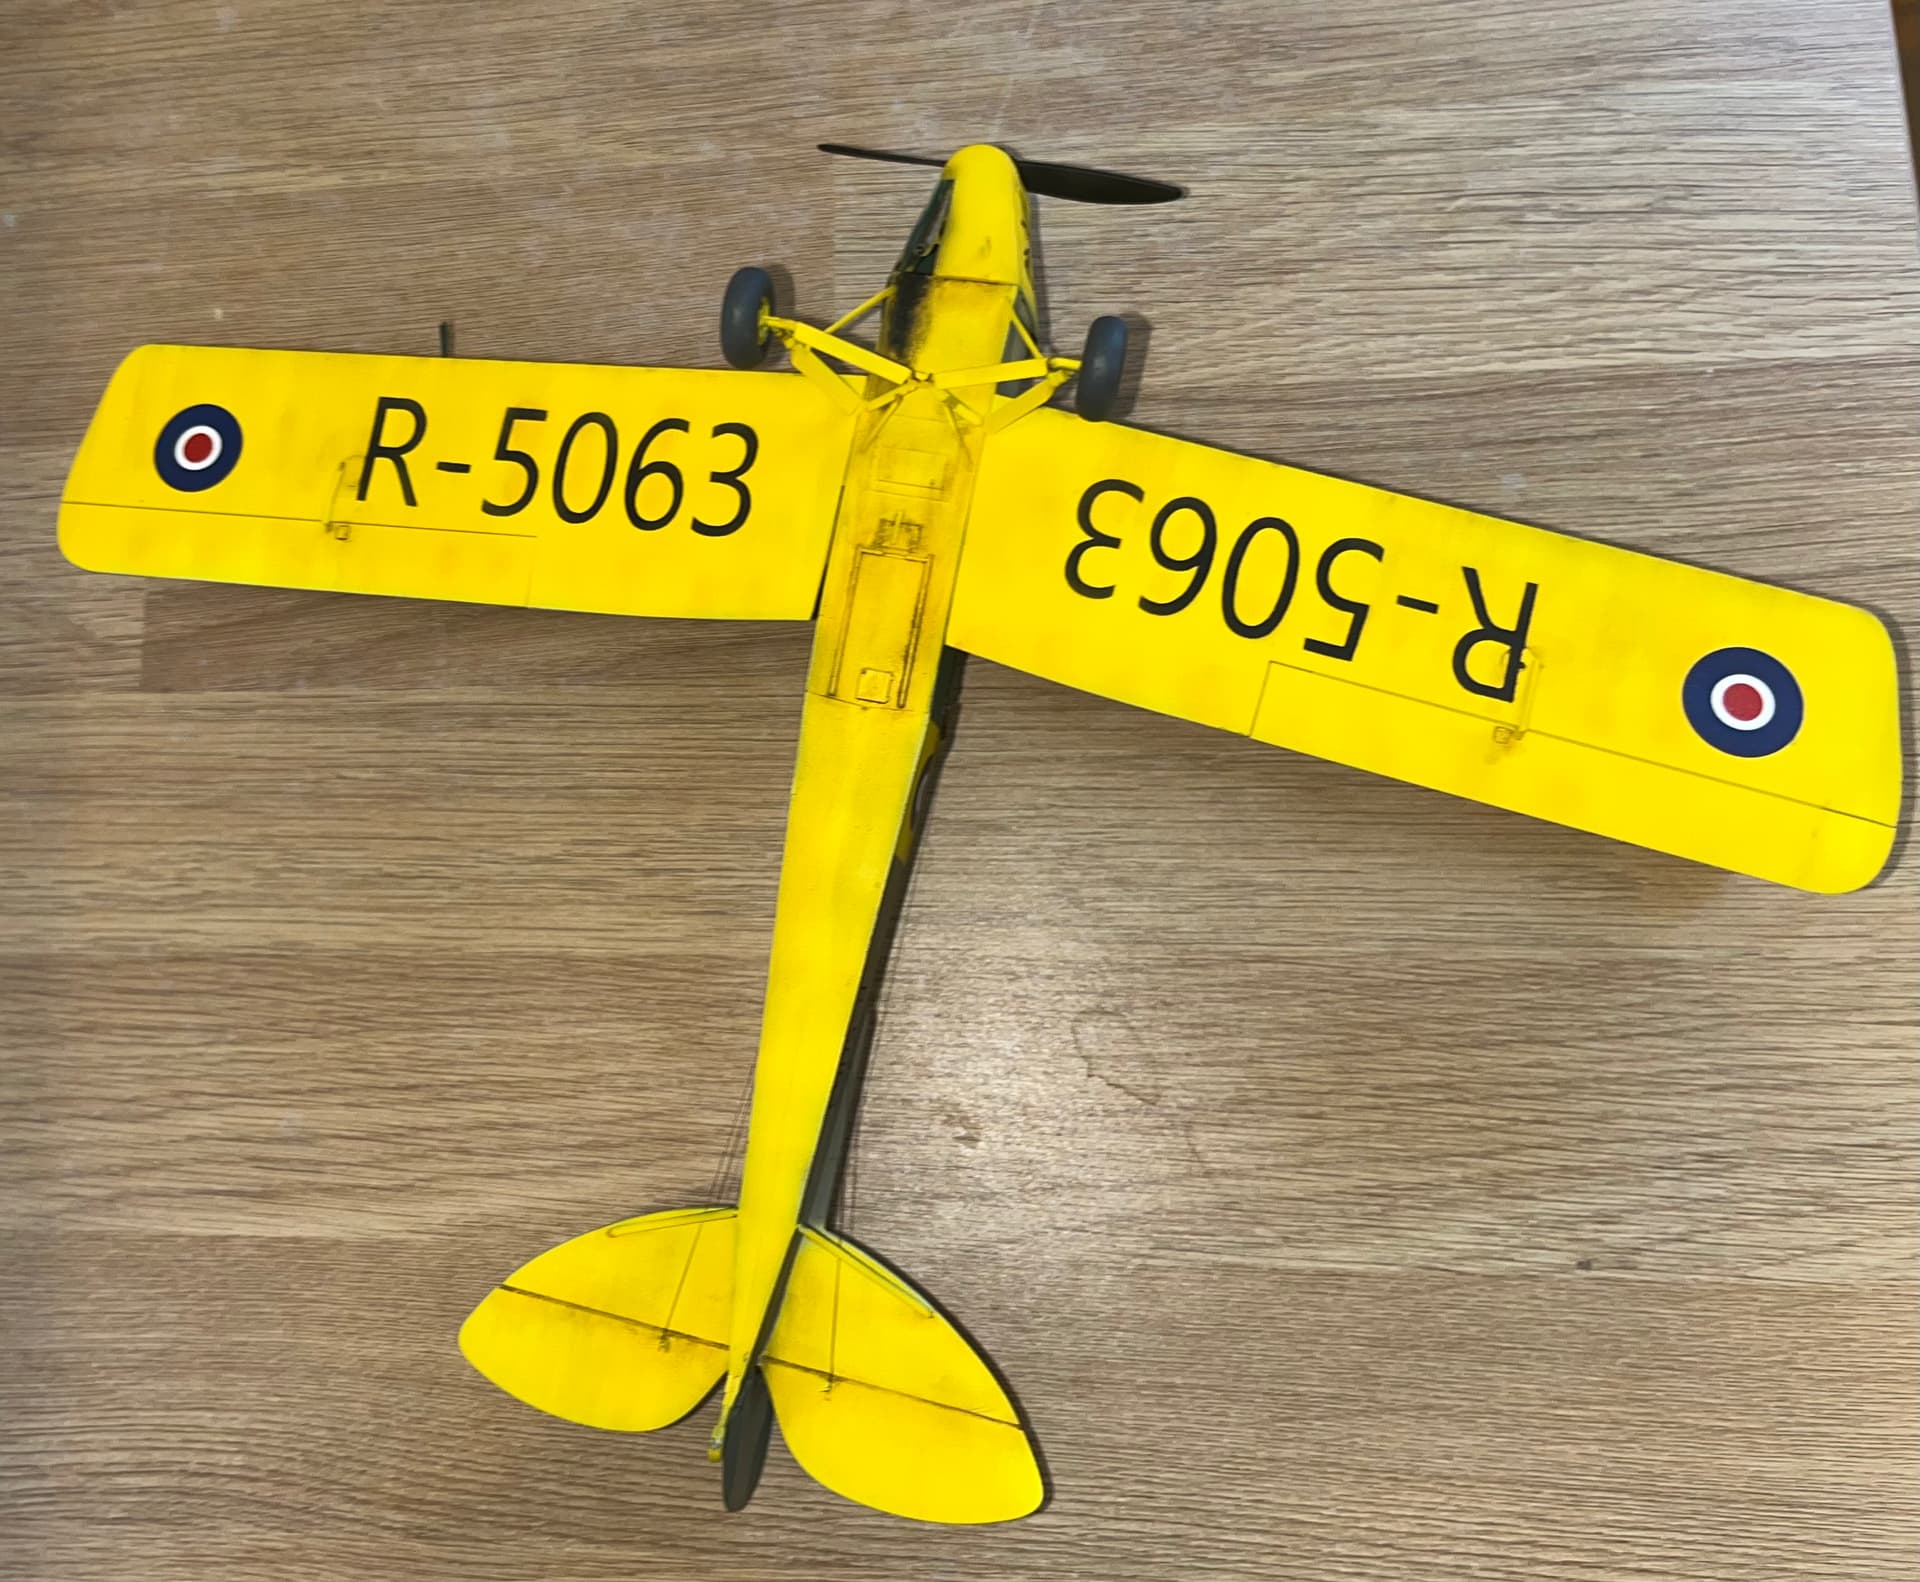
So base painting done. Custom made masks for the serial numbers on the wife’s Cricut. I tried to match the font to that of the kit poor idea decals. I’d assumed there would e been a standard font for RAF markings. Looking at the source photo after I noticed this isn’t the case. If it wasn’t for the fact I’ve covered in a layer of satin varnish and the fragility of the wings (only fault I can find with this kit) I would redo. Lesson learnt for future builds.
Roundels were the decals from the kit. Overall really nice and no visible carrier film, although didn’t lift from the backing paper easily. Just some detail painting and finishing the remaining rigging to go. Probably keep weathering light on this build.
8 Likes
Looking lovely with that paint scheme… The yellow really contrasts well against the cam…very nice indeed
1 Like
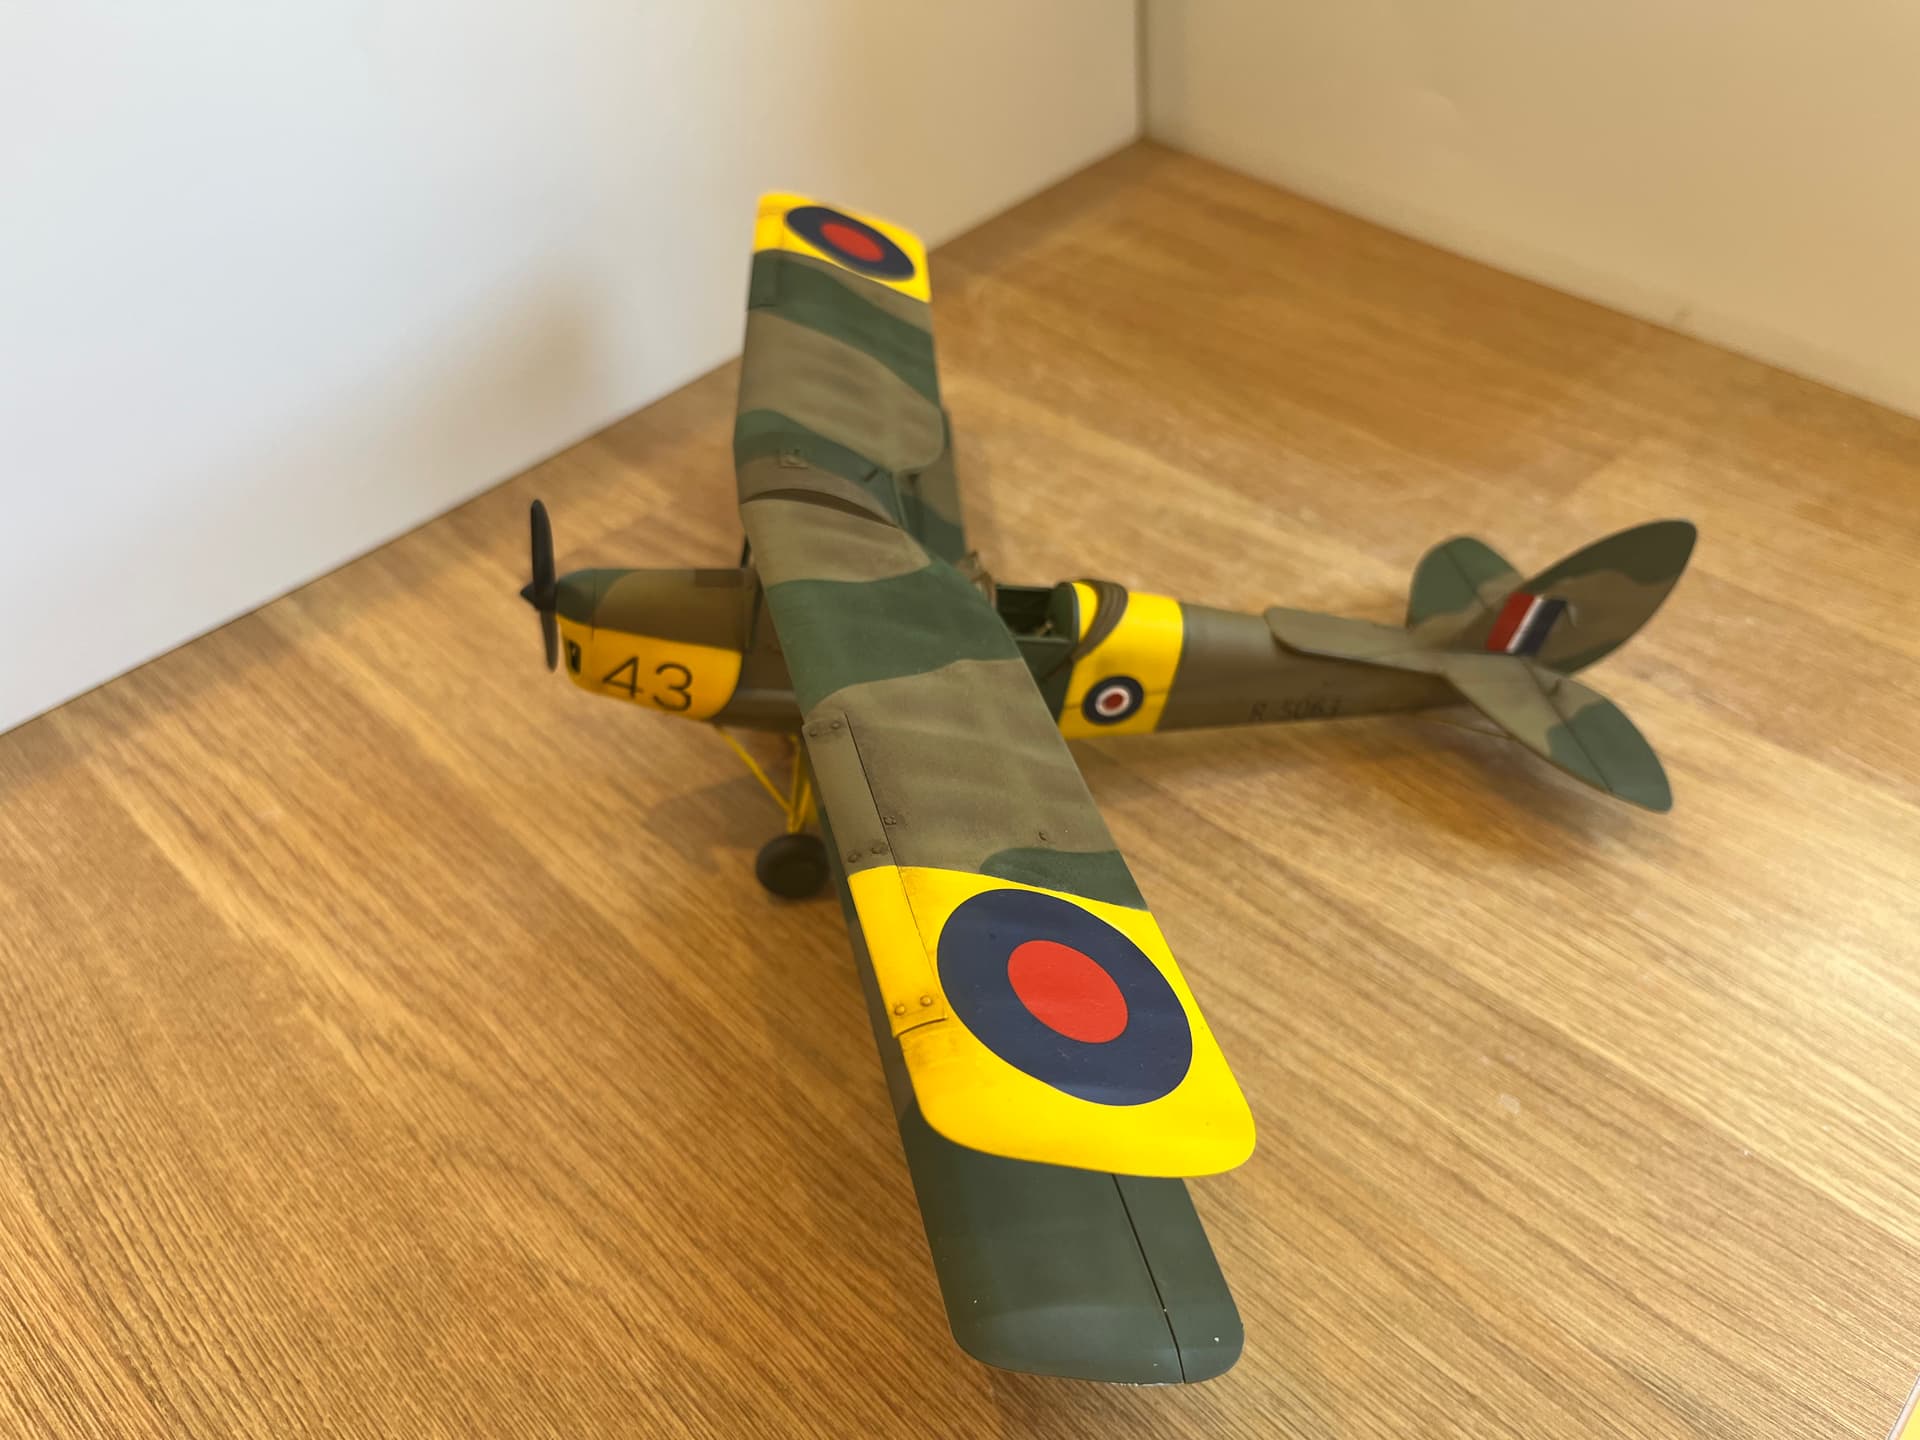
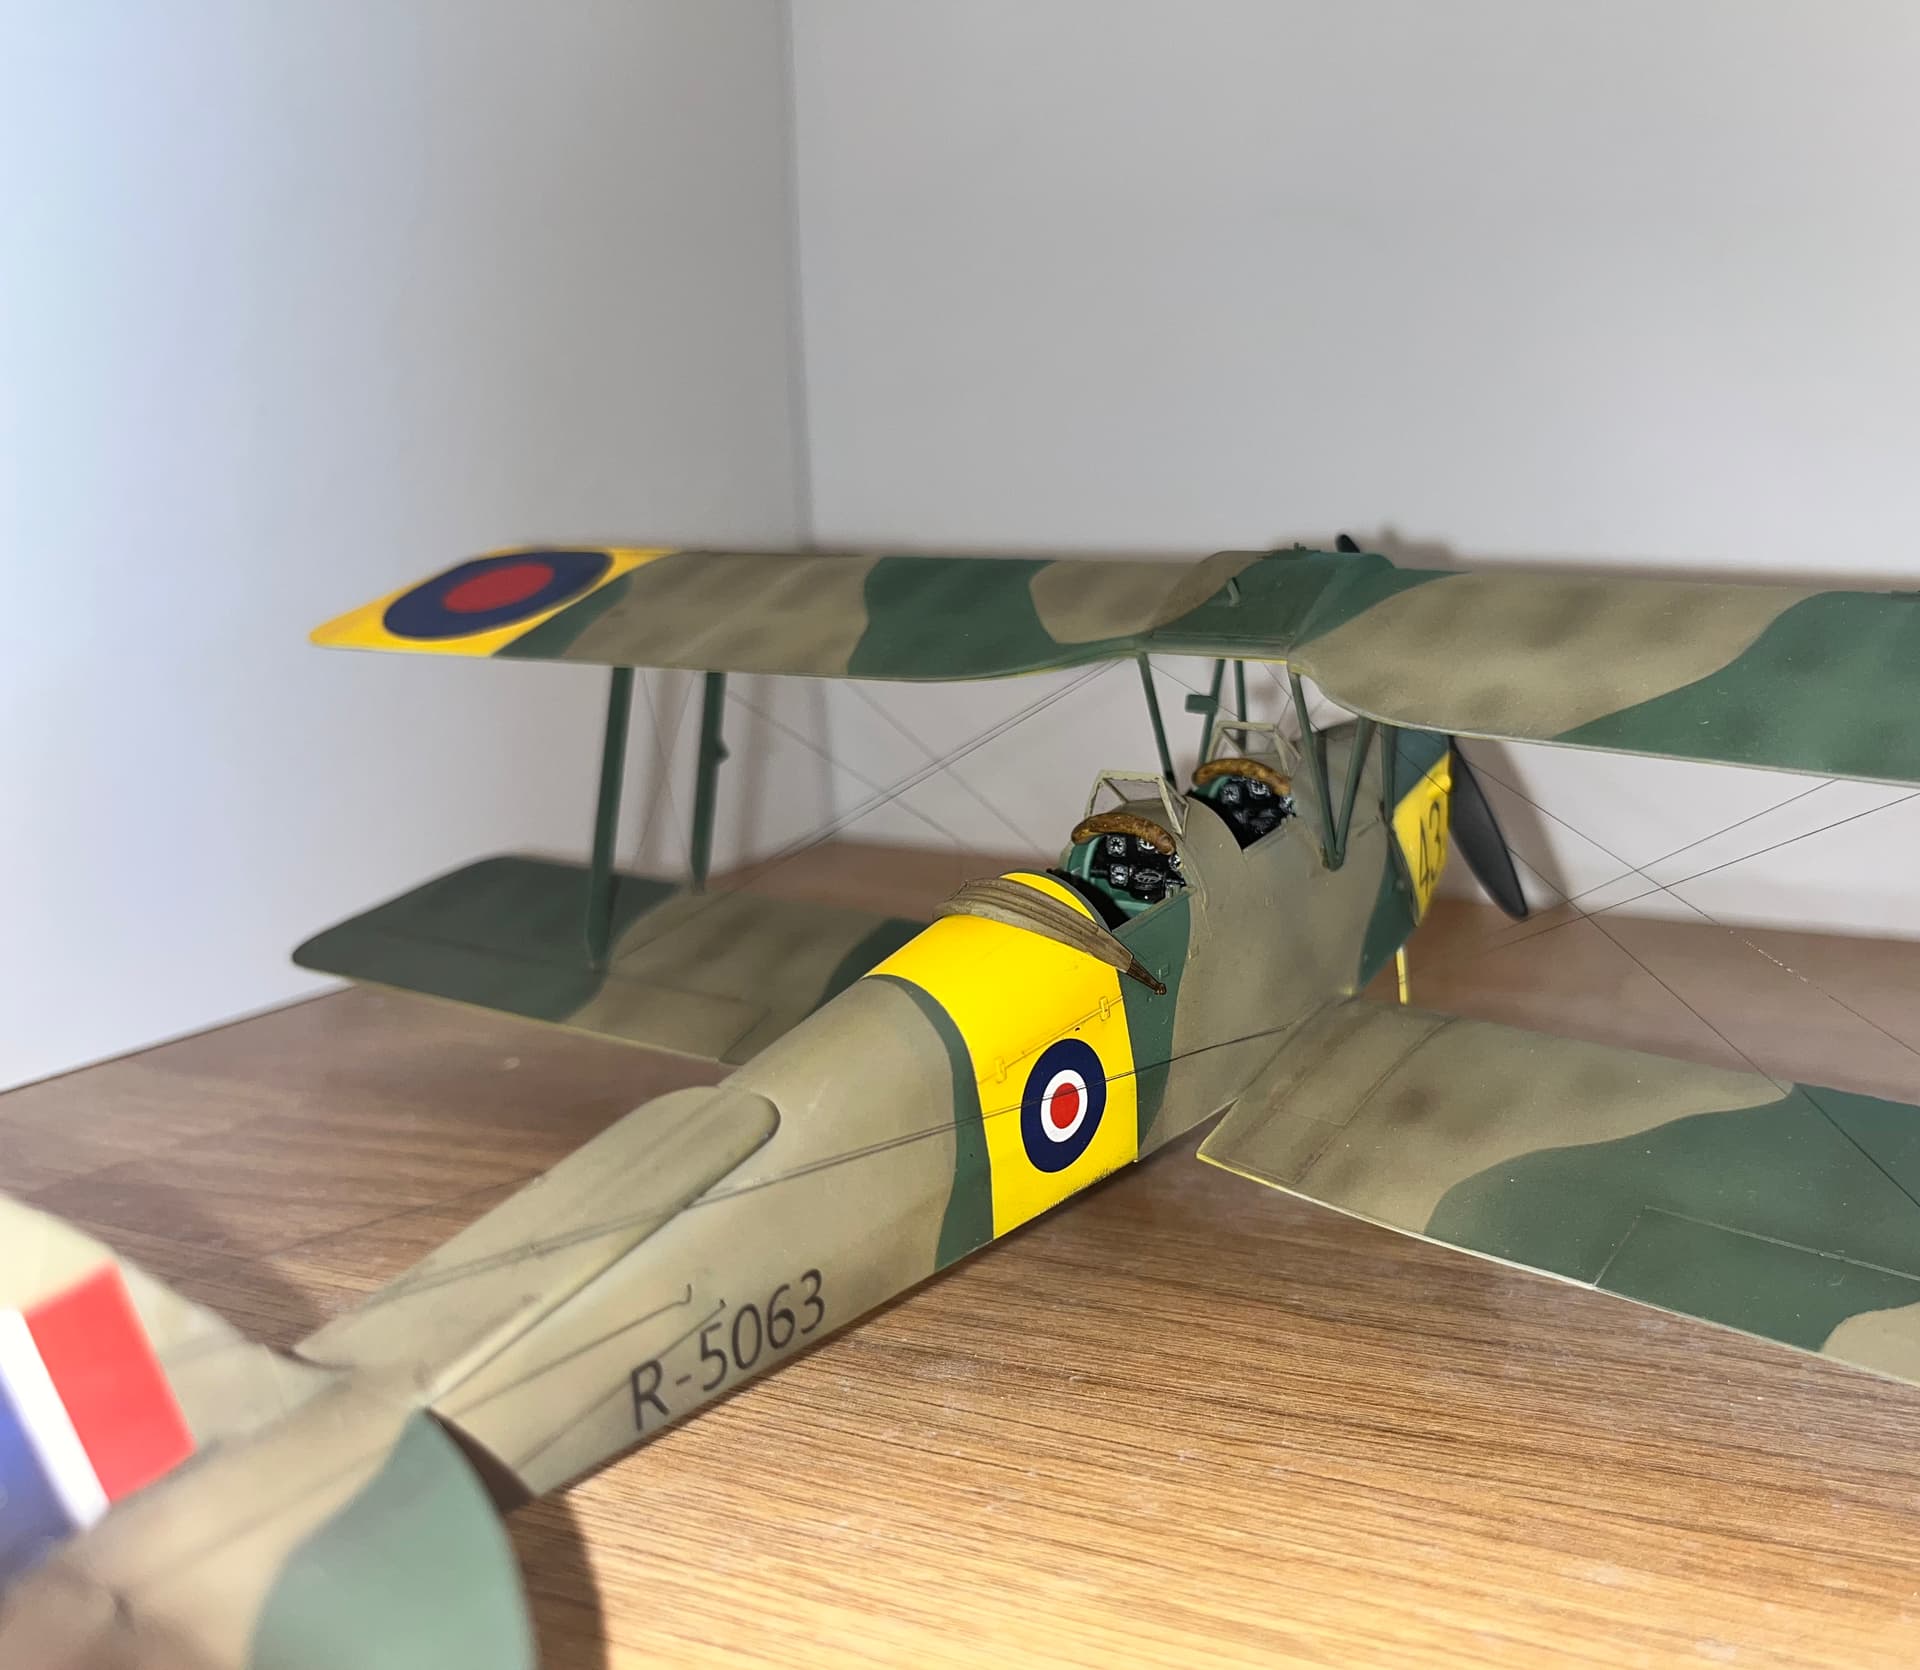
So finished this one up. Used ammo shaders to accentuate the canvas shadows - grime on the green and brown, with earth on the yellow. Used starship filth to pre-shade the exhaust staining then used oils on top. Lastly an oil oi wash, but not a huge amount of panels on this aircraft.
4 Likes
Great start to the tribute build. Lovely subtle finish all over and doesn’t take anything away from the colours you’ve laid down.
What’s next on the flight path ?
1 Like