Think it’ll be the Mustang Mark IV. I’ve got the Eduard kit ready to go. Need to do a bit of research on the camouflage for 213 squadron in Italy 1945. Quick armour build lined up first though.
2 Likes
That’s turned out really well.
Nice subtle weathering and you got that yellow perfect. Can be a difficult colour to work with Sometimes, but you nailed it. Nice rich colour.
1 Like
Thanks for all the positive comments. Onto build two. After a stint with 5 R.F.U stationed at Salerno in Italy flying Mustang Mk.IIIs he joined 213 Squadron at Biferno in Italy in June 1945 where he predominantly flew Mustang Mk.IVs amounting approximately 210 flying hours over the next two years until the squadron phased them out in favour of Vampires.
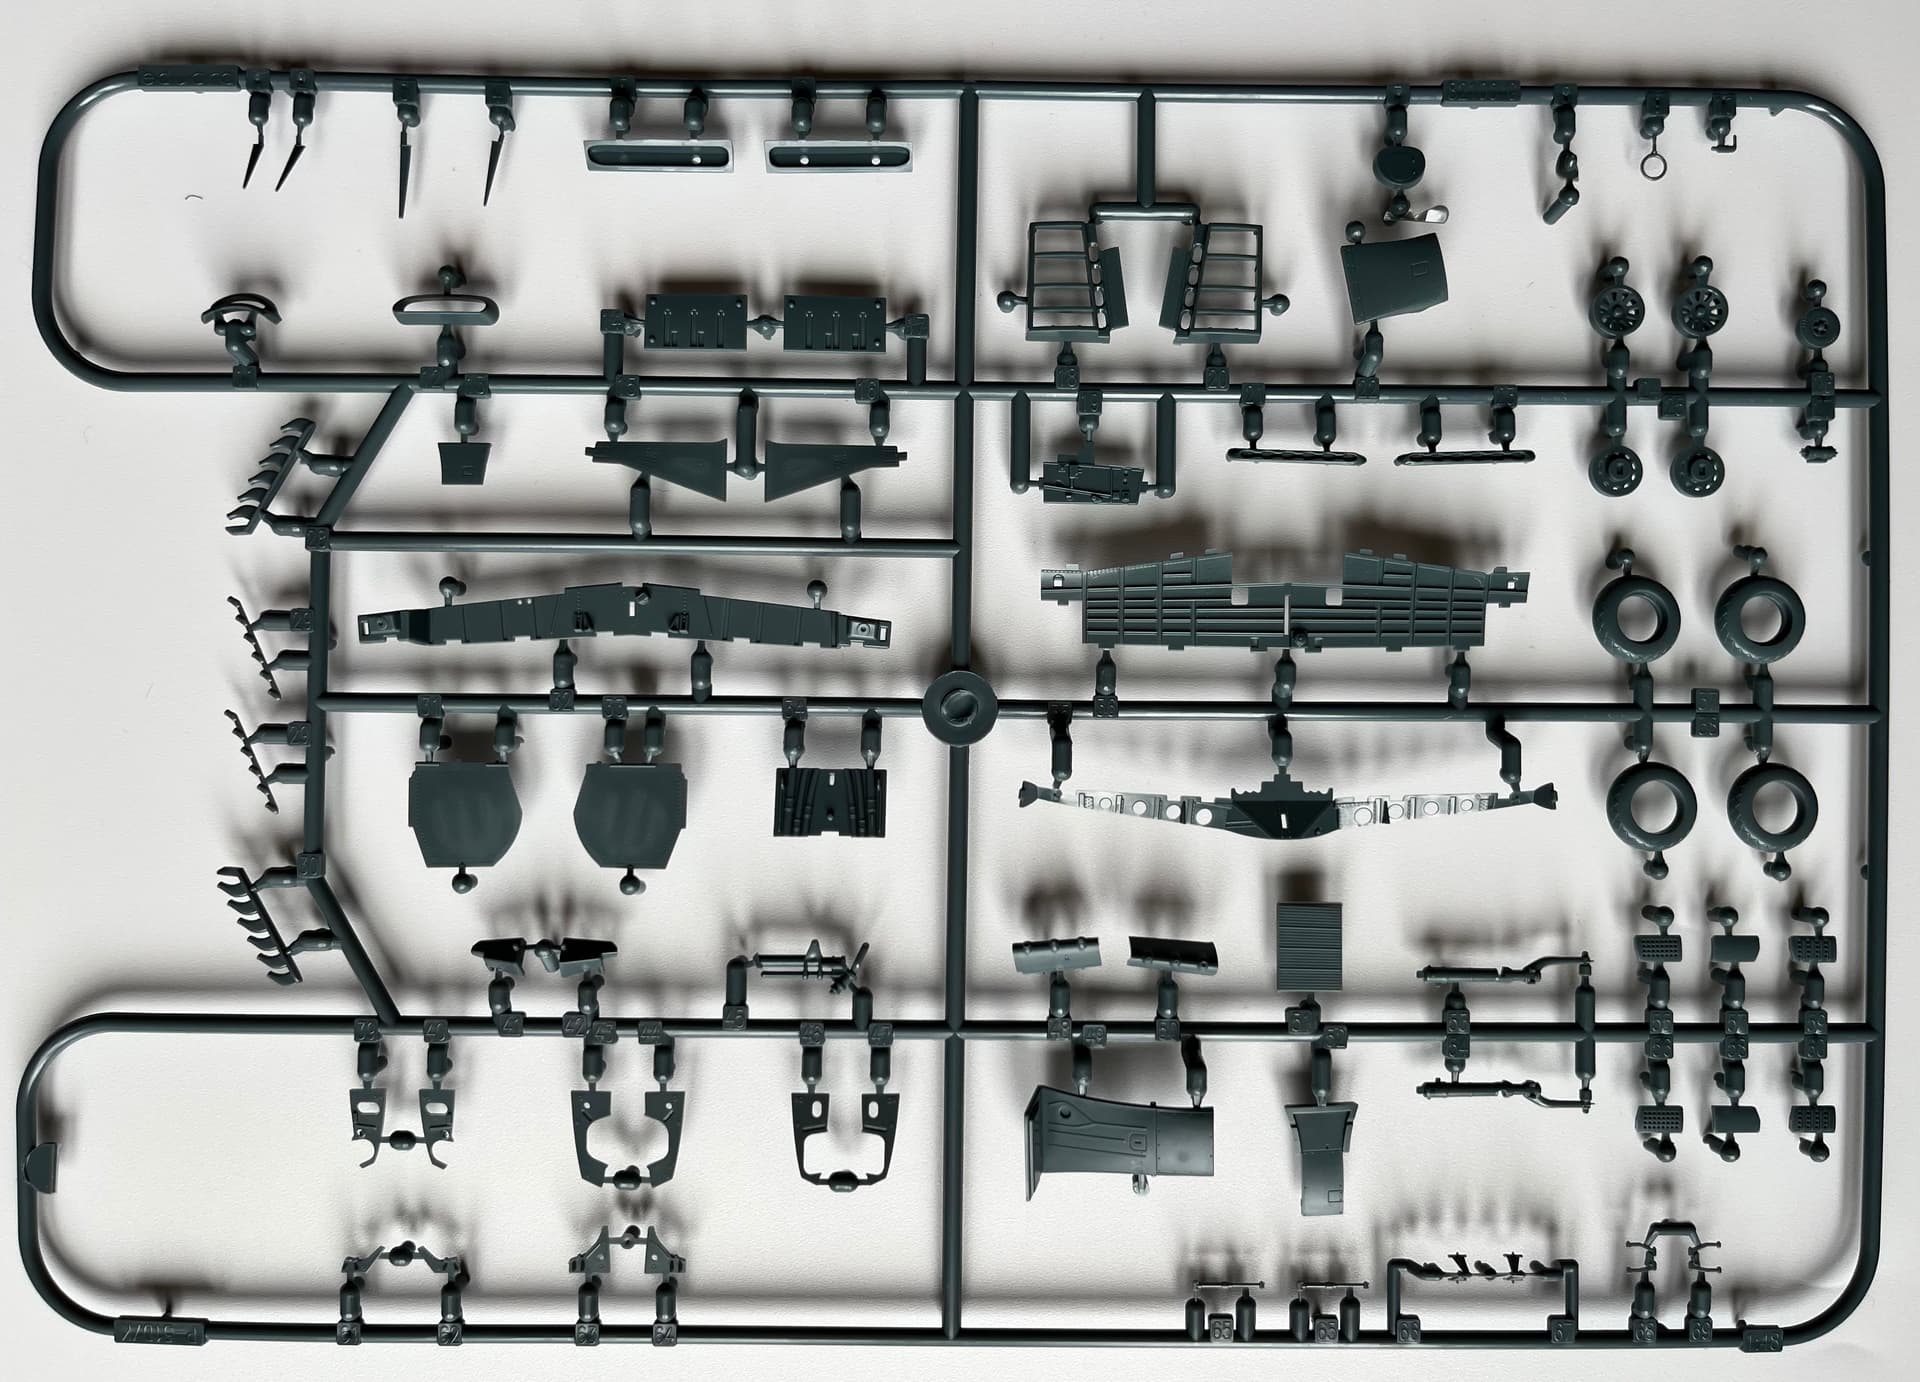
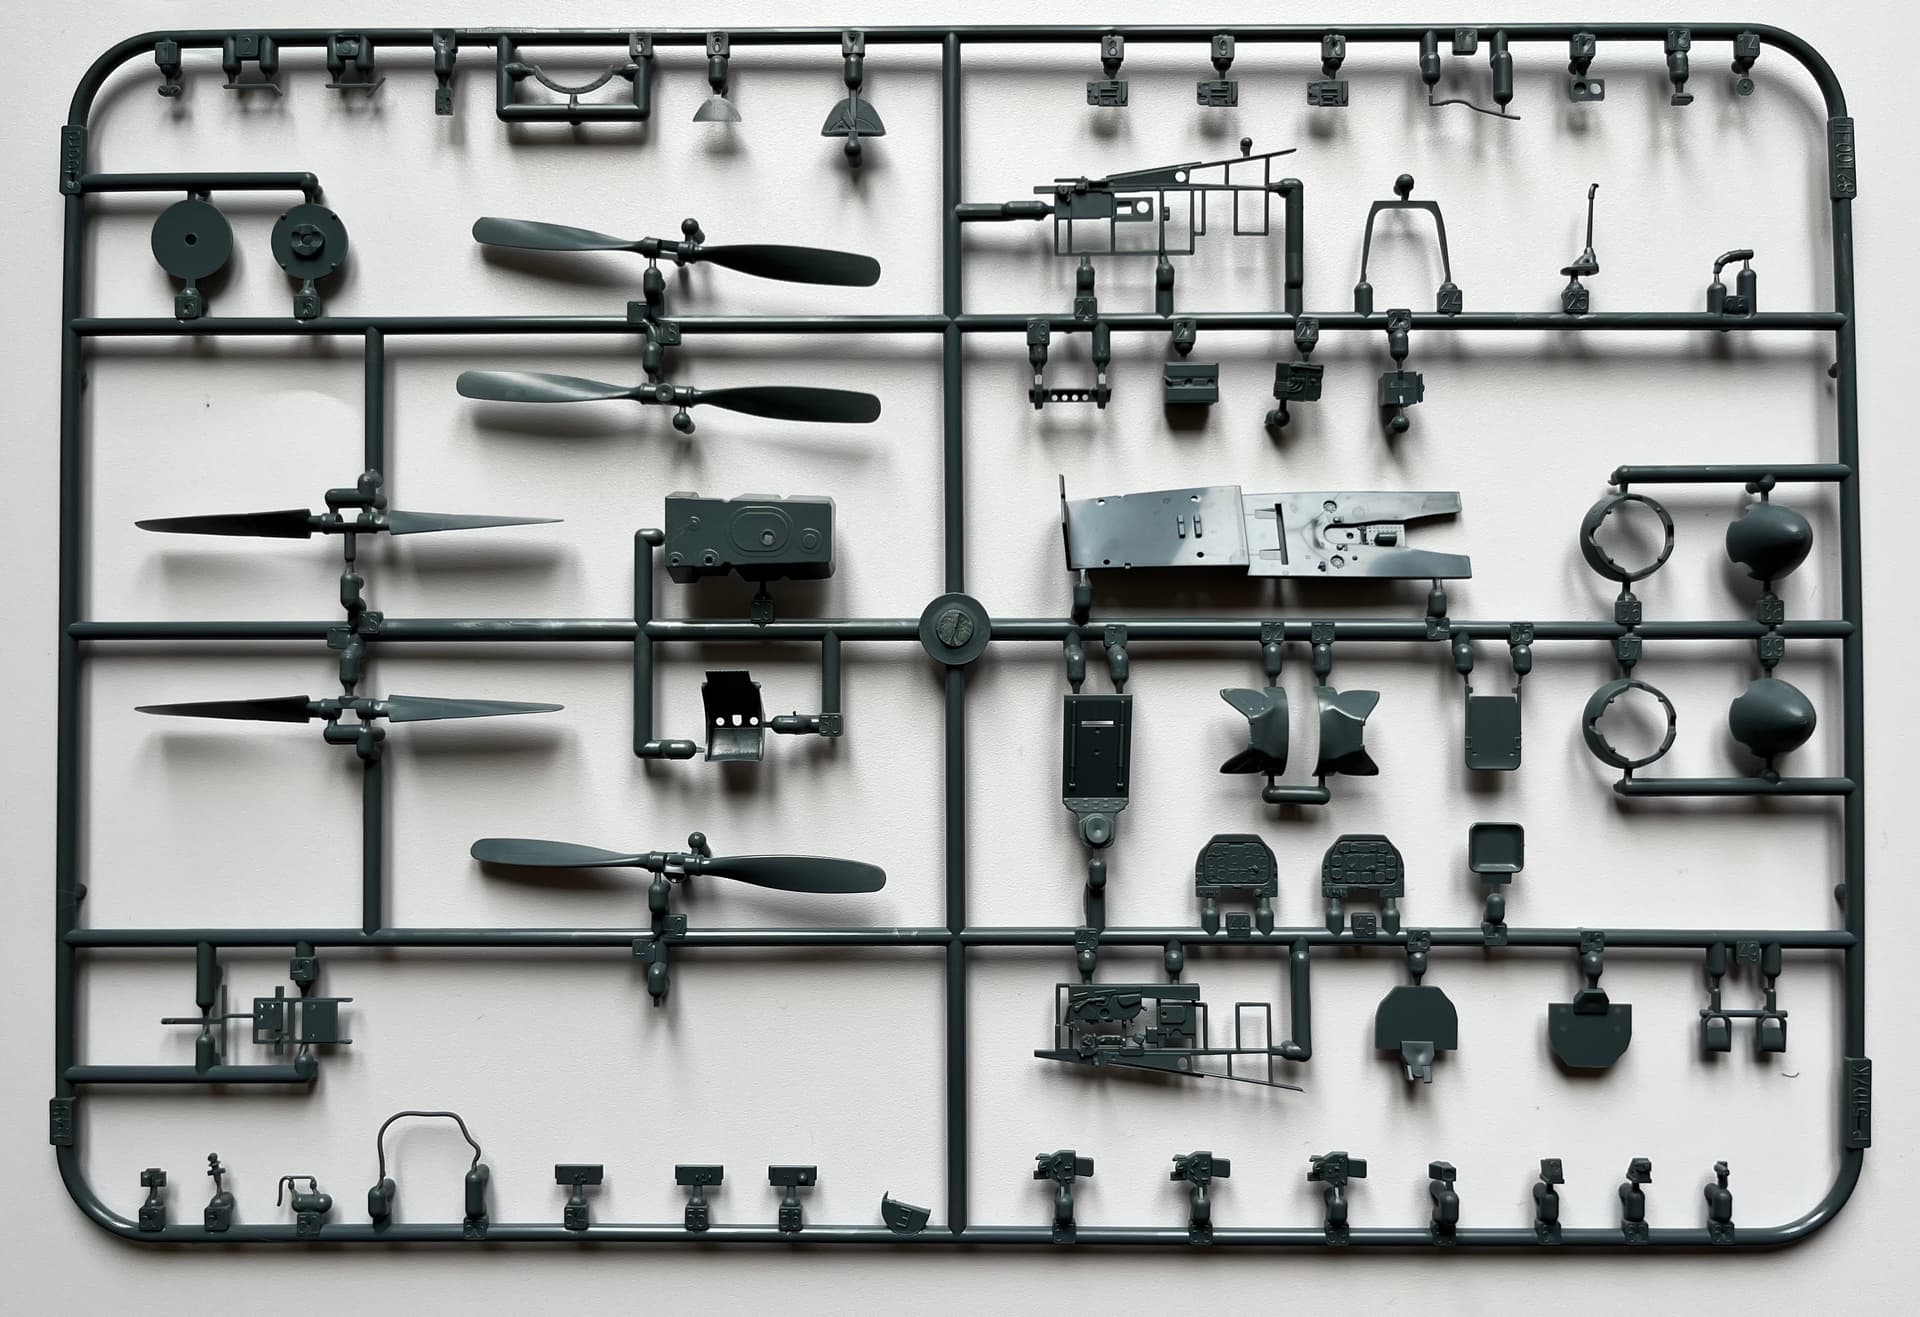
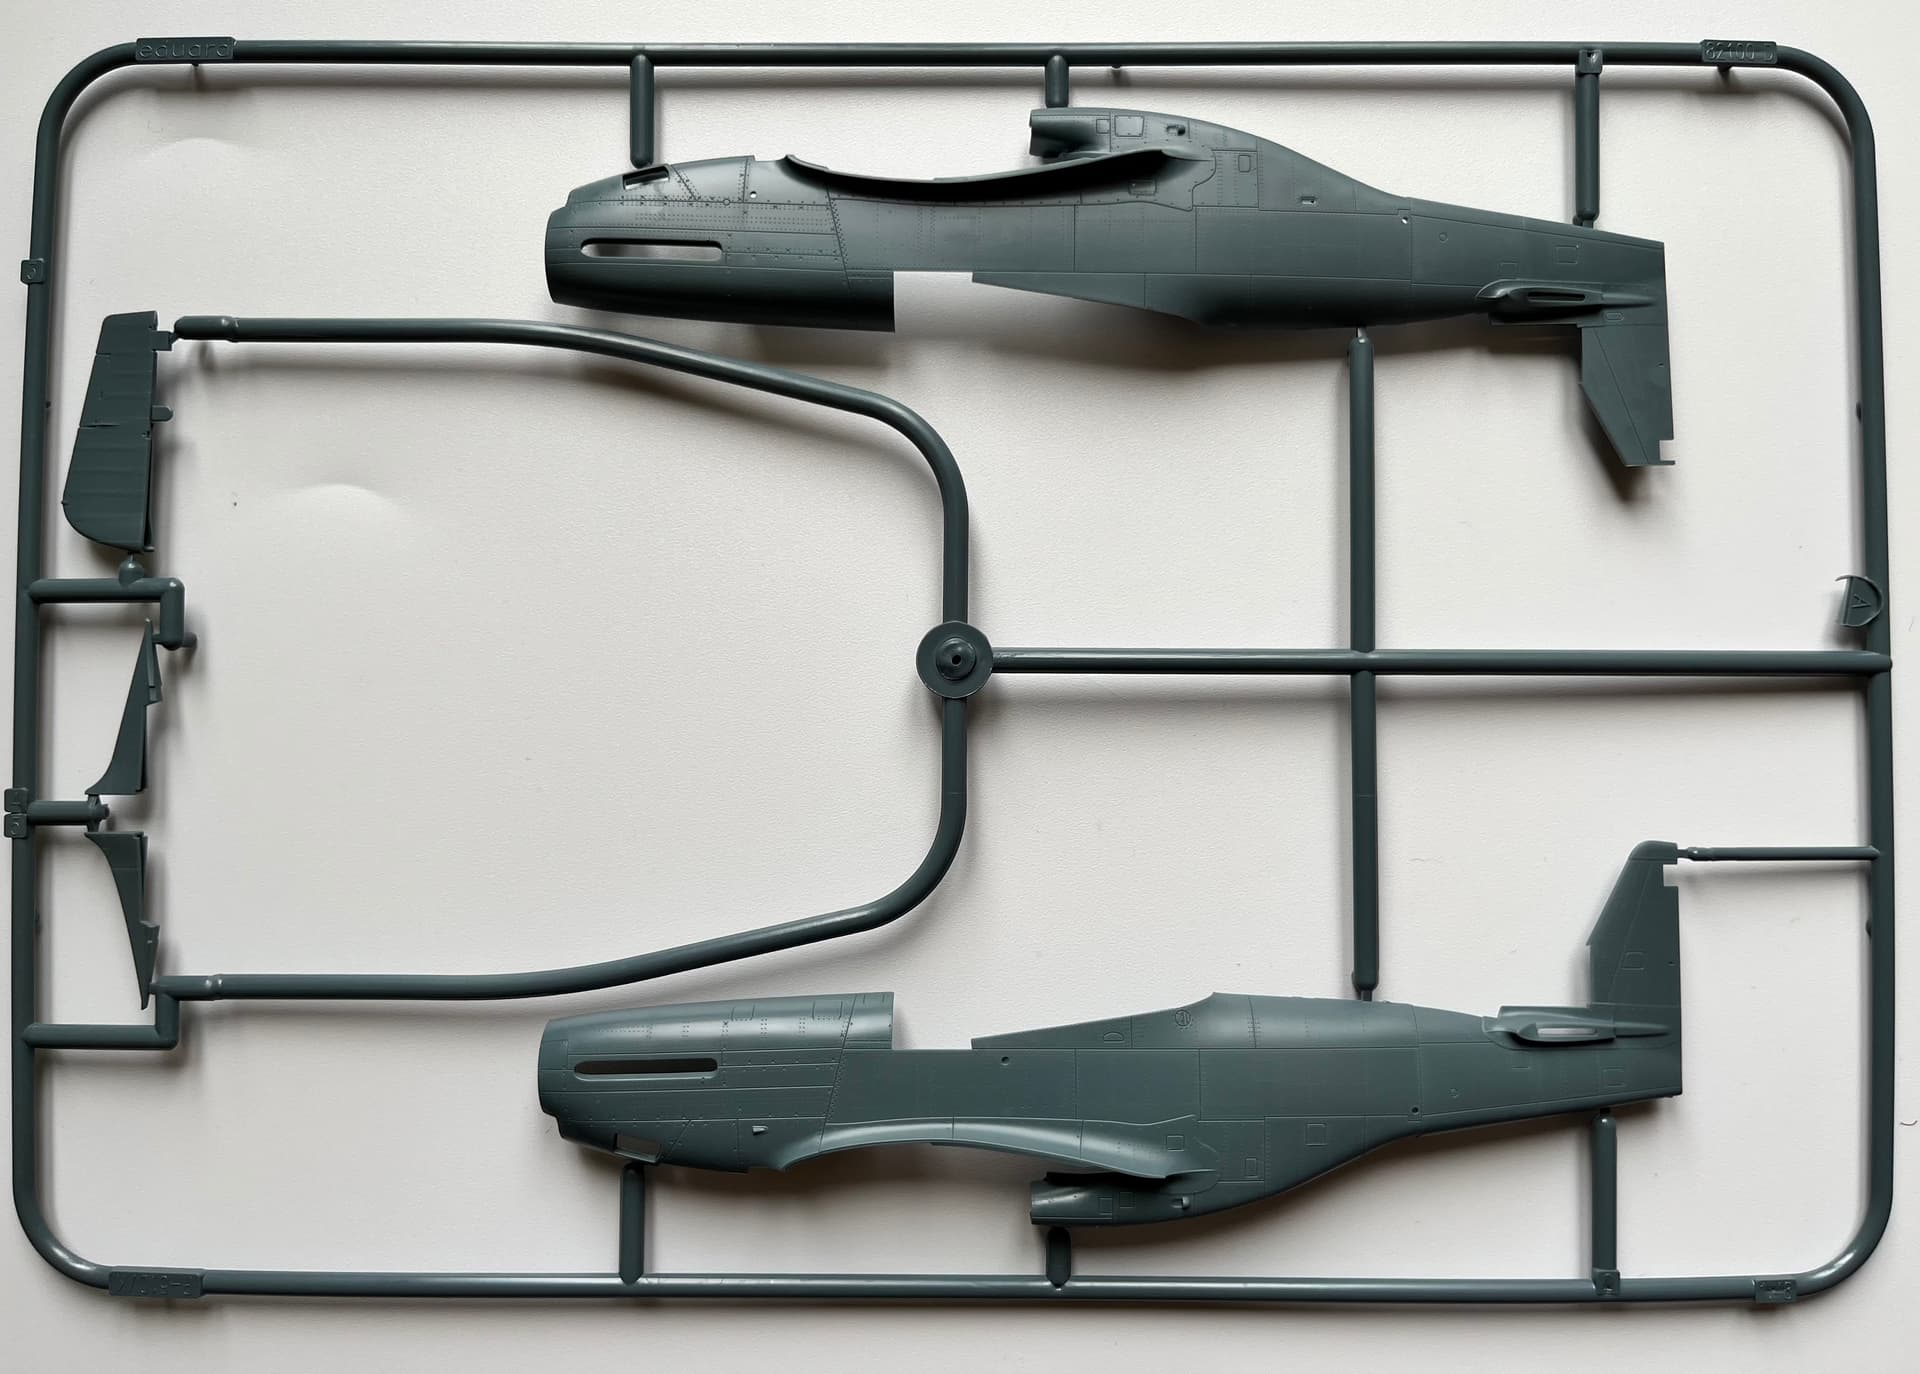
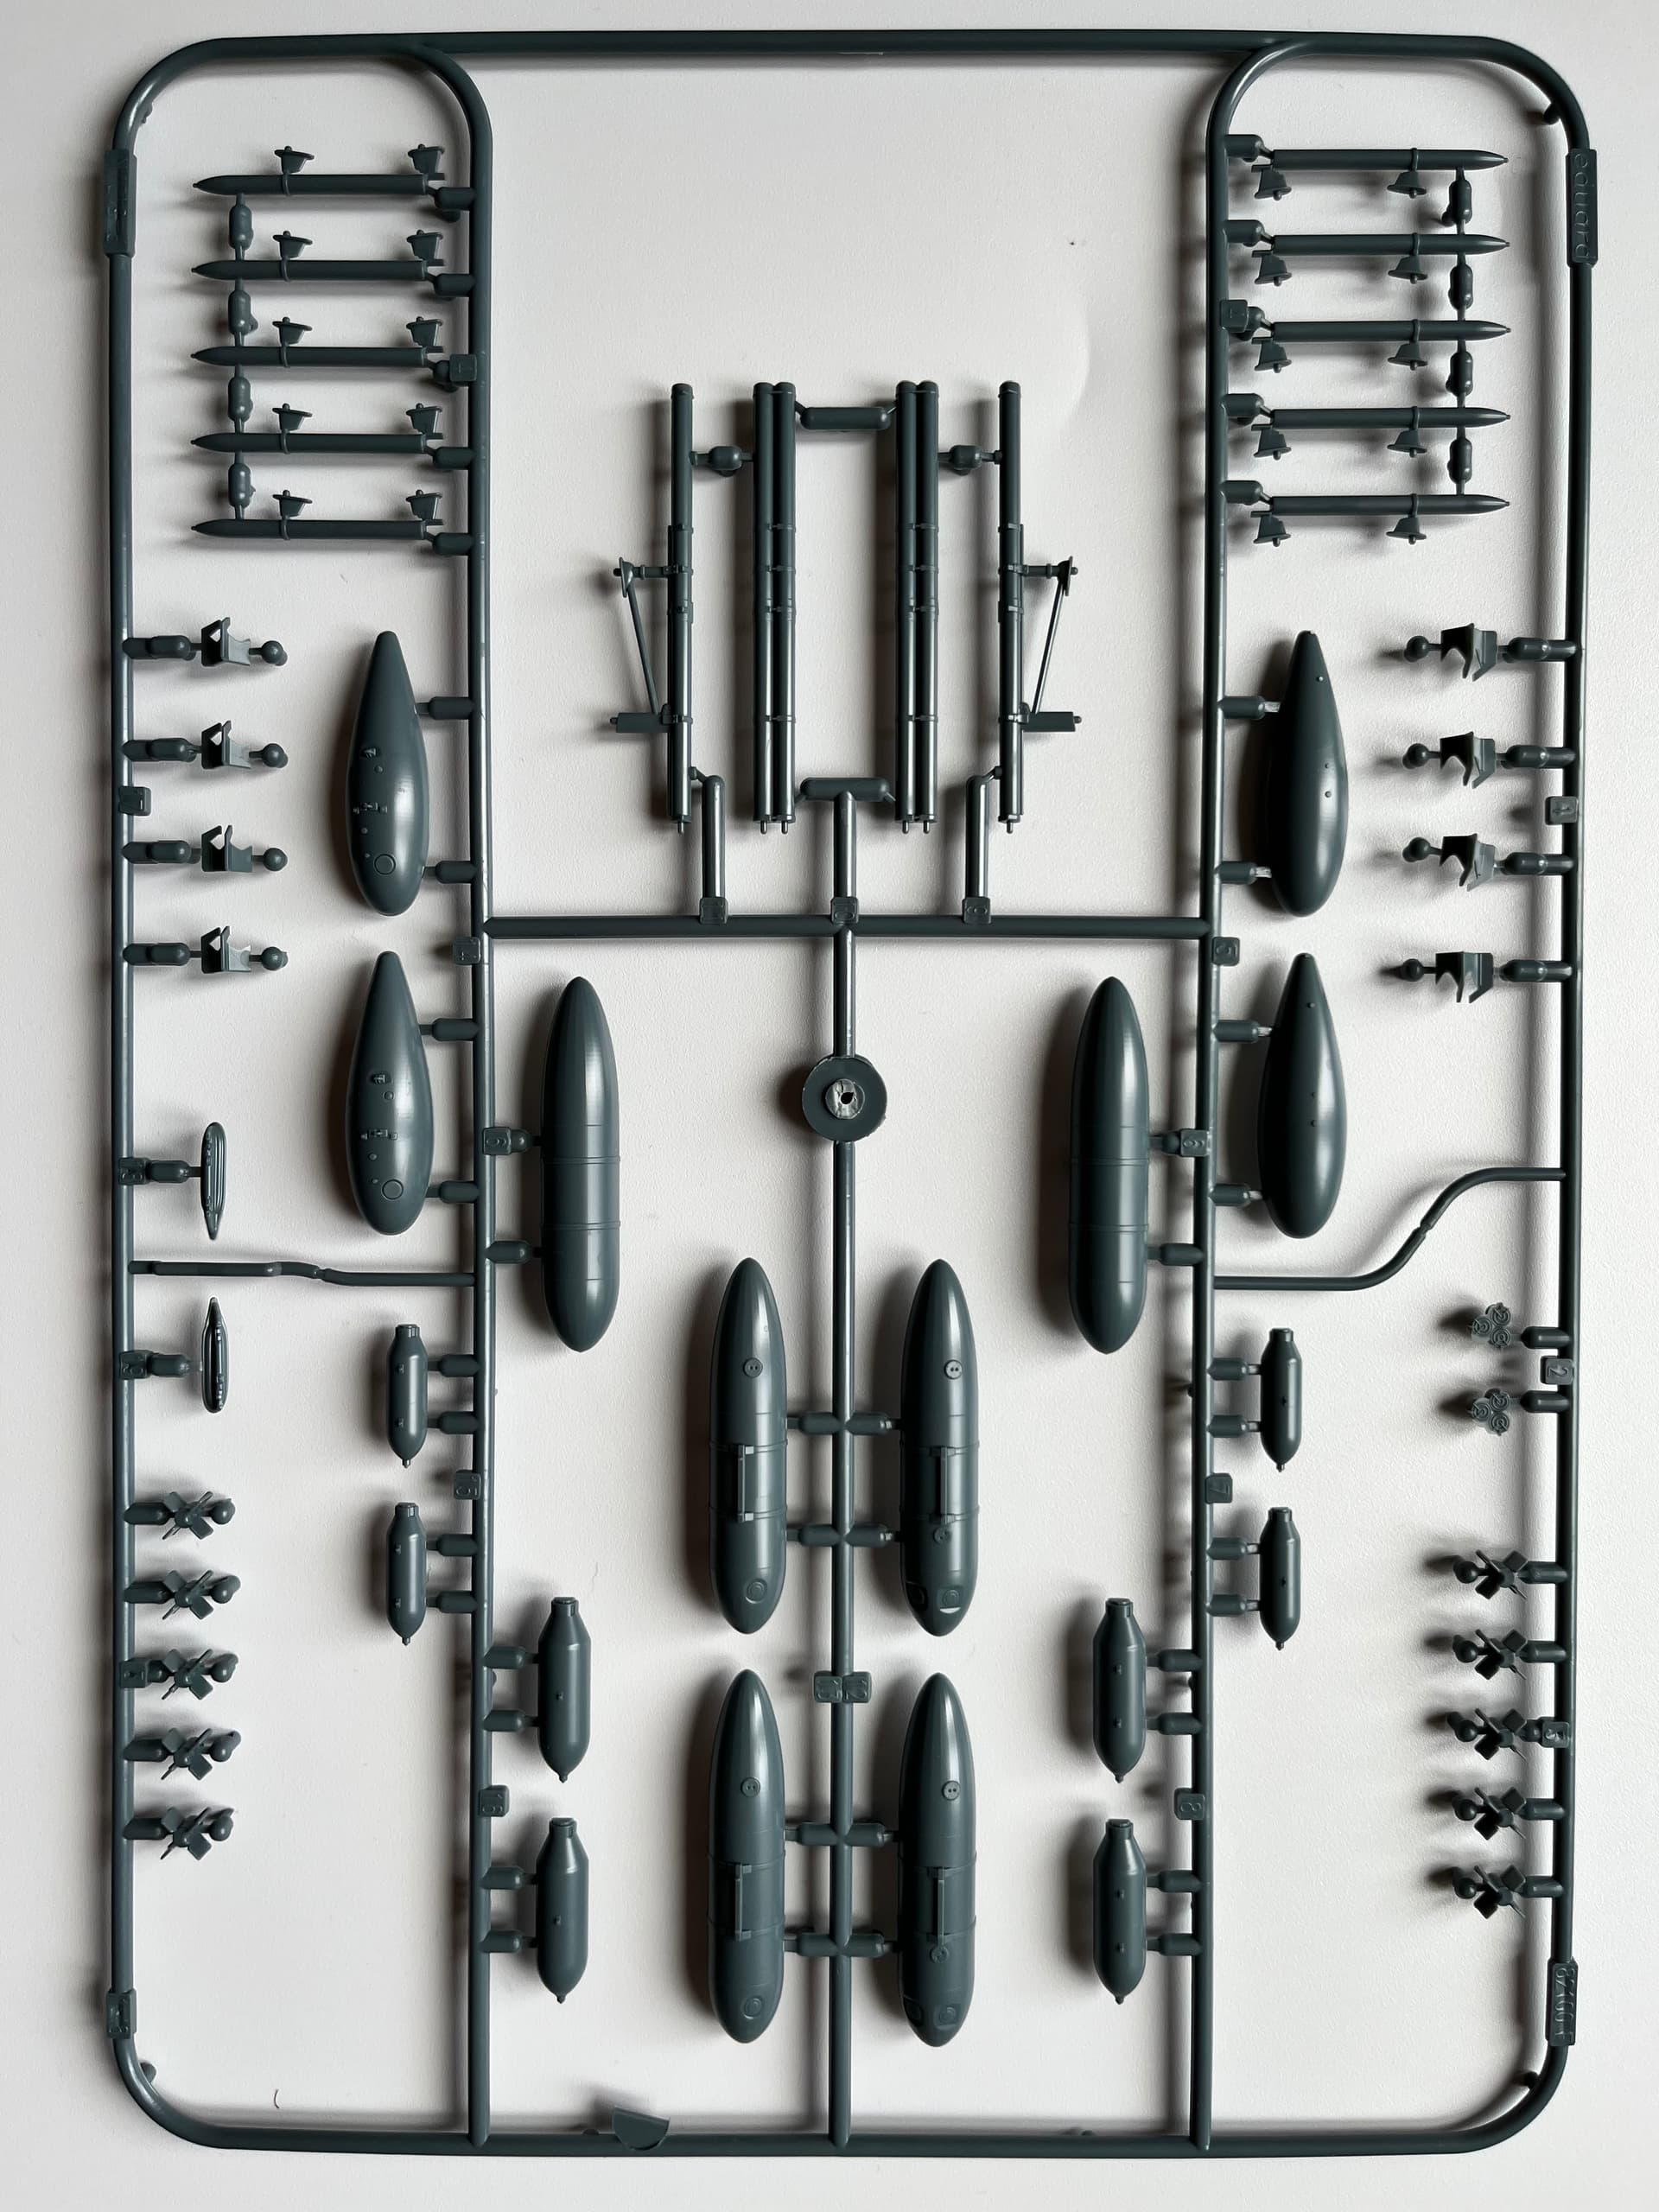
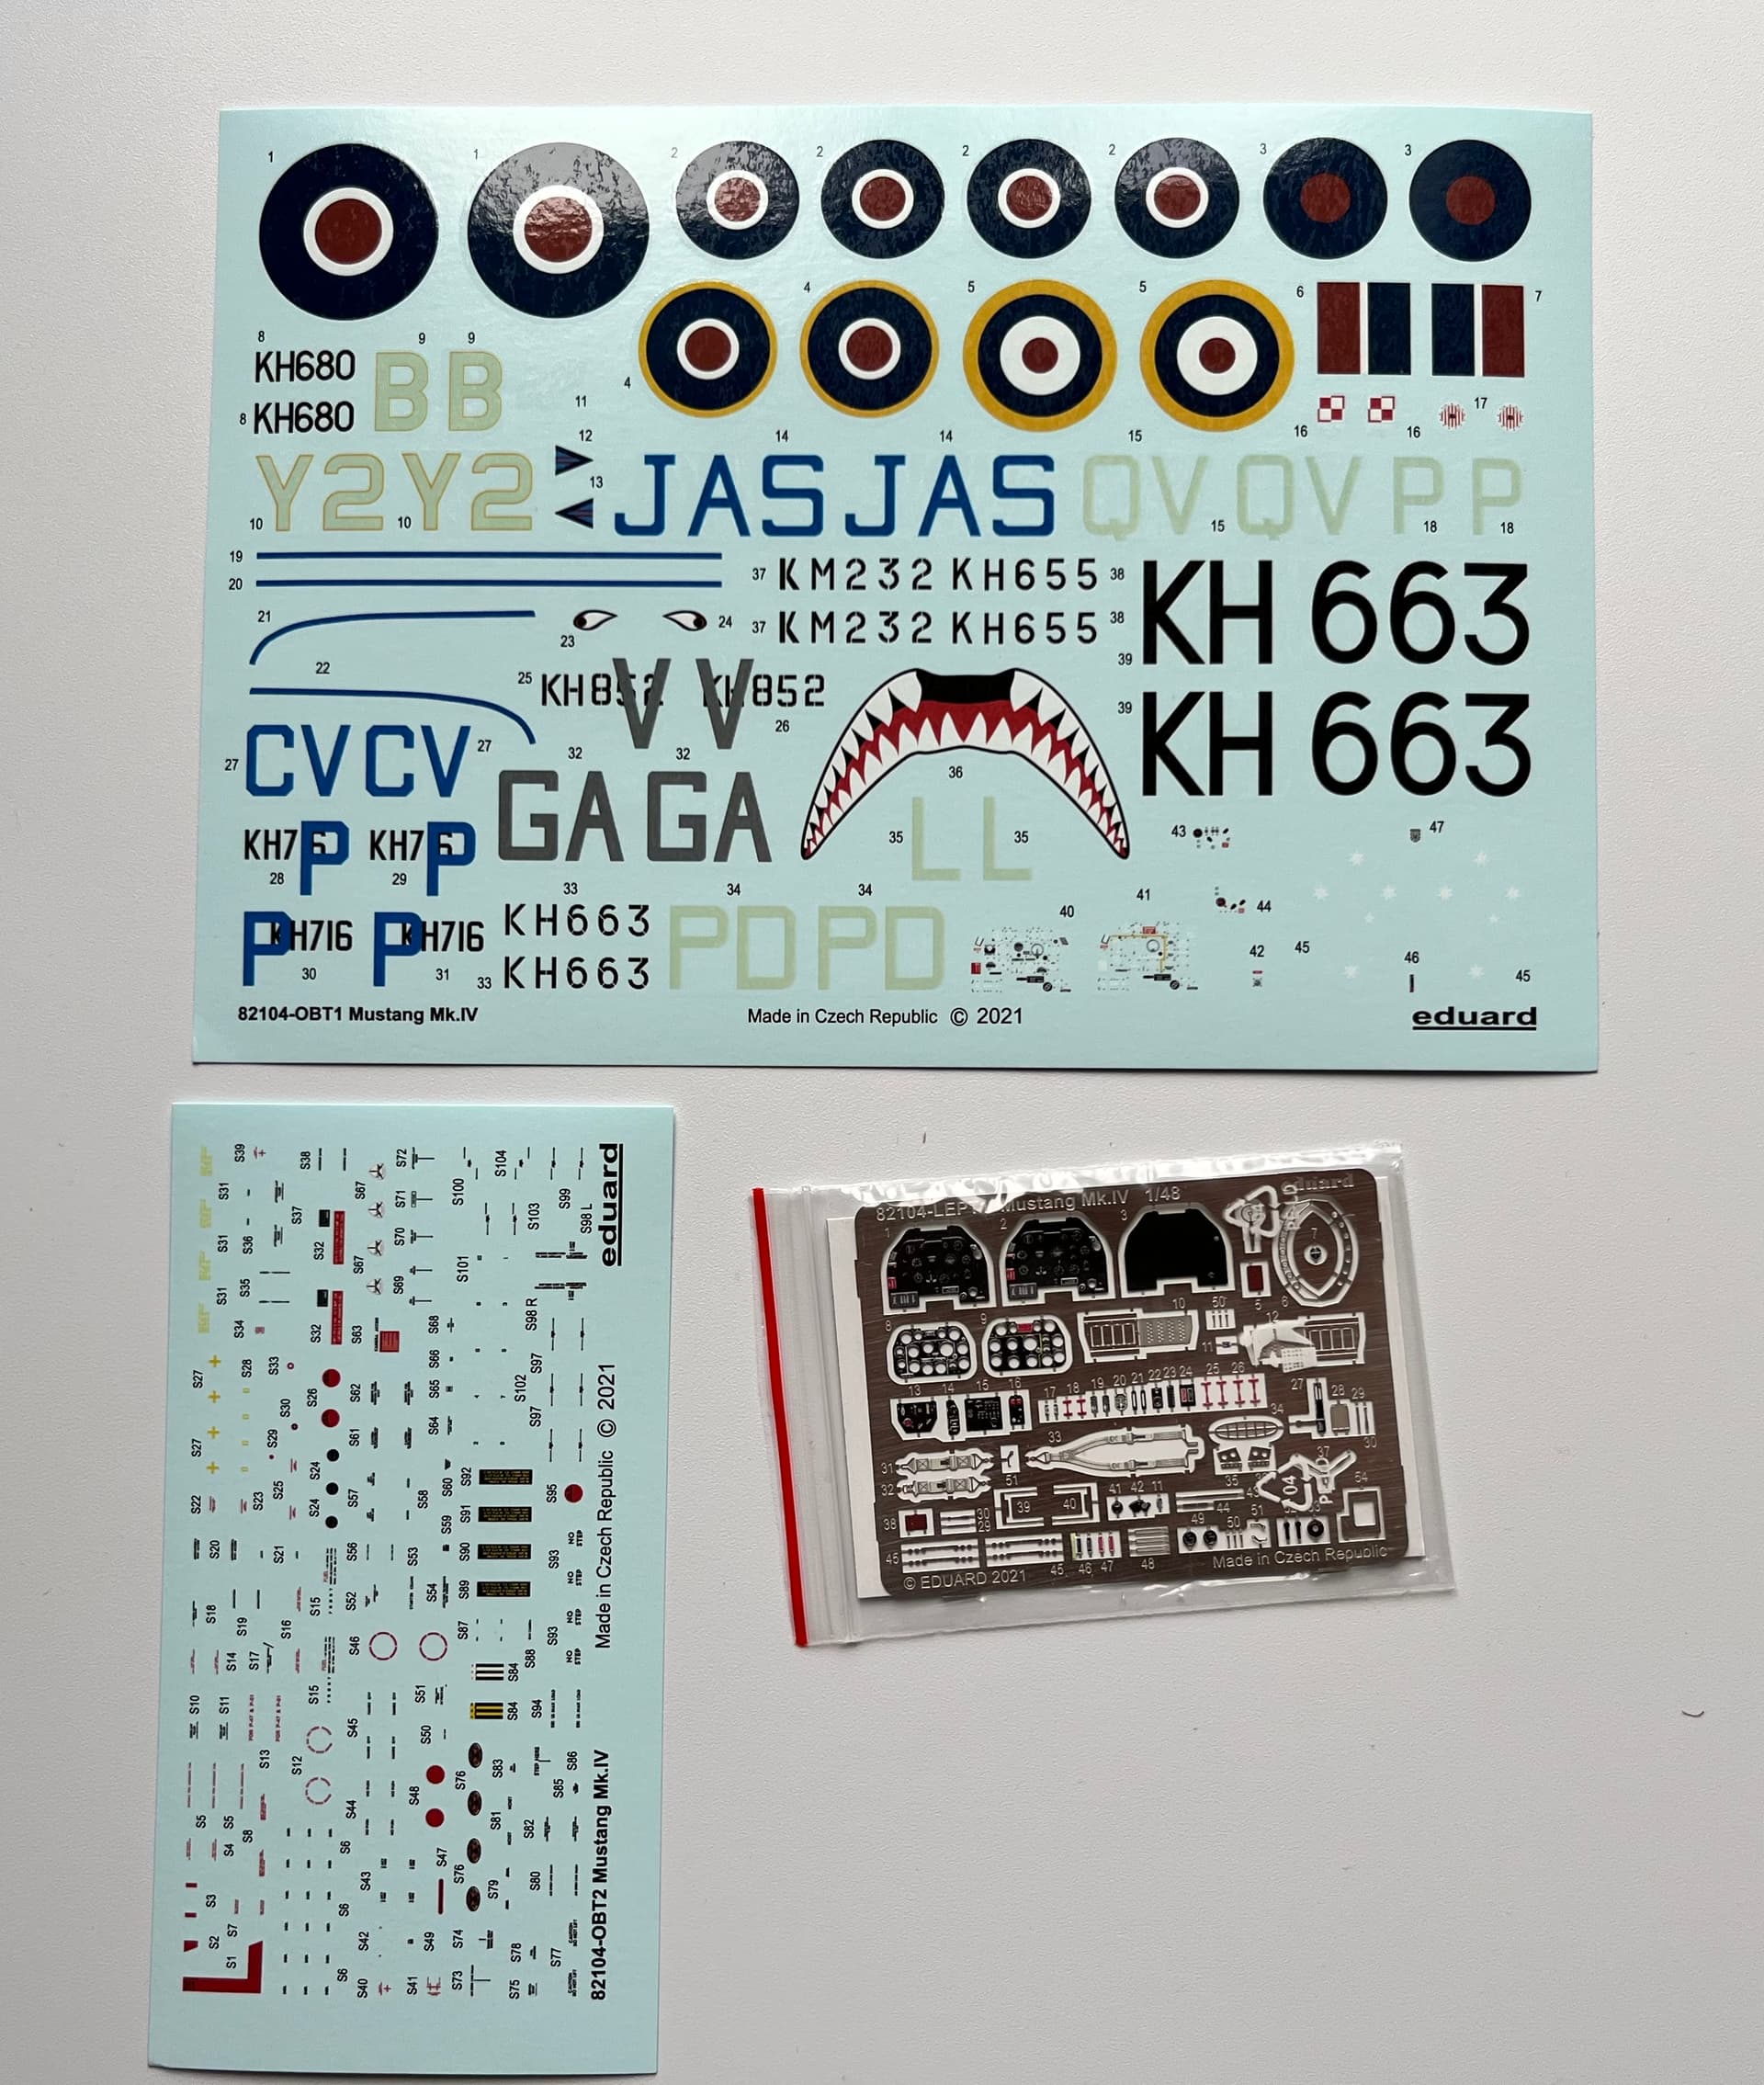
The kit I’ve chosen is Eduard’s Mustang Mk.IV (82104):
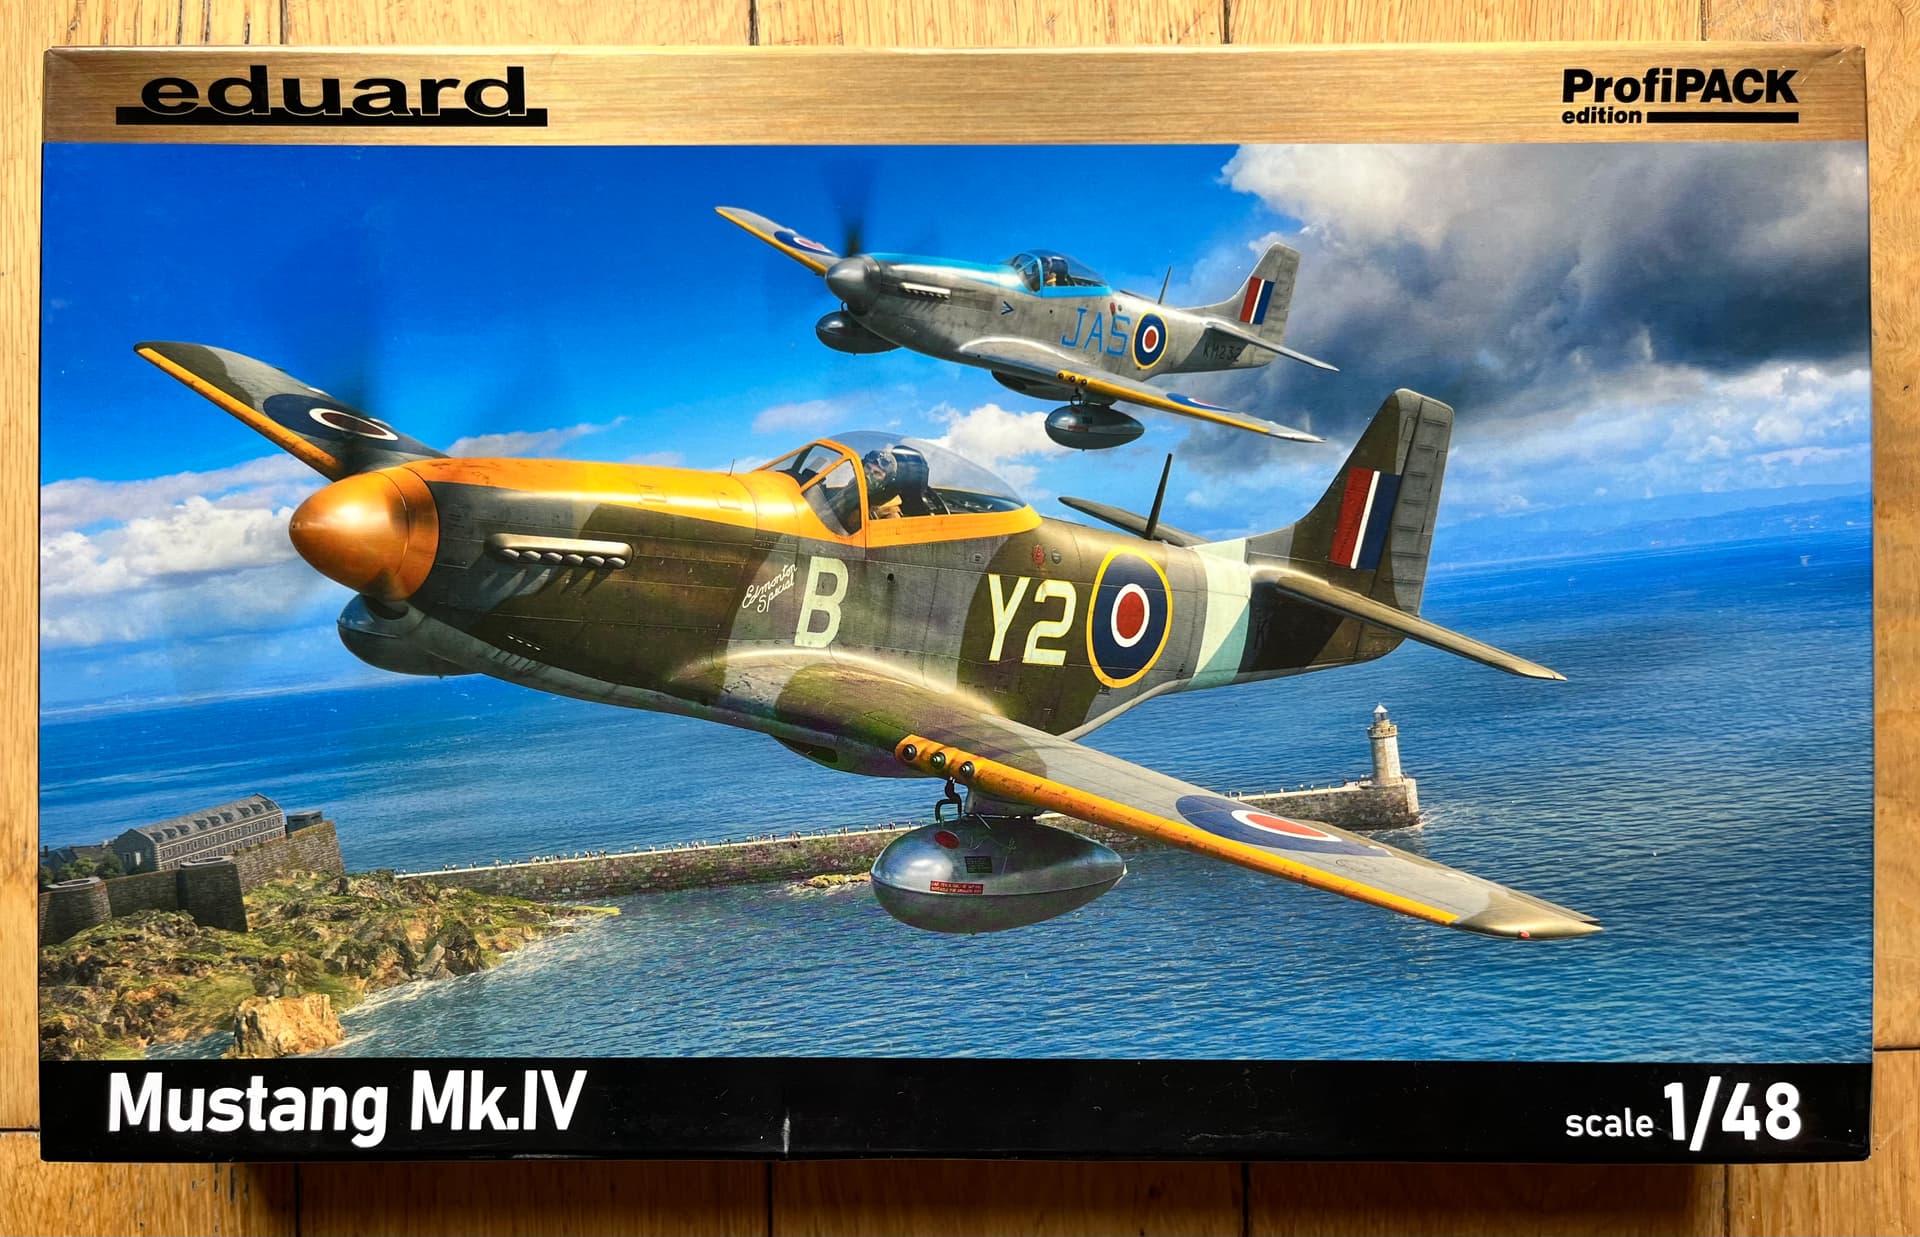
From the research I’ve done, scheme E in the kit is very similar to those with 213 Squadron at the time (minus the shark mouth sported by 112 Squadron). More on the paint scheme in a later post, but will be my first attempt at a polished metal finish.
2 Likes
Excellent. Will be tagging along for this one … ![]()
1 Like
Biggest suggestion I have is before you buy a kit research it on Scalemates. Lot of “new” kits are reboxed 1960s to 80s kits. Some are decent, others, other than having wings and a fuselage have no resemblance to what they are alleged to be. Scalemates will show you the history of the kit, have reviews, and usually pdfs of the instruction sheets. Also has related parts and decal sets for the kit. Can also save you money. A"new "kit may be an old kit (good, bad, or ugly) in a new box.If so you can probably find an older boxing for half the price and get a set of after market decals and stil spend way less. I’ve been working on a batch of for real new Airfix 1/48 kits (molds made in last few years, not reboxes of the ones I built in the early 70s. They have a new Avro Anson in 1/48 coming out. They have a Hurricane, but a MkI… Spit Vb of theirs is nice … make sure its the new one, they have it and a reboxed old molds out too. Mustang II, Tamiya. Mustang IV … Airfixs looks as detailed but easier to build. Airfix has Vampire MkIII (rumor is it has the parts for a MkV). Meteor F-8, = Airfix… Also the Hunter, couple Mks. Same for the Lightning. Saber Dog, Might have to go with Revell/Italeri.Airfix has a pretty Tiger Moth and Chipmunk. (they have a Gnat but I think it is old 80s molds) Last of their 1/48s,the Cranberry… but again, I think it’s an old kit. They have the Lanc (3 versions, including one with Bristol engines) and a couple Shackeltons in 1/72. (someone just released a Lanc in 1/32. How big is your house?) As for helos, Italeri/ Revell make decent Wessex and Sioux. Photos are the 1/72 Wessex. Also a couple of an Airfix 1/48 Spit MkI.(Vb is the same basic kit.A lot of the others are made by smaller companies … with variable quality. As I said, look them up on scalemates
![298829348_5740972602581041_8431826592988136736_n|690x209]
(upload://mxok7qoz0cIYyq02E2pHJQI1RTP.jpeg)

1 Like
Scalemates is a great resource @sluff. Airfix and Revell in particular are definitely guilty of reboxing older kits although not alone in the practice. Like you point out some are good though. The Airfix re boxing of the Academy M3 Stuart ’Honey’ is a little gem for a example despite being a 2002 molding.
You suggestion of picking up the older/original boxings for less is a good one.
Definitely got my eye on some of your suggestions for future purchases. The new Anson looks a particularly nice new molding by Airfix. Along with the new Buccaneer (although not for this build thread) looks like hopefully Airfix are raising their game a bit with some of their new releases.
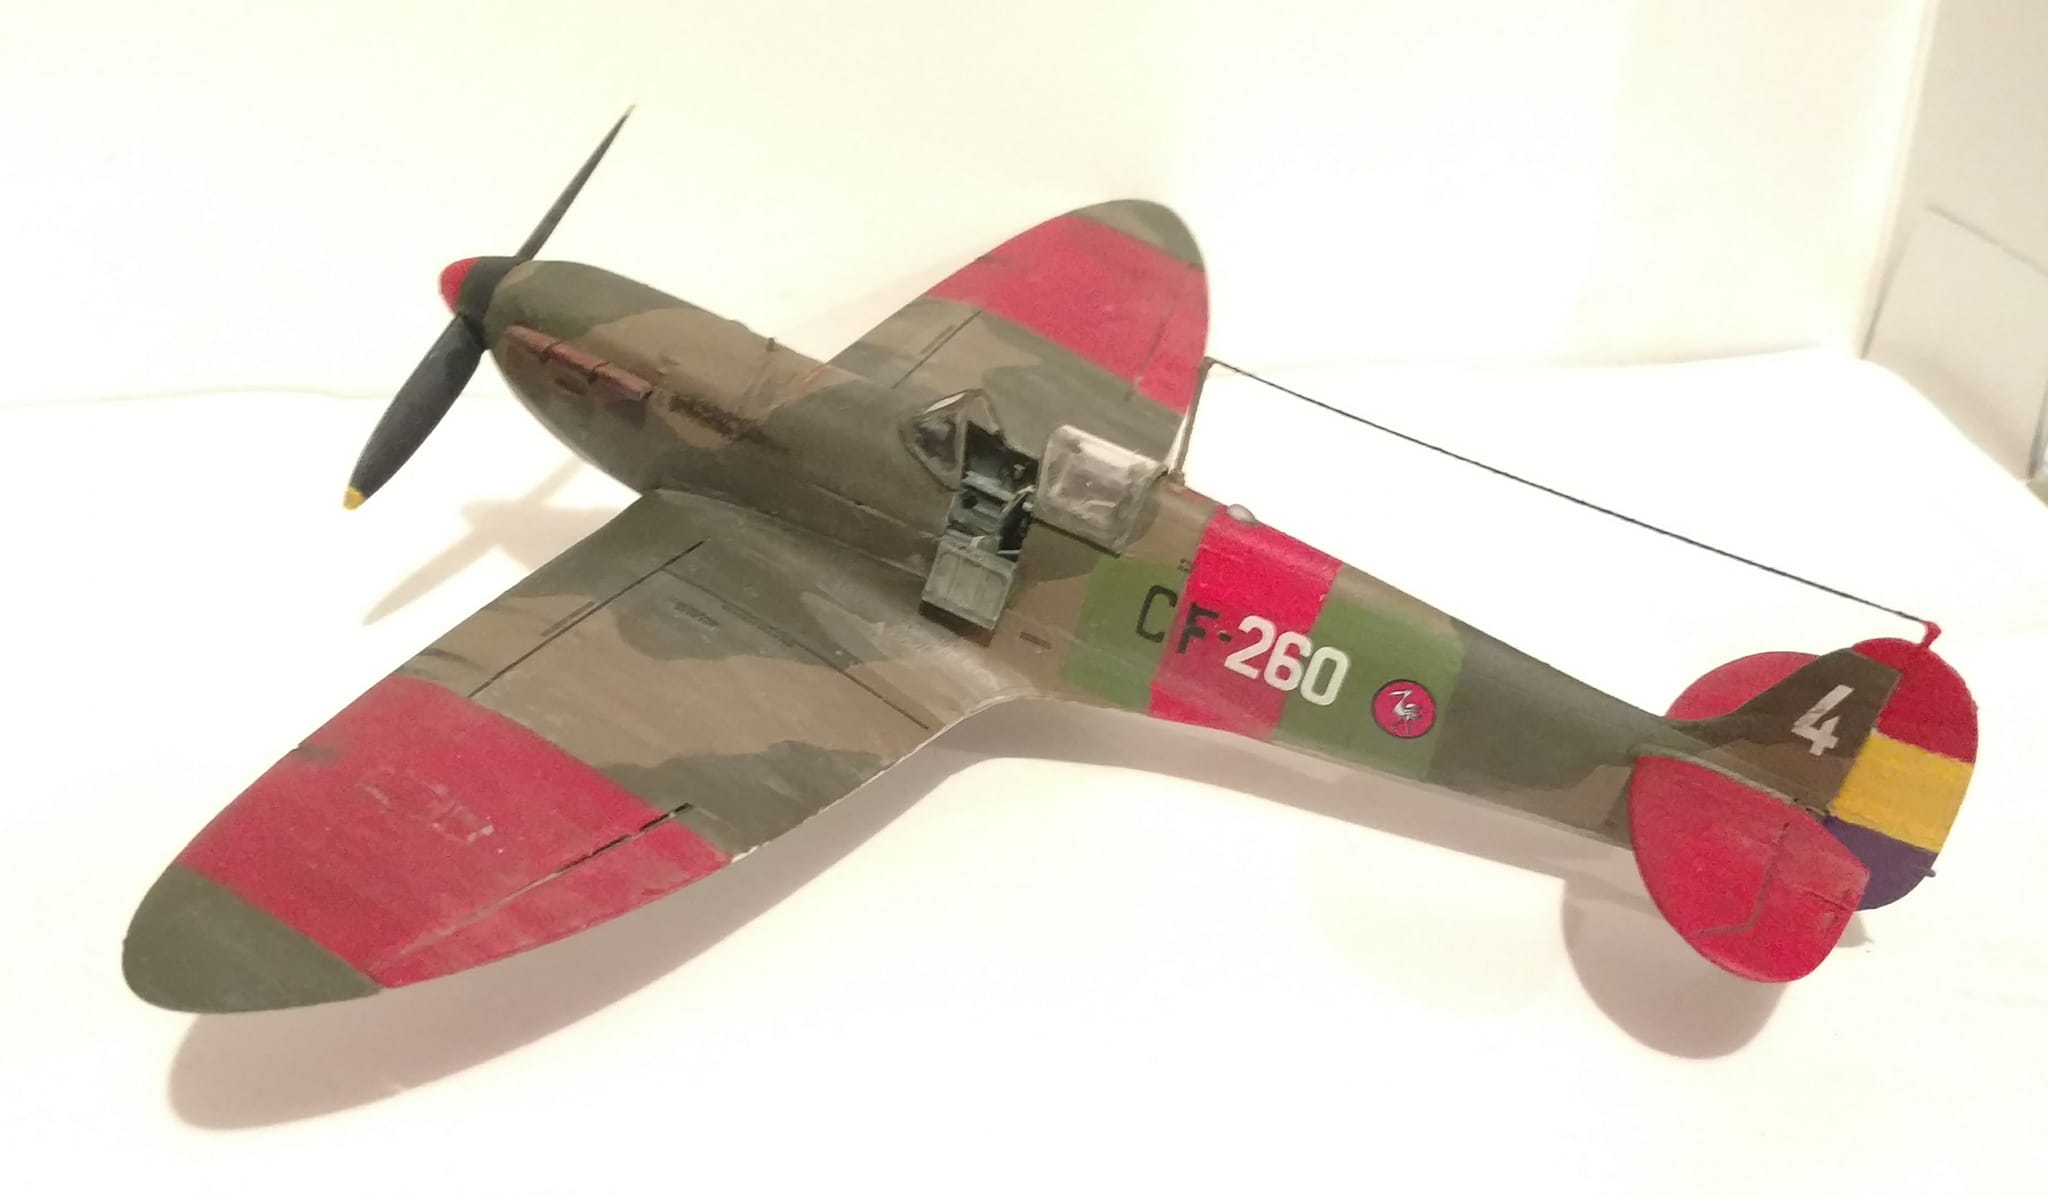
I’ve got/ working on Airfixs new P-51s (7 of them) , 2 of the P-40s (P-40C and Tmahawk) , Meteor F8, Sea Fury FB11, 3 early Spits, Spit XIV, 3 ME-109s and a Westland Lynx. All , from what I’ve tinkered with them , are nice. (Just need to FINISH one!!! The Spanish Civil War Spit MkI is the only one done so far. NOTE: The Airfix MkI/Ia kiit has the 2 blade prop and early radio mast but no flat top (initial) canopy. Had to knick that from Eduard.) The P-40C , 33d Pursuit Sqn, Iceland, 1941 nd ME-109E-7 are soooo close…
3 Likes
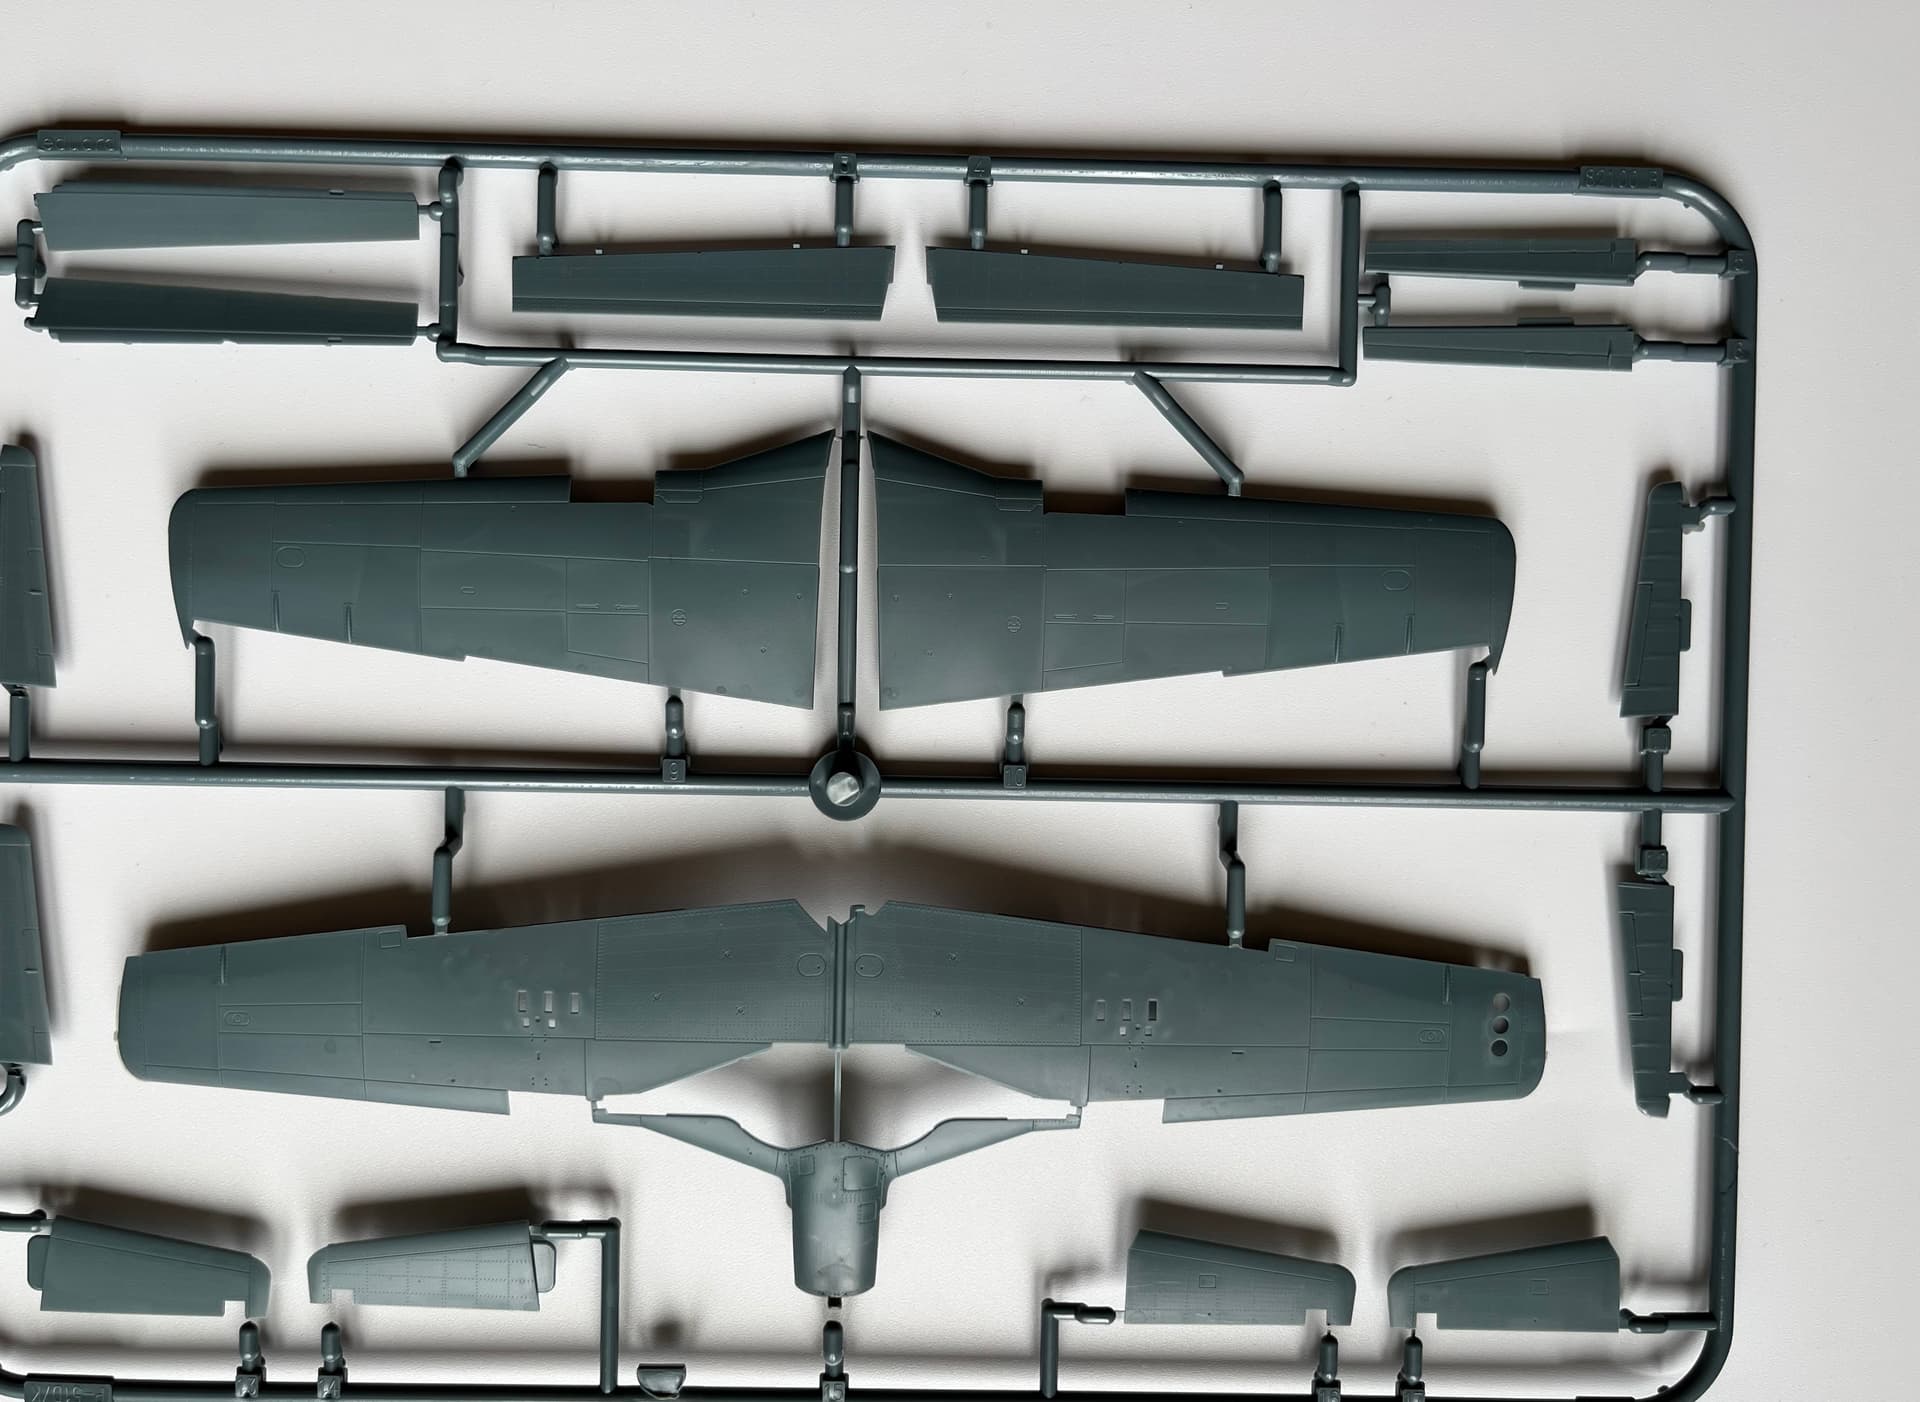
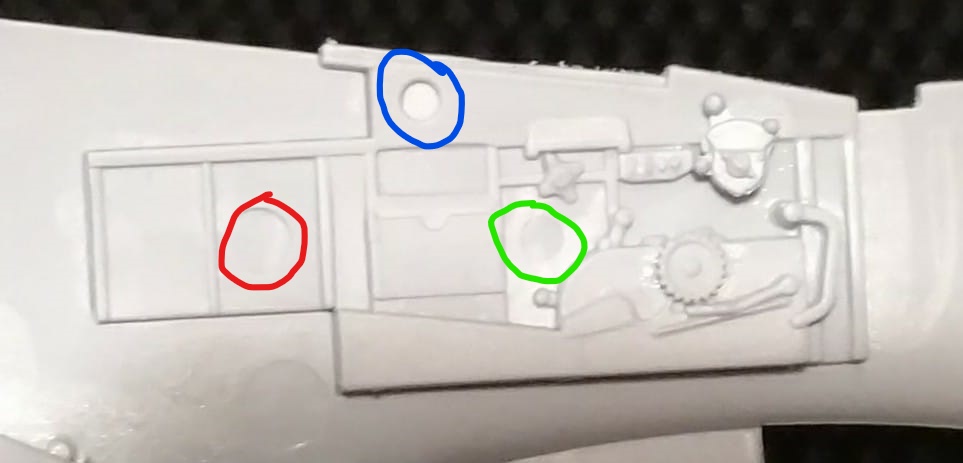
Opened up the kit and the quality looks really good. Panel lines and rivet detail is lovely and looks like will be a nicely detailed cockpit OOB. No signs of flash and injection pin marks are few and appear well placed where they exist.
A couple of pieces have small sink marks, but nothing a minimal amount of putty won’t sort. Some pieces look like they might be ever so slightly be warped though. Will have to see if a problem as I get to them.
2 Likes
I have built the same kit earlier this year. It has a nice overall fitting, but there are some problems getting the wheel wells in the wing parts. You need to sand some material off before it fits.
Maybe you like to have a look at my build blog. Starts with post 423. Hope it’s of some help for you.
Torsten’s bench works - Aircraft / World War II - KitMaker Network
And yes, that are the new decals made by Eduard. They started with them in 2019. You can take the transfer film off the decal after a day if you like but for me I found out that there’s no need to do that. You might damage the decal.
Happy modelling!
Torsten
![]()
1 Like
Torsten thank you for the tips re the kit. Both your builds look great. I’ll also look at your chipmunk build in detail as relevant to my plans for this thread as well.
I have to admit the scheme you chose for KH680 is the most aesthetically pleasing of the provided schemes OOB and the one I would’ve chosen if not trying to replicate specific planes for this thread.
Unlike some other builds online I’ve noticed you haven’t chosen to chip the cockpit floor to replicate exposed wood under the black paint. Interested to know if this was researched as your builds look great and wondered if those other builds I’d seen were artistic licence somewhat?
Also thanks for the heads up regarding the decals. Think I’ll see how they lay down over the eventual base coat before deciding if to remove the carrier film as clearly carries an element of risk.
Tinkering with the Airfix P-51D-5 (filet less) kit. (all 5 of their kit use the same cockpit). It too has some sink / ejector marks. Once painted and buttoned up they are not visible. (2nd photo … Airfix F-51) After the F-51 I’ll just fill the blue one along the top. Others are a pain to fill & clean … not worth the effort. Especially when the canopy is on. (Note: Post war the cockpit was painted black instead of the war time chromate green)
2 Likes
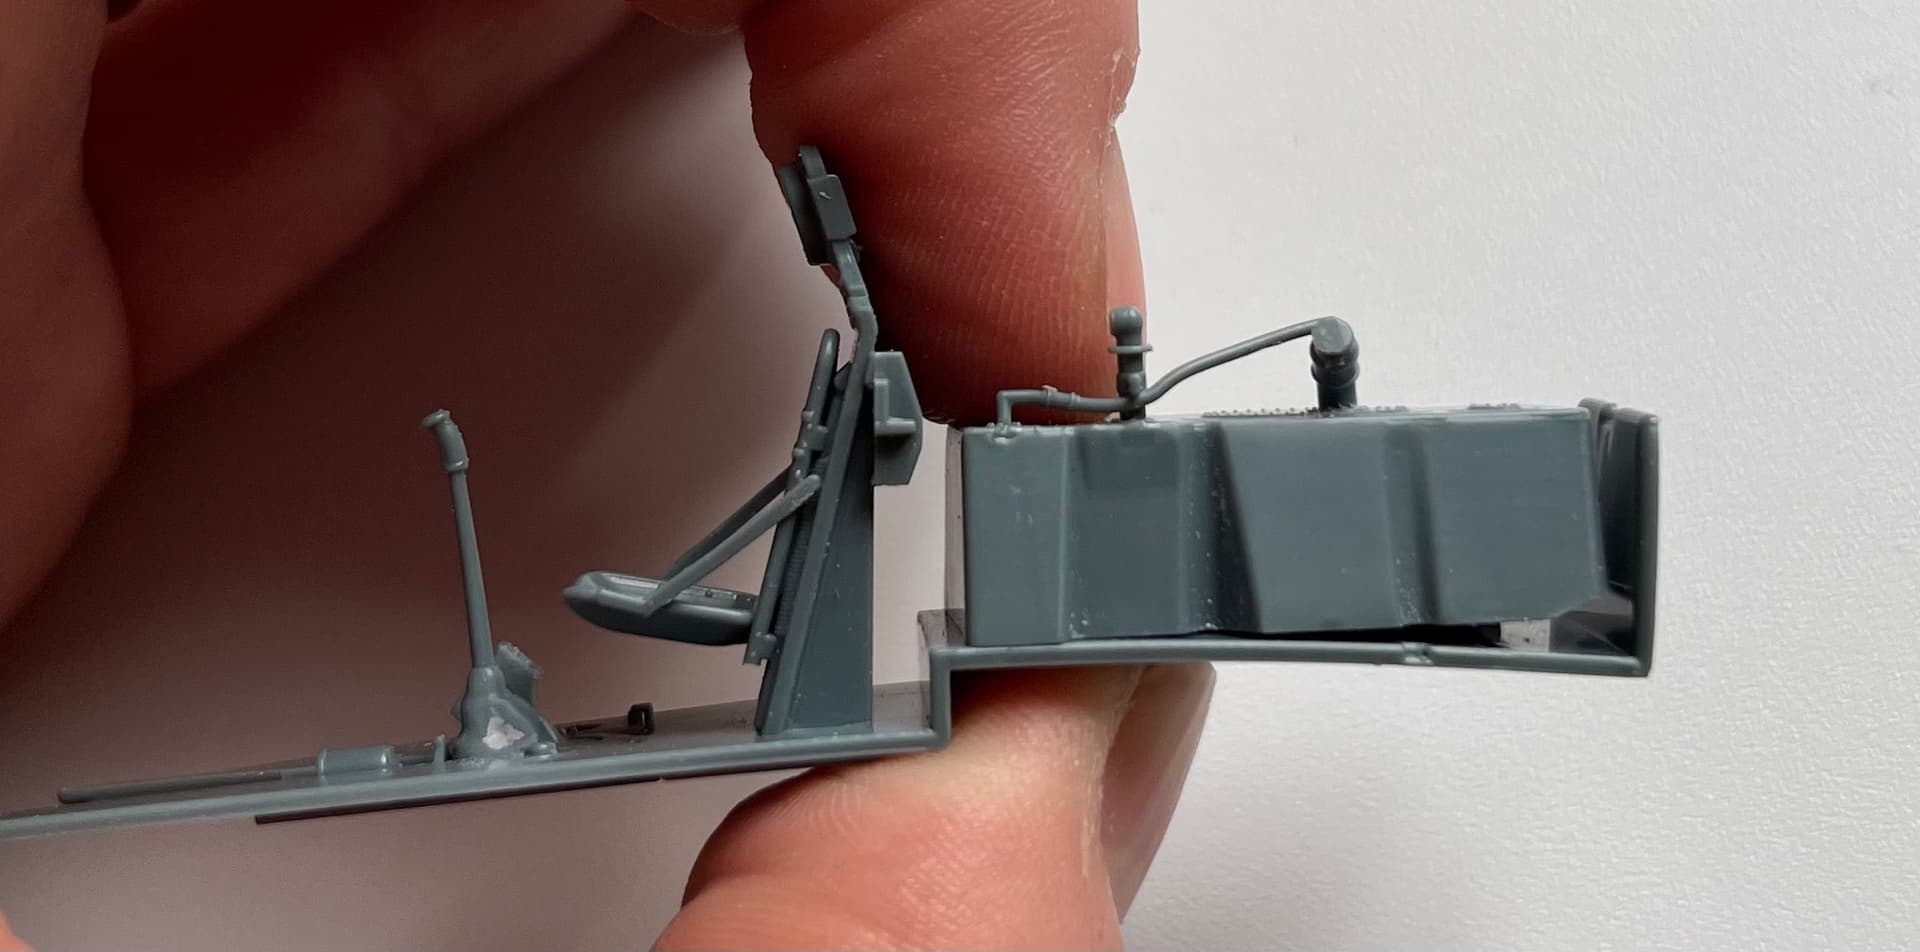
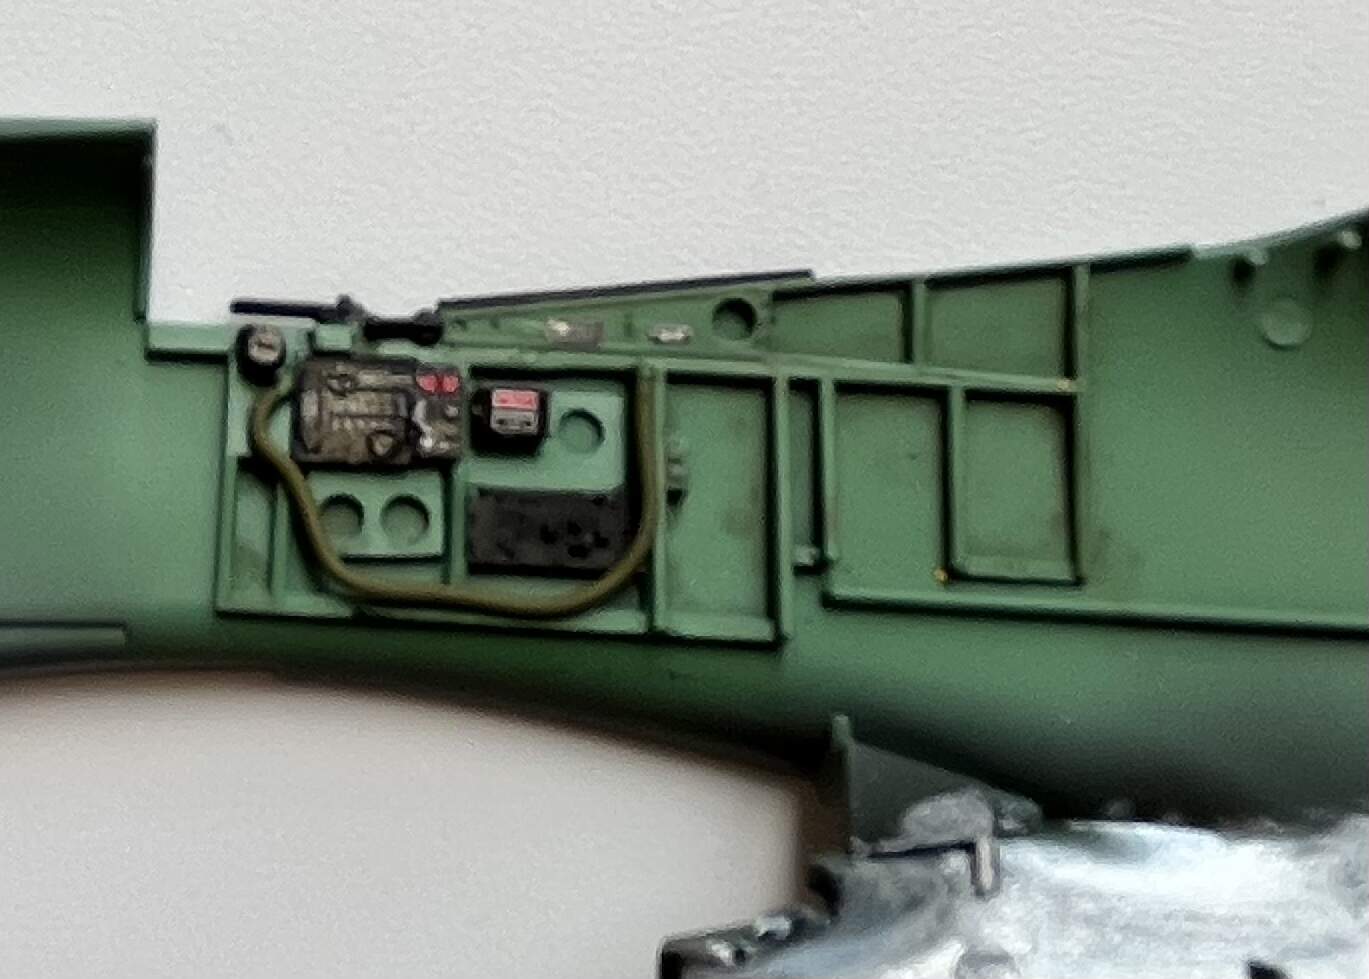
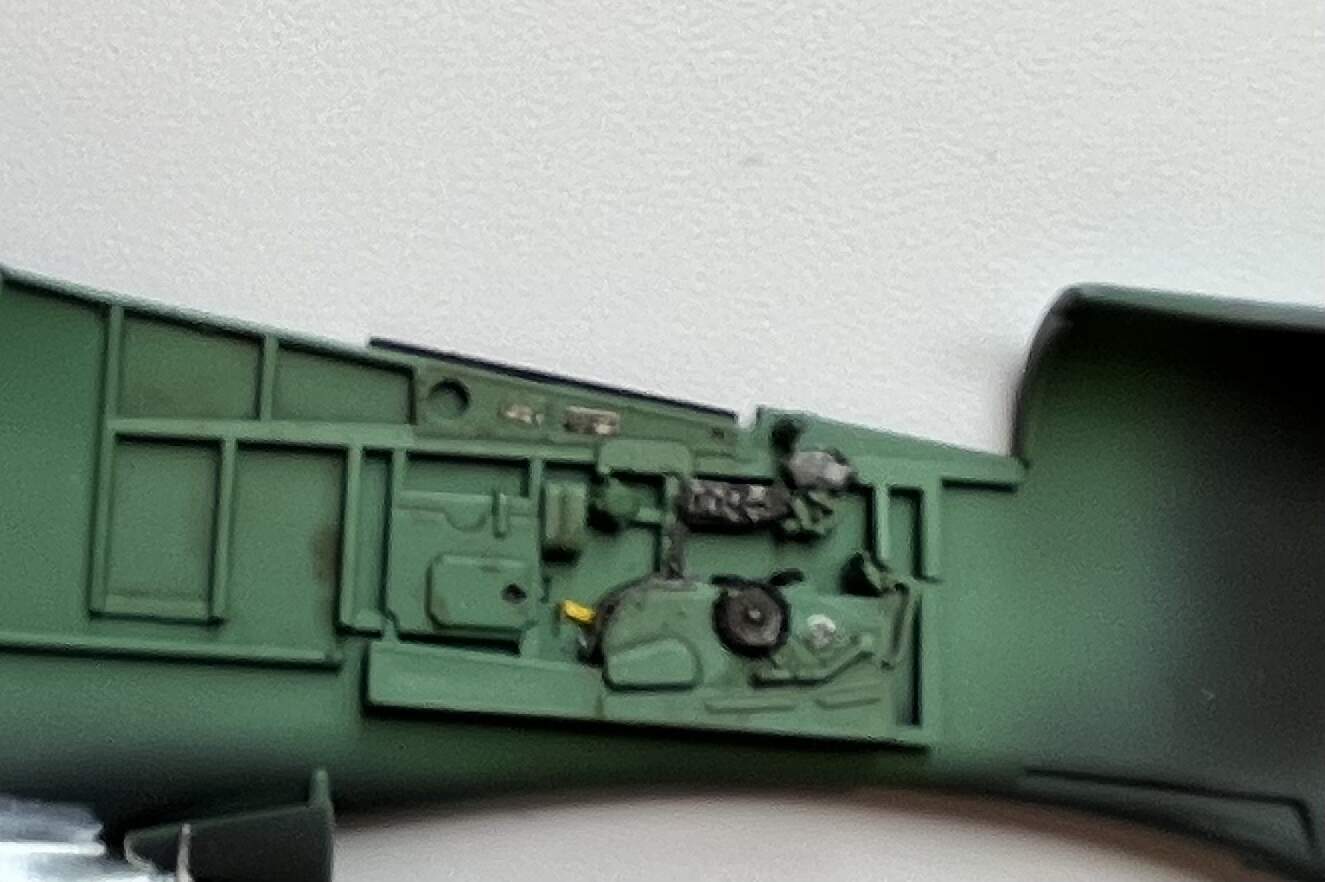
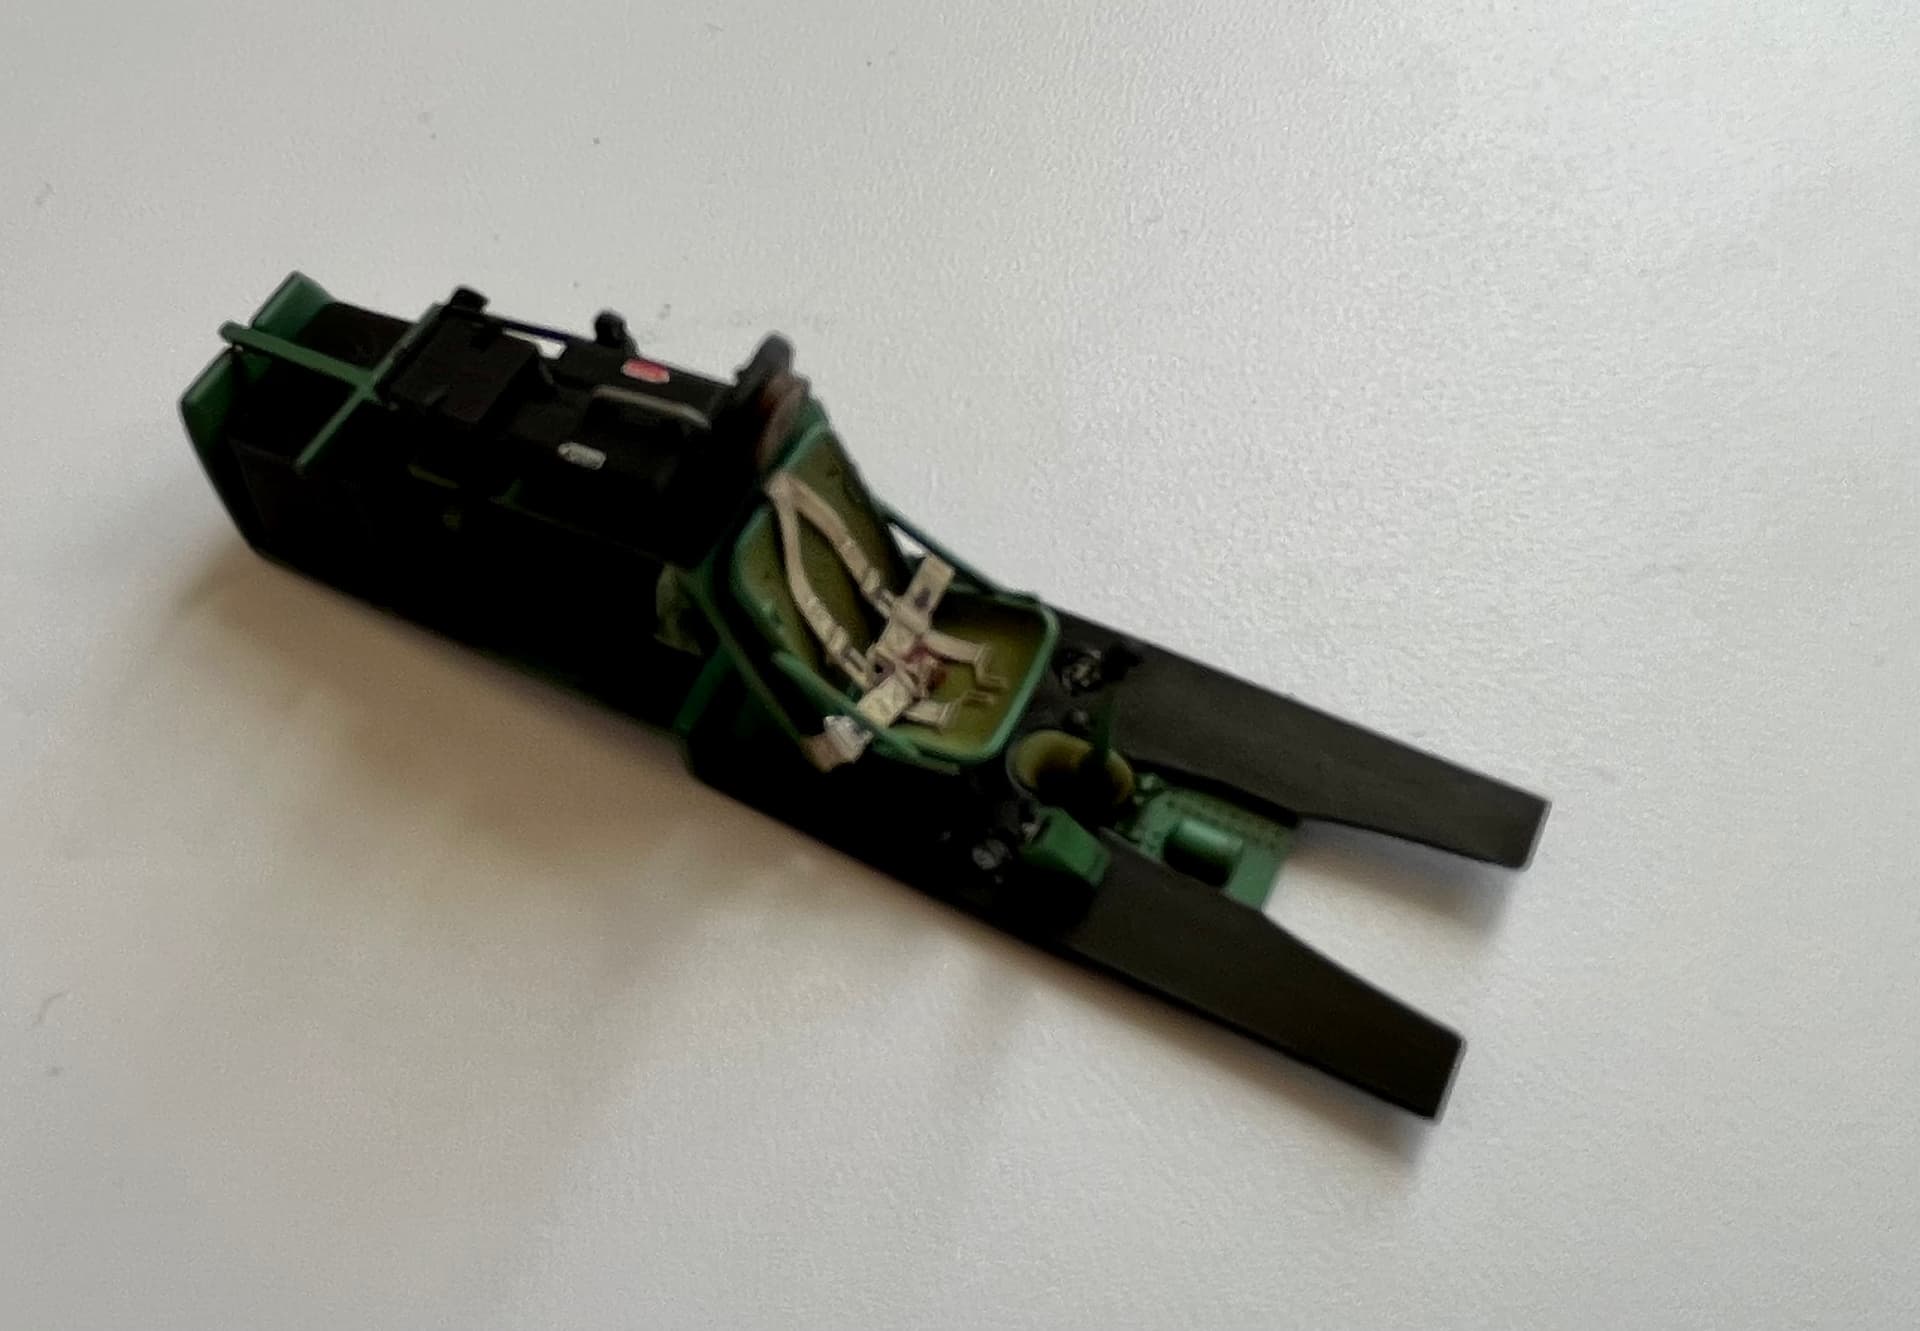
Basic interior construction done. A lot of detail to be added with PE. As the PE is supplied painted I’ll add after laying down the base coat.
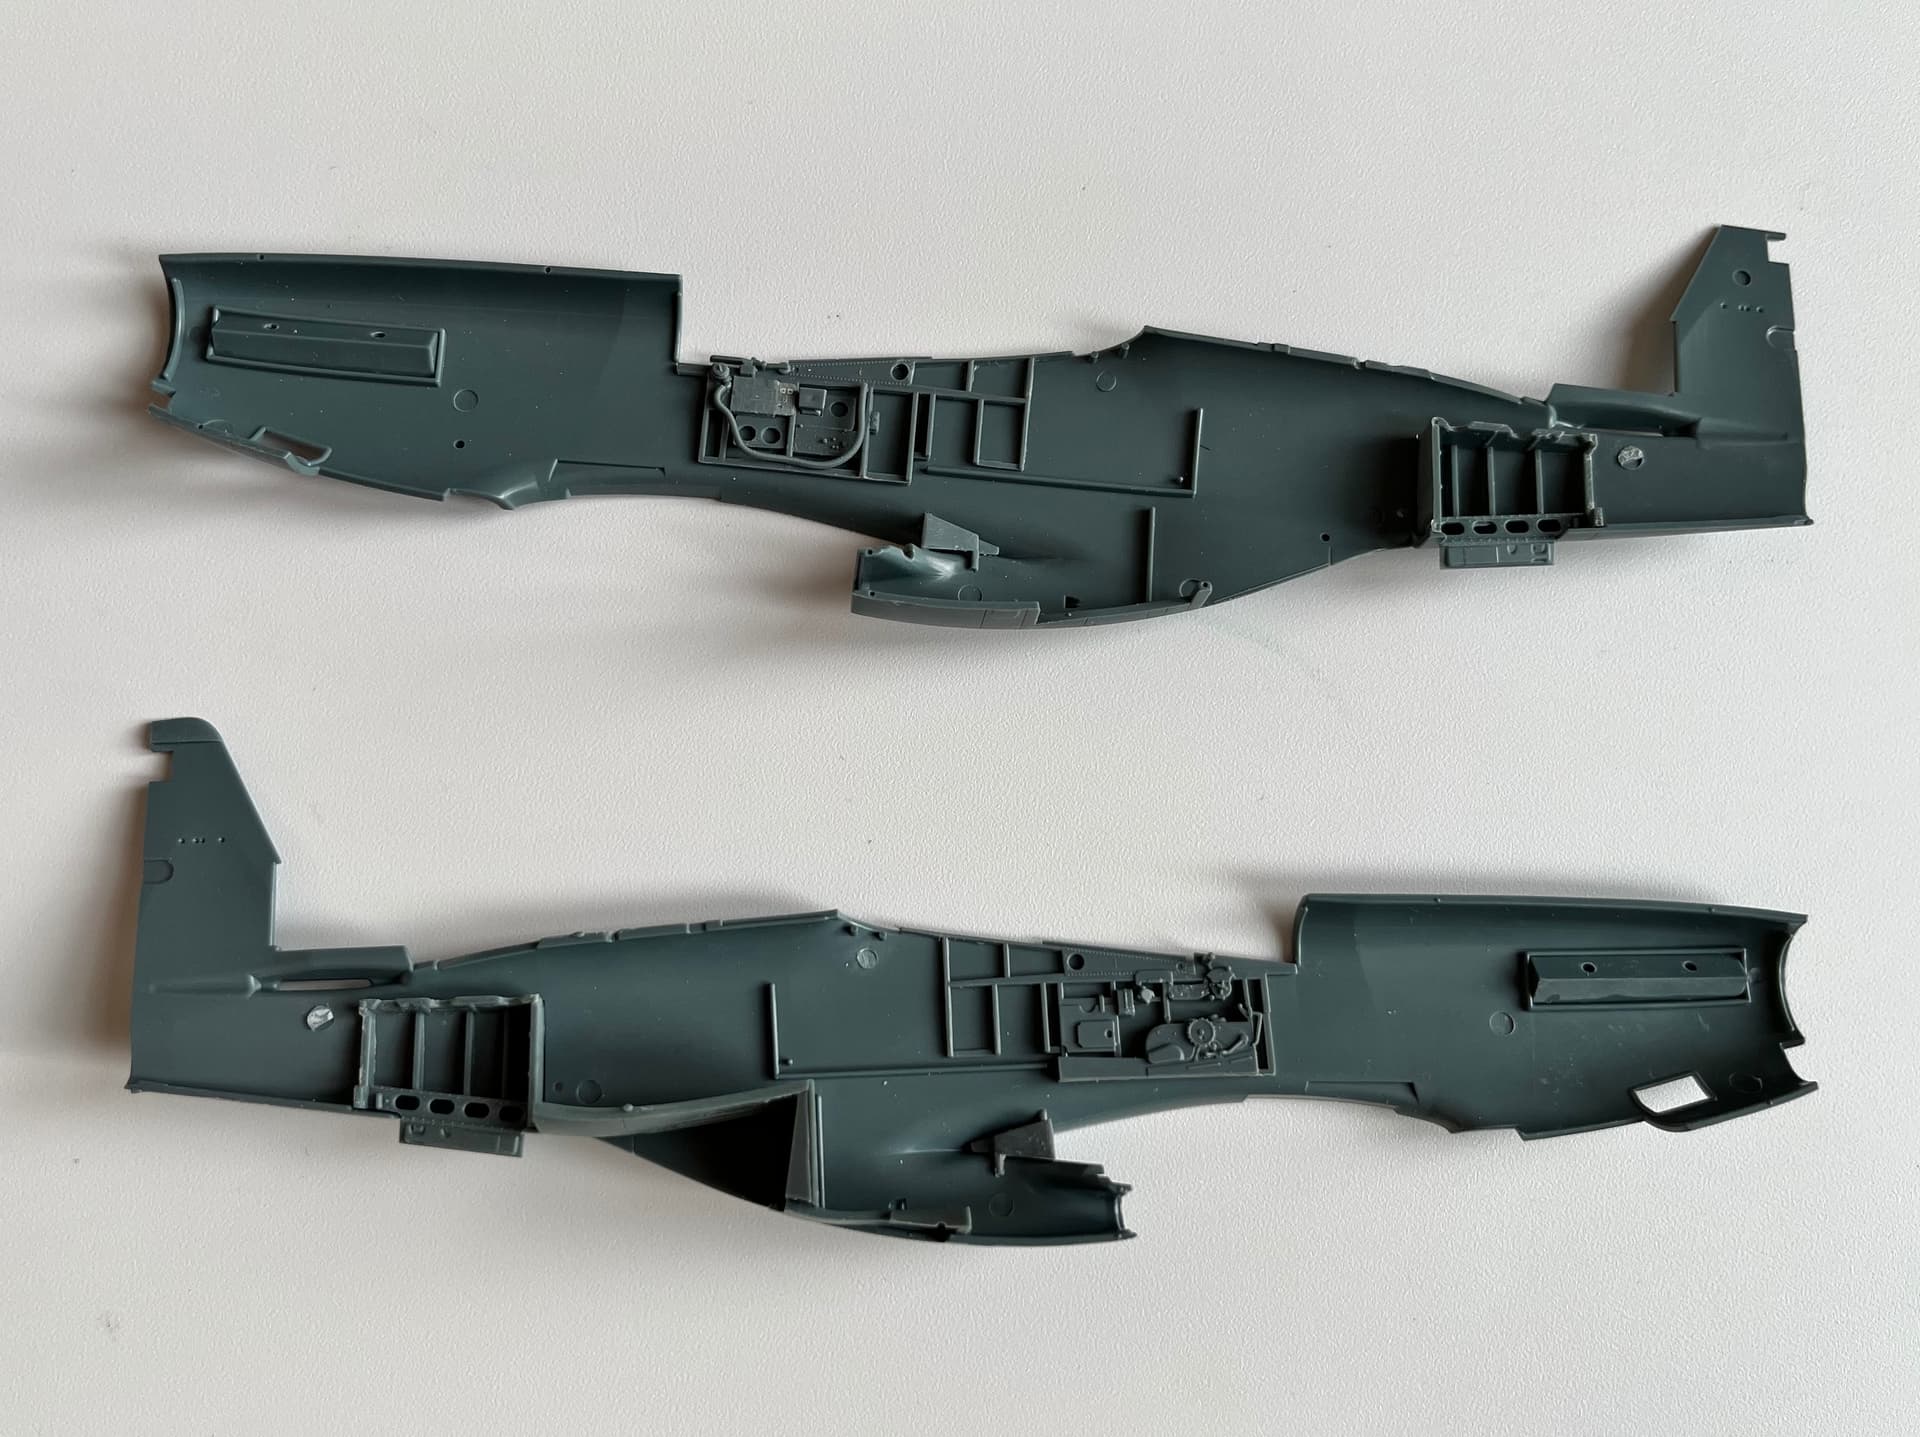
I kept sub assemblies separate for ease of painting
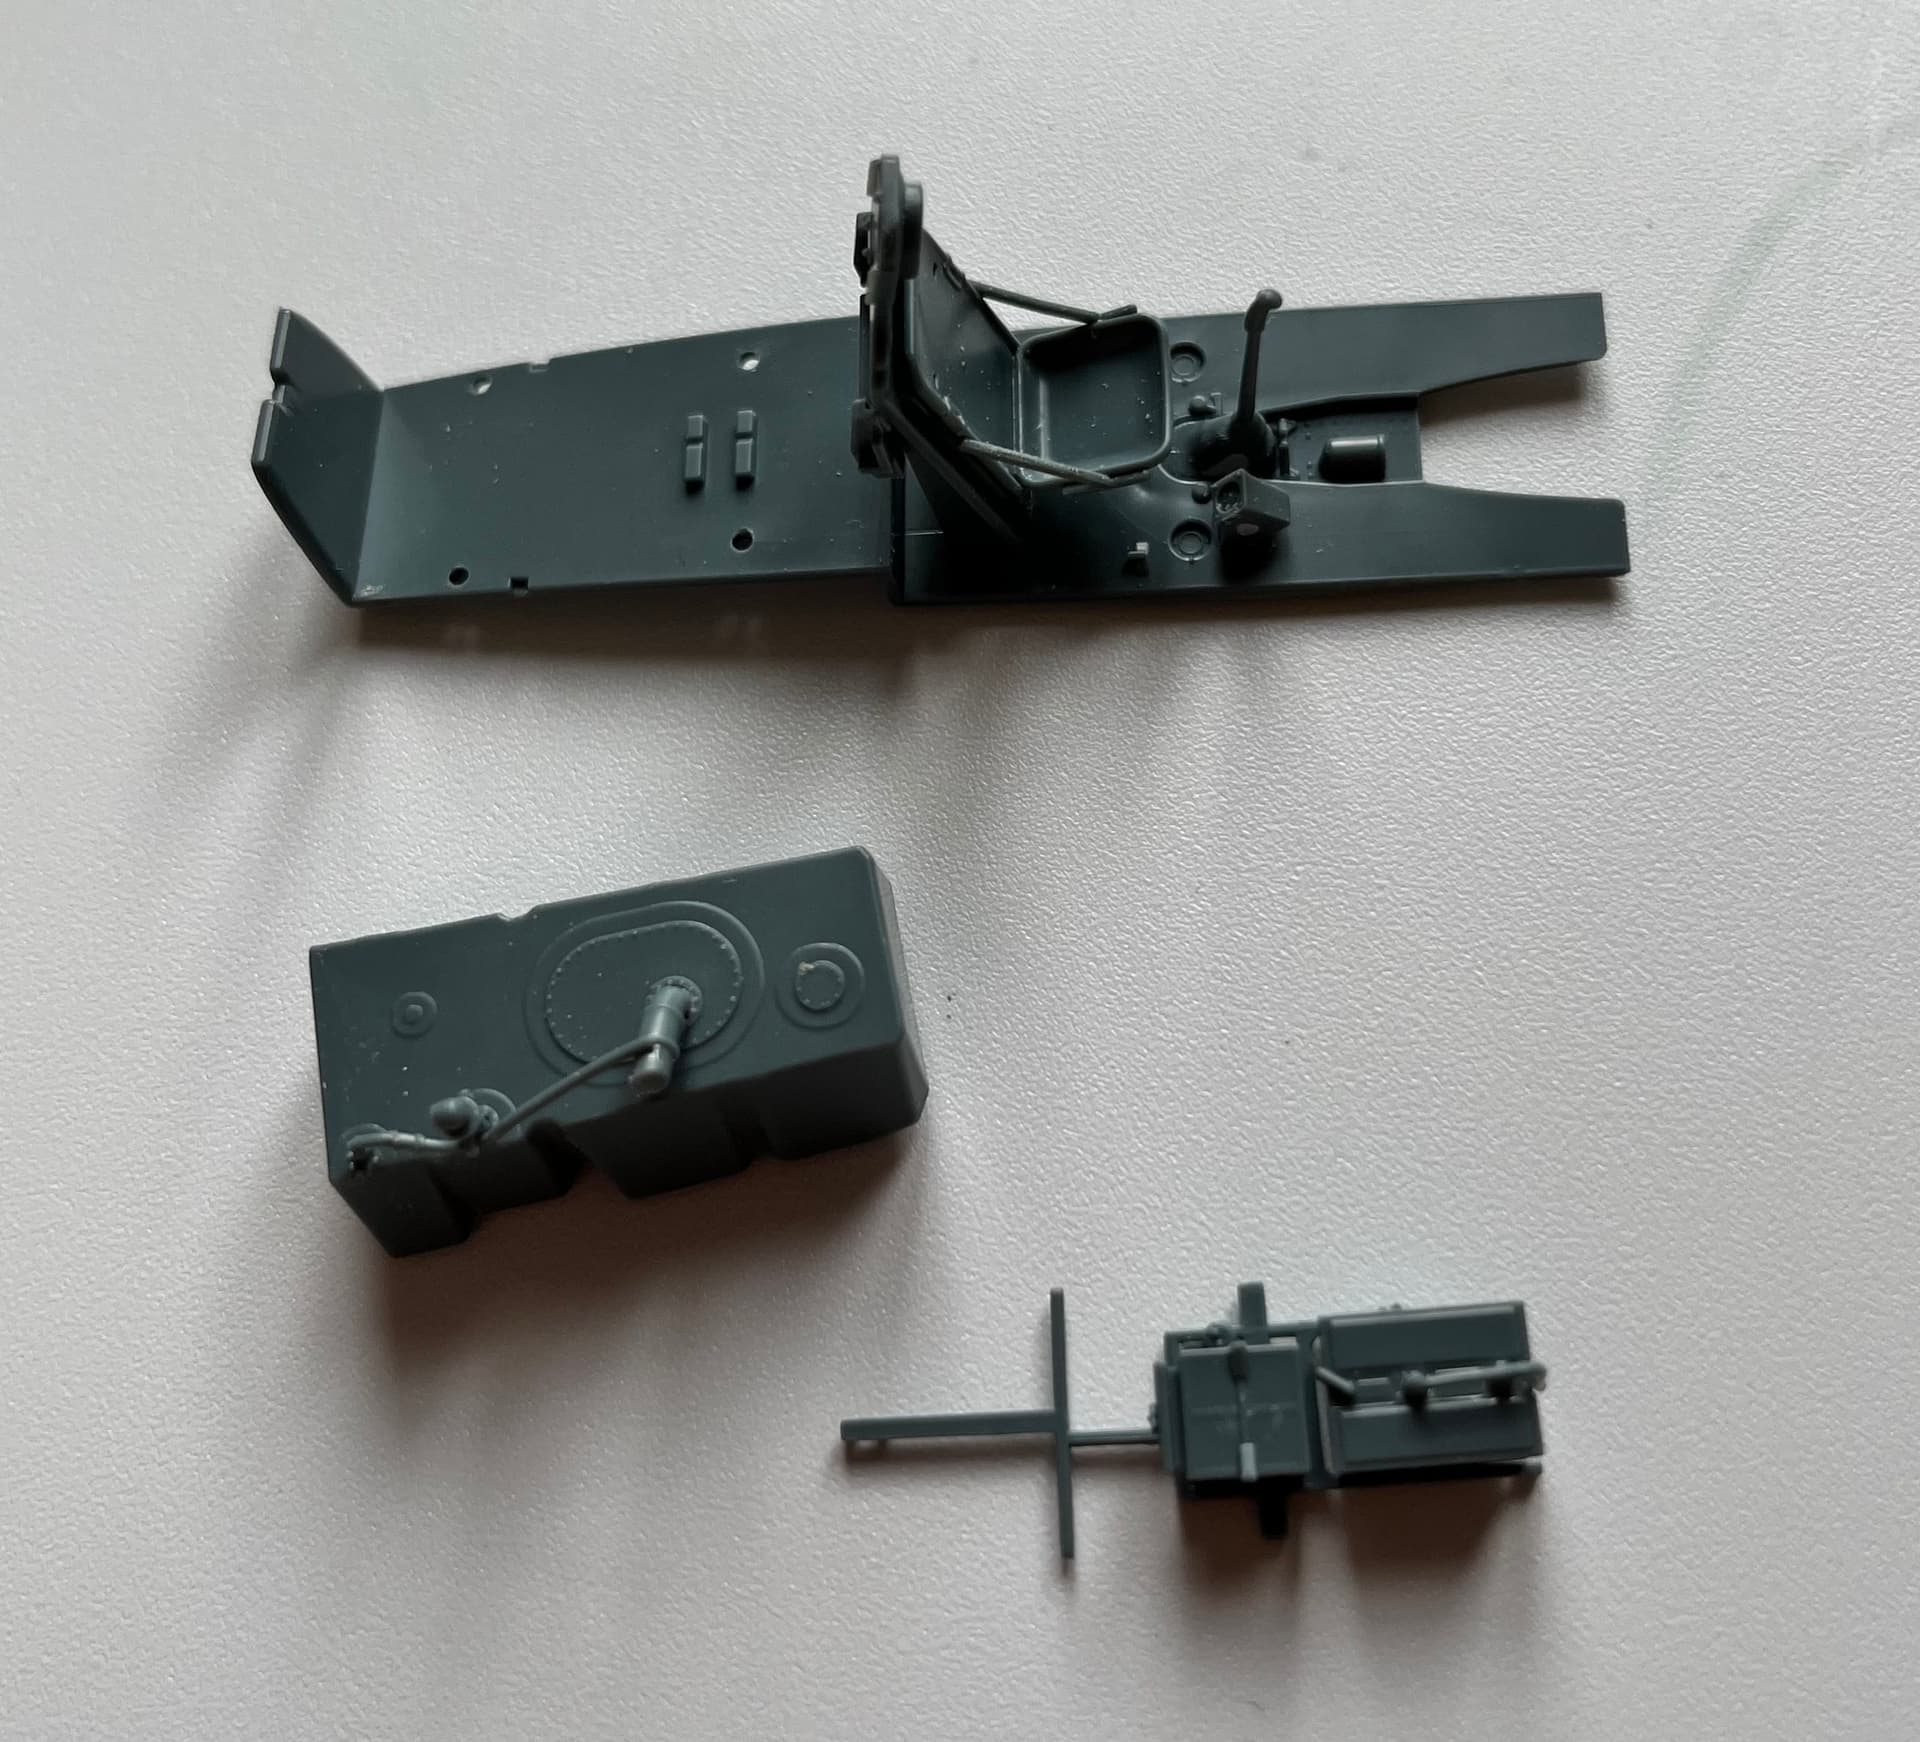
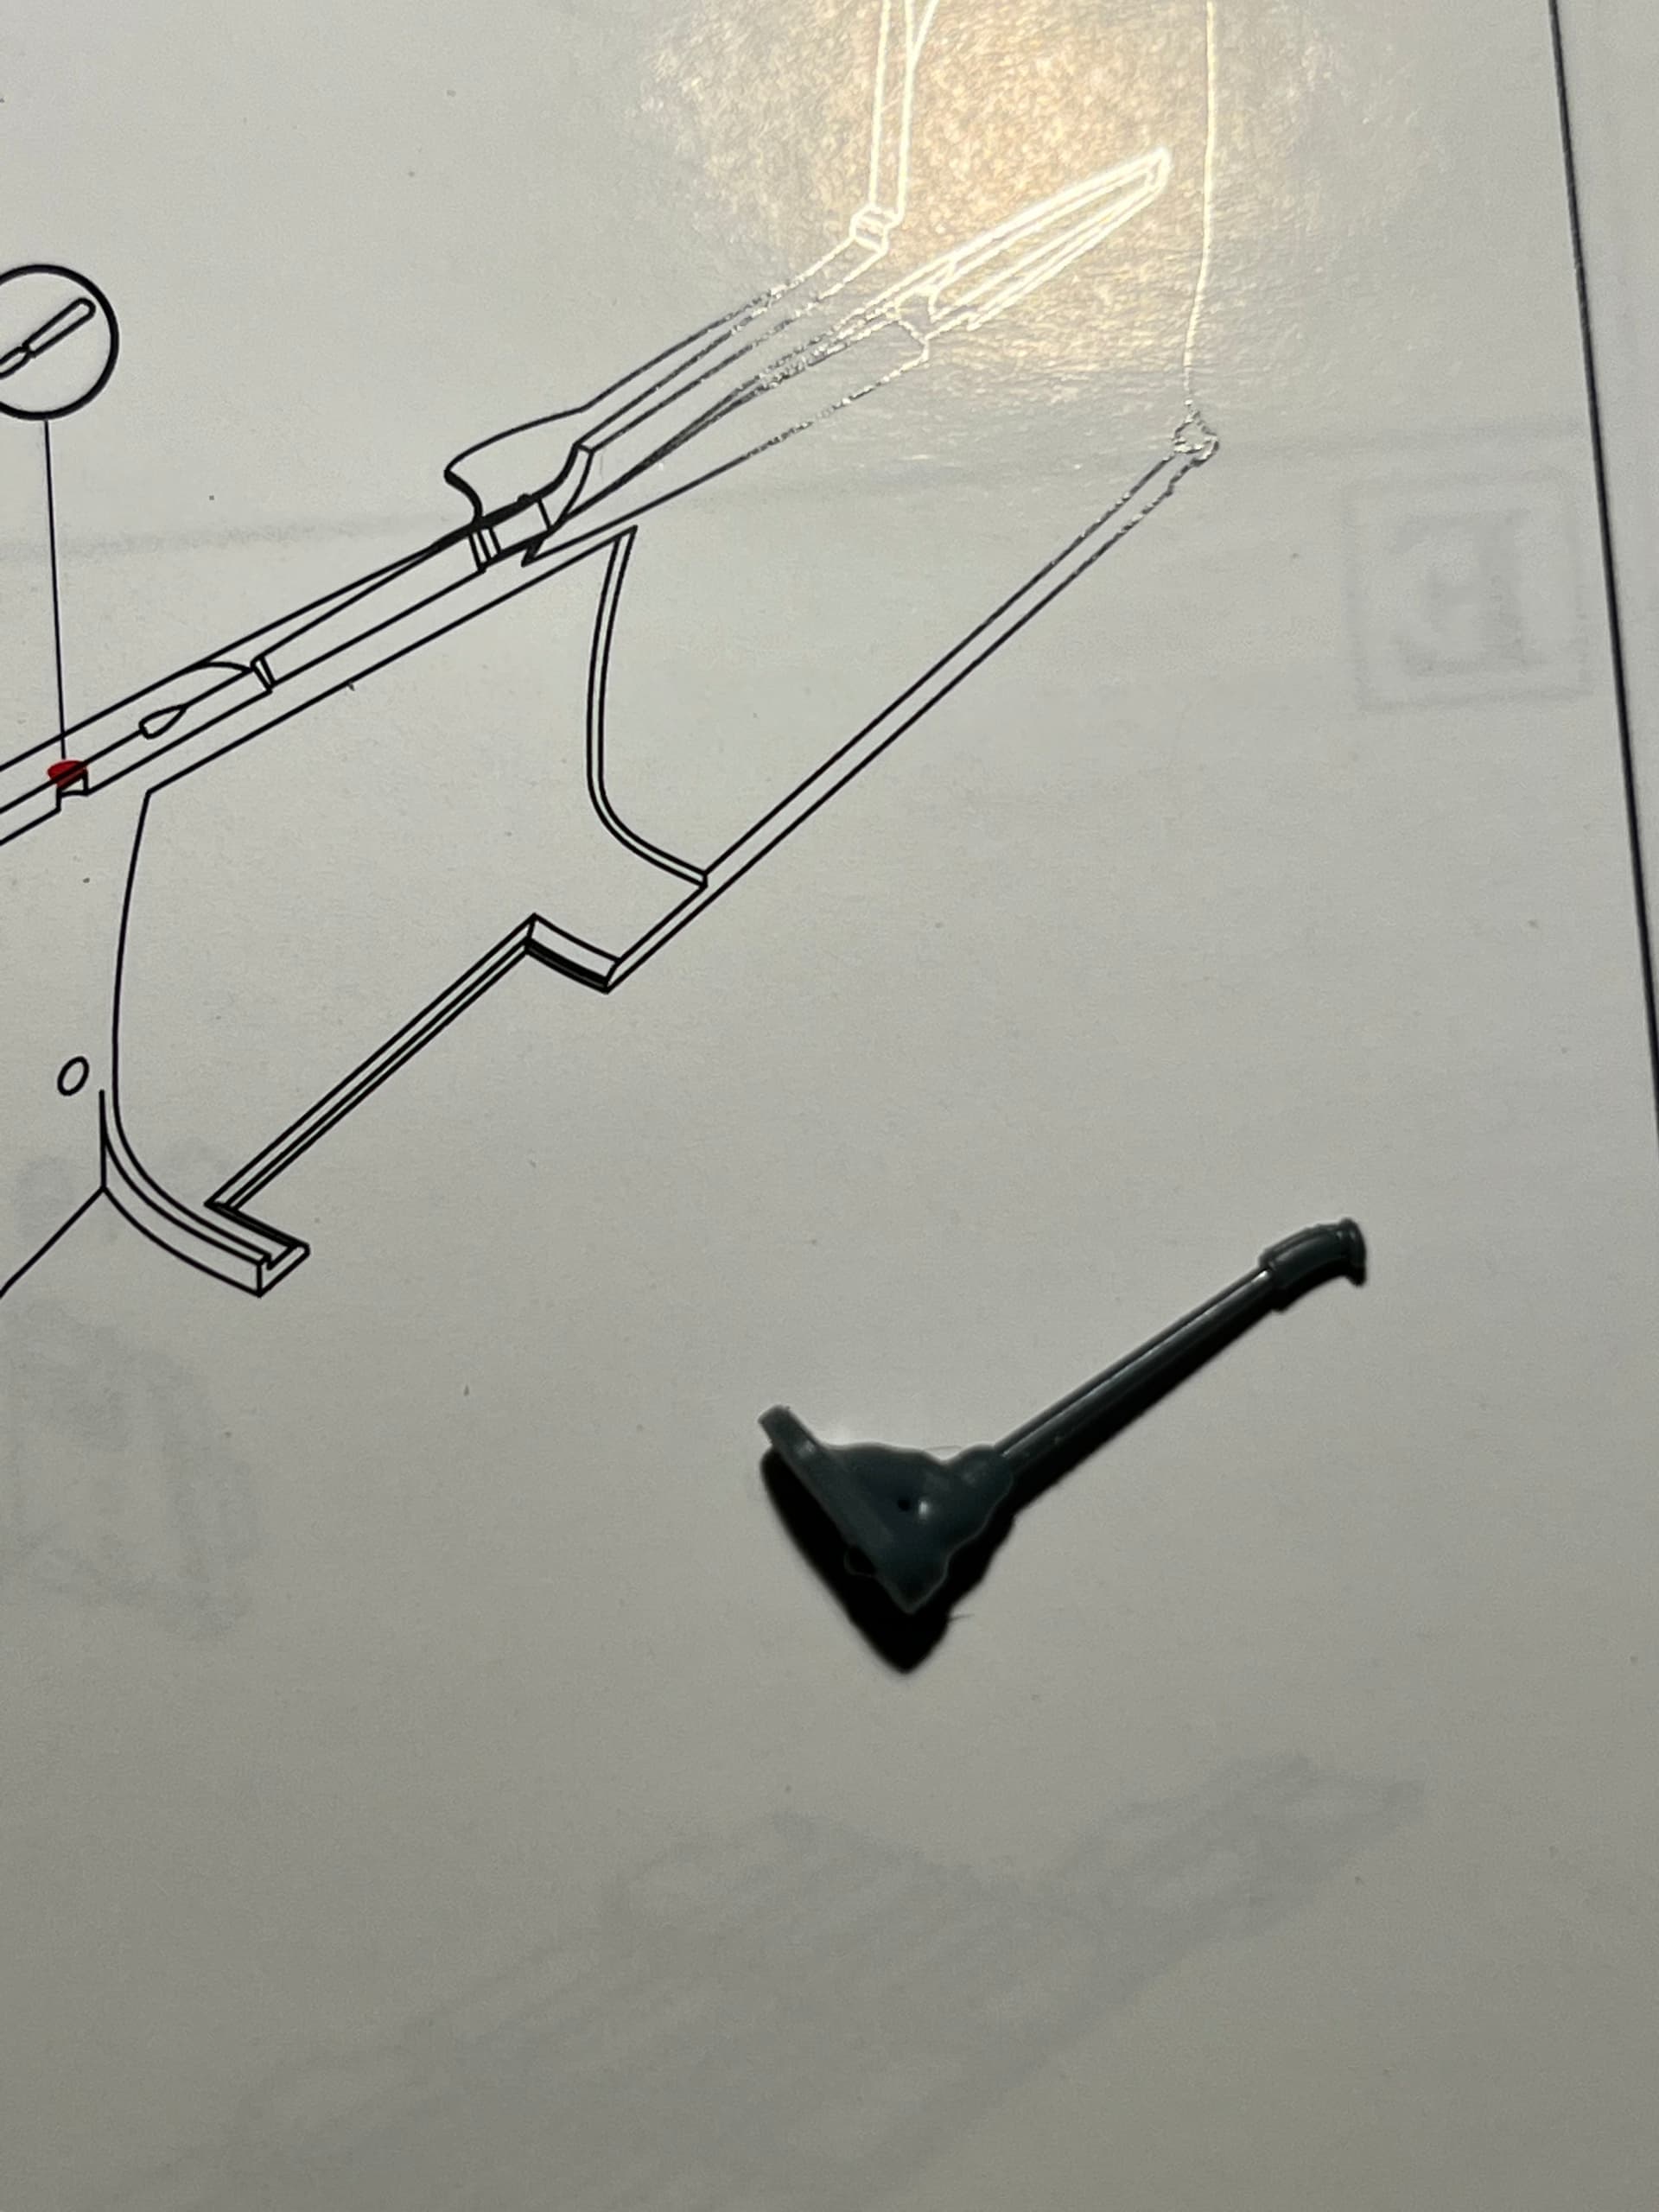
As I thought, the cockpit floor piece is warped, but I don’t think it’ll be an issue as should be pulled into shape when everything is fitted together. Few bits had small sink marks as well, but nothing a bit of Mr surfacer 500 couldn’t sort.
4 Likes
I know it may be a long WIP but have you thought about the end game and how they’re going to be displayed… I think this is the sort of thing that wouldnt be amiss in the RAF museum at Hendon or the Training Station at Cranwell…with his well documented and decorated and such varied history and career and then the quality of the builds you’re doing, I seriously think it’s something to be considered ?
2 Likes
@Johnnych01 To be honest I was completely ignoring the question of display as there is certainly going to be challenges with space once I’m halfway finished. However at my rate of building, by the time I finish the kids will probably have grown up, moved out and possibly retired, so I can use one of their rooms. ![]()
Your thoughts around a display are something I hadn’t considered. The Boscombe Down Aviation Collection is only up the road and they display models along with aircraft, so I might enquire next time I pop up. In fact their collection will be invaluable as this build project progresses particularly the jets.
1 Like
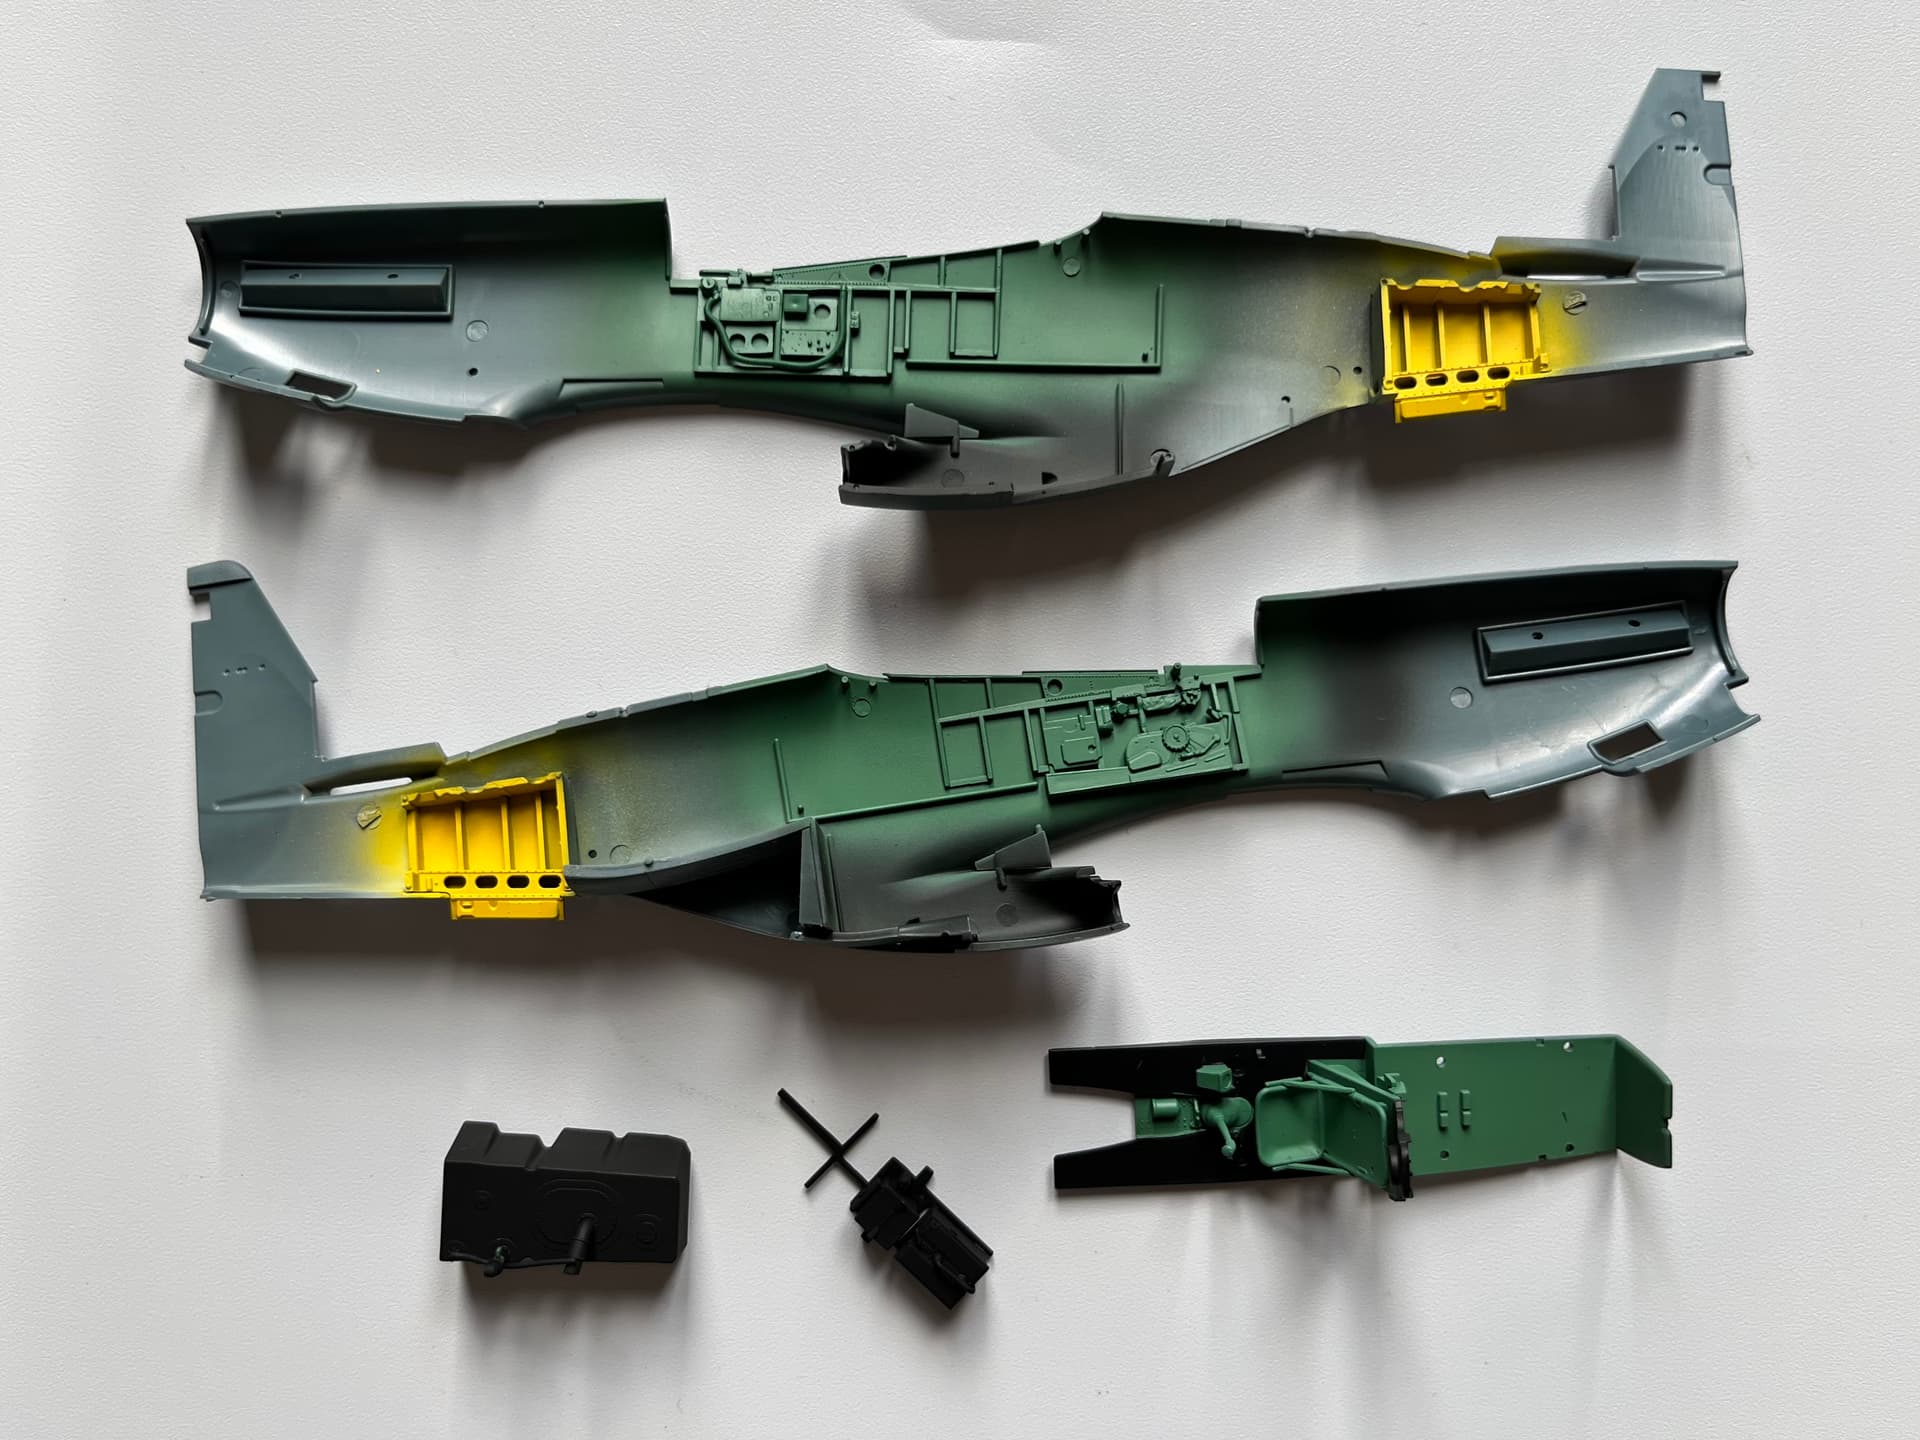
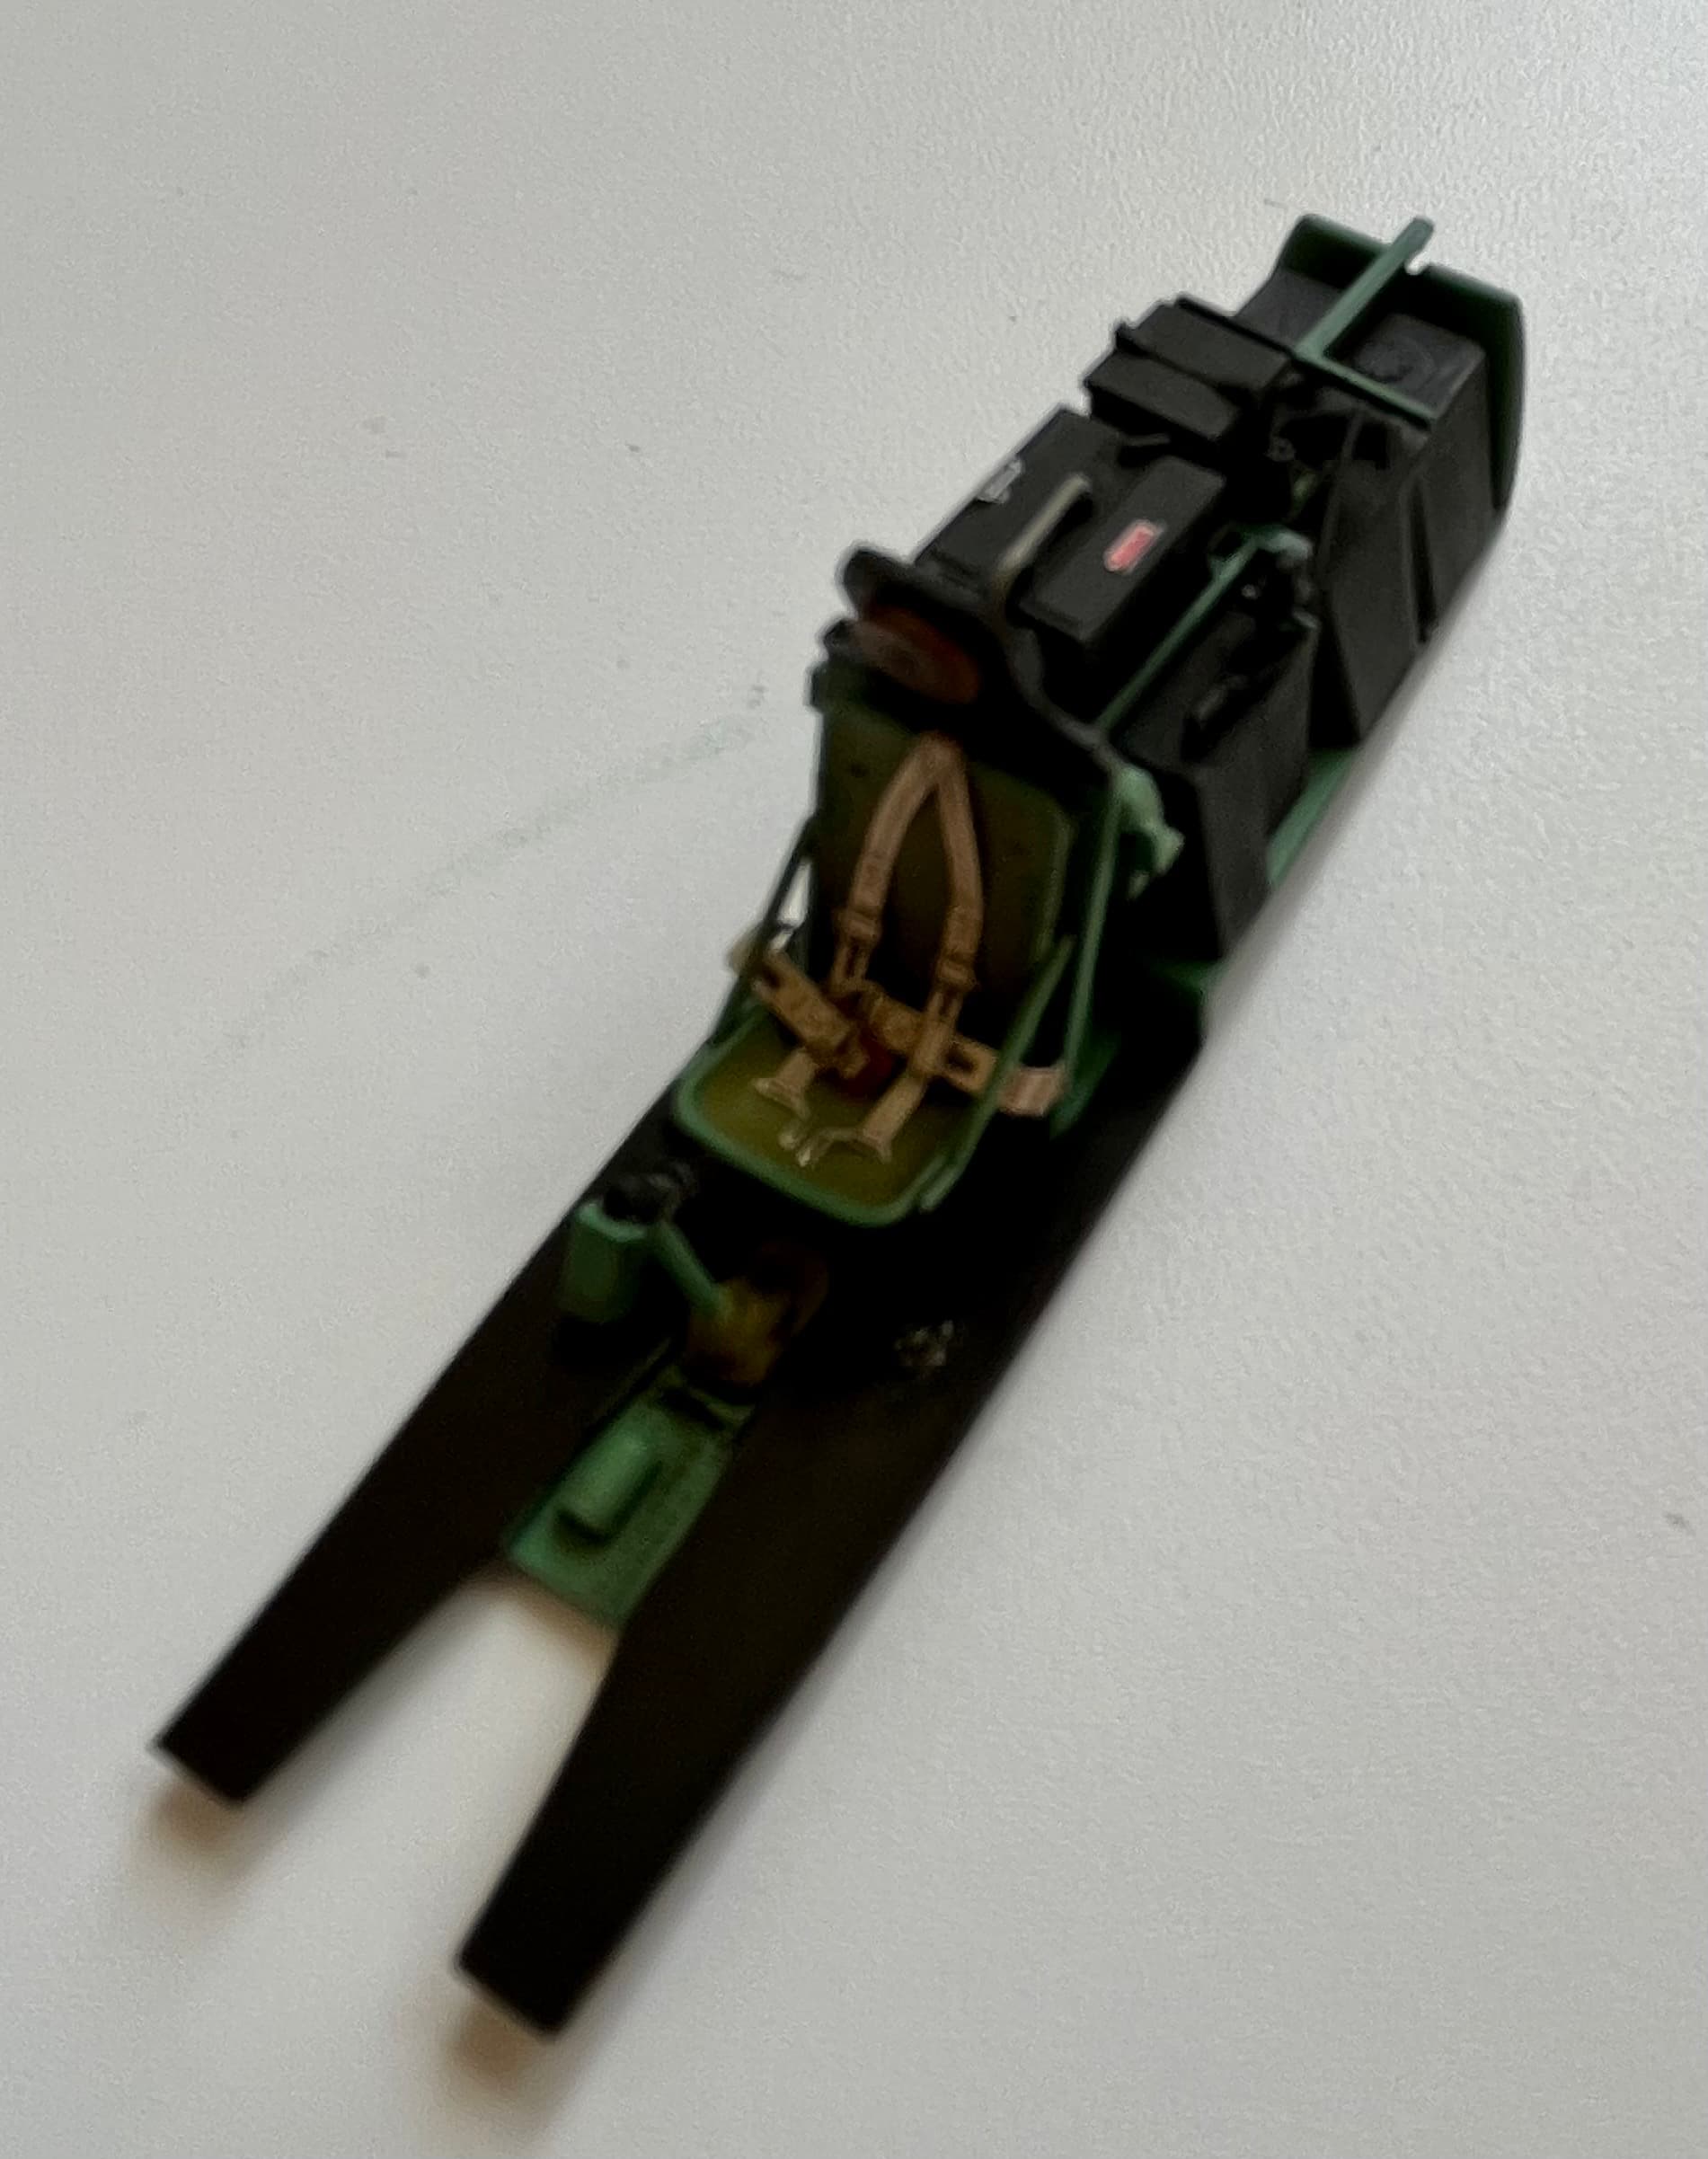
Base coats down on the interior, before detail painting, PE and weathering. I’ve used the same mix for interior green as before as looking at replicating one flown before VJ Day :
Flat green XF5:sky XF21:field grey XF65 in 1:3:1 ratio.
4 Likes
Interior largely done. I’ve kept the weathering light with no real chipping. As I think I’ve mentioned before coming from mainly armour I’m conscious that a similar weathering approach maybe too heavy for aircraft. In any case the exact aircraft I’m hoping to represent would’ve been with the squadron a relatively short time, so don’t believe there would be much wear.
OOB results in some really nice detail.
5 Likes
Moving along nicely Digger. Those details help the inside view massively. ![]()
1 Like
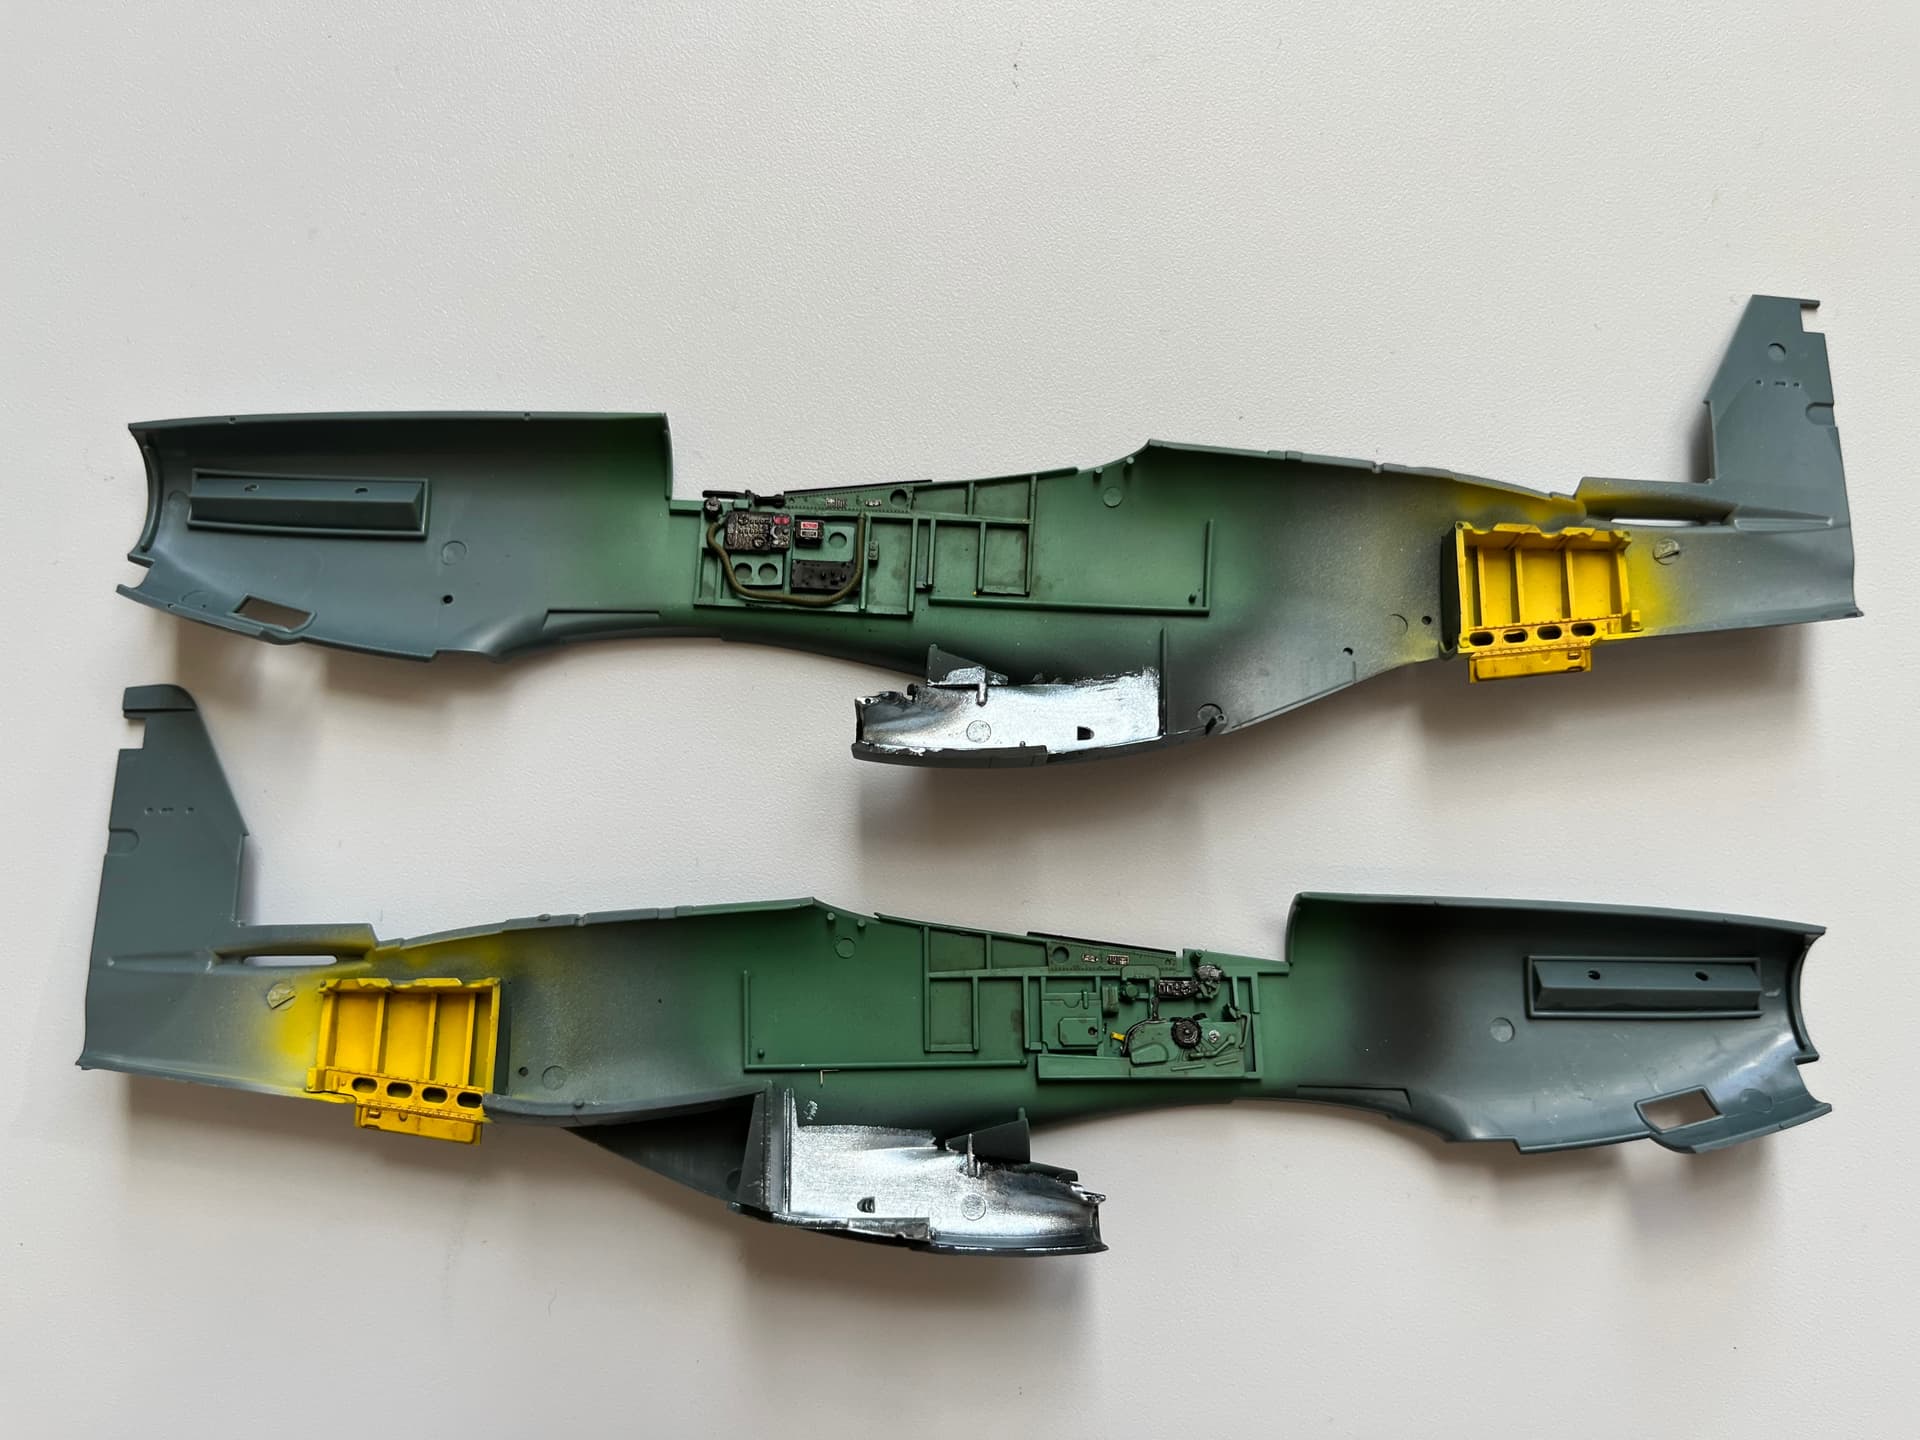
Been a bit of a pause on the build whilst I waited for Alclad paints to arrive. They arrived today so should be able to do some more when next off mid week.
Instructions call out for silver paint in wheel wells (next assembly point) with the main wing spar yellow. Not sure this feels right however.
Research online has opened up a can of worms rather than a definitive answer. General consensus was that initially primed, but to speed production the wheel wells were left bare metal with the exception of structural parts (wing spar) which were yellow zinc chromate.
However due to different grades of aluminium used in construction there was resultant corrosion. Laterly the wheel wells were likely painted green zinc chromate, although some argue there were some all yellow zinc chromate wells.
Ultimately I cannot find any definitive photo evidence as period photos are in black and white and restorations cannot be guaranteed to be accurate.
Since the Mk.IV is a later mustang I’m leaning towards painted wheel wells. I believe interior green is the ANA name for zinc chromate green. Pre 1943 it has aluminium paste mixed in but post didn’t and was ultimately a mix of zinc chromate yellow and a little black. May stay yellow to match the already painted wheel well or paint both green. Will however keep researching up until the airbrush is loaded!