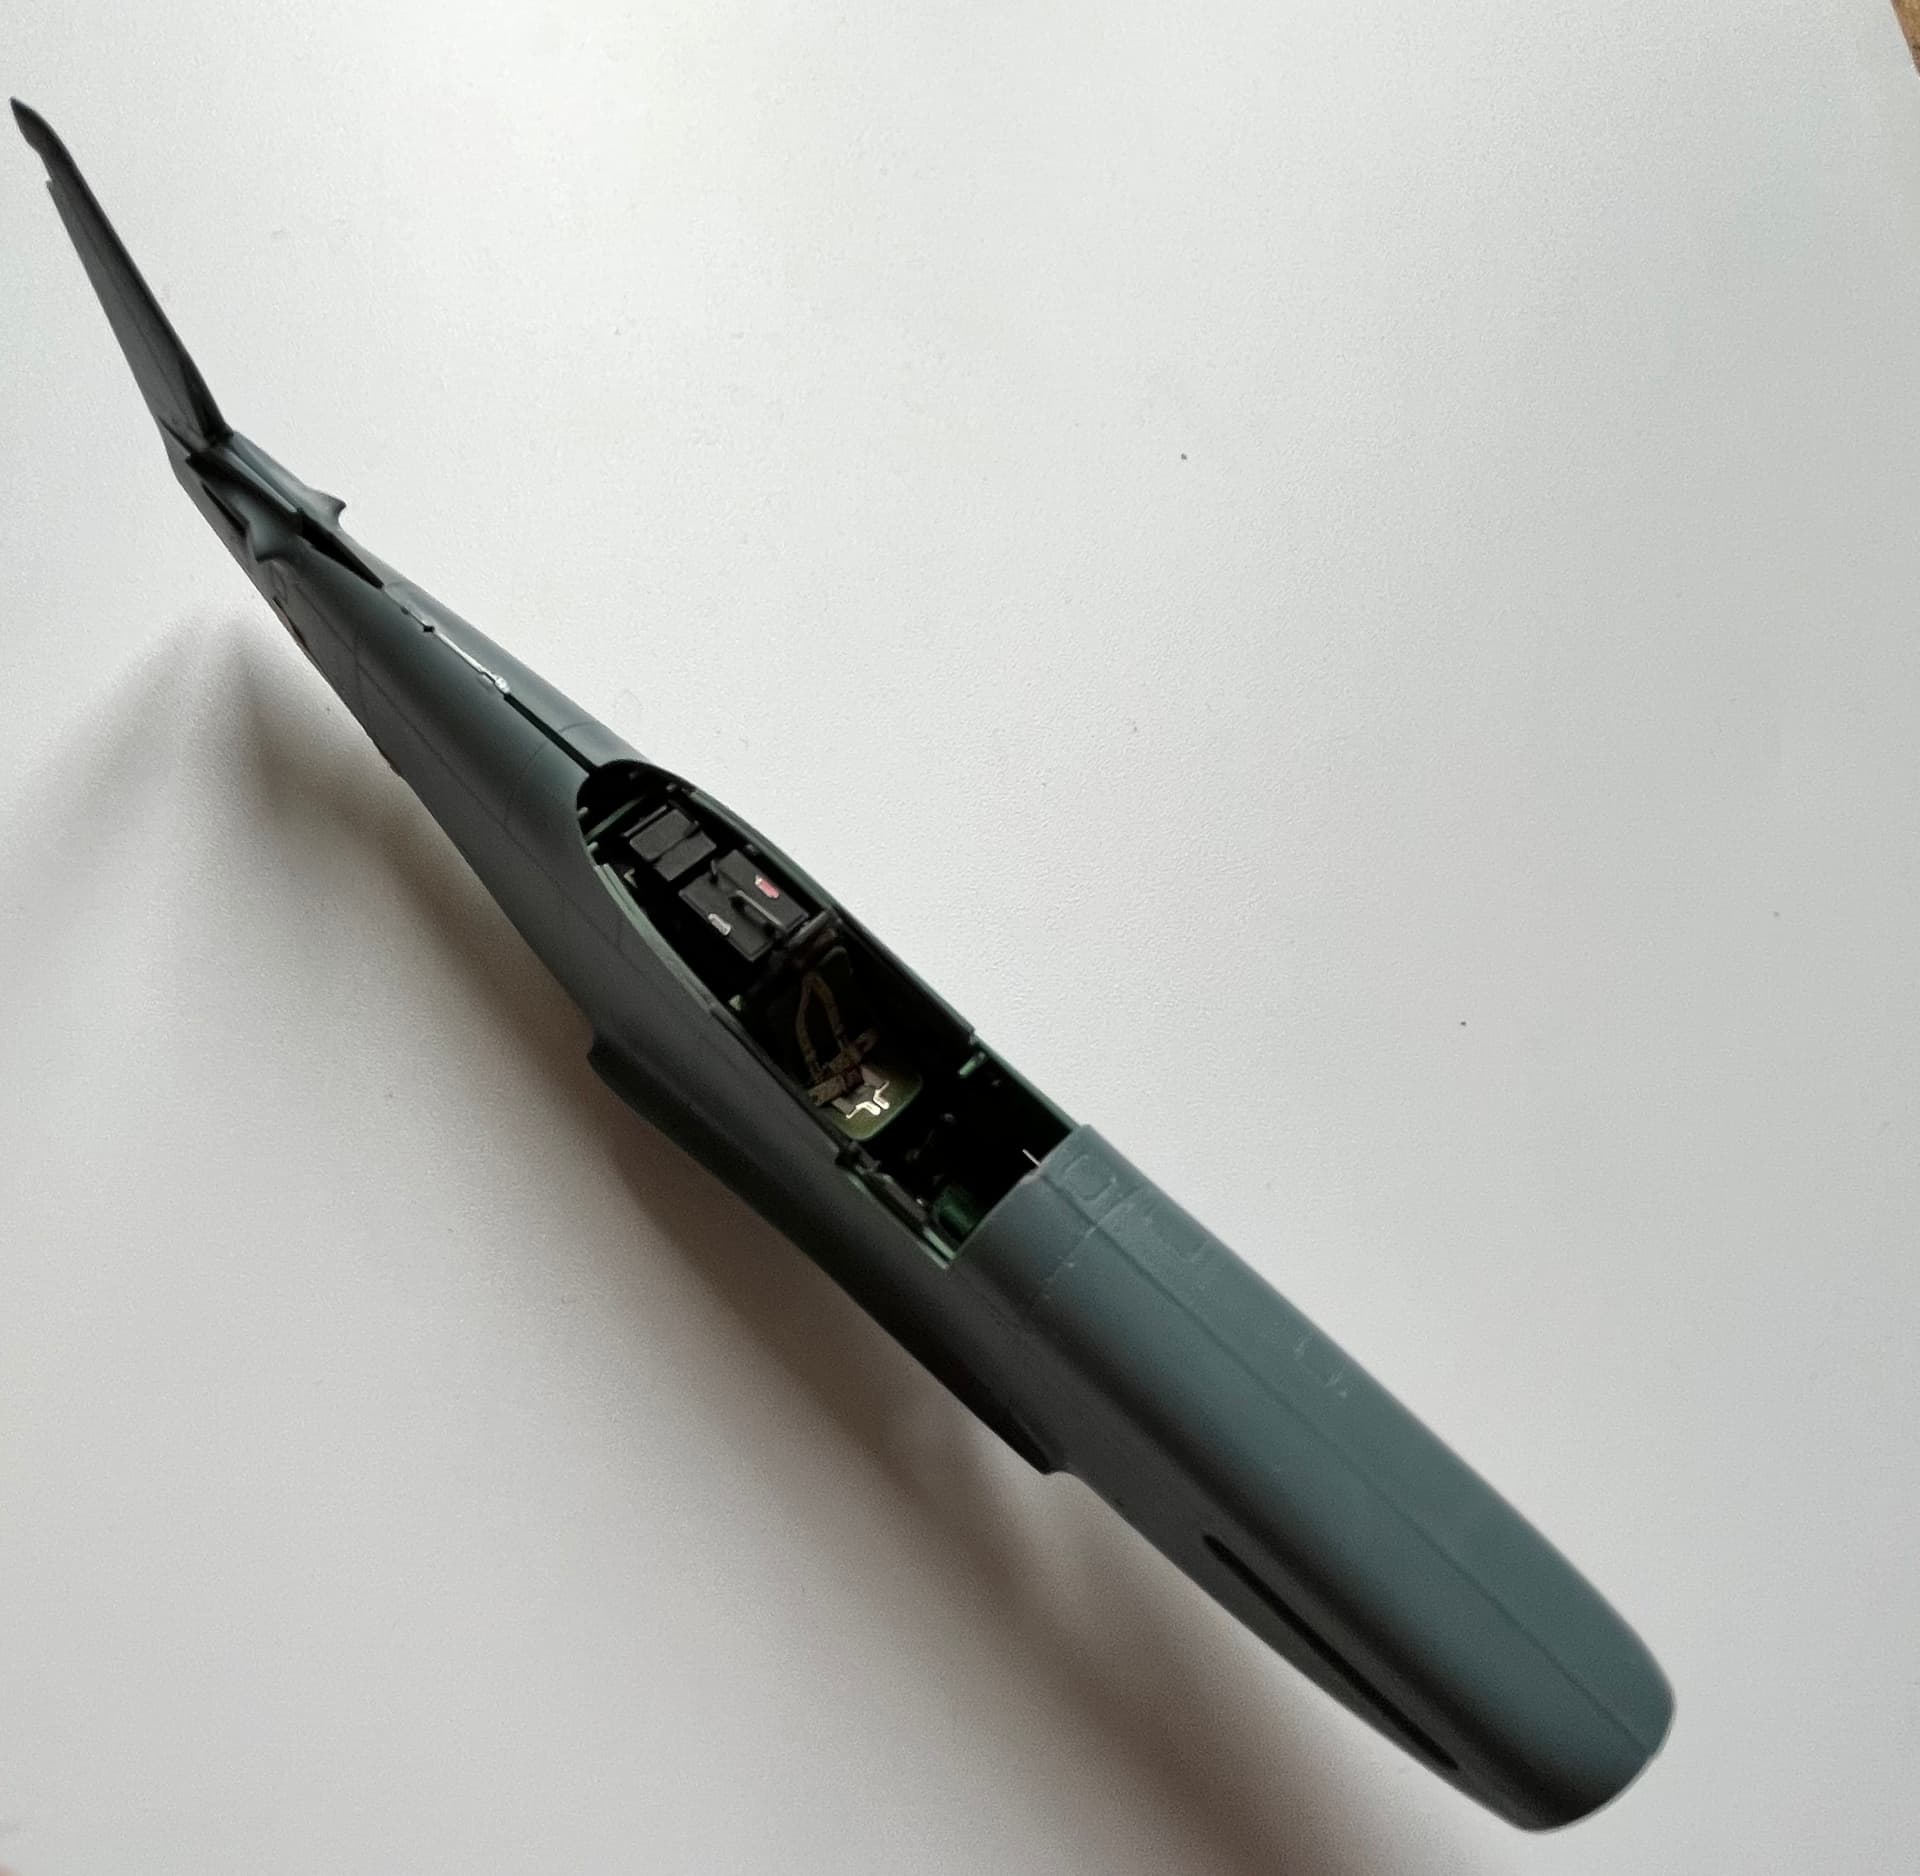
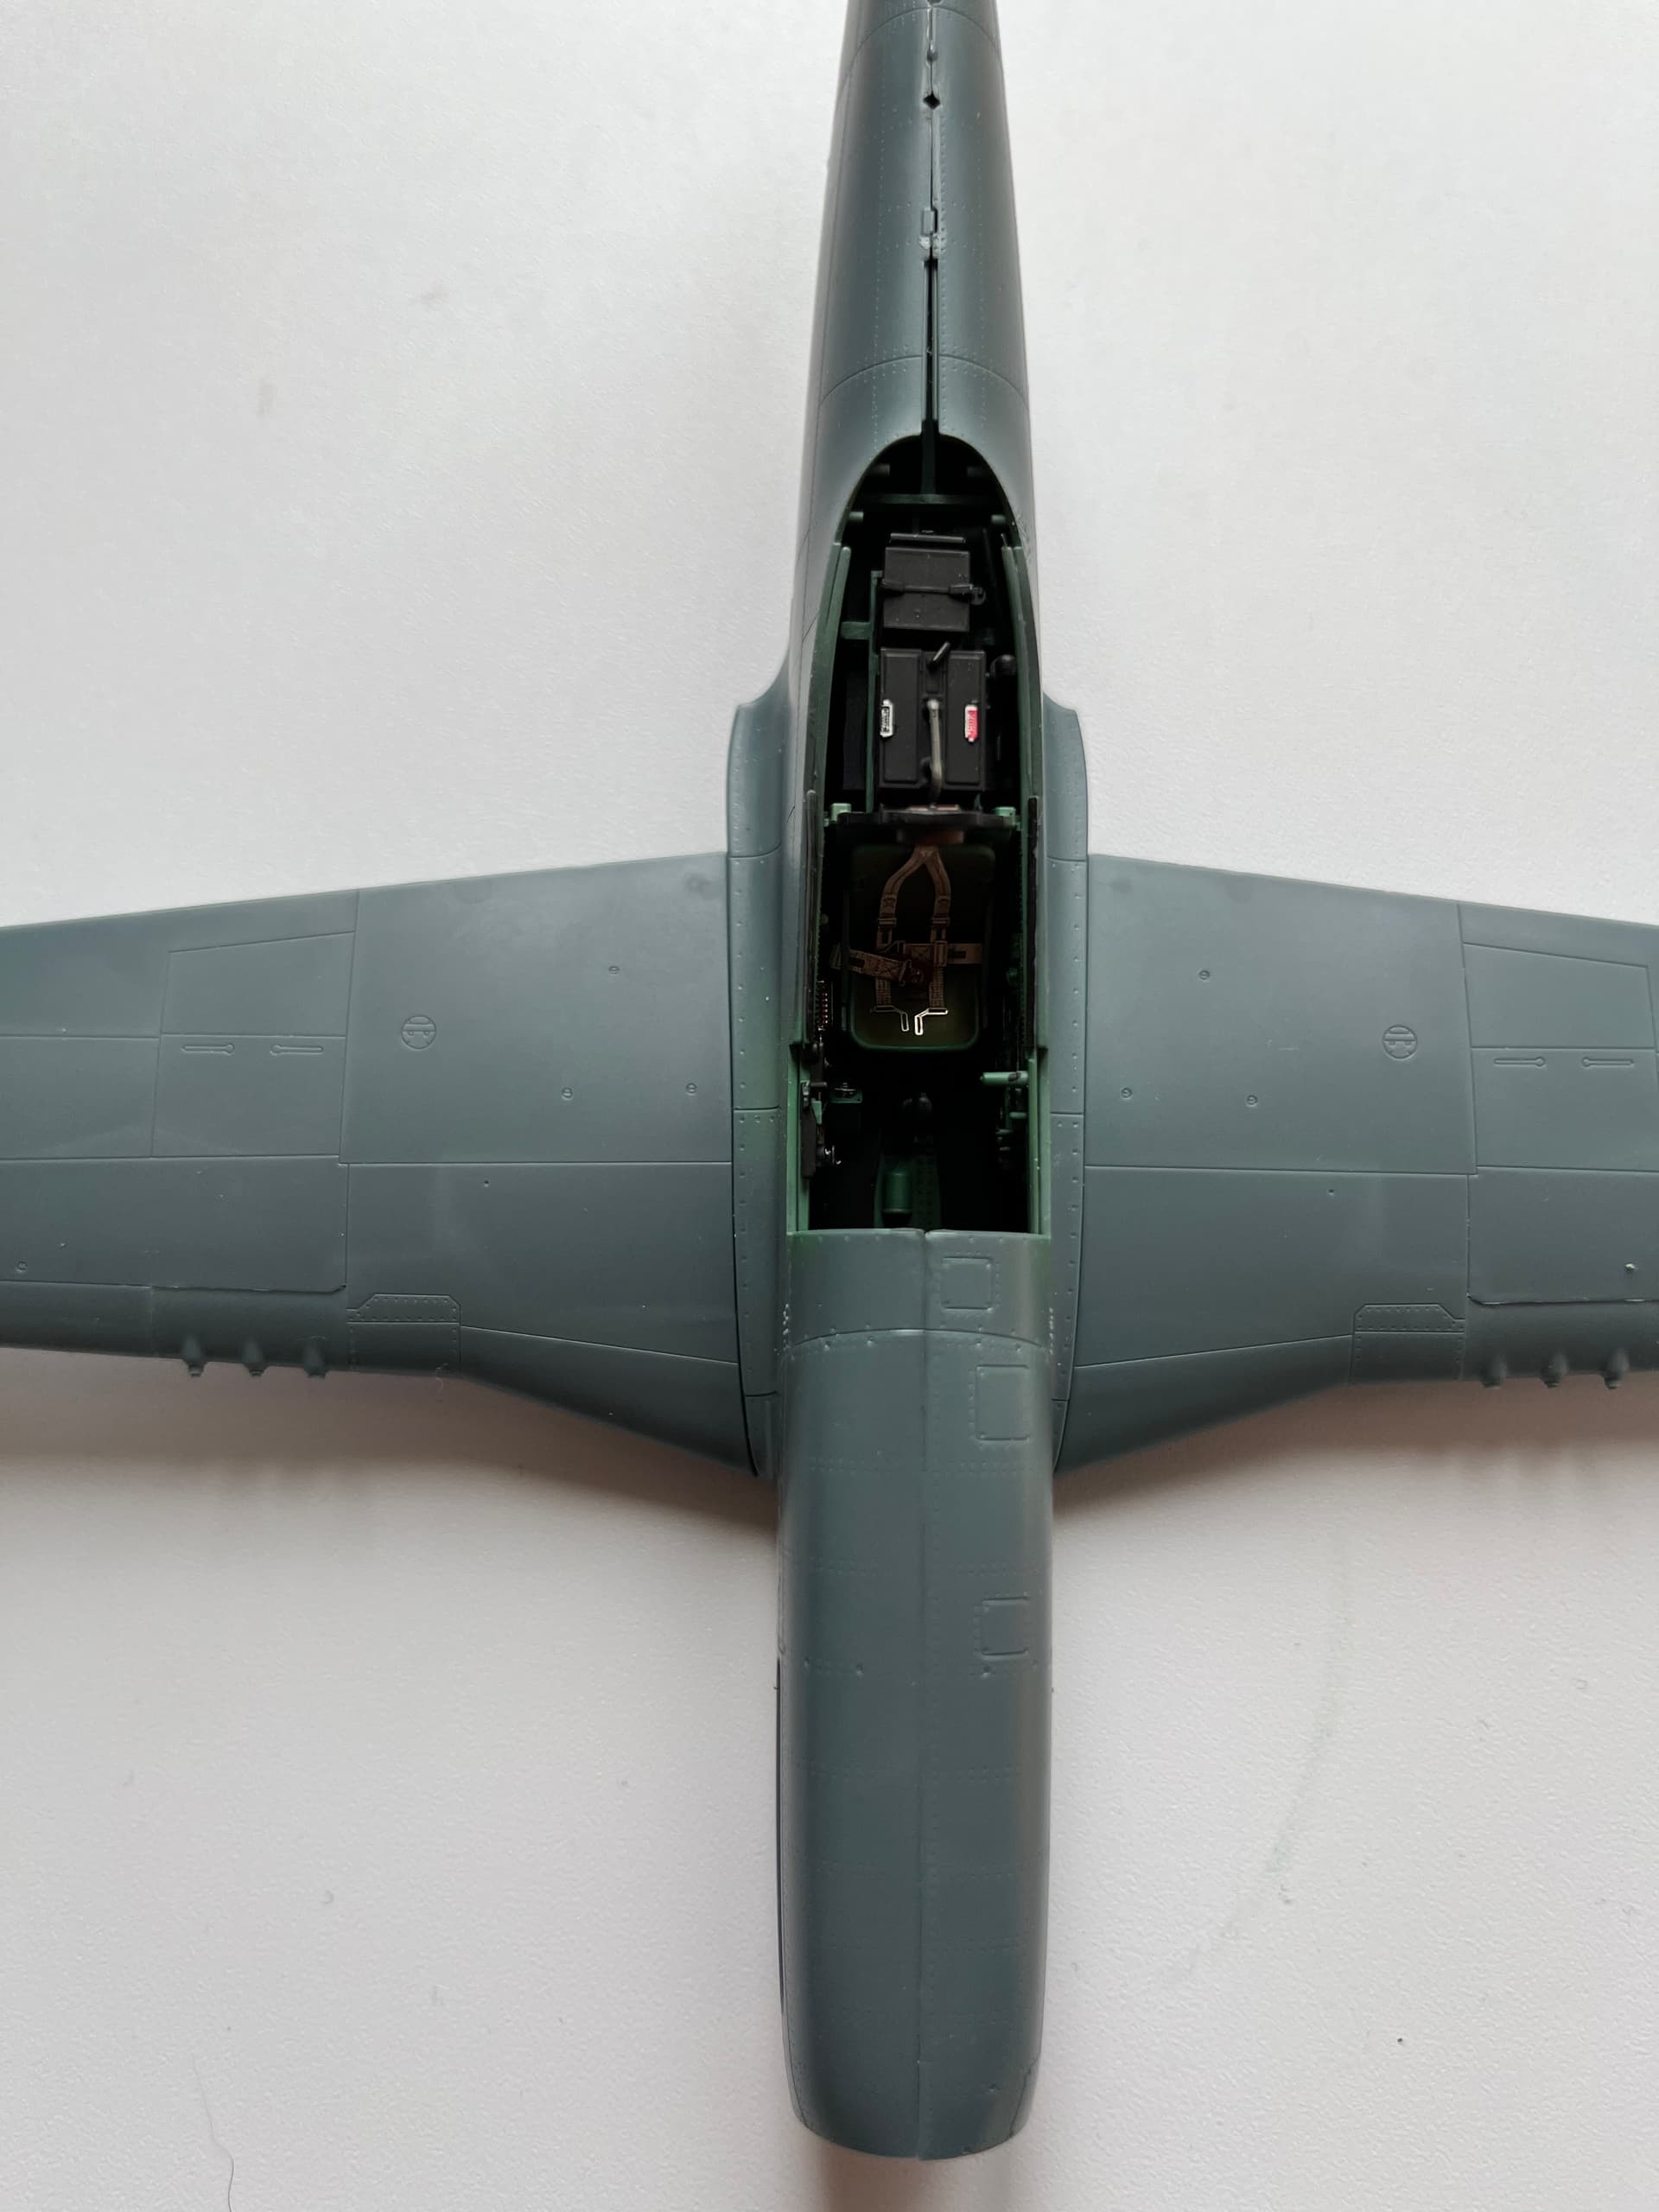
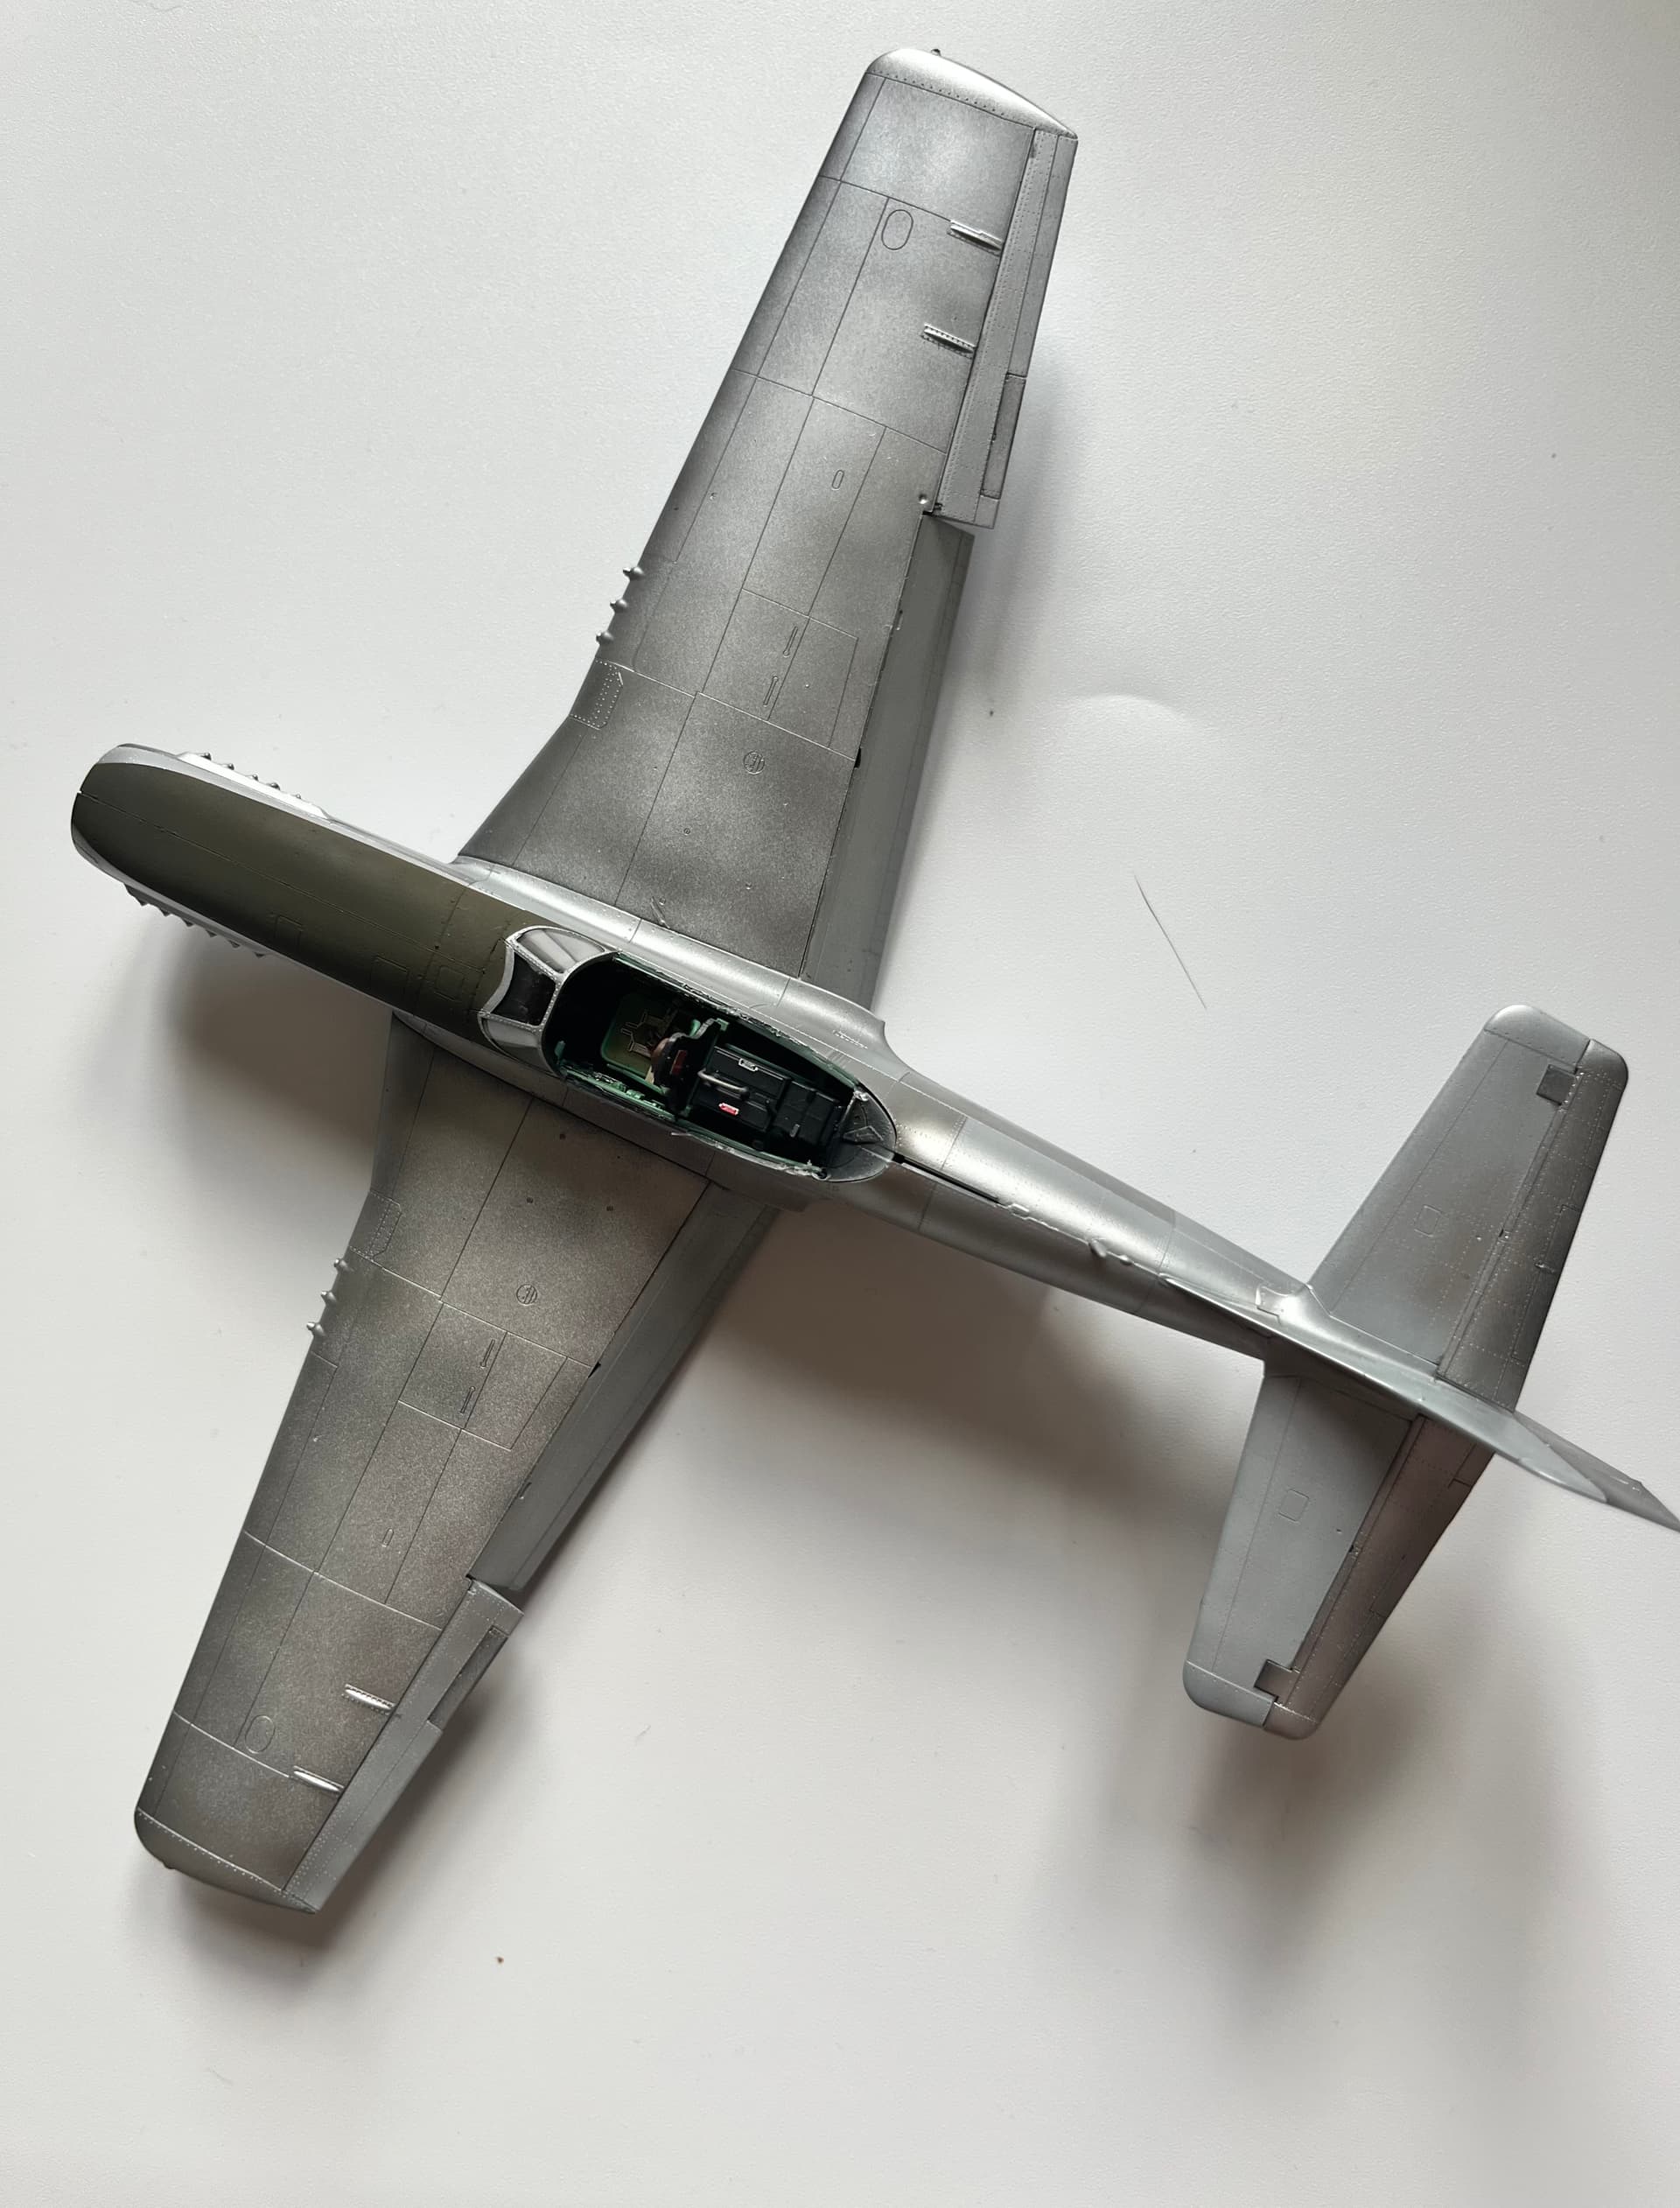
Nose seam looks good, in fact I might have to carefully rescribe a panel line as fairly certain there was one on the nose. Will definitely need a bit of filling behind the cockpit though. (Behind the runner for the rear canopy)
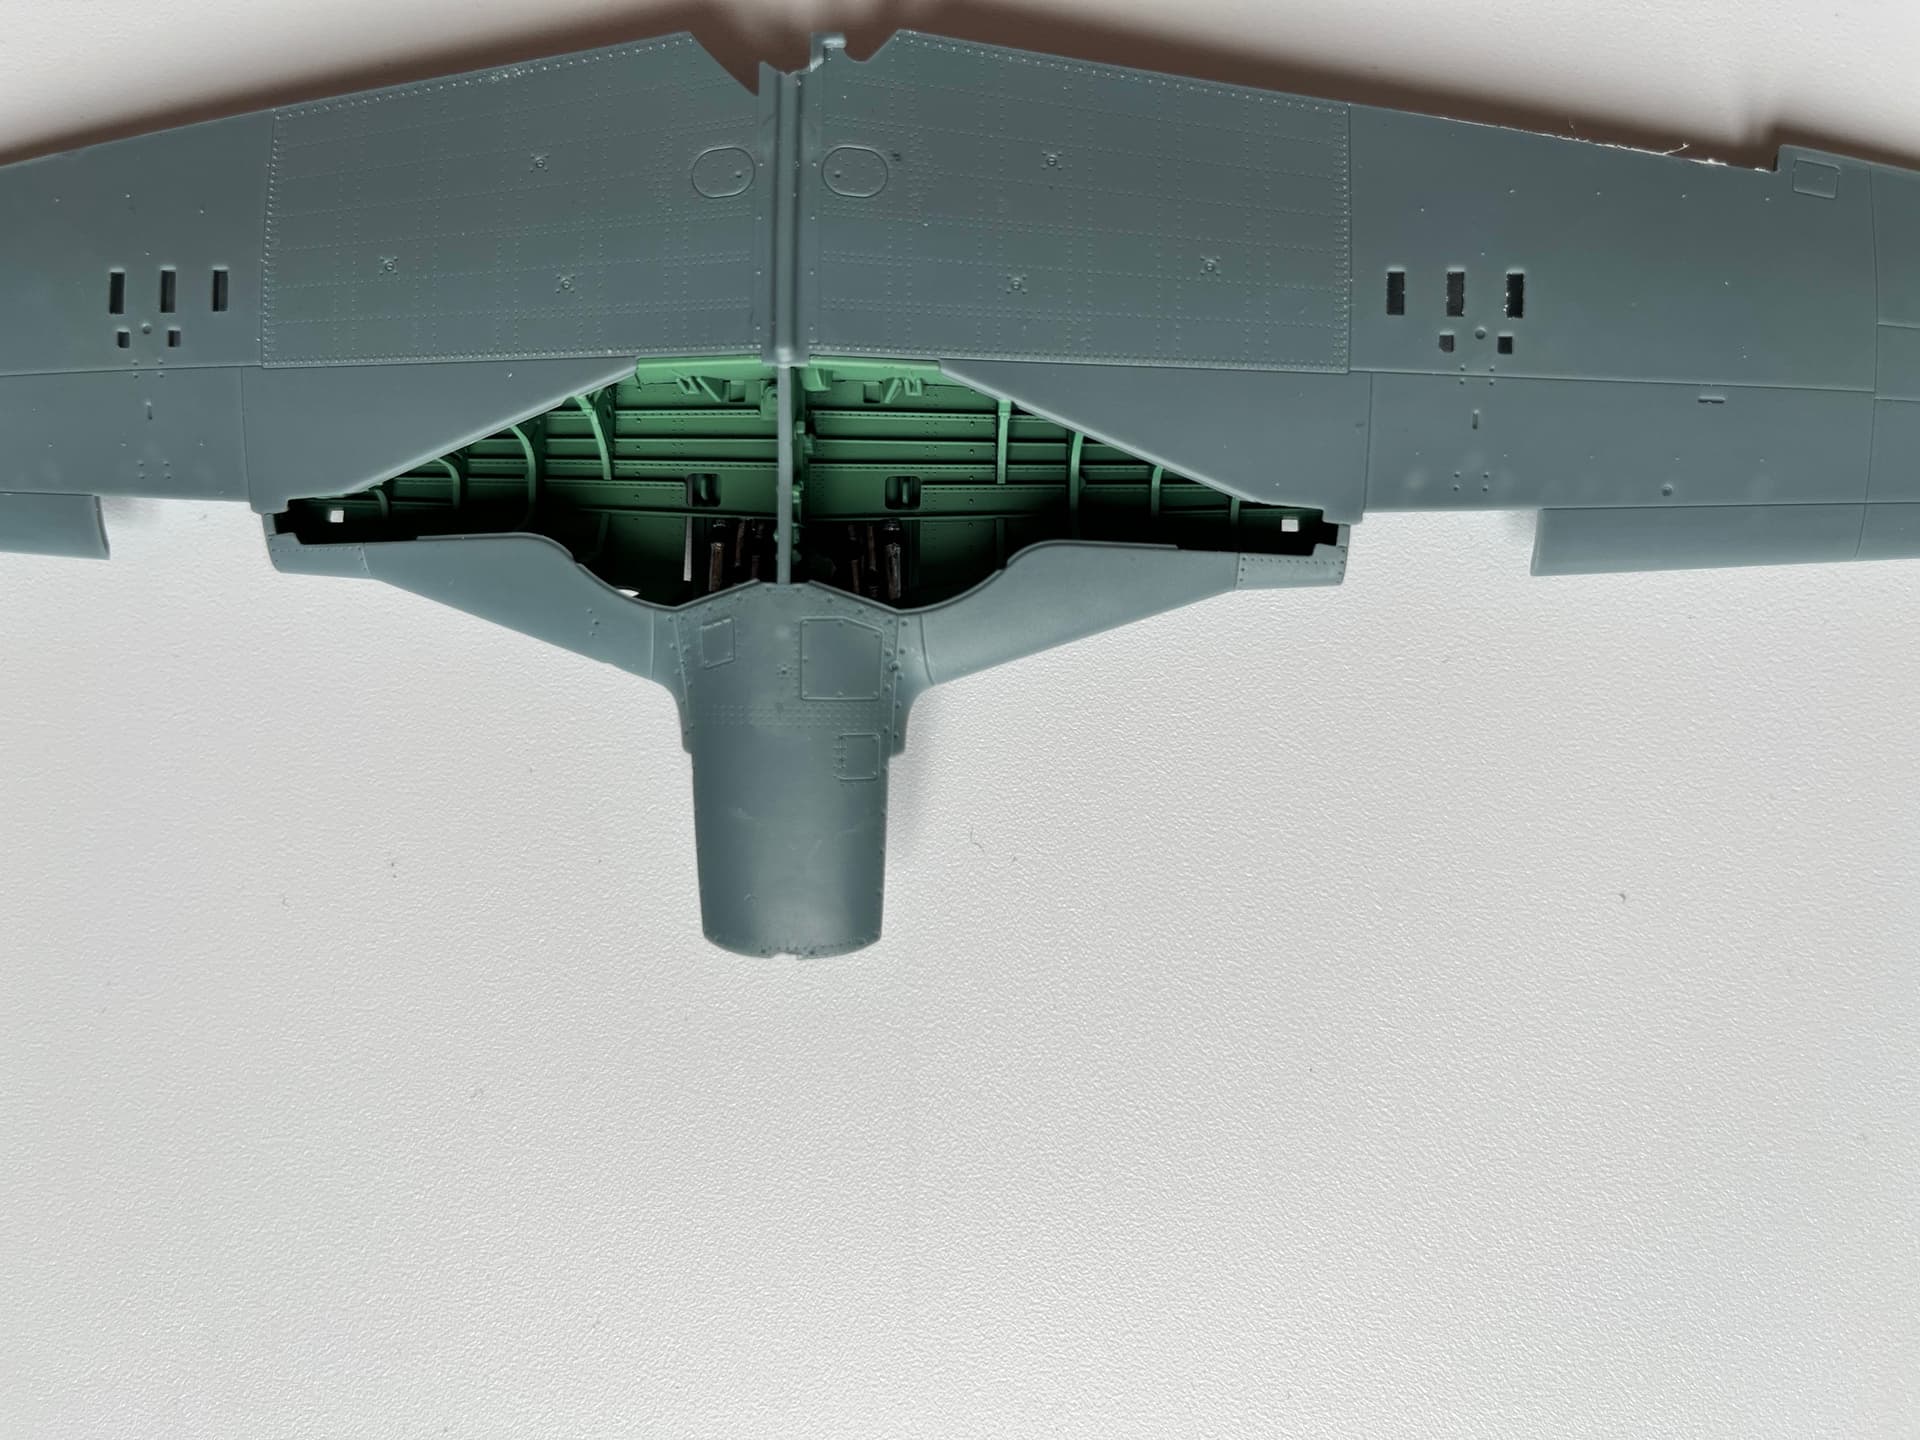
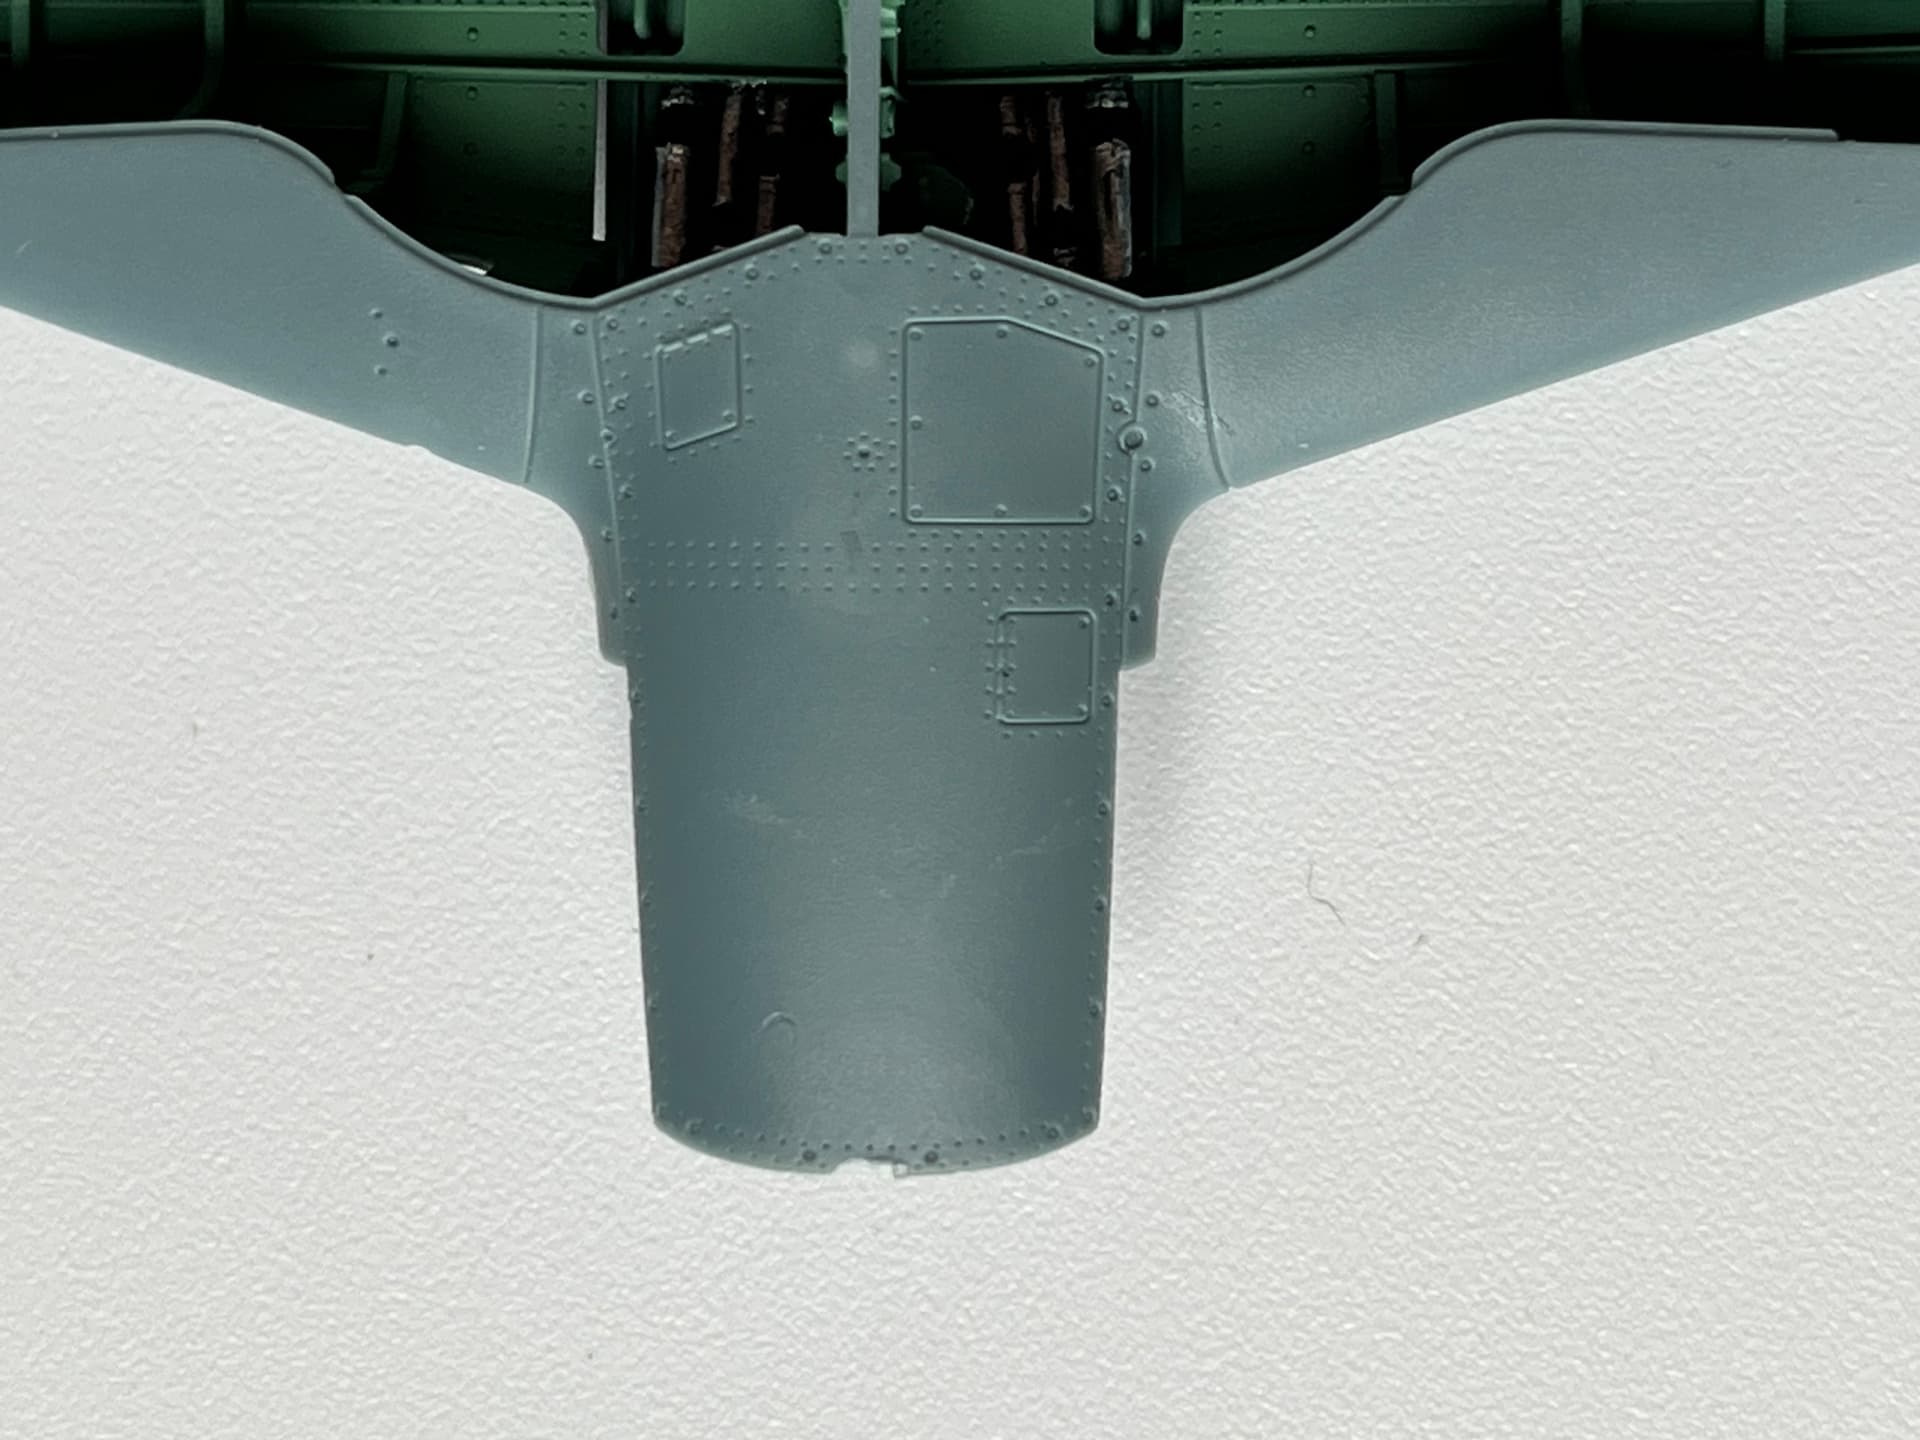
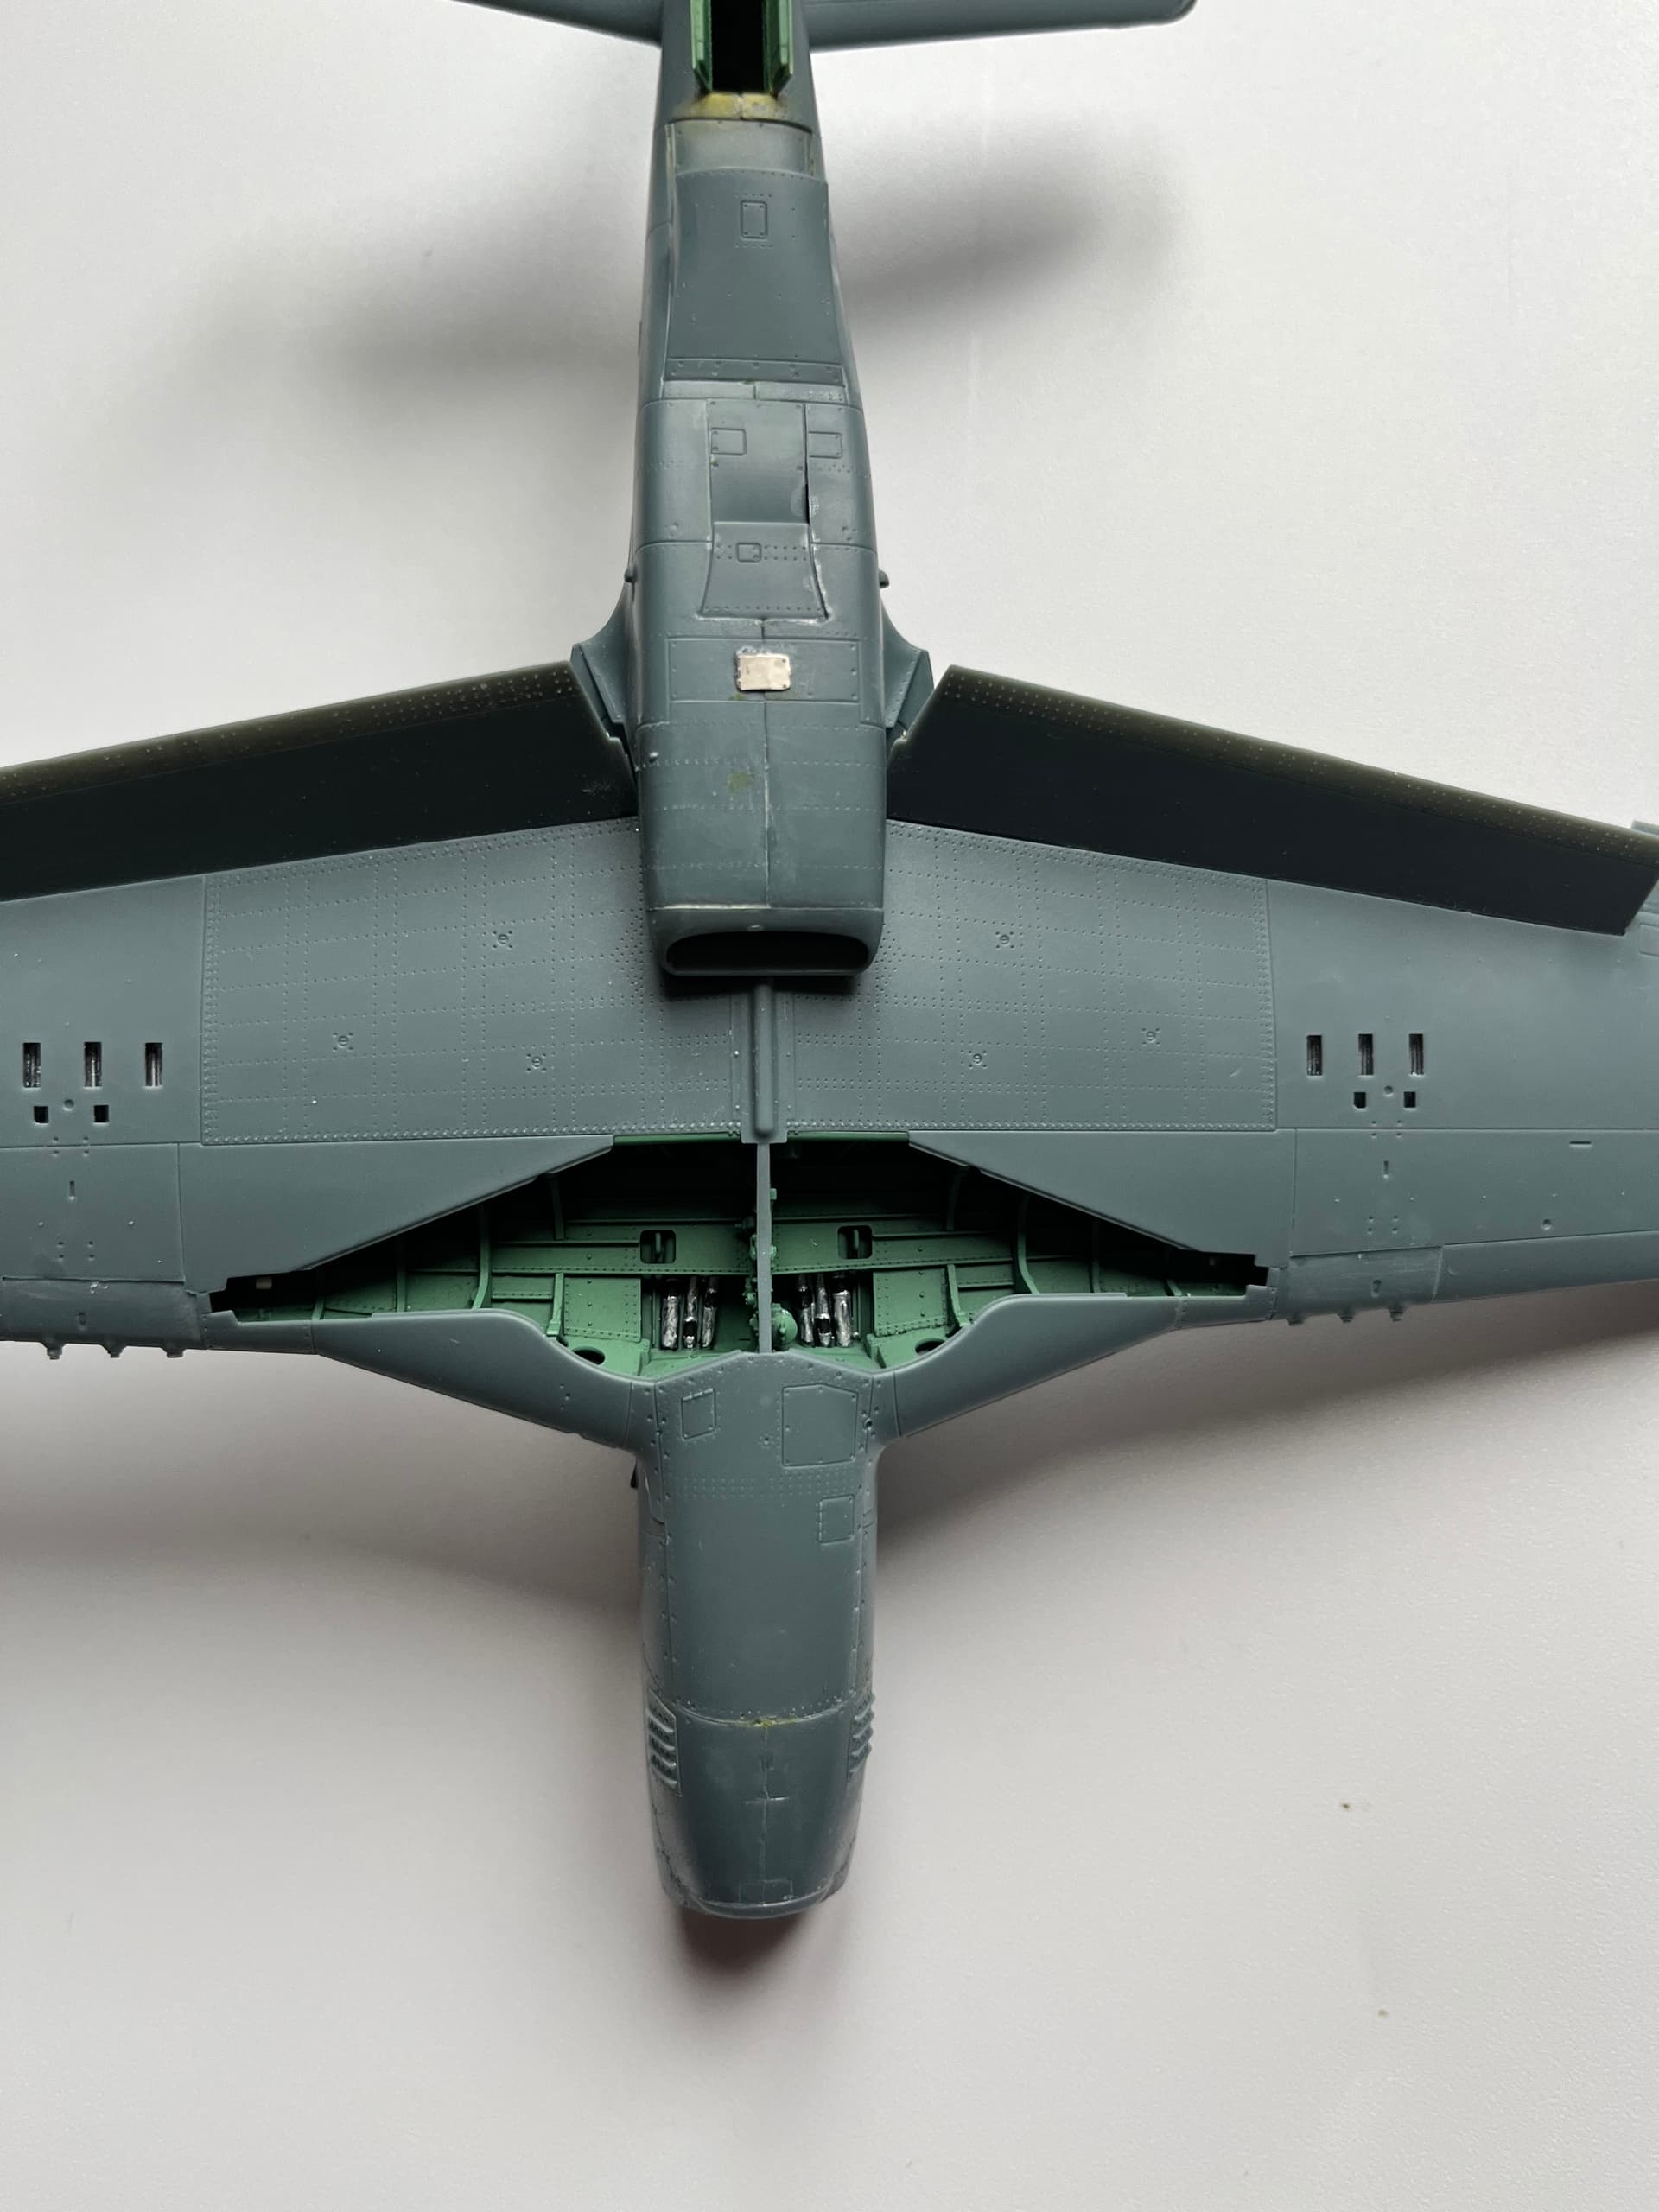
Wings went together well. Given apparent variability in wheel well colour, I decided to keep it consistent with the rest and went with green. Not weathered yet as may add a bit of scratch detail with wiring. Still undecided.
Slight issue resulted from the wing part having detached itself from the sprue on its own. The sprue gate has taken a bit of the part with it, which will require some filling, describing and replacing of rivets.
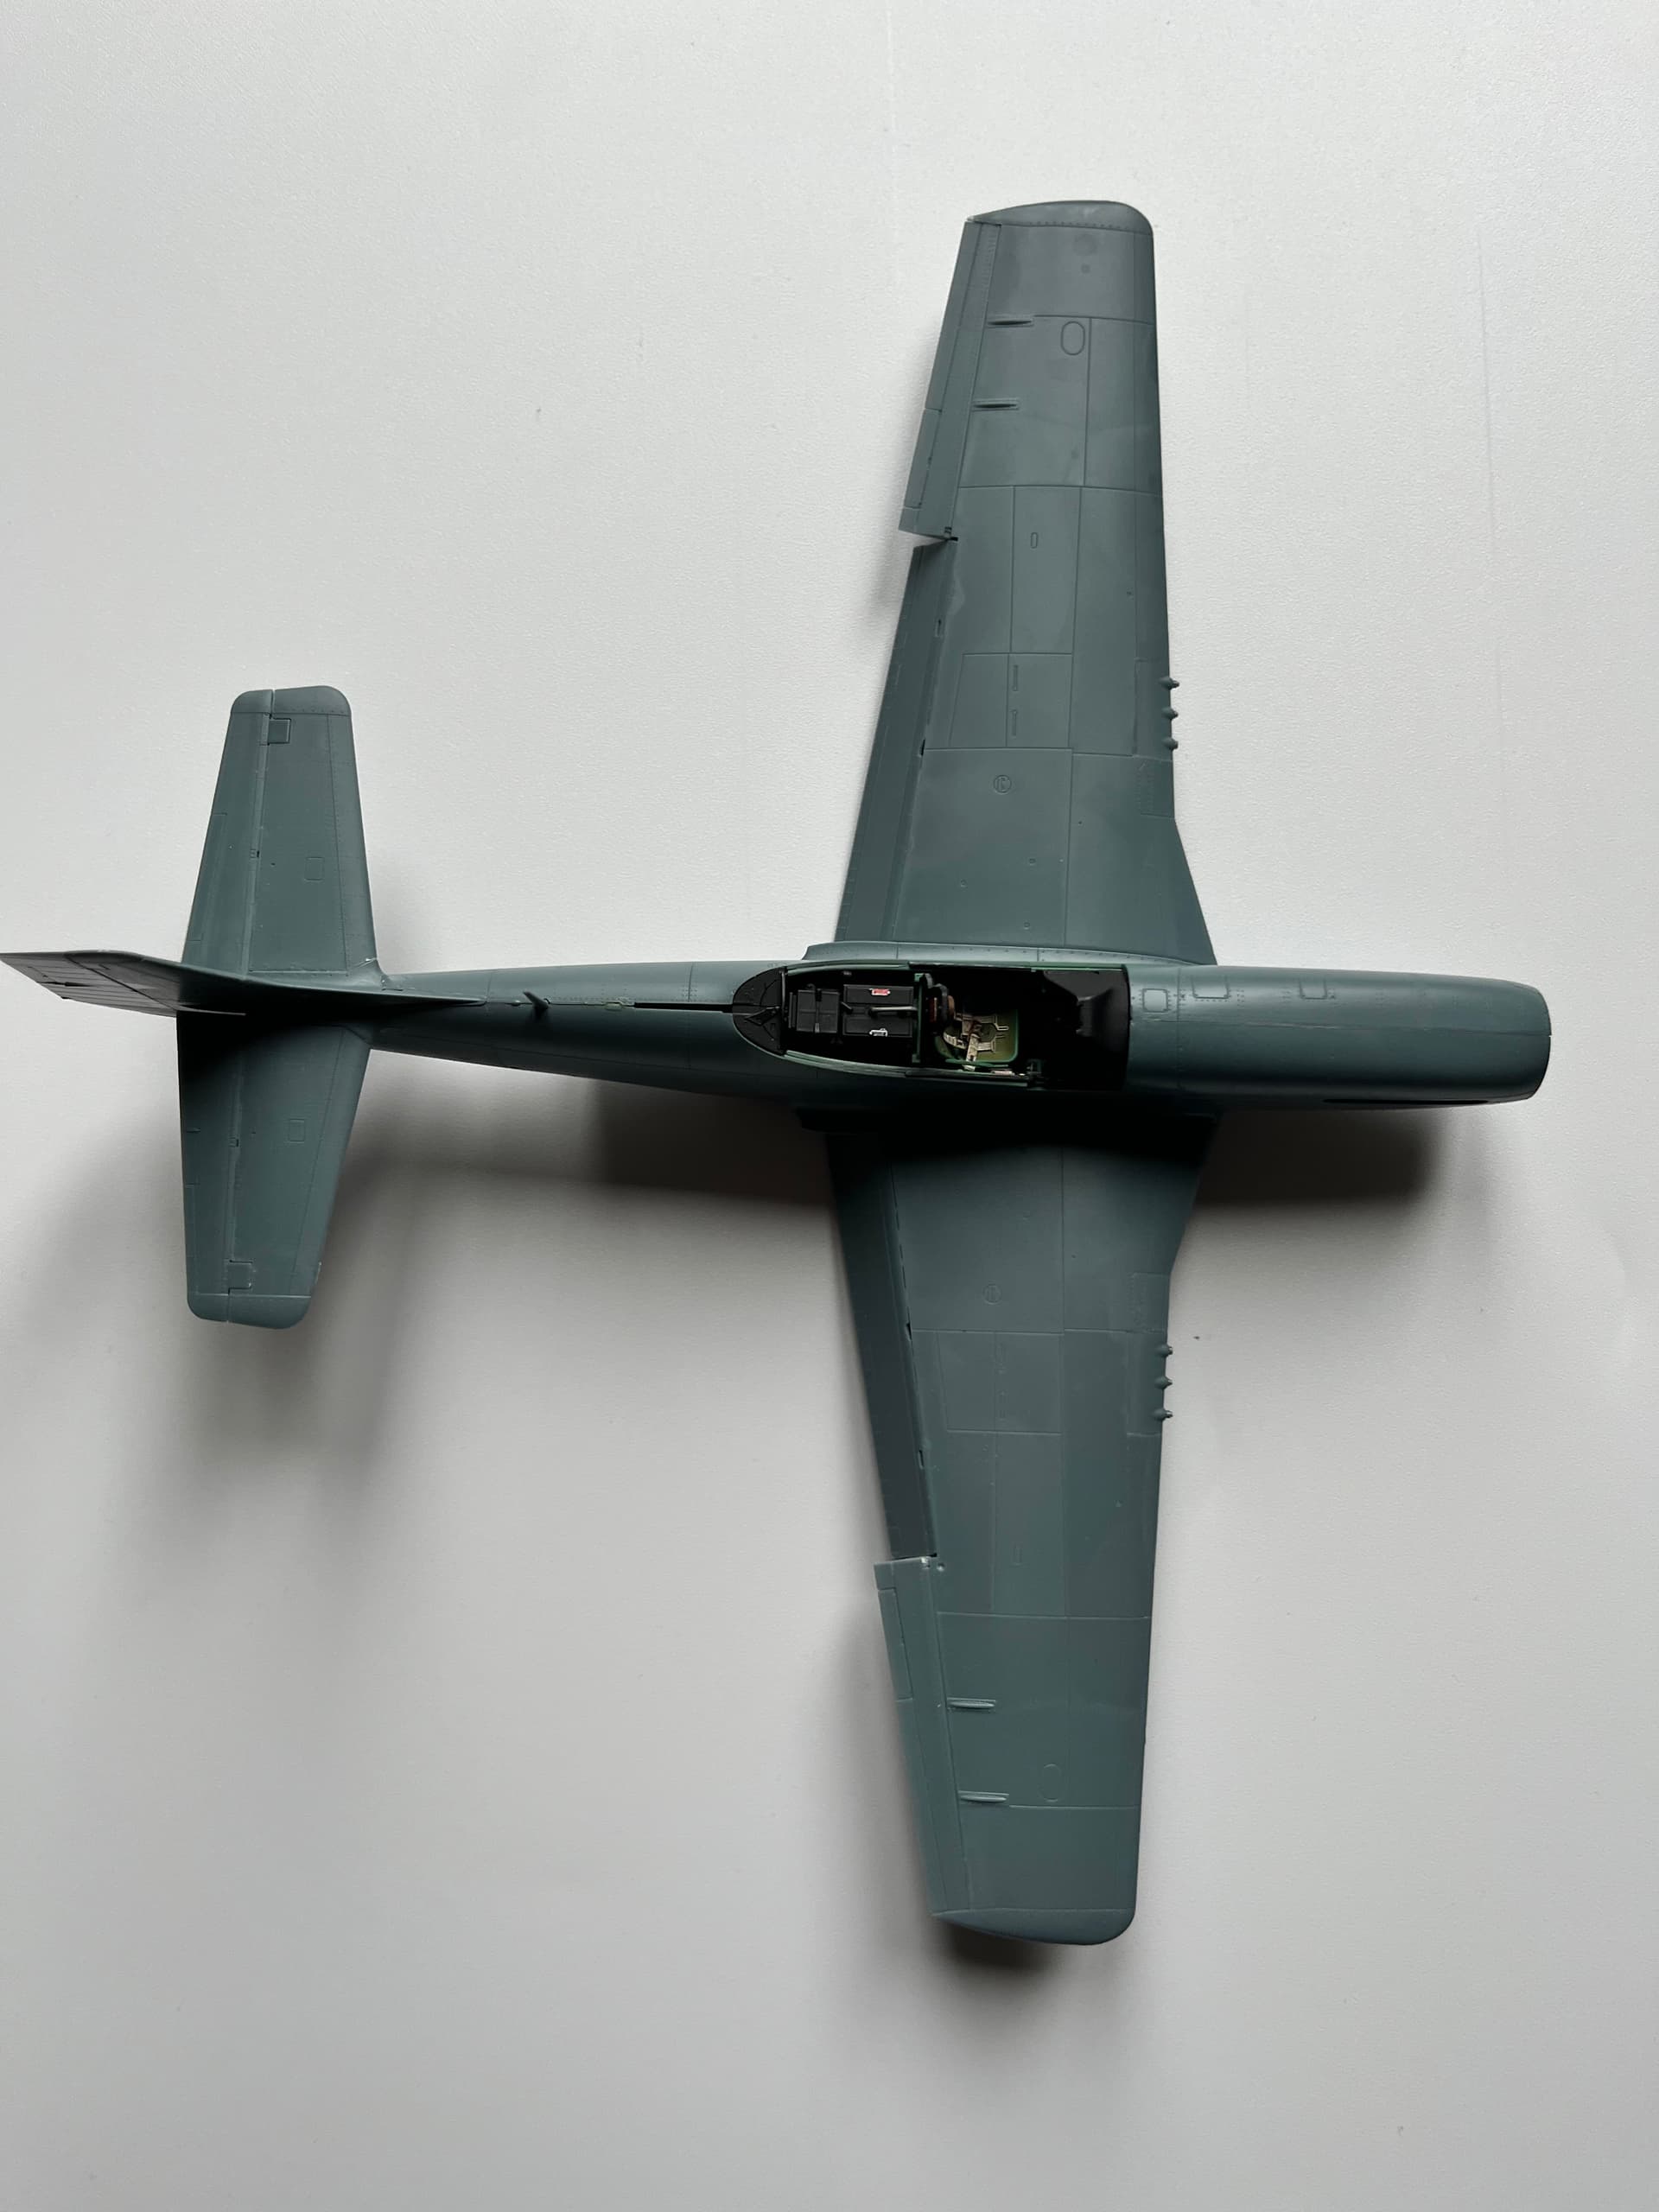
The fit however on this kit is genuinely excellent. I suspect the filling required so far is more down to me rather than the kit. Parts otherwise have snapped into place. Wings just dry fitted and snapped into place.
Been a bit of a pause on this build for a number of non modelling reasons. However have managed to get some more done and other than a few more delicate detailing, I’m almost to the point of laying primer down.
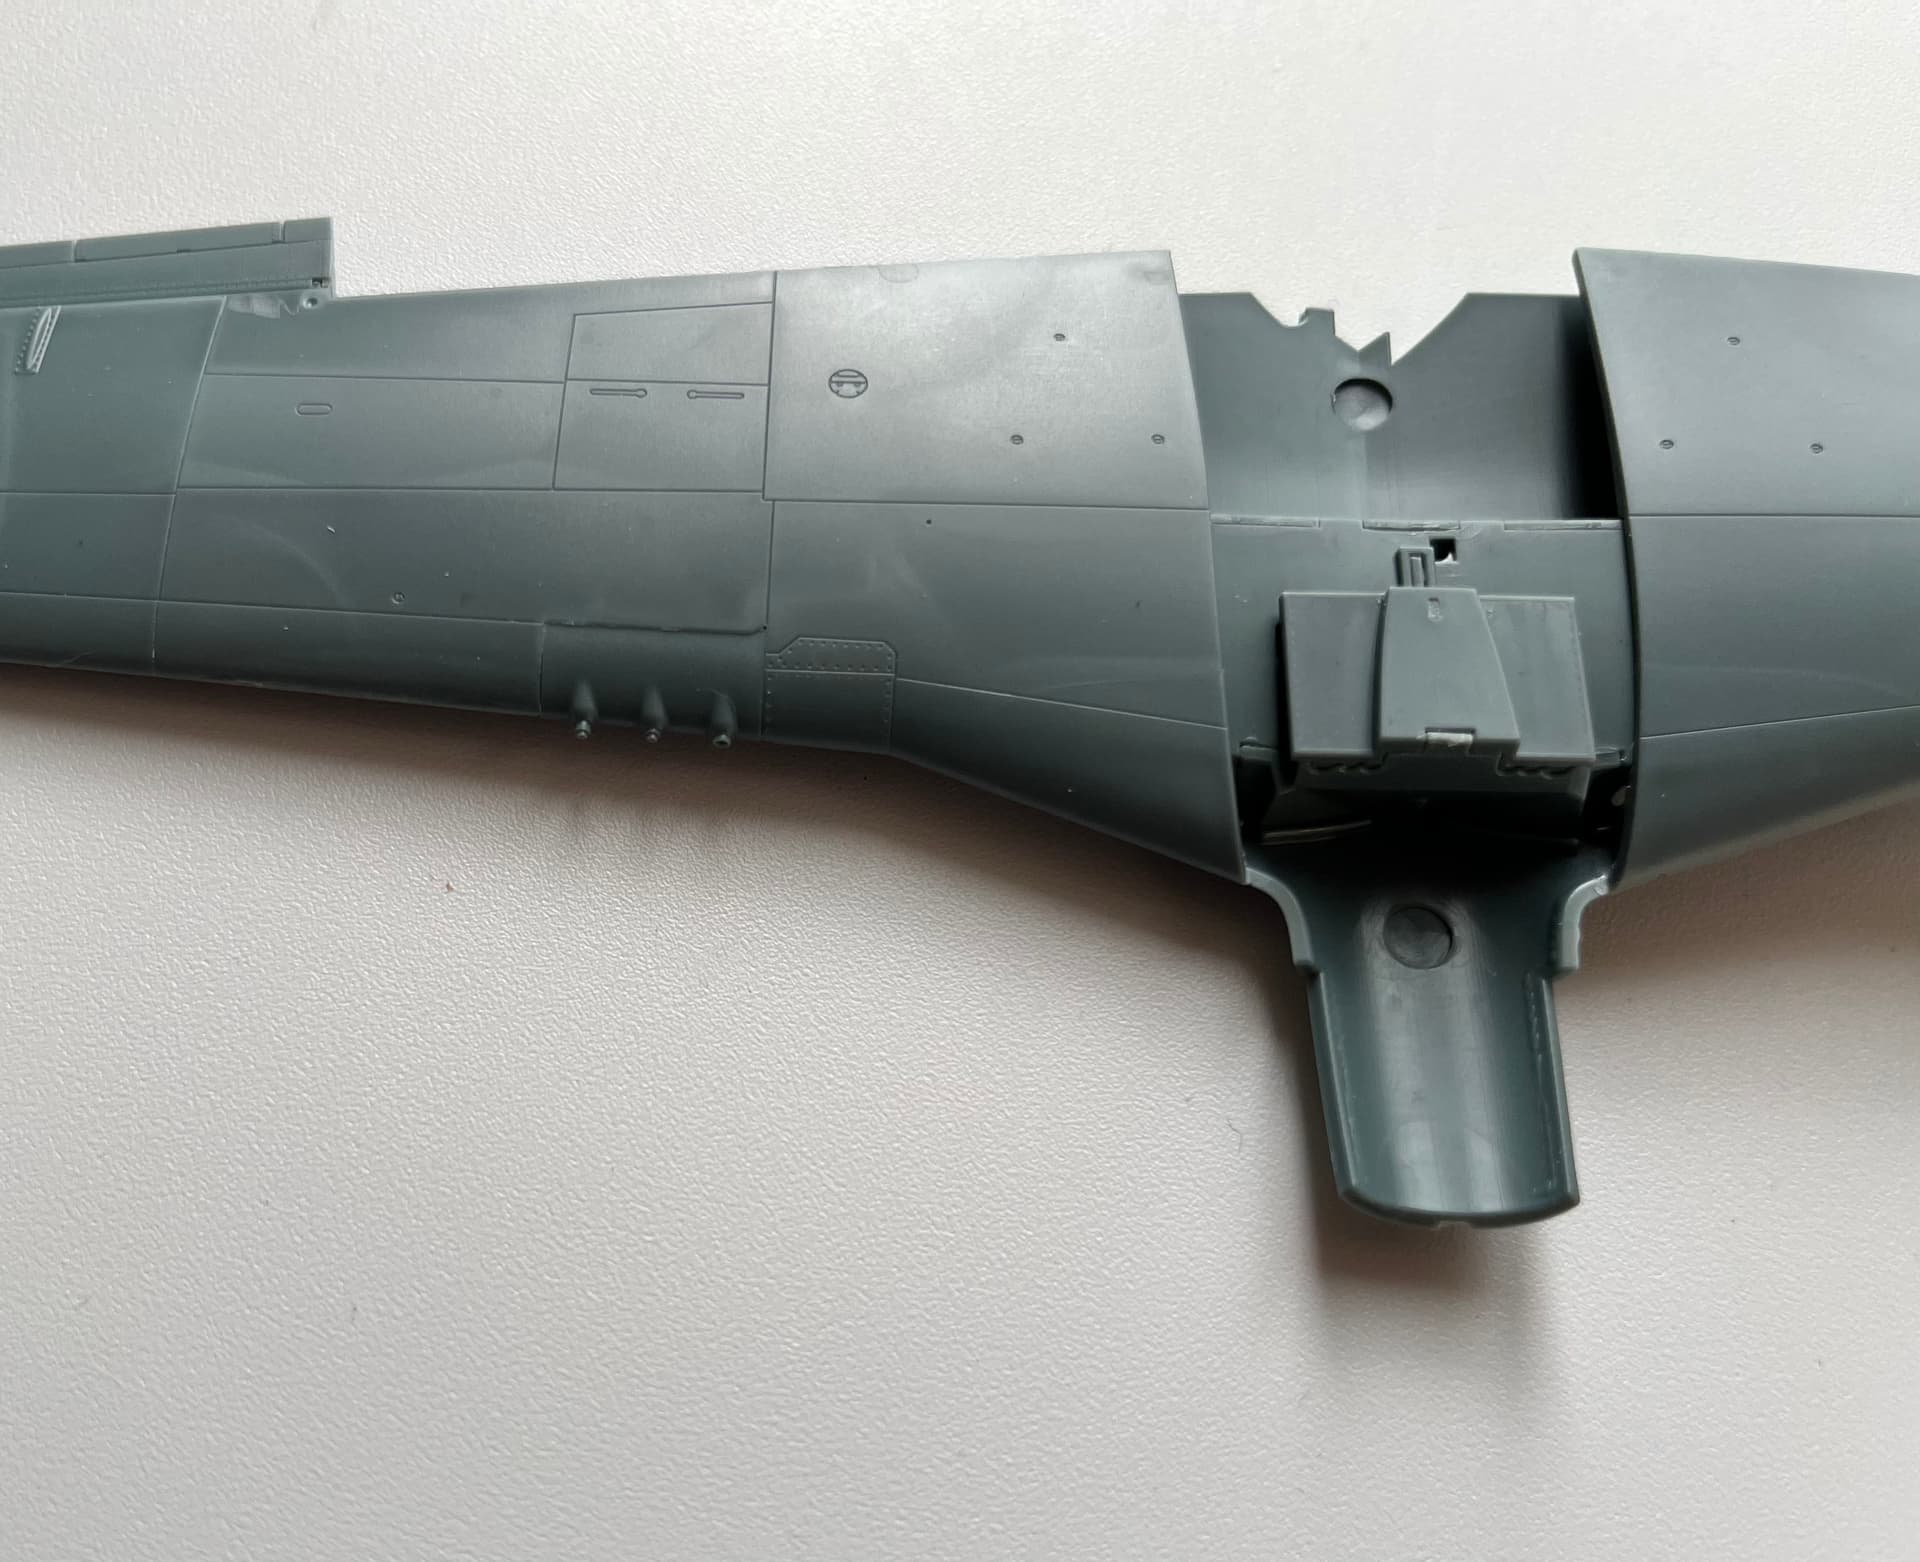
Wings attached and as previously mentioned the fit and engineering is excellent so no filling required. I redefined the panel line along the nose slightly. The underside was slightly different, but more down to me than the kit. I compounded this by somehow getting stray Tamiya extra thin on part of the underside (air intake?). I therefore had to repair with filling, sanding and then replacing some rivets and panel lines.
Thanks @Johnnych01. To be fair the kit’s doing all the work detail wise.
In anticipation of approaching the end of the build stage, I’ve started looking at the paint stage.
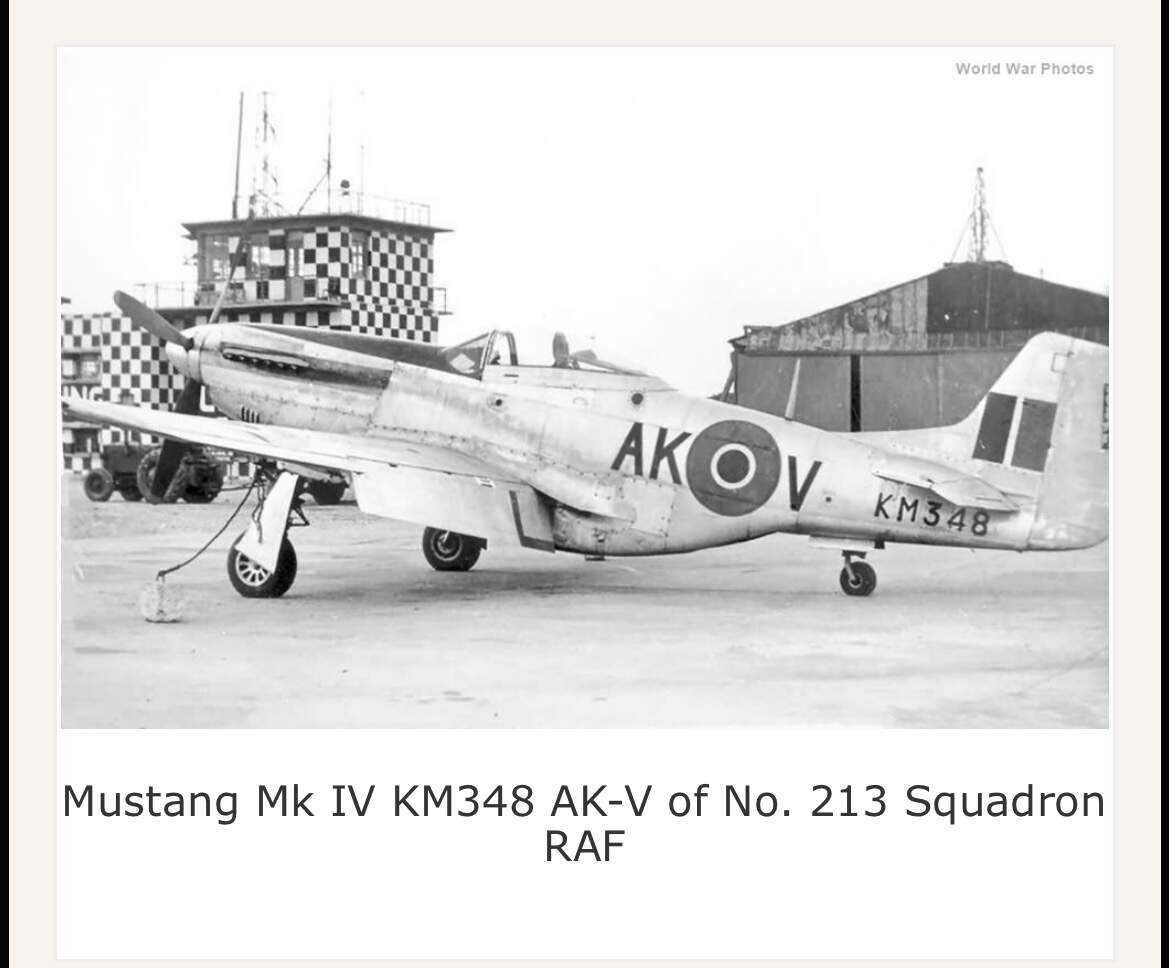
Quite a few photos online of 213 Squadron mustangs but only one example matching a serial number of an aircraft my grandfather flew. Fortunately it’s a cracker (photo courtesy of
www.worldwarphotos.info
This plane was flown quite late on in terms of his time flying Mustang IVs, notably on 10th January 1947. By this time 213 Squadron had moved to Nicosia in Cyprus. Notes suggest he performed aerobatics on this flight.
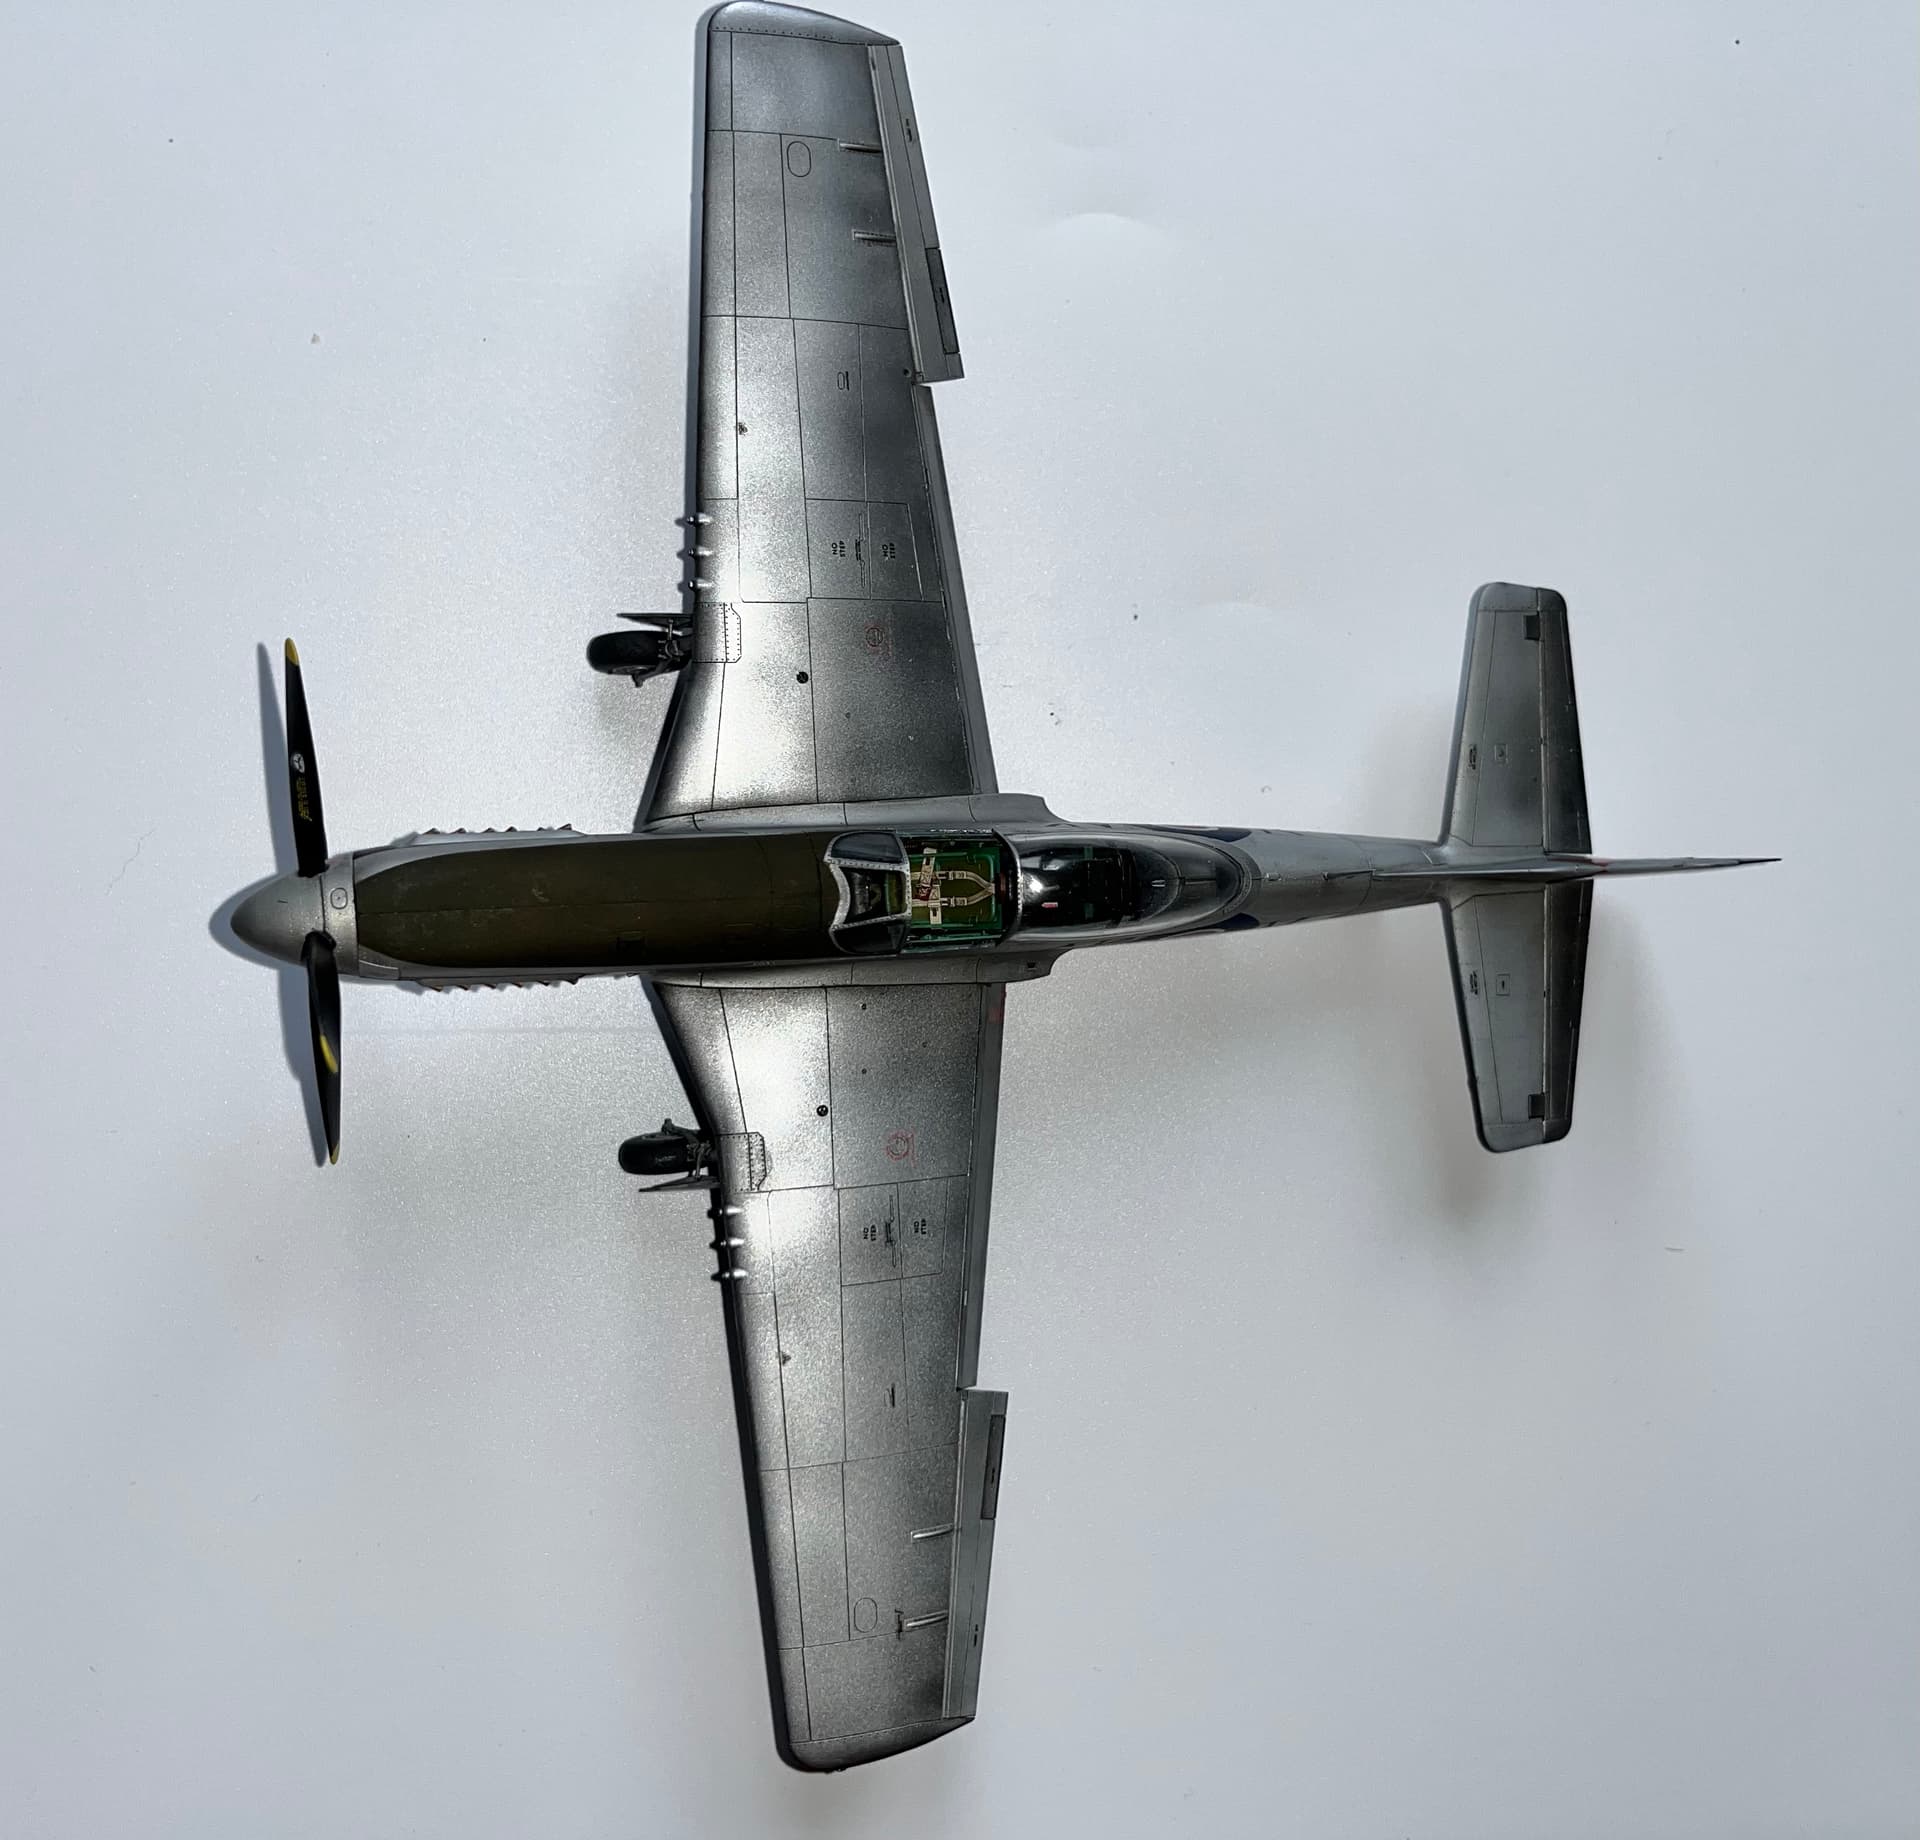
One thing I can’t tell is whether the serial number is painted on the underside of the wing for KM348. Most examples of Mustang IVs I can find show no serial numbers under the wing. In the absence of evidence to the contrary I therefore won’t paint the serial number there.
That’s a great ref photo … couldn’t ask for better or clearer…love the efforf that’s going into this… All building up to a great collection at the end, and a real fitting tribute
Not going off any actual knowledge here, but I would suspect you’re right. You don’t see many non-training aircraft with serial/registration numbers underside, I’d imagine for security/intelligence purposes. No sense giving the enemy an easy way to track and identify individual aircraft.
It definitely is. Even down to the exhaust stains. Looks like little wear. Wouldn’t be chips on the bare metal obviously and whilst I can’t see the nose to clearly, doesn’t look like any there. Will keep the weathering in line with the photo therefore. Also won’t add drop tanks or ordinance etc either.
That makes sense. I haven’t checked but wonder if Battle of Britain era planes might’ve to prevent friendly ground fire, but once back over Europe and potentially subject to axis ground fire they were routinely not shown.
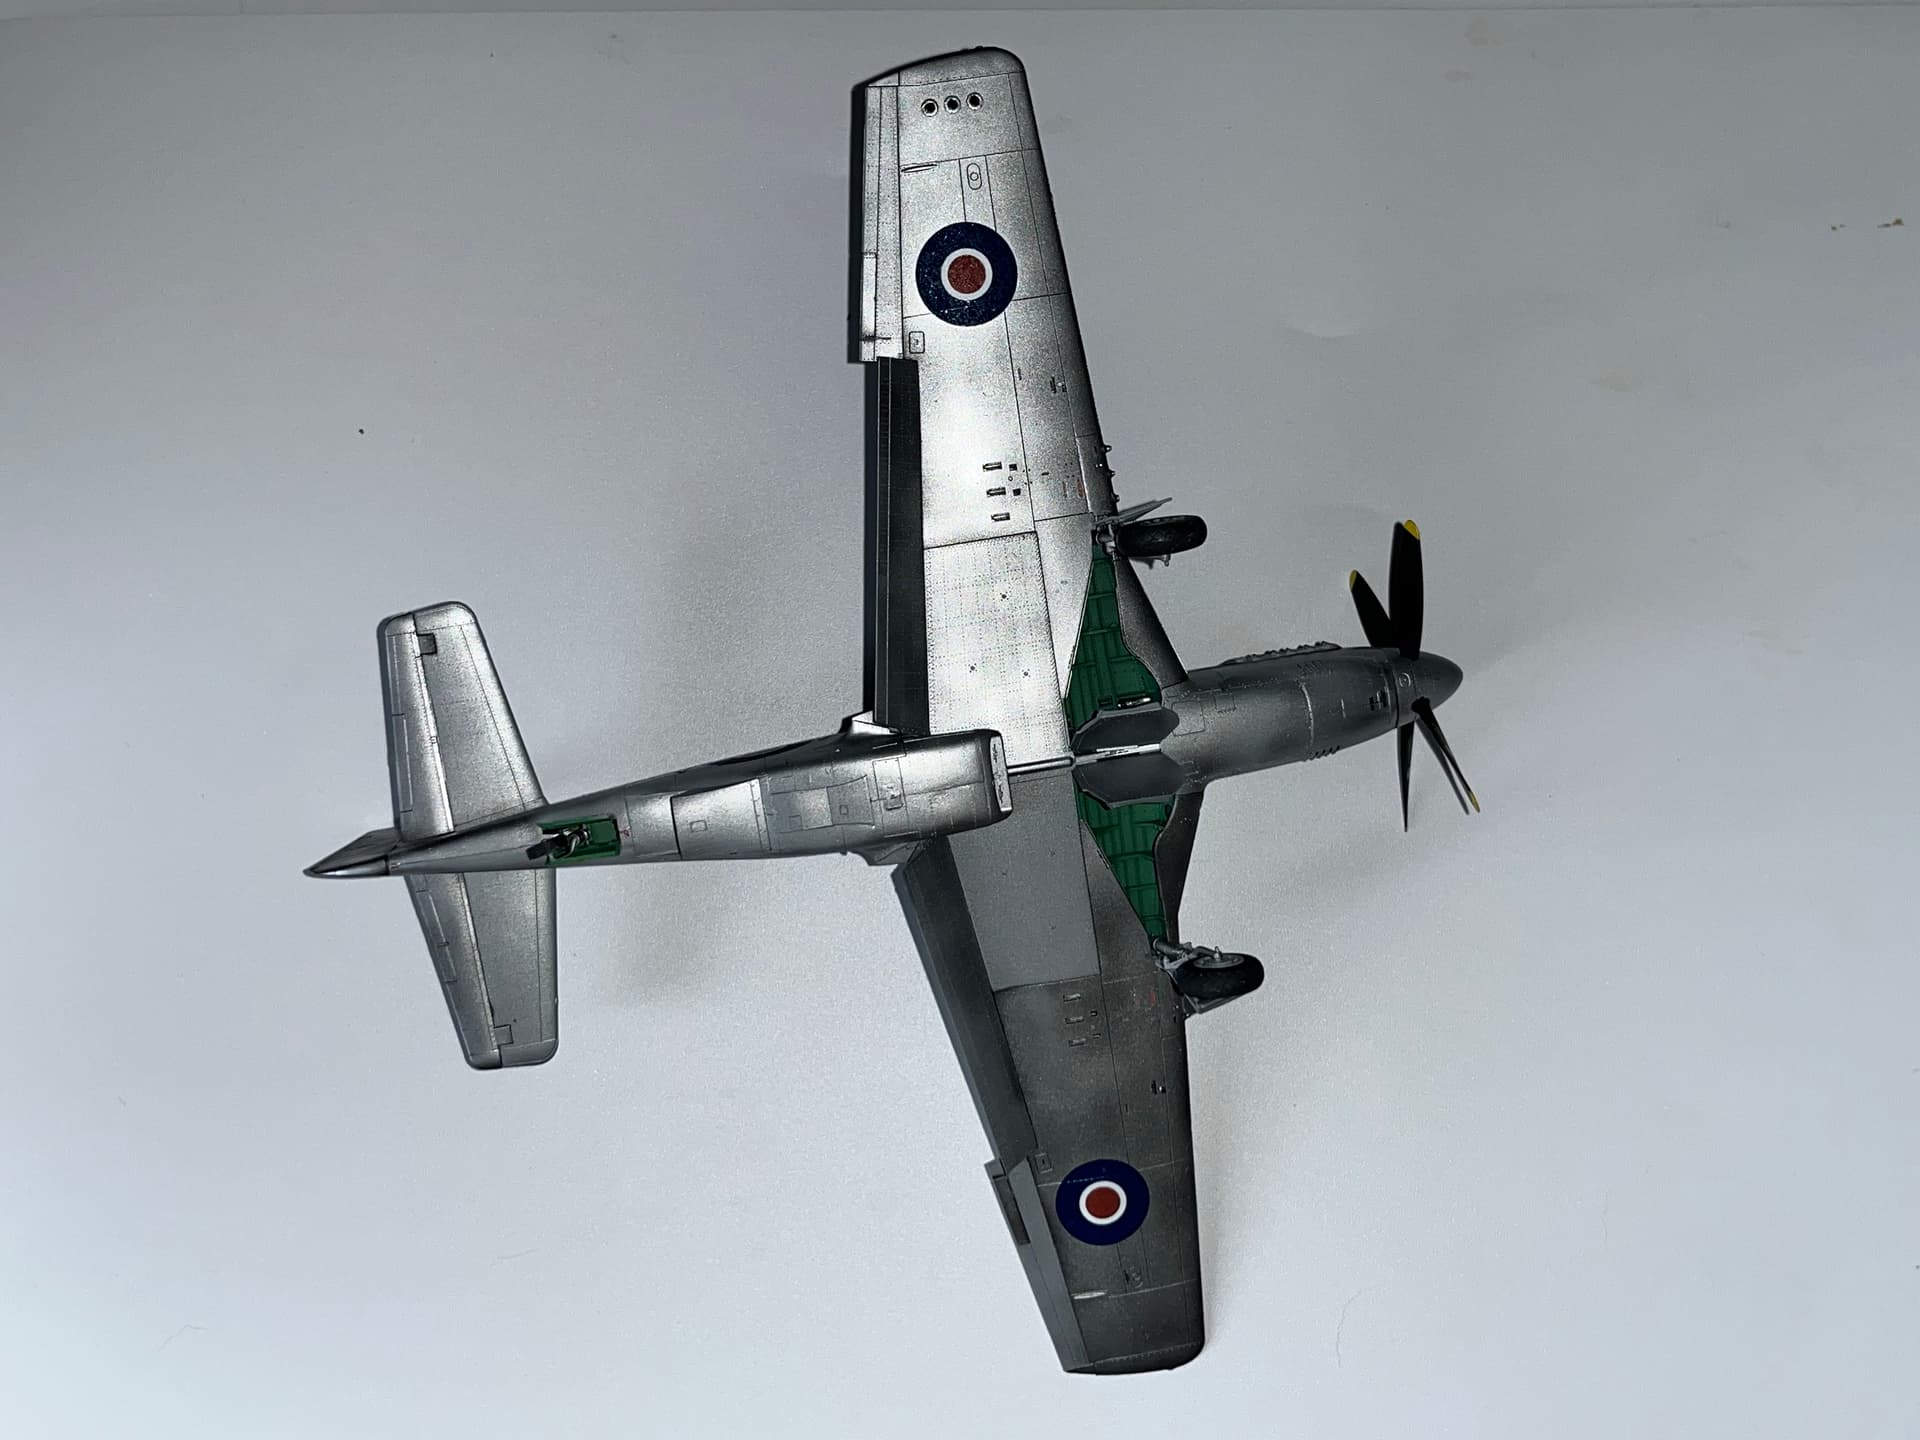
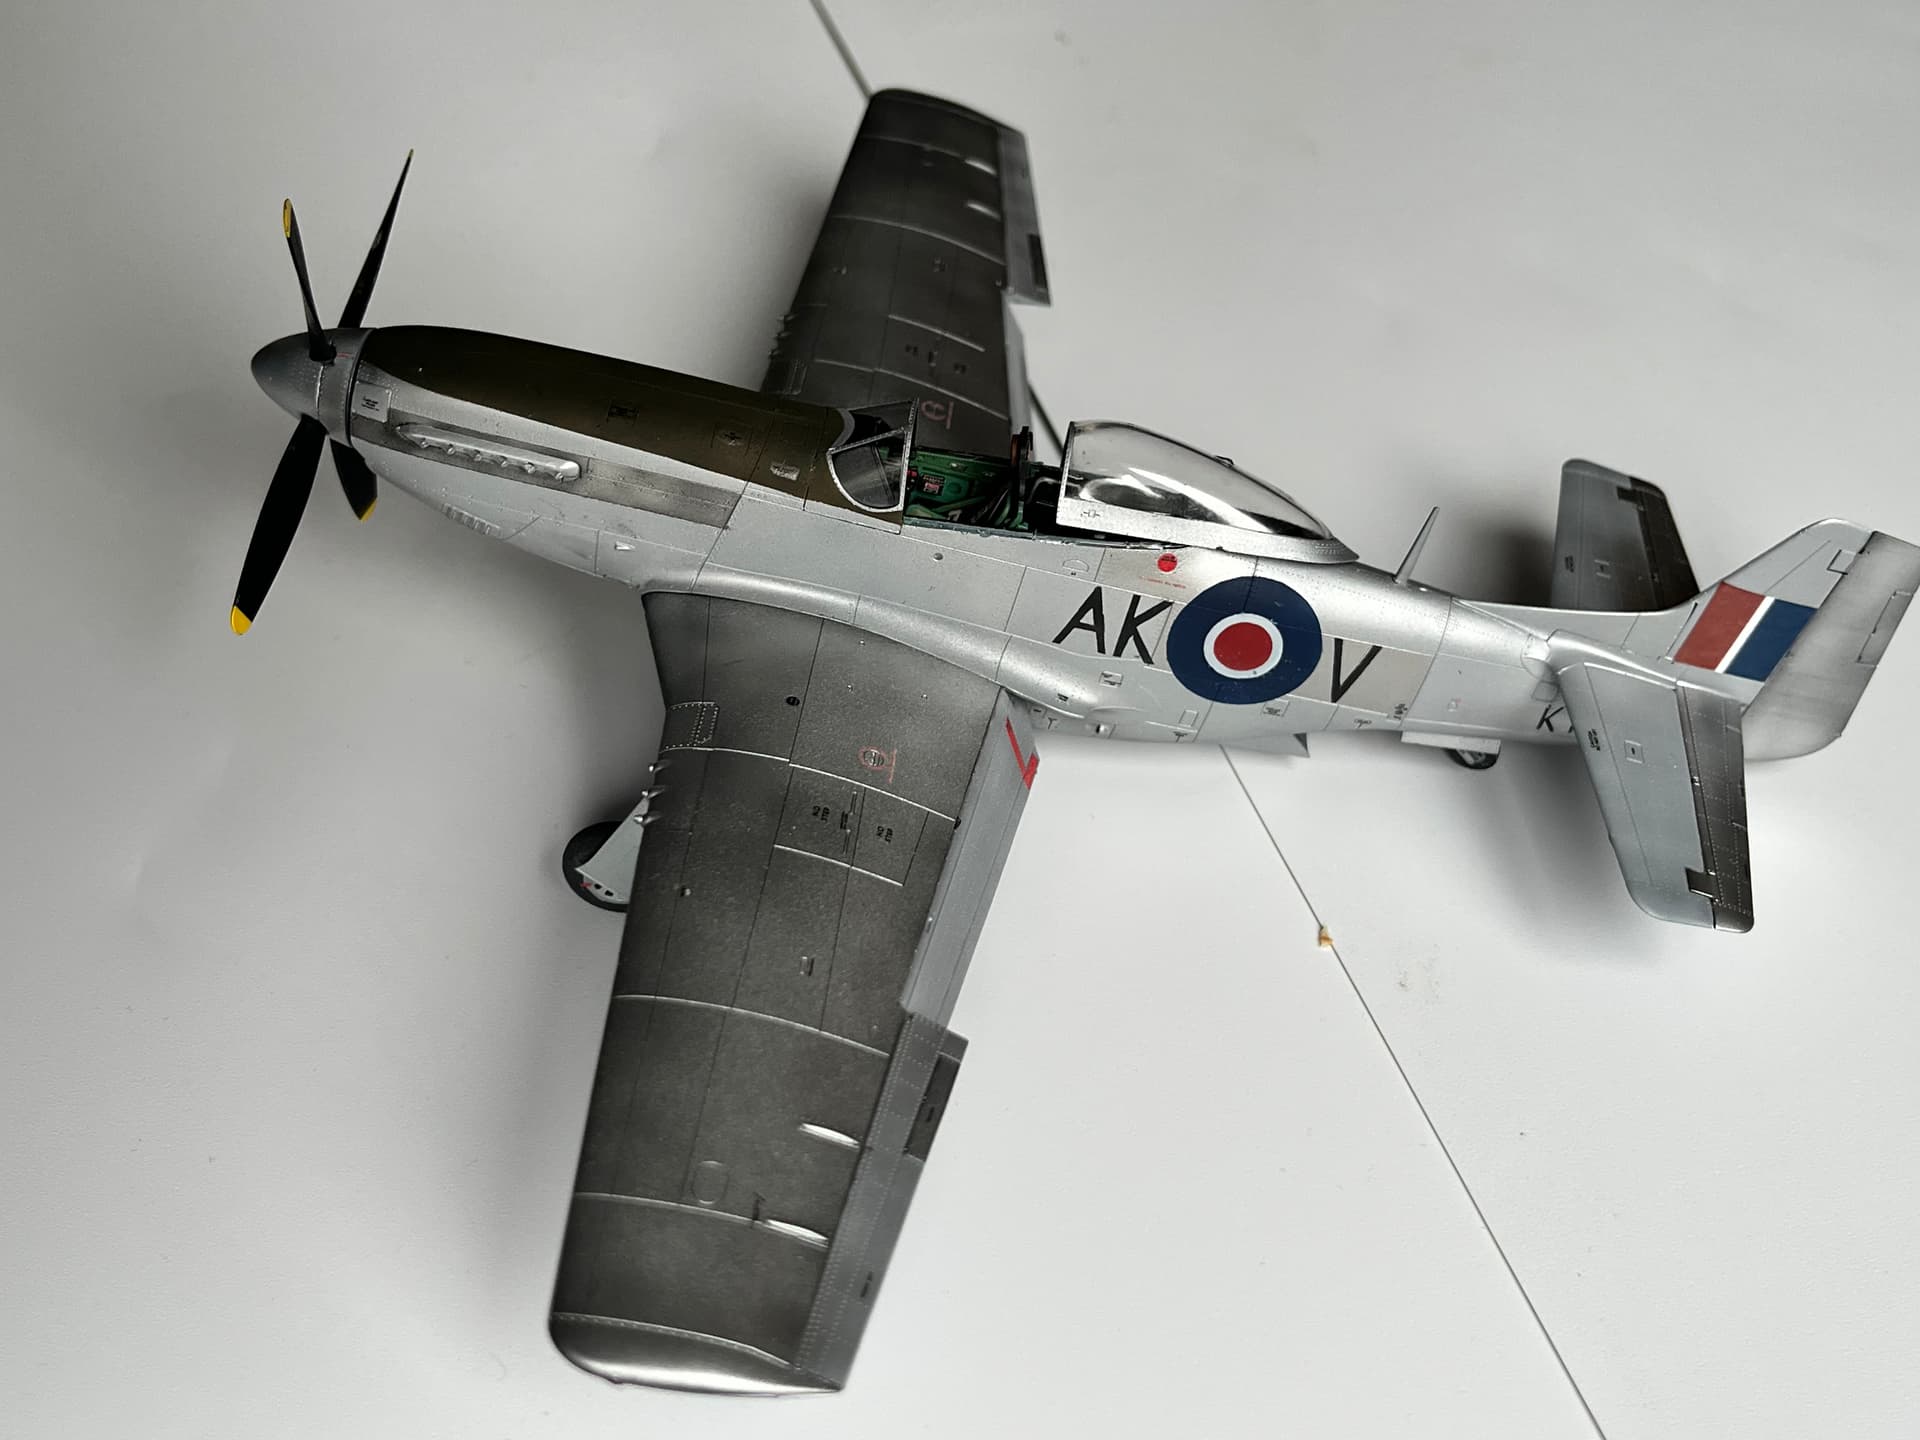
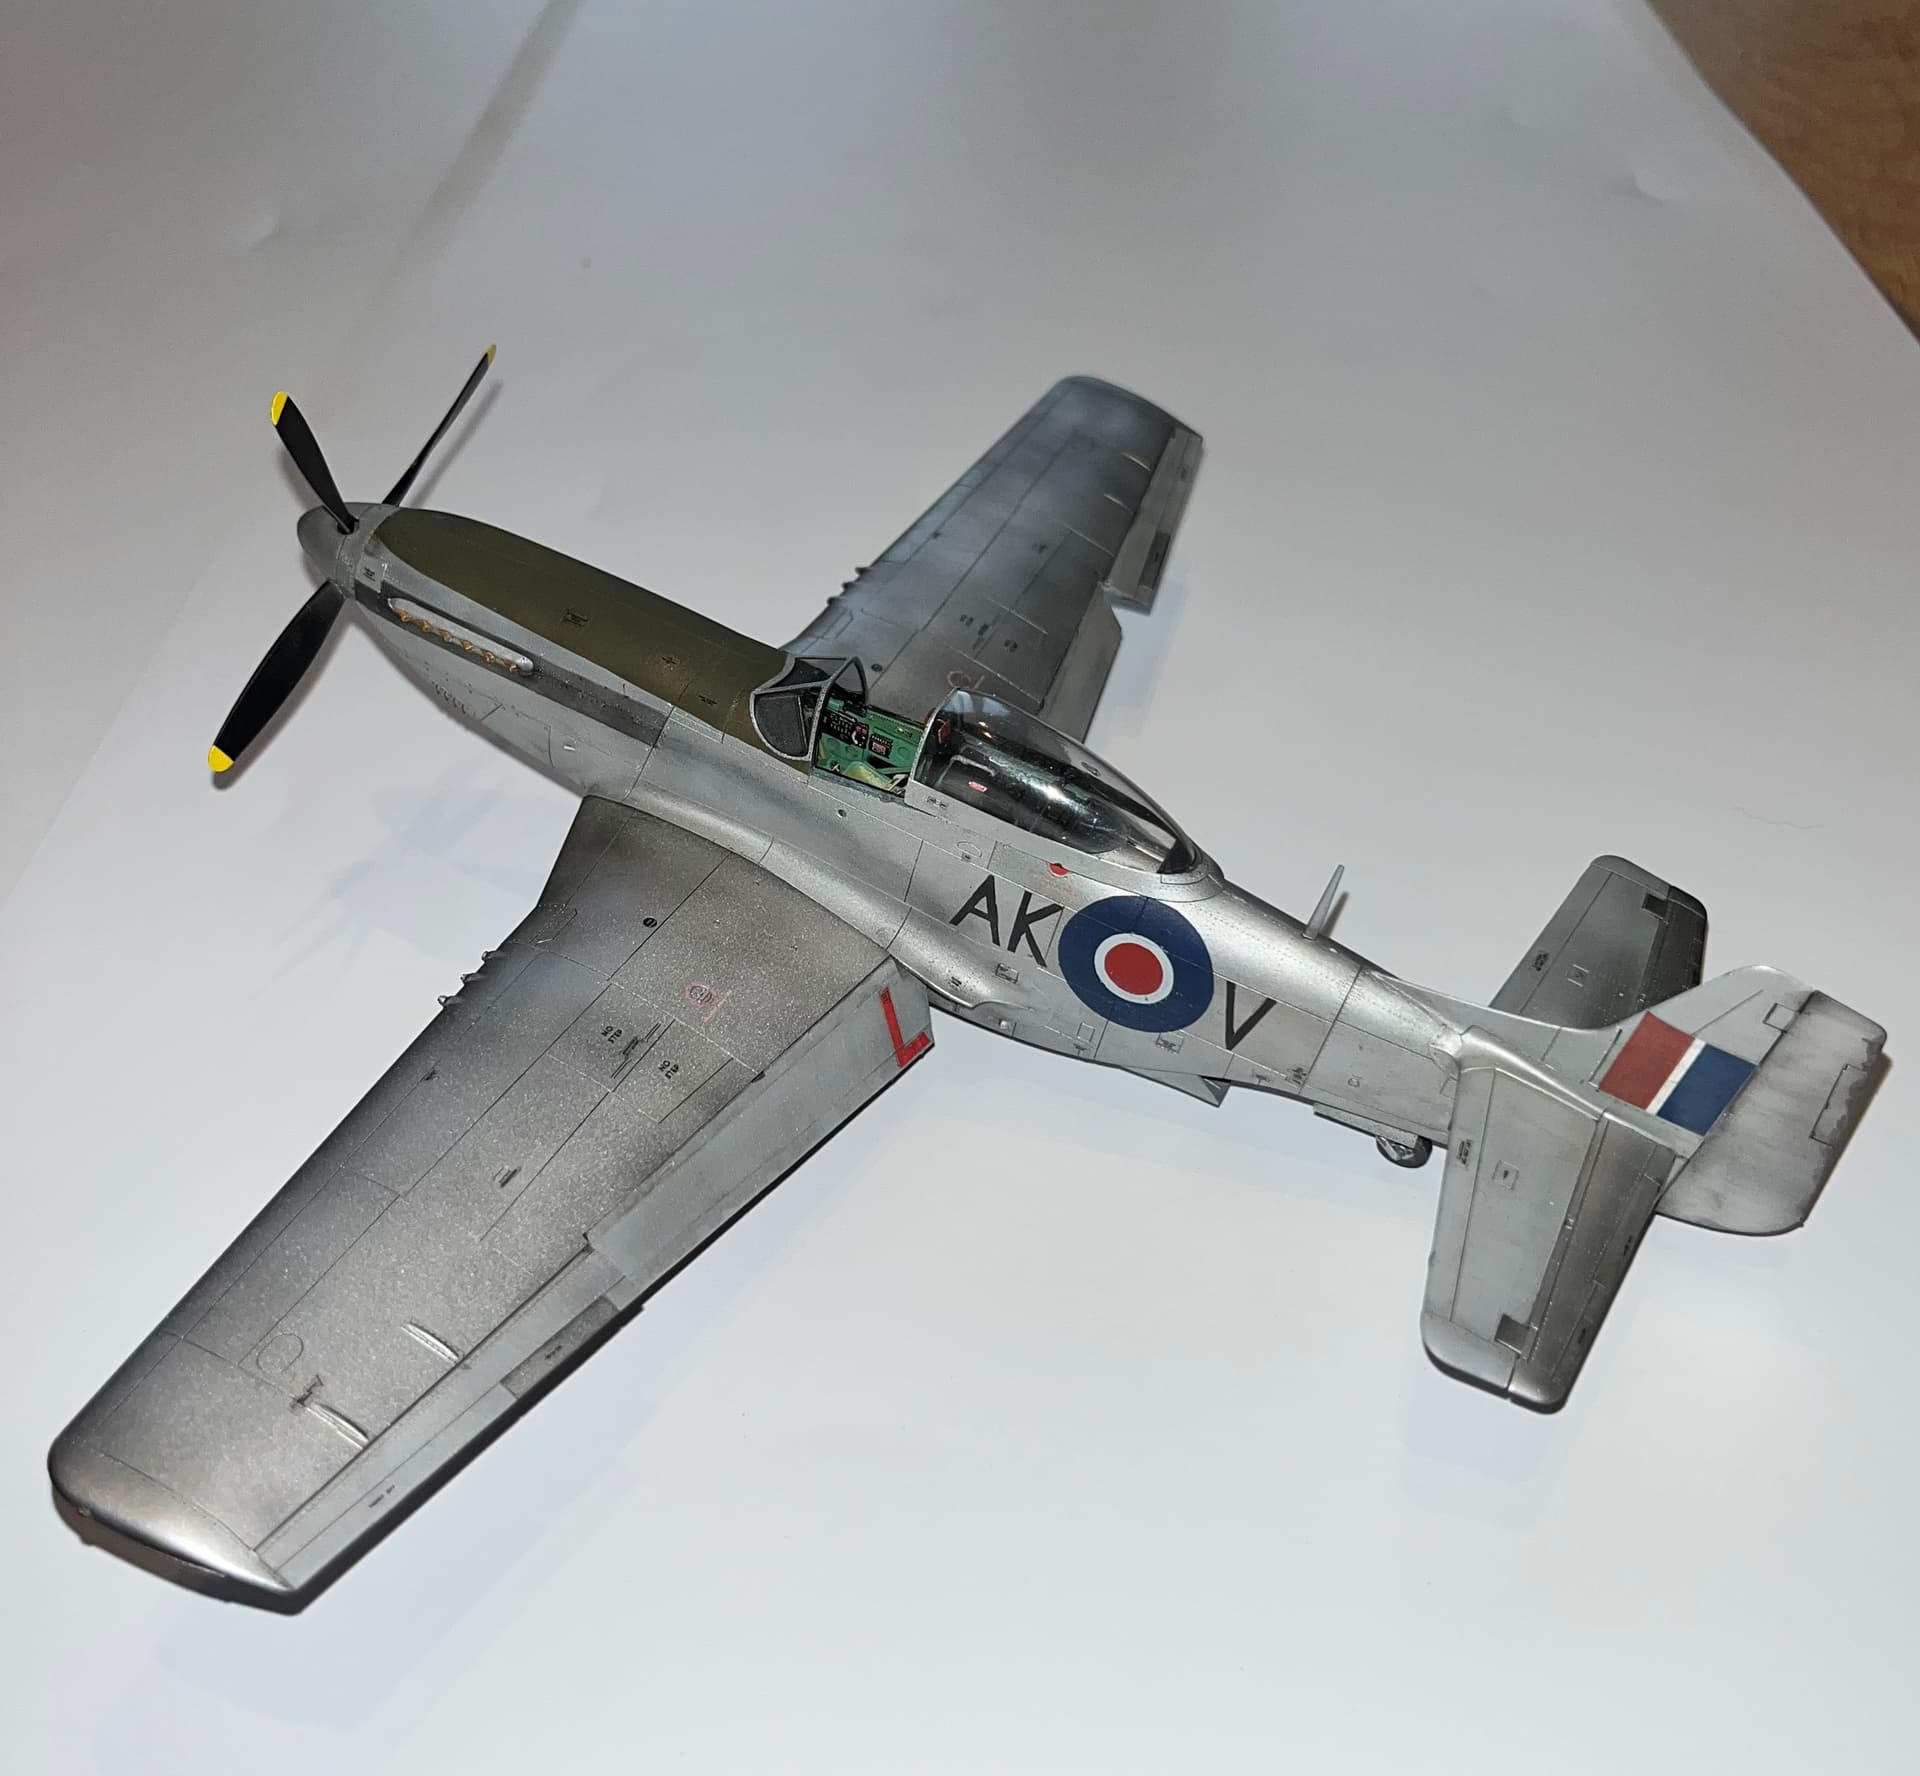
Basic base paint down. Have to say Alclads are brilliant to use. The finish you get is very dependant on the undercoat and the difference in tone between aluminium, dura aluminium and magnesium is very subtle increases in tone (over same undercoat.
I did some experimentation with grey and black primer. Black enhances and darkens the tone significantly to the extent aluminium is darker over black than the other two over grey.
Looking at the source photo the difference between the bare metal and the puttied and painted silver wings is subtle. I found best representation was dura aluminium over grey for bare metal and aluminium over black for puttied and replanted areas. I varied the tone on some panels with a light over spray of mange skin. The panel around the exhaust was magnesium over black primer to give the darkest tone.
Differences in tone is more subtle than photos suggest and similar to source photo, so really happy with the results. Next stage is cutting stencils for the serial numbers and then remaining decals. I also somehow knocked out one of the exhausts and lost it to the carpet monster, so will have to repair with some putty and careful sculpting.
This is looking quite good. You work faster than you give yourself credit for.
I’m approaching paint time on a Mustang myself and plan to use Alclad. Is the tonal variation over a black undercoat enough that I could just buy one color for the whole plane and simply undercoat certain panels in darker color to get the variations?
The way you and others describe it, it almost sounds like different metals should be achieved with different undercoats, not different Alclad shades.
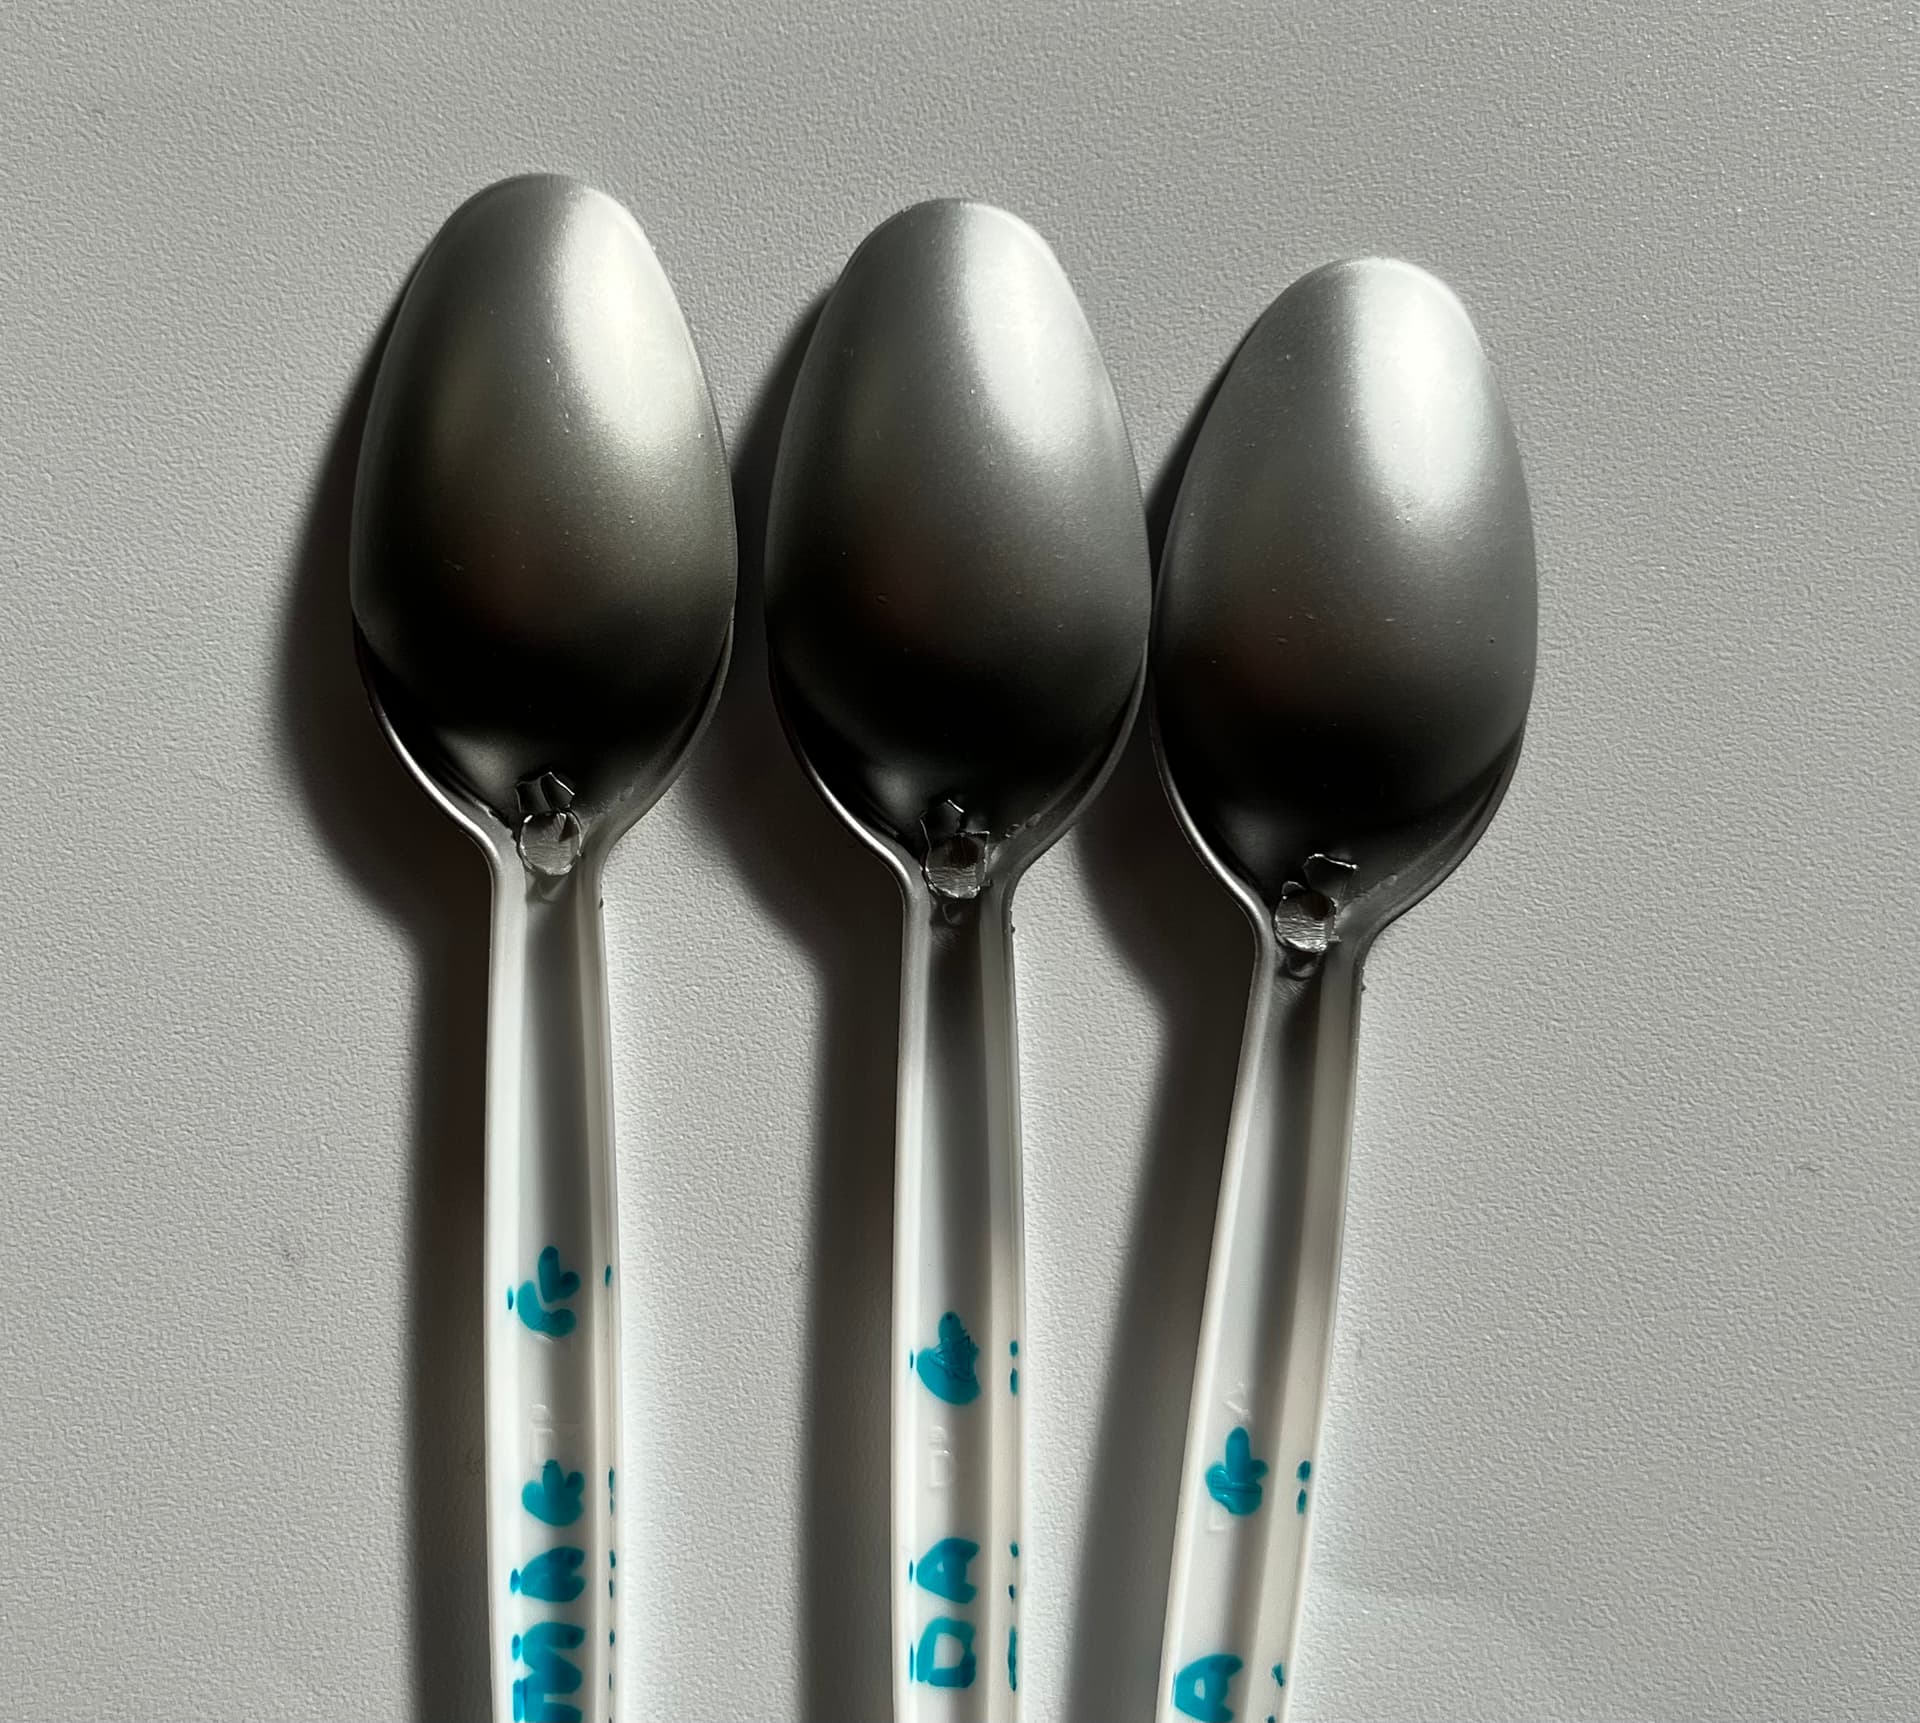
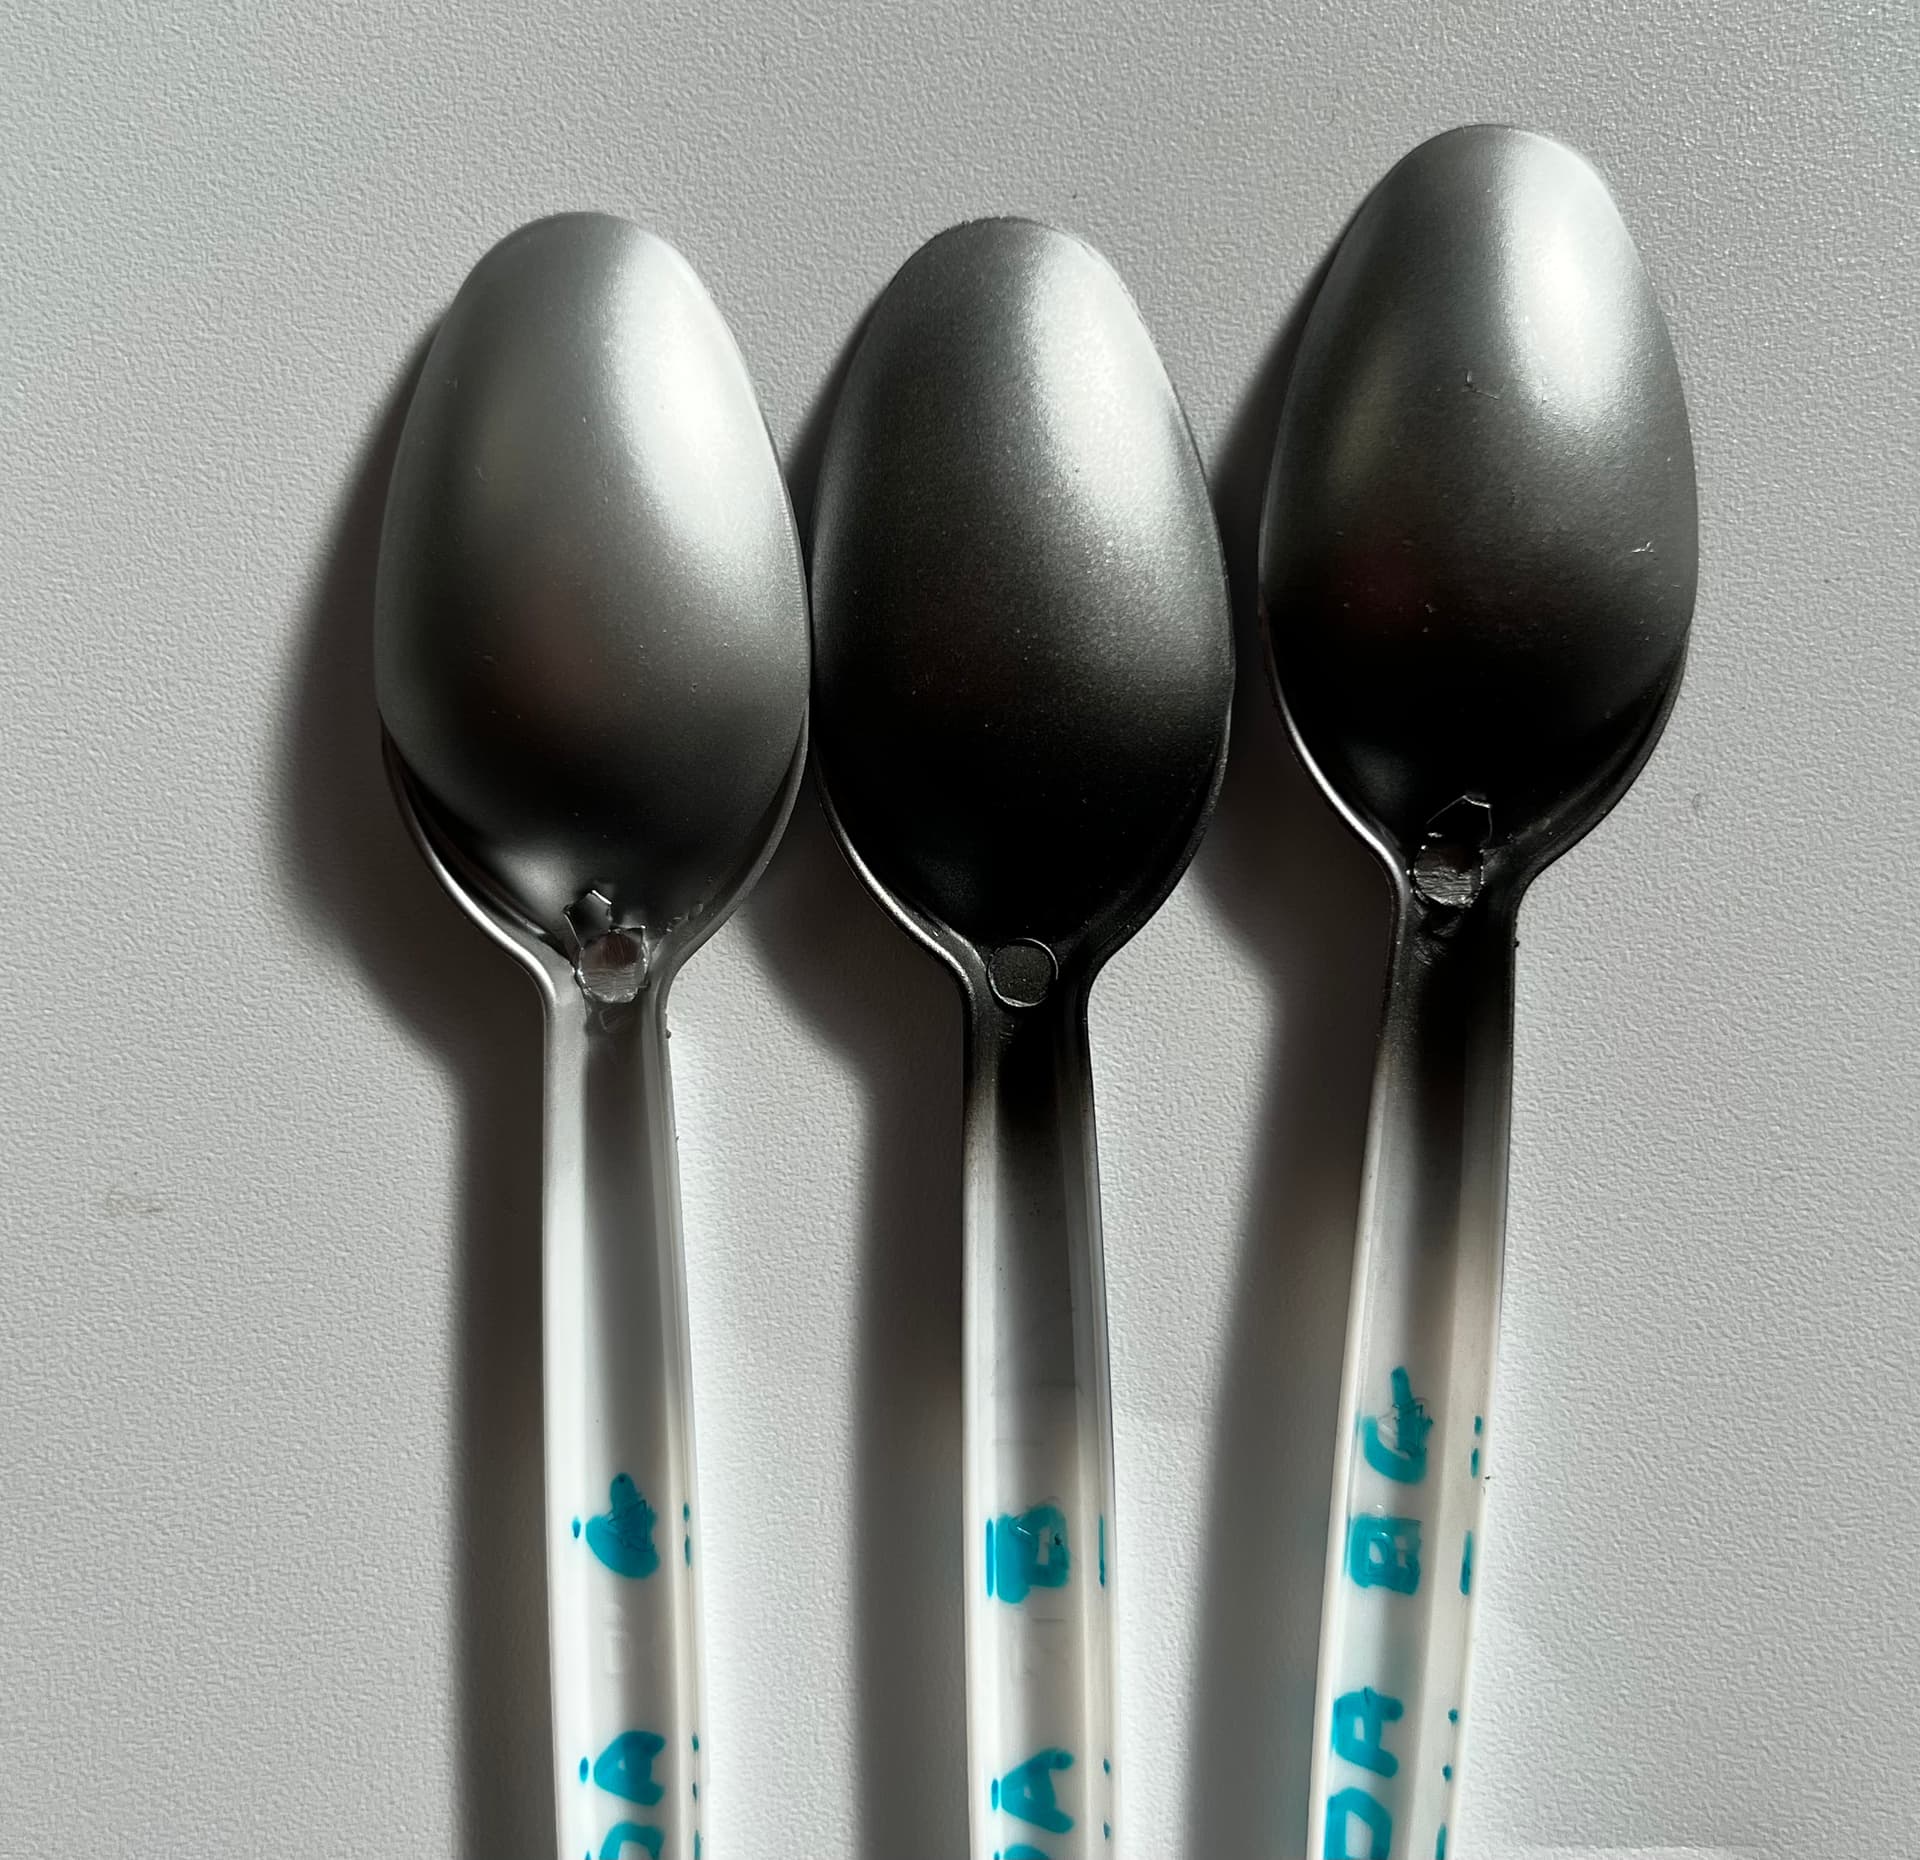
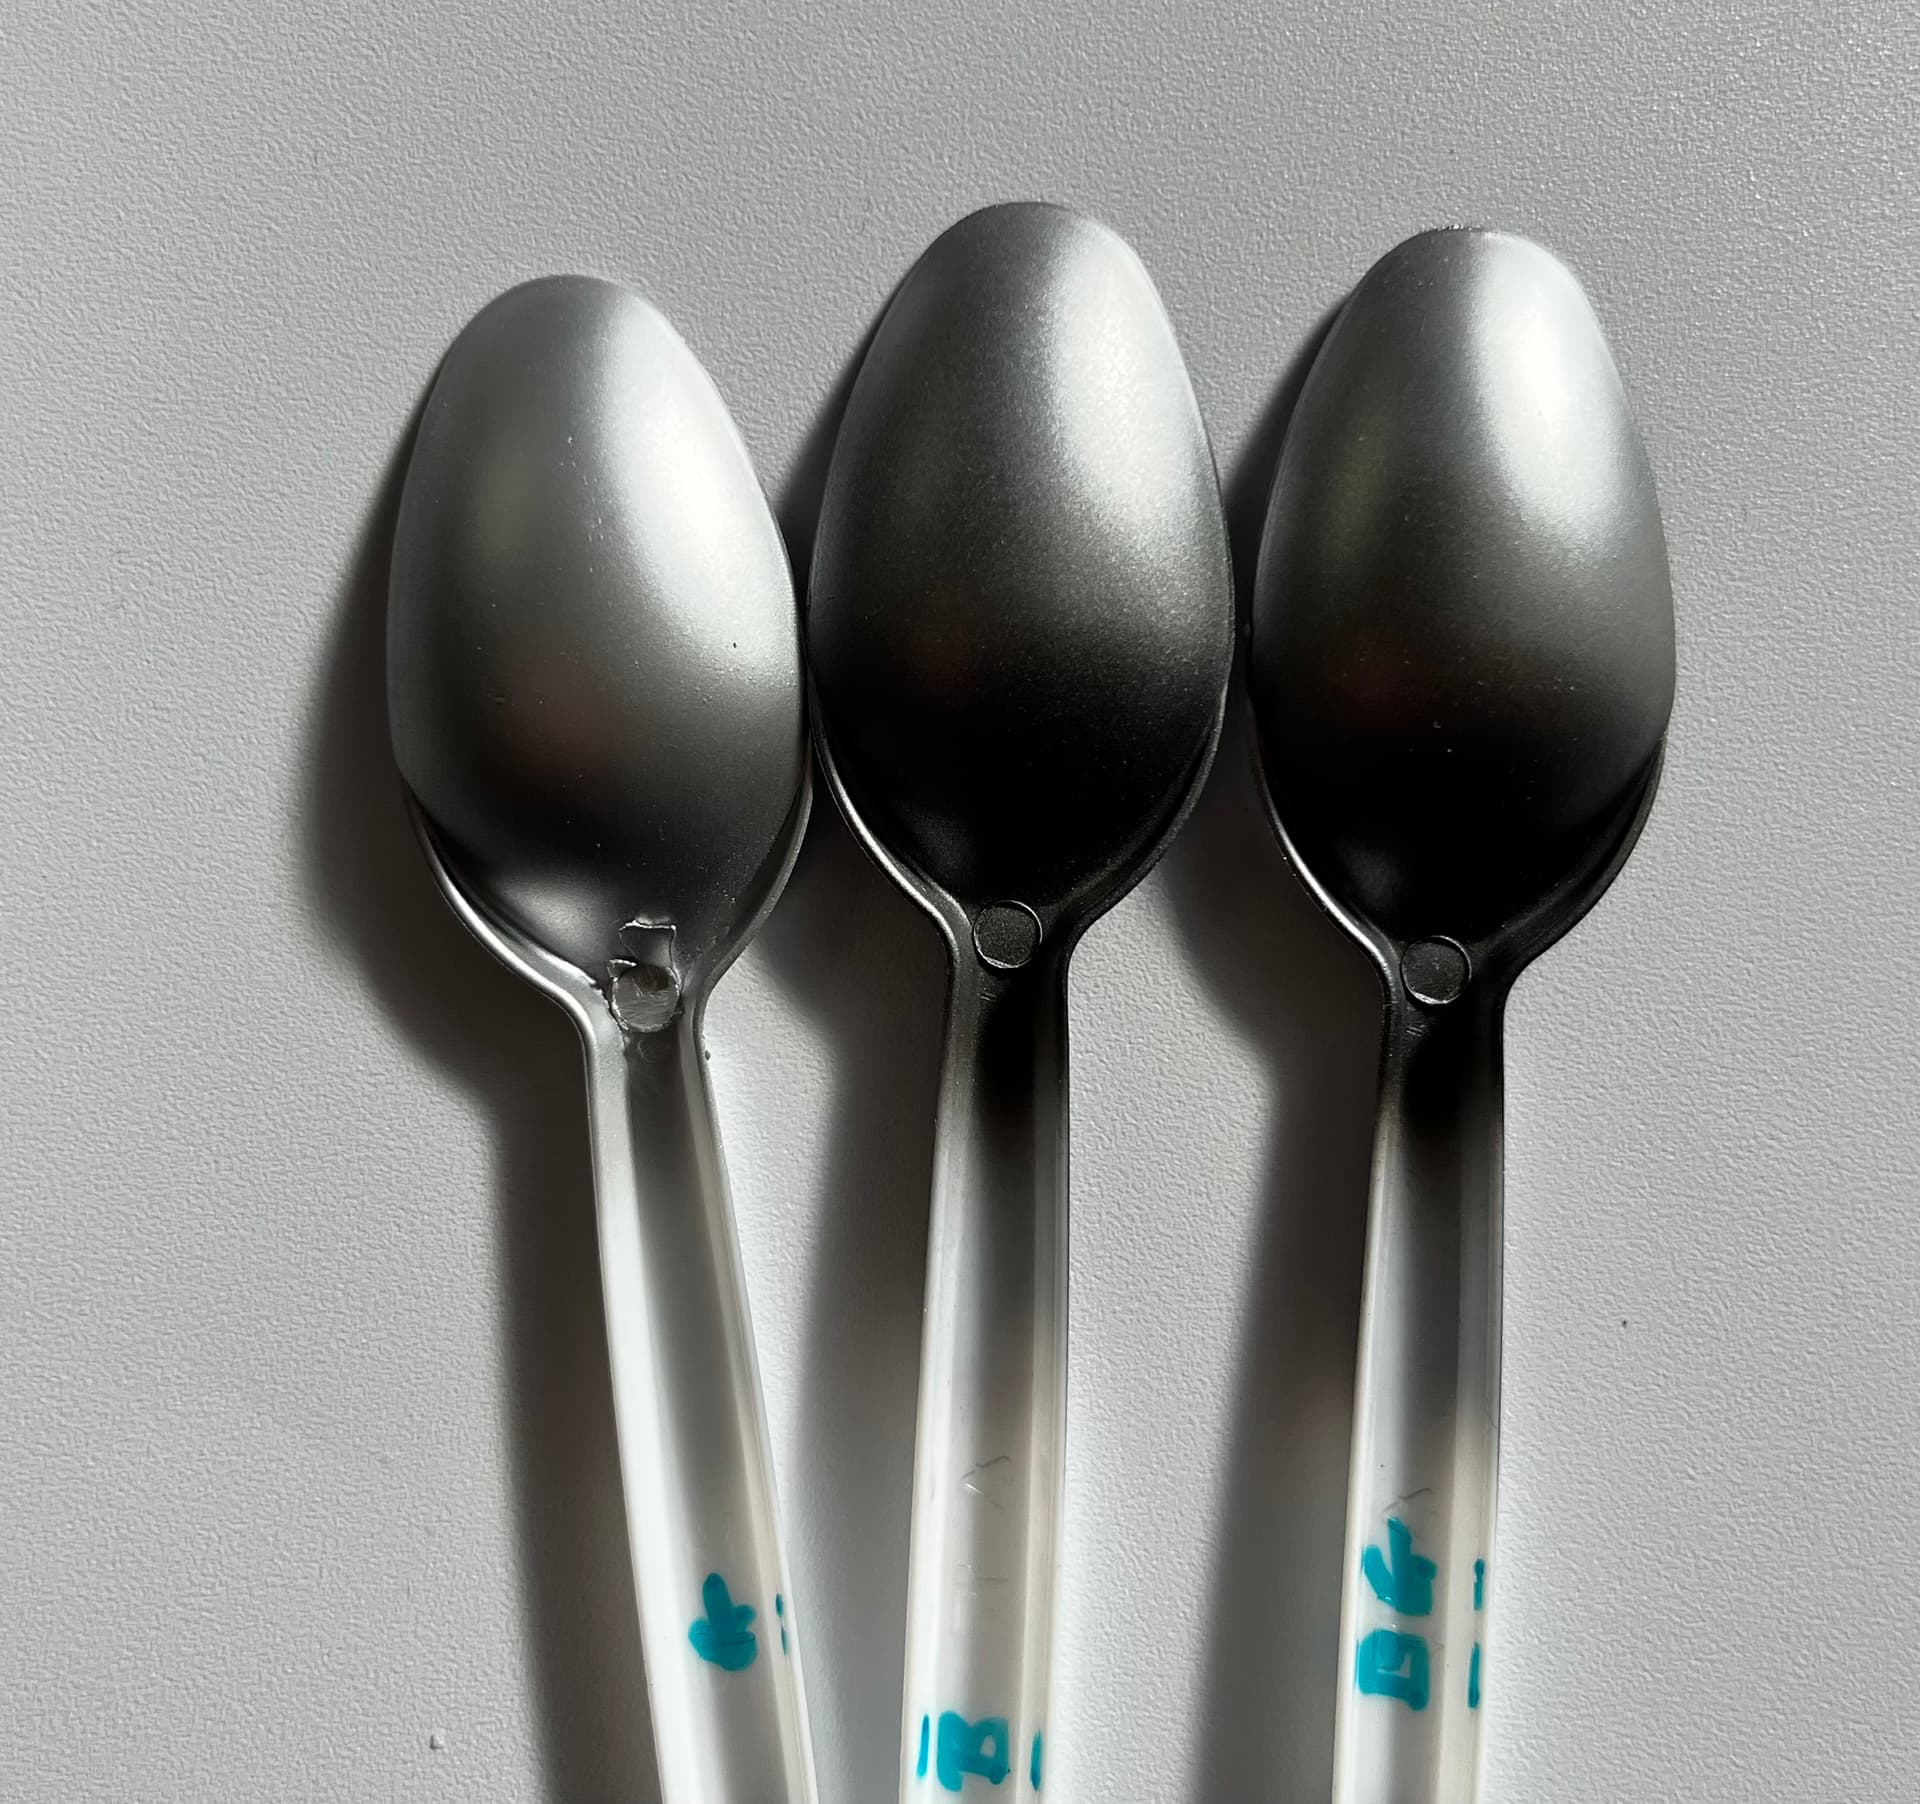
I suspect you could particularly undercoating white, vs grey vs black. I played around with the three colours (aluminium, dura aluminium and magnesium over mr surfacer 1500 grey, over mr surfacer 1500 black and over tamiya x1).
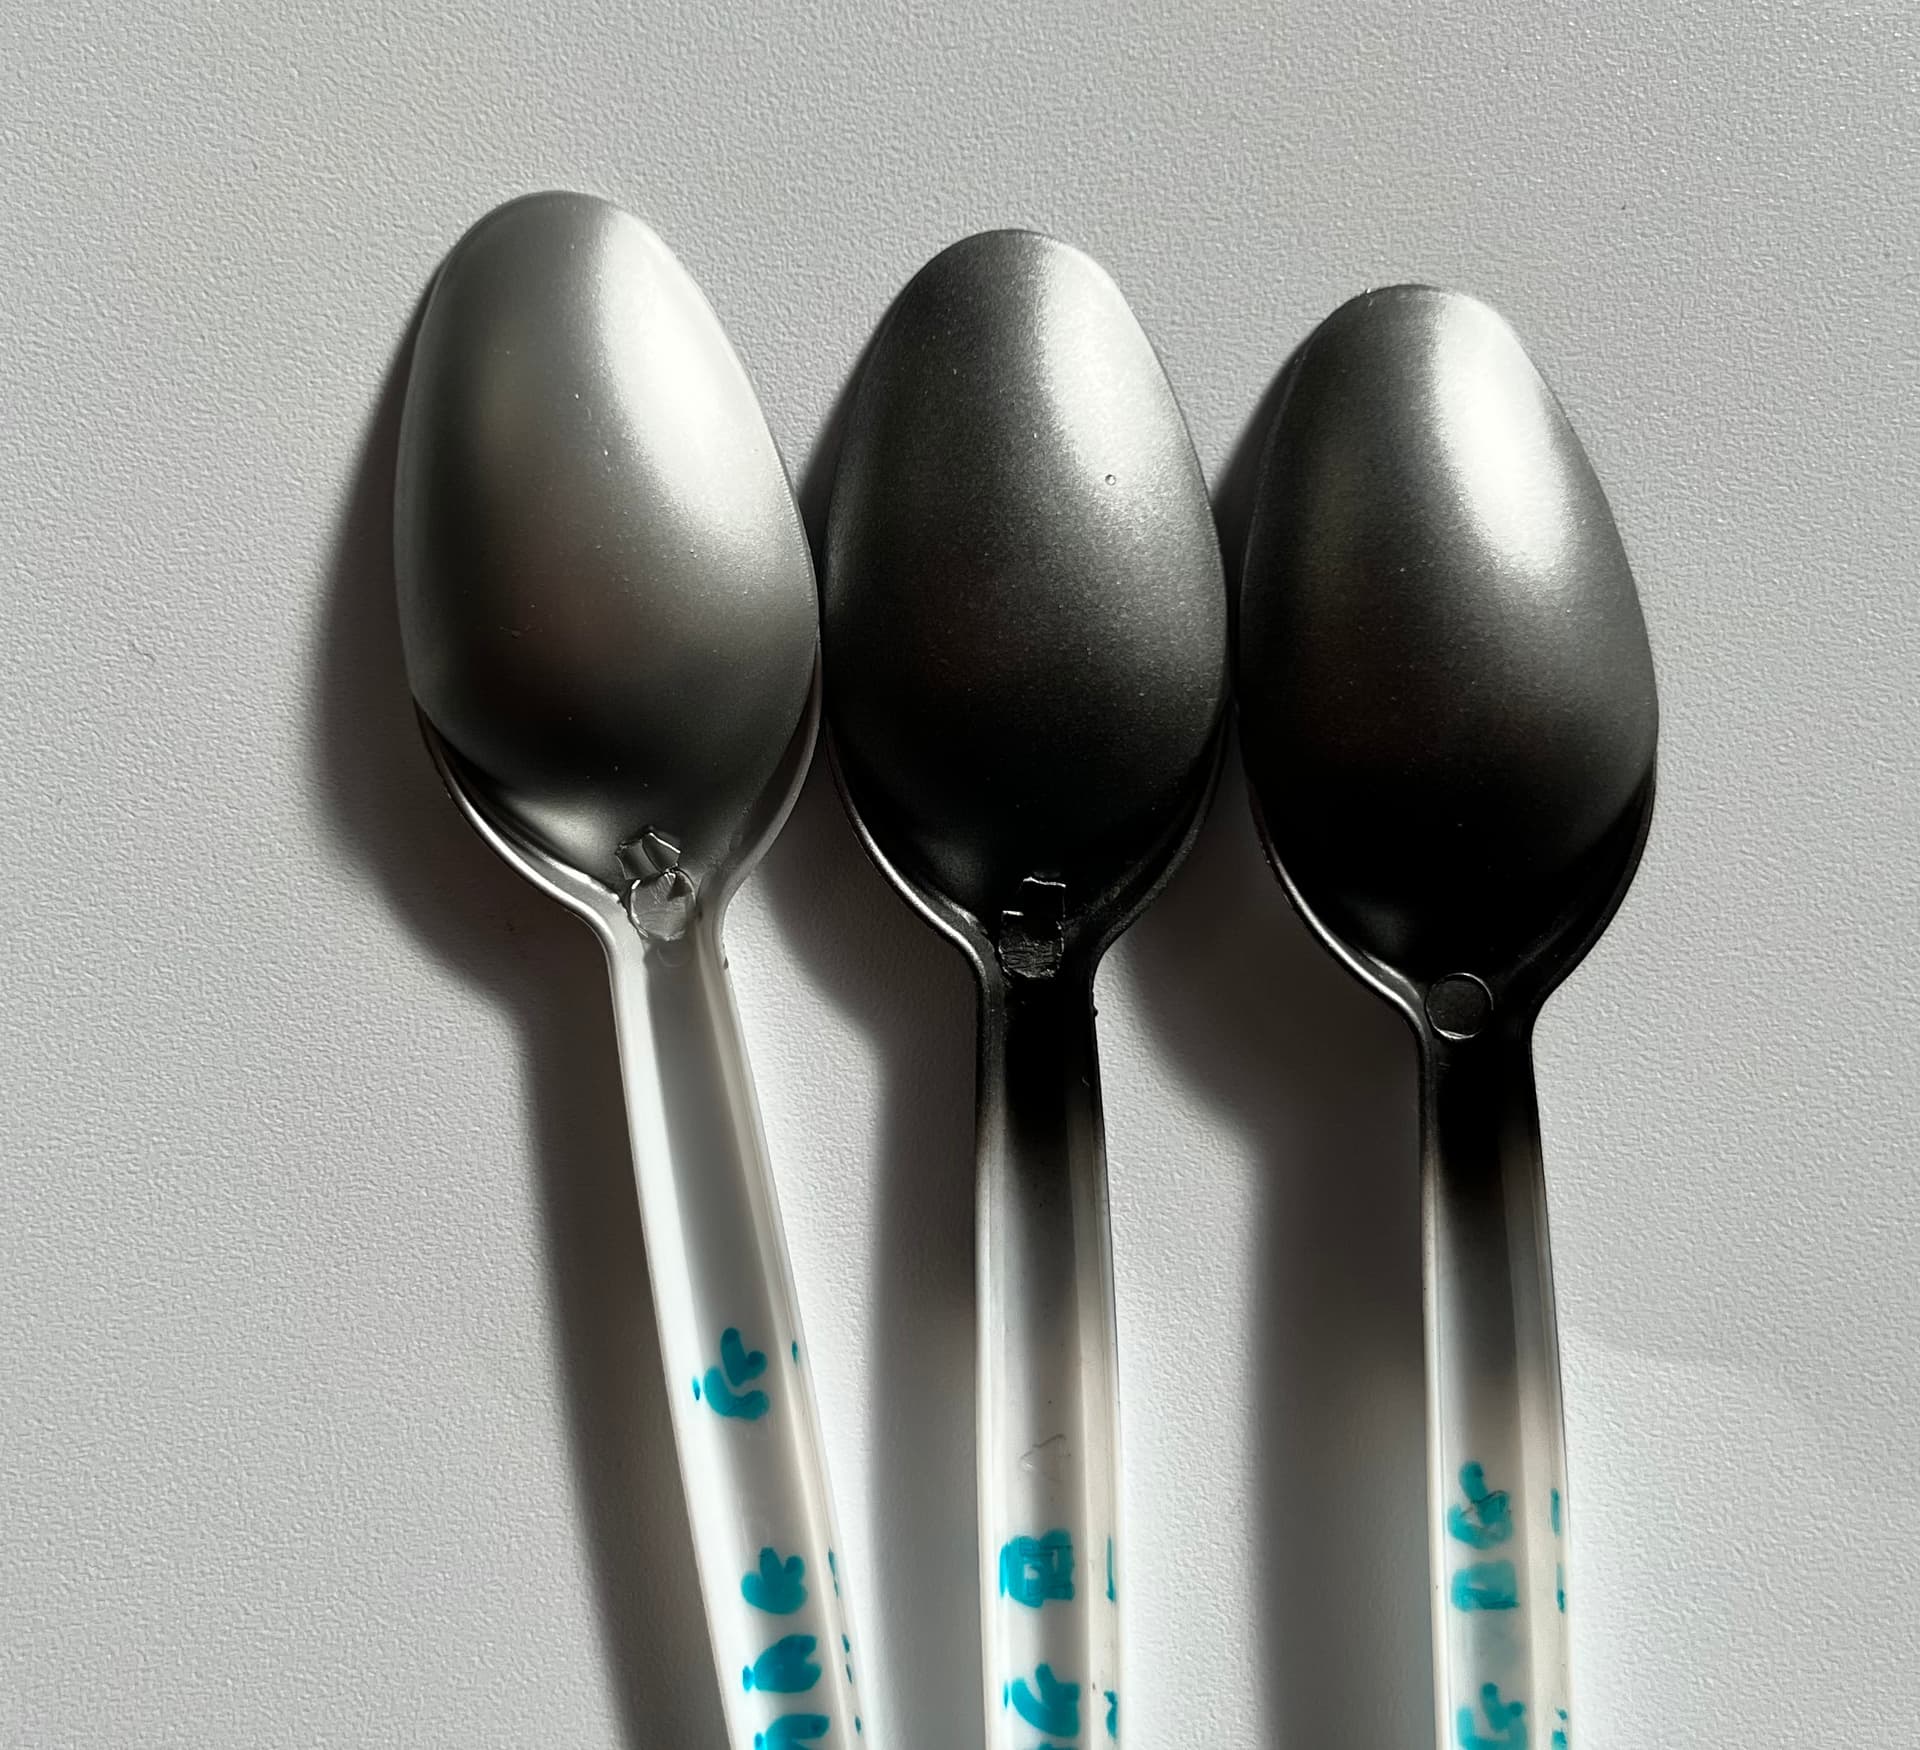
Below are the results. The paints I used don’t need a gloss undercoat (just the high polished versions do as a default), but it did make a tonal difference. I suspect you will get even better results over a better gloss black (I think Alclad do their own primers including gloss ones). You could also get different variance over white or brown primers, but I didn’t have those to try.
(Left to right) Magnesium, dura aluminium and aluminium over grey:
That said the three I used are very close in tone, so you might get more variance between say white aluminium and steel over same undercoat.
Use wise I really like them. Just need to be misted at low pressure (10-15PSI) over a smooth primer. Seem durable once cured - at least comparable with Tamiya if not more durable. Goes down much quicker over black than lighter undercoats though - surprisingly so given how little pigment they seem to contain when the paint settles in the bottle. They do need to be mixed well and often. I only added a small amount to my airbrush at a time therefore, but given their excellent coverage this actually worked out anyway and a little paint goes quite a long way.
Had to pause this build for a bit as non modelling life got in the way. However now managed to get the markings done and the remaining decals down.
I used the OH’s Cricut machine to cut out the masks. Couldn’t find the exact font to match the source photo, particularly the smaller serial numbers, but got as close as I could.
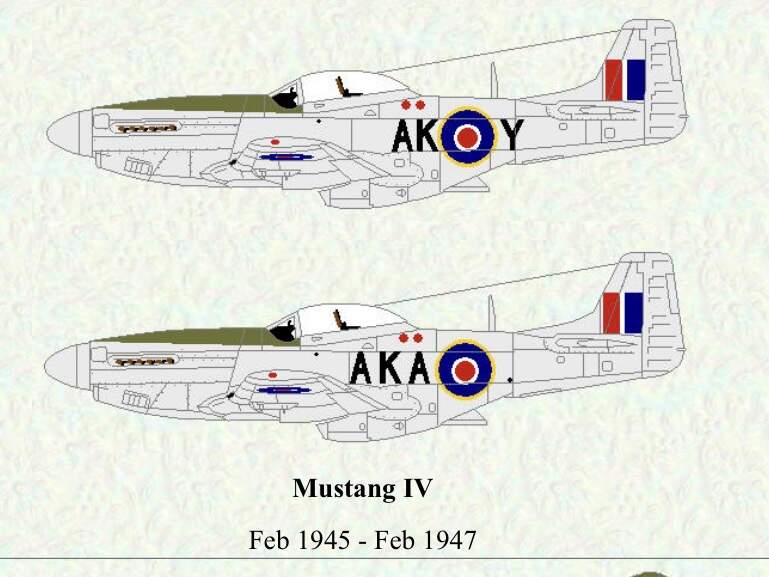
The source photo shows that the aircraft carried type C roundels on the fuselage rather than type C1 in the kit. I therefore also cost masks for these as well.
Paint mixes for the roundels:
Blue: XF 8 blue and X 18 semi gloss black, 3:1 ratio
Red: XF 7 red, X 7 gloss red, X 64 red brown, 2:1:1 ratio.
Remaining decals were kit supplied and the newer Eduard variety. Certainly not too bad, but not my favourites. Found trimming the carrier film by scoring before placing in water yielded better results. Also took quite a lot of setting solution to bed in, but did so well in the end.
Next steps will be panel line wash, fixing the exhausts and some exhaust gun stains.
This build stalled somewhat right near the finish line. Not for modelling reasons, but unfortunately been a bit busy with other necessary, but dull things to focus.
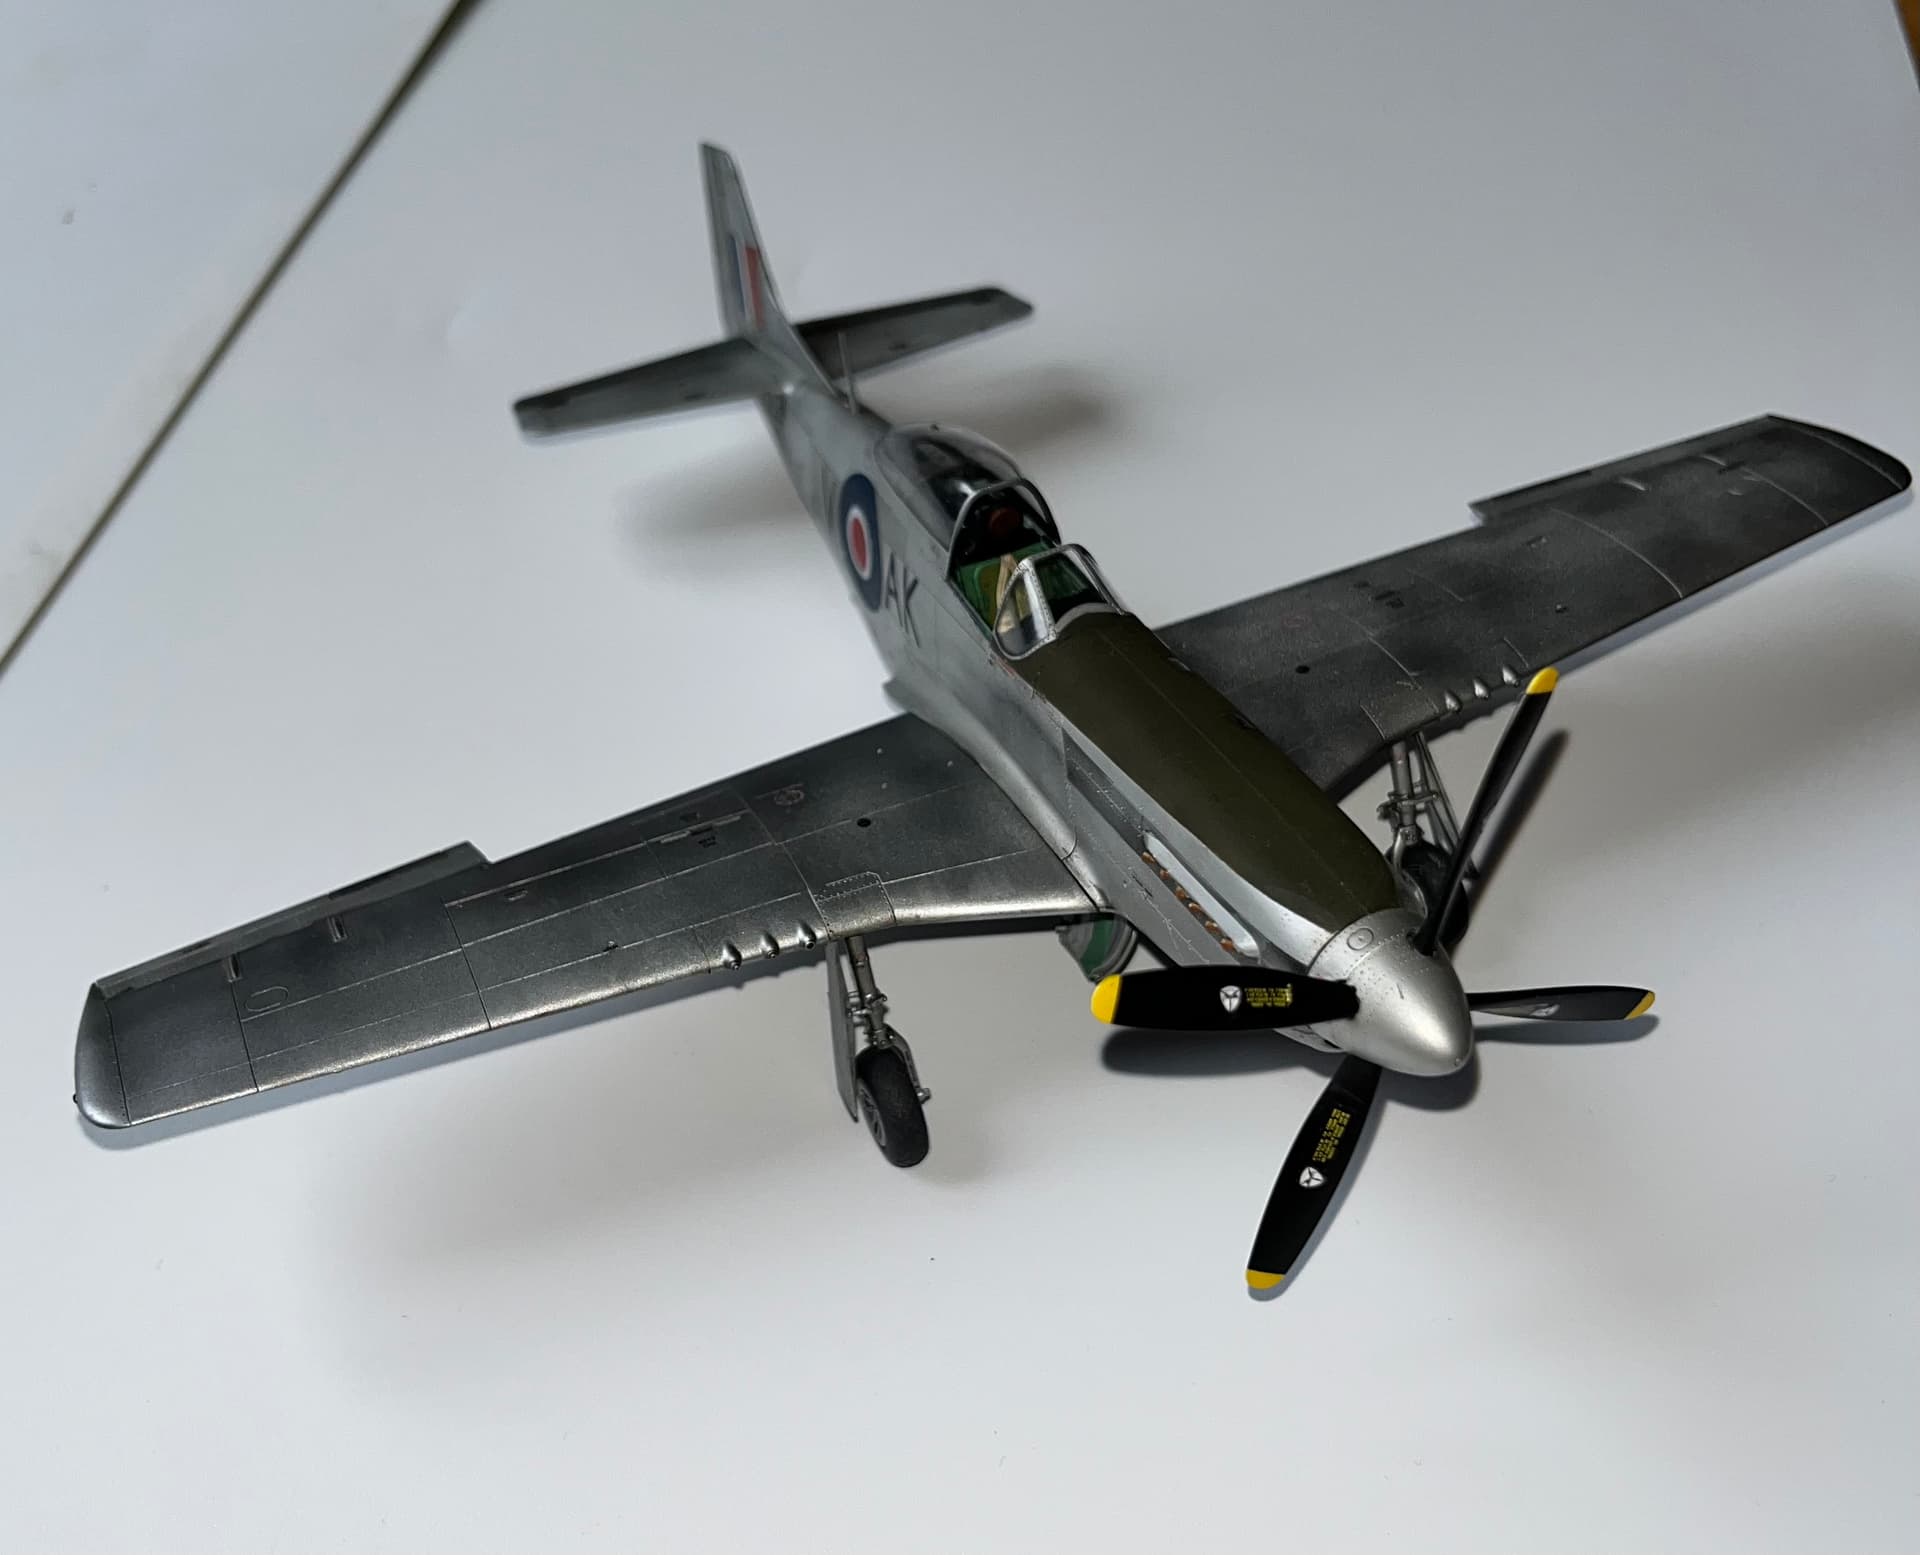
Finally got it finished though with a simple pin wash. Used starship filth oil as matched well with the bare metal finish. Same colour but mig ammo shaders for the exhaust marks. I kept these subtle as not too distinct in the source picture.
Really enjoyed this build. It’s a lovely kit from Eduard.
Kind words @Johnnych01. Not sure yet. I’m not going in any particular order in terms of the log book. I’m just picking what takes my fancy at the time.l, combined with what I have available or is on release as a kit.
That said I do have a Vampire in the stash which is technically the first jet and next plane he flew after the Mustangs (although may have had a flight in a Tempest in between - will have to check).
I also picked up Airfix’s Chipmunk as a Christmas gift, so might give that a go. Or the Tamiya Mosquito and Revell Hunter that are in my stash. Choices, choices . I still have some figures from ICM that came with the Tiger Moth so think I’ll do a simple airfield base for the Tiger Moth whilst I decide.
Give a Metal finish a go. I was a bit nervous, but the alclads lay down beautifully