DKM Gneisenau 1/350

Dear Russ, Tim and David,

thank you so much for your kind comments, and thank you for following and posting.

It’s a little slow period - real life still busy and the work on Gneisenau not really visible, even though I found some time today. All portholes on the hull are properly drilled out. Next will be sanding with finer grade and then I’ll see what I can find as a proper degaussing cable, as I haven’t seen one in the PE sets. Should have some appropriate wire in stock somewhere…

Cheers
Jan

2 Likes

Great work as always Jan! Looking forward to more!

1 Like

Great job on those Veteran Models 37mm guns. I really struggled with mine on my 1/350 Revell Tirpitz. Yours came out much better than mine. Well done.

2 Likes

Welcome aboard Martin, it is good to hear from you!

I agree, those Veteran parts are AWESOME! They can be a bit challenging to bring together, but the payoff is always there. And Jan’s patience and technical skill shows them off to advantage!

:smile:

1 Like

Thank you very much, Martin and Tim! That’s too kind.

Indeed, those Veteran kits - I used several on different builds so far - are normally a great enhancement and really looking nice!
Well, the 3,7 are a bit tricky, by building them I lost one or two parts, so I won’t be able to build four out of the kit, but just three (if I don’t lose more parts that sometimes just snap away from the tweezers without any observed impact…) Still I’m not 100% happy, the barrels are not as parallel as I want them…will see how the next batch turns out…
However, I managed to get more kits that will be enough at least for Gneisenau and possibly a cruiser…

Cheers
Jan

Jan,

I’m not a shipbuilder at all, but your build- together with Tim’s(@TimReynaga) USS Constelation and IJN Hatsuzuki builds- have both captured my attention and awaken my interest for ships as modelling subjects…
I don’t know where this will lead me, but untill I find out, please carry on so I can enjoy high quality modelbuilding!

:beer:

1 Like

Thank you very much, that’s very kind!

And no worries, this build will be continued and completed…one day… I’m an awful slow modeler, and pretty busy with real life, but so far I’ve completed all my projects, even if one took about three years. I hope to be faster here…

1 Like

Today a little time at the bench, but mostly researching. Gneisenau had a degaussing cable installed sometime early 1940, and on most pictures it looks like its only visible in front of and behind the armored belt. I eventually discovered one picture that clearly shows the cable continuing through all the way.

I found this piece of copper wire

of 0.35 mm diameter. From some pictures it looks even thicker, those cables were coated and look like they had close to ½ the diameter of the portholes. I think 0.5 mm would possibly look better, but the 0.5 mm copper wire I have at hand is not long enough.

The 0,35 mm should stand out under coats of surfacer and paint clearly enough, so I go with that.

Cheers
Jan

7 Likes

Really impressed with how the hull turned out. So many parts to it and it looks lovely and sleek… Enjoying watching this all come together. Great work Jan

1 Like

Nice improvisation on the degaussing cable, Jan :blush:

1 Like

Nice improvisation on the degaussing cable, Jan

Ditto!

Mark :beer:

1 Like

great progress

1 Like

Looking great as always Jan!

1 Like

Dear all,

thank you so much for your kind comments and following my build, in this rather unspectacular phase.
I managed to squeeze in a little more bench time before Christmas but didn’t find the time to post yet. So here’s 2020 final update on my Gneisenau:

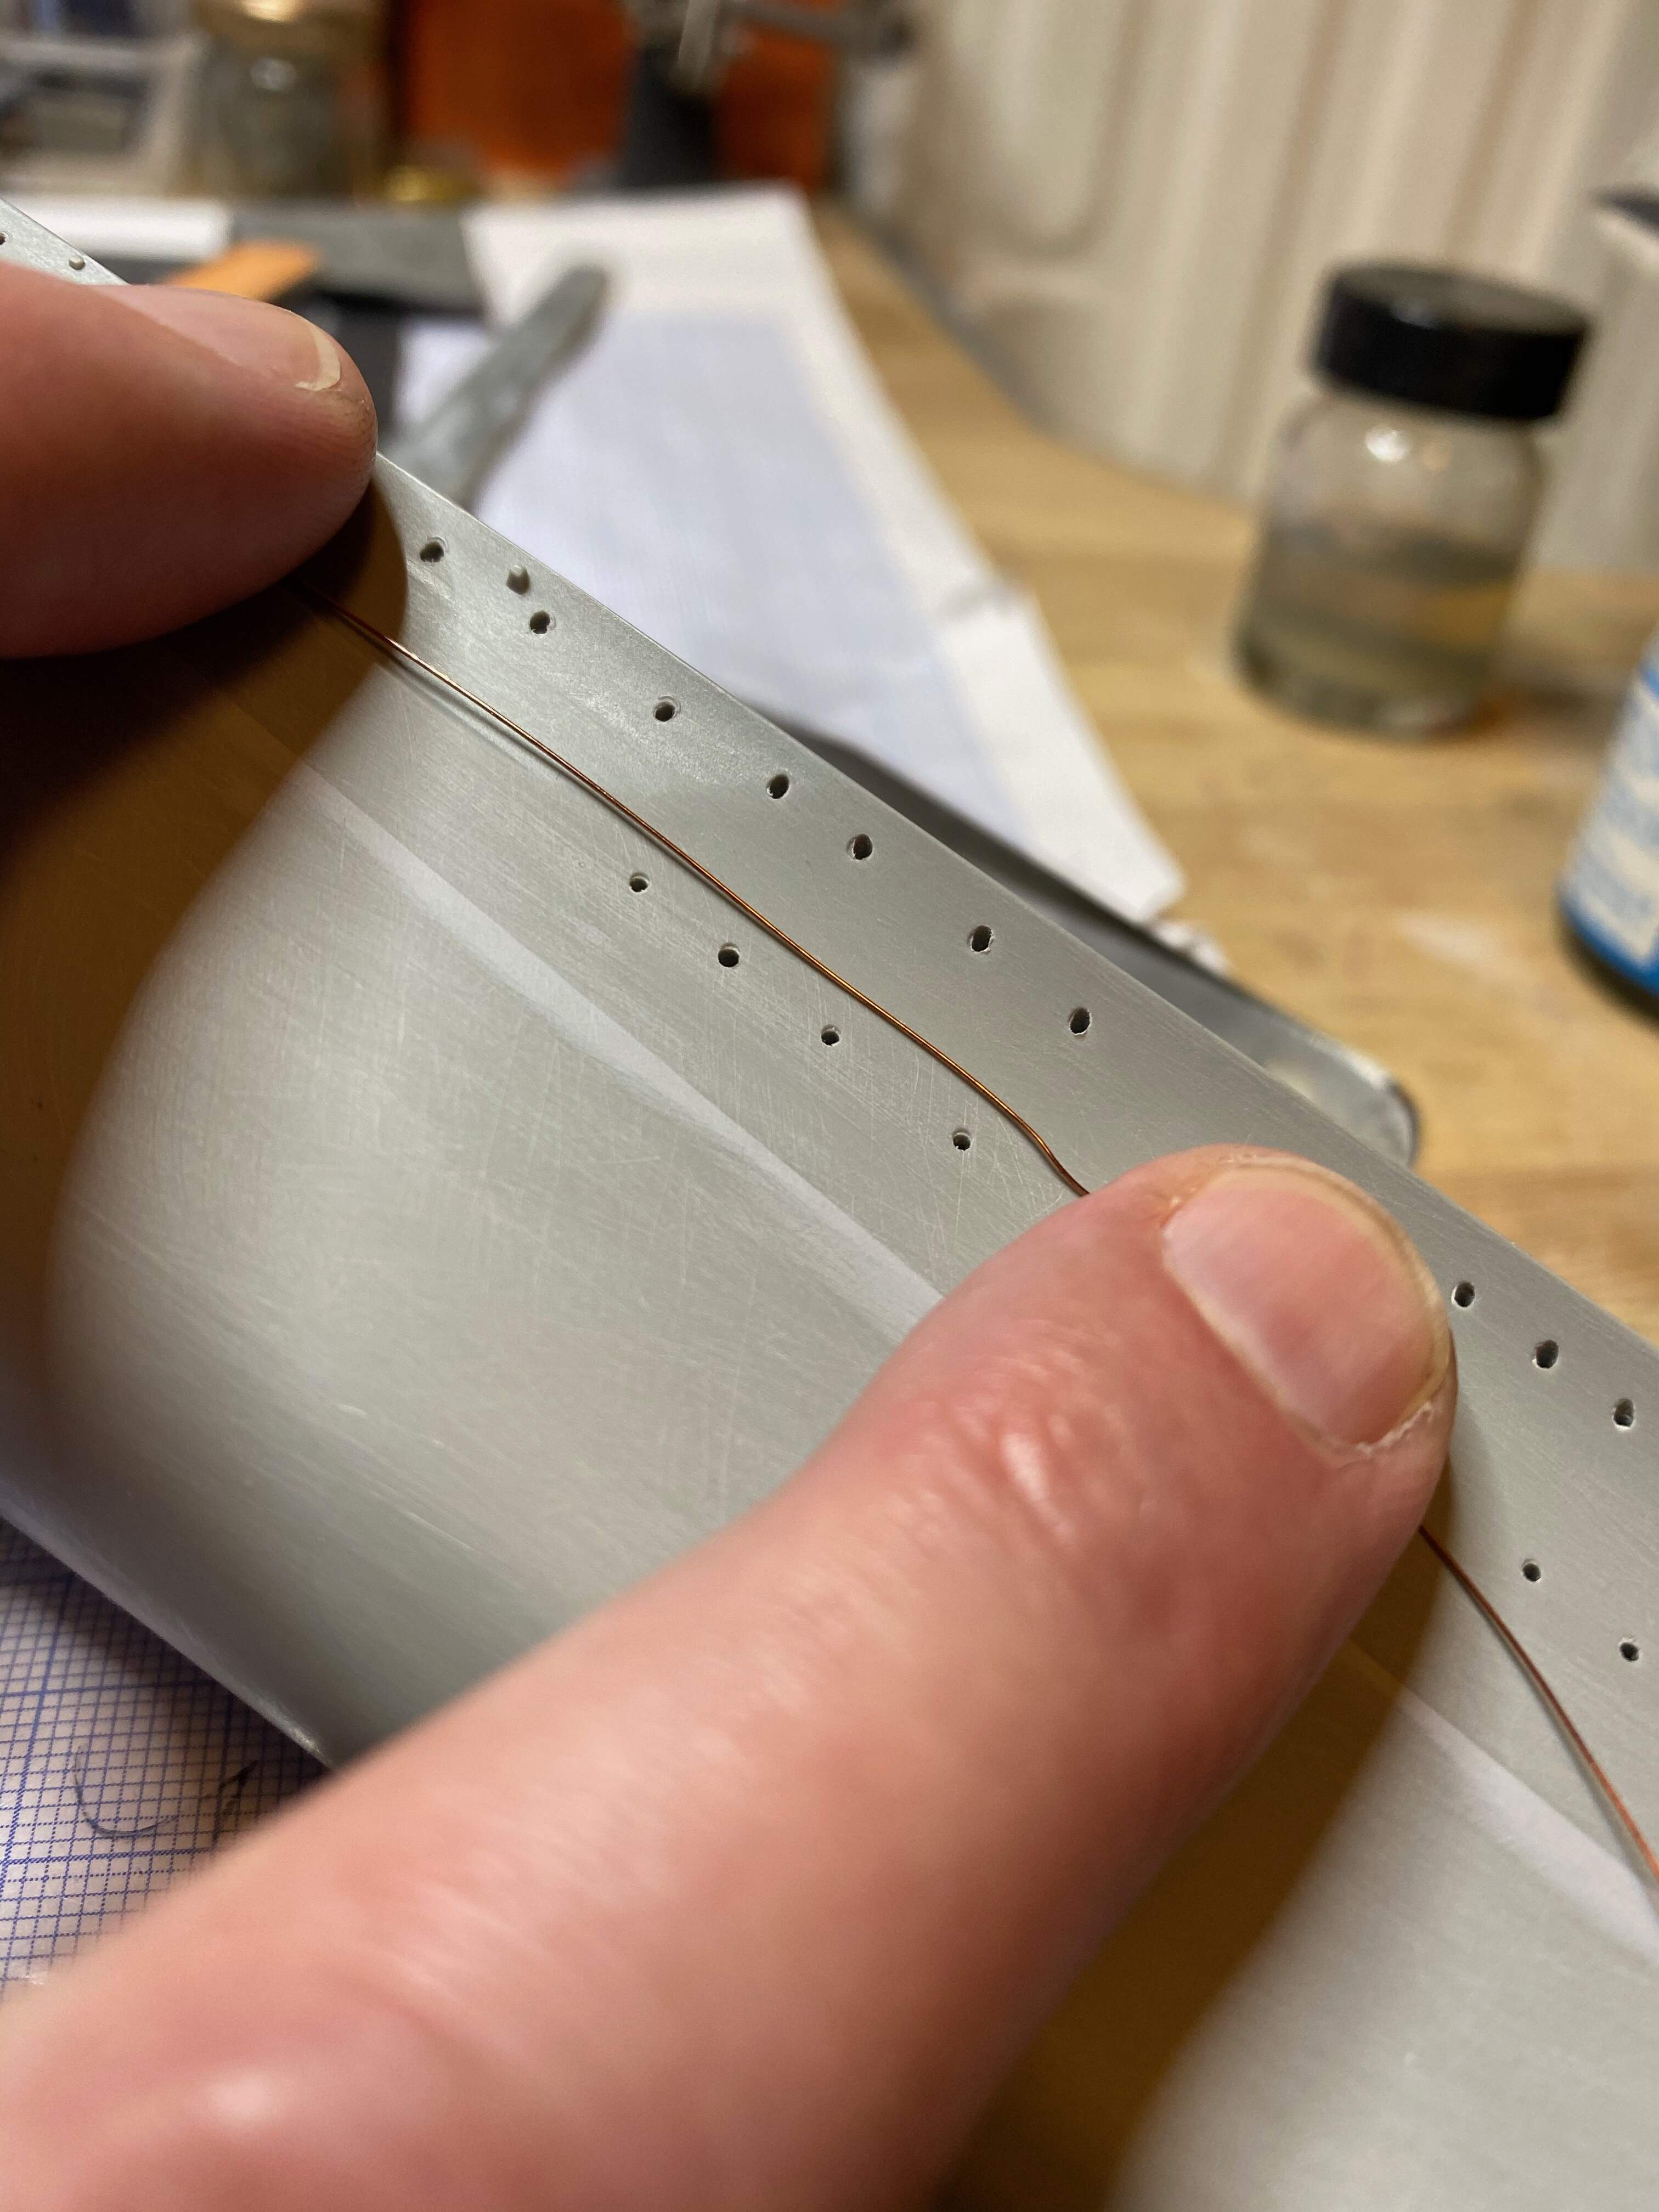
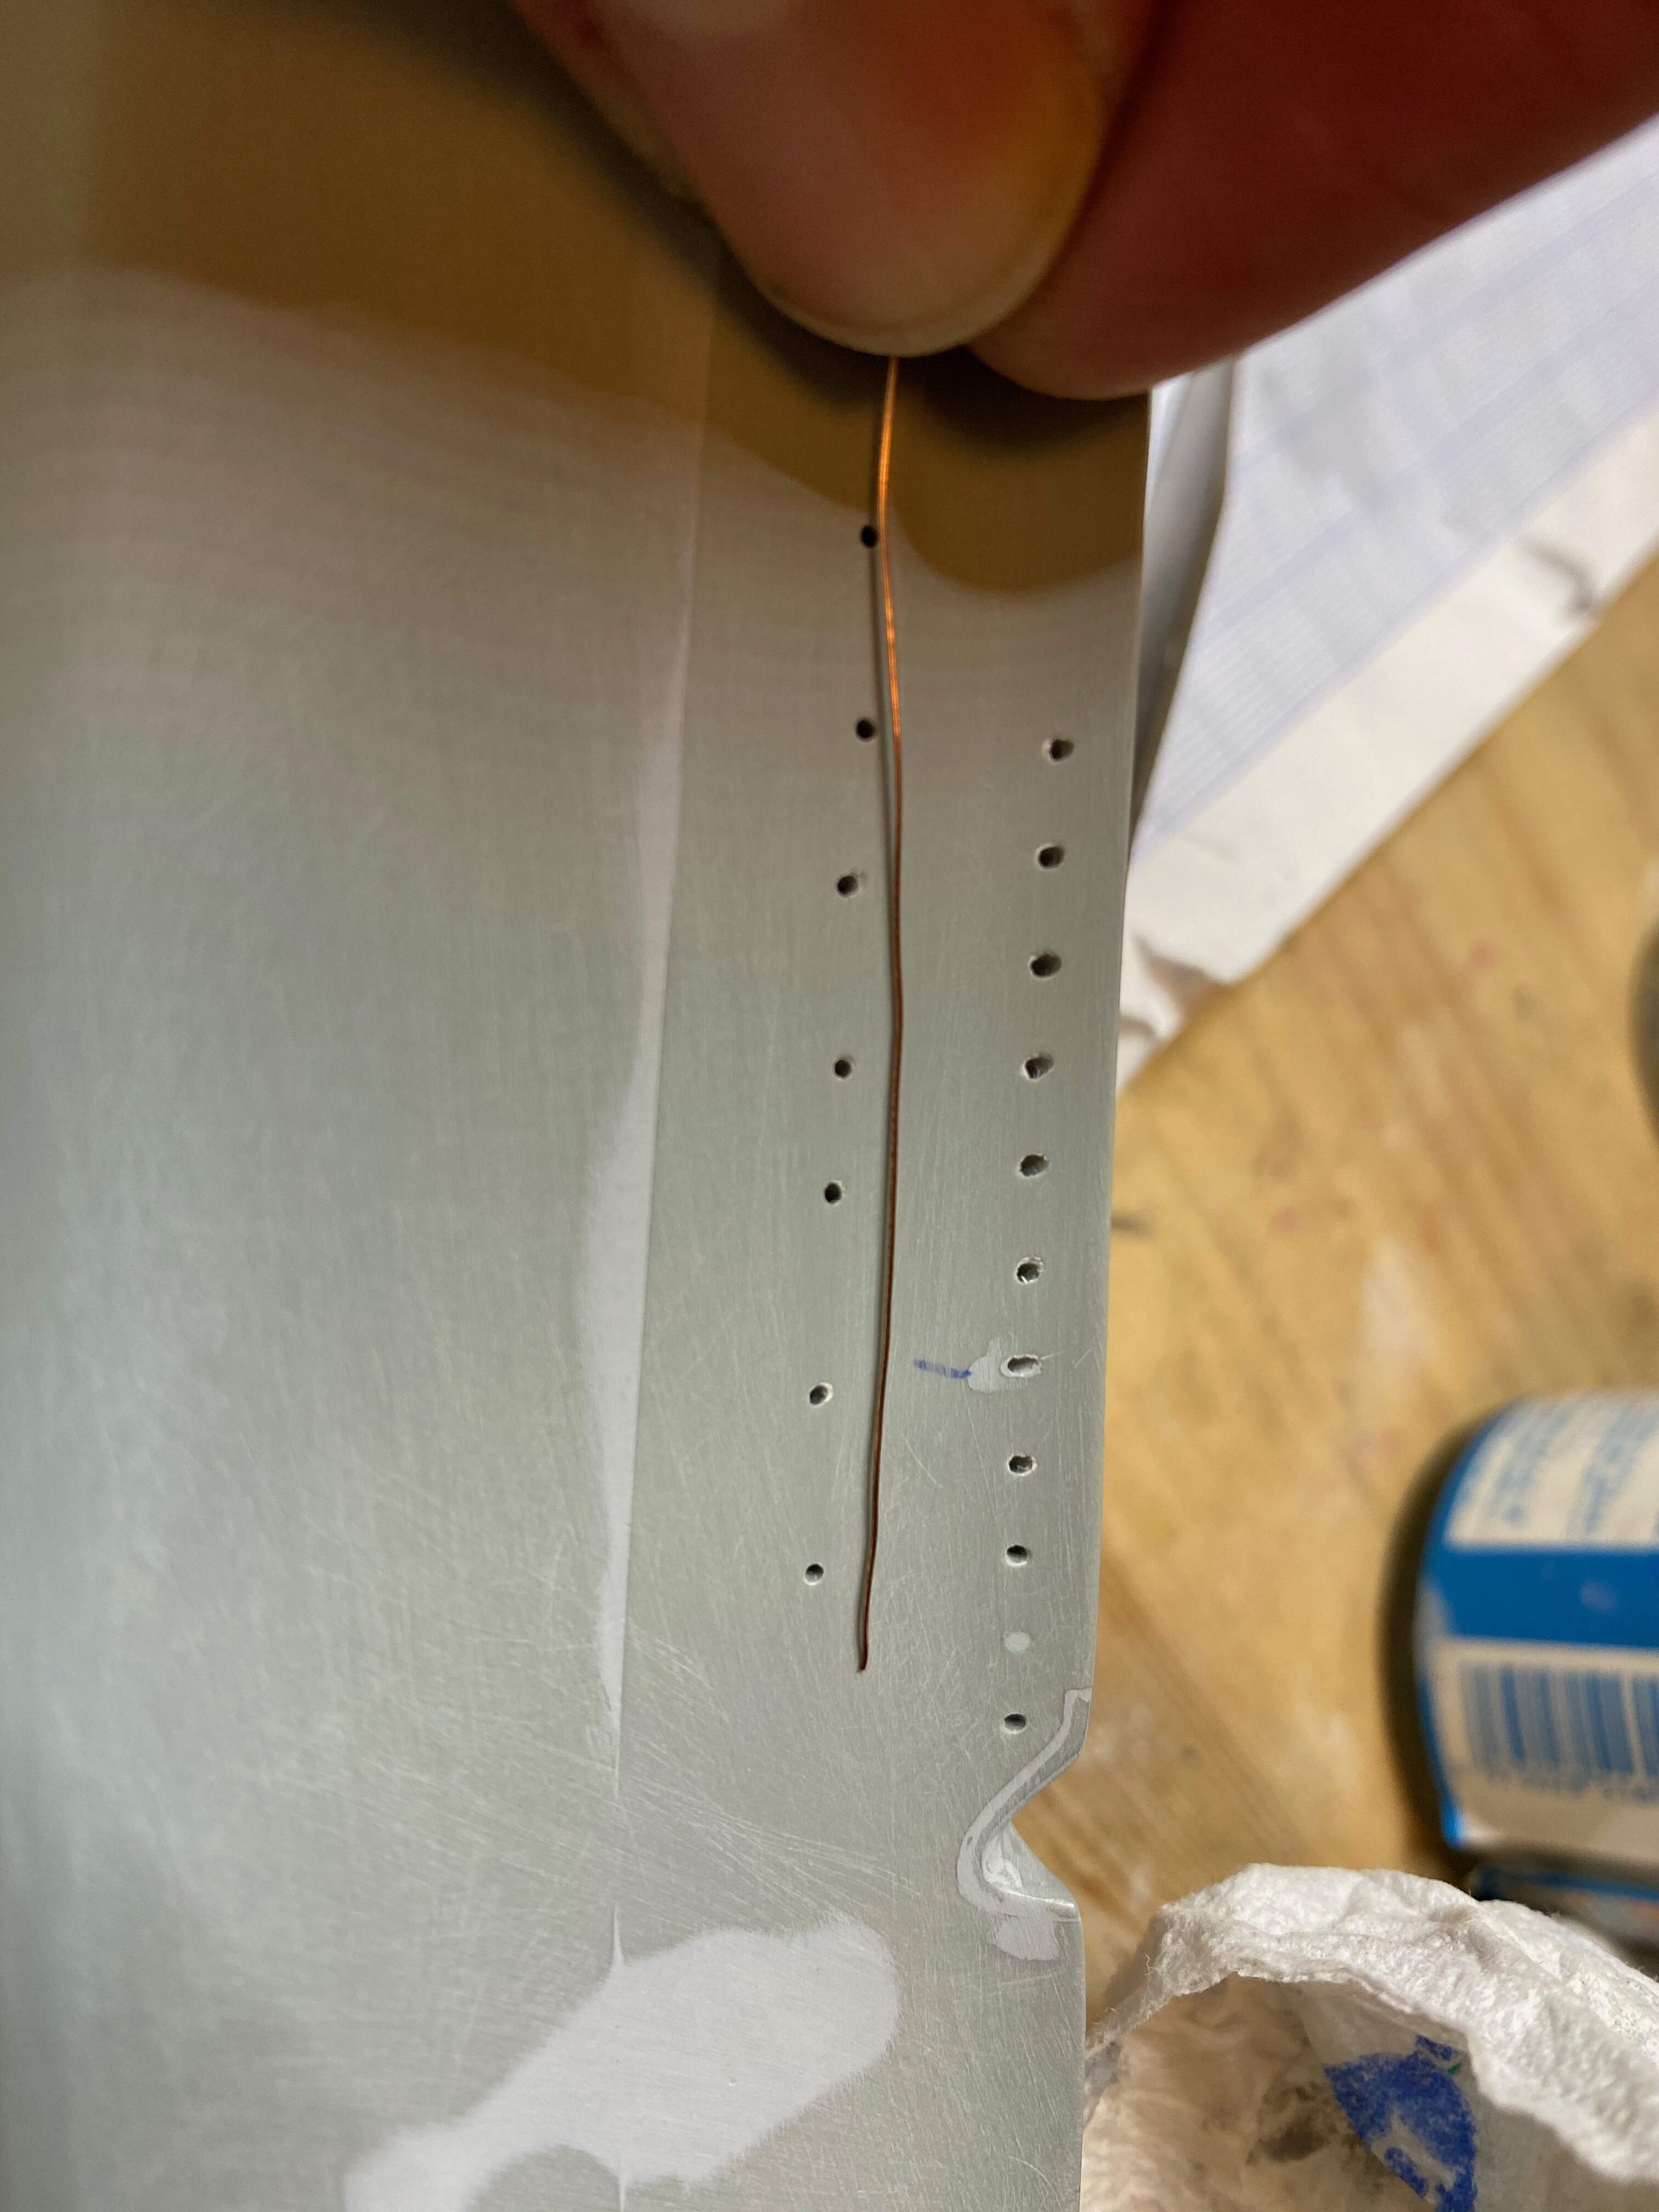
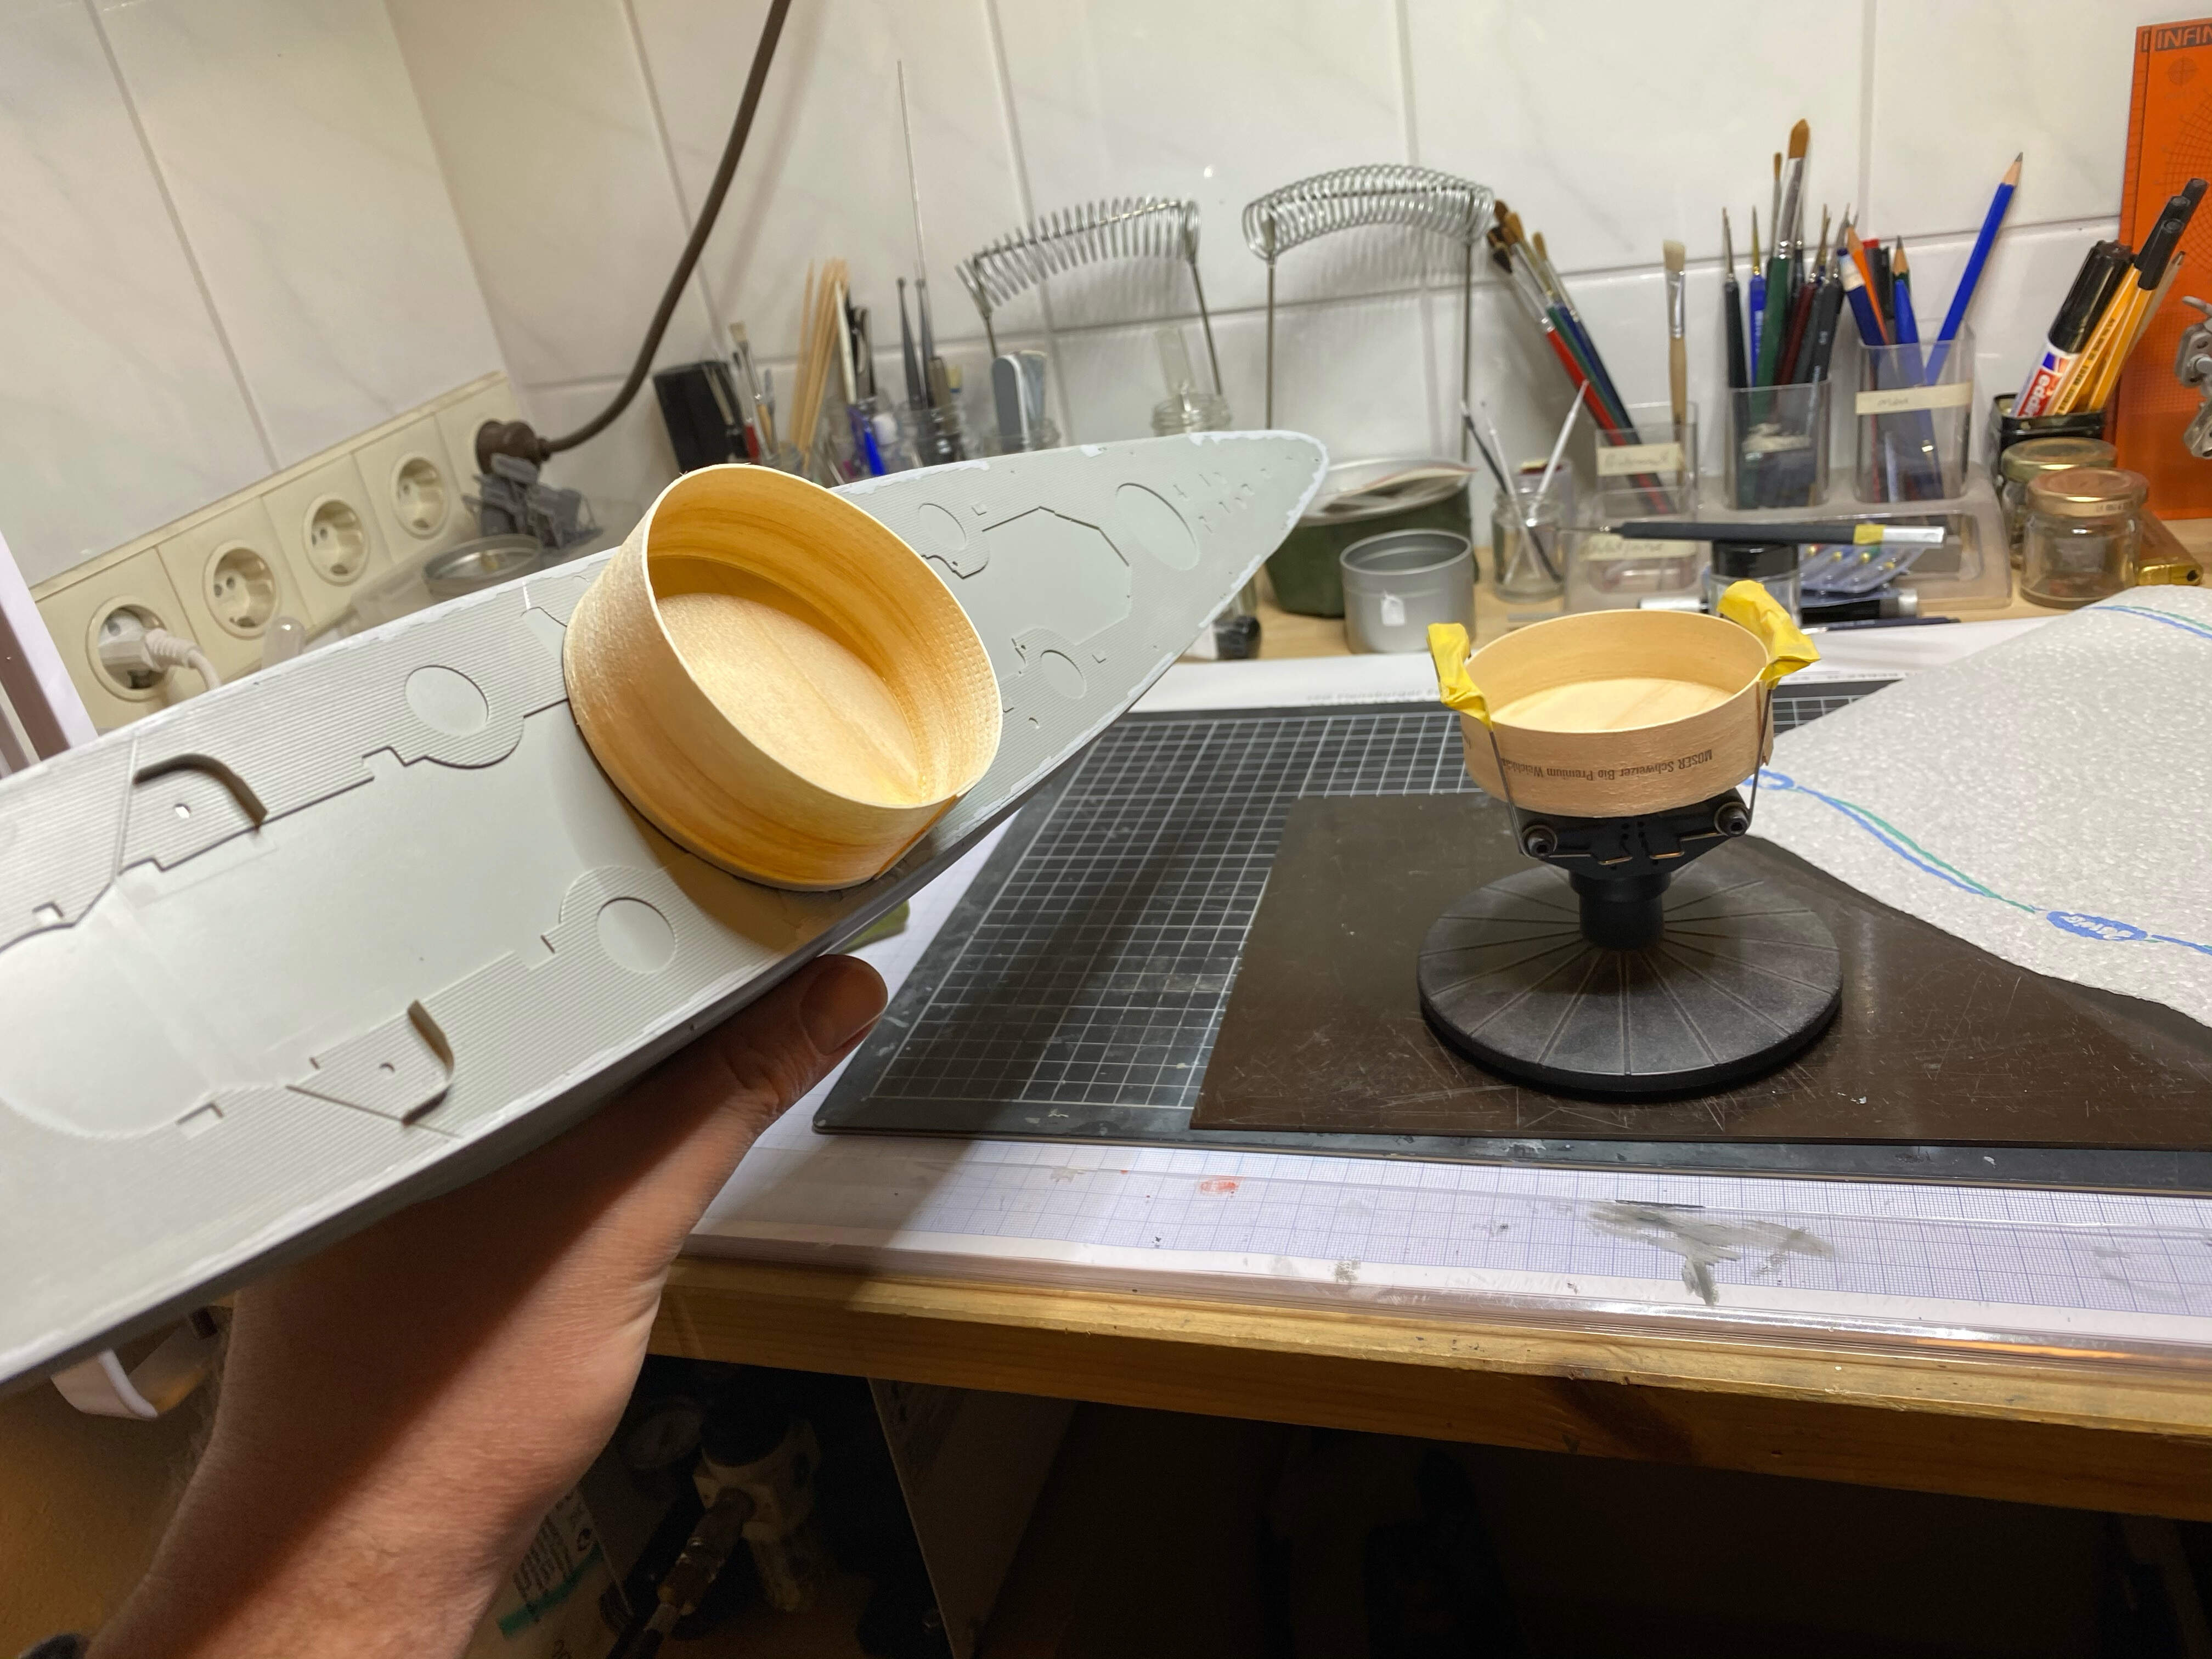
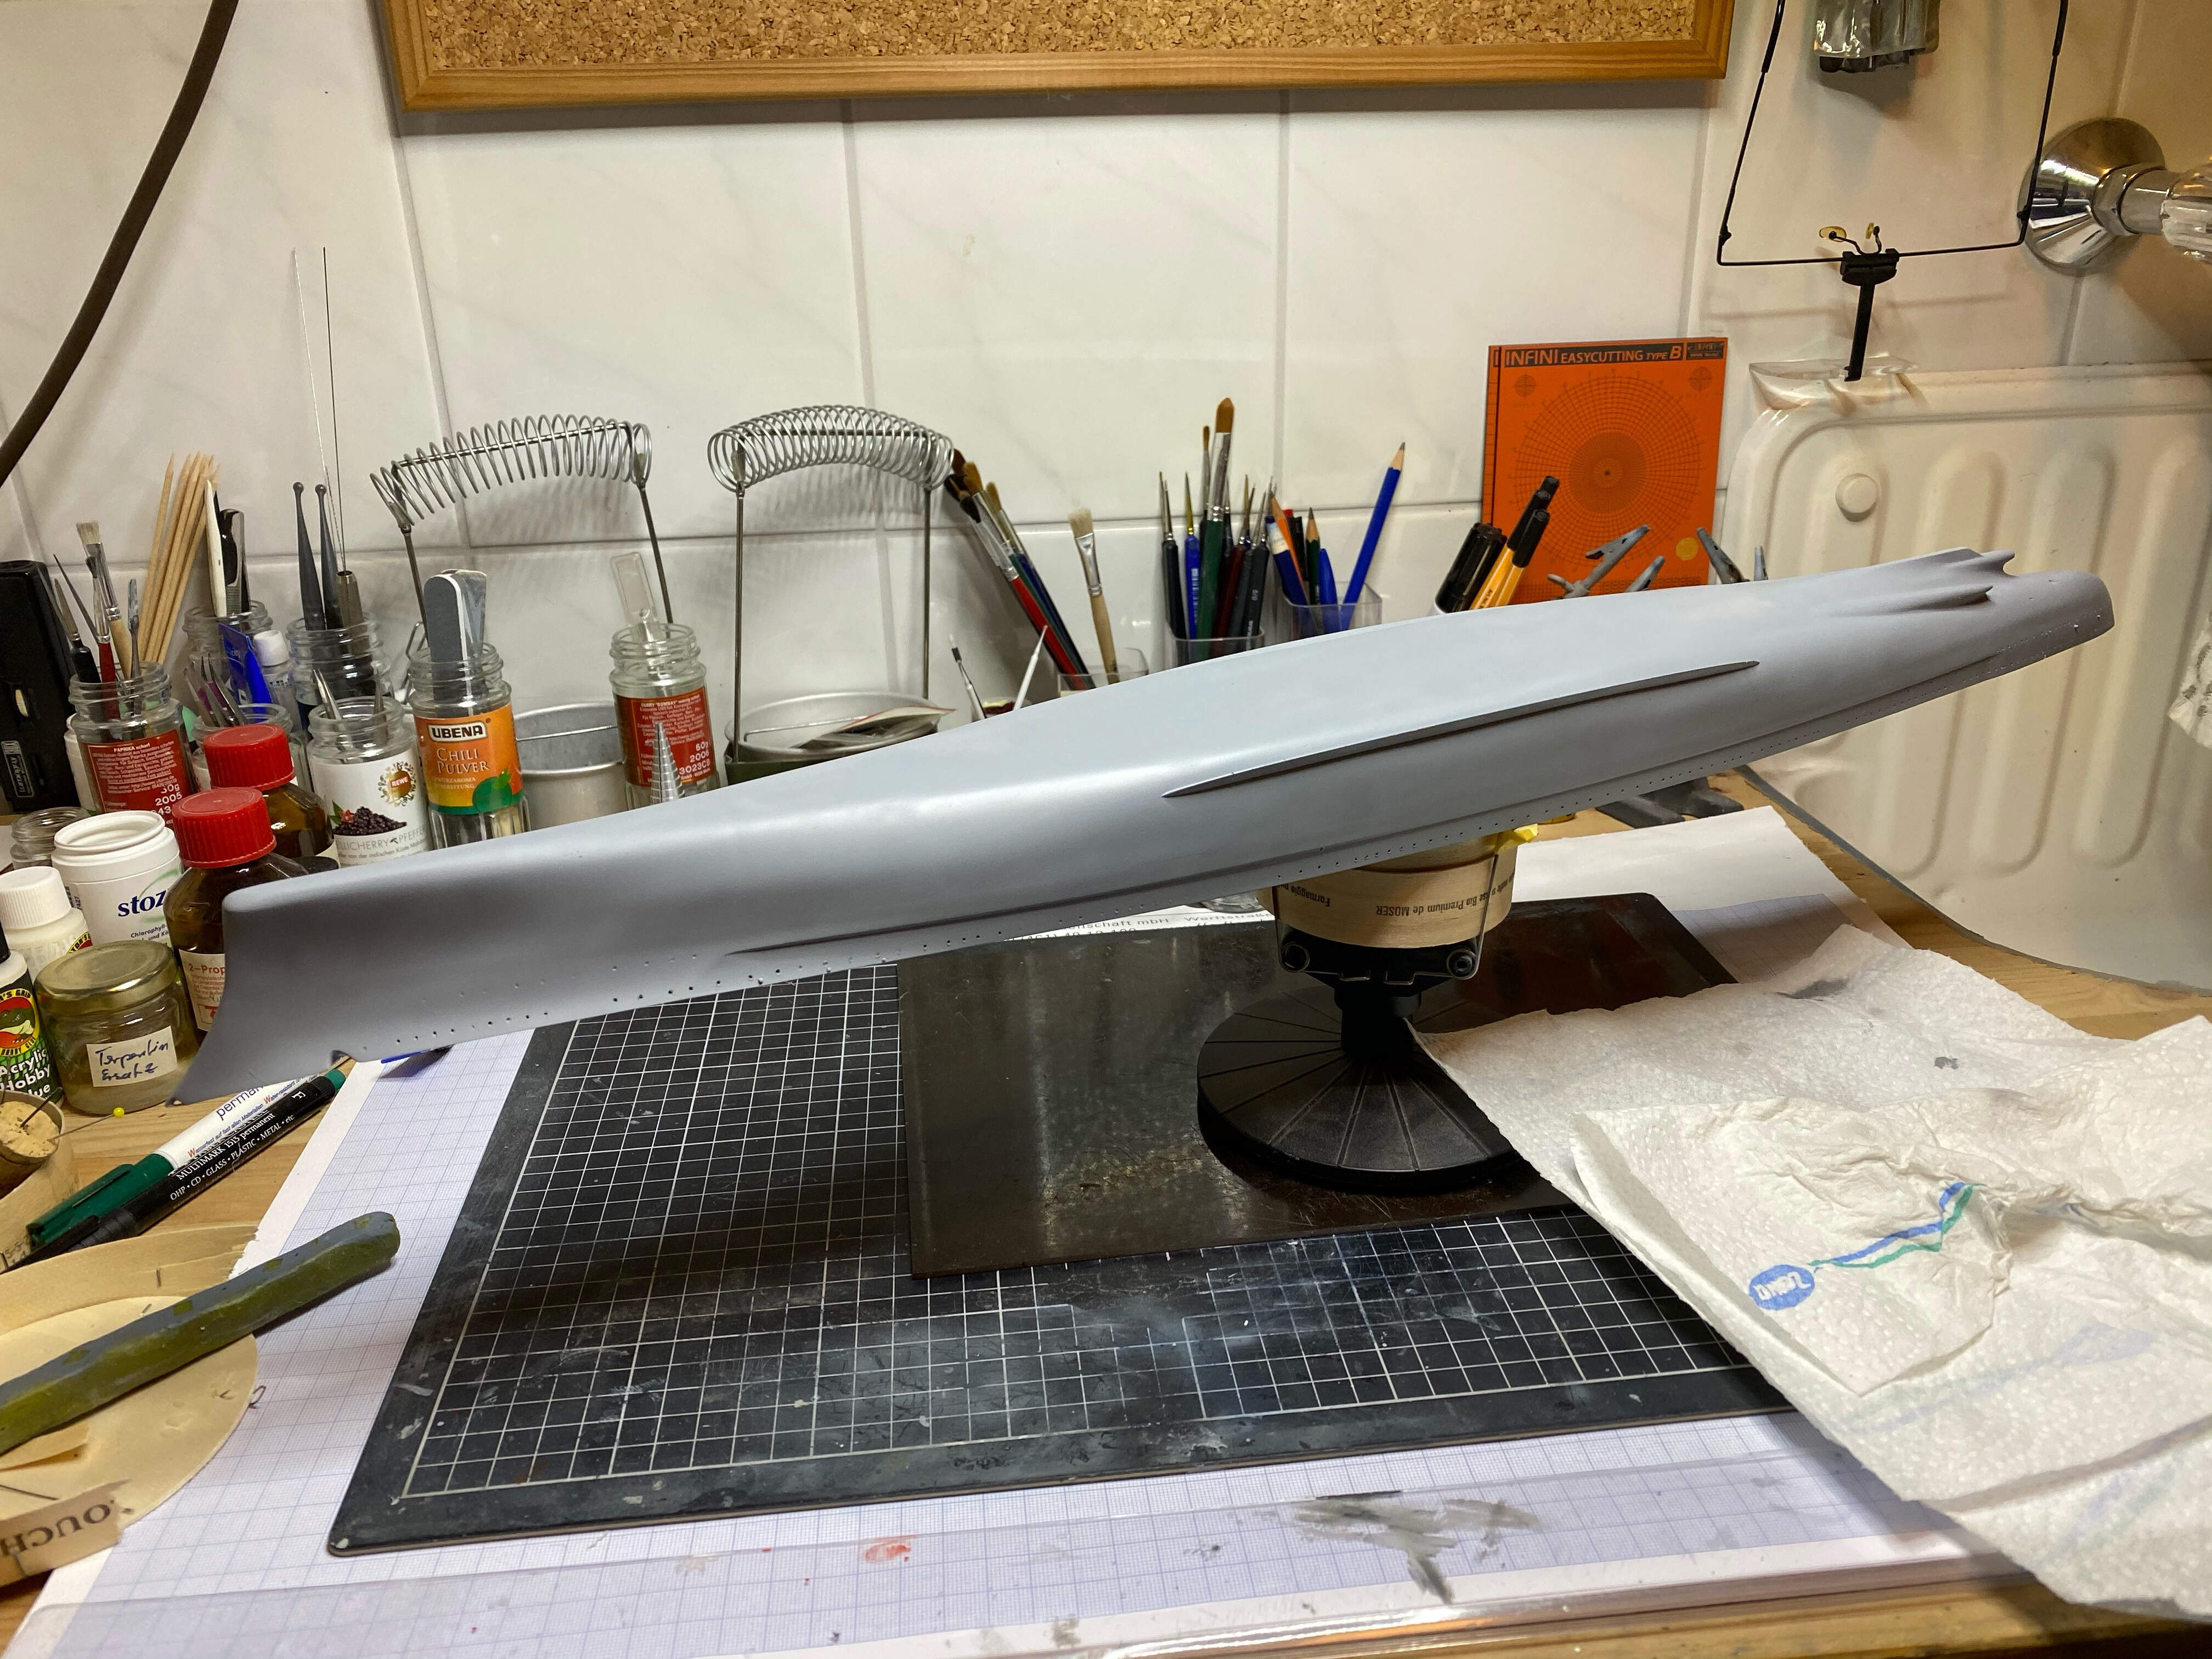
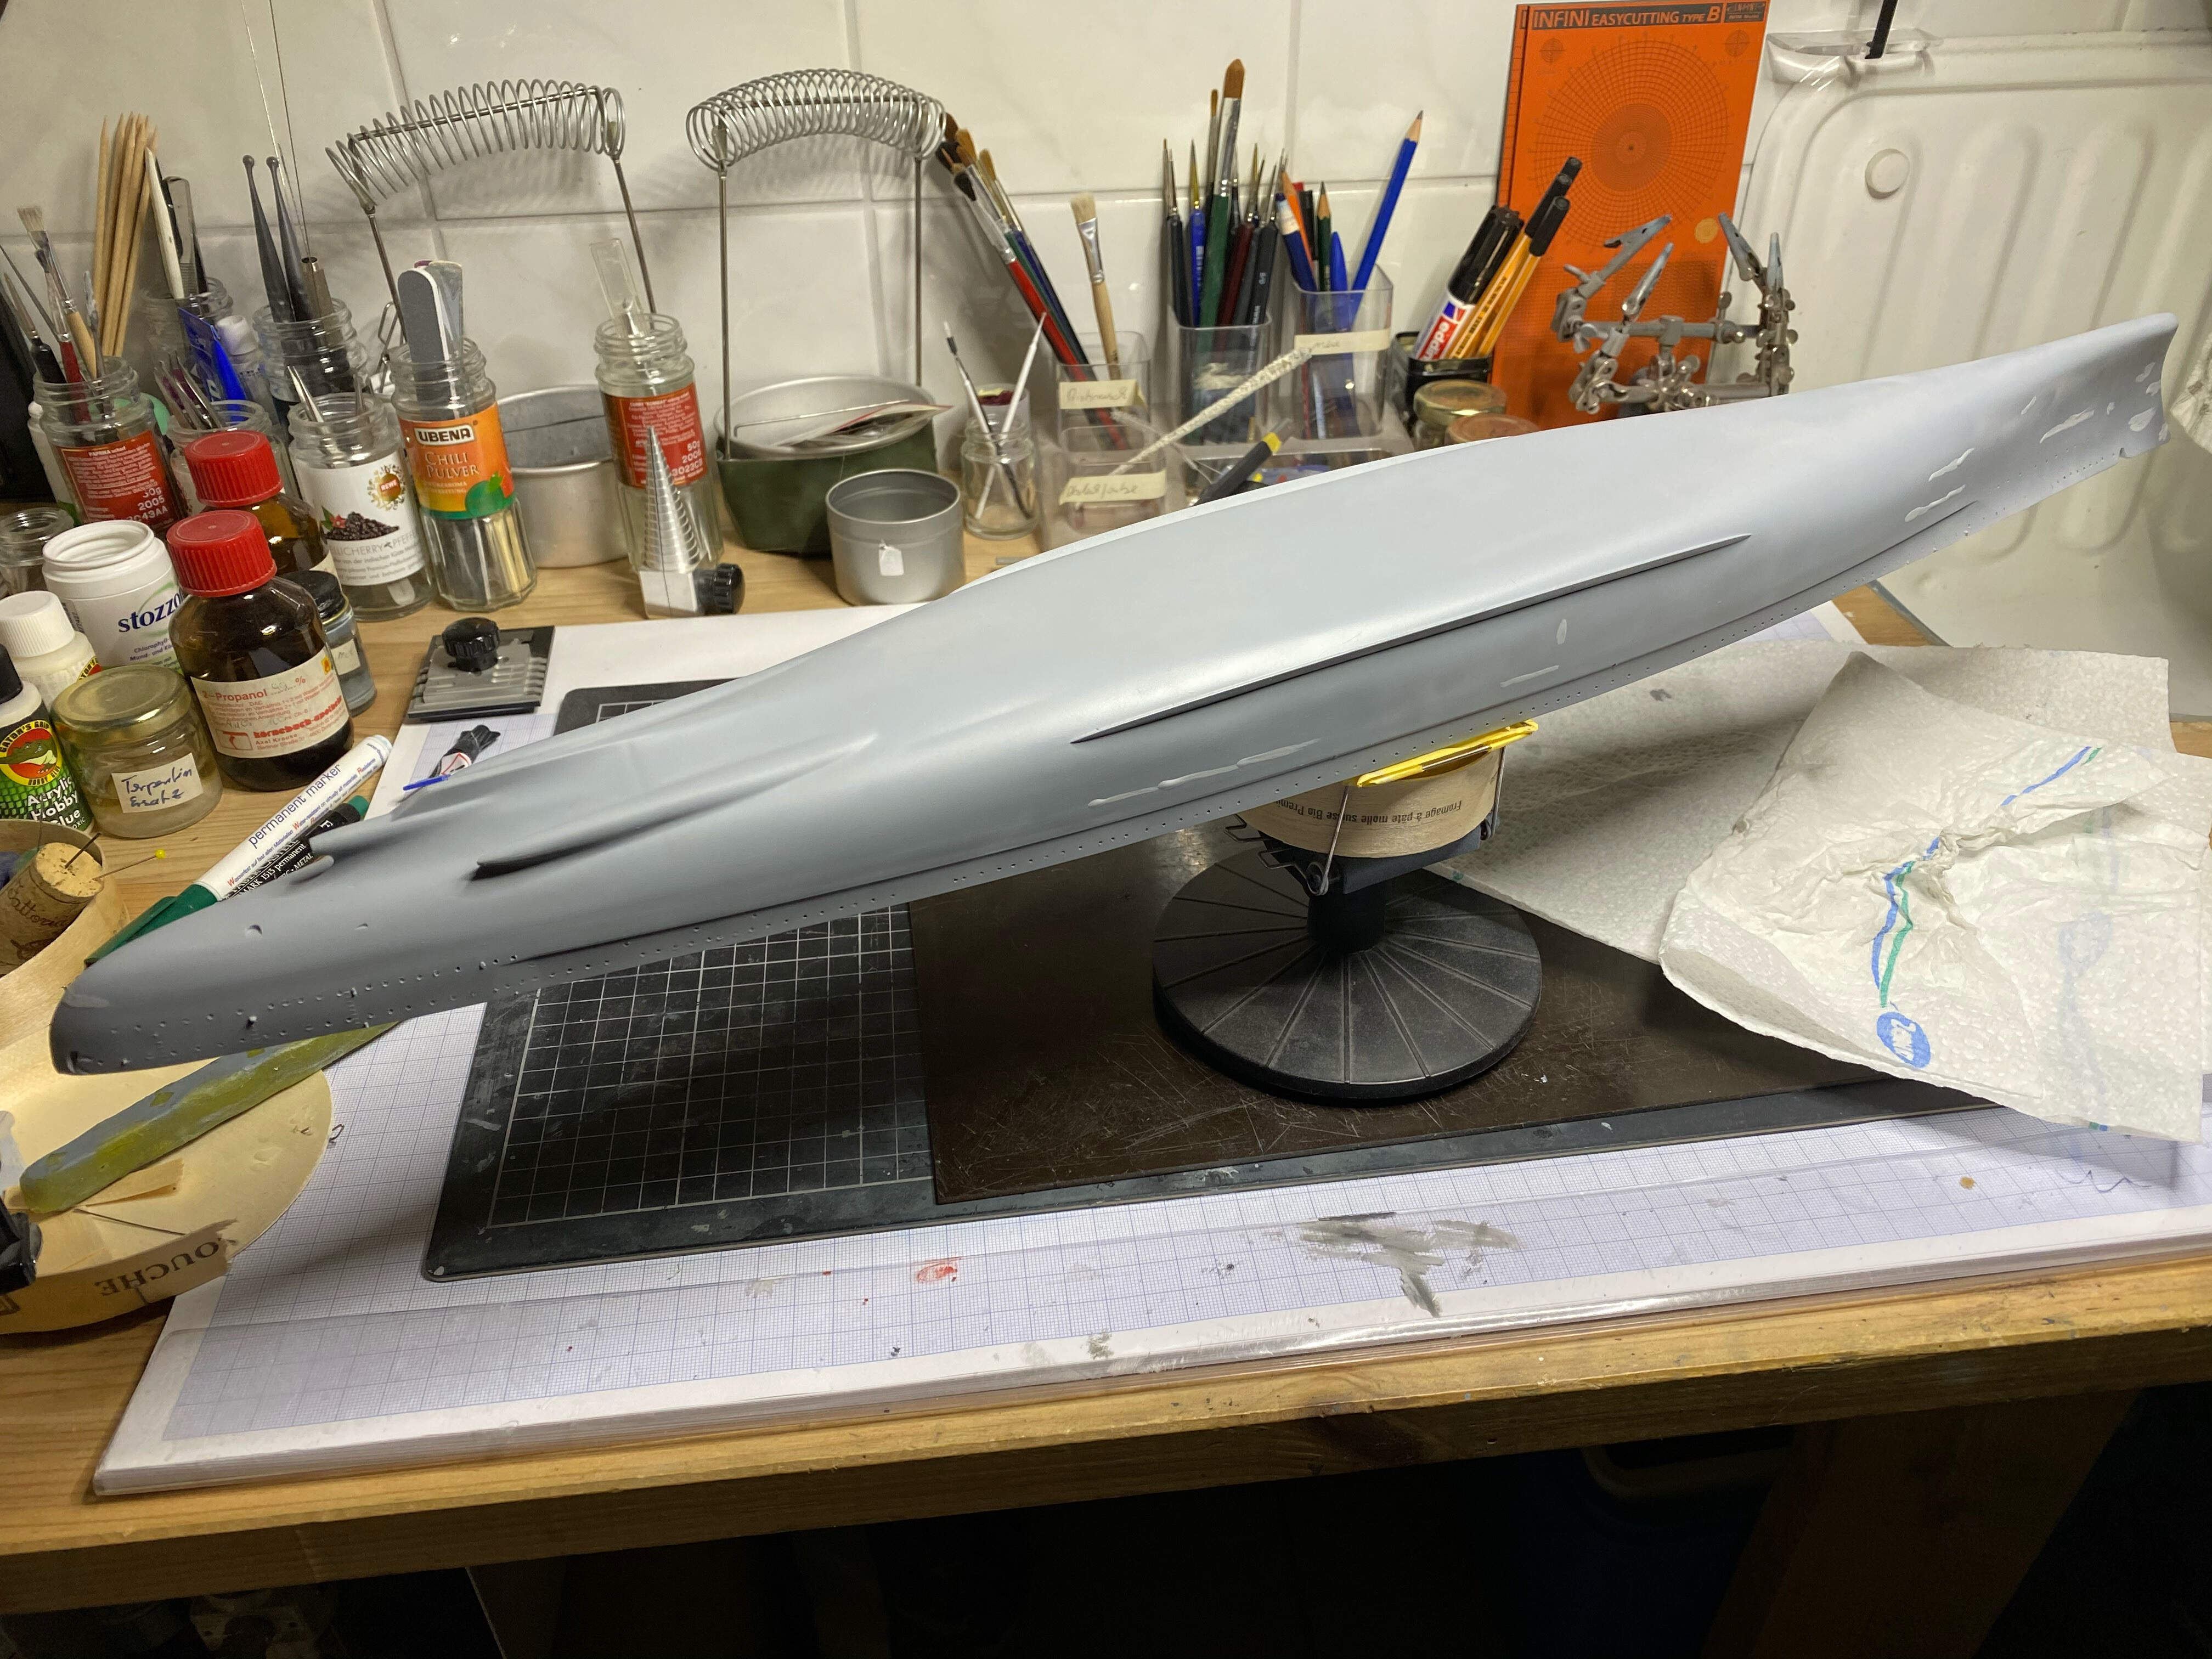
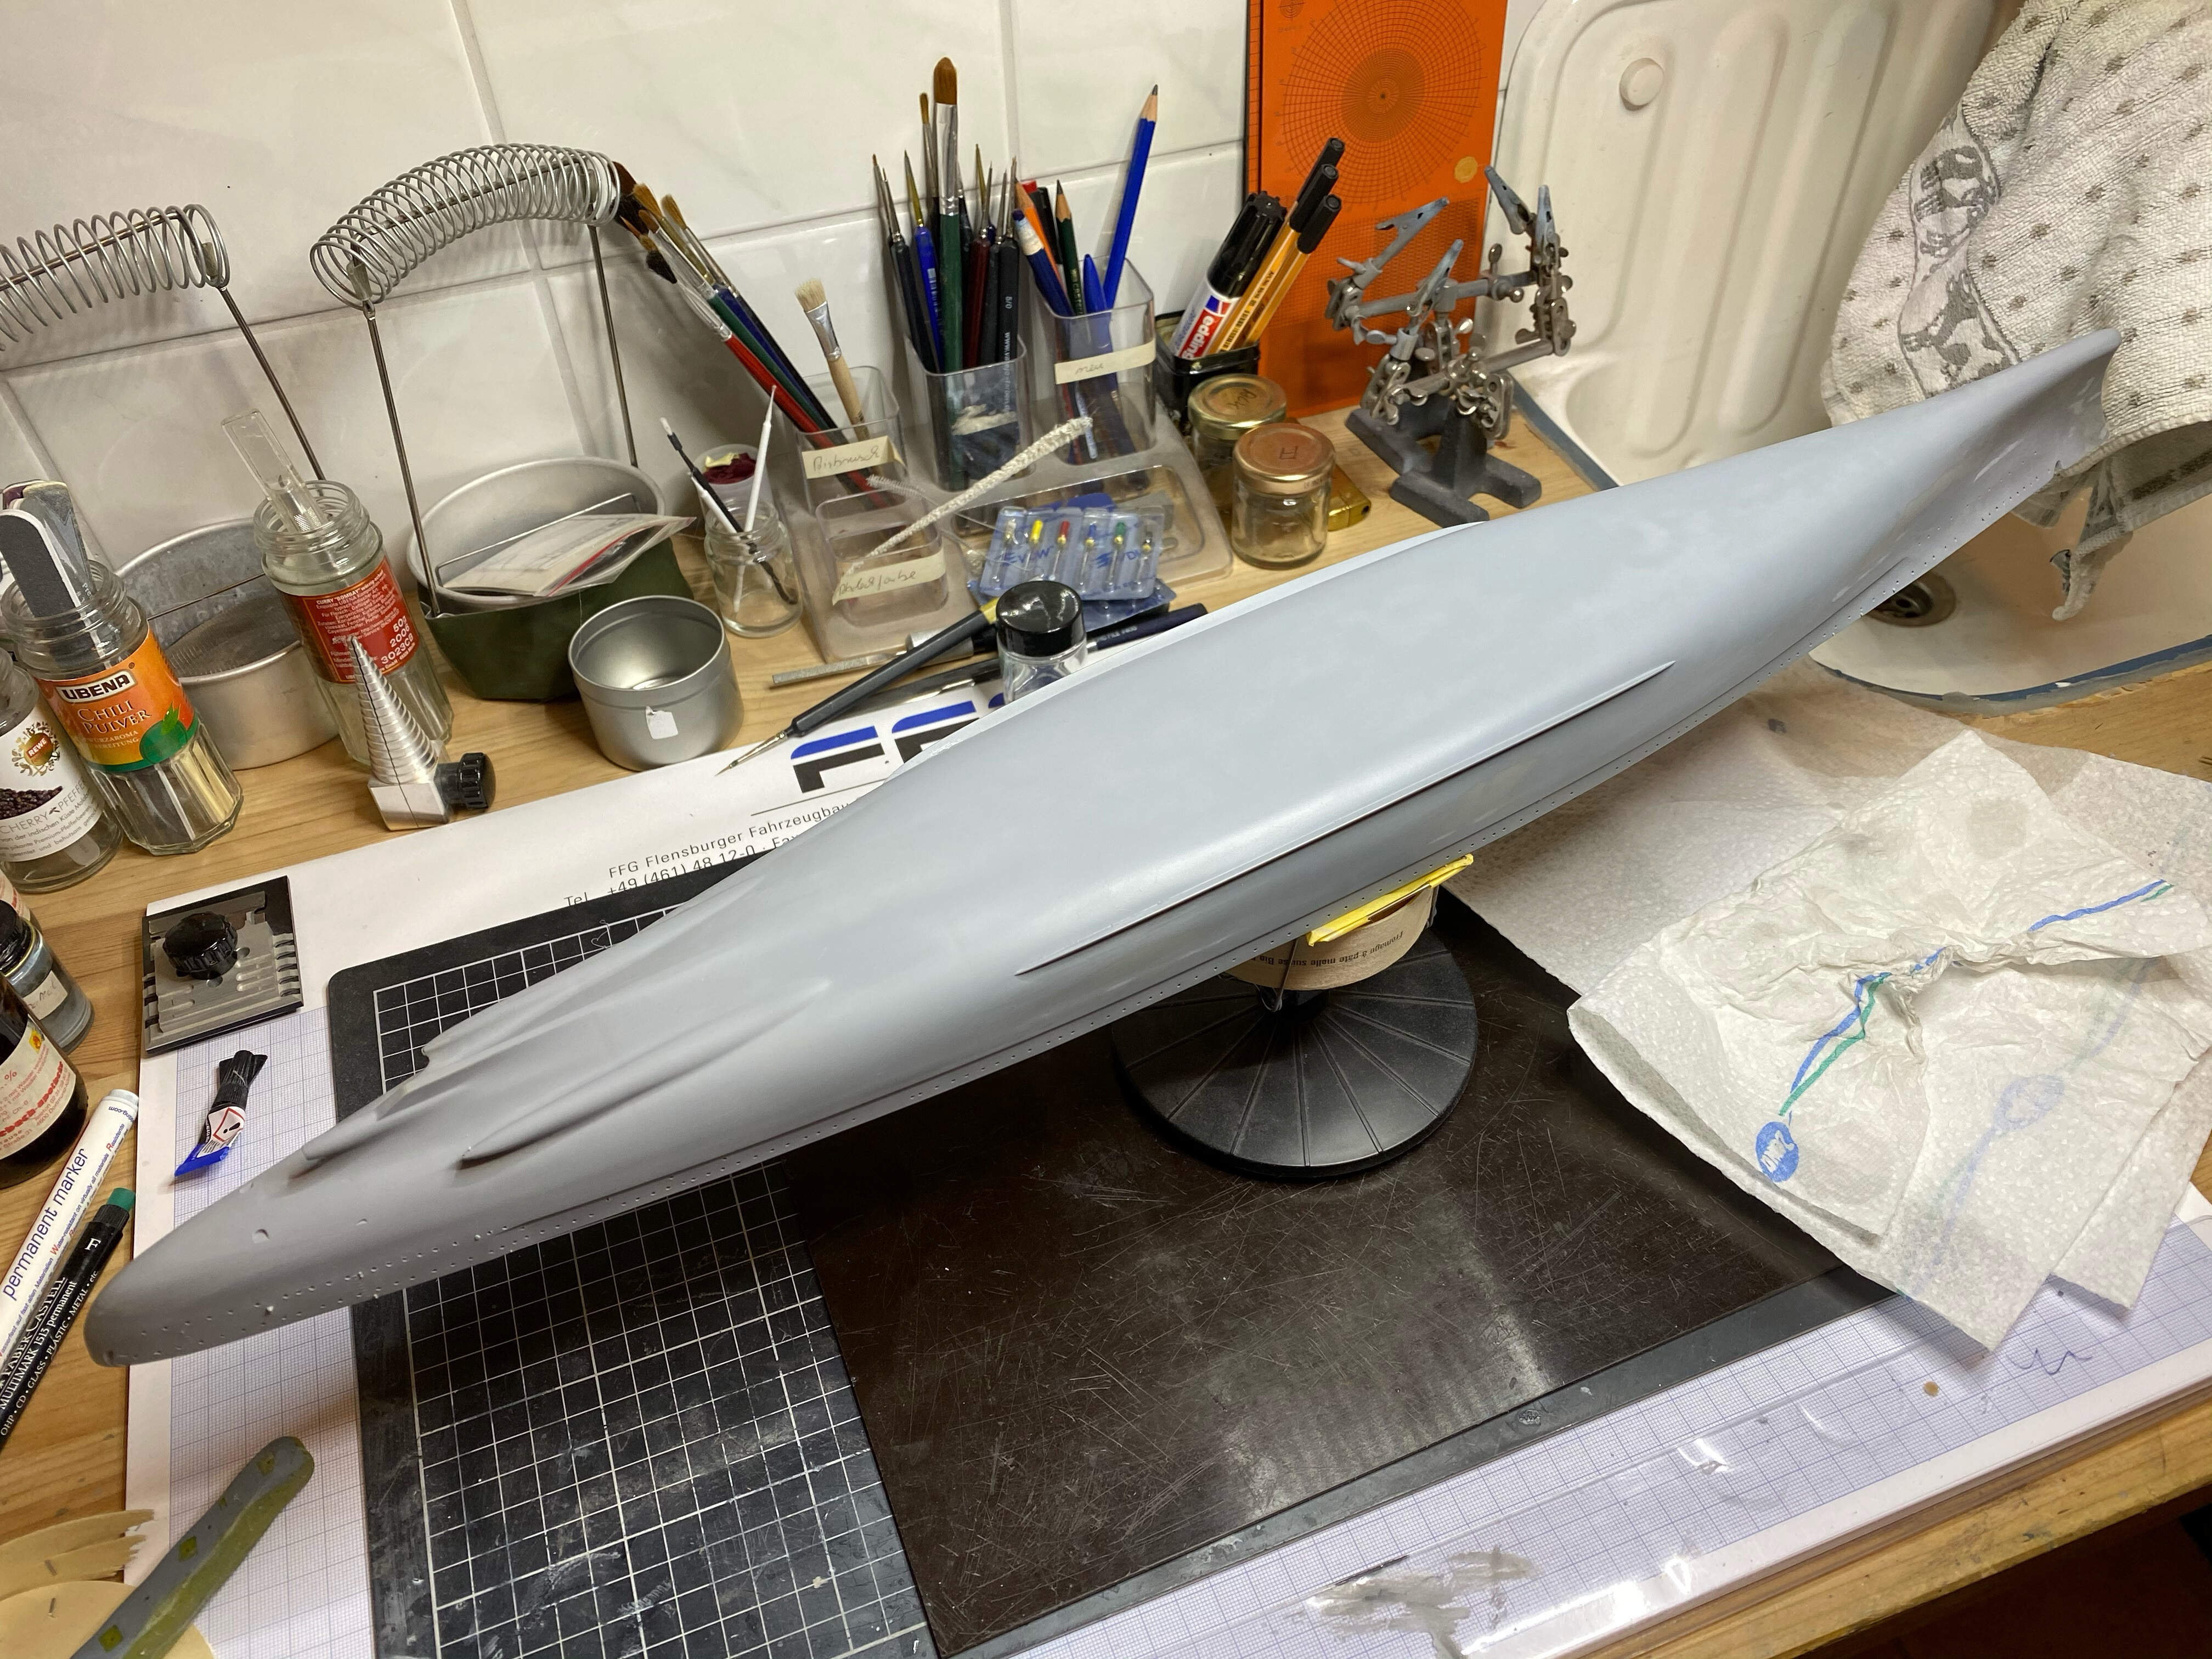
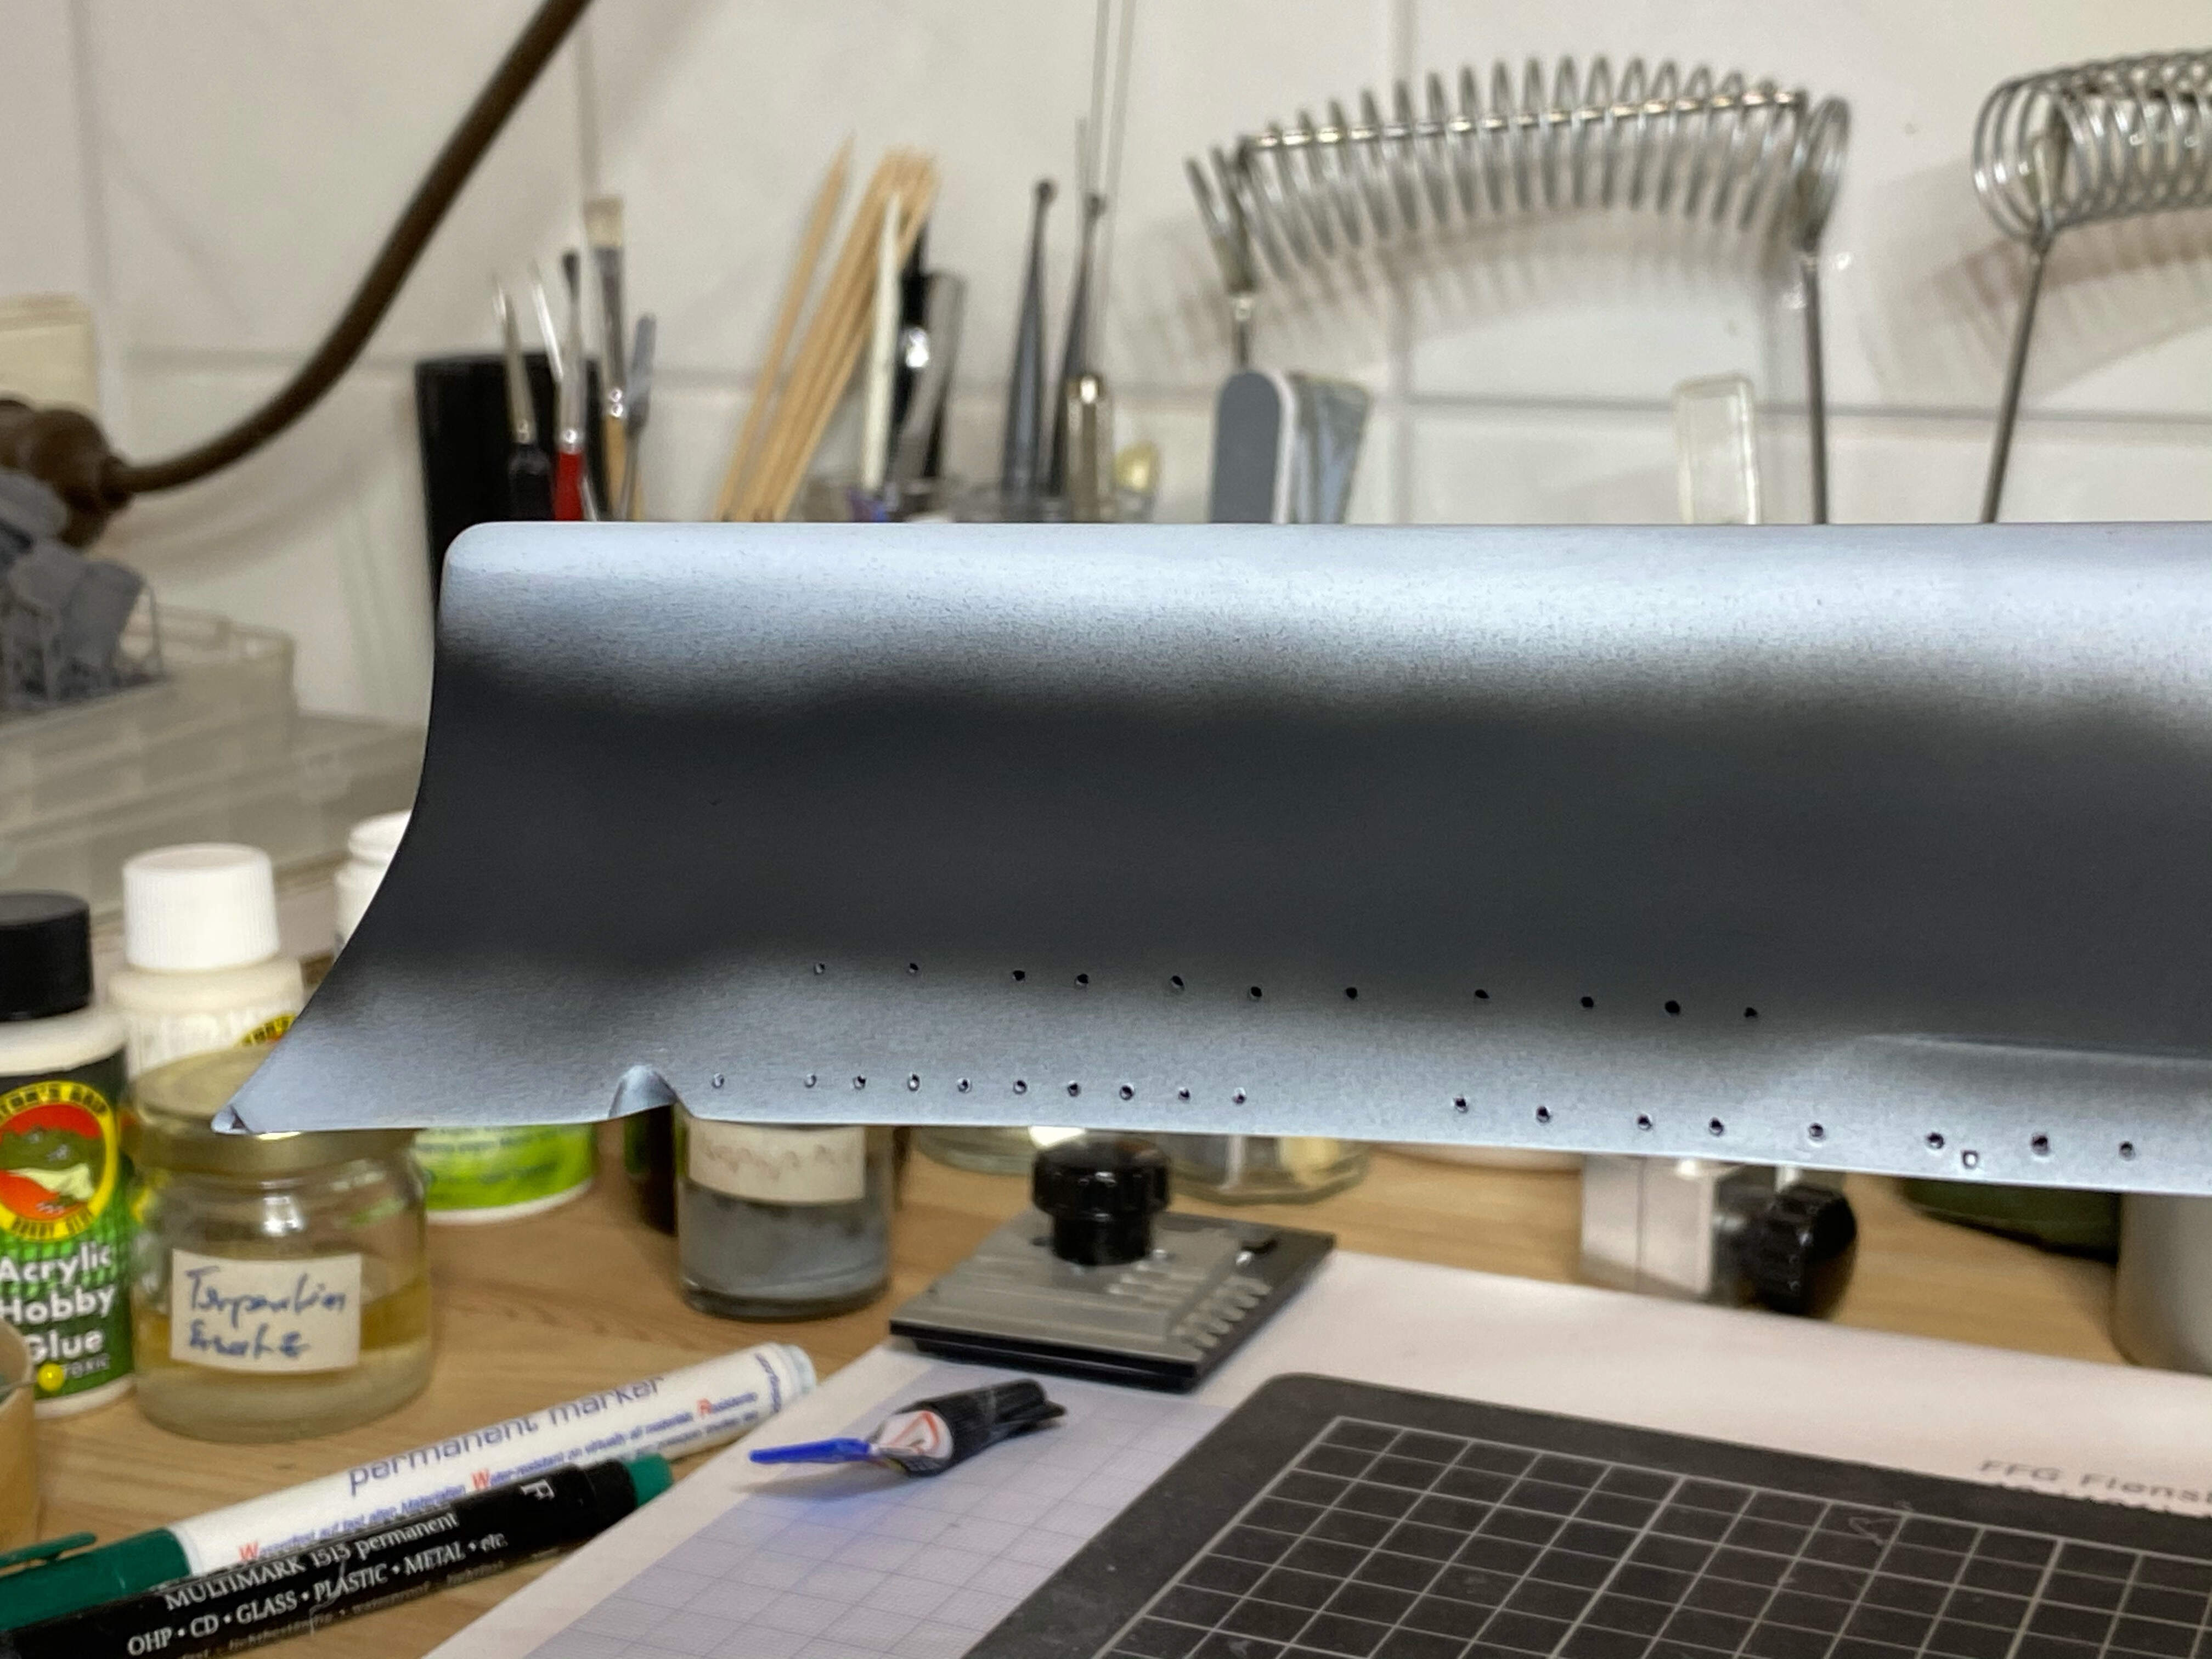
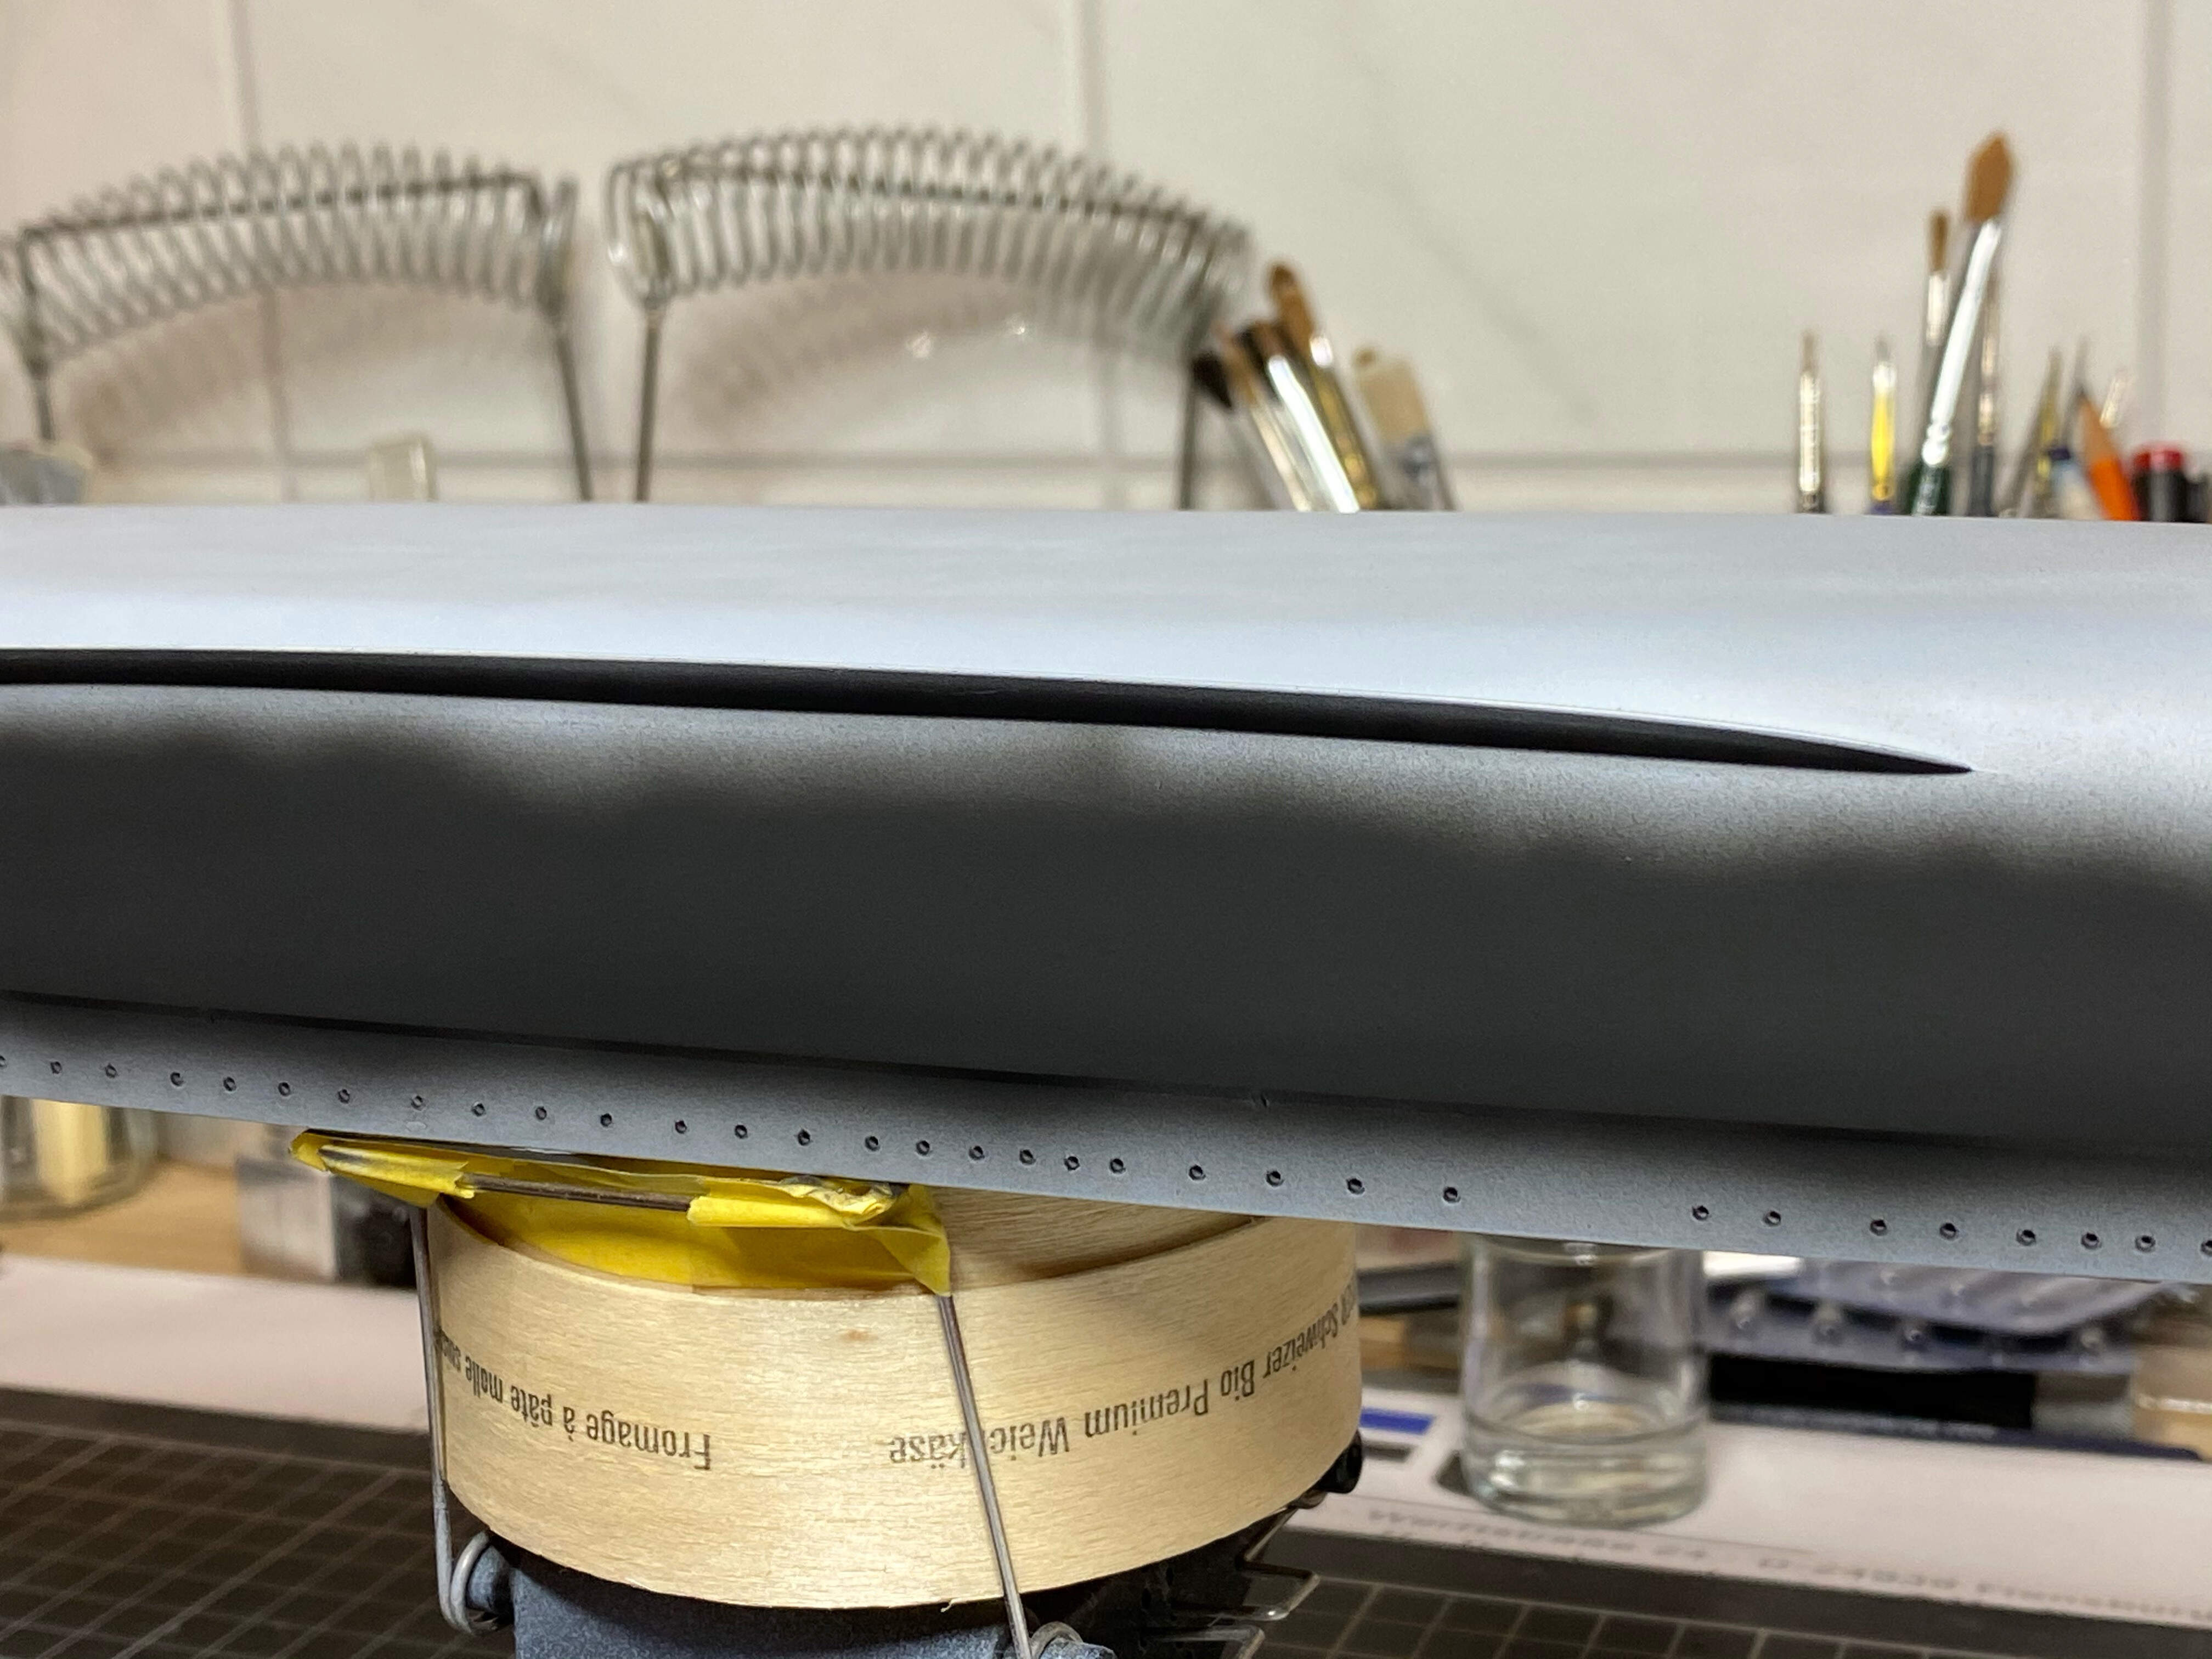
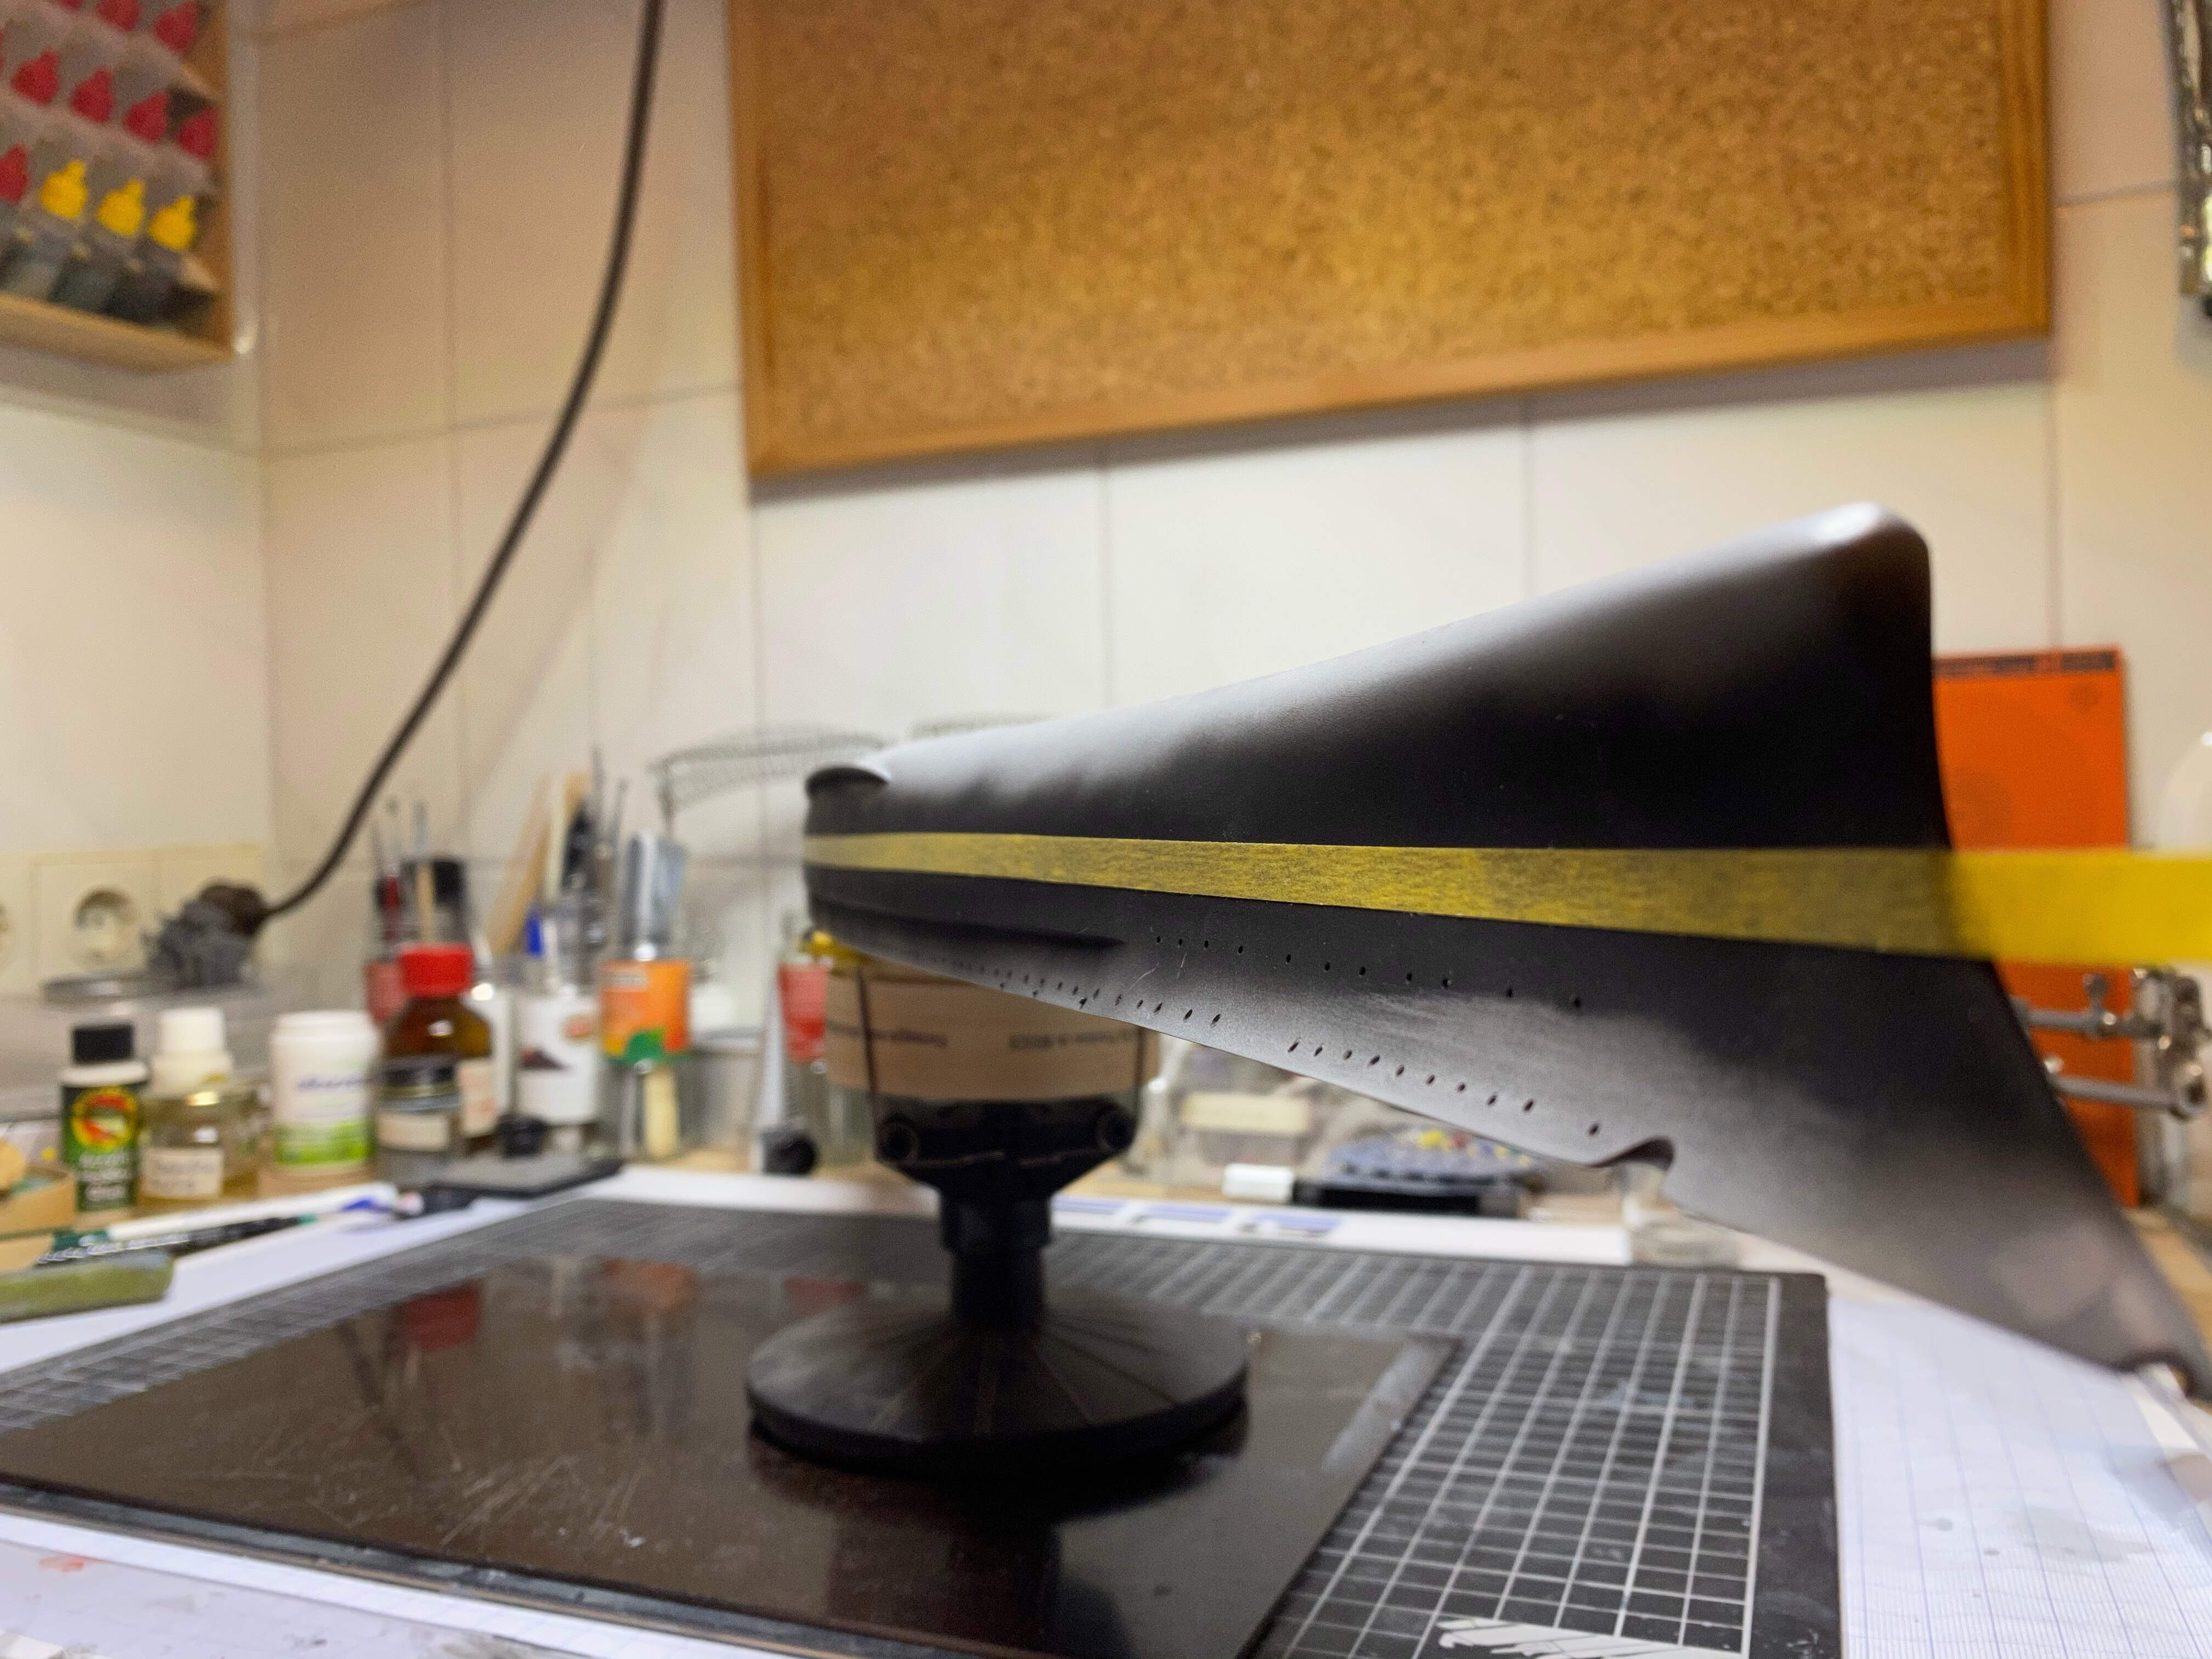
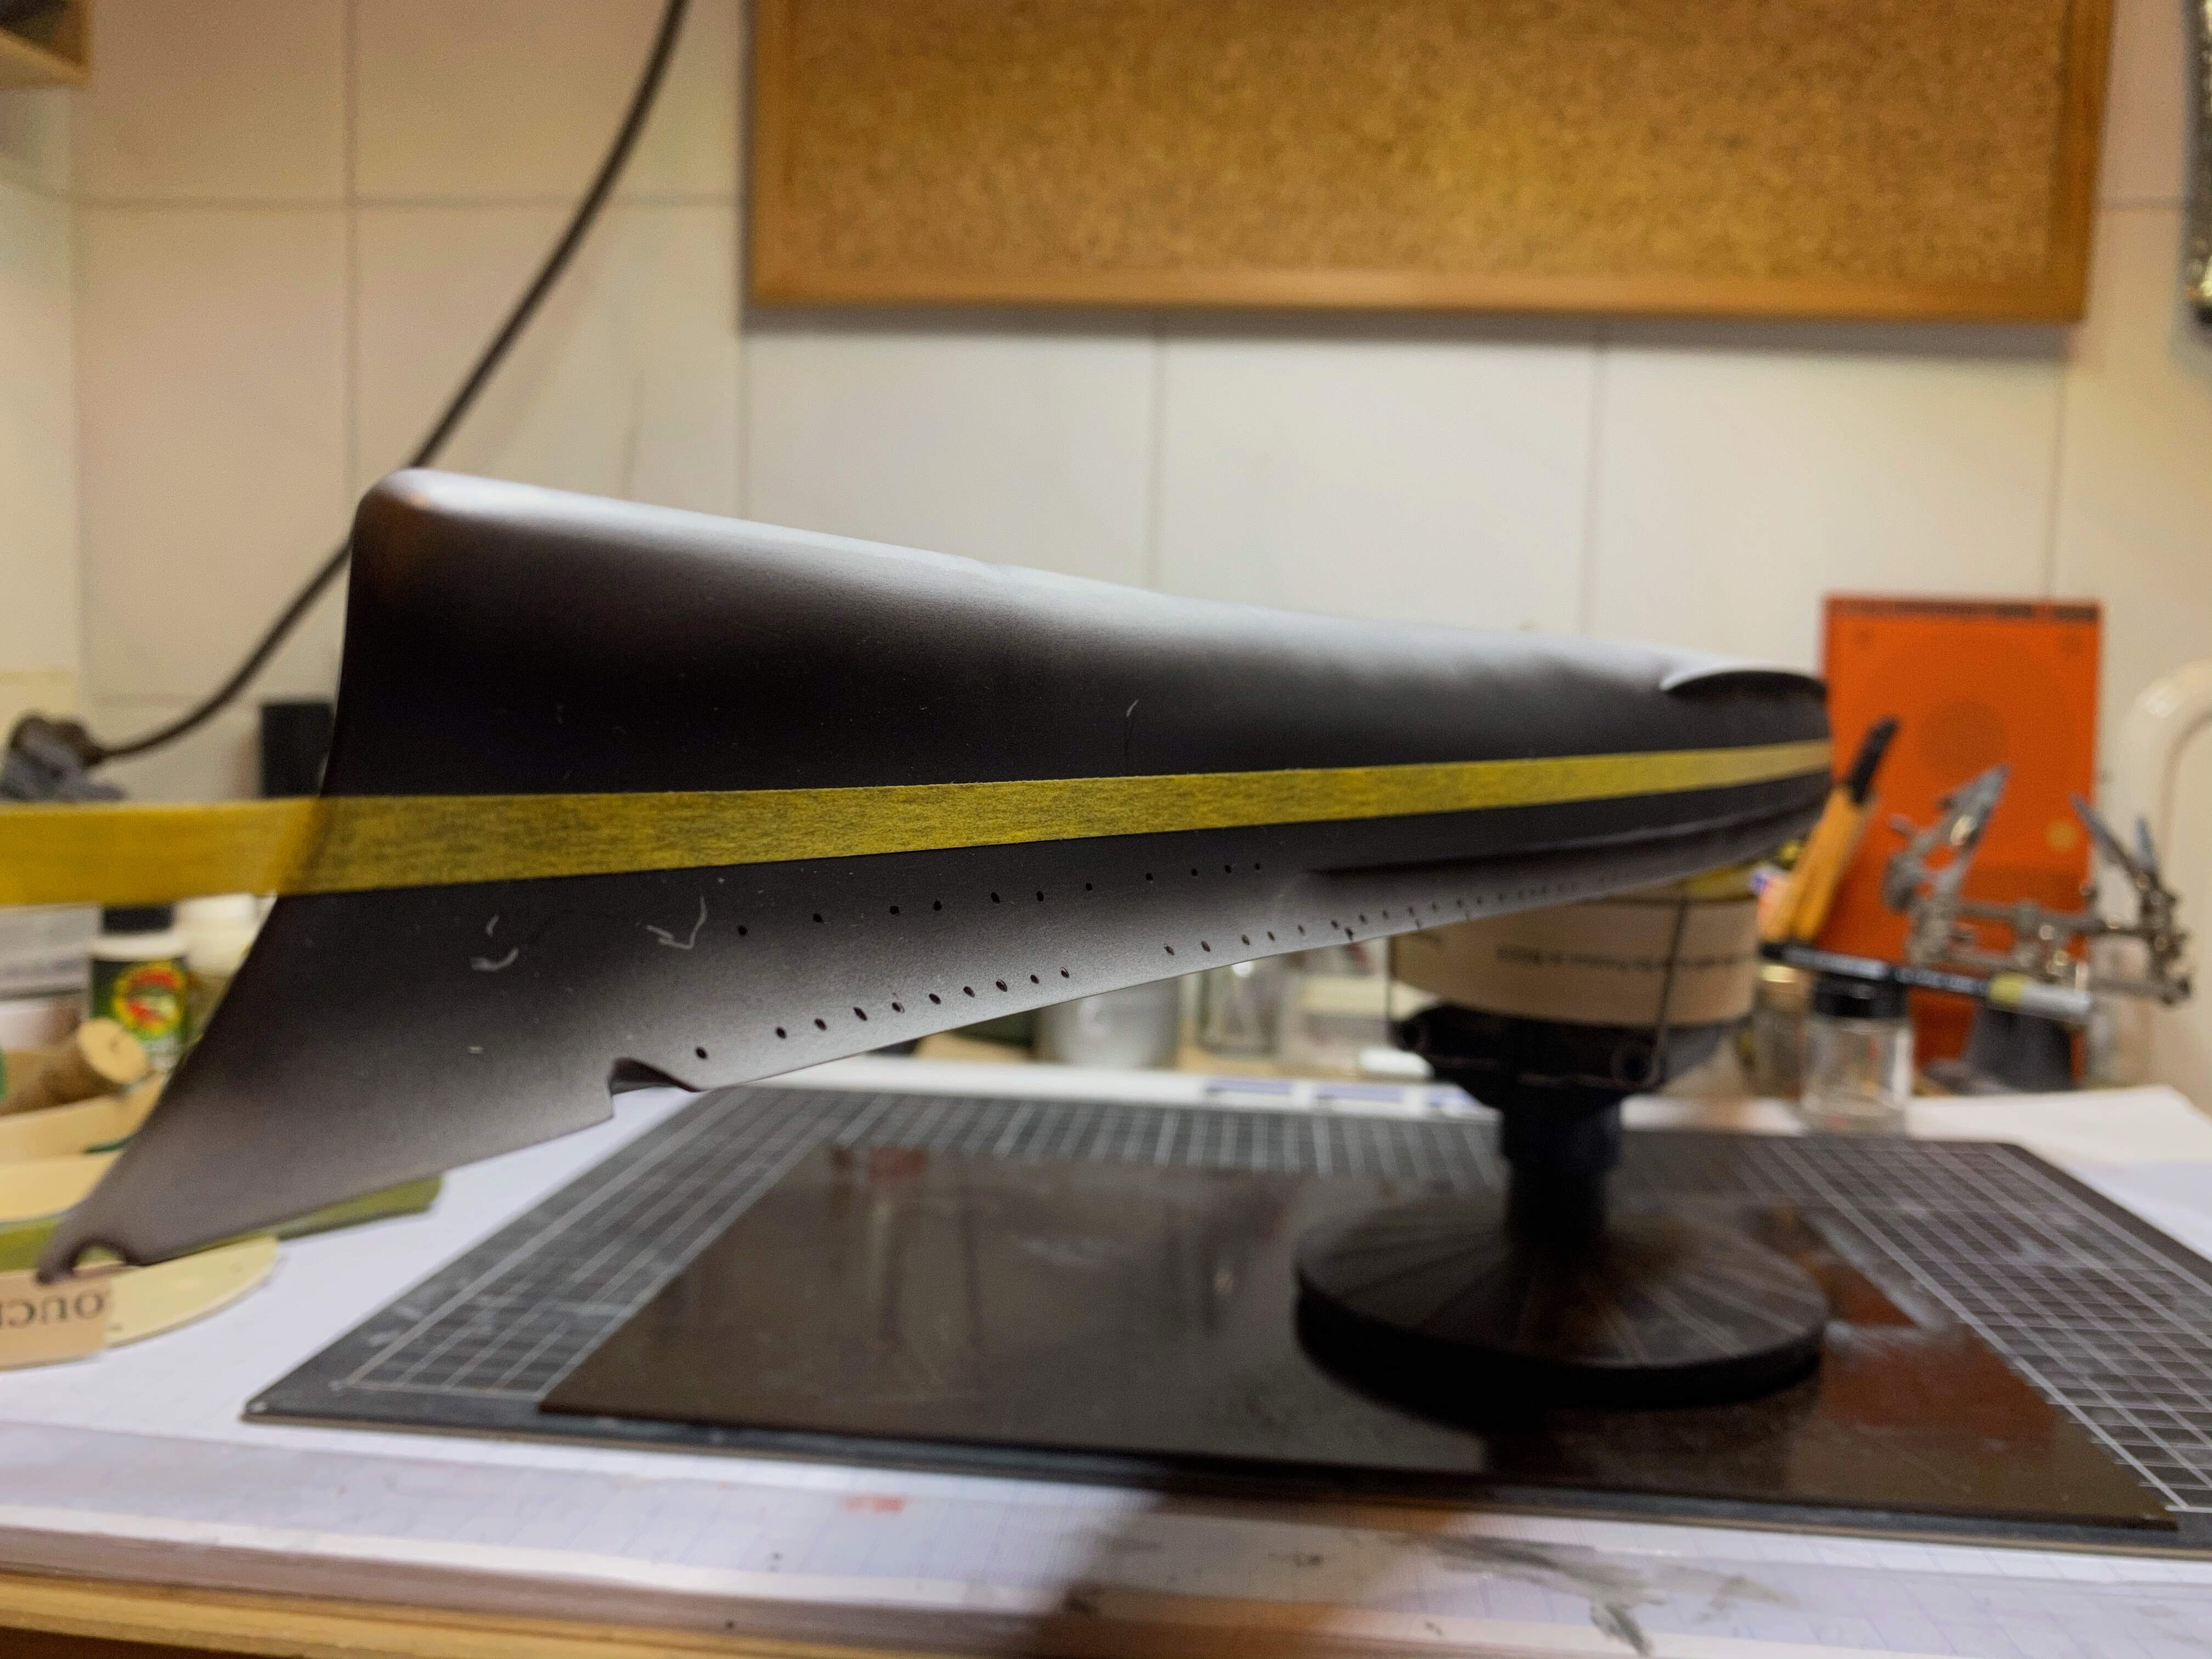
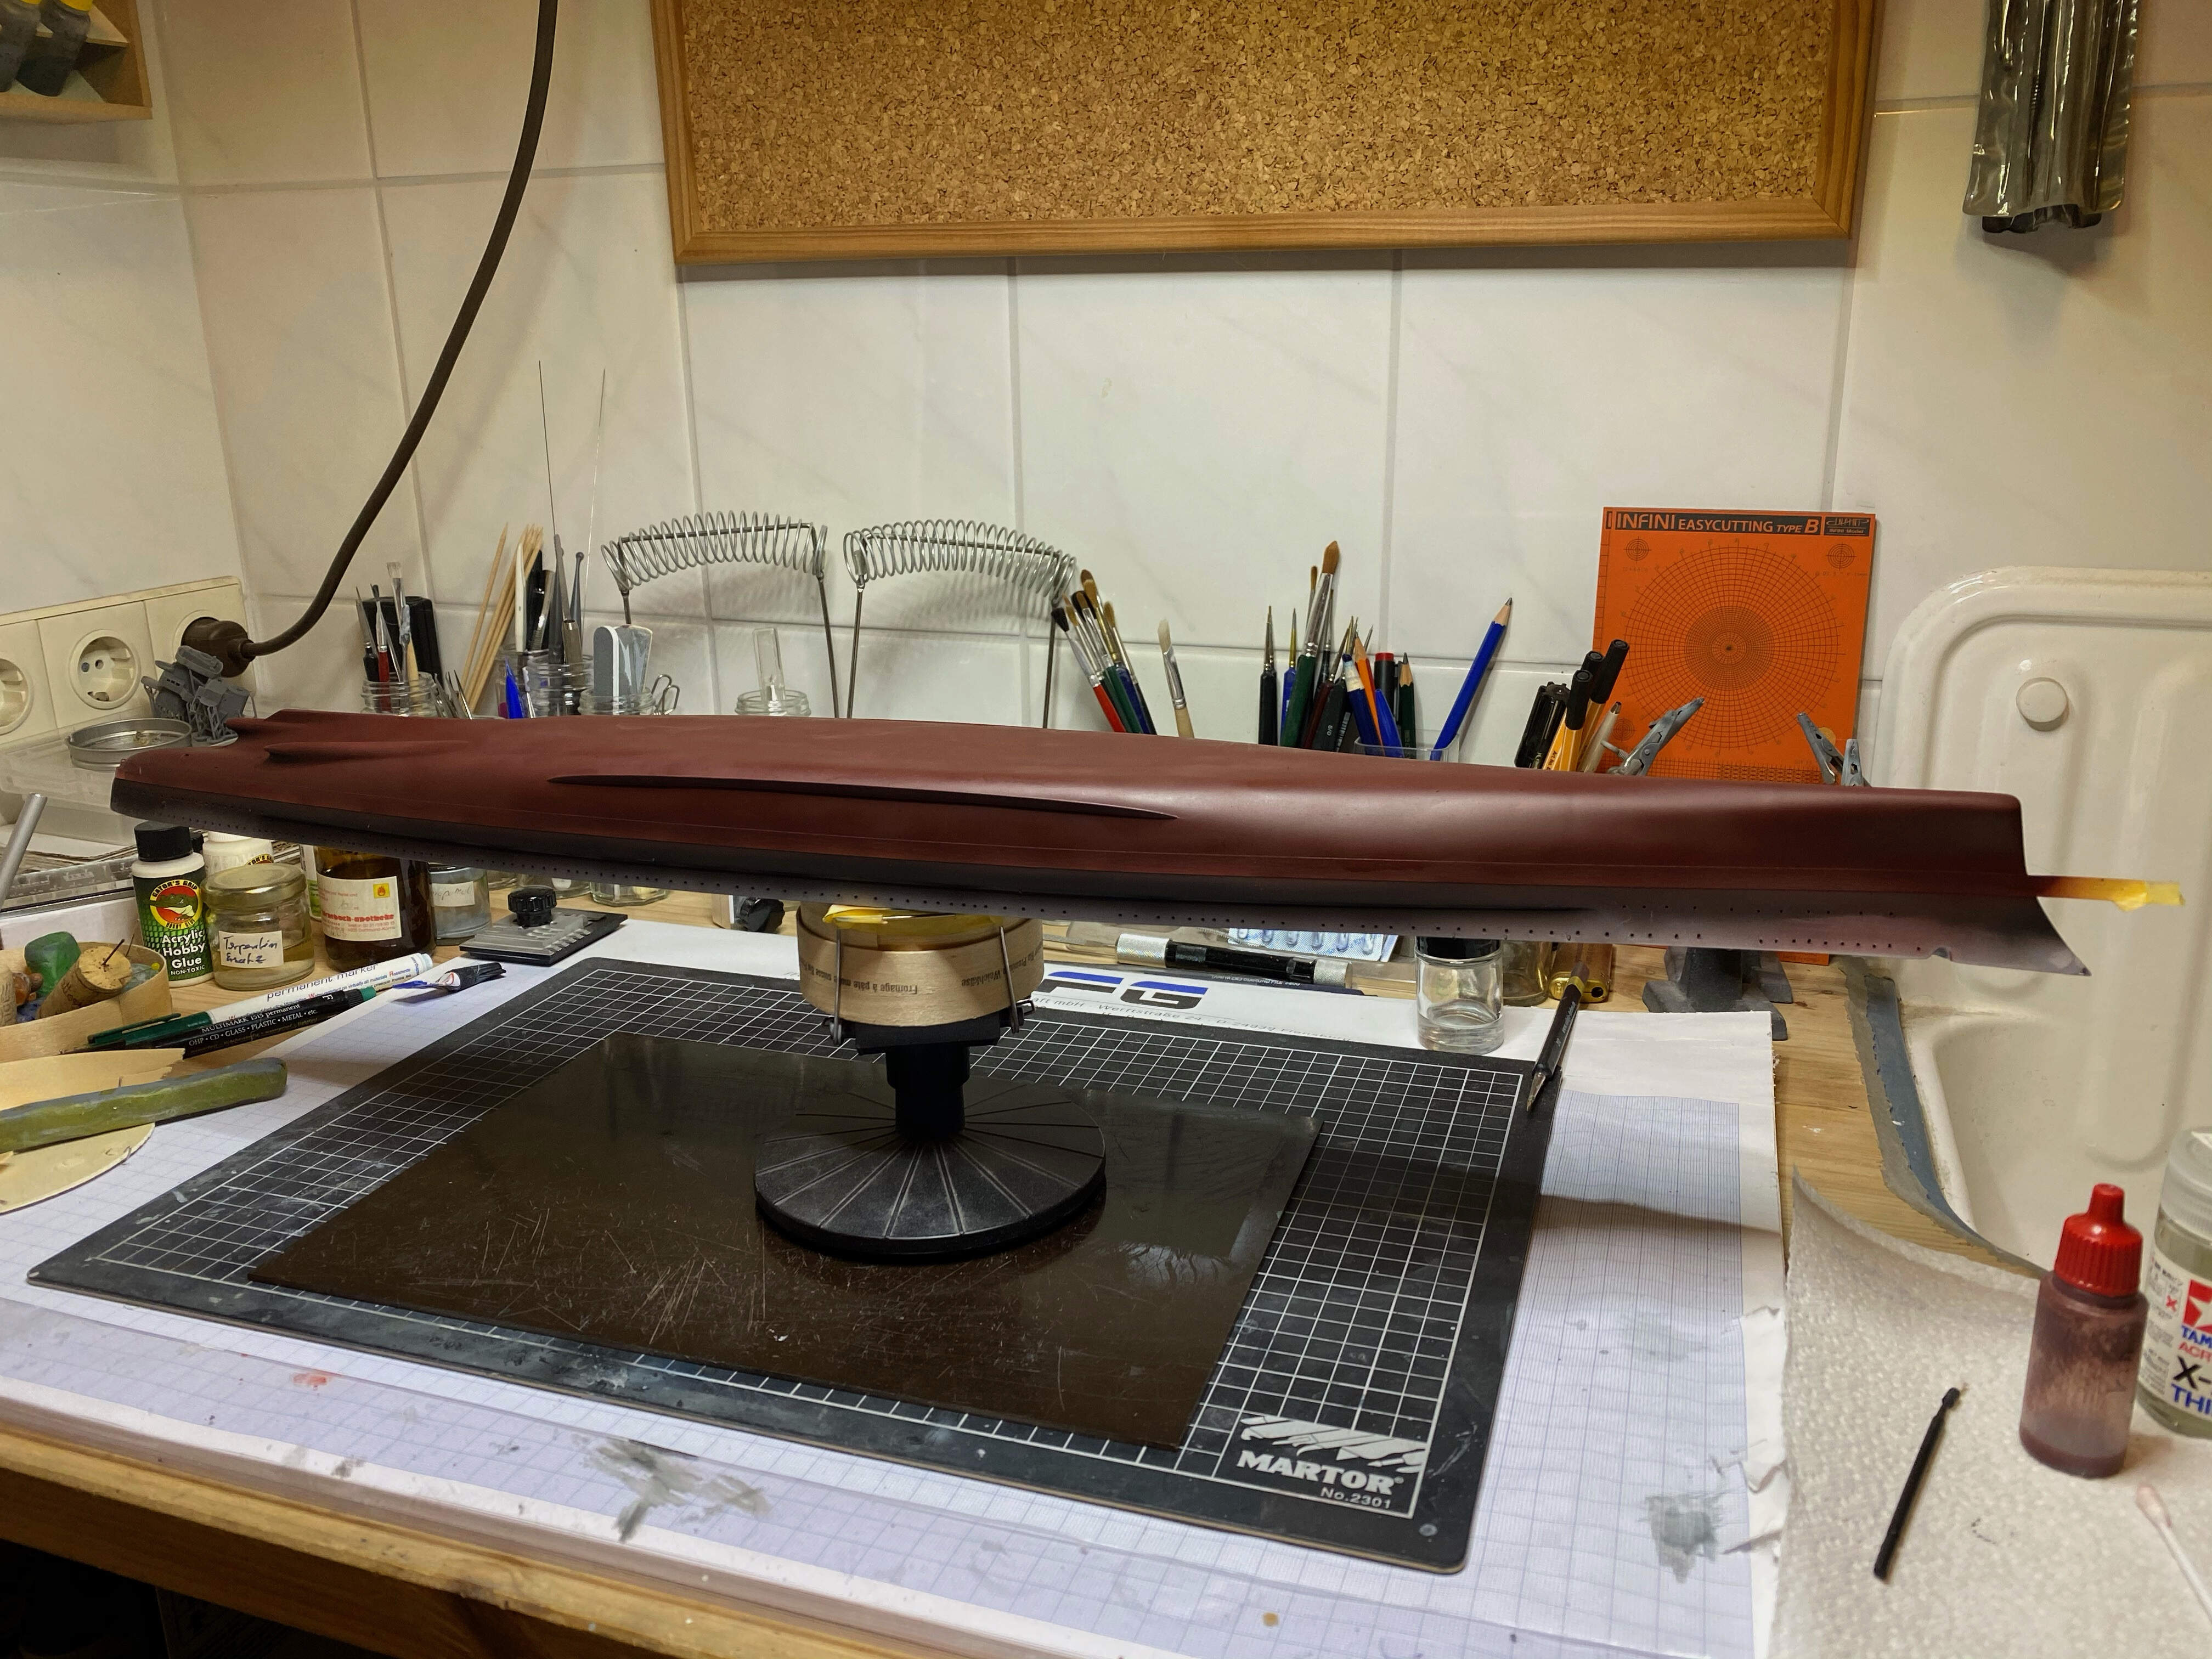
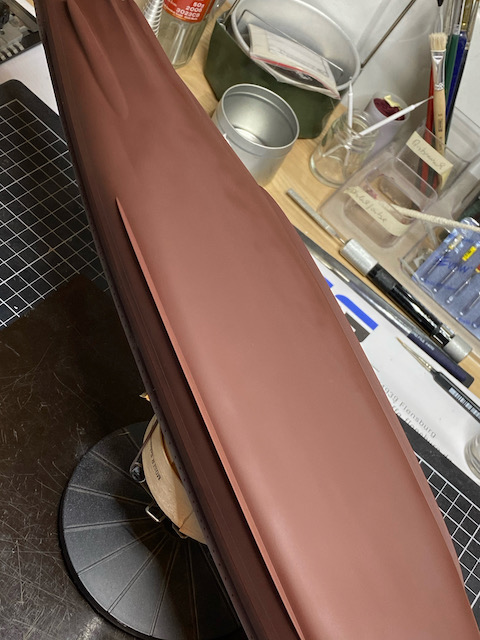
All portholes eventually drilled out, a last ‘overall’ soft sanding before the first coat of surfacer as base coat will be applied. For that, I provisionally fixed an old box to a part of the deck that will be entirely under the superstructure later on as a ‘handle’…

and on a turntable ready for the base coat.

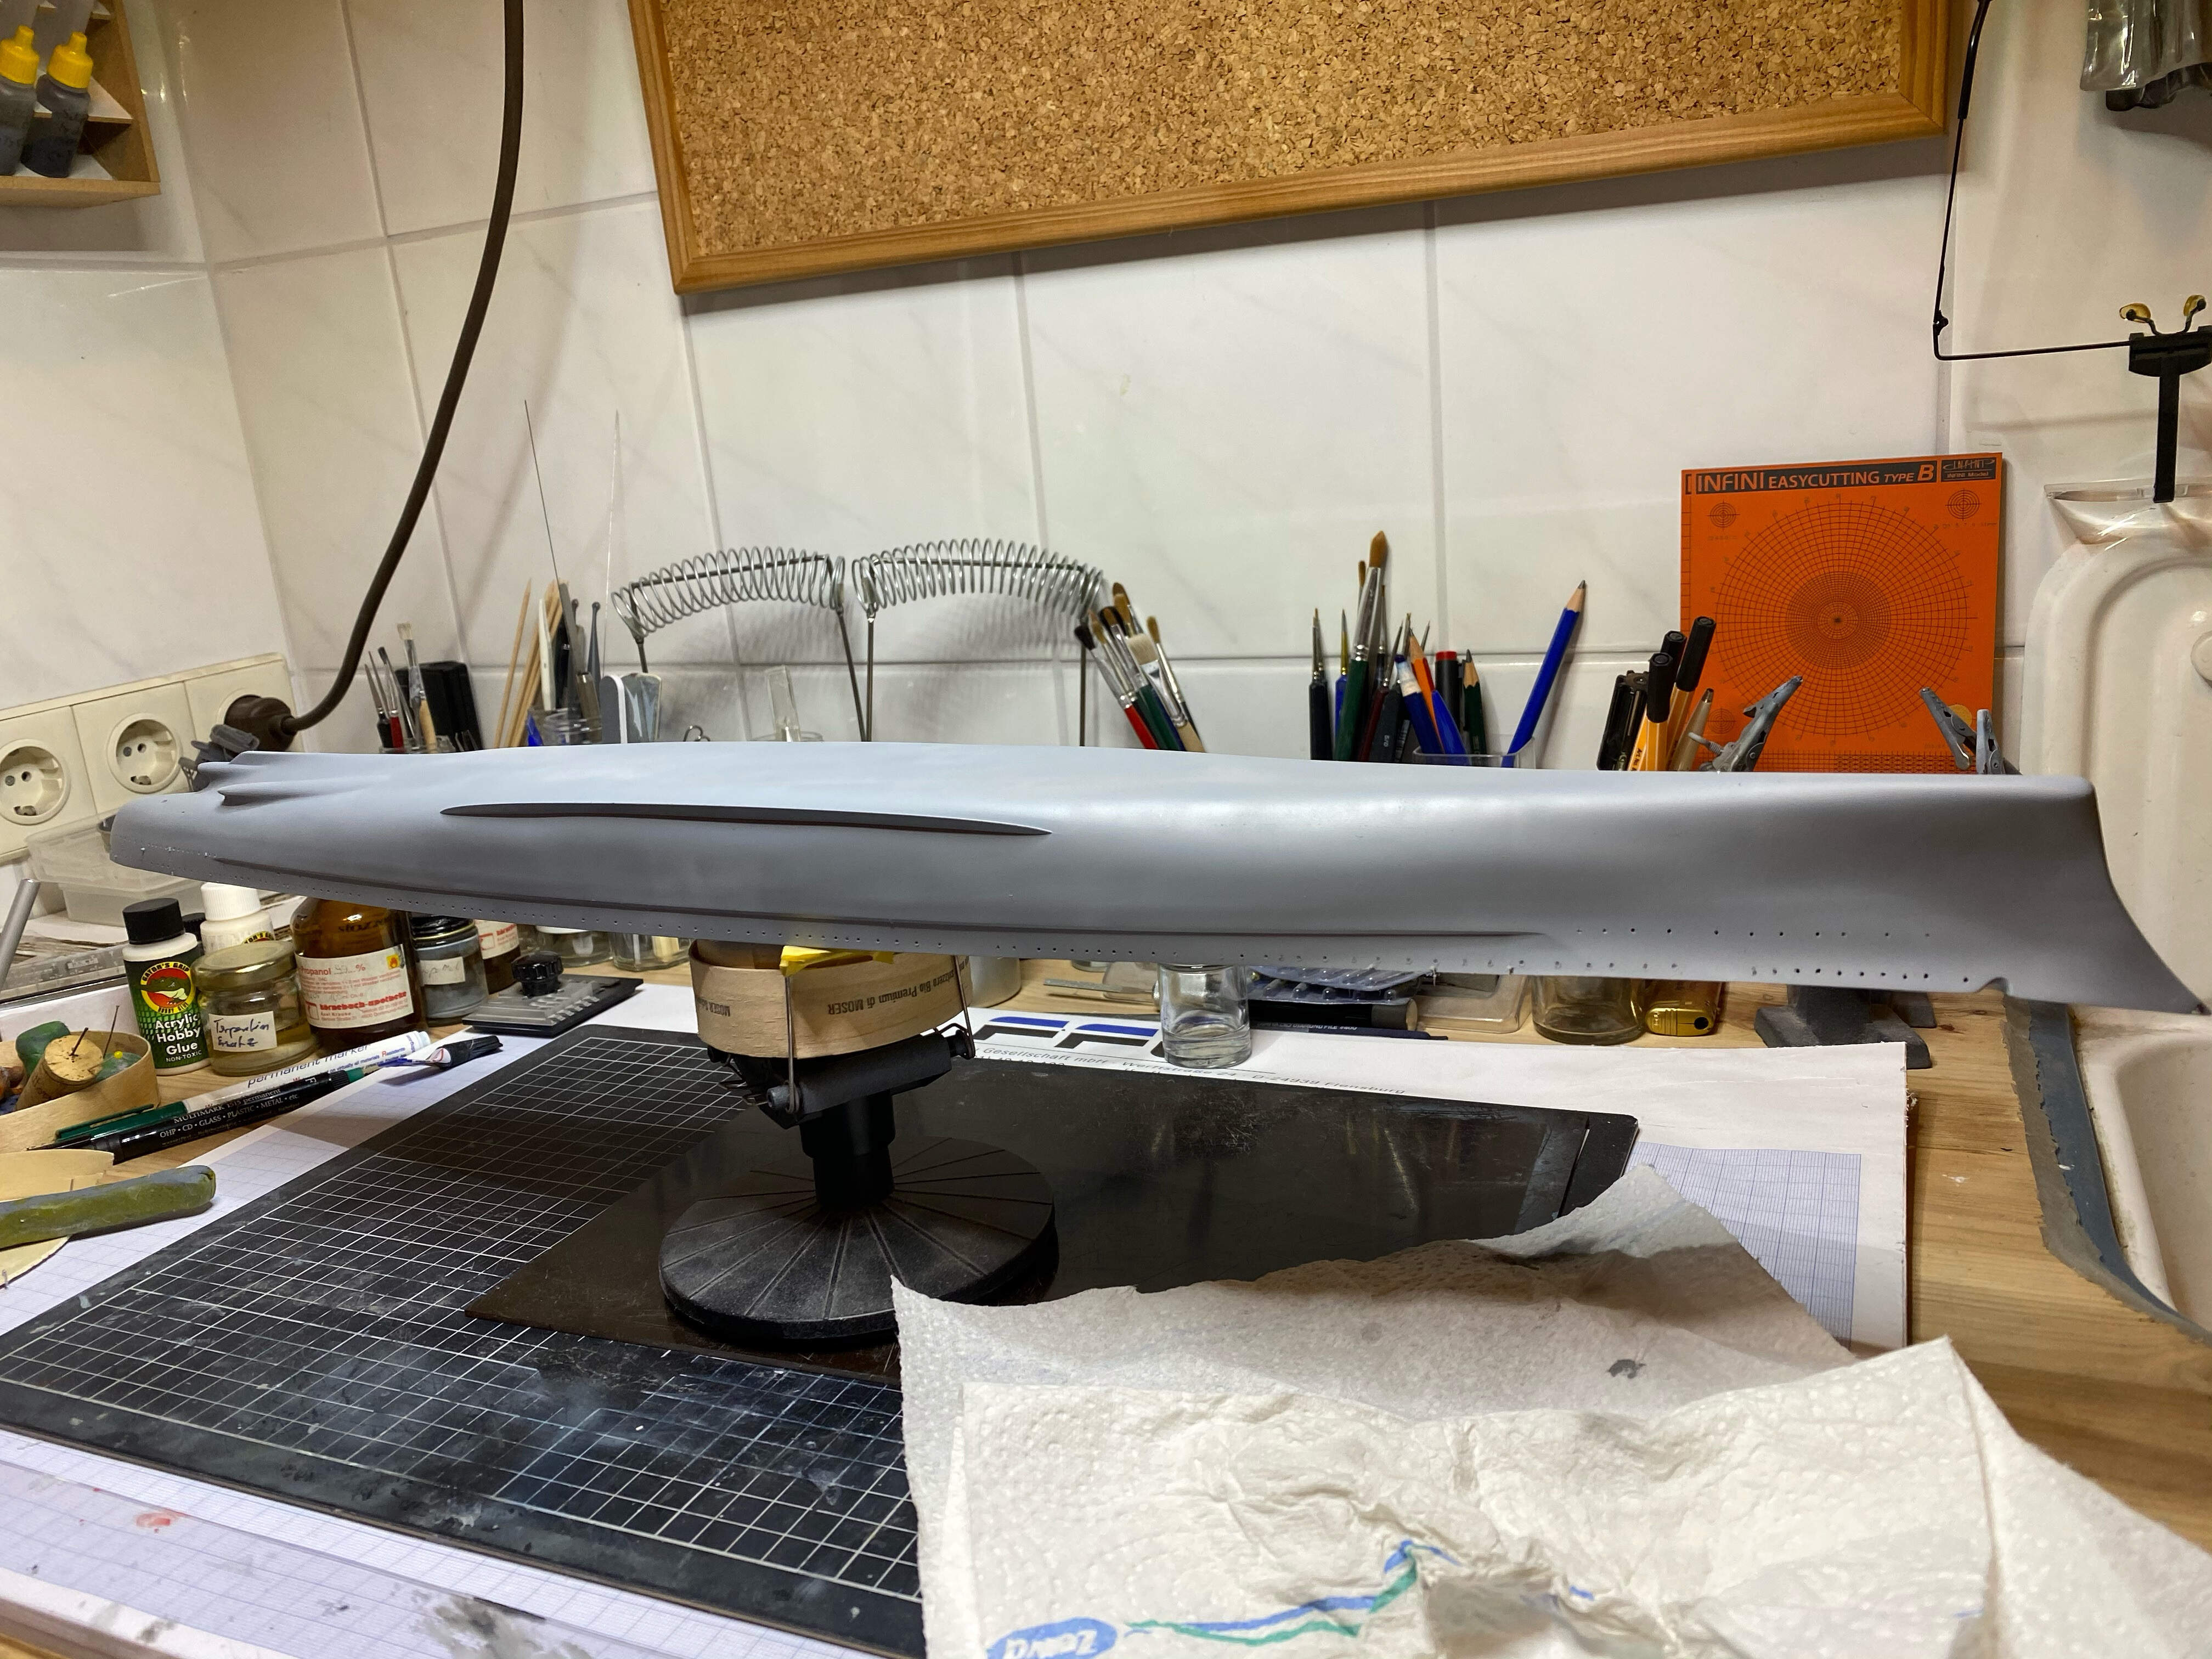
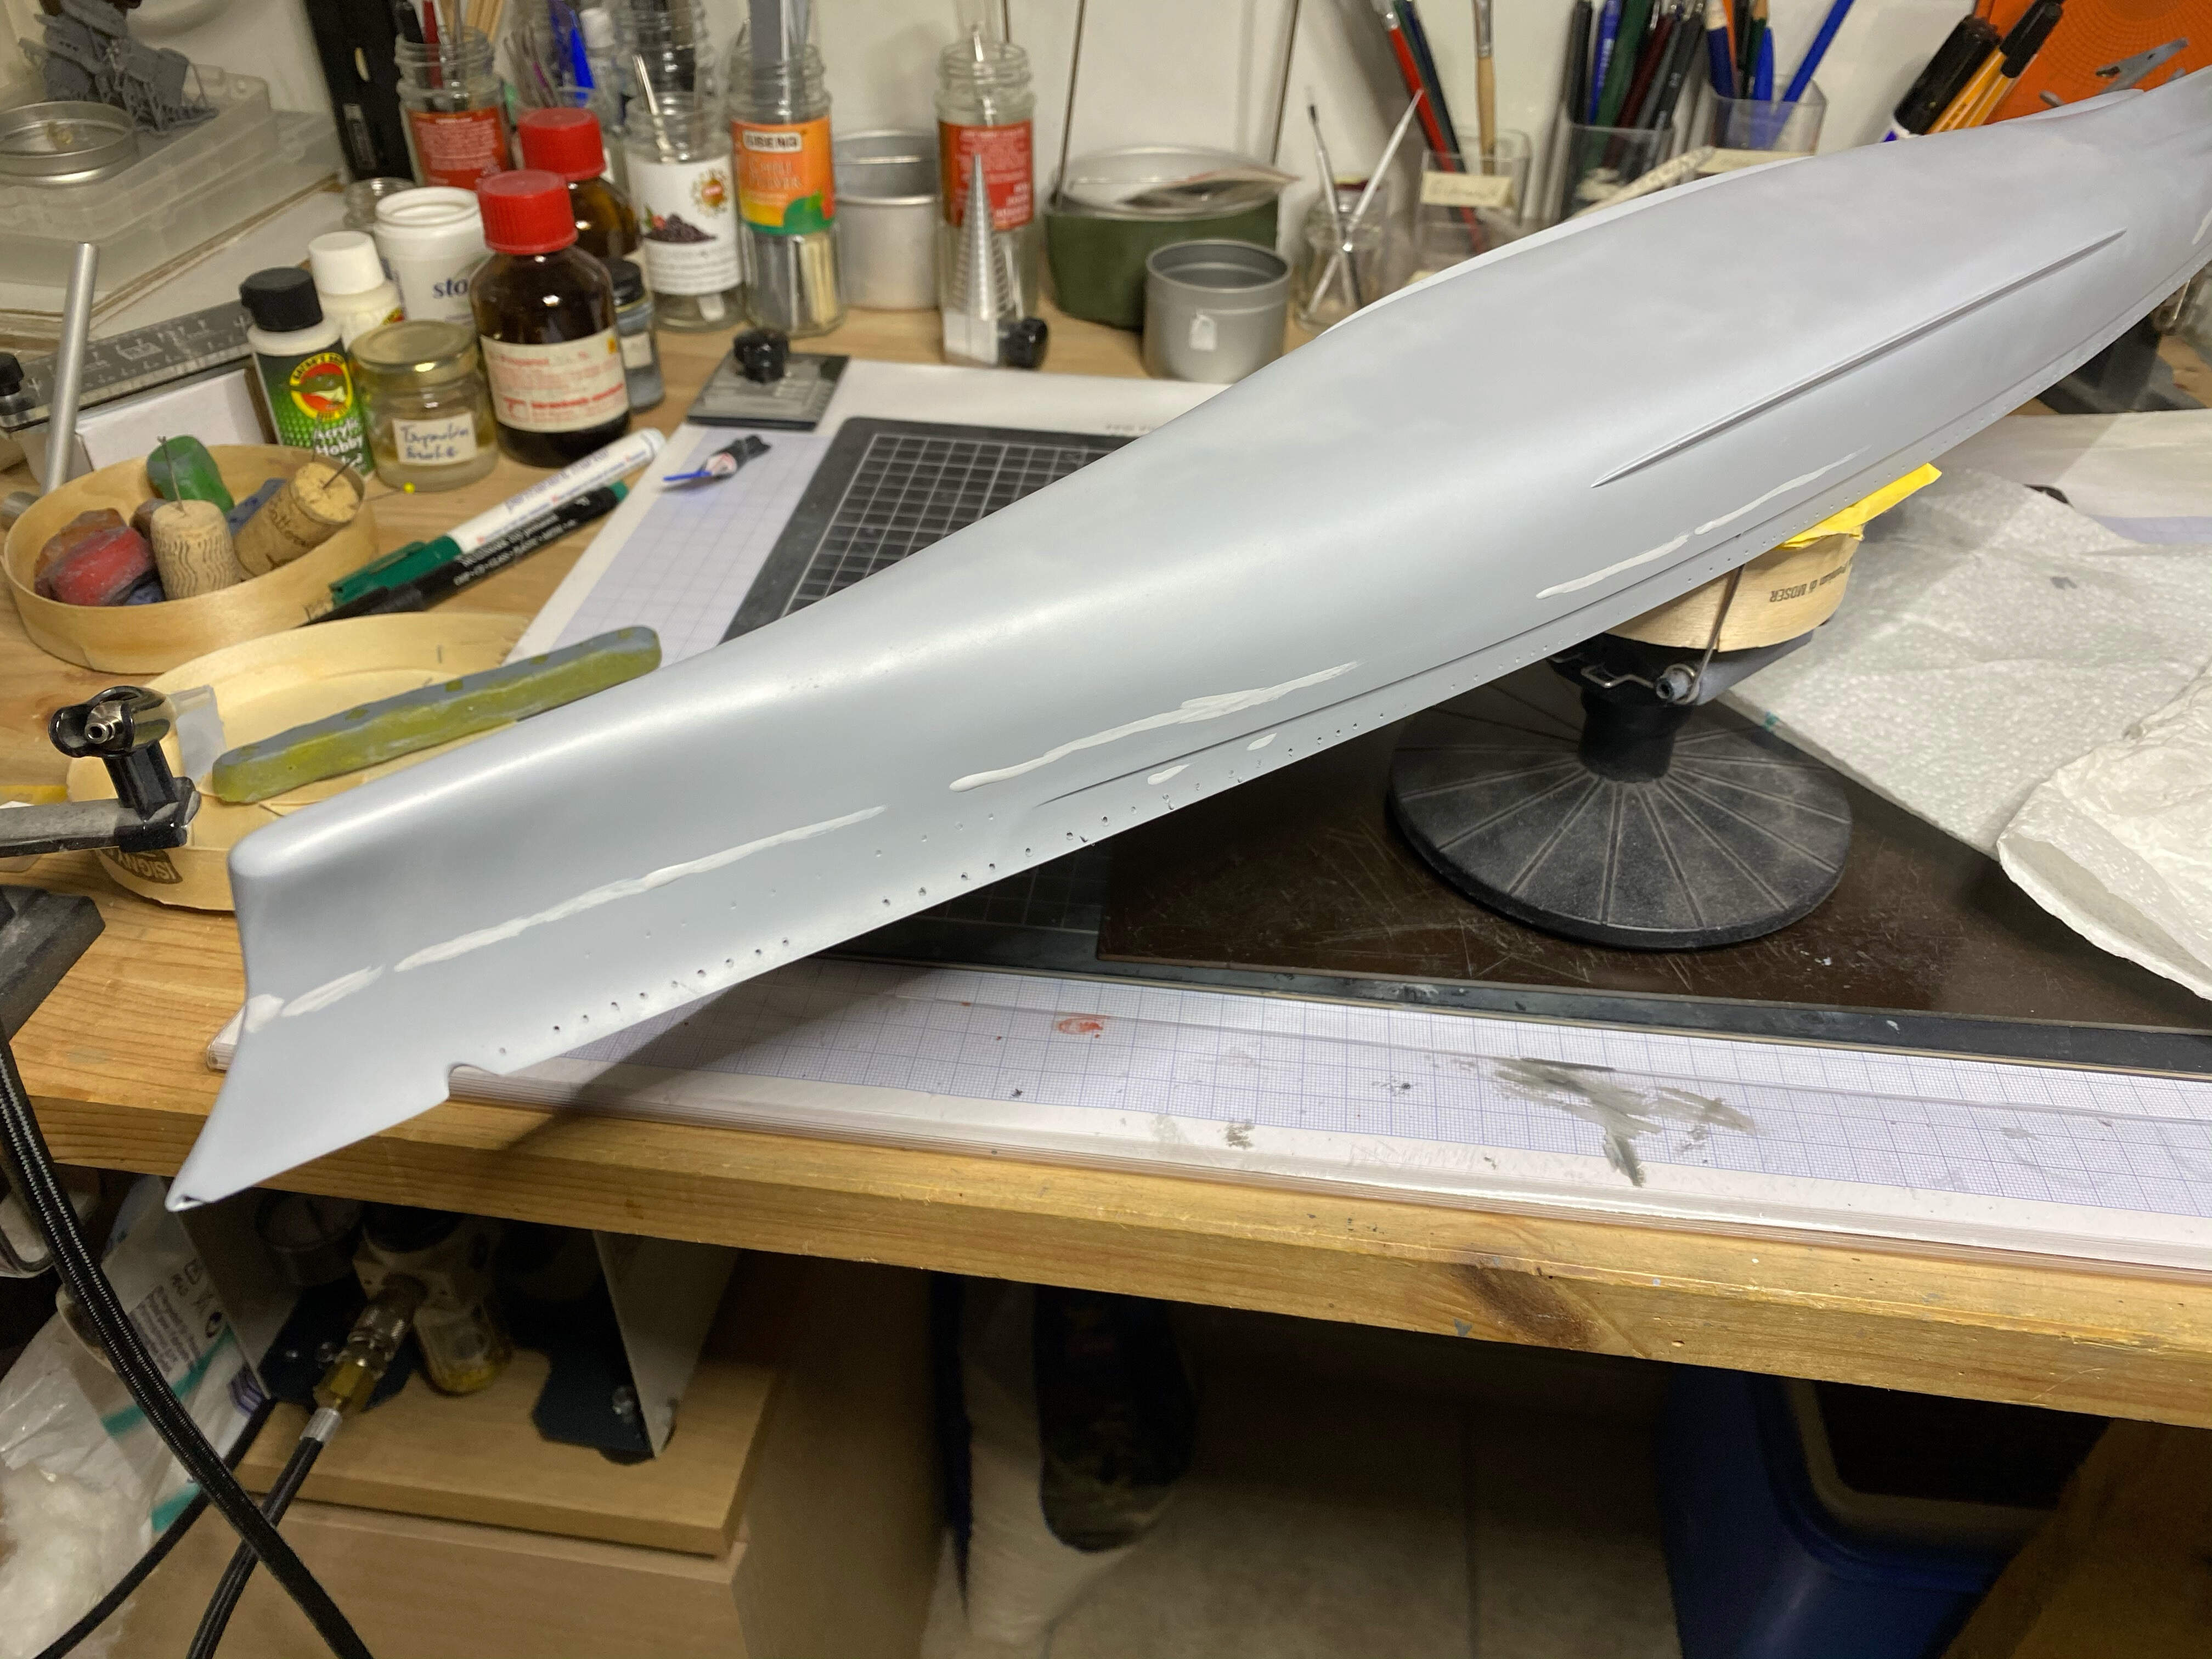
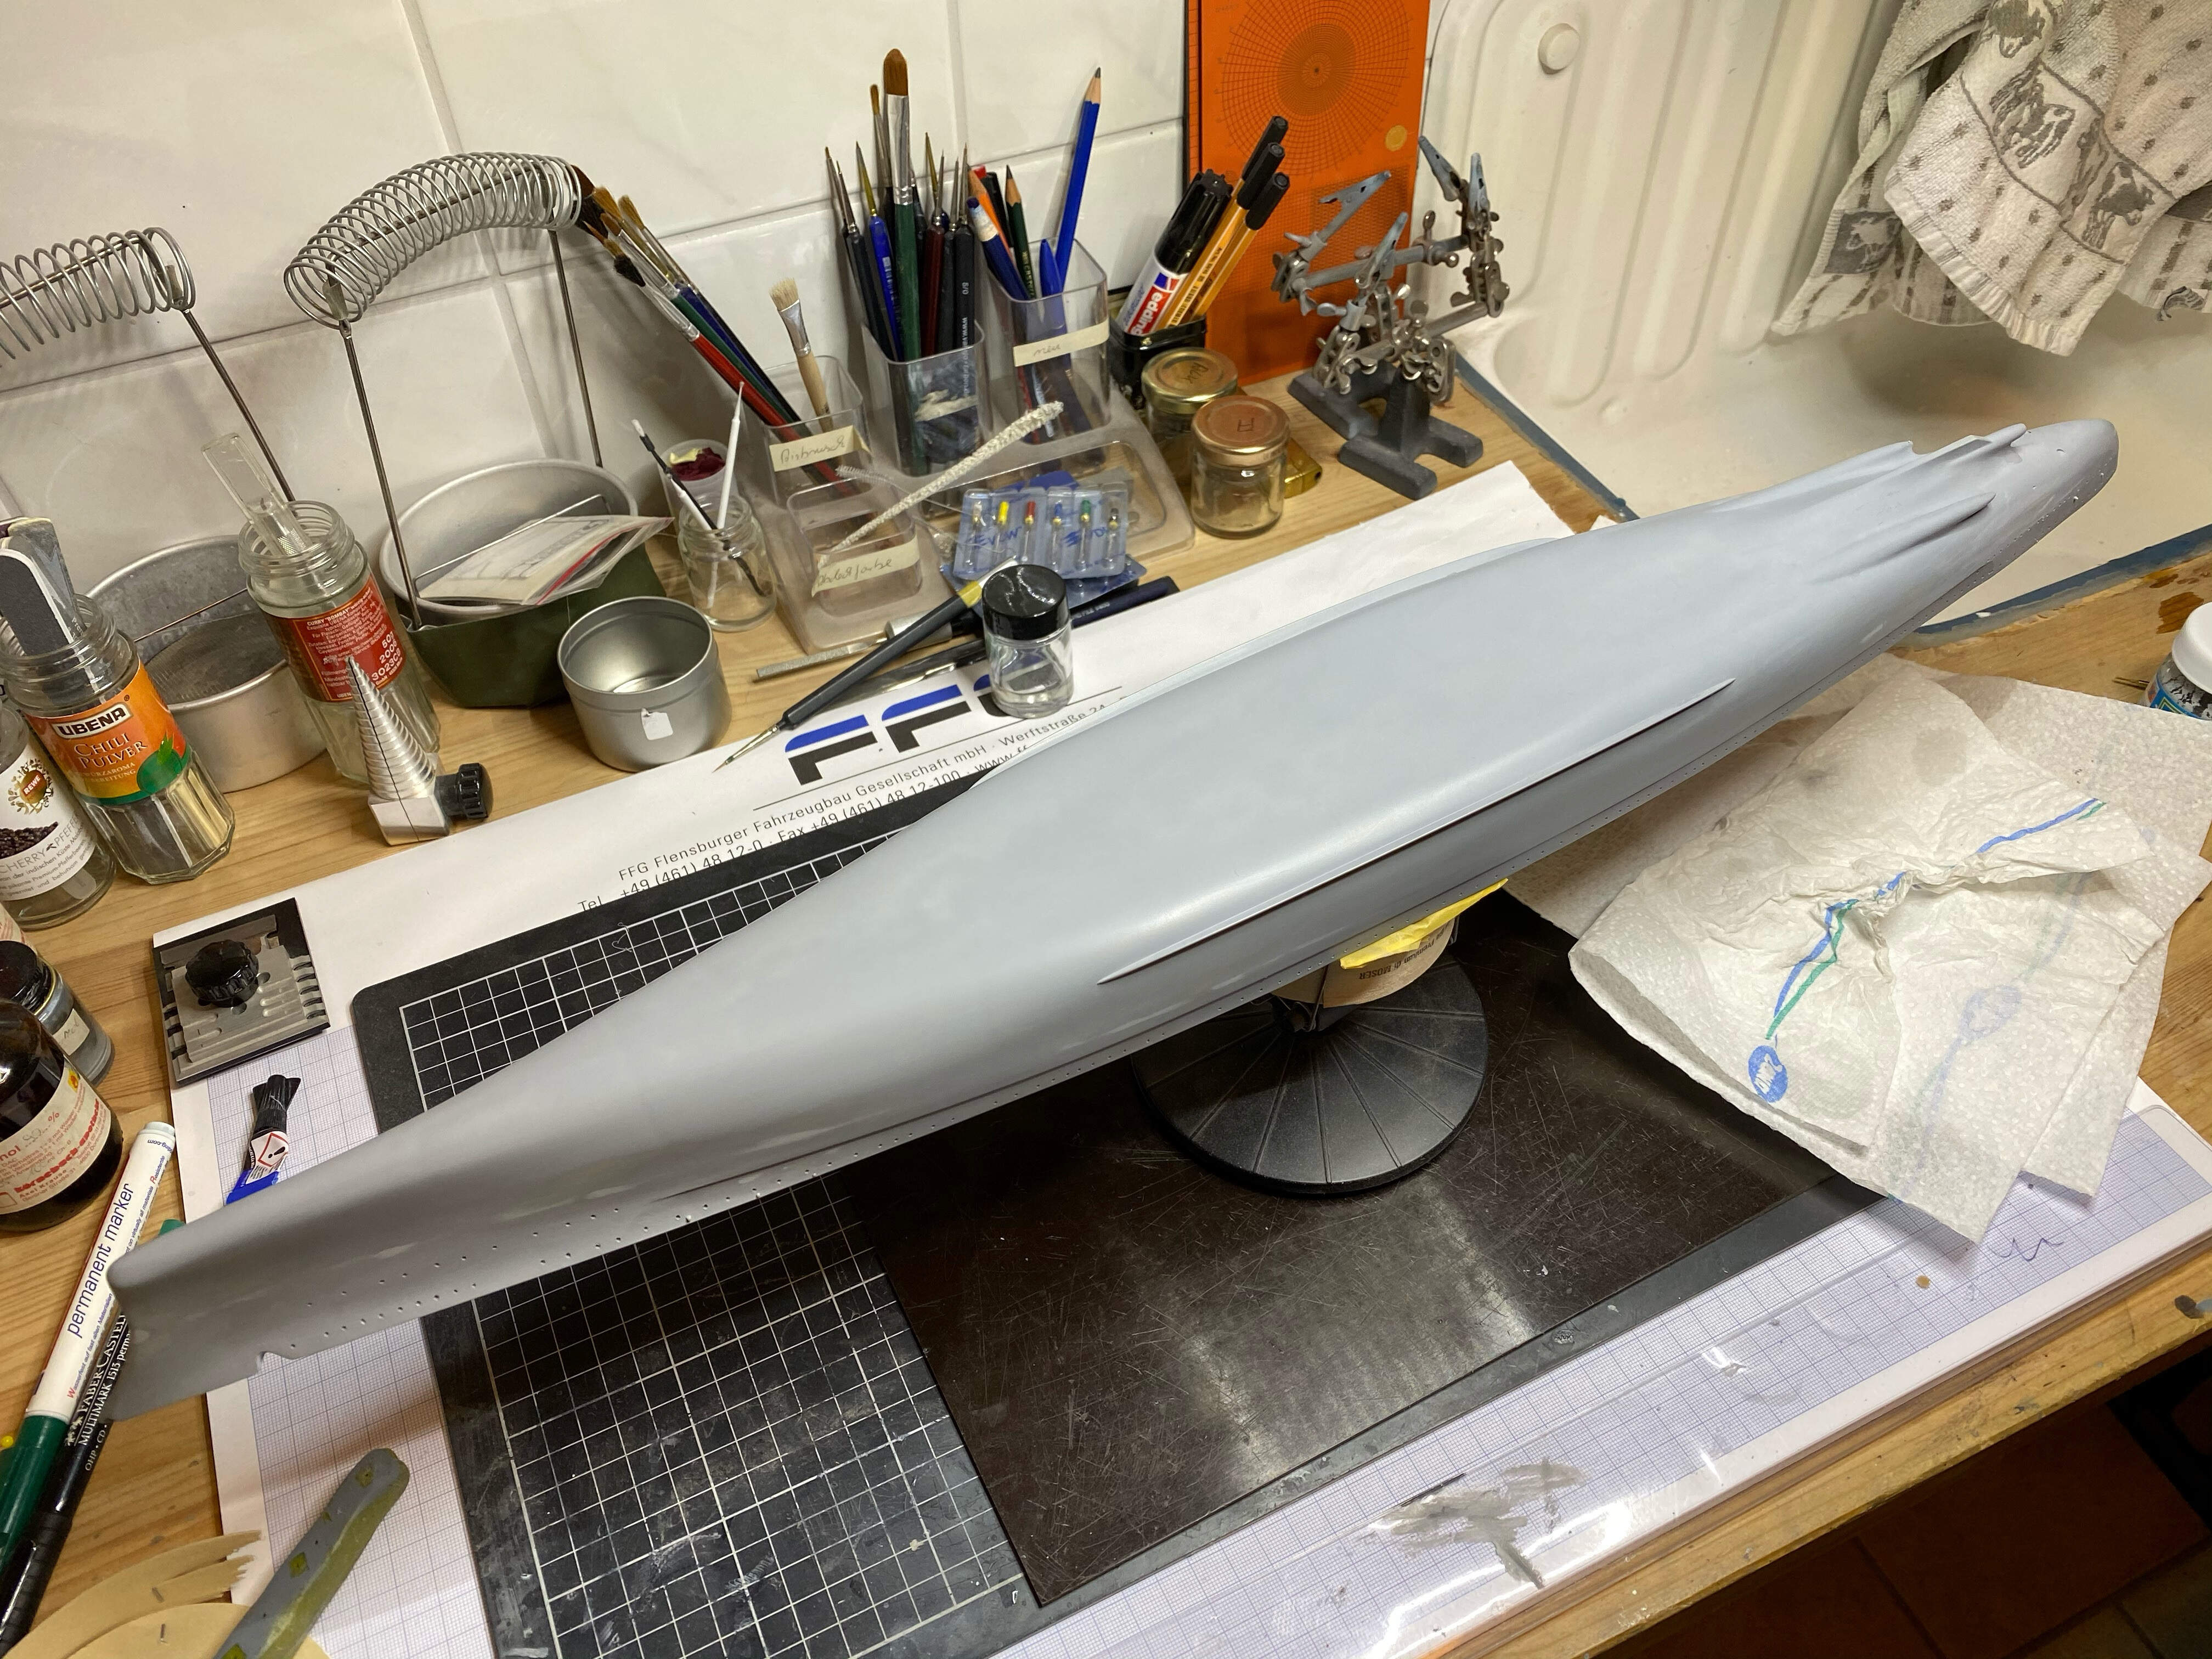
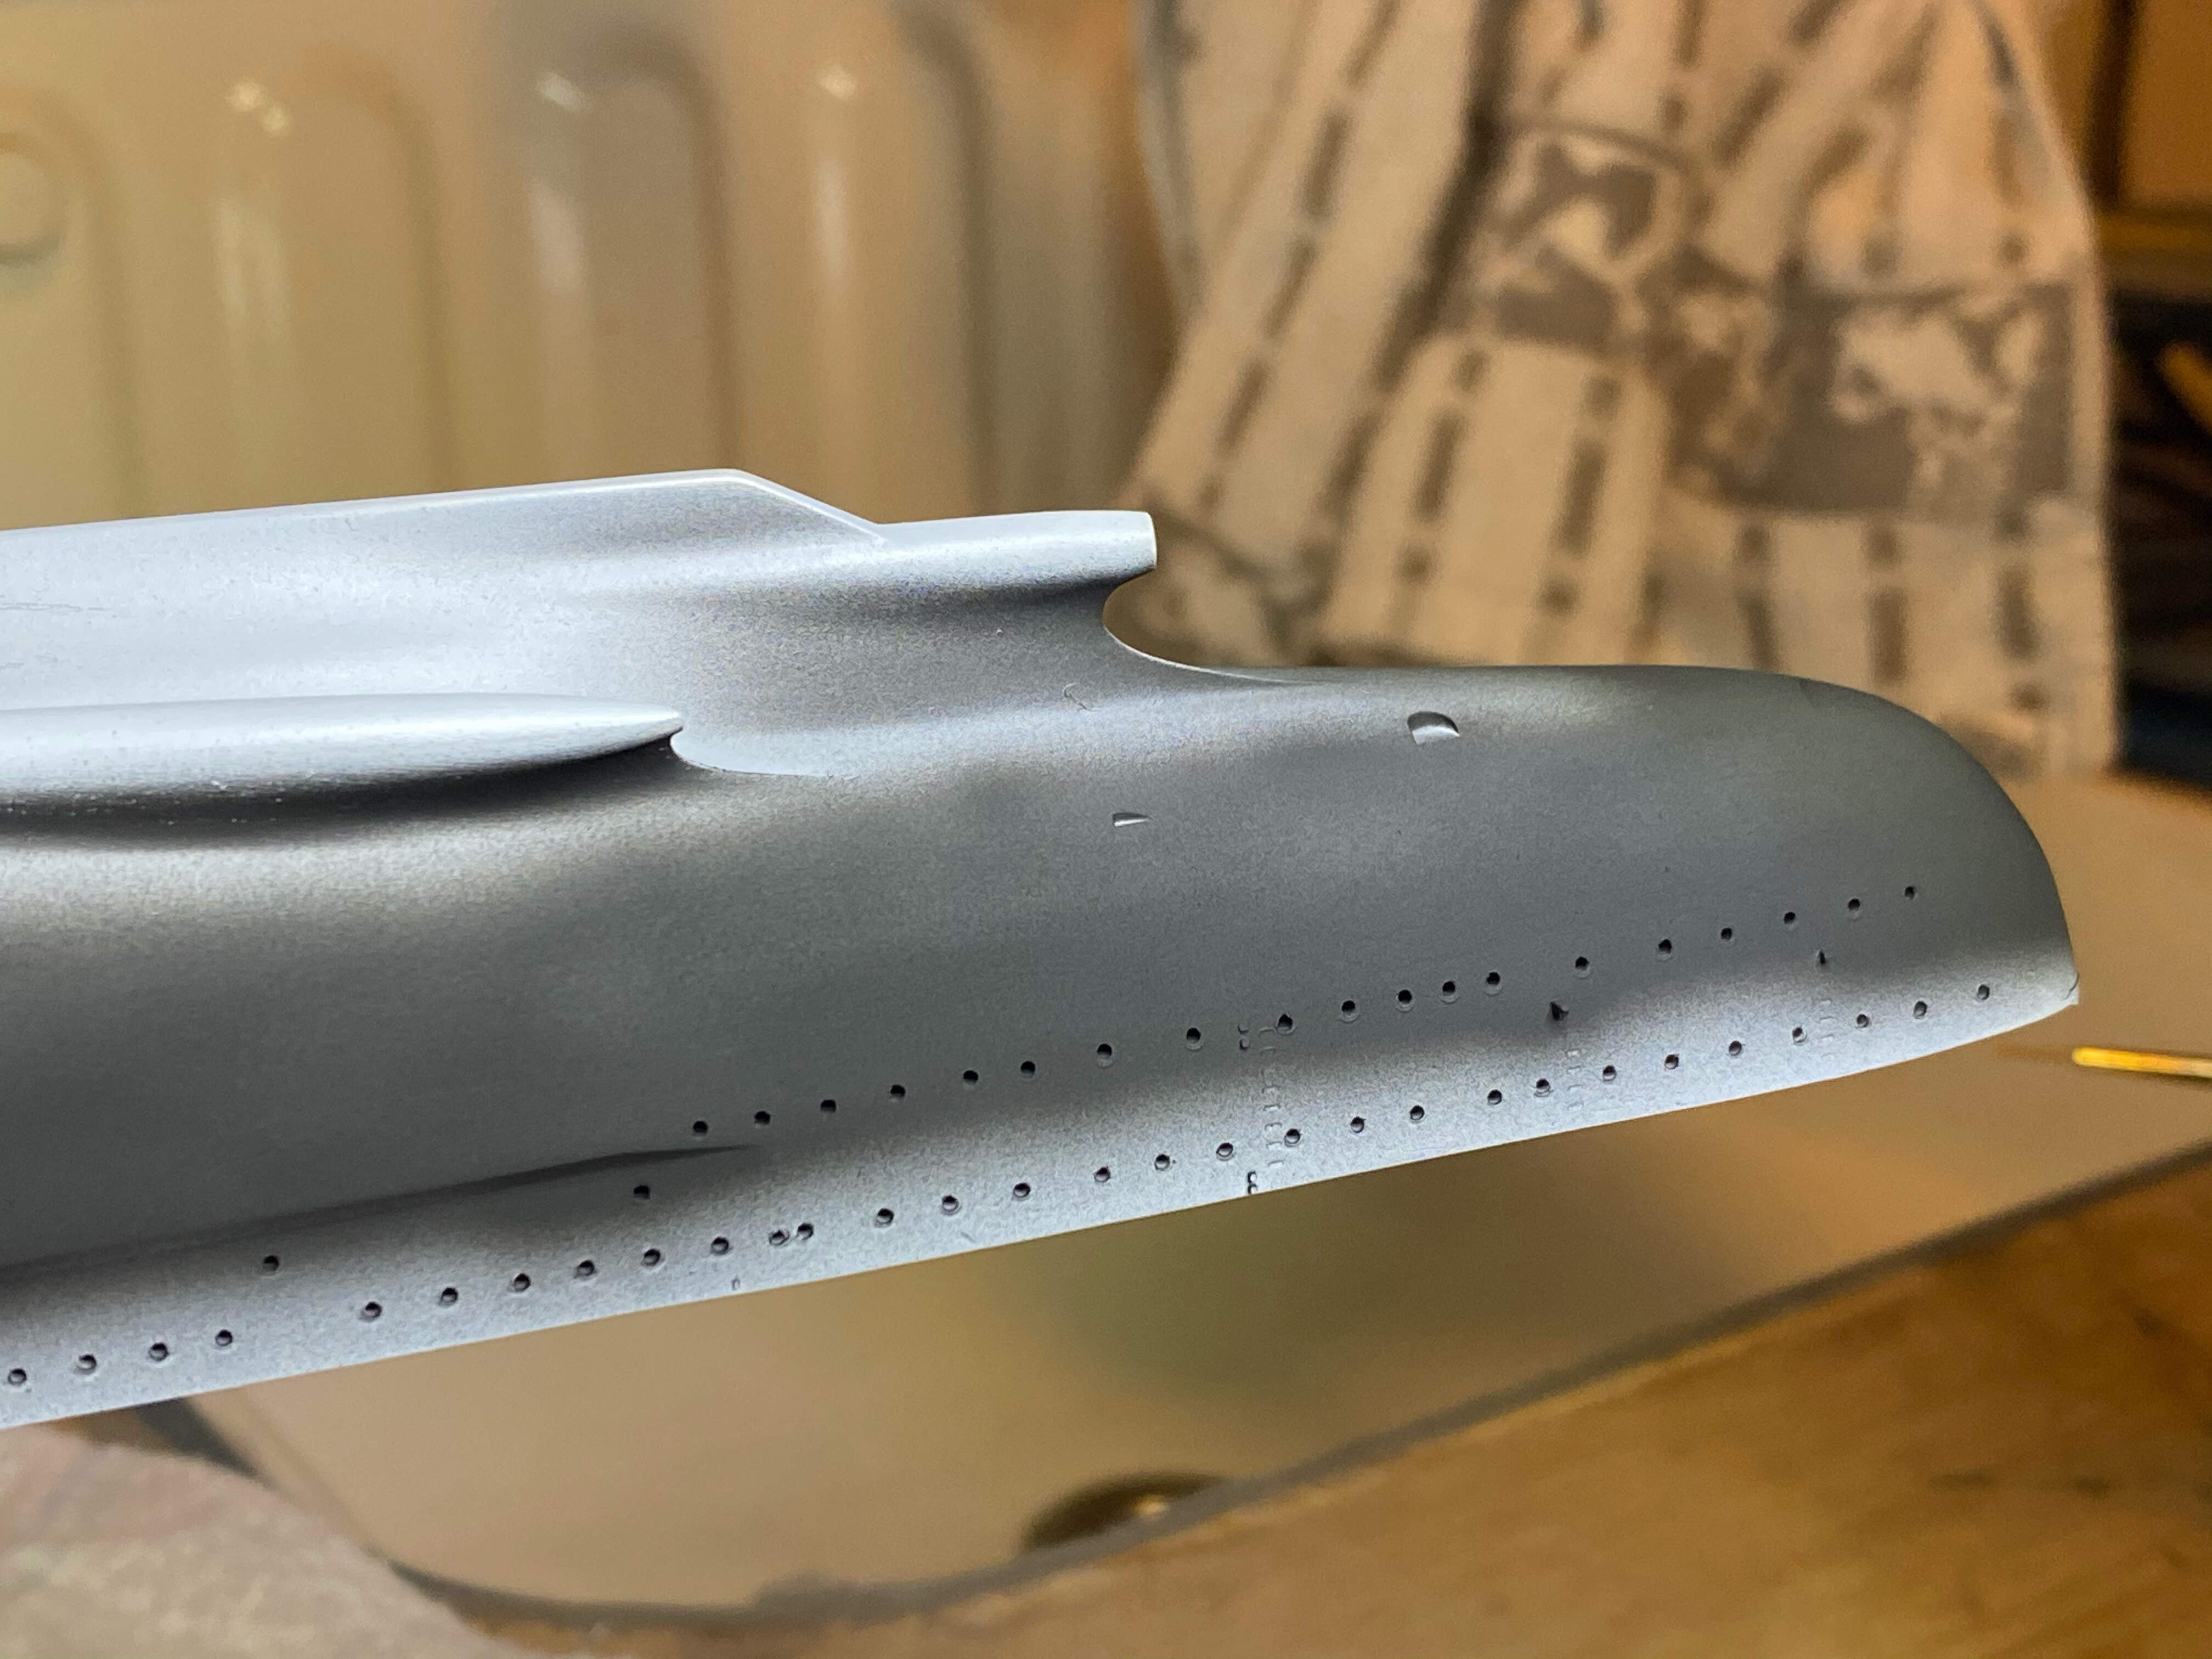
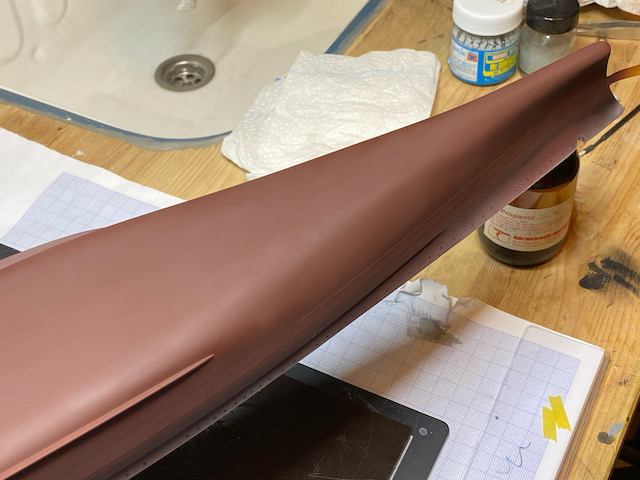
With Surfacer 1000 sprayed on, this shows where some more touch ups are necessary…

I have to say that I’m positively surprised, it looks better than I expected…

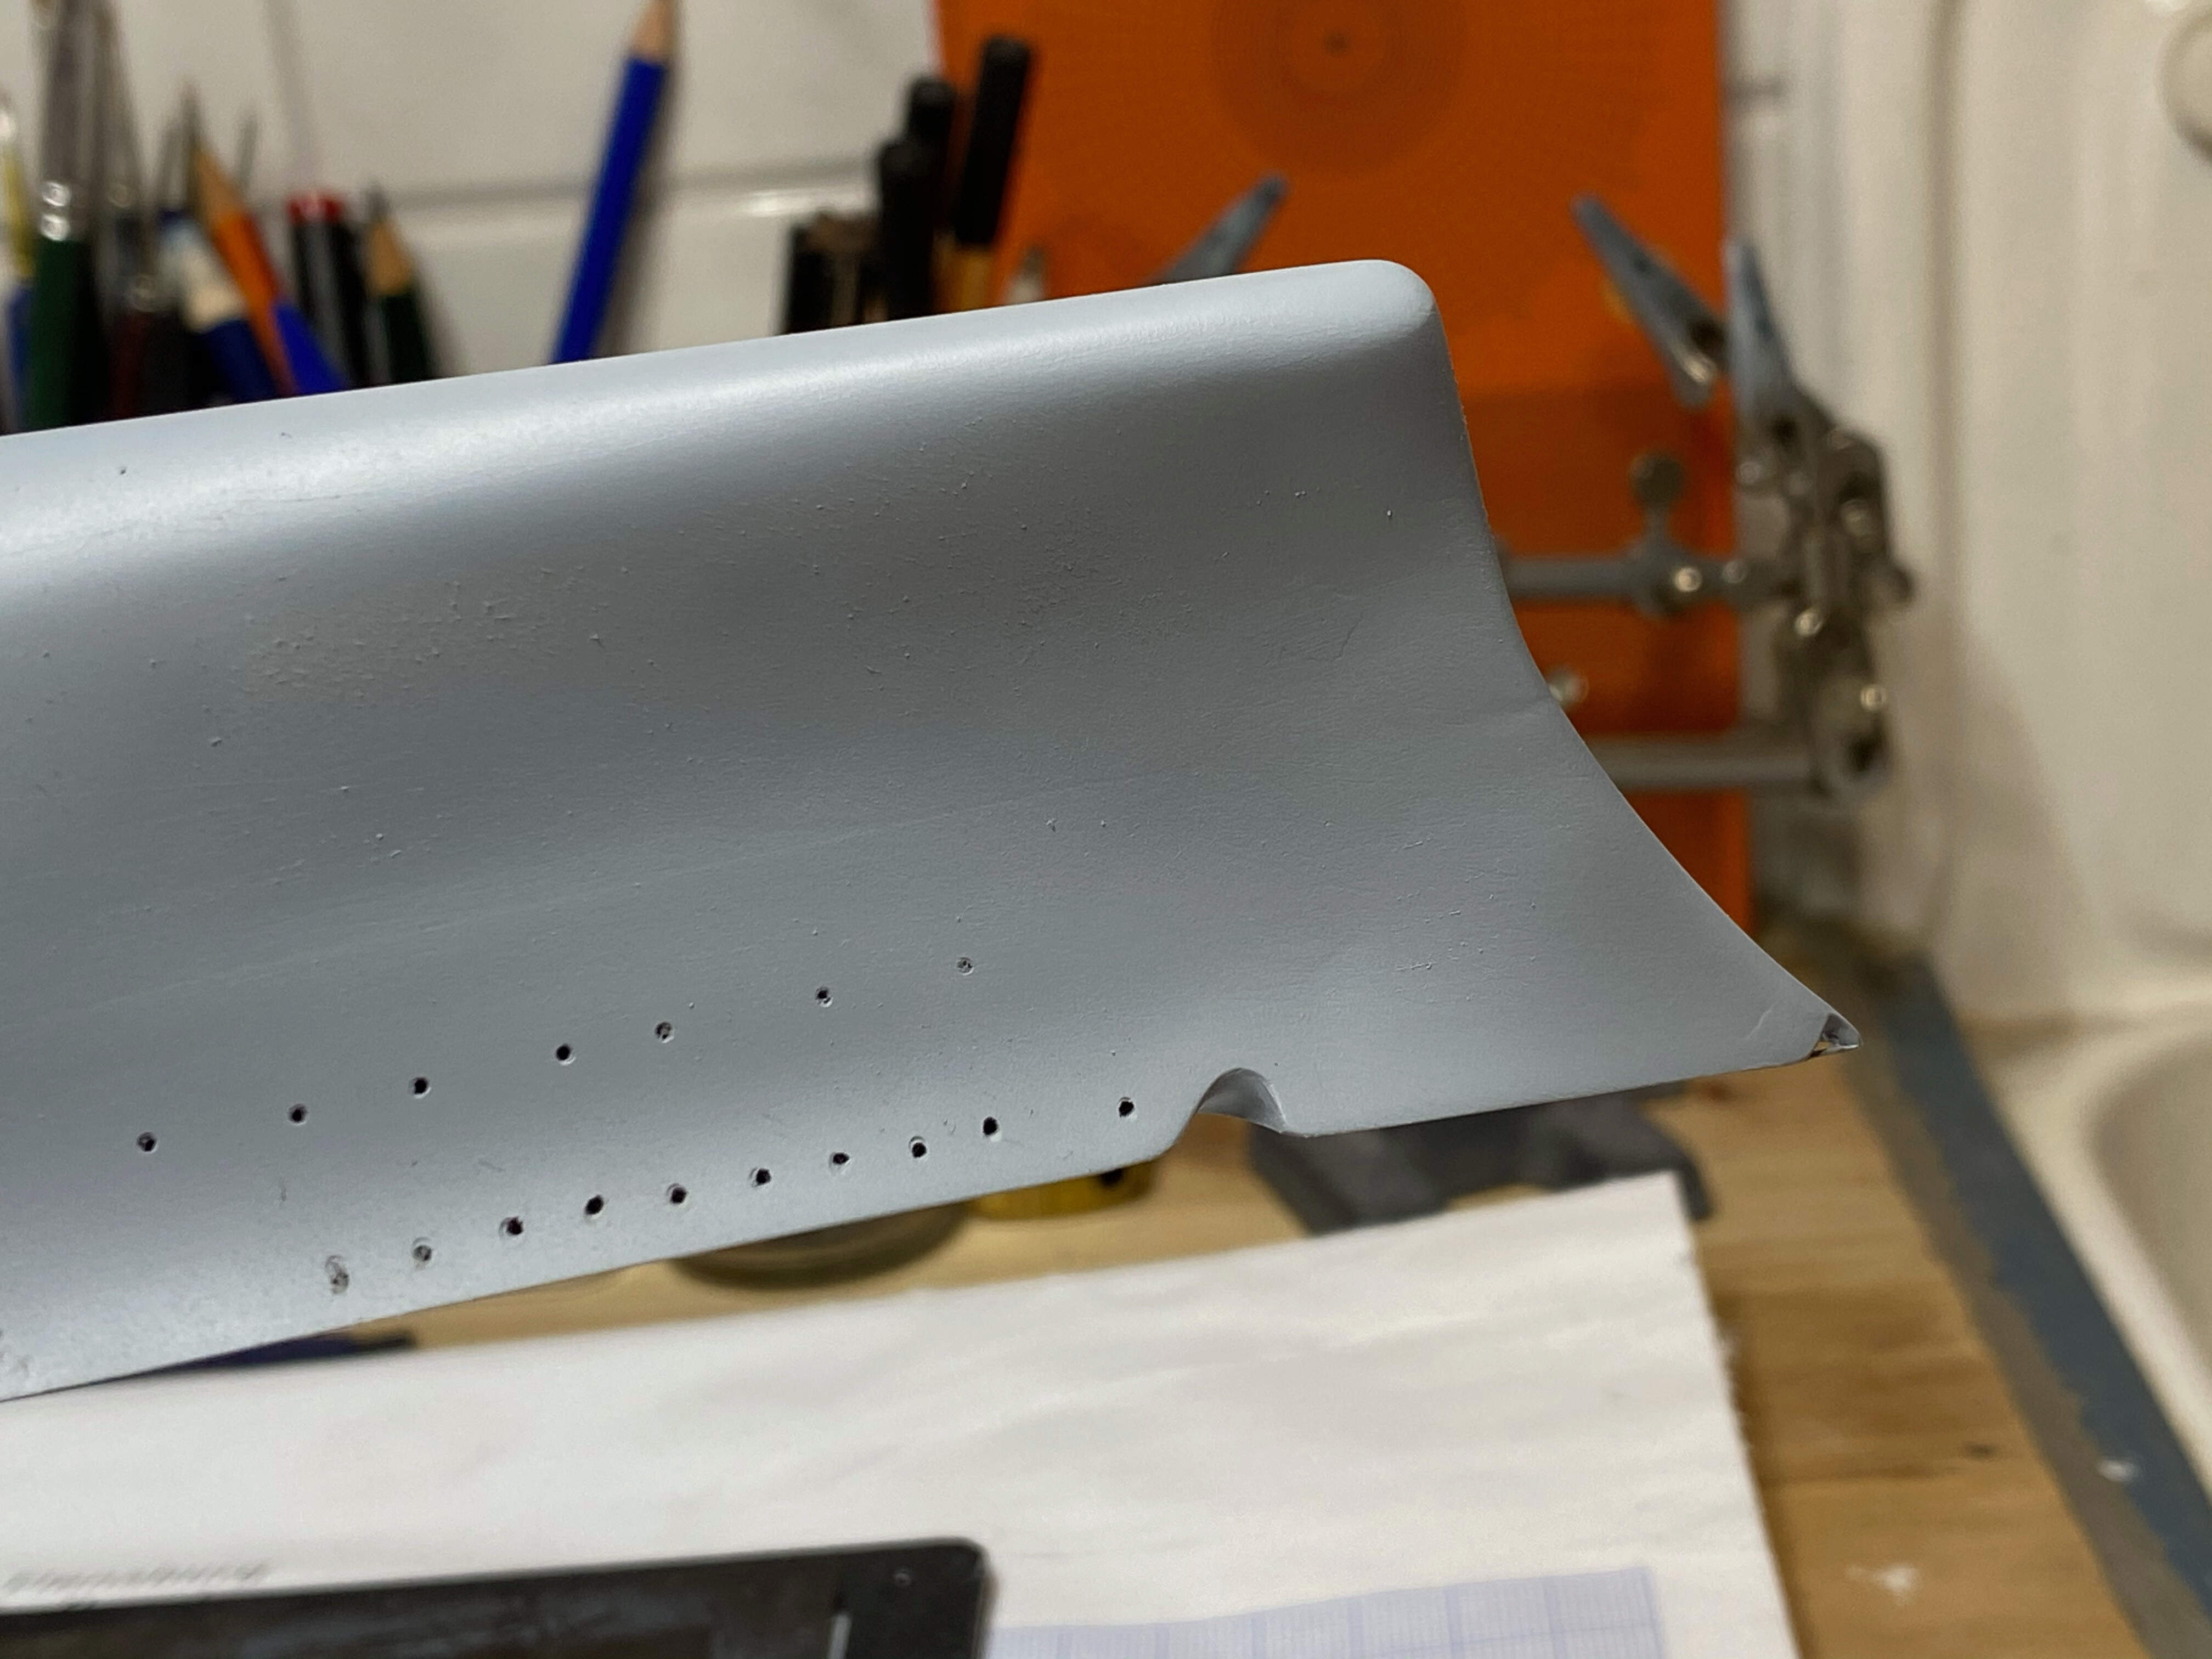
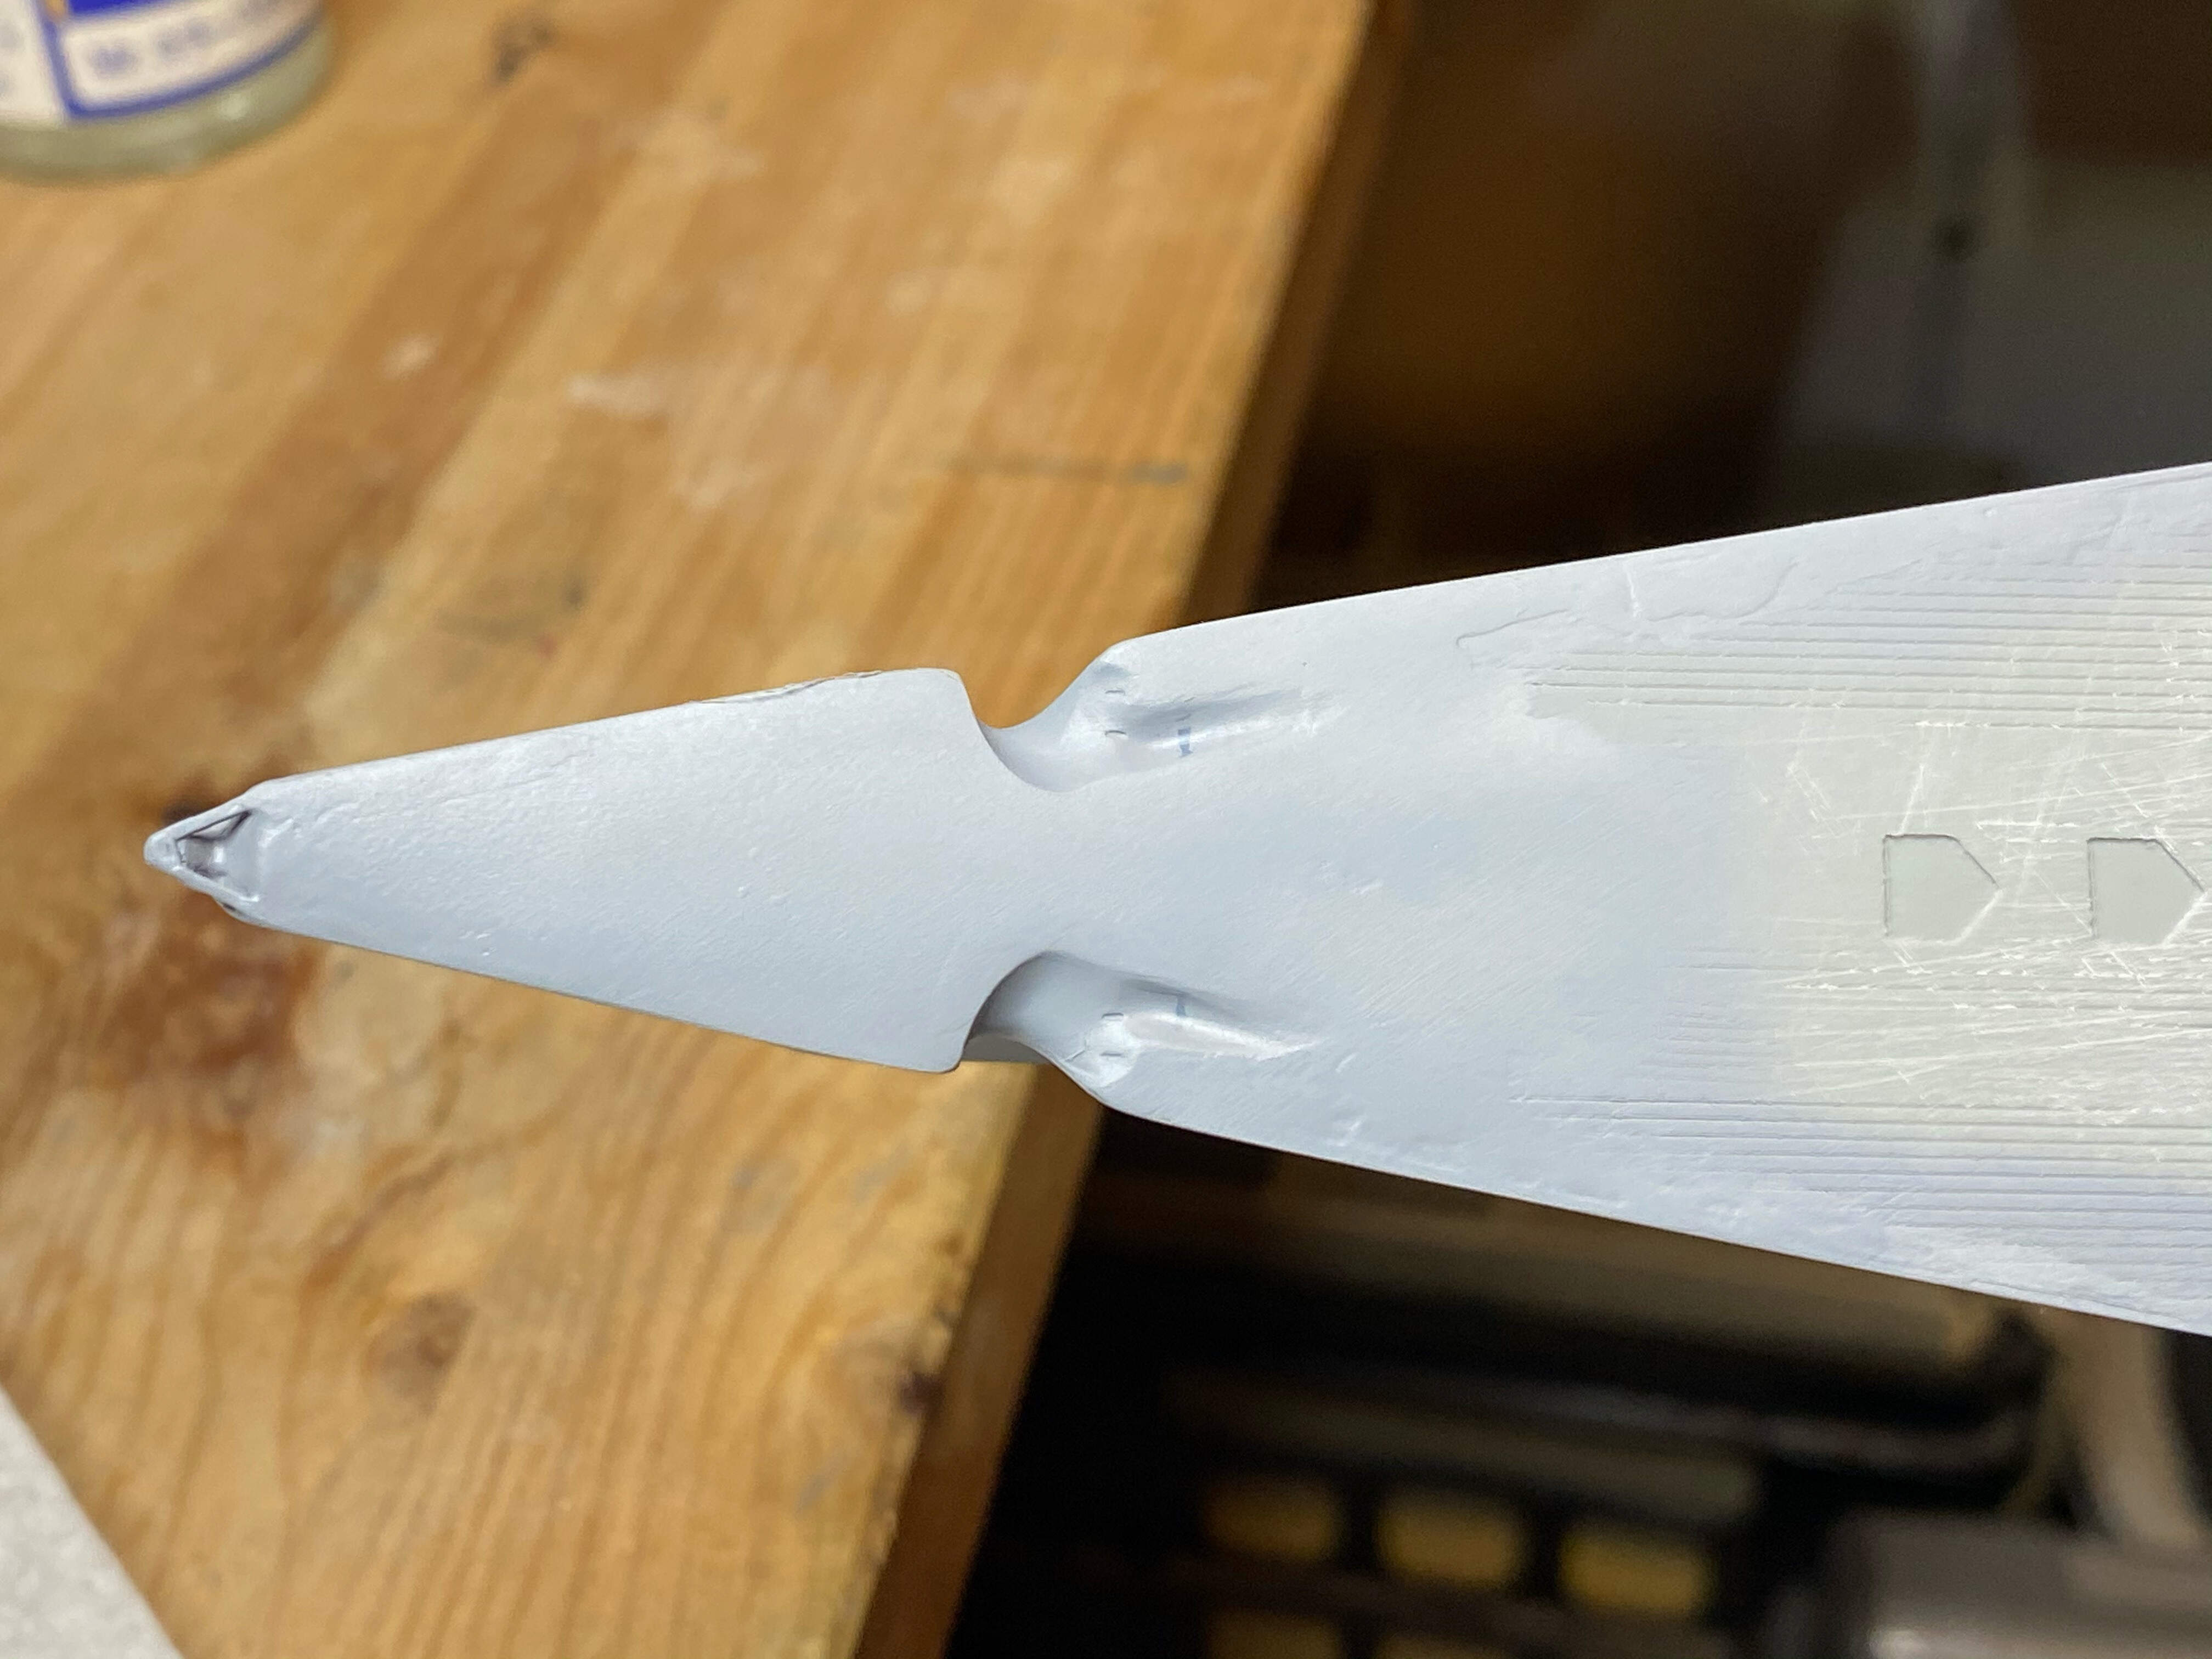
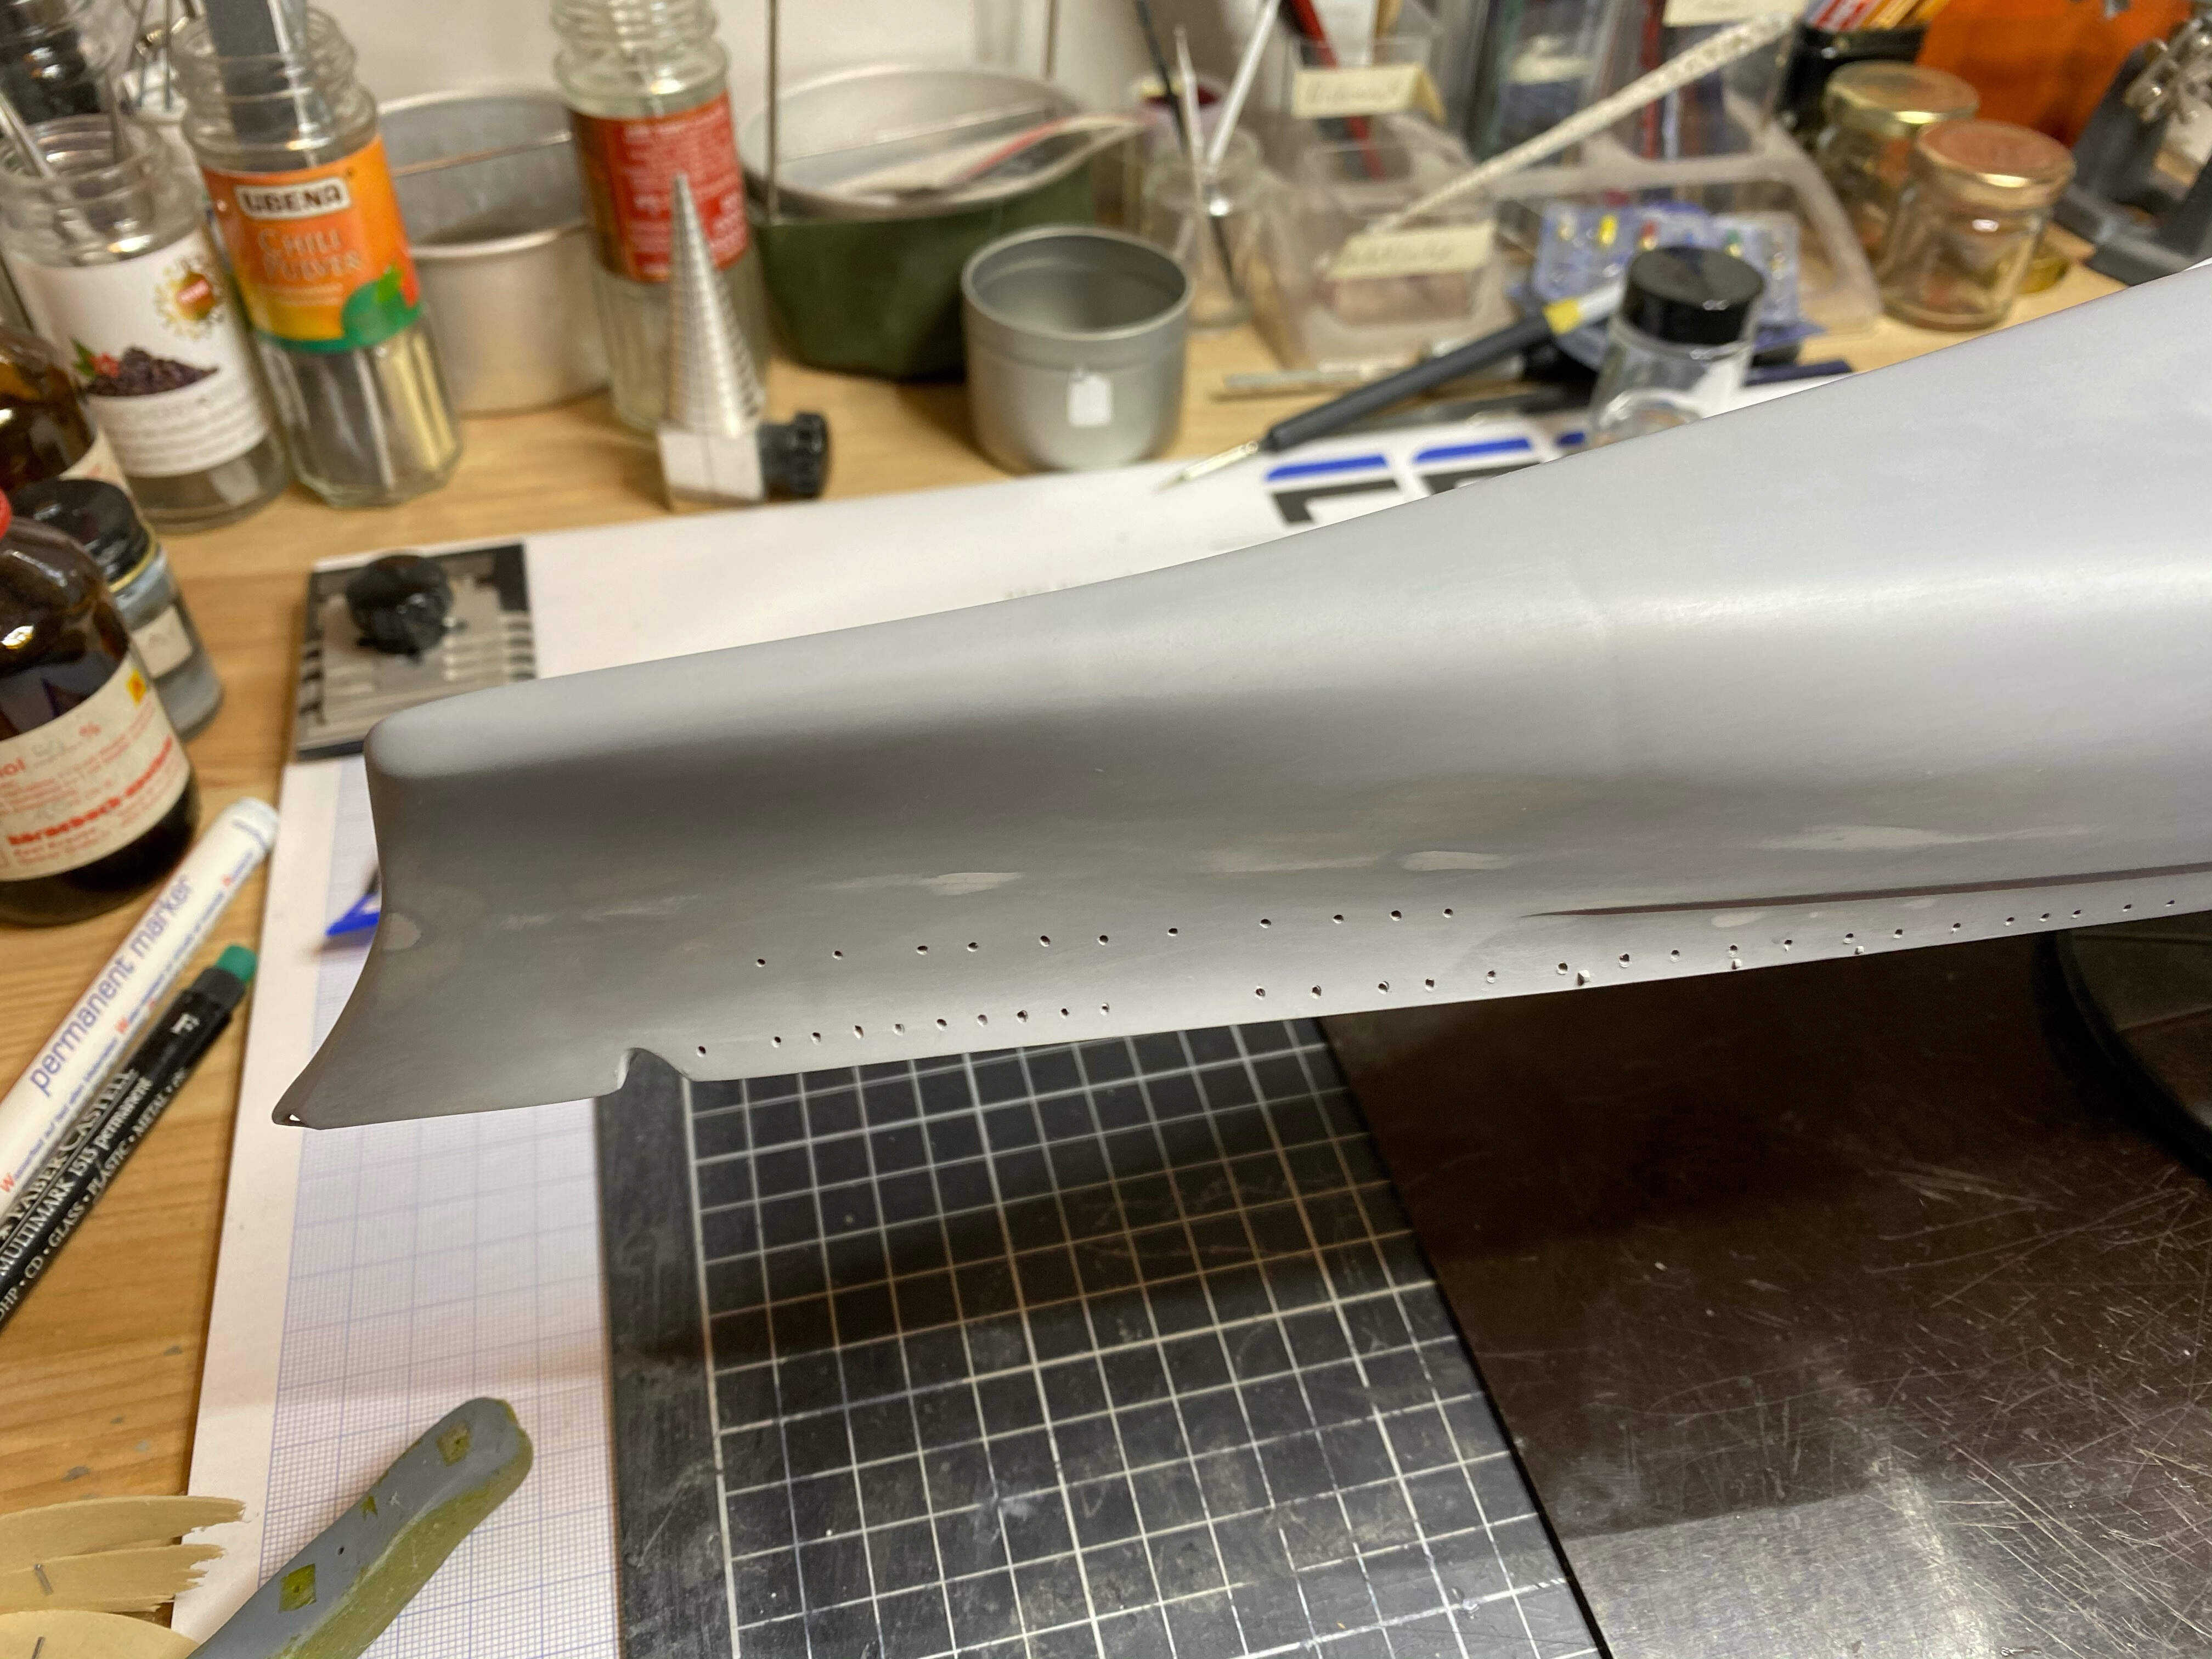
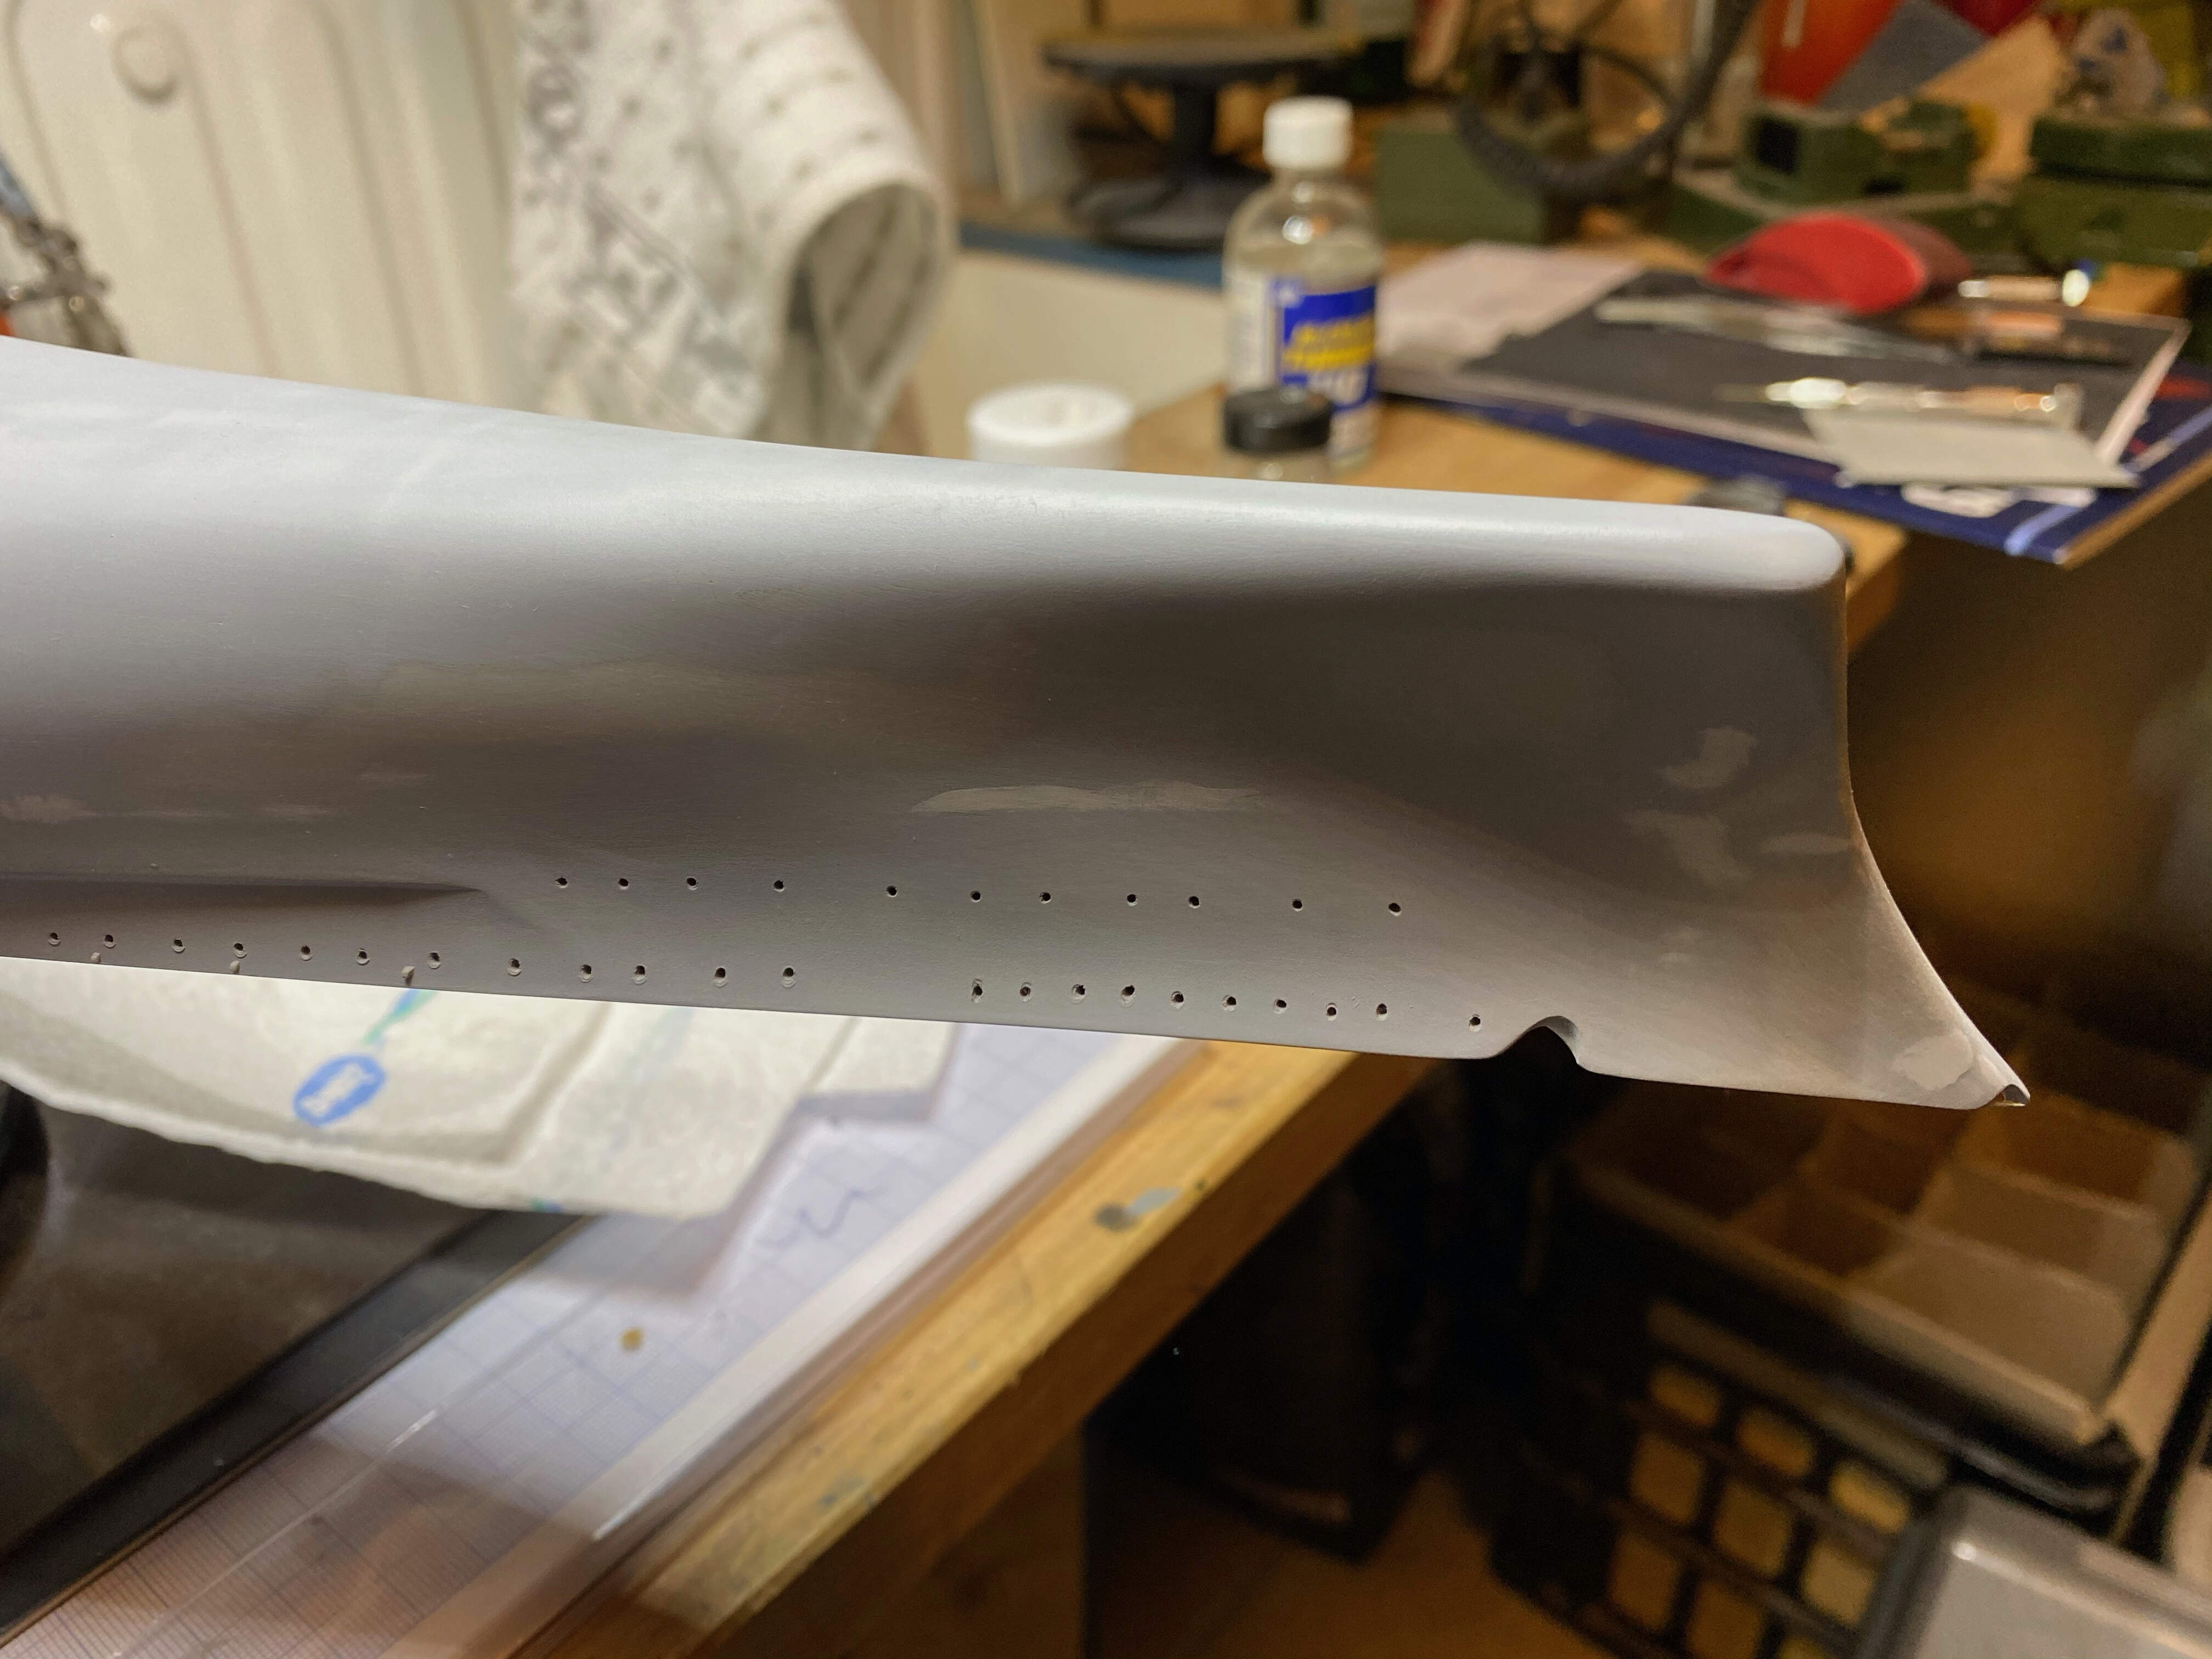
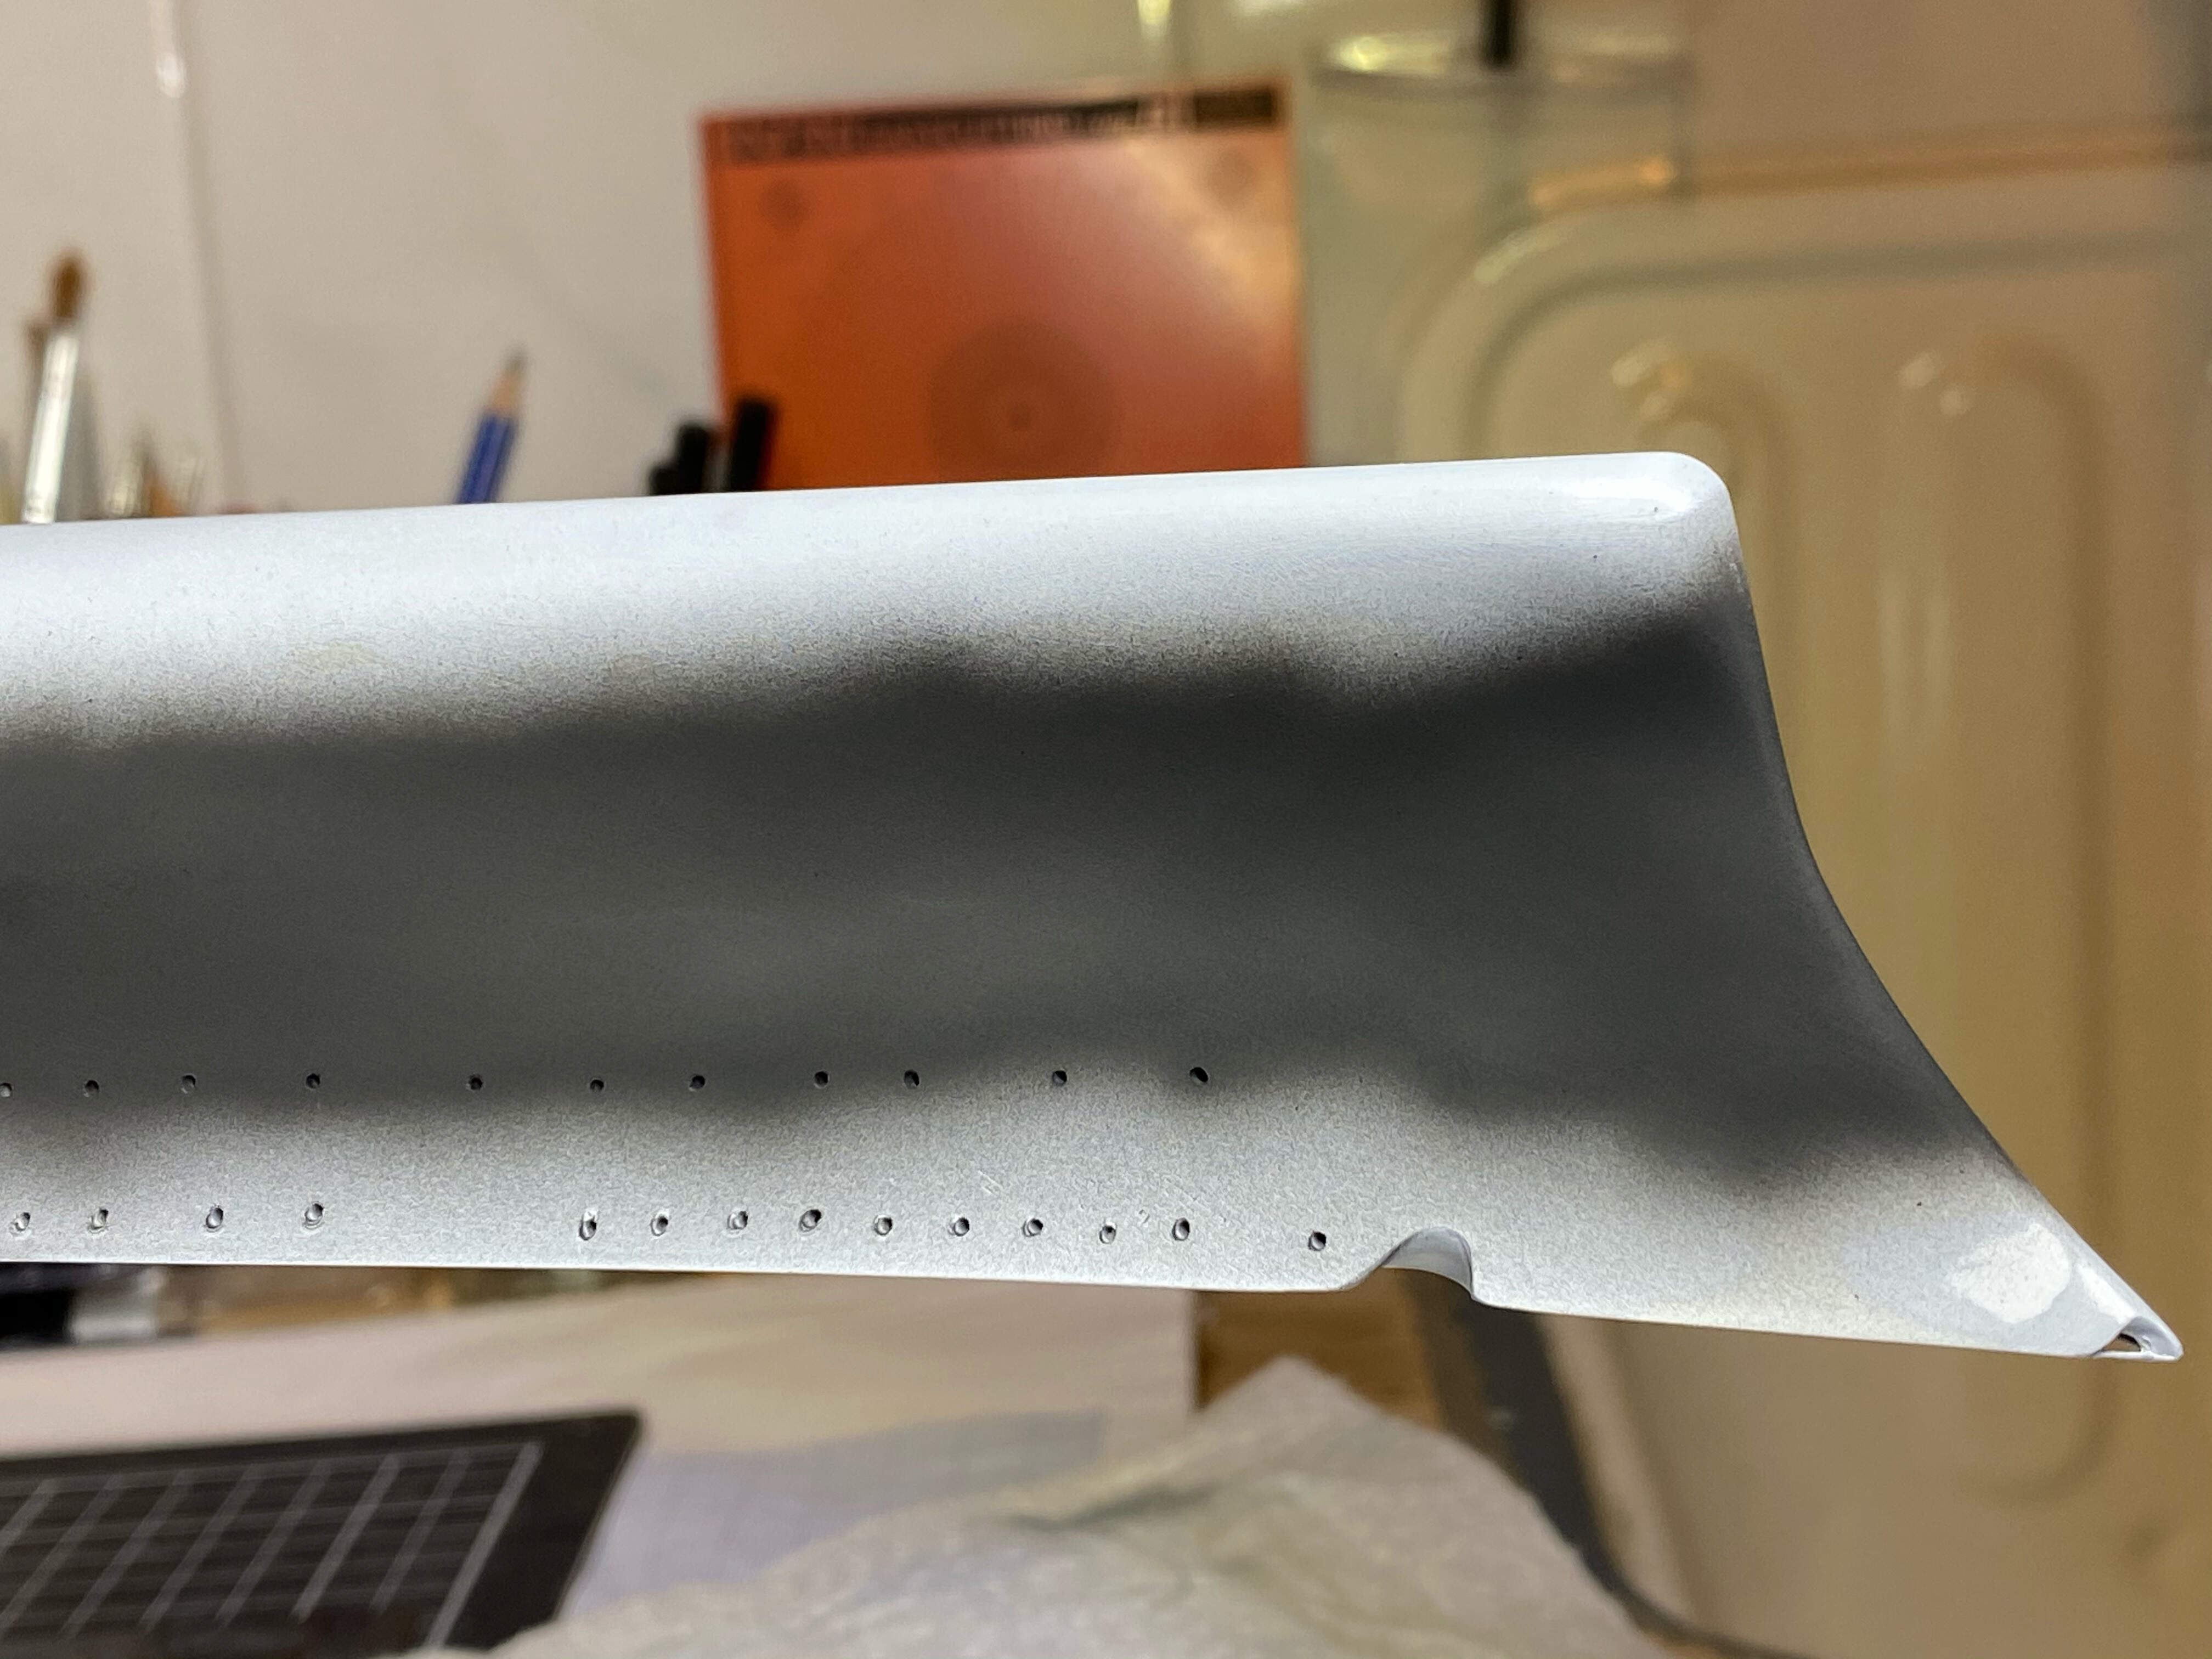
Some more Surfacer 500 brushed on on identified areas

and more sanding done…

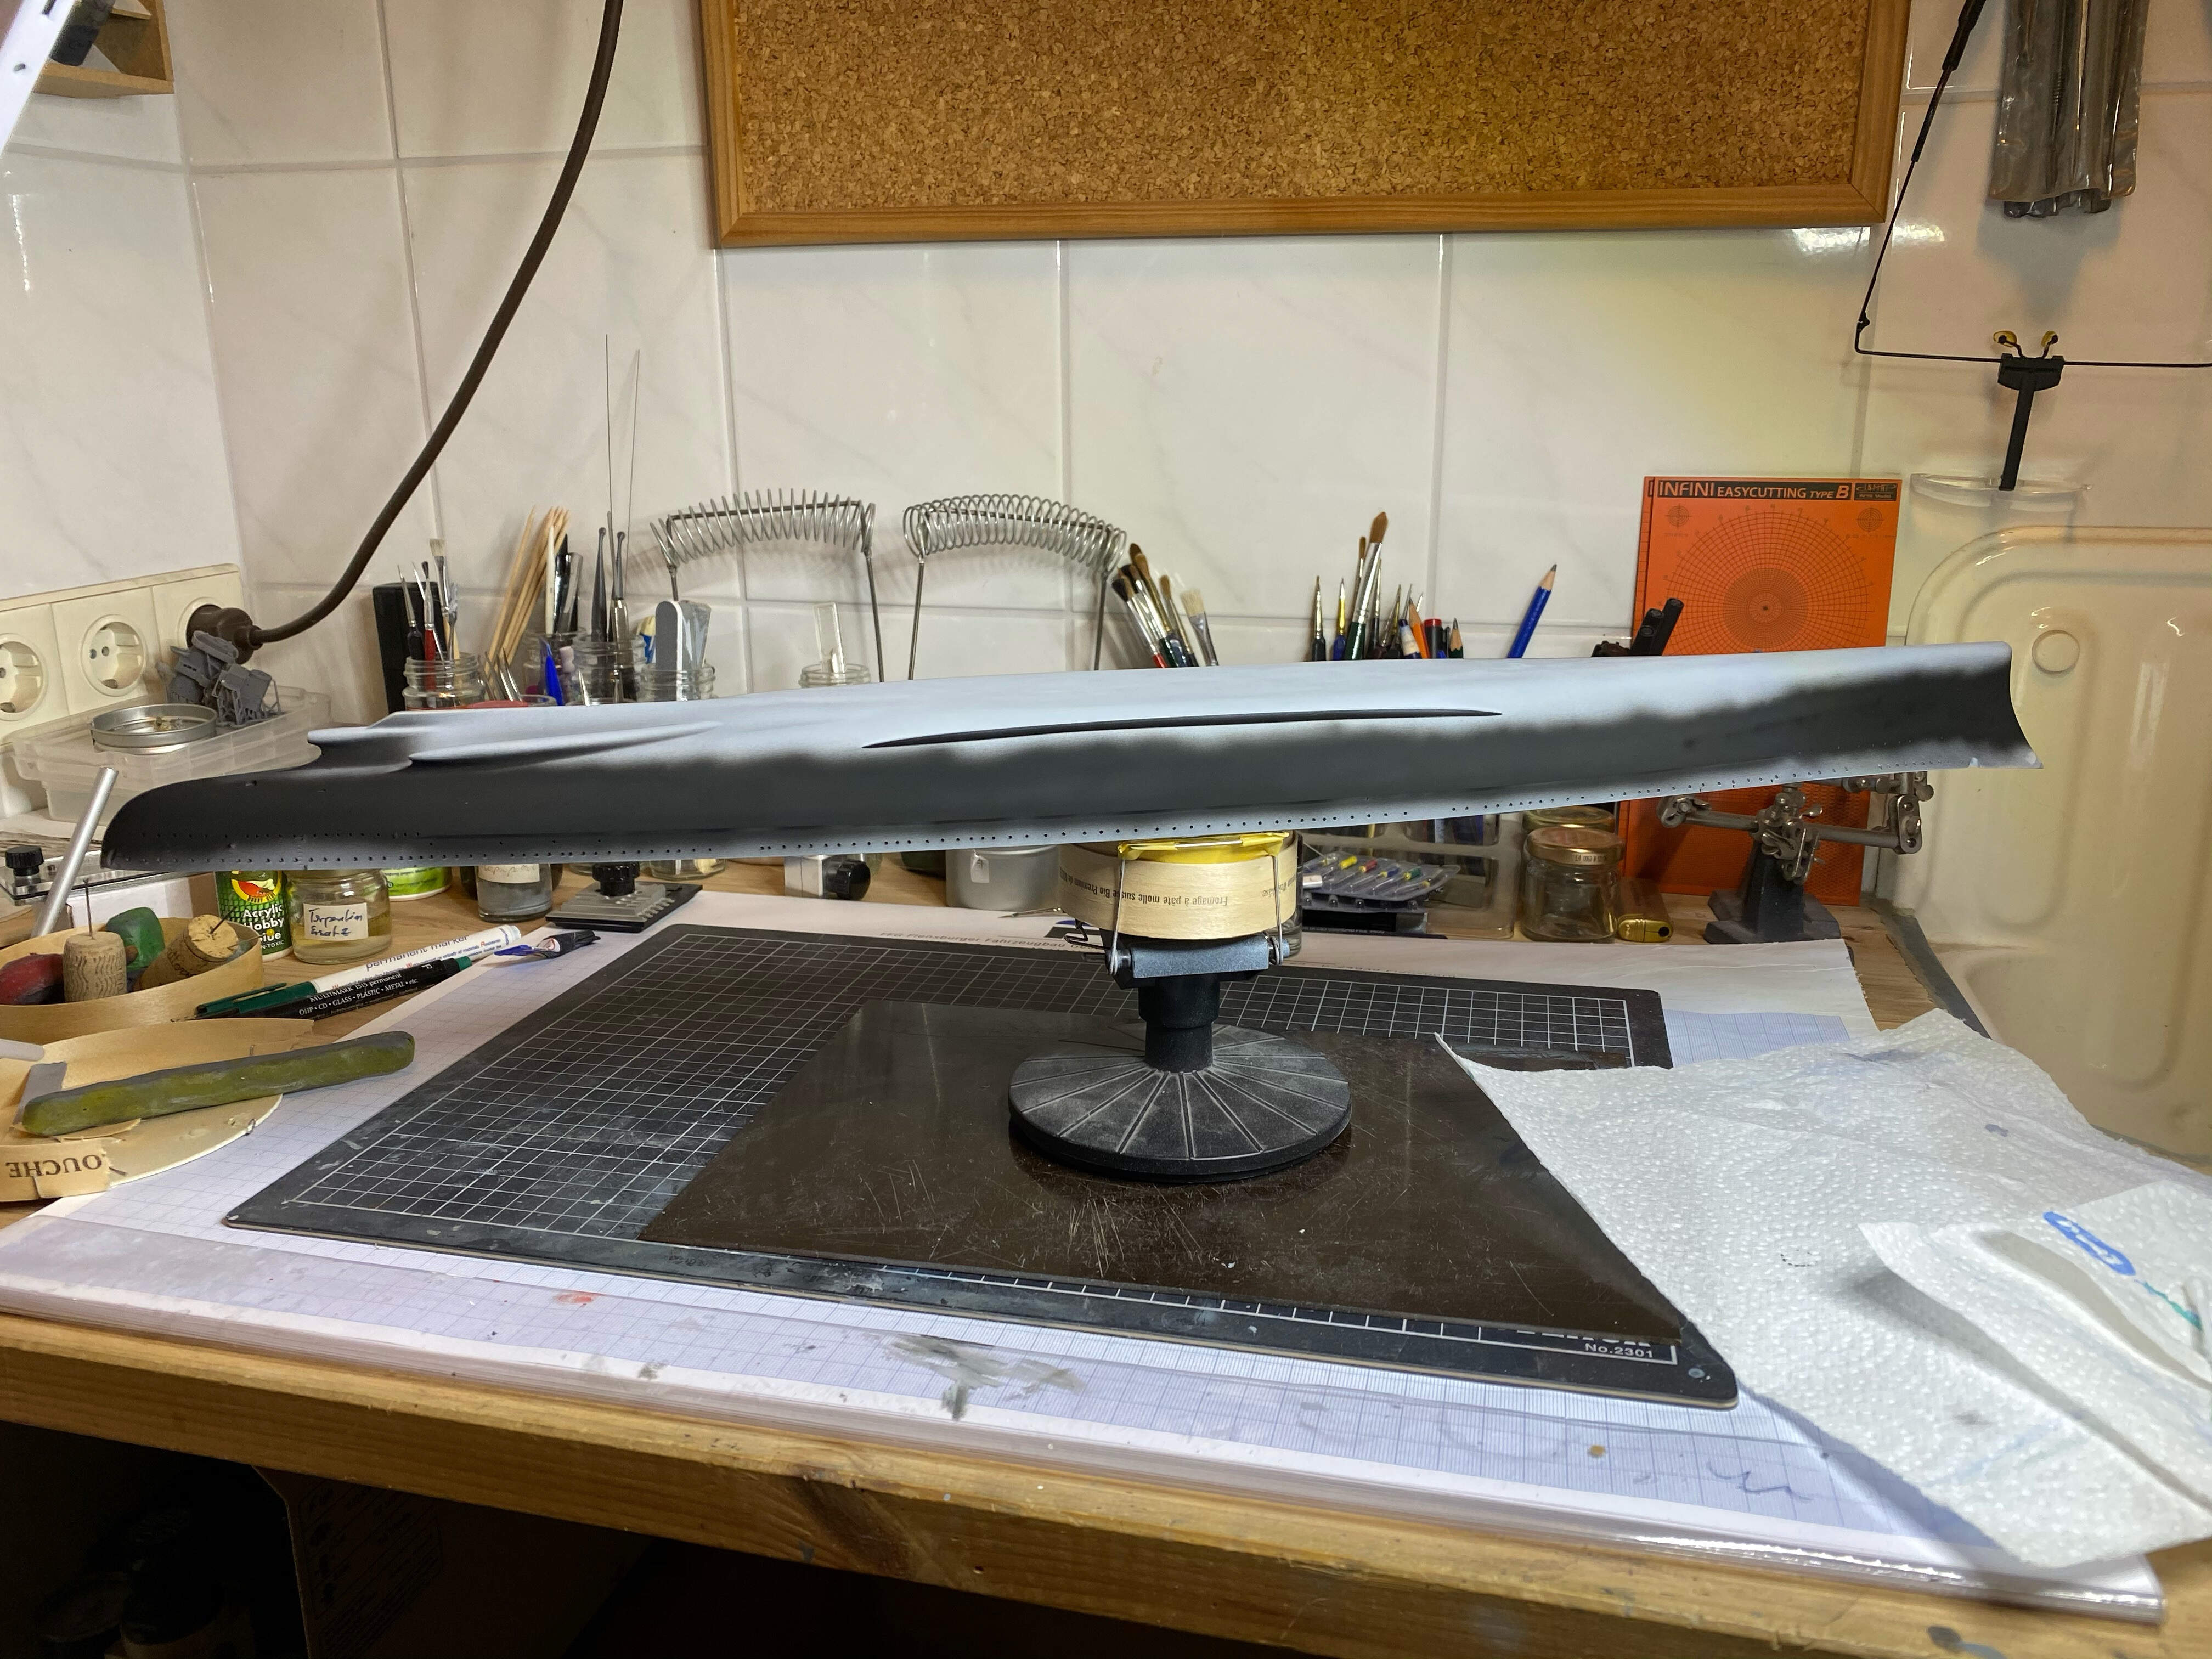
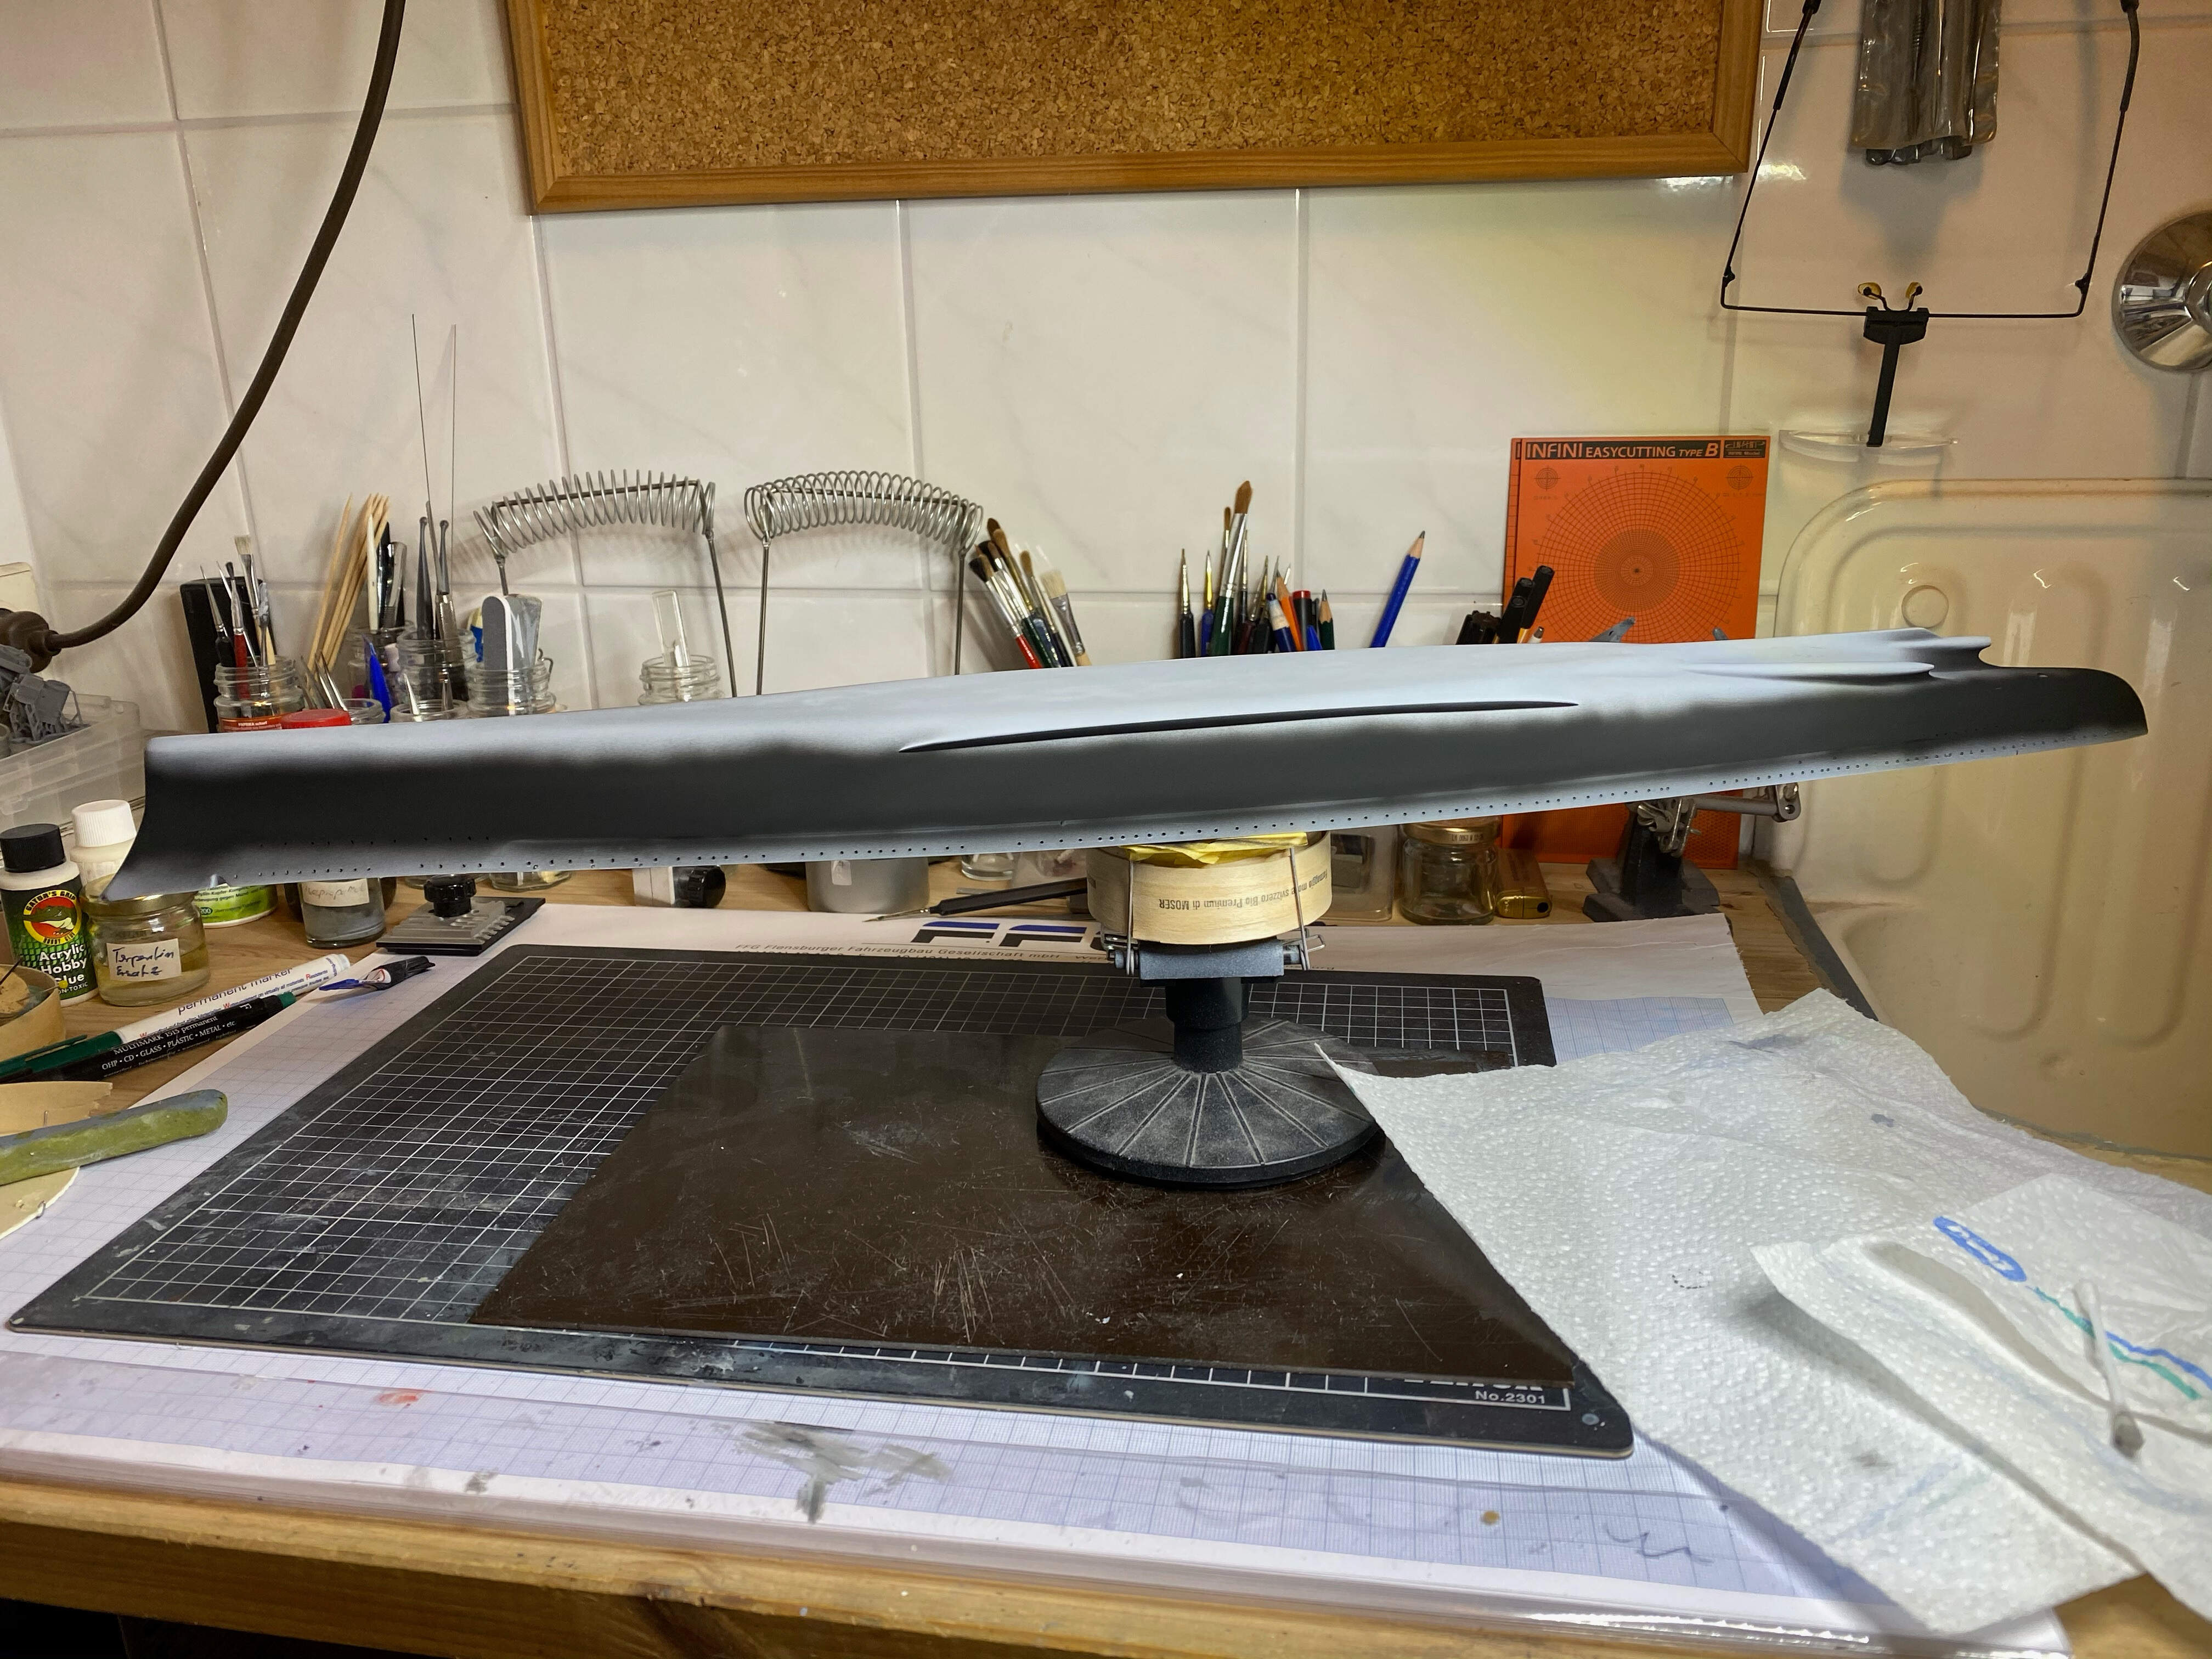
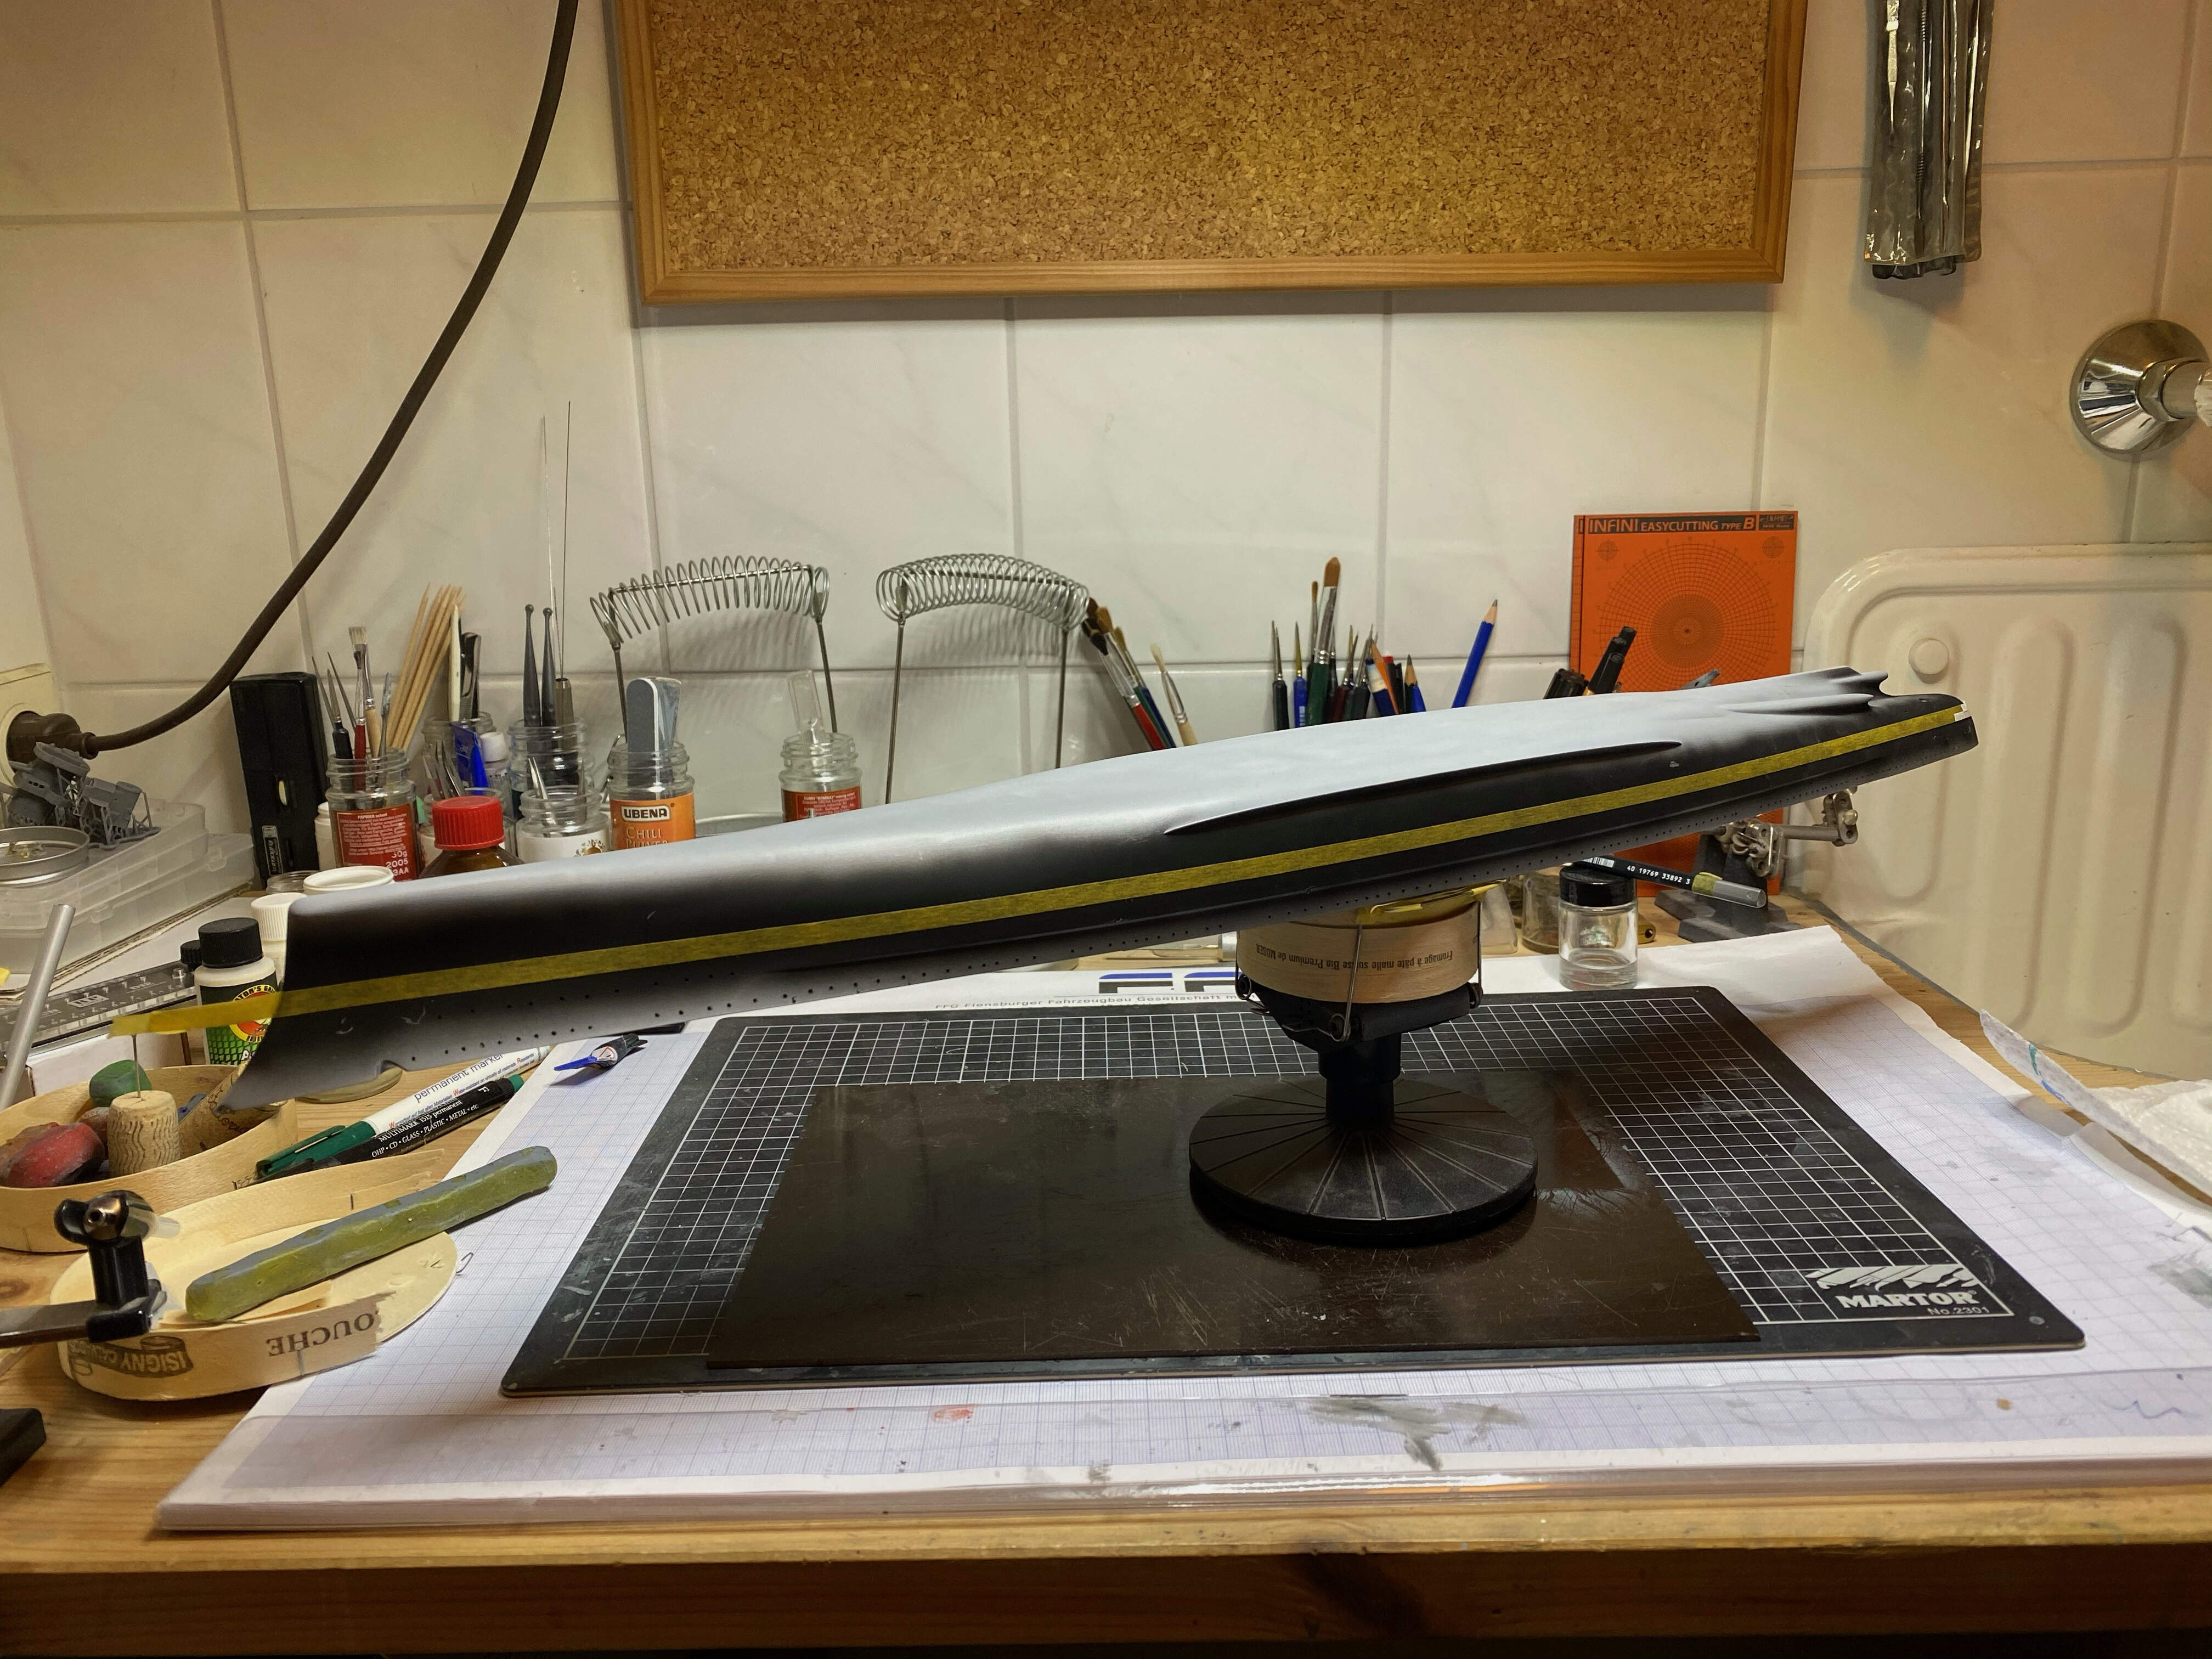
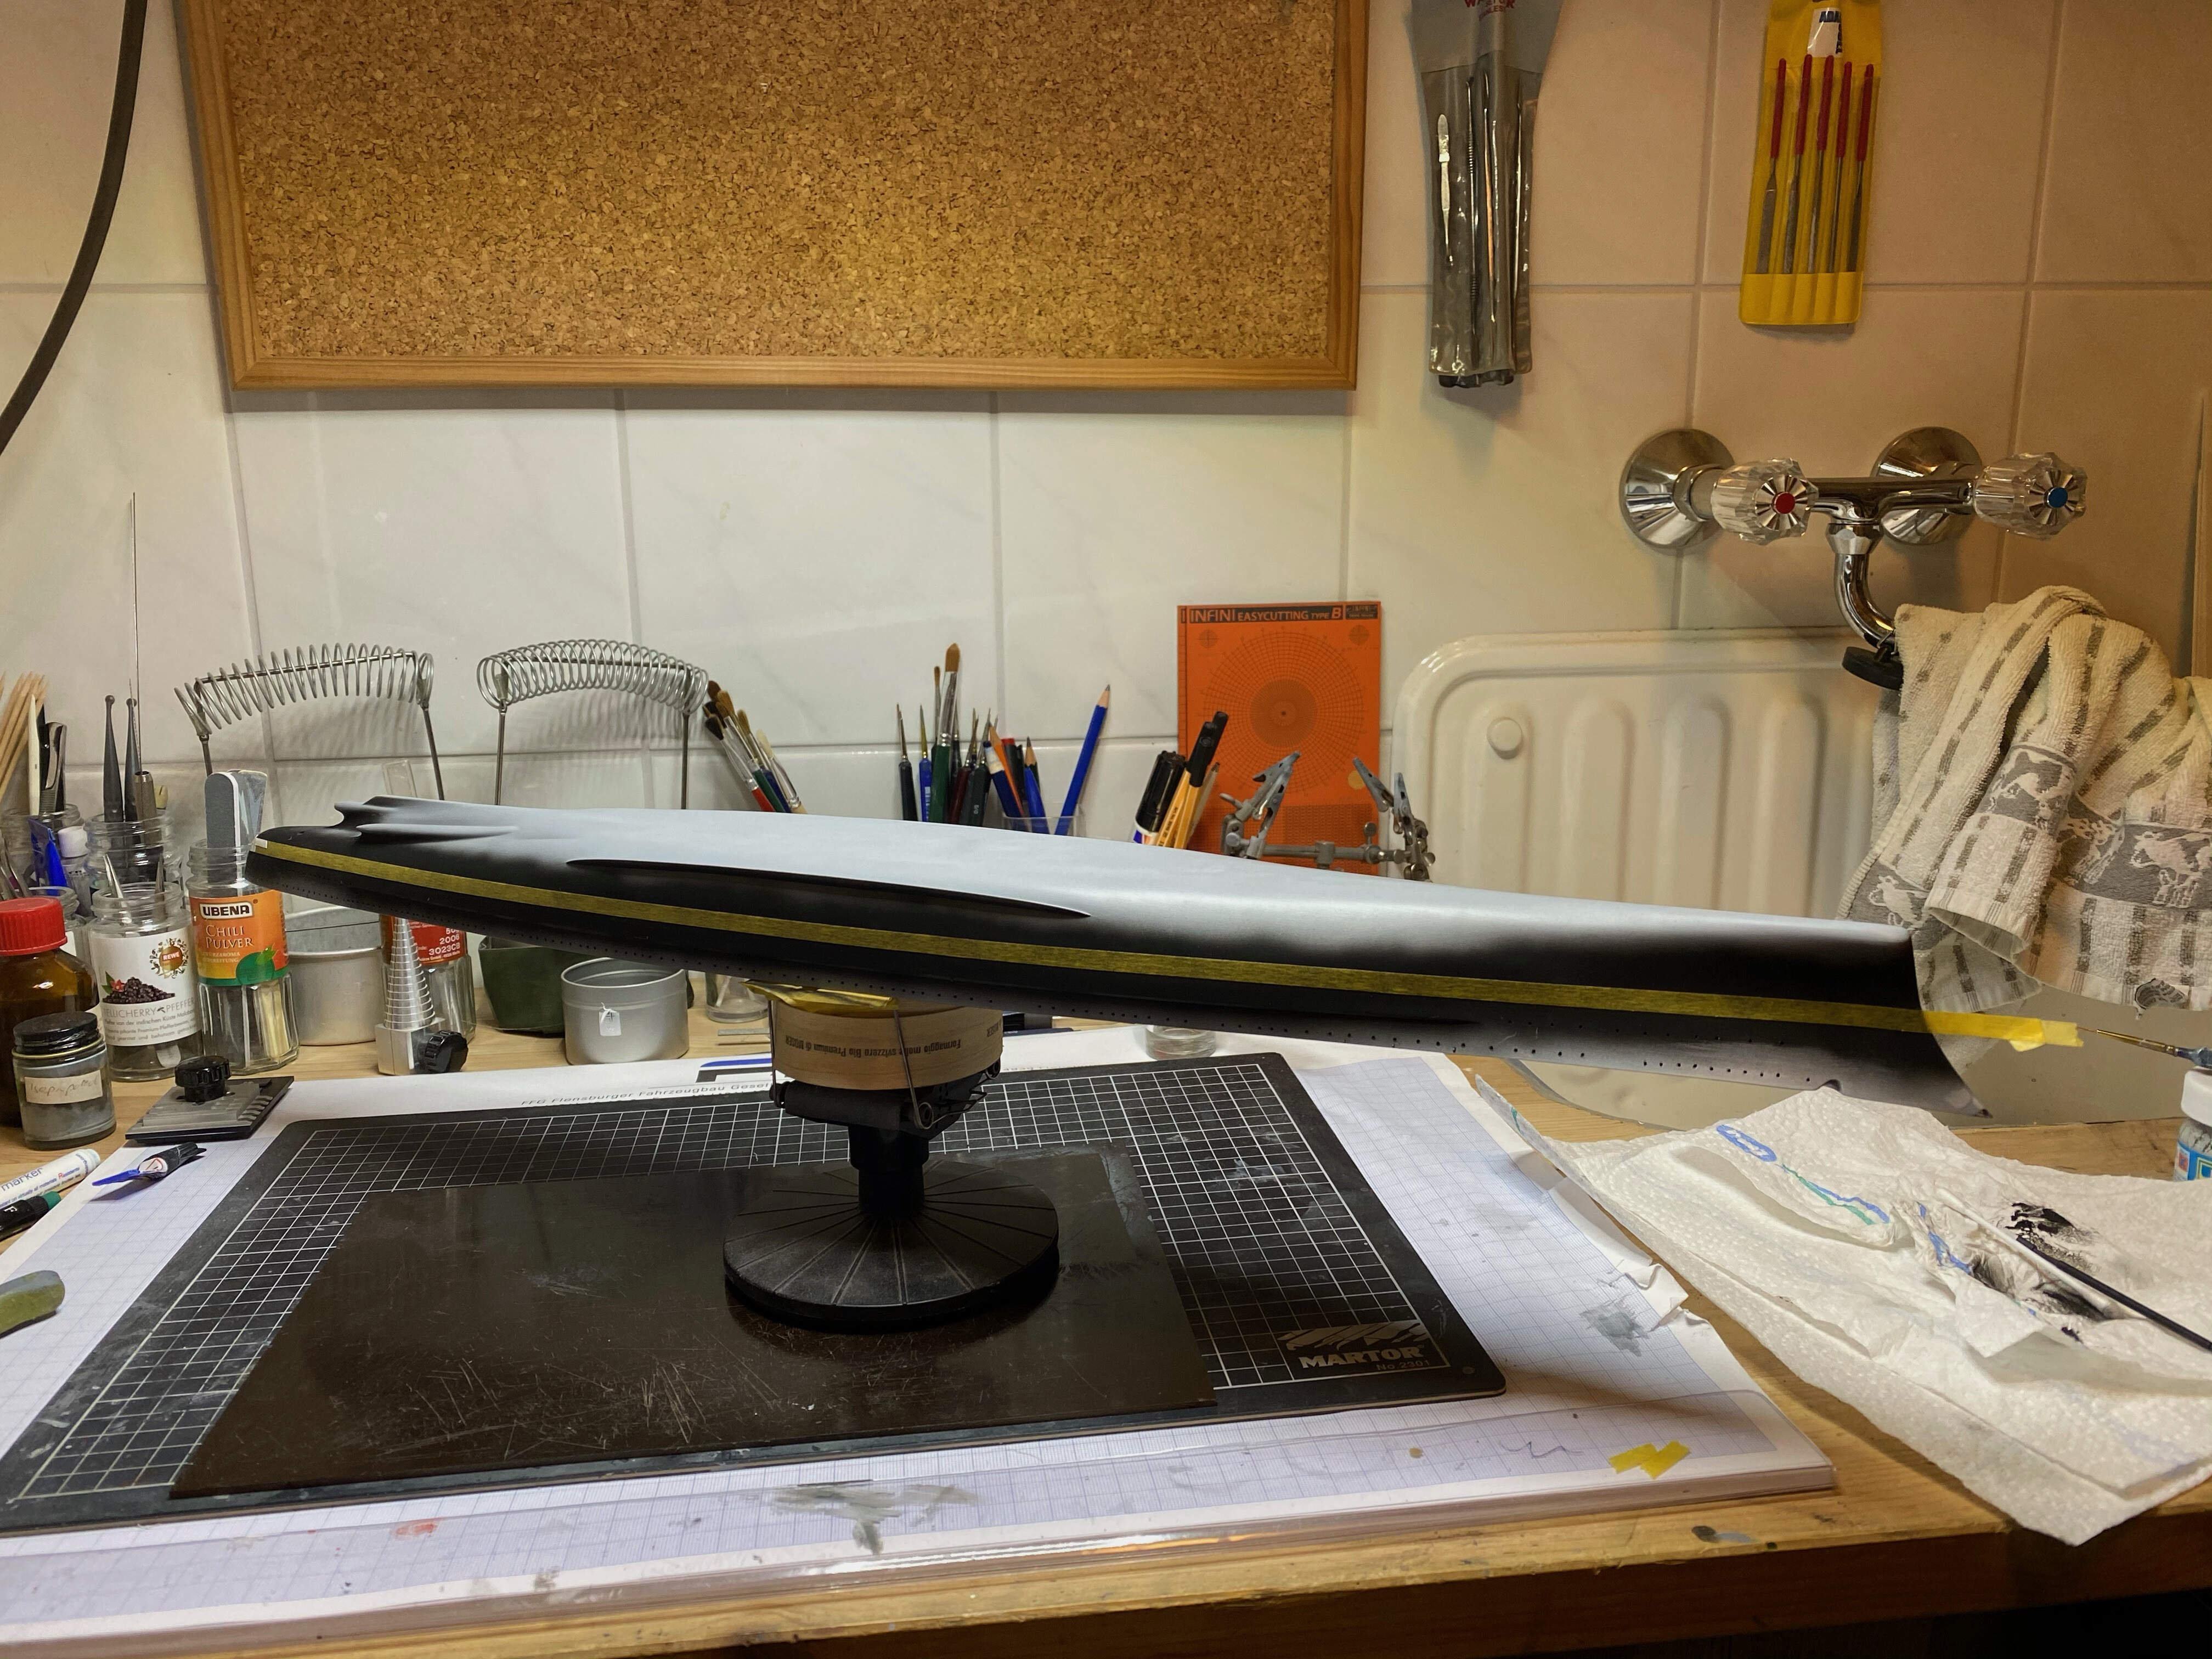
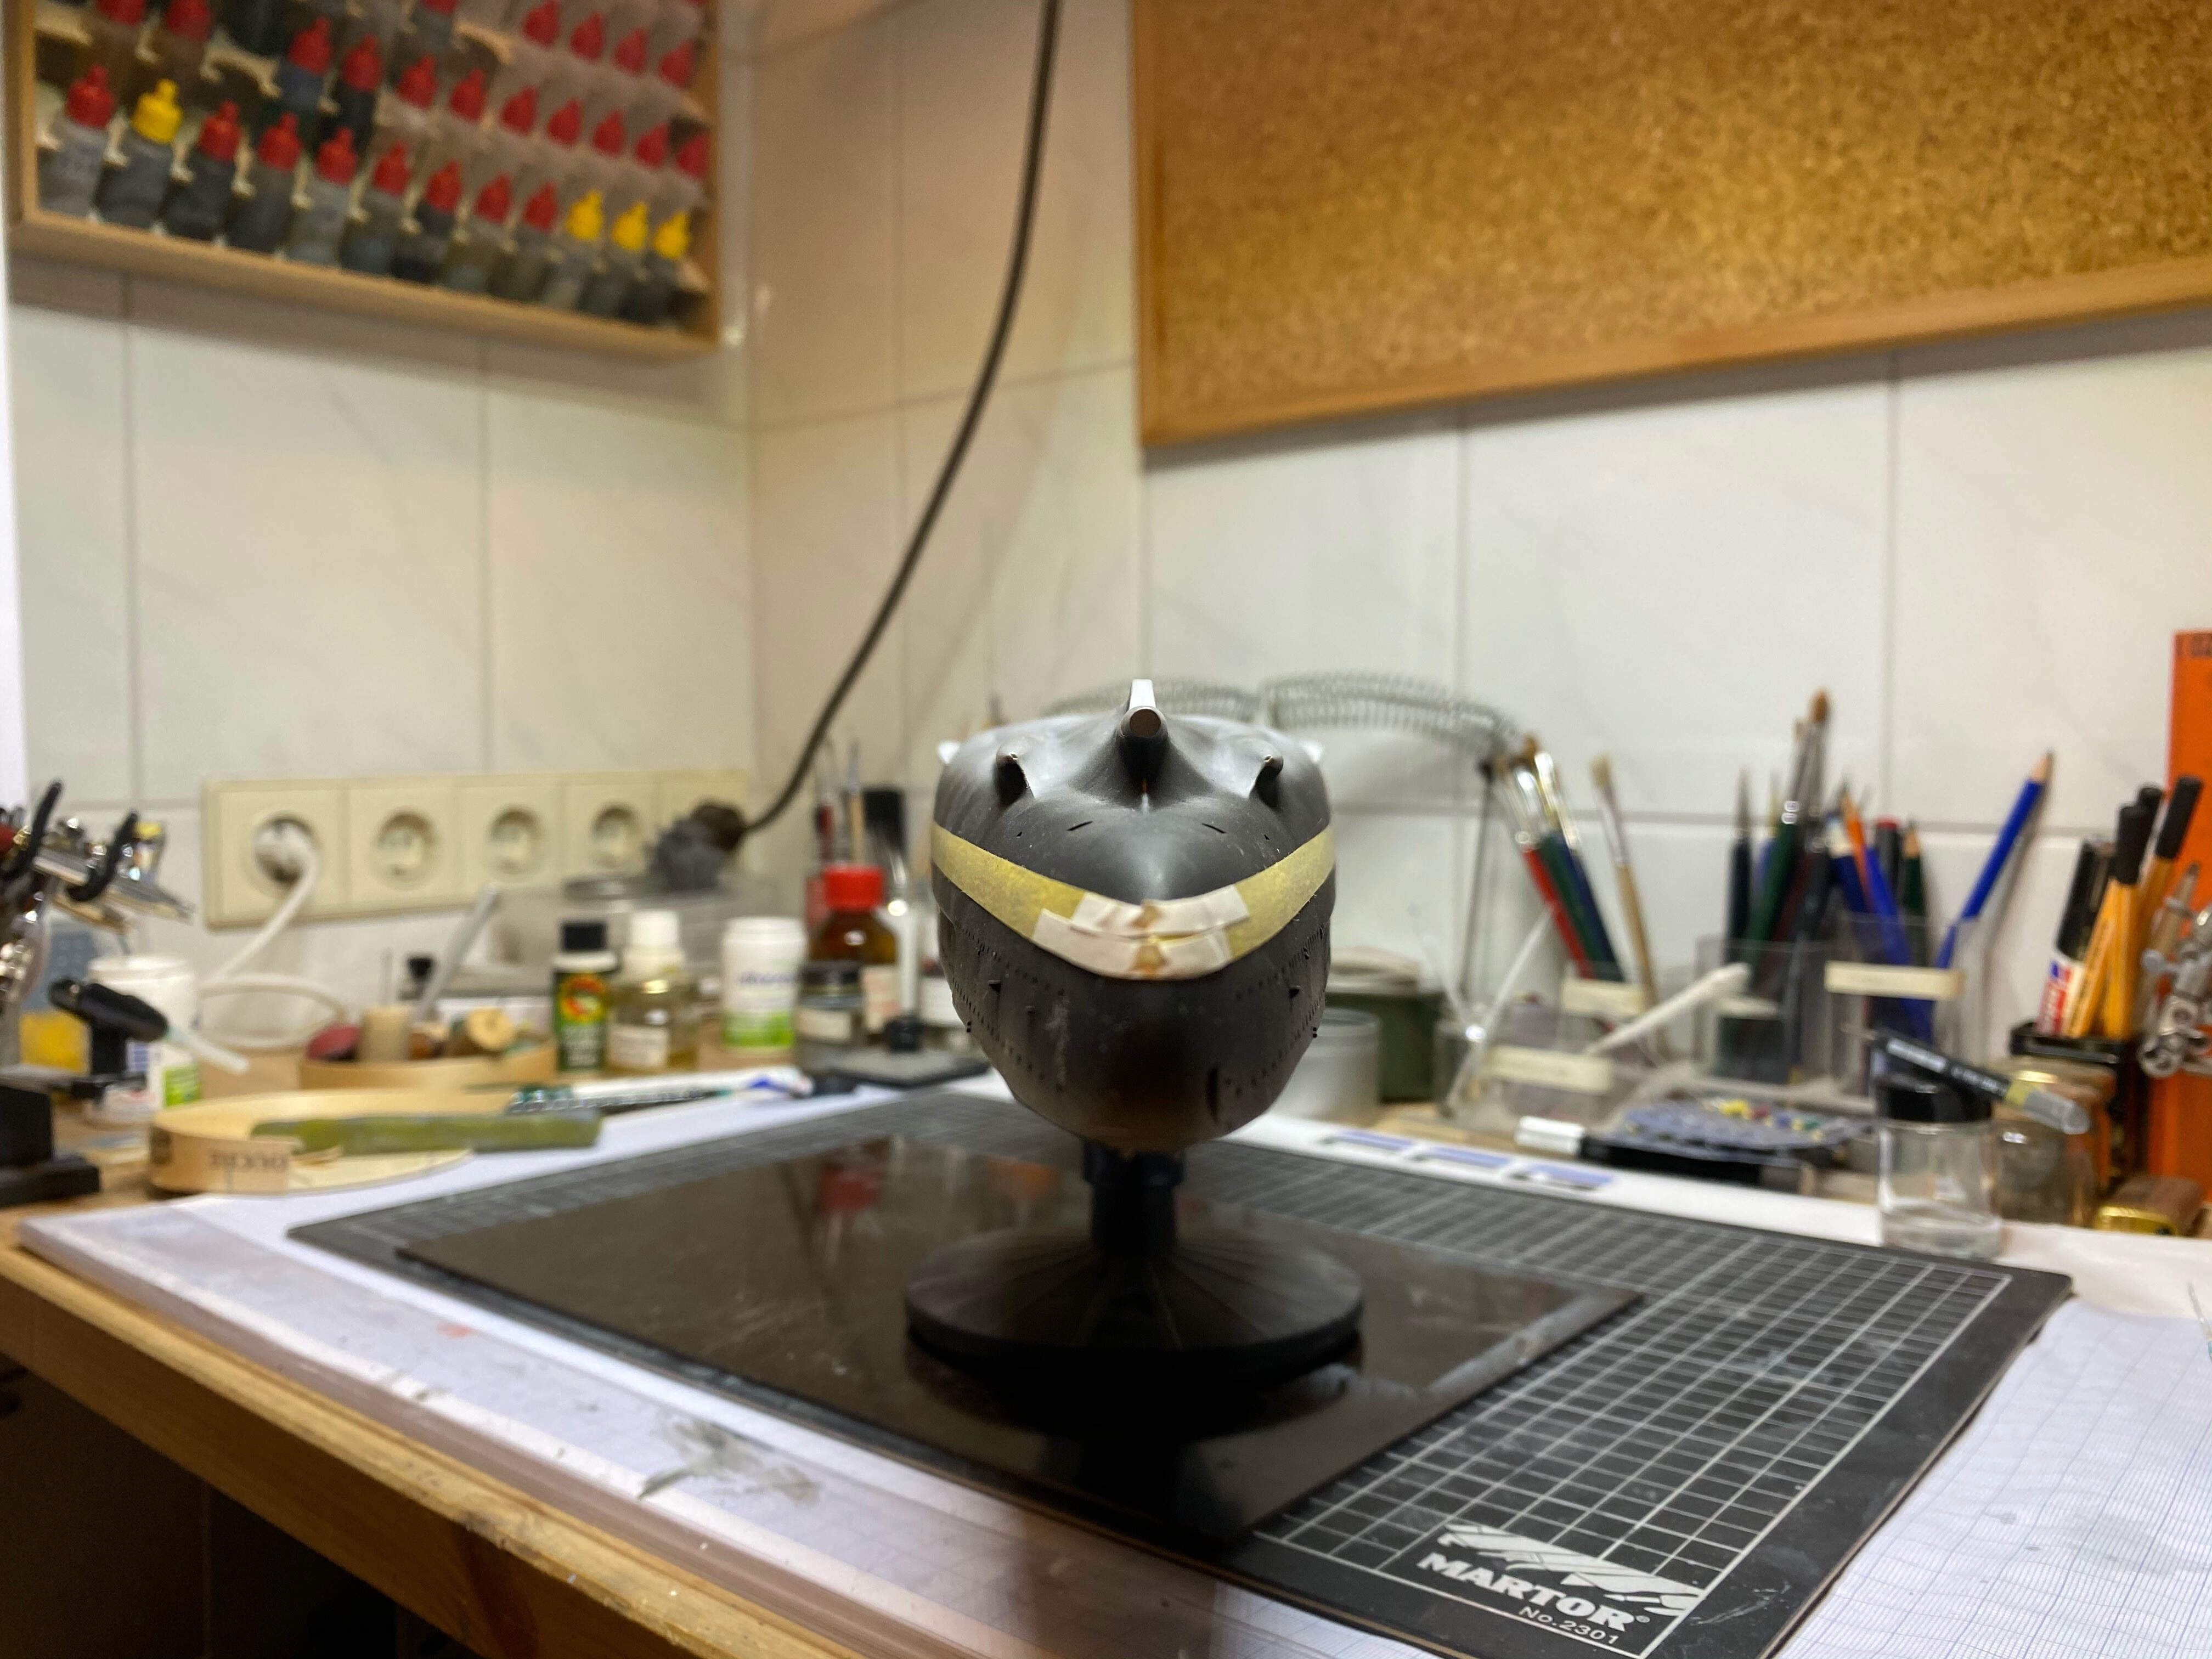
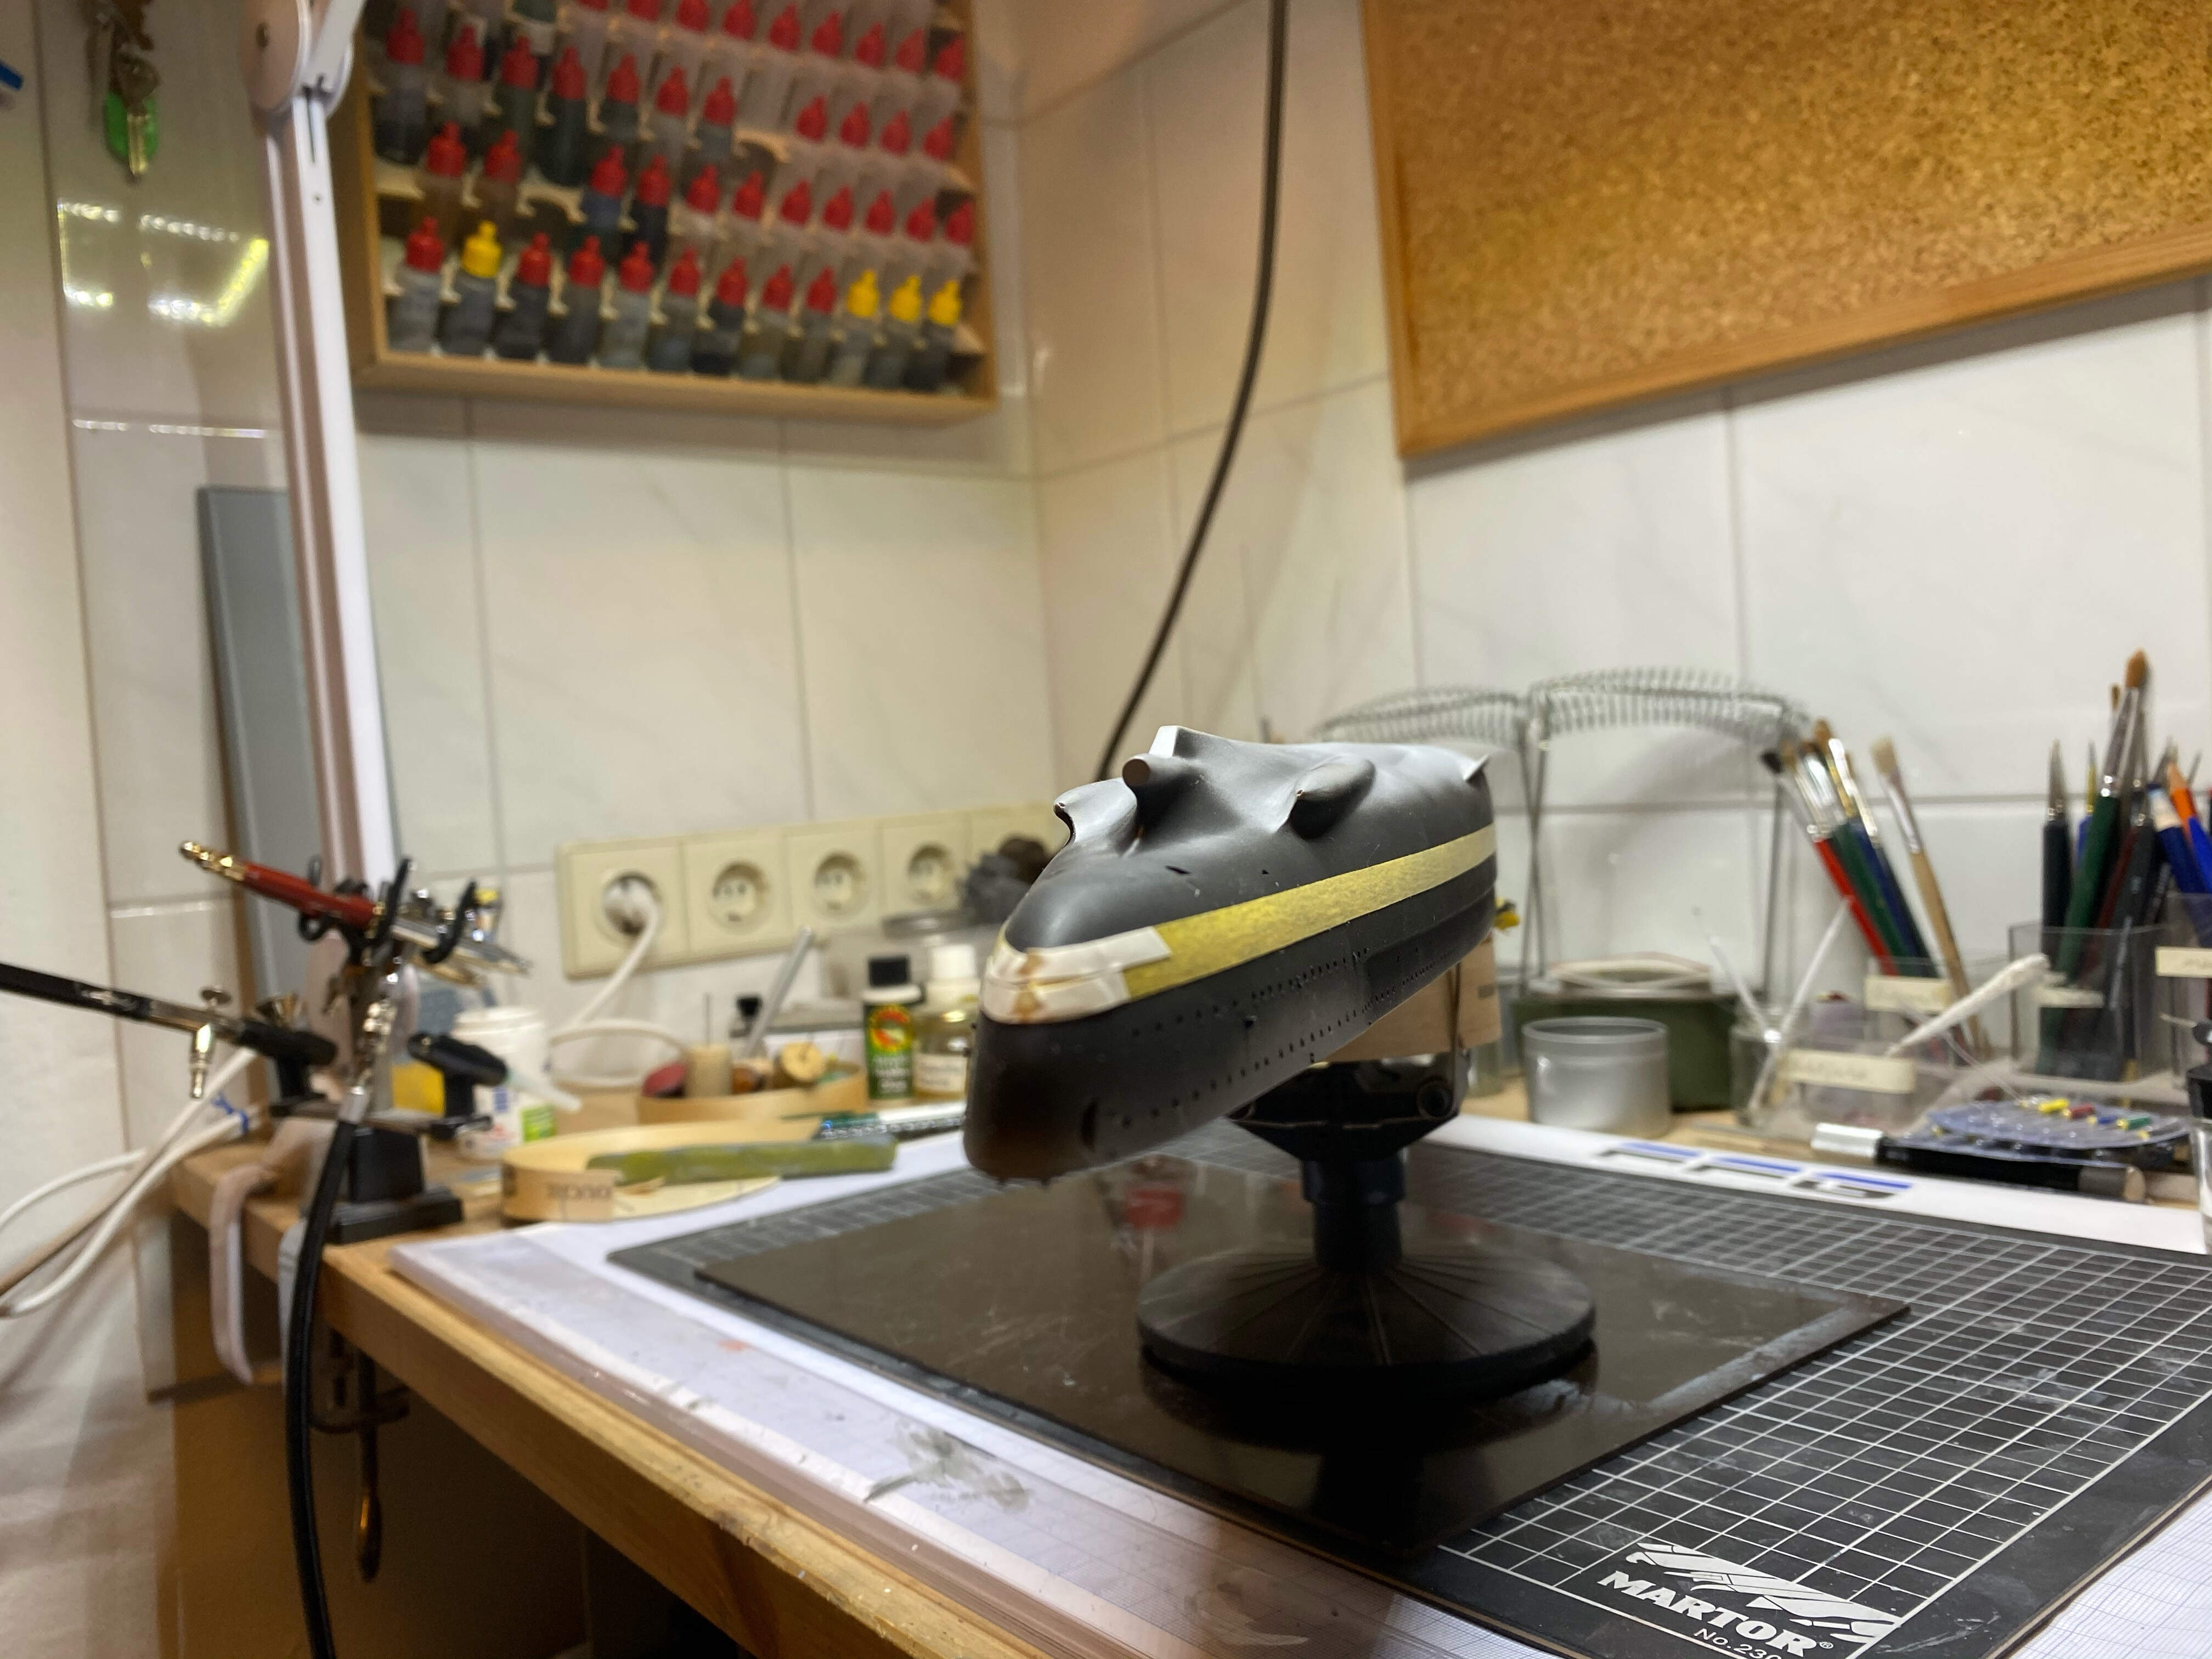
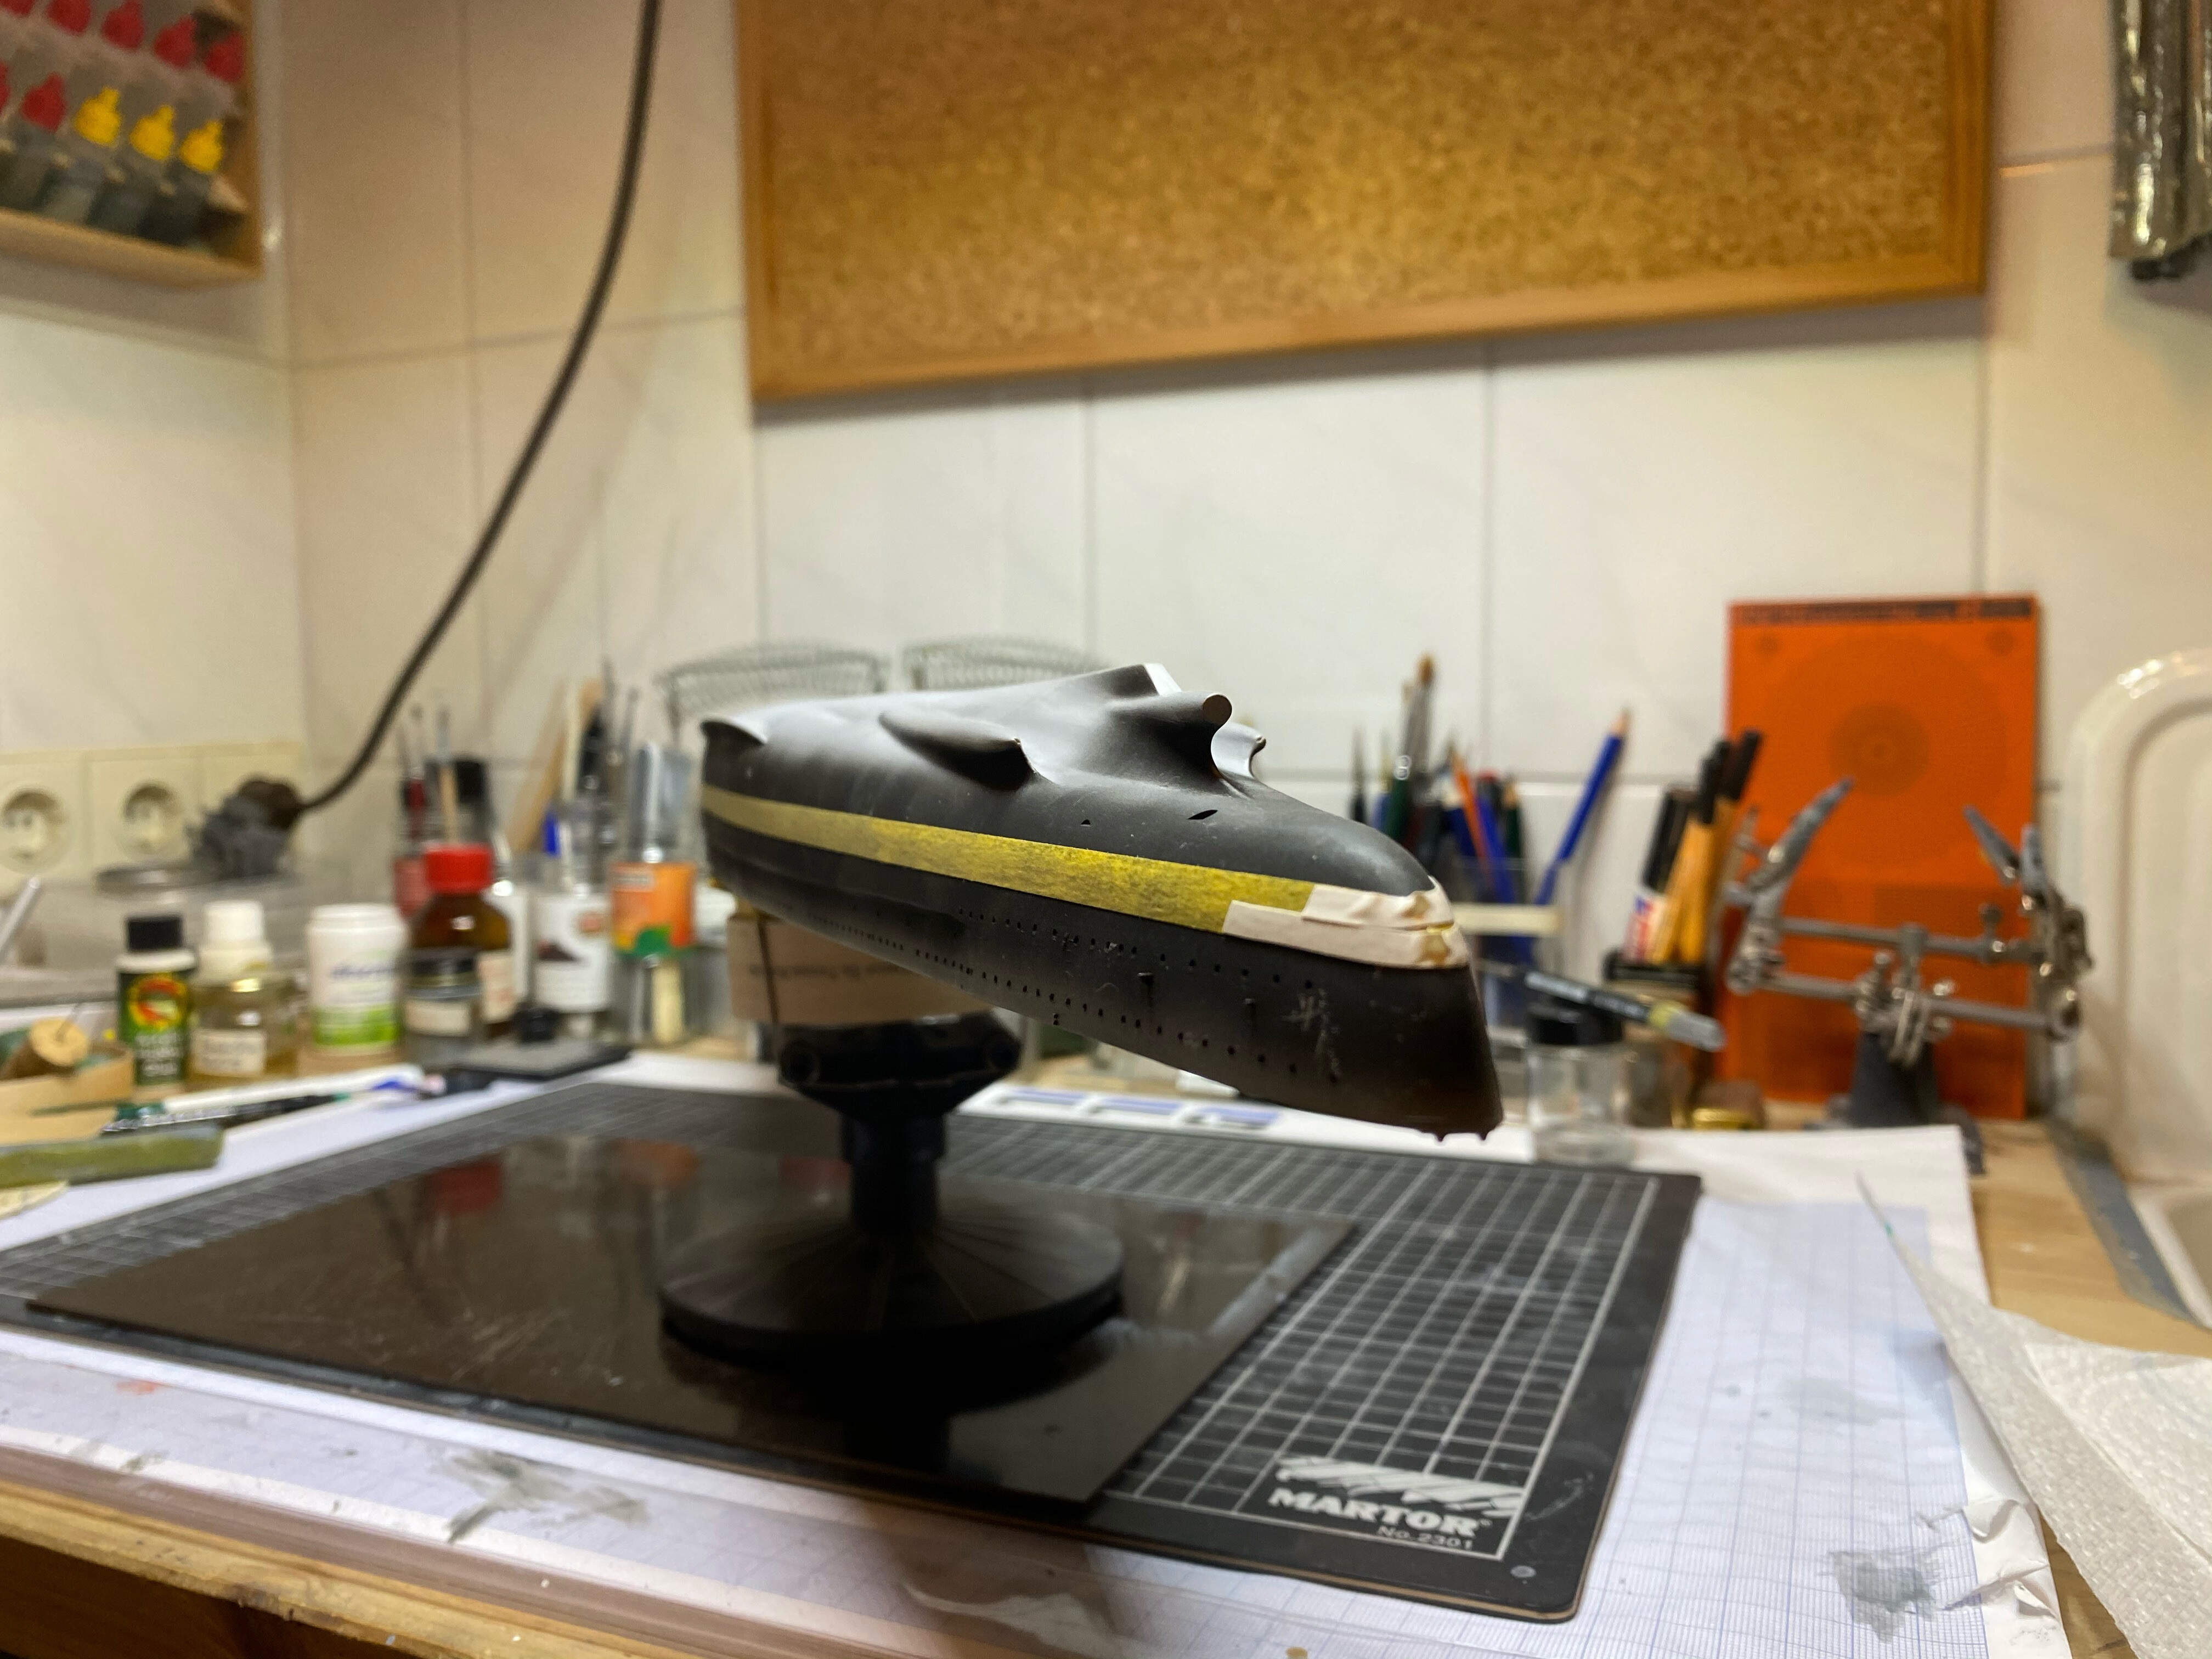
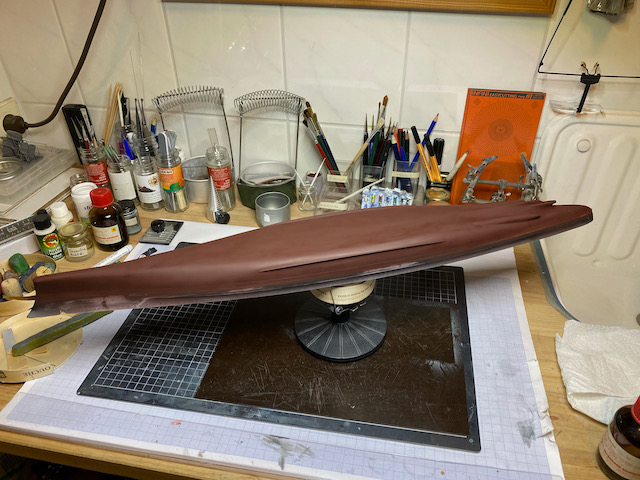
All who have followed earlier build logs of me on the old MSW will remember my ‘reverse approach’ for painting the boot stripe: a big, black stripe along the whole hull. Since those boot stripes were approx 2 m wide on the originals, a 5.9 mm masking tape that I have equals that pretty close, so I will mask the boot stripe along the whole ship with this tape, that helps me getting a straight and perfectly even boot stripe.

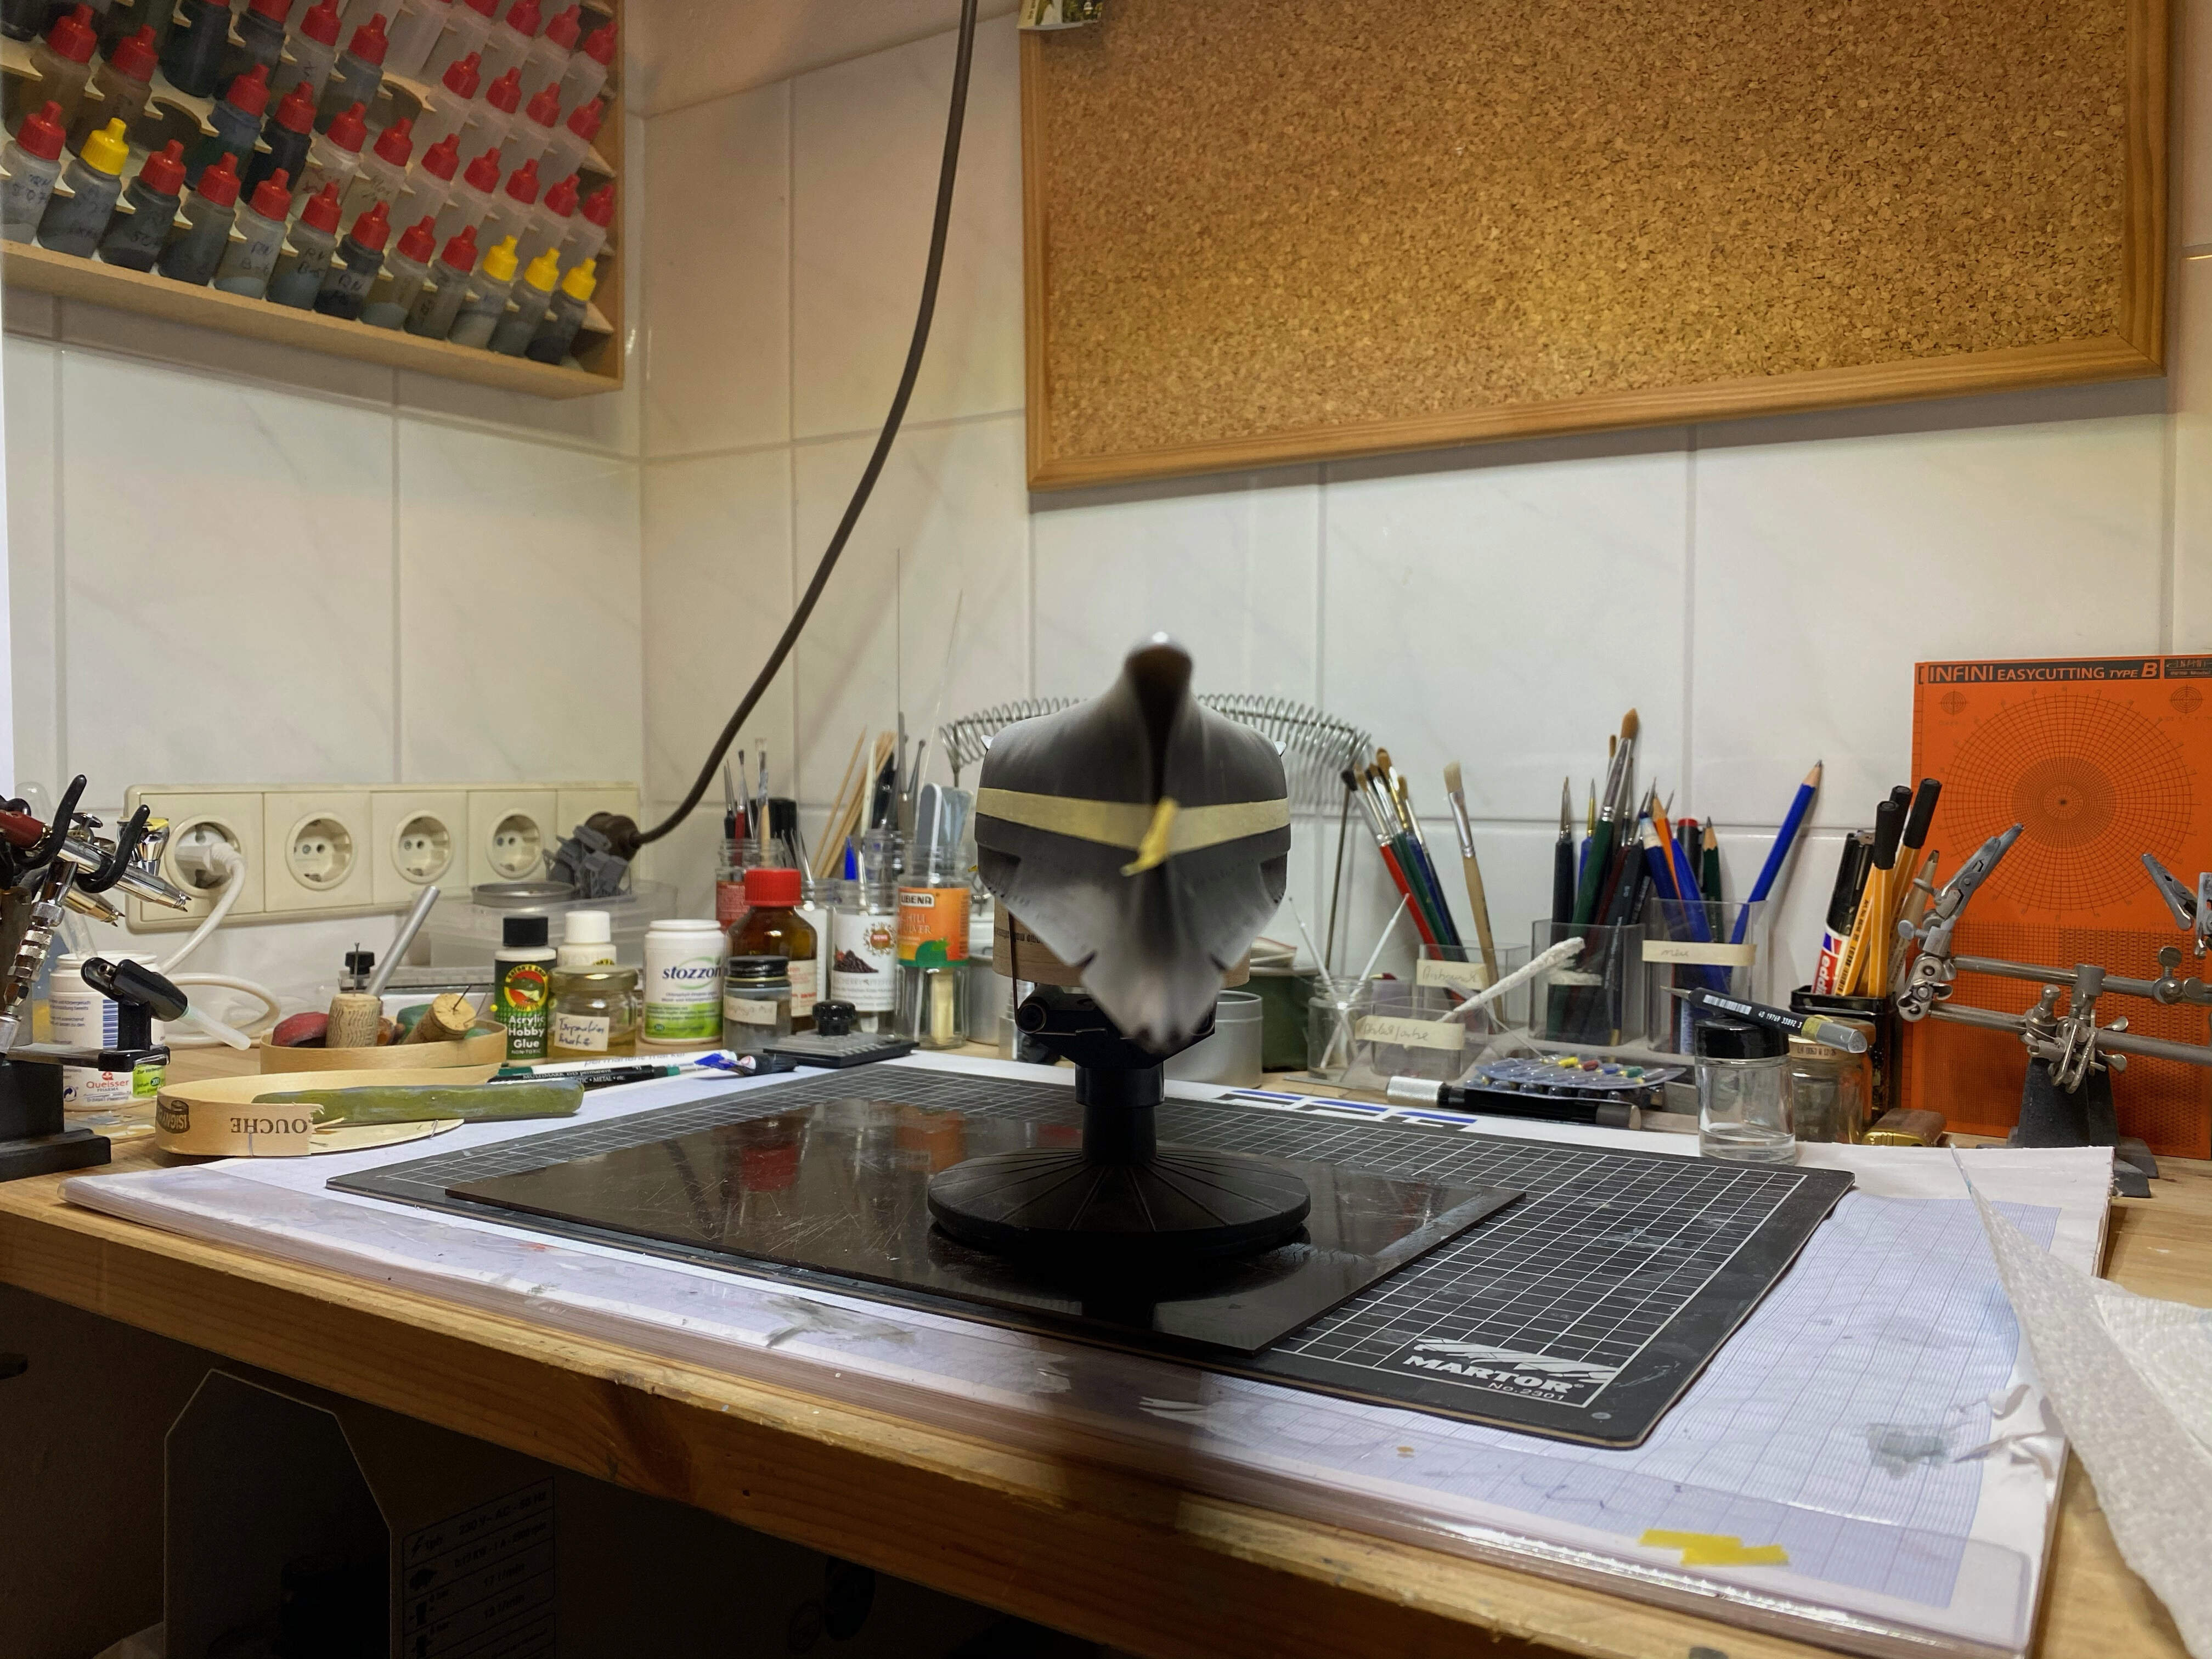
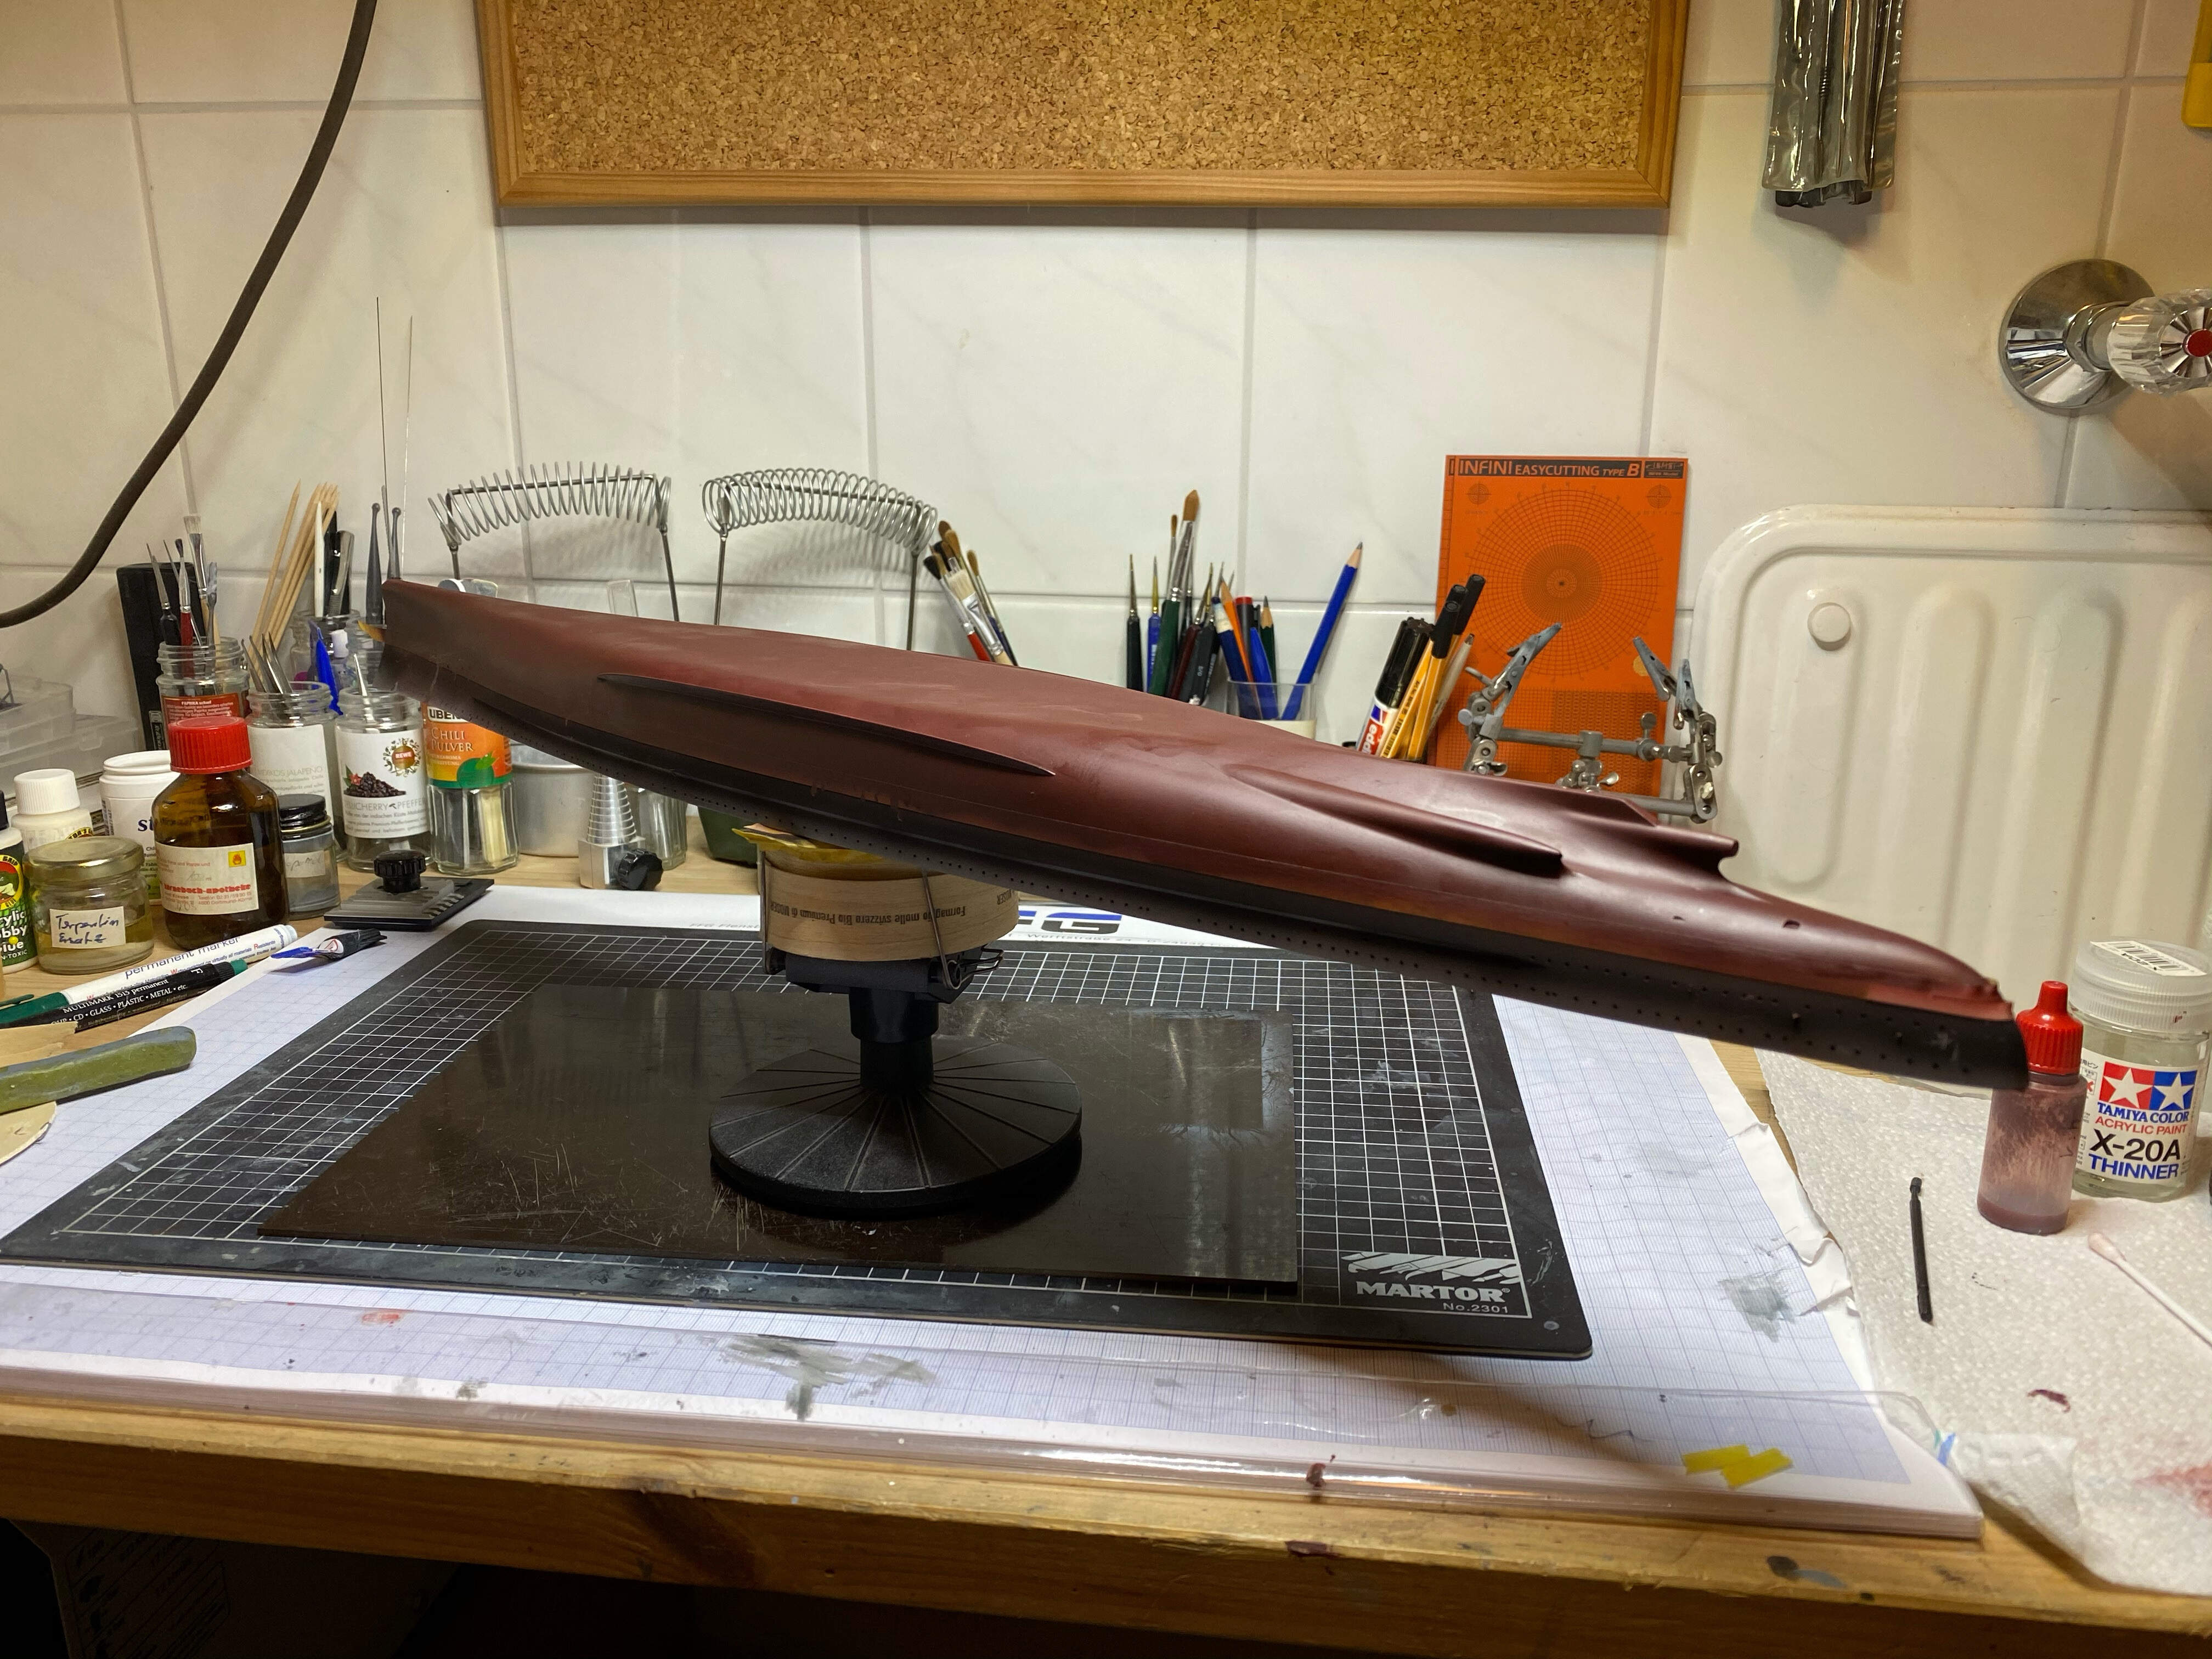
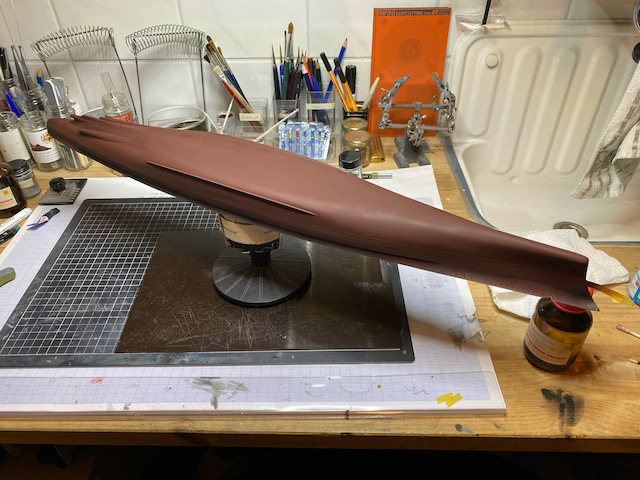
So here’s the black paint along the hull, and I am quite happy with my filling and sanding work of the lasst weeks, the hull looks sufficiently smooth with the black paint on.

Masking of the boot stripe will be the first thing in 2021, then the red anti fouling of the lower hull…

From my hobby store I got the good news that I will get additional 3,7cm Veteran Flak, as well as 2 cm/C30, and some generic wooden deck for the parts where Scharnhorst had a steel deck an that are not included in the wooden deck kit.

For now, Merry Christmas to all of you, happy holidays, happy New Year and all the best for 2021!!

Jan

9 Likes

Jan,

Very nice work on removing the seam on the hull, can’t beat Mr. Surfacer 500 as the go to seam filler. I just finished removing the seam on a destroyer build but I used white primer to verify the seam is removed. Last time I used a black primer it really darken the red paint I (Testor’s) used on the lower hull so I am going to see how the white effects the color.

Mark :beer:

1 Like

A Happy New Year to you all

and thanks Mark for your kind comment!

A little progress - the boot topping masked. I tried to measure based on a draft of approx. 9.5m, but this proved to be not really useful, so I went by eyeball Mk 1 with a proper distance to the portholes for and aft, even along the armored belt and, most important, straight and parallel.

First coat of hull red for the lower hull. My usually trusted airbrush let me down somewhat, sputtering and not getting the coat as even as I want it - most likely my fault, I used my prepared hull red from a small bottle, shaking it well but not checking it’s consistency. My last build was my 1/700 F225, waterline. So I last used that paint for my HMS Hood. Painting her lower hull was in…well…2016? Ups… So, some delicate sanding to correct for sputtered paint, mixing a new bottle of hull red (Tamiya hull red XF-9 plus some flat red XF-7 to lighten it) and one more coat should fix that.

Cheers and thanks for looking

Jan

11 Likes

The hull red tone looks great Jan and the masking tape line looks spot on … Sometimes you can’t beat the MK1 eyeball :+1:

2 Likes

Ahhh…much better :smiley:

Gneisenau 16 - 1

Gneisenau 16 - 2

Gneisenau 16 - 4

5 ml thinner, 2 ml flat red XF-7 and 8 ml hull red XF-9.
Should have remembered, how long I didn’t use that paint…or at least checked it…anyway. Fresh paint, and no blame on the airbrush!

Cheers
Jan

9 Likes

Jan,

Nice paint work, looks nice and even.

I made the same mistake using saved leftover paint. Clog the airbrush so bad had to completely disassemble to get it clean.

Mark :beer:

1 Like

That anti fouling red looks to be spot on, Jan! :slightly_smiling_face:

Nice recovery, mate :+1::relaxed:

2 Likes