good work on the hull painting
1 Like
Thank you all so much for watching and commenting!
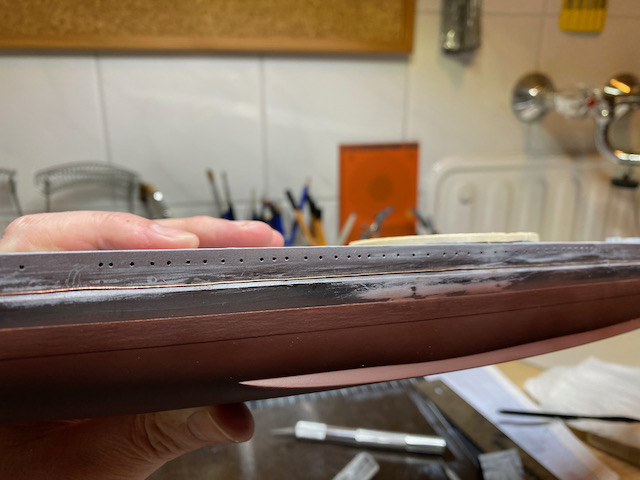
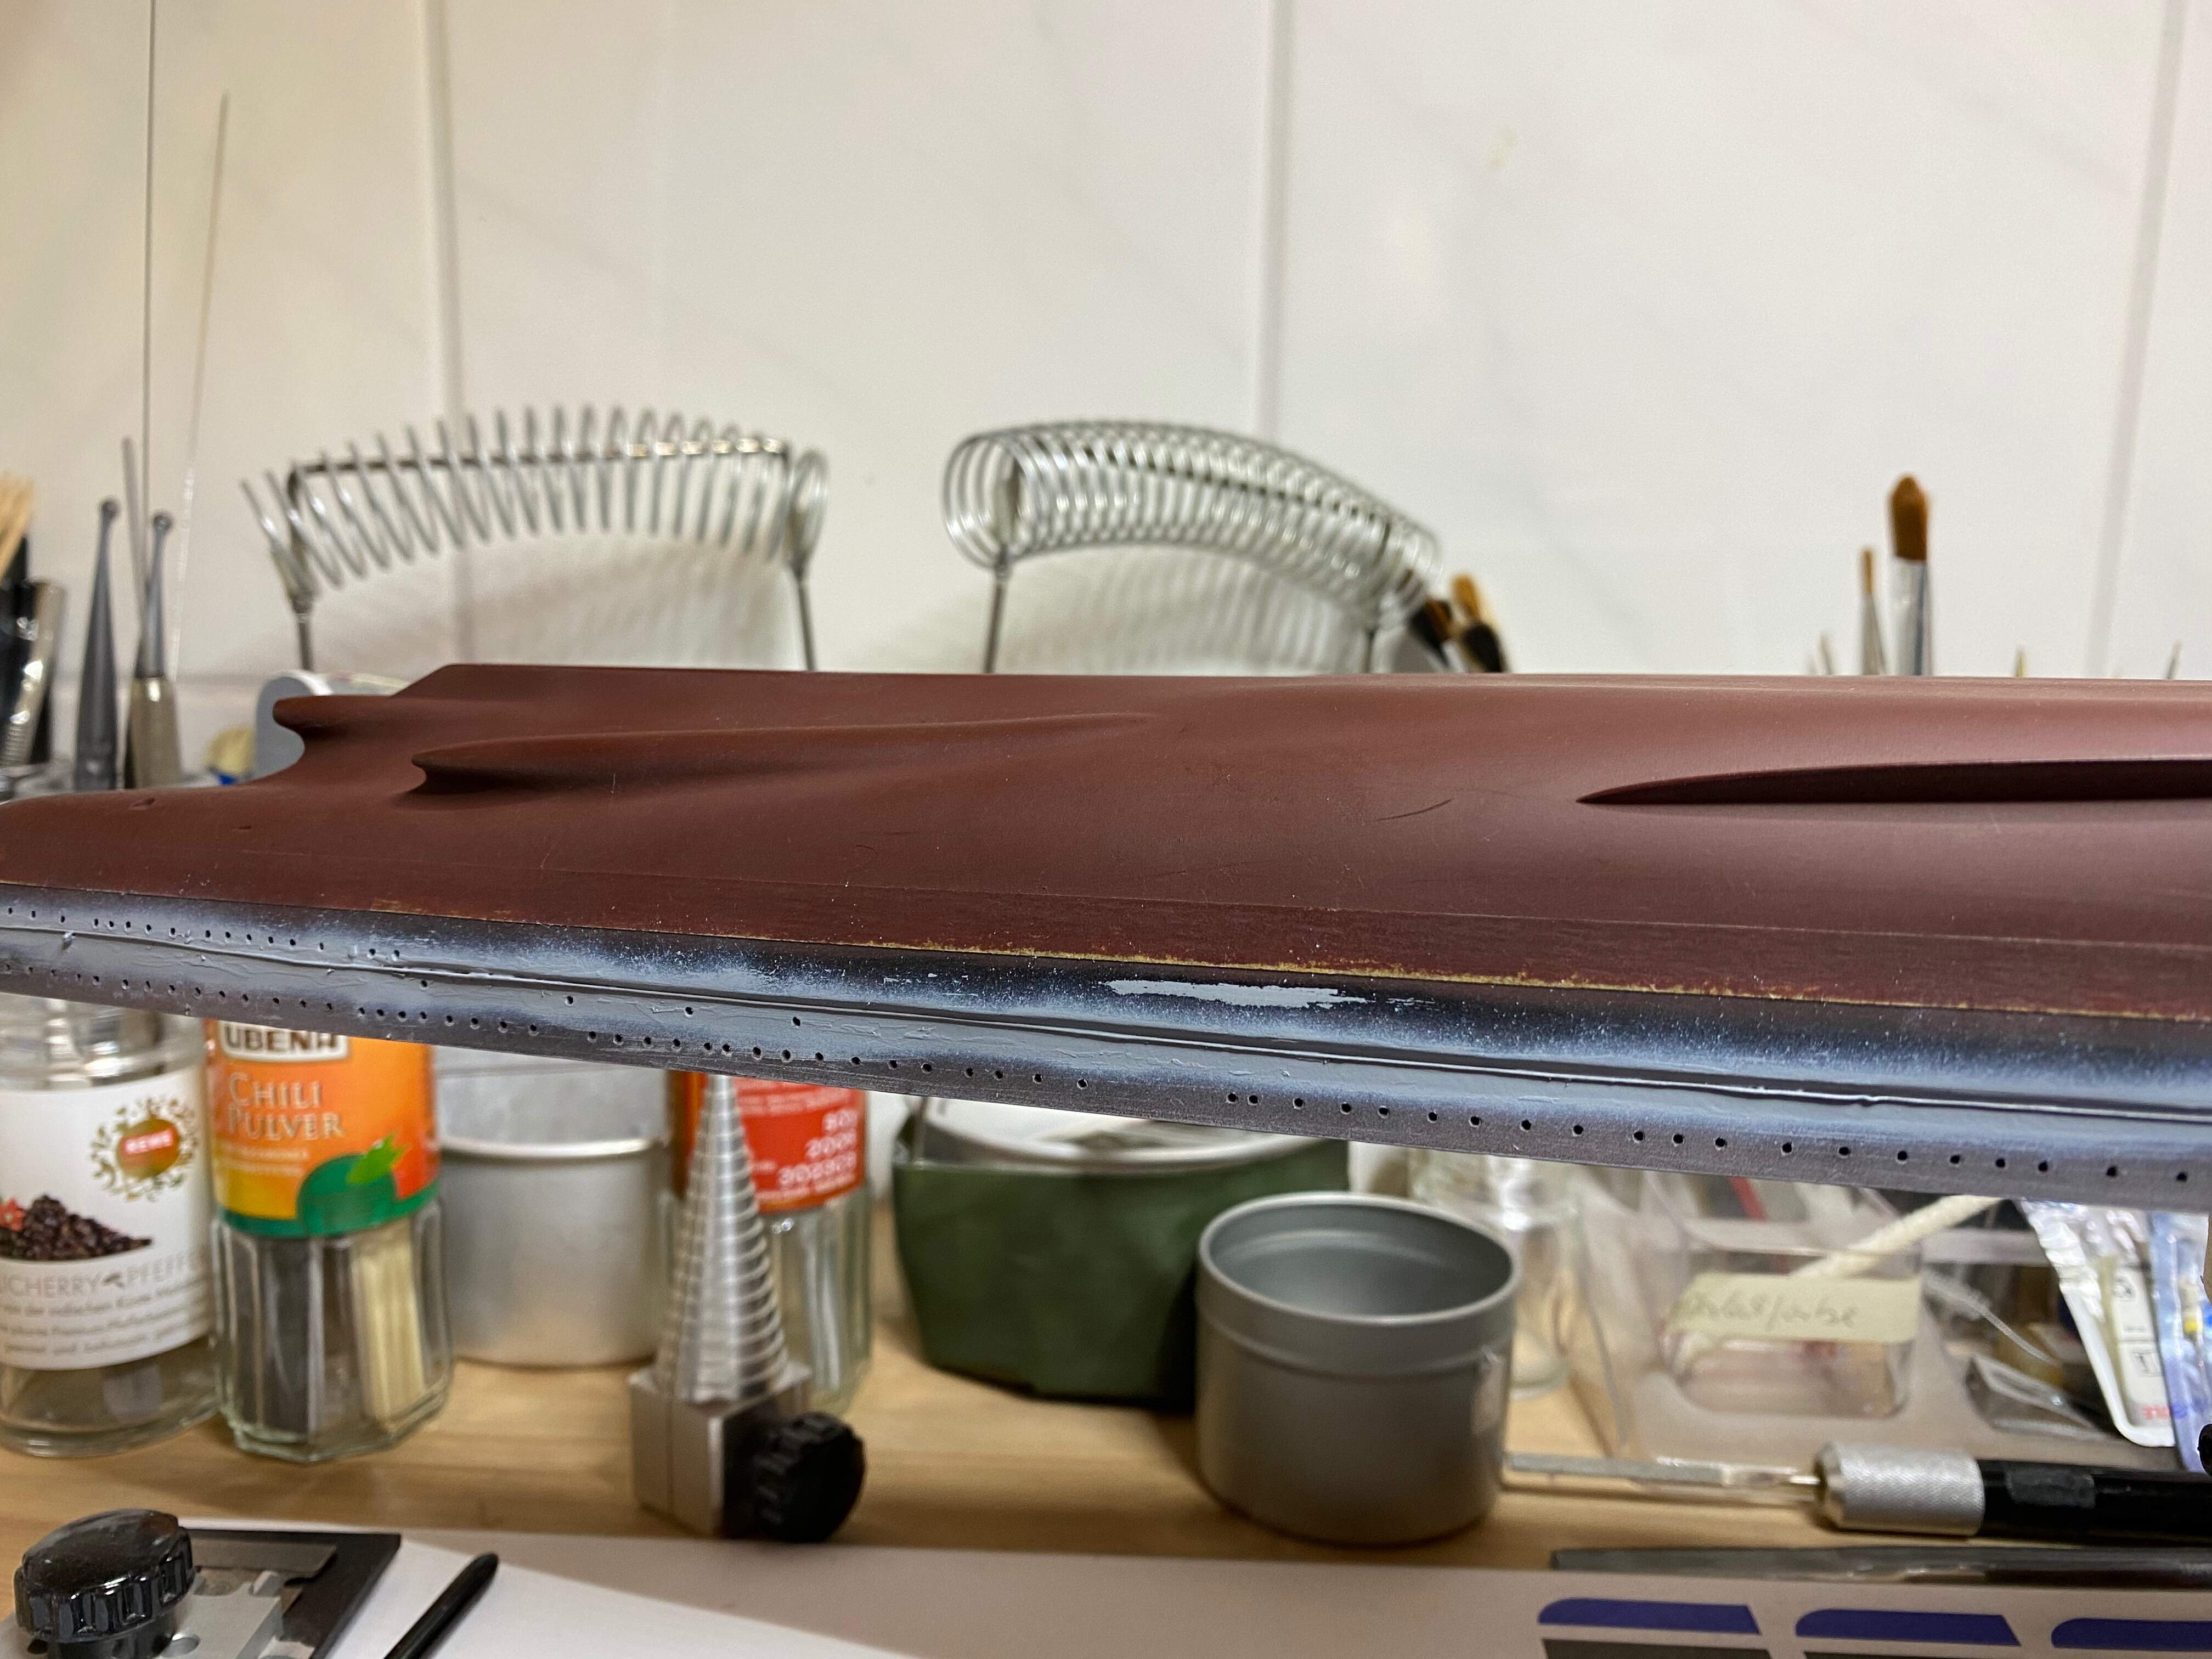
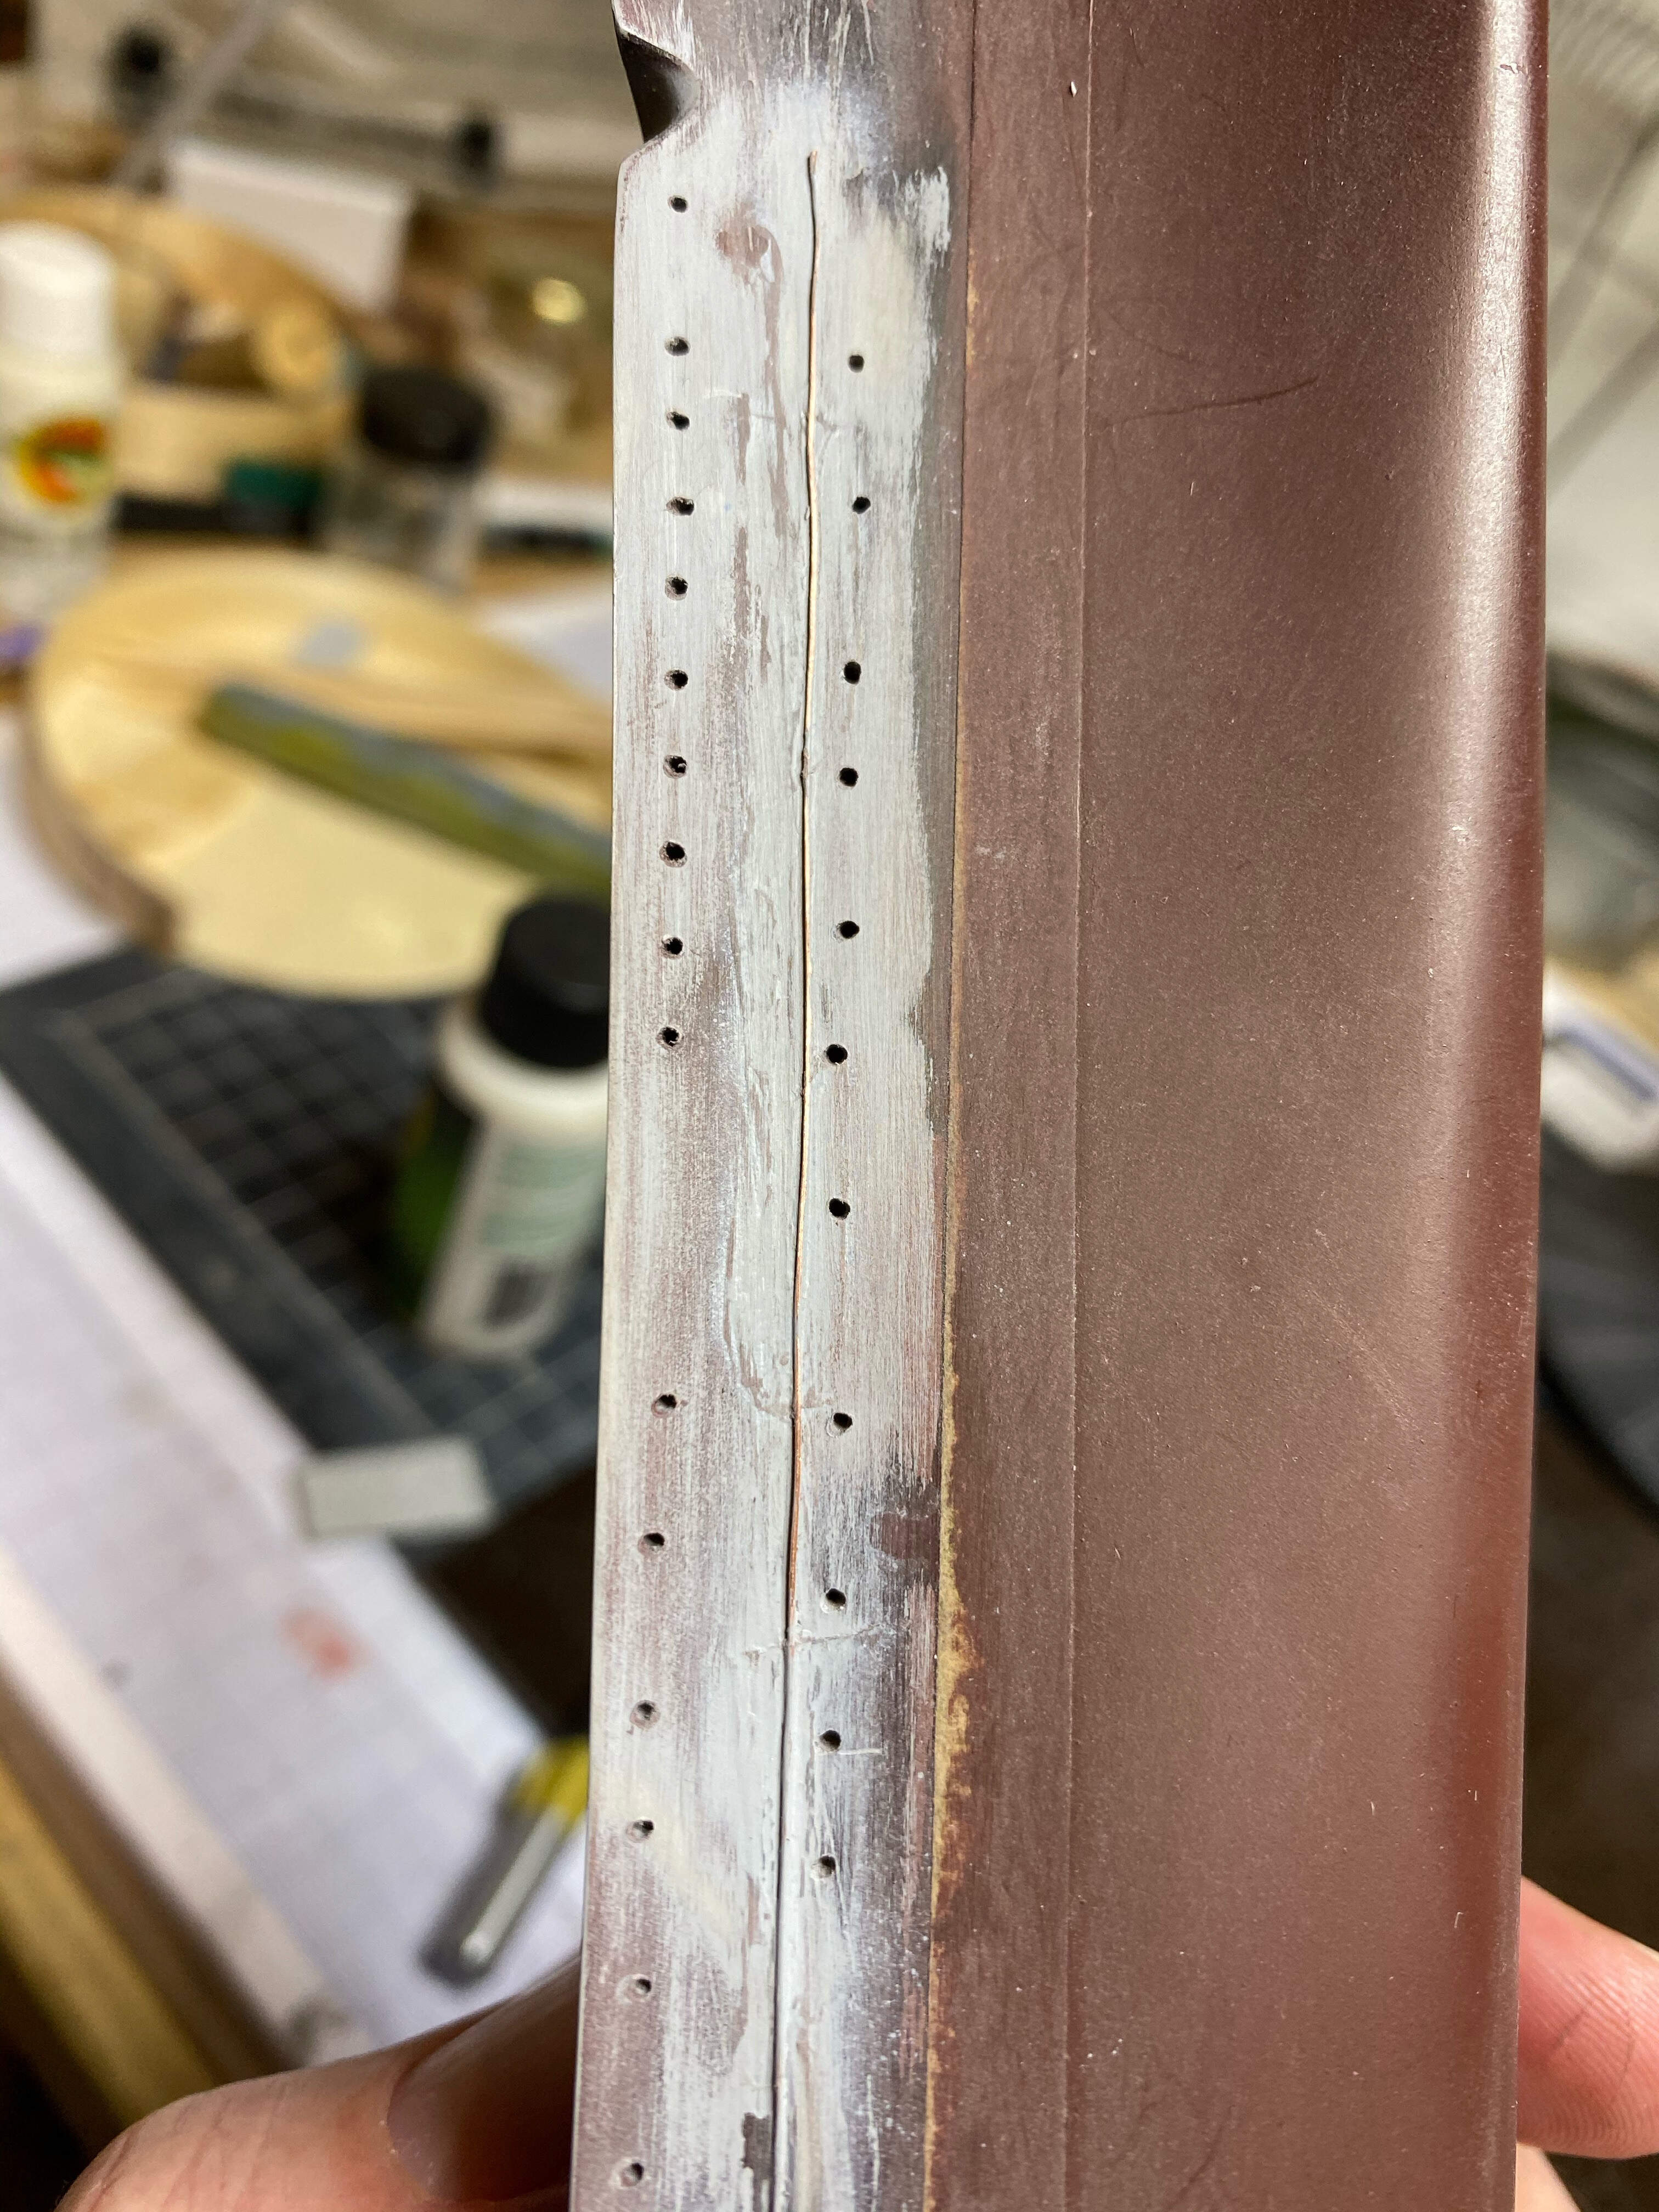
Meanwhile I was fighting with the degaussing cable…in the end, it looks all right, but not without causing some collateral damage I have to fix. Nothing major, the ‘usual stuff’…
I attached the copper wire with a few drops of CA and then brushed it along the entire length with Gator Glue.
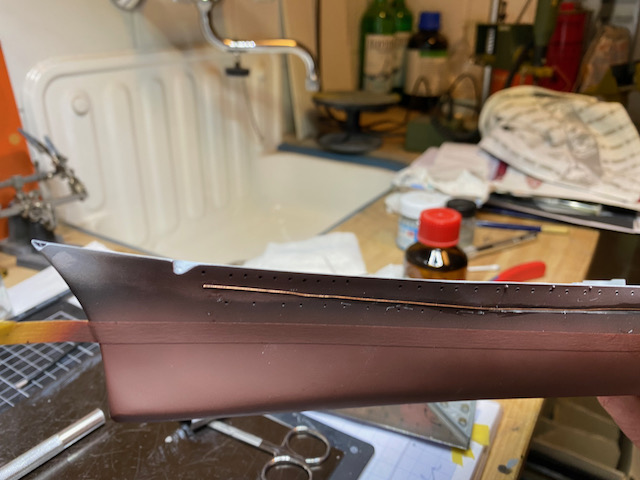
Excess was removed by sanding and a sharp knife, next will be one more coat of surfacer with airbrush to see if more sanding is required. Before that I have to mask the red lower hull (some more touch ups to that already done…)
With some luck I get something done tomorrow…
Thank you and cheers
Jan
7 Likes
Just a “wow”! What an amazing build!
2 Likes
Thank you, Pete! And thank you all for watching!
Well, quite obviously I didn’t mange much more last weekend…but a little over the week.
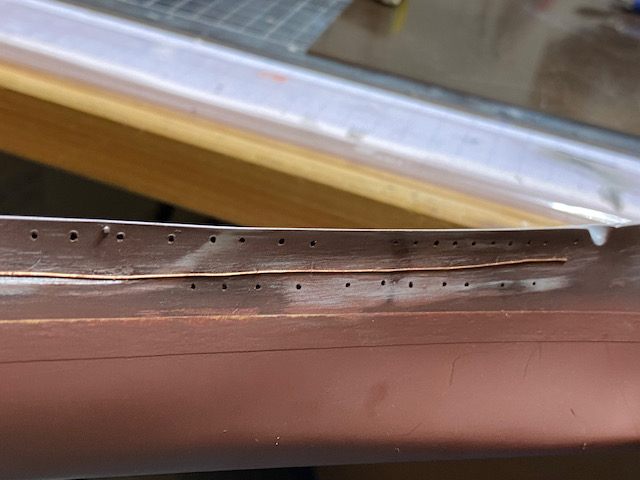
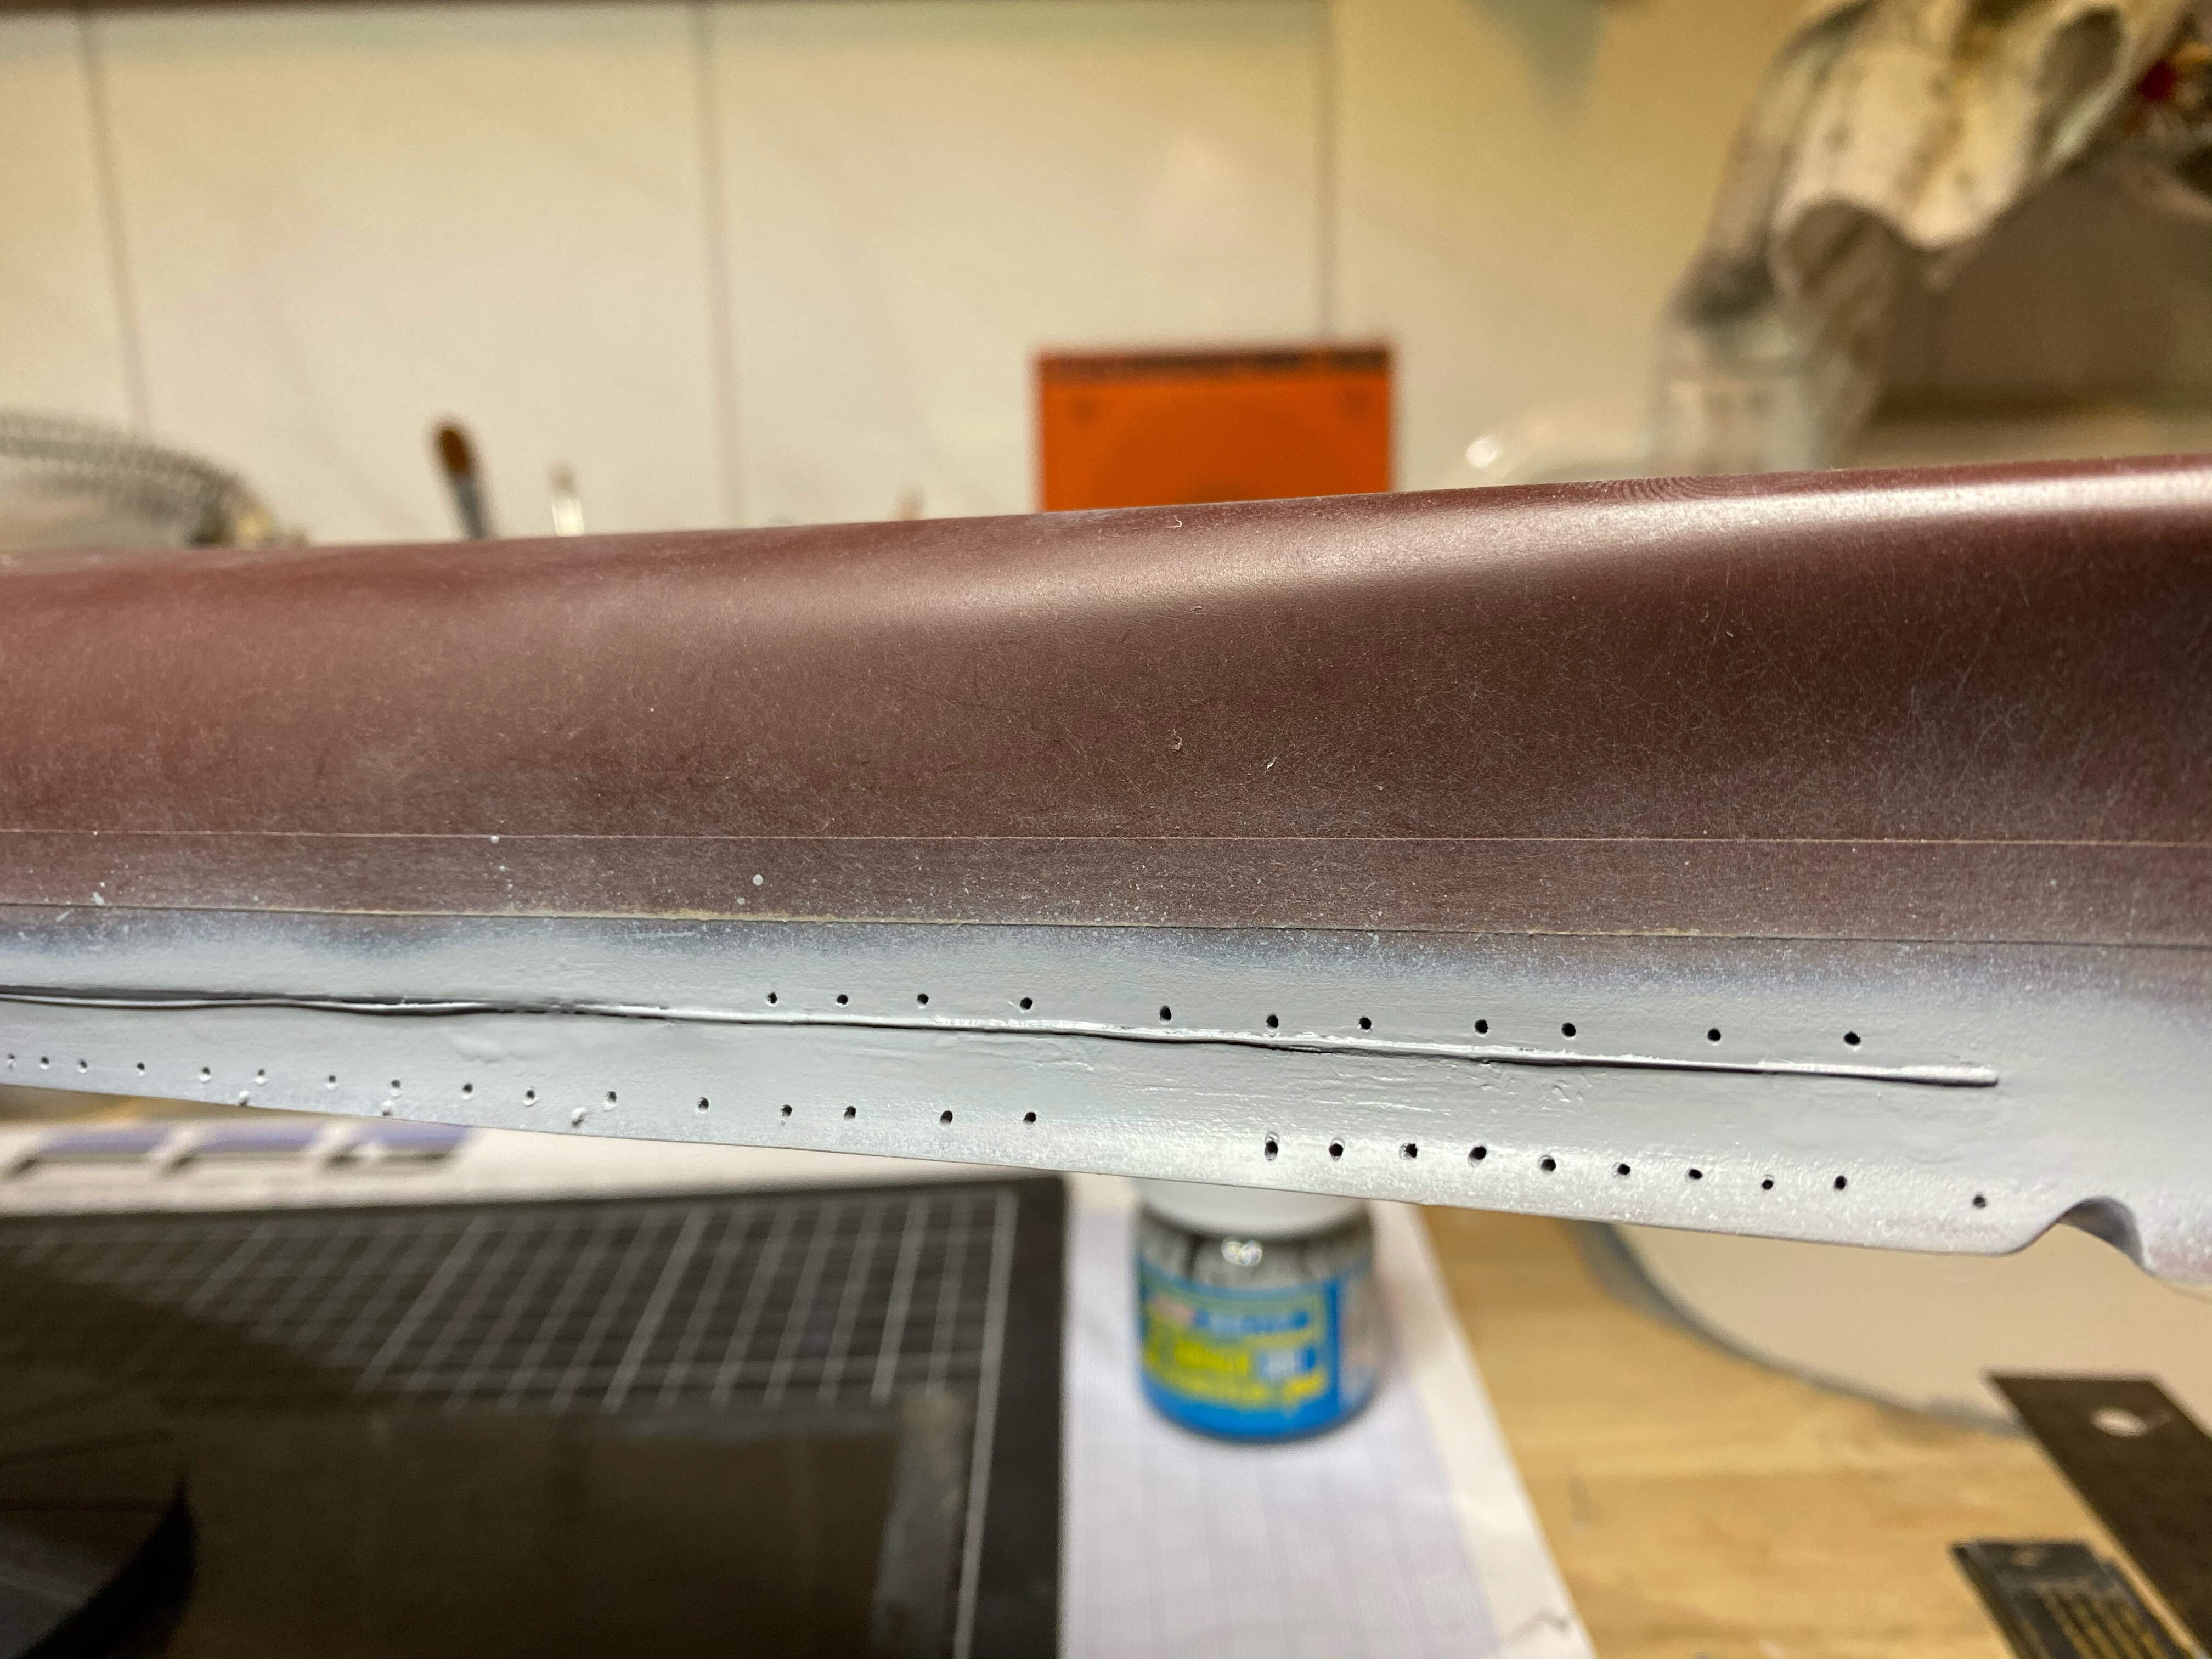
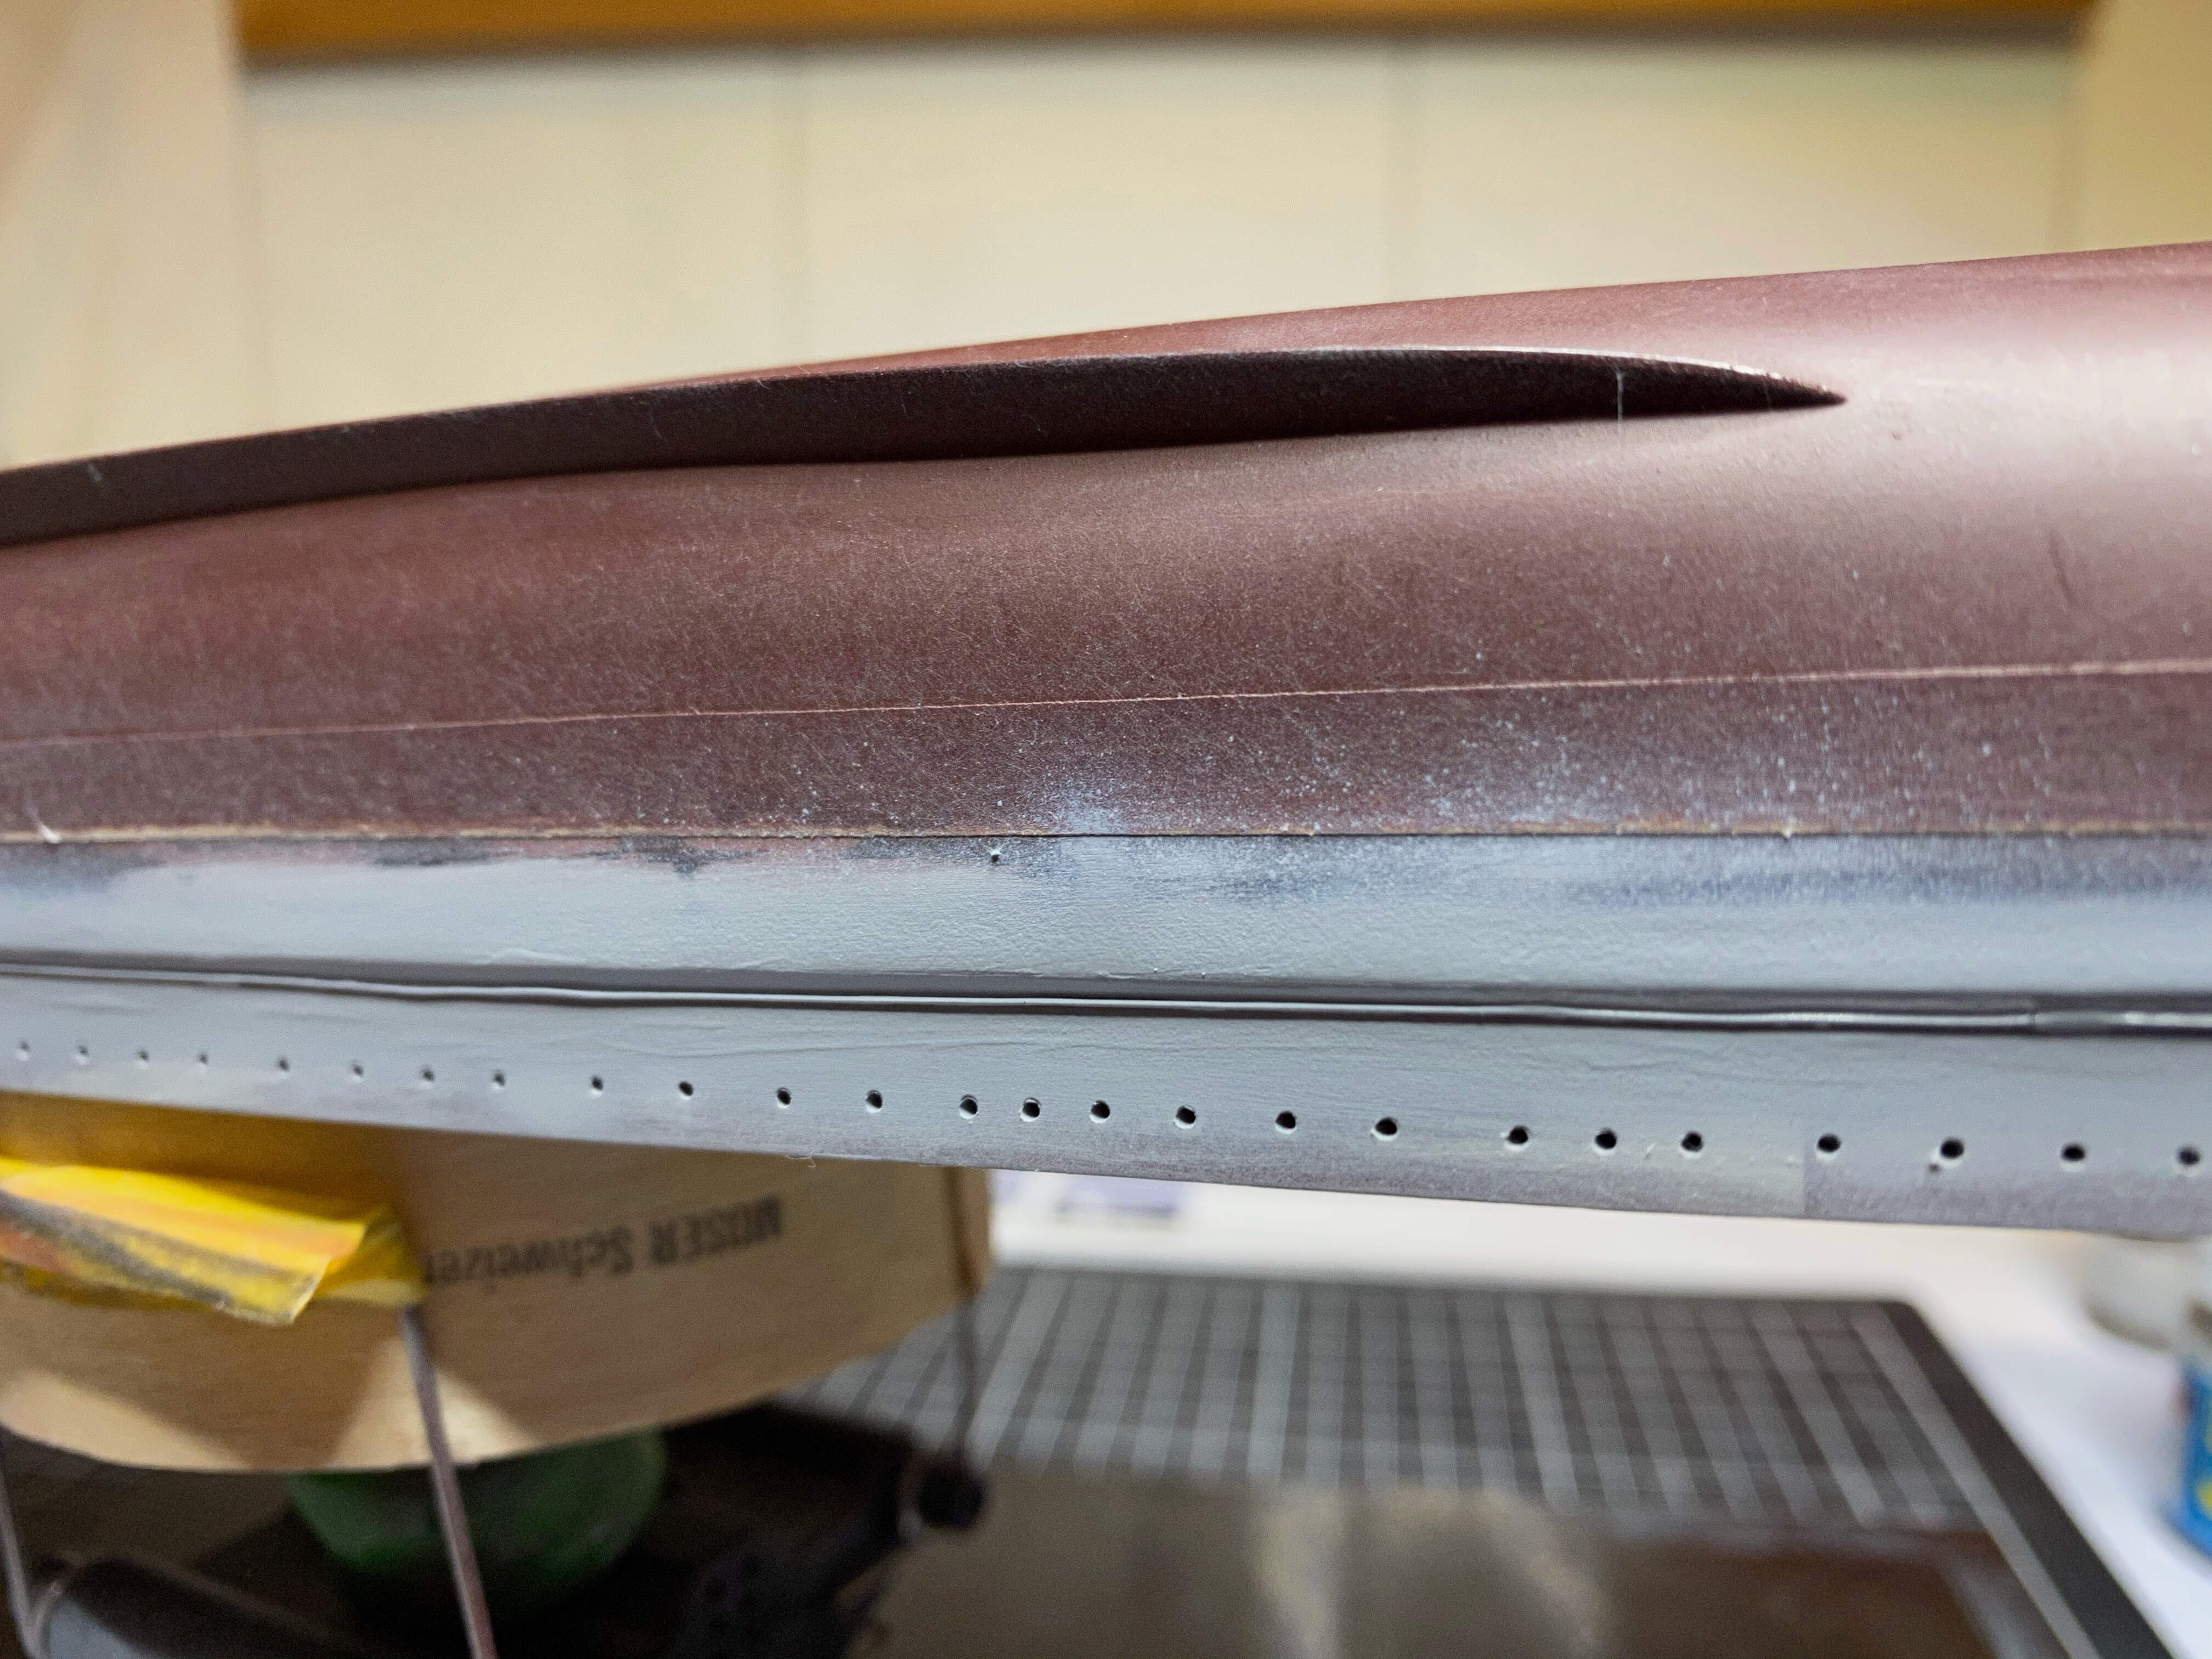
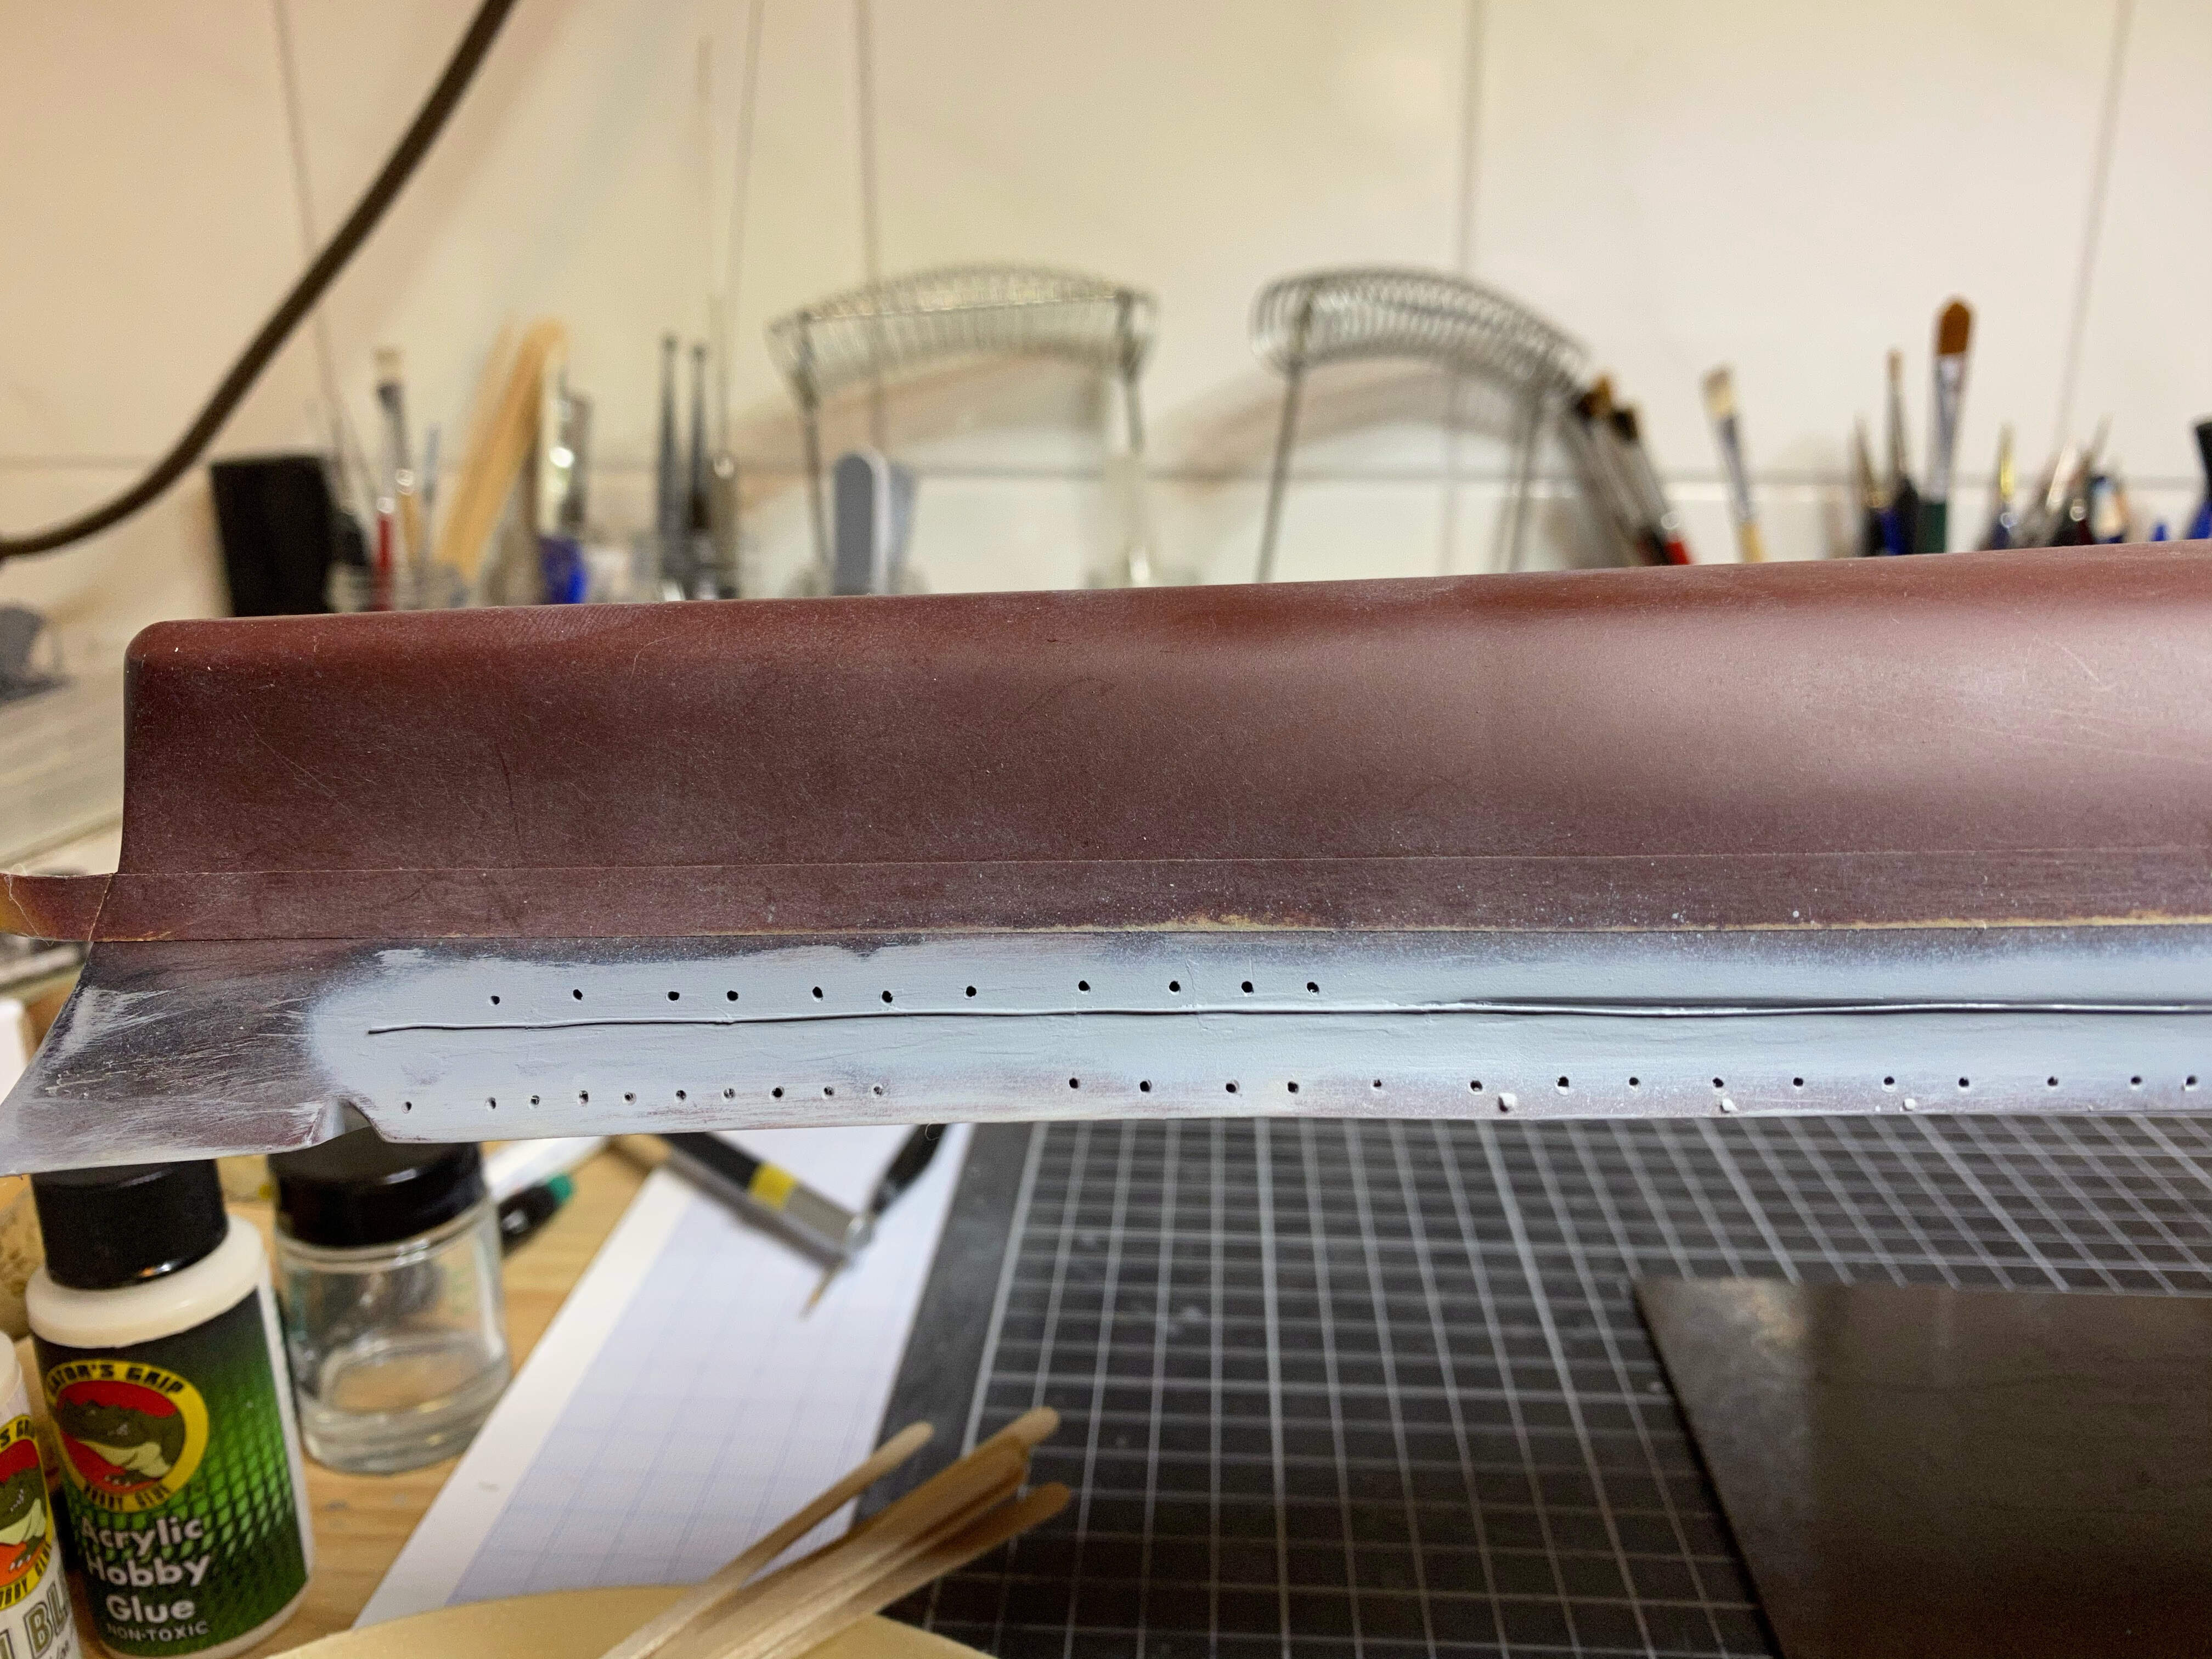
Looking at it, I wasn’t really happy with the degaussing cable at the bow, it should be nearer to the waterline. So I changed that.

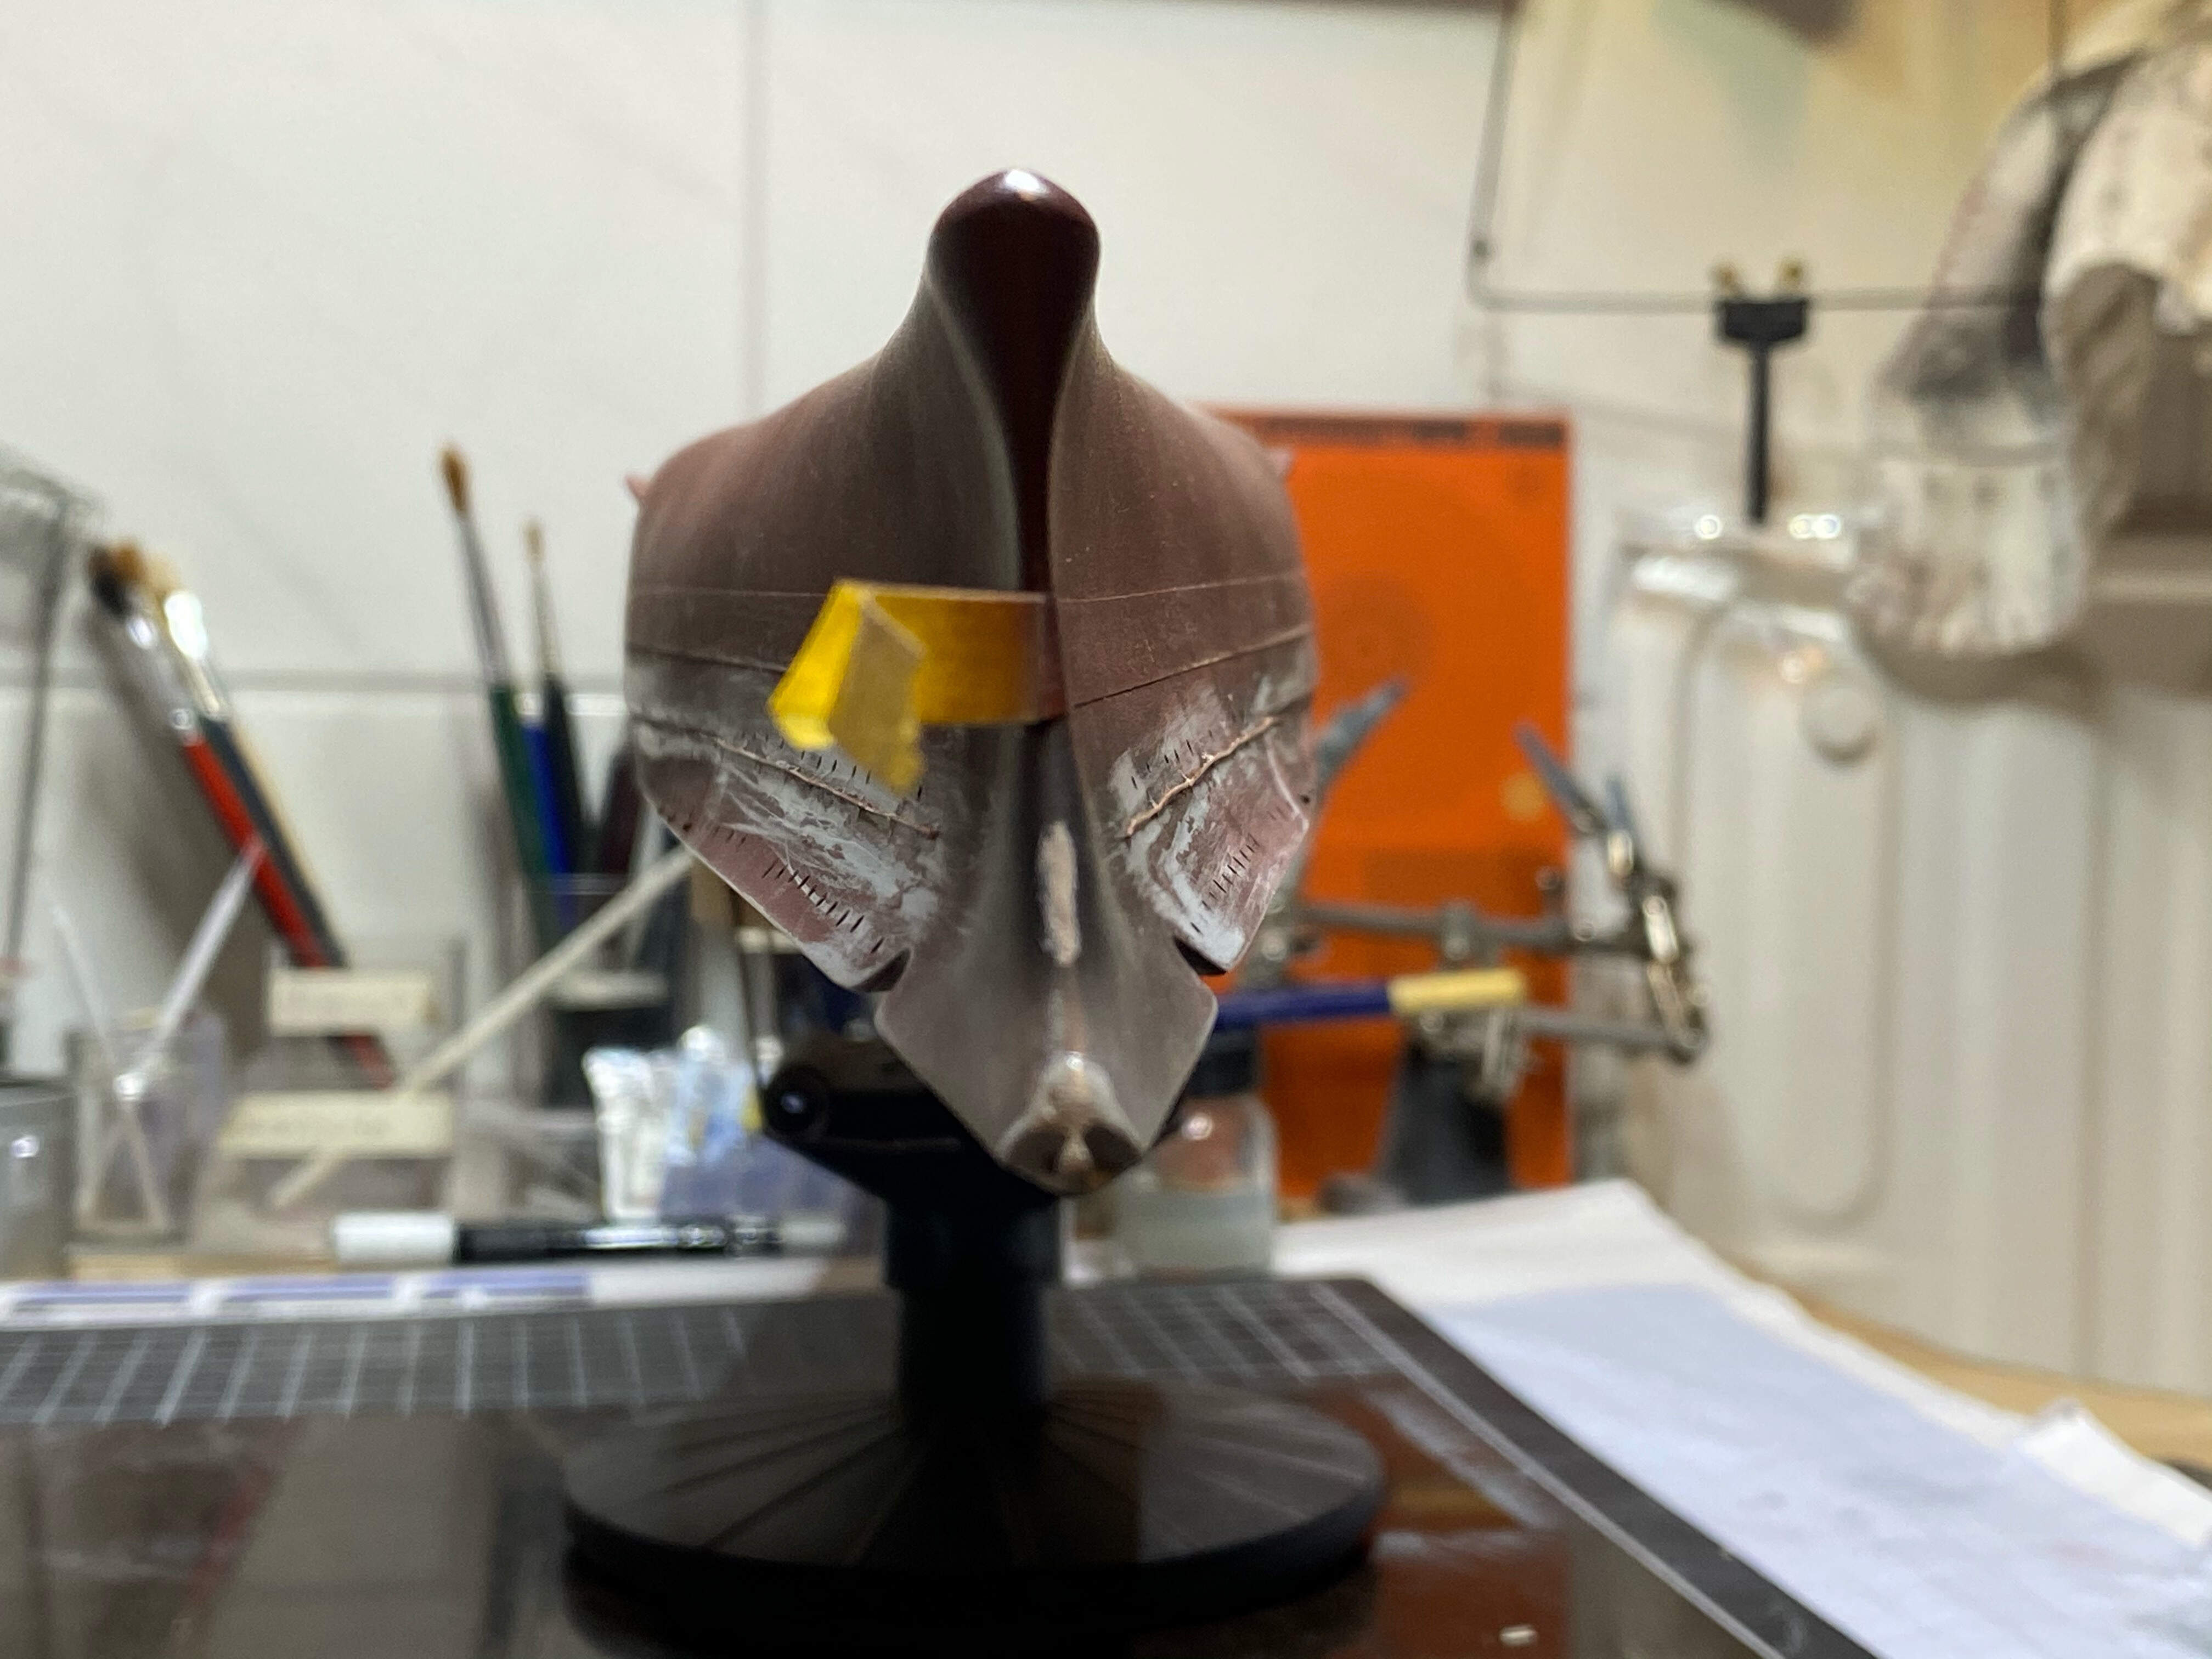
Much better.
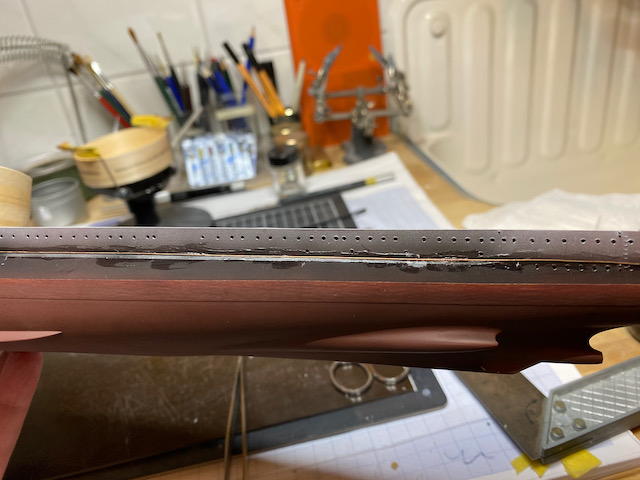
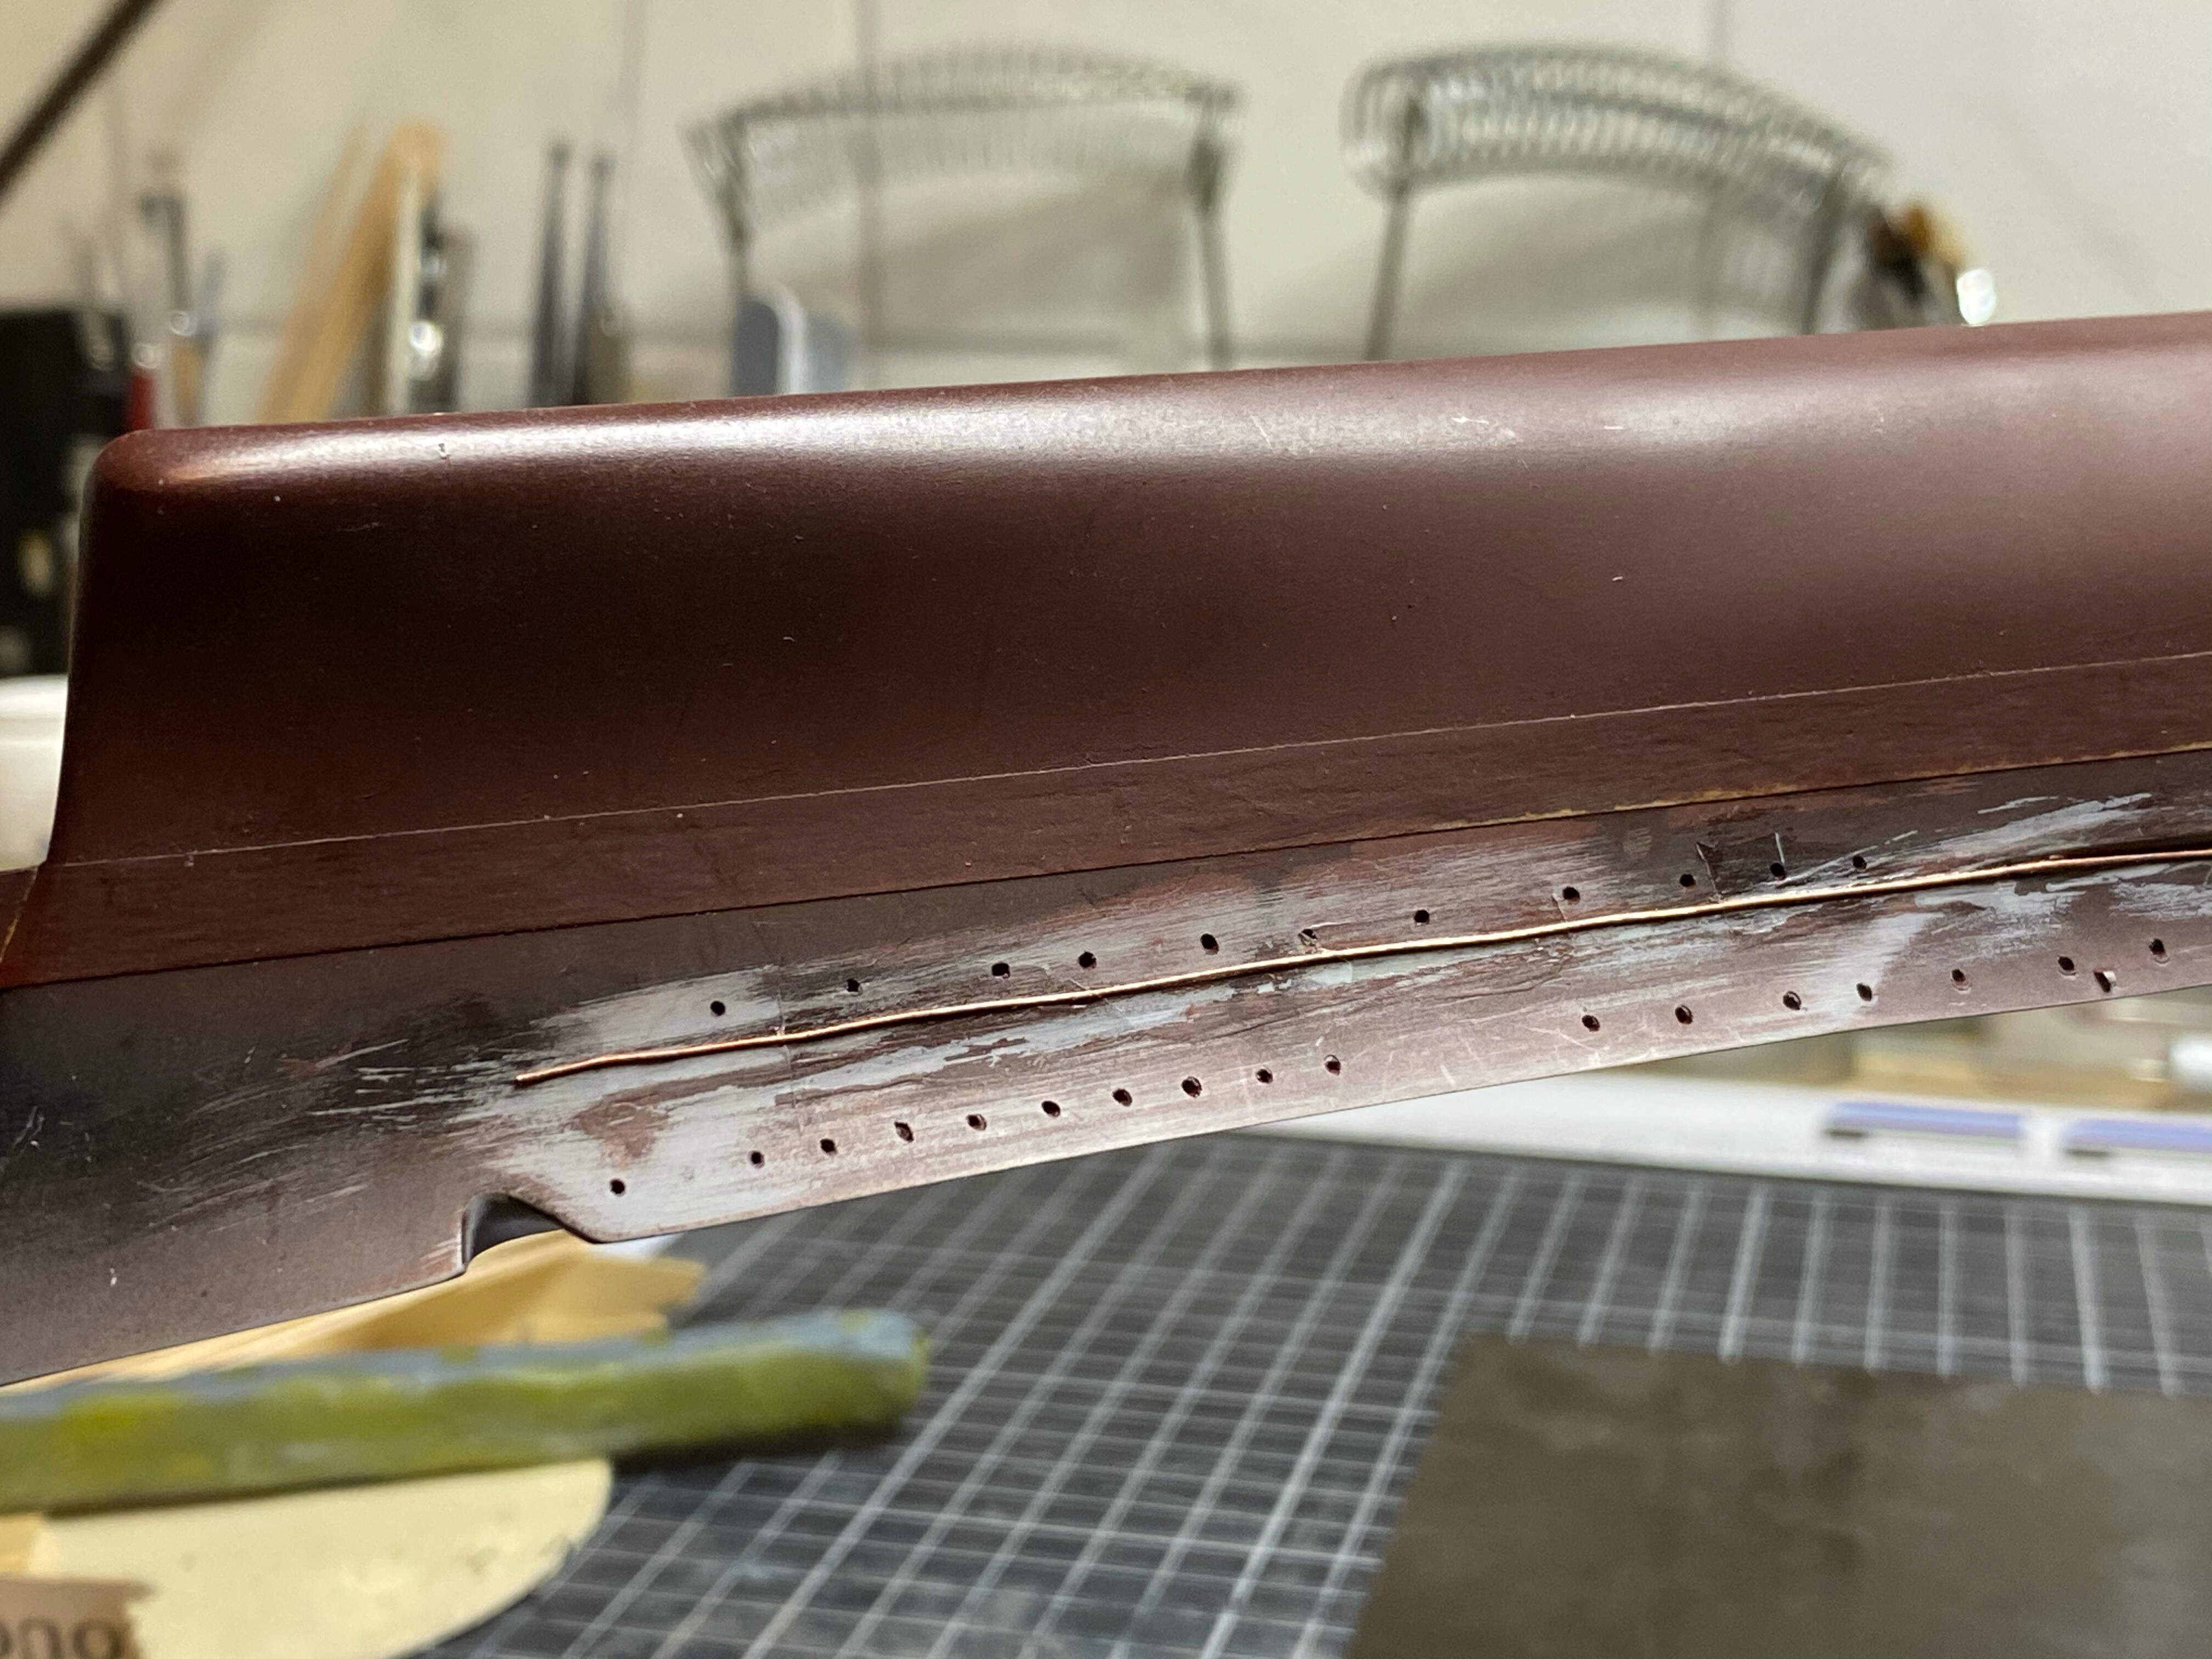
All in all, the Gator Glue needs cleaning up.
Getting there.
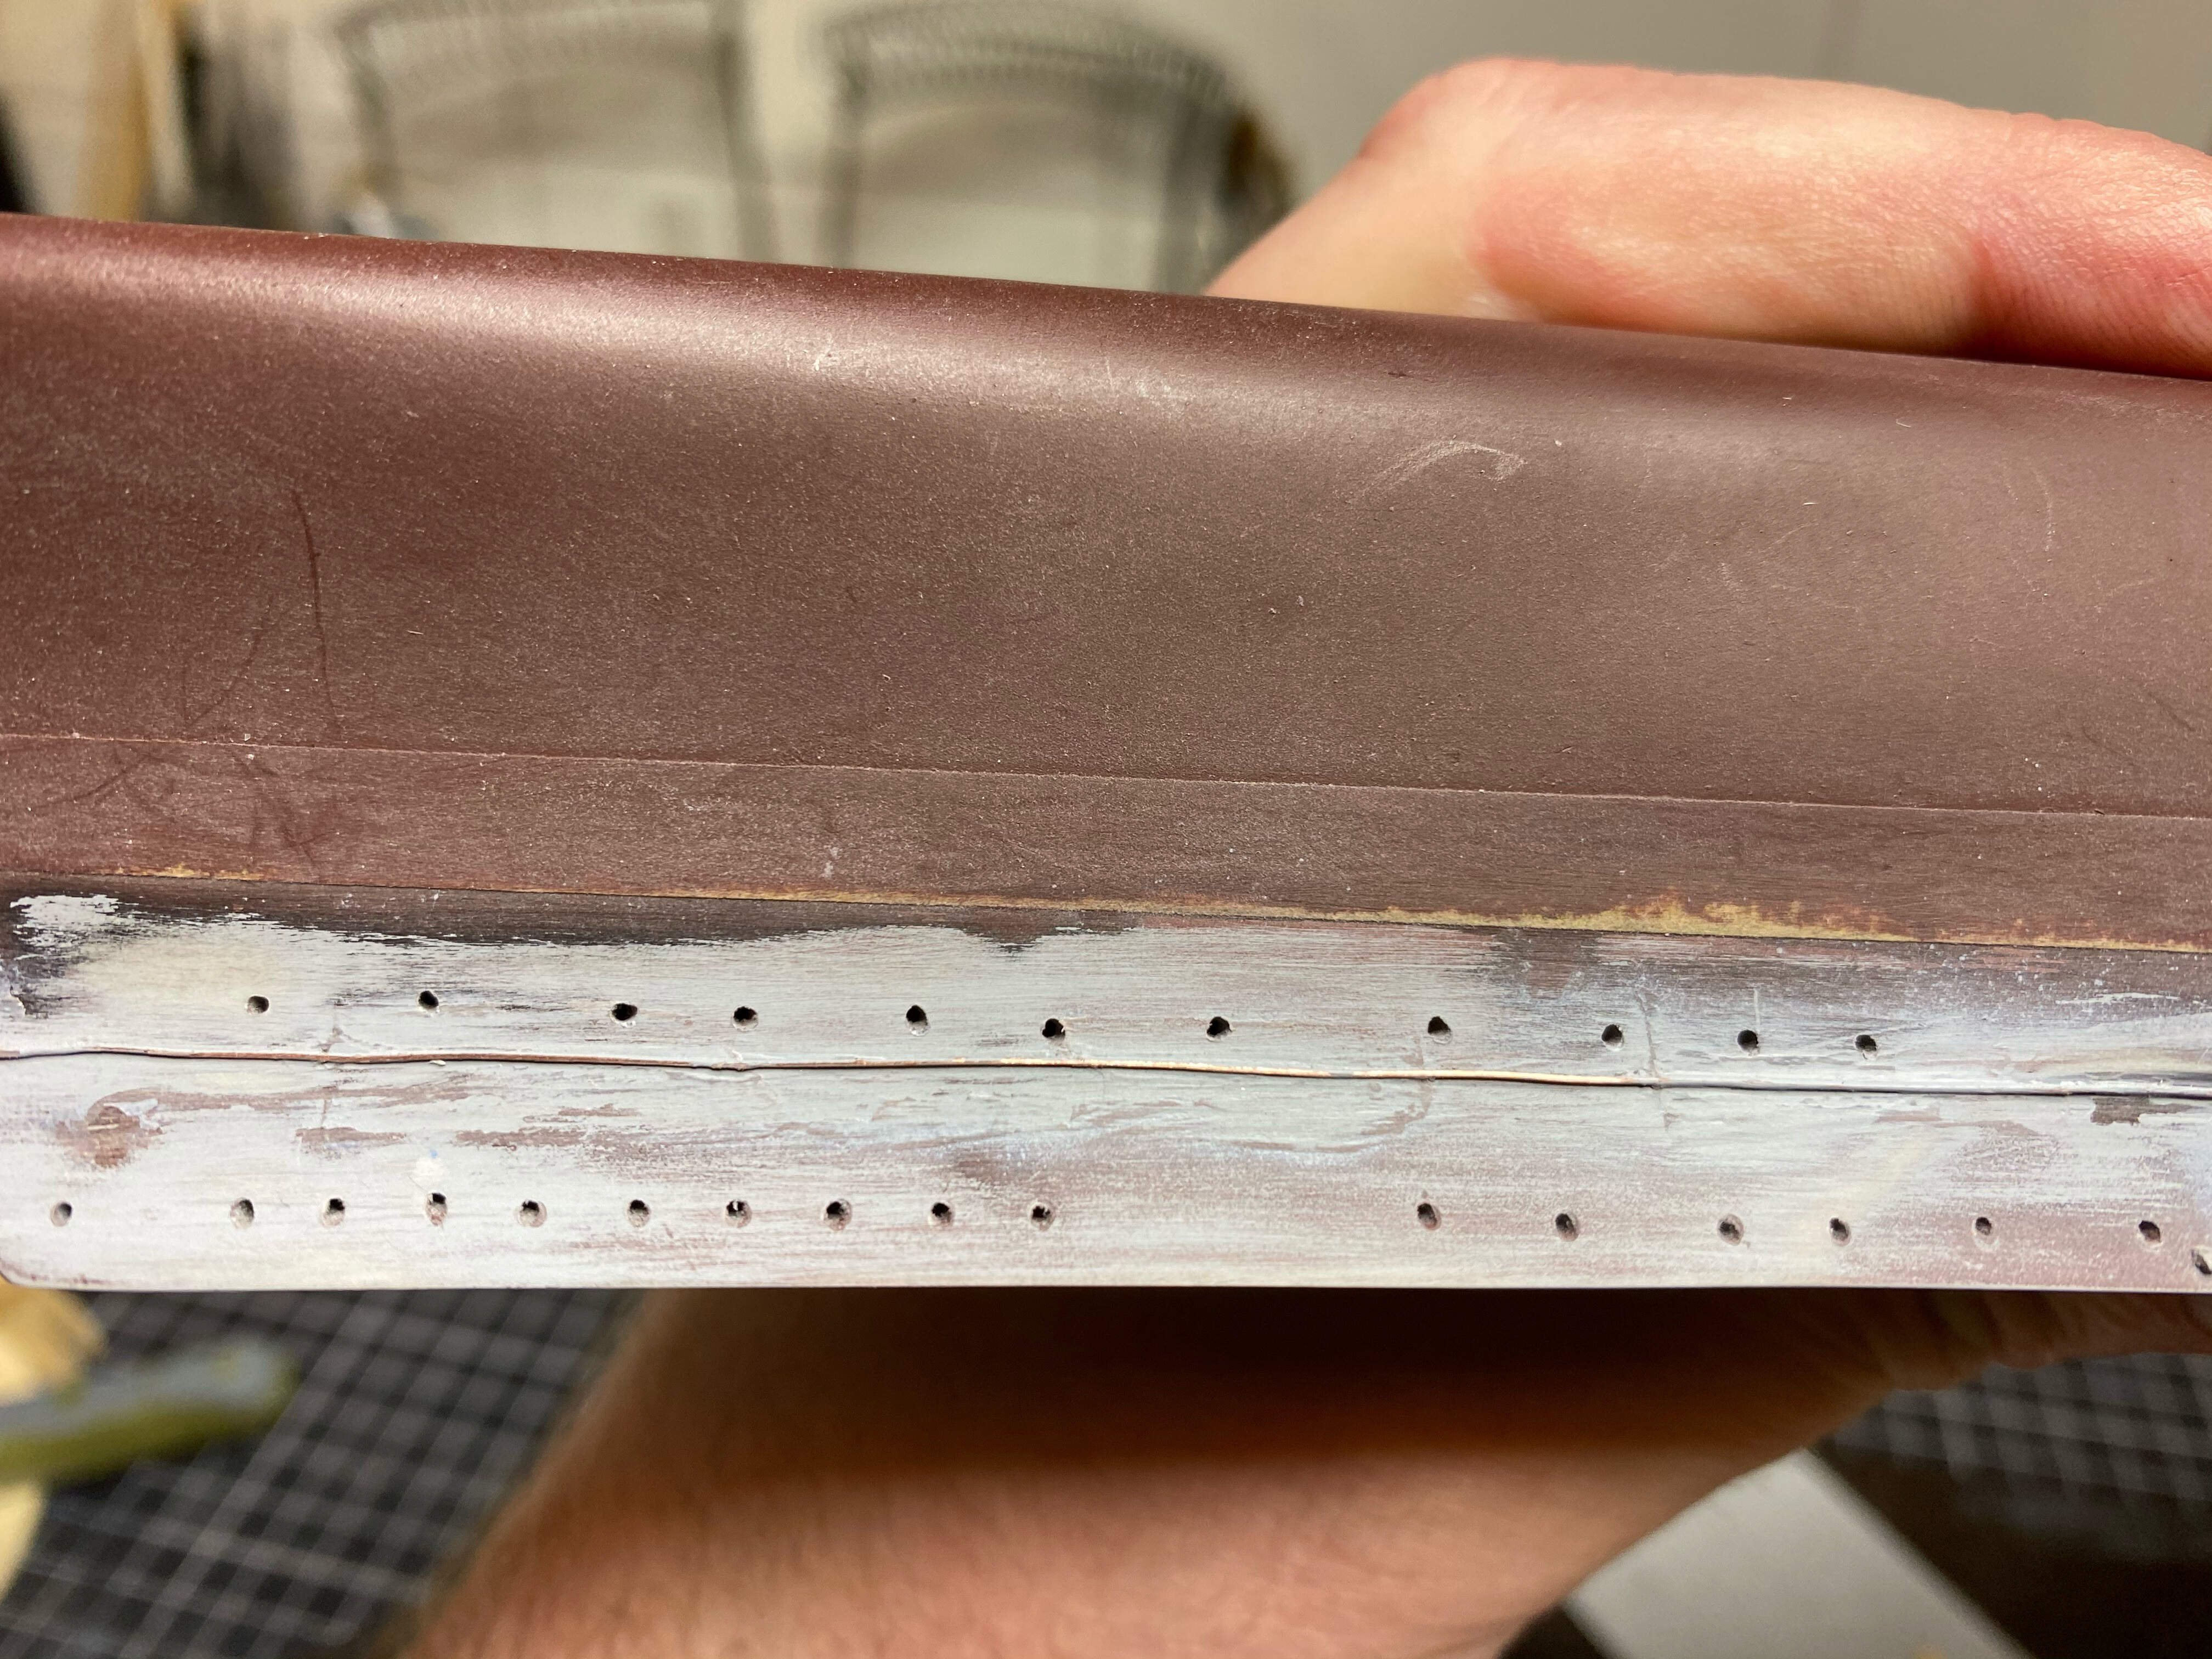
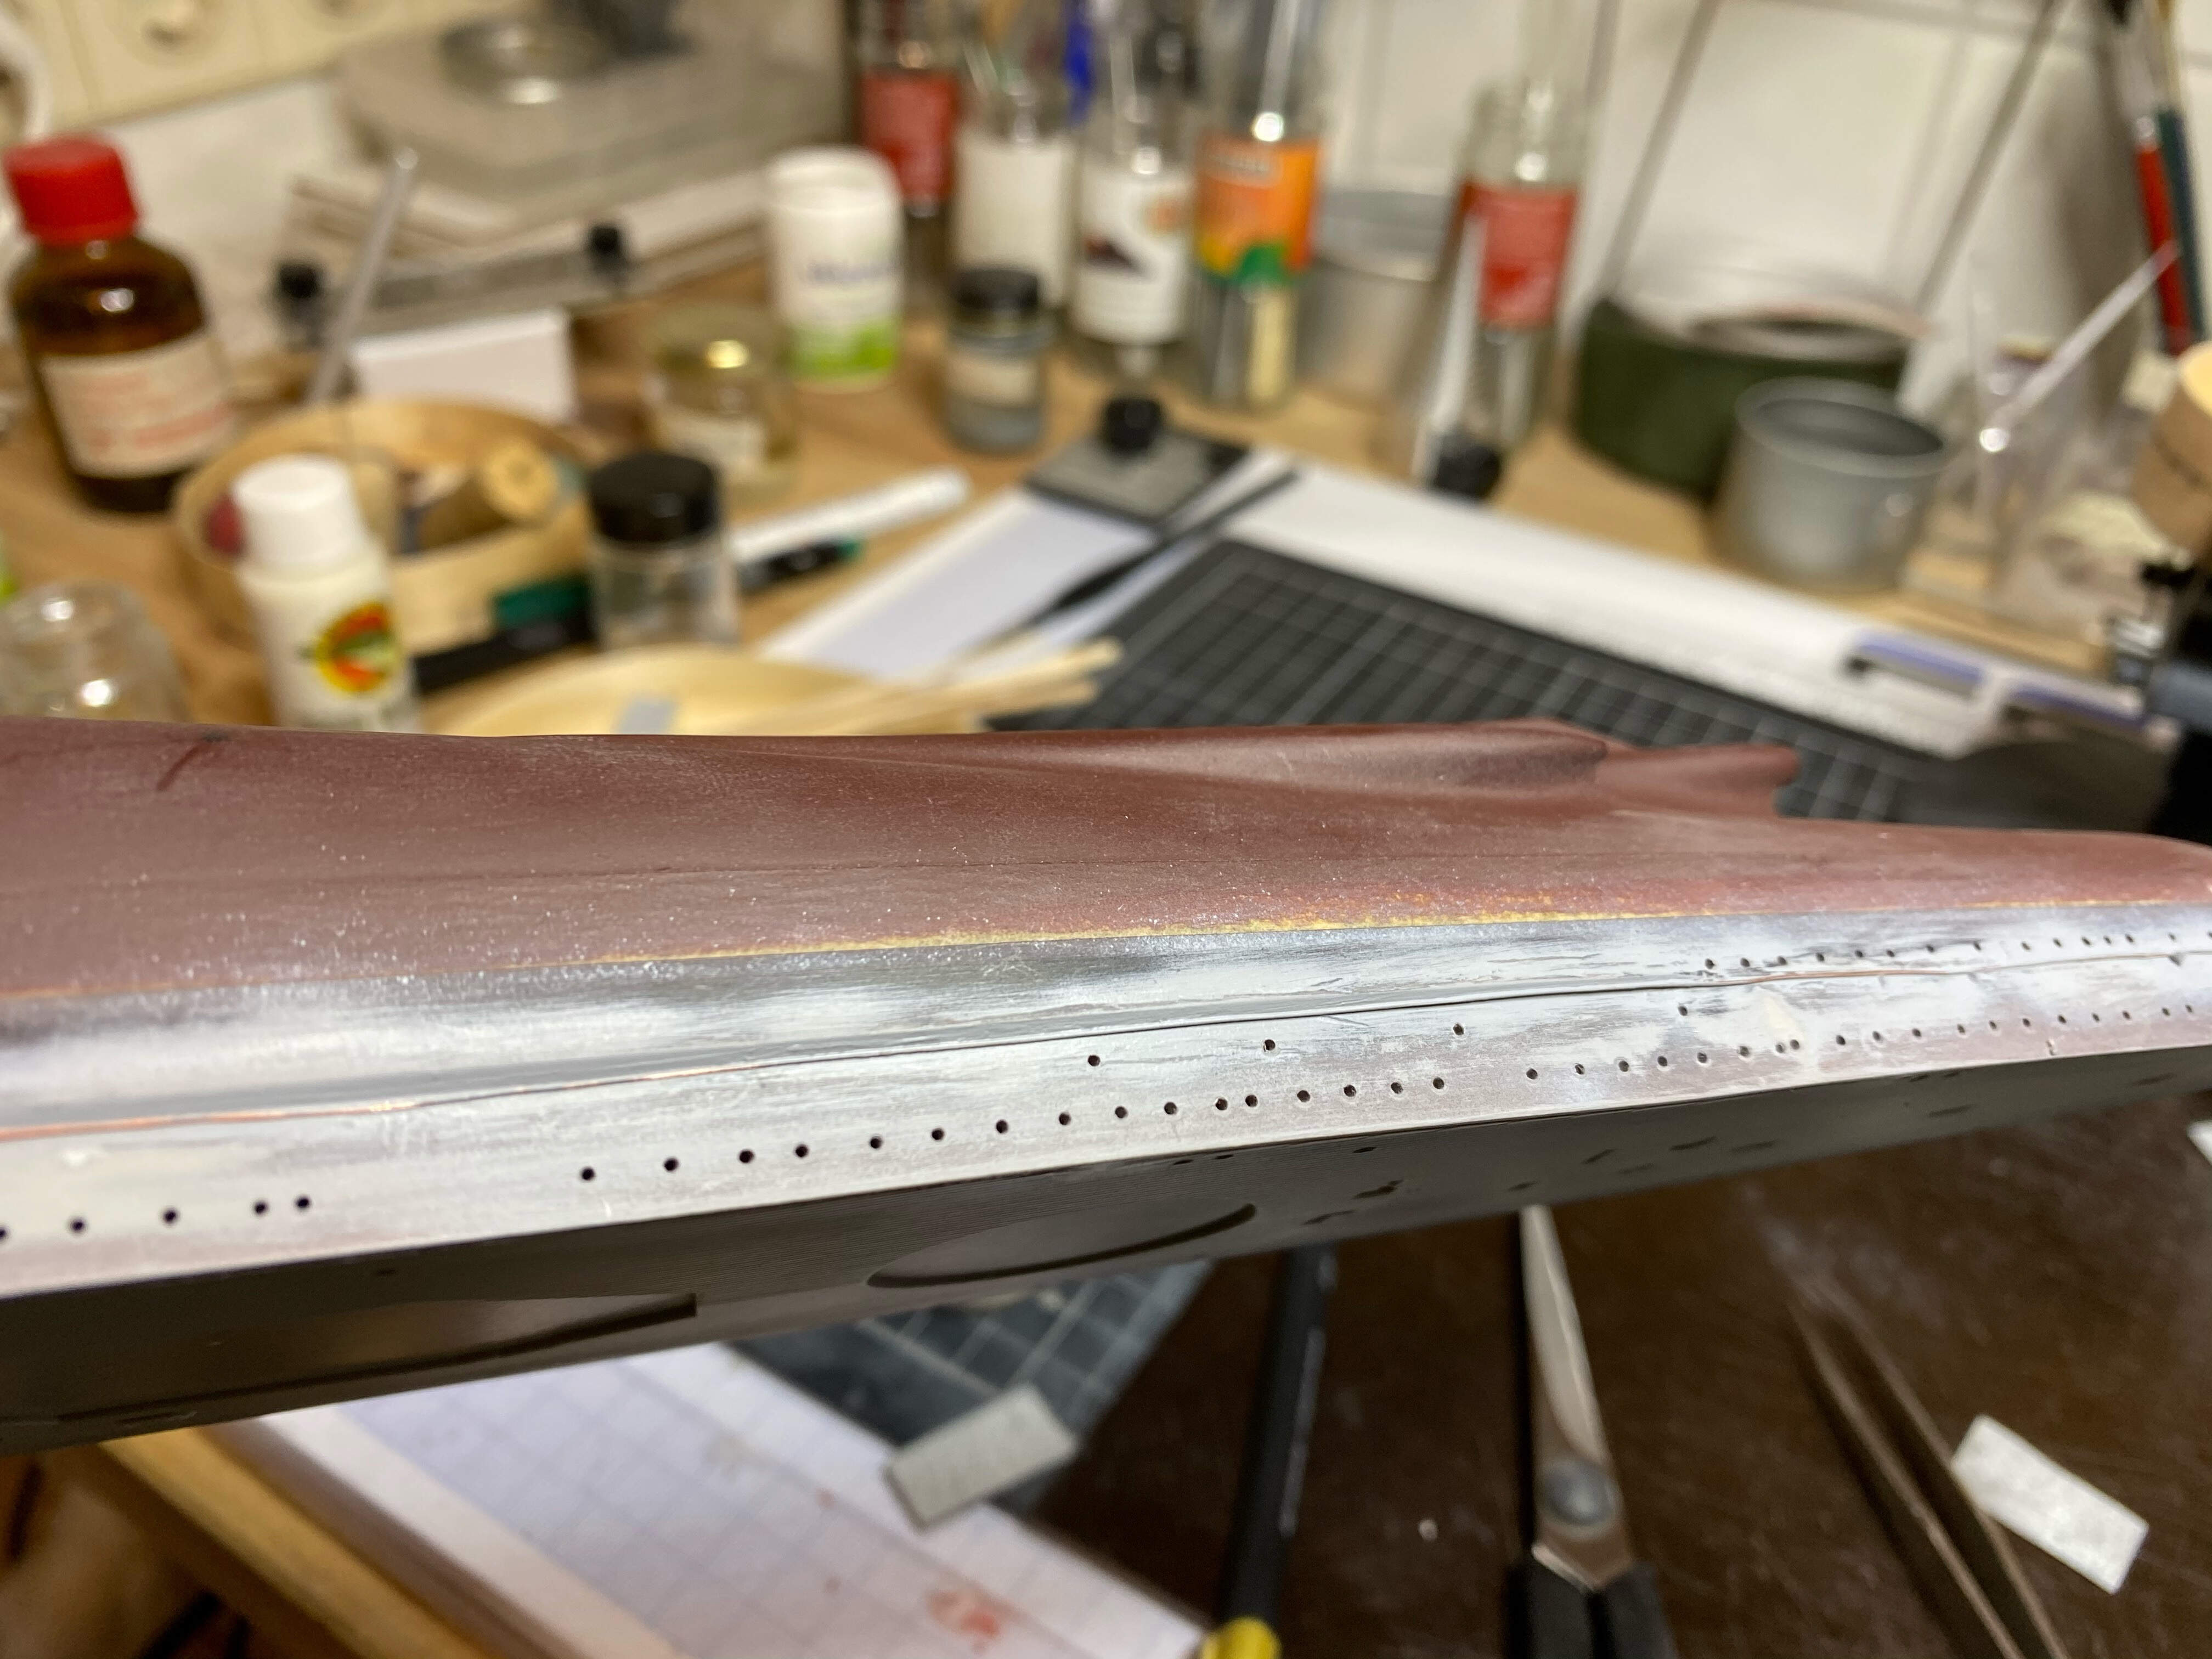
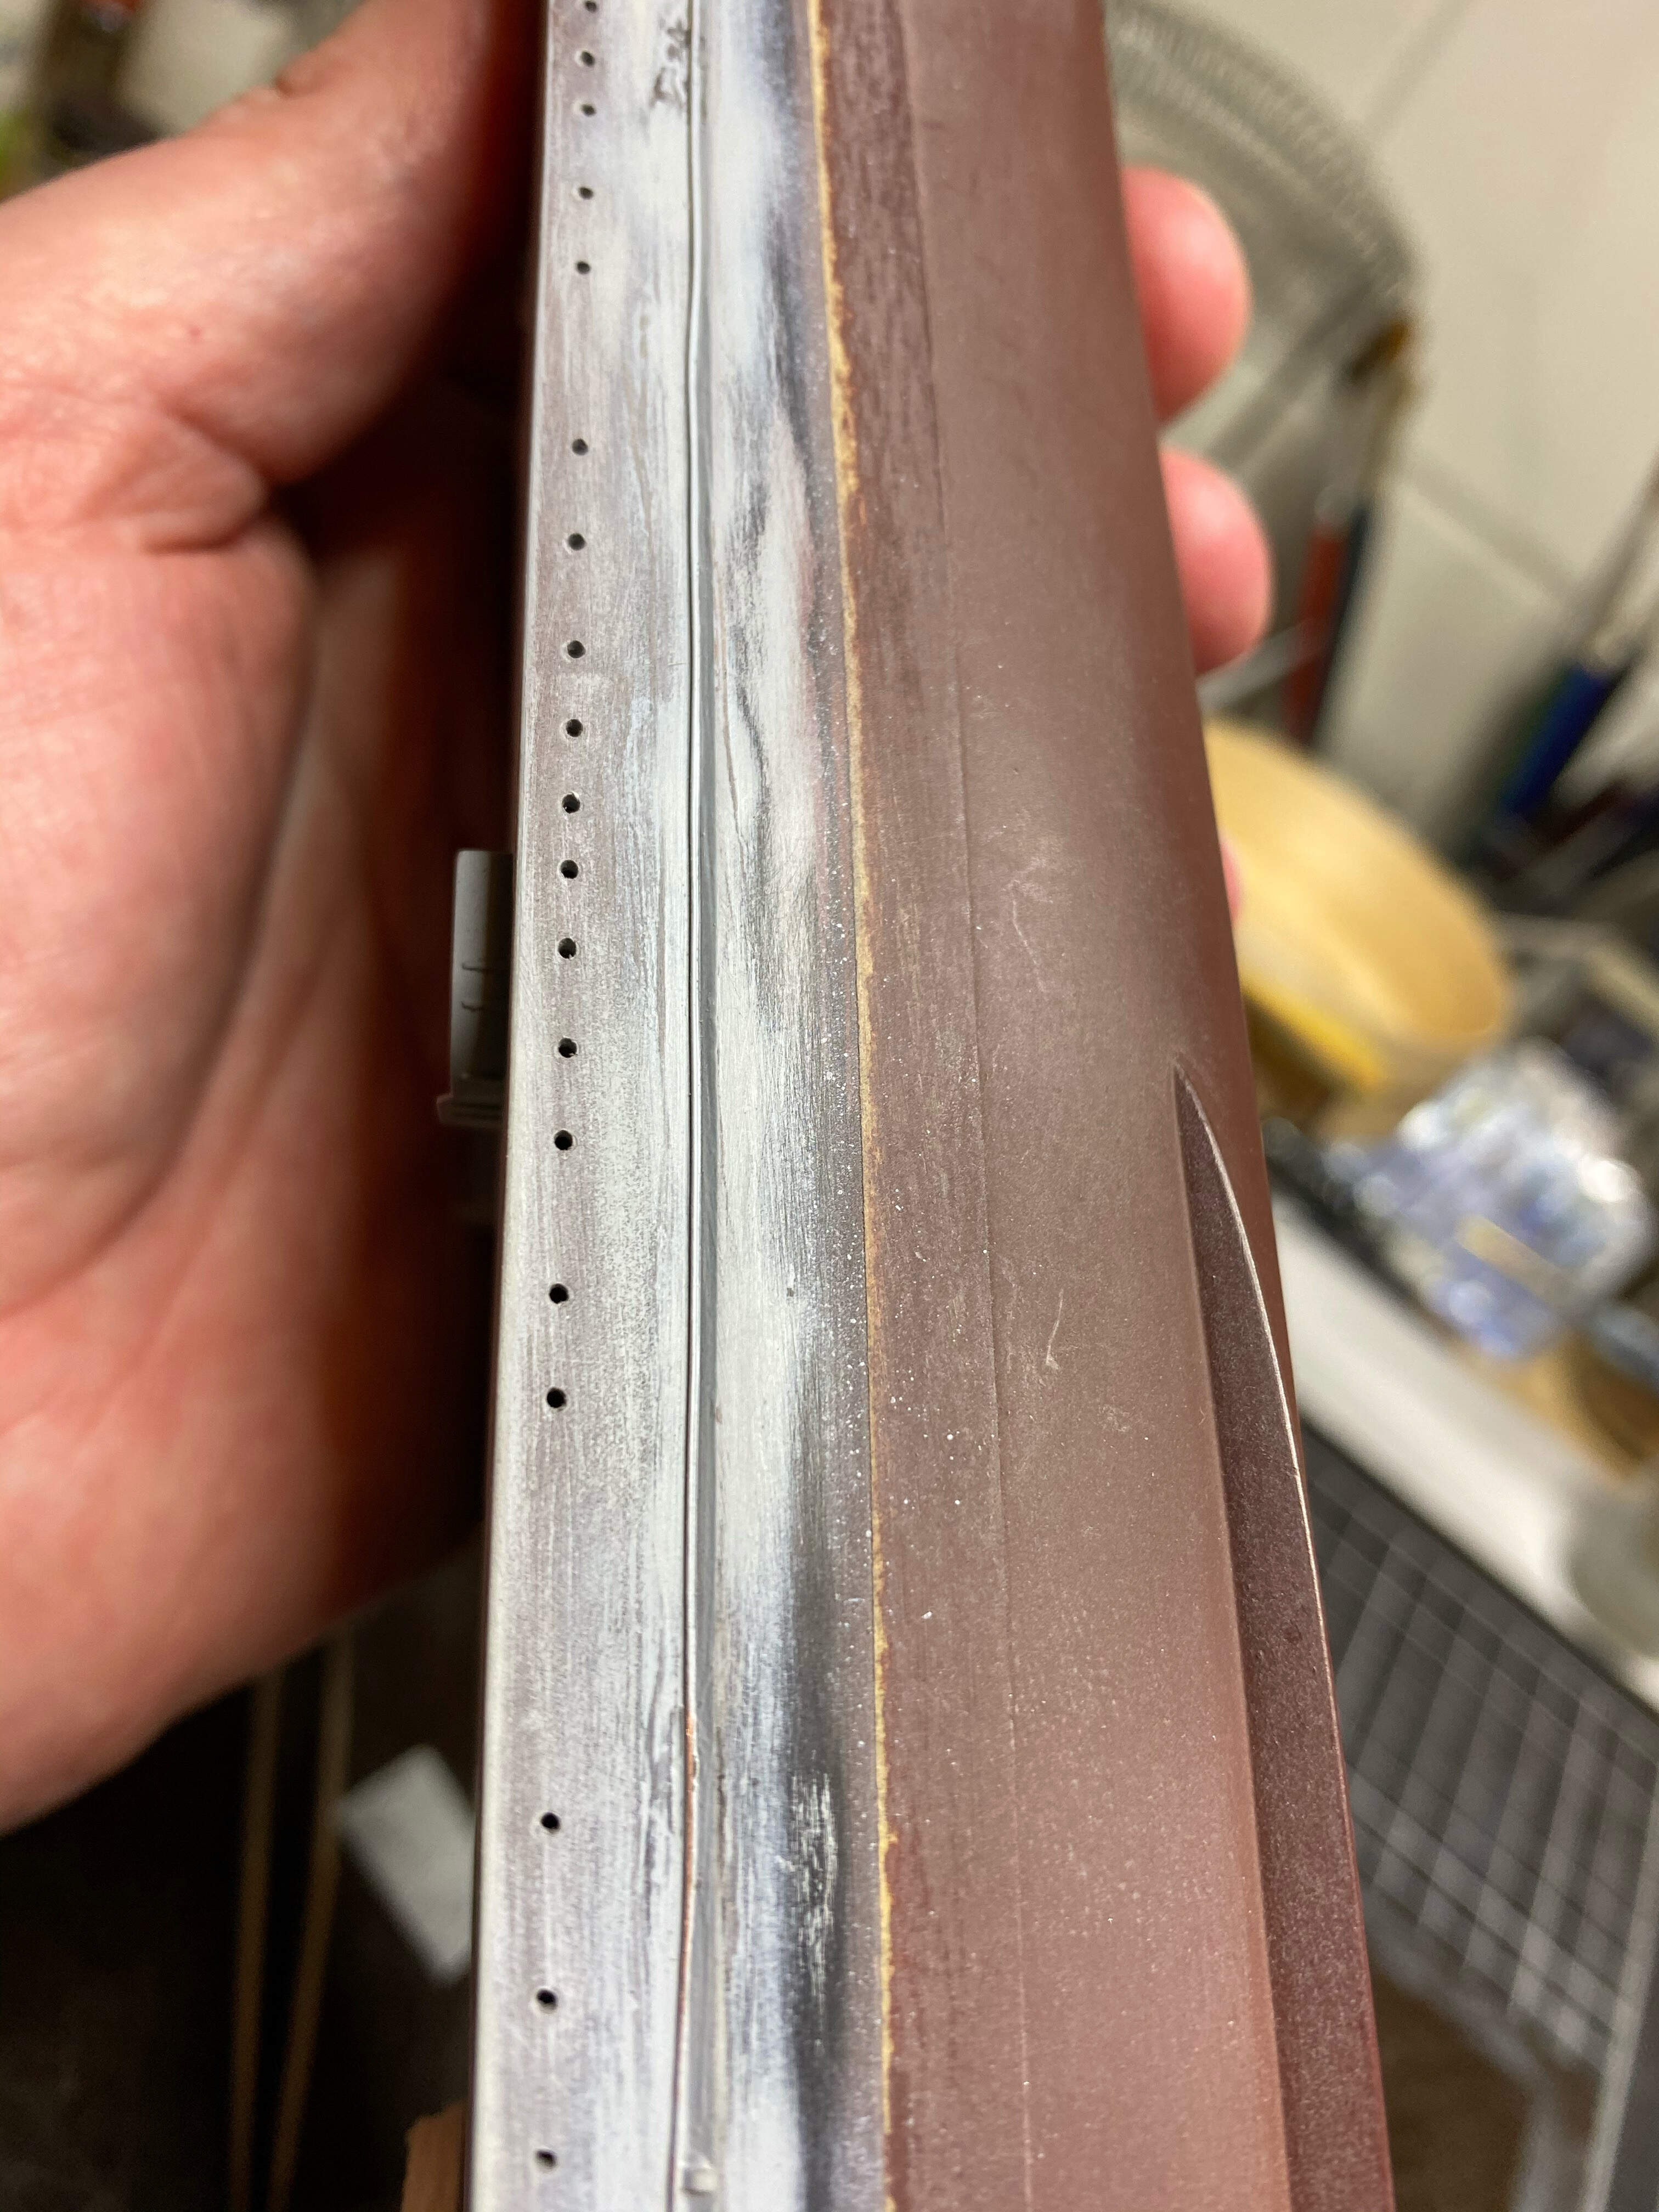
Another coat of Surfacer with the airbrush - much better, but not there yet. A little more sanding and cleaning up and it should be all right.
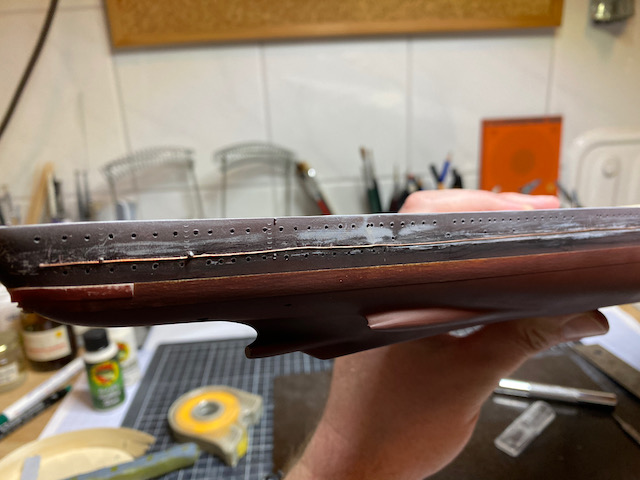
Ok, the hull red will need another coat - probably should have installed the degaussing cable first. But that’s not too much of a problem…
Cheers for now
Jan
8 Likes
Loving the progress Jan!
1 Like
Jan, Your patience and persistence is going to look great when you apply the colour to the top of the hull!
Looking forward to seeing the next update, mate 
1 Like
Ezra and Russ,
thank you very much!
Well, as so often, parts of the build that seem simple and straight forward become much more complicated once started. But it’s fun and I have the feeling she is moving in the right direction!
Cheers
Jan
2 Likes
Jan,
Just catching up - great work on the degaussing cable and your attention to detail. I wish I could have the same level of discipline when it comes to sanding down excess glue. My hat is off to you sir!!
Looking forward to seeing the upper hull with some paint!!
David
1 Like
That’s some painstaking work you’re doing there Jan. The effort has paid off as you have done a great job. Looks really nice. Well done 
1 Like
good progress
1 Like
Gentlemen,
that’s very kind of you, thank you very much!
While I’m glad you’re following and I really appreciate all of your comments - they really help keeping the motivation high during ‘dull’ phases - what I’m doing withe the hull and degaussing cable is a piece of cake compared to the efforts of e.g. Ezra with is oil canning the USS Cobia’s hull…
Anyway, I appreciate having you all along for what will be a longer journey…
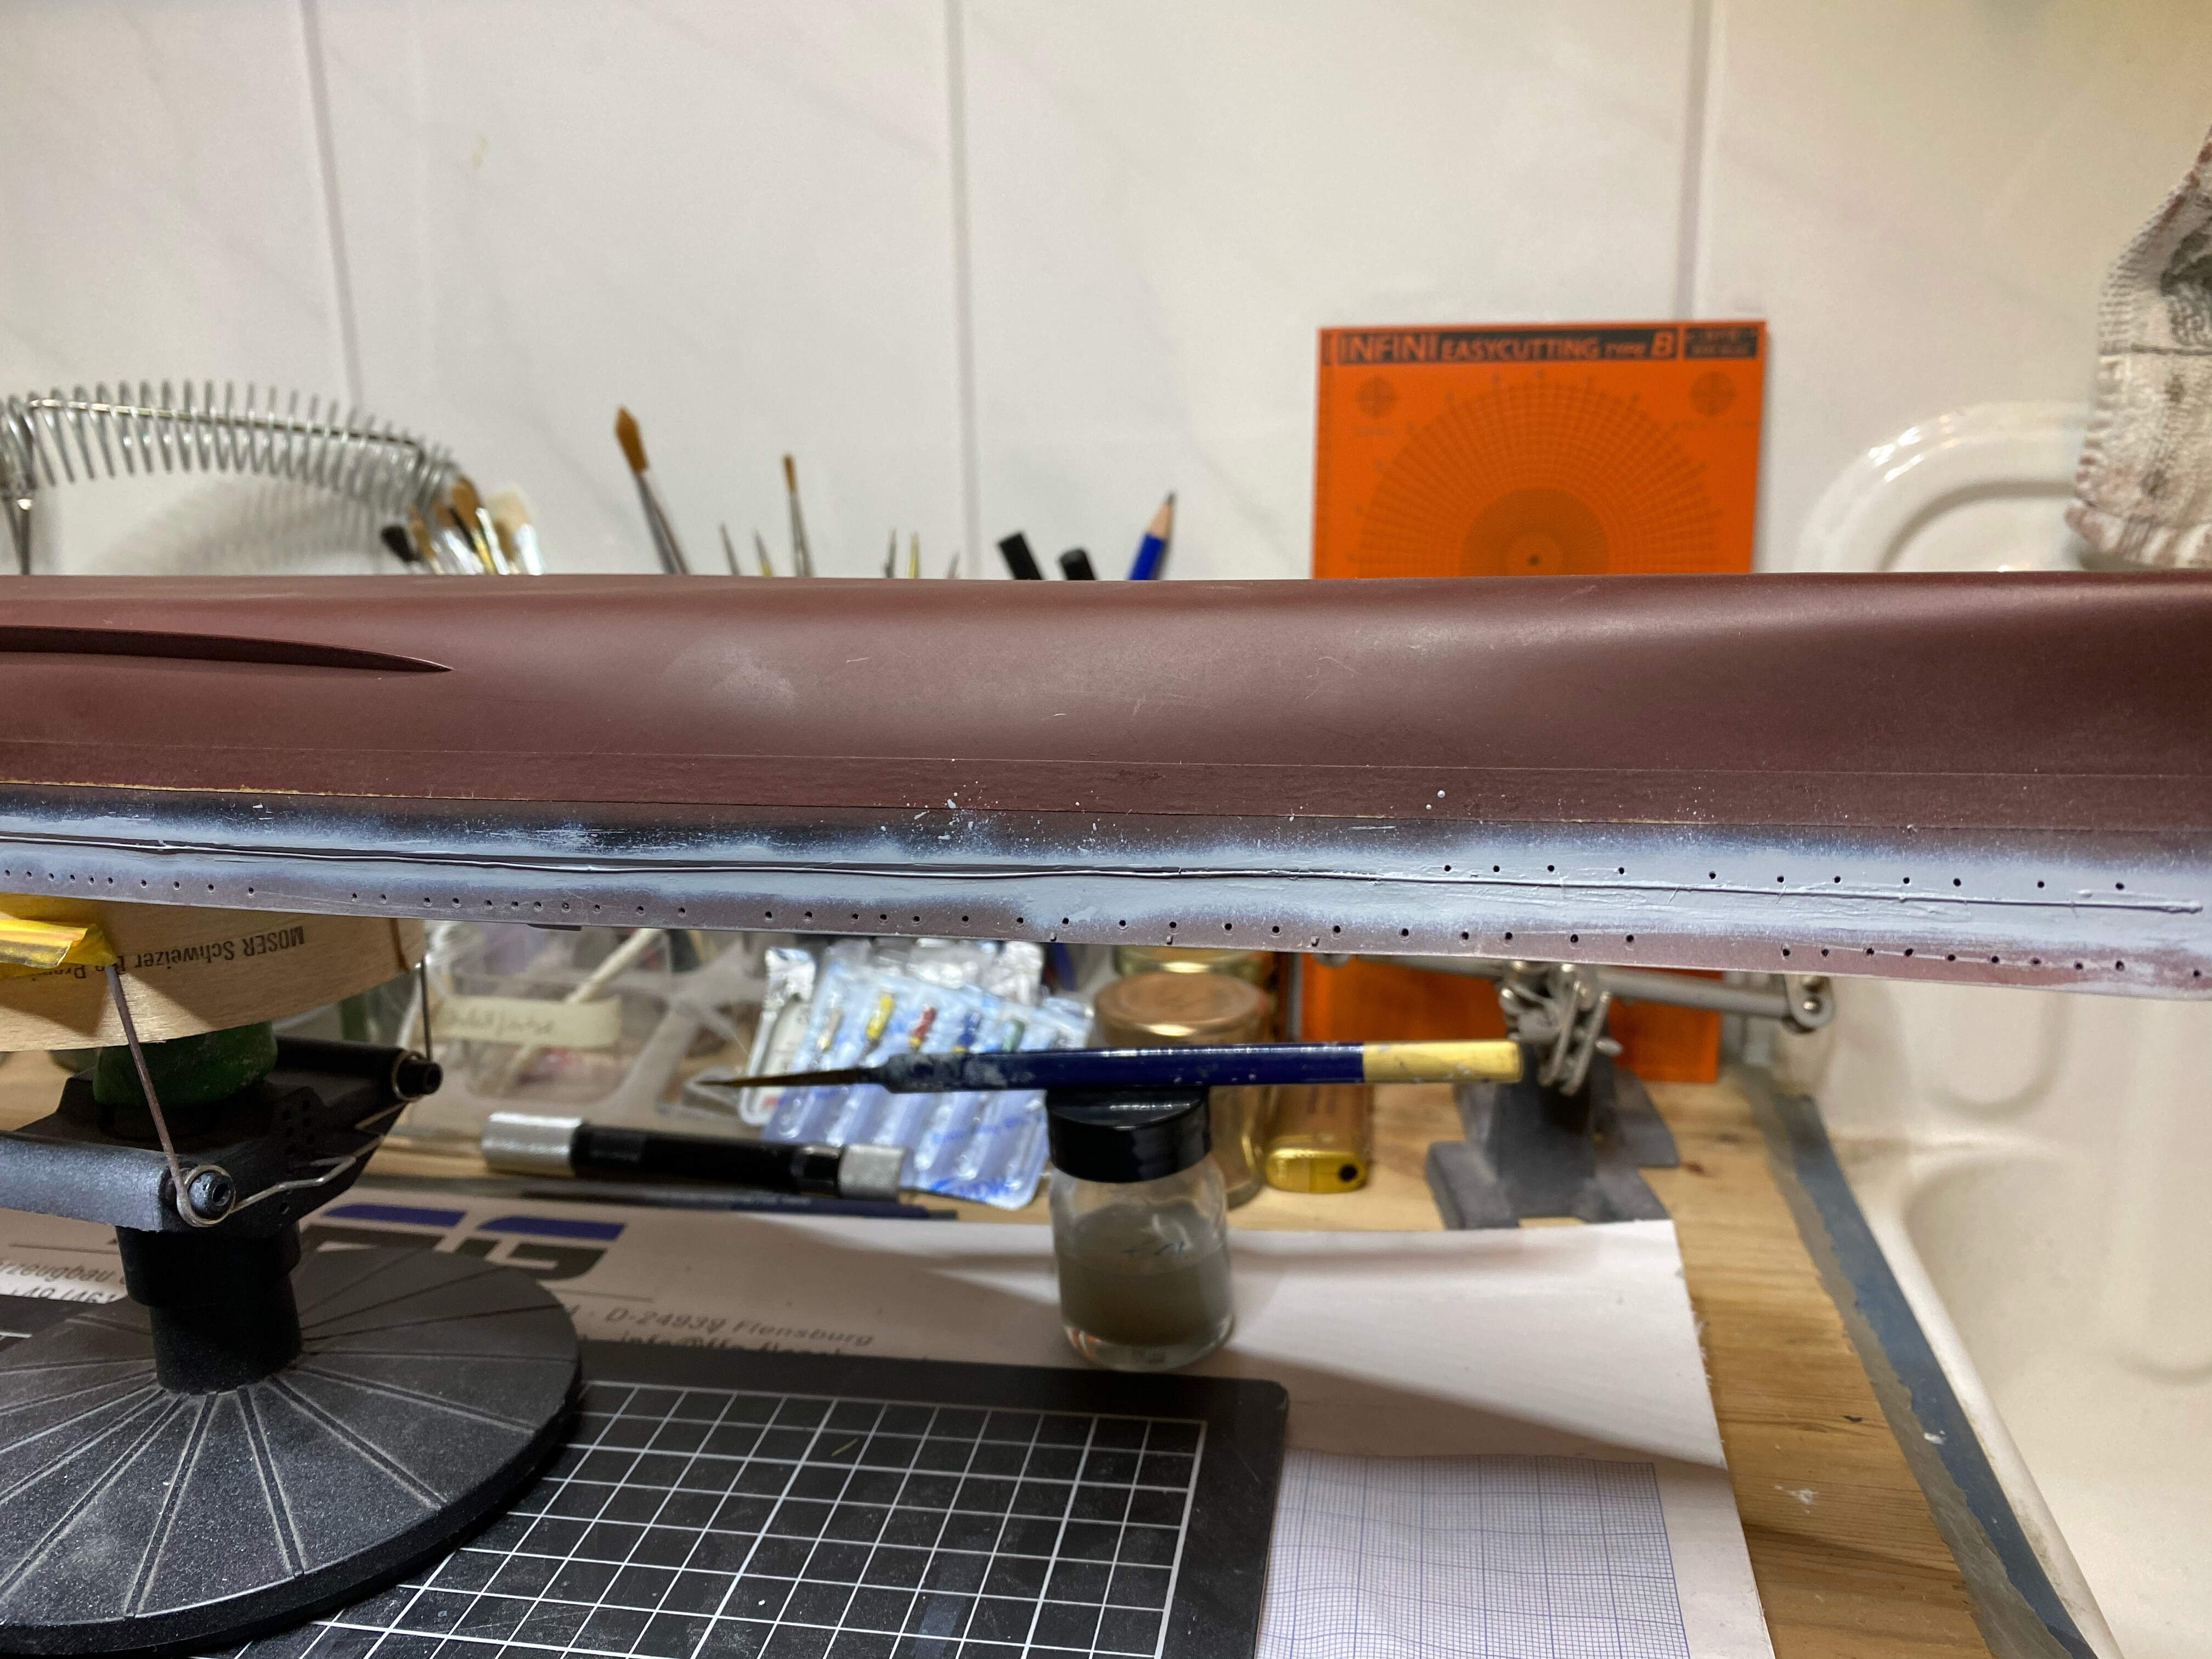
Some more sanding, gave the lower hull another coat of red yesterday and then masking it.

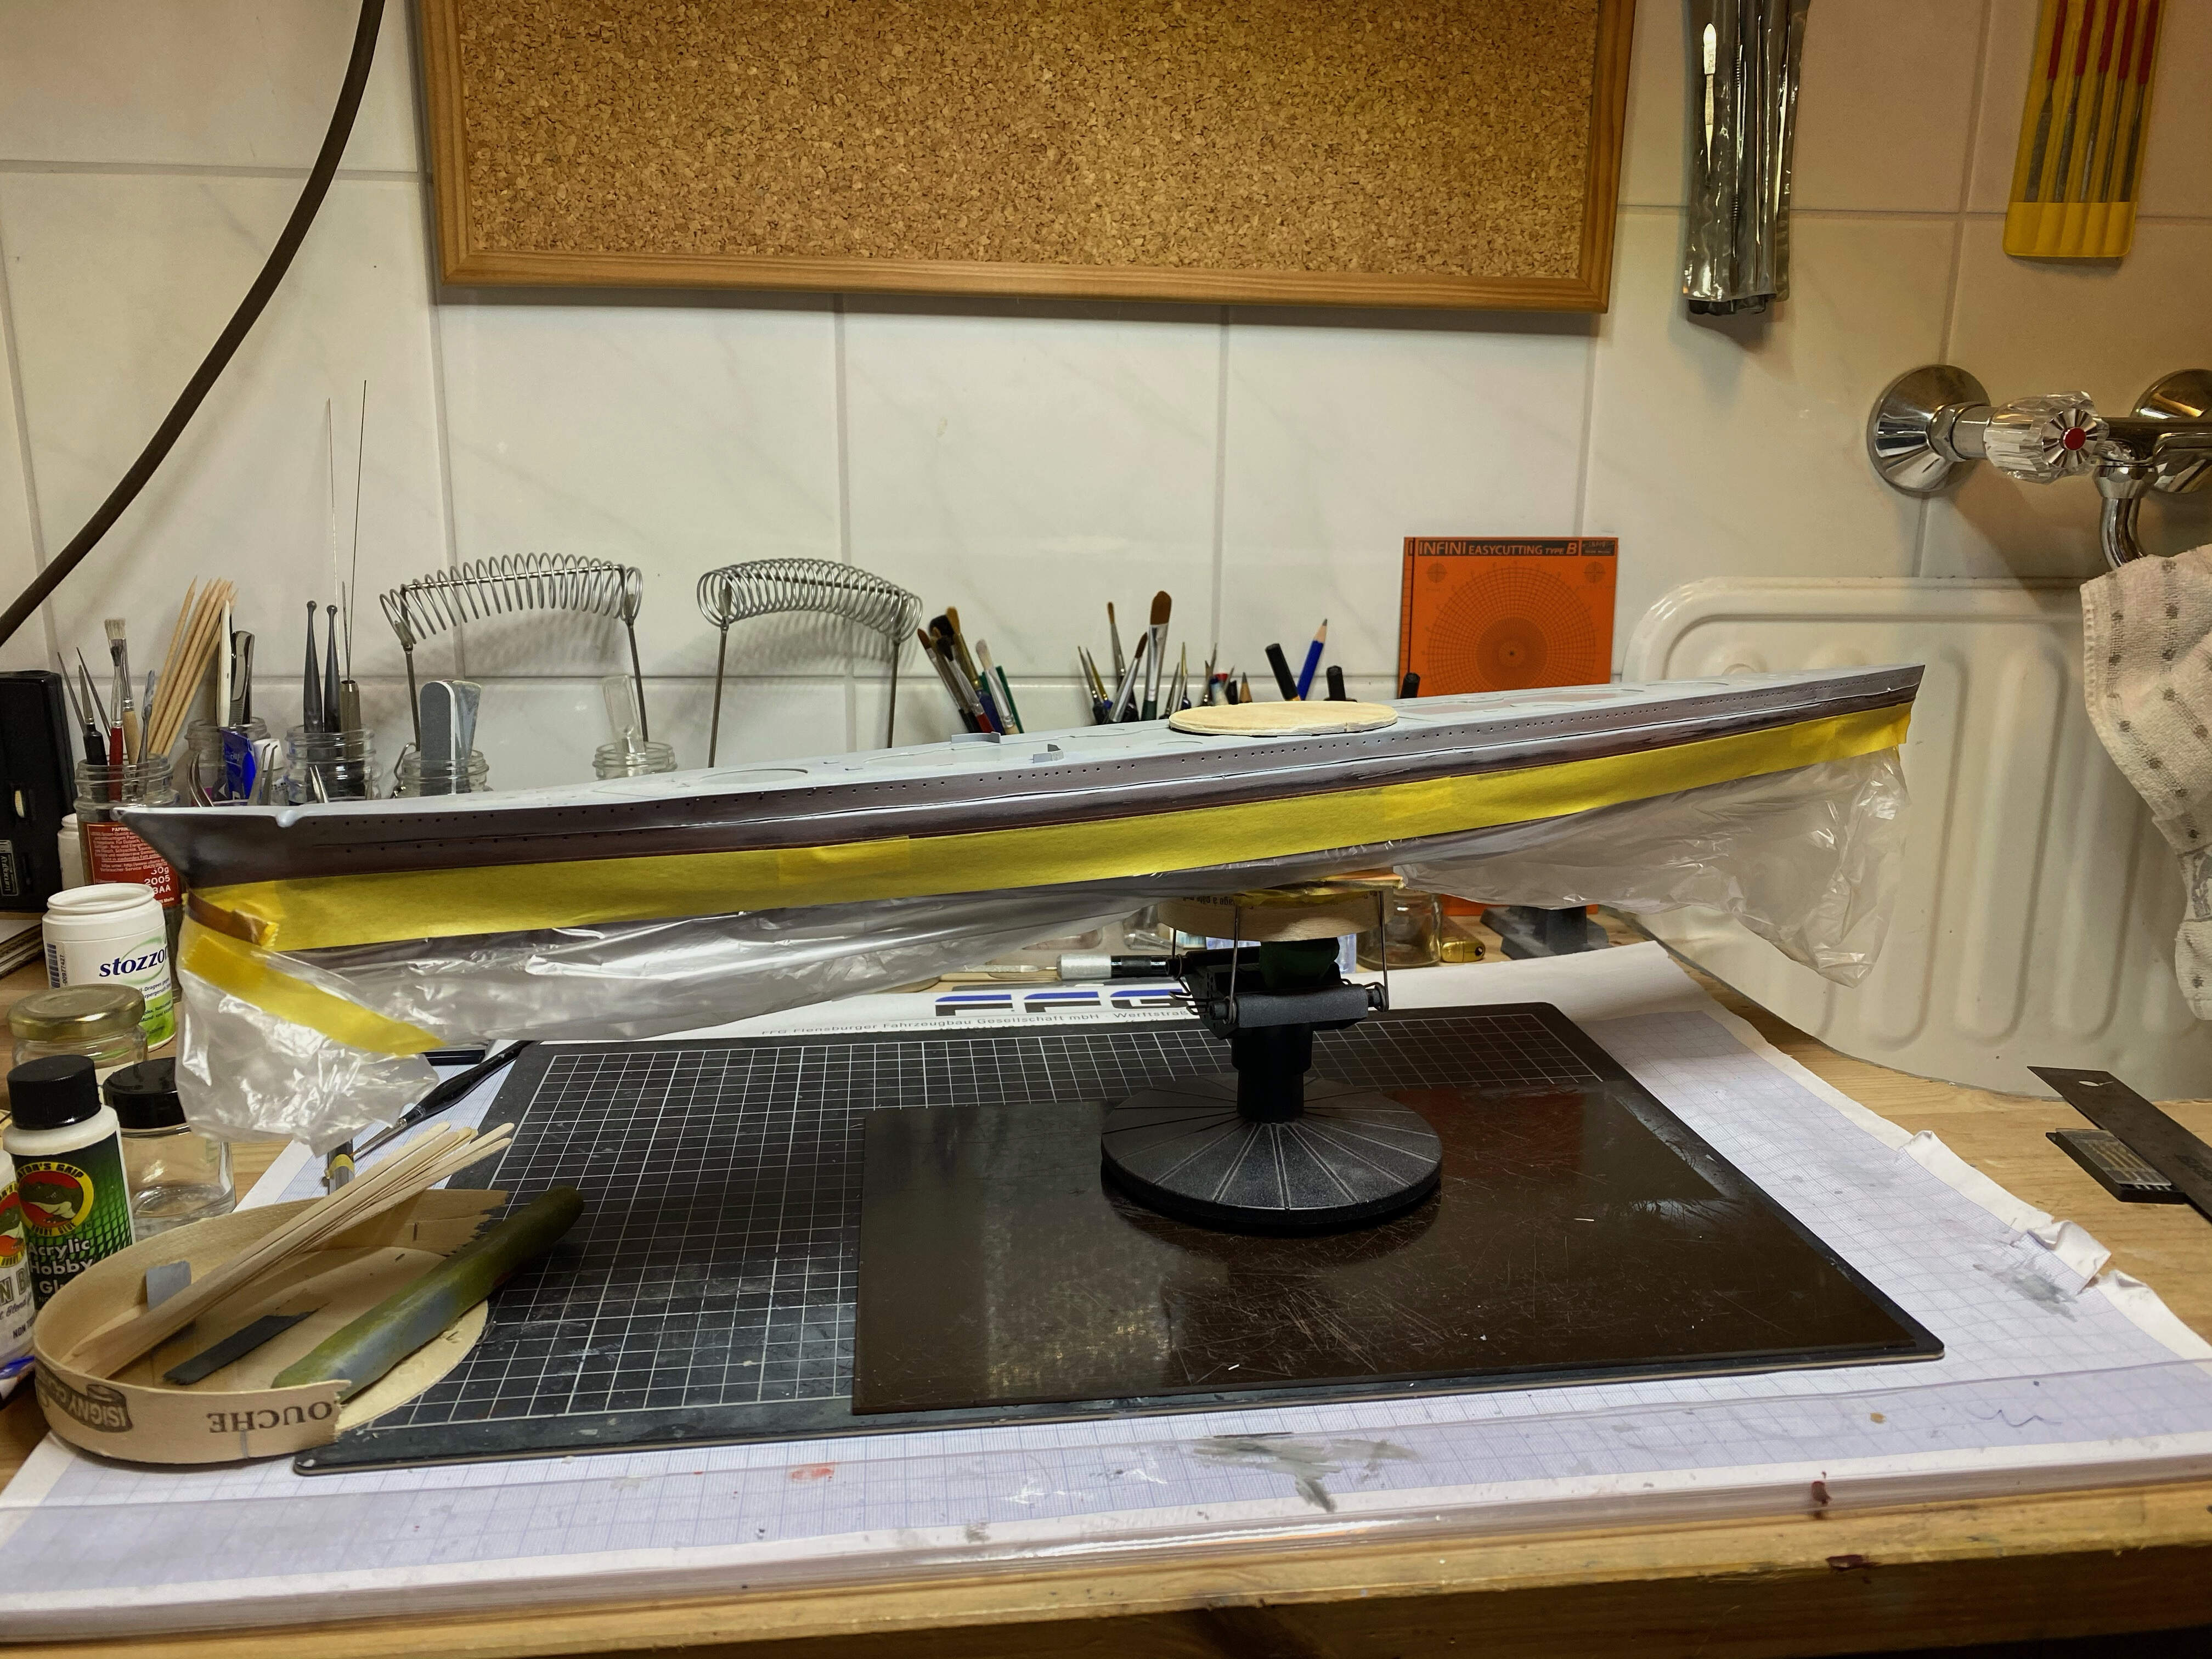
For the main ship’s color I’m falling back to what looked good on my very first 1/350 DKM build several years ago, the Graf Spee. The basic paint scheme is the 50/51 with a lighter grey for the superstructure. Since to my knowledge original paints are not accessible (while you still can get RN paint chips), I decided on Tamiya XF 66 for the hull and XF 19 for the superstructure.
So here’s the hull with XF 66 on.

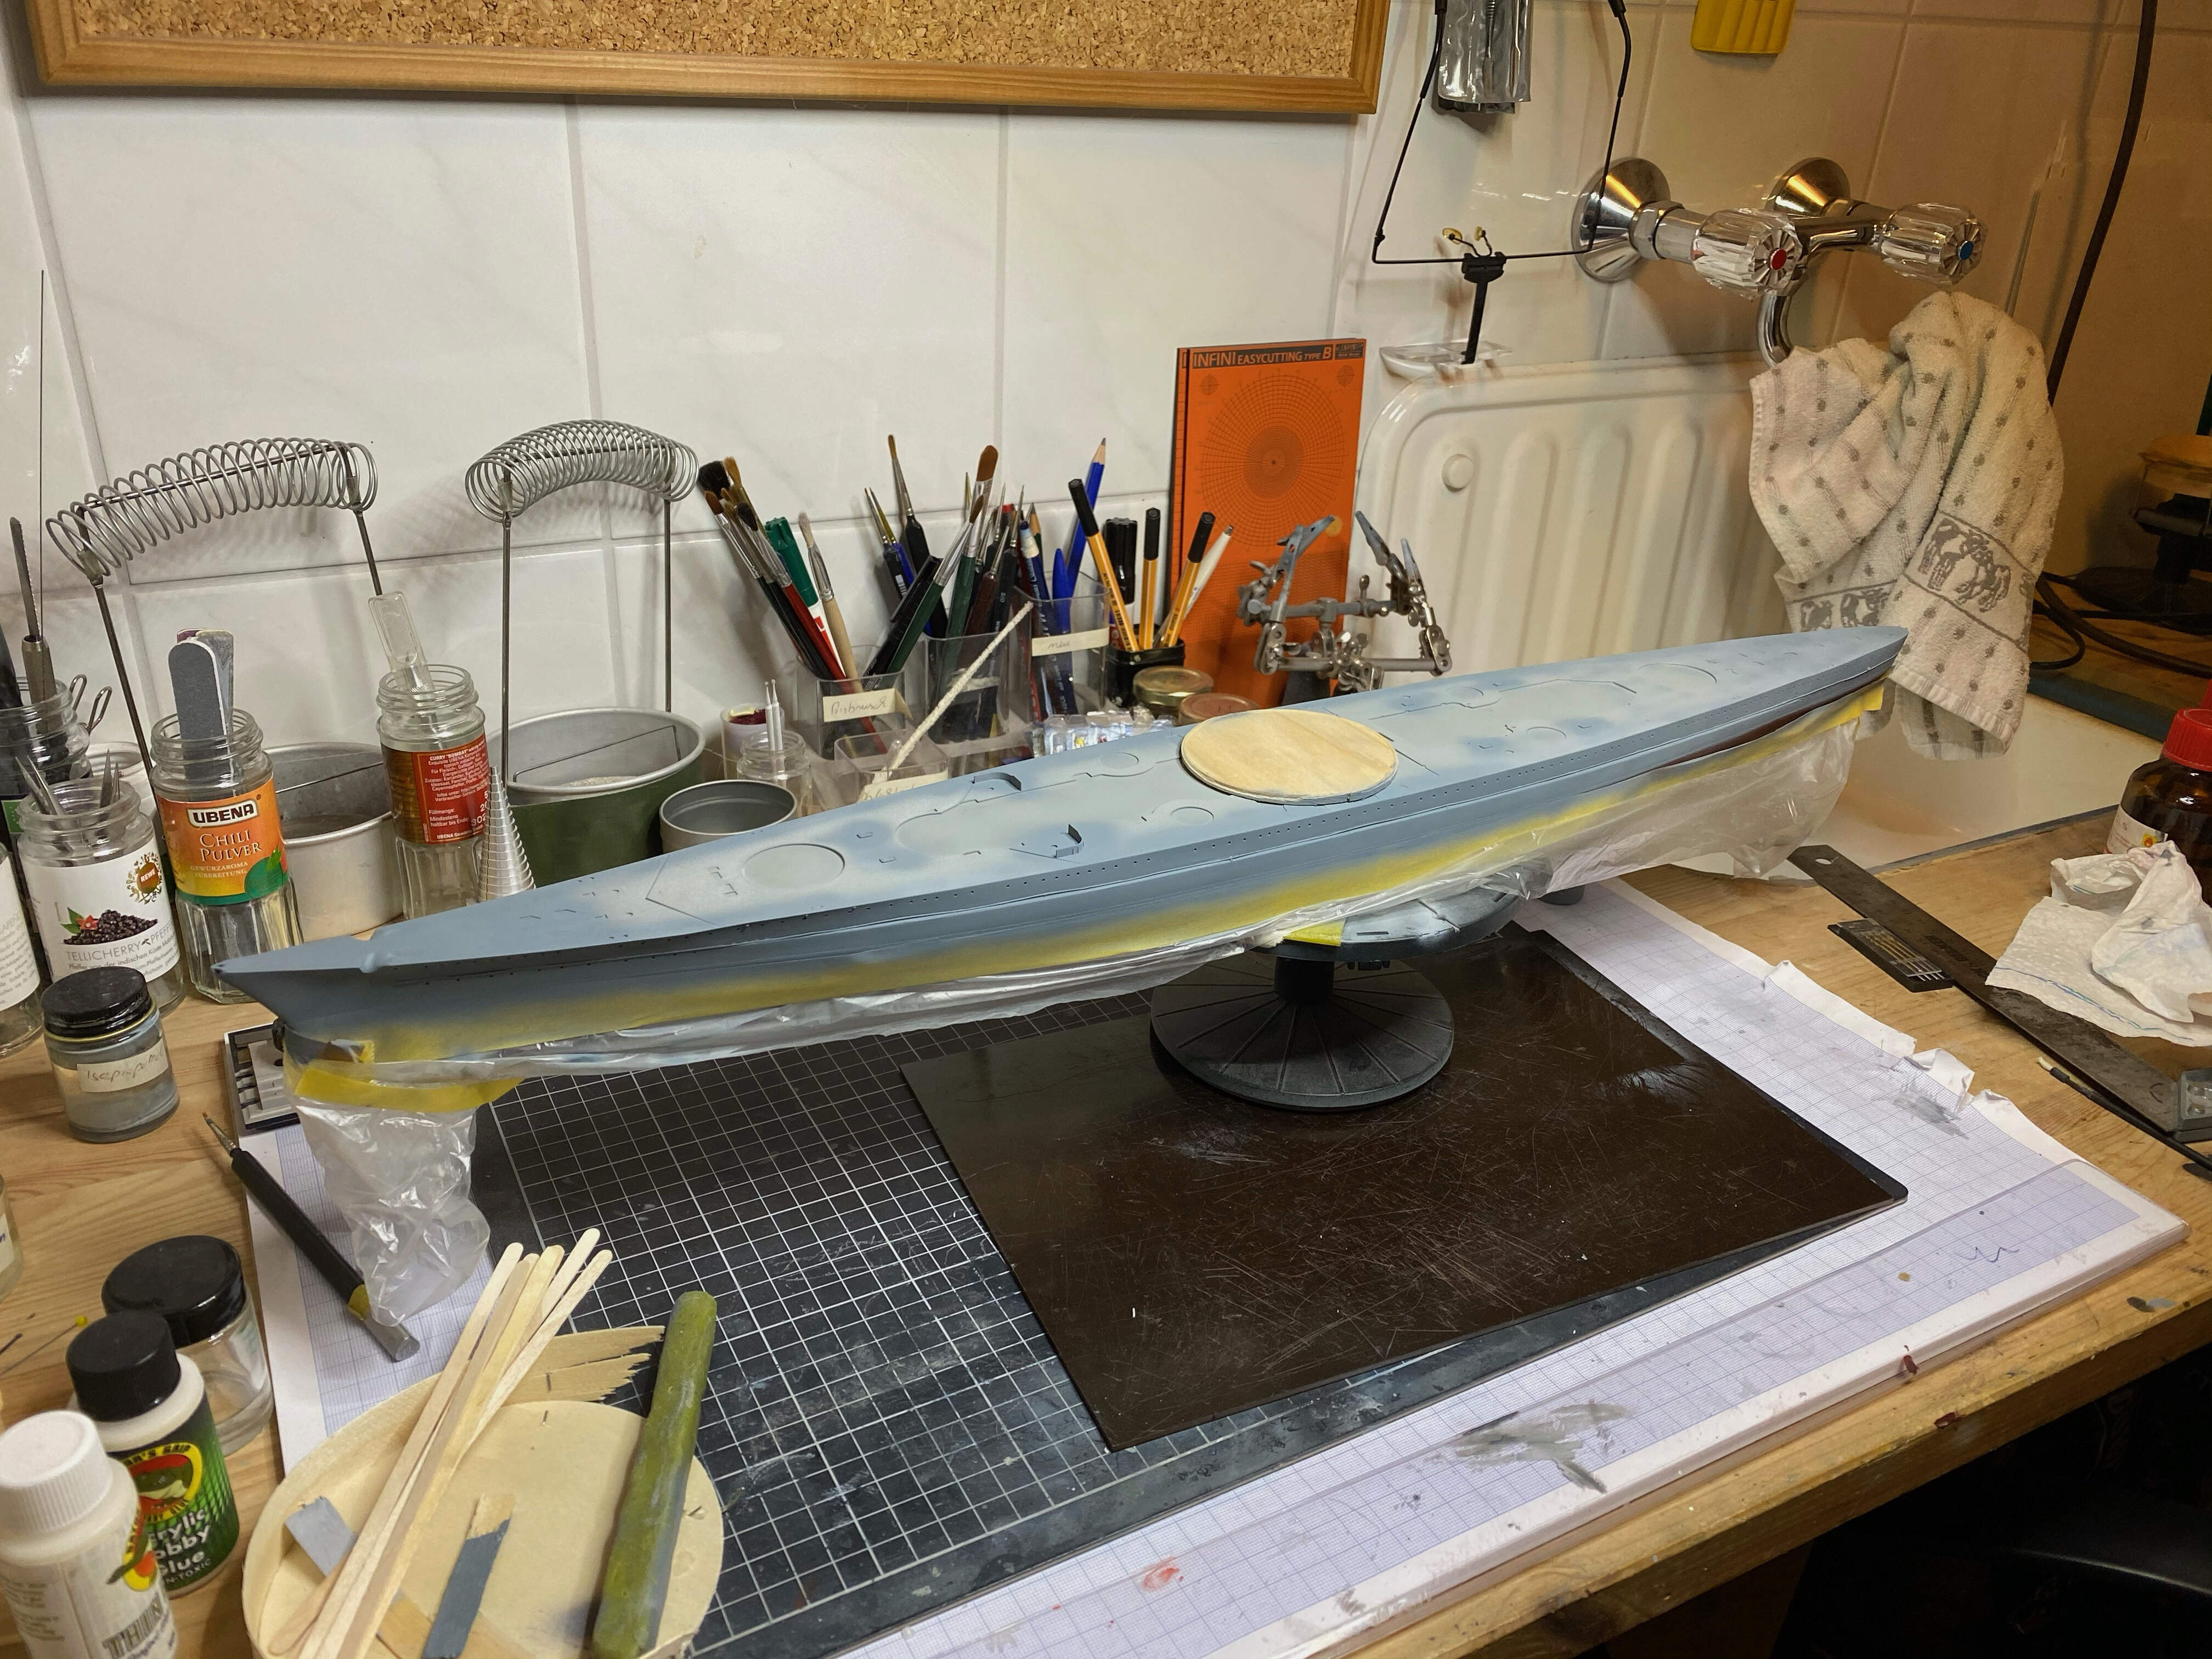
And all masking removed. Of course there’s the normal leak and over spraying and some dents from removing the masking tape, but that’s just a few minute to fix. All in all I’m very happy, and the boot stripe sits even and straight on both sides.
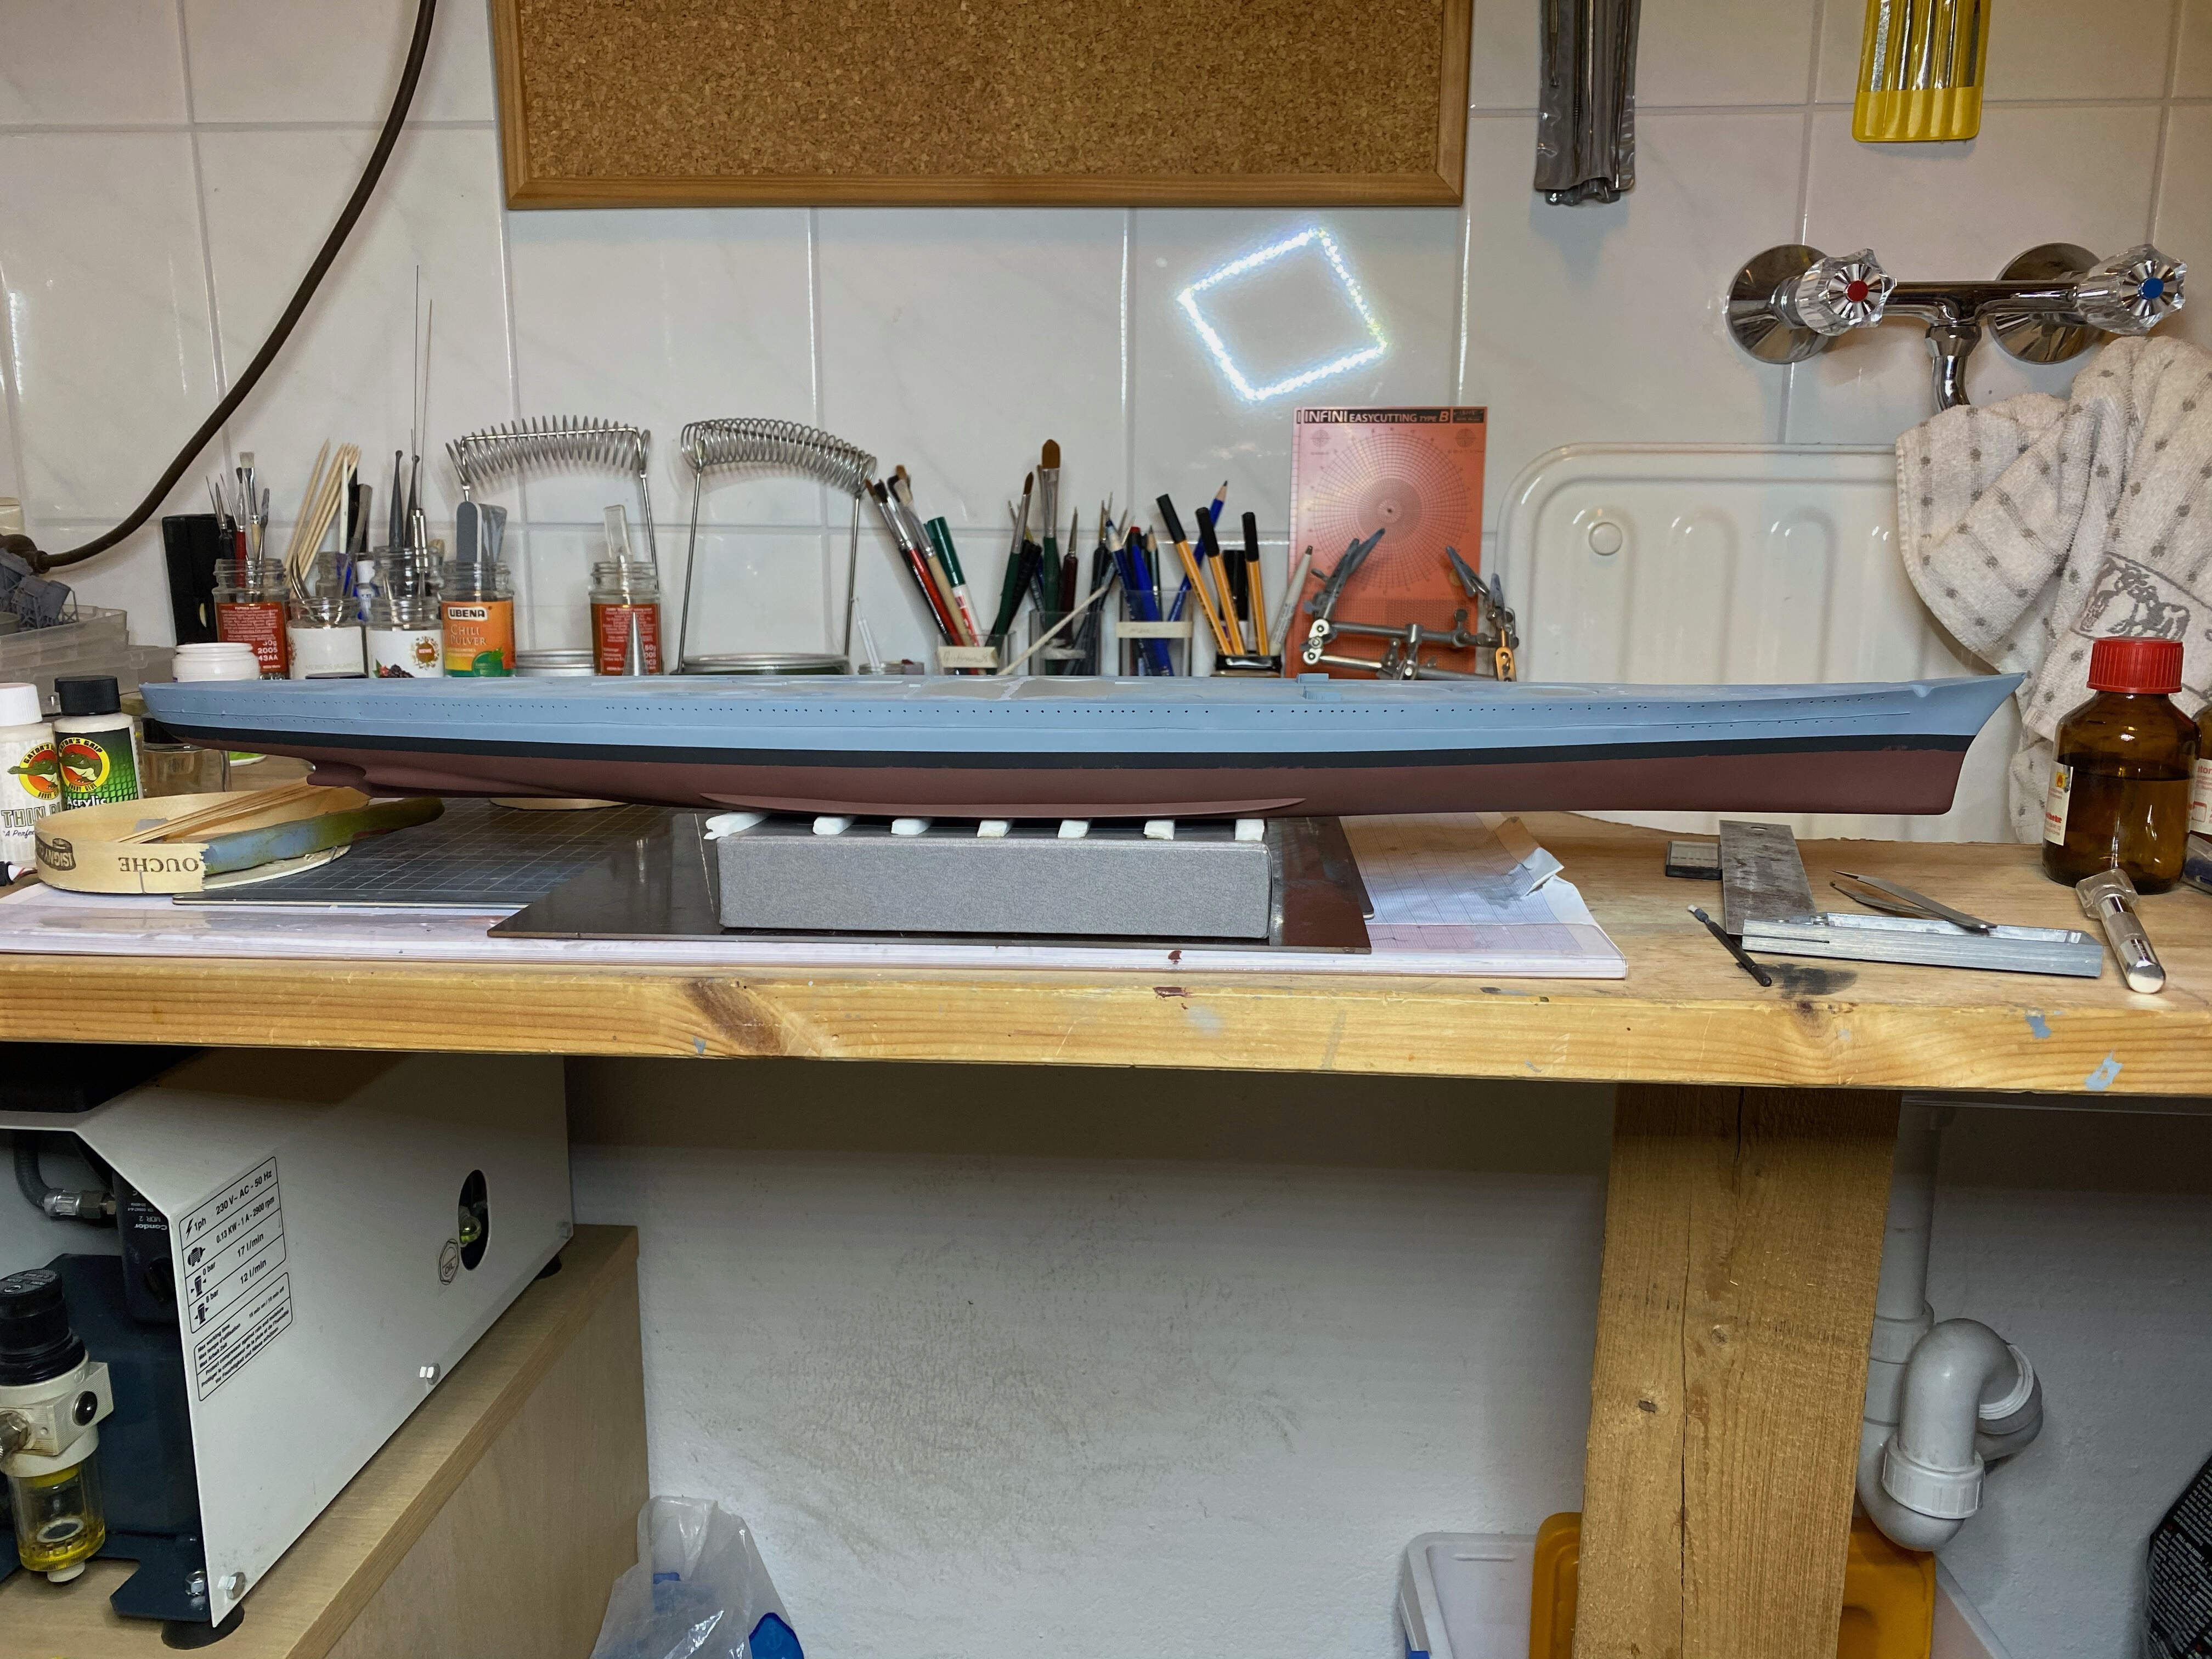


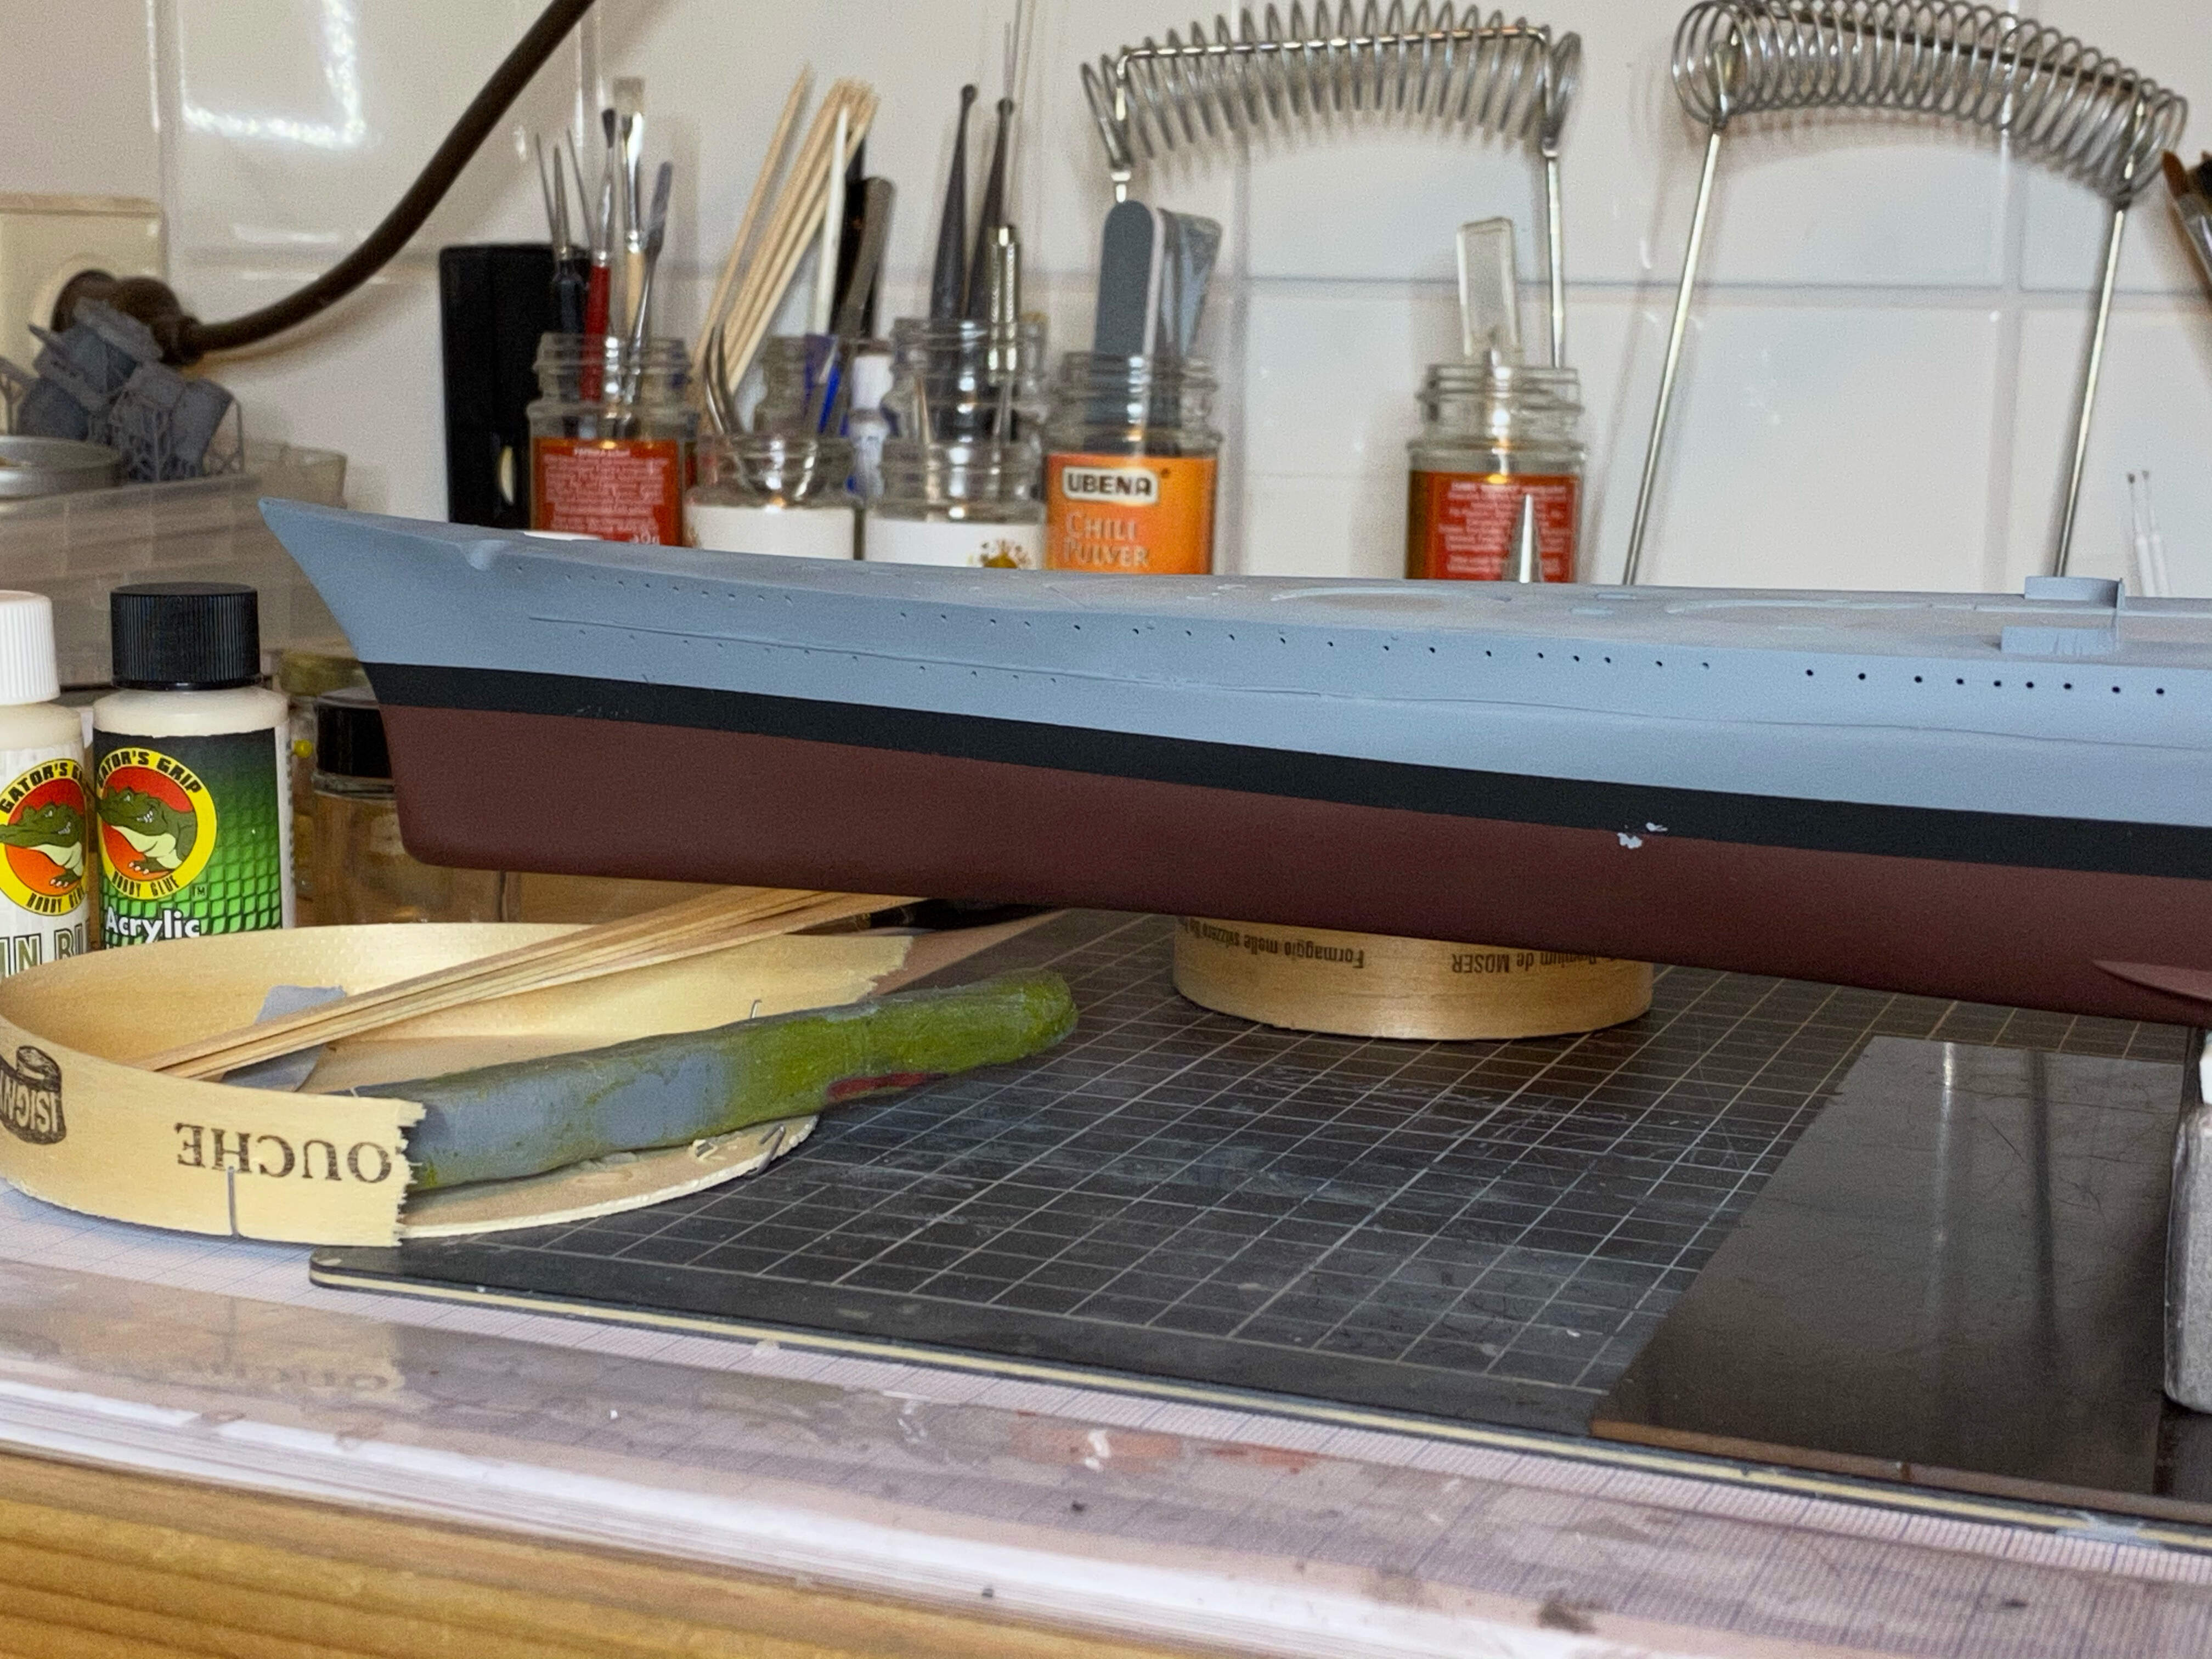


With that, the beautiful lines and her full grace begin to shine, a very early small impression of what I want to build…
That’s it for this weekend, I hope to find a little time then and when and then some more next weekend, so I hope I can show another update in a week.
Thanks for looking
Jan
8 Likes
And one thing I almost forgot (saved the picture in a different folder…).
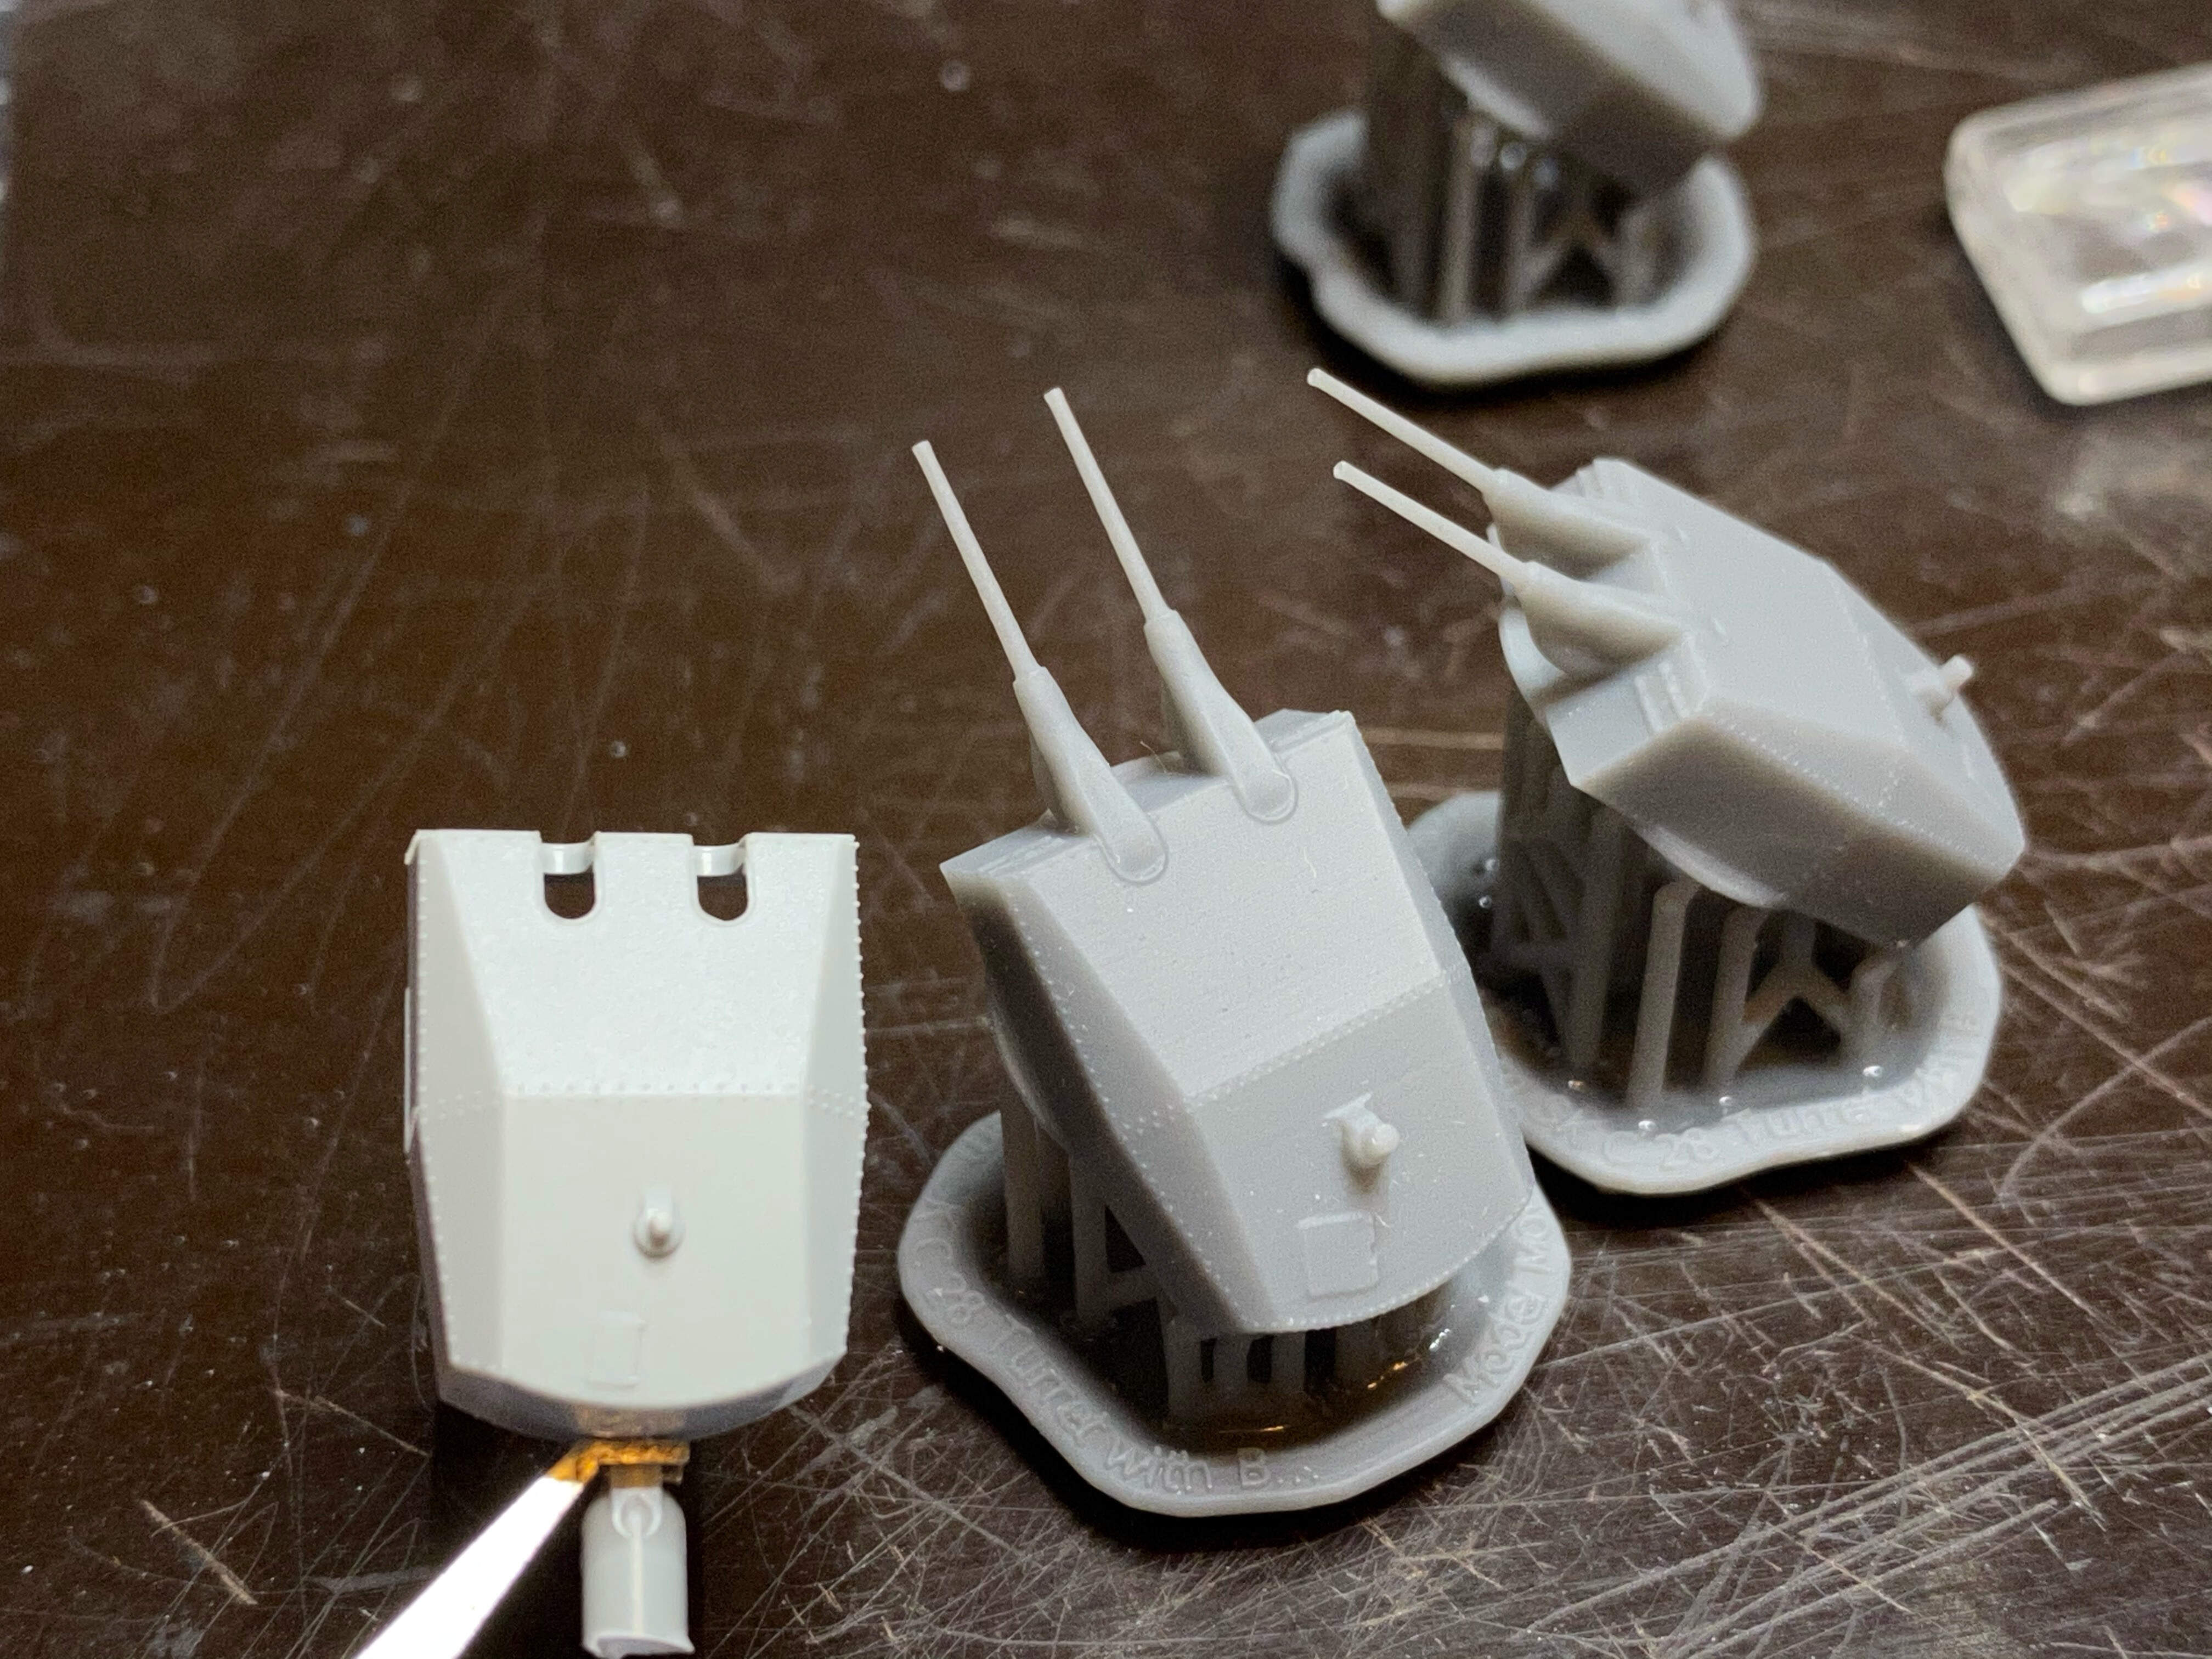
So this is no progress as such, but Steve from Model Monkey was so kind (again) to send my some absolute beautiful parts to complete my Gneisenau: the four 15 cm secondary turrets:

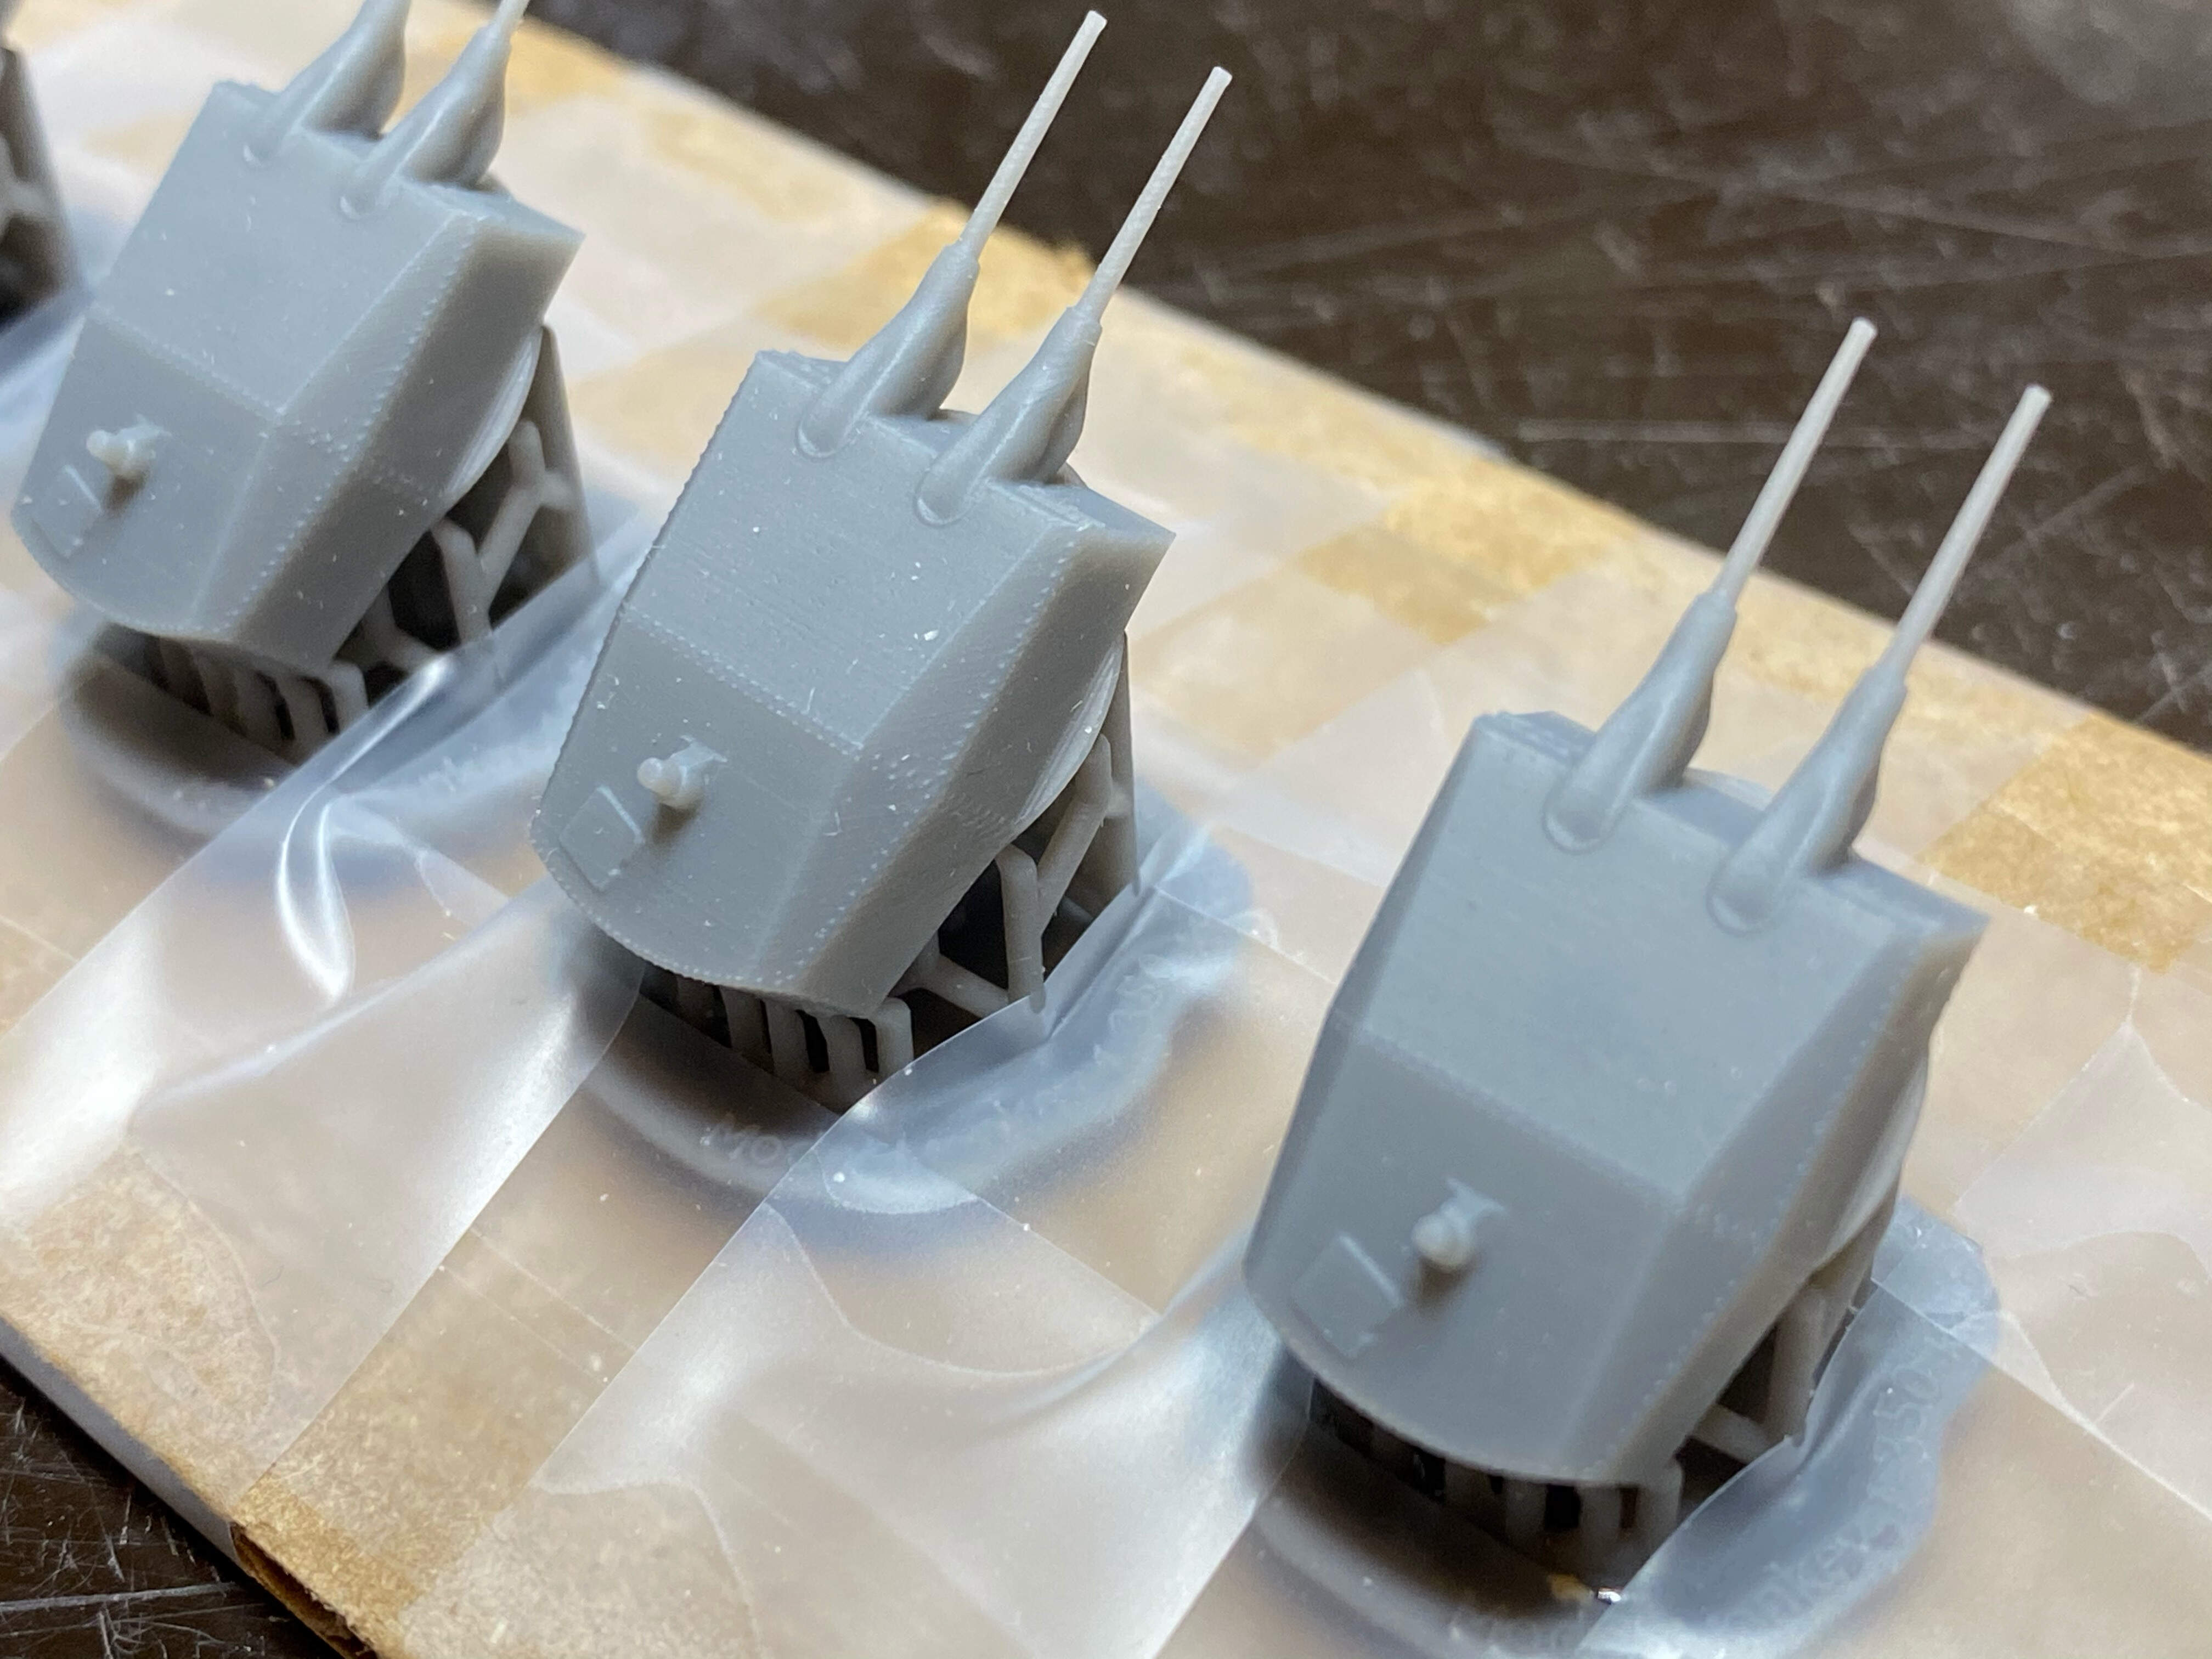
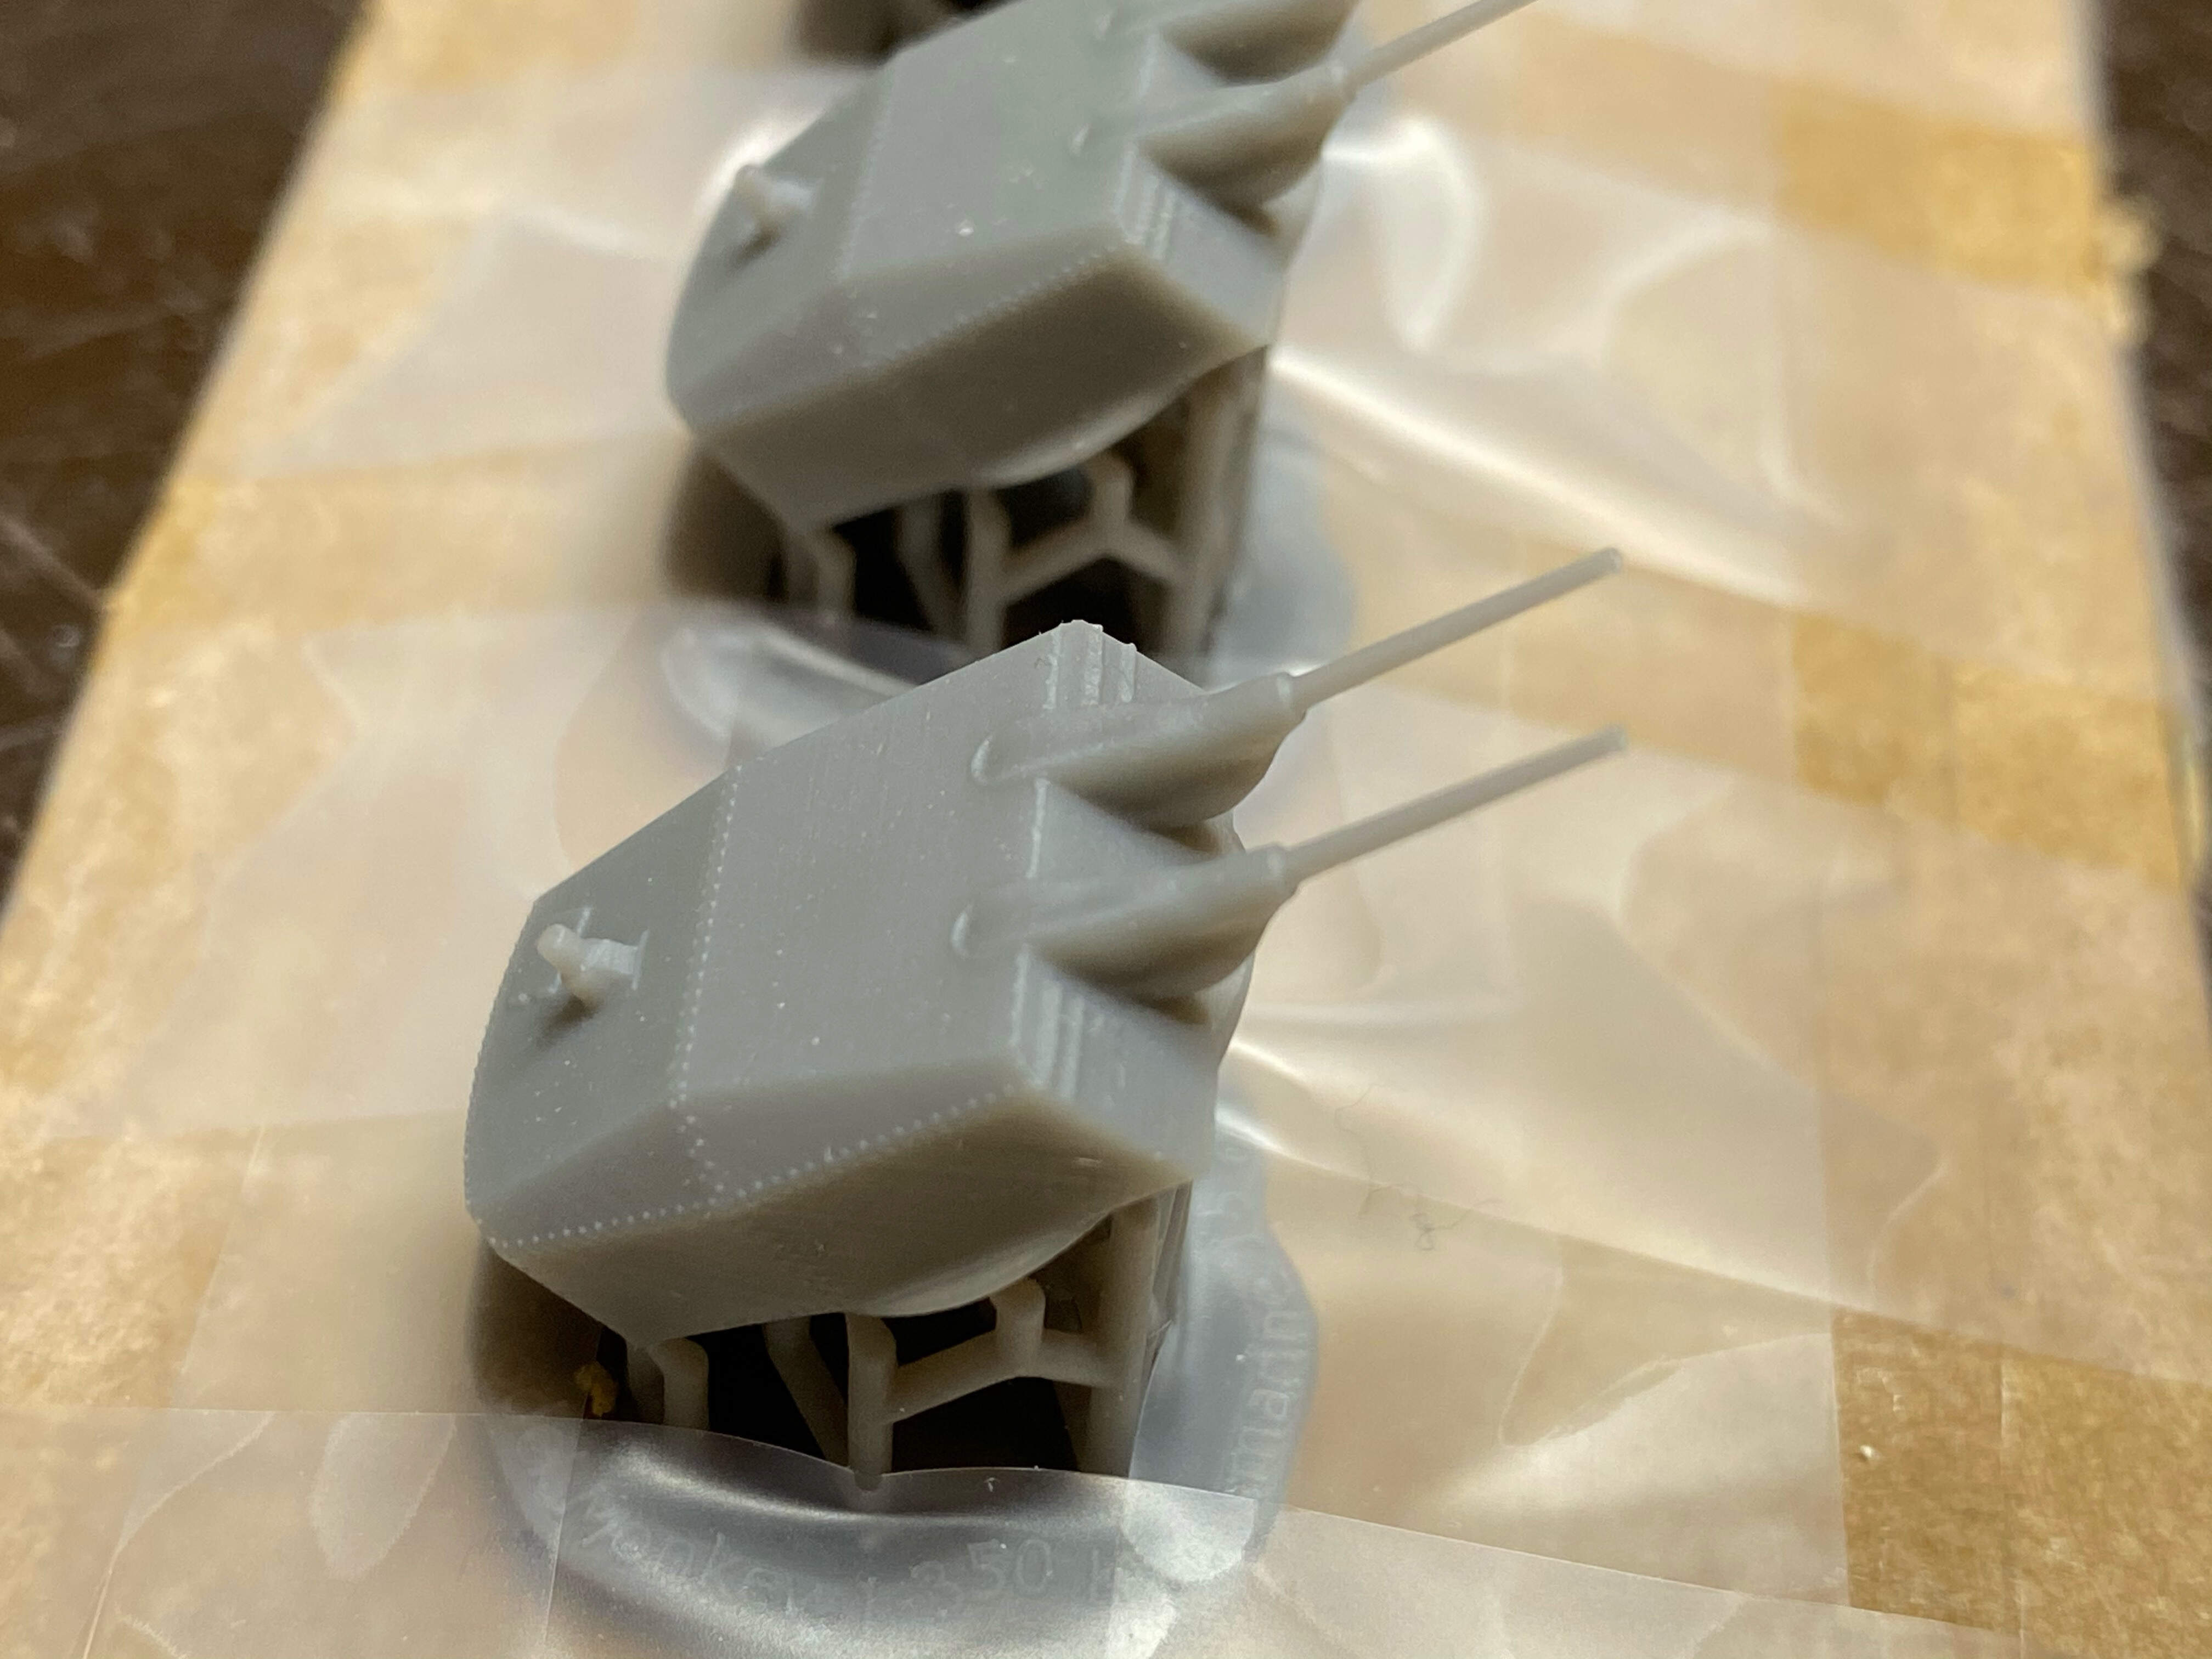
Excellent pieces with fine detail, and while the kit’s parts really are not bad at all, details especially as the rivet lines on Steve’s turrets are much more delicate while the Dragon ones are oversized. Blast bags with barrels look really fine, too, I’ll have to check the barrels against turned brass ones, I hope I don’t accidentally manage to break one as they seem to be really fragile.

Great pieces and a real improvement once again, and a very big THANK YOU to Steve!
Cheers
Jan
10 Likes
Thanks Jan your to kind, really the oil canning was pretty easy as I was doing it over a very large surface as compared to the amazingly small work your doing here! The degaussing cable looks perfect and the colors look great and spot on! Wow those turrets are really nice! Model monkey does great work and I defiantly need to get more stuff from them! And for anyone doing a square bridge fletcher like me, get the model monkey parts they are just amazing!
3 Likes
Jan,
Nice work on getting the hull painted, looks fine. Those 15cm turrets from MM will really enhance the look of the ship.
Mark 
2 Likes
Great to see the colour go on the hull, Jan!
Those parts from Model Monkey look amazing! Stephen’s brought 3d resin printing to a very high standard, but I wonder how the barrels will behave and how fragile they are… 
2 Likes
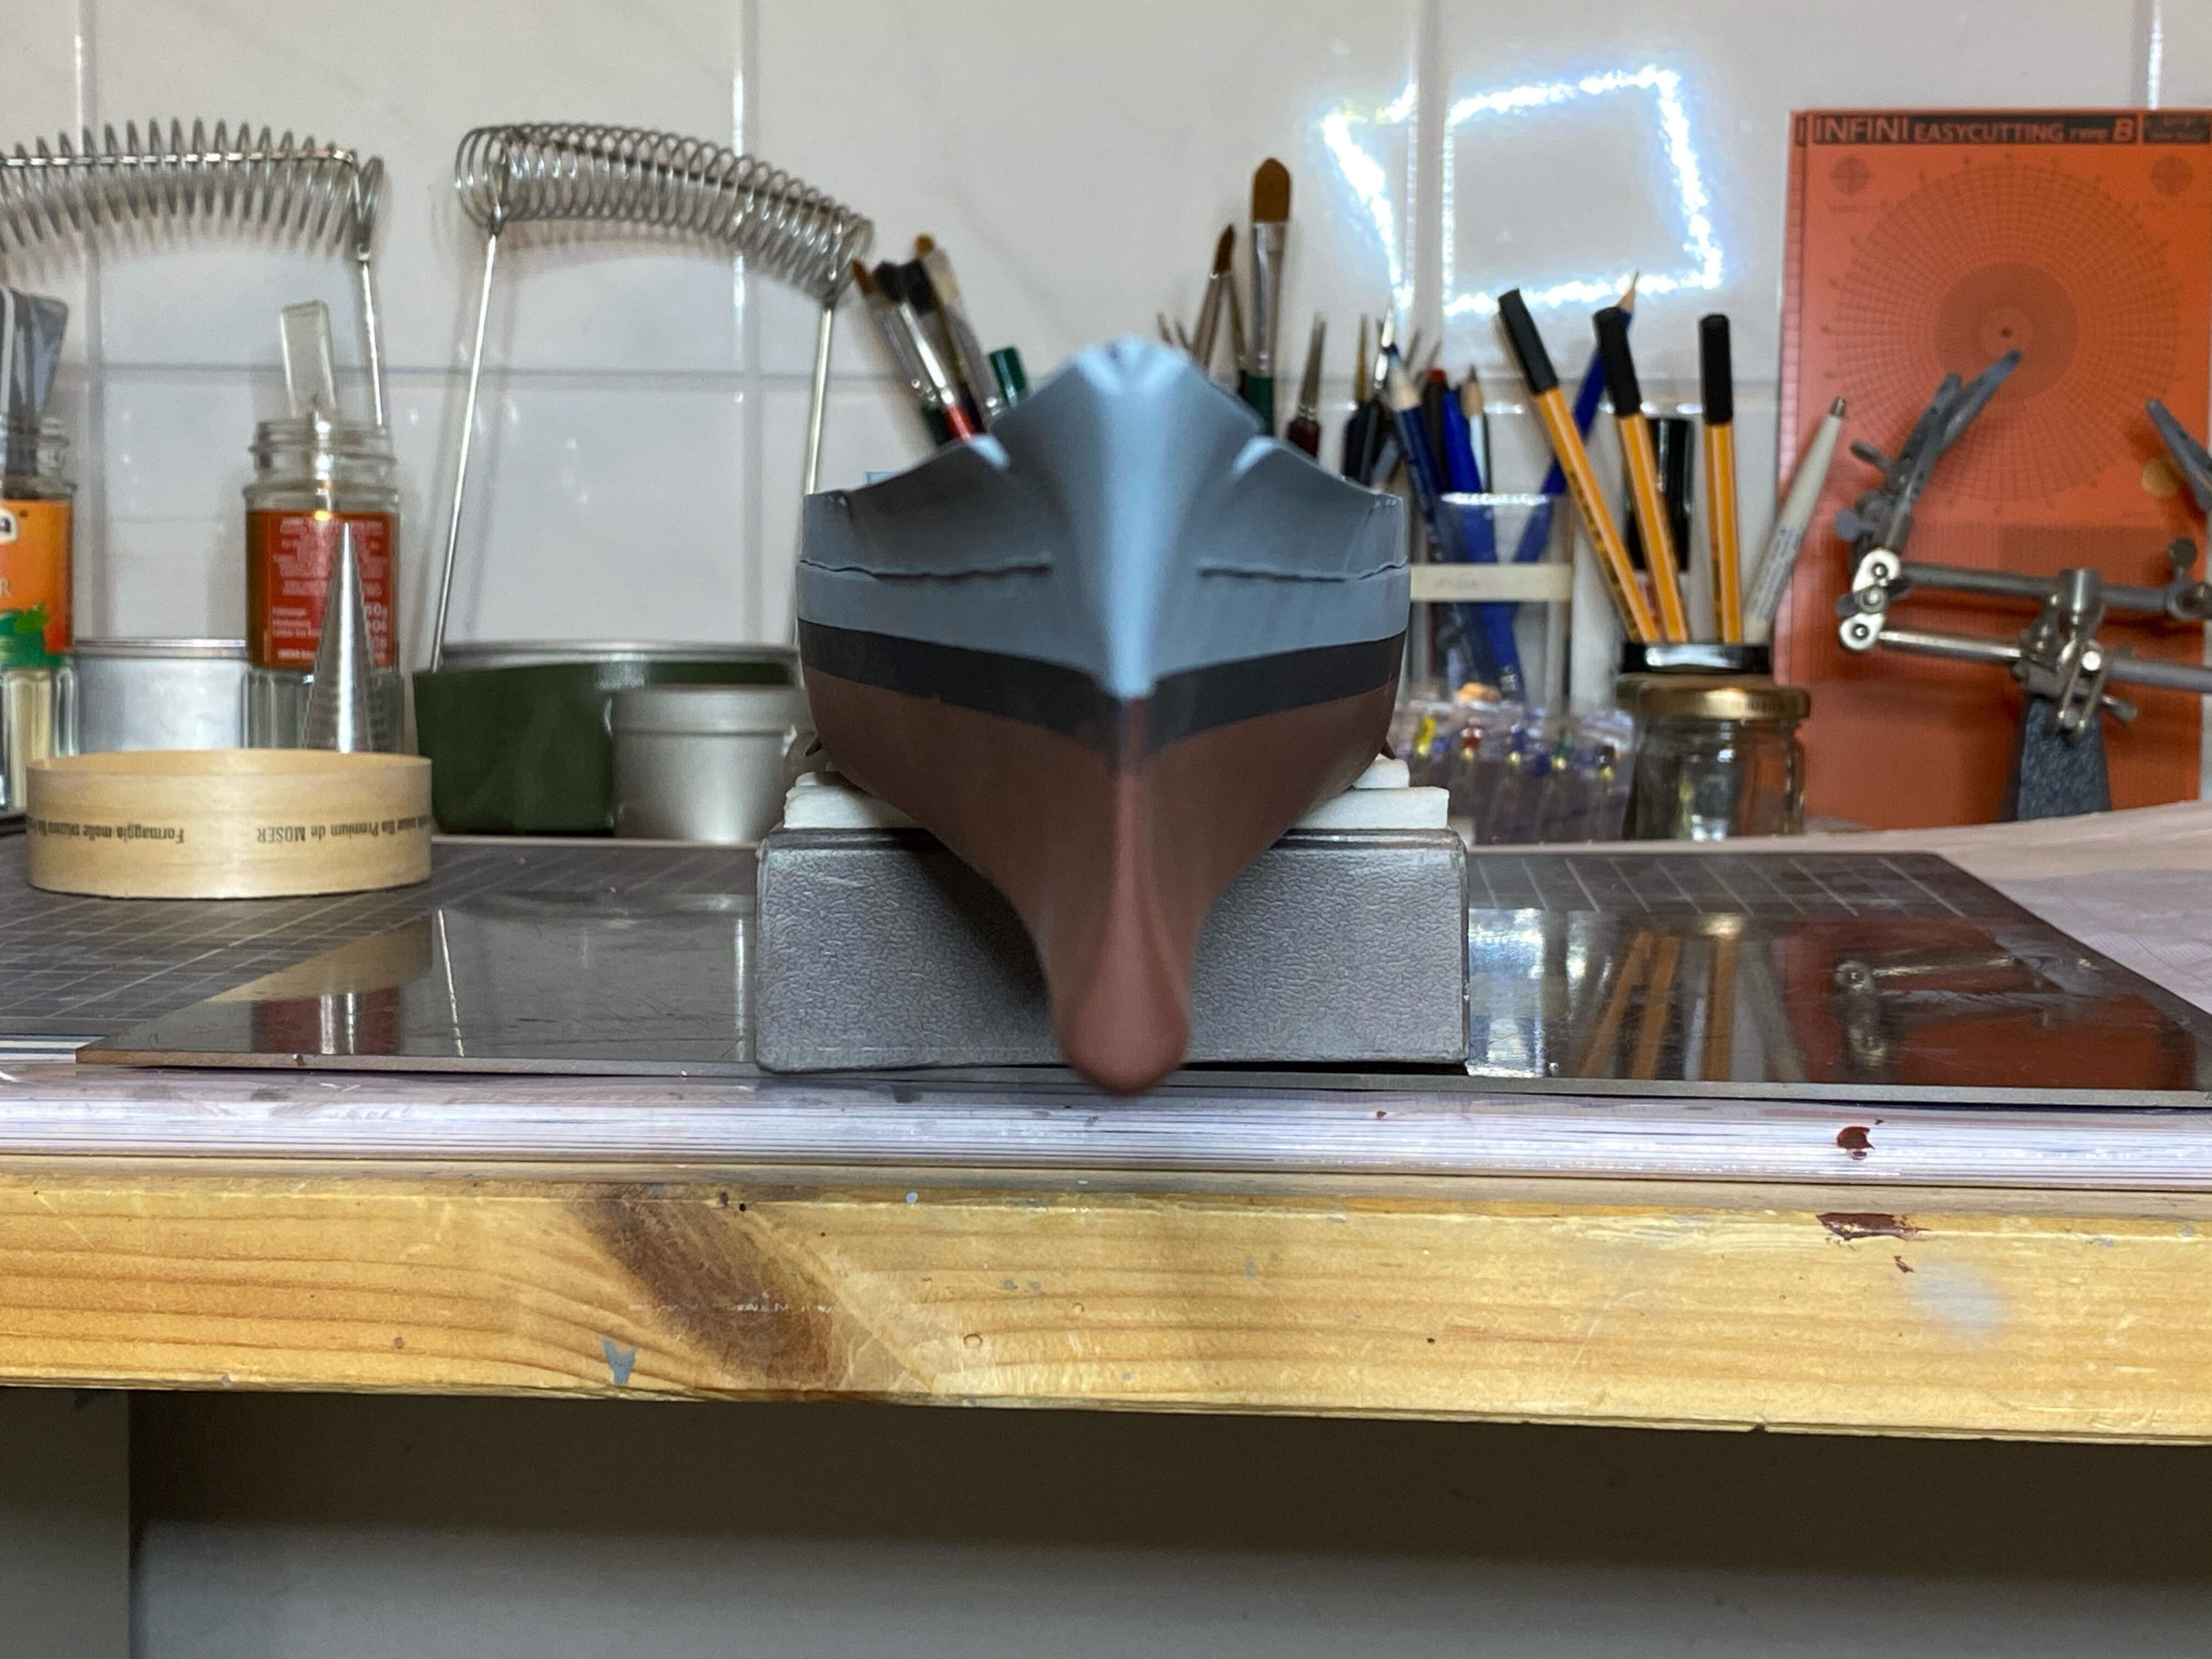
Great work there Jan… I like the Bow face on image. Shows some lovely clean lines and nicely equal spacing between colours and de-gassing cable
1 Like
Jan does beautiful work. Superb.
3 Likes
Jan, I found an interesting fact about the Gneisenau and where I live. I’m based at RAF St Mawgan (but in the Army) and I live at St Eval, an old WW2 RAF station. I was looking on wiki for something unrelated and found this;
On 6 April 1941 a small force of Beauforts from 22 Squadron, operating on detachment from St Eval, launched an attack on the German battleship Gneisenau in Brest harbour. A Beaufort was able to launch a torpedo at point blank range but was shot down. However, the ship was severely damaged below the water line, so was obliged to return to the dock for repair. The pilot of the Beaufort, Flying Officer Kenneth Campbell RAF, was posthumously awarded the Victoria Cross.[5]
3 Likes
That’s a very interesting story indeed - I was aware of the multiple attacks by the RAF during their (mainly Scharnhorst, Gneisenau, Prinz Eugen) time in Brest, but that one of this raids was executed from your home town, that’s really a very special fact!
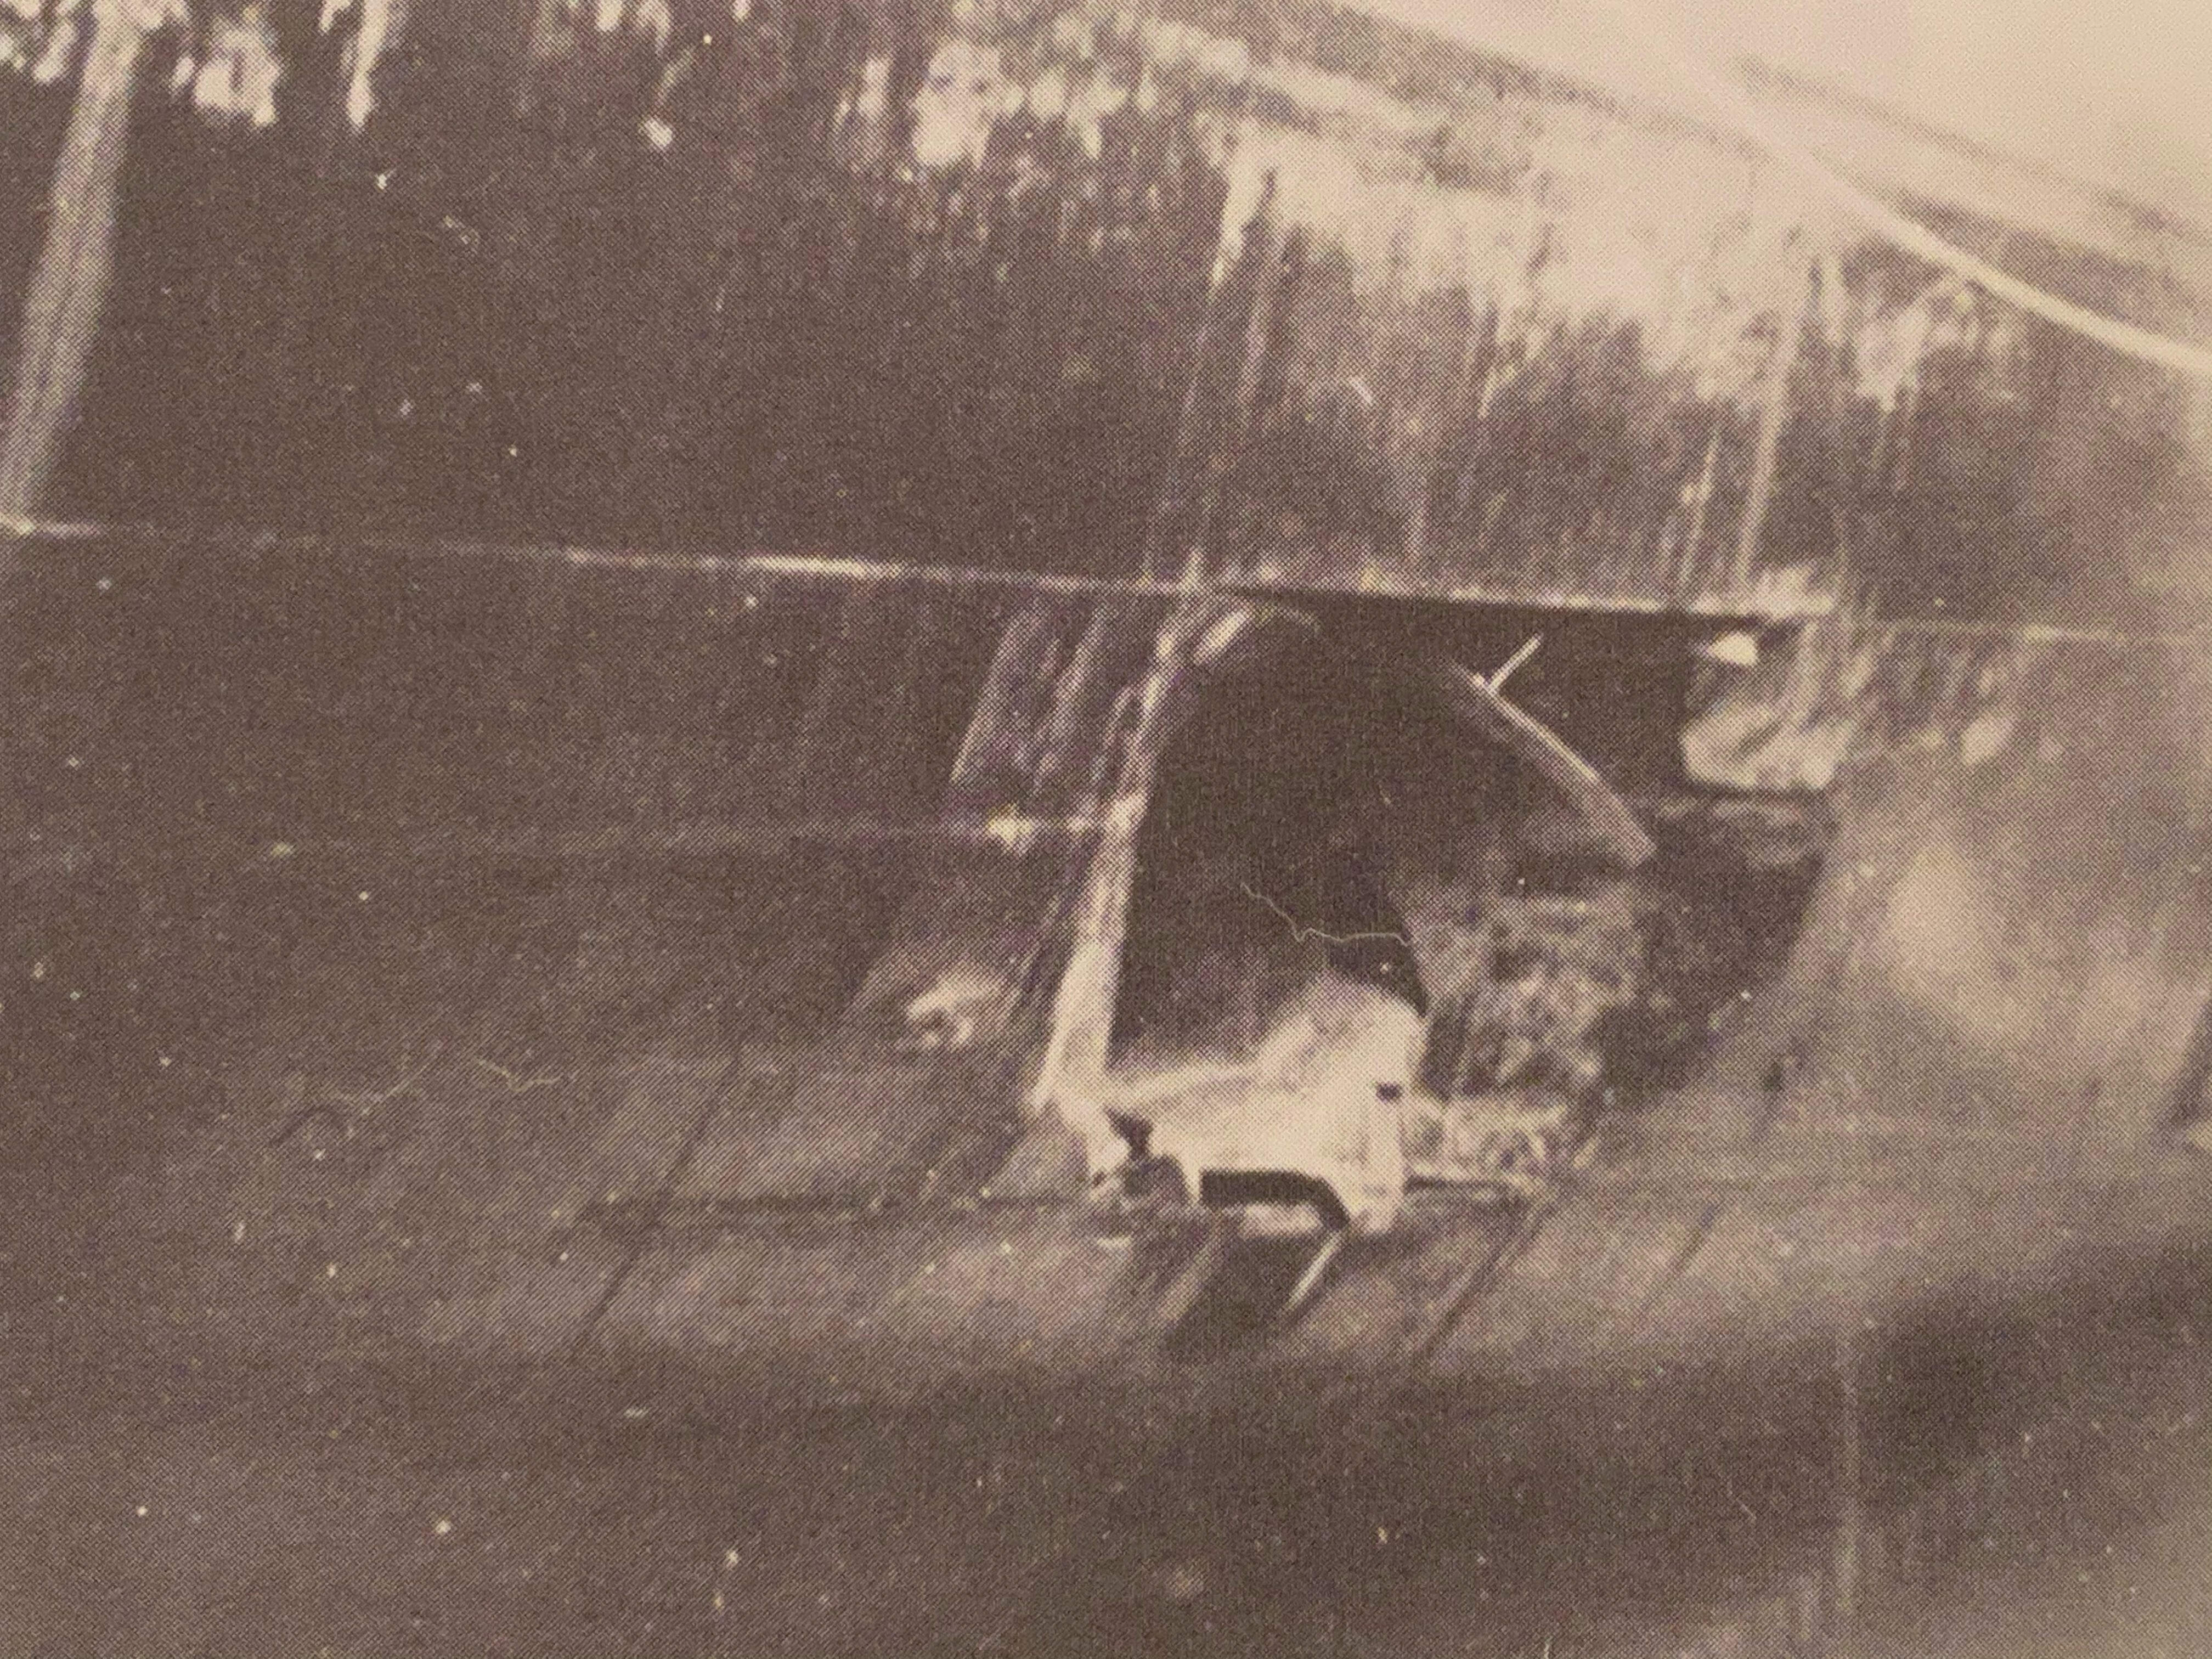
I checked my literature to see if I can find any more facts on the hit, and yes, it is mentioned precisely: the torpedo you mentioned hit near her CÄSAR - Turret. There’s even a picture of the damage taken in dry dock:
On the 1/350 side, I did the touch ups to the hull painting. I consider a clear coat, just to make it a little more resistant against accidental damage.
Cheers
Jan
7 Likes
For those of you that venture into the realm of wingy things - Airfix has/or is in the process of releasing the said Beaufort that attacked the Gneisenau
Airfix A04021 Bristol Beaufort Mk.1 | Kit Model Aircraft
Cheers
![]()
![]()
![]()
1 Like