DKM Gneisenau 1/350

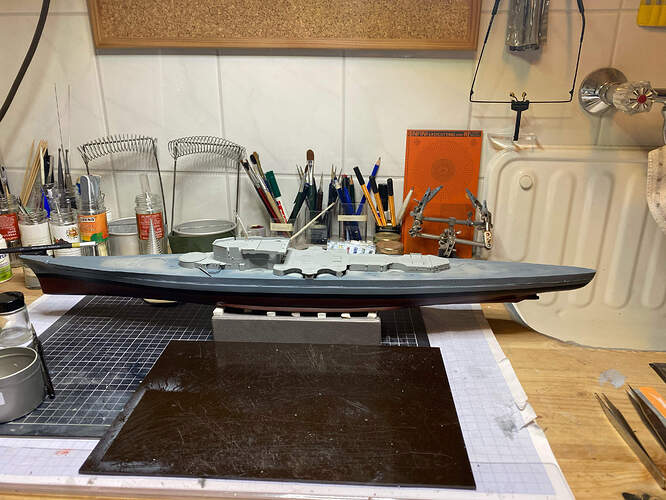
Great work as alway Jan, I’ll have to borrow you handle/ turntable idea for my next ship build when I finally get one to the bench.

Yes Steve (MM) does some good stuff, I have his USS Portland conversion.

Waiting to see what comes of the 1/350 Gneisenau from Trumpeter hoping they get it right as we know they don’t always.

I have one of those Airfix Beaufort on pre-order.

1 Like

Jan,

Catching up on your progress and I have to echo what everyone else has said, great work and amazing results on the paint job. I have looked at a few MM items and have a wish list that I will someday execute, but for now I am knee deep in the Tama with no time for side kits.

Really enjoying your build.

David

1 Like

Dear all!

Thank you very much for following and especially for your kind comments, I’m glad to have you all along!

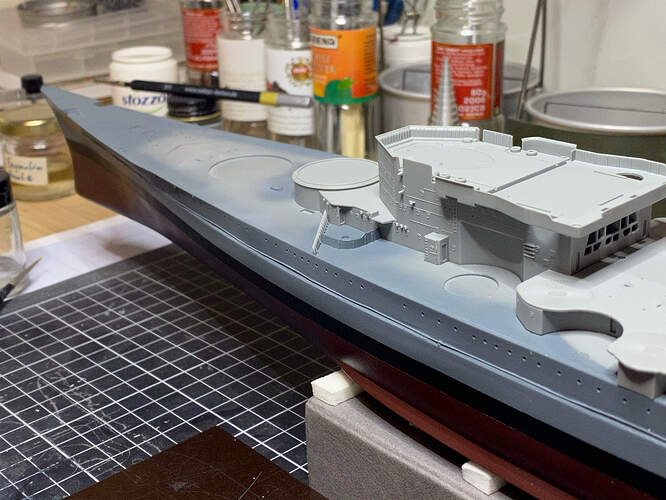
In the meantime I gave the hull a clear gloss coat for protection. It’ll all be flat again in the end, no worries…

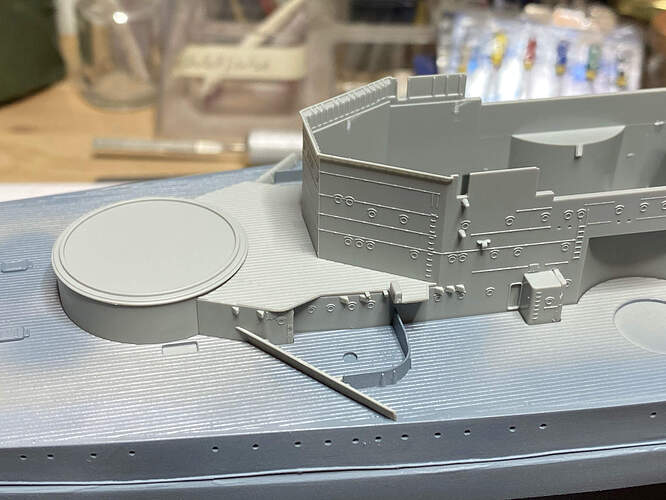
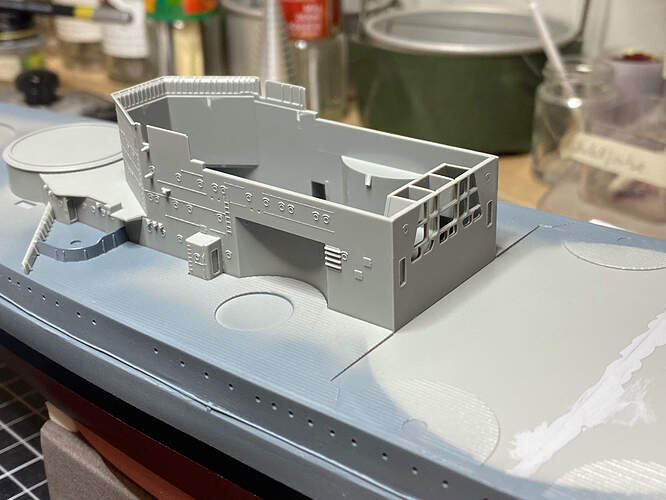
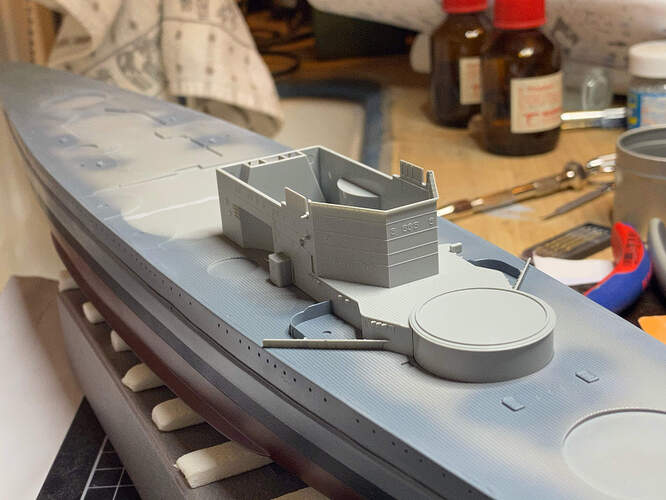
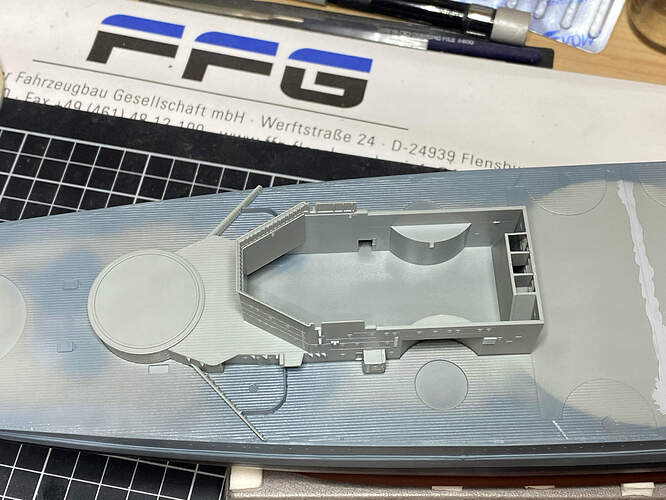
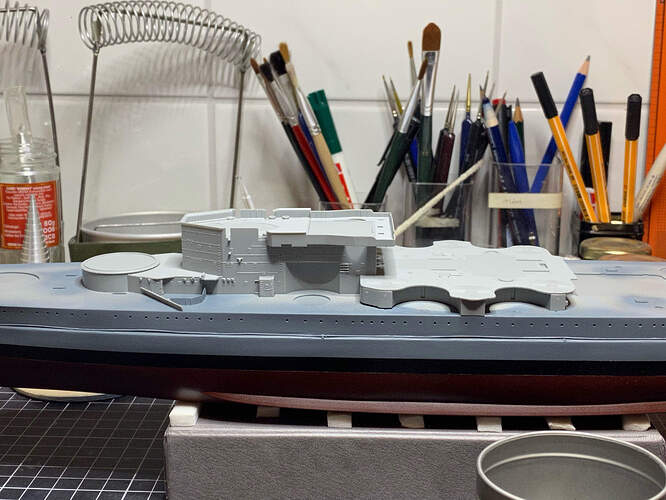
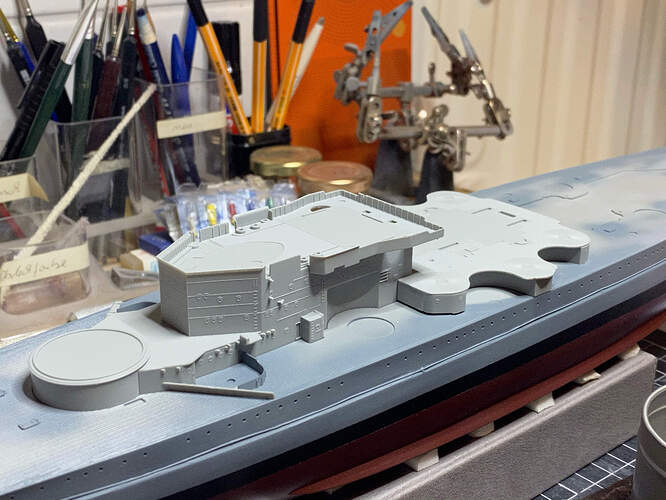
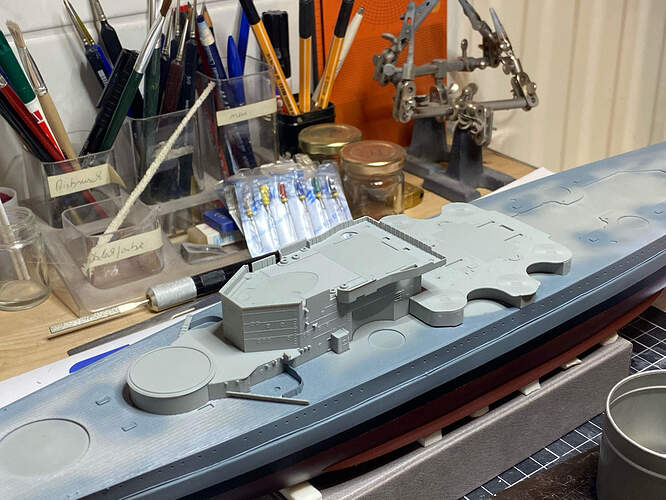
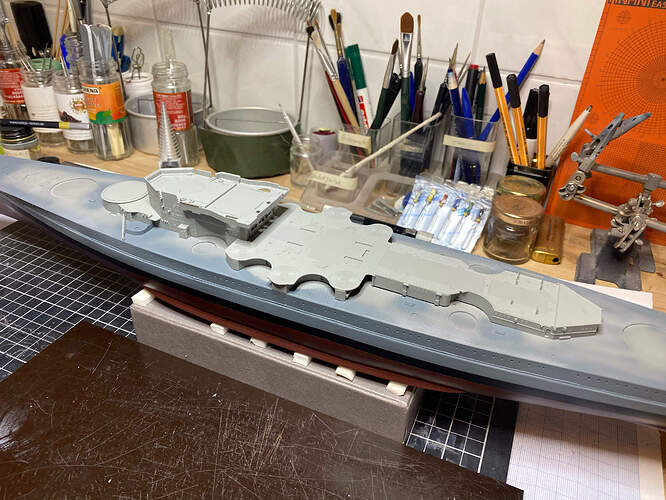
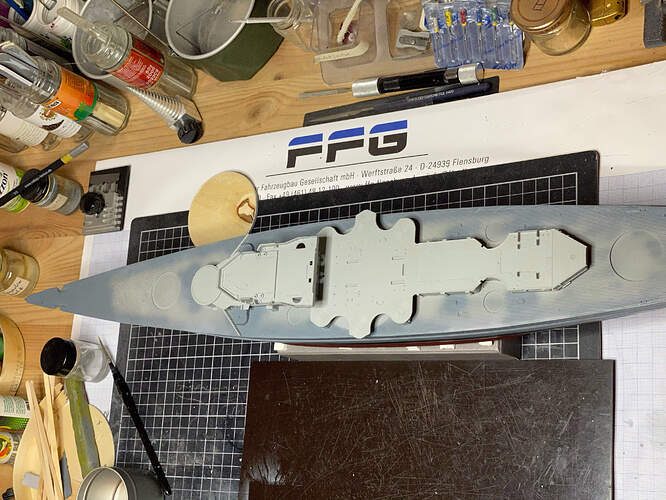
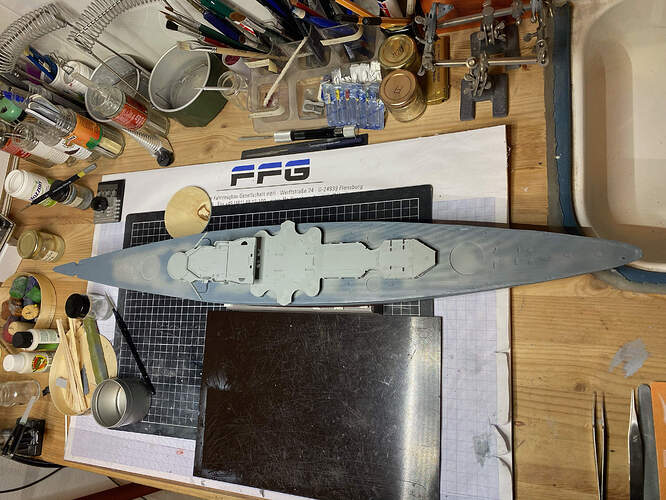
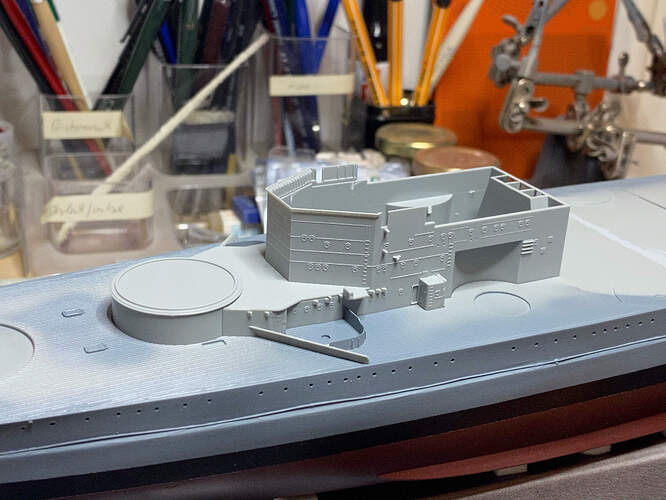
Considering how to proceed, the wooden deck should be very early on to prevent fitting issues. I had to build the main parts of the superstructure to dry fit and then get the wooden deck in place.

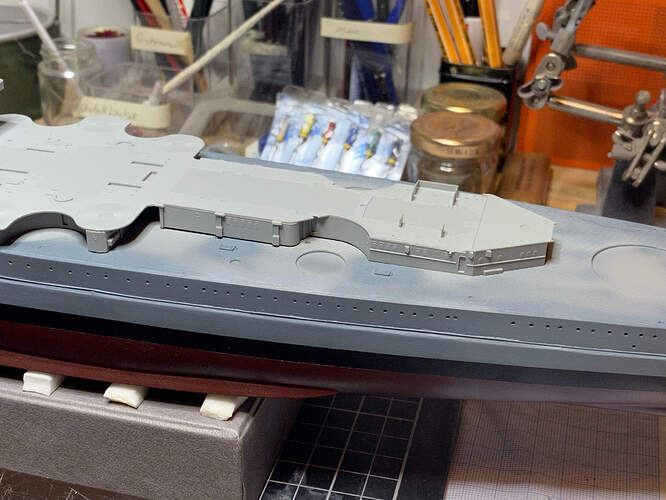
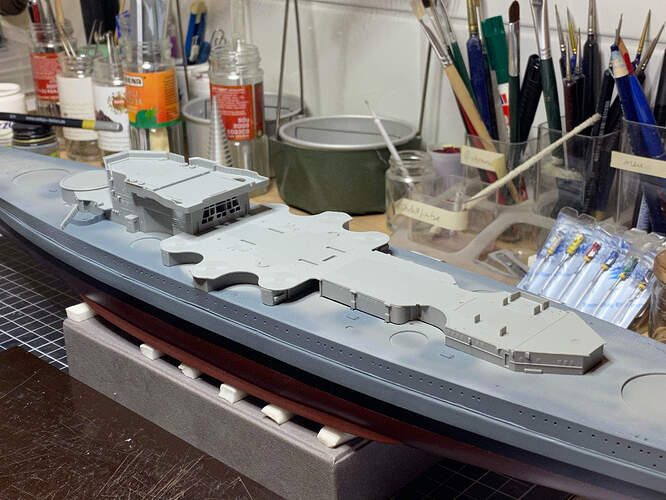
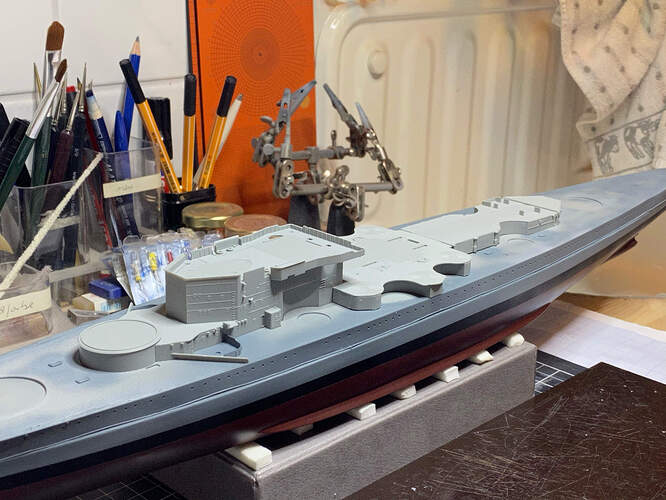
So I started to build the major assemblies that will eventually sit on the main deck. And I have to say this is really fun - fit of the parts from Dragon is really excellent, and the quality of the styrene is really nice and good to work with. Details are crisp and fine, looks really good! (…I’m sure they could have done a better job with the hull halves…)

So this looks way more than it is, it’s only the basic main parts assembled, the major assemblies glued but nothing glued to the hull or assemblies glued to other assemblies, there’s a HUGE amount of detail work waiting. And I have to find Scharnhorst/Gneisenau differences, at least the obvious ones.
With that, I realized how poor my documentation of the original is - I do have several books dealing with them, but many pictures are the same in all books, and honestly, you often can’t be sure if a picture is from one or the other, despite the author saying it is - I have discovered quite a few wrong allocated pictures in books…
I know the Kagero drawings have quite a few mistakes in them, but unless I get real pictures as references, they are as close as I can get.

Ok, pictures.

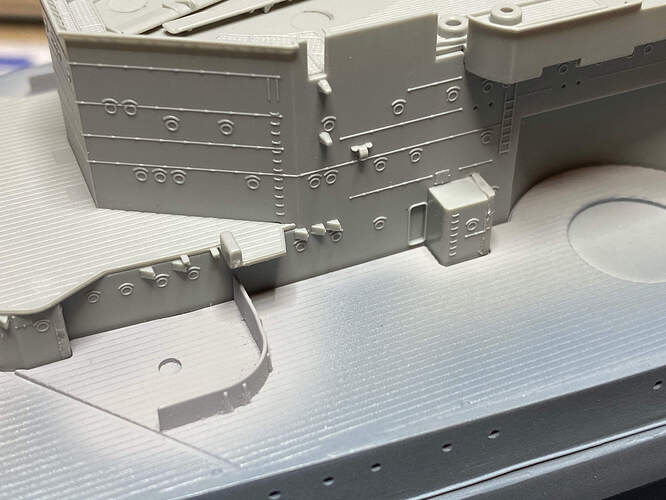
Here are the first unresolved issues - the breakwater in front of the 3,7 cm AA looks like that for Scharnhorst, but there is at least one picture that seems to show it only extending out to the “curb” of the 3,7 cm and not going all the way through. (But that would leave a scar in the wooden deck, if I cut them…have to think about that.) The little extension in front of the 15 cm may have a slightly different shape for Gneisenau - that’s from Kagero, I could not find a picture verifying or falsifying that. Would be pretty tough anyway… Well, it’s only dry fit right now, plenty of time to think and doing more research.

The deck on the forward superstructure is not glued. And even the breakwater is just a dry fit - that it sits so tight shows the quality of the kit.

That’s it for now, thanks for looking in,

Cheers
Jan
11 Likes

Hi Jan! Some really good preliminary moves toward building up the superstructure :slightly_smiling_face:

It sure is difficult to find good references sometimes, and so we need to go with our instinct, and my oft used motto: if I can’t find out what’s correct, chances are no one else can either. :slightly_smiling_face: This little phrase has kept me from stalling on builds many a time :slightly_smiling_face:

1 Like

http://www.modelshipgallery.com/gallery/bb/dkm/Gneisenau-350-sg/index.htm

1 Like

I sometimes wish a ship like this could of been saved and kept as a floating museum/memorial for all nationalities.
They are truly graceful and elegant looking vessels…
I suppose though we are lucky to have ways like this to remember them by and skill that people use to bring them back to life.

2 Likes

That’s a beautiful build of the Gneisenau, showing her almost in the outfit I want to build mine, only I want to go for the later, red turret tops.
This build exceeds my capabilities by far, I can’t and will not strive to reach that degree of perfection, but it is a great inspiration and certainly very helpful - thank you very much for sharing the link.

One comment on the pre-text to that build, regarding the differences between the two sisters. I can’t prove it and I have no reference, but I am very familiar and have lots of first hand experience with current warship building. No, they were not implementing lessons learned. They were simply using vents etc. as they usually would at their respective shipyards, there’s a lot of freedom and personal taste of the respective shipyards involved…

Russelle says,
It sure is difficult to find good references sometimes, and so we need to go with our instinct, and my oft used motto: if I can’t find out what’s correct, chances are no one else can either. :slightly_smiling_face: This little phrase has kept me from stalling on builds many a time.

I second that.

Mark :beer:

2 Likes

Jan, that is a fascinating insight! I always wondered at small variations among ships in a class, or even inconsistent vents and other fittings on the same ship. It reminds me of Heinlein’s razor - “never attribute to malice that which is adequately explained by stupidity” or, in this application, “never attribute to planning that which is adequately explained by expediency.”

:blush:

2 Likes

I’m intentionally keeping it ‘generic’ and avoid calling any names, locations or other…but the principle should be more or less the same everywhere…
Nowadays many (war)ships are built in sections at different shipyards and ‘married’ later on in that yard that does the final fit out. Those sections often are of significantly different quality, i.e. accuracy and measurements, and sometimes there are problems fitting those sections together. And yes, you may even find different fittings, vents… on different parts of the ship. Most of this stuff is standardized, and most gauges, piping, and cables etc. are only installed after the marriage of the sections, so that should be the same throughout the ship, but you can find the occasionally exception from the rule…
While several decades ago it was more common that a ship was built at a shipyard and the ships of a class were built in different shipyards, you had differences between the ships of a class. Today it is not only important which shipyard builds what part (section), but which shipyard belongs to which bigger company (i.e. many shipyards are mere dependancies of the big players, even if they retain their original names). So you can find ships with sections built at different ‘dependancies’ of one big player, built by (almost) the same standards (or at least very similar), or cooperations of big players with shared workload, resulting in sections built by sometimes different standards. Sounds complicated and confusing, and it is. You’ll see the effect if you look into the detail - different layout of internal piping, auxiliary engines and the like. And even if I can’t prove it of course, I’d bet that it has always been the same or similar. Maybe not the shipyard/dependancies issue, that came up around and after 2000, but they will have had other issues leading to similar problems.

1 Like

@JJ1973 Jan, do you think some differences occur due to “running changes/updates” directed by government or military or its mostly contractor differences?

Both. There are those notorious running changes, and they increase over time, which makes them a ‘modern’ problem: an old battlecruiser, e.g. HMS Repulse in 1916, “The ship was delivered within about 19 months from the date of lying down.” , vs. a frigate built after 2000, lasting up to 10 years from laying down to delivery, maybe even more, gives ample time for those running changes.
However, most of what concerns us as modelers, so fittings, vents, … is mostly contractor differences and taste or habit of shipyards or the standards set by the companies that own one or several shipyards. Running changes usually will be implemented in the whole class and not be specific to a single ship or even a section of a ship. But as always, no rules without exemption…

1 Like

Ok, from some rather ‘off topic’ considerations back to the good Gneisenau.

While this is not much of an update; I spent some time searching and researching, and it is obvious that the break water around the most forward 3,7 cm did not reach out all the way - some screenshots from a youtube video:

So in this area, I will modify the break water and, assuming Kangero is correct there as well, this little protruding part of the superstructure.
The after part around the 3,7 cm is already painted in XF 19, the base color for the superstructure, making a nice contrast to the darker hull.

Also quite time consuming - interpreting Dragon’s instructions and identifying necessary parts, here for the forecastle…

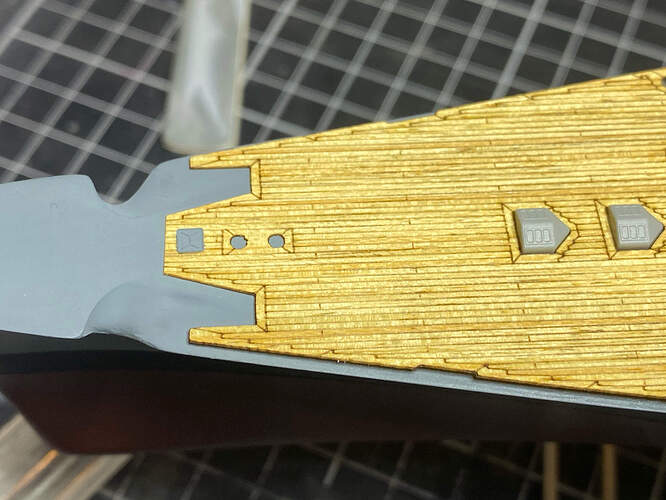
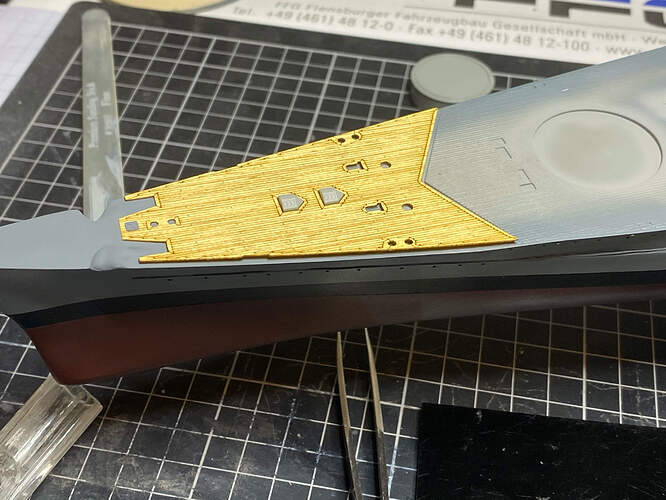
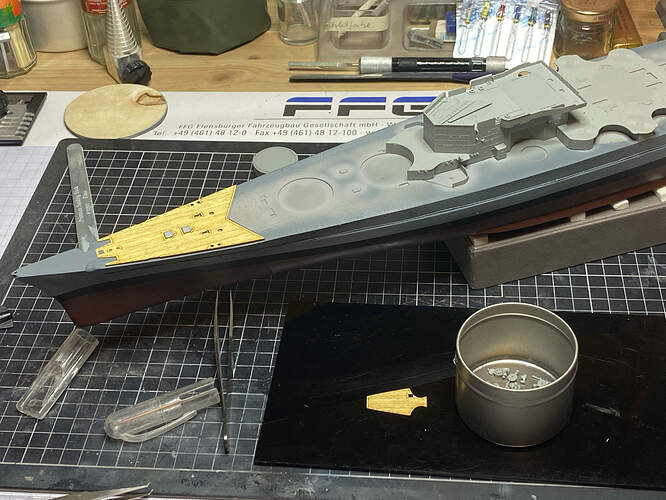
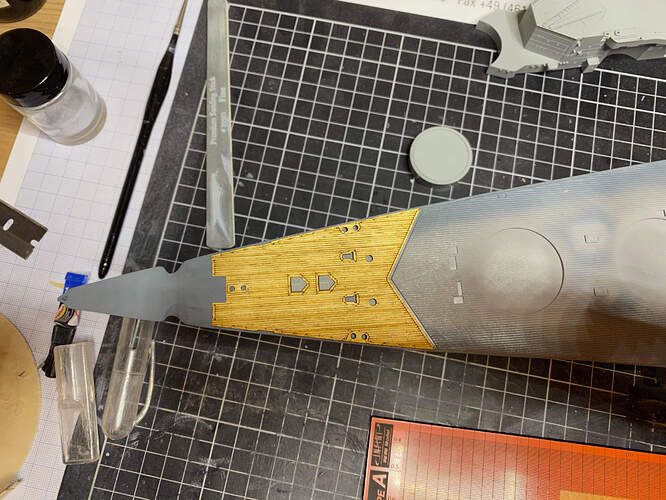
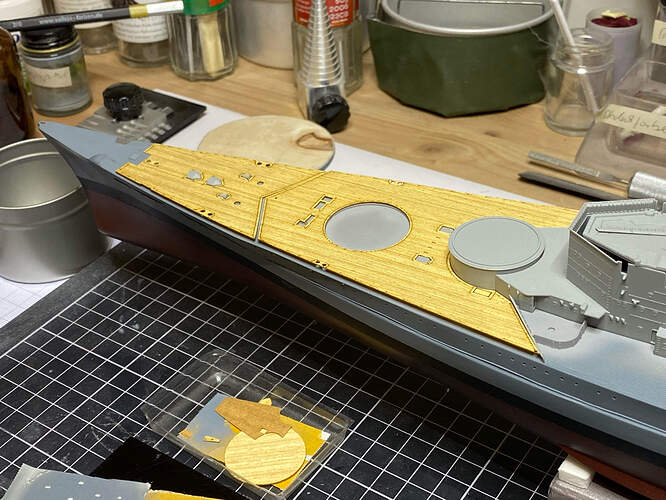
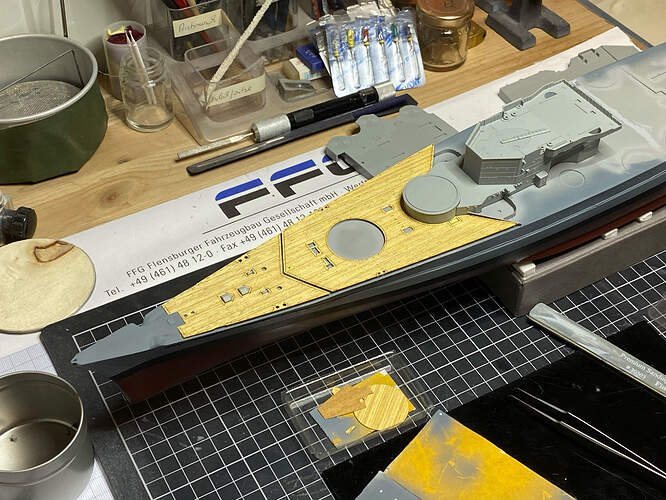
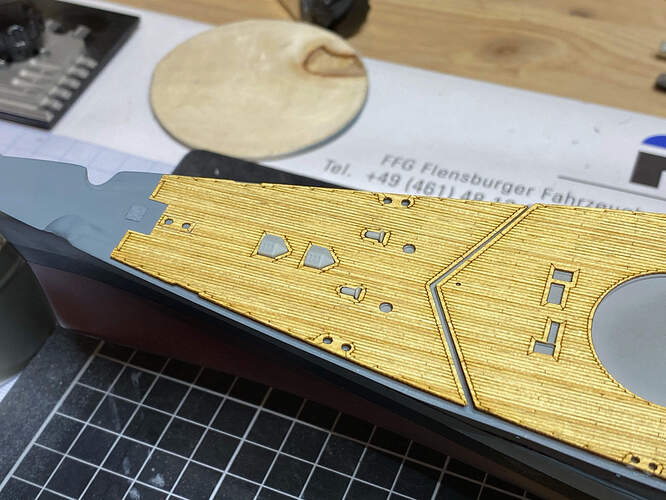
Dry fitting the wooden deck with hatches and cutting the front part. The whole part with the anchors would look somewhat different, but I don’t really know how to fix that, unless I cut the wooden deck quite a bit farther aft. I’ll have to check that, the double bollard in the center should be farther aft, too. :face_with_monocle: :thinking:

So I’ll have to see wether I’ll find some time in the evenings during the week…but I should have some more next weekend at the latest, I hope.

Thank you all for following and cheers

Jan
9 Likes

Jan,

What brand is that wooden deck? It looks a little thick when looking at the edges or is it just due to the lens on the camera? Looks like a nice tight fit.

Mark :beer:

1 Like

That’s some nice progress there Jan.:slightly_smiling_face:

Lots of parts indeed for the foredeck-evidence of Dragons pursuit of accuracy :slightly_smiling_face:

1 Like

Hi Mark,

thank you very much.
Looking at my pictures again, I see what you mean - definitely looks a little thick.
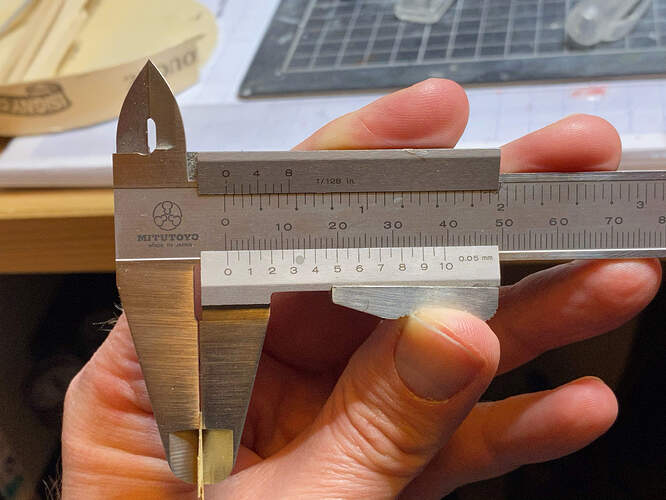
But I can assure you it isn’t. That’s the Pontos deck, it’s not glued down (so sits a little ‘higher’) and has its protection foil still on its back.

Thickness is about 0.3 mm, less the protection foil I’d think 0.25 mm. The railing will usually cover that…

6 Likes

Russ and Mark,

thanks for your kind comments, and all thank you for looking in.

A brief update - I decided to cut away more from the wooden deck. Now it is just a little ‘too short’, I know that and was aware of it before cutting, but it looks so much more like Gneisenau and is more consistent in itself. I cut out the area surrounding the bollards and moved it back. The bollards are a little farther aft on Gneisenau as they are on Scharnhorst - at least this is how it looks to me.

Here’s the before and after:

before

after

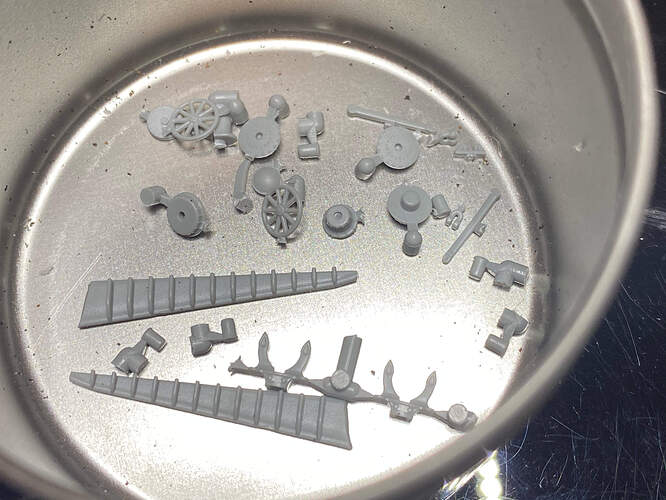
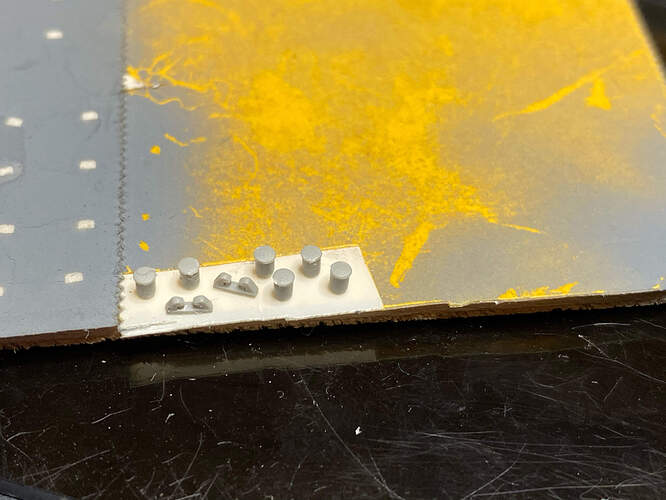
Getting some small stuff ready for painting - the bollards have to be painted separately, they need to be installed after the wooden deck. All parts that can be installed before the wooden deck will be and will be painted before I glue down the deck.

Nothing glued yet, just fitting…

Thank you and cheers
Jan
7 Likes

Proceed with caution Jan, as just a little bit out of position and in combination with the thickness of paint, you might find difficulty fitting the decking :worried:

The decking by the way, looks correct thickness: 0.25mm :+1::slightly_smiling_face:

1 Like

@JJ1973 Jan looks outstanding to me.

You’re also a bad influence! I really mean you are very inspiring! I ordered my first ship kit in like 25+ years.

1 Like

Thanks mate

and no worries, fit of the kit and the deck is really excellent, and the position"markings" on the deck really are in a way that you can’t misalign most of the parts. I’ll proceed with constant dry fitting anyway, so I found out e.g. that I can’t get the deck down over the bollards as they are thicker on top (like they are in reality, good job by Dragon!)
For now this one is really fun to build!