Hey thank you, that’s about the biggest commendation you can make! Thanks a lot and great to having you around on the salty and wet side of the hobby!
1 Like
Dear all,
so here comes a little bit of an update. Of course not as much as I had hoped for, as usual…
But first of all, David (RollTide) sent me some fine 3,7 cm AA guns from VeryFire that (at least now) are not available in Germany:


They’re looking really cool anreven reasonably buildable! But I will see about that later, I’ll post a different build log about comparison of the three (or four, if you include the Dragon ones) different 3,7 cm AA guns. But please give me a little time for that…
Thank you very much David, you’re a true Gentleman!
6 Likes
But now for the main ship.
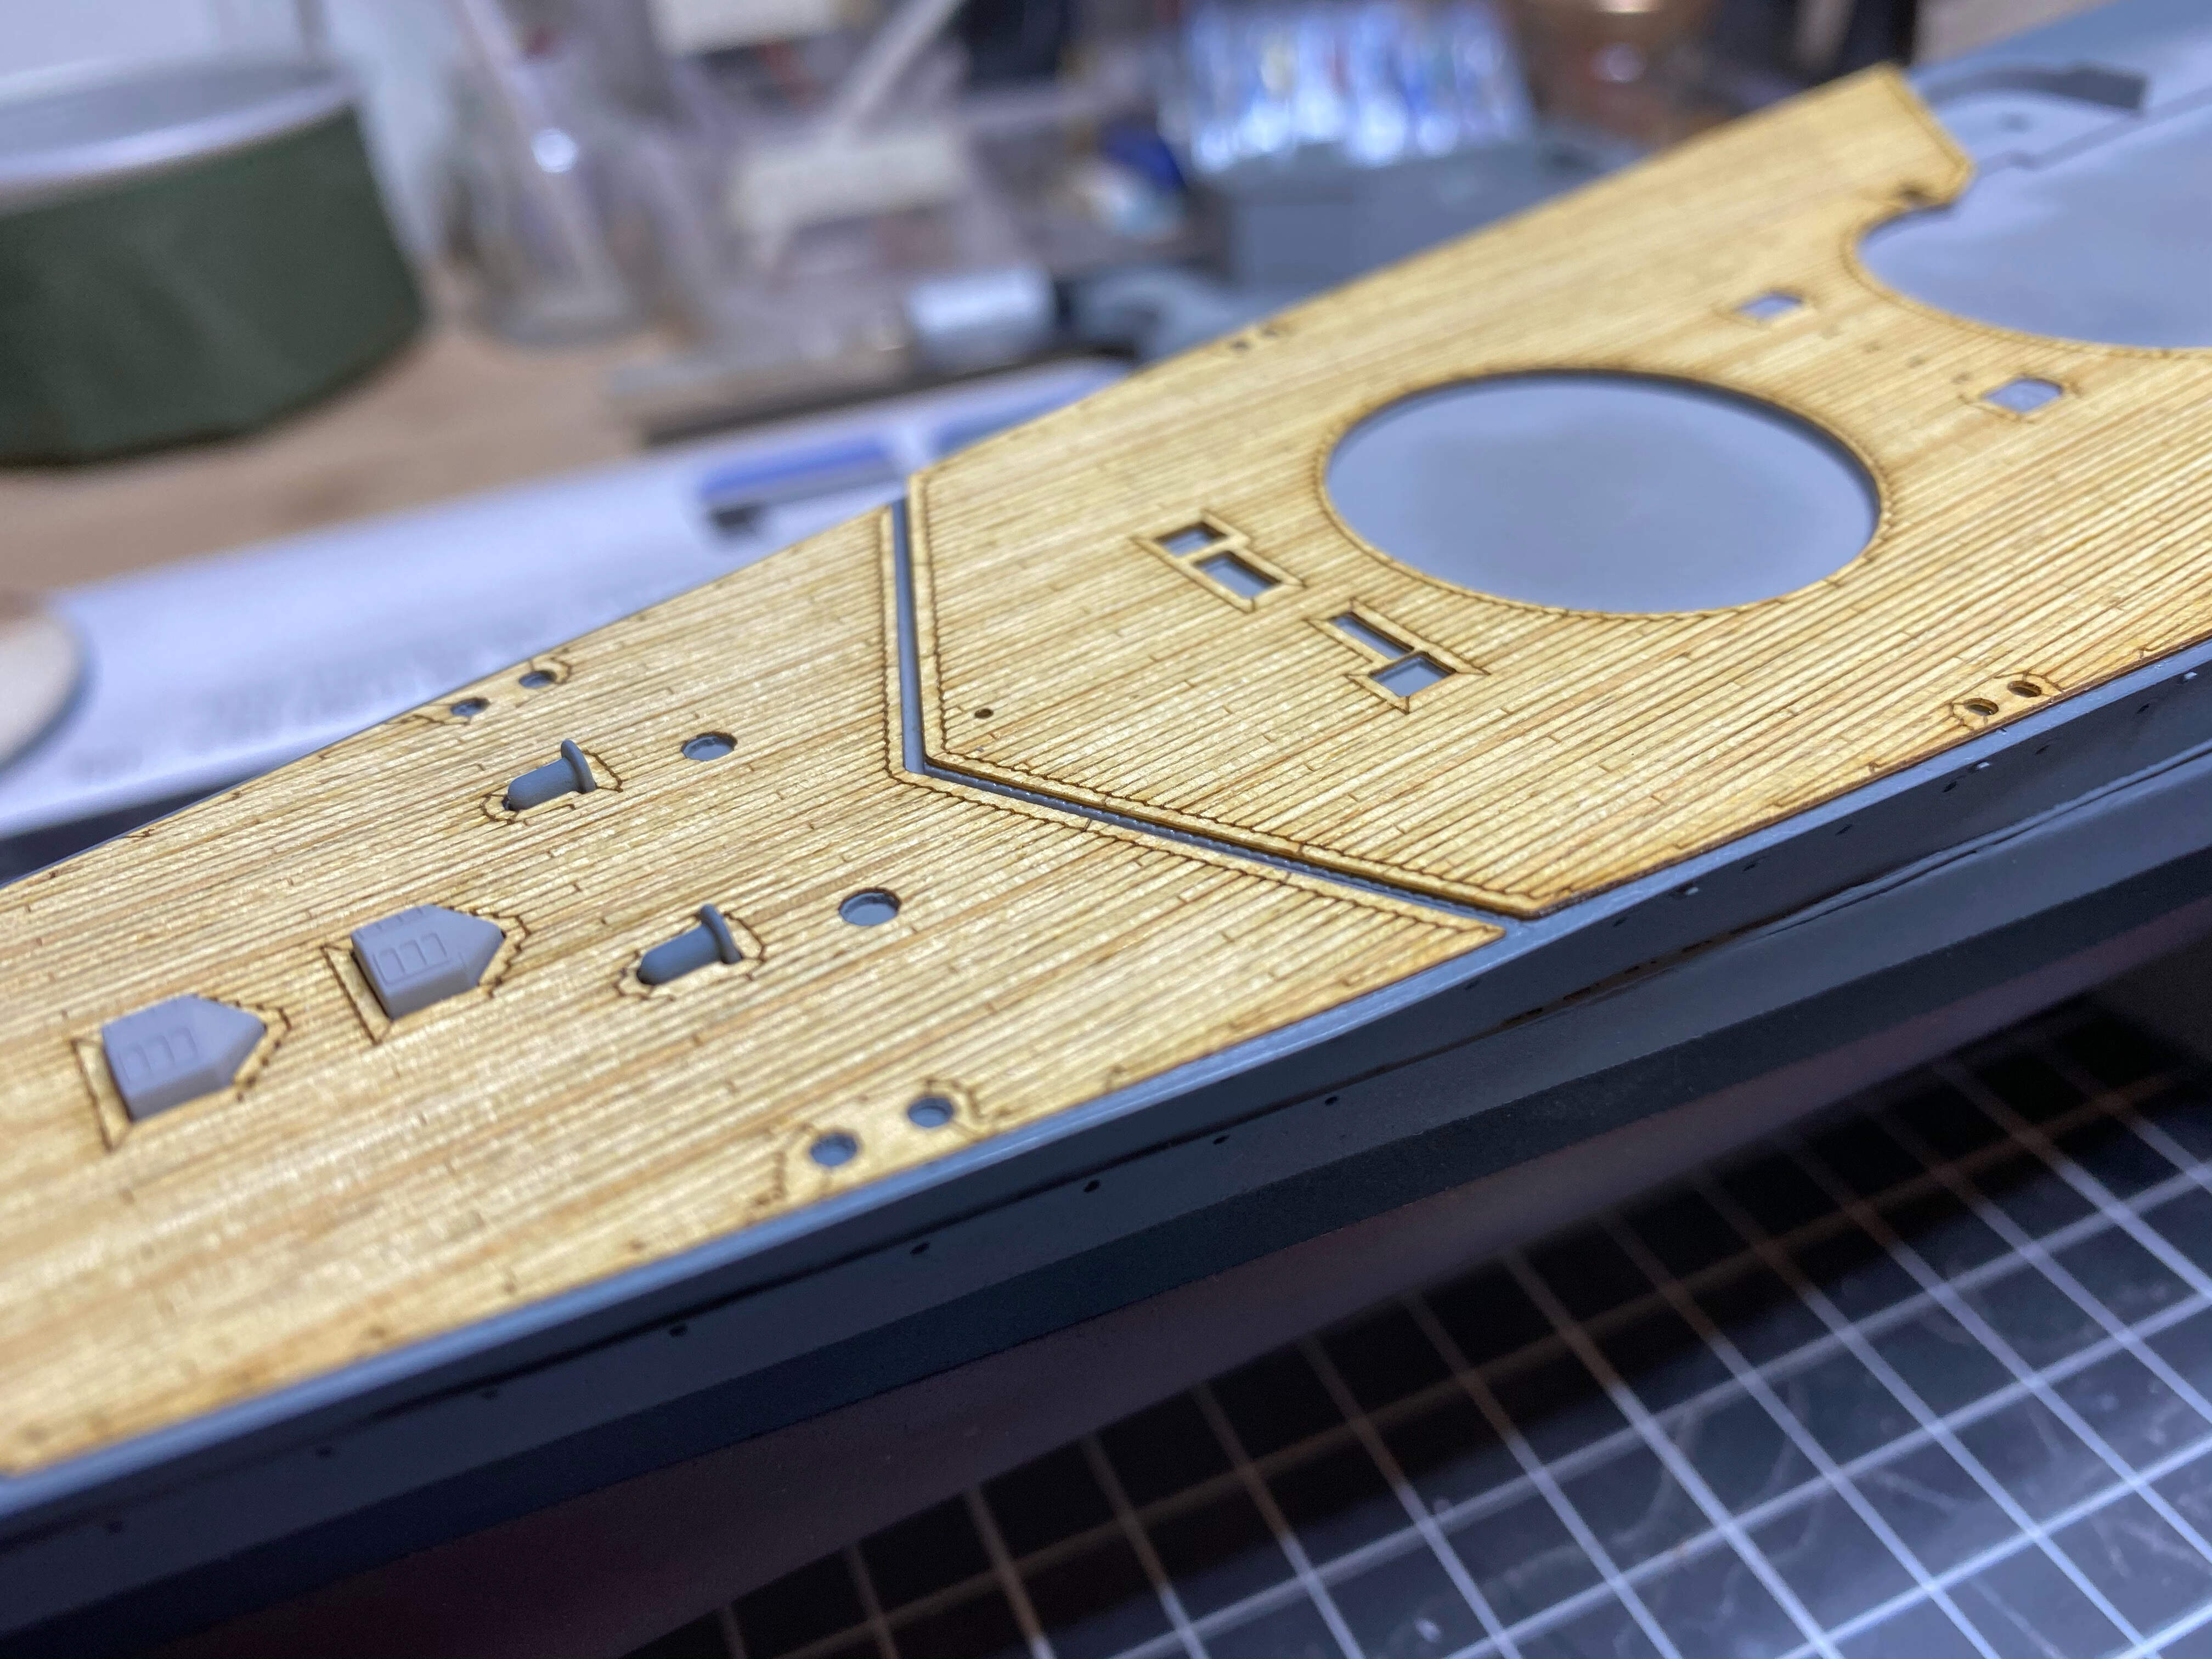
So work on the forecastle continues.
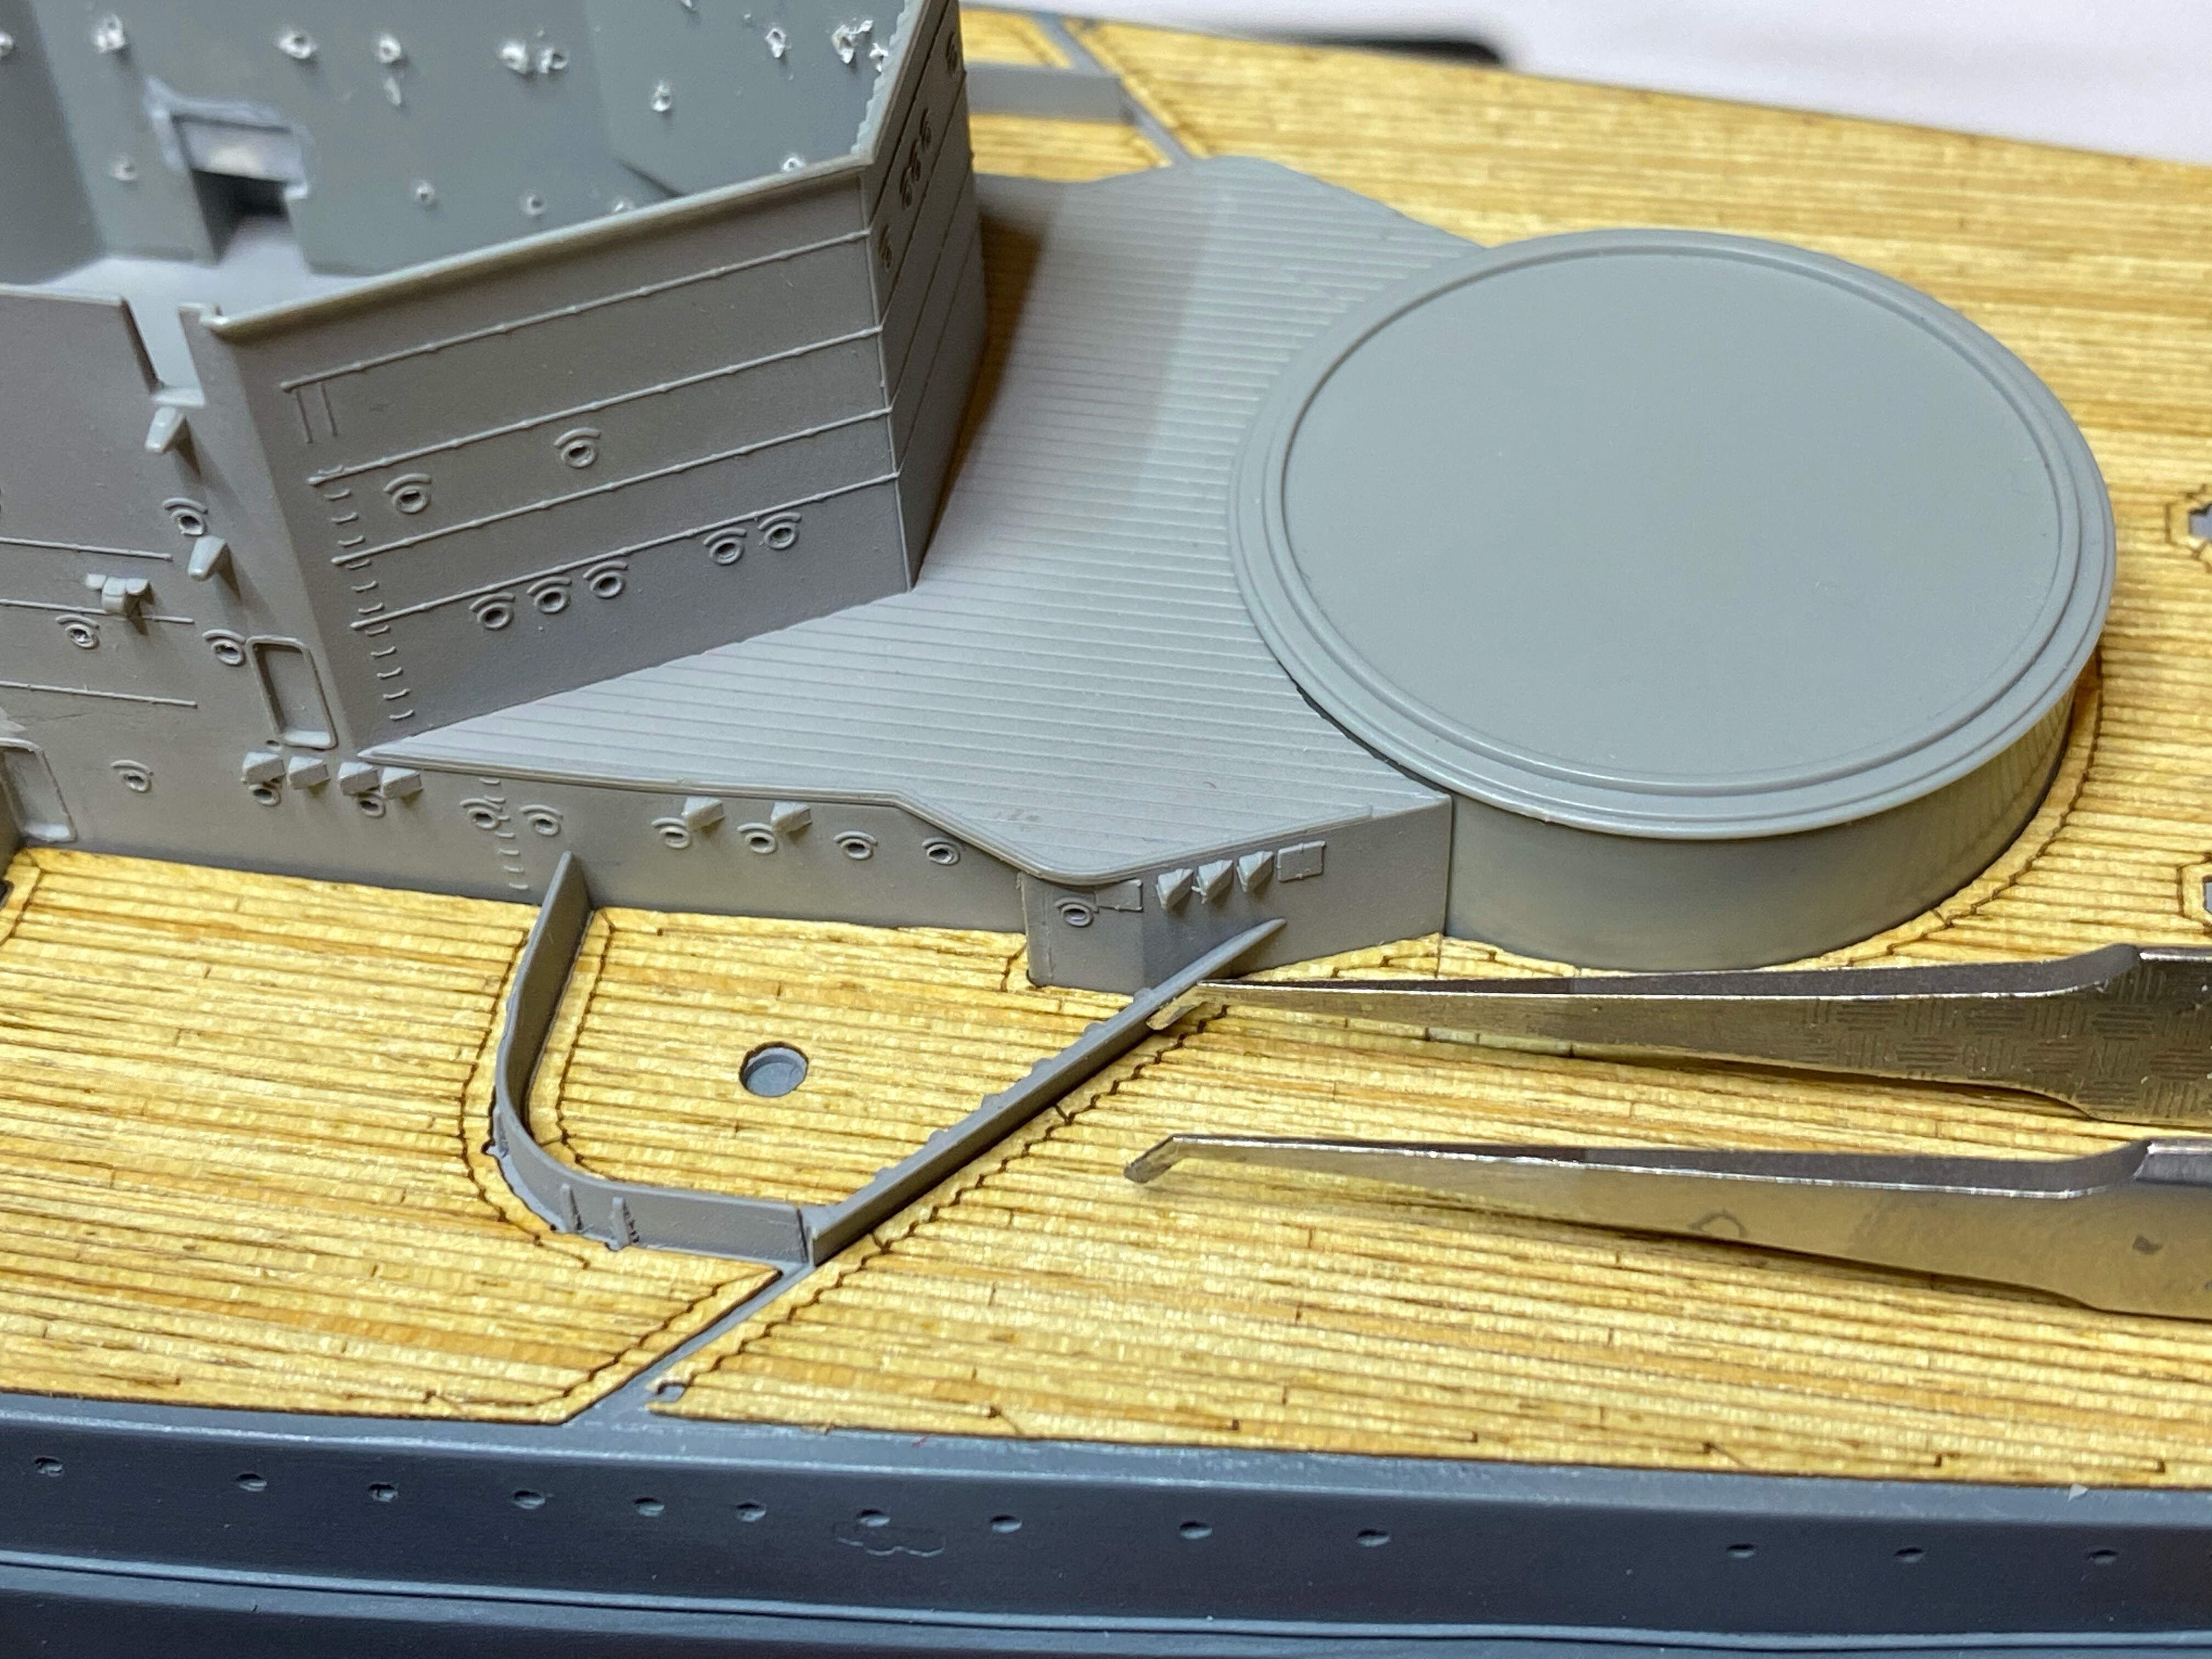
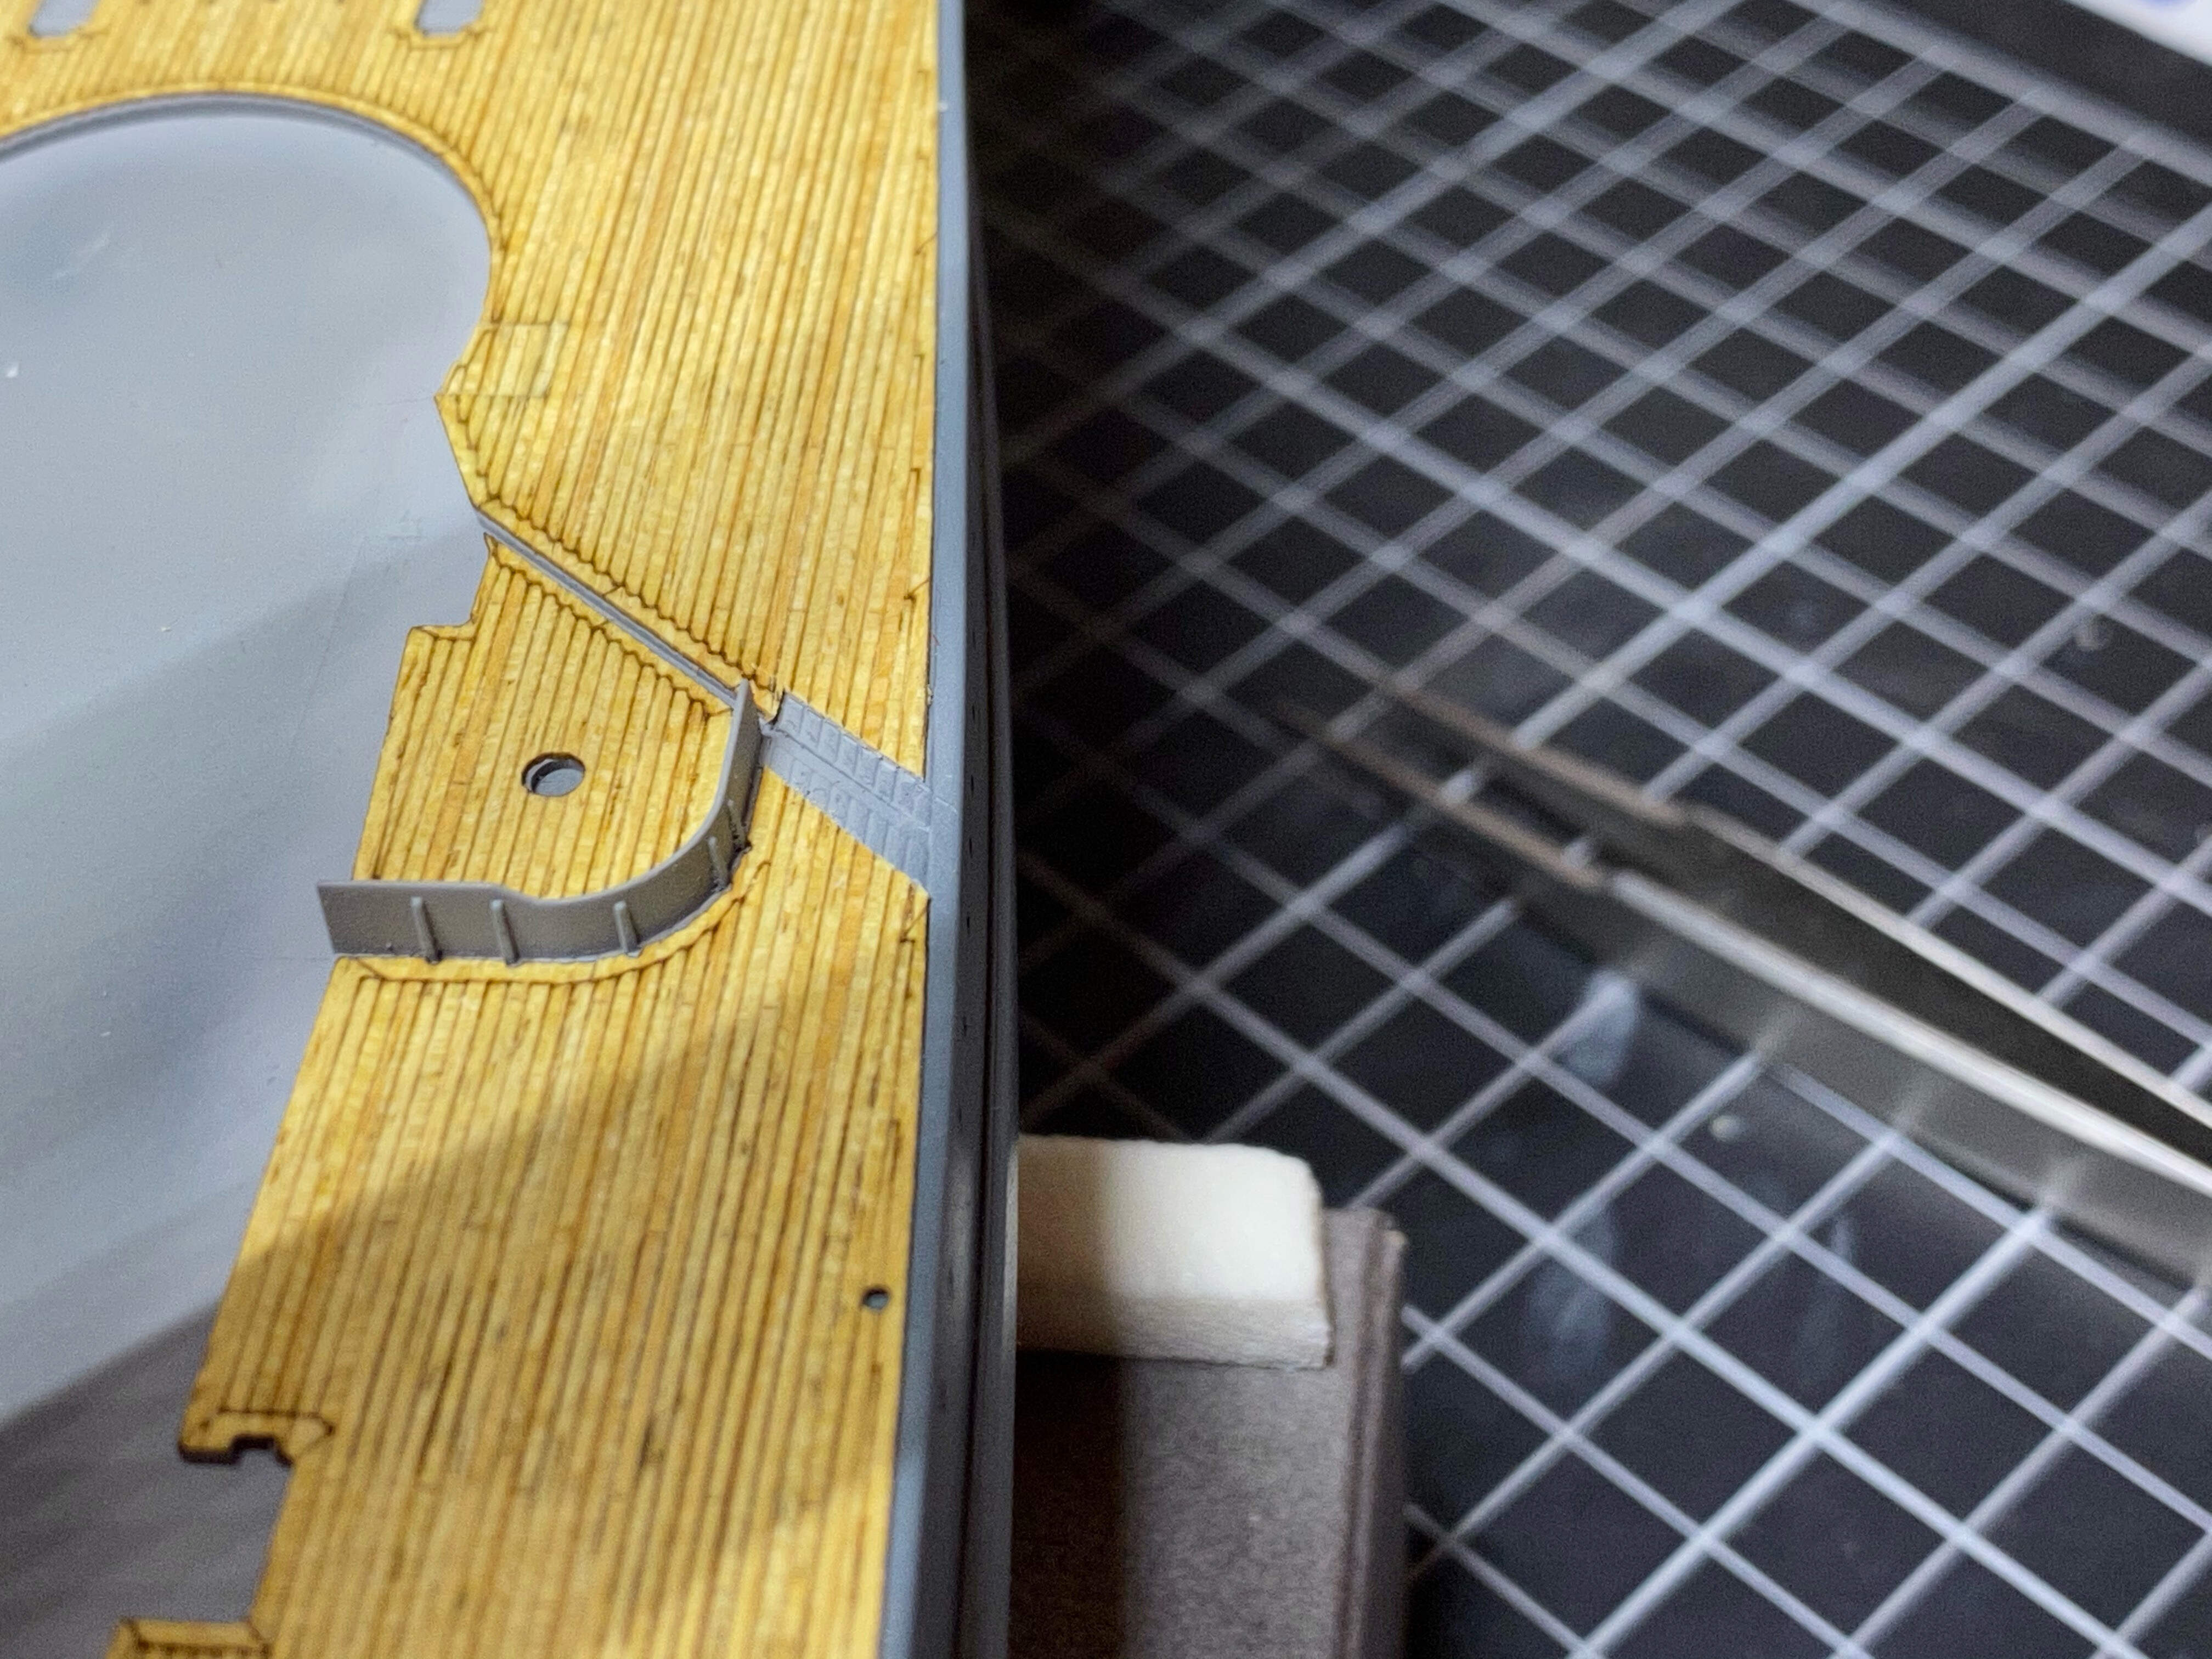
First part of the wooden deck glued down. I think these pictures show the difference between the finished deck and the one that has the protection foil still to it, it sits significantly higher and looks really a lot thicker. But I think you’d agree the glued down part looks fine.

Small parts after painting. The breakwaters in the lighter grey of the superstructure, the bollards and anchors in the darker hull grey.


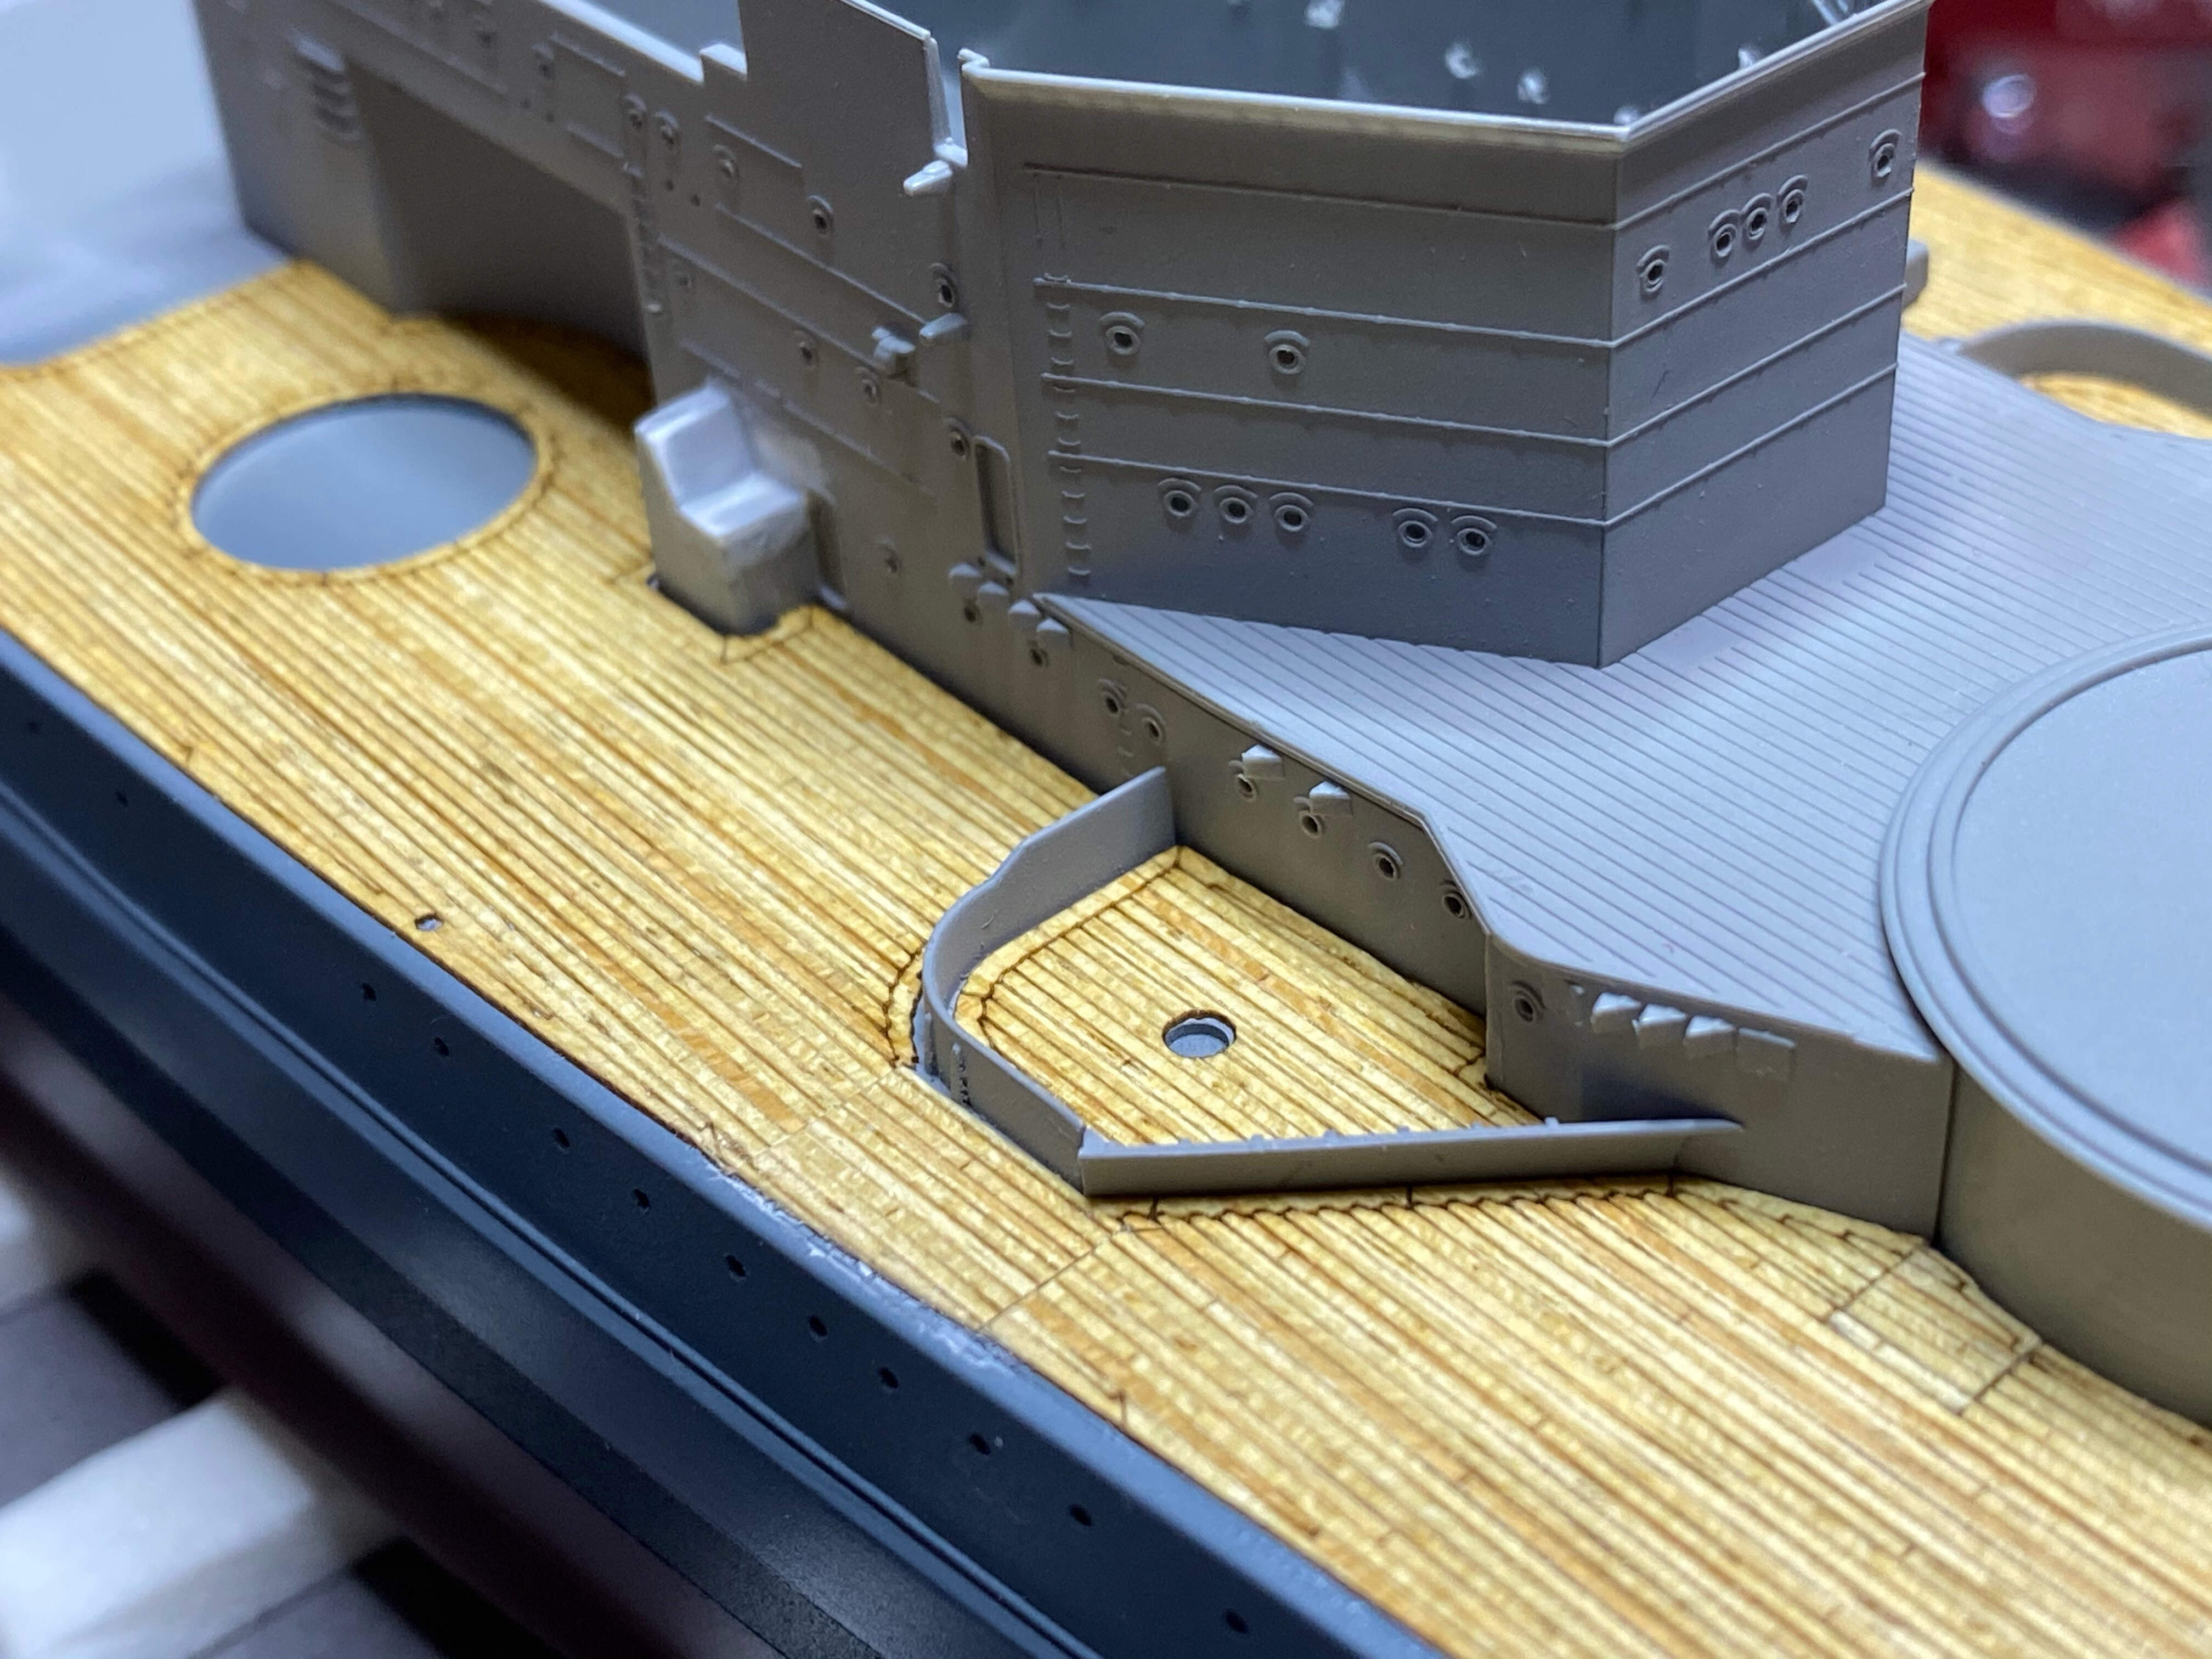
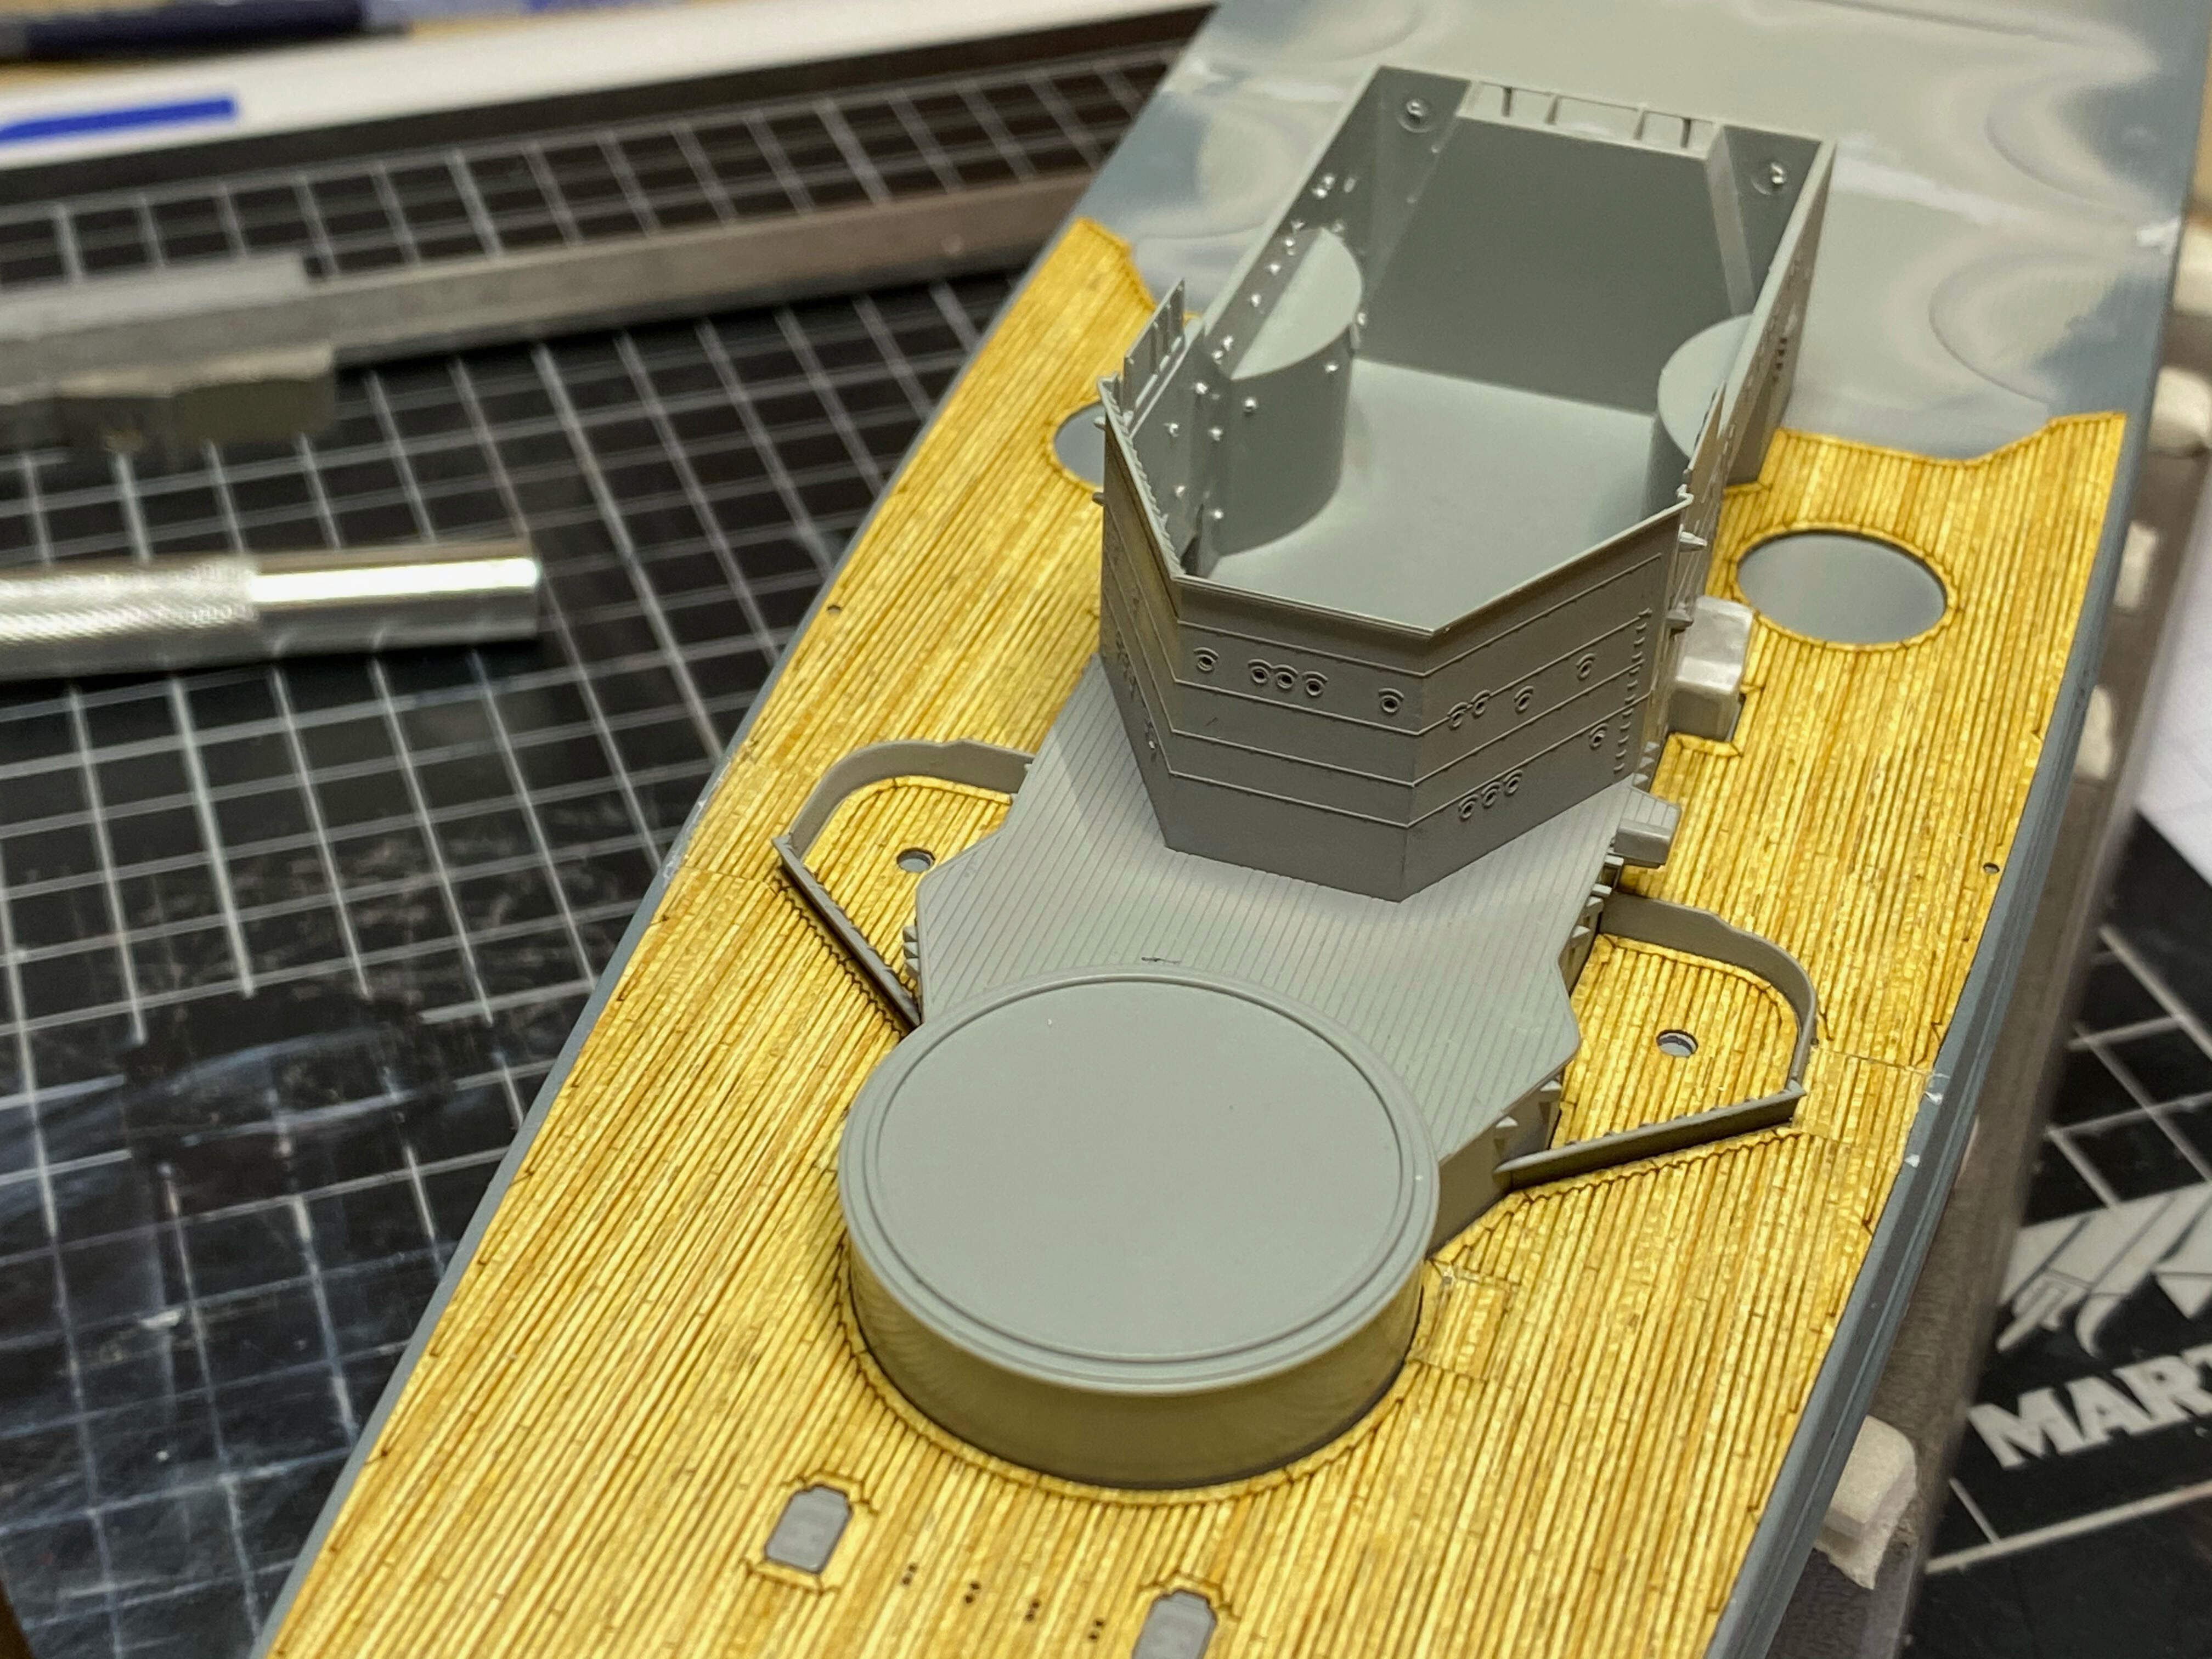
I cut away the parts of the deck that are supposed to surround the vents sitting at the sides of the BRUNO turret barbette, those vents are only on Scharnhorst. I will fill the gaps and insert ‘neutral’ wooden deck parts, those specially designed ‘surroundings’ of the wooden deck would look odd by themselves.


Small stuff installed. You’ll notice that the clamp on starboard side is missing. So did I, when I saw the photo 
 I know I glued it in place, and there’s even some small residue from the glue…but the clamp is lost. I searched the whole shipyard, because naturally this is one part where the exact number (4) that is needed is supplied. Several parts have ‘spares’, this one not.

So I installed one of the two remaining - you can see the starboard one is not painted yet -


and started a thorough search of my box with all the old spurs from other builds. This one came up - as a separate pair in the after section of the ship I should get away with it…

Those clamps are actually from HMS Belfast…I hope Gneisenau will accept them… 
Next will be the anchors. You have probably noted the sole anchors glued down - plan is to connect the anchor shafts with their chains first and then fit the shafts into the anchors, I did some dry fitting with the shafts and that was really smooth.
All right, that’s it for now! Thank you all for looking in, following and commenting, that’s really appreciated!
Cheers
Jan
12 Likes
I’m going to come back to this later today as I just found it. WOW!!!
1 Like
Awesome Jan! Your ship builds are a inspiration to me!
1 Like
Thank you very much!!
So I managed to get the anchors done when some planned activity for the afternoon was cancelled due to the snowstorm we are having in Germany these days…


I should add short “V”-shaped chains to ‘secure’ the anchors. There is some length of chain left, will see about that.
Cheers for now
Jan
9 Likes
After going through this build thread it appears that you’ve got lots of love for this ship. I’ll be watching along to watch the rest of this masterpiece come together Jan. Excellent work.
1 Like
Starting to pick up some momentum now Jan 
Looking good, with good recovery on the missing parts from the spares bin.
PS. There is a an upside to snow storms! 
1 Like
Thank you very much, that’s very kind!! And welcome on board, great to have you along for the ride! I’ll do my very best, however, this will be a long journey - despite many ‘big parts’ being in place (only dry fit), this is really just the beginning. There’s so much detail, tiny and micro parts to do…but that’s what is ship modeling for me. And yes, I do have lots of love for the Gneisenau, a particularly fine ship imho
Thanks again!
Thanks mate!
Well, calving of glaciers has some momentum to it, but doesn’t accelerate the glacier as such necessarily (For all new here on the new MSW, glacier races is a running gag from the old site between Russ an me…)
And yep, upside to snowstorms, exactly what I was thinking yesterday…
1 Like
Brilliant work on the wood deck, Jan, and those anchor chains are looking really sharp!
1 Like
Thank you very much Tim and thanks all for looking in!
A brief update, this week was pretty heavy on real life (and 1:1 frigate) issues, as will be next. So not much bench time…
I was thinking about building safety chains for the anchors from the original chain, but that’s way too thick, something smaller is needed. Those here are from HMS Repulse, Eduard set - they should do:


Painted them black, so I can install them soon.
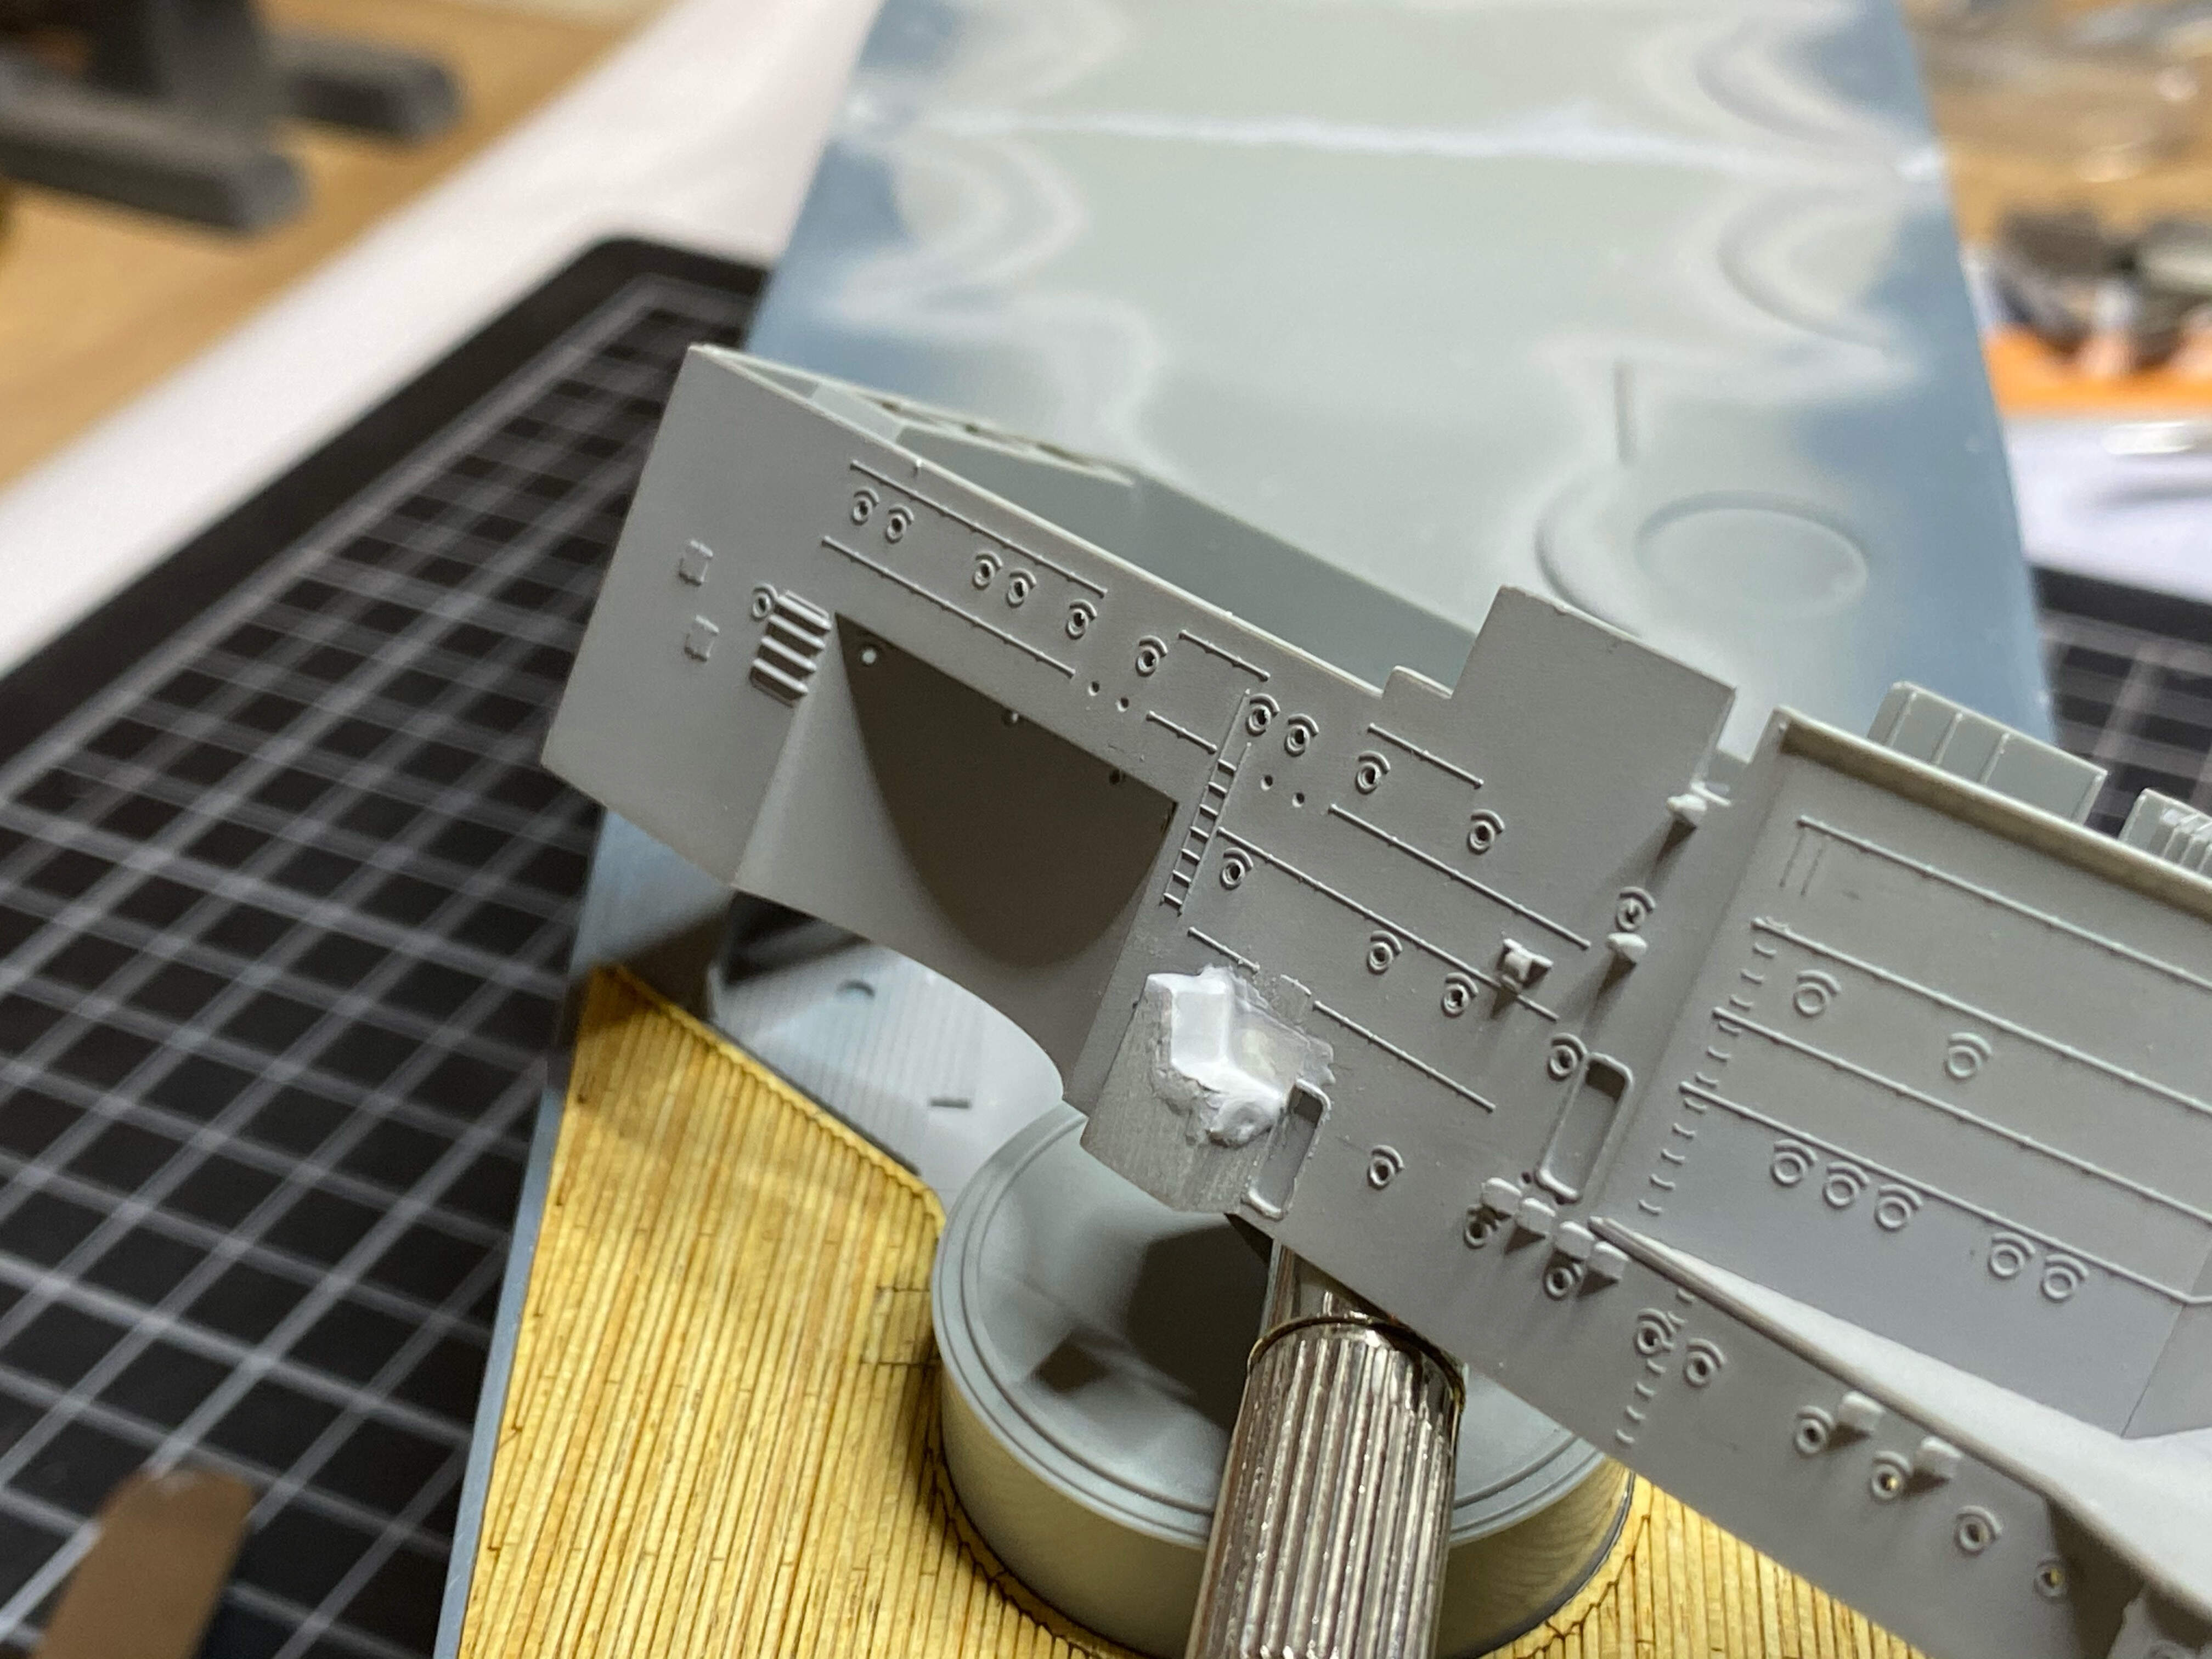
Then I worked at those wooden deck ares where Scharnhorst has big vents next to BRUNO barbette. Certainly not invisible, but should be all right once everything else is installed around.


And I started some surgery - those ‘bulges’ on the forward superstructure, that look different on Gneisenau. First some plastic has to go. Good thing: the Dragon styrene is very nice to work with, cut and sand.


(and drilling out portholes in between with a 0.6 mm drill is somehow mediative…)


So much for now, thanks for looking in and cheers
Jan
6 Likes
Great work patching the deck Jan and I like your approach to representing the safety chains
1 Like
Thanks Russ!
As expected, this week was a close to no bench time week, I just managed an hour or so today… Maybe a little more during the coming week, let’s see.
But here’s todays progress.
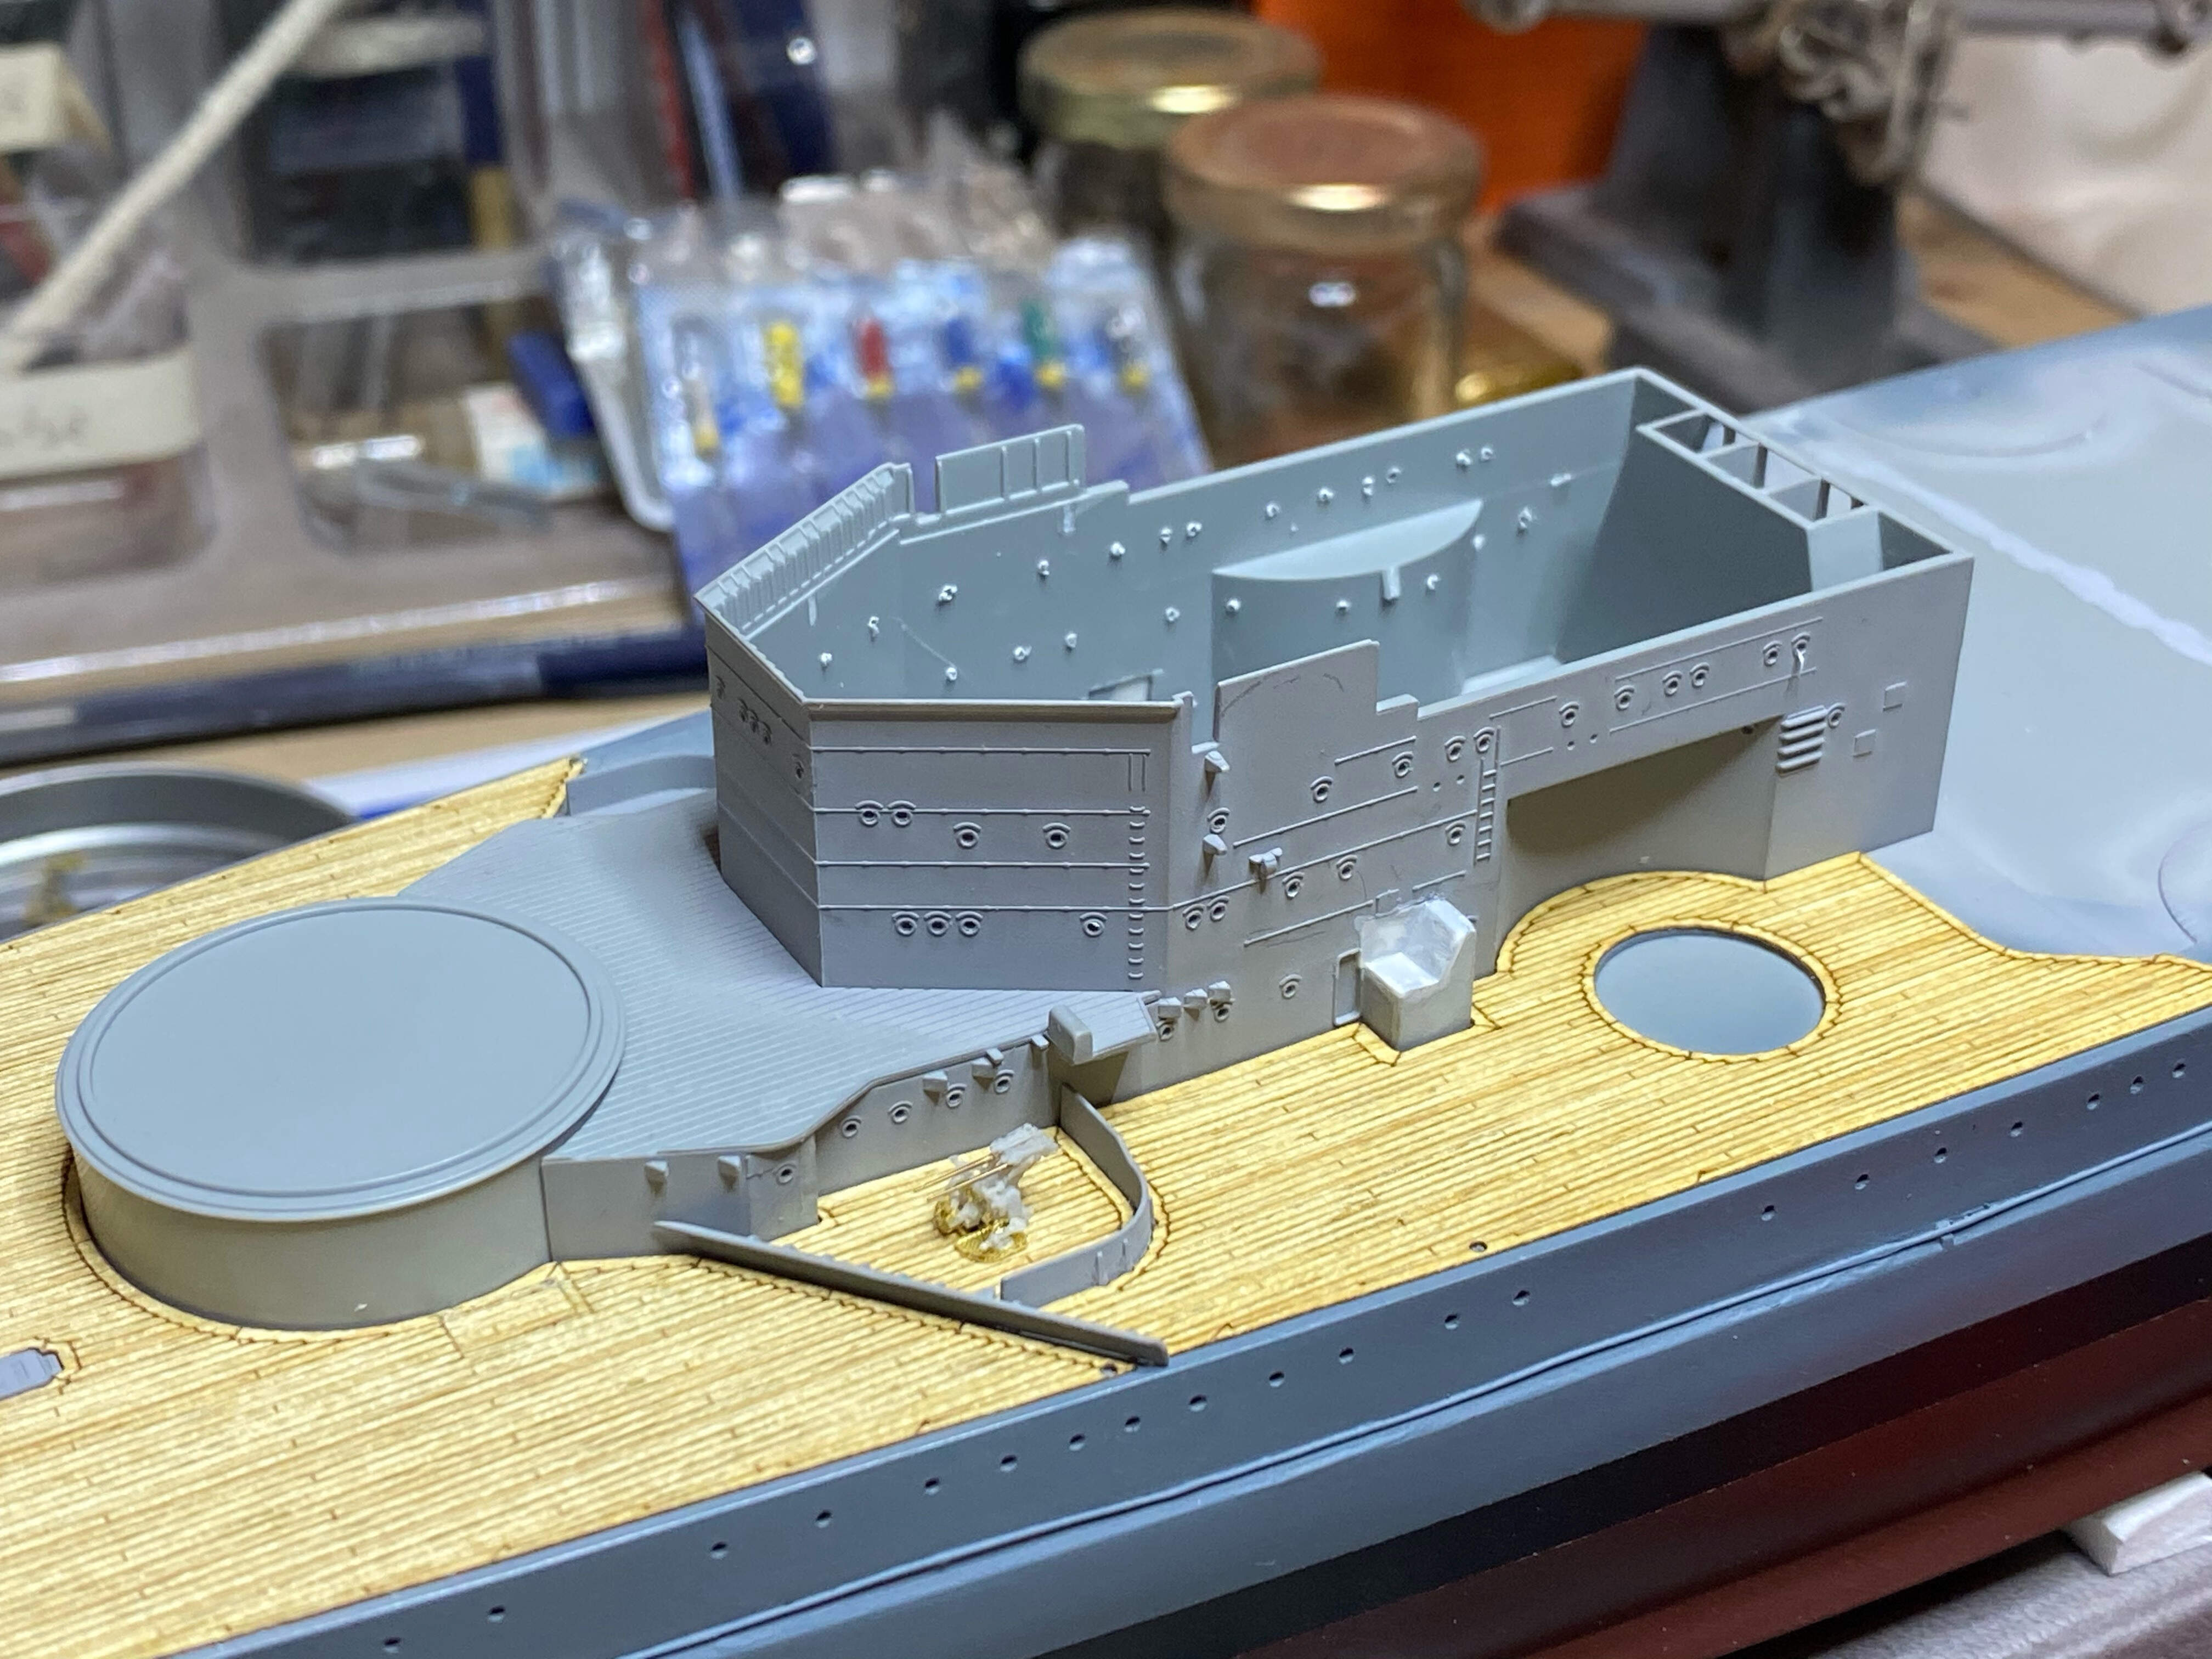
Safety chains to the anchors


And further destruction

and rebuild of the port side structure from Scharnhorst to Gneisenau.


A little more sanding, maybe a little more surfacer. I should have several life rings left from older builds.
Next the same for starboard side…
Cheers and thanks for stopping by and all comments
Jan
9 Likes
Looking awesome Jan!
1 Like
Jan,
Those little safety chains added to the main anchor cables look perfect!
As for little rebuilds like that tiny superstructure detail, they are barely noticeable on the final build and are real time eaters aren’t they?! Still, I applaud your commitment to keeping things accurate. Model on, my friend!

2 Likes
Thank you very much, Ezra and Tim, for your kind comments, and all for looking in and following!
Tim, you’re absolutely correct there, but who would know better than you that you have to do it if you spot something and you feel that you can do it. And even if they are barely noticeable individually, all together they make up the impression of a build.
Ok, small mid-week update.
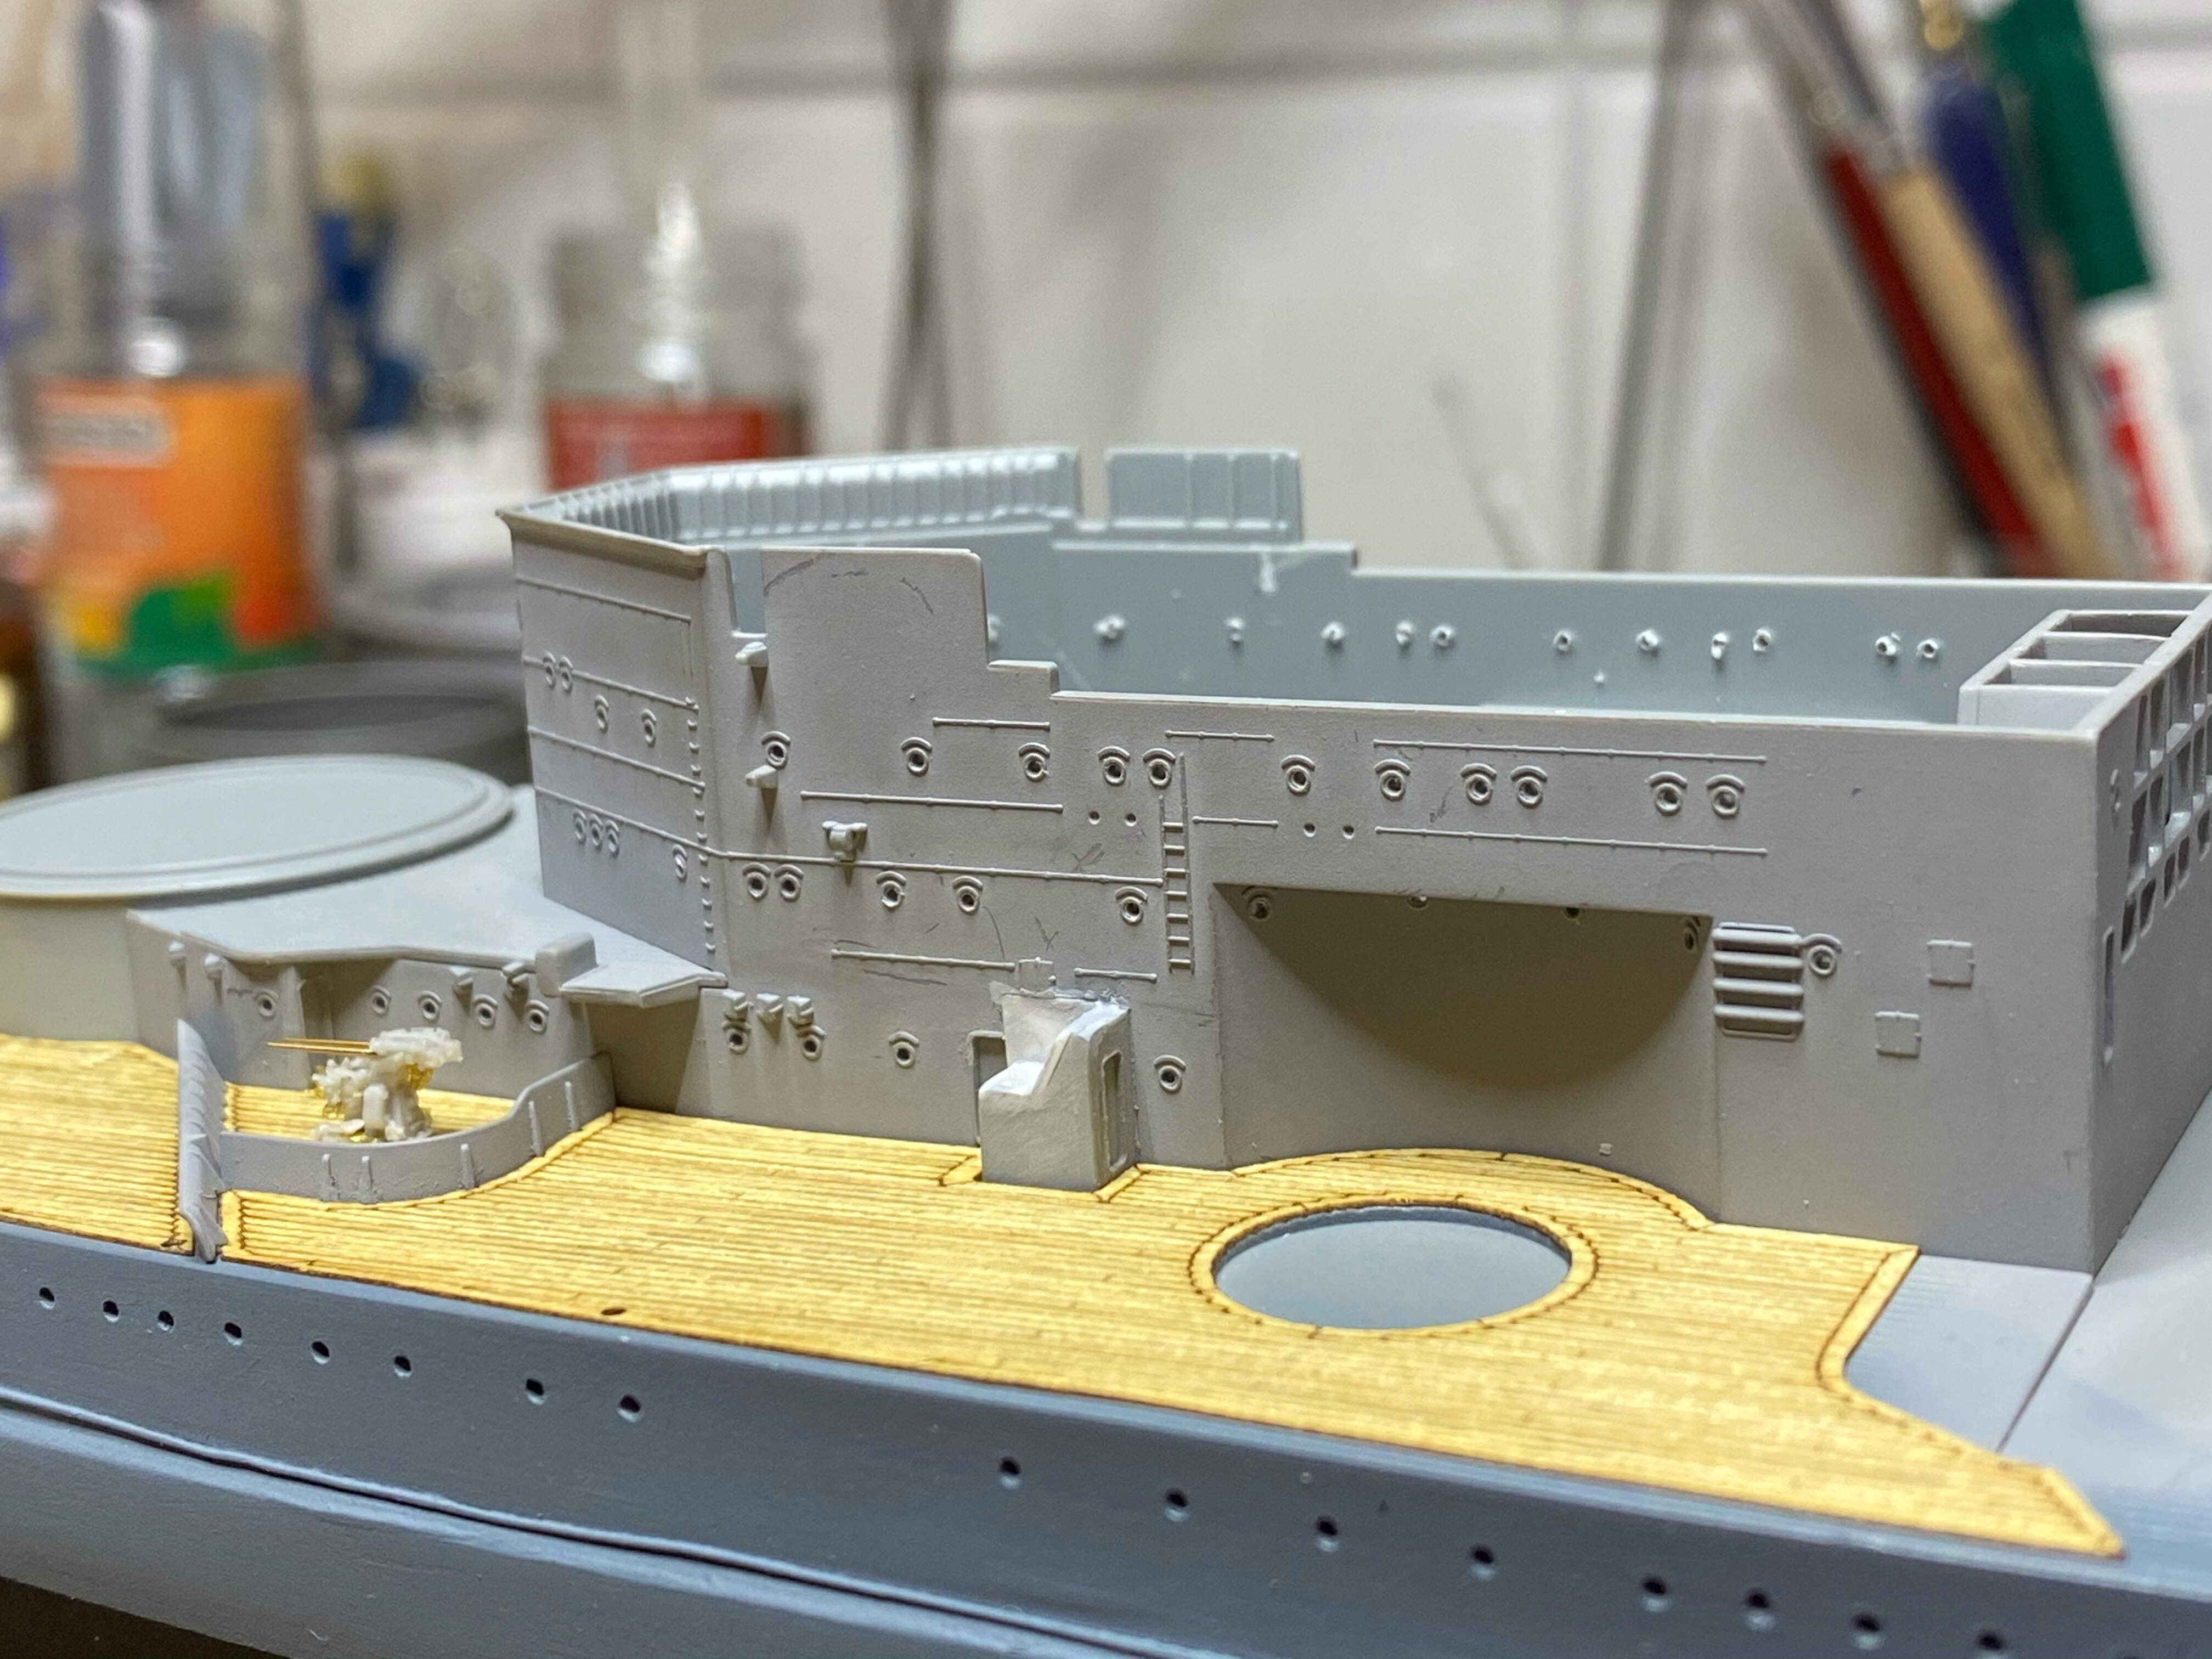
Starbord side, already with some surfacer:
Just to get a quick impression… (Veteran 3,7 cm; and some additional parts of the wooden deck; port holes drilled open)
Cutting away the breakwater
and the wooden deck
and here comes some of the wooden deck in handy, that I cut off the bow…fixed the gap.

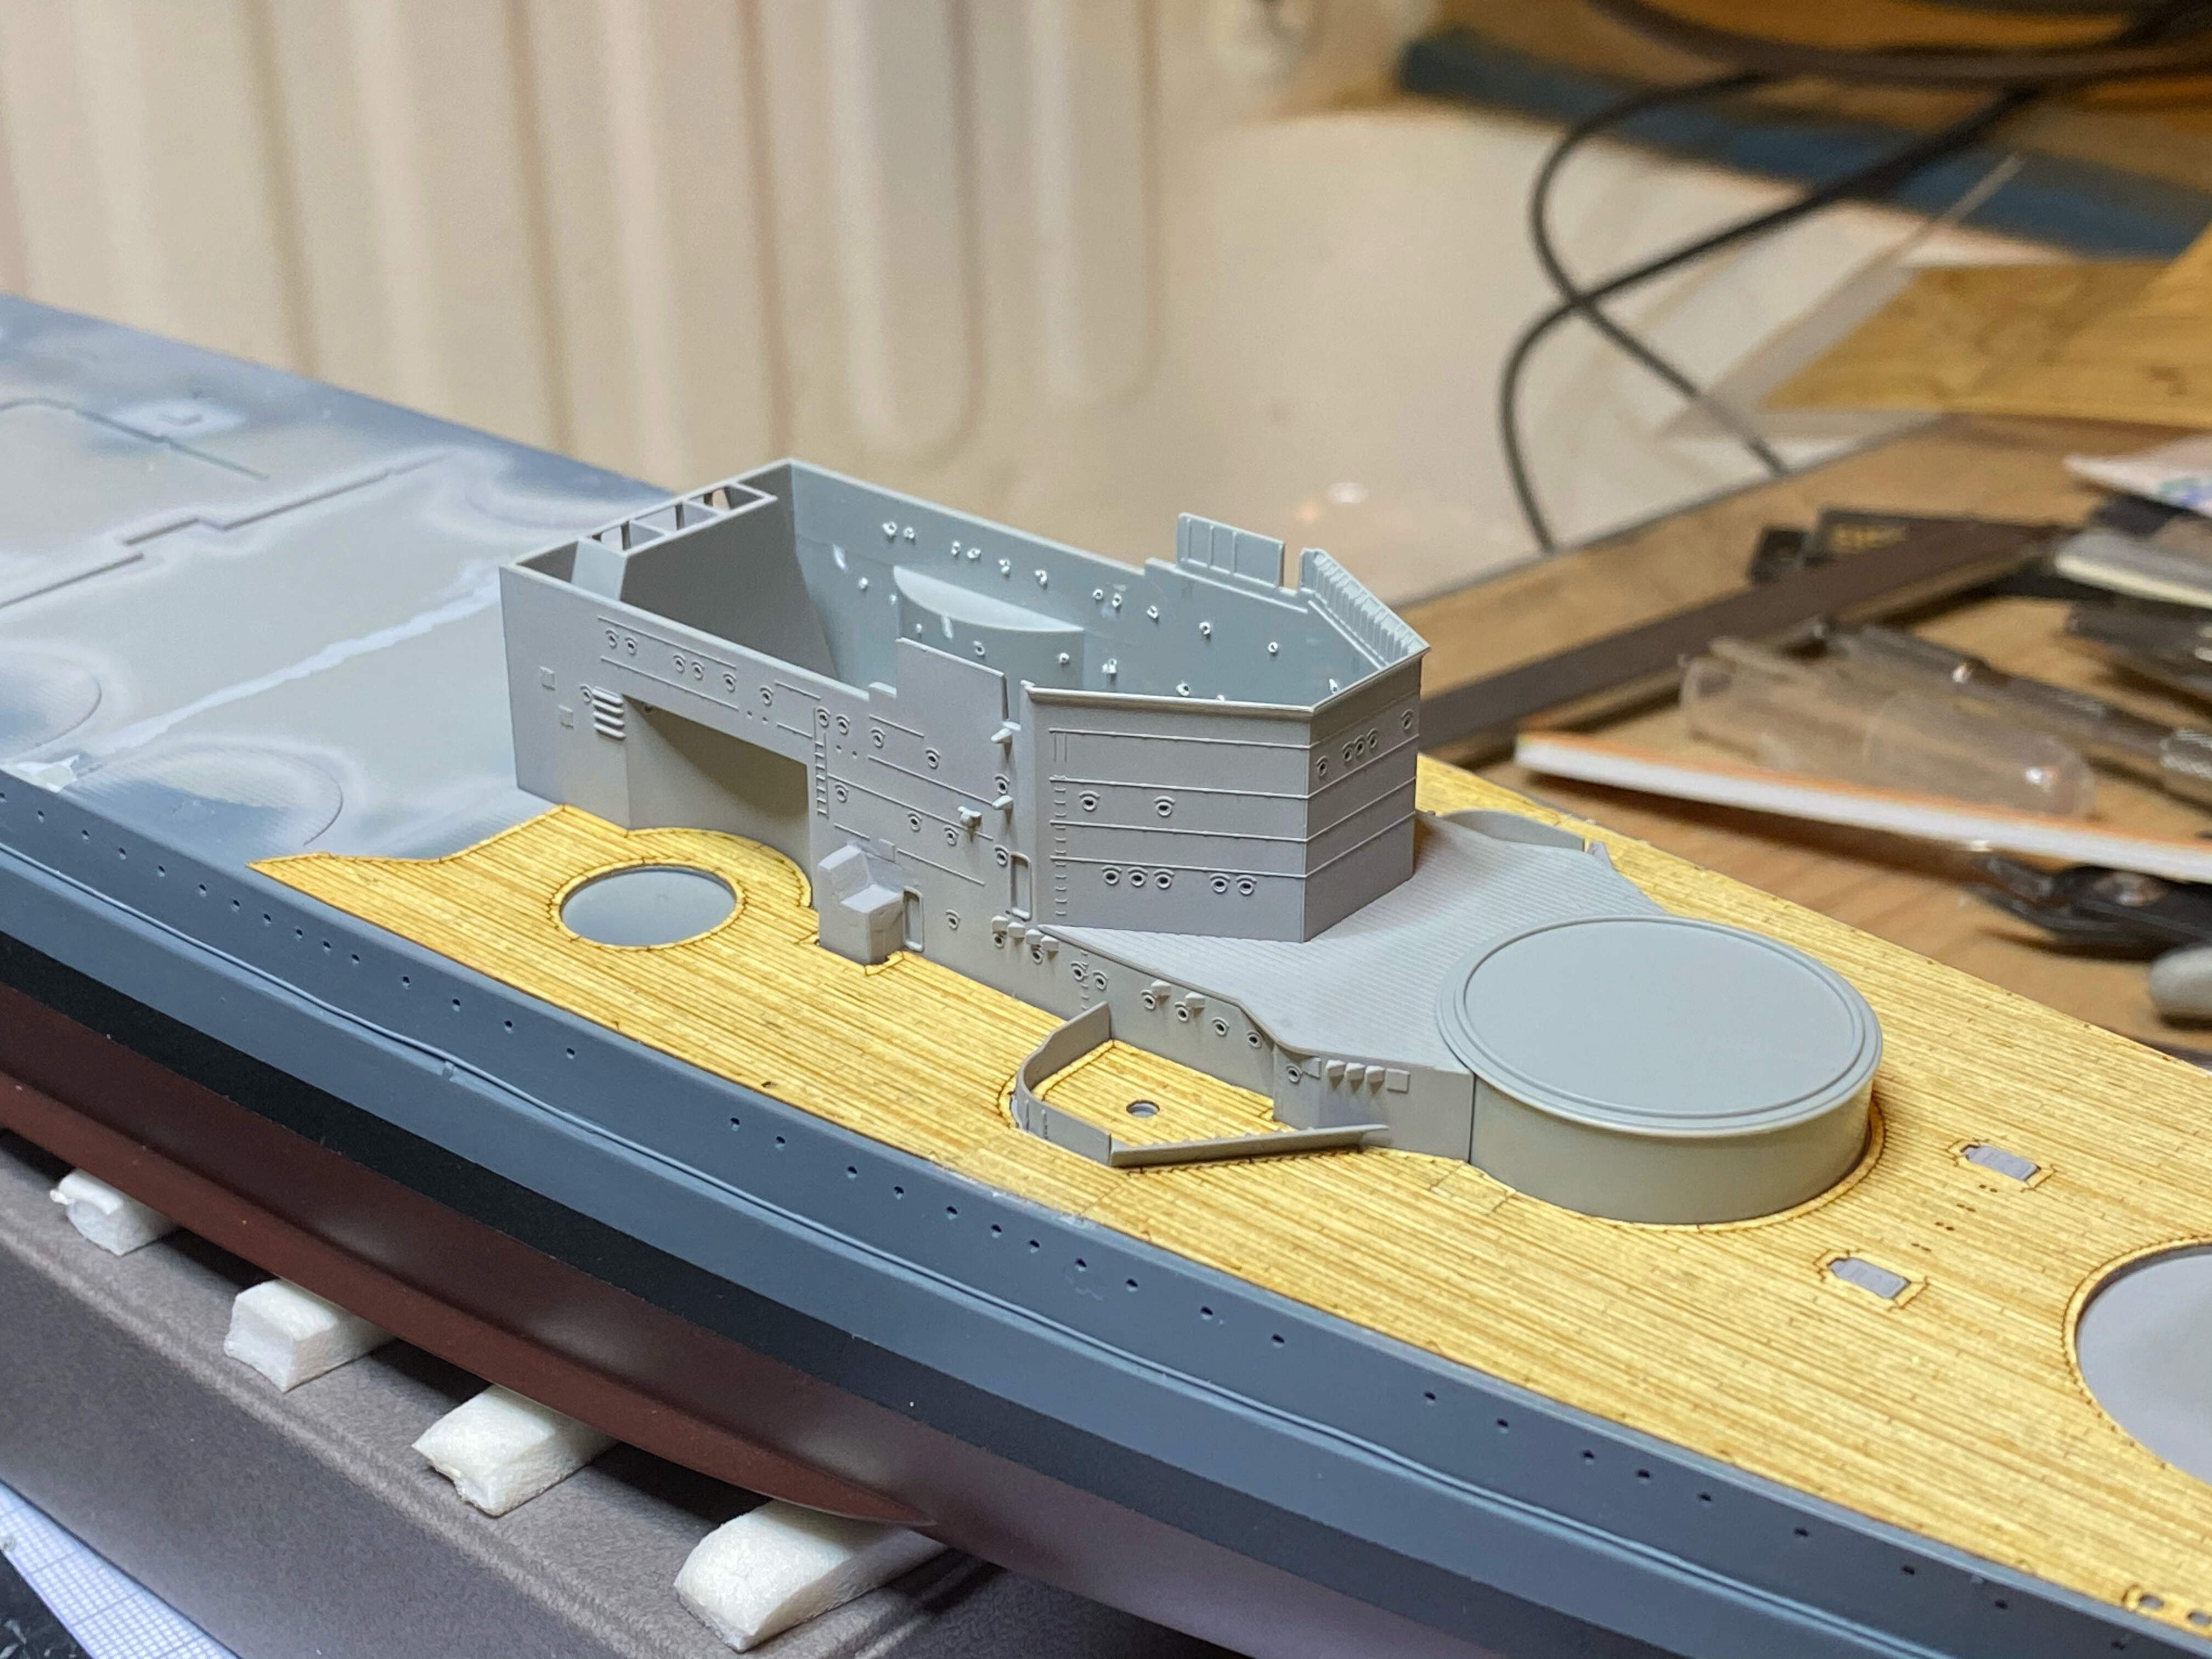
Both sides done and test fitting the superstructure.


Of course touch ups to the tips of the break waters needed, but that’s for later on. And more touch ups needed, more surfacer and sanding - a preliminary coat of light grey helps to spot what has to be done to the little rebuild extensions - well, there’s some work to do!!


So much for now, I hope I get something more done over the weekend!
Thank you all for looking in,
Cheers
Jan
9 Likes
Exciting progress! Those twin 37s sure look good in situ. Thanks for sharing the step by step with us.
Marty
1 Like
Nice work fixing that gap in the wood decking around the altered breakwater!
1 Like
Looking really good Jan!
It’s all those little details that bring the model to life and you’re doing a cracking good job on her! 
1 Like