Jan,
Nice work on making those mods, she is shaping nicely.
Mark 
Jan,
Nice work on making those mods, she is shaping nicely.
Mark
Looks lovely with what you’ve got achieved so far Jan.
I think these wooden deck additions make so much more of an impact… Totally adds to the finished look. 
Dear all, thank you very much!!
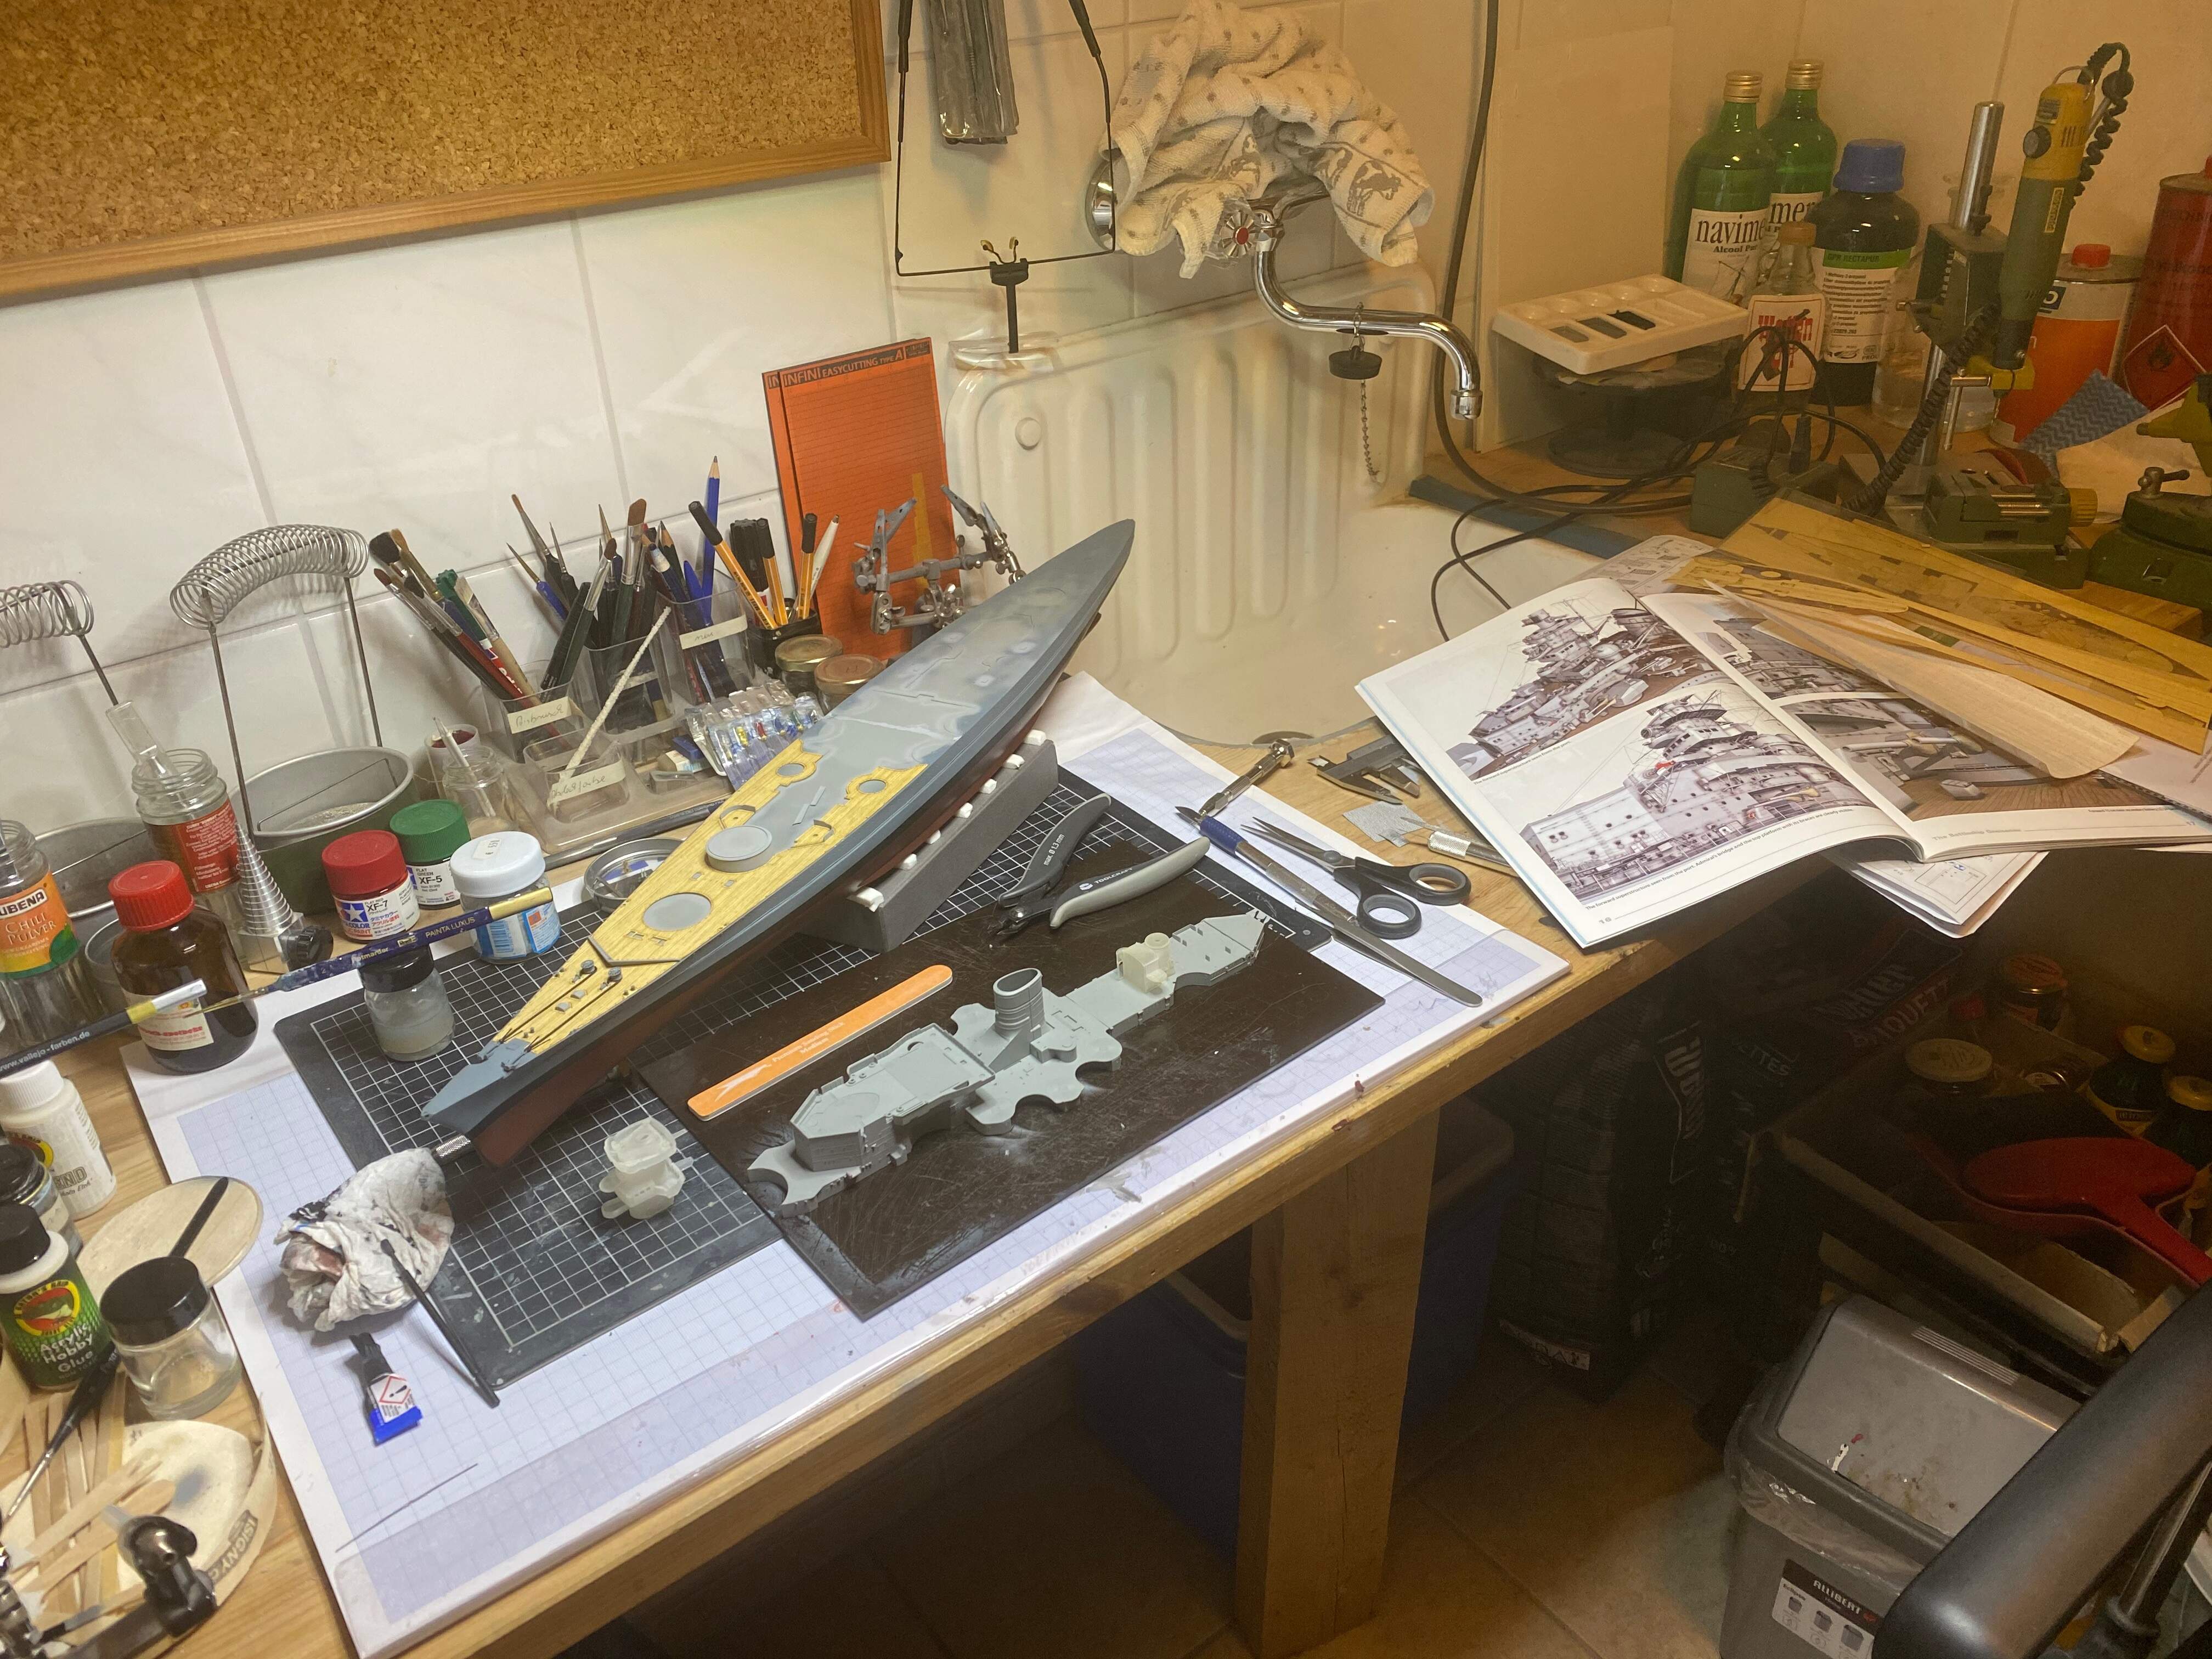
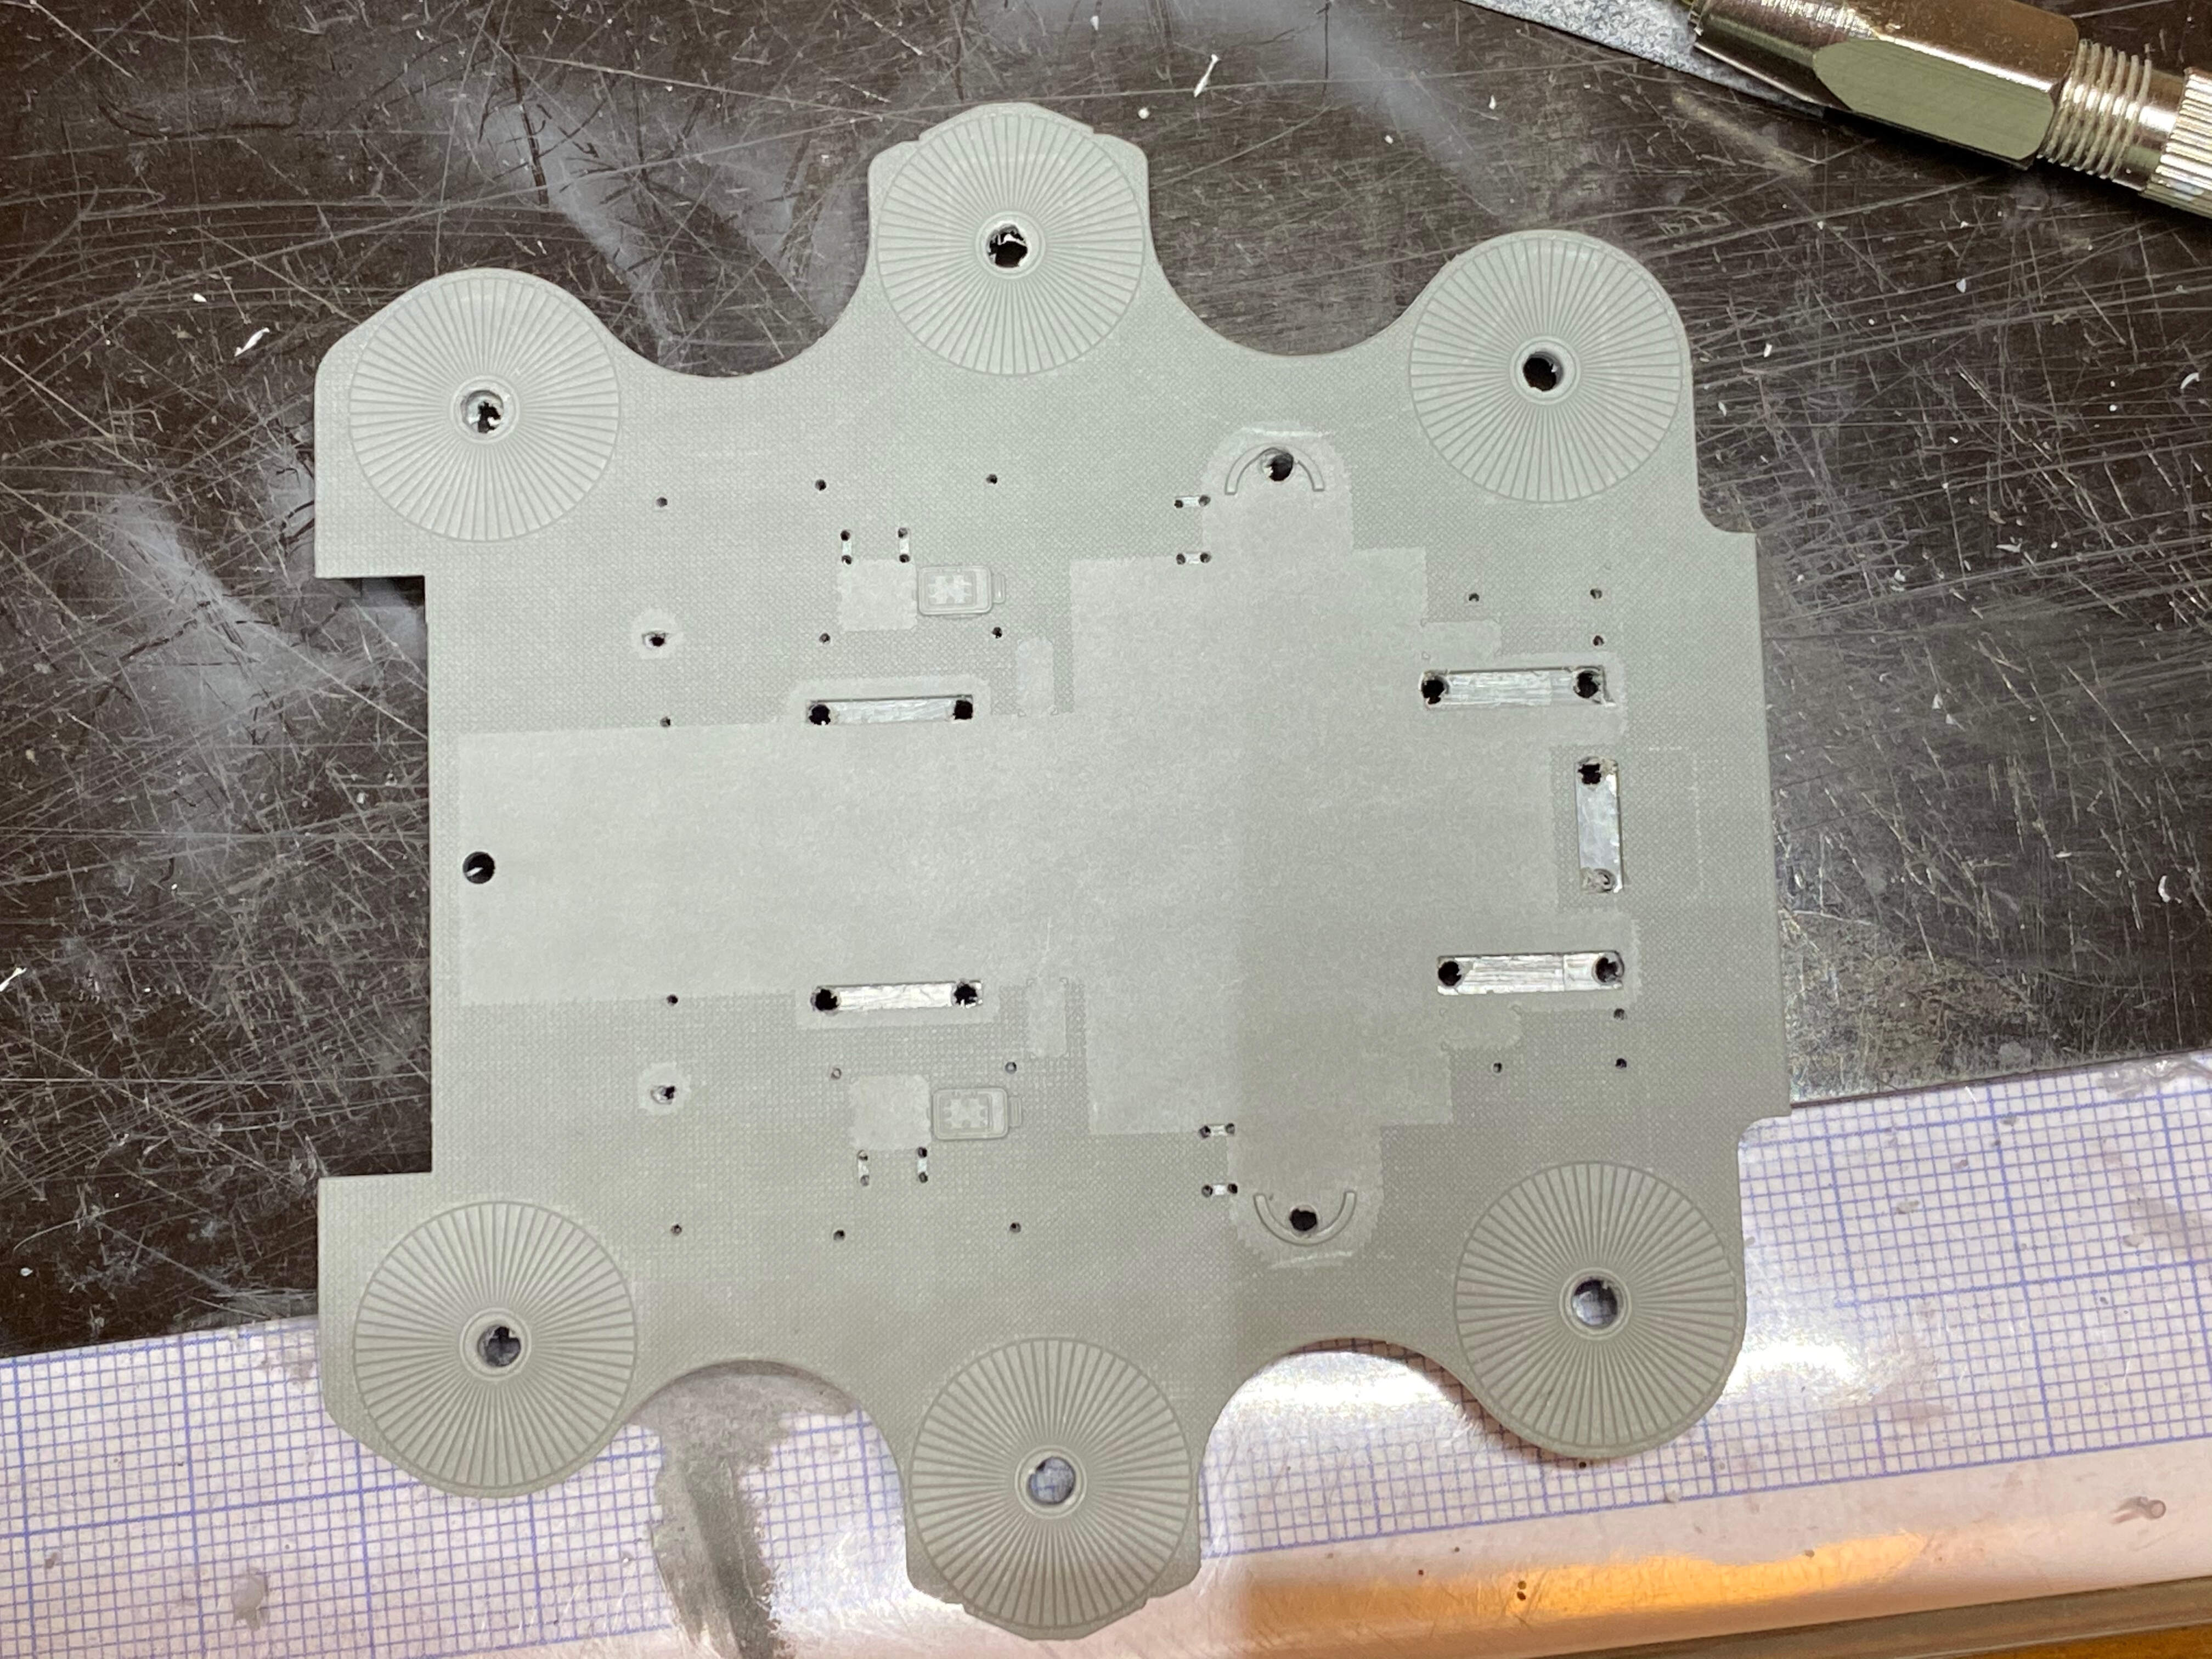
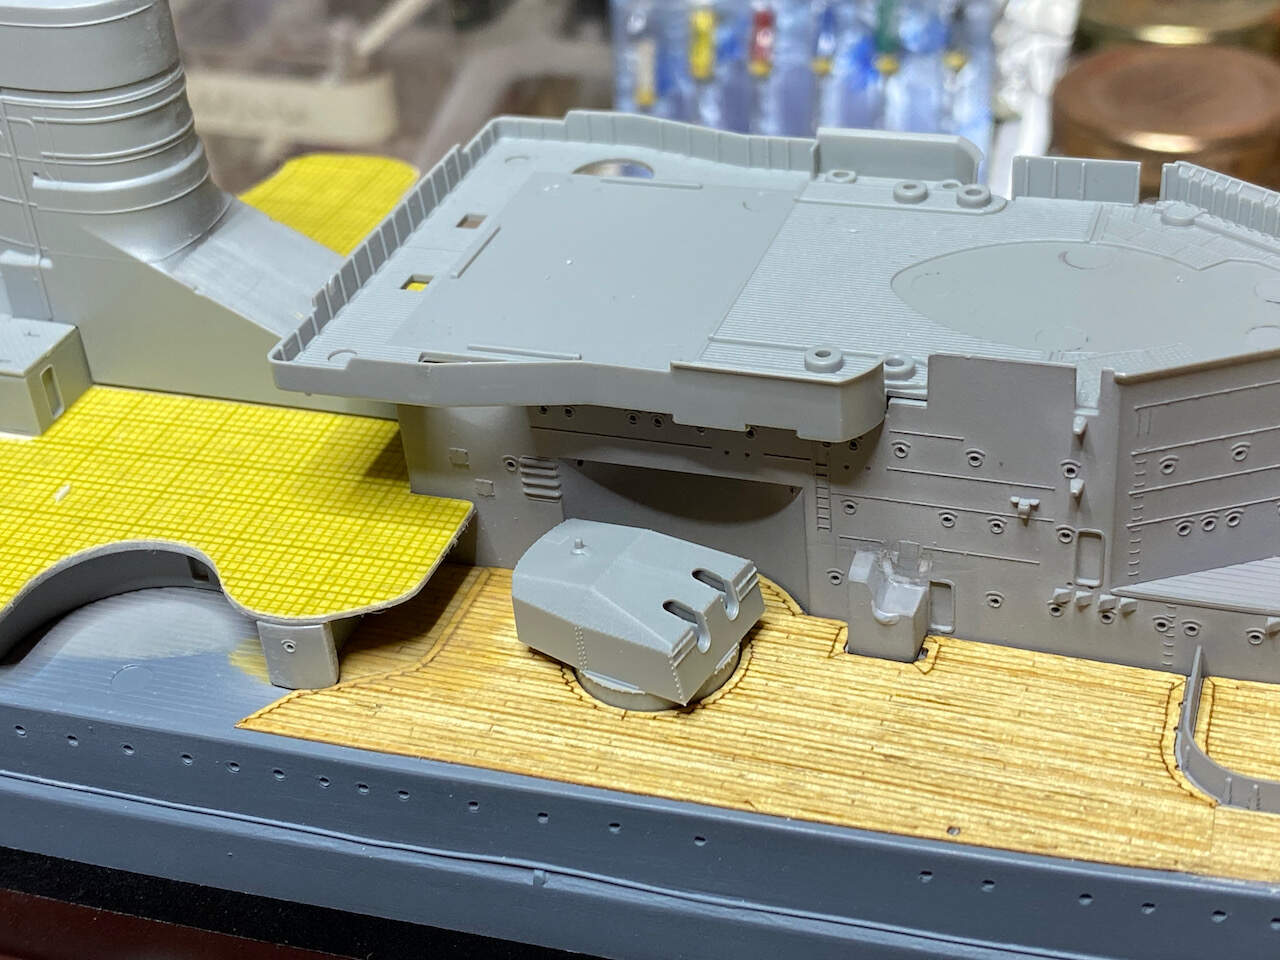
Well, just a few pictures, not really much progress to show - it’s more like contemplating as how to proceed in general, with the wooden deck around the 10,5 cm AA’s, more wooden decks on the superstructure, more possible changes to be made to parts of the superstructure and dry fitting with shape ways printed parts from Model Monkey, that will, of course, be replaced with the far superior resin printed parts, but they do a good job for trying and considering options…
Some more portholes drilled out on the superstructure and some touch ups to the rebuild parts of the forward superstructure. Better, but not entirely happy - and I need to find something to conceal wall parts that look a little ugly. Maybe a vertical ladder that probably wasn’t there but looks innocent enough and better than the bleak wall…?
Cheers for now
Jan
Beautiful work!
Jan,
Making nice progress.
Mark
great work
Gentlemen,
thank you very much for your kind words!
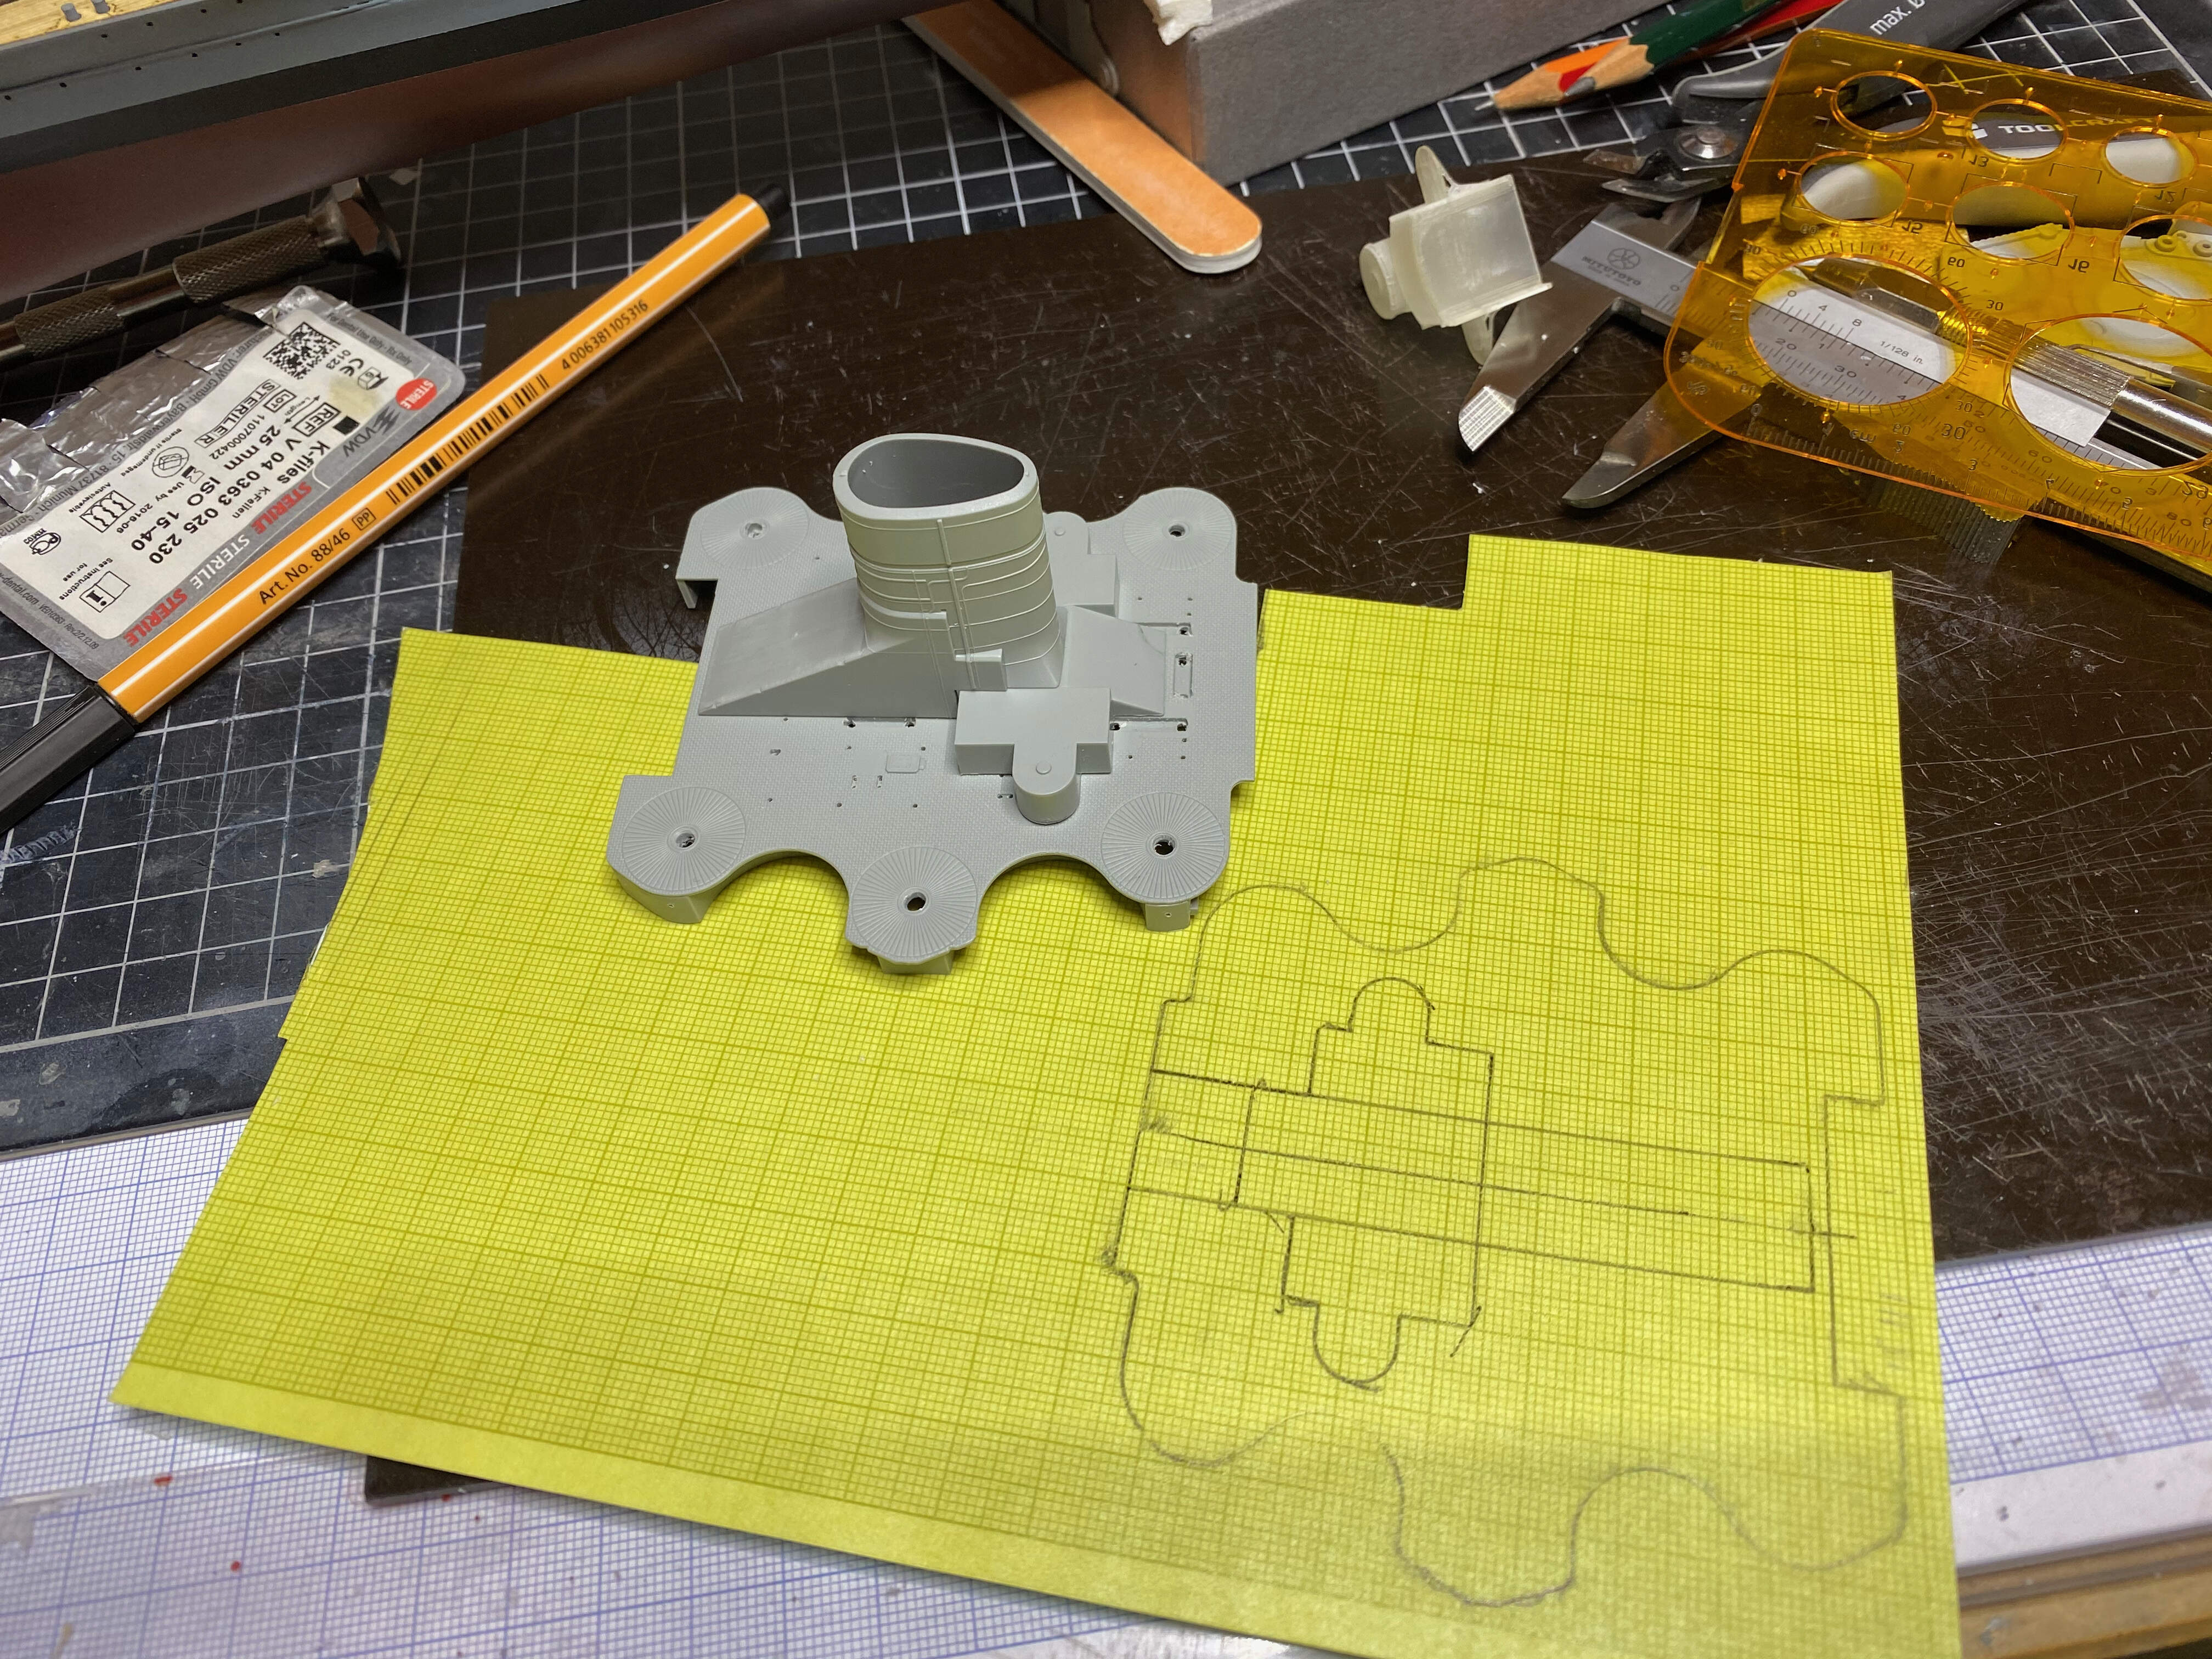
Another real-life heavy week, just about an hour today… But I made up my mind how to approach the wooden deck, I hope it will work.
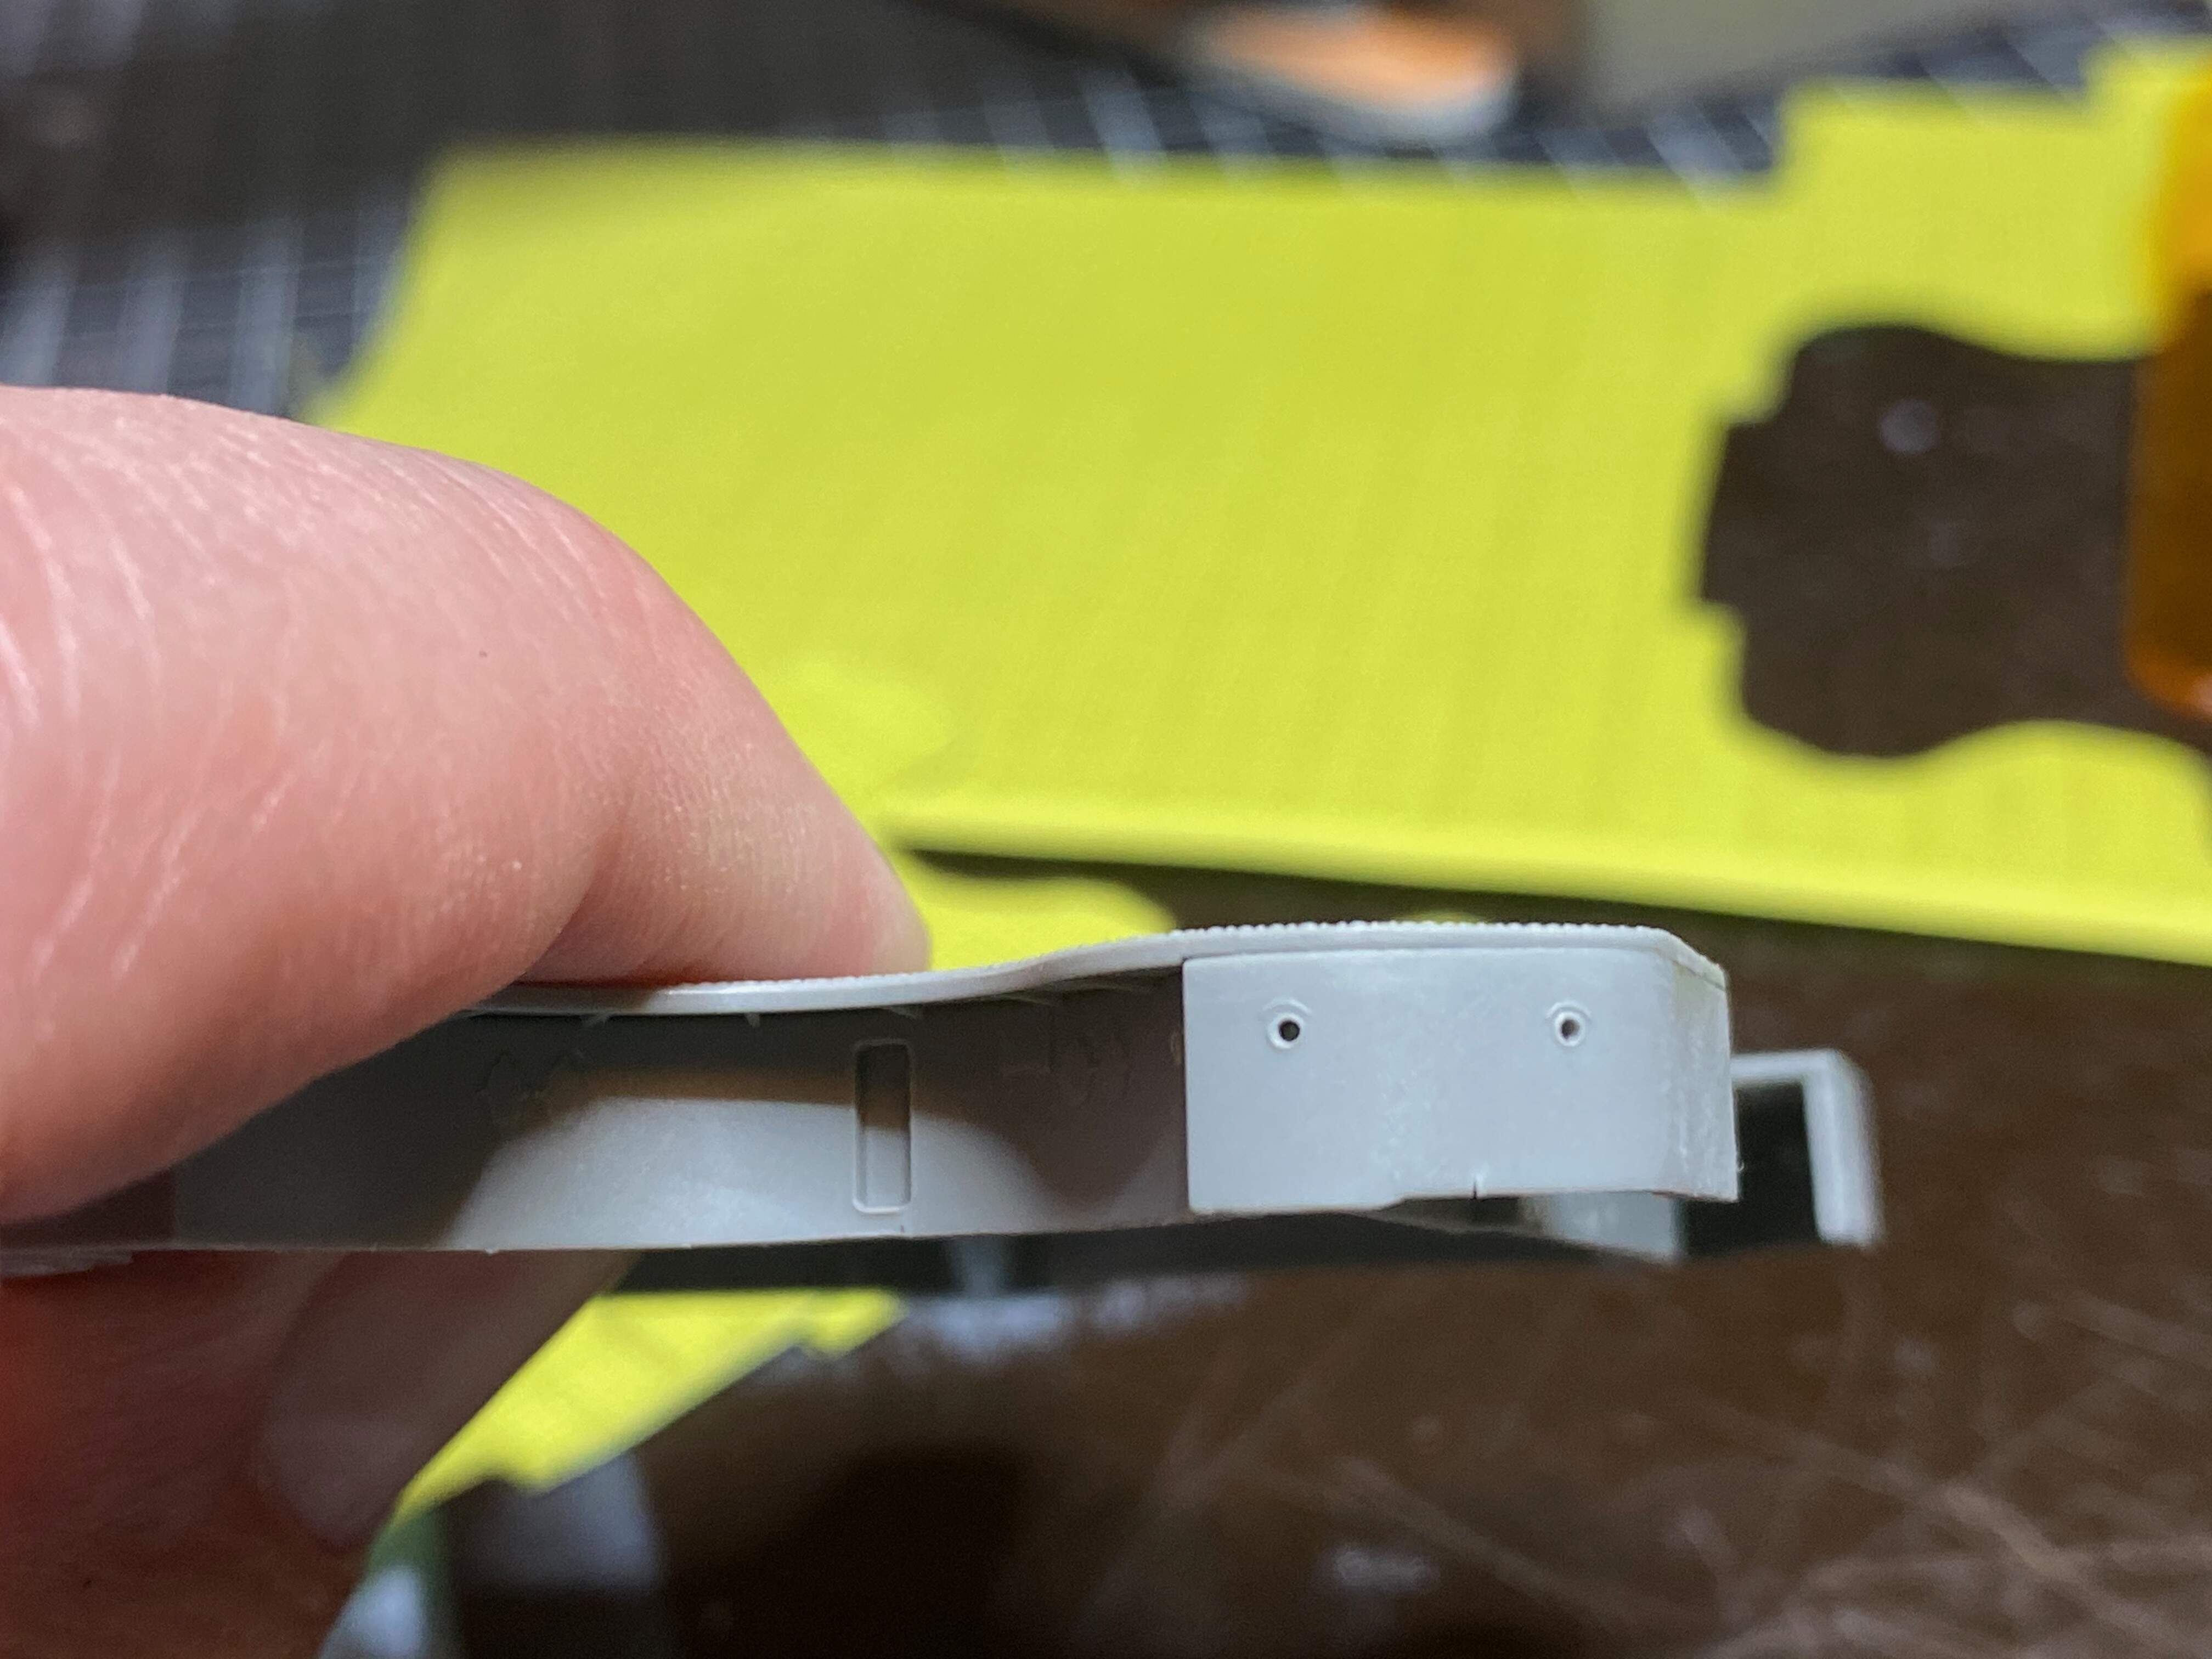
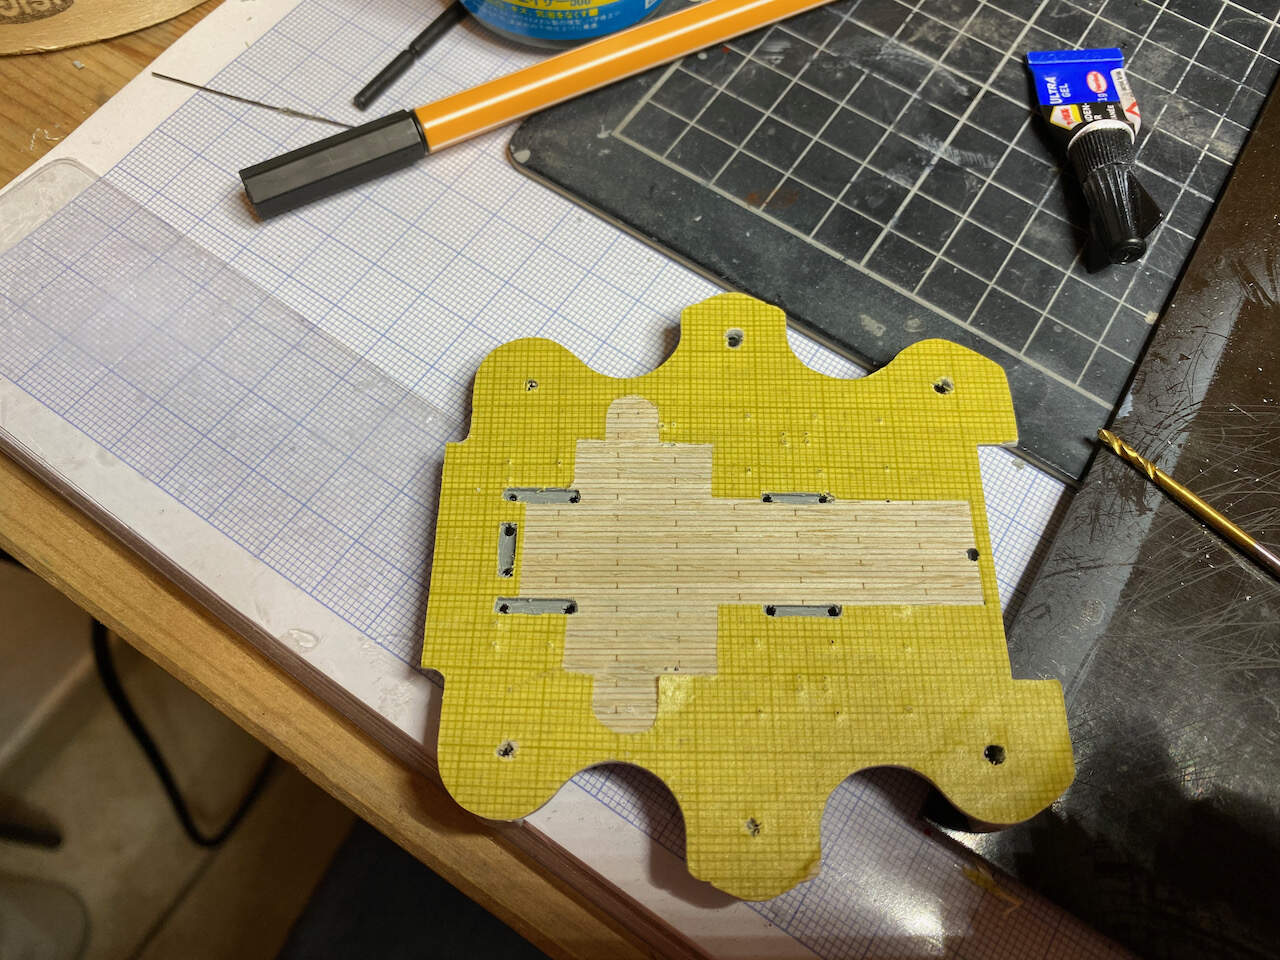
First I opened all holes where small stuff will go later on, so I can drill holes in the wooden deck, once glued in place, from underneath.
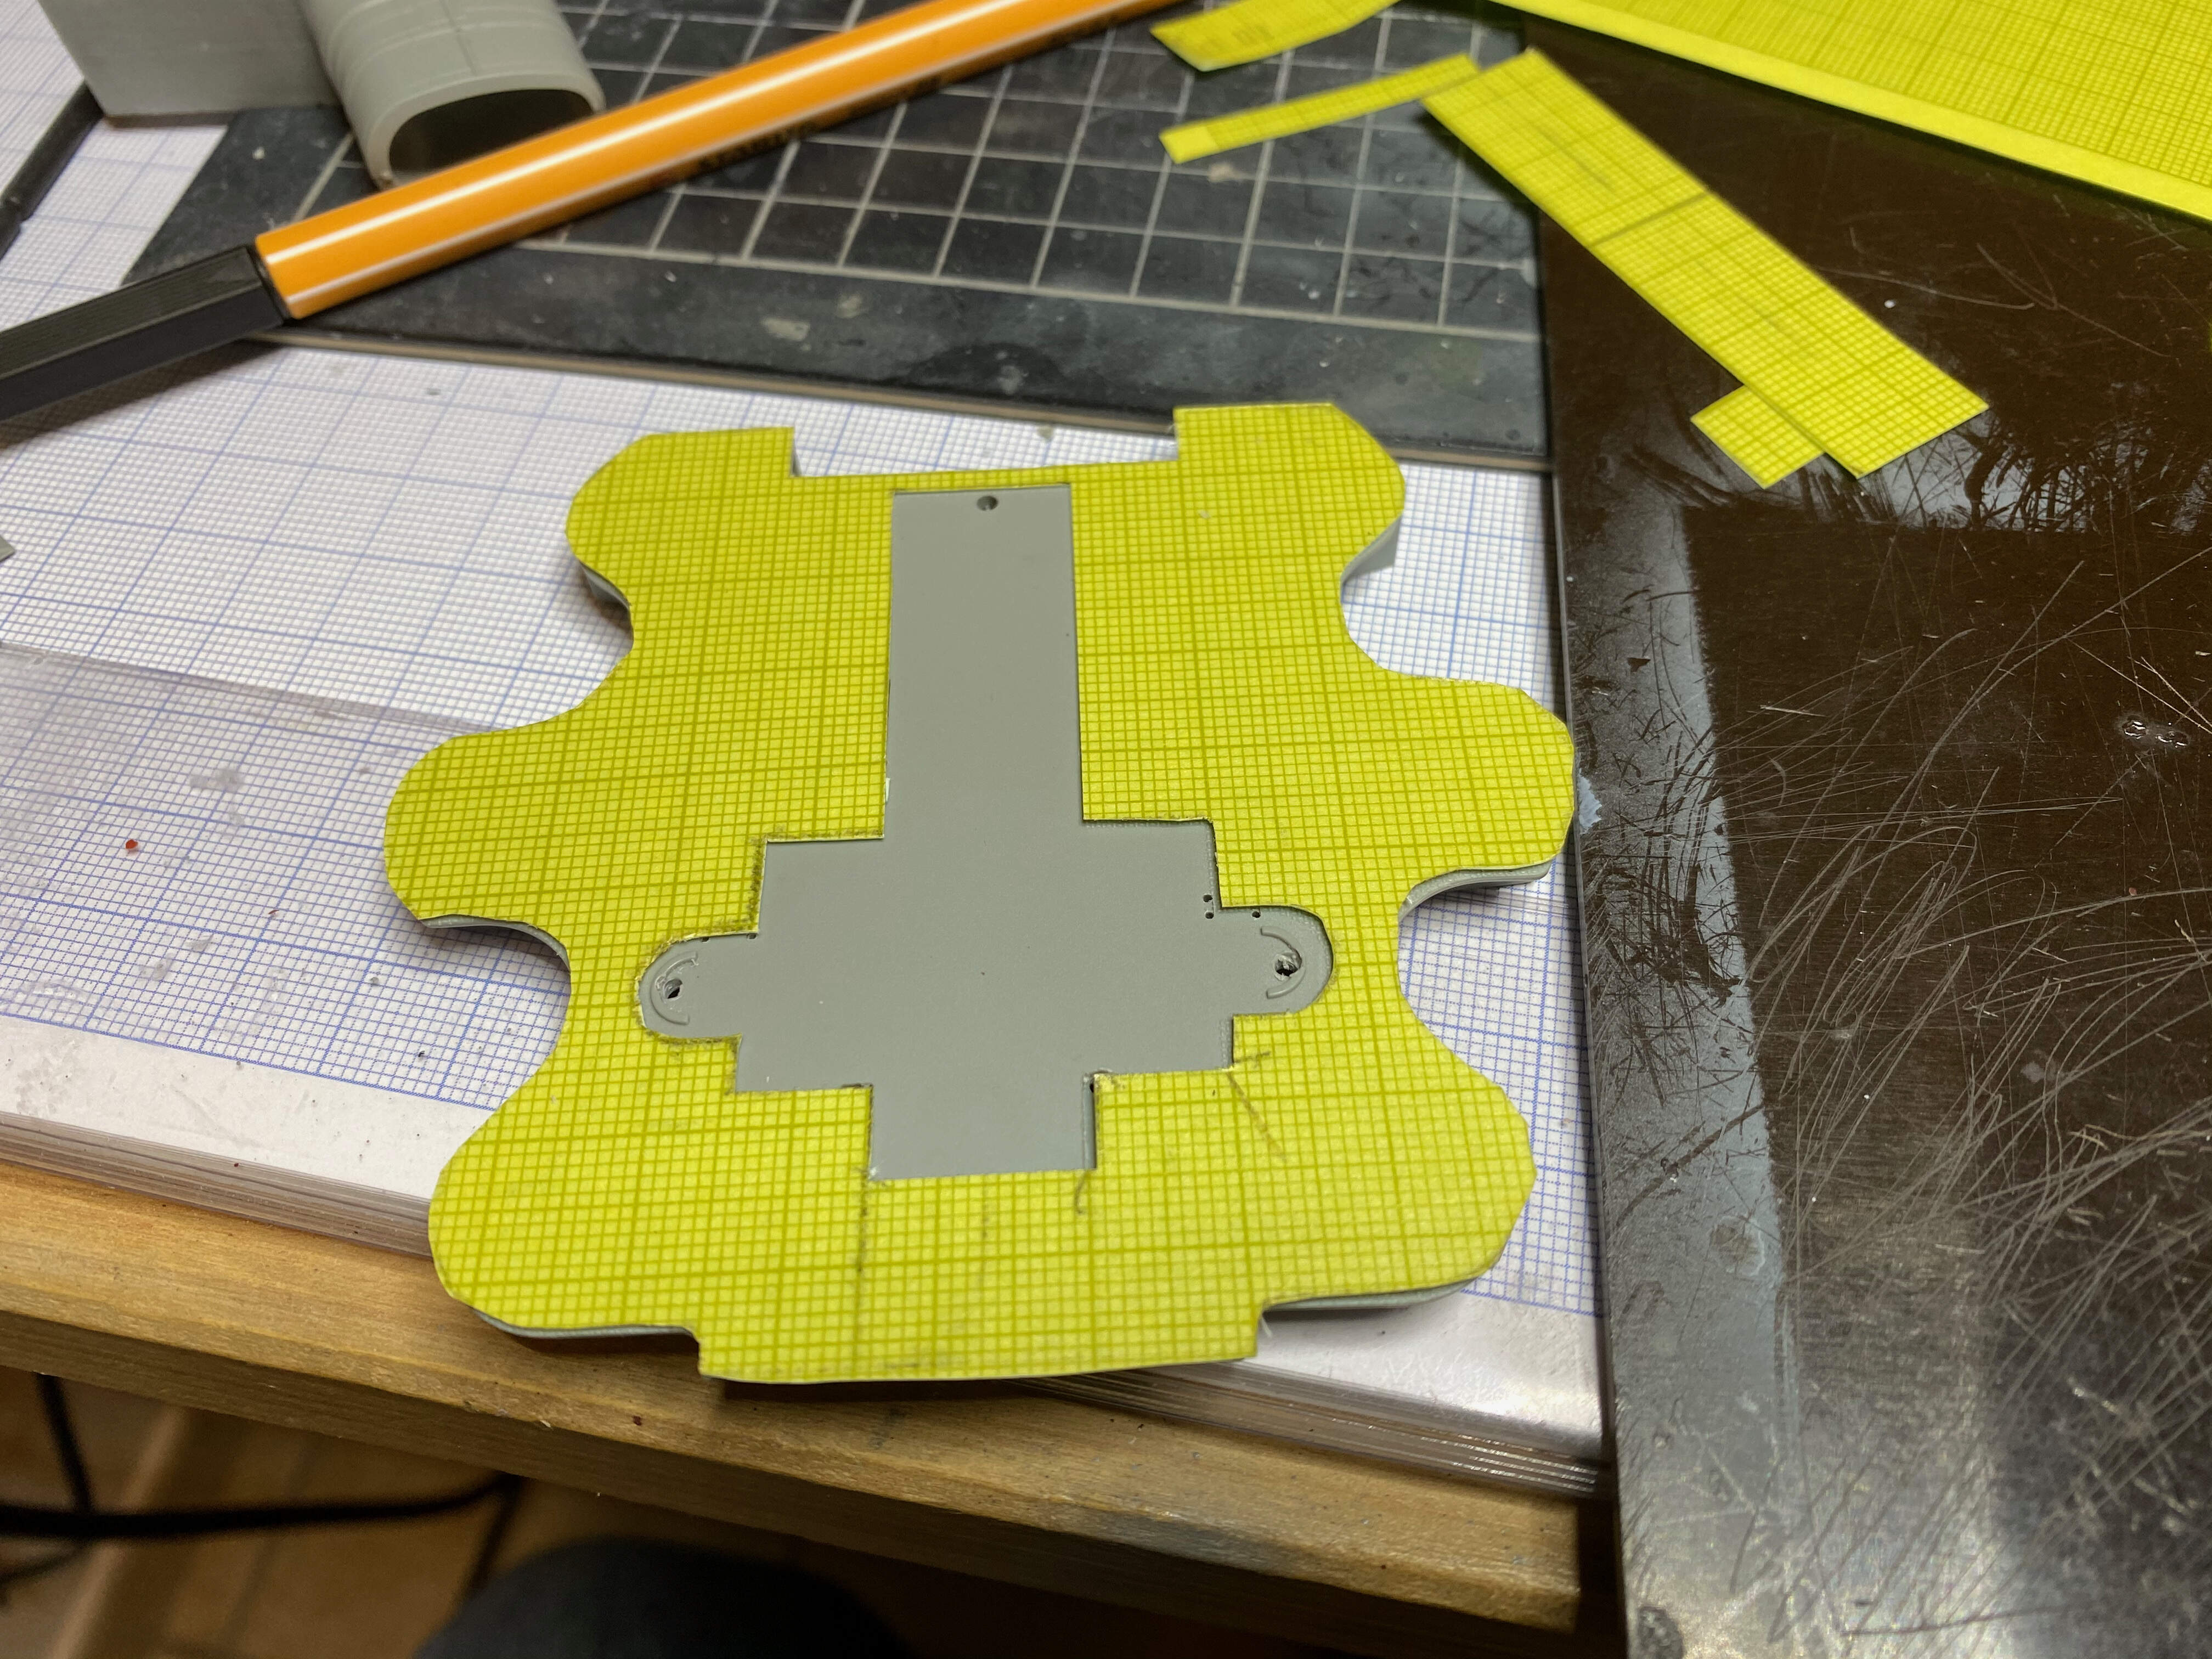
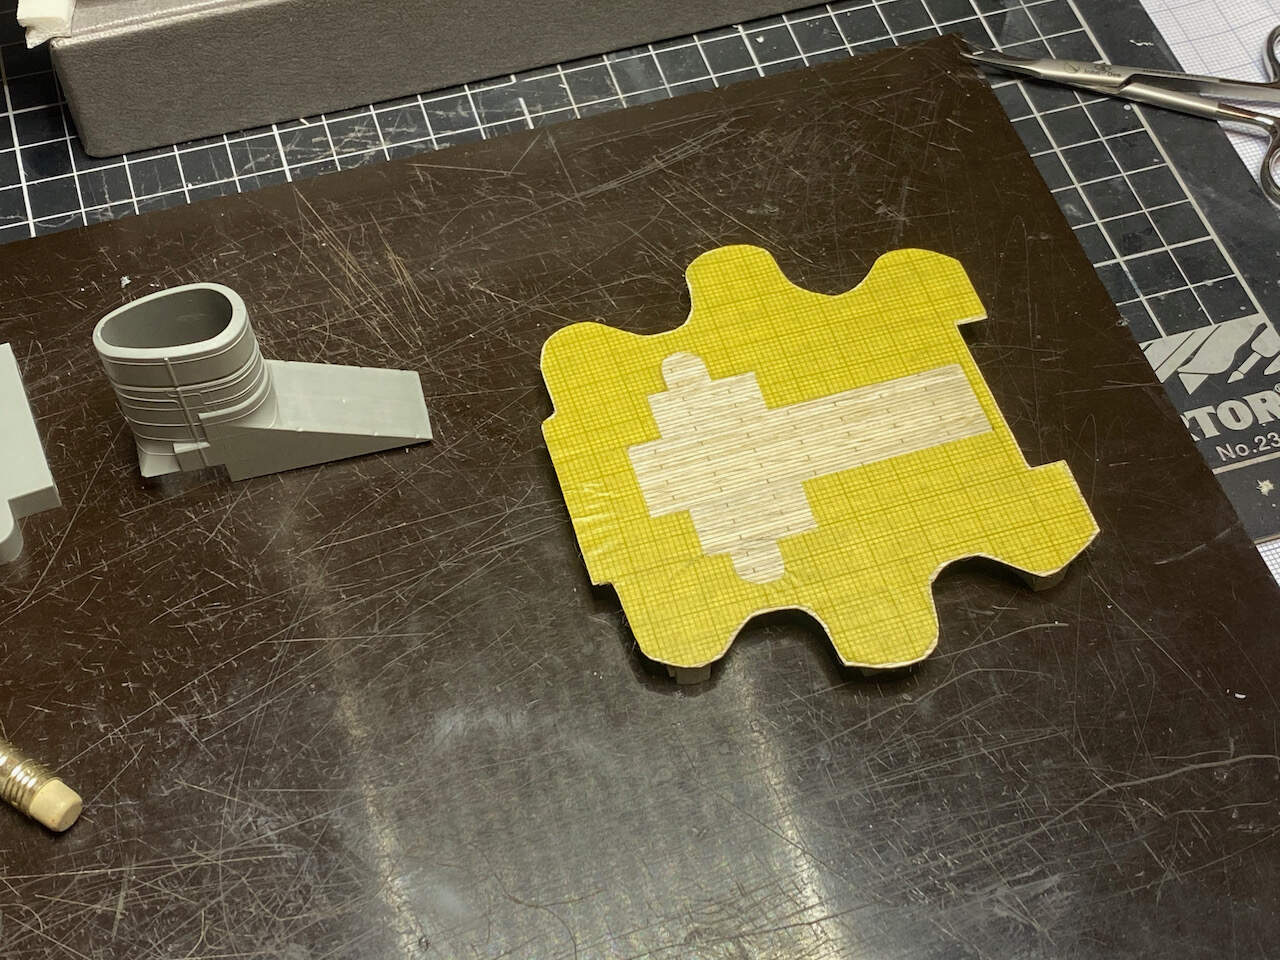
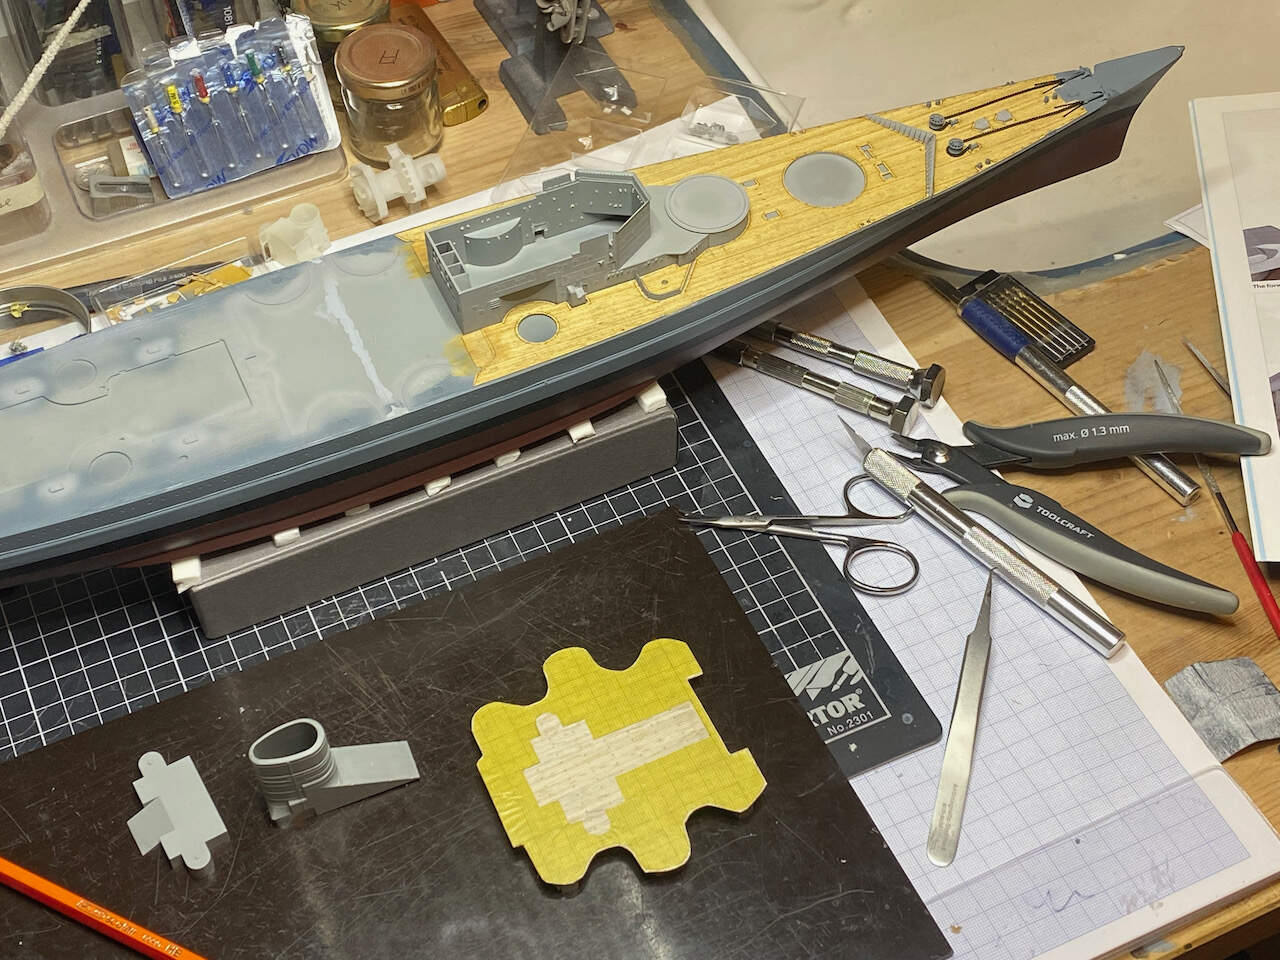
Transferred the outlines to masking paper.
Masking paper cut into shape.
That should help cutting the deck, some corrections once in place will be necessary, but it should give me a good starting position. I will sand the kit’s part deck down and glue the wood down, then re-build what is lost under the wood.
But more cut away jobs waiting, that forward bent part under the foremost 10,5 cm AA needs to go. On Gneisenau (and Scharnhorst in her early years) that was open, you can see the imitated wooden deck continuing underneath. I have to find some bits of wood for those areas, too. And it seems a cable reel and possibly some other small equipment was installed there. So a little improvising…
Not really much, but progress nevertheless and I want to keep this thread alive!
Thanks for looking and all comments and suggestions welcome!
Cheers
Jan
Awesome Jan!
Shes gonna look great when commissioned!
I concur with Ezra, Jan! She’s gonna look great when finished!
I really like your technique to create the shape for the wood decking too 
Great work as ever ![]() You’ve probably considered this, but take care when drilling through the wood from below; you may risk splintering it as the drill breaks through. Putting tape over the upper surfaces first will help avoid that.
You’ve probably considered this, but take care when drilling through the wood from below; you may risk splintering it as the drill breaks through. Putting tape over the upper surfaces first will help avoid that.
Thank you for your consideration - yes, in principle I am very well aware of it, however, I’ll admit that there is a probability remembering it too late, i.e. after the first hole ‘going wrong’…since most of the holes are there to hold / locate stuff that goes on top, there’s a good chance I’d get away with it, but better not running any risk!
Gentlemen,
thank you all for looking in and Ezra, Russ and Graham for your kind comments!
So real life times are still very busy for me, and it is most likely not getting any better before easter. But I have some more progress to show.
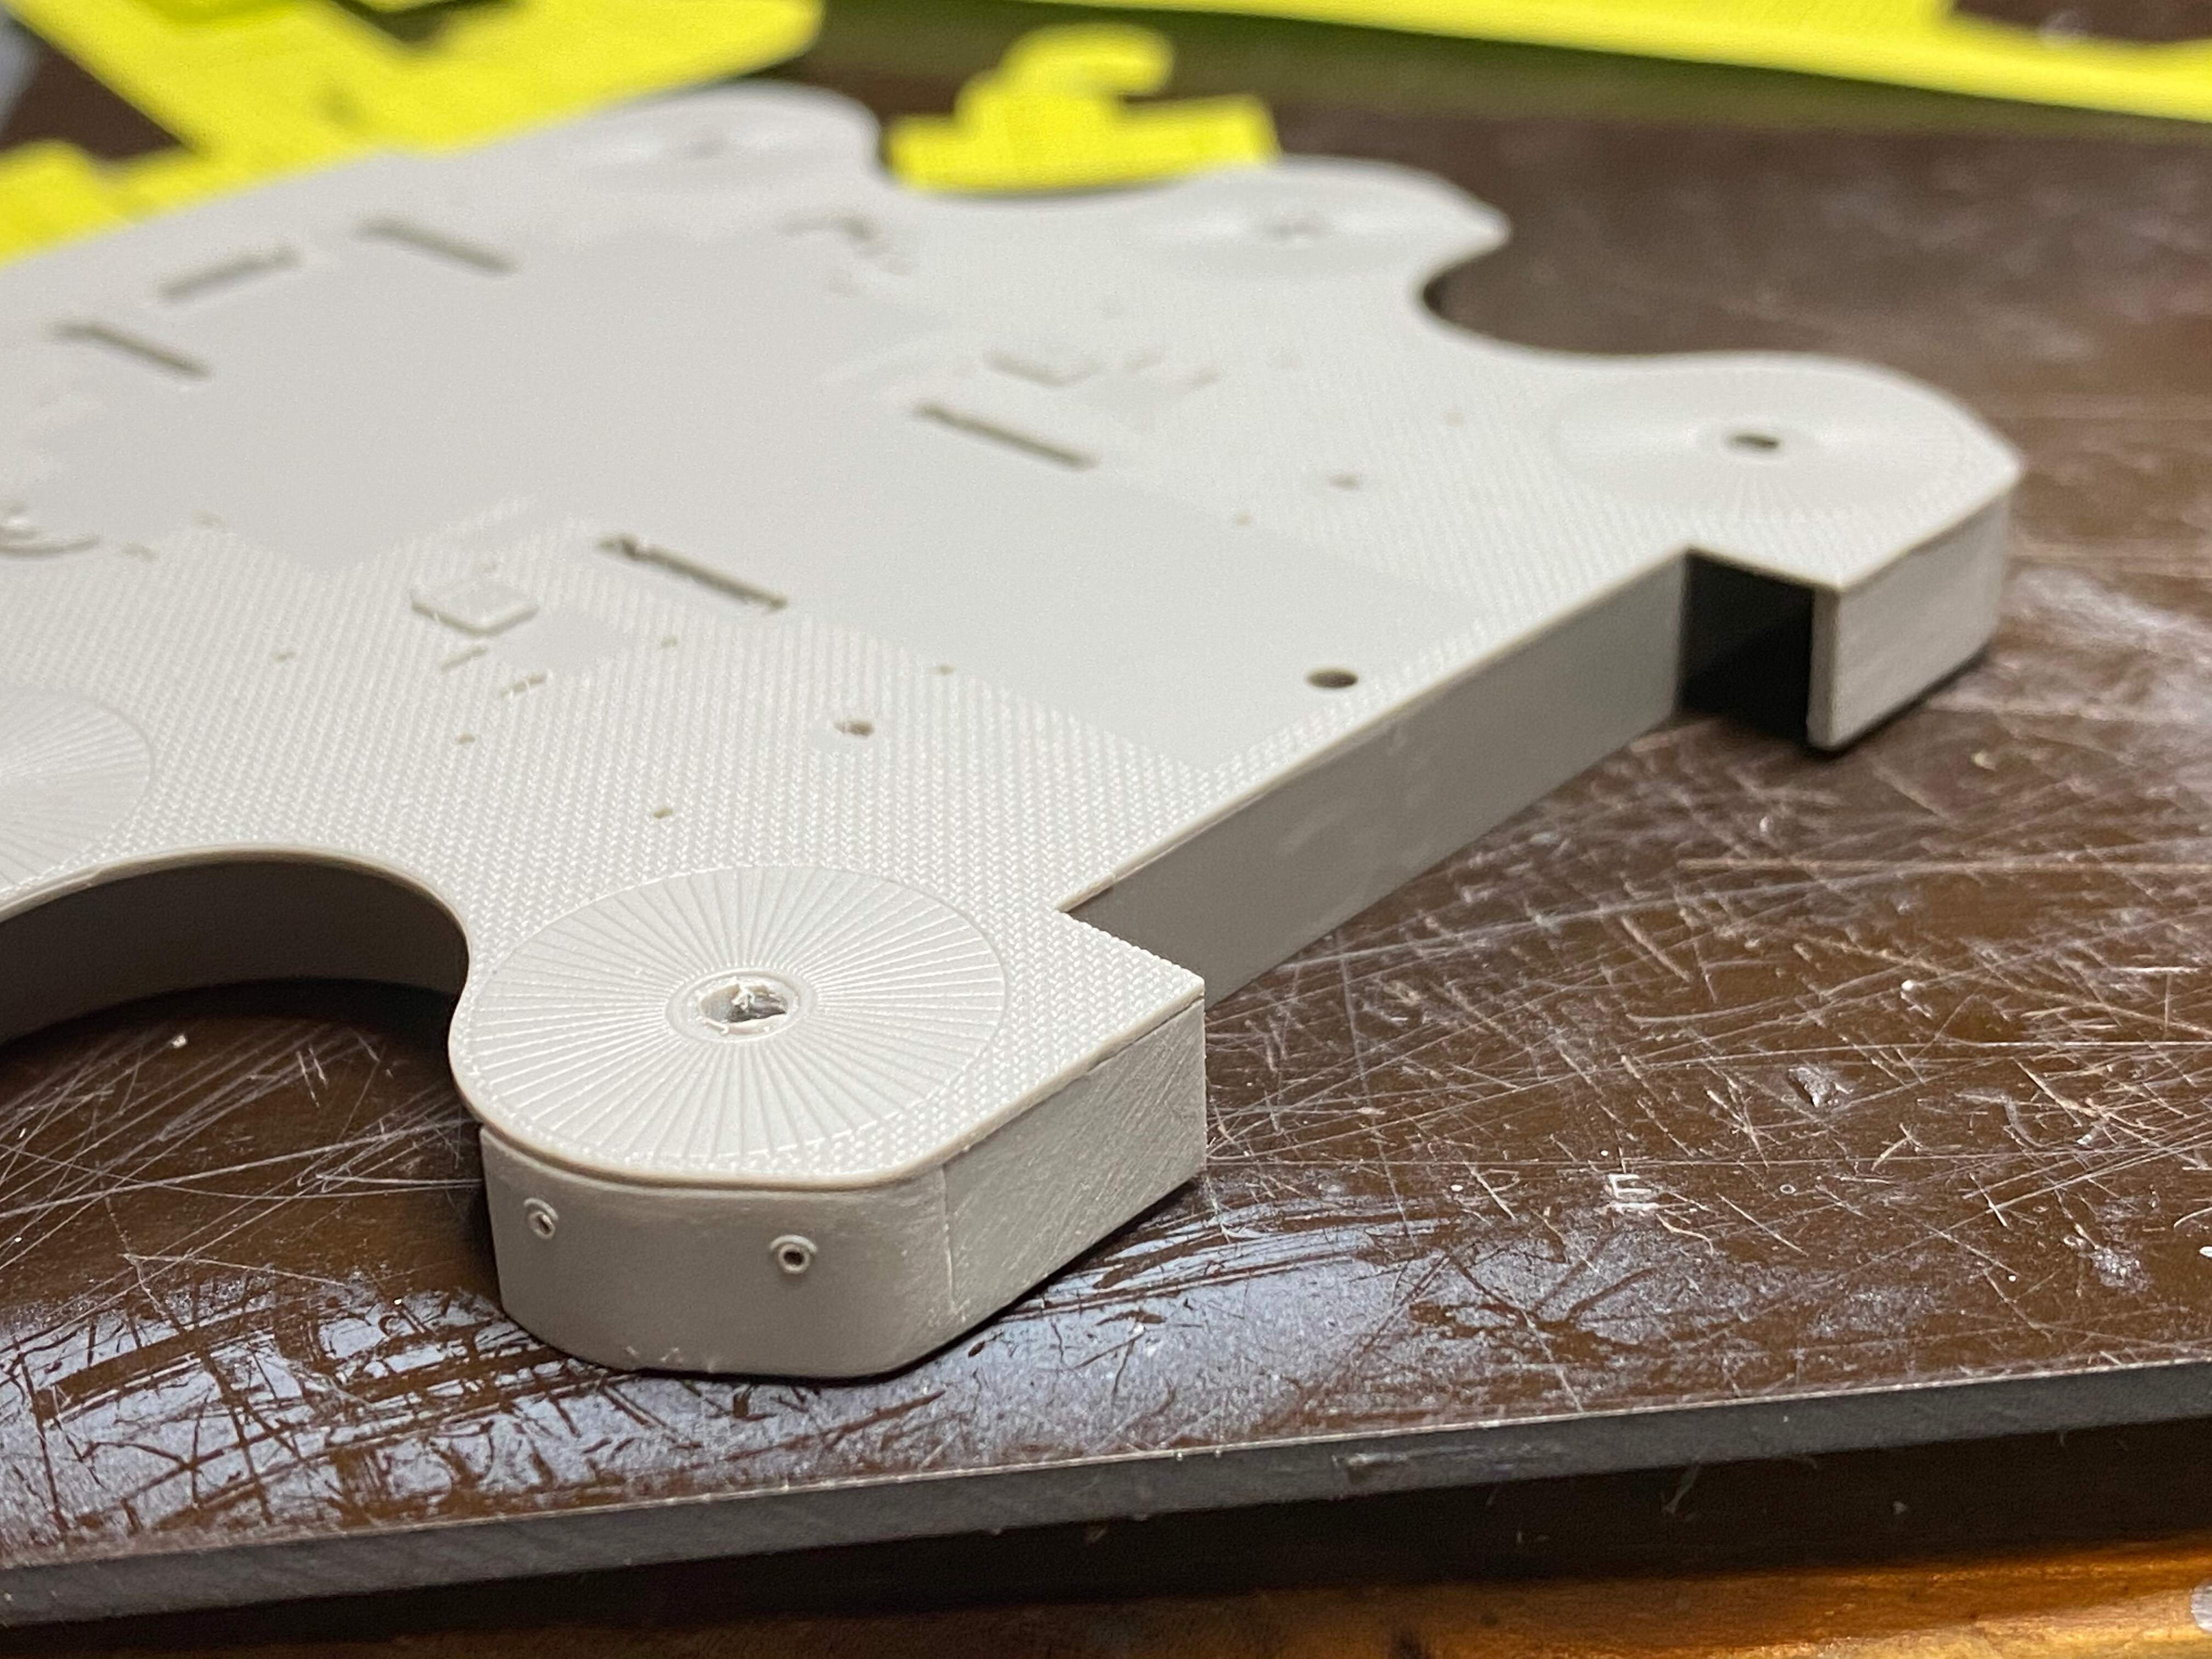
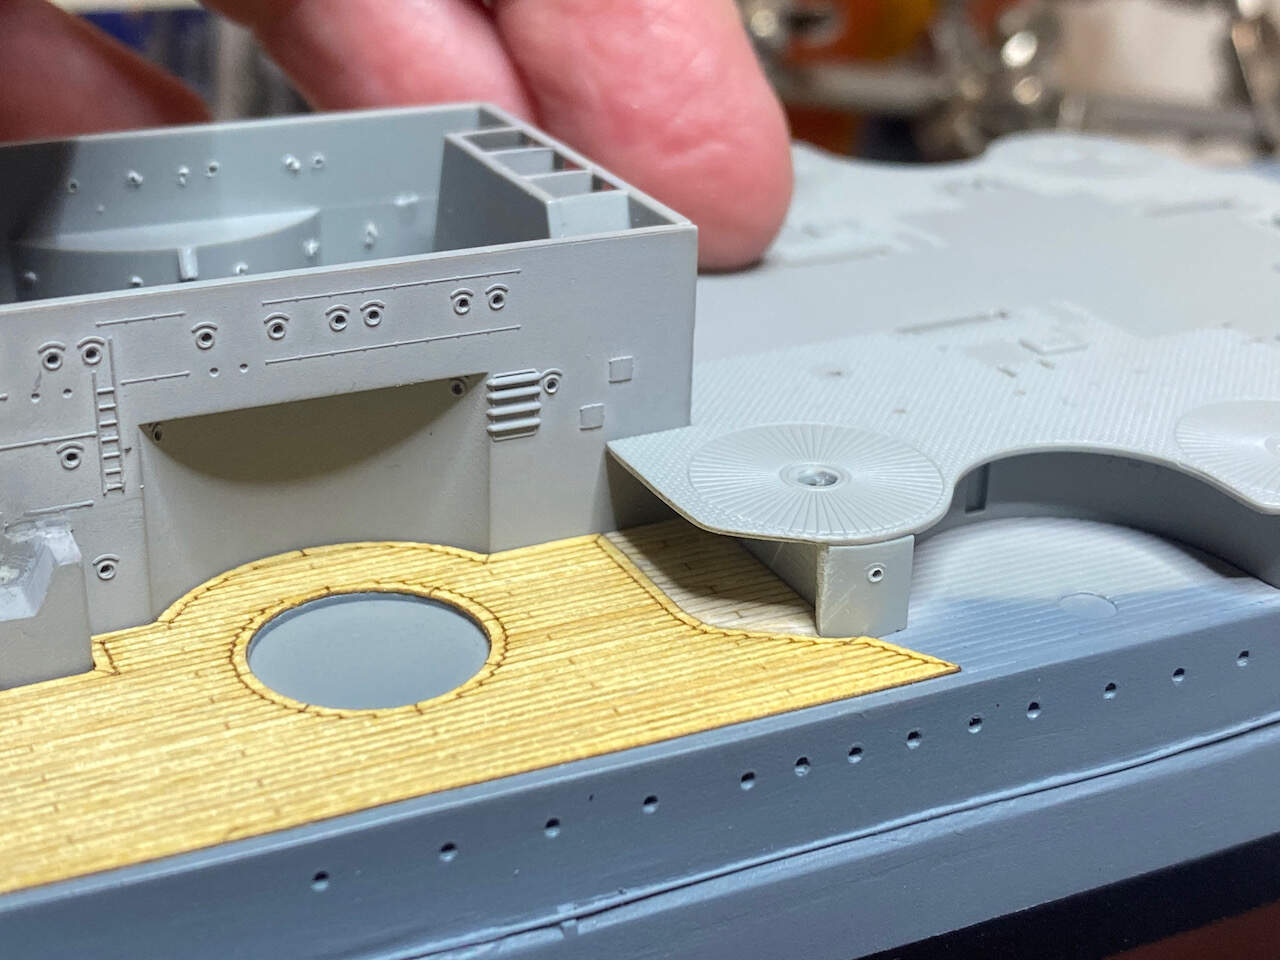
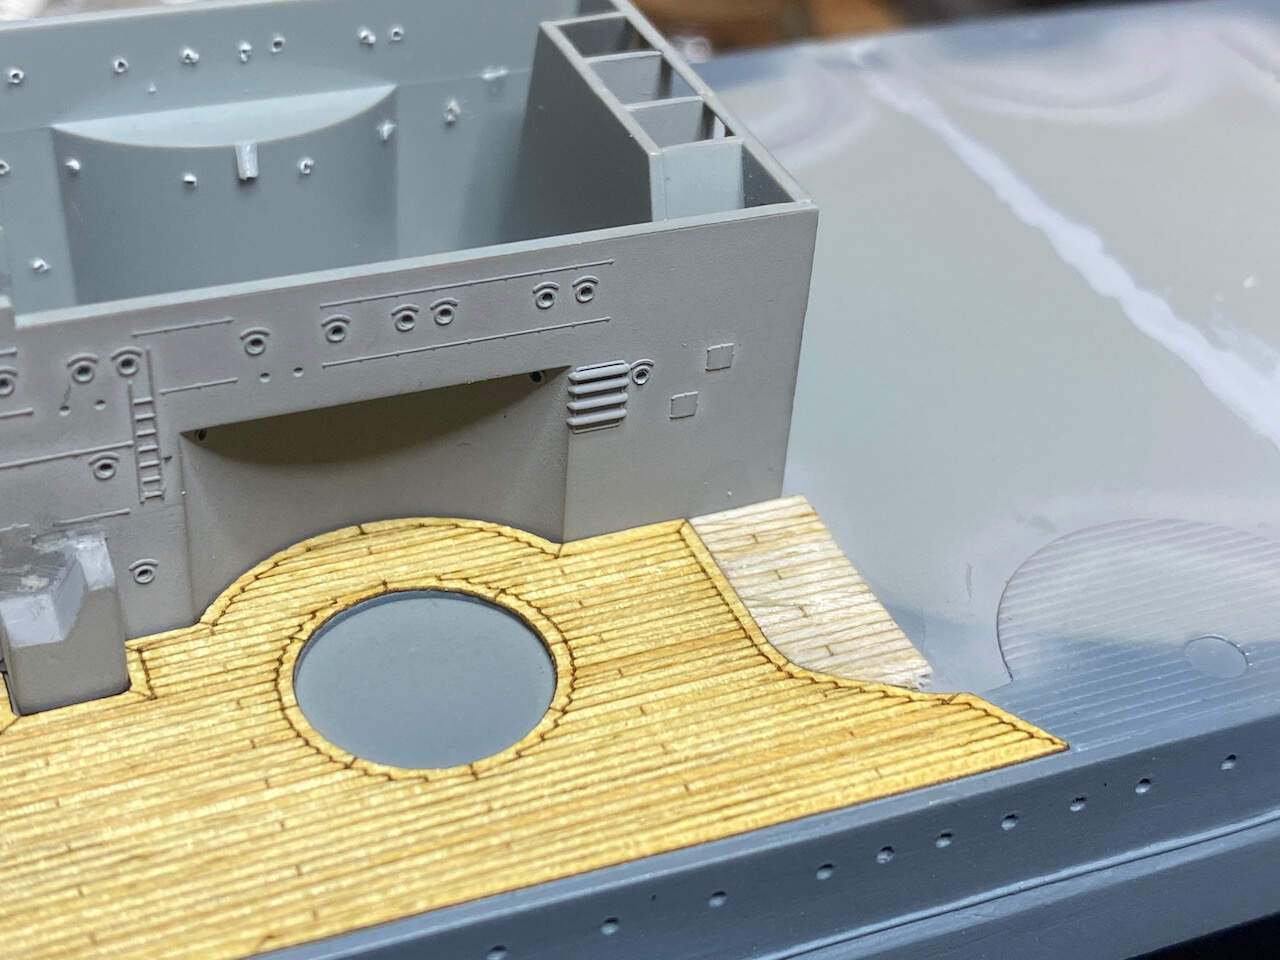
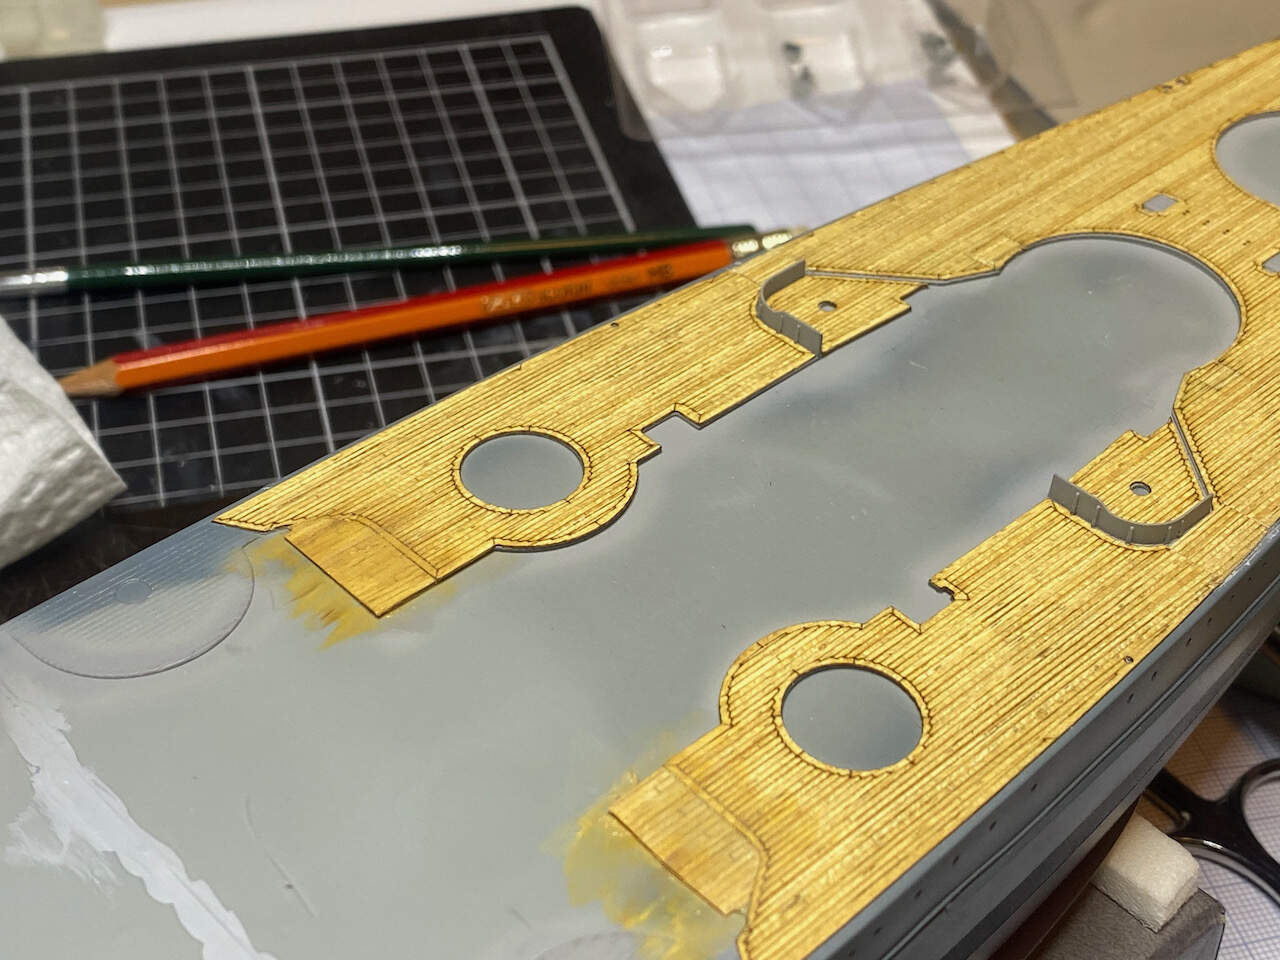
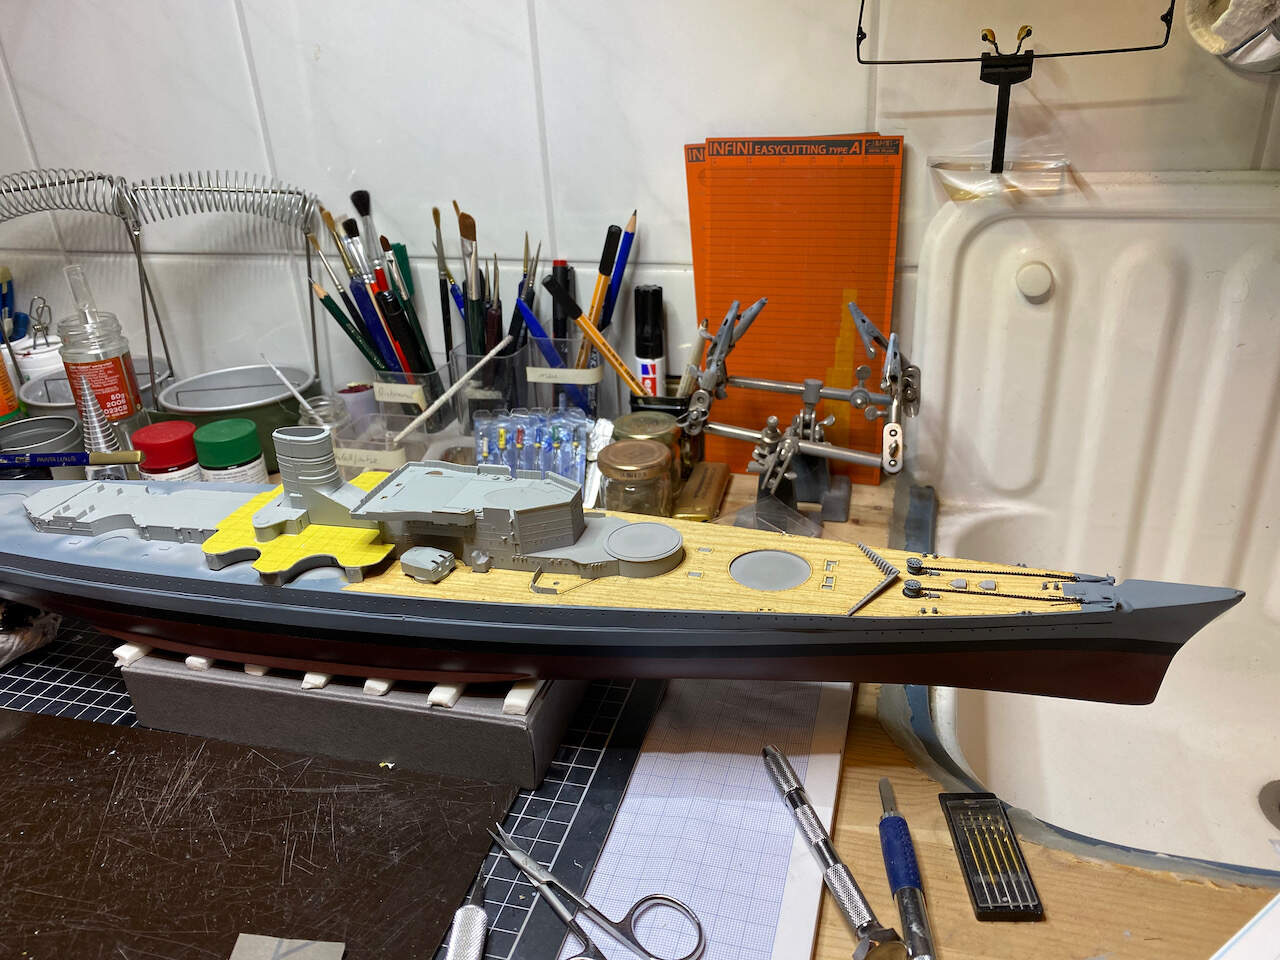
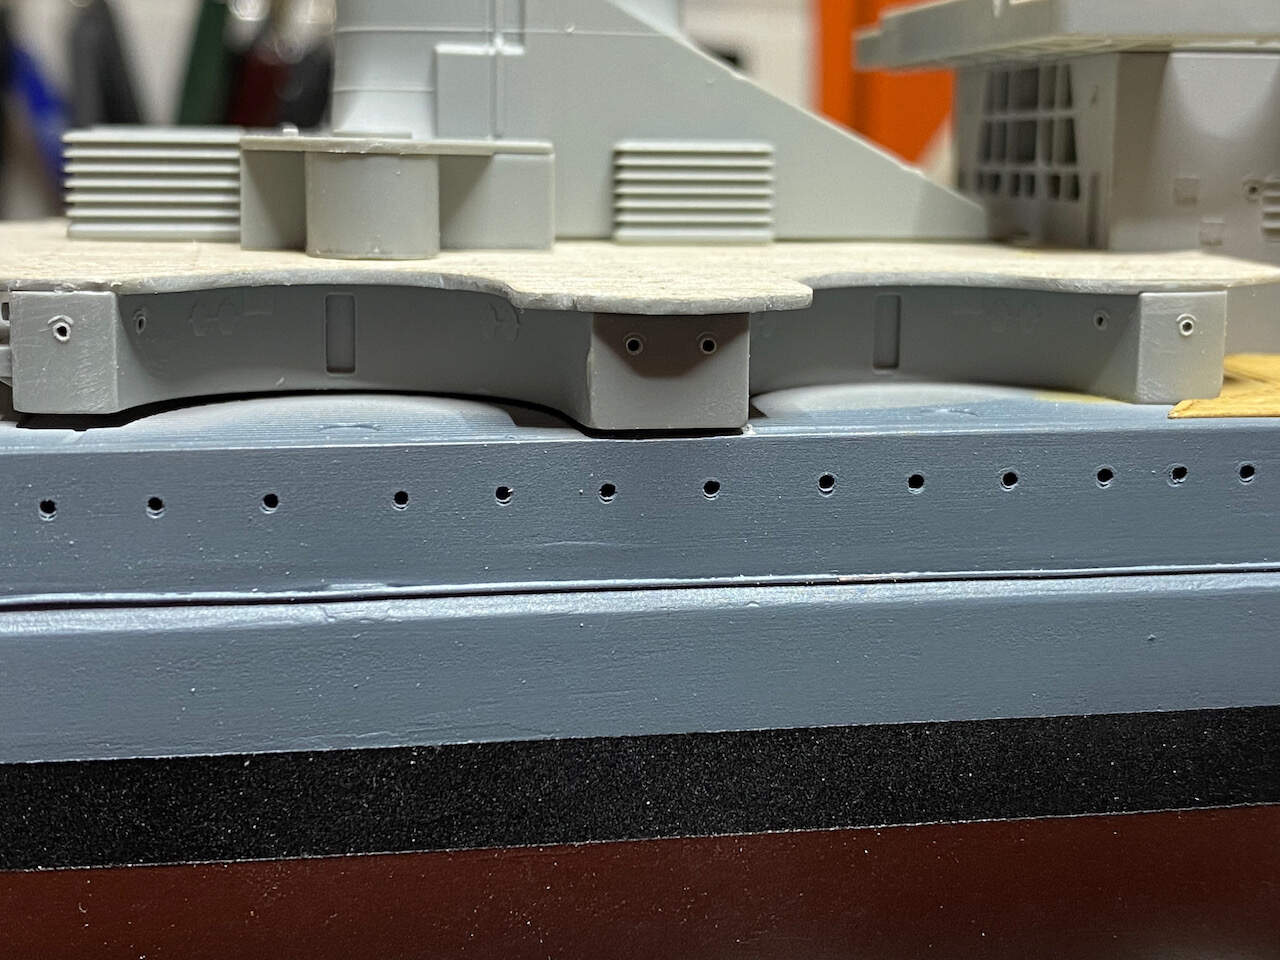
So first I cut away the bulkhead extensions underneath the most forward 10,5 cm AA, as was true for the early Gneisenau and Scharnhorst.
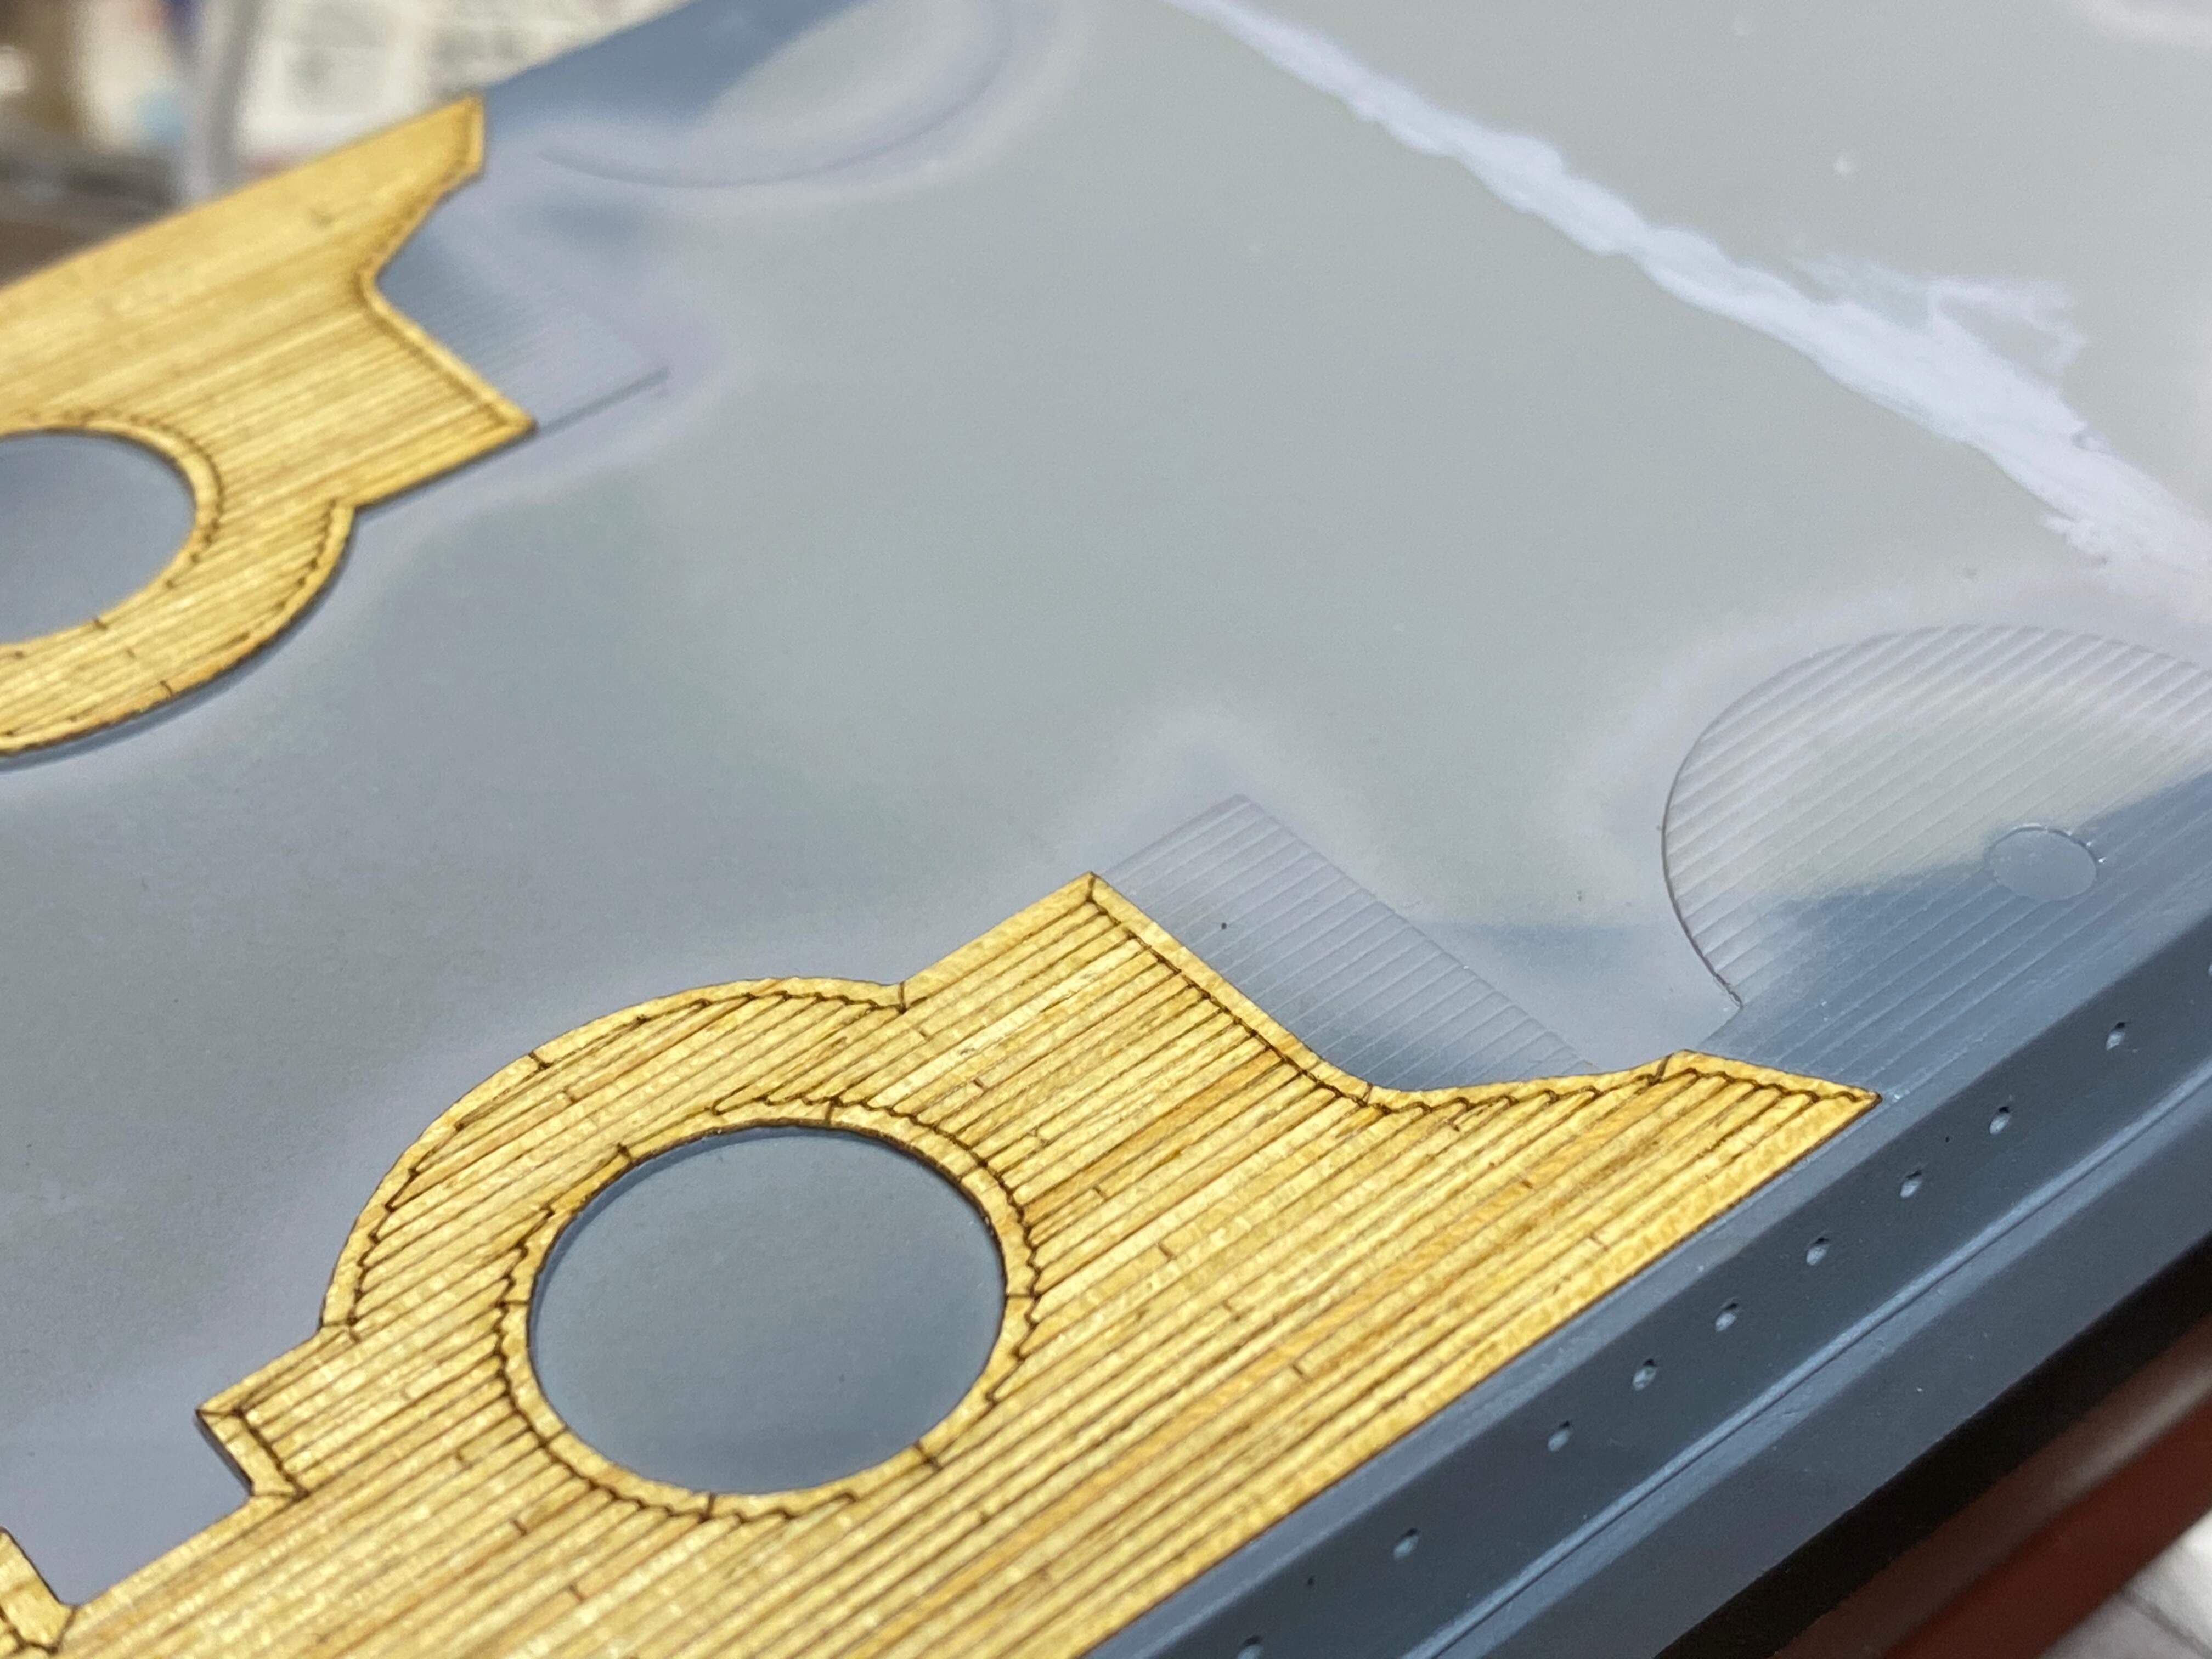
Some generic wooden deck to cover the new open area.
The generic wood is from a different manufacturer (I couldn’t find - or better: get - it from Pontos), so it is a completely different color.
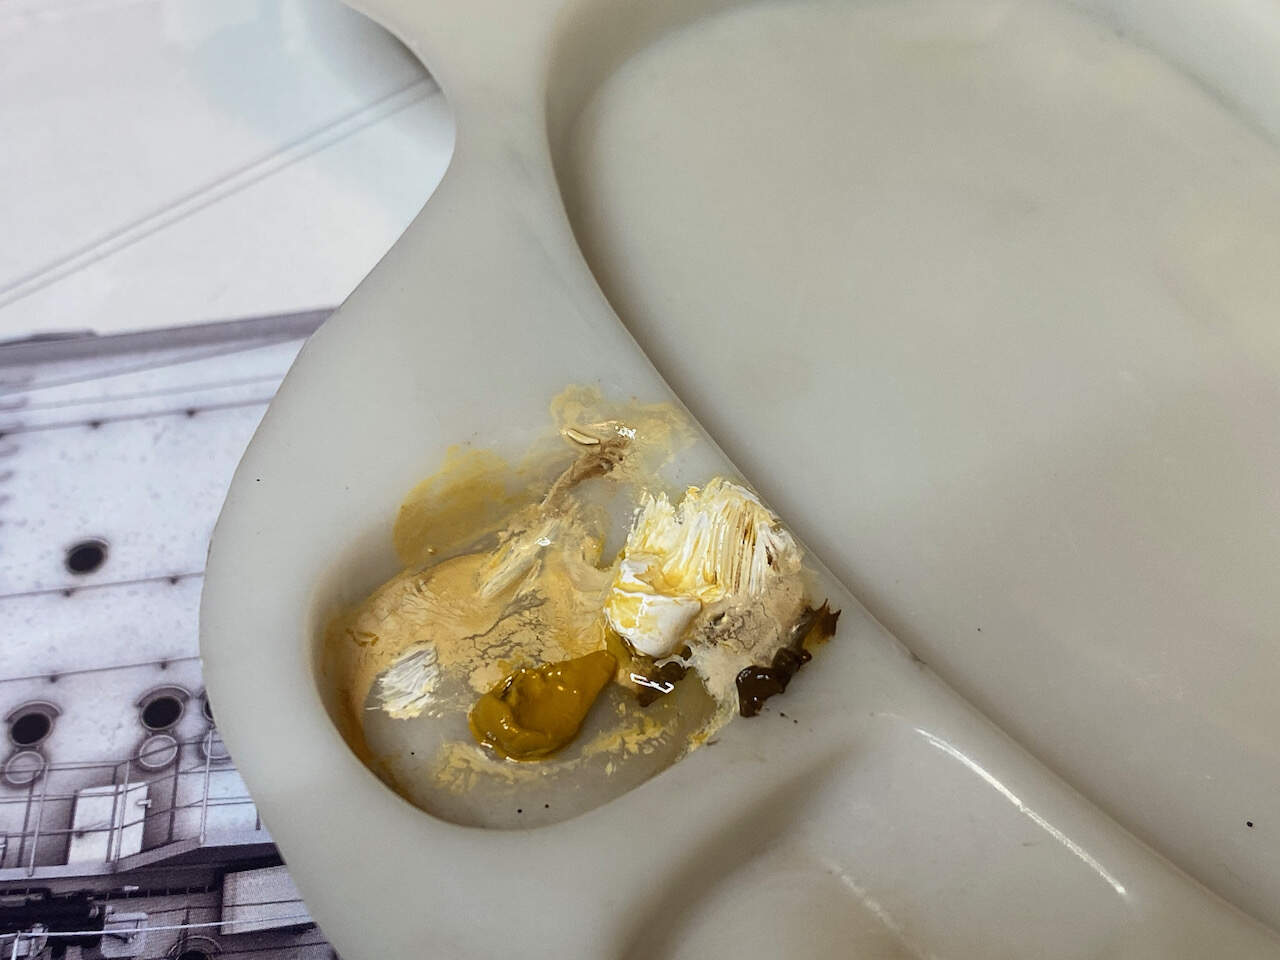
I found some artist’s oils from earlier weathering approaches and tried to create a color that is at least closer to the original deck…
Well, not perfect, but with the 15 cm turrets in place it should be sufficiently concealed.
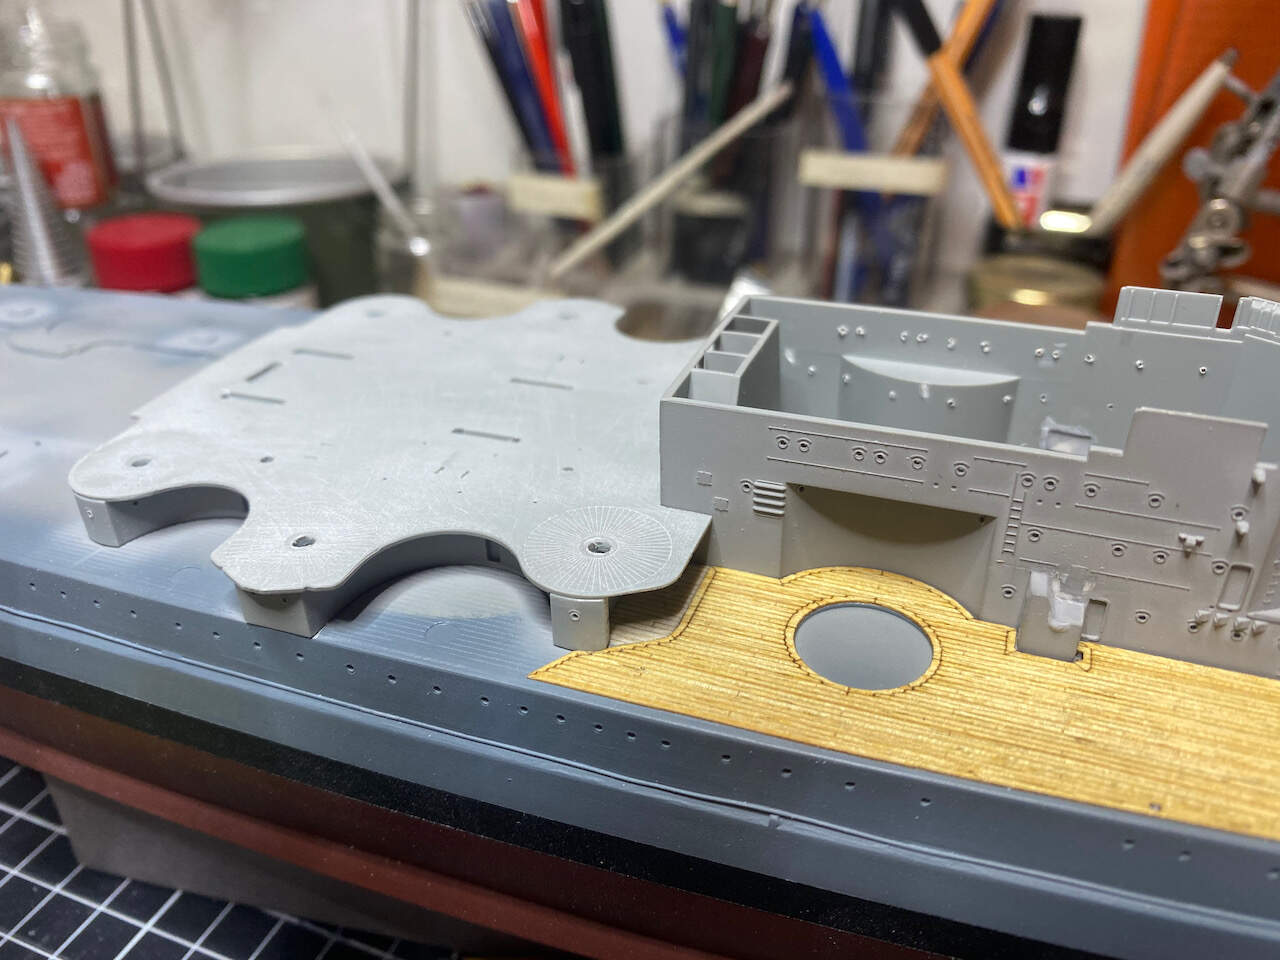
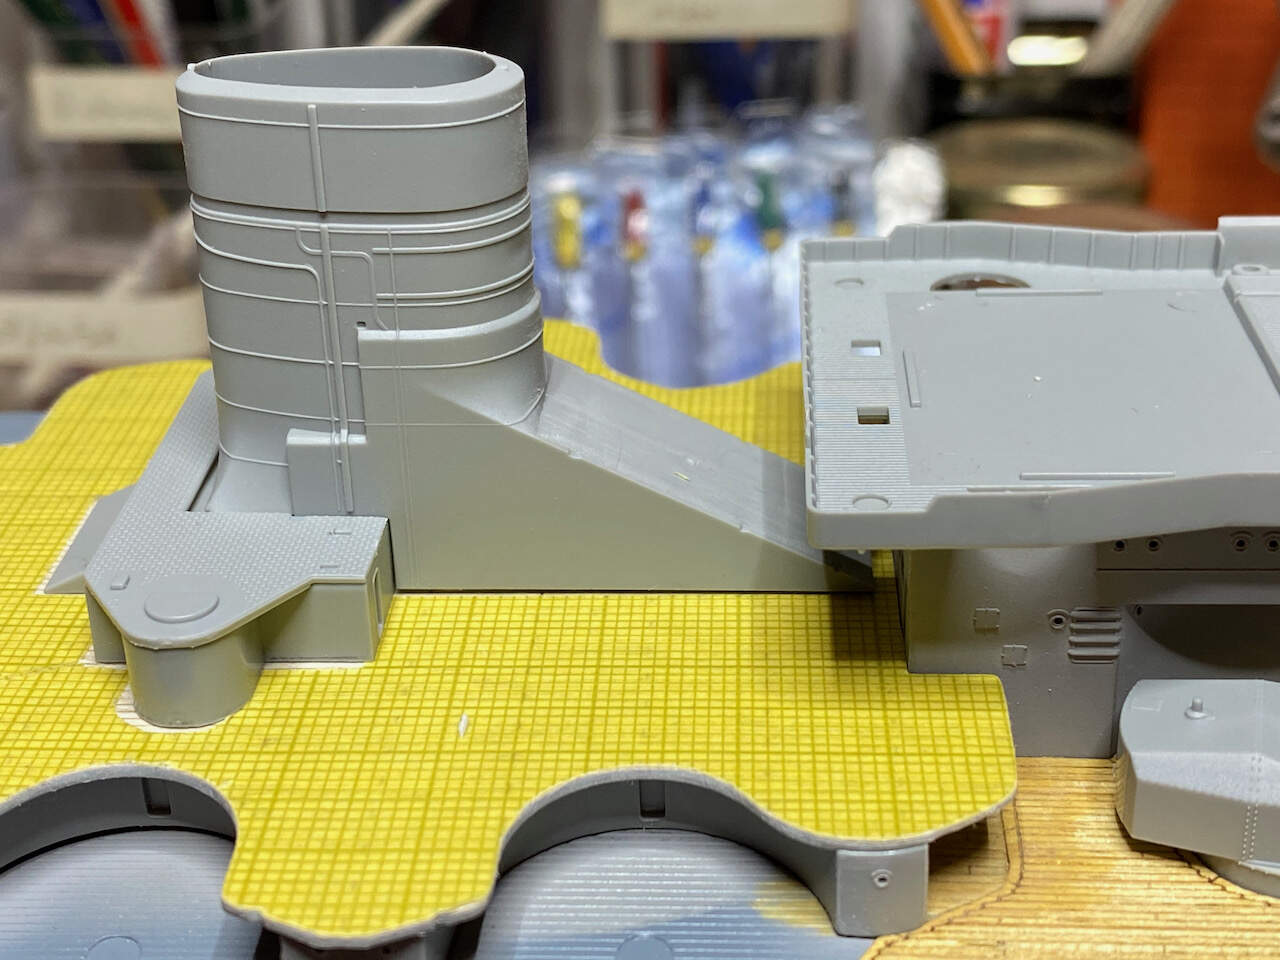
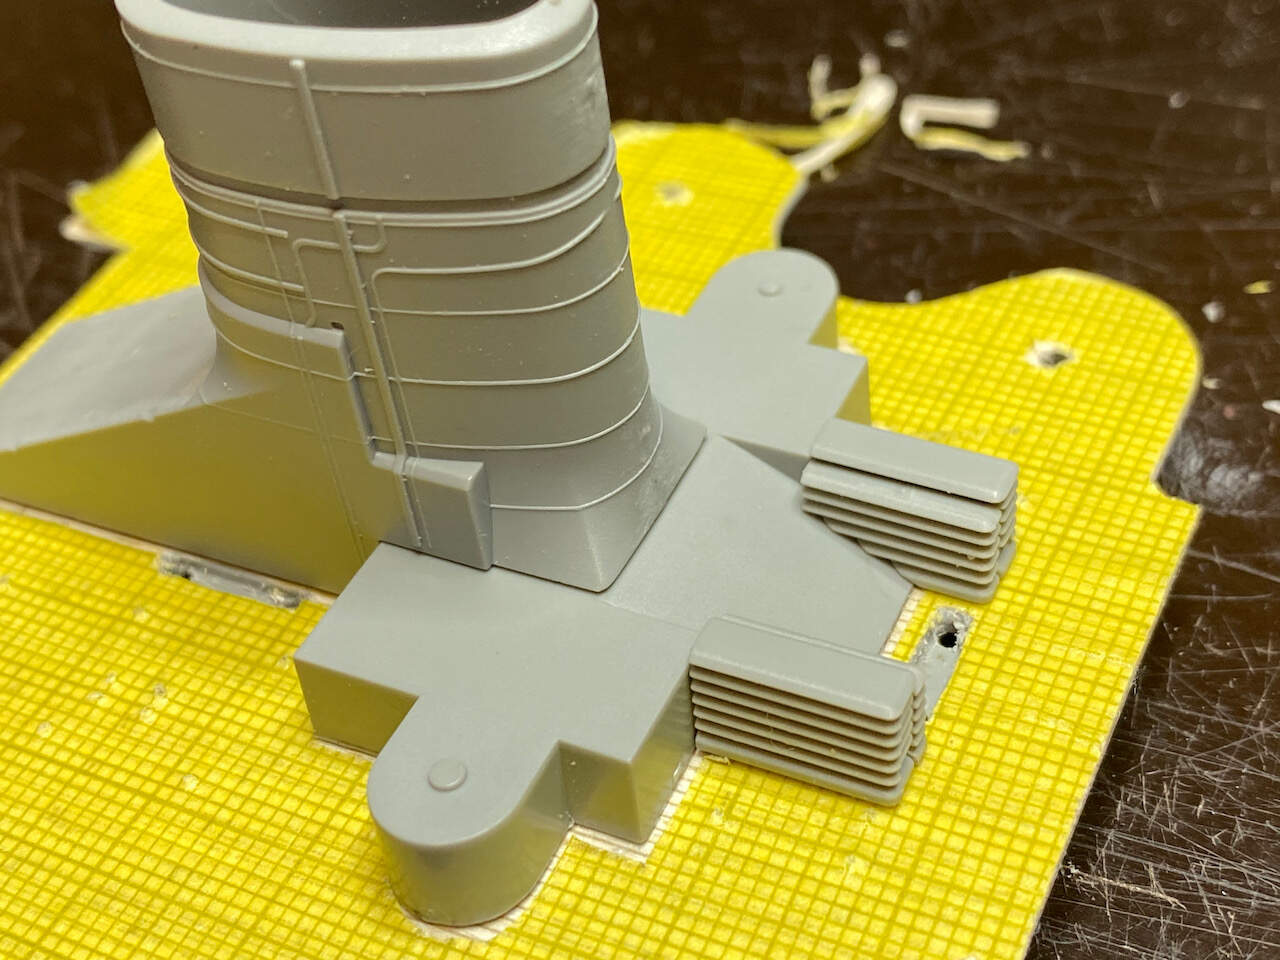
Then I glued wooden deck to the funnel/AA platform deck. This will have to be painted, as well. But that’s for later on…
So that’s weher I stand as of yesterday evening. I can’t promise another update before easter, the 1:1 frigate is calling, will have to see. I hope you remain patient, thank you all very much for looking in and for all comments and remarks!
Cheers
Jan
Great progress Jan!
I love how you fixed the wooded deck color so easily!
Hi Jan,
Excellent save with the odd color decking! You are right about the 15cm turret too - once it is in place, your deck replacement will be well nigh invisible under that little overhang. In short, that is some nice work that no one will notice! 
Nice work mate
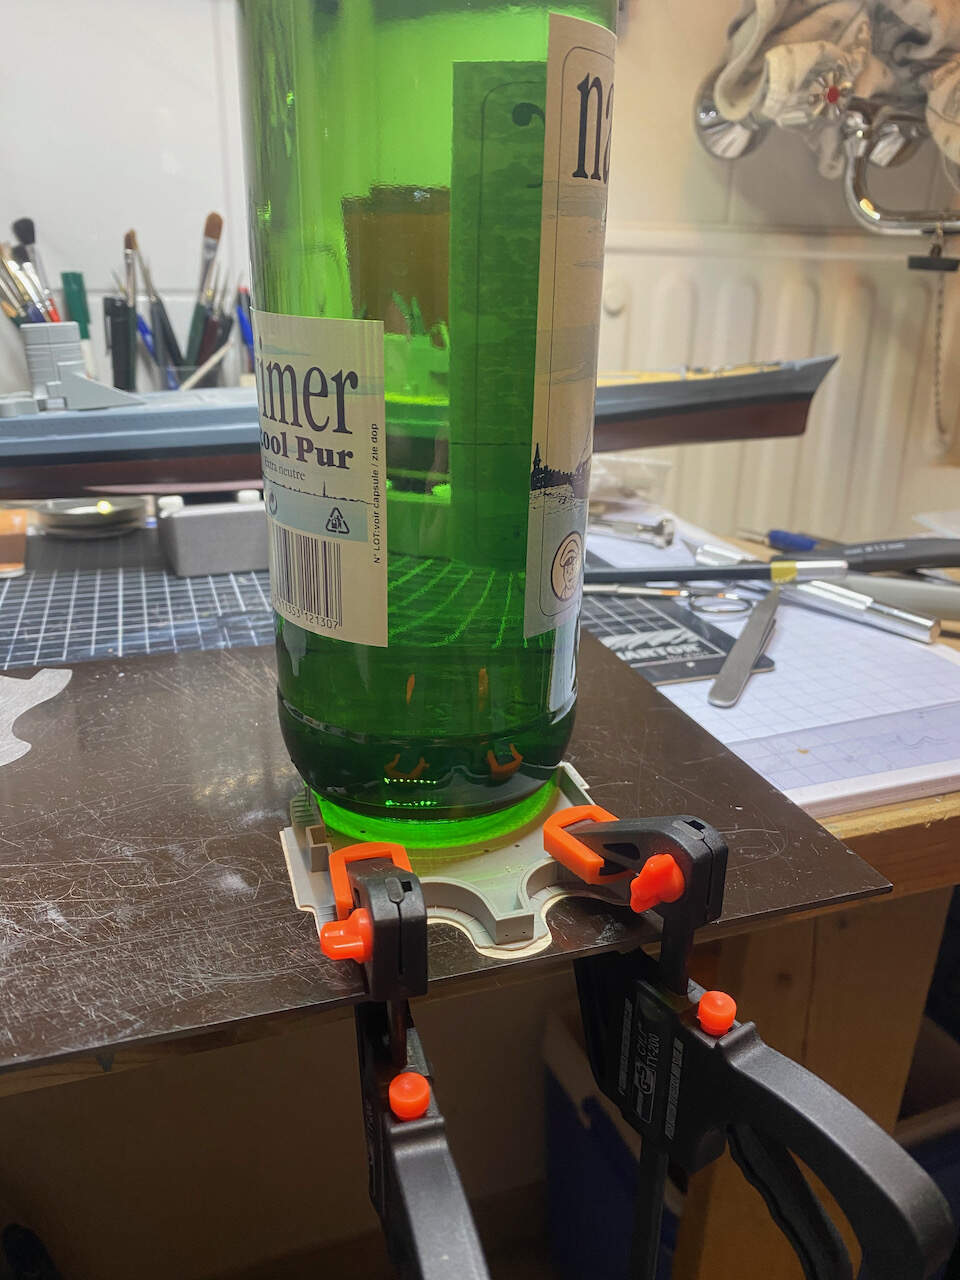
Good repurpose of the wine  bottle too
Ezra, Tim and Russ, thank you very much gentlemen! Very much appreciated!
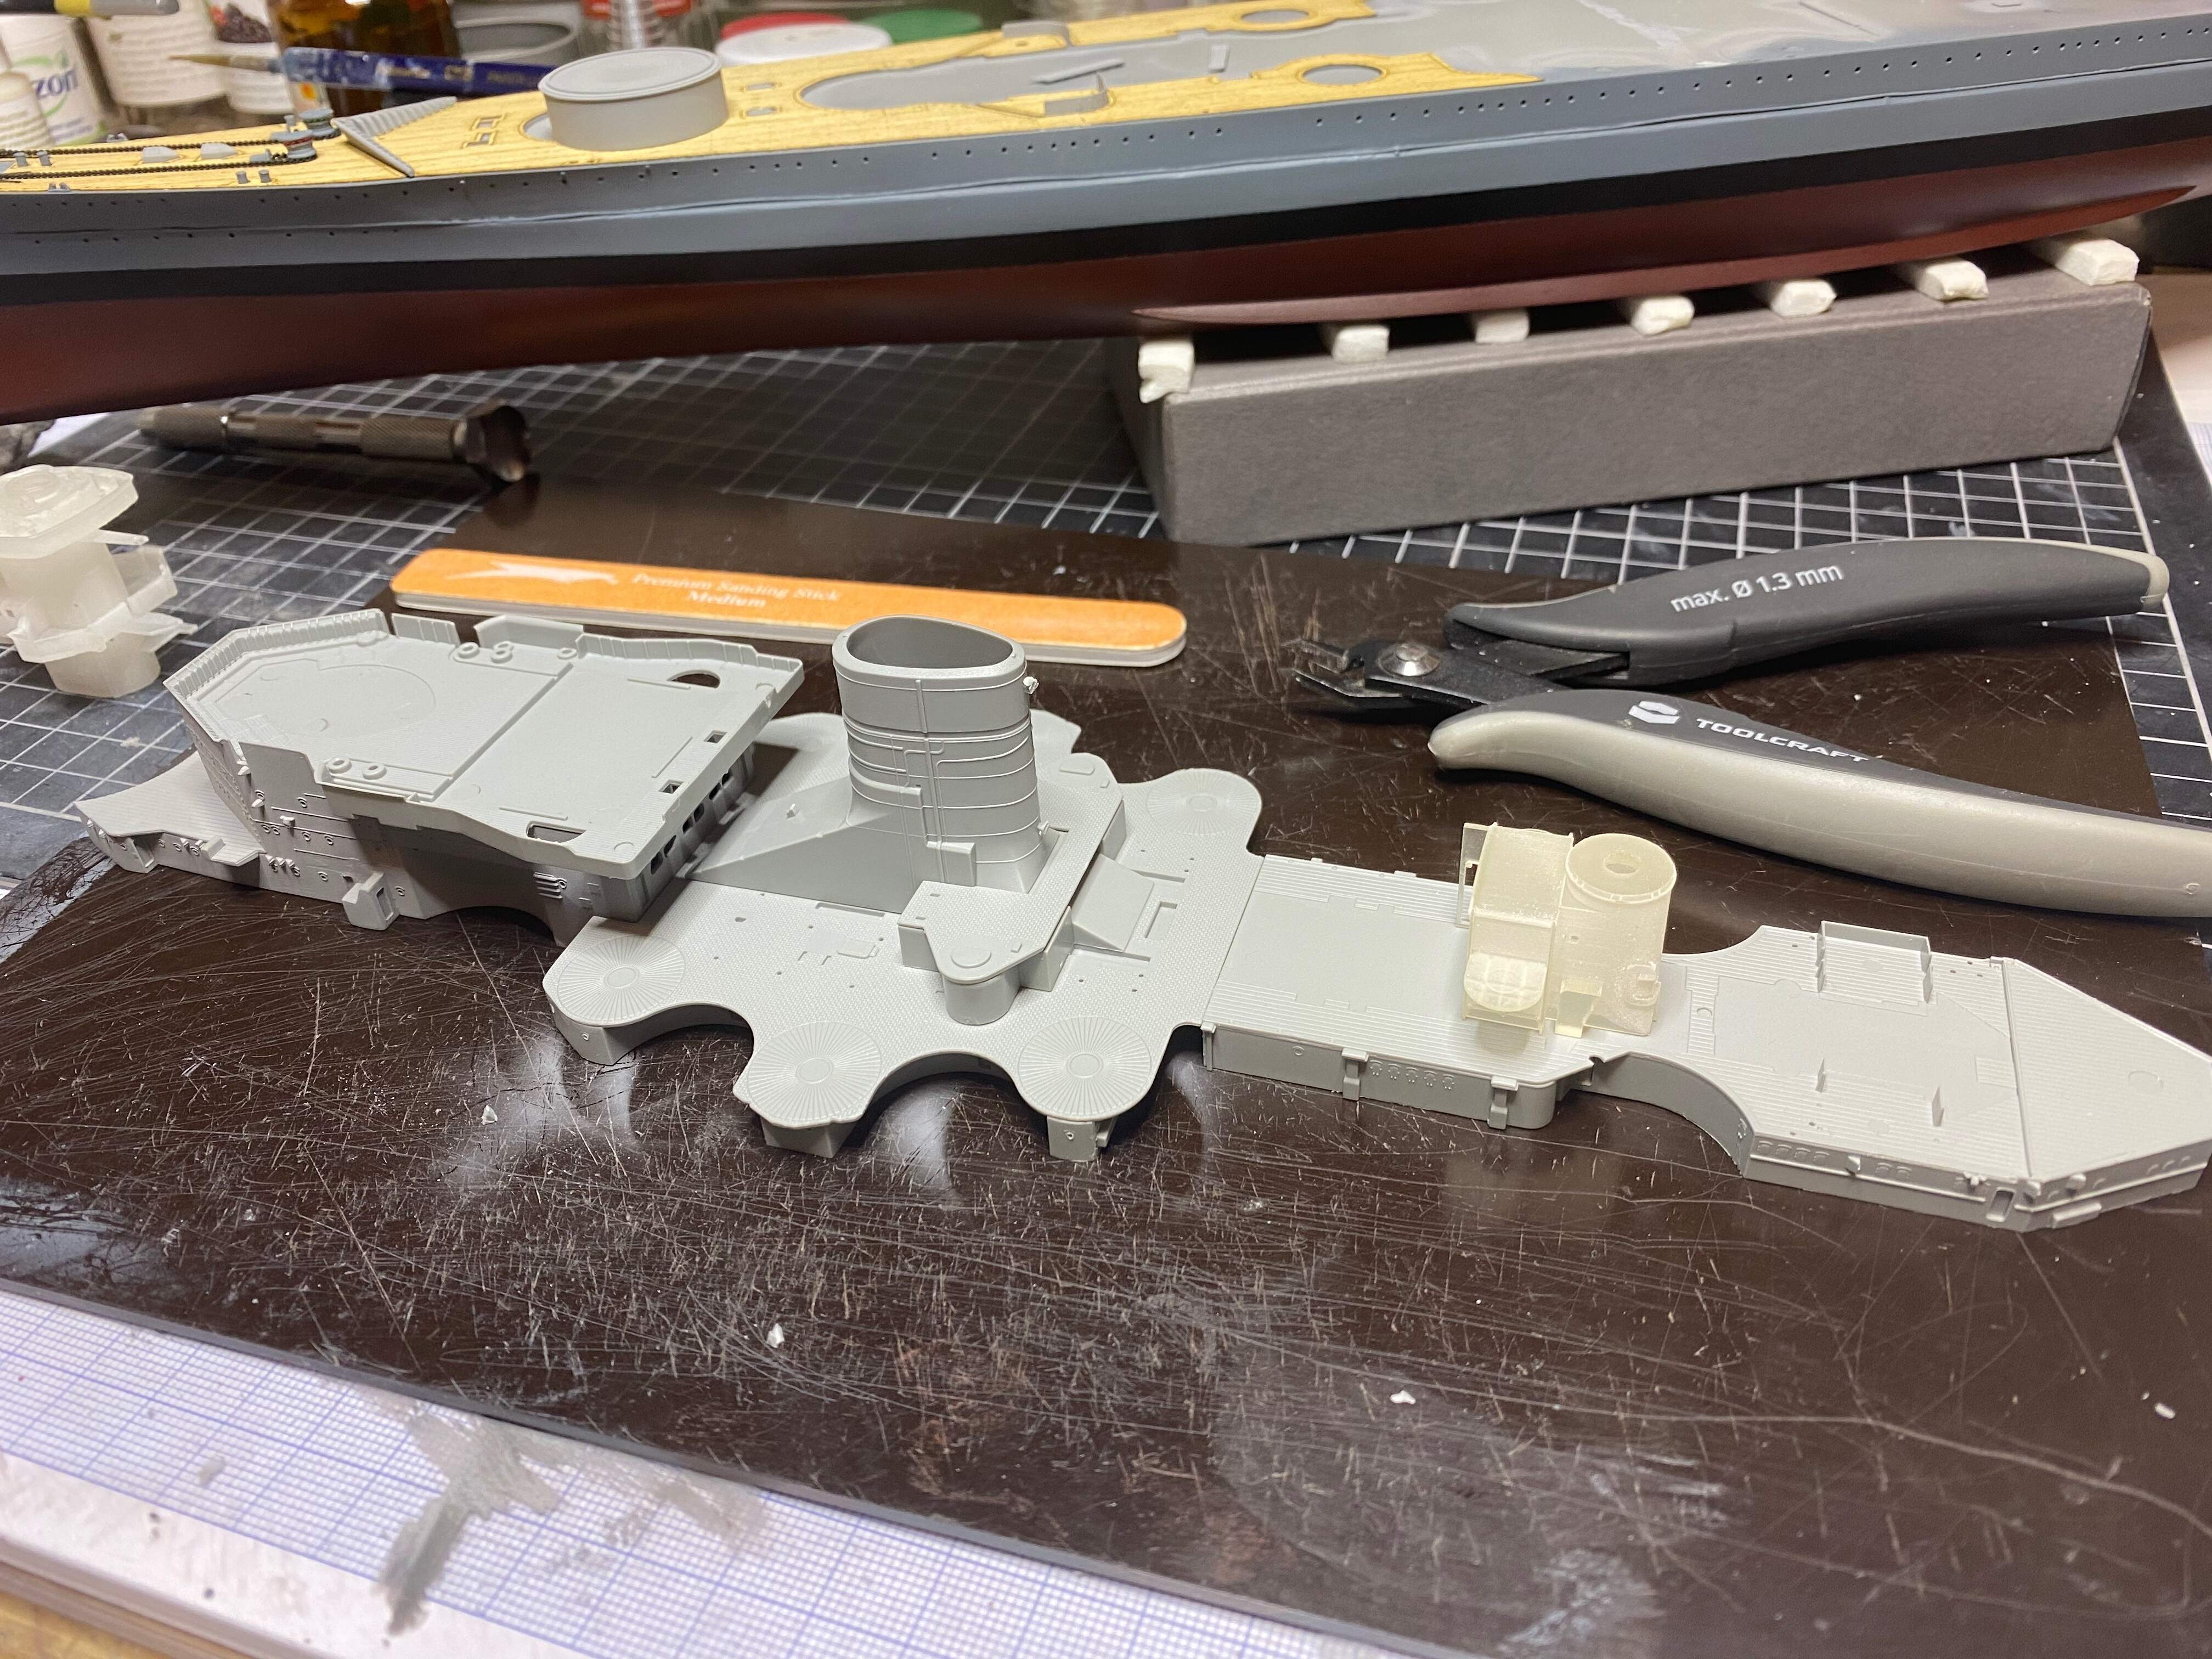
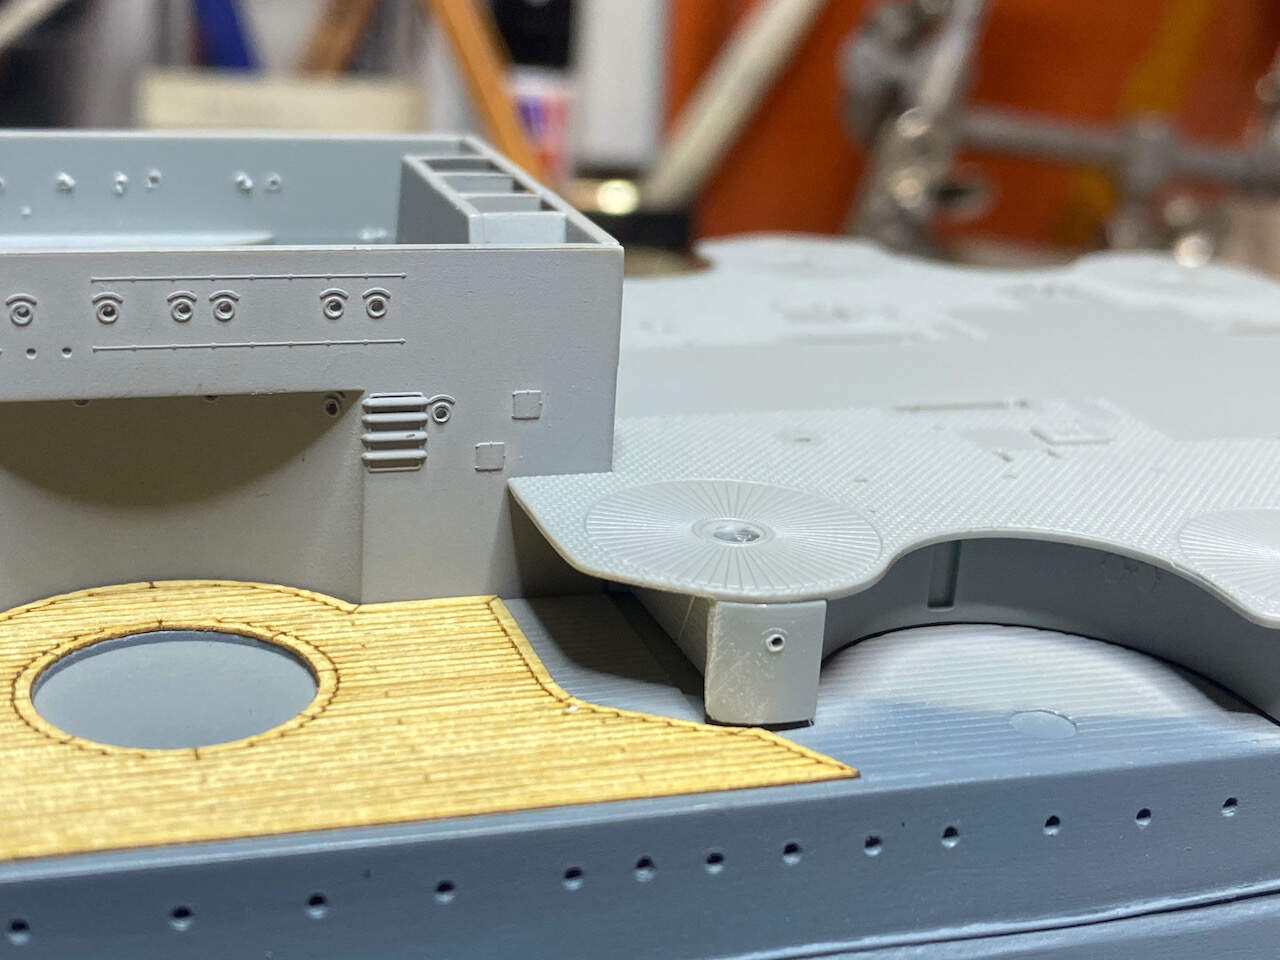
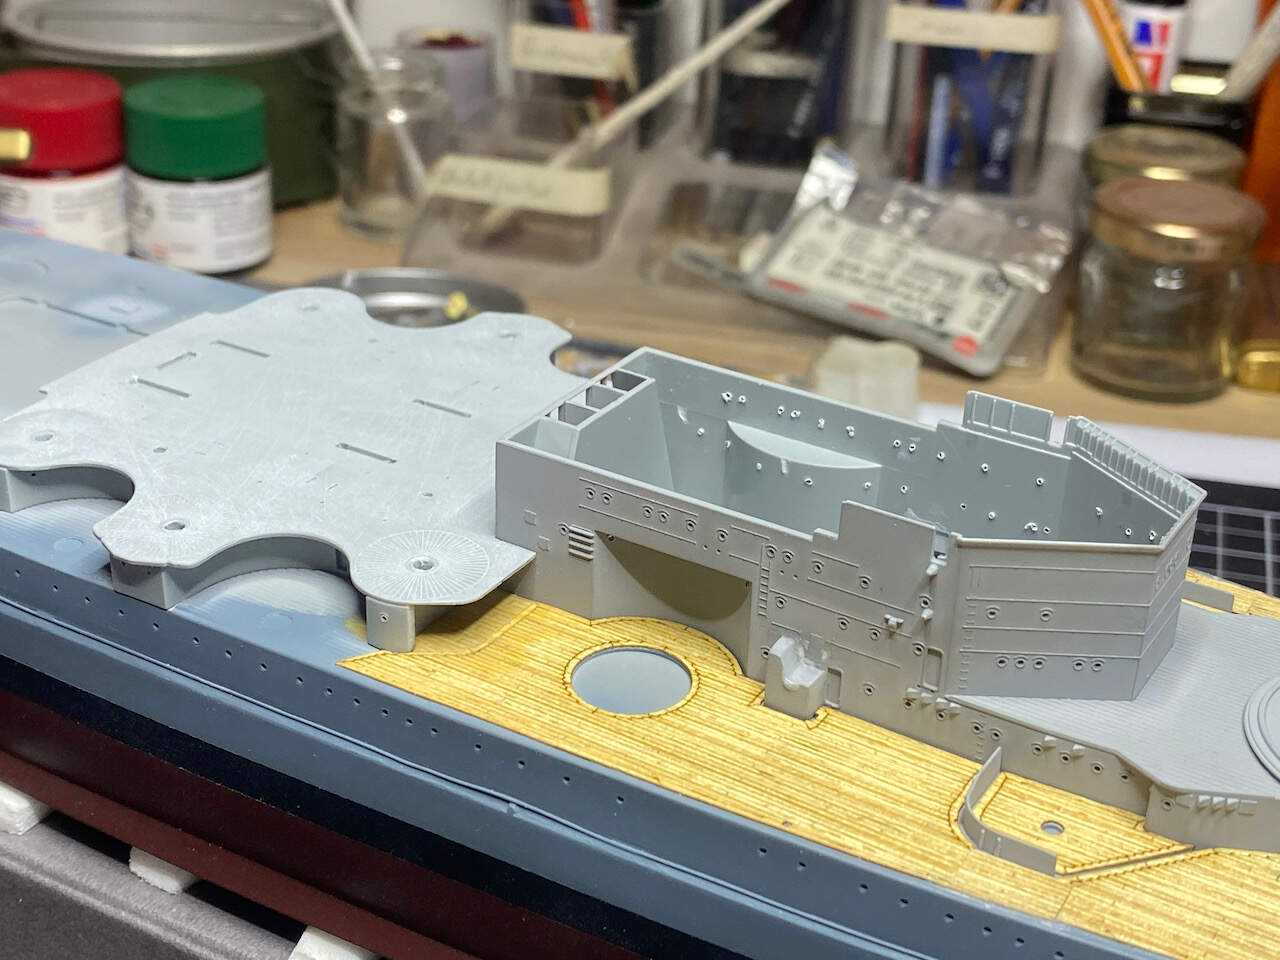
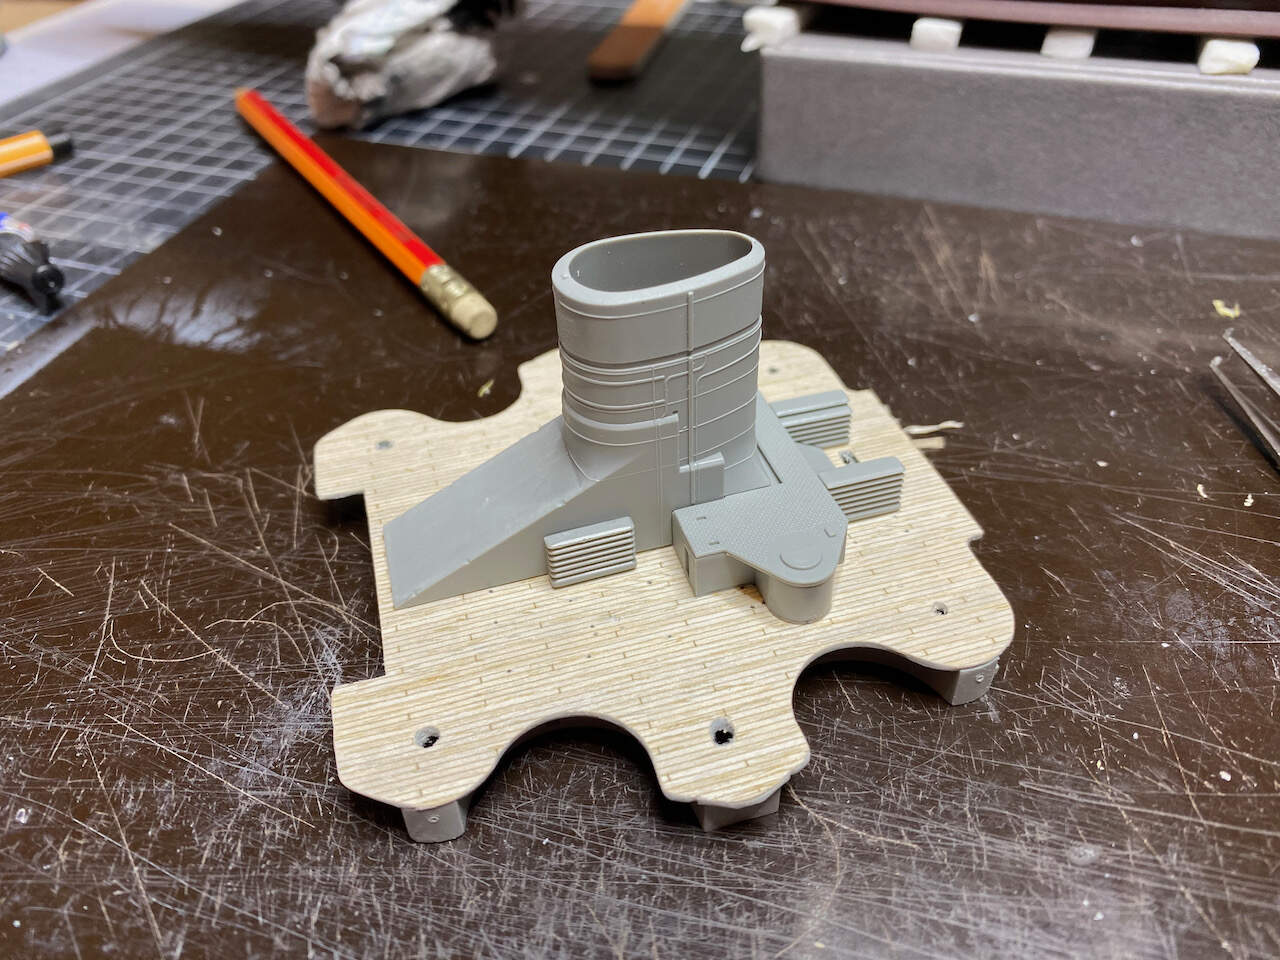
I had to check how the setup would look with a 15 cm turret, so I took one from the kit (I’ll be using Model Monkey’s / Steve’s excellent turrets on the model later on, of course!).
I’d say that will do…
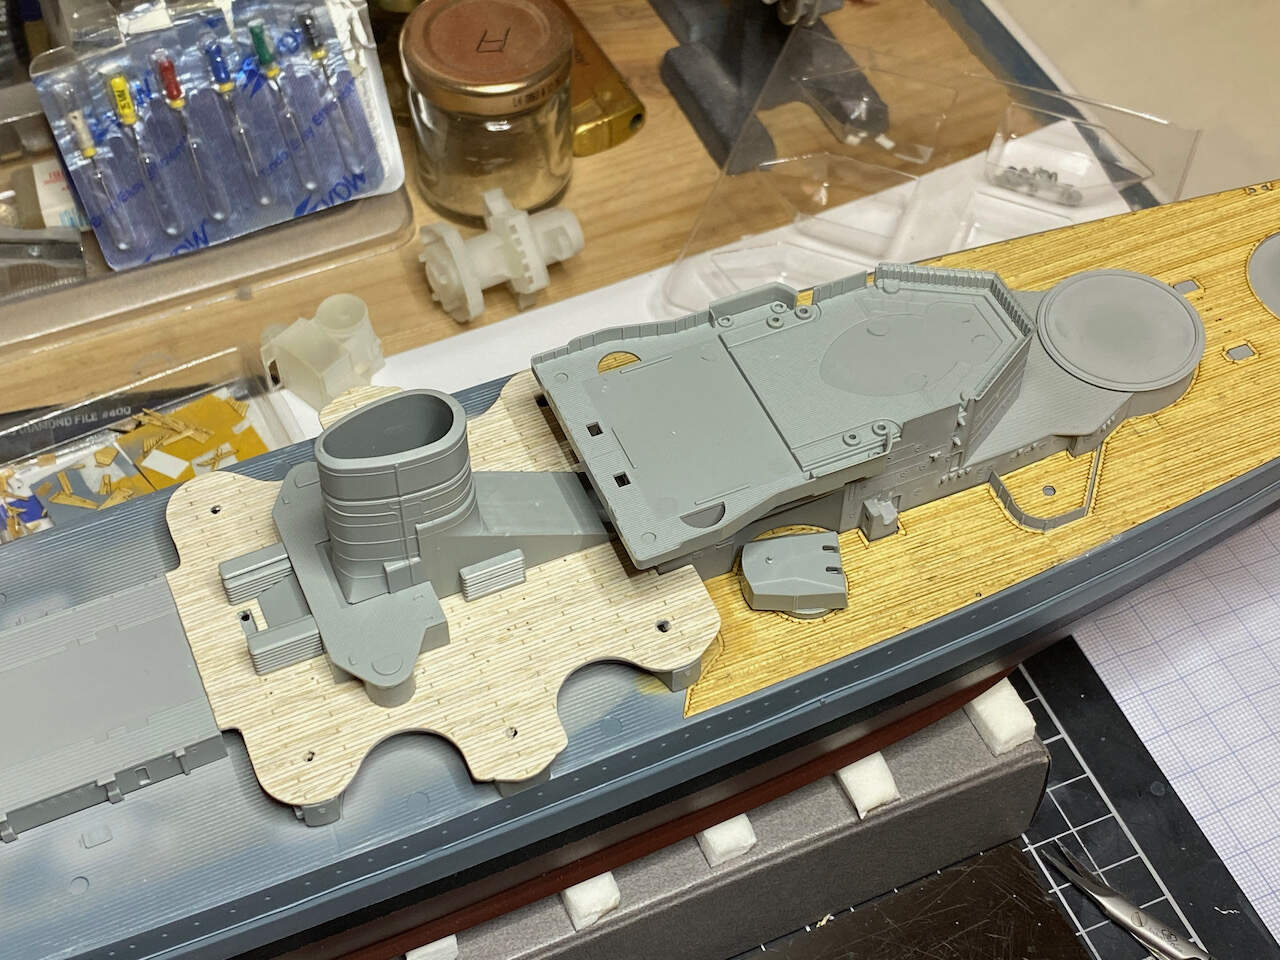
Looking at the dry fitted funnel and structure around, I think it is not necessary to cut away the wooden deck for the structures, but I can fit them on top.
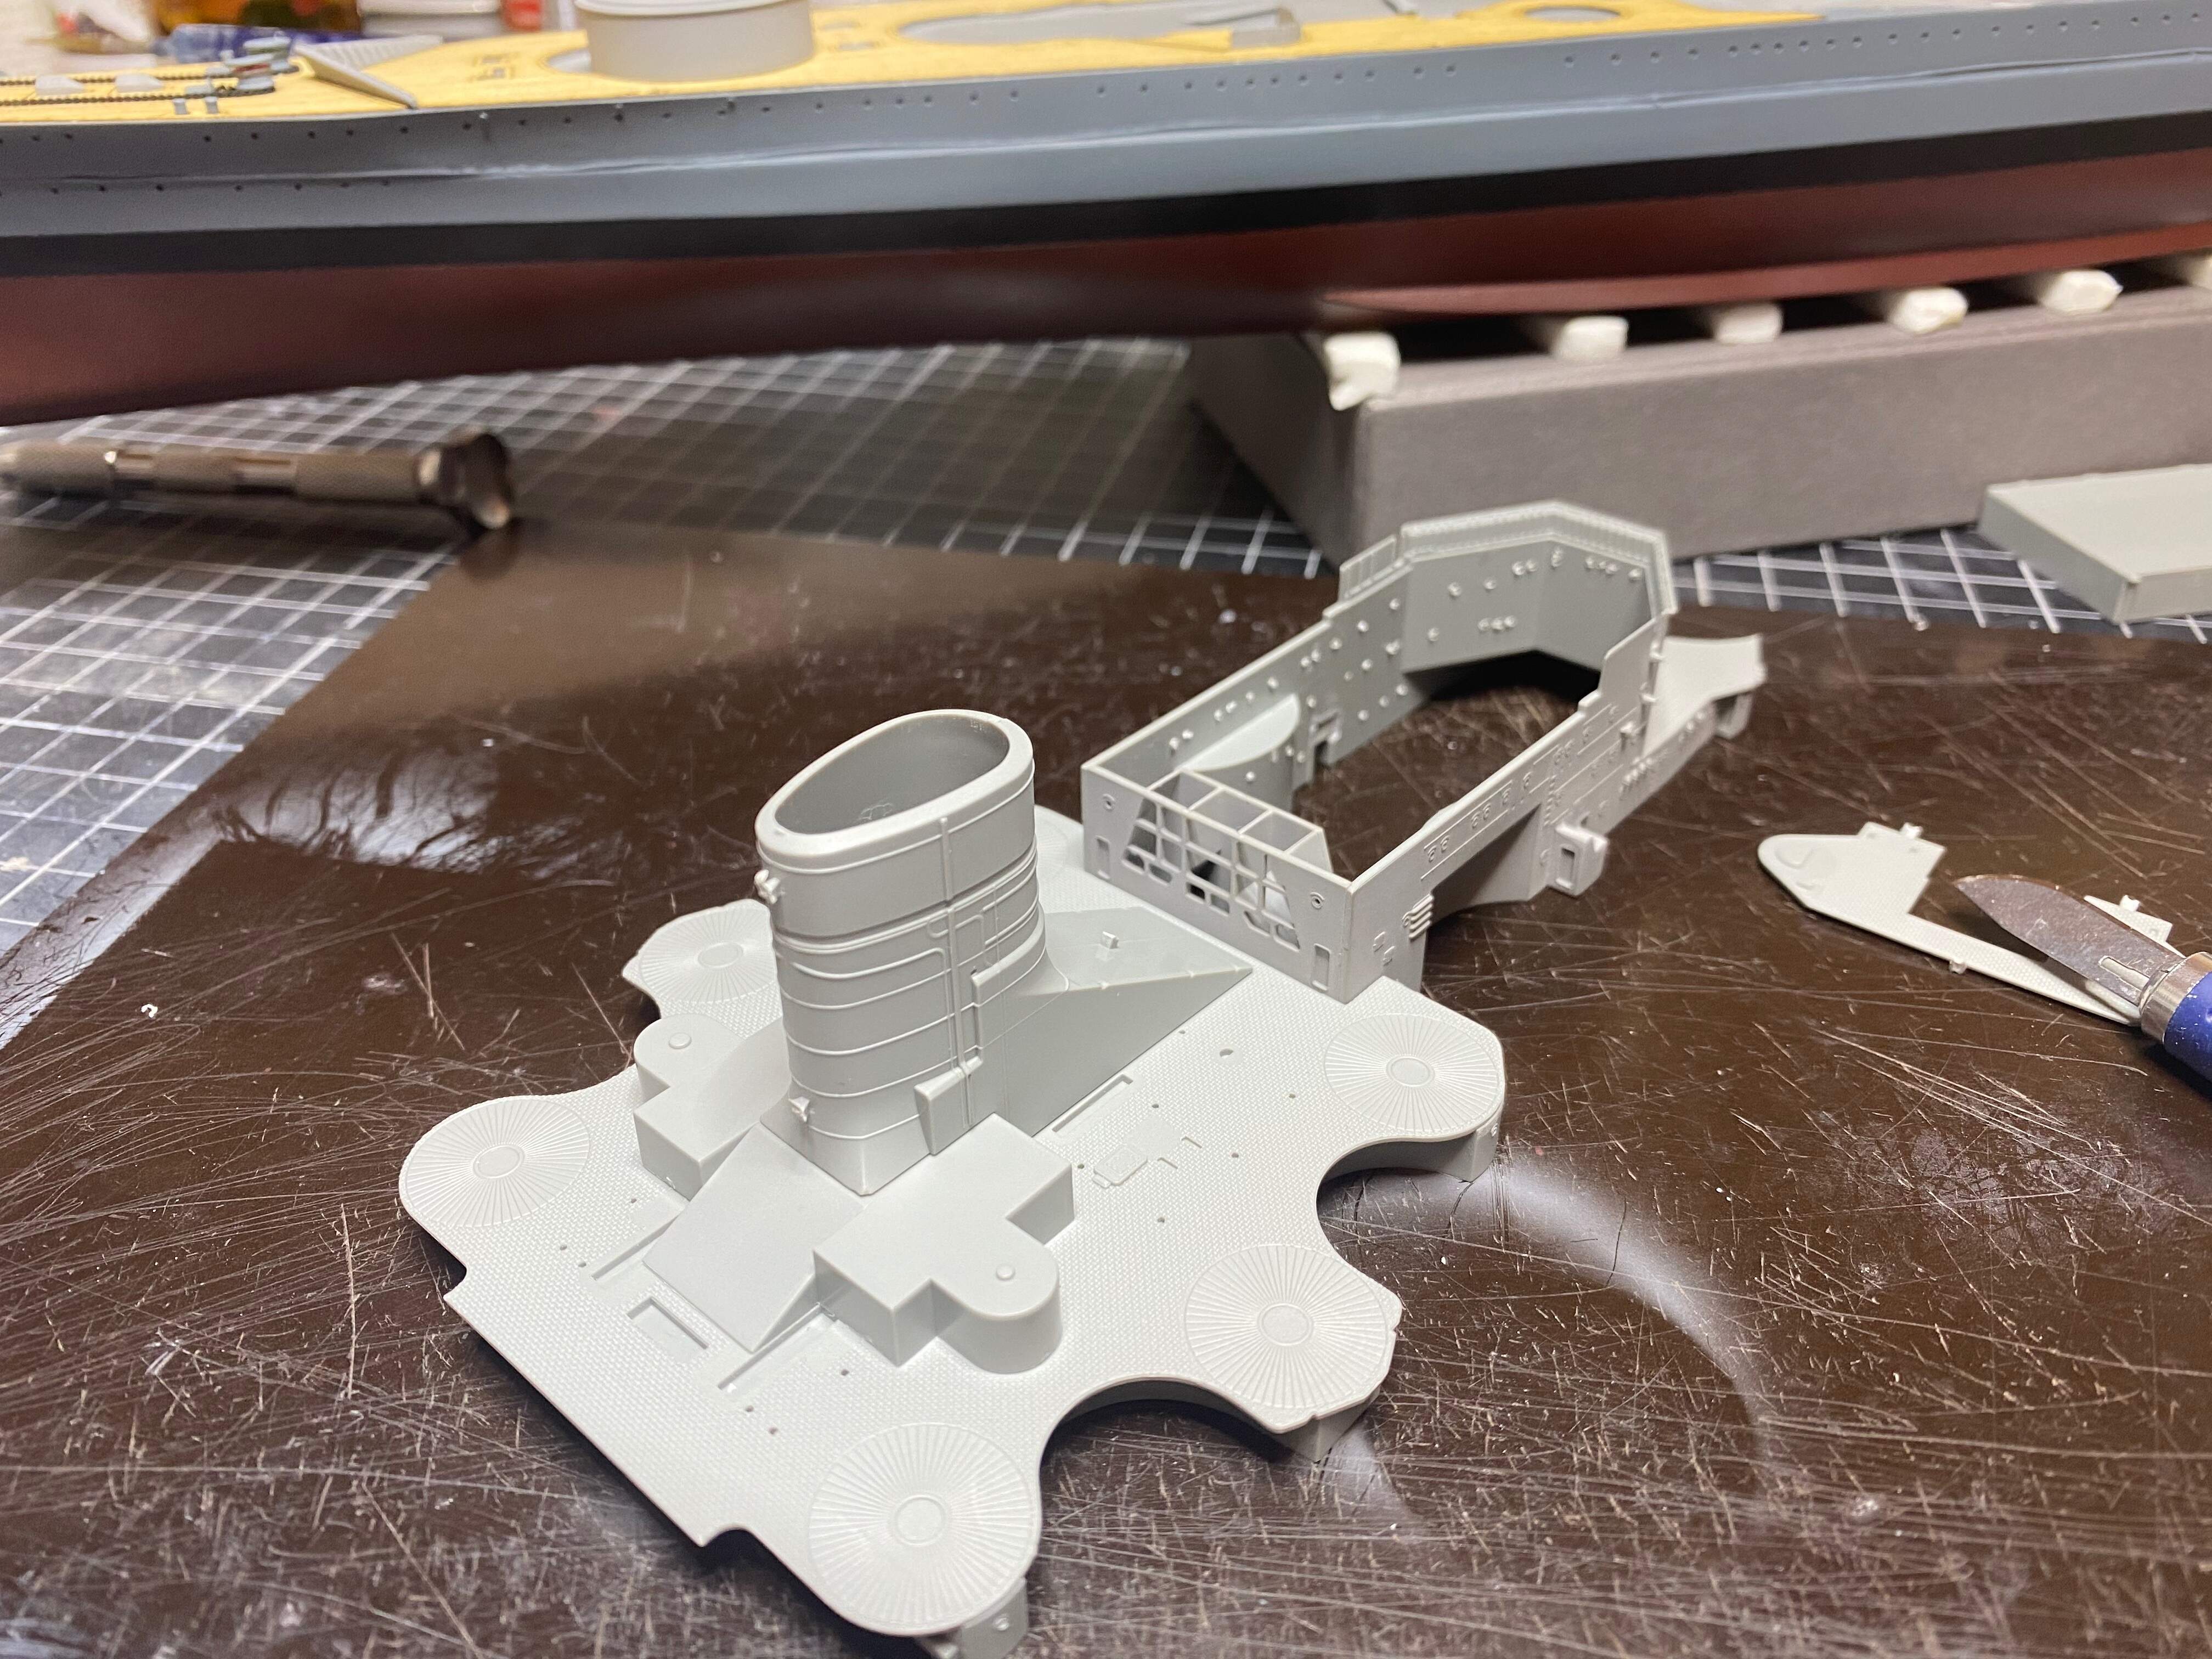
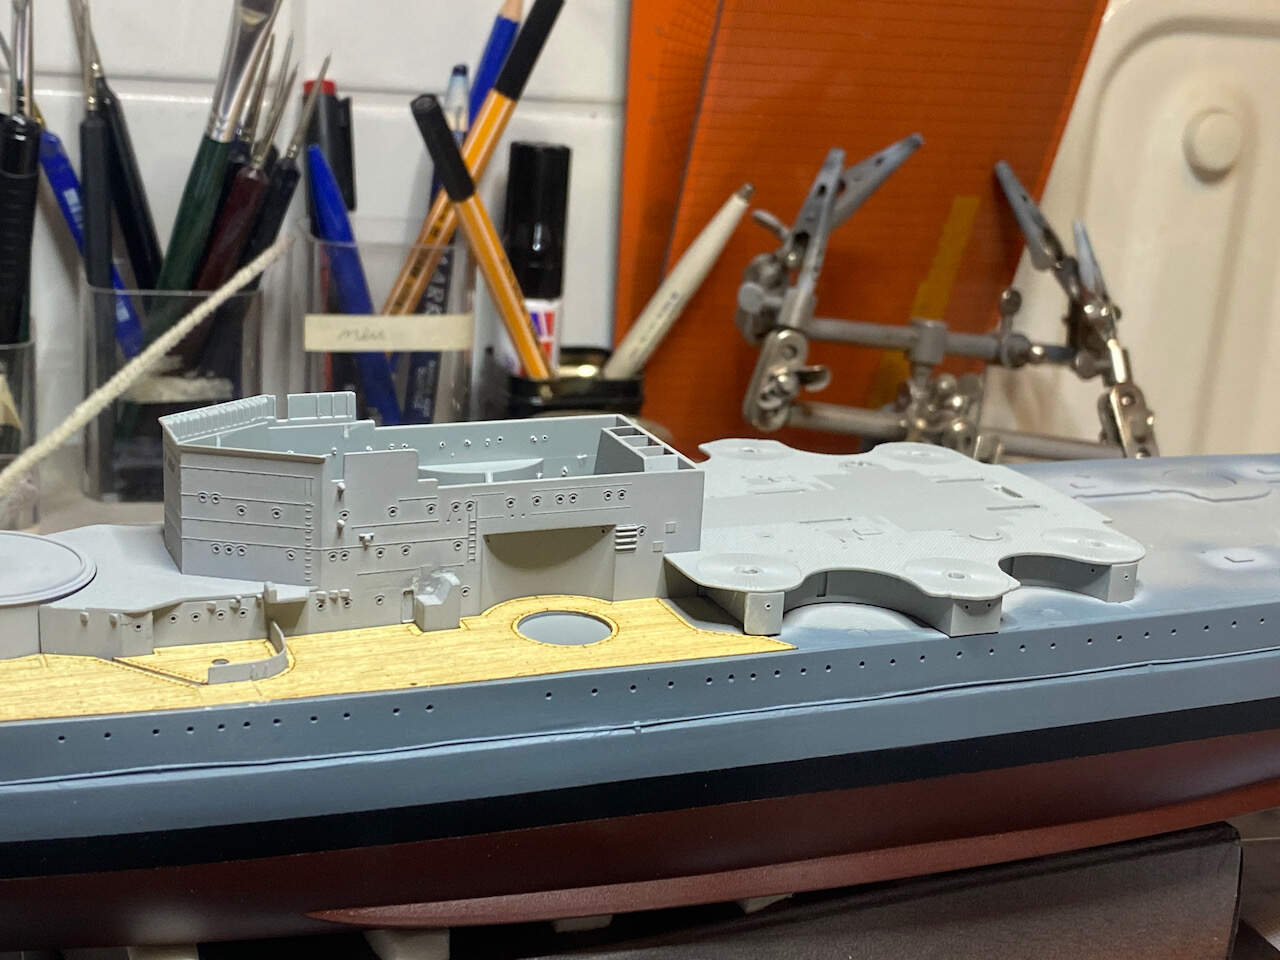
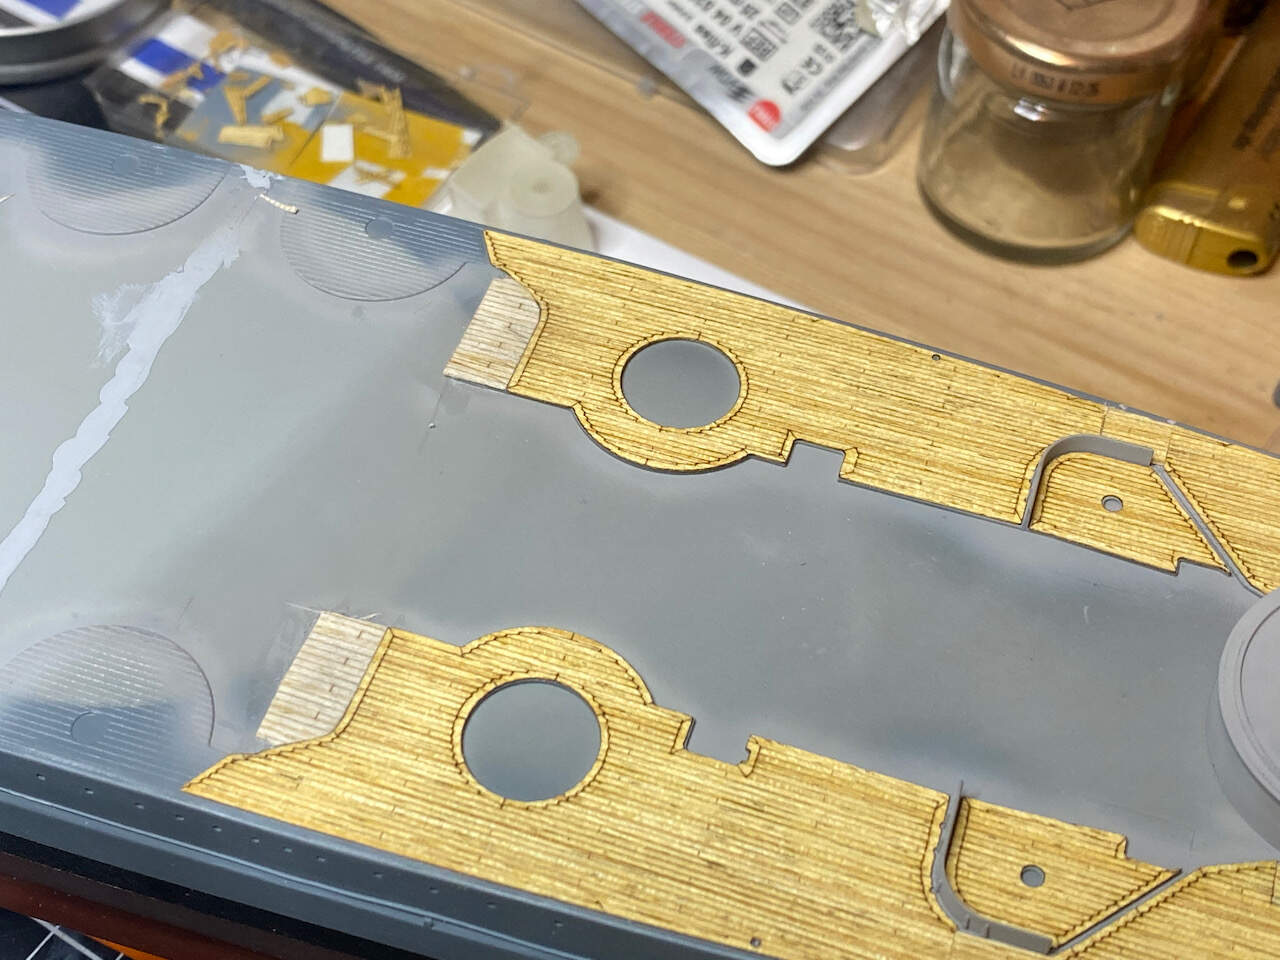
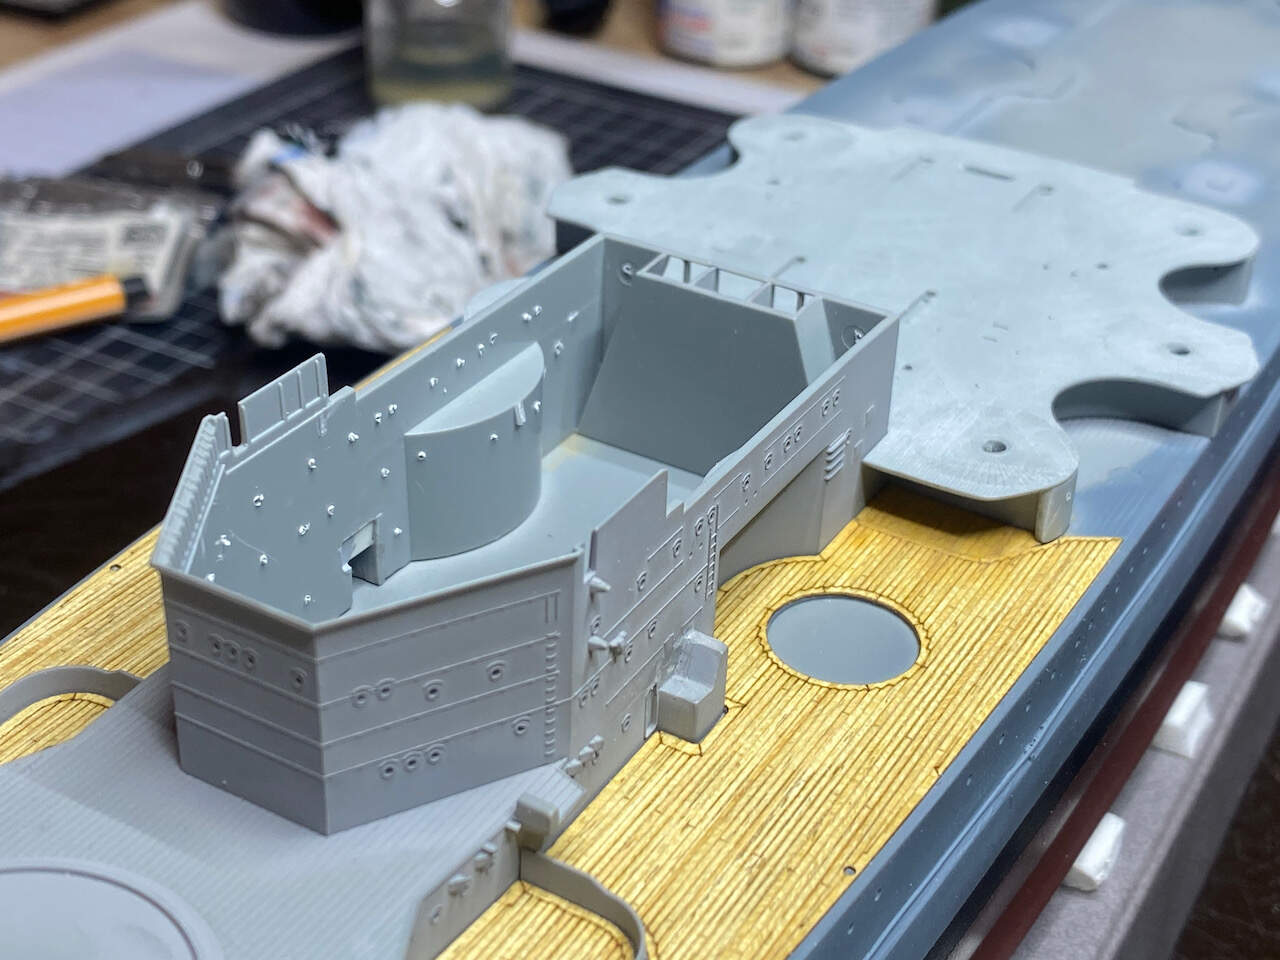
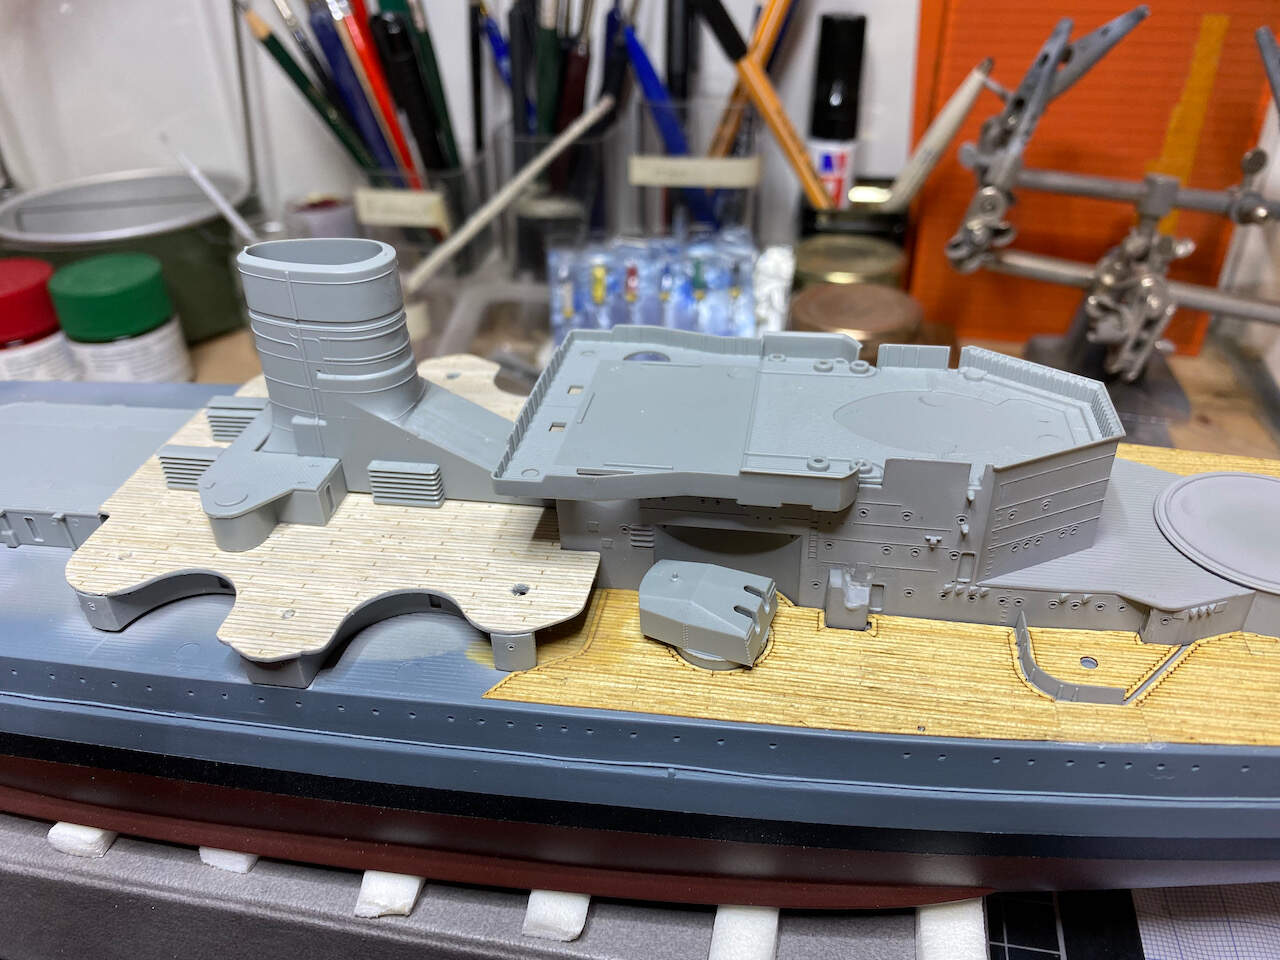
So I opened up all the concealed holes to fit the superstructure
more dry fitting, the structure is hold in place nicely by the vents.
So I removed the masking tape, all dry fitted.
The wood is so thin that I even think I can install the railing on top vs. cutting away a small stripe around the edges.
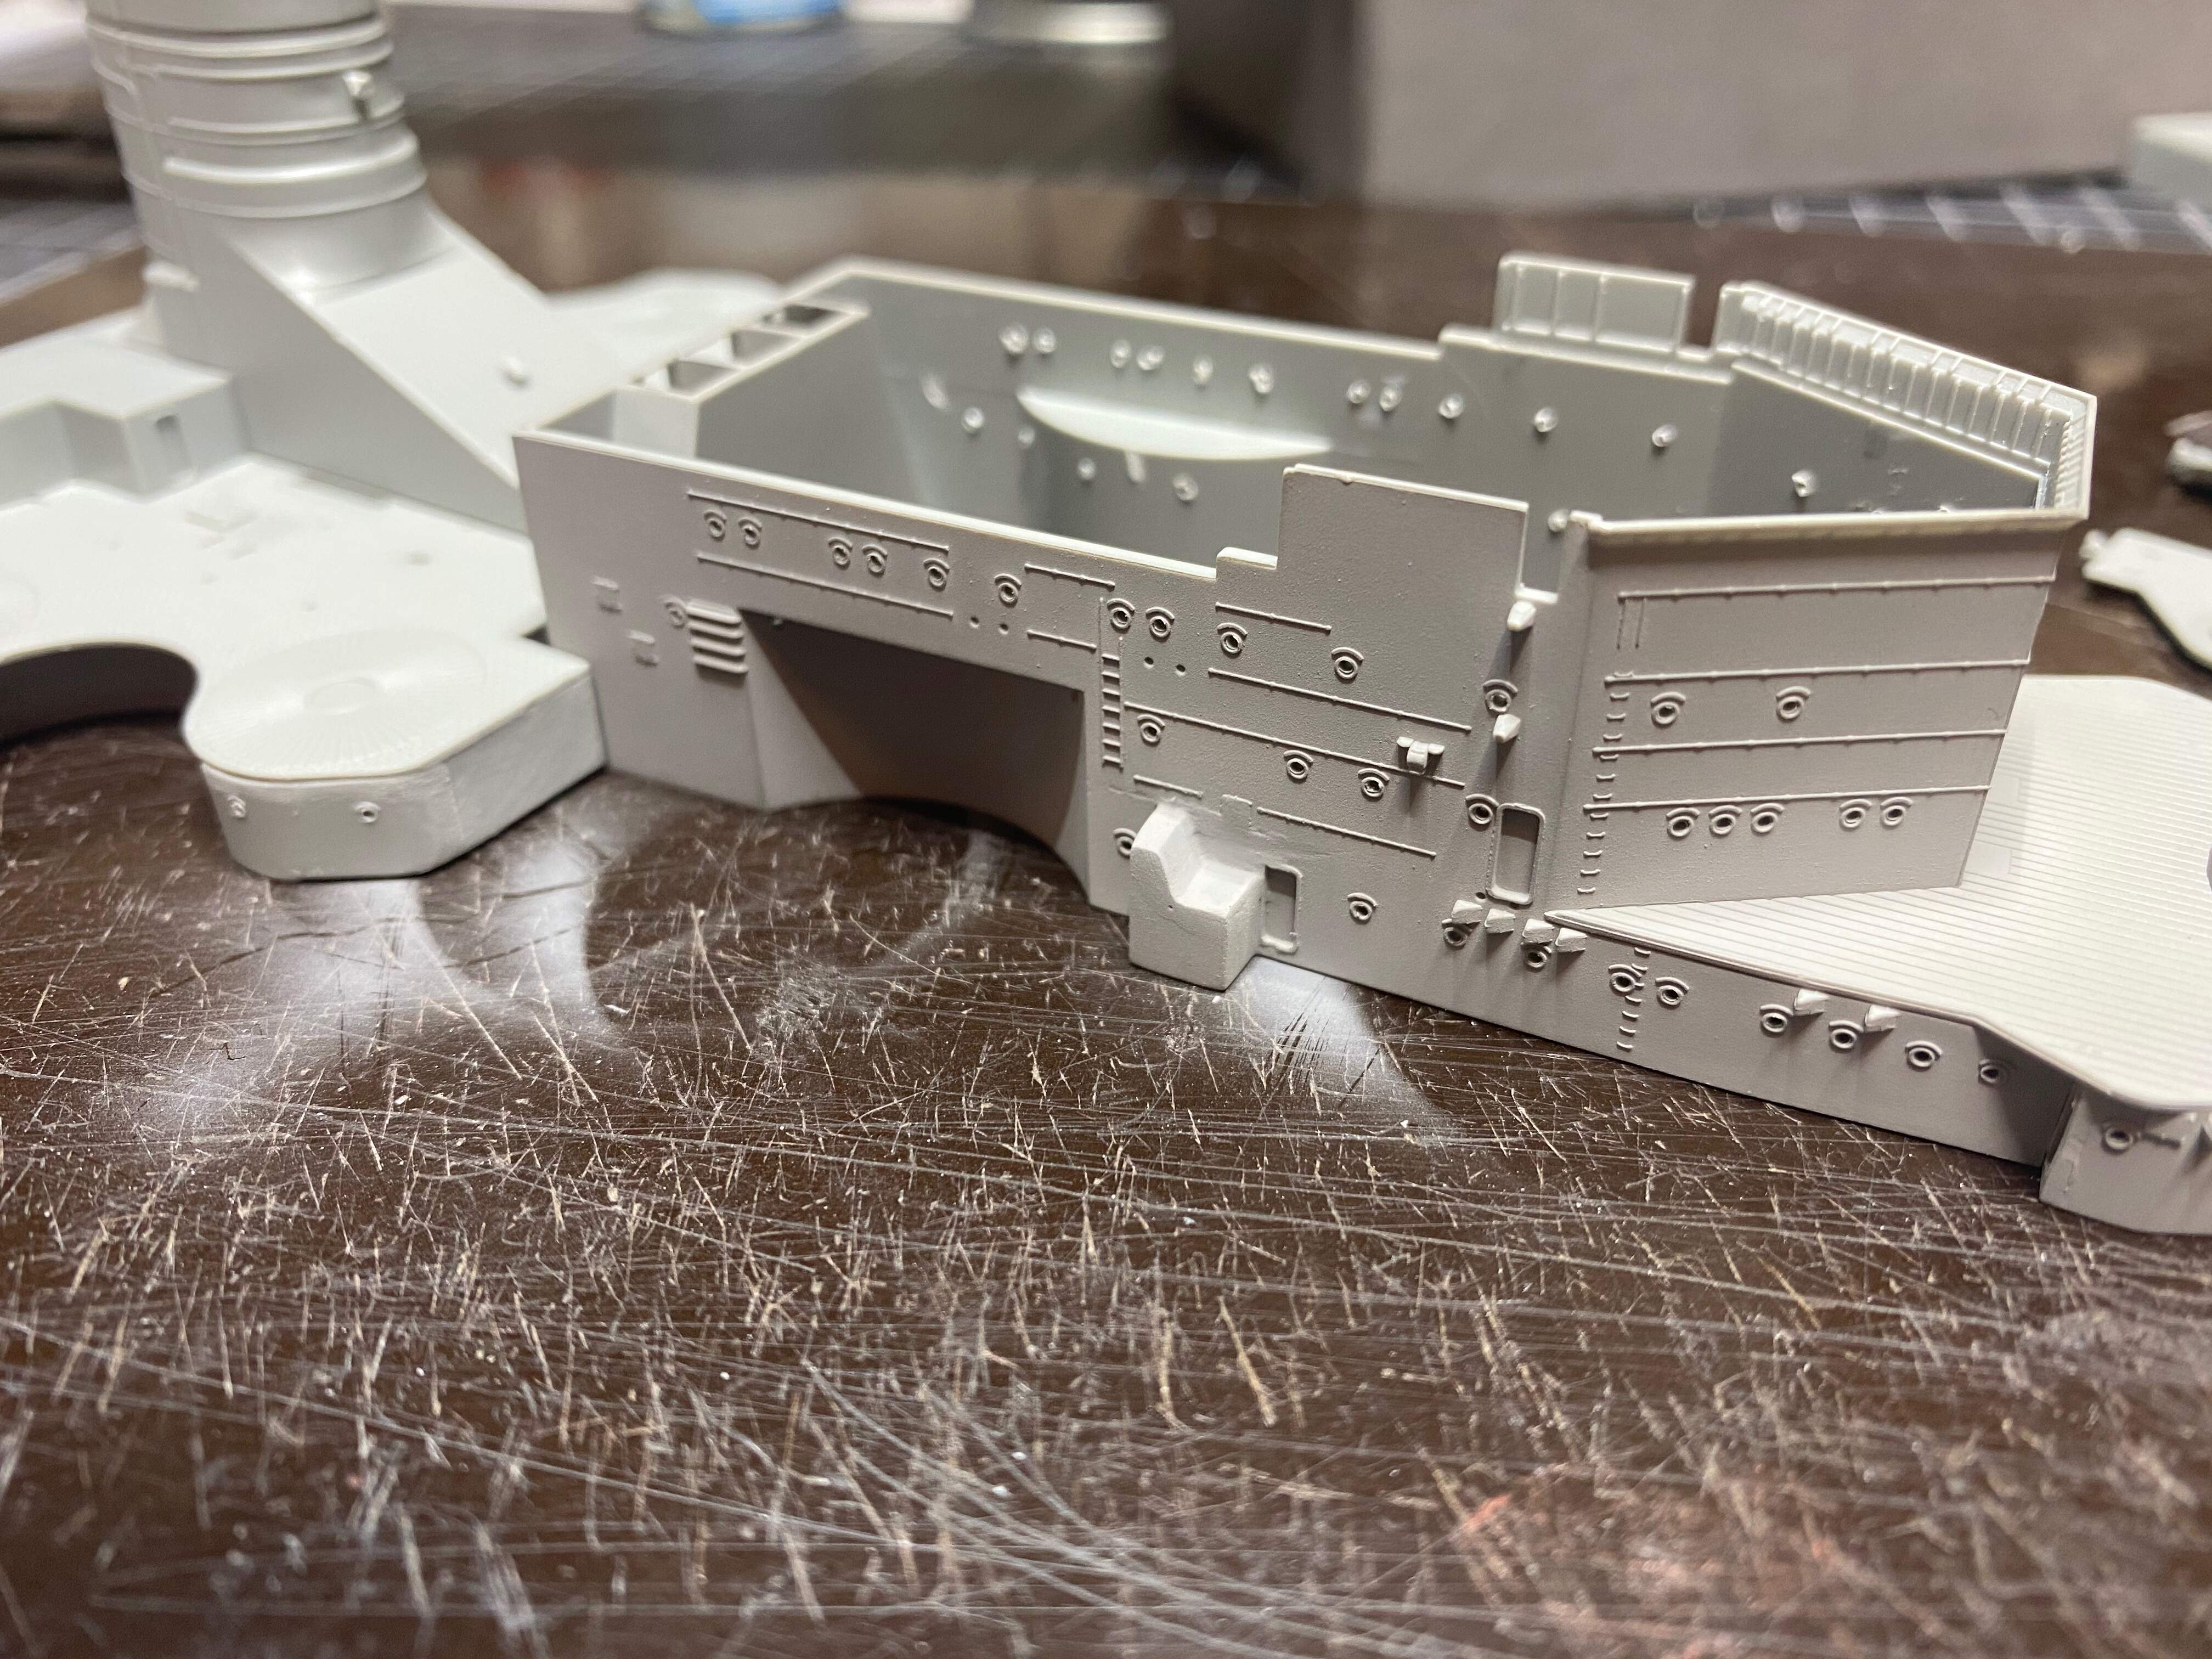
So I am pretty happy so far. Now the wood color needs to be fixed, but that will have to wait, I’ll do the for the entire superstructure when it’s ready to get it even. So there may be a difference visible between the upper and lower decks, but the decks in itself should be consistent.
But this was it for now, will be busy with my 1:1 frigate until easter. So ether will be a roughly two weeks break here. I hope you stick with me, thank you as always for looking and all comments!
Cheers
Jan
Its looking much better each post!
Cant wait to see those Model Monkey parts installed!
Starting to take shape nicely, Jan 
Agree, looking nice.
Mark
great work