I like that show! Its been a while since I have seen it though, it doesn’t run around here.
Ken
Yea, I watched it when it was on PBS!
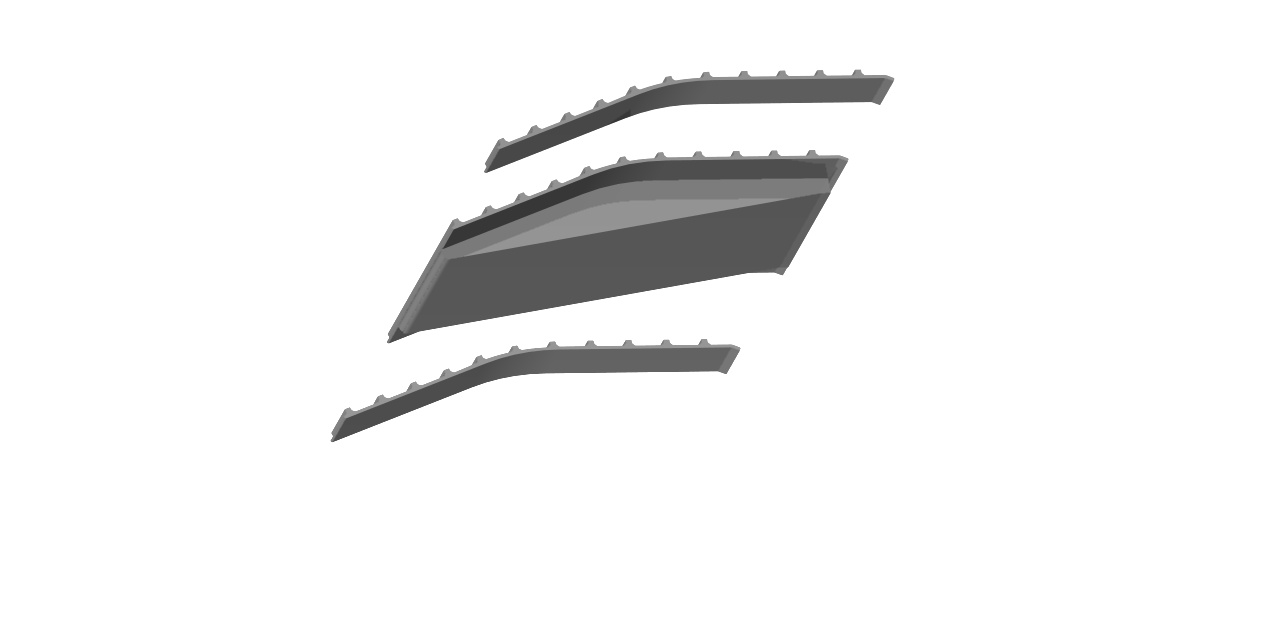
Now that the Soft Cab is done, it’s time to move on to the M15A1 trailer. As I said before this is essentially done, but I going to redesign parts to take advantage of resin 3D printers. The parts were originally designed with Shapeways in mind and to minimize volume so the ramps were hollow and built up from frames and surfaces with parts added on. File wise it was a hot mess so instead on this go-around I’m starting out with a monolithic approach.
1 Like
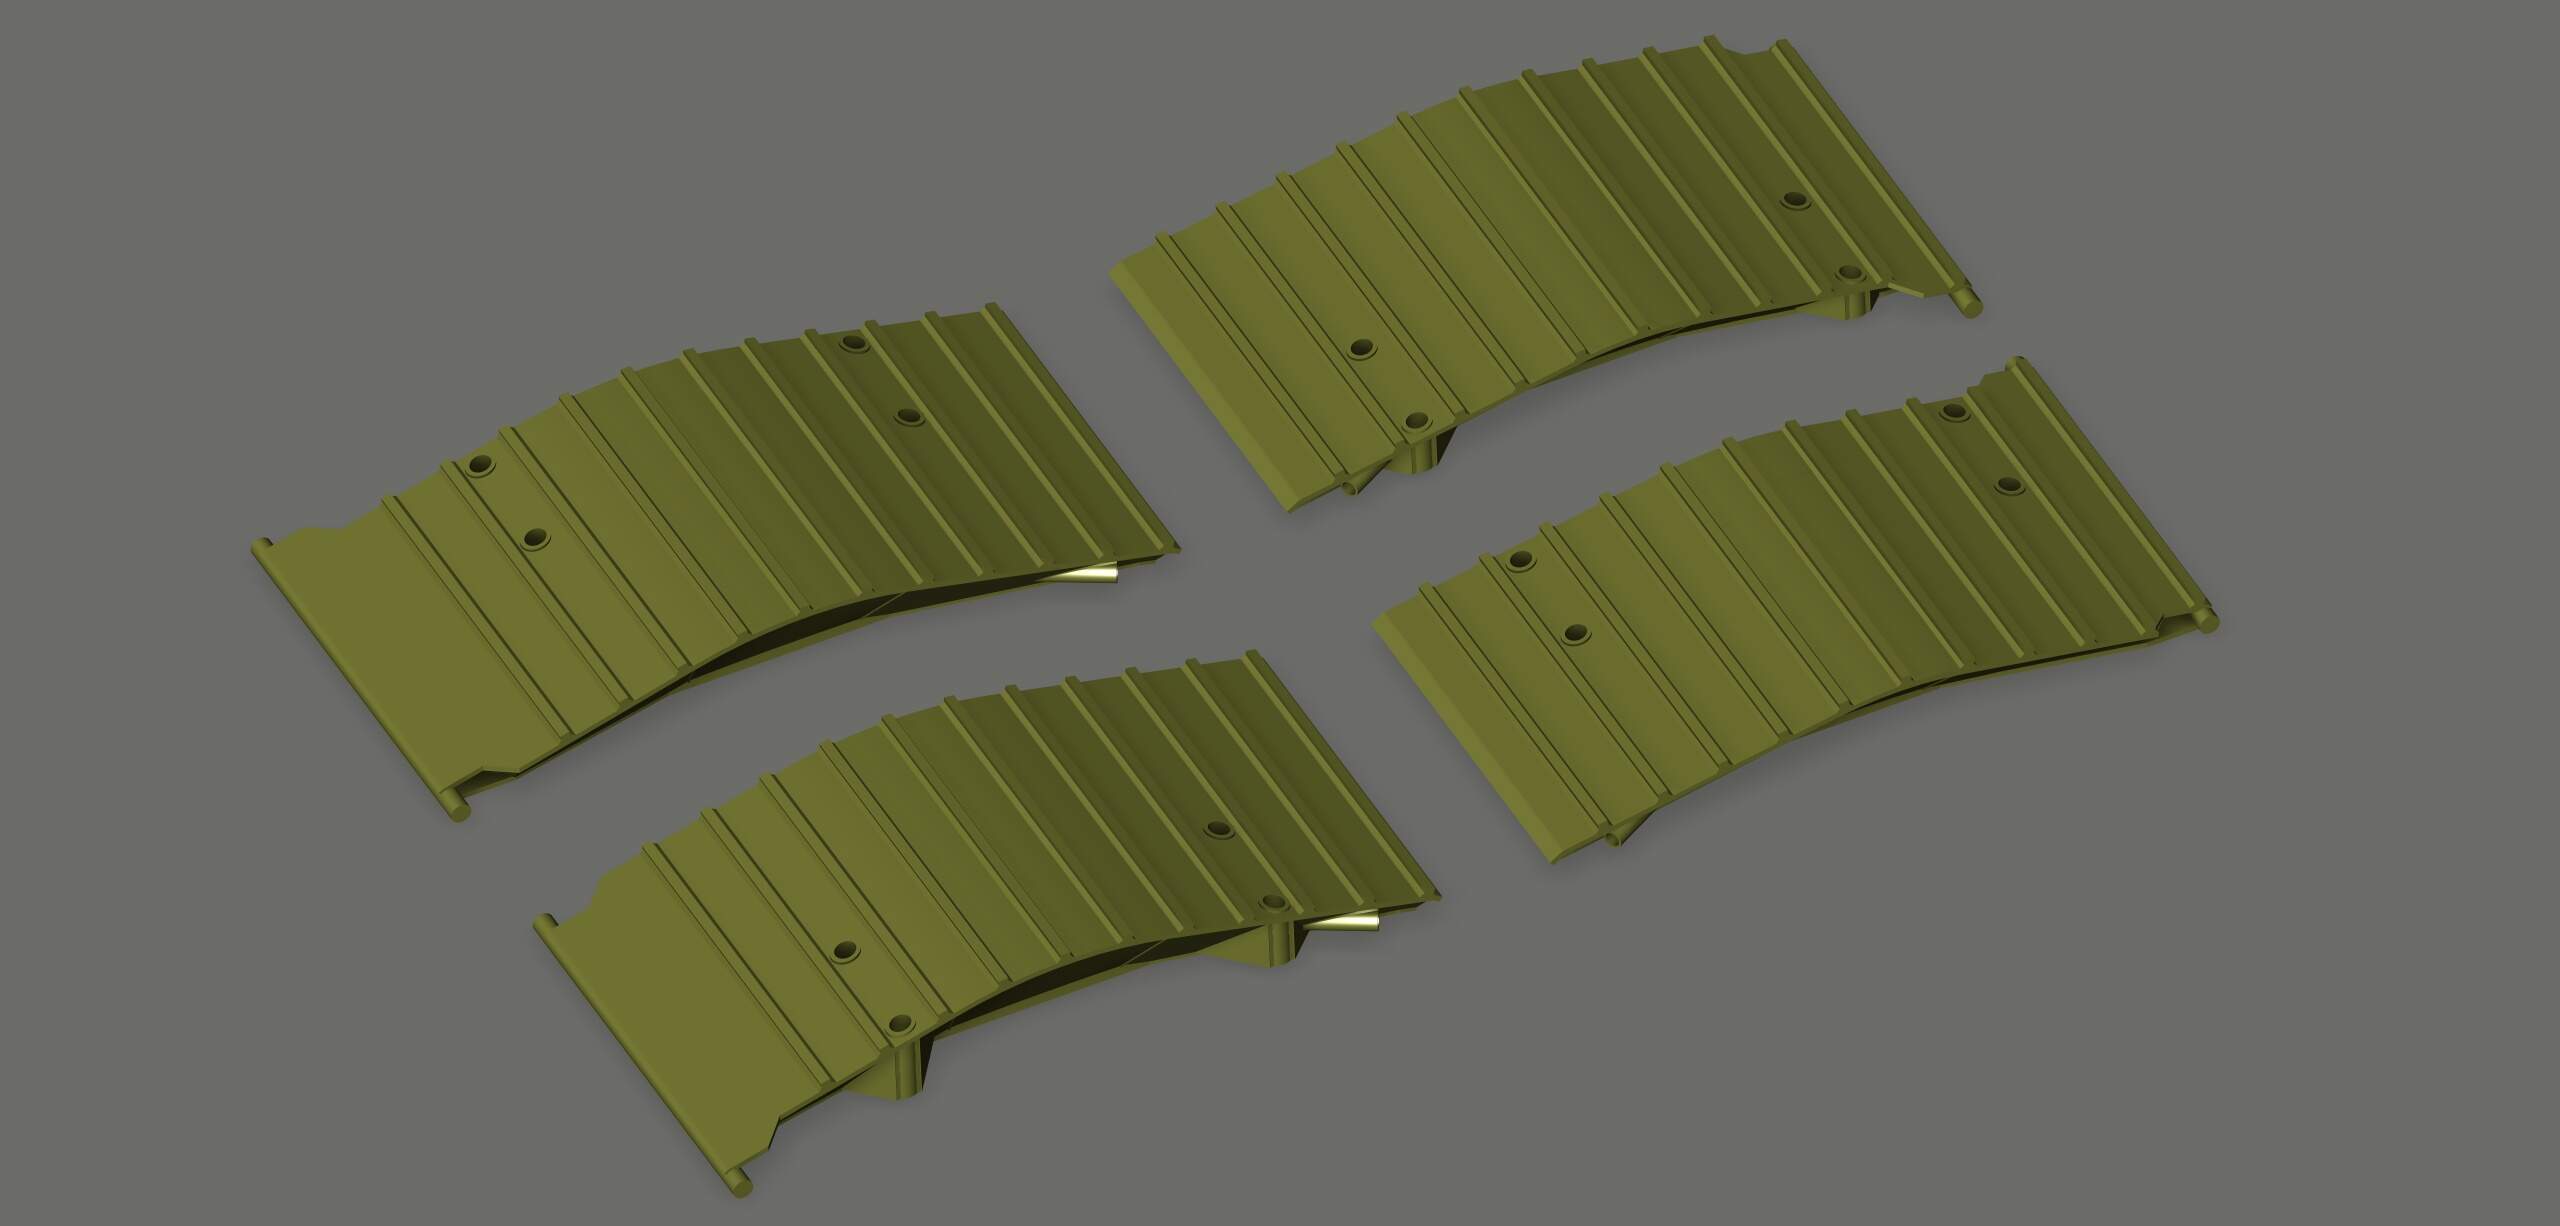
Well I just finished up the instruction sheet and loaded the files to Etsy. This went much quicker than the Soft Cab, but I also had the M15A1 mostly done. I was not looking forward to redesigning the ramps but it went much smoother than I expected.

This work all looks amazing and has me considering buying a second DW Recovery (or tearing upart my hard cab version.) to have the pleasure of building your open cab version. (I always though Tamiya is/was being rather stupid for not offering a second version of the DW!)
Also I have always objected that Tamiya left out the toolbox while still modeling the flange retainer for it on the floor!
I had hoped that the soft cab vehicle I had access to would have the Blackhawk tool case so I might model it. In that one detail I was disappointed.
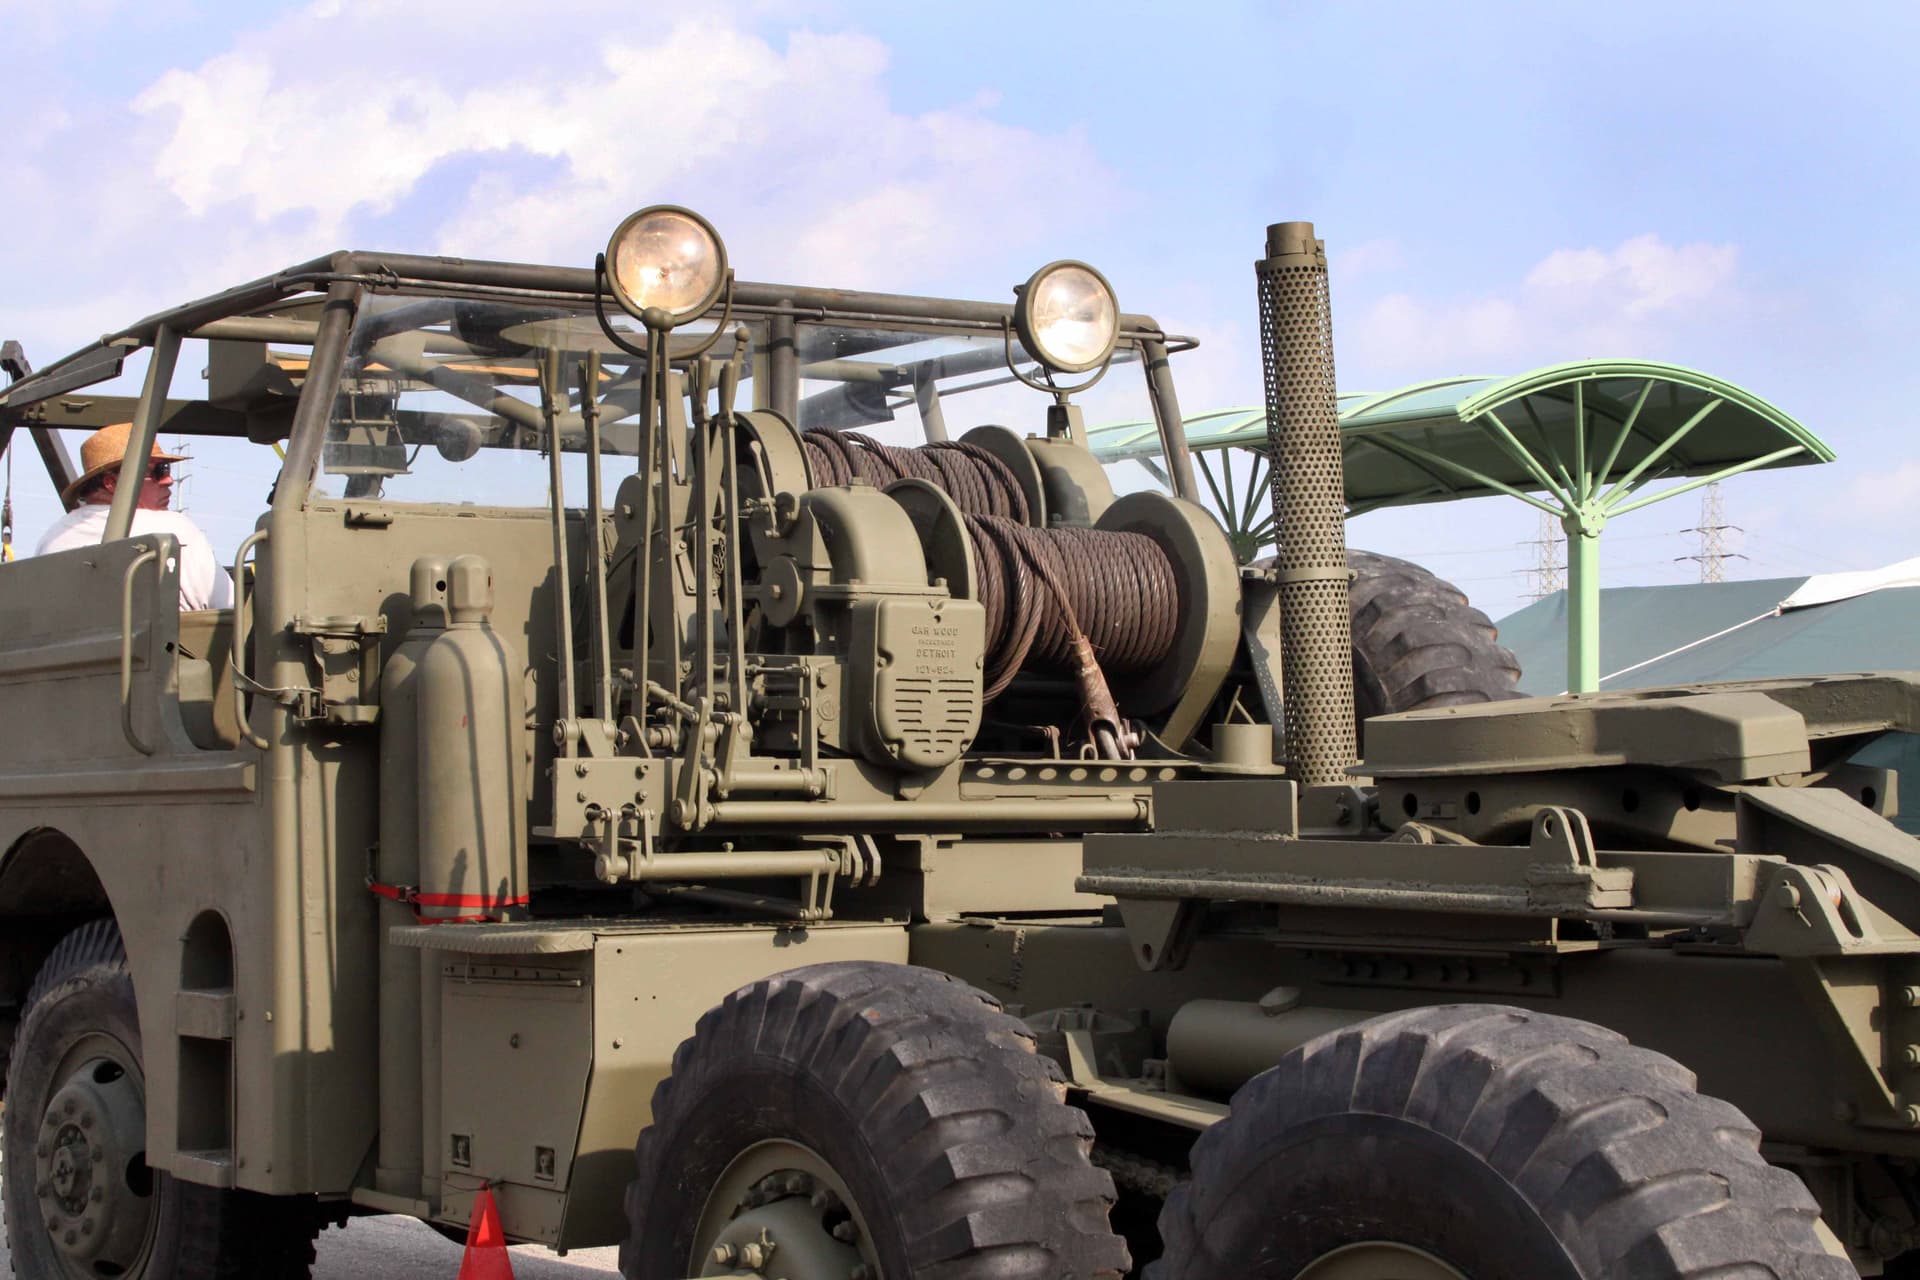
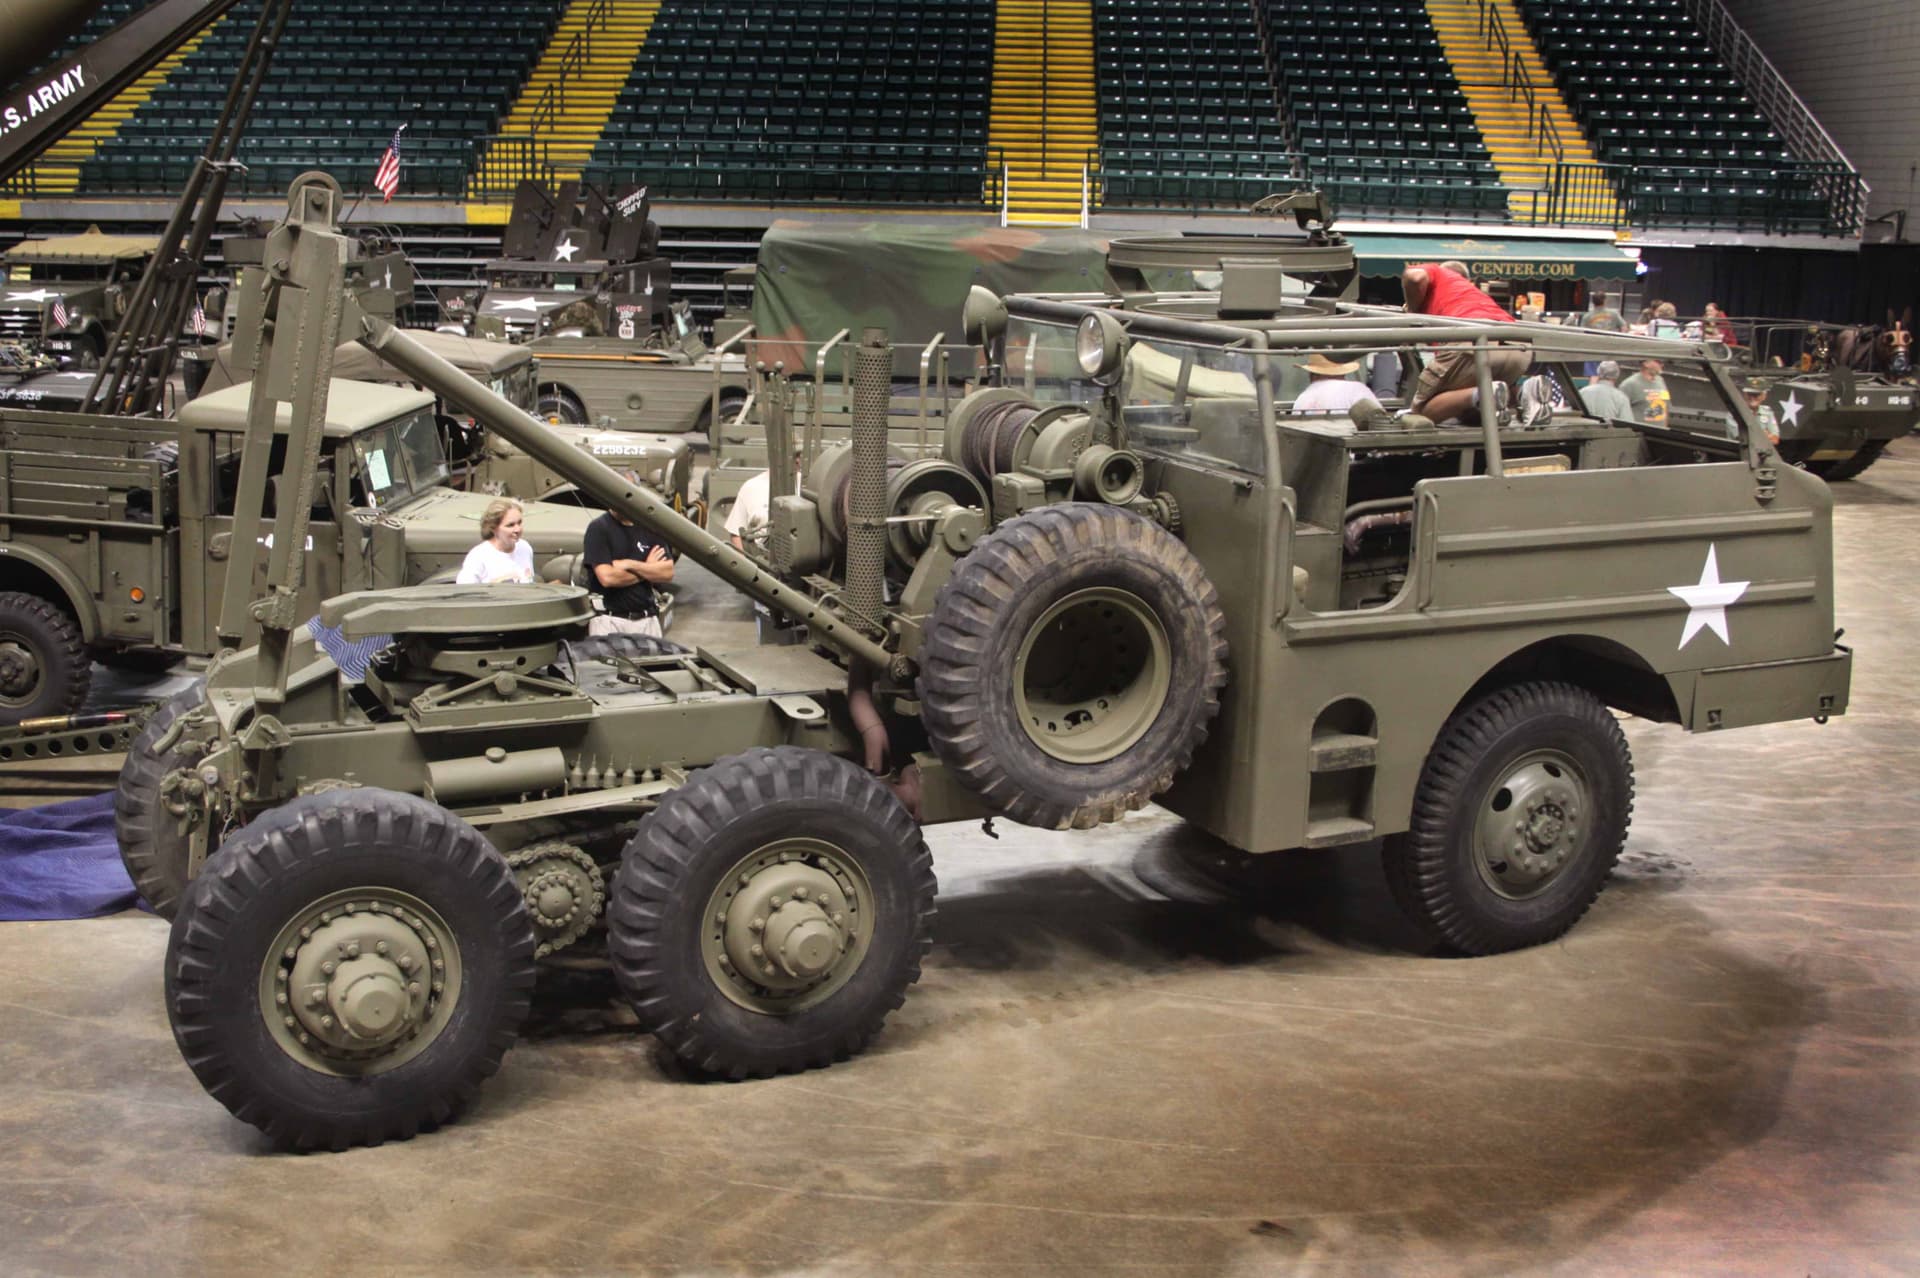
I apologize for coming so late to this party. I know you are well past the point of needing ANY additional photo references but please allow me to share just a few.
Taken at the 2011 MVPA Convention in Dayton, Ohio:
All photos by Mike Koenig
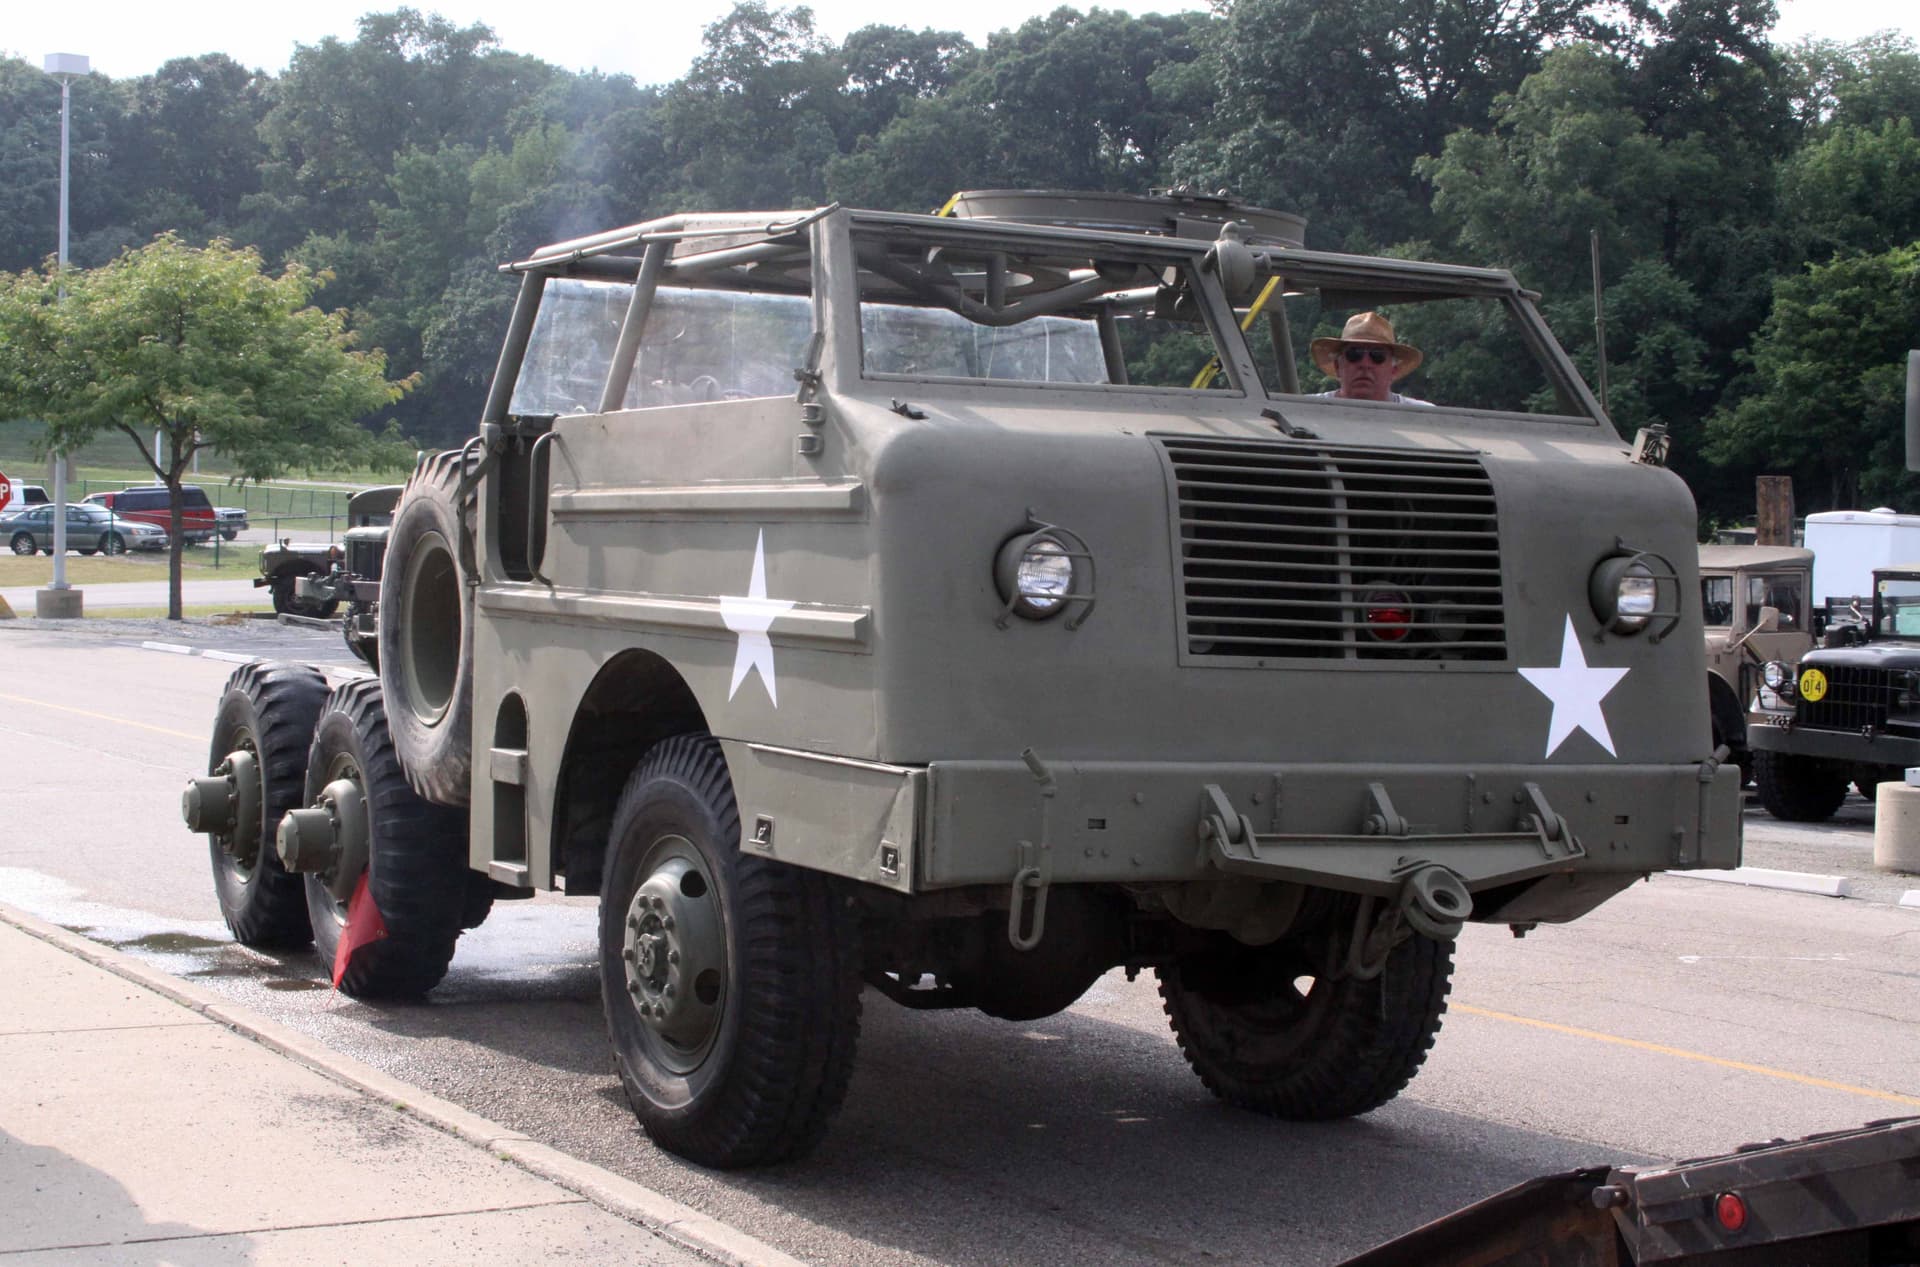
I really like the whiffletree being hung on the front bumper like that.
A term left over from the horse nd buggy days. ~
~ No other place to stow it on the soft cab!*


3 Likes
Re: the 50 cal. ammo can rack:
First: Thank you for showing me the framing I need to add surrounding the Tamiya ammo rack.
And Second: Wouldn’t it look cool to have one ammo can missing from the rack? (say the third one down on the right) As if the top gunner has pitched the first empty ammo can and asked for a second one that has now been pulled out of the rack and handed up to him. (The low man on the crew totem pole would probably be inside the cab feeding ammo to the gunner.)
Just thinking about a little more added visual interest???
1 Like
I also offer the Blackhawk Tool Chest as a separate item on my Etsy store as well. That research took me down a rabbit hole as well lurking around the G503 and tool forums. I also found the original patents on Google:patents.
1 Like
Care to post a link to the tool chest on Etsy?
Dare I say how 'bout doing an open tool chest???
I finally got a 3D printer. It’s an Elegoo Saturn 2. Like most 3D printers it comes with a software program that “slices” the stl file layer by layer like a CAT scan.
I always knew that the Soft Cab would push the boundaries of 3D printers and after loading some files into the program I found out how true that was.
I barely got the cab to fit into the boundary box by orienting near vertical! The raft fills the entire tank. The program will tell you how long it takes to print and the cab alone will be eight hours!
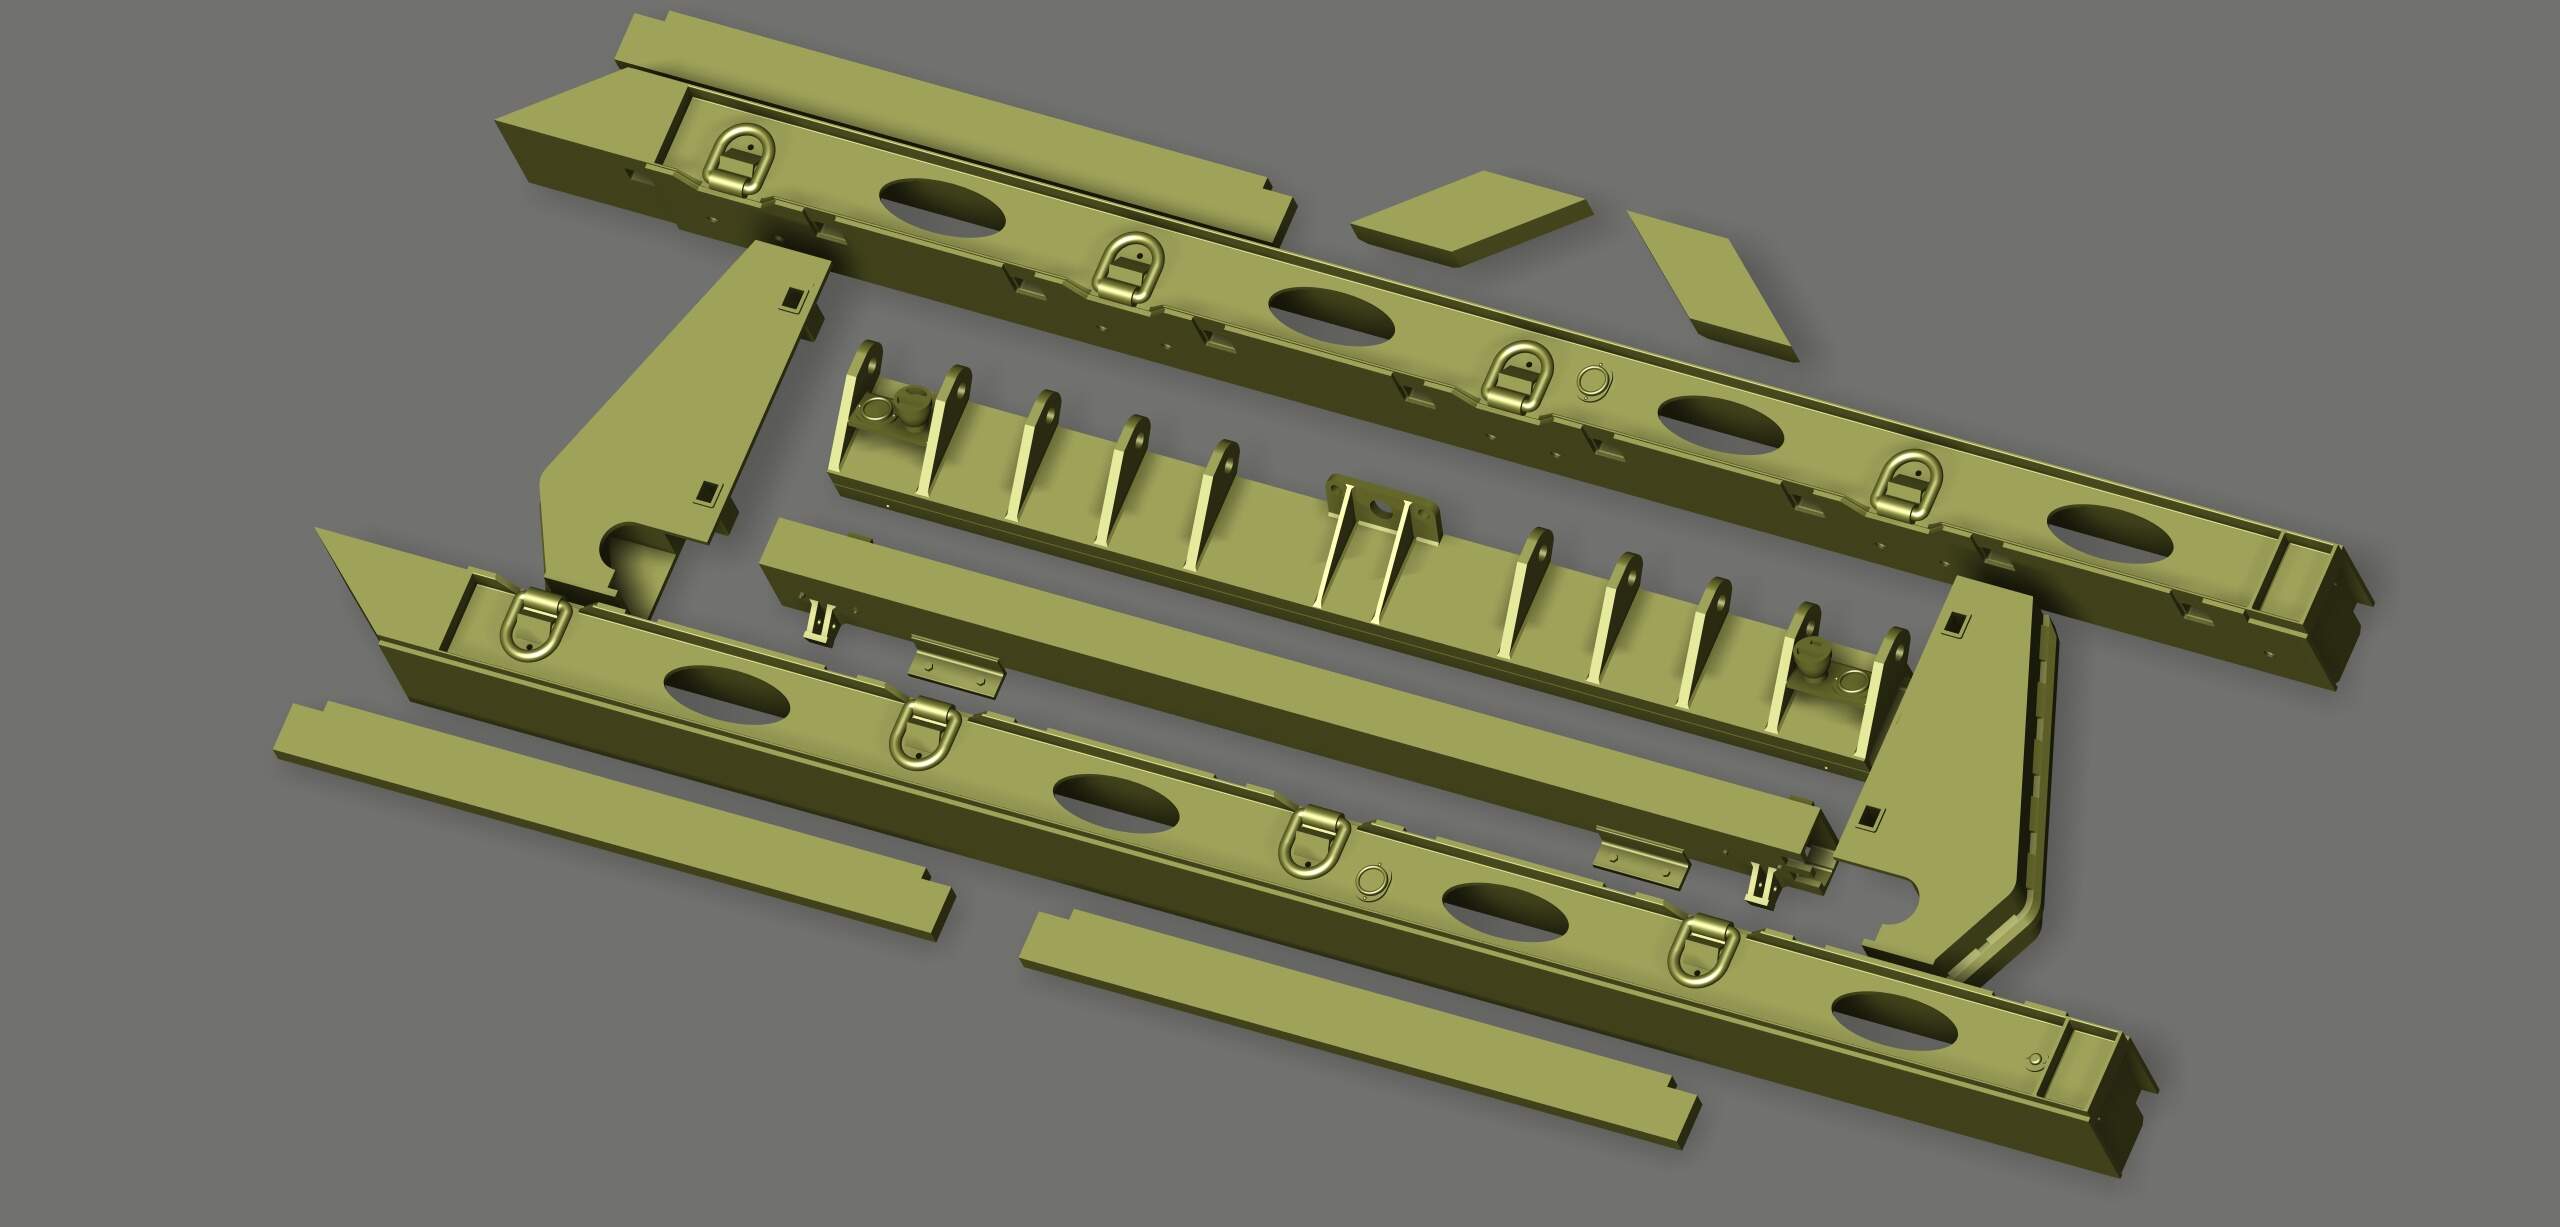
I could not even get the M15A1 sides into the box so for these reasons I have temporarily removed them from the Etsy store until I’m confident that they can be successfully printed.
This may just be translated into “I’m just too old” but . . .
I prefer to have someone else (perhaps with a truly top end machine) print these files for me. It seems there are always issues of print resolution, print material or “the largest piece won’t fit on my printer stage.”
Talked to one guy who had designed a beautiful tractor but he could only print it in 1/48th because 1/35th would not fit in his printer. Frustrating!
As a life long photographer I love a juicy, high resolution photo print but I just don’t see the need to own a $12,000 (or $20,000+) digital printer/processor. I will leave that to the Wallgreens or CVS Pharmacy down the road.
I am guessing that one day they too will offer digital 3D printing.
p.s. Question: just what would it cost to have you print out the soft cab conversion kit at a high quality print resolution? Or would that even be worth talking about? Feel free to PM me on this one.
I have often considered scratch building the soft cab conversion. It is sounding more and more like, for the time being that would still be the easiest (and cheapest) (and most fun) route. I could purchase just your research pdf files and run with it from there.
FYI ~ It is far easier to form those compound curves of the front cab corners out of a block of solid plastic than it is to digitally create them on a computer. I have enough early CAD experience to understand that one.
Best Regards
Mike
Have you talked to BJ over at Panzer Concepts? I suspect she has all the high quality printers anyone would ever need for producing this project.
You really should check out the great (and very large) models she has up for sale.
1 Like
I have the printer and I think it will print, I just got to play around a little bit with settings and orientation. I’m confident I’ll be able to get it back up on Etsy.
Yea, I don’t have any plans to partner up just yet. I’m planning more long term.
Sounds Expensive!
Yea, that was so true! The actual body had those corners shaped over a form ( and in practice were not as precise as one would think, these were more like hand built bodies than being mass produced).
I tried meshes with semi spheres and cones and I gave up and it sat for years. Then earlier this year the solution came to me in a dream! I started with a simple block shape of the front of the cab, then rounded the corners and the corner above the grill simultaneously.
I then rounded the small corners that form the “cone” of the corner using a variable radius were R1 was zero and R2 was the radius that matched the other corners!
And that is why early auto body men were sometimes called “tin knockers.”
An old fashioned English Wheel can form those compound curves and tapers faster in real life than can current day “digital hammers.”
I do like how you eventually solved your problem, Not unlike digitally carving it out of a solid block of plastic.
Love you work!
1 Like